5. 3D Scanning and Printing
The assignment this week is test the design rules for our 3D printer(s), design and 3D print an object (small, few cm3, limited by printer time) that could not be made subtractively, and 3D scan an object (and optionally print it).
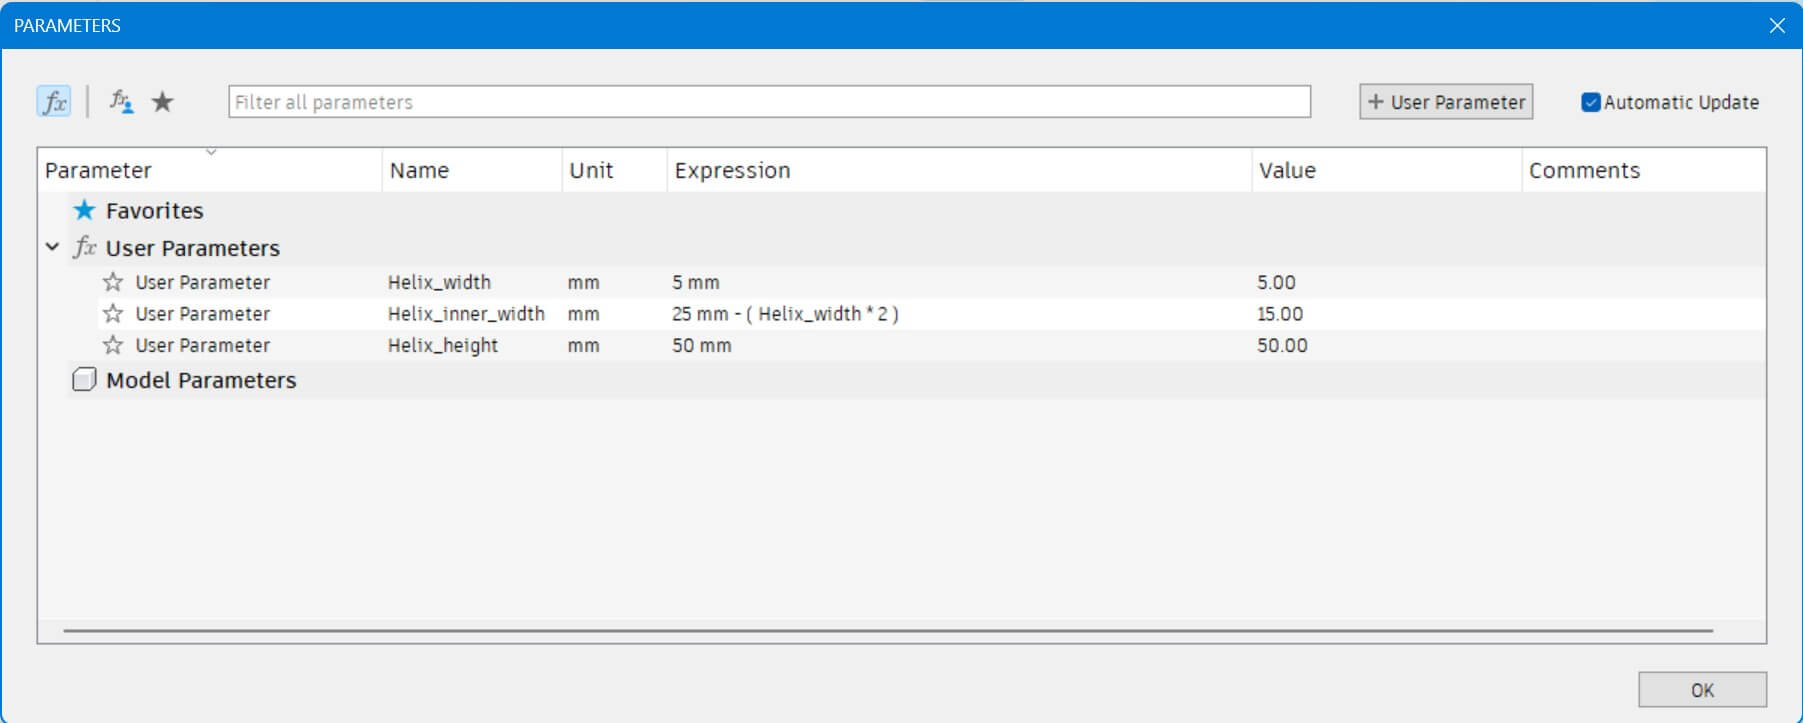
Parameters:
3D Printed Object
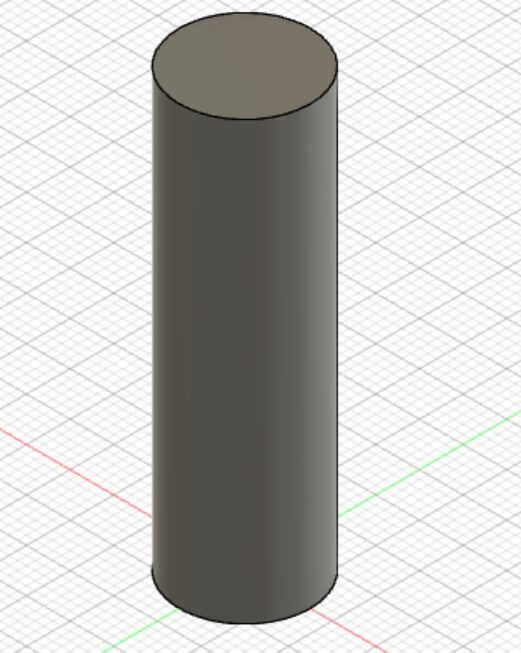
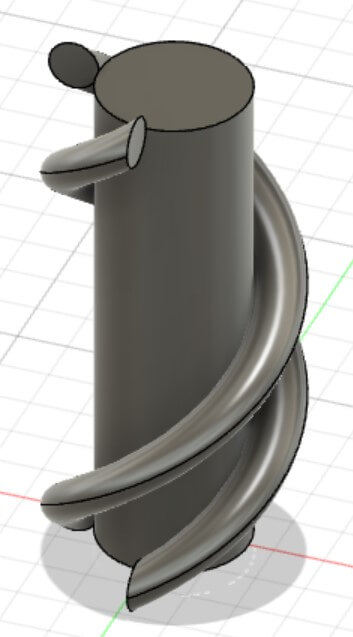
For this week I wanted to do something different, cool, and relatively difficult so I deceided to make a double helix or DNA. I started with a central pillar, using the Helix_inner_width parameter for it's width, to wrap the helix around.
It was surprisingly dificult to get two sirals to fit around the pillar together but eventually I found that the coil tool with one rotation would work. I used Helix_width for the coil tube width, and Helix_height for the overall height.
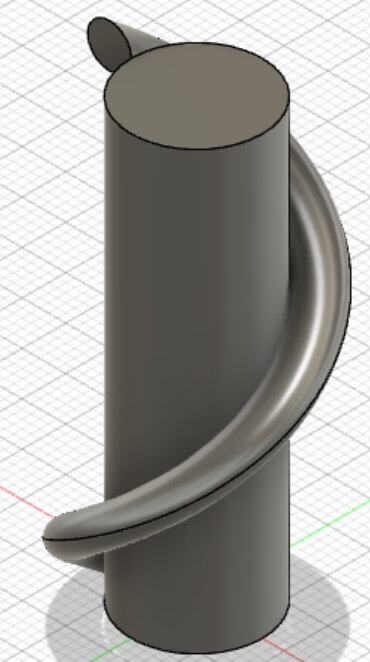
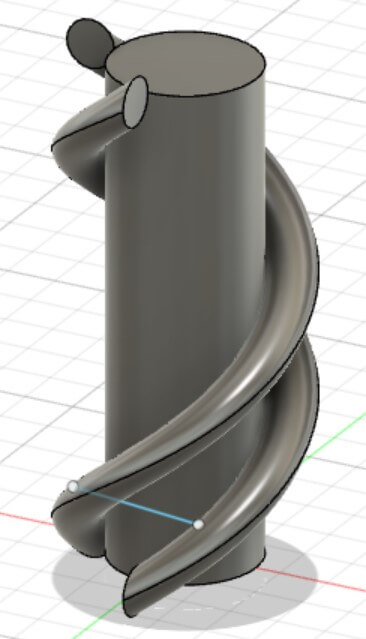
Next, I added a second coil so that they where close to eachother but not overlapping.
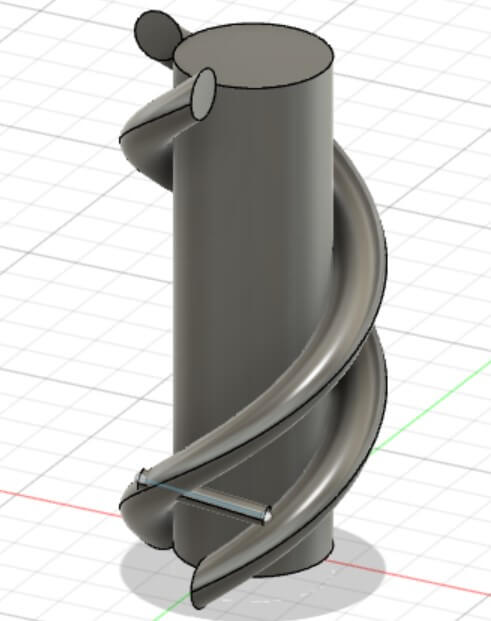
After the two outer coils of the double helix were finished I went to adding bars between them to give it the DNA look. for the width of the bars I eye-balled which measurment looked best and it came out to 2.00mm so about 40% the coil's width.
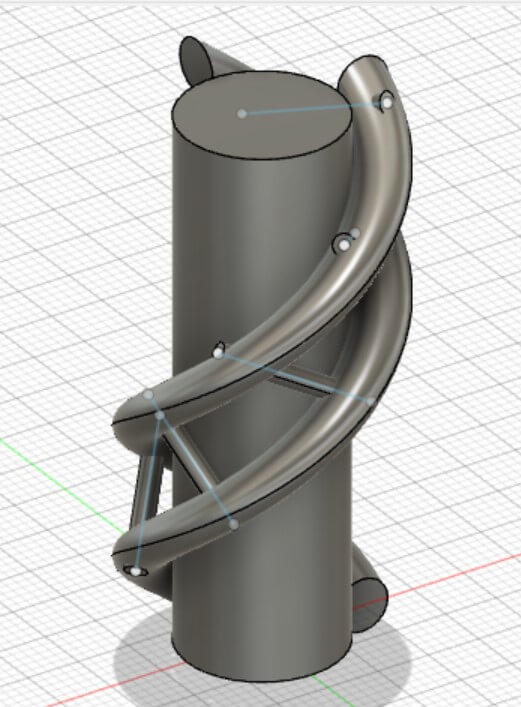
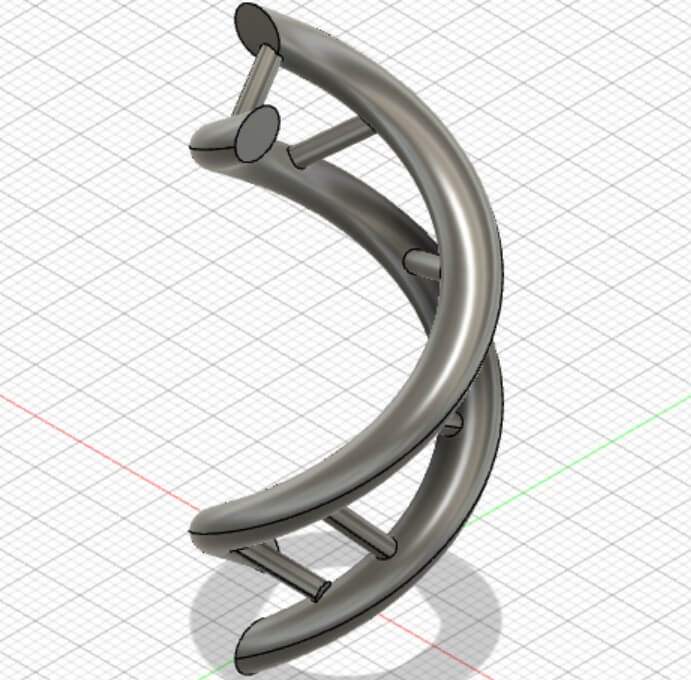
I decided the helix would look better if I removed the peices of the bars that were sticking out so I tidied up the helix. I also removed the central pillar and joined all the remaining peices
Next I put the stl file of the double helix into PrusaSlicer, a 3D printing/file prep software we use.
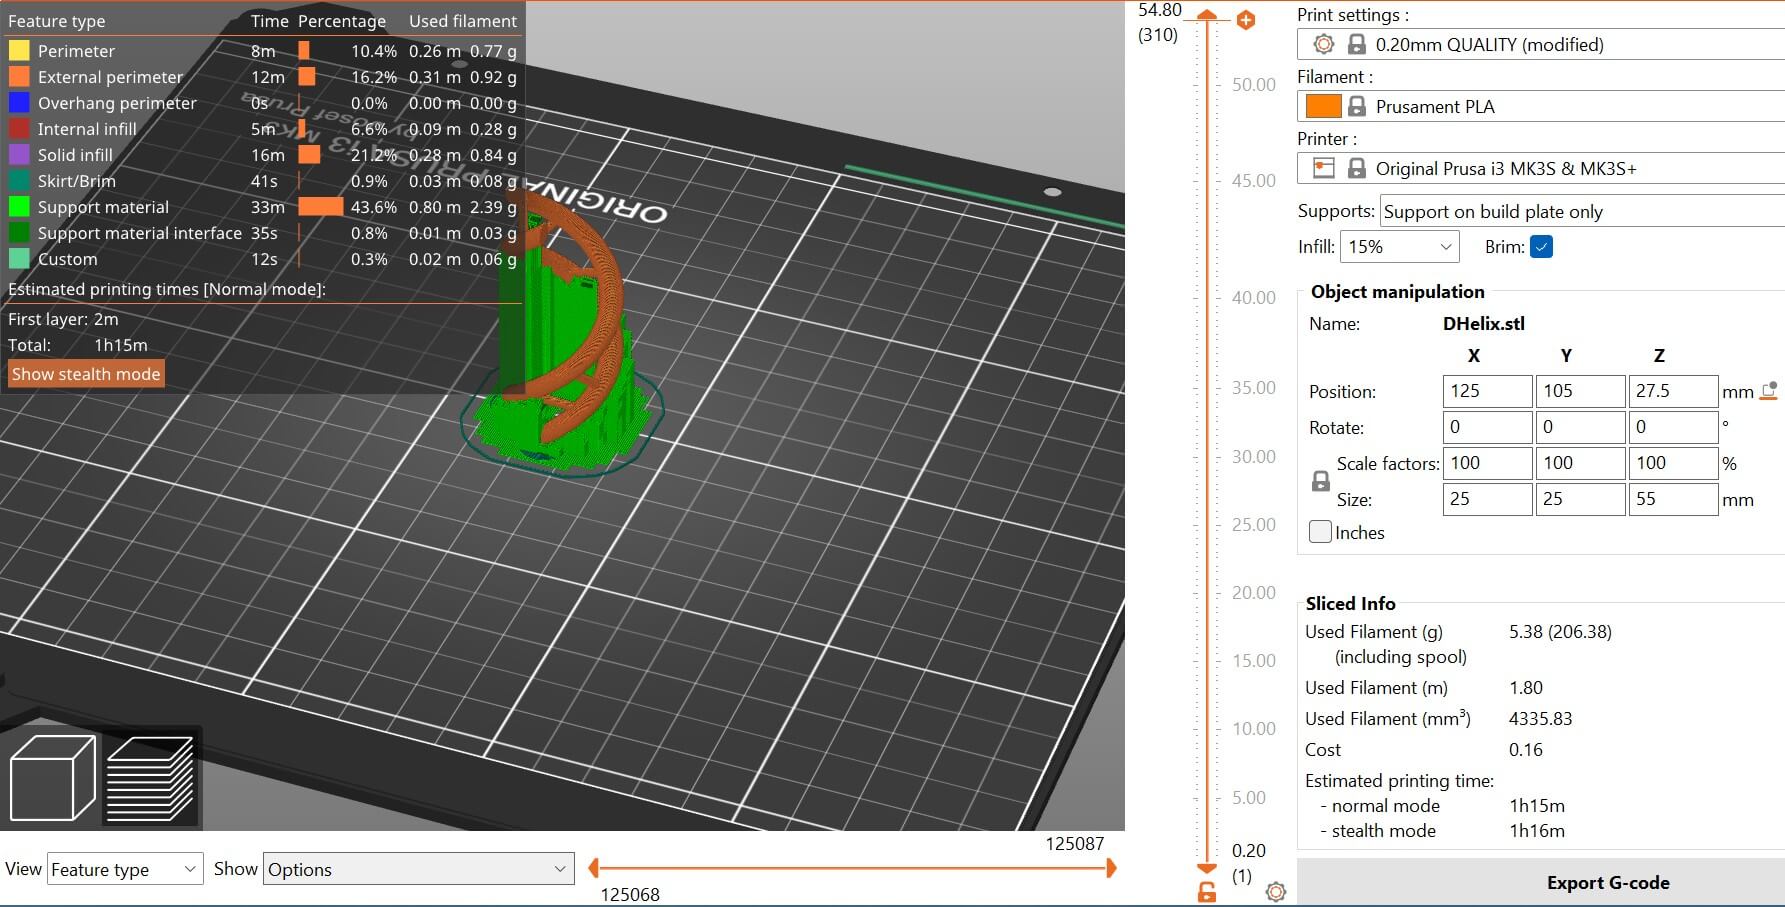
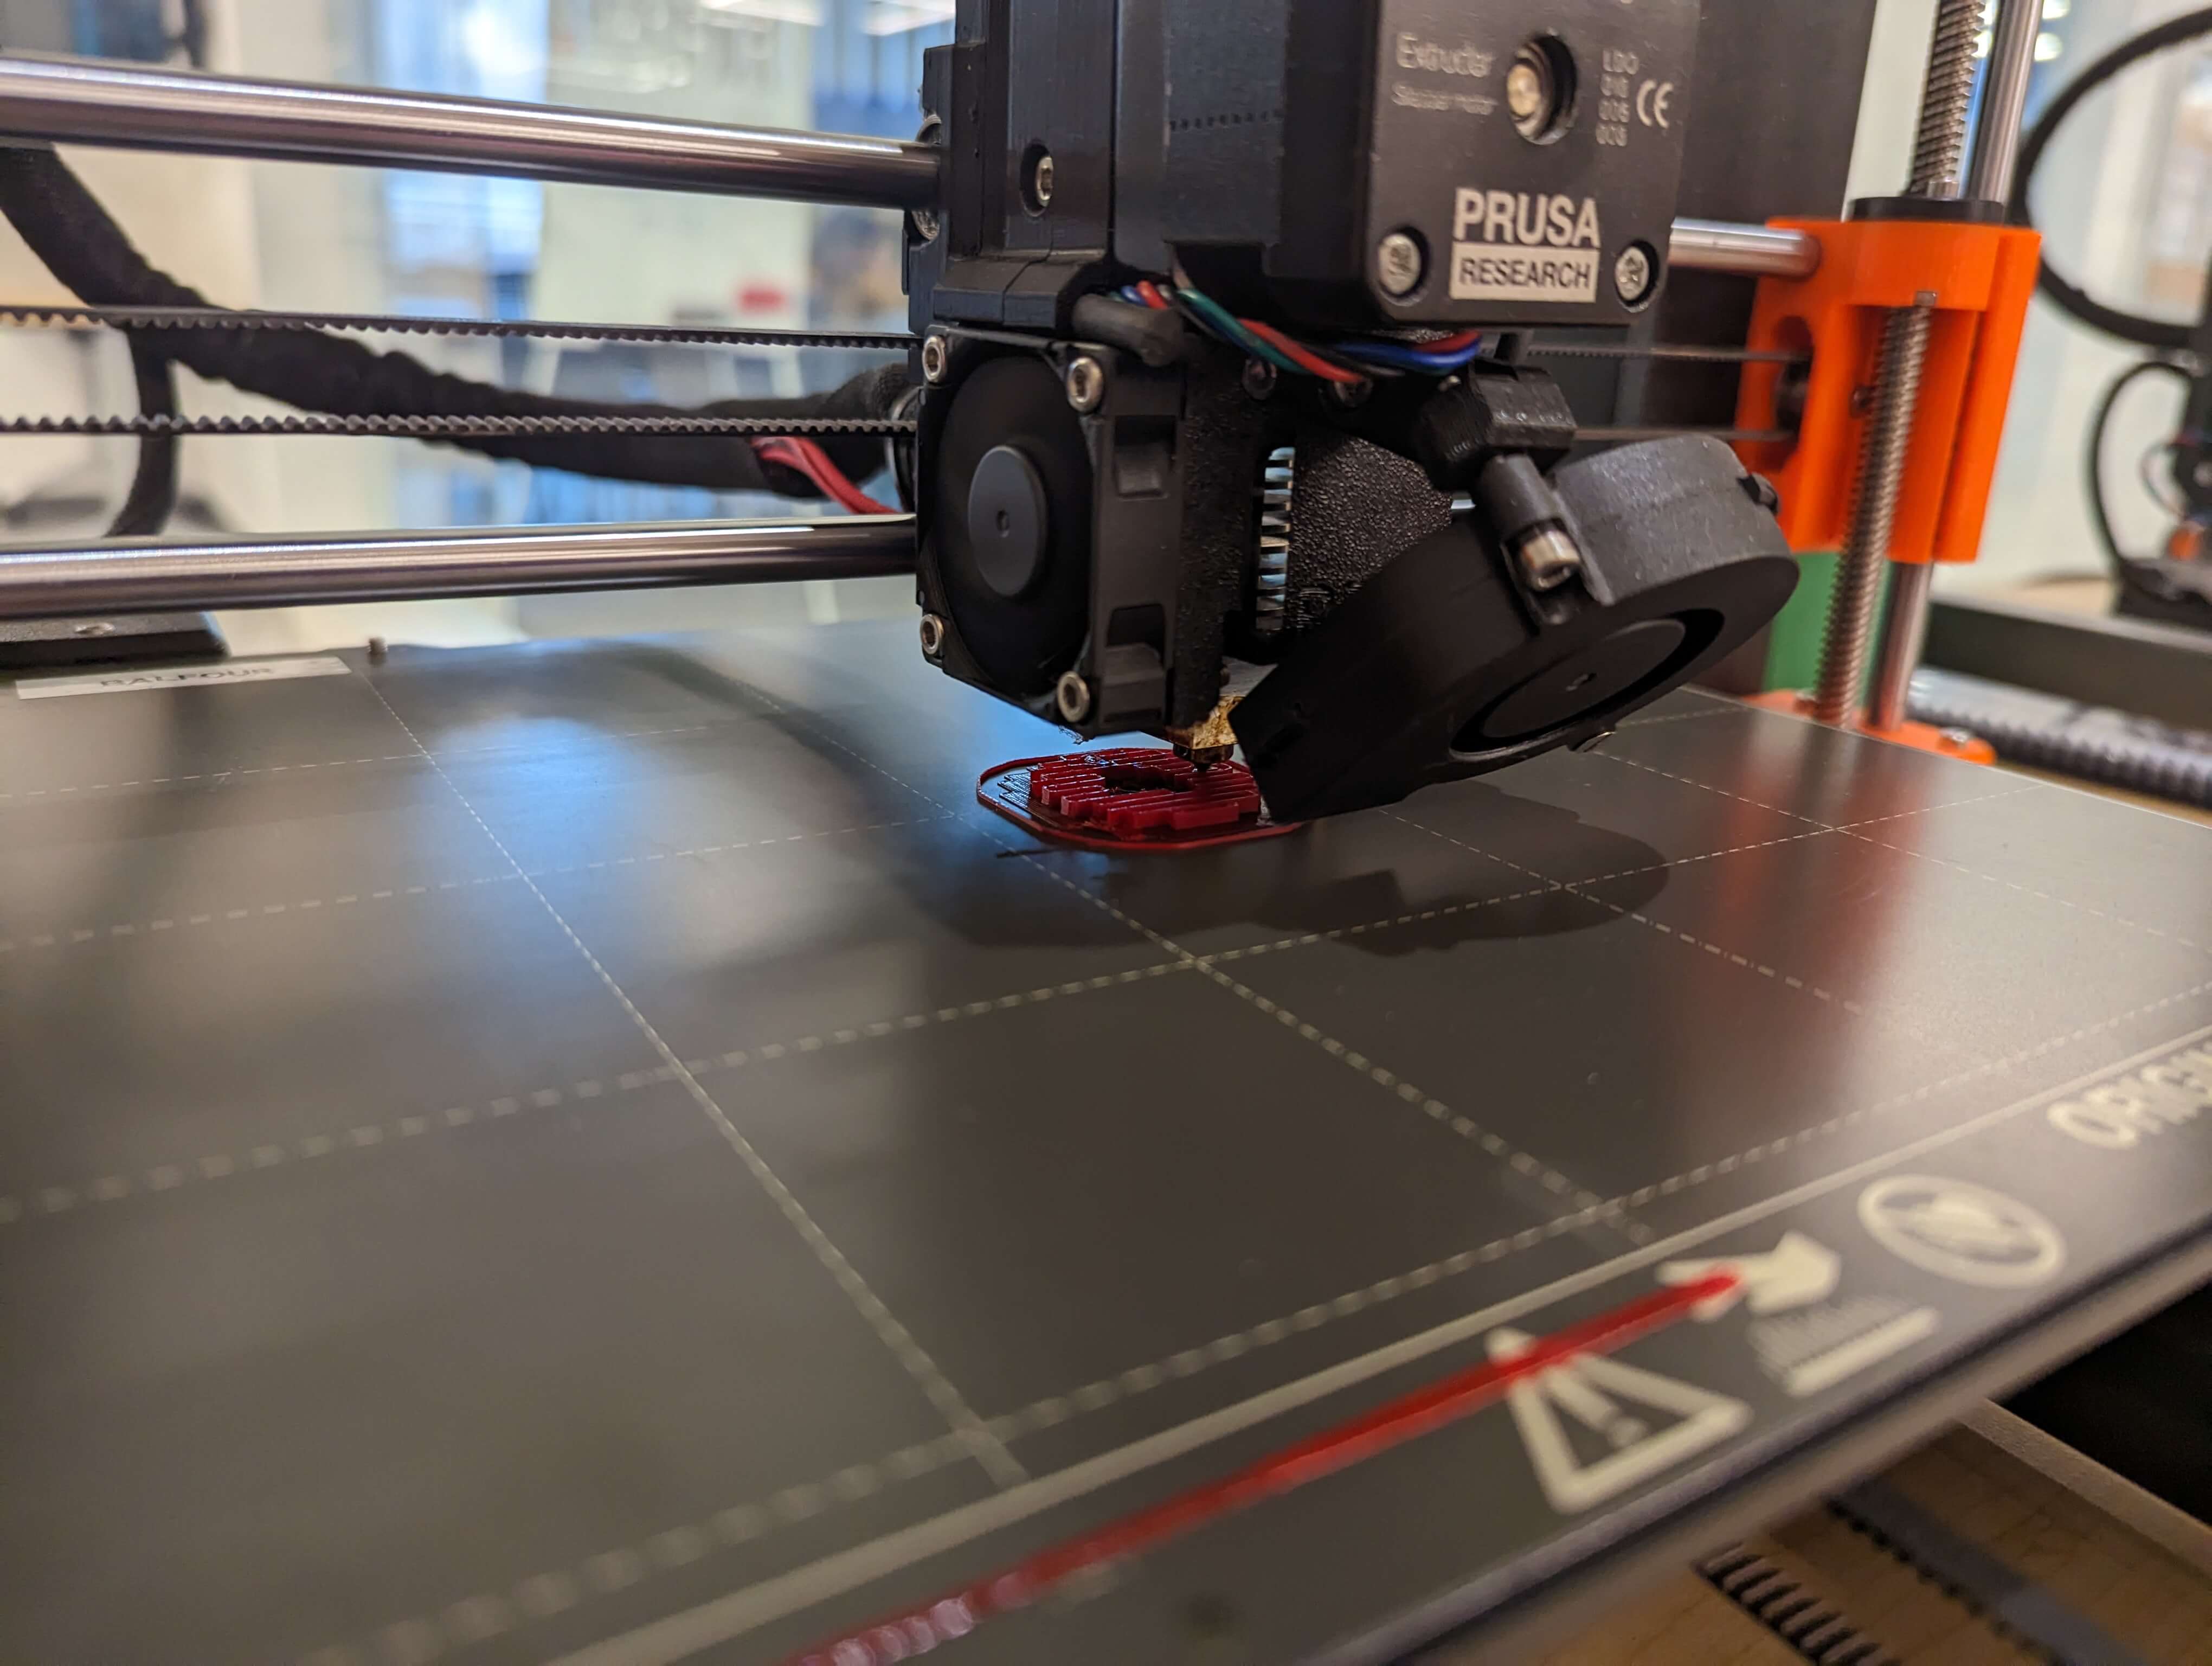
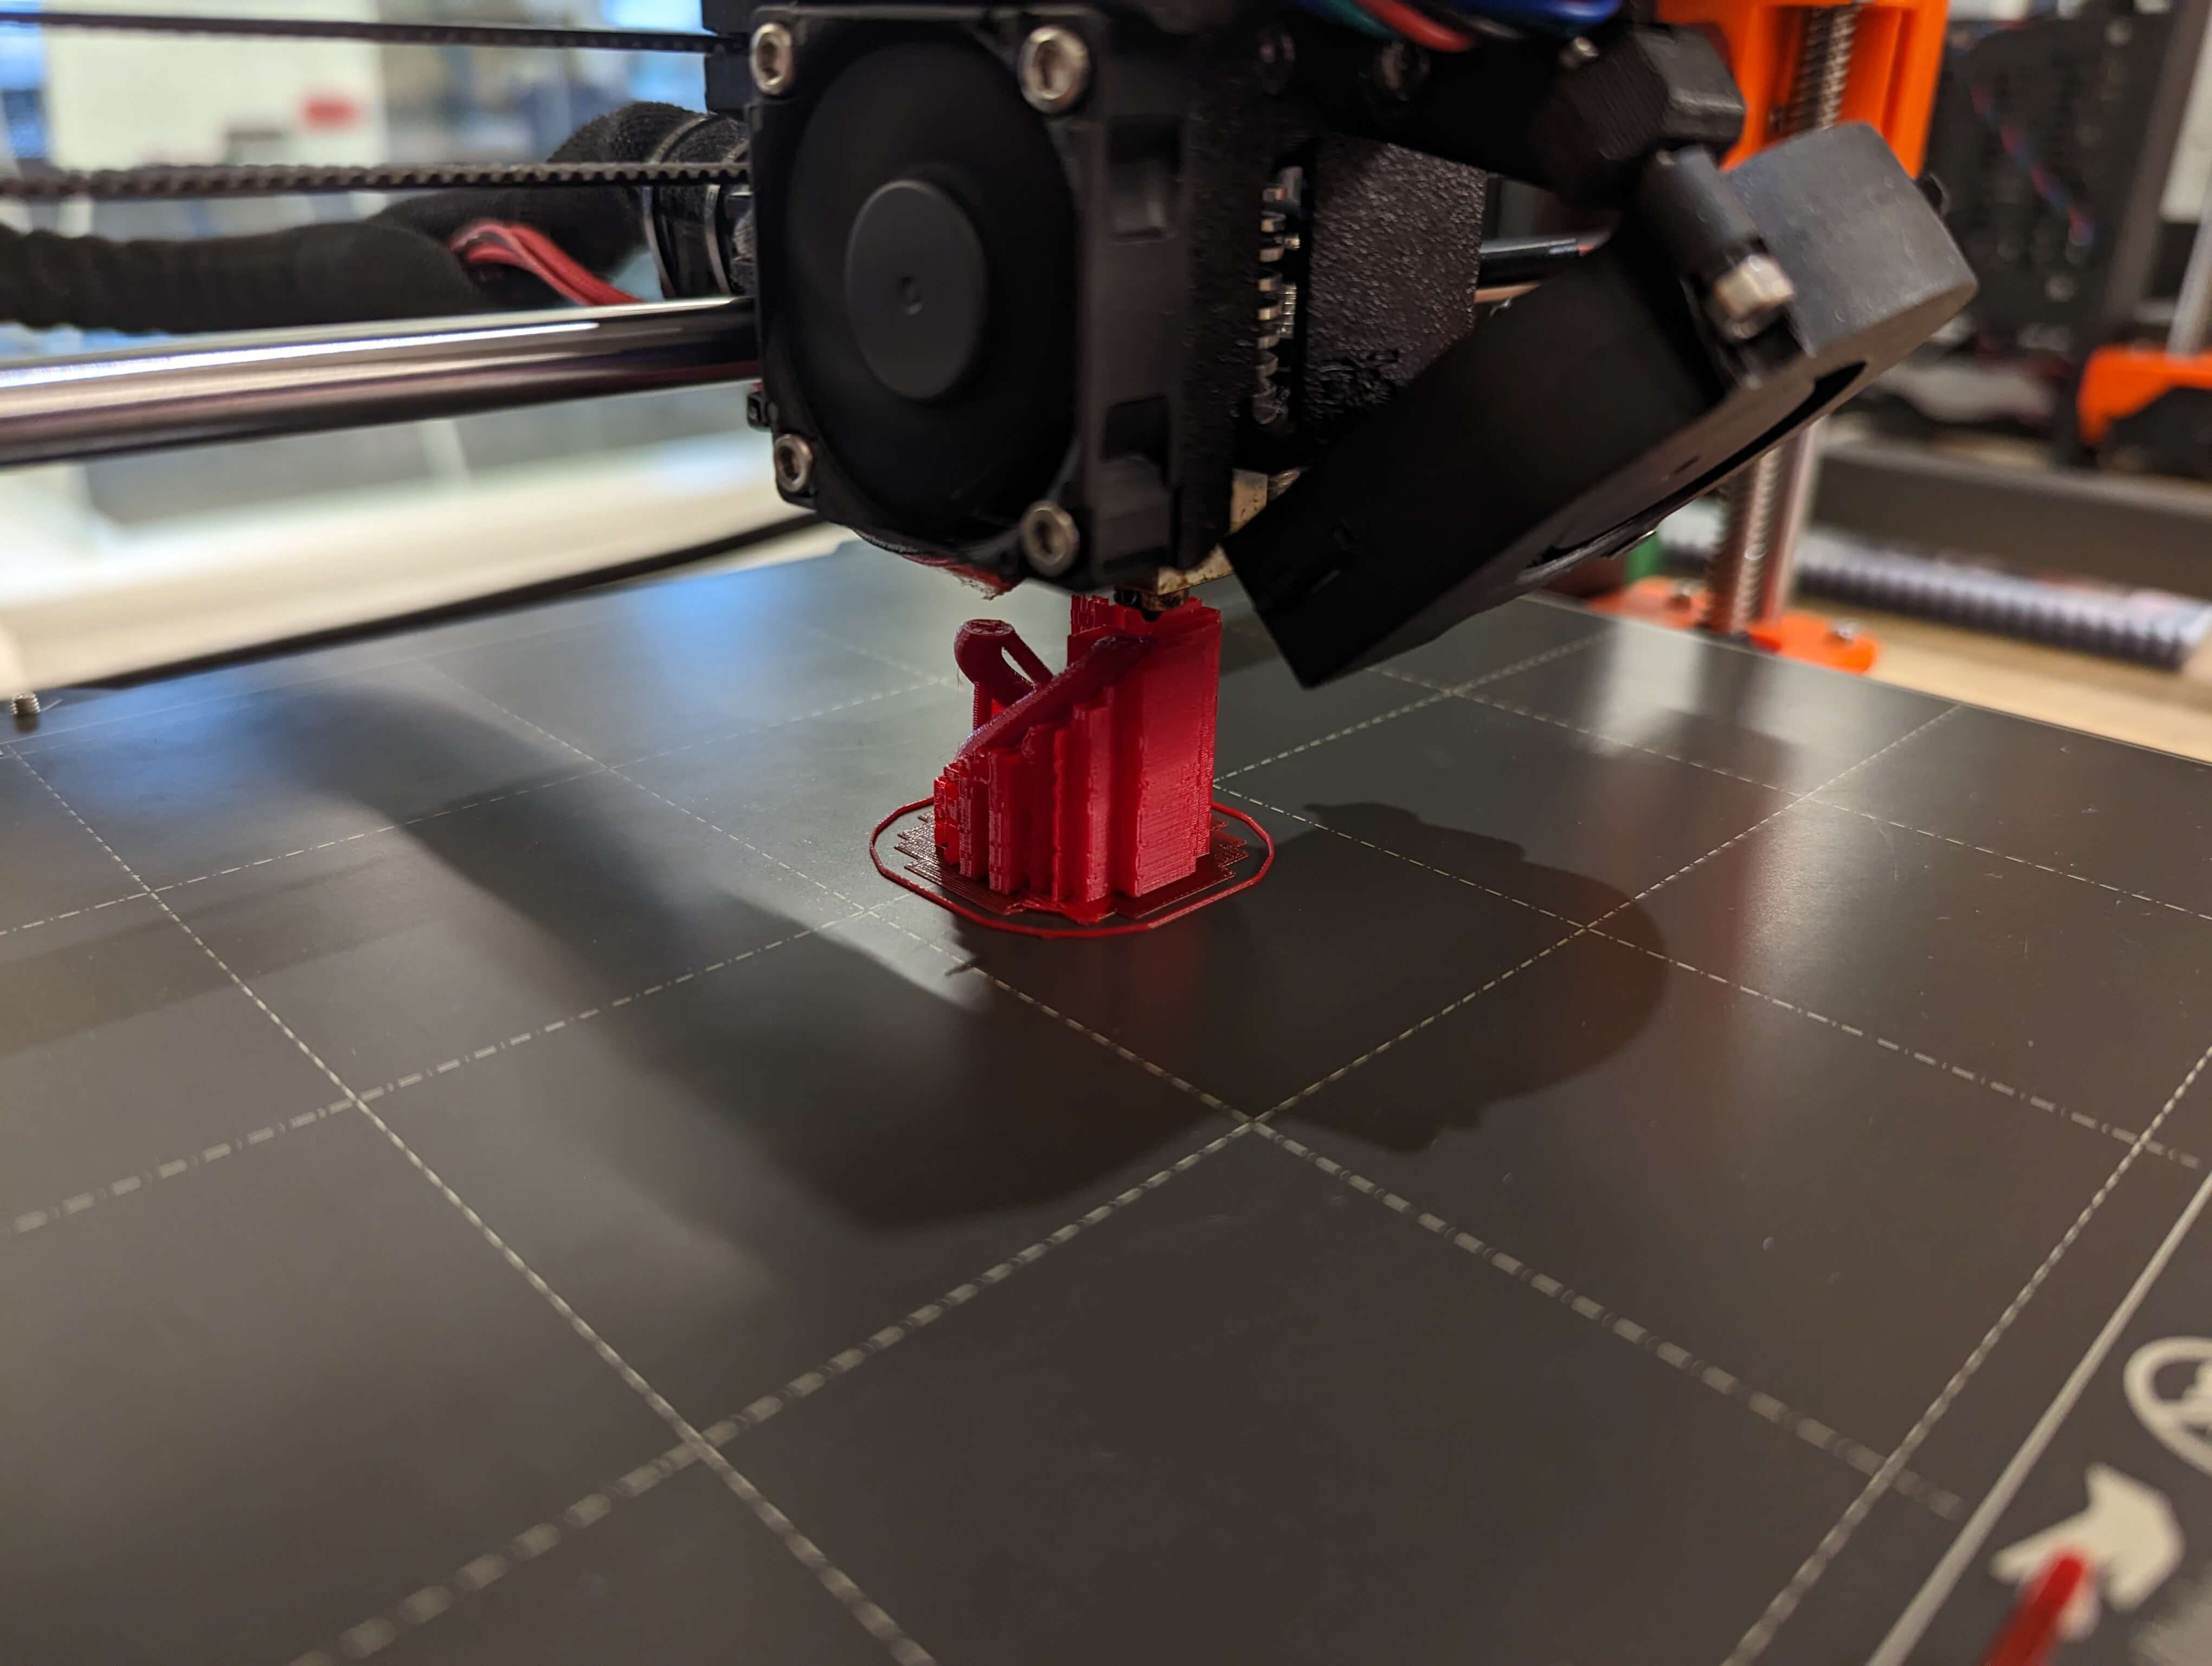
Lastly I downloaded the Prusa file onto a SD card and plugged it into the printer, starting the printing process that took an hour and six minutes.
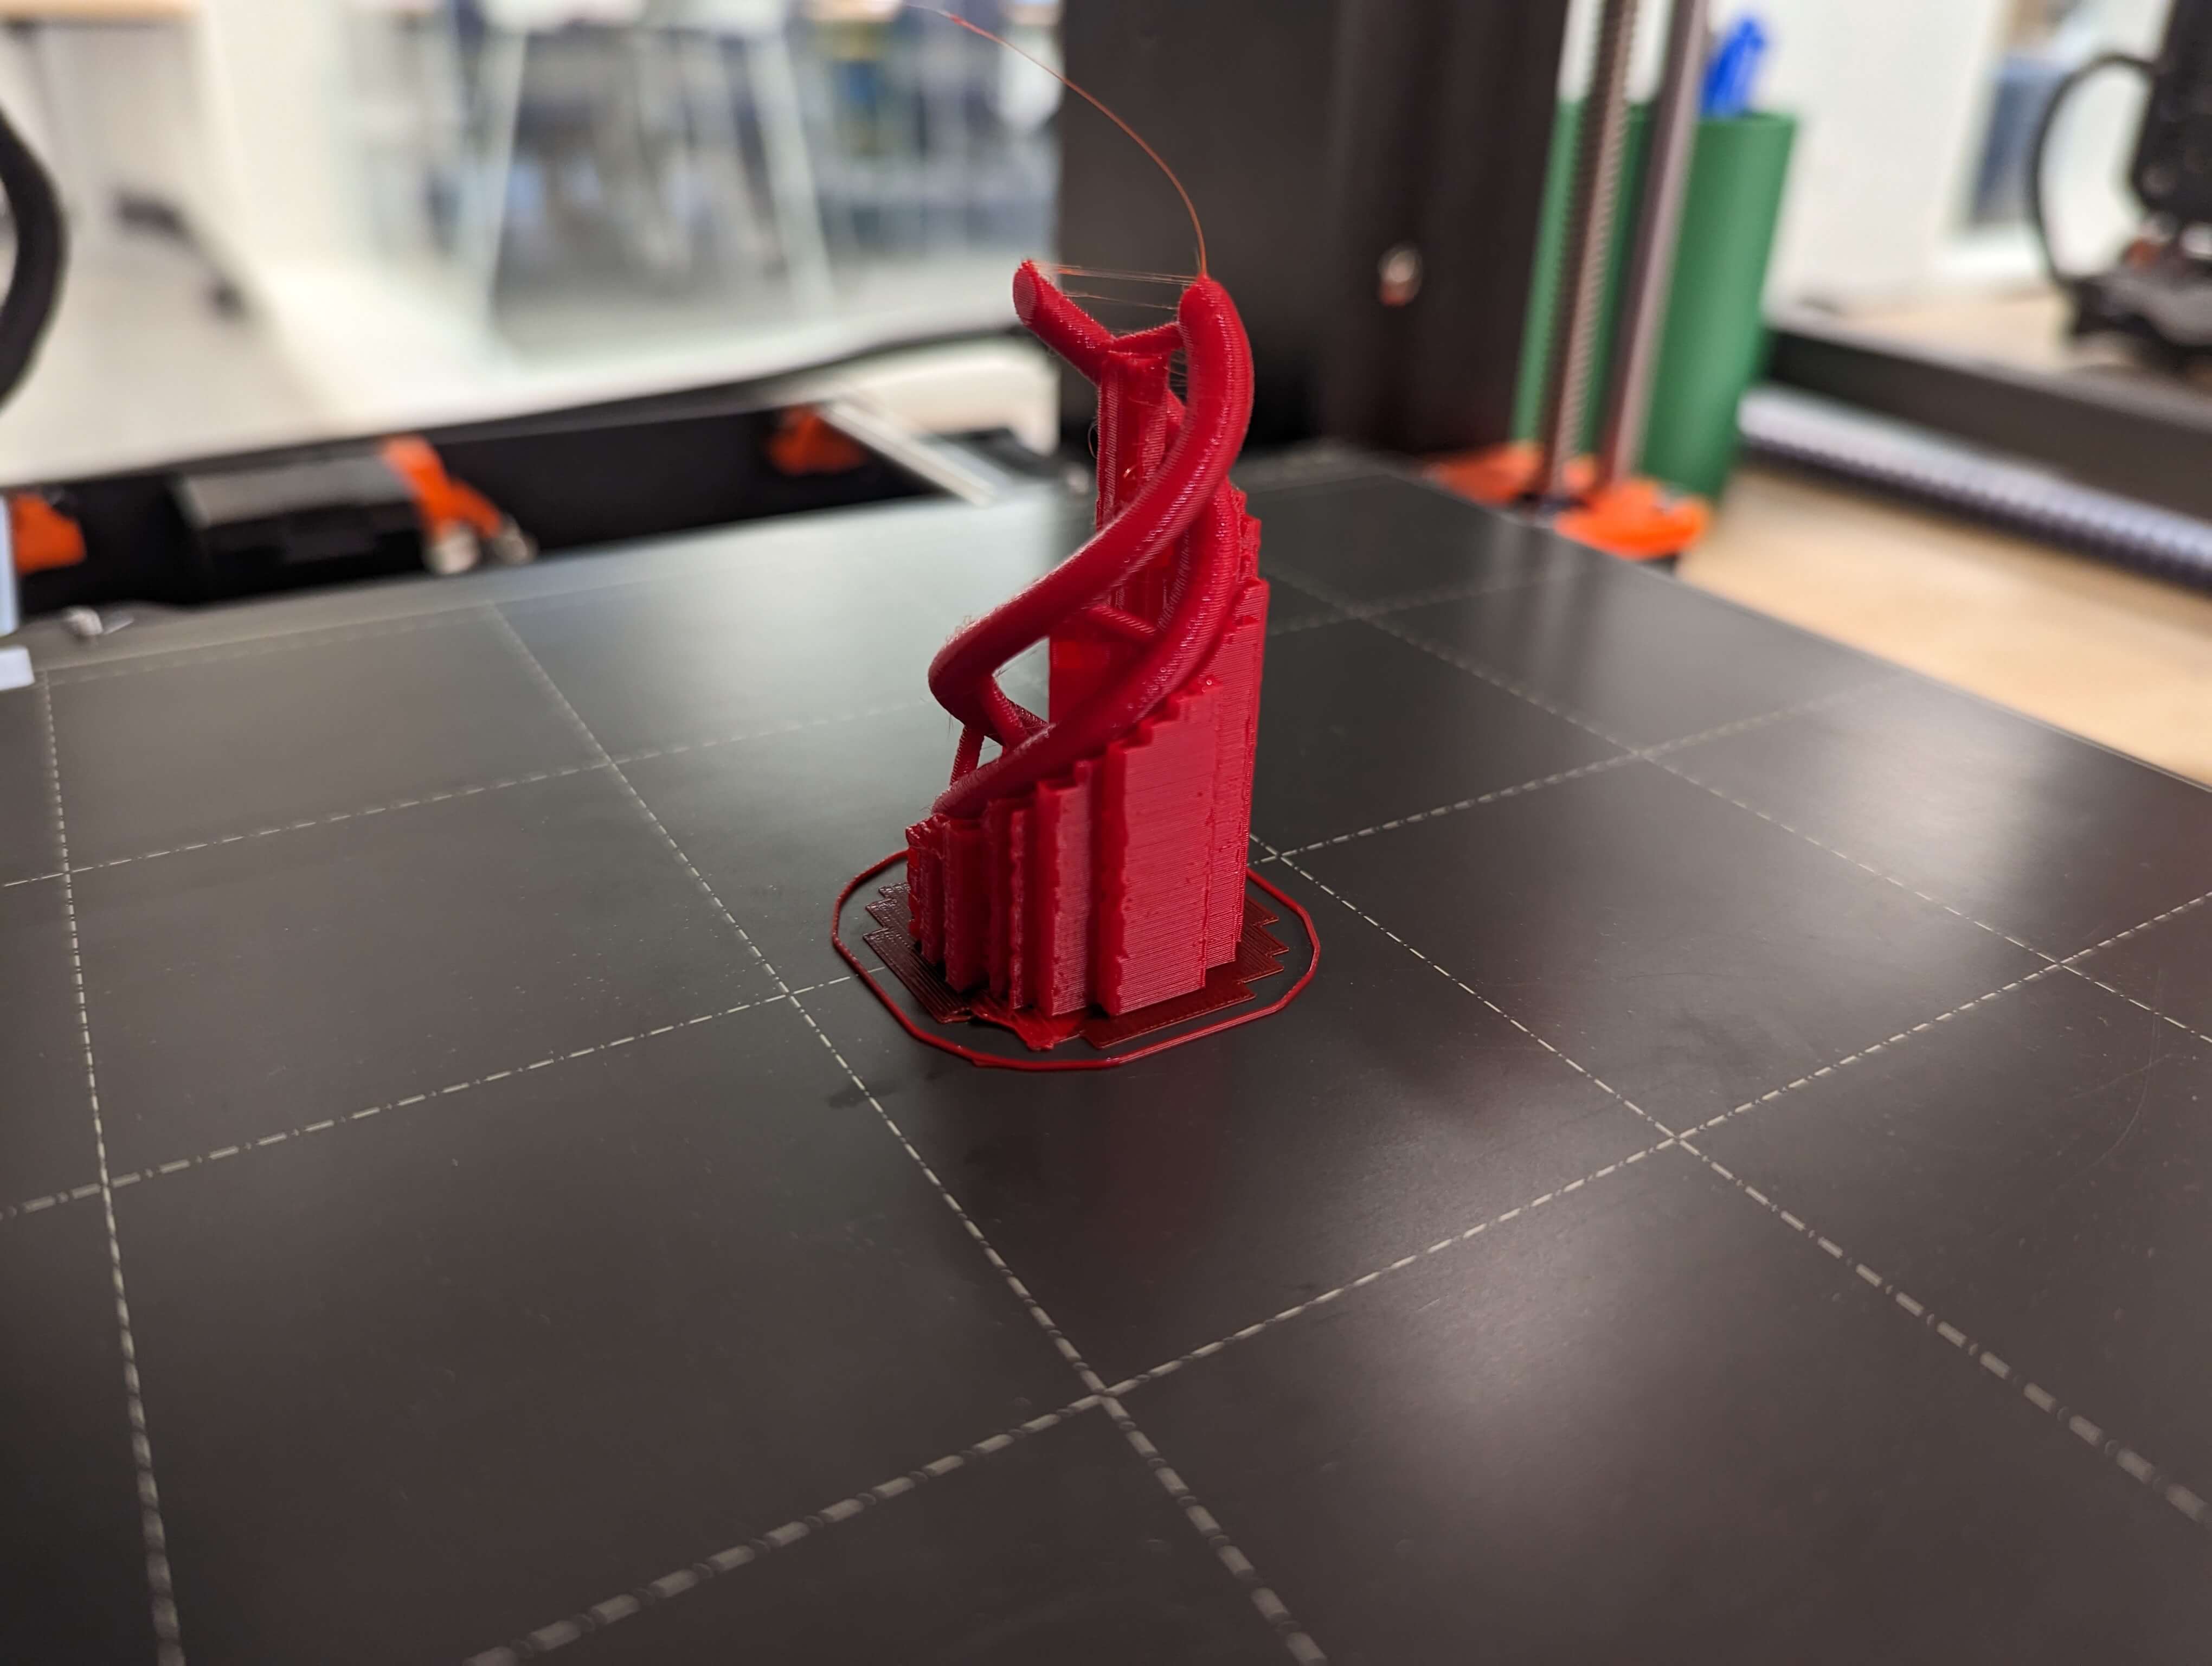
This is the fully finished and cleaned up double helix 3D model I made for this week's main project. Because the helix was 3D printed rather that cut out of a material the overhange on the helix were able to be produce. If I had tried to cut out the helix the design would either be destroyed as the cutting piece tries to make anything under any part of the helix as a cutting tool can only go from top to bottom. A 3D print instead adds material so that everything befor an overhang is finished and the main bit would not need to go through any part of the completed design to add more details.

3D Scanned Image
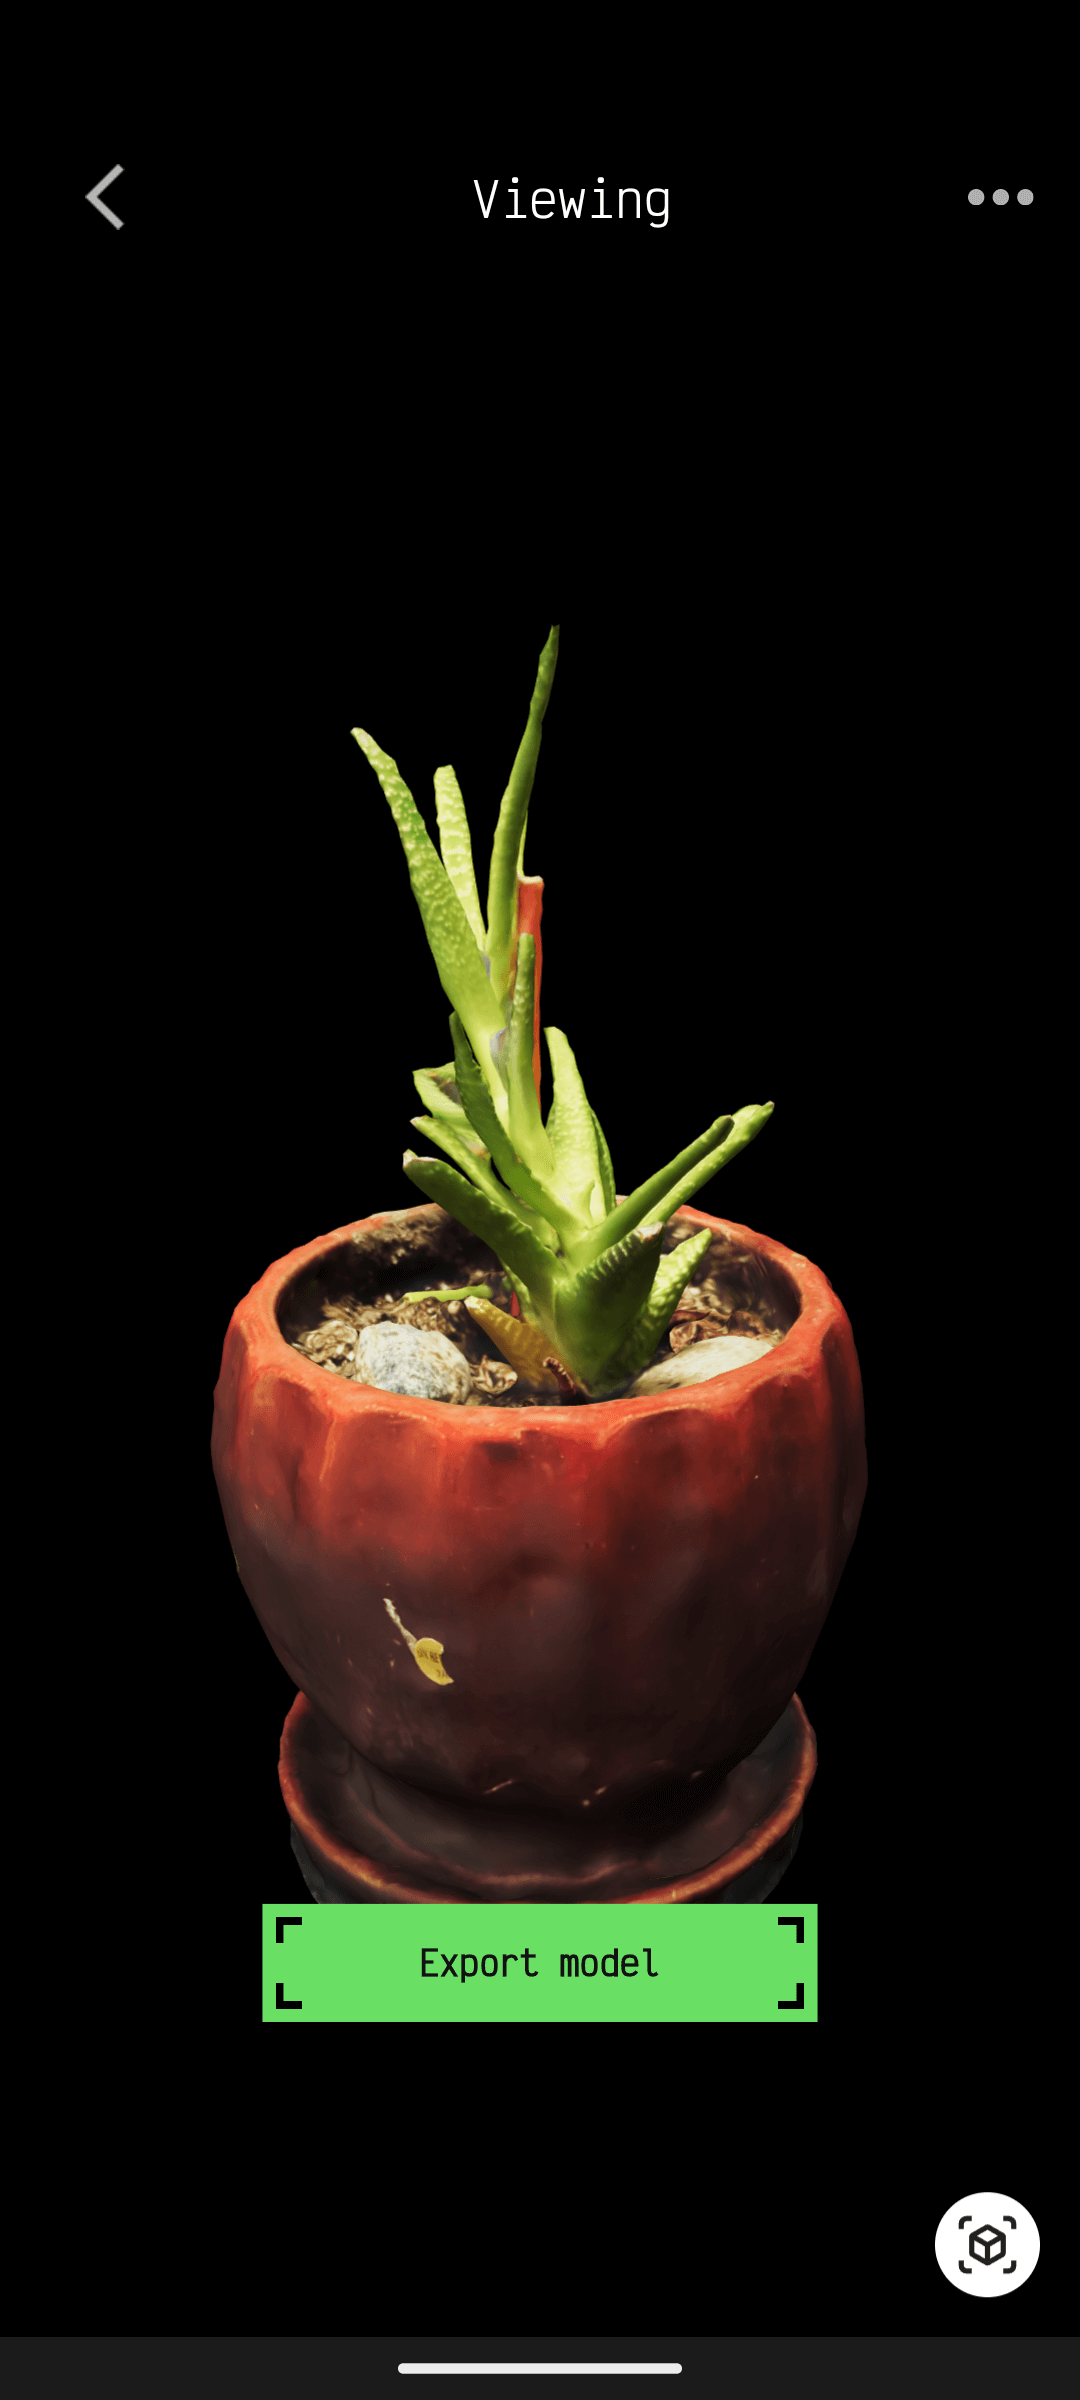
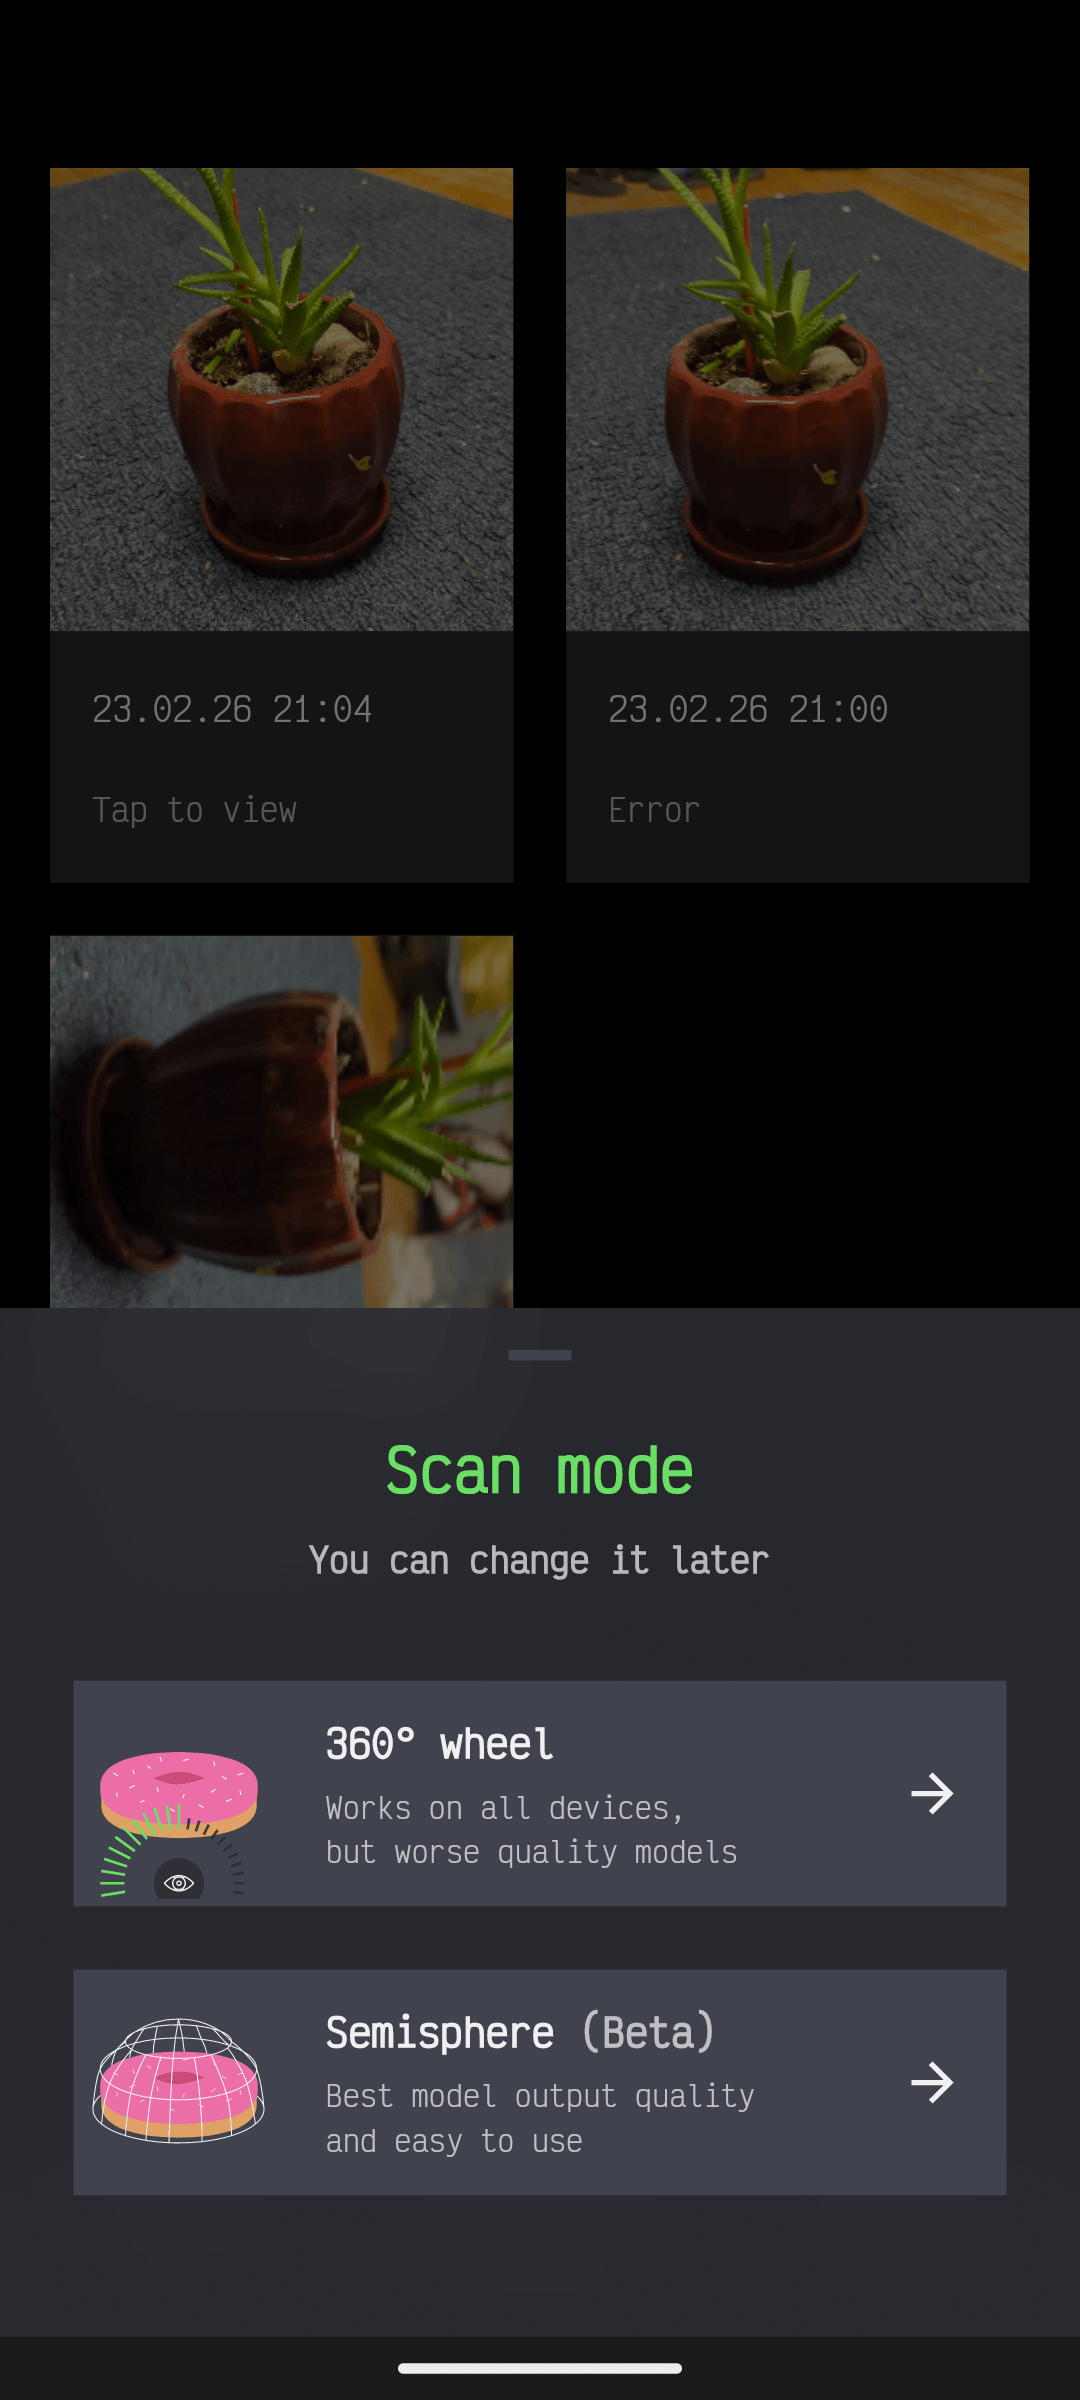
While we were working in groups for our group project we were introduced to a few 3D scanning applications, the one I chose to use is called Magiscan. For the 3D scanned image I decided to scan my plant, spike. The first thing you have to do after downloading and opening the Magiscan app is to select what type of scan you make, I chose the normal circular scan.
After that you have to choose your angle and distance before tapping the eyeball at the bottom of your screen. Remember you will be walking around the object and your camera must stay uncovered.
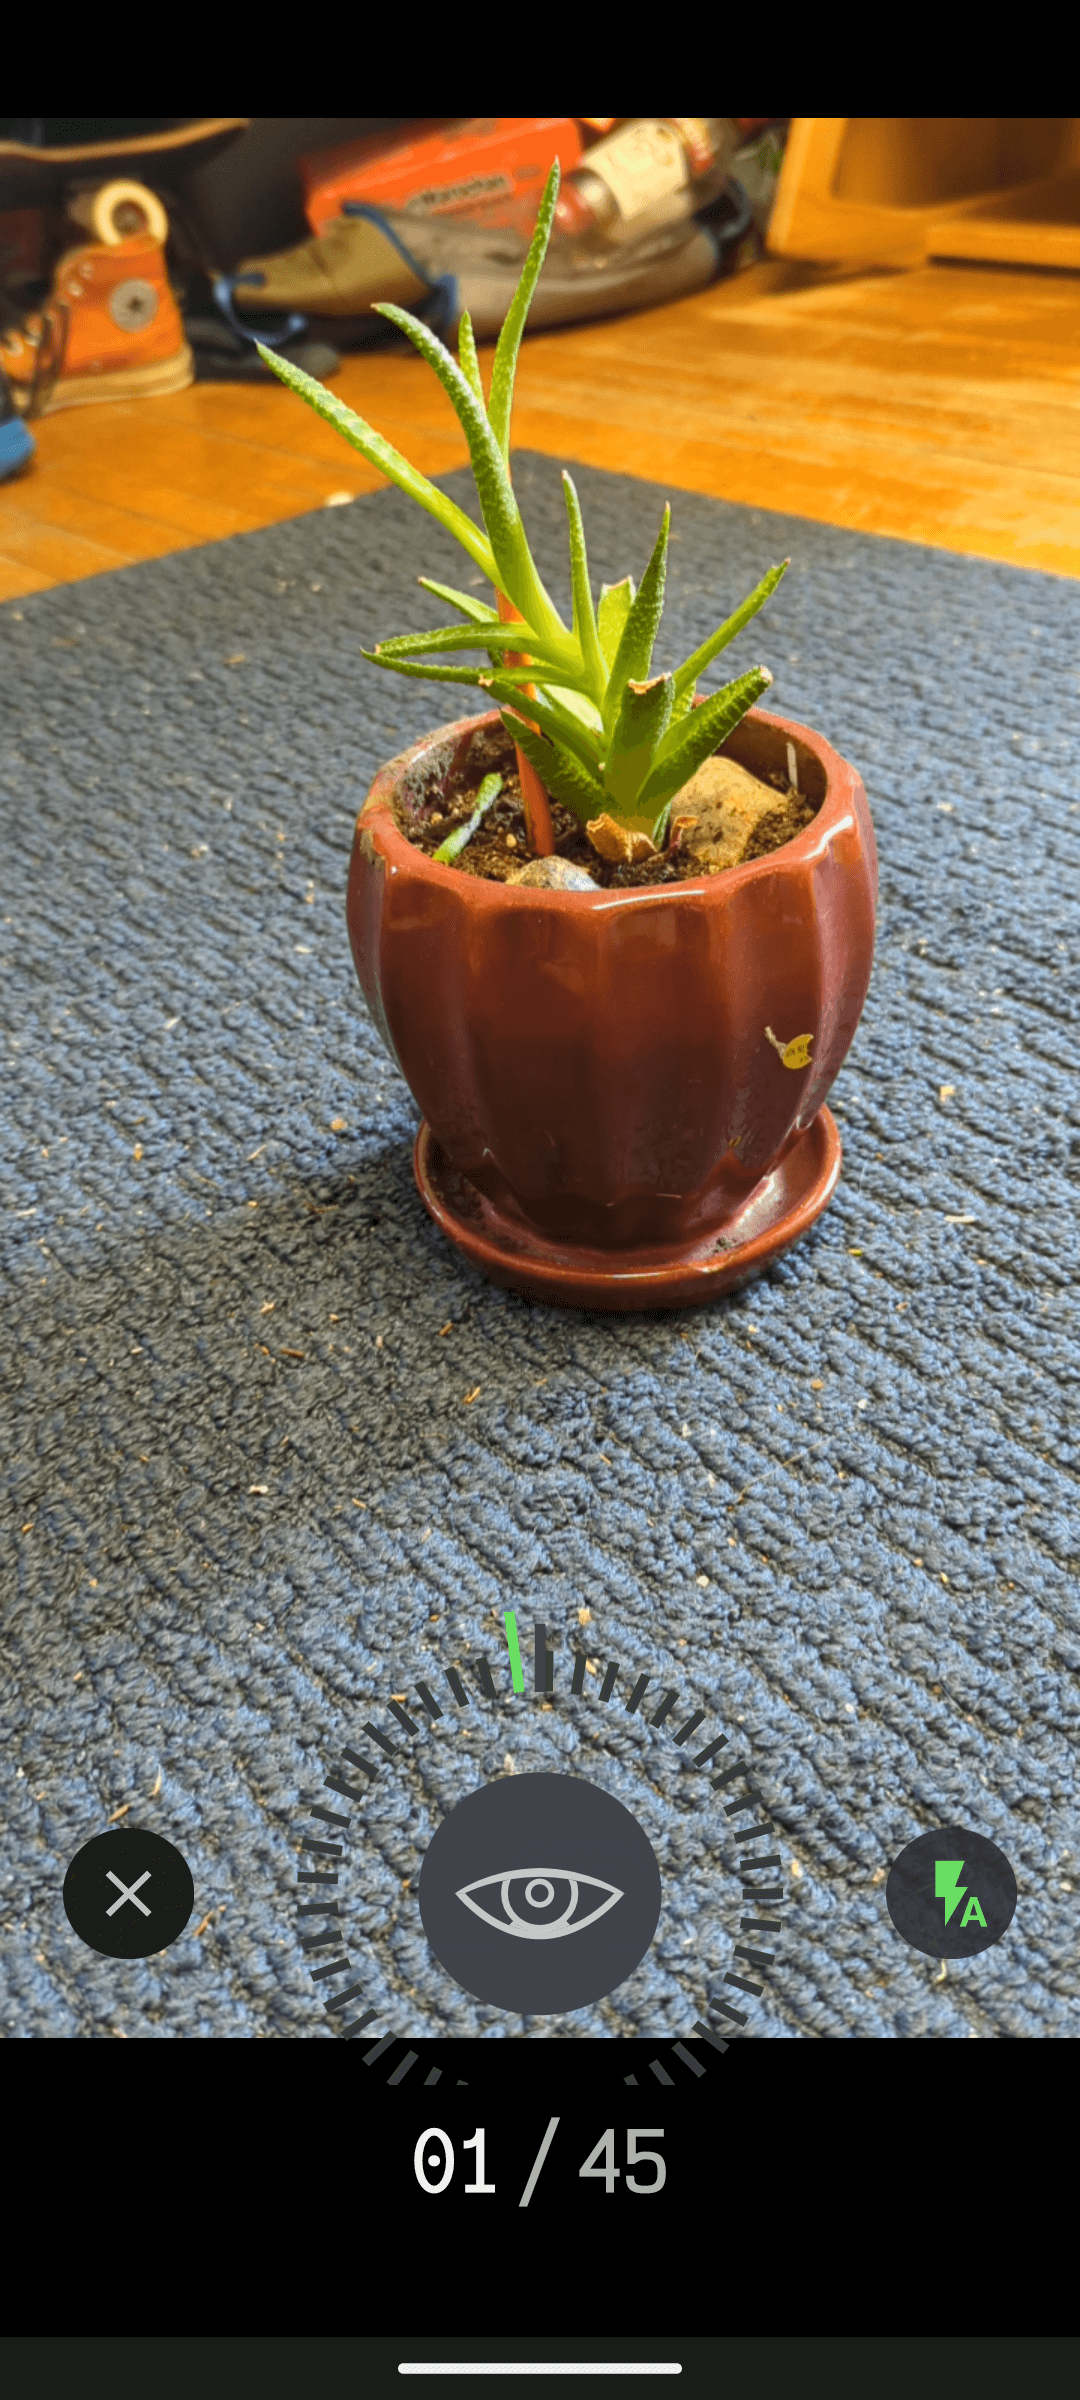
Soon the green bars around the eyeball will fill up, these are the photos of each required angle to make a 3D model of your object, the scan won't be finnished until they're all green.
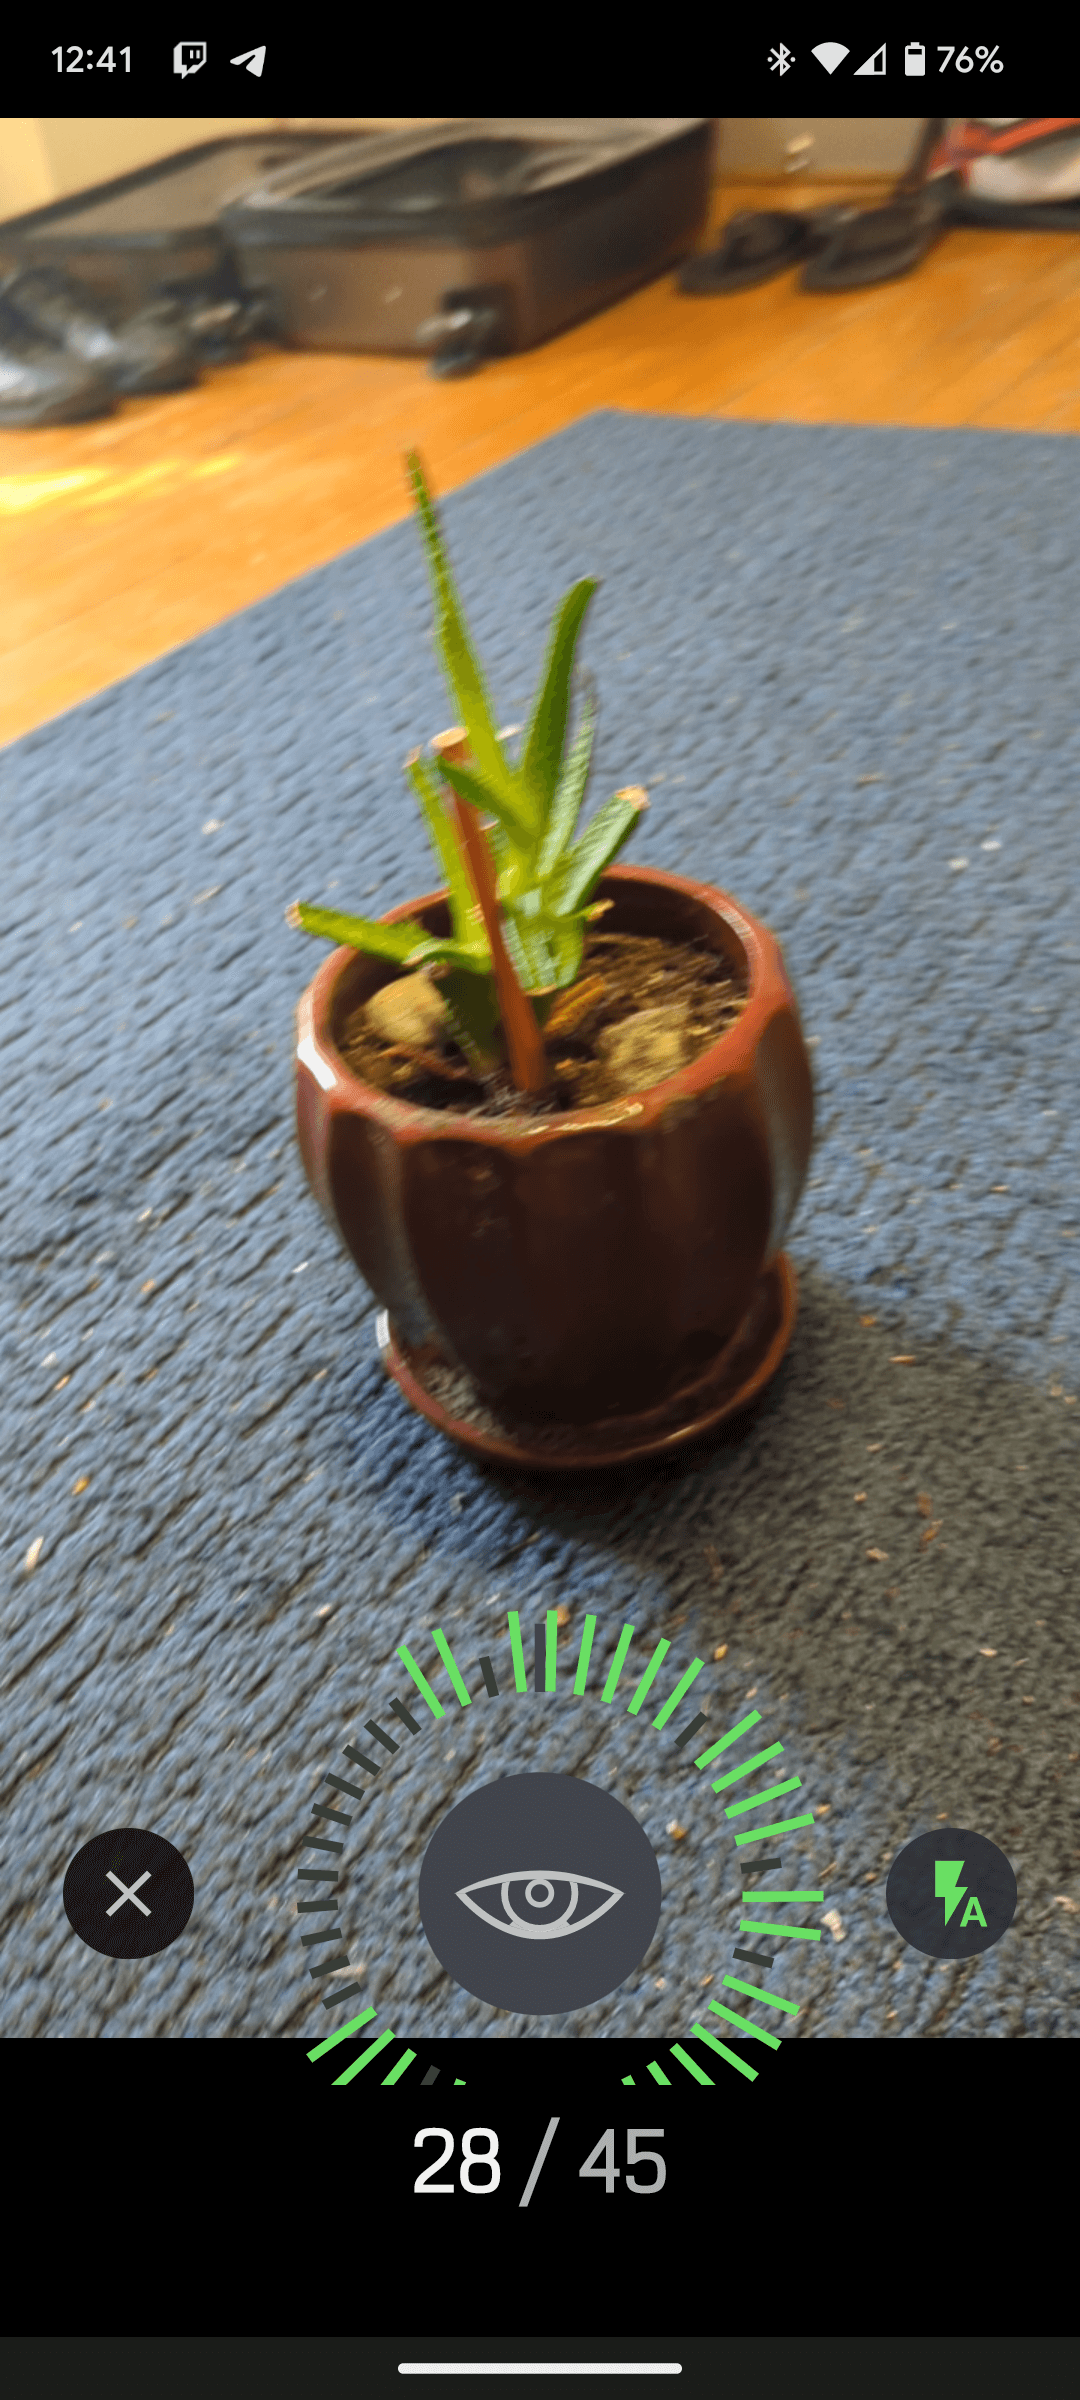
Once your scan is process and completed without any errors you can tap on the picture of it and spin it around to see every angle, you can also hit the green export button to export it as many different types of files.