3. Computer Controlled Cutting
The assignment this week is to, in a group, characterize our lasercutter's focus, power, speed, rate, kerf, joint clearance and types, and on our own, cut something on the vinylcutter, design, lasercut, and document a parametric construction kit that accounts for the lasercutter kerf, which can be assembled in multiple ways, and for extra credit include elements that aren't flat .
Research
The Comb made in our group project helped us learn how to use the laser cutter and I personally made a sticker of the "Sniffer" from minecraft before using the vinylcutter.
Construction Kit And 3D Example
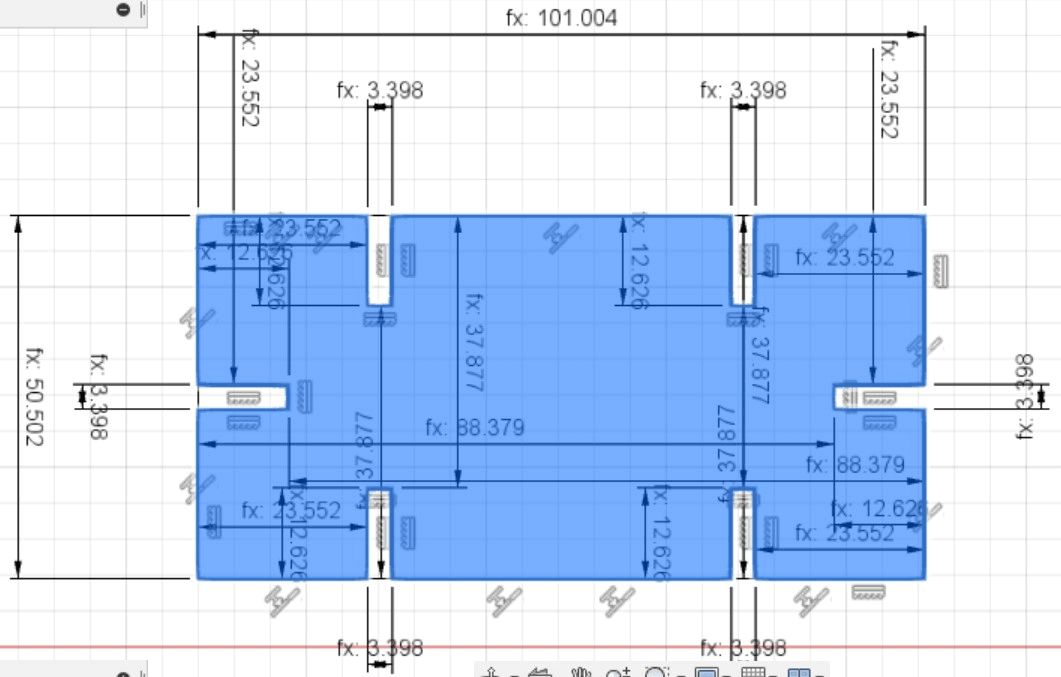
First I thought of a design that would consist of squares and rectangles that would connect with pins on each face of the two shapes. After that, I made two base parameters of the square piece size and the laser kerf. Basing the rest of the parameters off the first two I was able to start making my pieces.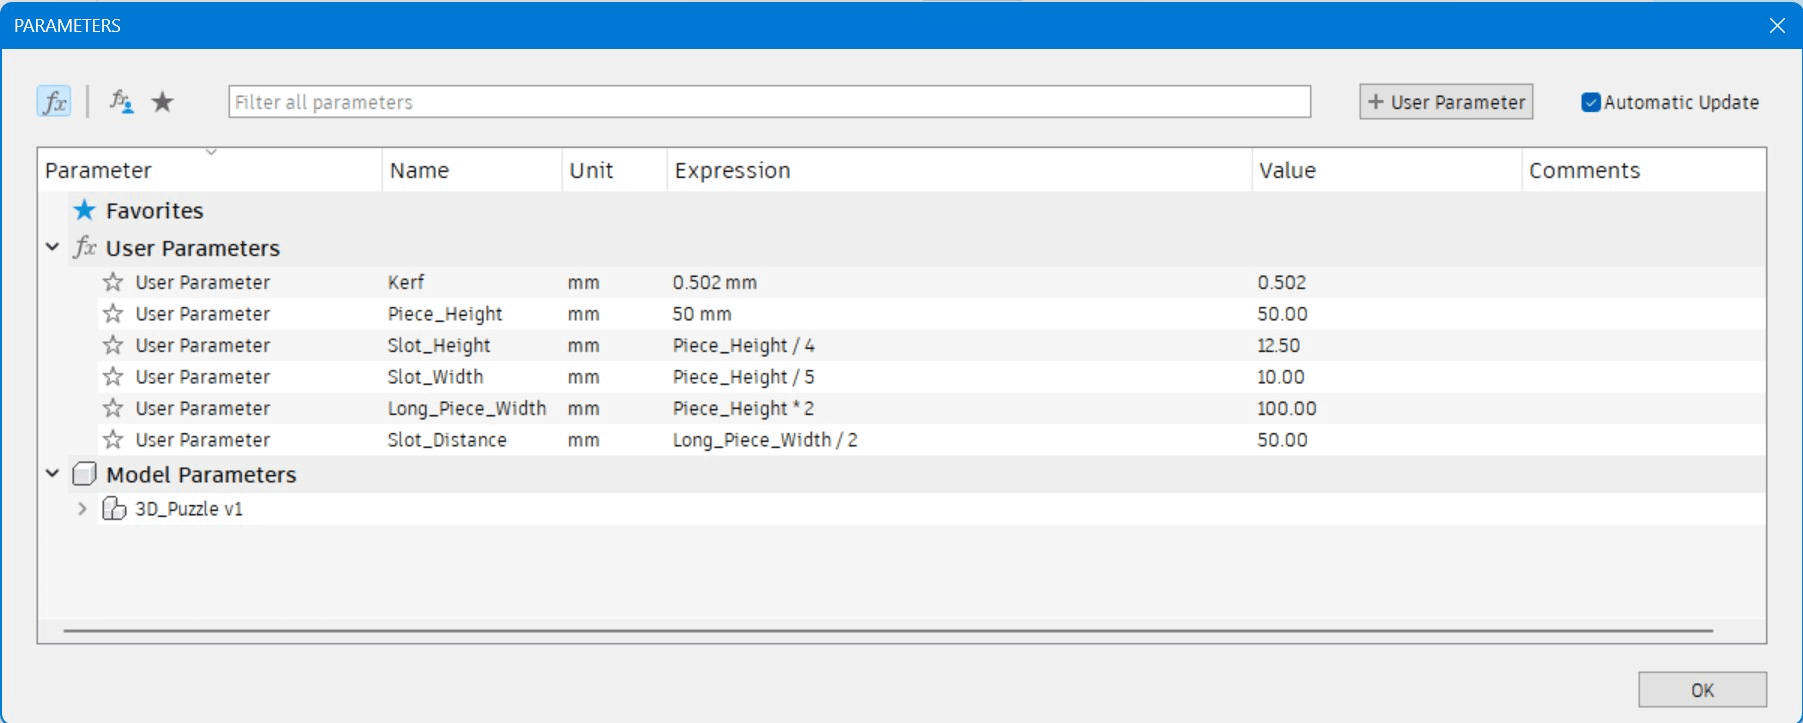
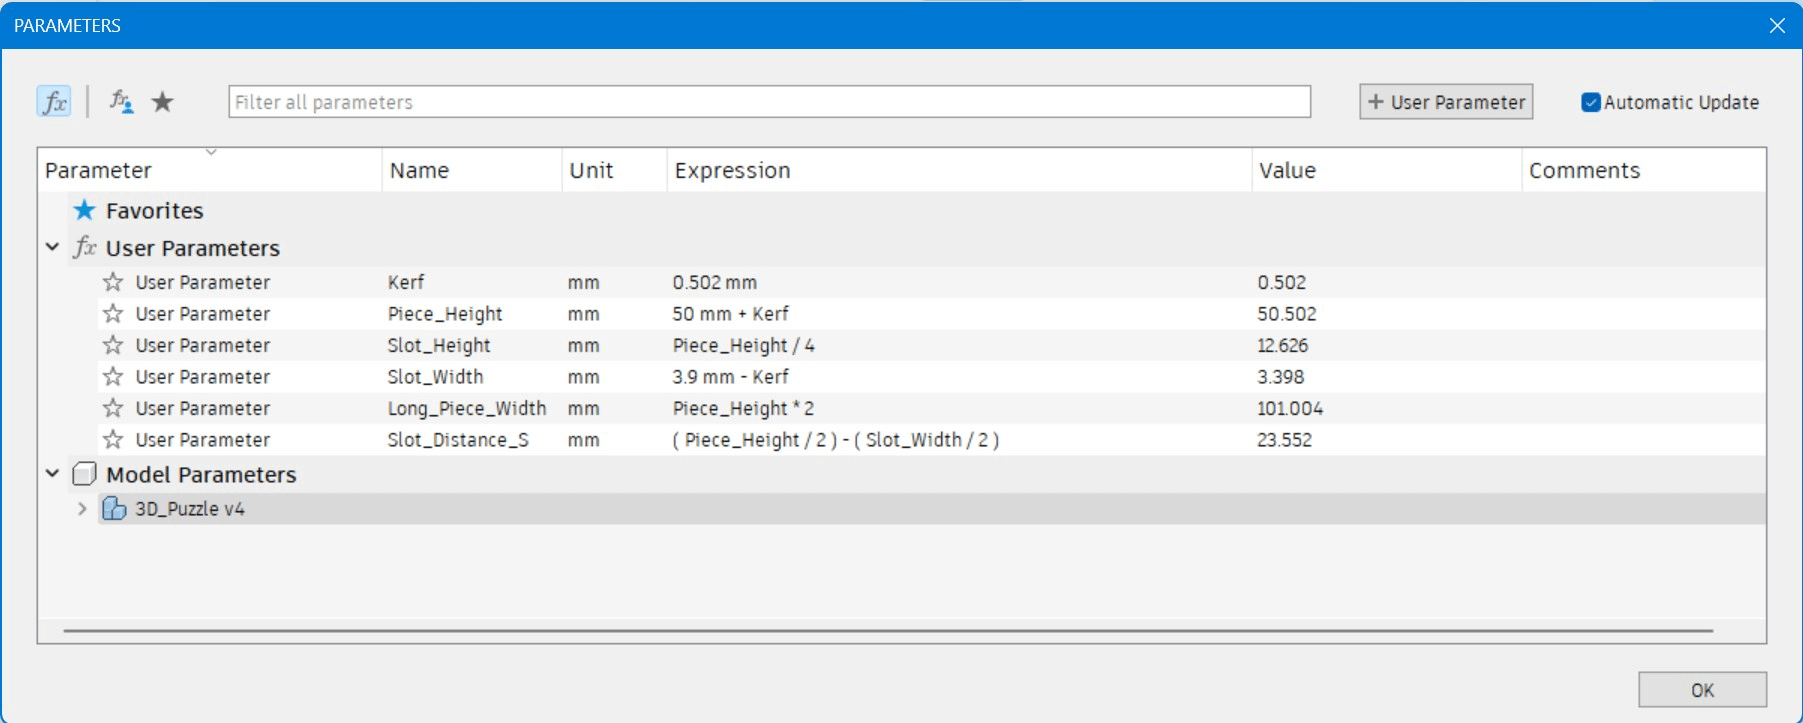
The first was a square that had two prongs on opposite sides and three prongs on the other two sides of the square. This will allow it to make corners when used to make 3D shapes. Realizing I was making a finger-joint square I deleted my previous sketch and remade my parameters.
I then remade the base square and used four small rectangles to cut out the slots so that the pieces interconnect. Before Trim:

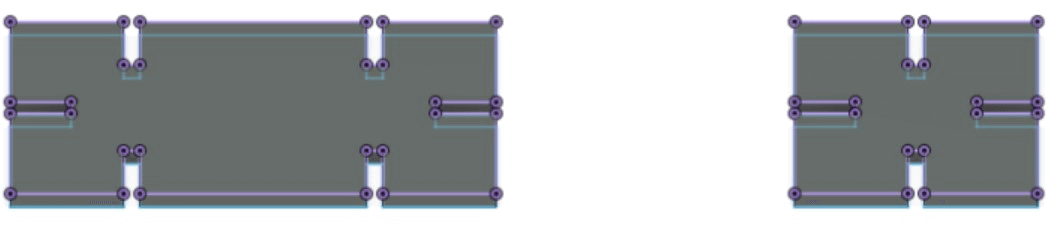
After Trim:
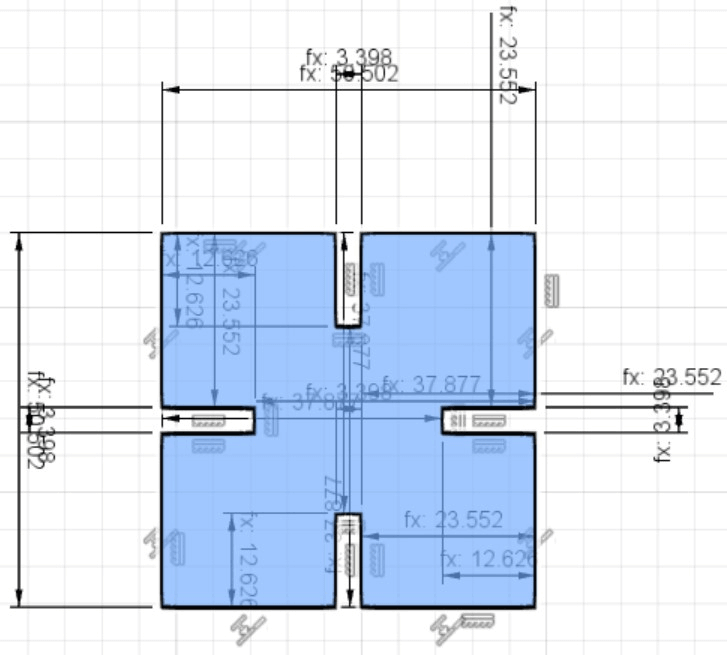
I did the same for the long piece, it just being a rectangle.
I then extruded the pieces and projected the top layer to create an outline of the pieces.
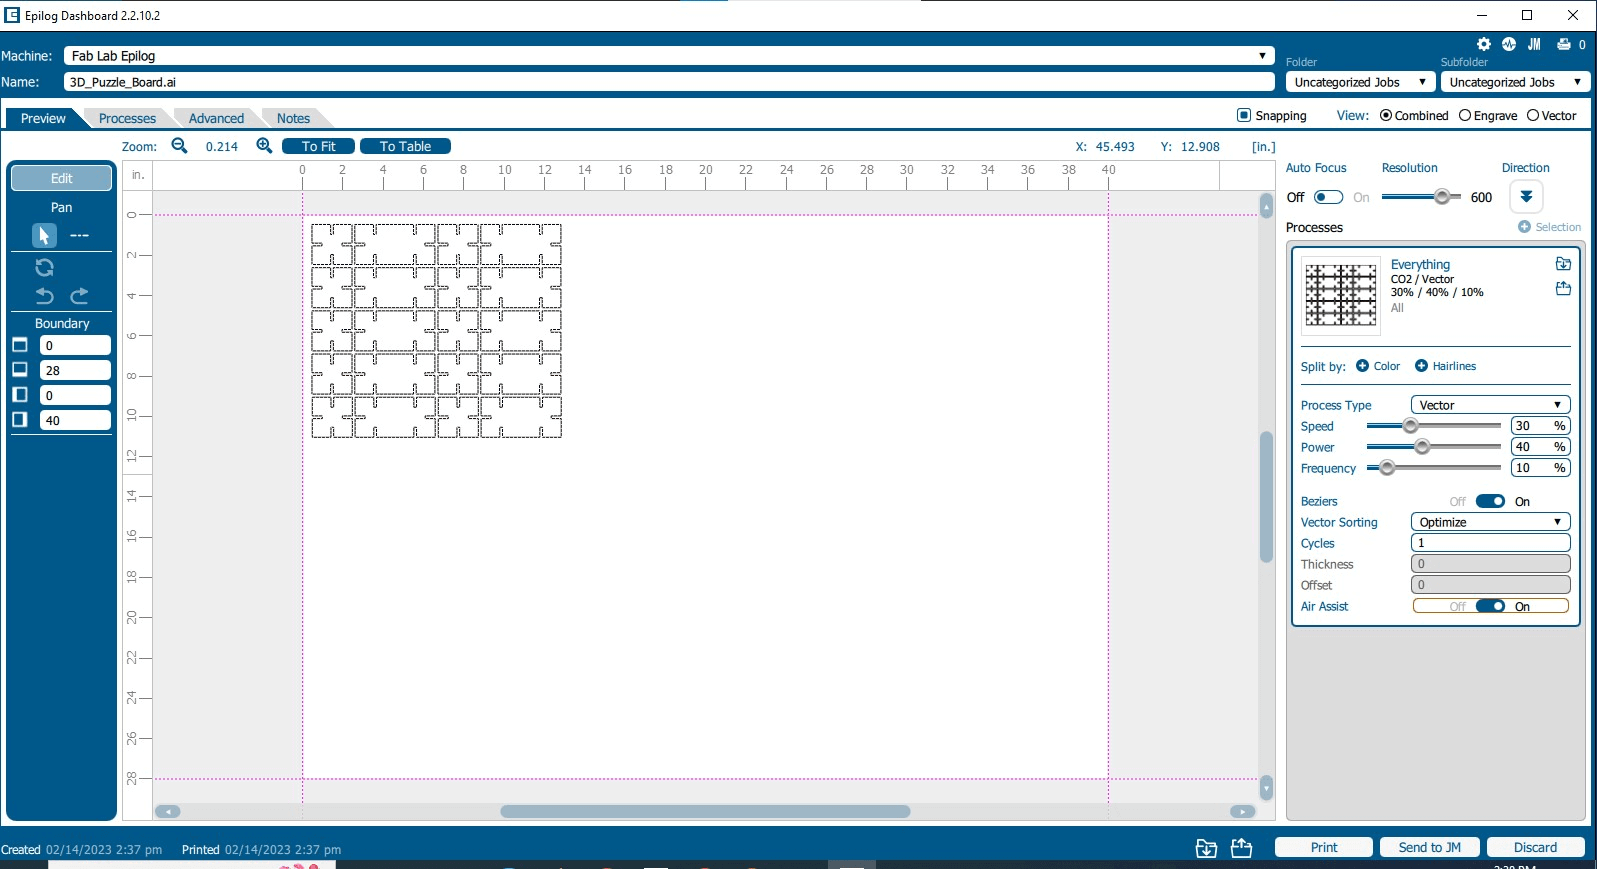
Then I exported the DXF file to Adobe illistrator with these parameters:
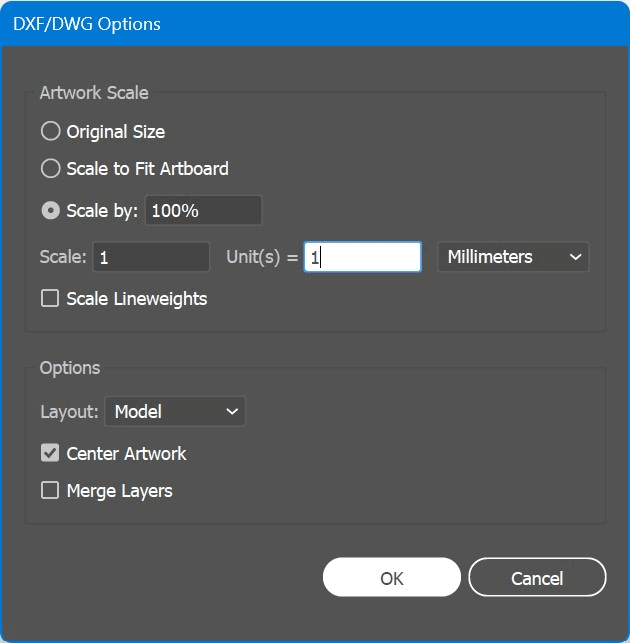
After that I copied the piece outlines to make ten of each piece and I set the outline width to 0.01mm as required to be read as a cut path by the laser cutter
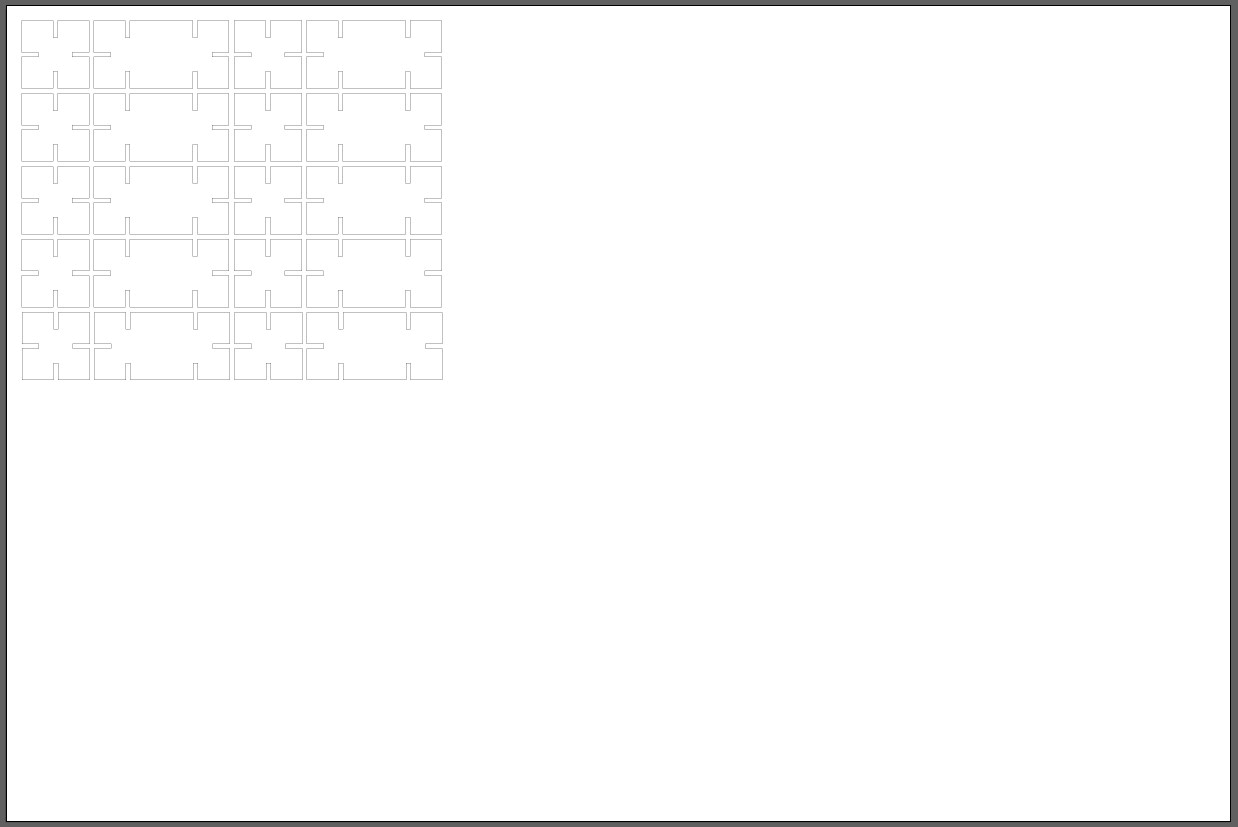
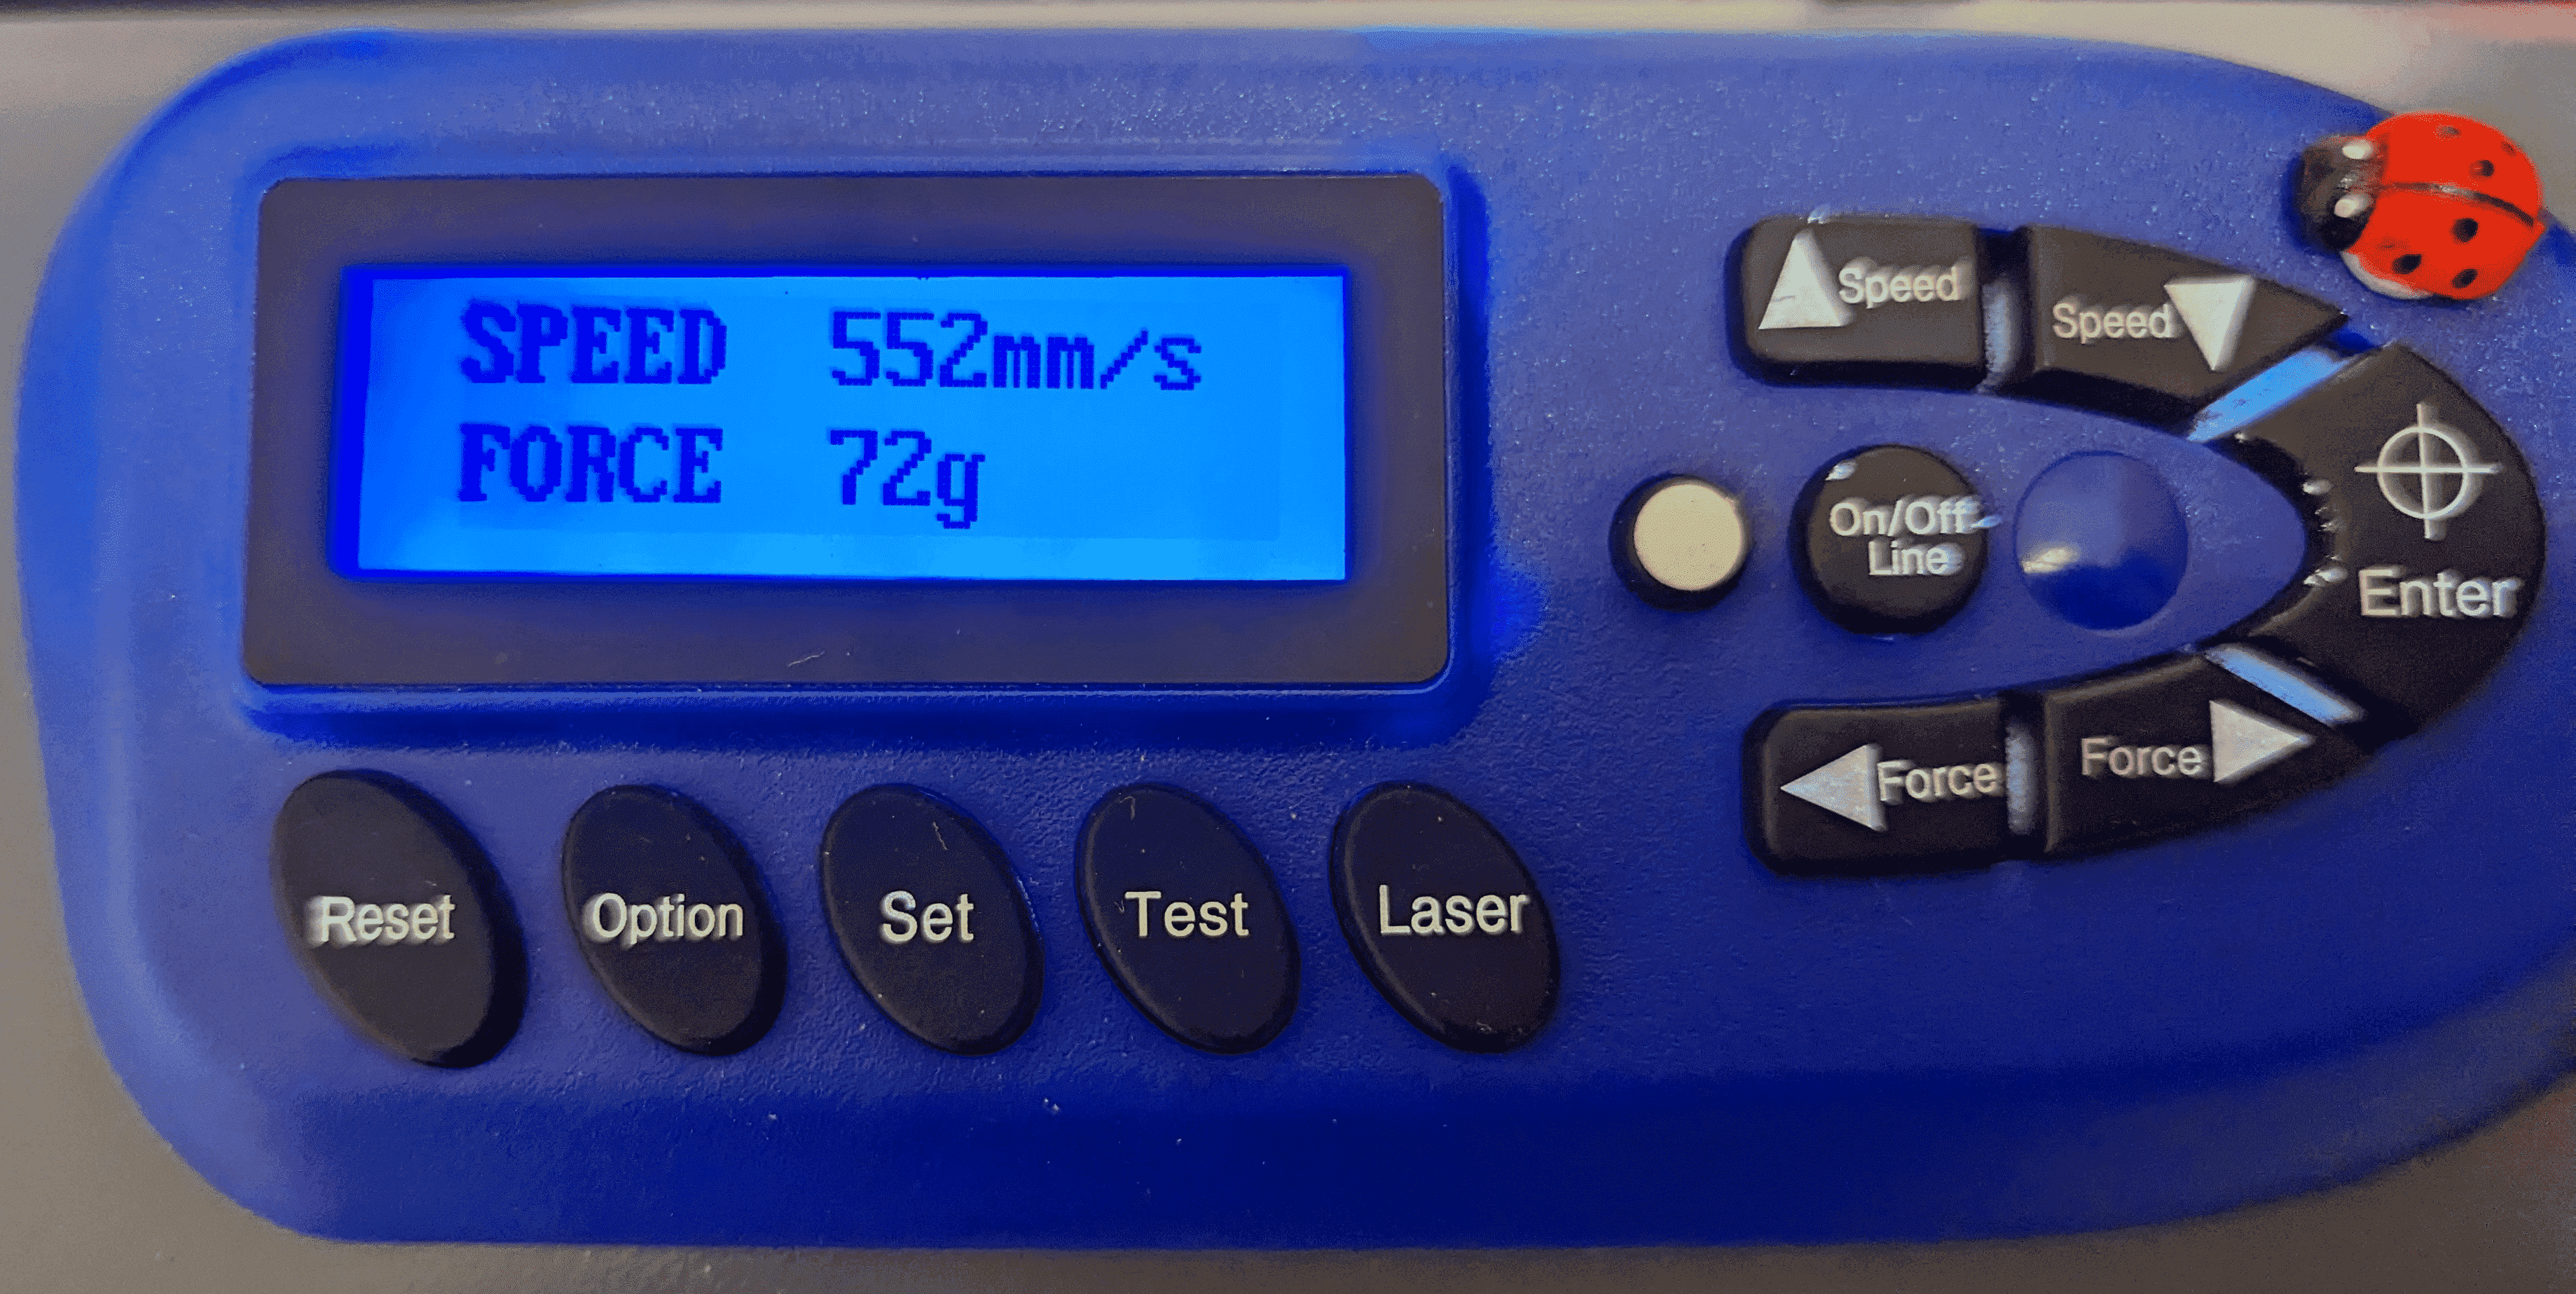
Then I sent the file to the laser cutter computer and set the speed, force, and frequency to the previously calculated percentages to get nice clean cuts.
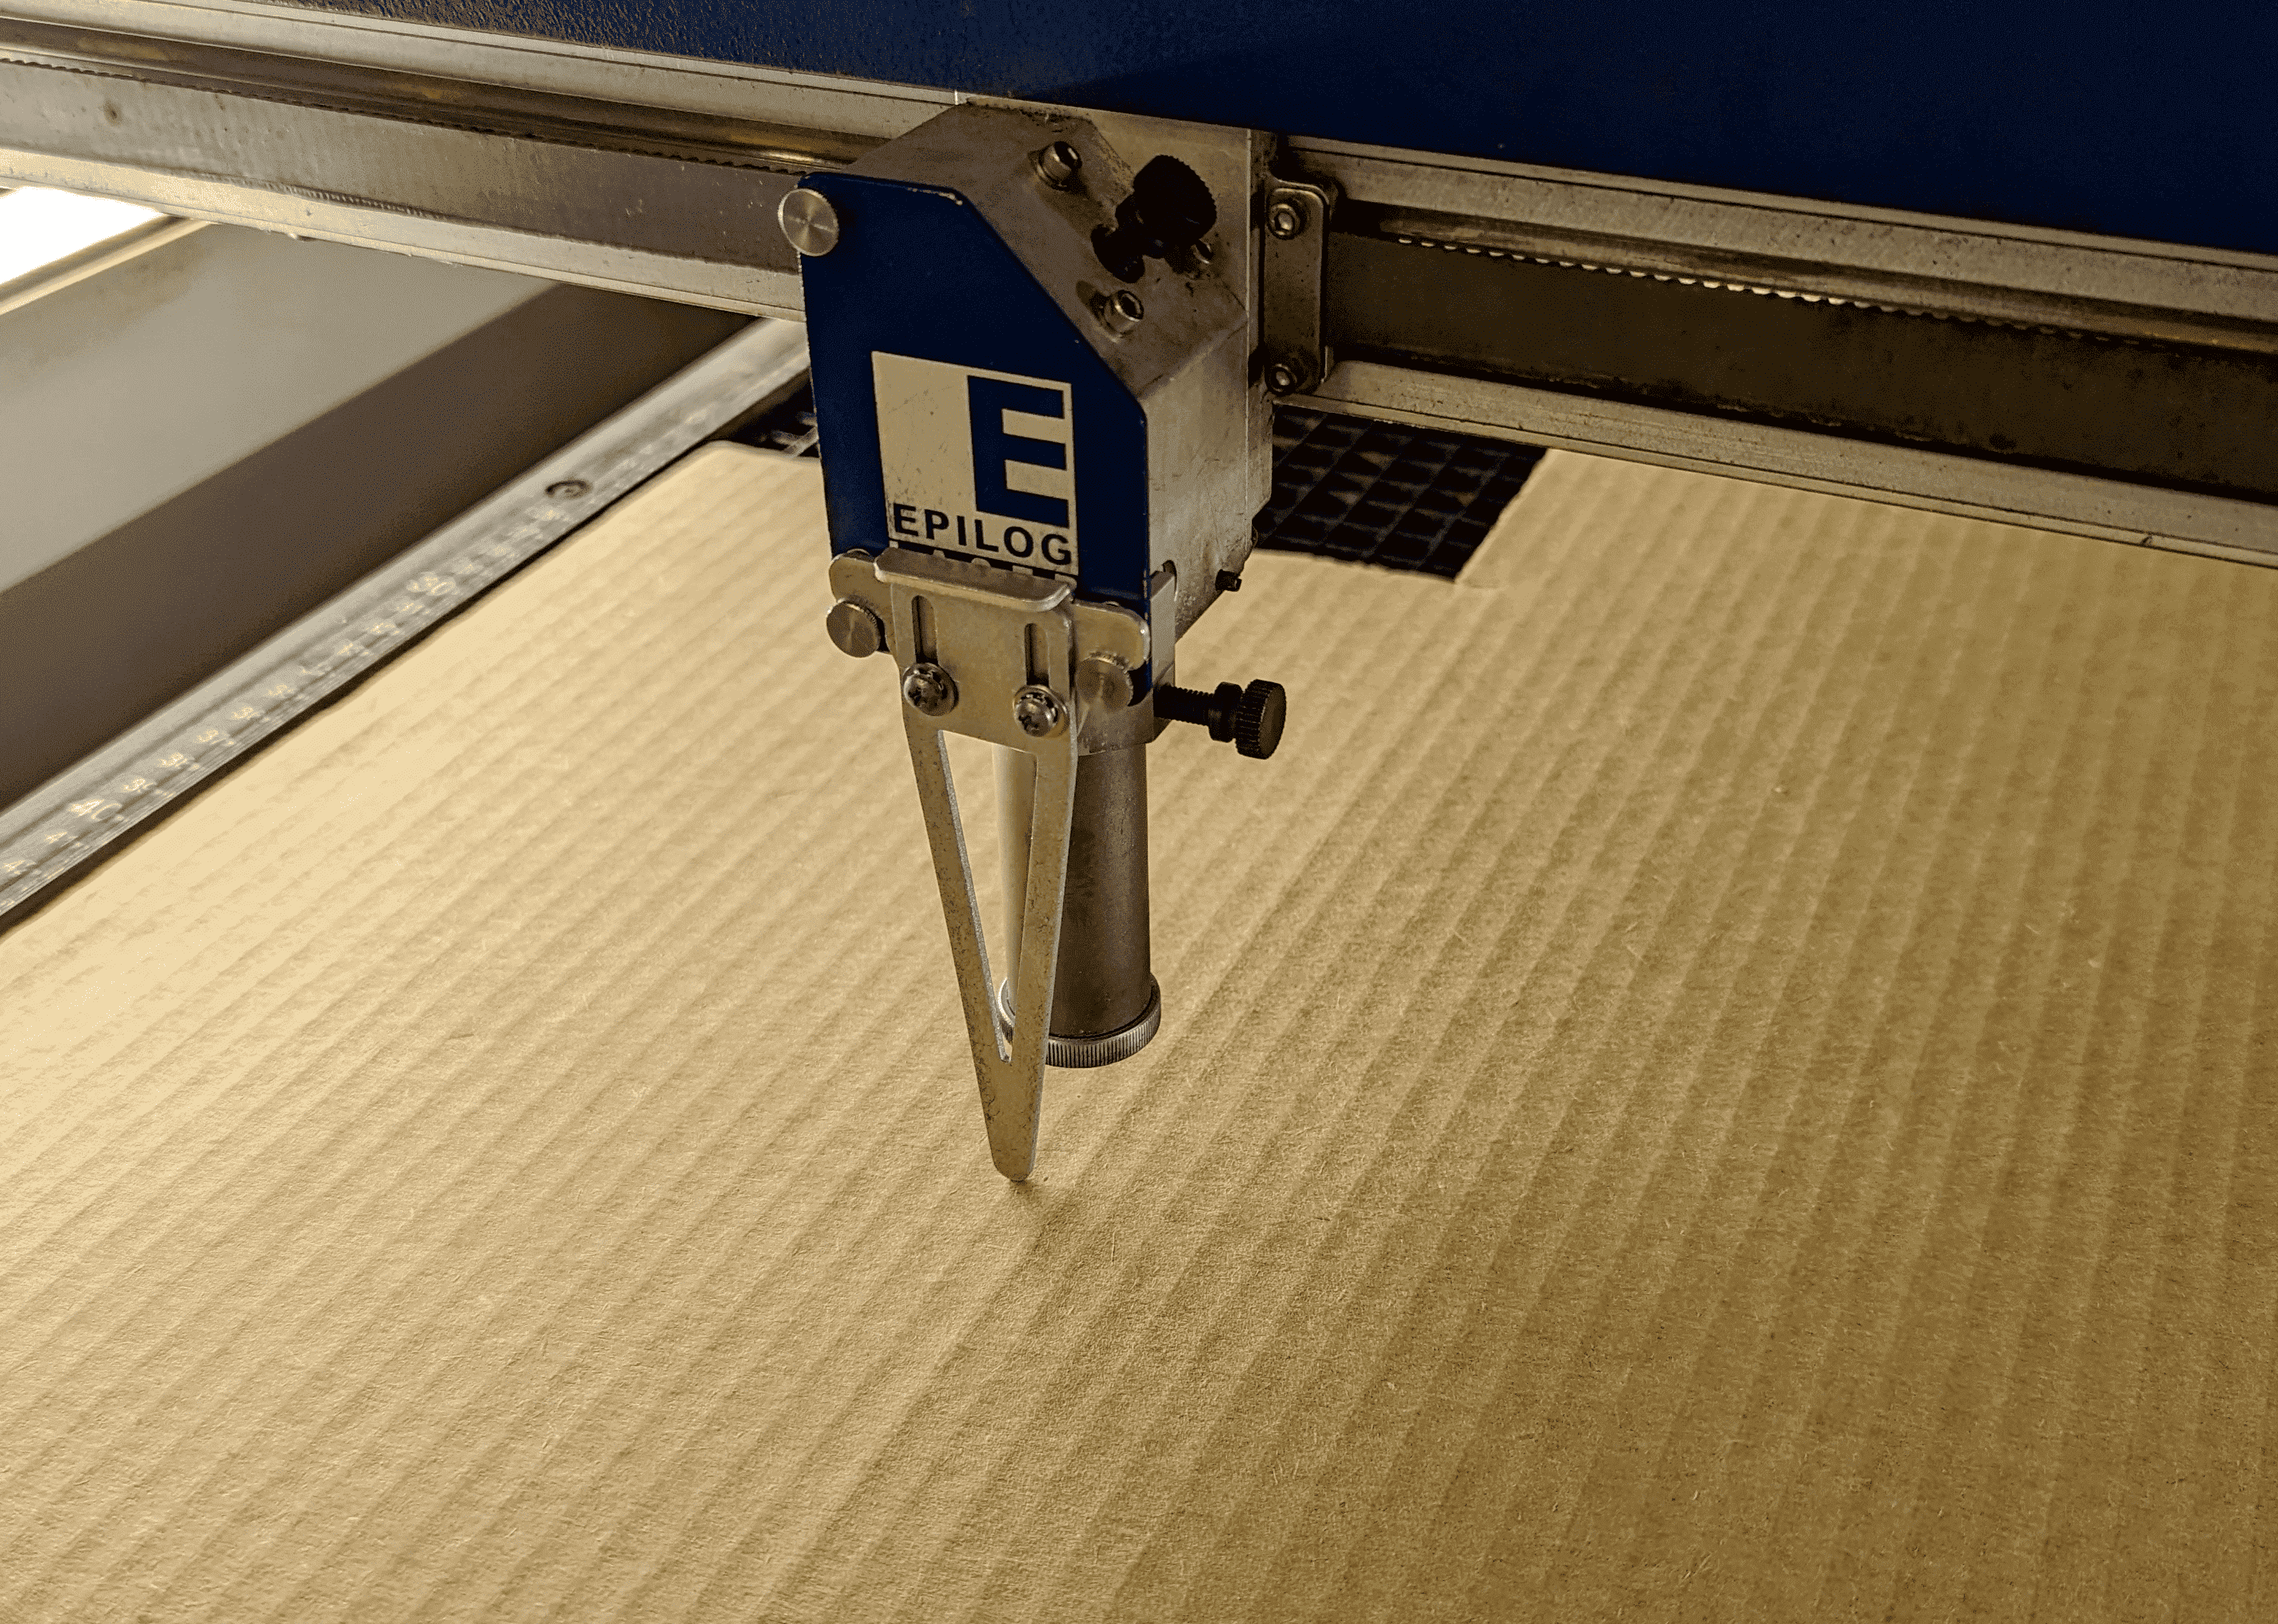
I made sure to line up the laser cutting head with the center of my cut so theat I could focus the laser onto my material, ensuring my cuts are clean and effective. After that I zeroed the cutting head to the top right corner of my cutting space. I also turned on the air vent and air compresser connected to the Epiloge to ensure no fires are started, the cut path is clean, and all fumes are safely disposed of outside of the lab.
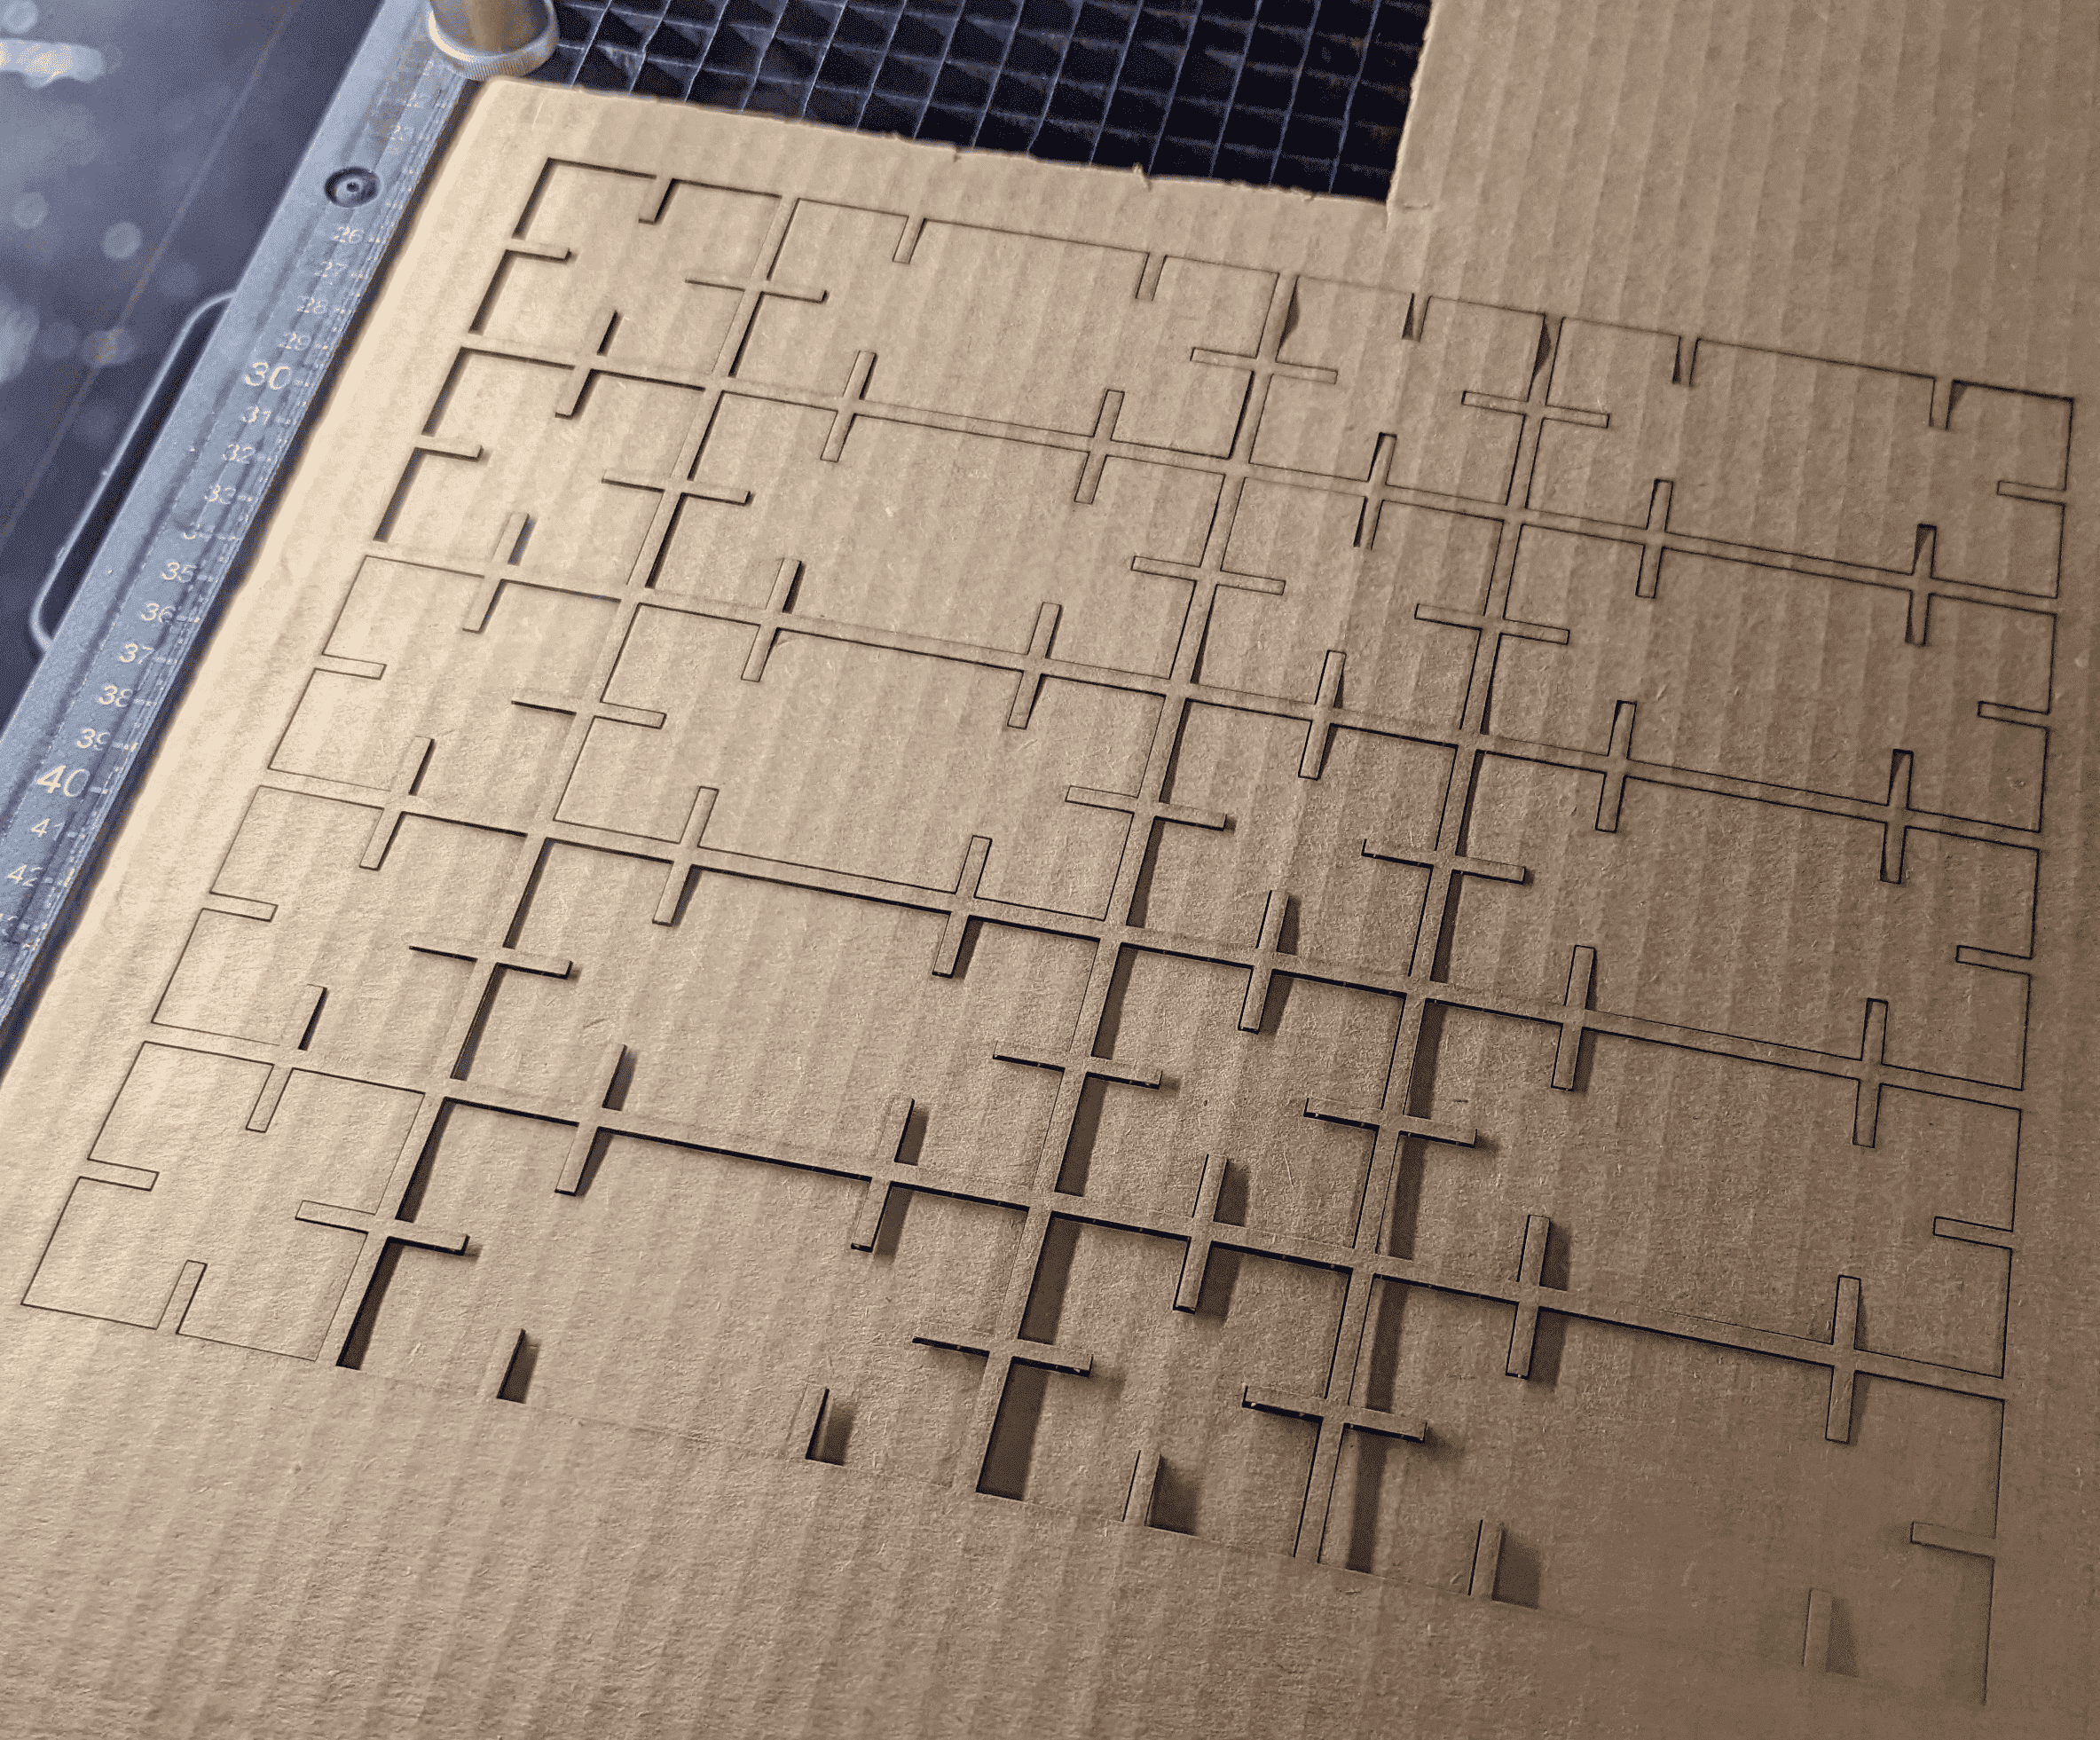
With the parameters set and everything on I sent the file from the laser cuter computer to the Epiloge to start cutting the pieces.
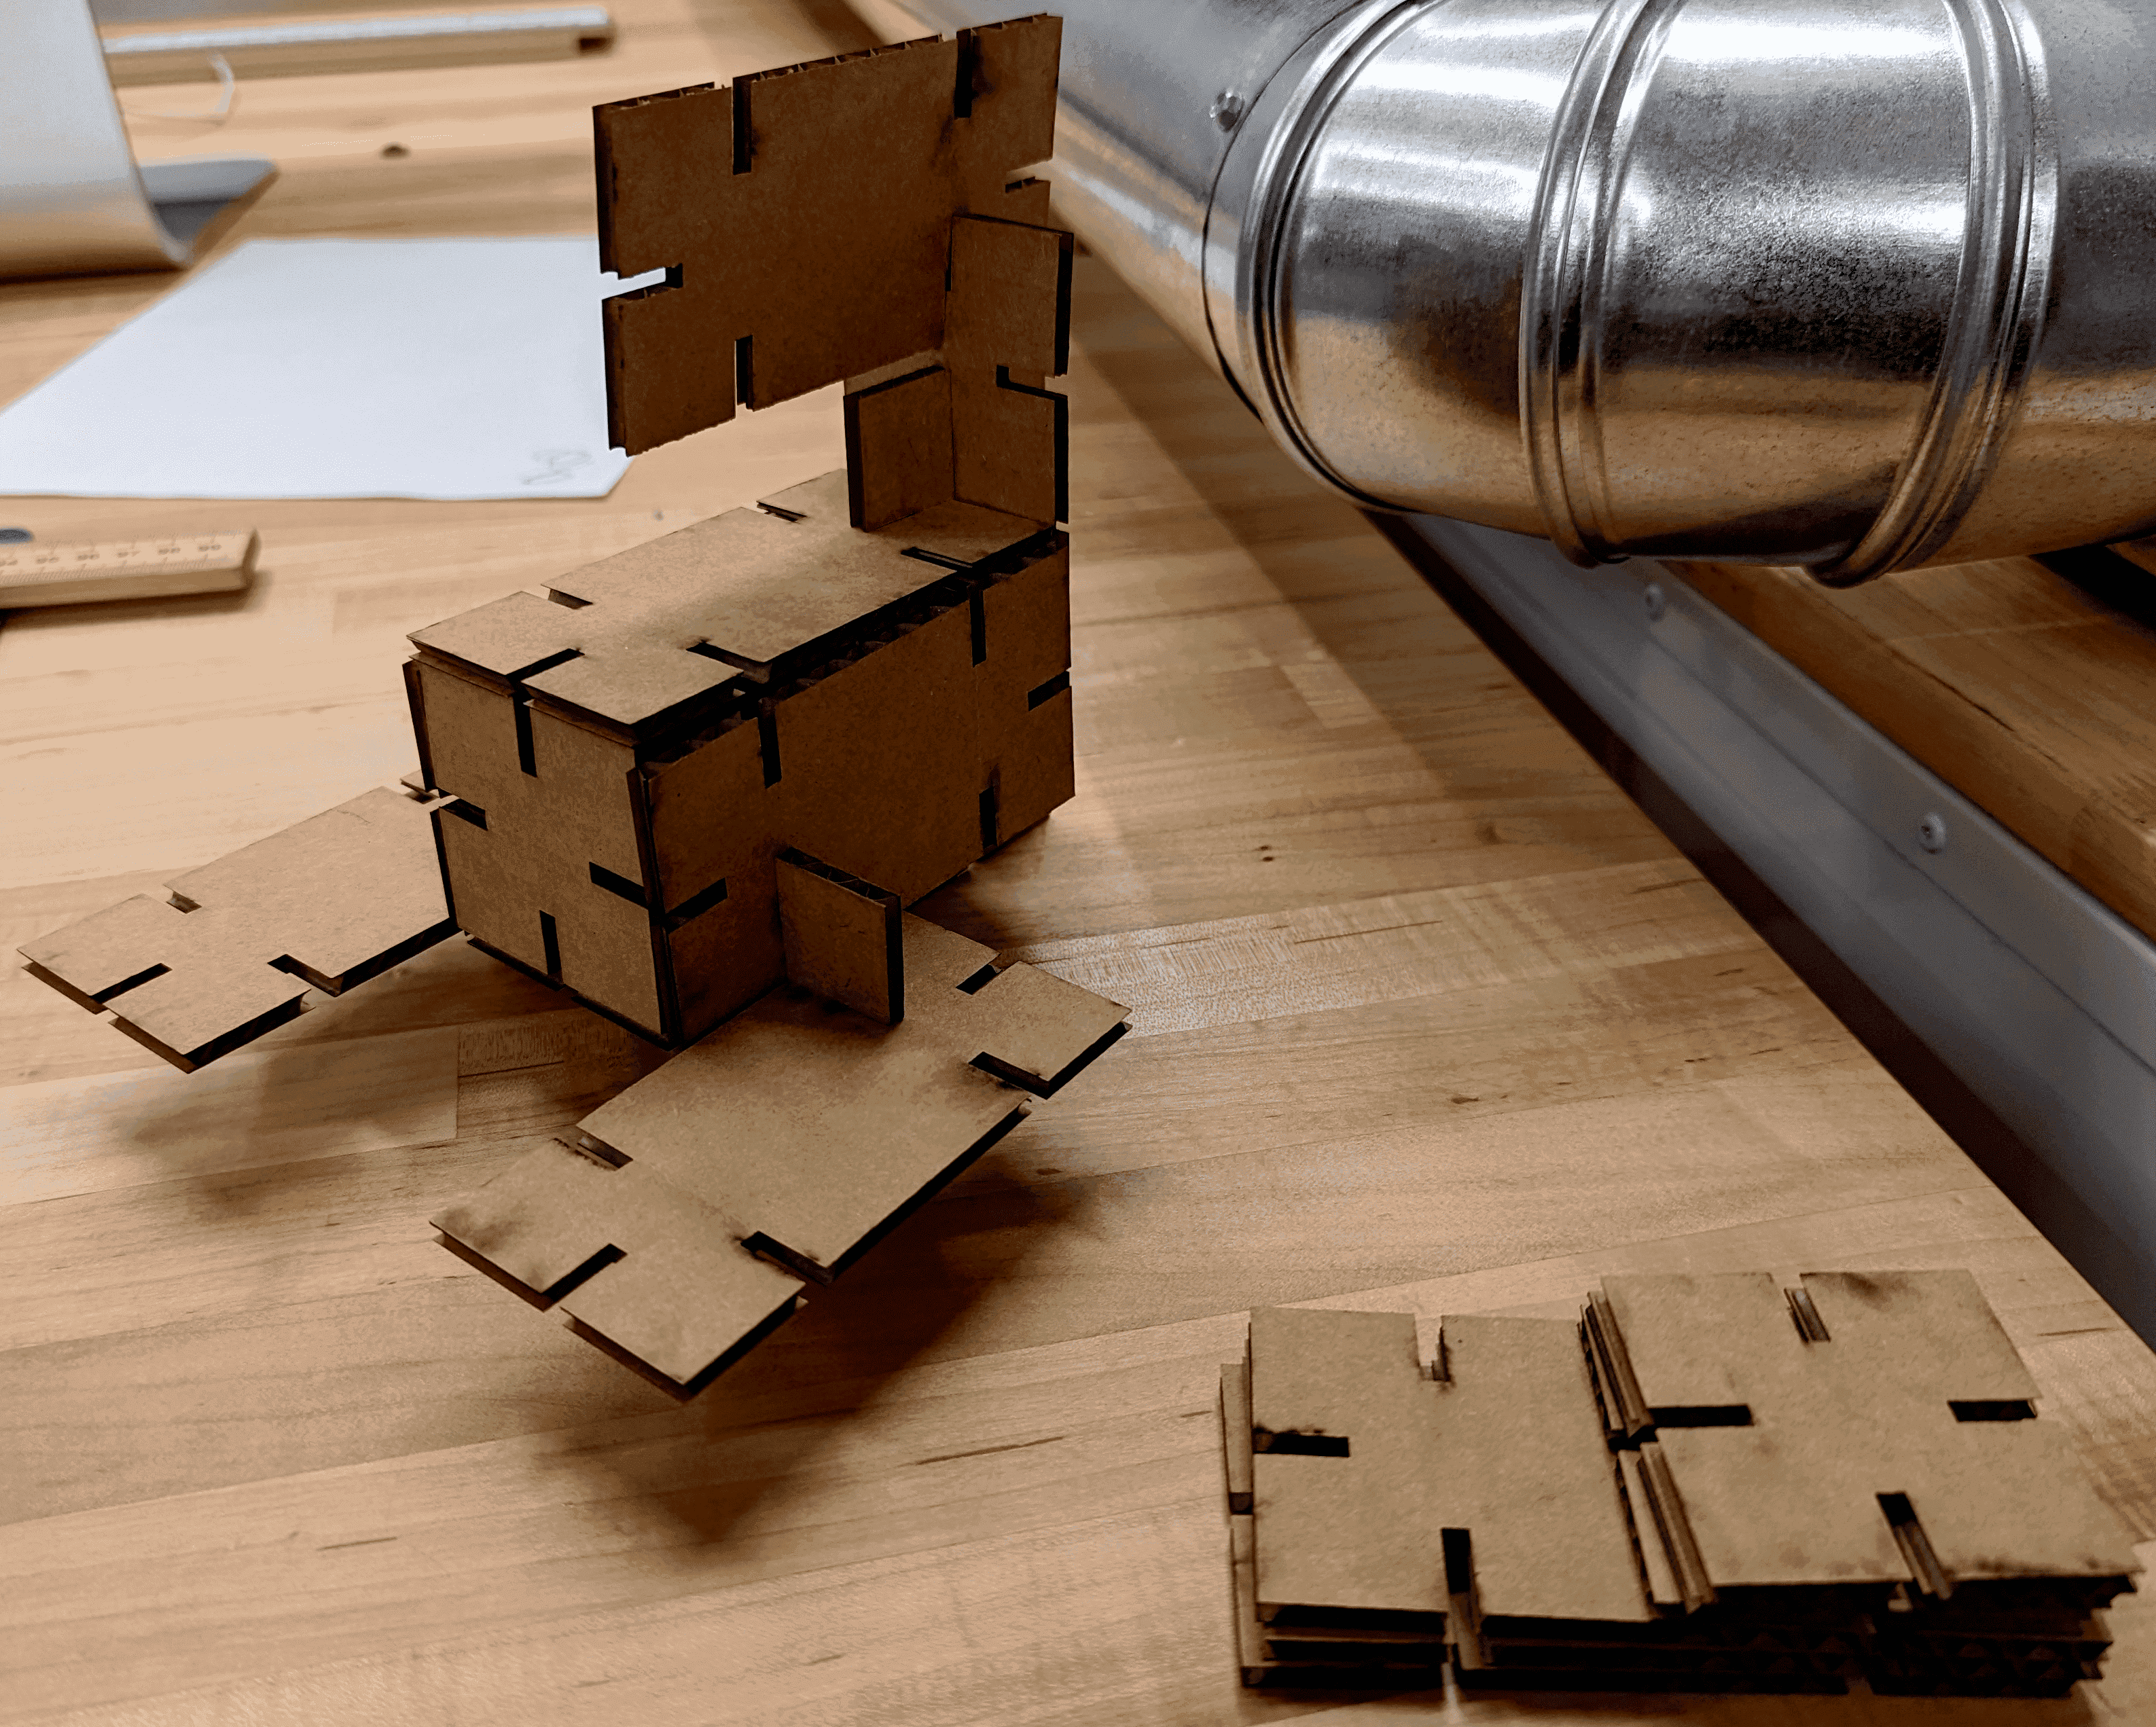
Now the cutting was finished and I had to remove every peice from the cardboard slab.
Finally I made a little blocky scorpion with my cut out peices, his name is Sulvestor.
Vinylcutter Cat Sticker
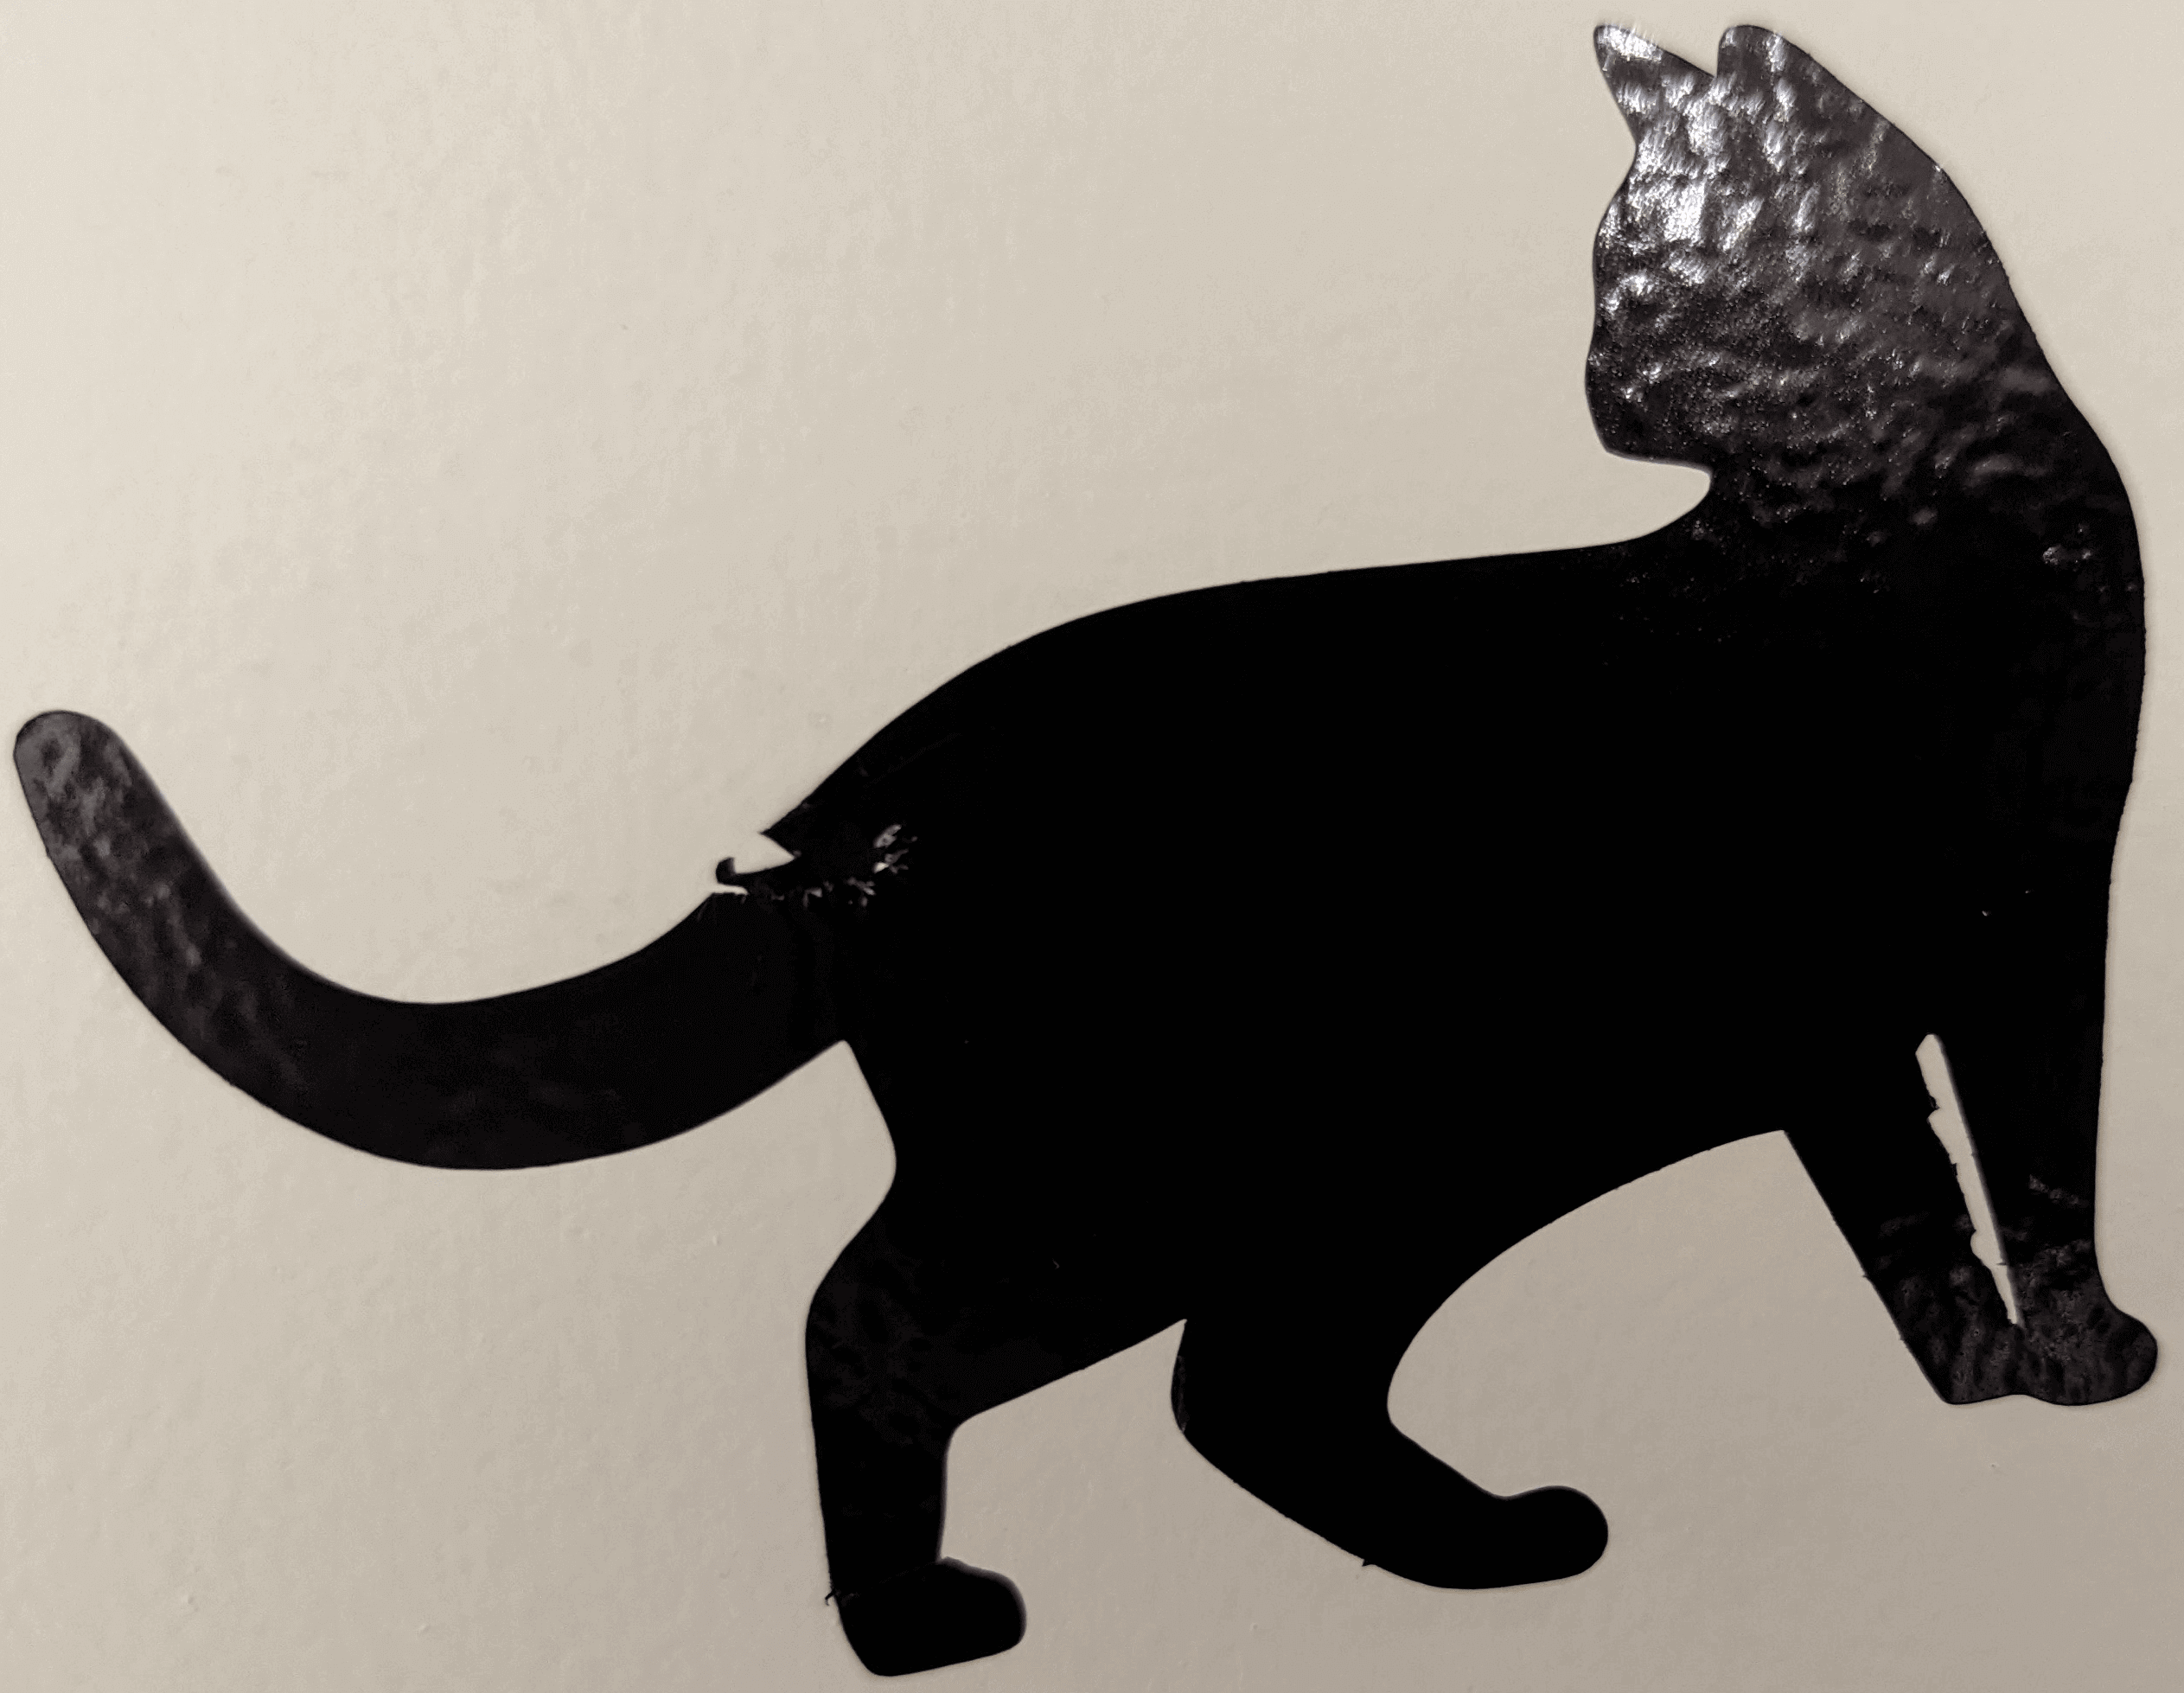
For the vinyl cut, I looked up a cat silhouette online.
After that I sent it to the vinyl cutter and set the origin as well as the force and speed.
The file ended up being corrupt so I had to google a different cat silhouette png, finding the one linked in Useful Links, I then cut the sticker.
After cutting the sticker I weeded it and put it on transfer tape.

Finally I put it up on a wall in the Fab Lab.