First idea
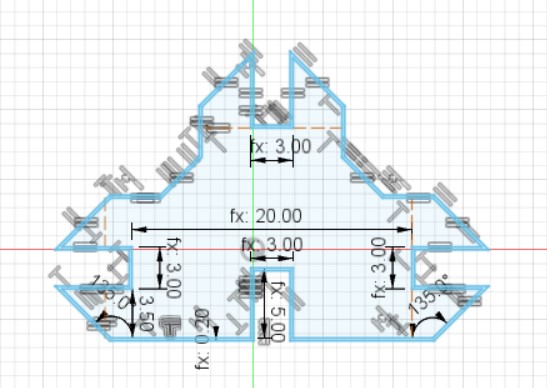
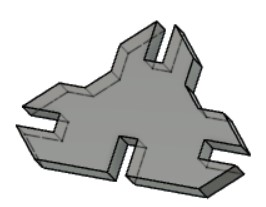
To start off this week I drew up a quick sketch in fusion 360
that fulfilled the minimum requirements for the project. This was
mostly just a warm up until I figured out something more unique.
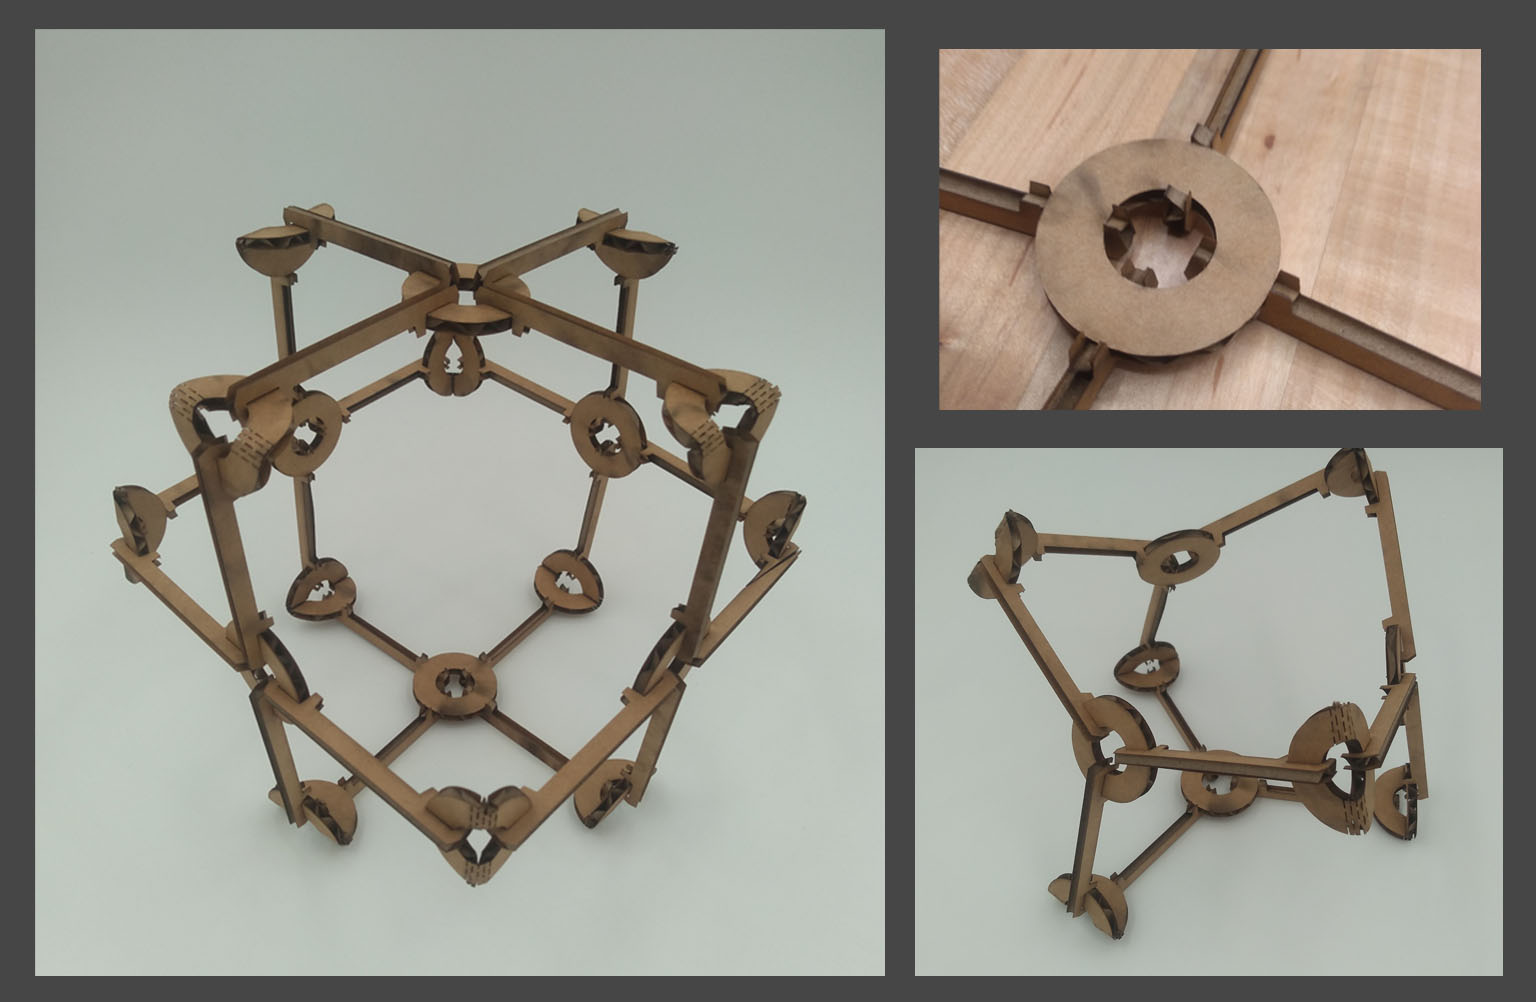
This week I laser cut a press-fit kit with rings and sticks that can make any regular polygon, or whatever else you come up with.
I also cut out a viynl sticker decal, and worked in a group to determine the kerf of our lab's laser cutter. The group documentation is found here.
In a group with other students in my lab, I used a CO2 laser to cut out a test piece and used it to find the kerf for cutting cardboard with our lab's cutter. The kerf was wide enough that I realised it couldn't safely be ignored in most projects. Seperately, I tested the kerf for acrylic sheets used by my lab, and found the kerf was significatly different with different materials in the same laser. This has taught me that the kerf isn't just the width of the cutting element, as there are other factors that can determine how large the gap ends up being.
I had experience with laser cutting before this project, so I didn't run into any significant problems.
To start off this week I drew up a quick sketch in fusion 360
that fulfilled the minimum requirements for the project. This was
mostly just a warm up until I figured out something more unique.
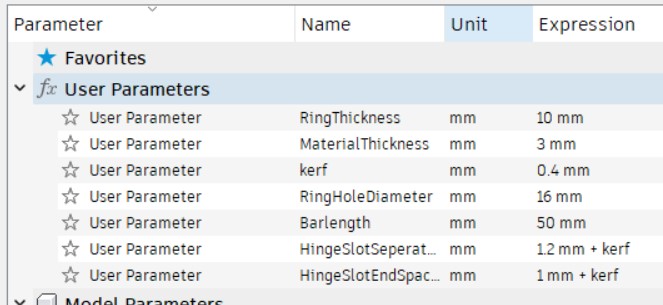
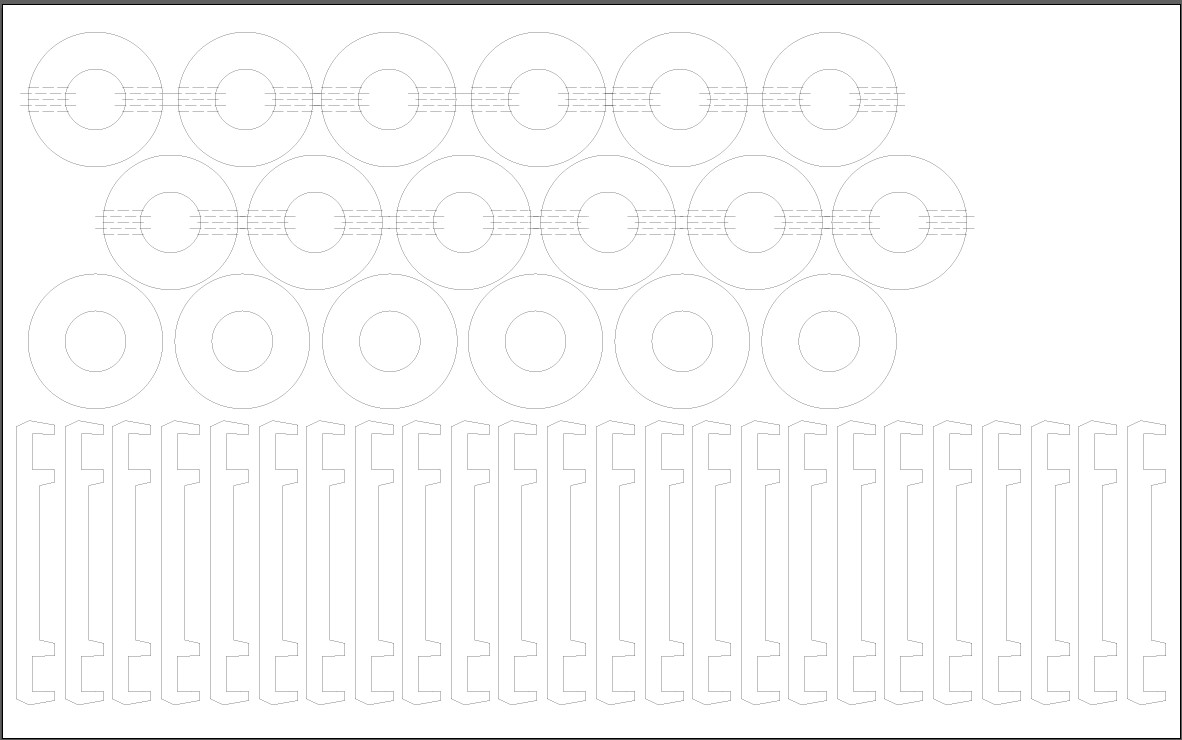
Once I had the idea of the ring design I switched to that because it seemed more unique. Here is a list of the parameters I used for the ring design. I created most of them at the start, but a few I created for the living hinge design at the end.
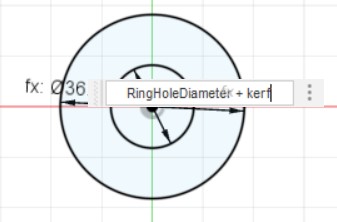
I started by making the ring, and included the kerf of the laser cuter in the measurments.
Next I made the connector. It has a hook shaped slot that can grip the rings. I made the slot bend slightly to make it easier to rotate it into place and harder to slide off.

I used a mirror modifier to save time making it symetrical. To account for the kerf I used the offset tool to make a line arround the perimeter of the piece. I then extruded the sketch and made a new sketch on the face of the body so it wouldn't have the internal lines, and would be easier to deal with in illustrator.
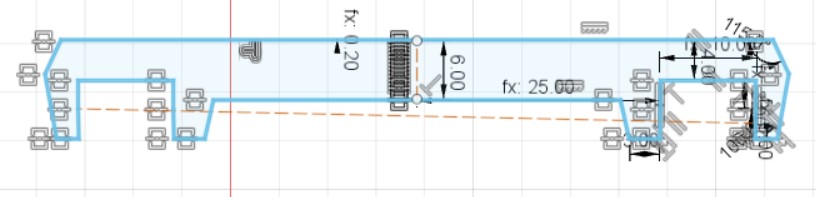
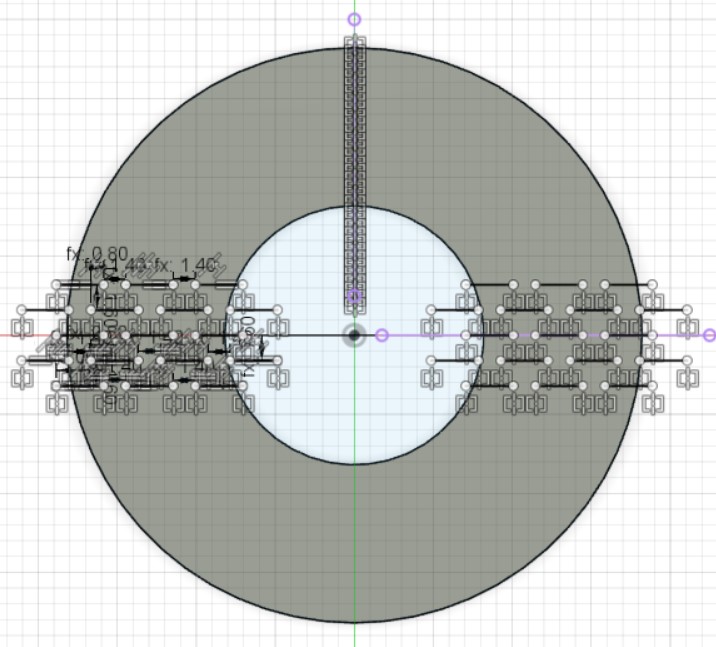
To make the bending circle connector, I made a sketch on the face of the first ring, and then made an array of lines for the living hinge.
Once I had all of the sketches done I exported them as .dxf files and opened them in illustrator. I made a new illustrator file and copied all of the peices into the same document and duplicated enough of them to make a cube. I set all of the lines to be 0.01mm so that the laser cutter would interpret them as vector cuts.
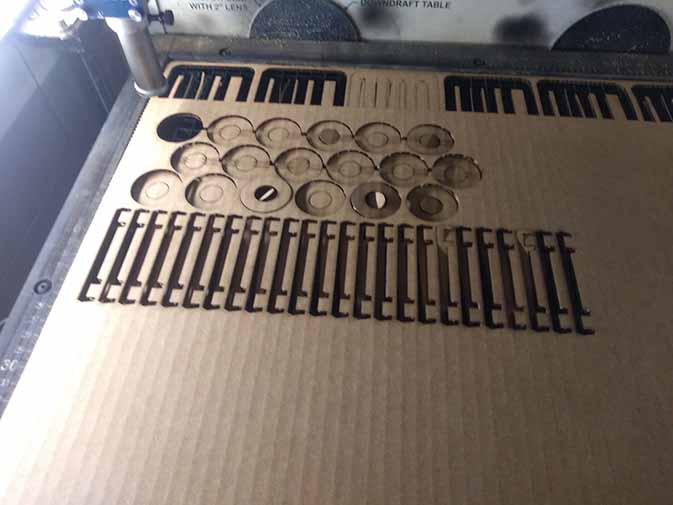
From illustrator, I printed the file to the Laser cutter to open it up in the laser cutter job application. I set the power and speed settings to levels apropriate for cardboard. I then zeroed and focused the laser, and turned on the ventilation. Finally I sent the job to the laser and started the cut.
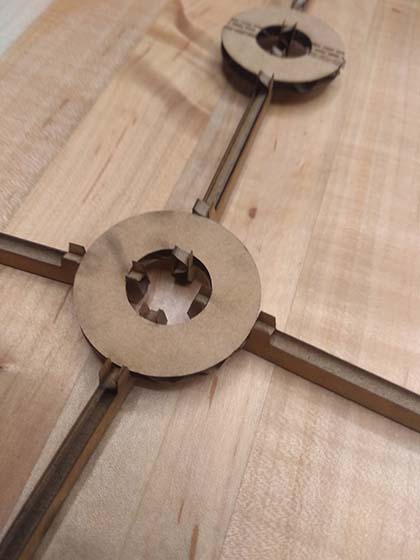
The tolerance was decent, despite not having much contact area, the connections were solid enough, and weren't too difficult to assemble. The living hinges ended up just being guidelines for a pinch point in the cardboard, but worked well regardless.
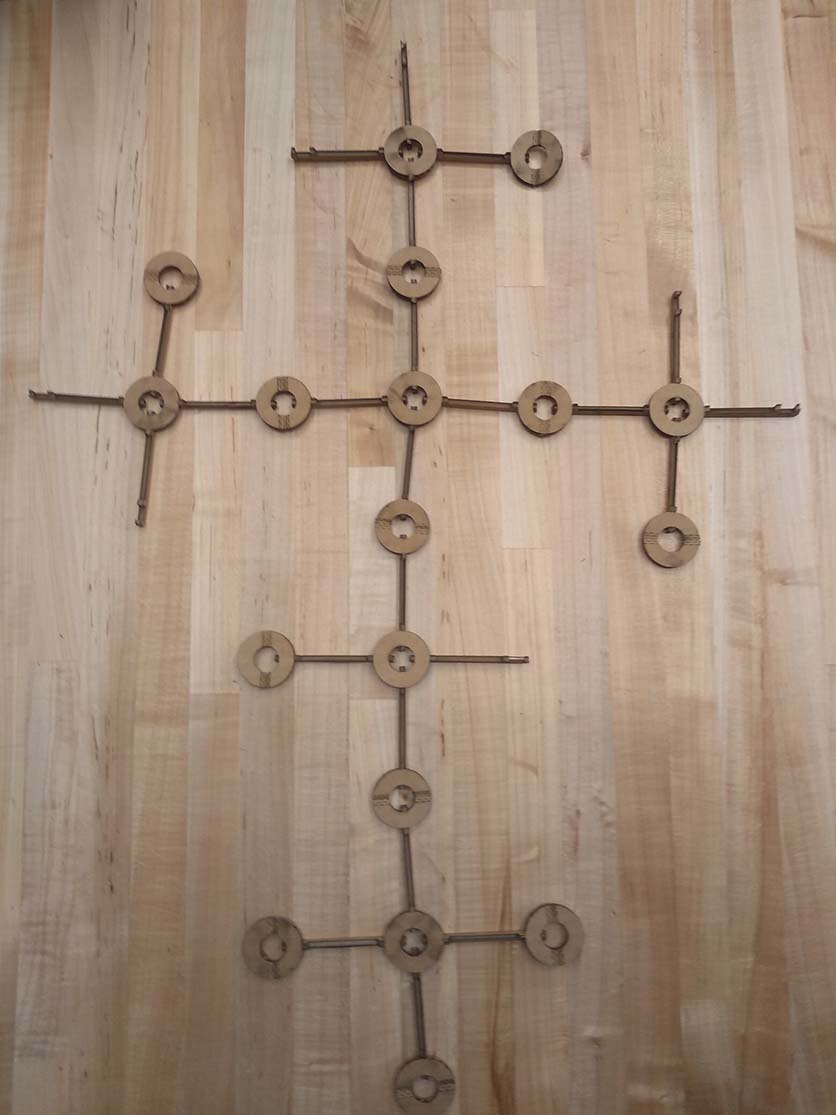
To make the cube shown in the title image, I pre-bent all of the edges, and made a 2d unwrapped version of the cube before making the final connections. It ended up being flimsy enough that if it falls on the floor, it will probably come apart, but won't break from handling.
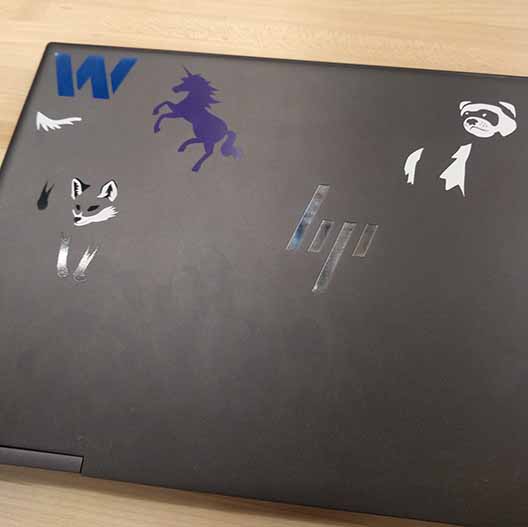
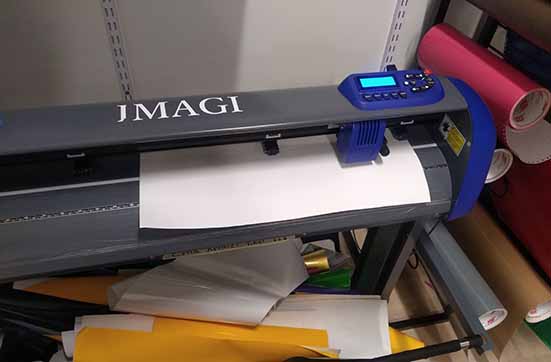
To start off I loaded a scrap piece of vinyl into the cutter and opened up part of an old project in Sure Cuts Alot.
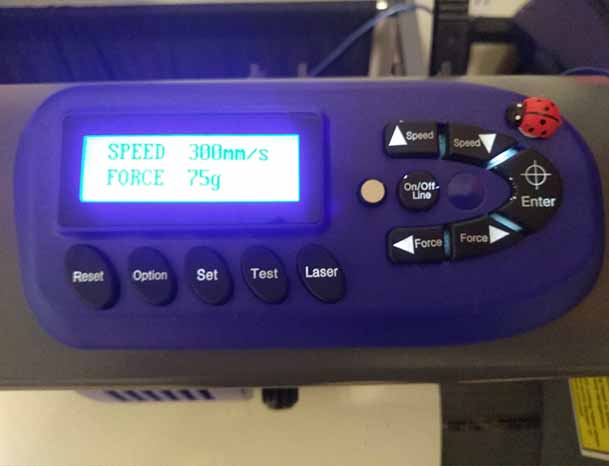
The design was intricate and I was using sticker vinyl, so I turned the speed down and set the force to 73g. On the machine at my lab, zeroing is done by htting the on/off line button, and then using the force and speed arrows to jog the cutting tip to the right location. The enter key zeroes the location.
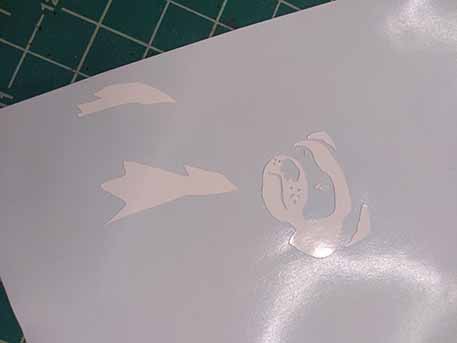
Once I had the sticker cut out, I weeded out the unwanted portion of the vinyl by peeling it off while holding down the portions I wanted to stay.
Next I put transfer tape over it and smoothed it out using a card.
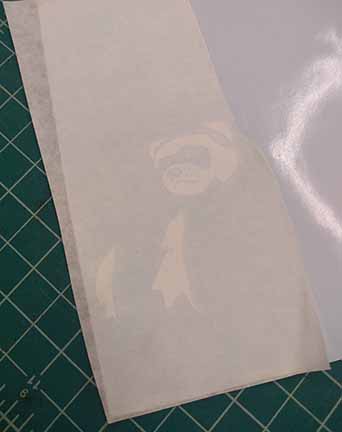
I then peeled the backing off of the vinyl to leave it stuck to the transfer tape.

Finally I applied it to my laptop along with other stickers I have done in the past. I used a card again to smooth the transfer tape onto the surface and then peeled it off at a creased angle so that it wouldn't take the sticker off with it.