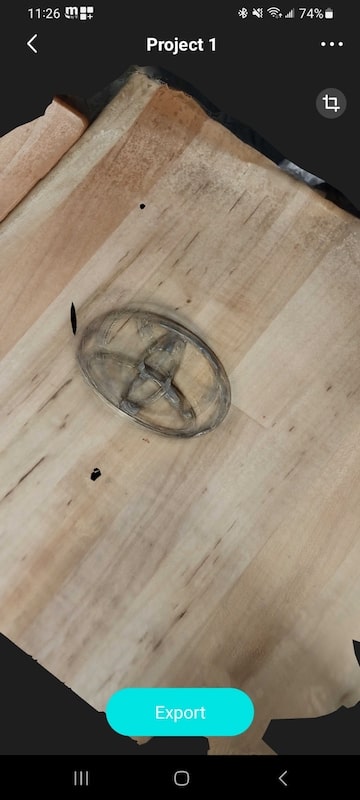
This week, I worked with my group on defining the capabilities and limitation of our printer. Here is a link to the conplete process. I designed a hollow cube and 3D printed it. I also 3D scanned a Toyota logo.
5. 3D Printing and Scanning
3D printing
Using Fushion 360, I designed a cube that is hollow from inside and has a tiny hole at the top. To make the cube hollow, I designed a box inside a box and cut them to have a design that looked like this:
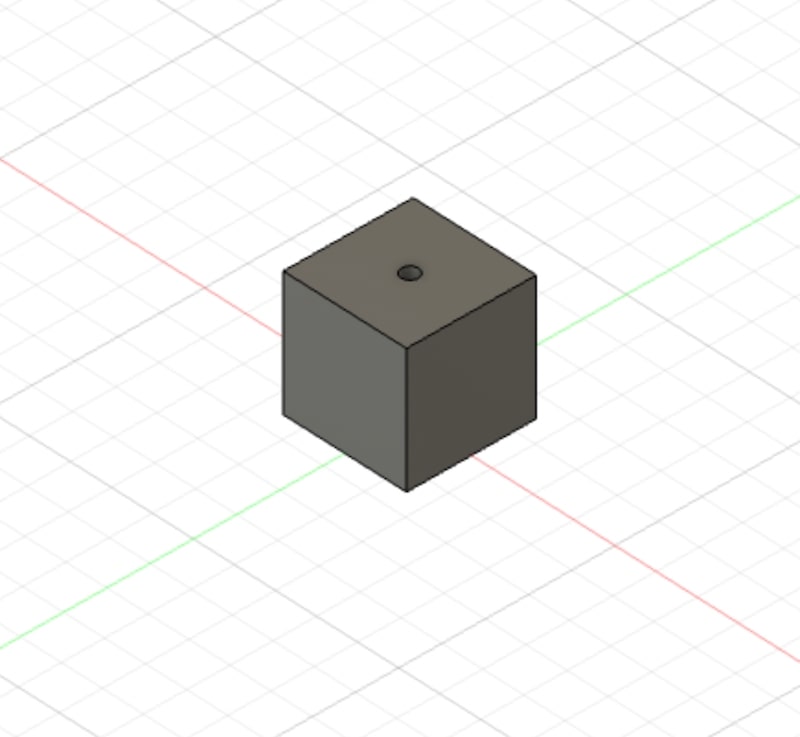
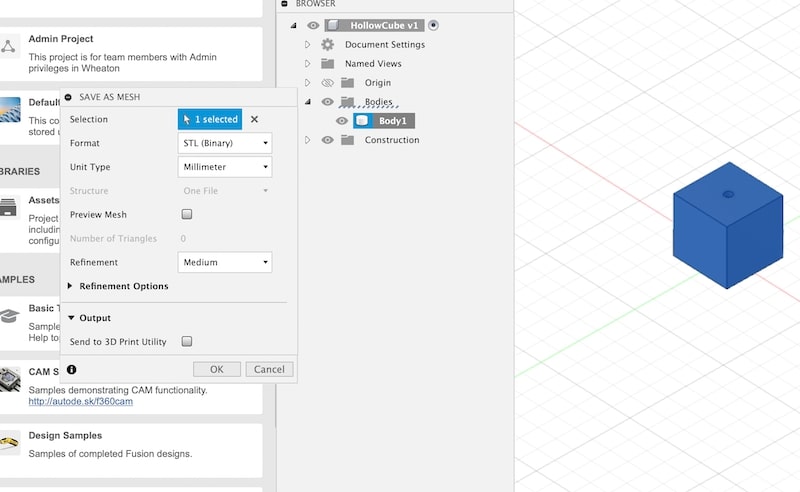
As the cube is hollow from inside, it is impossible to manufacture it it subtractively as there is no way to take material out of the core of the cube while keeping its outside shape the same. Thus, additive manufacturing is necessary, and that is why I used a 3d printer. To print the design, I exported it as an STL file by double-clicking on the body in Fushion and then Save as Mesh. I set the format to STL
Next, I opened the file in Prusa Slicer, the main software that Prusa 3D printers use. I selected my printer type which is MK3 and set the infill to 15%. I cliked on SelyLice Now and then Export as G-code. I saved the gcode file to an SD card as the Prusa printers use SD cards.
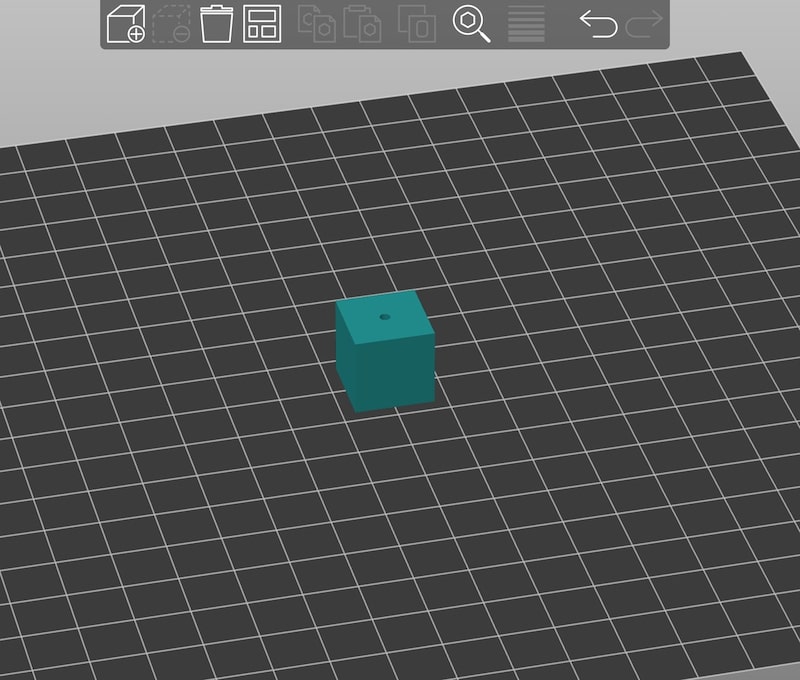
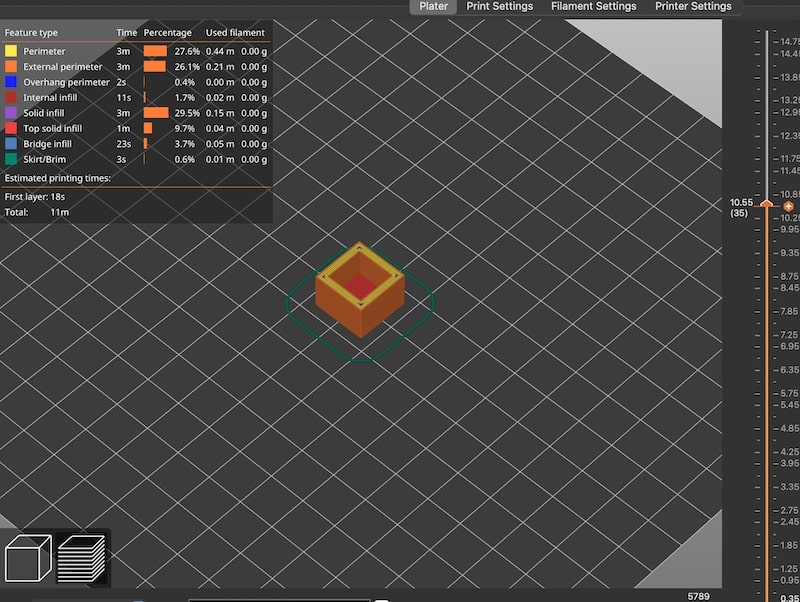
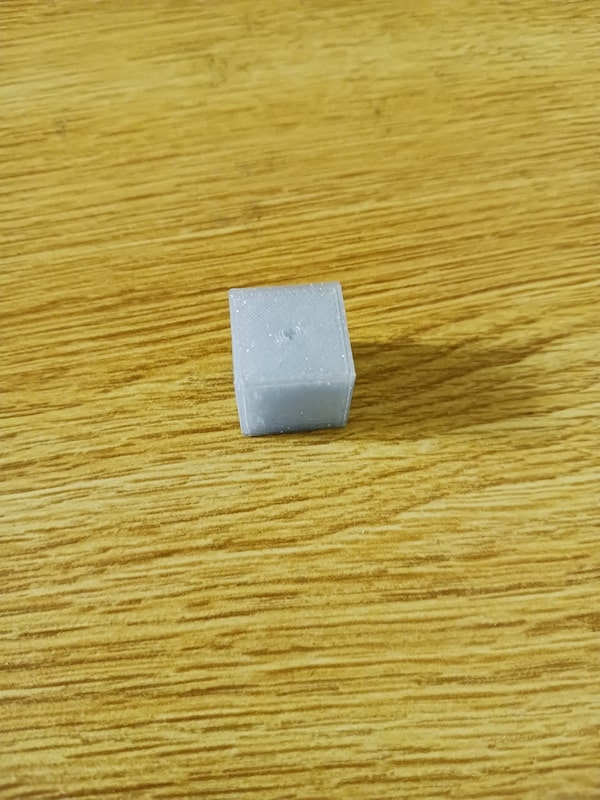
I inserted the SD card in the Prusa 3D printer, pressed the knob on Print from SD Card, and selected my file. The print took 15 minutes to complete. And I have it here:
3D Scanning
For 3D scanning, I used KIRI Engine App, which I downloaded form Play Store on my Android. I signed up to the app and clicked on the plus sign. I took 70 photos from different angles of a Toyota logo. Then, I had to wait for around 10 minutes for the app to finish the process.