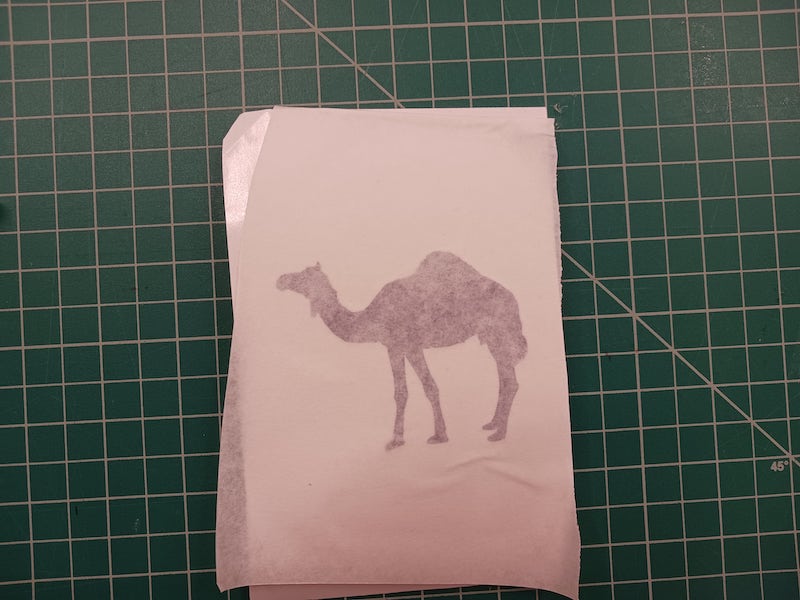
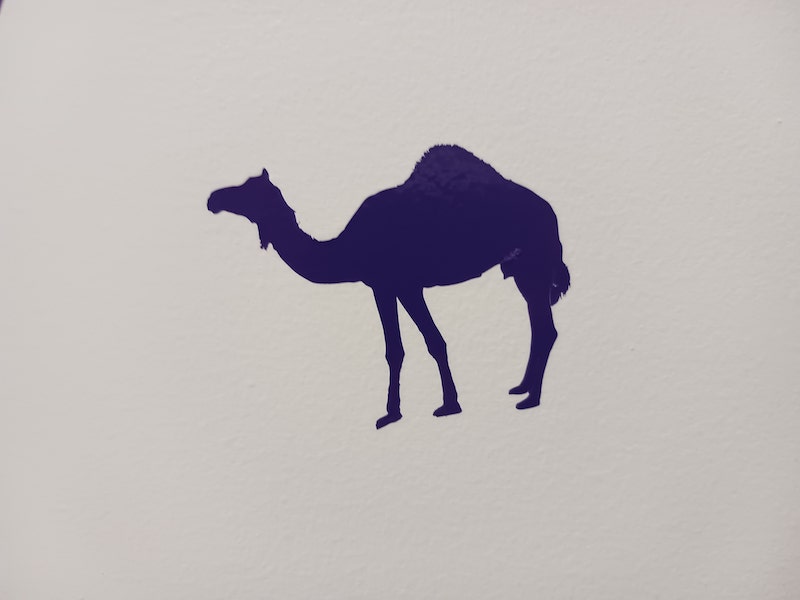
This week, I laser-cut a drone from out of carboard. I also vinyl-cut a camel sticker. I learnt how to use the laser cutter and measure kerf. Also, I worked on a group project and documented it here.
3. Computer-Controlled Cutting
Kit Design
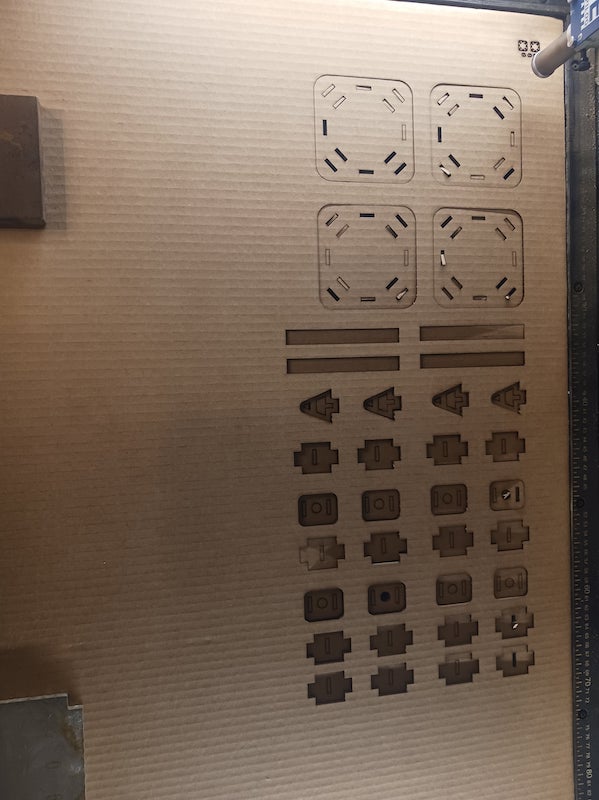
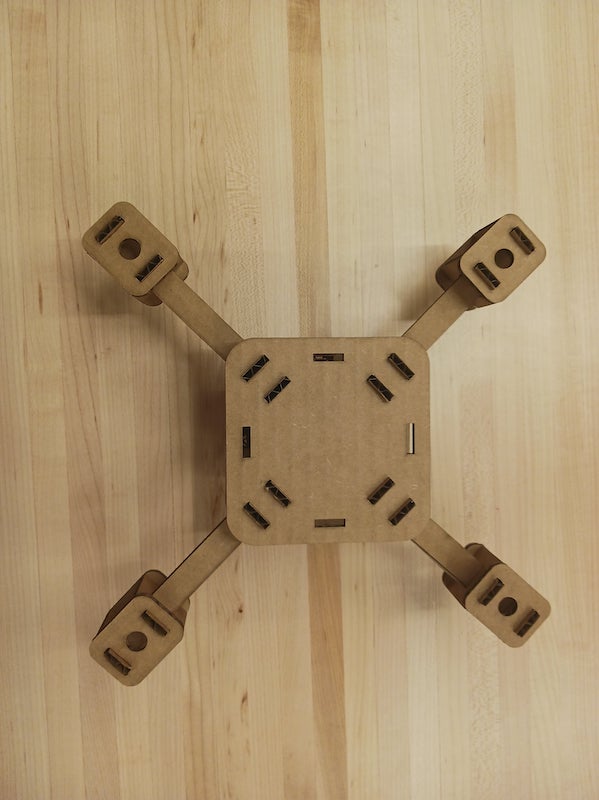
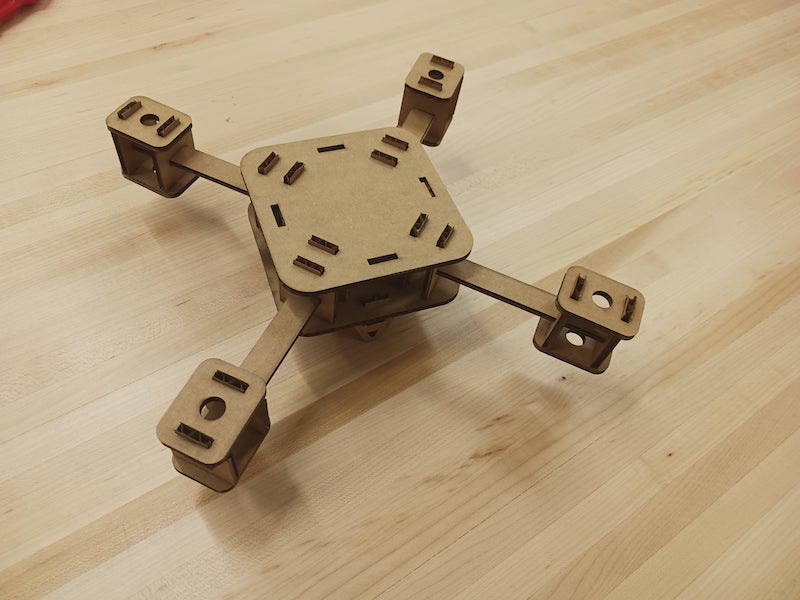
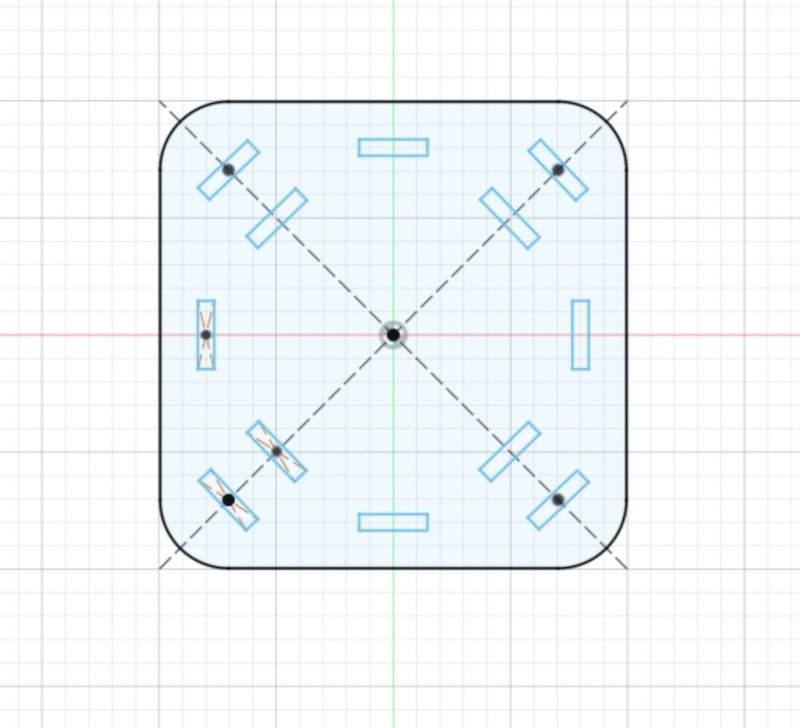
Since my final project is going to be a drone, I laser cut a a sample frame consisting of 34 pieaces that fit together without any special tools such as tape or glue.
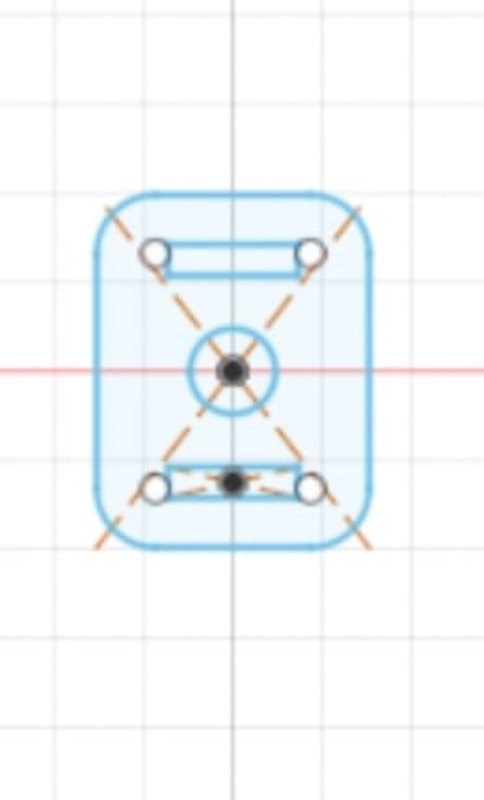
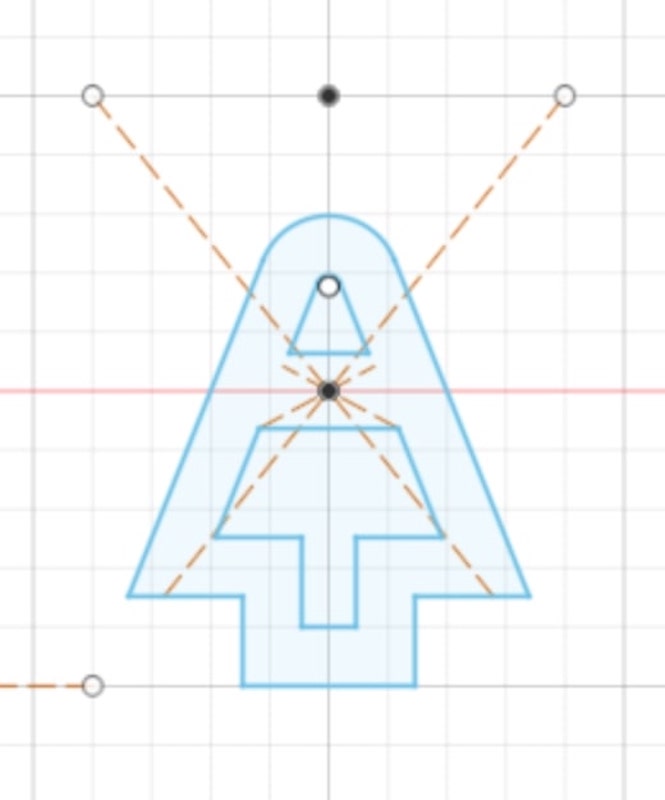
First, I used Fushion 360 to design the pieces I needed. I made sure to substract the kerf of 0.502 mm that we calculated in the group assignment from each parametric value. The first piece was the drone center. I created 100mm*100mm square and used fillet on its edges. Then, I created 12 restangles to rpresent the gaps the joints will be press-fit into.
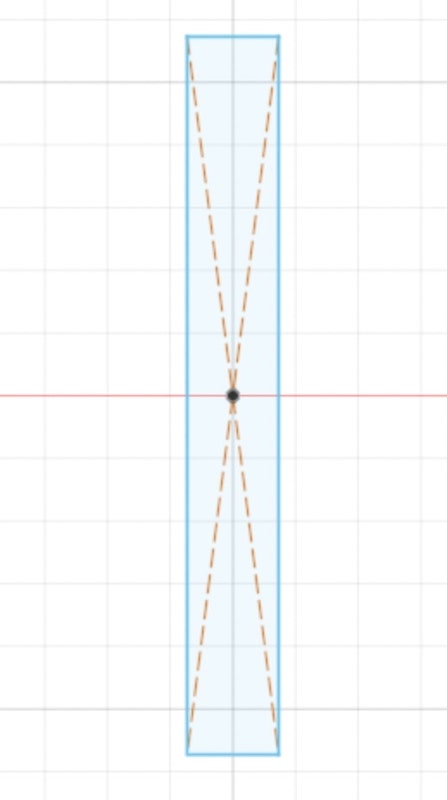
Second were the joints. I created a rectangle and trimmed it from the top and bottom, using the trim tool under Modify, so that the tip width is equal to the width of the gap in the drone center it will press-fit into. Then I created another gap in the center of the joint for the arms to fit into it.
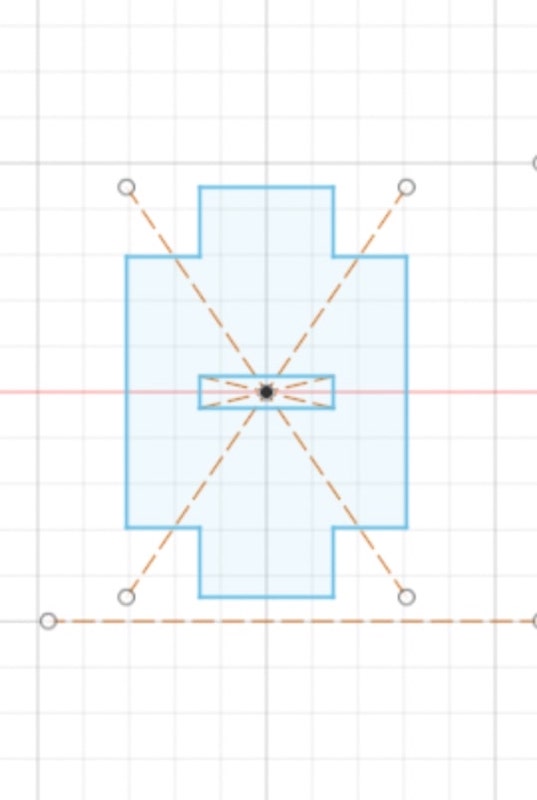
After the joints, I need arms. The arm is the simplest as it is just a rectangle of width equal to that of the joint's gap.
Then I created the motor base which is just a rectangle with a circle at the center and two rectangles(gaps) at the top and bottom to fit into the joints.
Finally, I created the leg by drawing two diagonal lines on a rectangles to trim a triangle. Then, I used fillet at the tip of the triangle and offsett tool to make a smaller copy inside.
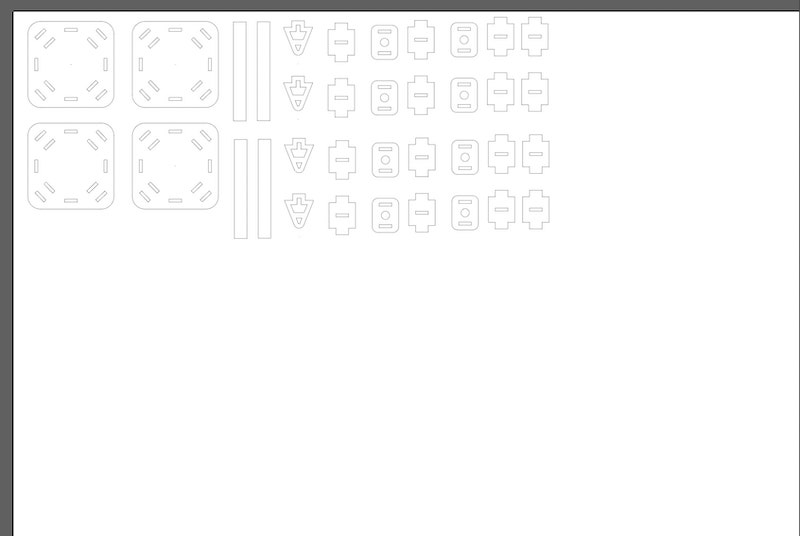
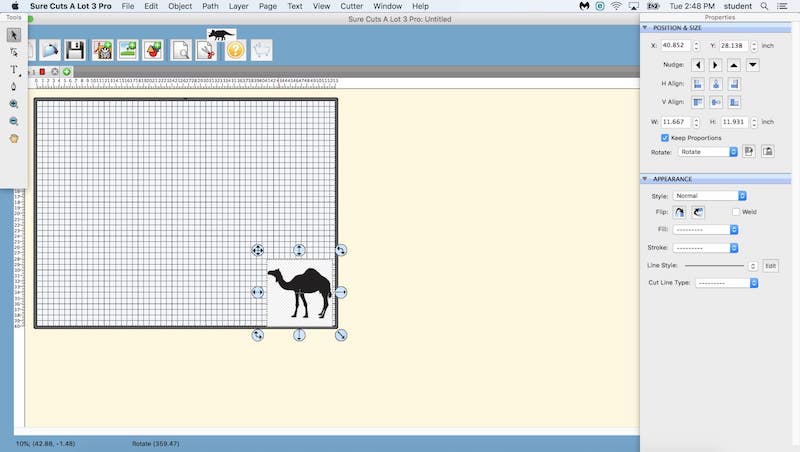
As I have all the pieces I need now, exported the file as a DXF file by clicking file/export/DXF. Then, I opened the DXF file in Illustrator and created 2 copies of the center, 4 of the arm, 16 of the joint, 4 of the leg, 8 of the motor base by highlighting, copying, and pasting. I made sure they are arranged close to each other to reduce waste.
I am ready to to print the file to the Epilog Software by pressing print in Illustrator. The Epilog software is responsible of sending the design to the laser cutter directly. In the Settings, we had to select Epilog Engraver as the Printer and change sclaing to Do Not Scale as we already did the scaling in Fushion and Illustrator.
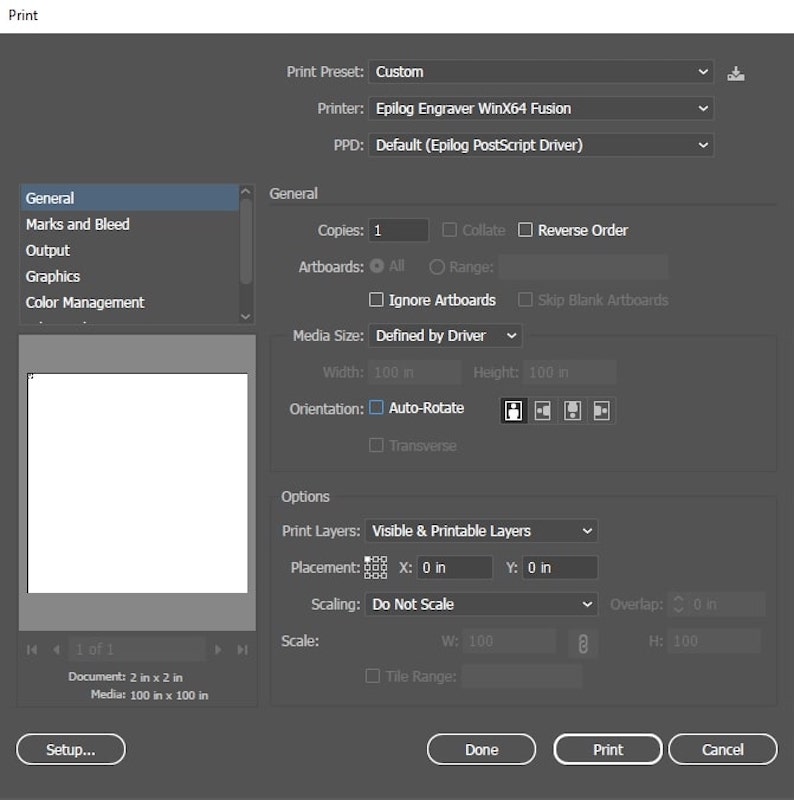

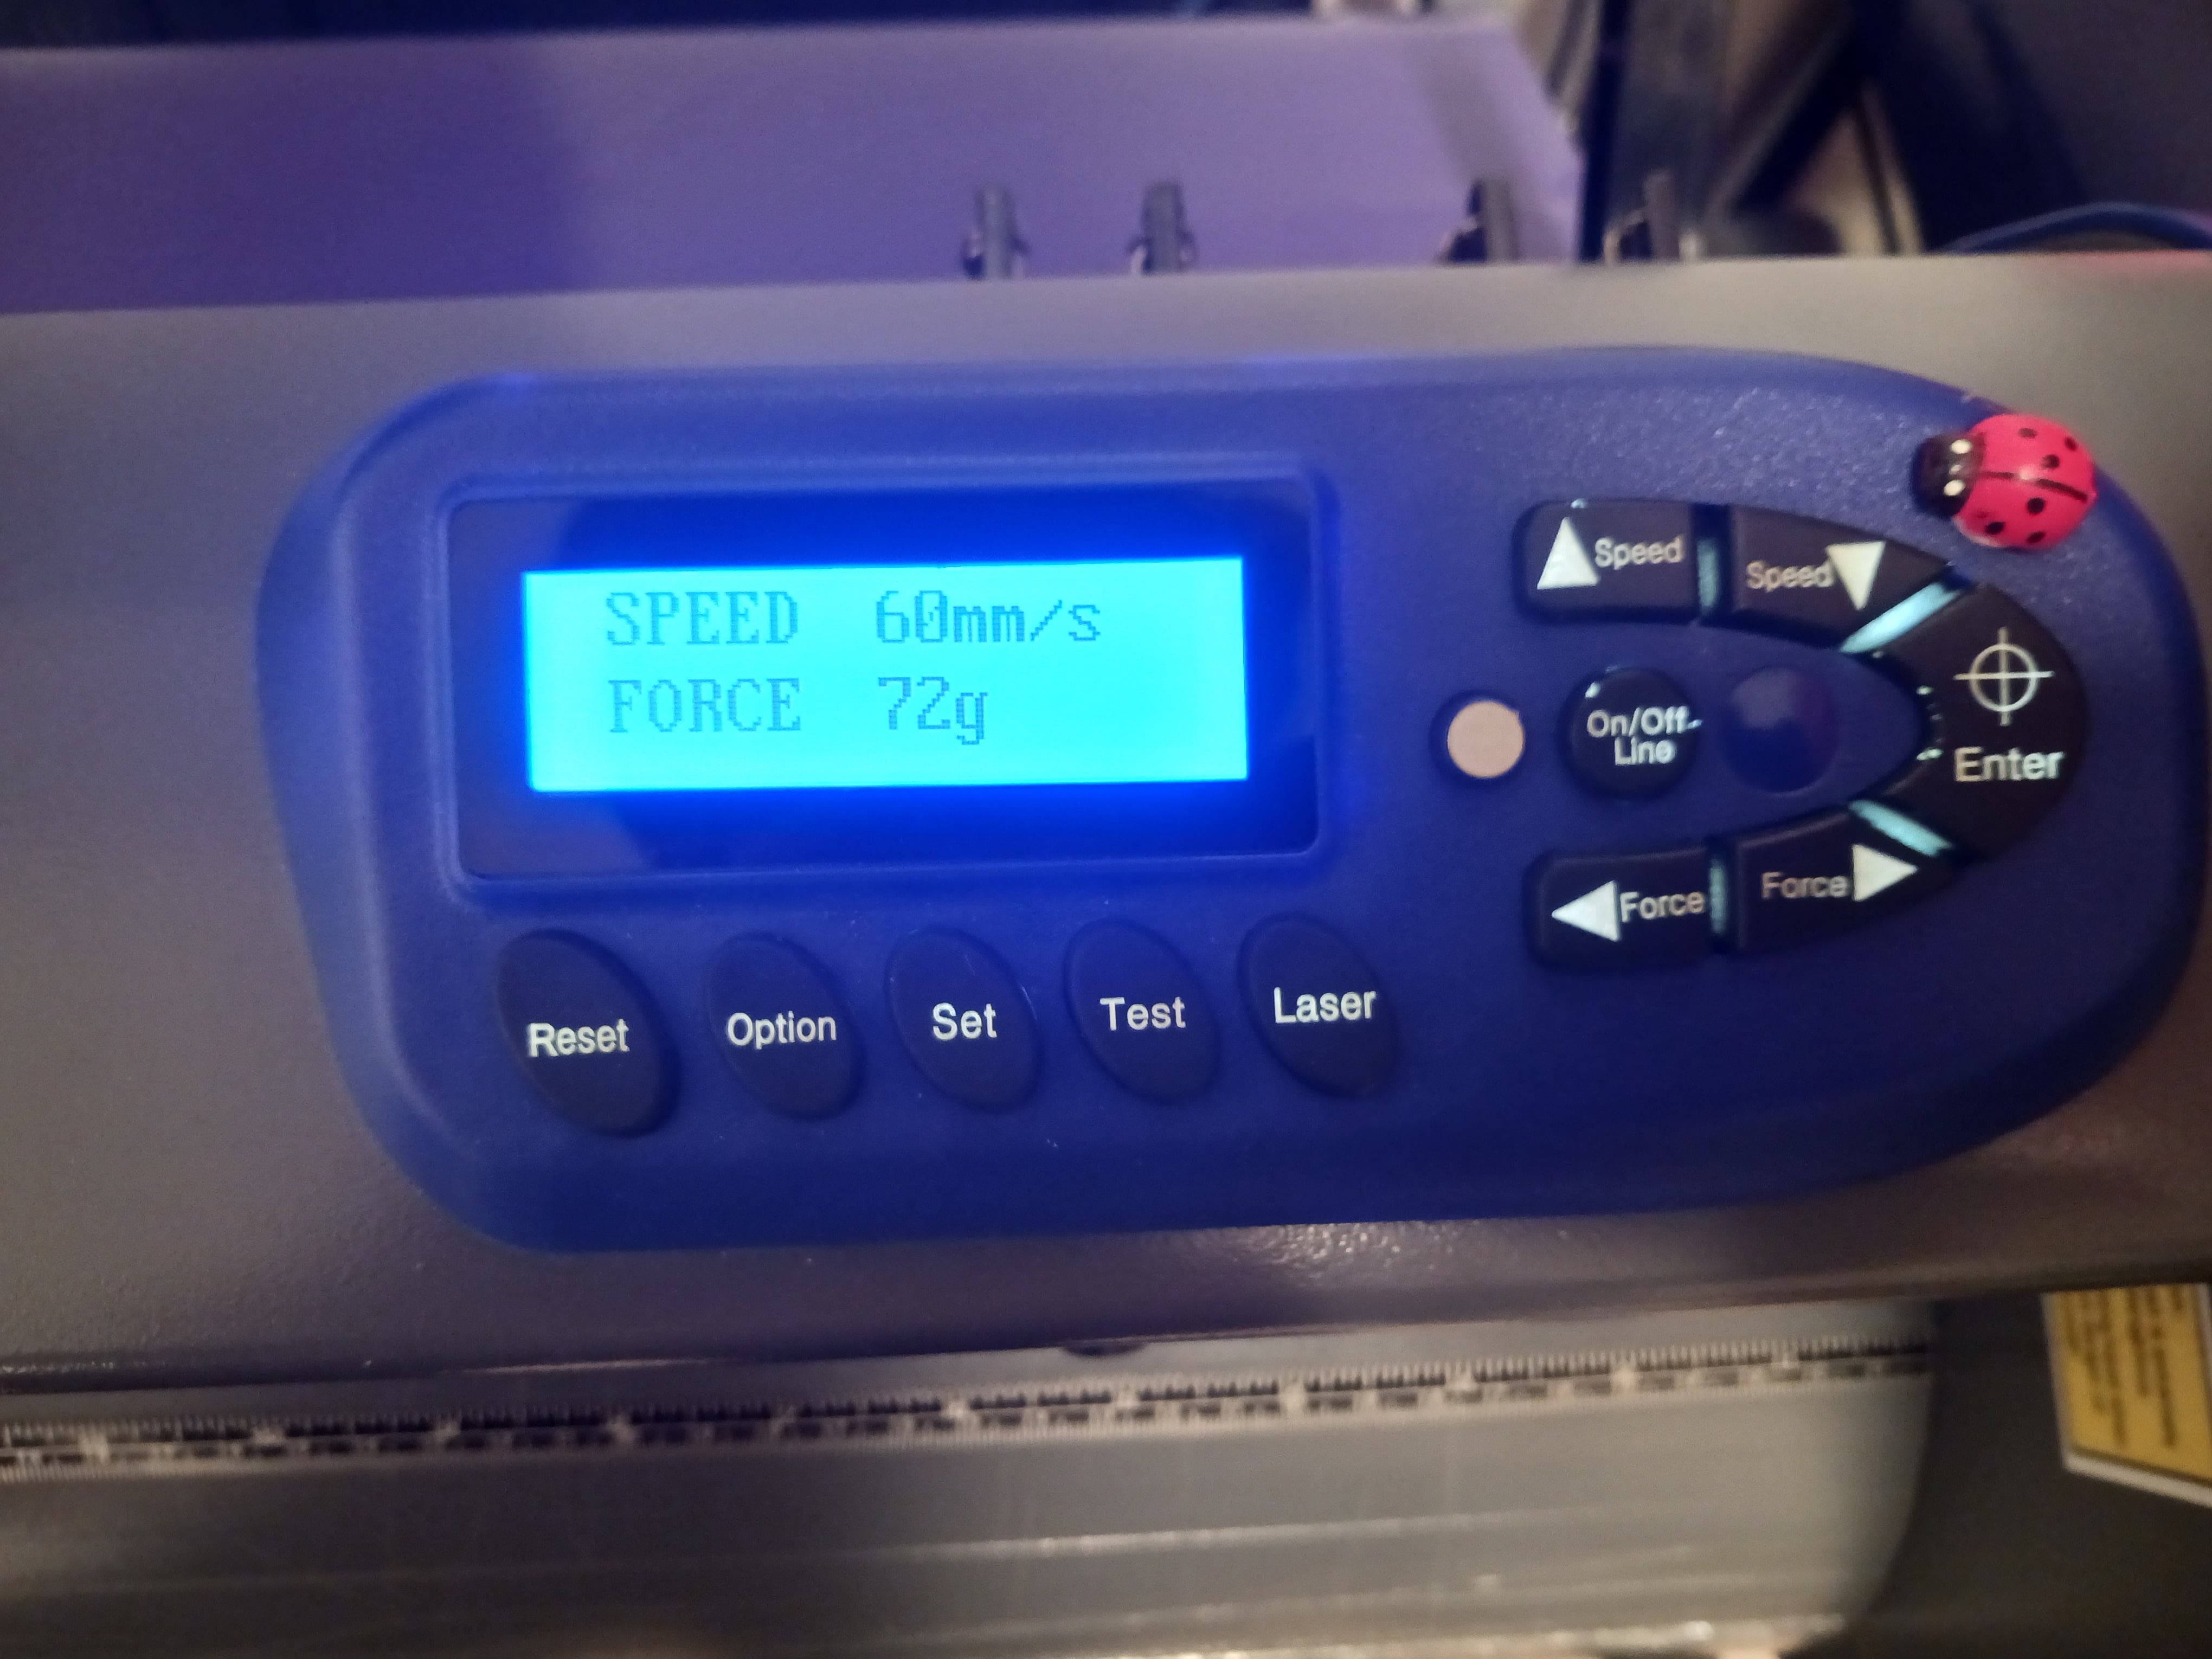
In Epilog, I had to change the settings of the vector-cut speed, power, and frequency to 30%, 40%, and 10%, respectively, which are the safe settings to vector-cut cardboard based on our lab instructions. I also made sure the air assist is on to blow out fume and smoke from the path of the beam.
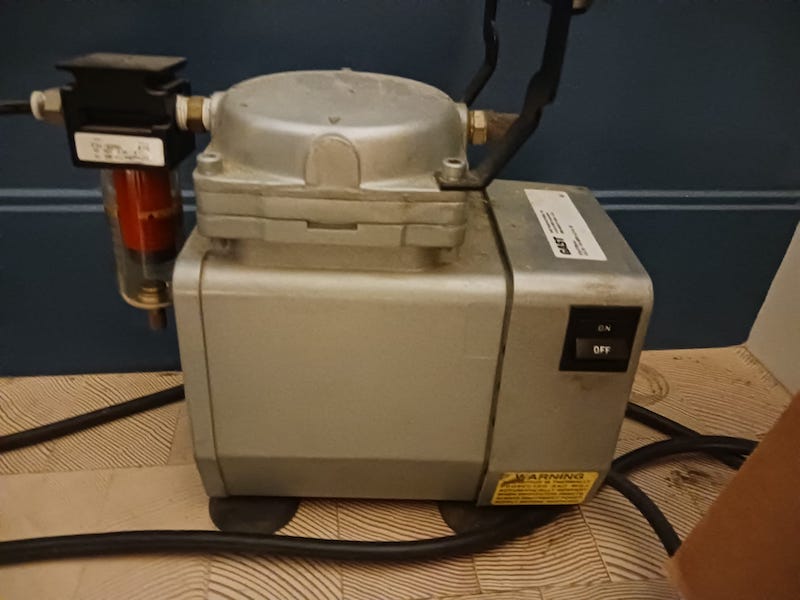
Then, I turned the actual Air Assist using its switch after turning the laser cutter and the building's ventilation system on.
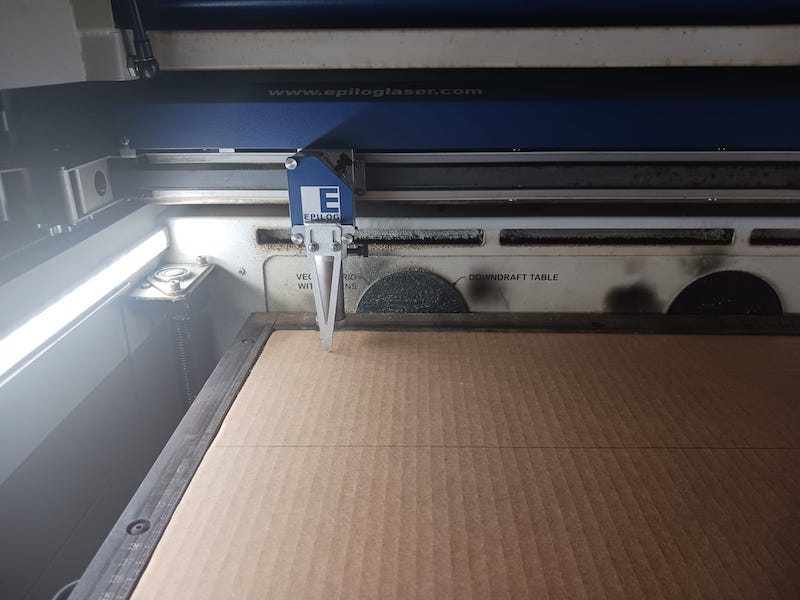
Next, on the settings on the machine itself, I had to change the focus, which is the height of the bed. I moved the joystick until the bed hit the focus beam triangle. I then navigated to jog to move the beam to the top left corner to make sure the board is not cut in the middle. By pressing the joystick both after focus and jog, I set the position of the beam and the bed. I then closed the laser cutter and were ready to press Go.
I have the following pieces ready for now. I assembeled them to make the drone frame. Since, I took the kerf into account, they fit together very well, so the drone frame is quite sturdy.