- Assignments
- Digital computation
- Knitting
- Setting up the machine
- Ladders
- Punch card mechanism
- Lace
- Stripes
- Wearables
- Testing the resistance range & reflection
- Links
Wildcard Week: Knitting
This week I focused on machine knitting electronics, something that I have done before but wanted to go more in-depth in. I want to make wearables to control the motion of the motors for my final project. This way I can research the visual translation of body language. I’m using a combination of conductive yarns (copper and stainless steel) and natural yarns like wool, silk, cotton and linen as well as some synthetic yarns. I was very excited for this week and wanted to knit a lot, learning more about pattern making in knitting. However I managed to be very sick for three days, so that decreased my output for this week significantly. I still tried various techniques and made simple mittens to capture hand motion.
The conductive yarn I’m using is from Bart & Francis which is an amazing (and hilarious) Belgian yarn company. The non-conductive yarn I used is from various locations of Gideon Italiaander (a second hand and random wholesale stock chain in Amsterdam) and my mom.
Assignments
| Progress | Task |
|---|---|
| Done | Documented the workflow(s) and process(es) you used |
| Done | Described problems encountered (if any) and how you fixed them |
| Done | Included original design files and source code |
| Done | Included ‘hero shot’ of the result |
Digital computation
The digital computation aspect for me in this week is the analog resistance value processing that I will use the knitted sensors for.
There are others ways to incorporate digital fabrication into knitting but I didn’t get to that this week. Ways a computer can be involved in my design process:
- Creating a pattern for knitting
- https://www.knititnow.com/: this is a website that you can enter your measurements and the characteristics of a swatch for the technique & yarn that you’re working with, and it will adapt knitting patterns for you accordingly. I wanted to make something more complicated than mittens first, but I didn’t have time to do that yet
- Creating punch cards with the laser cutter
- https://oknitme.serpicanaro.org/#: here you can convert black and white images to punch cards that you can then lasercut
- http://www.cemyuksel.com/research/stitchmeshes/: here are some good papers on knits and meshes that I would love to look further into
Knitting
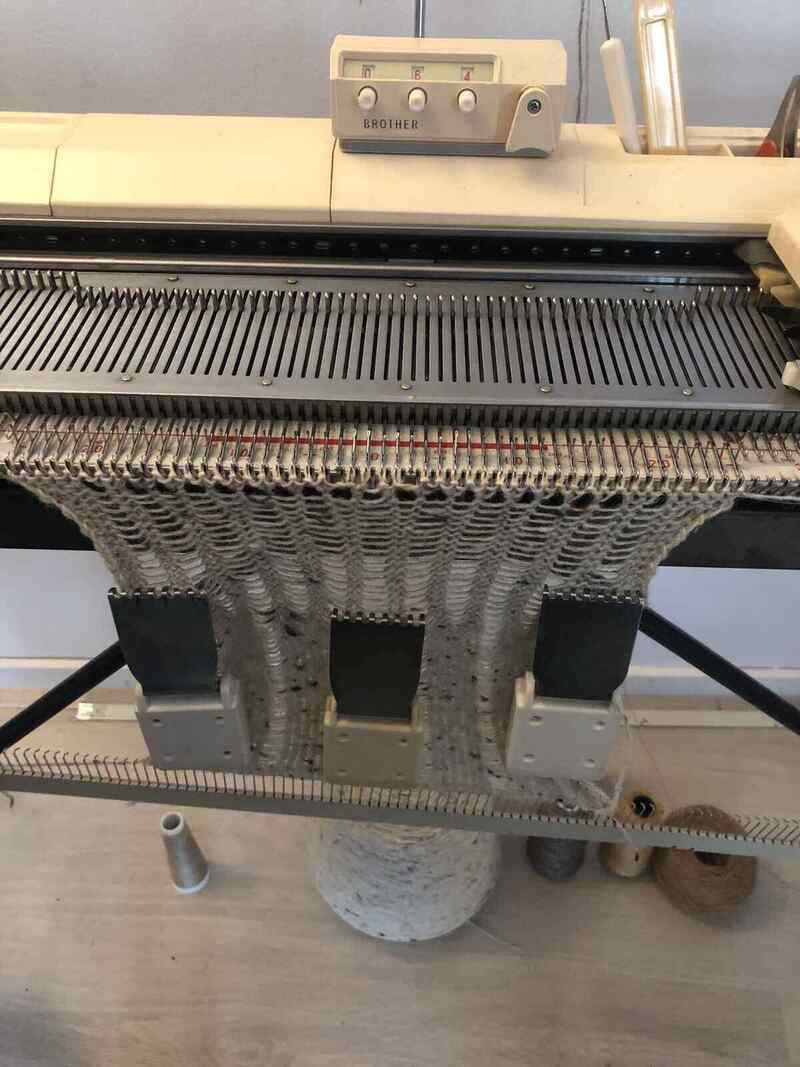
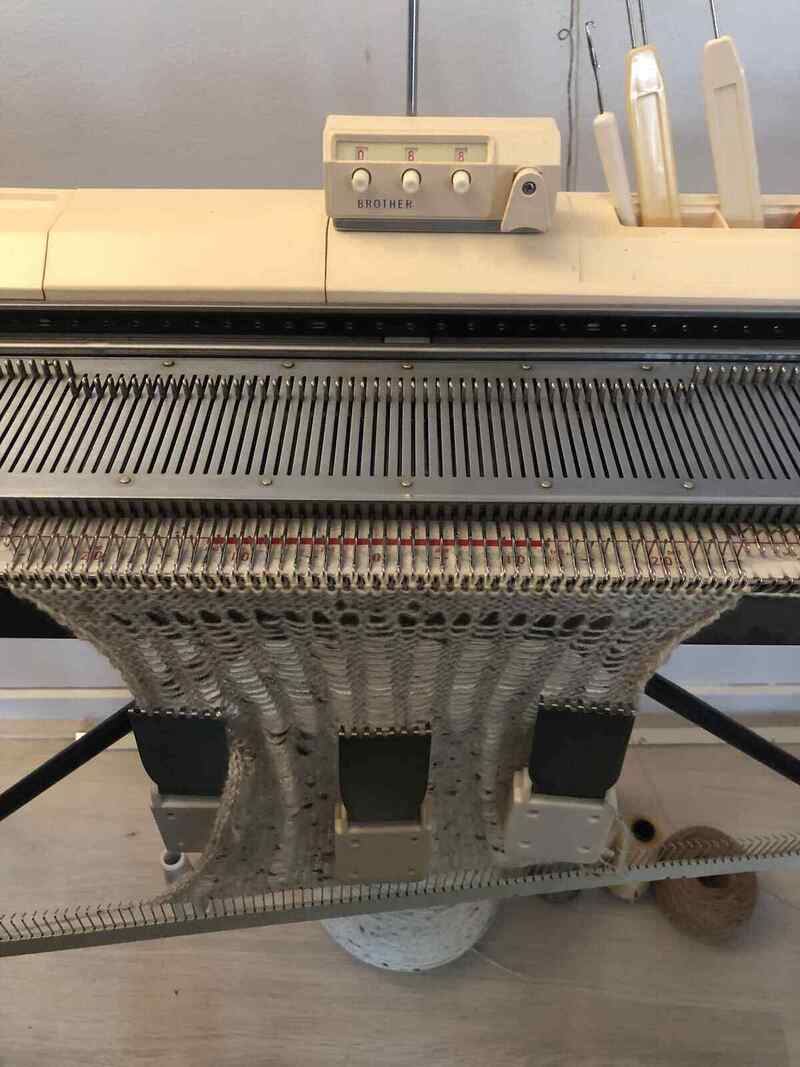
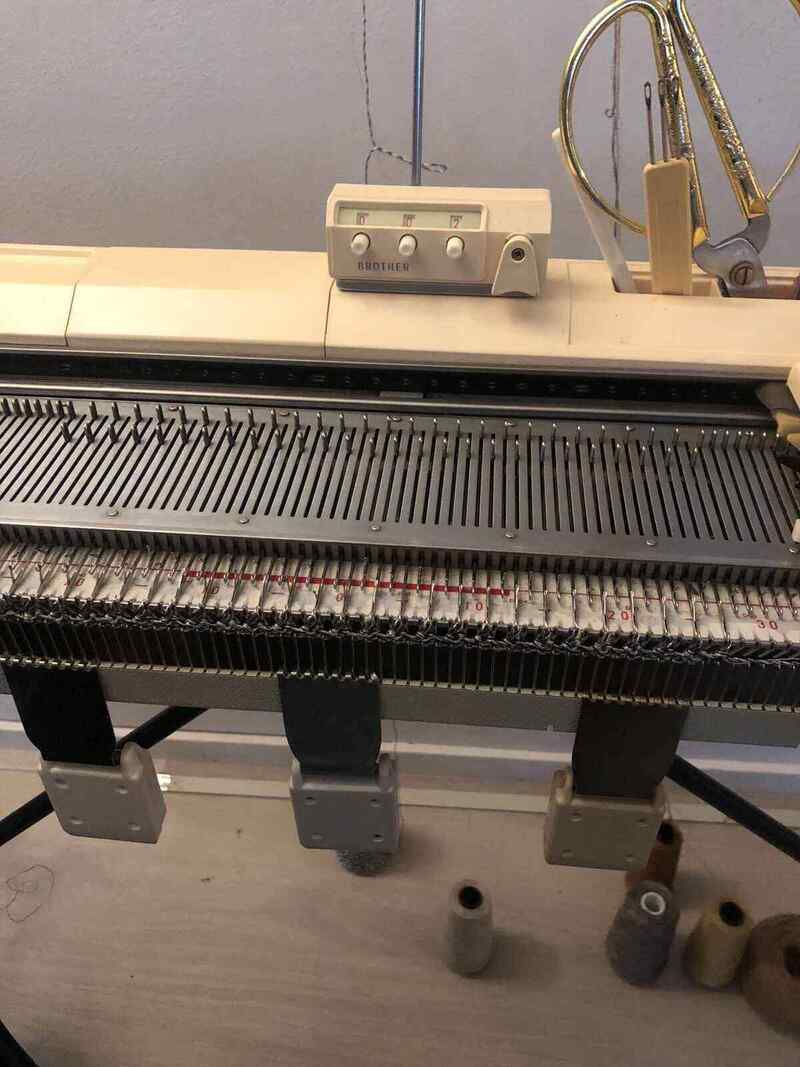
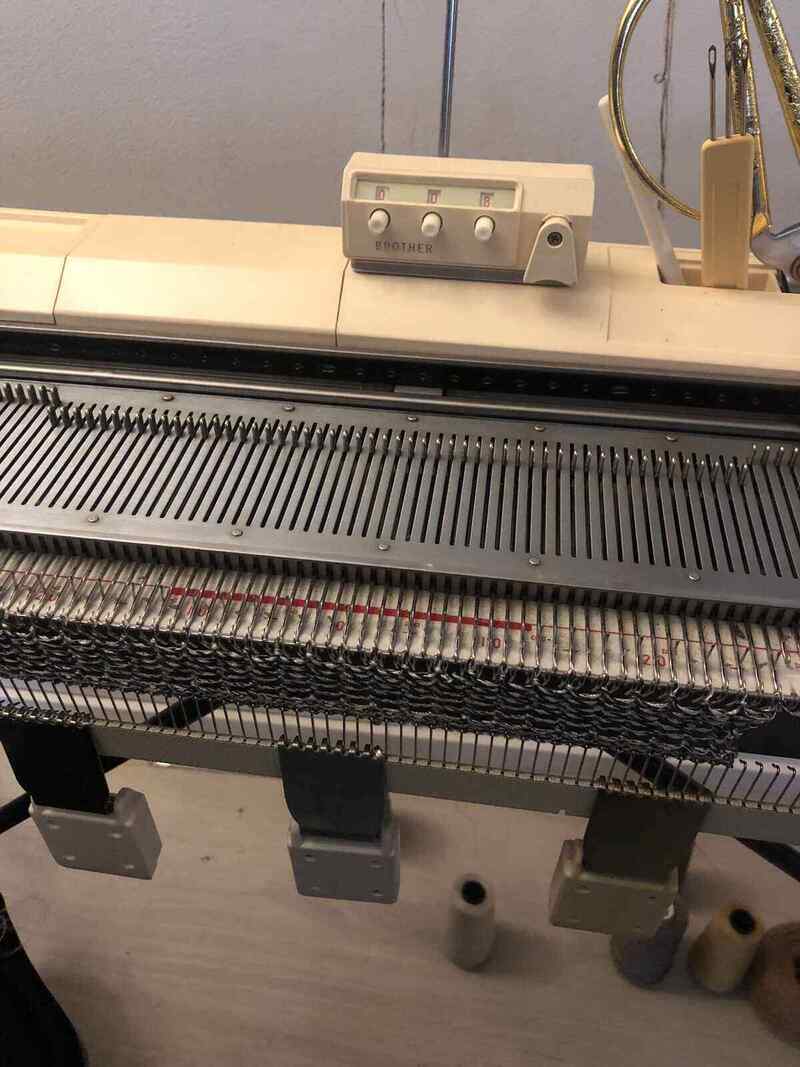
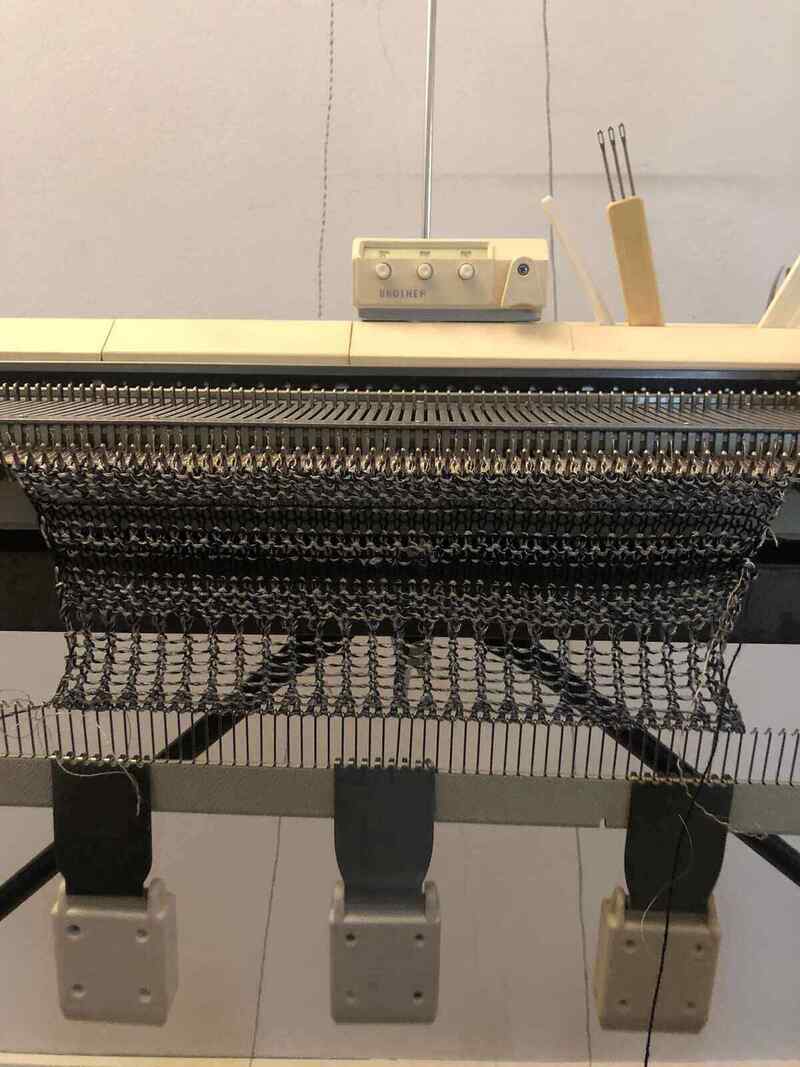
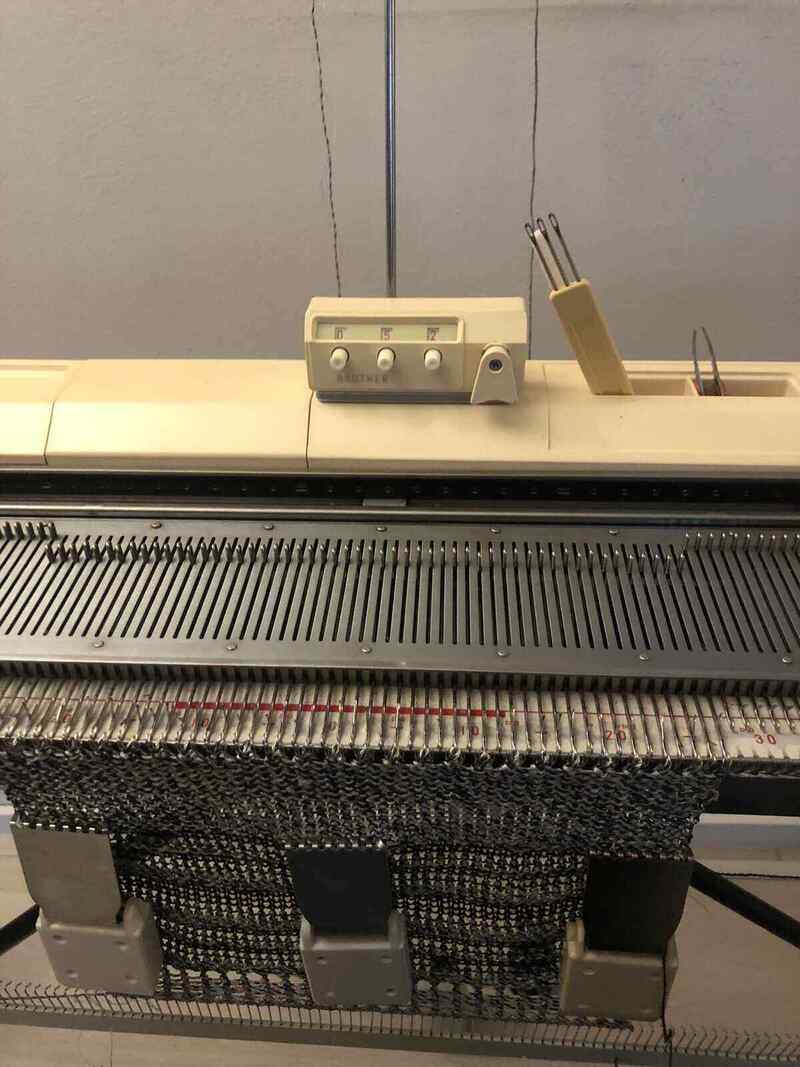
Thursday morning I started out by bringing my knitting machine down to the fablab that I had stored in the textilelab upstairs. I have two knitting machines, one at the Waag and one at home. The one in the Waag is the one that works best: it’s a Brother KH-860 (manual can be found here). I have a Brother KH-830 at home which functions exactly the same, but has some issues with the punching card mechanism that I’ve been trying to fix for a while (cleaning and oiling, taking it apart, replacing the sponge bar etc.) but to no avail. It still functions fine as a knitting machine without the punching card mechanism.
I have made these instruction cards for a previous knitting workshop, that explain the steps of how to knit a plain knit and how to knit with a punching card; this is the same process I used for all (punch card) knits. I did use two types of casting the knit off the machine which I will explain a bit further on.

I tested the machine with a small swatch using a simple punch card that I had. A while ago, someone accidentally spilled coffee on my machine and it got everywhere in the machine; I cleaned it as much as I could and tested it right after, but I was a little worried about corrosion or other issues in the long run. Luckily, everything worked just fine.
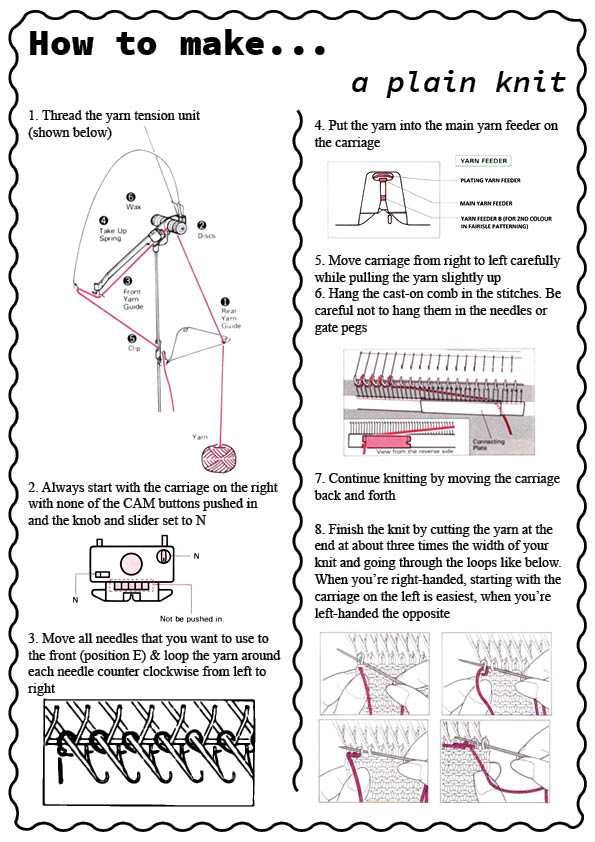
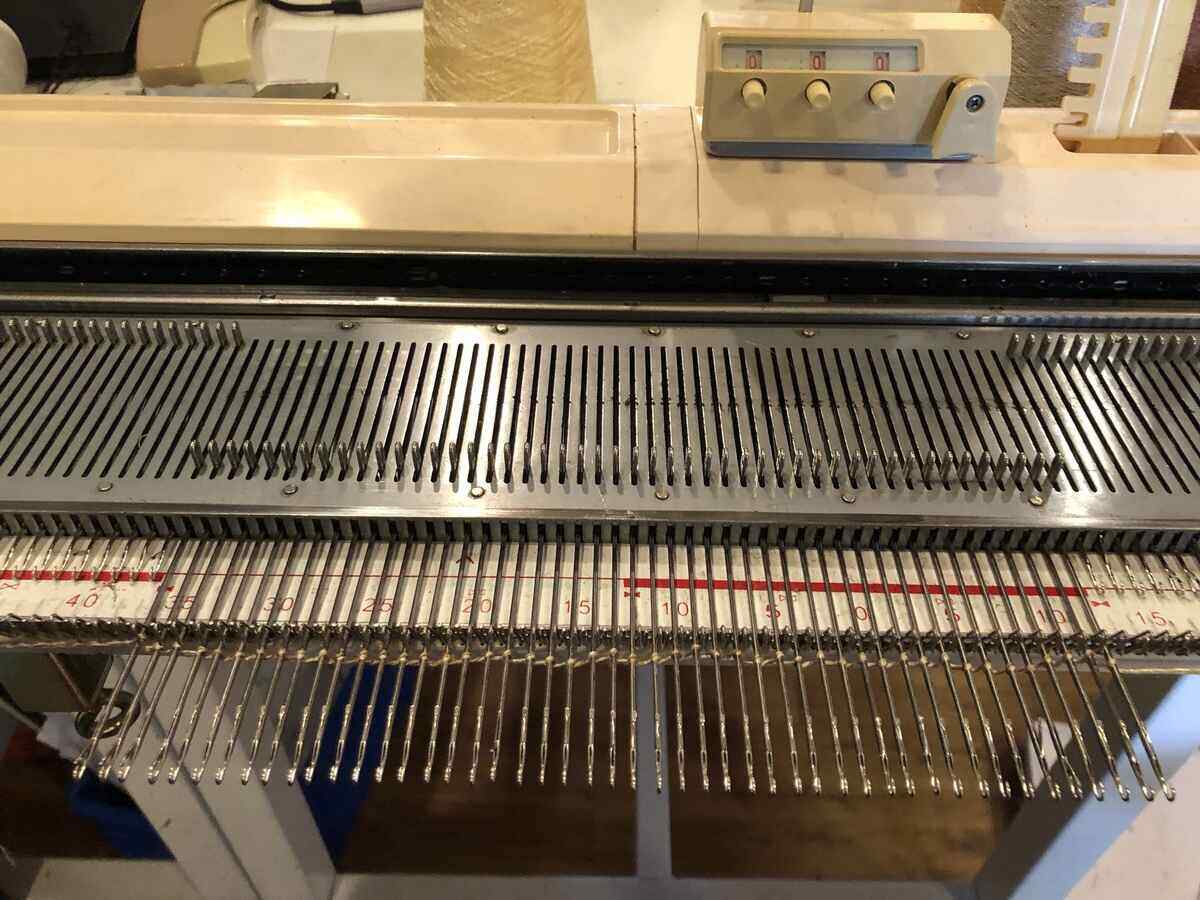
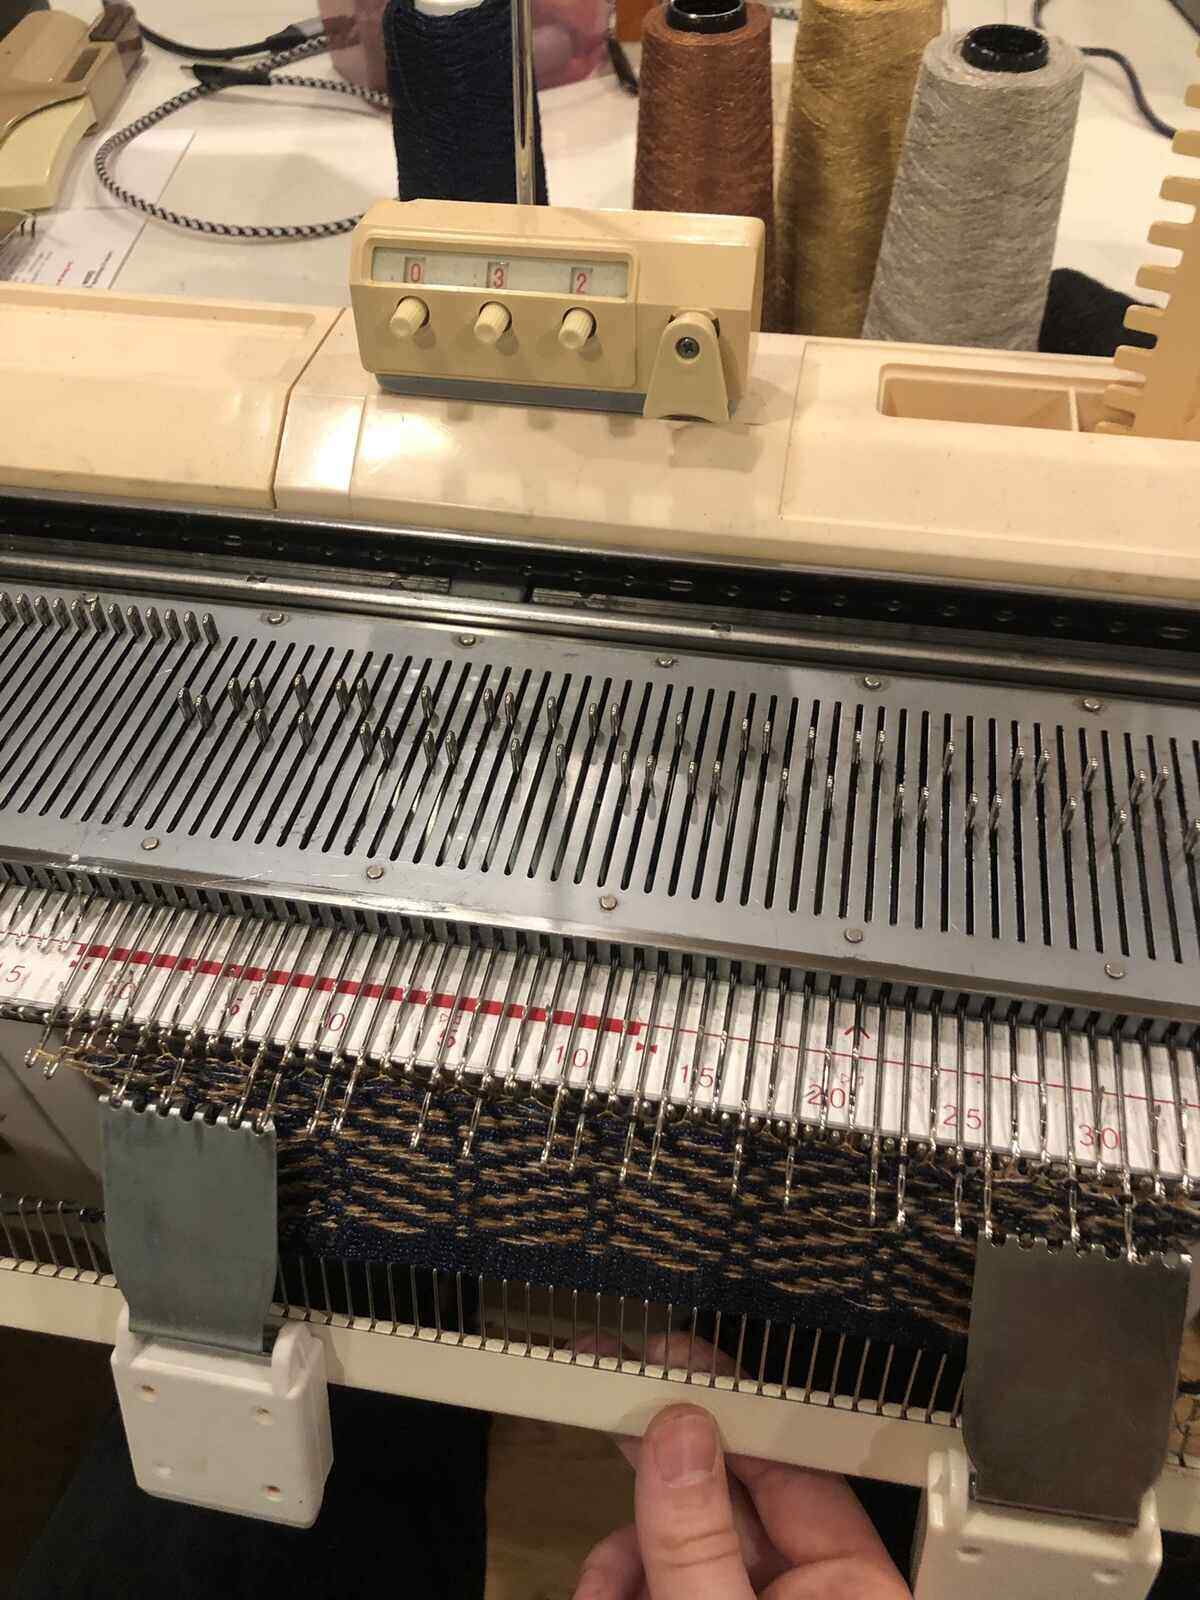
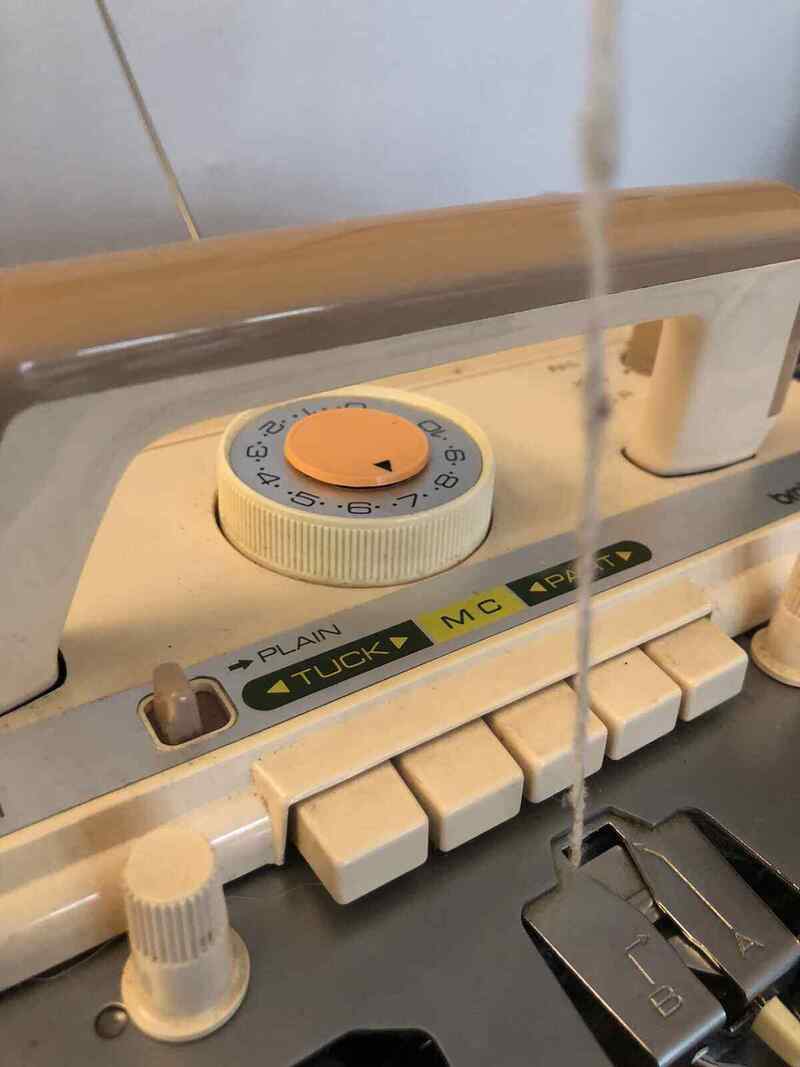
Setting up the machine
To start, push all needles you want to use to the front like this:
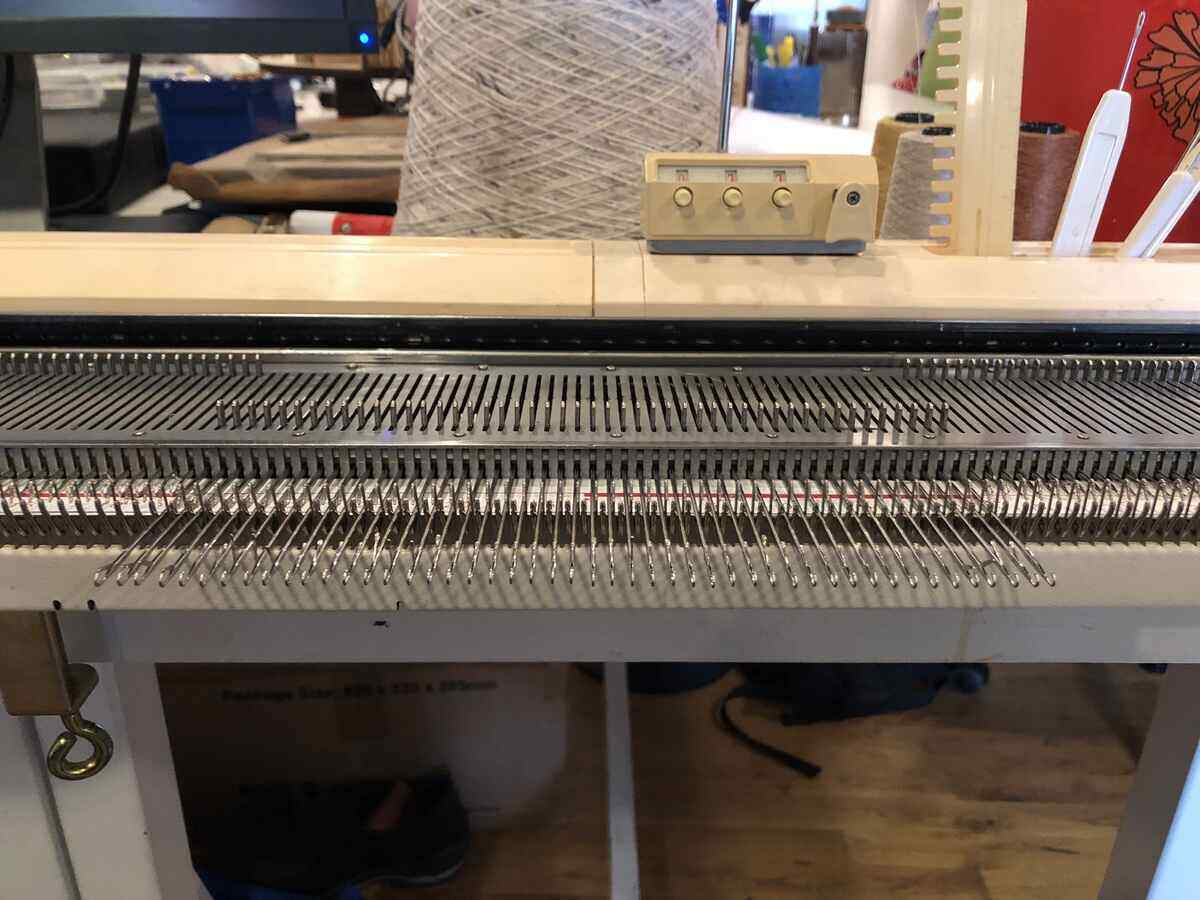
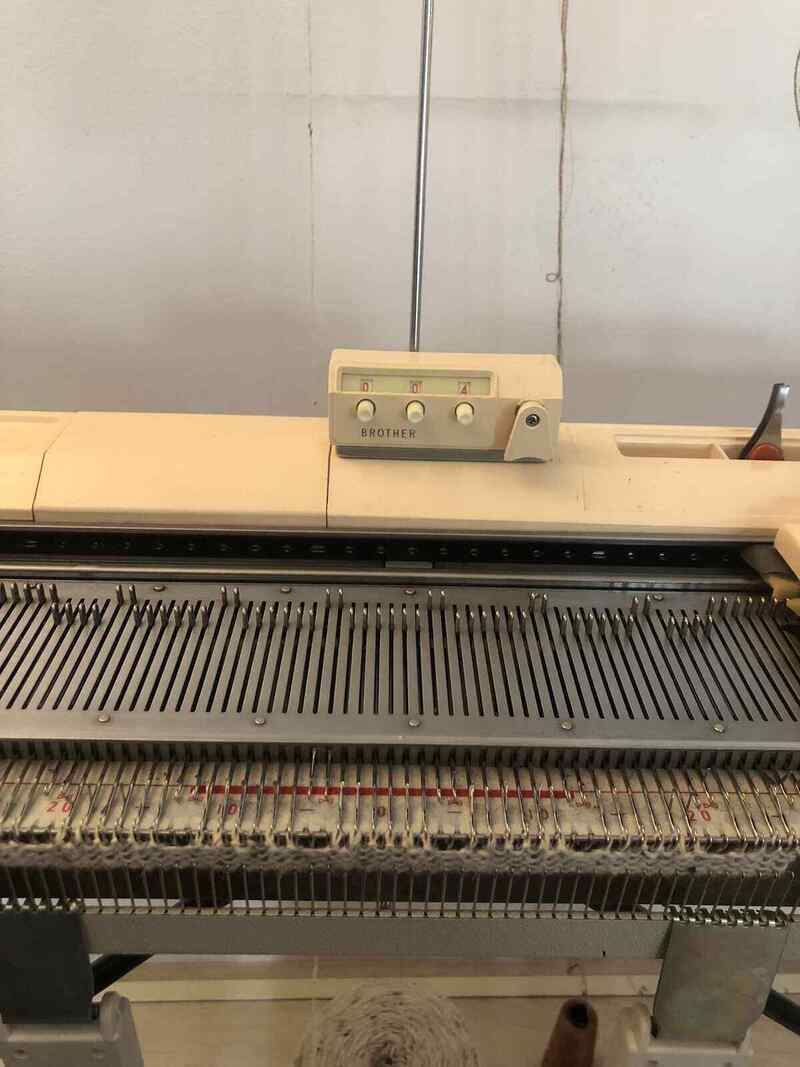
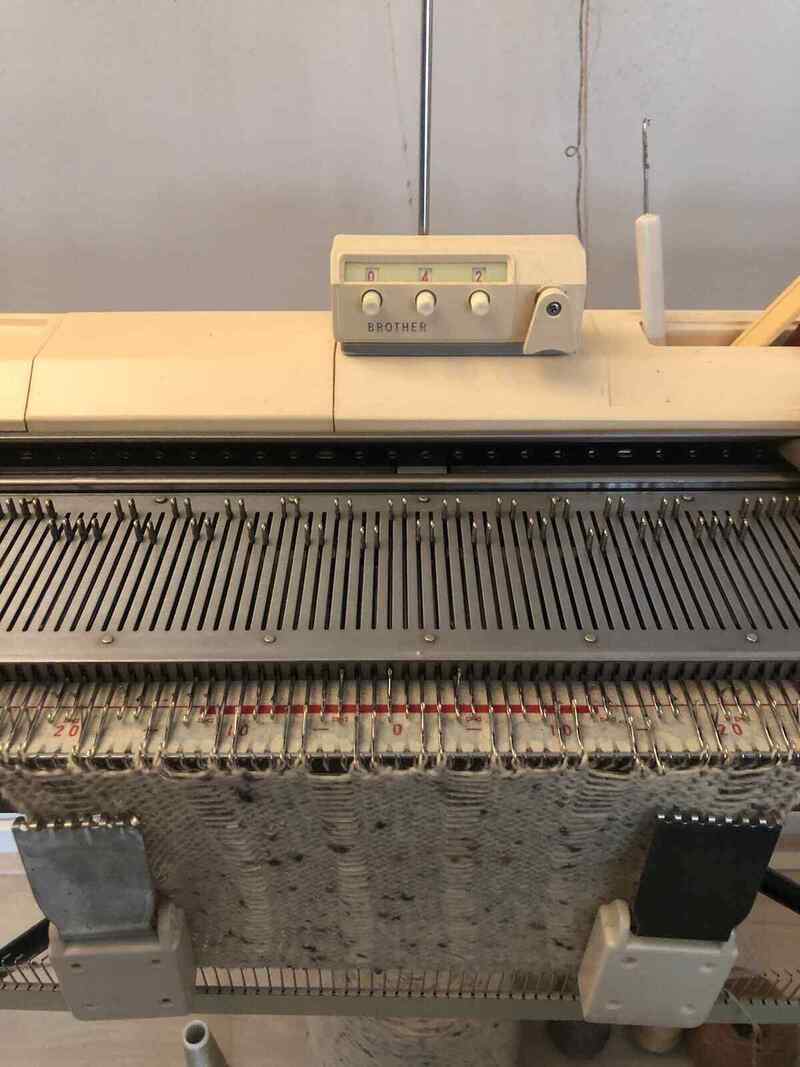
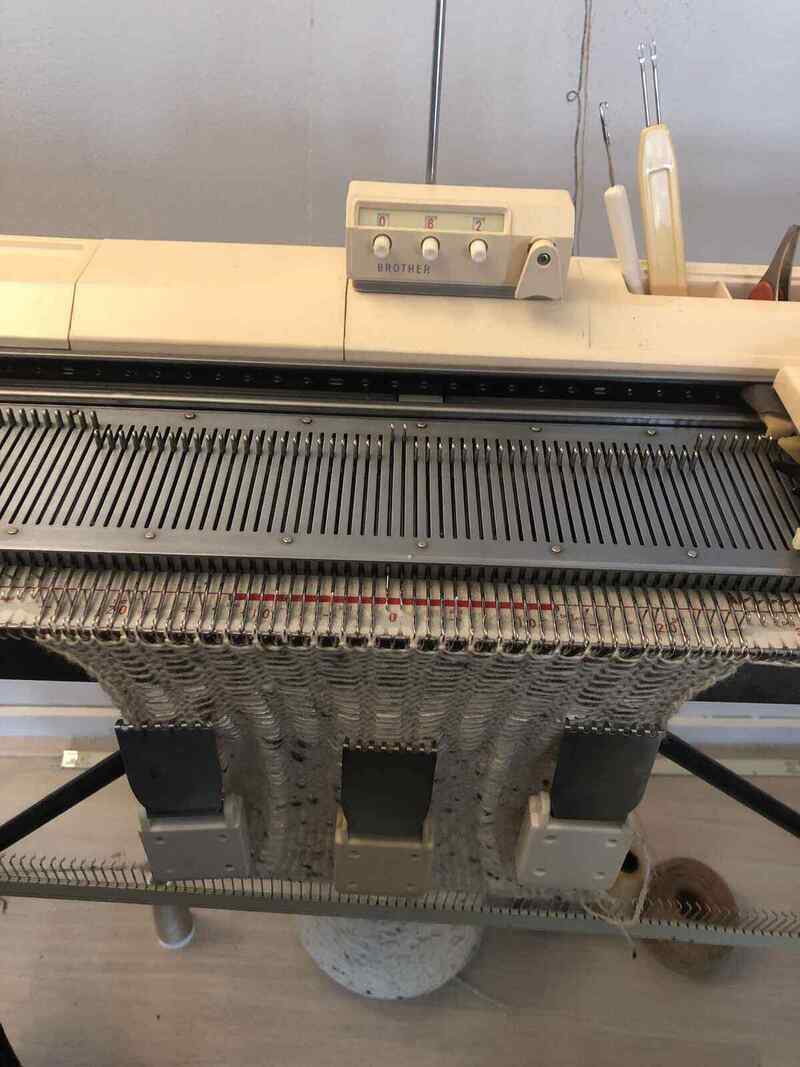
There is a row counter in the middle of the machine that you can use to keep track of where you are in your knit. This is especially necessary when you’re knitting a pattern and need to decrease/increase stitches at specific row counts, or if you need to change yarn at specific rows.
I inserted some conductive yarn that was twisted together with linen and added a fun light yellow polyester yarn. The round knob in the middle of the carriage is used for the stitch size. In this case I used a stitch size of 5.
For a nice cast-on, I wrapped the yarn from left to right, counter-clockwise around each needle. The carriage is on the right.
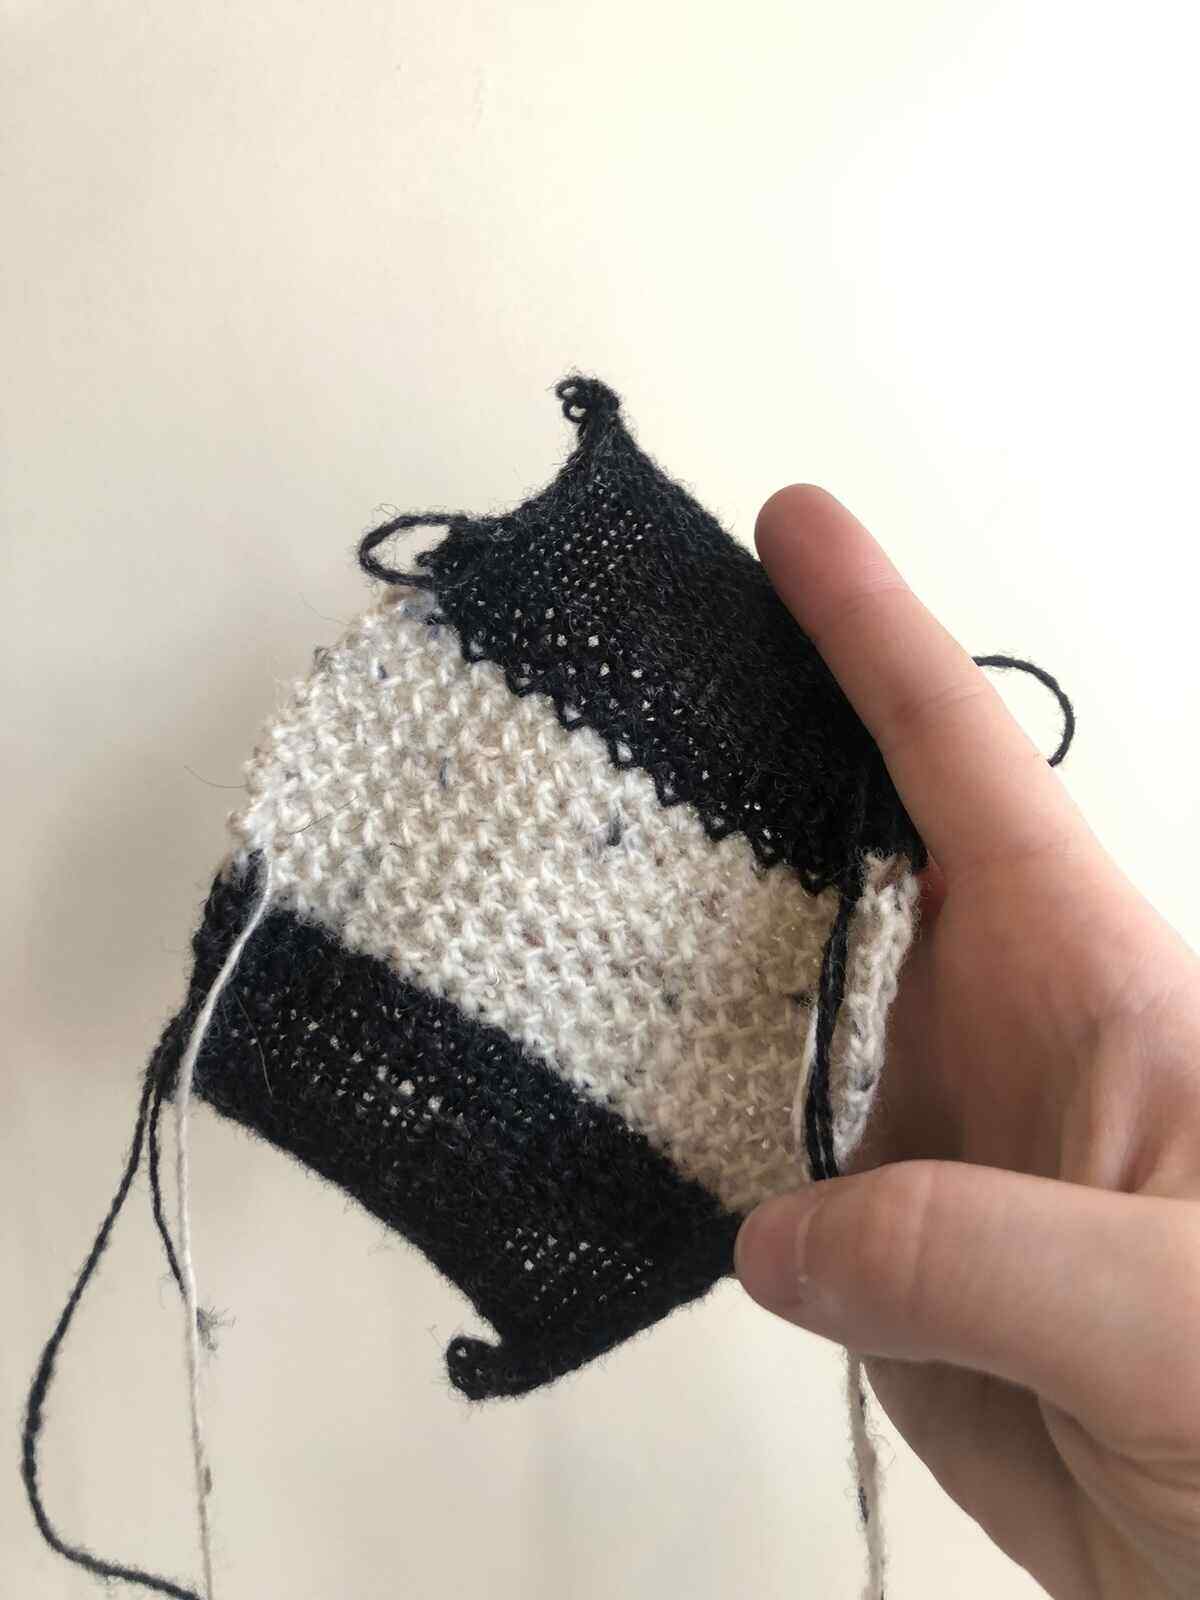
Ladders
For this knit, I wanted to play with ladders. This is something easily done with the transfer tool. You have to move stitches from one needle to another, then disable the needle that you transfered the stitch from by pushing it back into the A mode. Here you can see a timelapse of the entire knitting process:
This is the resulting knit (front and back). When knitting, the back of the knit is facing you (unless you want the back to be the front, no one is stopping you).

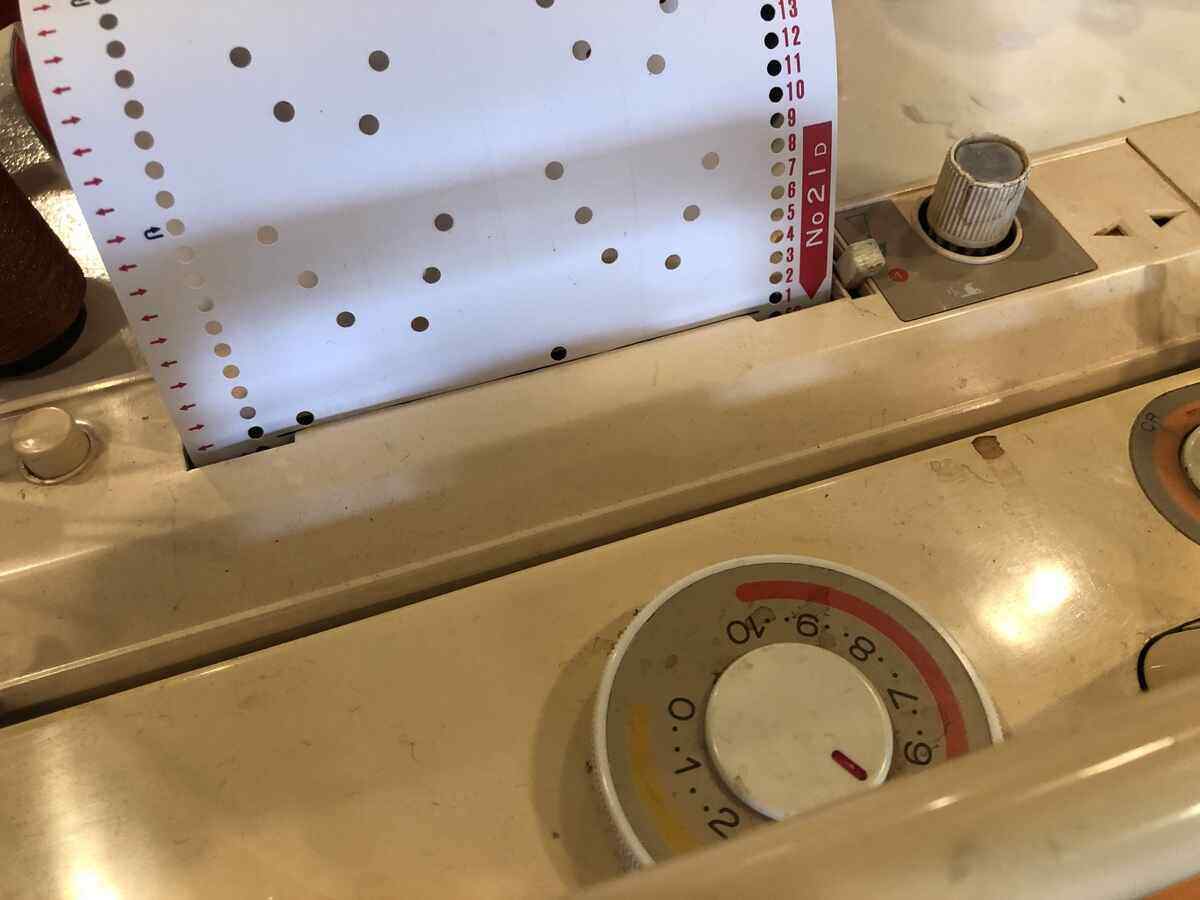
Punch card mechanism
I tried asking ChatGPT to explain the punch card mechanism so I wouldn’t have to do it, but it wasn’t really accurate enough so I had to use my own words instead.
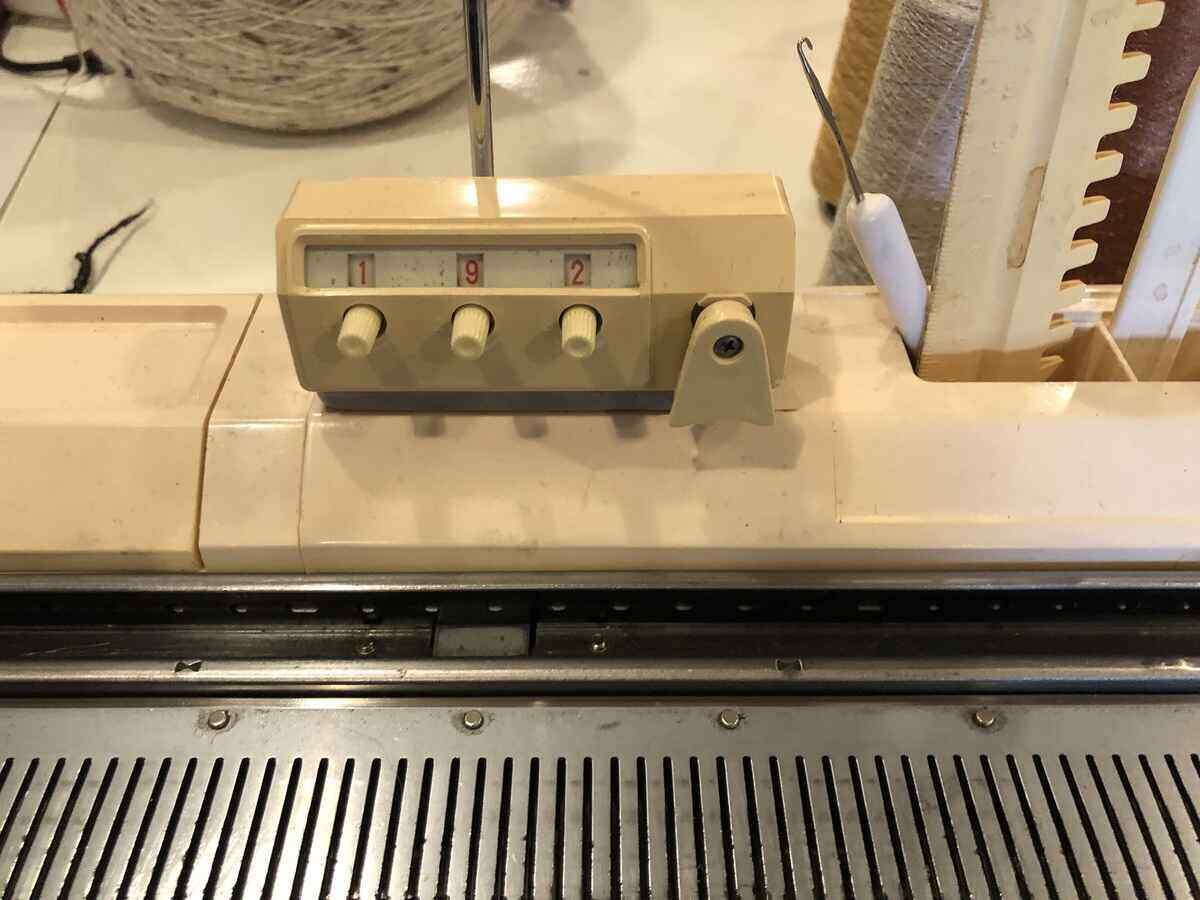
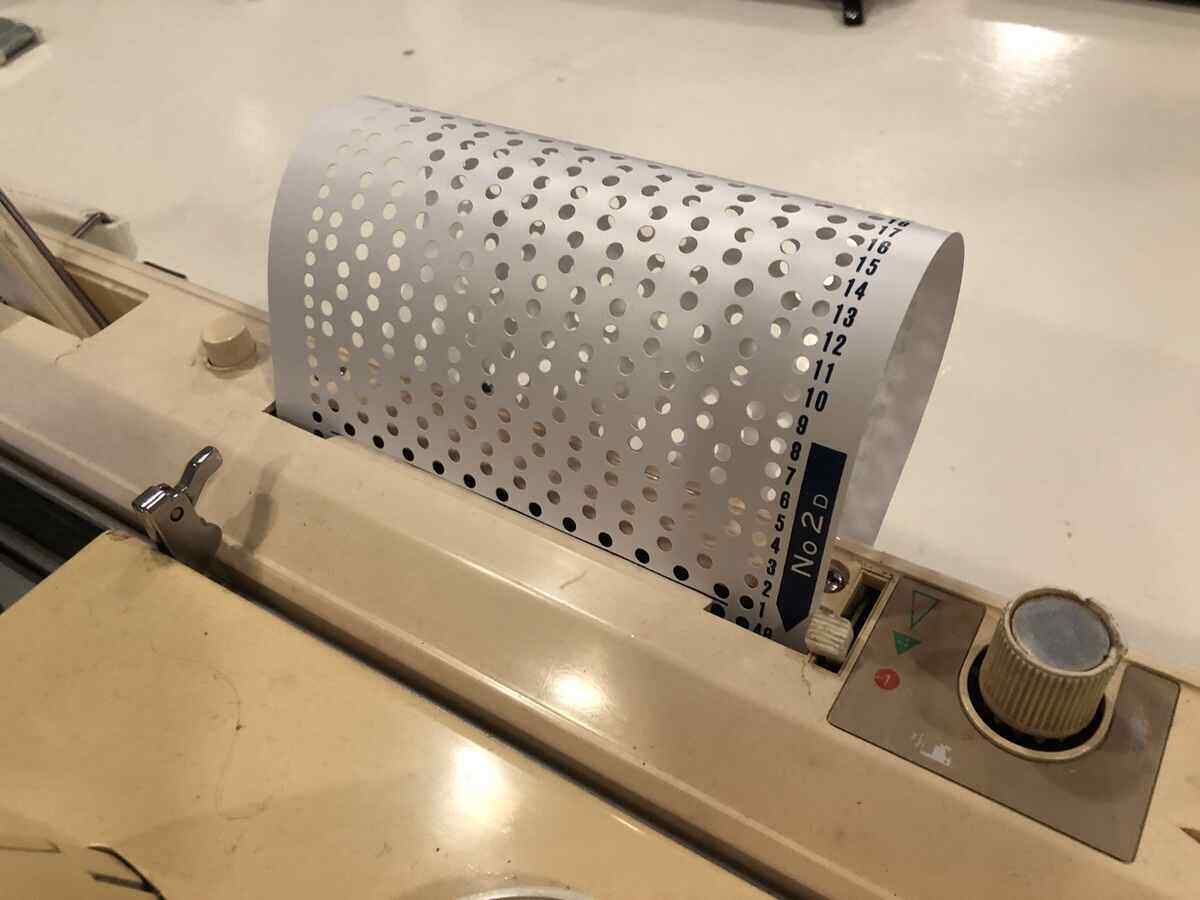
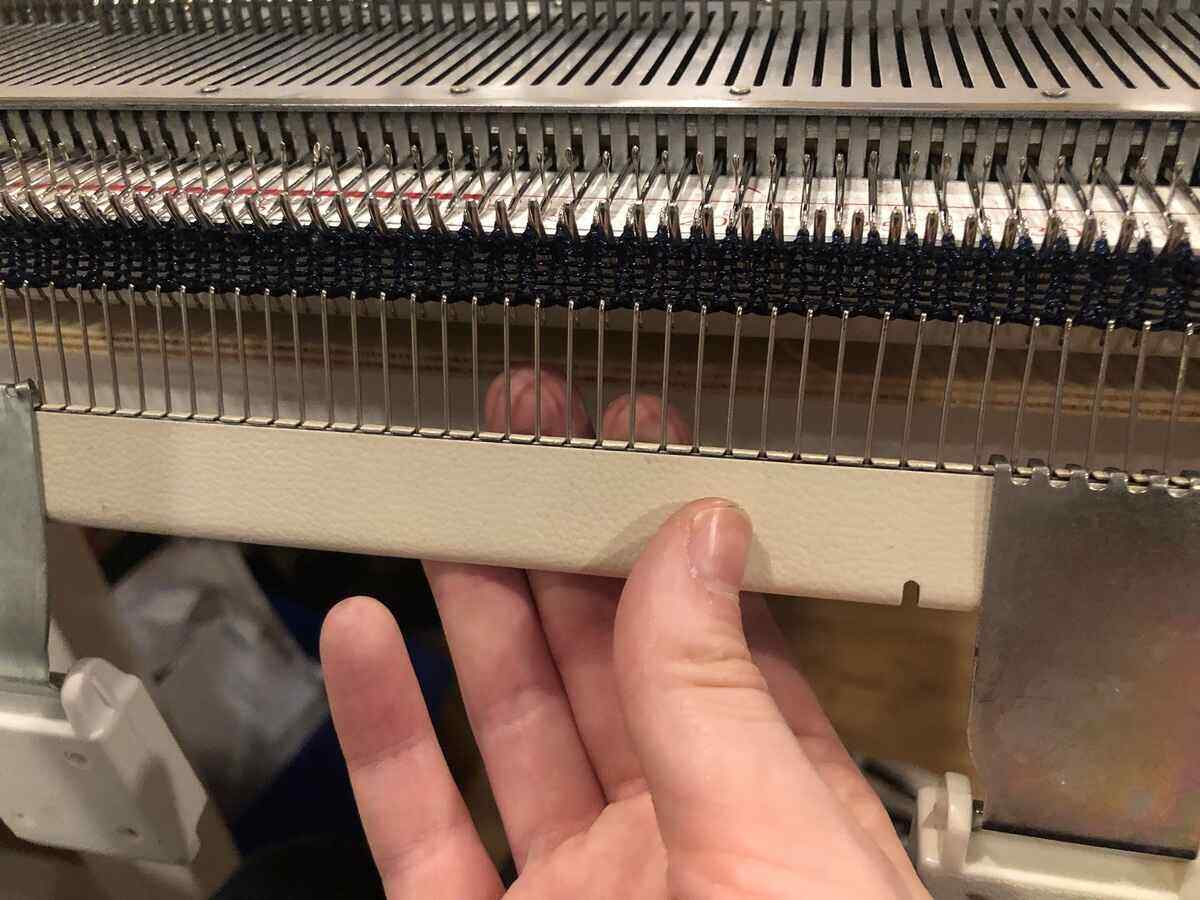
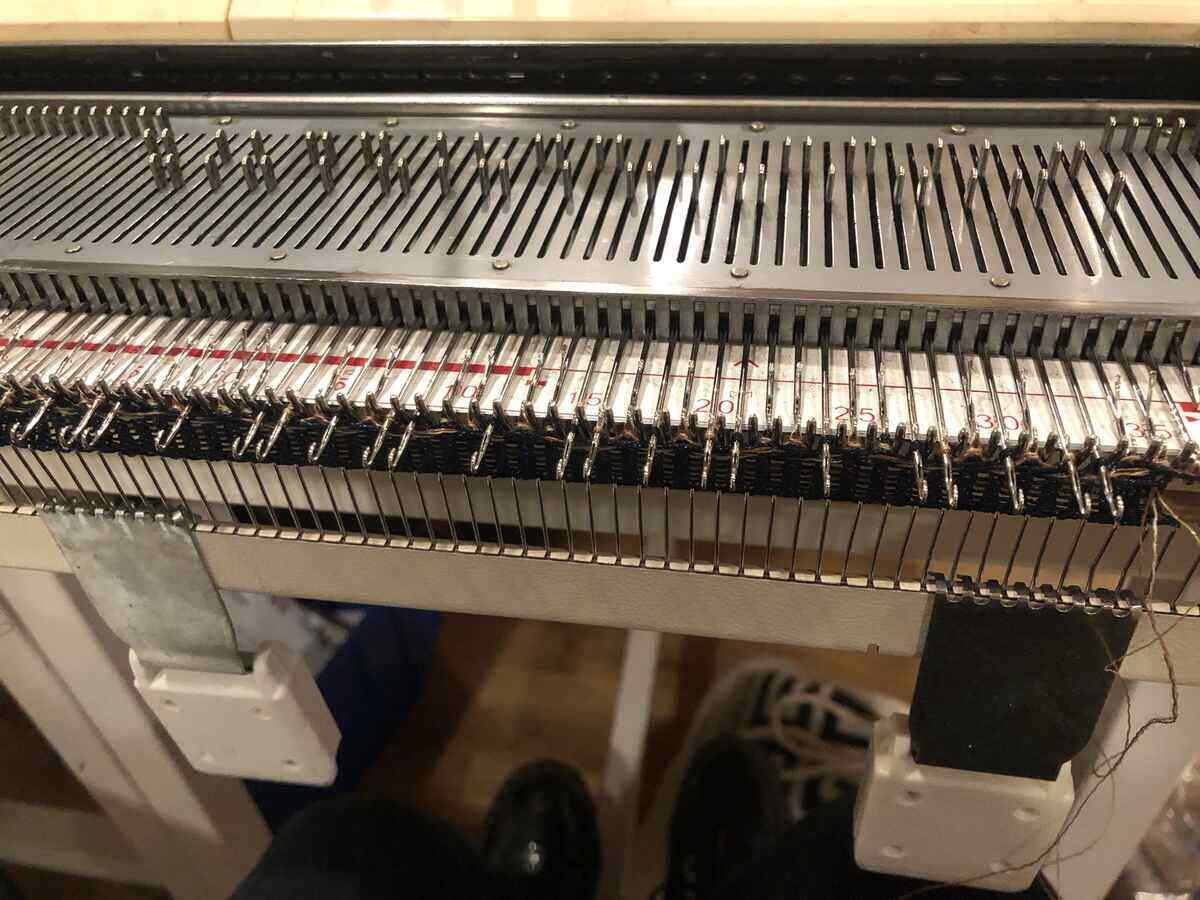
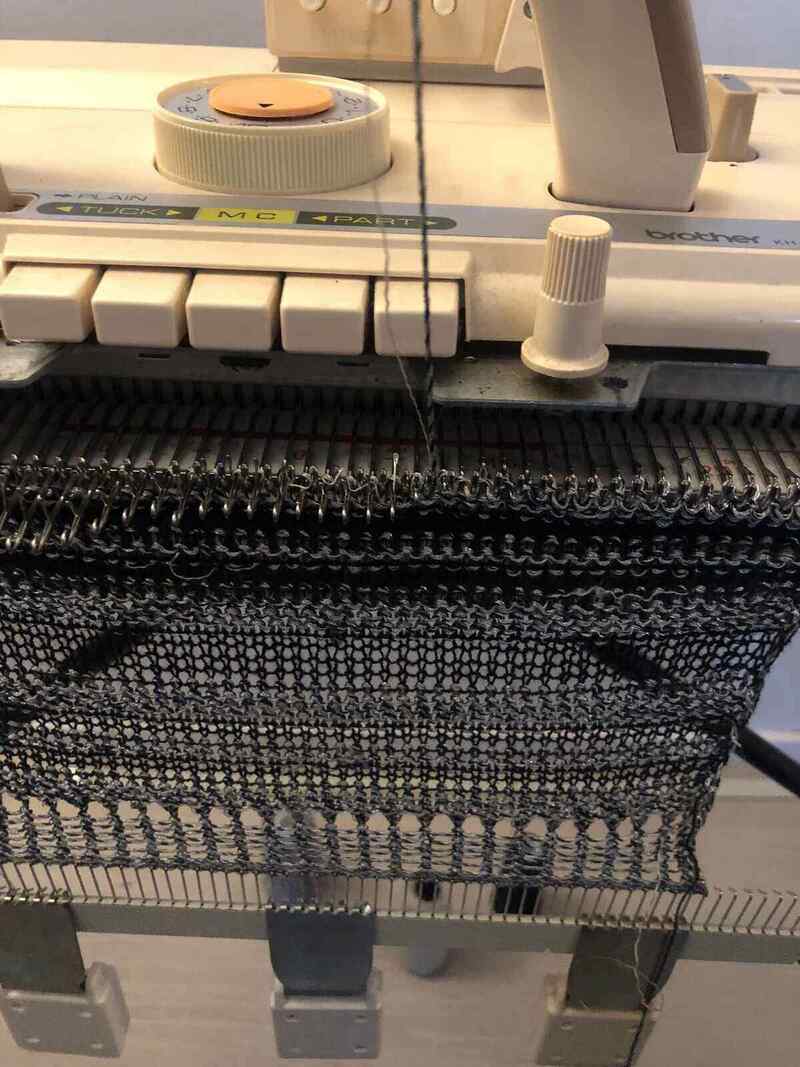
A knitting machine punch card mechanism is basically binary: the cards consist of a grid of points that are either punched or not punched (1 or 0). On the machine, this corresponds to needles being in either the standard B position (not punched, 0) or the slightly more protruding D (punched, 1) position. Each row of a punching card is 24 stitches/needles wide. The pattern is then repeated across the full width of the knitting bed depending on how many stitches used. On the bed itself is indicated with colors where the pattern repeats itself. Depending on the kind of knit you’re doing (selected with the buttons on the carriage or by use of the lace carriage), the needles in the D position do different things.
There are three types of knits you can do with the buttons on my machine: tuck stitch, skip stitch and multi color (‘jacquard’). I also have a lace carriage which is used with lace punch cards to make lace knits. I again asked ChatGPT to explain the difference between these techniques; this time the explanation was almost okay except for the multi-color part, so I wrote that part myself, and I removed some unnecessary sentences here and there.
-
Tuck Stitch: Tuck stitch is a technique where stitches are held in place on the needle for multiple rows, creating a raised texture on the knitted fabric. In a tuck stitch, the knitting machine holds certain stitches in a non-working position while others are knit as usual. This results in loops of yarn forming on the front side of the fabric, giving it a textured appearance.
-
Skip Stitch: Skip stitch, also known as slip stitch, is a technique where certain stitches are intentionally skipped or slipped without knitting them. This creates elongated stitches or “floats” on the fabric, which can be used to create interesting patterns, colorwork effects, or a lacy appearance.
-
Multi-Color: Multi-color (‘jacquard’) knitting involves using multiple yarn colors in a single row or across different rows to create color patterns and designs. The yarn in the main yarn feeder (A) is the material that is knitted when there are no holes in the punch card, while the yarn in yarn feeder B is knitted when there is a hole in the punch card. The yarn that is not actively knitted forms a floating thread on the back of the knit in the case of a single bed machine.
-
Lace: Lace knitting creates delicate and openwork patterns in the fabric, often featuring decorative holes or eyelets. In knitting machines, lace patterns are typically created by combining techniques such as transferring stitches between needles, increasing and decreasing stitches, and using special lace carriage attachments.
Each of these techniques adds a unique touch to knitted fabrics and offers different design possibilities. Tuck stitch provides texture, skip stitch creates elongated stitches, multi-color allows for color variation and patterns, and lace introduces delicate and airy designs.
These are the three punch cards I worked with this week.

The punch card has to be inserted in the top right mechanism:.
Tuck stitch
This is the first test I did using that punch with a tuck stitch.
Saco also did some knitting:

Skip stitch
I filmed a timelapse of knitting a skip stitch sample (without the cast-on). You can see how long it takes to finish the end of the knit in comparison to just knitting it. There is also an intermezzo where I use a multimeter to get an indication of the resistance range of the knit. It was a usable range, but only when stretched a lot. I want more easily detectable changes with a lower stretch level since the motion I want to ‘capture’ doesn’t stretch the knit to the extreme.
Here is the result.


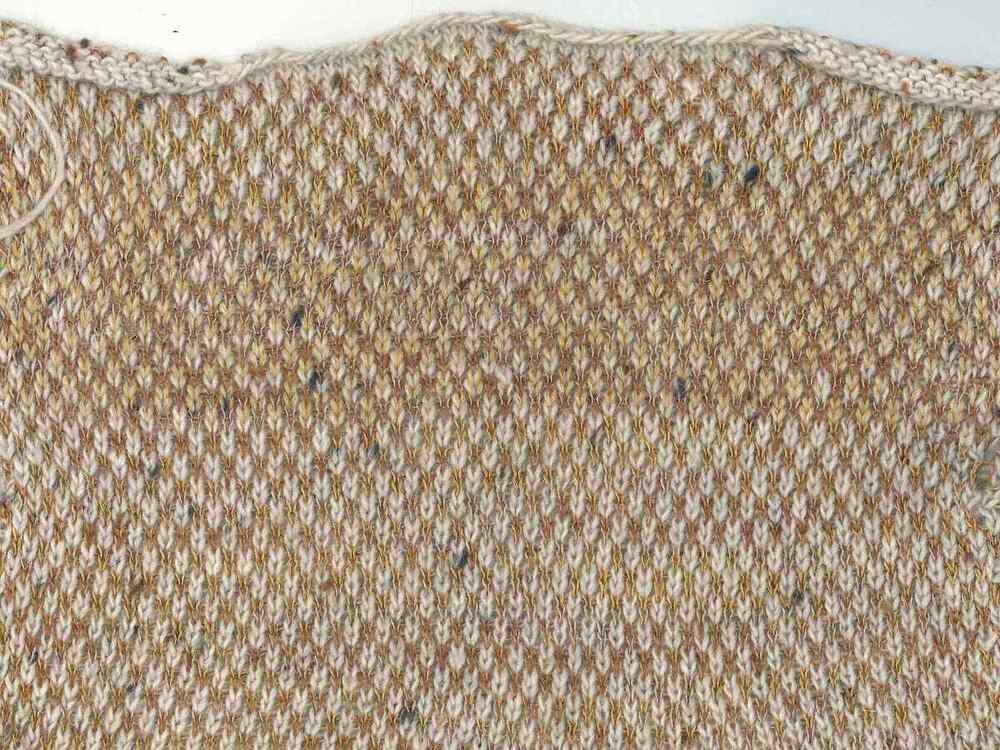
Jacquard
I used the same punch card to do a jacquard knit as well. I like the back more than the front, as it has more depth to it. I used a nice wool yarn as the main yarn and the conductive/linen yarn as the secondary yarn.
The timelapse I filmed captures the knitting rhythm pretty well. Casting on and off take a while, and troubleshooting dropped stitches is also a manual labor of love (seen halfway through the timelapse).
This is the resulting knit:

Then I used a more mysterious shiny dark blue non-conductive yarn as a base for another jacquard with a different punch card. I started with 7 rows of plain knit with a stitch size of 4:
Then I moved the carriage as far right as I could, then set the knitting mode knob to KC (knitting card) to activate the punch card mechanism, and moved the carriage to the right. Then I added my conductive yarns in yarn feeder B in the carriage and pushed the MC button on the carriage. I held the yarn in place while knitting the next row until it was held in place by the knit. Then I continued knitting until row 32.

Then I increased the stitch size to 10 since I thought the knit was nice but too tight to be able to stretch it properly (to get a good range of resistance values), but quickly realized that was too big so I decreased it to 7.
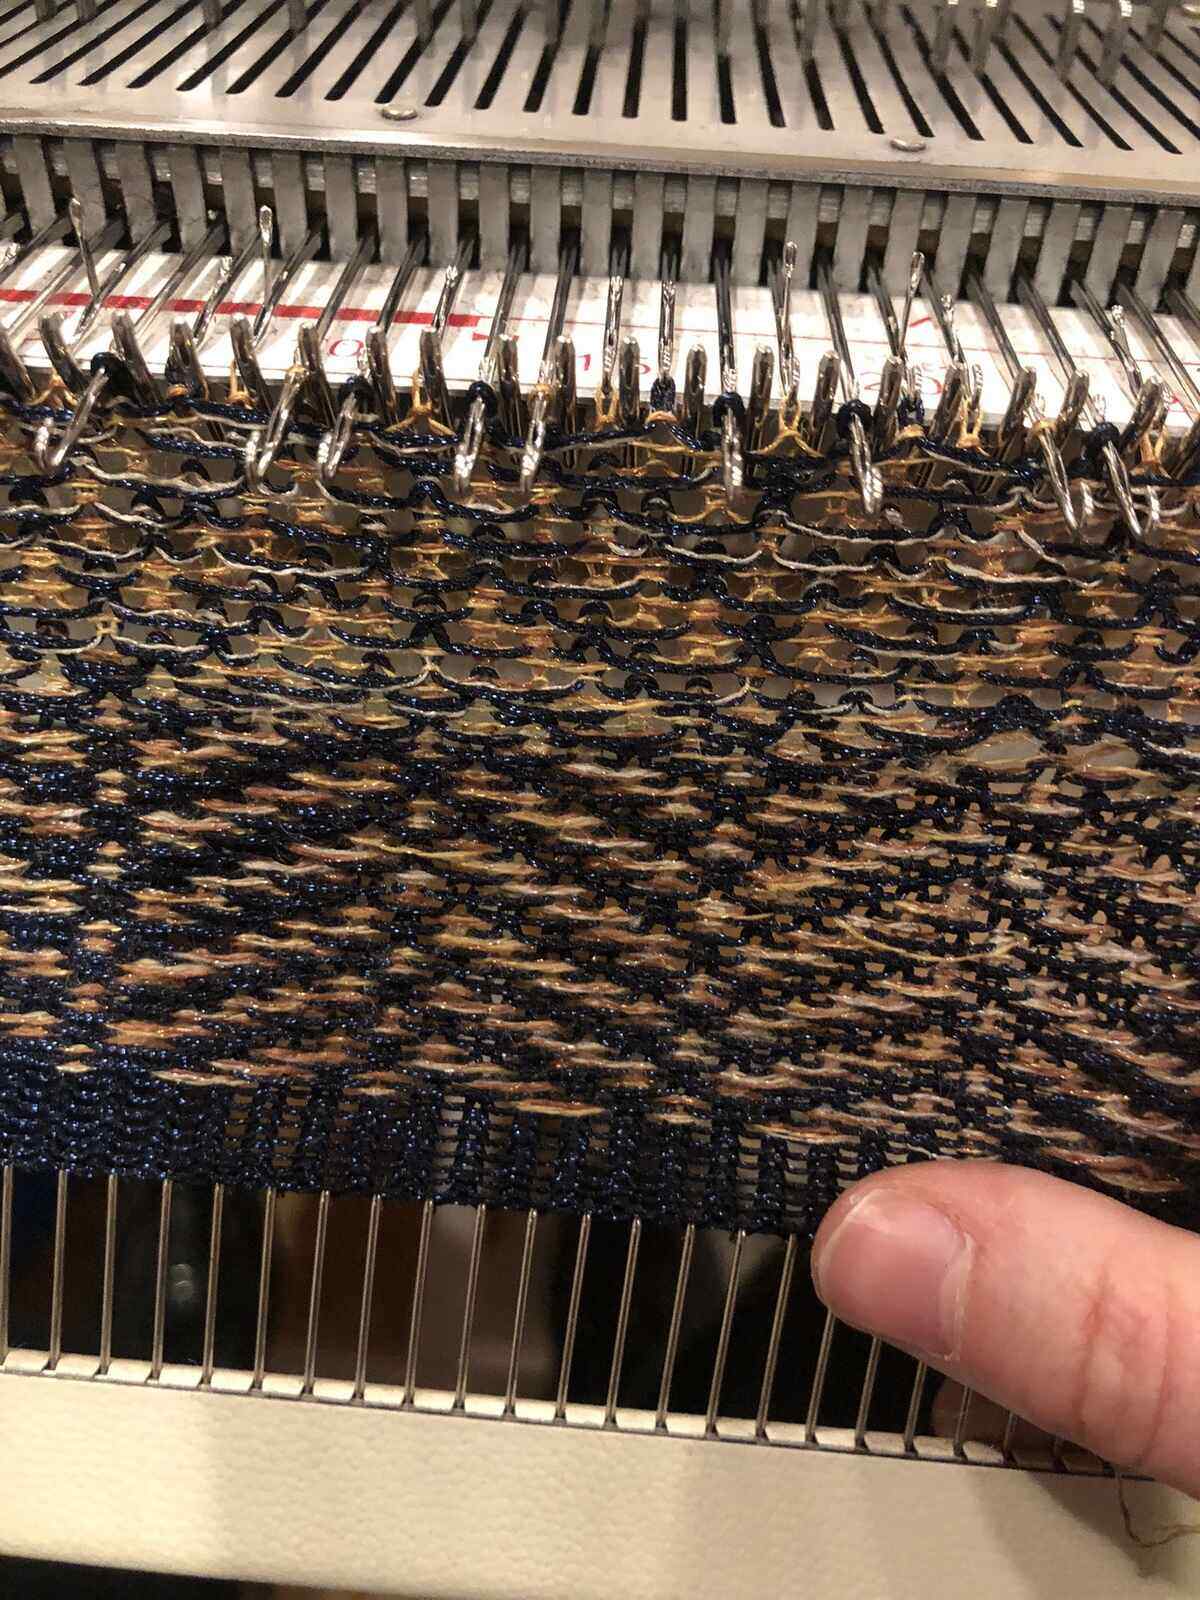
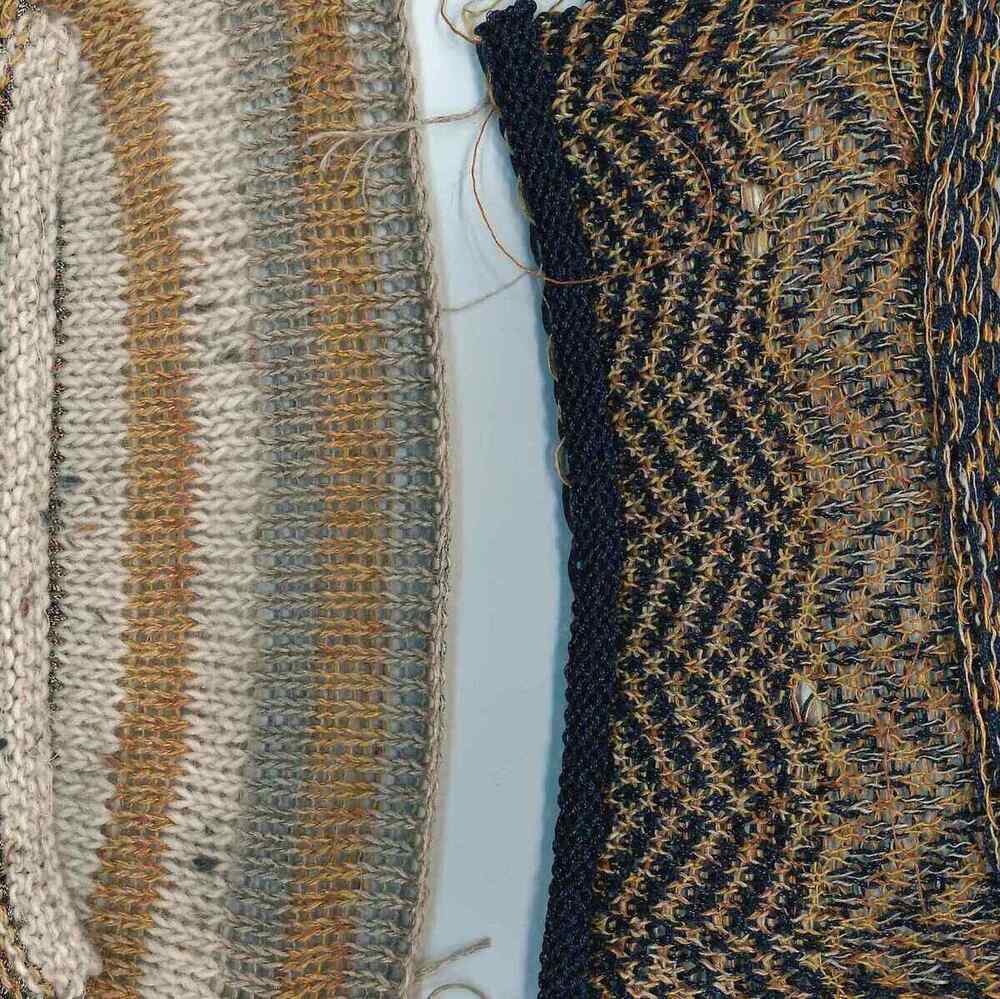
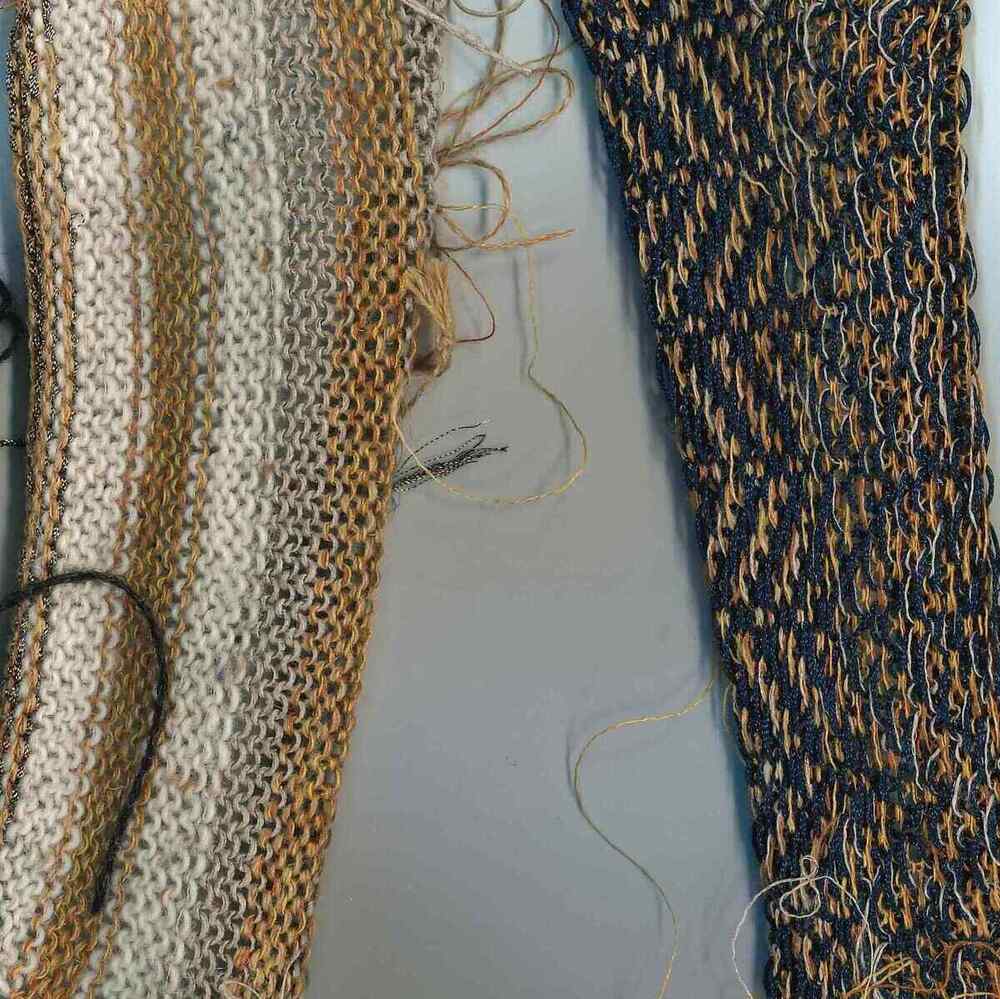
Here you can see it together with a stripe test that I made later.
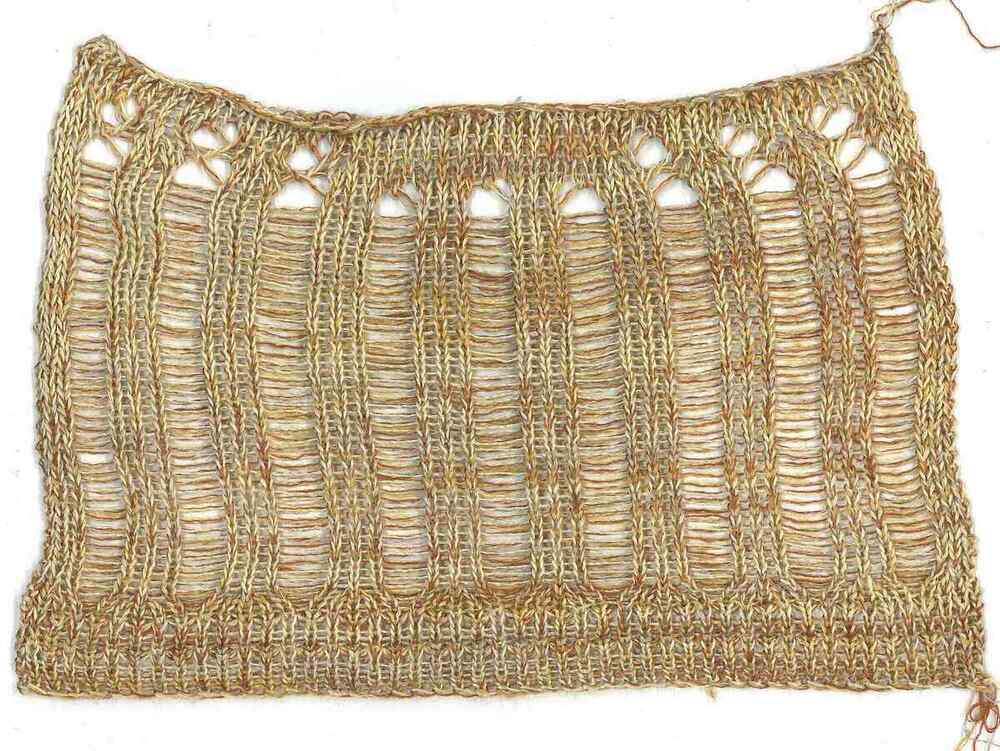
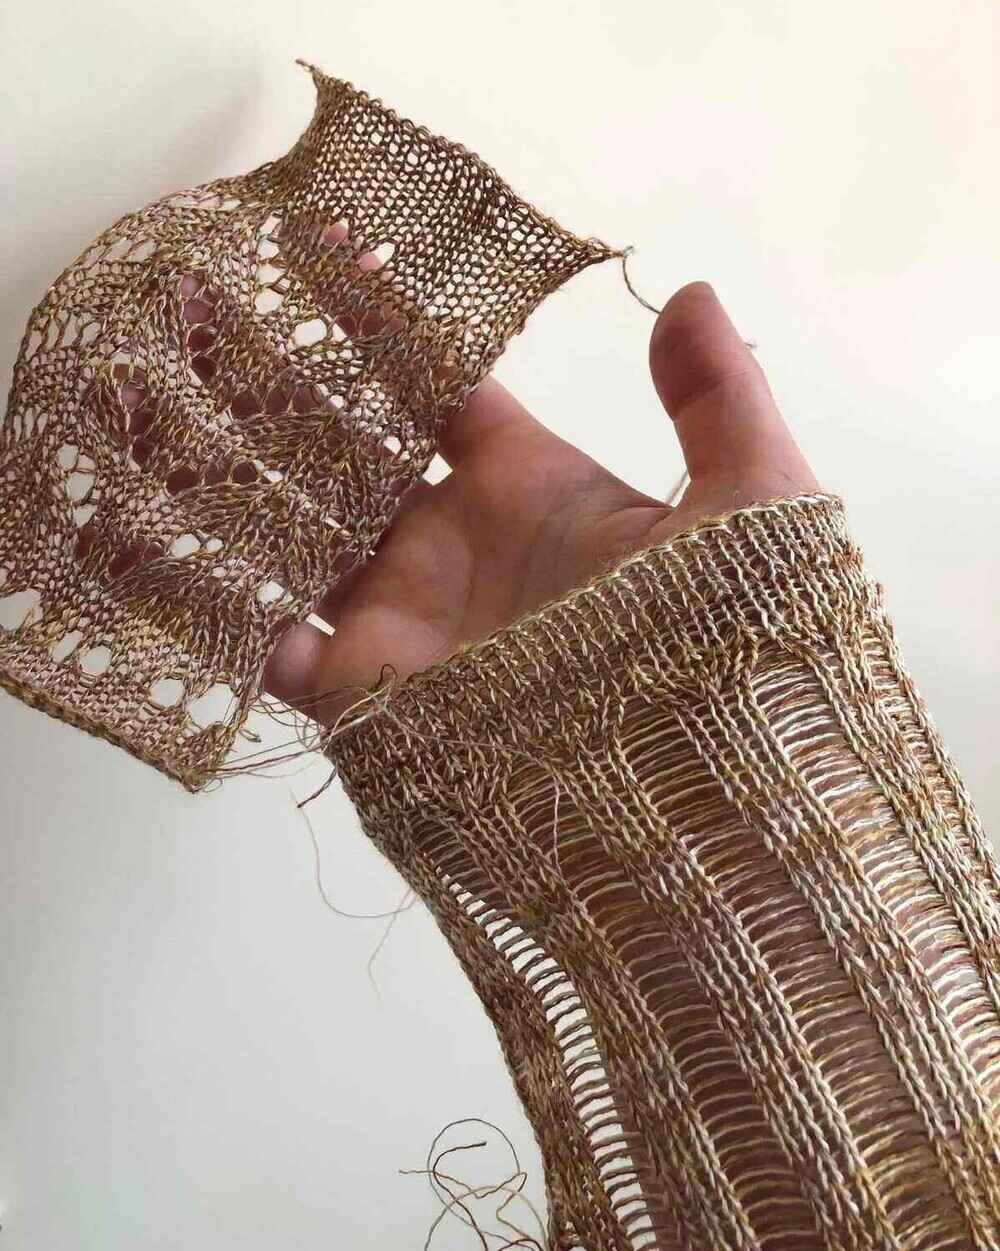
Lace
I have only made lace with the lace carriage once before so I wanted to give it another go. Knitting lace makes you feel like the punching card is the programmer and you as the knitter are just executing the same loop over and over. The card holds the information about which direction you need to move which carriage. The arrows indicate that you have to move the lace carriage in that direction, while the return symbol indicates you have to move the main carriage from right to left and then back to right. You always have to keep an eye on the knit taking shape in front of you, especially the needles on the outer sides of the knit since that’s where most of the problems are. Lace carriages are kind of known to be finnicky, but I guess I’m lucky with mine since I haven’t had any issues so far.
This is the lace punch card that I’m using:
I made a timelapse of how I made the knit, however after filming I realized that my arm was in front of the action the entire time, so that was pretty useless. The result is very cute though (here together with the previous ladder knit):
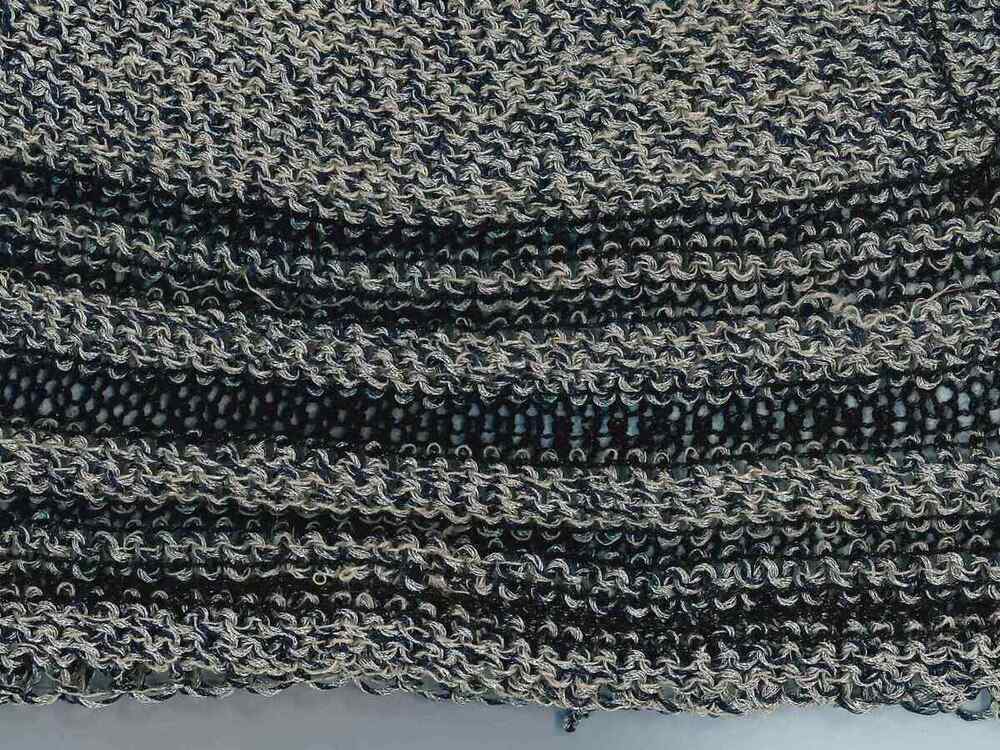
Stripes
While I was sick at home, I still wanted to do a bit of knitting. Since my machine at home doesn’t have a properly functioning punch card mechanism, I focused on stripes and ladders, techniques you don’t need a punch card for.
I started out by bending back some needles that were a bit crooked. It’s better to see if the lifespan of a needle can be extended a bit more than to replace it immediately.
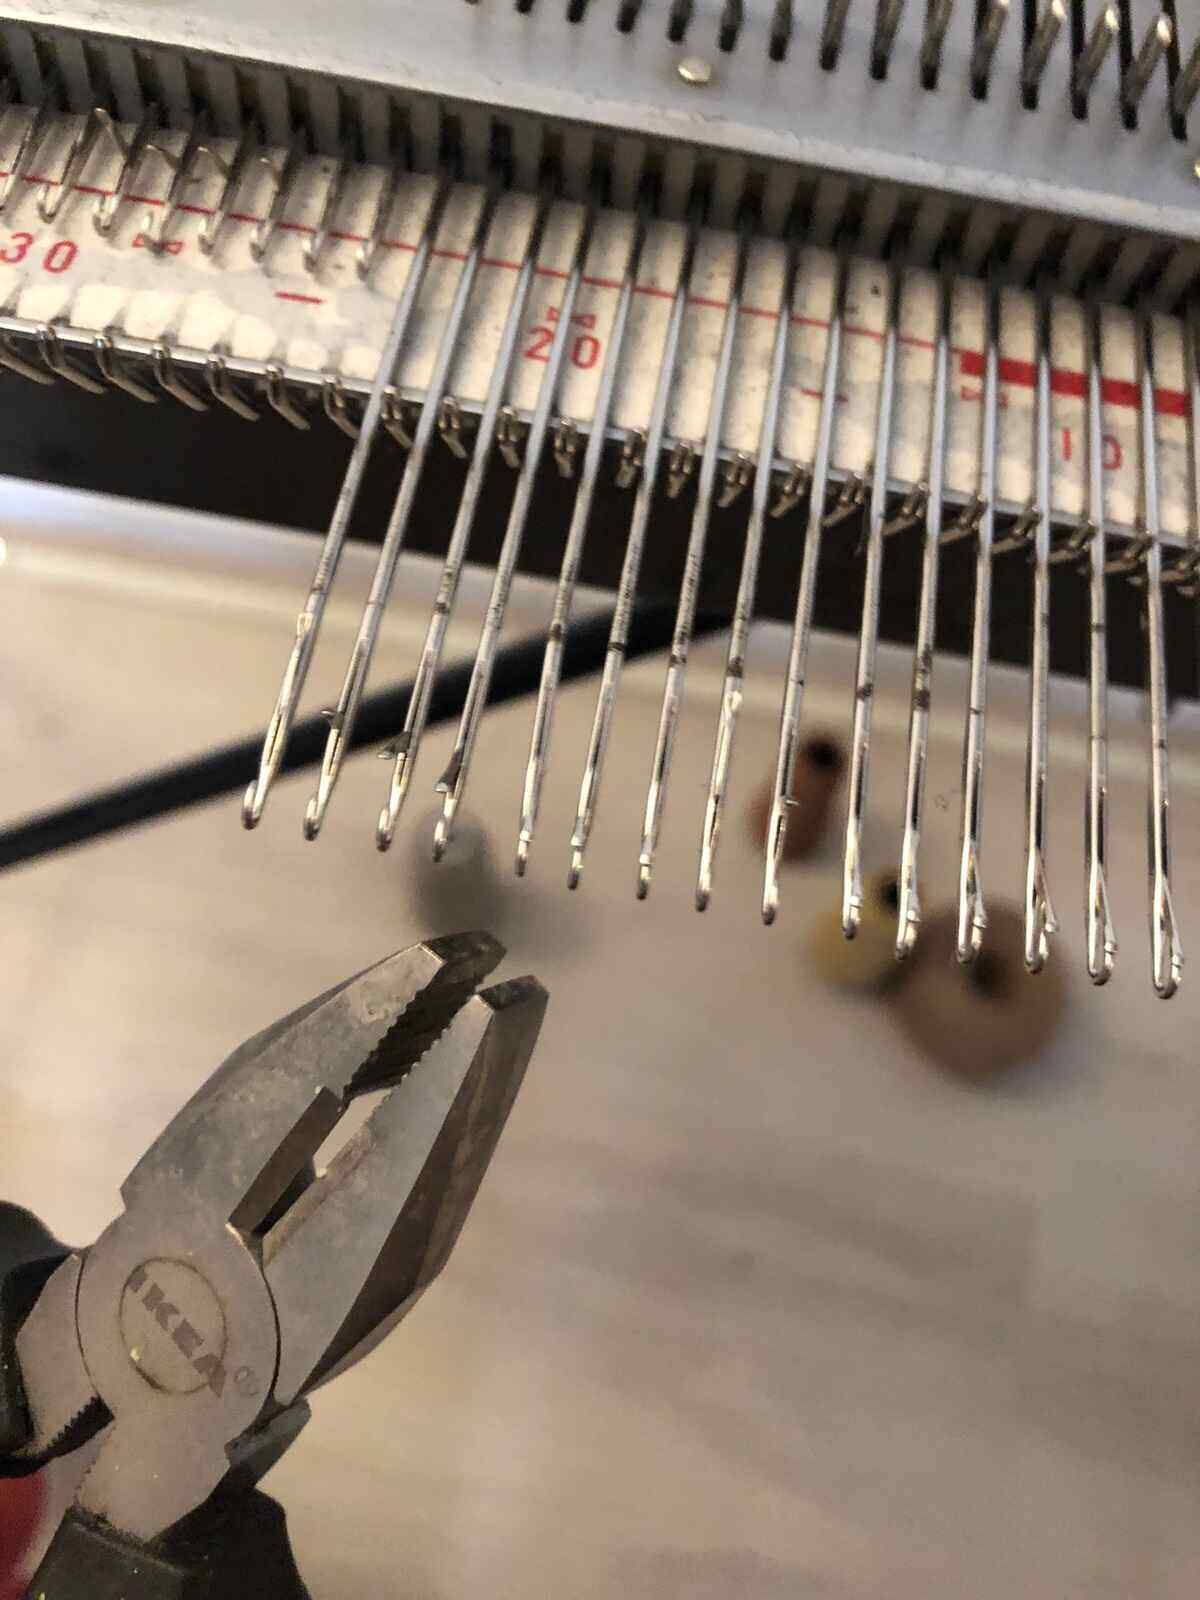
I used a yarn that was a little thick for the gauge of this machine (a distance between the needles of 4.5mm). I used too much force (do NOT use force with a knitting machine) since it was stuck but I knew it was stuck because of the yarn, not because of the needles blocking, so I pushed through. When it was finally past all of the needles, I bumped into the needles (sharp!) with my arm and the carriage ended up in a bag next to the machine (thankfully). After I took the picture it started bleeding so I should’ve taken the picture again for a more dramatic effect.


After increasing the stitch size with that yarn, it went better. I made stripes of each 4 rows high.

Wearables
I thought about the best interaction with textiles to capture the resistance changes. Something wearable would be cool because then instead of pushing and pulling a knit in a frame or in an abstract shape, the knit is on the body, and the interaction can become more intimate. I had to decide on the garment best suited for this so I called my partner who is also in fashion design and who is an amazing machine knitter. They explained some more things about pattern knitting. Here they are showing me how to decrease and increase stitches nicely on a garment.
In the end we came to the conclusion that mittens are pretty doable within the time frame of this week since they can be made with pretty much only a folded rectangular knit. Something like a sweater or cardigan would be really cool as well, but I do not have the time for it this week and it’s a spiral that I can do in the future. A plus side to the mittens is also that when this installation is placed in an exhibition context, it is less of a hurdle for visitors to put on some mittens than to put on an entire garment on top of their clothing. If I want people to interact with the installation, it should be made (somewhat) easy for them. The mittens could also be picked up and stretched without wearing them if people don’t want to, or two people could both wear one and work collaboratively.
Cable management: knitting style
When I am back in the textile workshop next week, I can use a small knitting mill to make a round knit with the same yarn as a cable cover, so the cables going to both mittens are nicely hidden. The PCB is pretty narrow so I could probably fit it in too. I think it’s a fun reference to the mittens connected with a string that I had as a kid.
Mittens
I used a similar technique as the ladder sample I made earlier. Since I will have to make this sample twice it’s important to write down the settings and know at which step I did what, so the following pattern description is basically the knitting pattern for the first pair of mittens. The pattern is symmetrical so there is no mirroring to be done.
First pattern
I cast on 50 needles and knit four rows at stitch size 7. With the row counter (RC) at 4, I used the double eyed transfer tool to move two stitches one stitch to the left, and two stitches one stitch to the right, leaving two needles deactivated. Moving two stitches at the same time (instead of just moving one stitch to the left and one stitch to the right) gives a more finished look.
I kept knitting with the needles in the orientation above until RC 42. Then I deactivated even more stitches in the same way as before. With the needles in this new orientation I continued knitting until RC 60.

Then I pushed half of the needles back into the knitting mode and knitted row 61 and 62. With the RC at 62, I activated all needles except the middle two and knitted another two rows. At RC 64, I activated the middle two needles but instead of knitting them, I moved two stitches on the left side and two stitches on the right side towards the middle (as you can see in the picture). This way I don’t have to knit two needles next to each other, which isn’t possible (well, there are ways around it, but I don’t want to do it in this case).
Then I knit with all needles active again until RC 68. After that I cast off the knit with a latch needles to get a finishing that doesn’t stretch a lot. The latch needle is basically a knitting needle that you use to pull one loop through the other from left to right (or right to left).
I then repeated the process above so I would have a left and right hand mitten. Here they are before closing the sides:

Second pattern
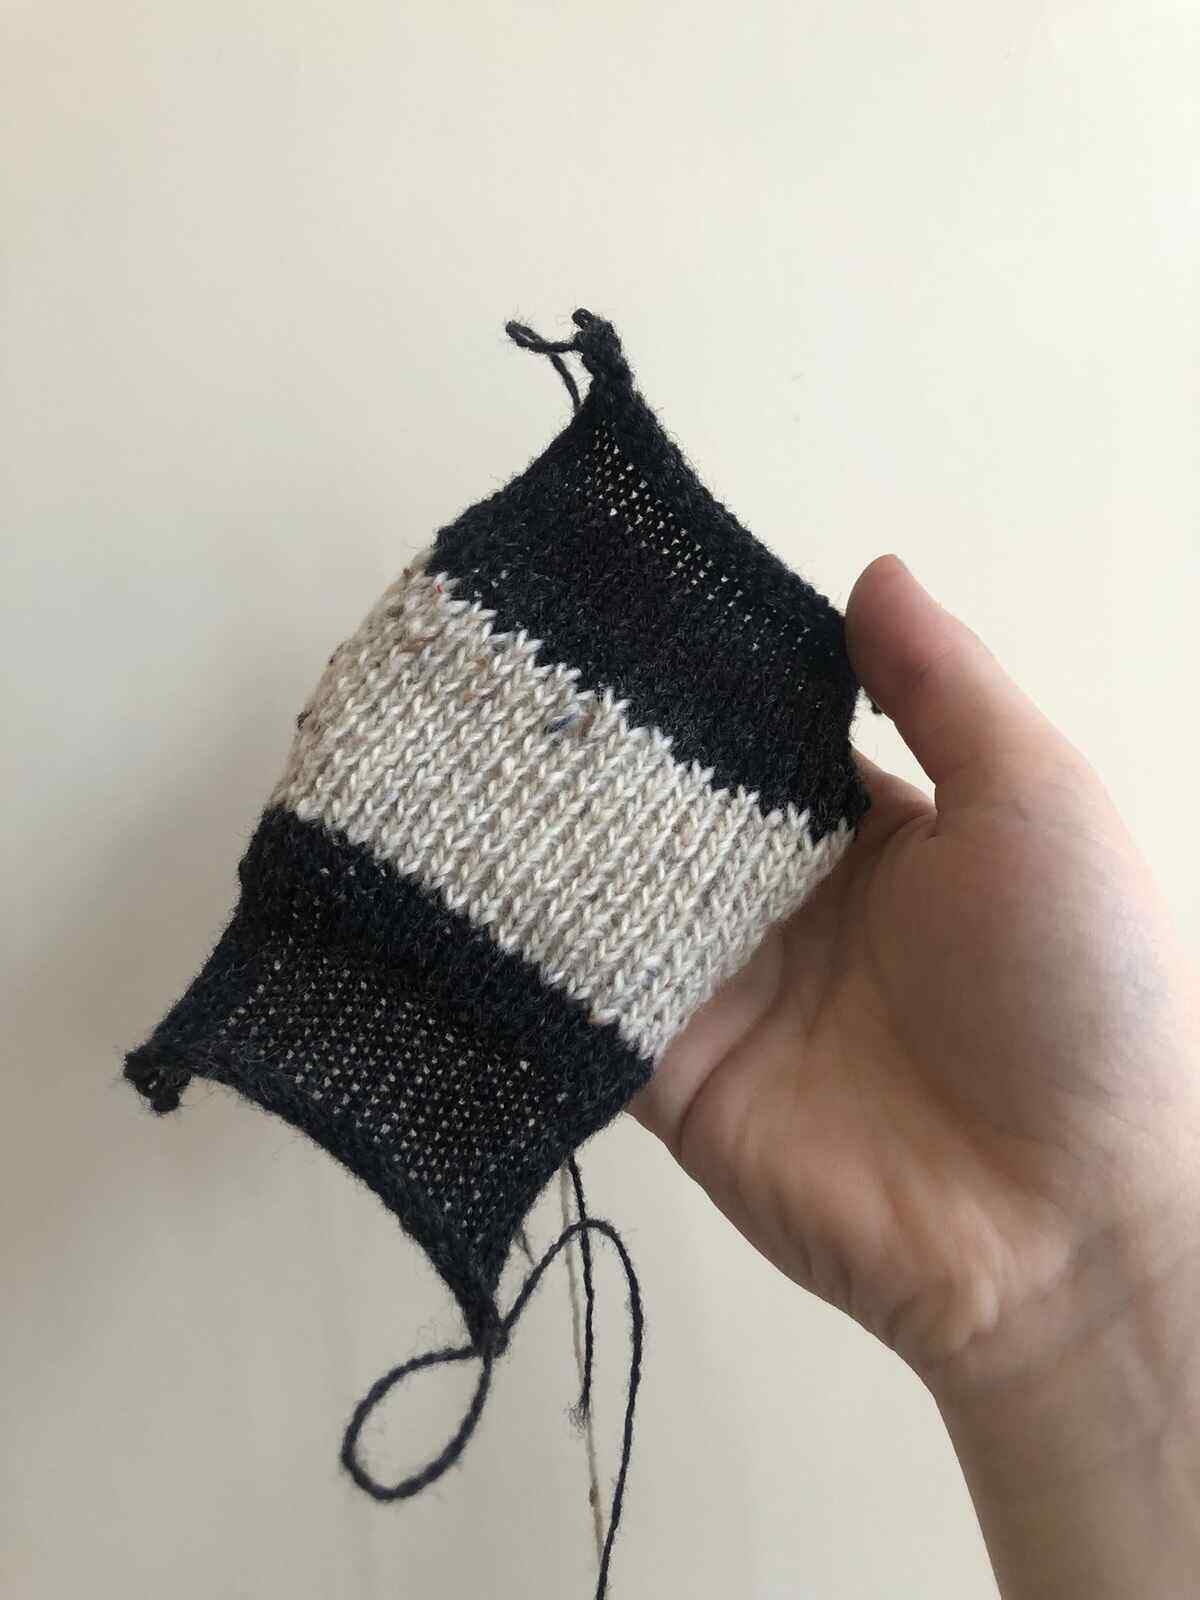
The second pair of mittens I wanted to have a very different vibe, so I used more metallic looking yarns (note: metallic yarn often doesn’t contain metal and isn’t conductive as is the case for this yarn) combined with different conductive yarns.
I cast on 52 needles and knit two rows. Then I used the one eyed transfer tool to transfer every other stitch to the right starting on the left side(this means that for the other mitten, I will transfer ever other stitch to the left and start on the right). The last stitch on the right I moved one needle to the right, so I ended up with 53 needles active (otherwise I would have two rows next to each other and I didn’t want that). After transfering them, I knitted eight rows. This is my hem. At RC 8, I pushed all inactive needles to the front.
I knit until RC 12; then I changed the yarn to a thinner black merino wool blended with stainless steel wire. With this I knit two rows. Then I changed it back to the main yarn for 2 rows again, then did two rows of the black yarn. At RC 18 I did another four rows of the main yarn.


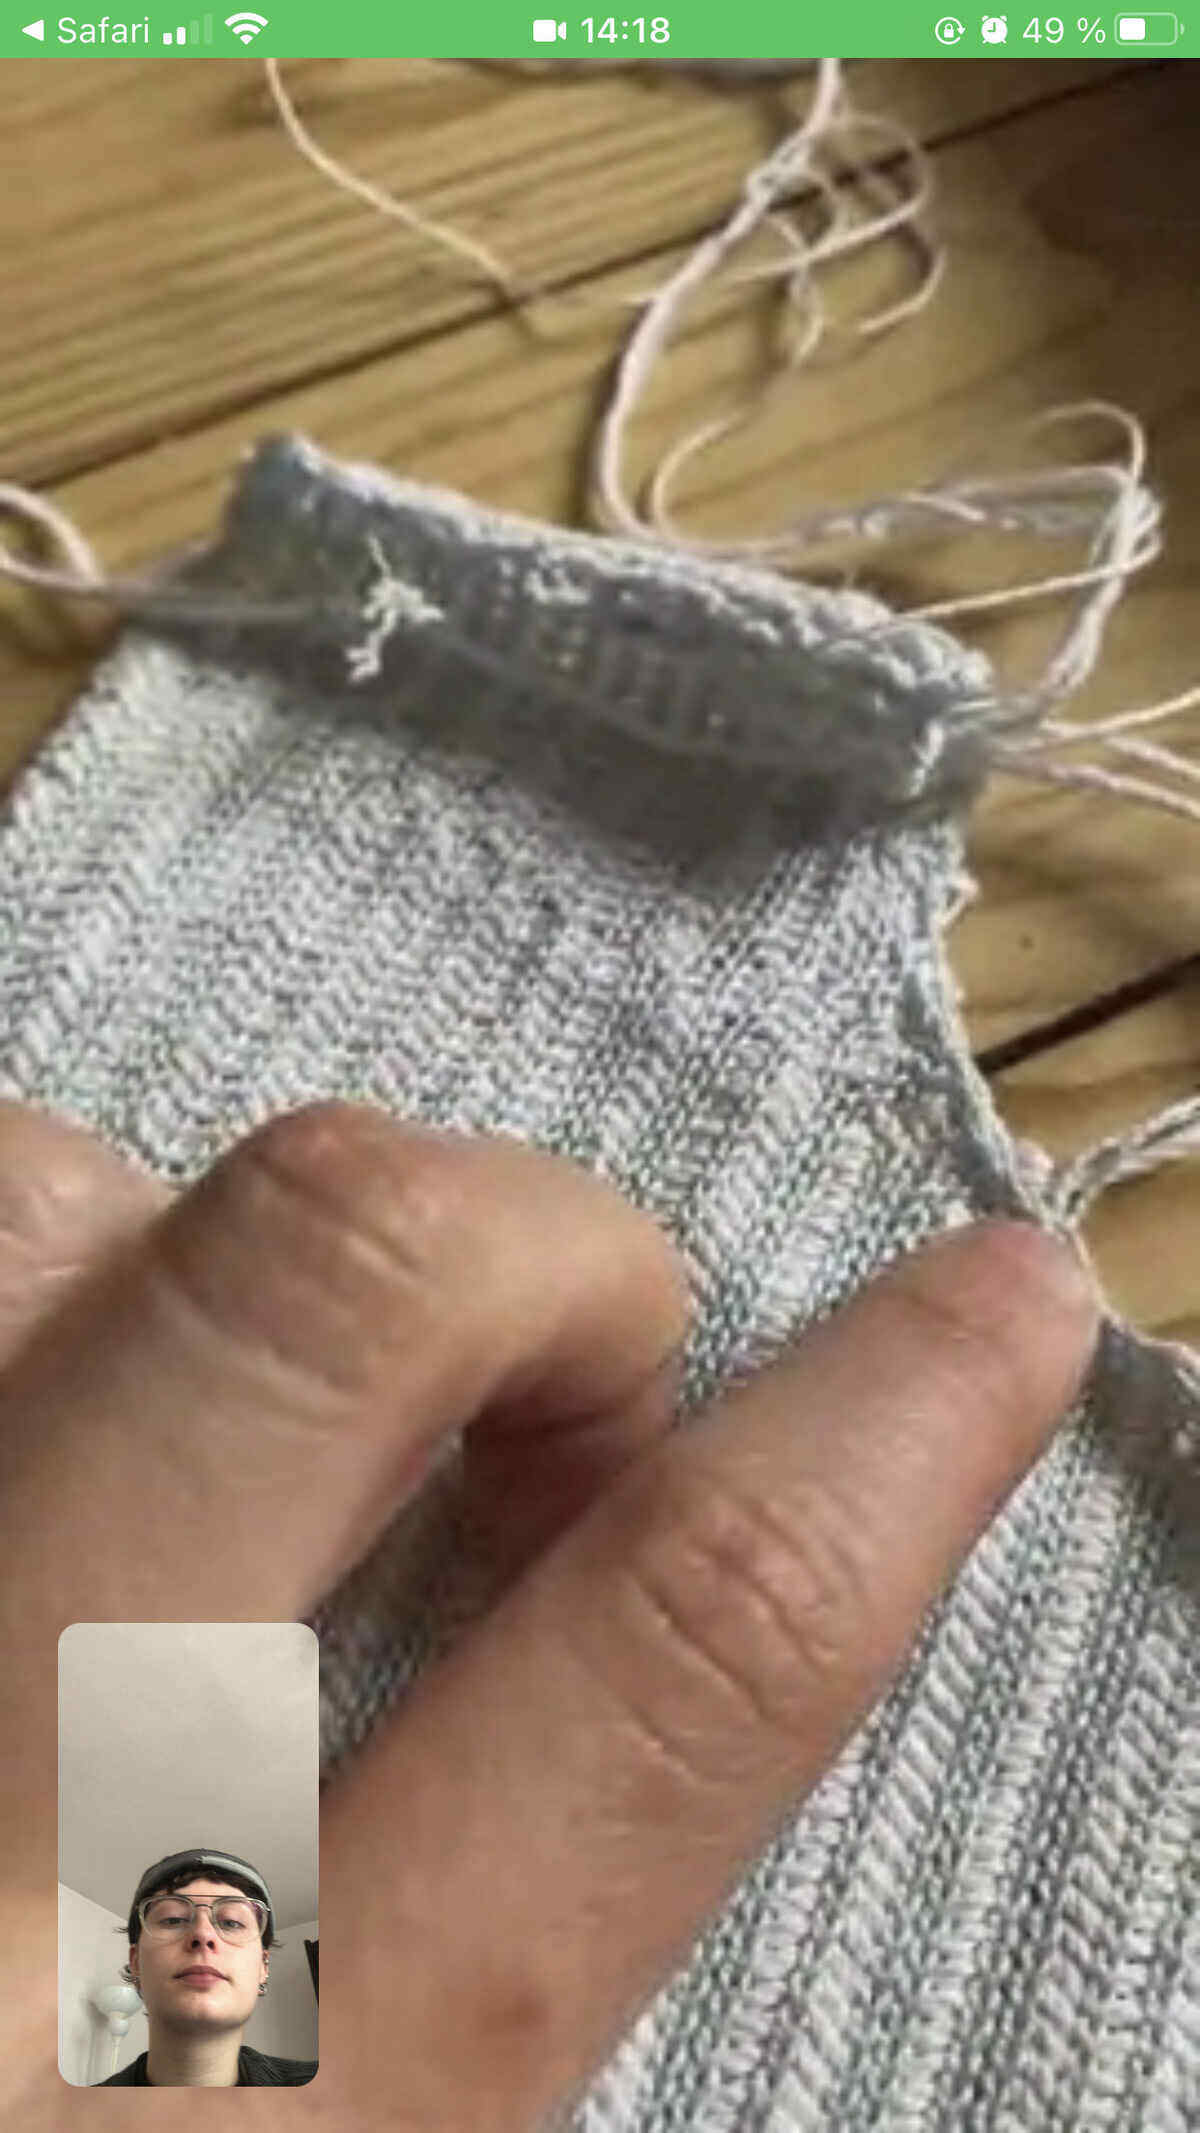
Then the carriage got stuck because the yarns I had got tangled around the needles. I removed the front part of the carriage by releasing the two big bolts, revealing the problem. I set the knitting mode knob to CR (carriage release) and lifted it off the knit, set the knob back to N and attached it to the bed from the right side of the machine again. I took out the failed row, untangled the yarn and continued knitting with the front part attached again.

At RC 52, I transfered all stitched the same way I did in the beginning, but this time I activated all needles immediately again to create controlled holes in the knit as a trim. Then I knitted four more rows.
At RC 56 I finished the knit with the latch tool.

Front and back of the knit (you can’t see the top, I still have to iron it because it keeps curling up):

Testing the resistance range & reflection
Before I assembled the mittens I made I tried to see if I could get a useful resistance range with wrist motion before I sewed the sides together. I could barely get the knit to stretch from wrist movement alone, so that was a bummer. If I had tried it with different samples before I would probably have come to that conclusion a little earlier.
I am going to finish the mittens though since you can still play around with the resistance values by pulling the mittens. It’s a different interaction but maybe that is part of the exploration.
Options to look into
Instead of mittens with fingers exposed, I could also make mittens that cover the entire hand, since then you can manipulate the knit with your fingers. That way it’s easier to create contrast in stretch.
I think I’m also going to knit a scarf with two conductive areas in them, with an area to hide the PCB as well. The interaction with a scarf is very different but can be a versatile way to capture tactile interaction.
Links
- http://fab.cba.mit.edu/classes/865.18/fiber/index.html
- http://academy.cba.mit.edu/classes/wildcard/index.html
- https://openbuilds.com/builds/embroidery-machine-with-xy-belt-and-pinion-drive.691/
I also wanted to try out open source software for embroidery machine control, since at my textile workshop job there are two embroidery machines. However since I was sick on Monday, my only day when I am working at the textile workshop, I wasn’t able to do this yet. Hopefully next Monday I can still explore this.
Links on that: