12. Molding and Casting
This week we optimized the settings for our Model MDX-50 and tested various molding and casting materials.
Group Assignment
Here is our group assignment on Kelleigh's page:
Group AssignmentIndividual Assignment
Design a mold around the stock and tooling that you'll be using, mill it (rough cut + three-axis finish cut), and use it to cast parts.
Creating a mold with a CNC machine and casting it involves several steps. Here's a general guide:
- Design the Model: Use CAD (Computer-Aided Design) software to create a 3D model of the object you want to mold. Ensure the model is suitable for CNC machining.
- Choose Material: Select a material for the mold. Common choices include urethane, silicone, or other mold-making materials depending on the specific requirements of your project.
- CNC Machining: Program the CNC machine to carve out the mold from a block of material. This process involves precise cutting based on your 3D model. The CNC machine removes excess material to form the desired shape.
- Finishing the Mold: After CNC machining, the mold may need additional finishing. This could involve sanding or smoothing the surfaces to achieve the desired texture and remove any imperfections.
- Mix Casting Material: Prepare the casting material according to the manufacturer's instructions. This could be resin, plaster, or another suitable casting material based on your project's requirements.
- Pour Casting Material: Carefully pour the mixed casting material into the mold. Ensure it fills all the cavities and avoids air bubbles.
- Curing/Drying: Allow the casting material to cure or dry according to the recommended time frame. This can vary depending on the type of material used.
- Demolding: Once the casting material has fully cured, carefully demold the final object. Be gentle to avoid damaging the mold, as it can be reused for multiple castings.
- Post-Processing: Depending on the material and desired finish, you may need to perform post-processing steps like sanding, painting, or adding any final touches to the cast object.
- Inspect and Refine: Inspect the cast object for any defects. Refine your process based on the results, adjusting the CNC program or casting techniques as needed.
My process is documented below:
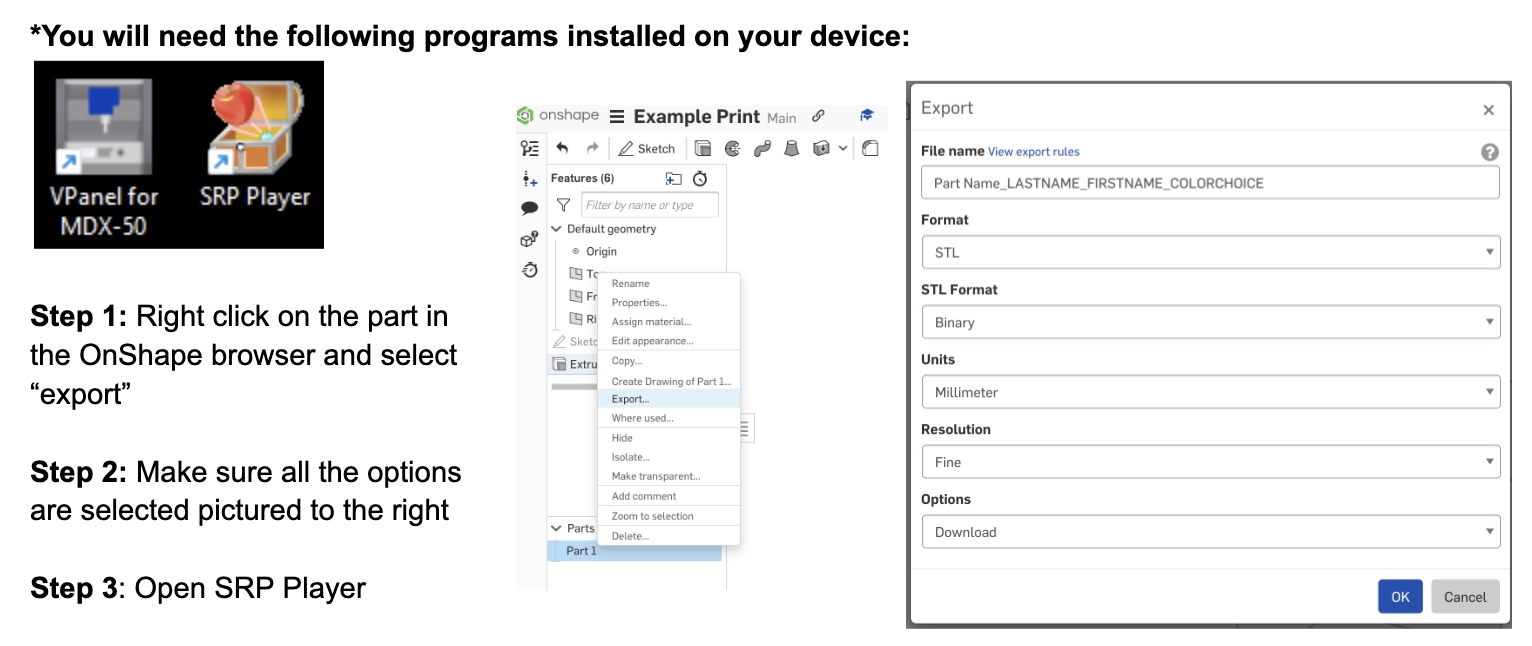
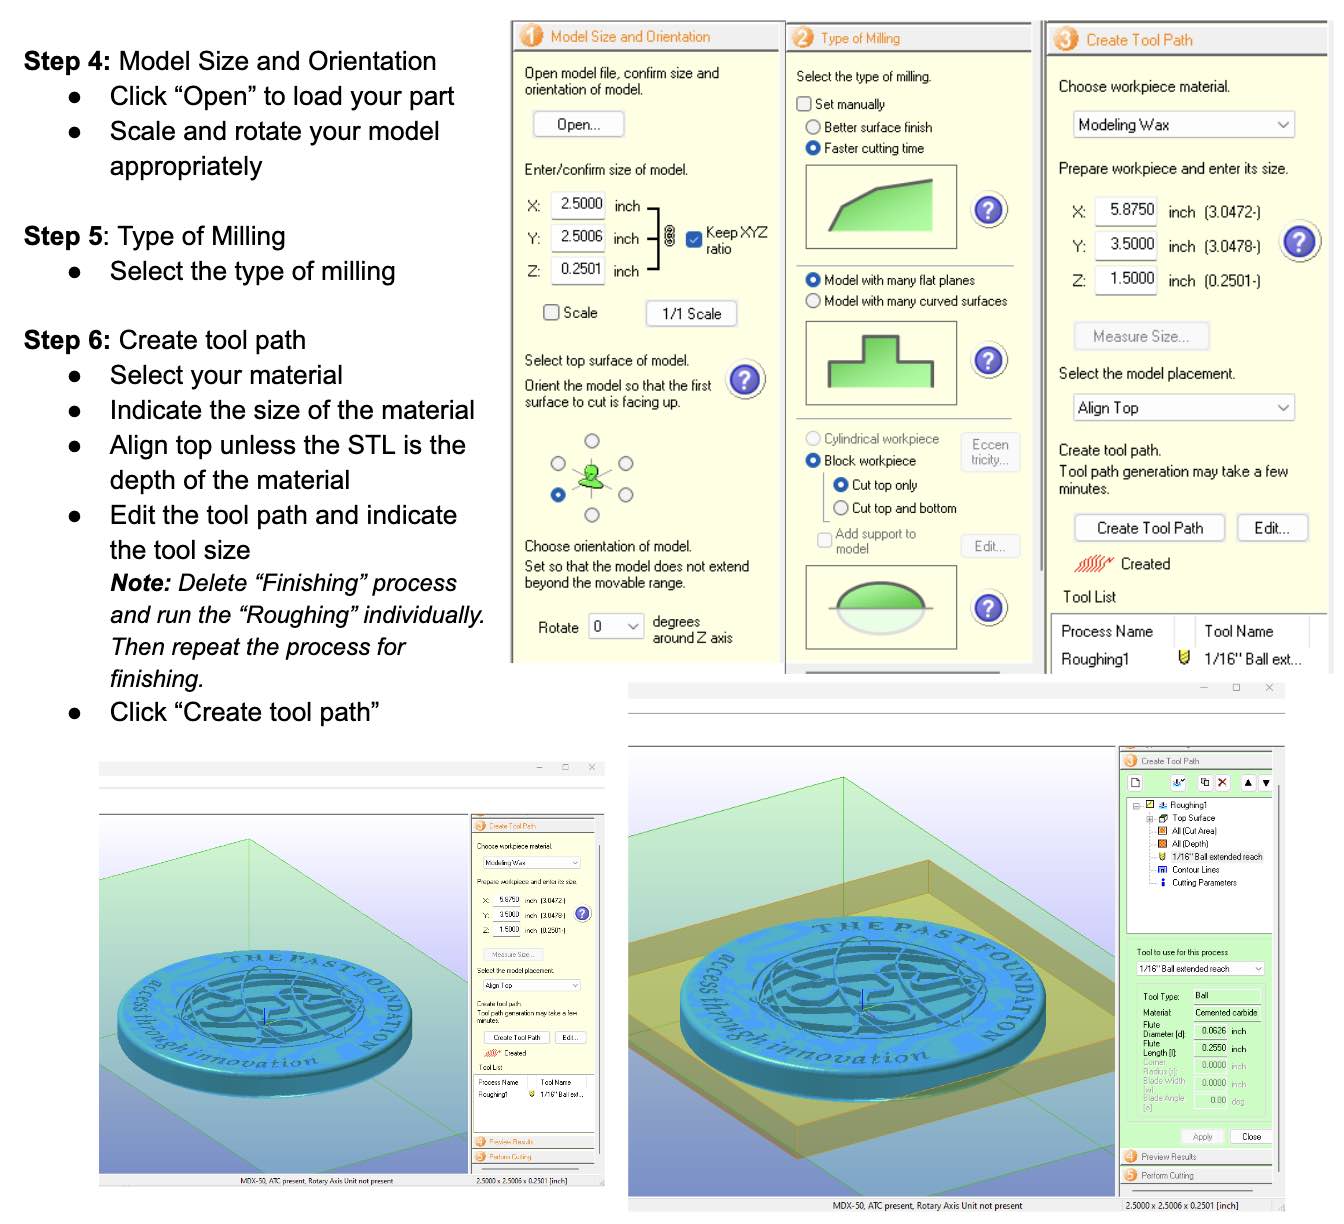
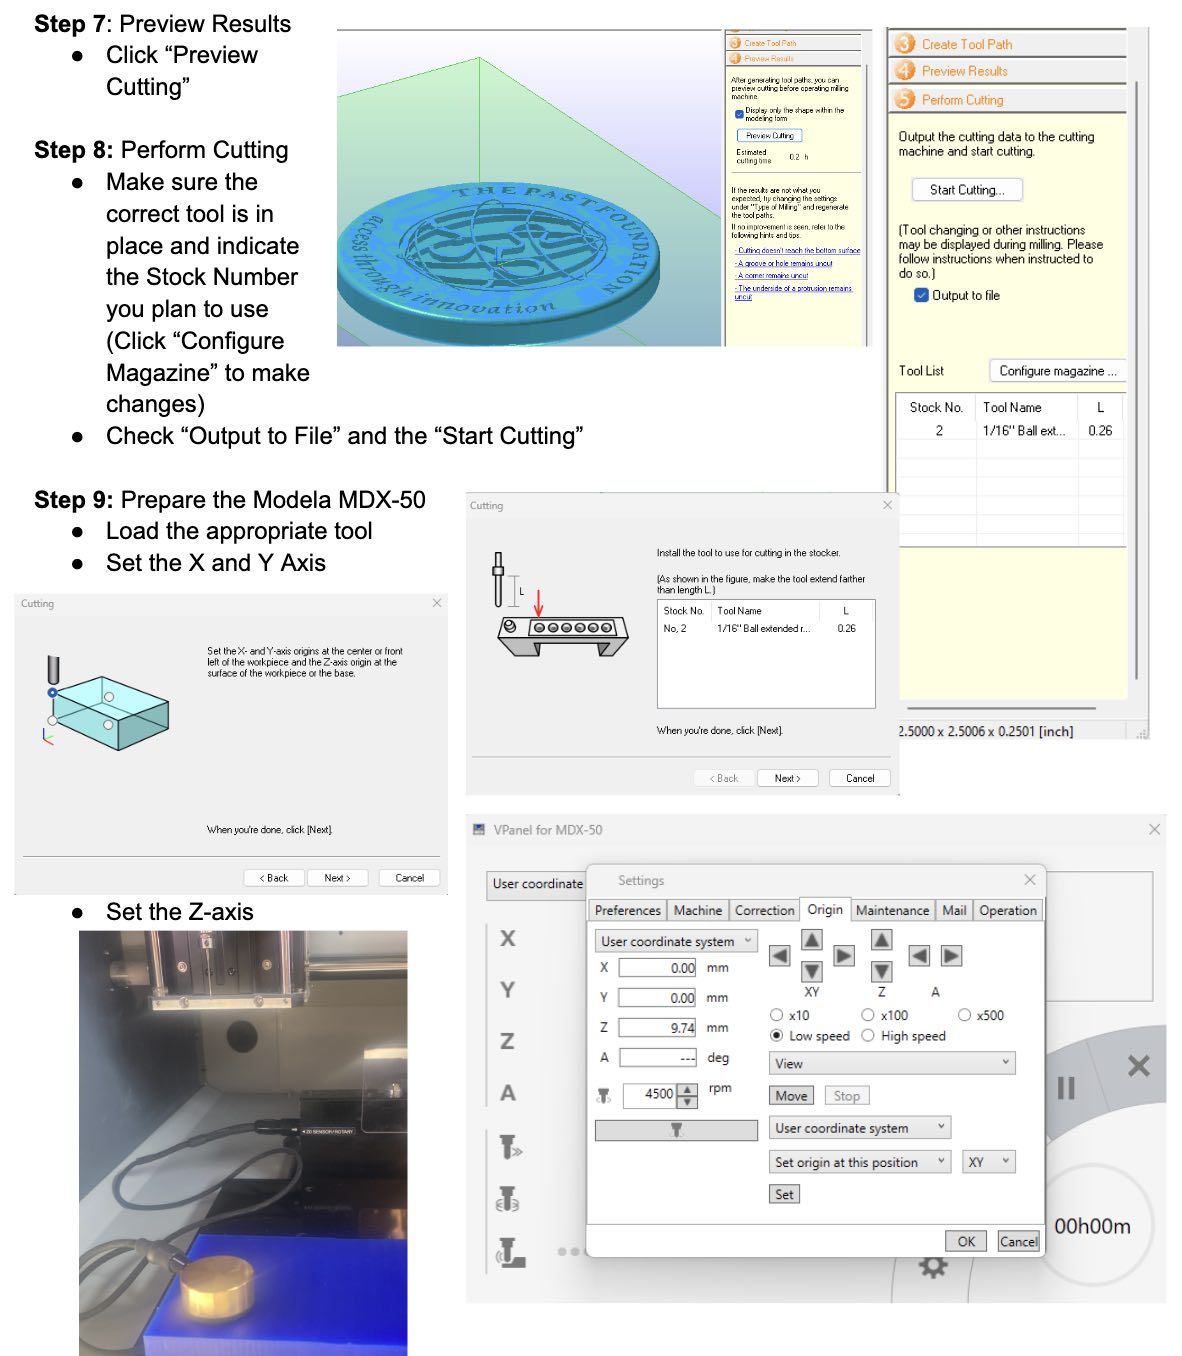
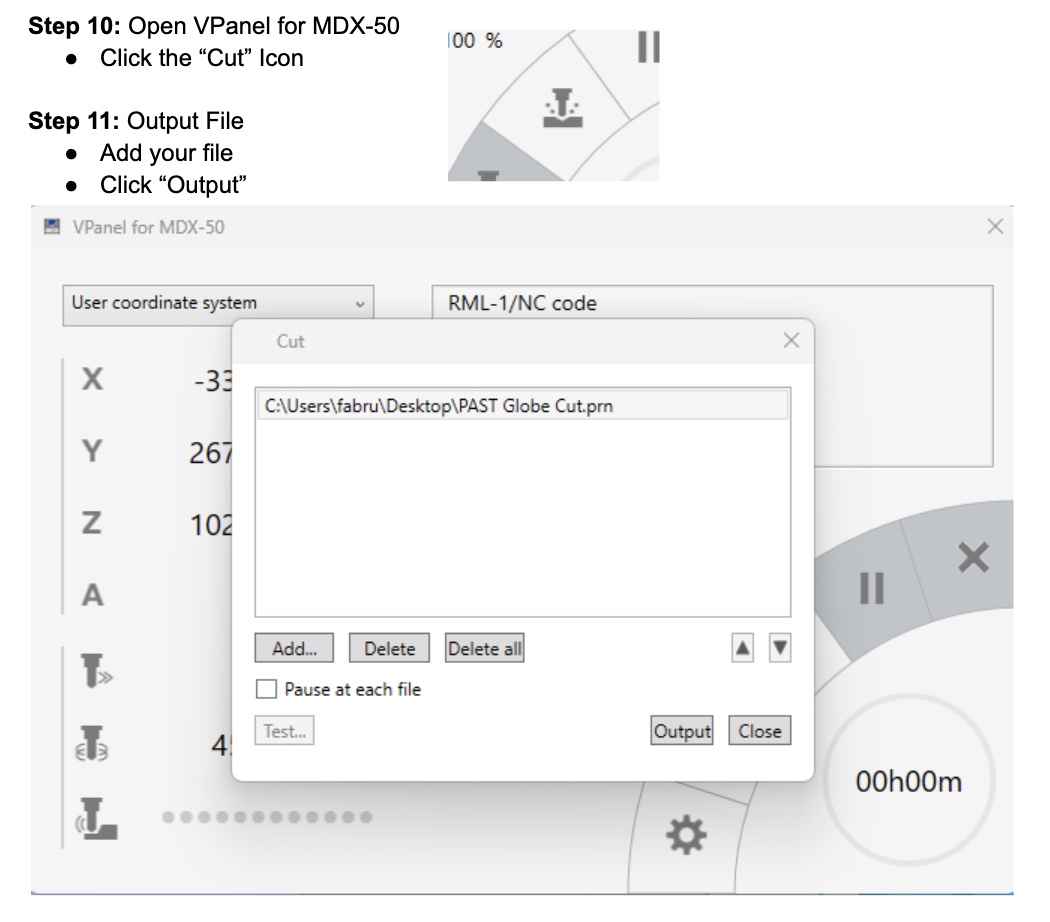
Instructions for Making a Mold Using the Model MDX-50
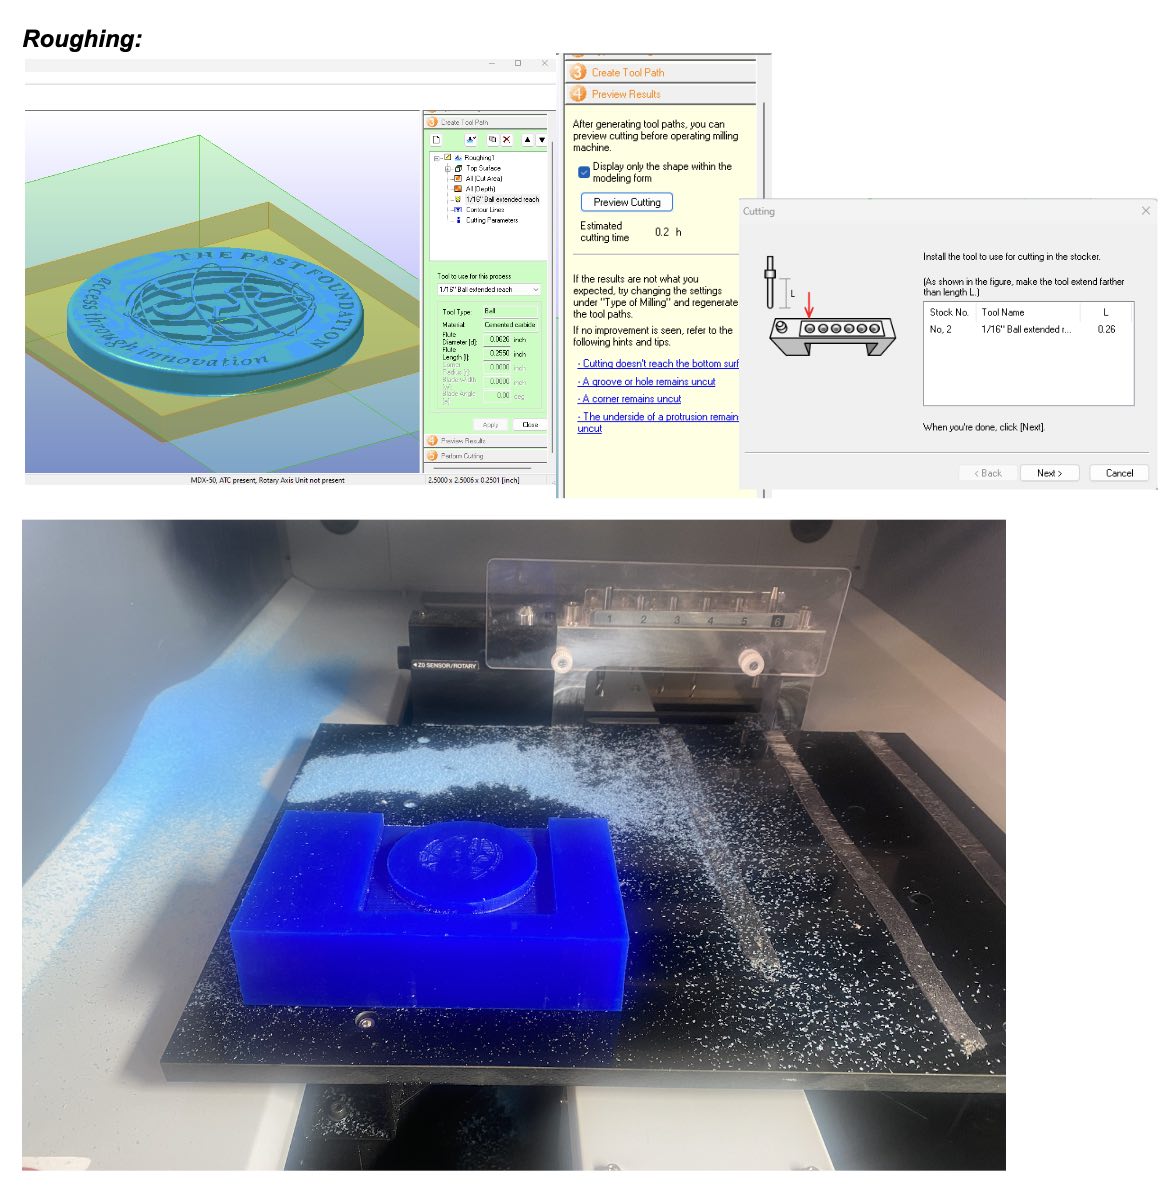
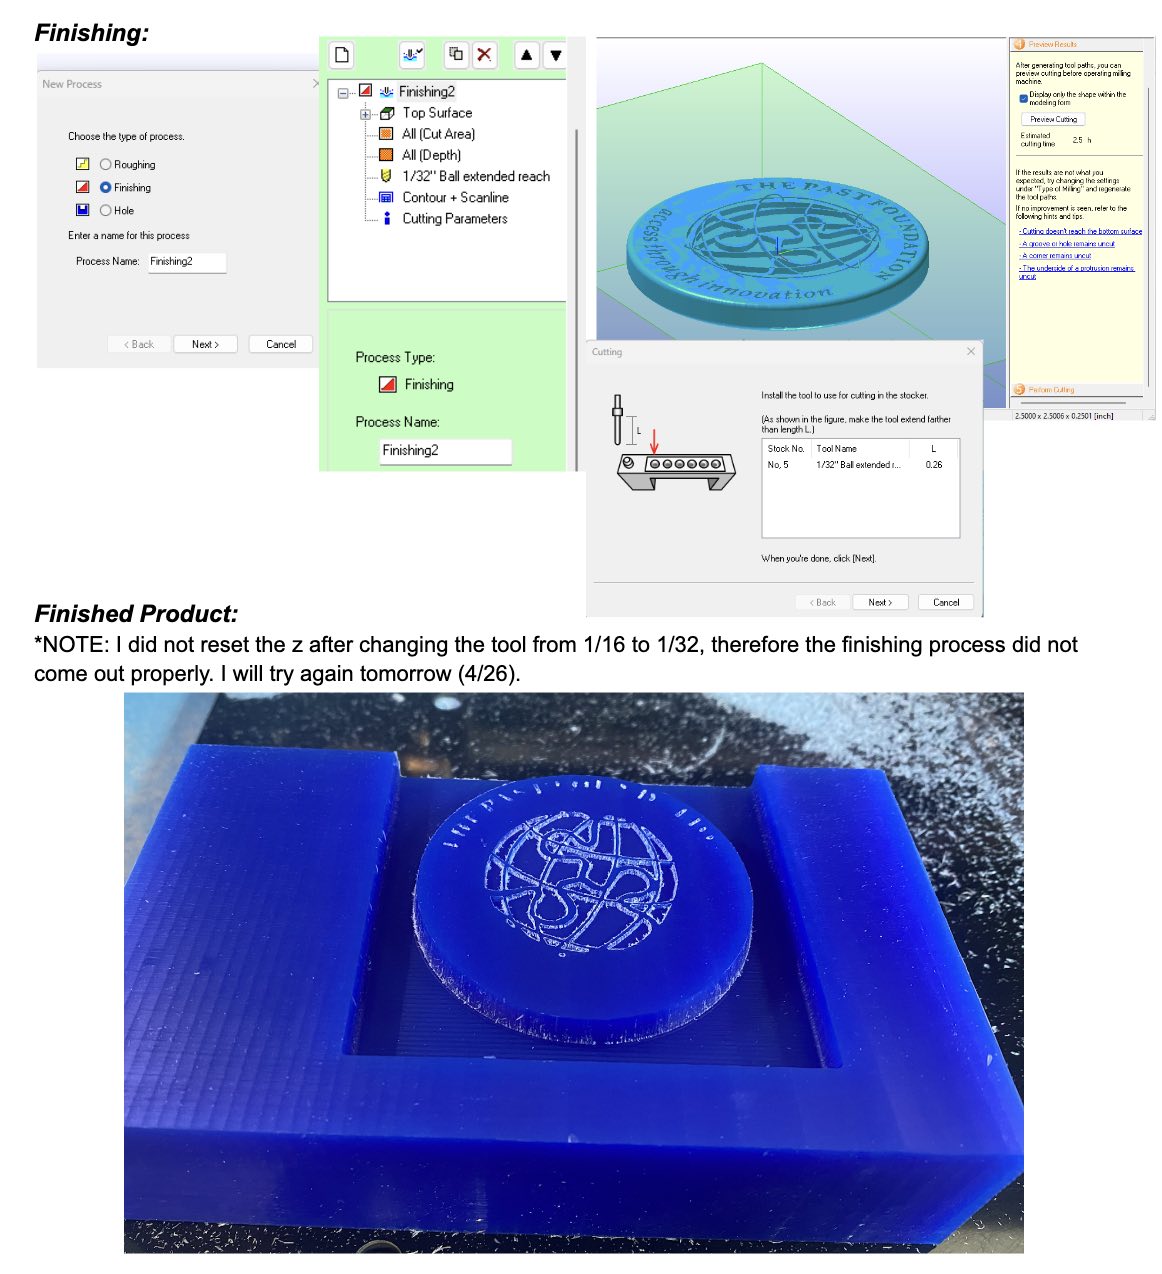
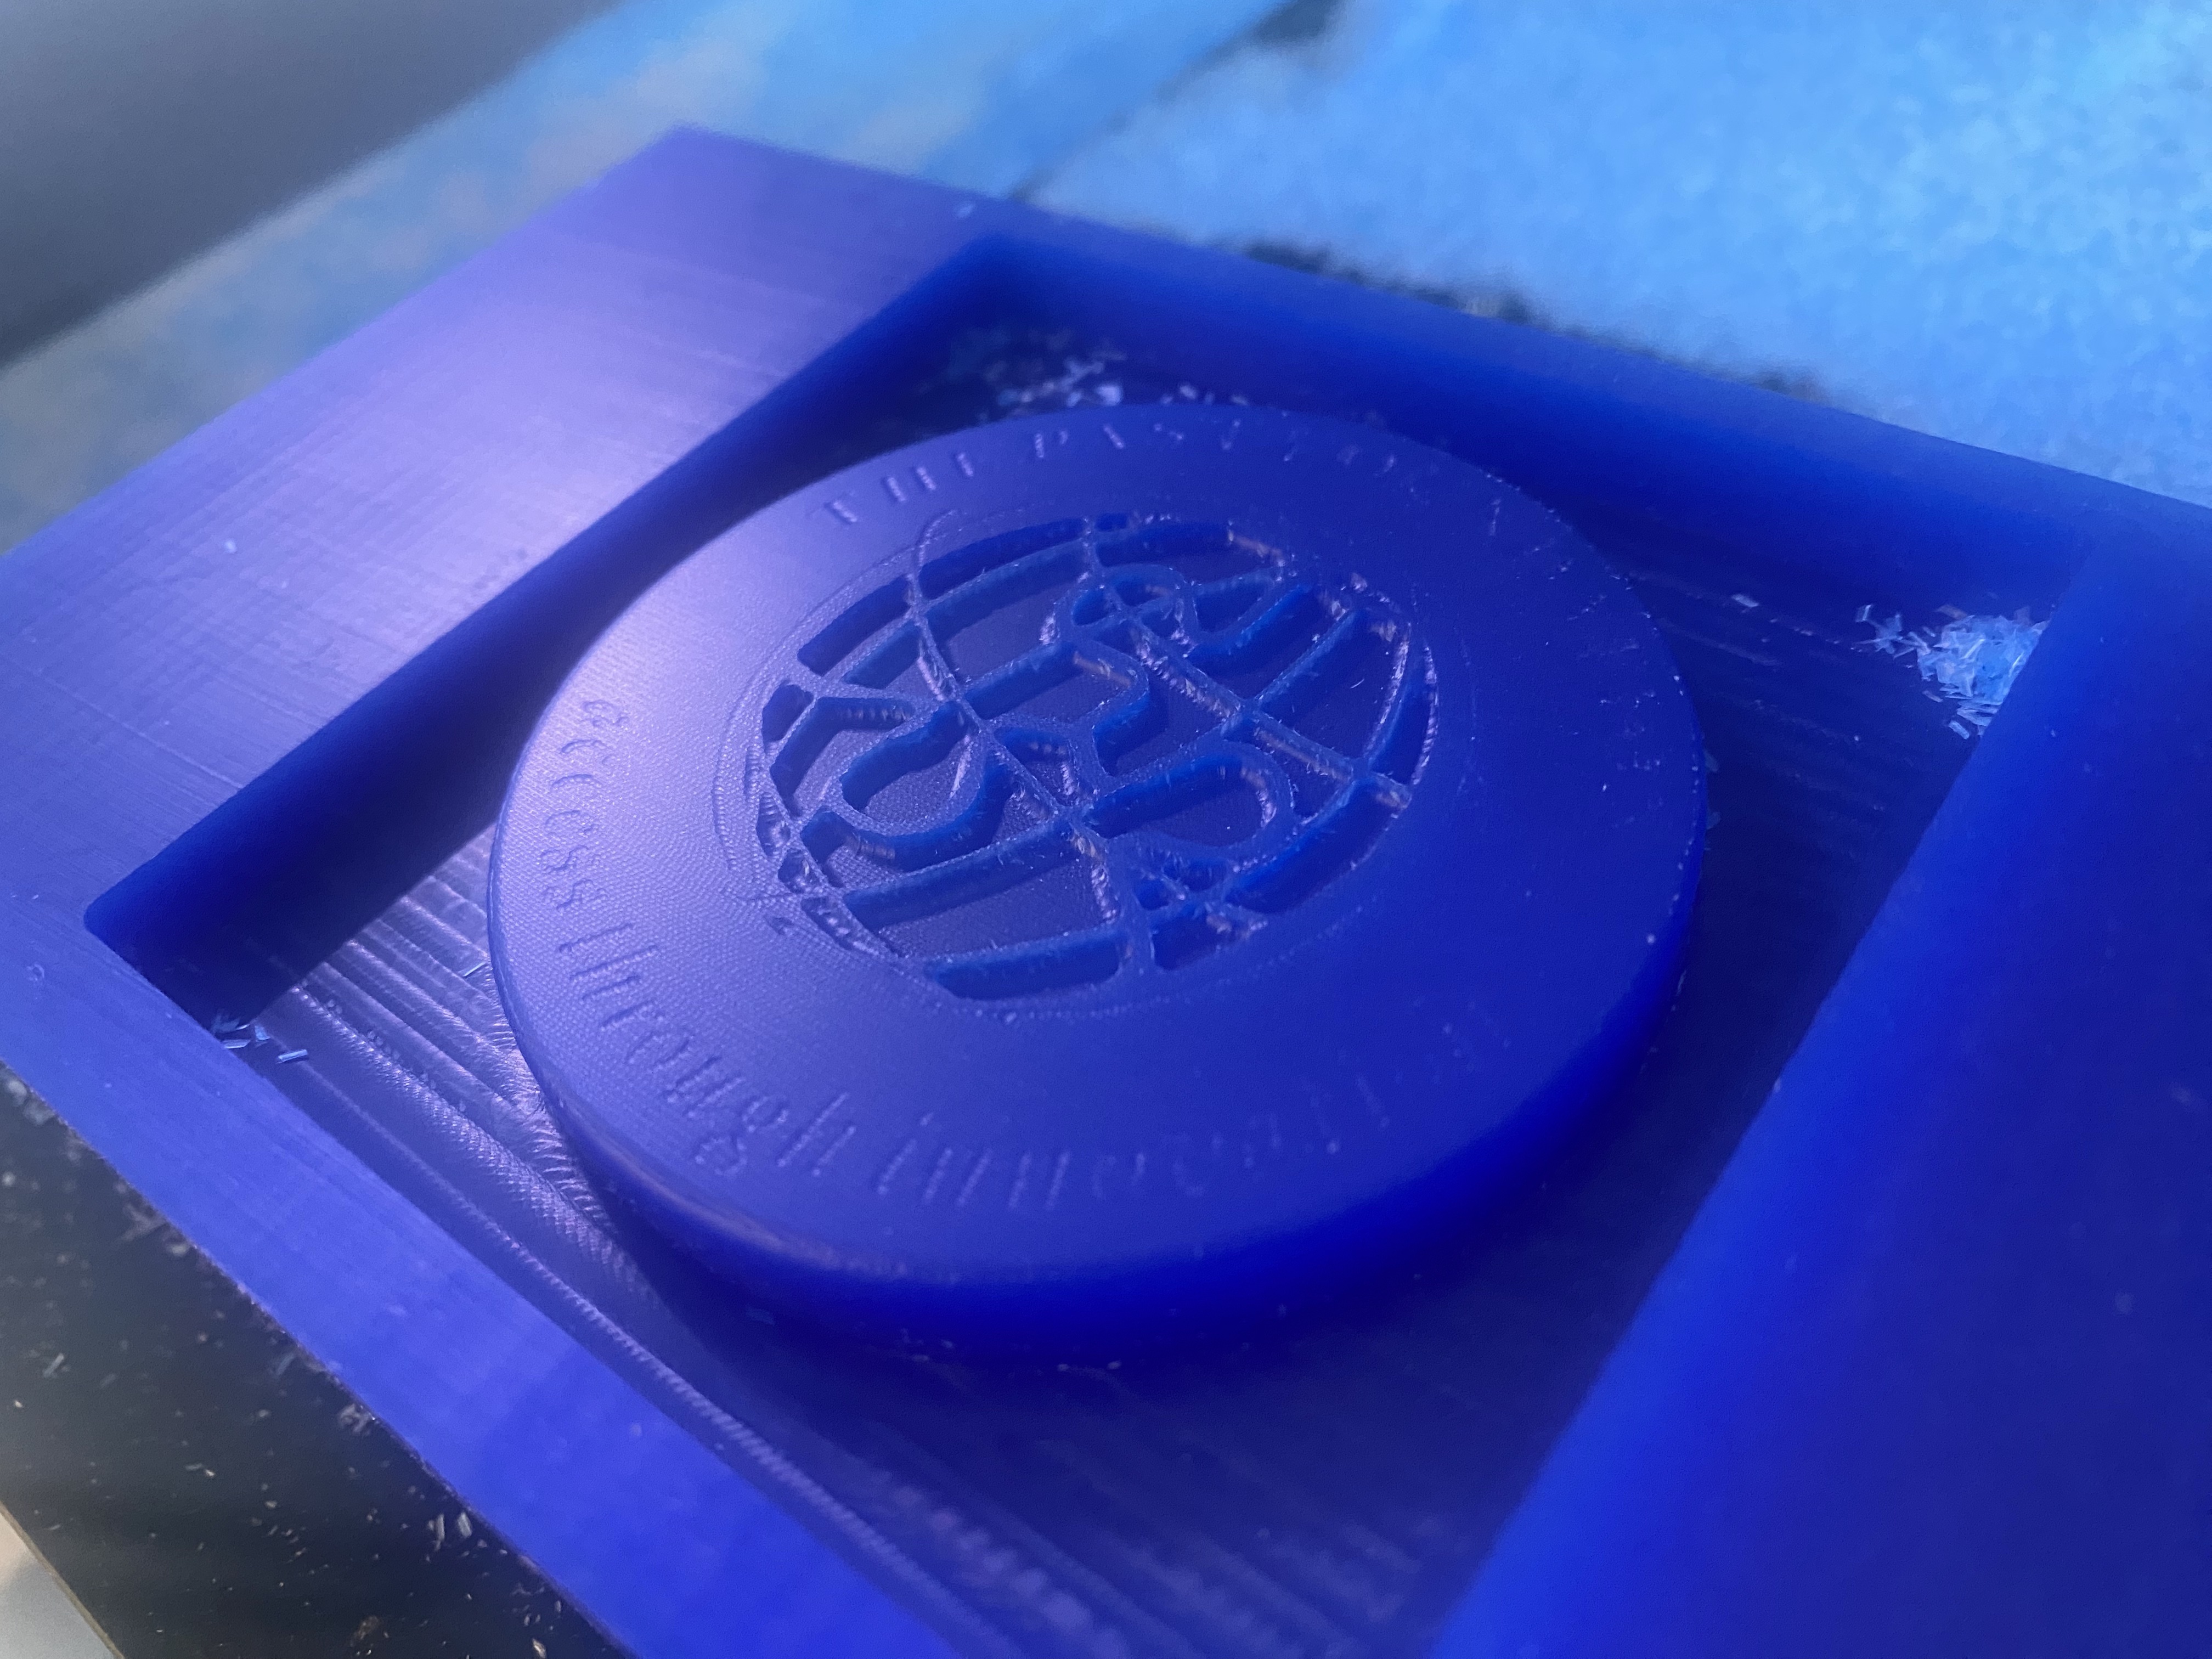
After resetting the Z height, I was able to re-mill my part. Here is the final:
Casting Process:
Safety Measures
It is important to follow proper safety procedures when casting a silicone mold, including but not limited to:
- Ventilation: Work in a well-ventilated area or use an appropriate ventilation system. This helps in dispersing fumes and preventing the inhalation of potentially harmful substances.
- Personal Protective Equipment (PPE): Wear appropriate personal protective equipment, including safety glasses or goggles to protect your eyes from splashes or spills, and gloves to protect your skin from direct contact with silicone and other mold-making materials.
- Mixing Ratios: Follow the recommended mixing ratios for your silicone material. Inaccurate measurements can lead to improper curing and affect the quality of your mold.
- Avoid Skin Contact: Avoid prolonged or repeated skin contact with uncured silicone.
- Use in a Controlled Environment: Set up your workspace in a controlled environment. Keep the work area clean and organized to minimize the risk of spills. Keep children and pets away.
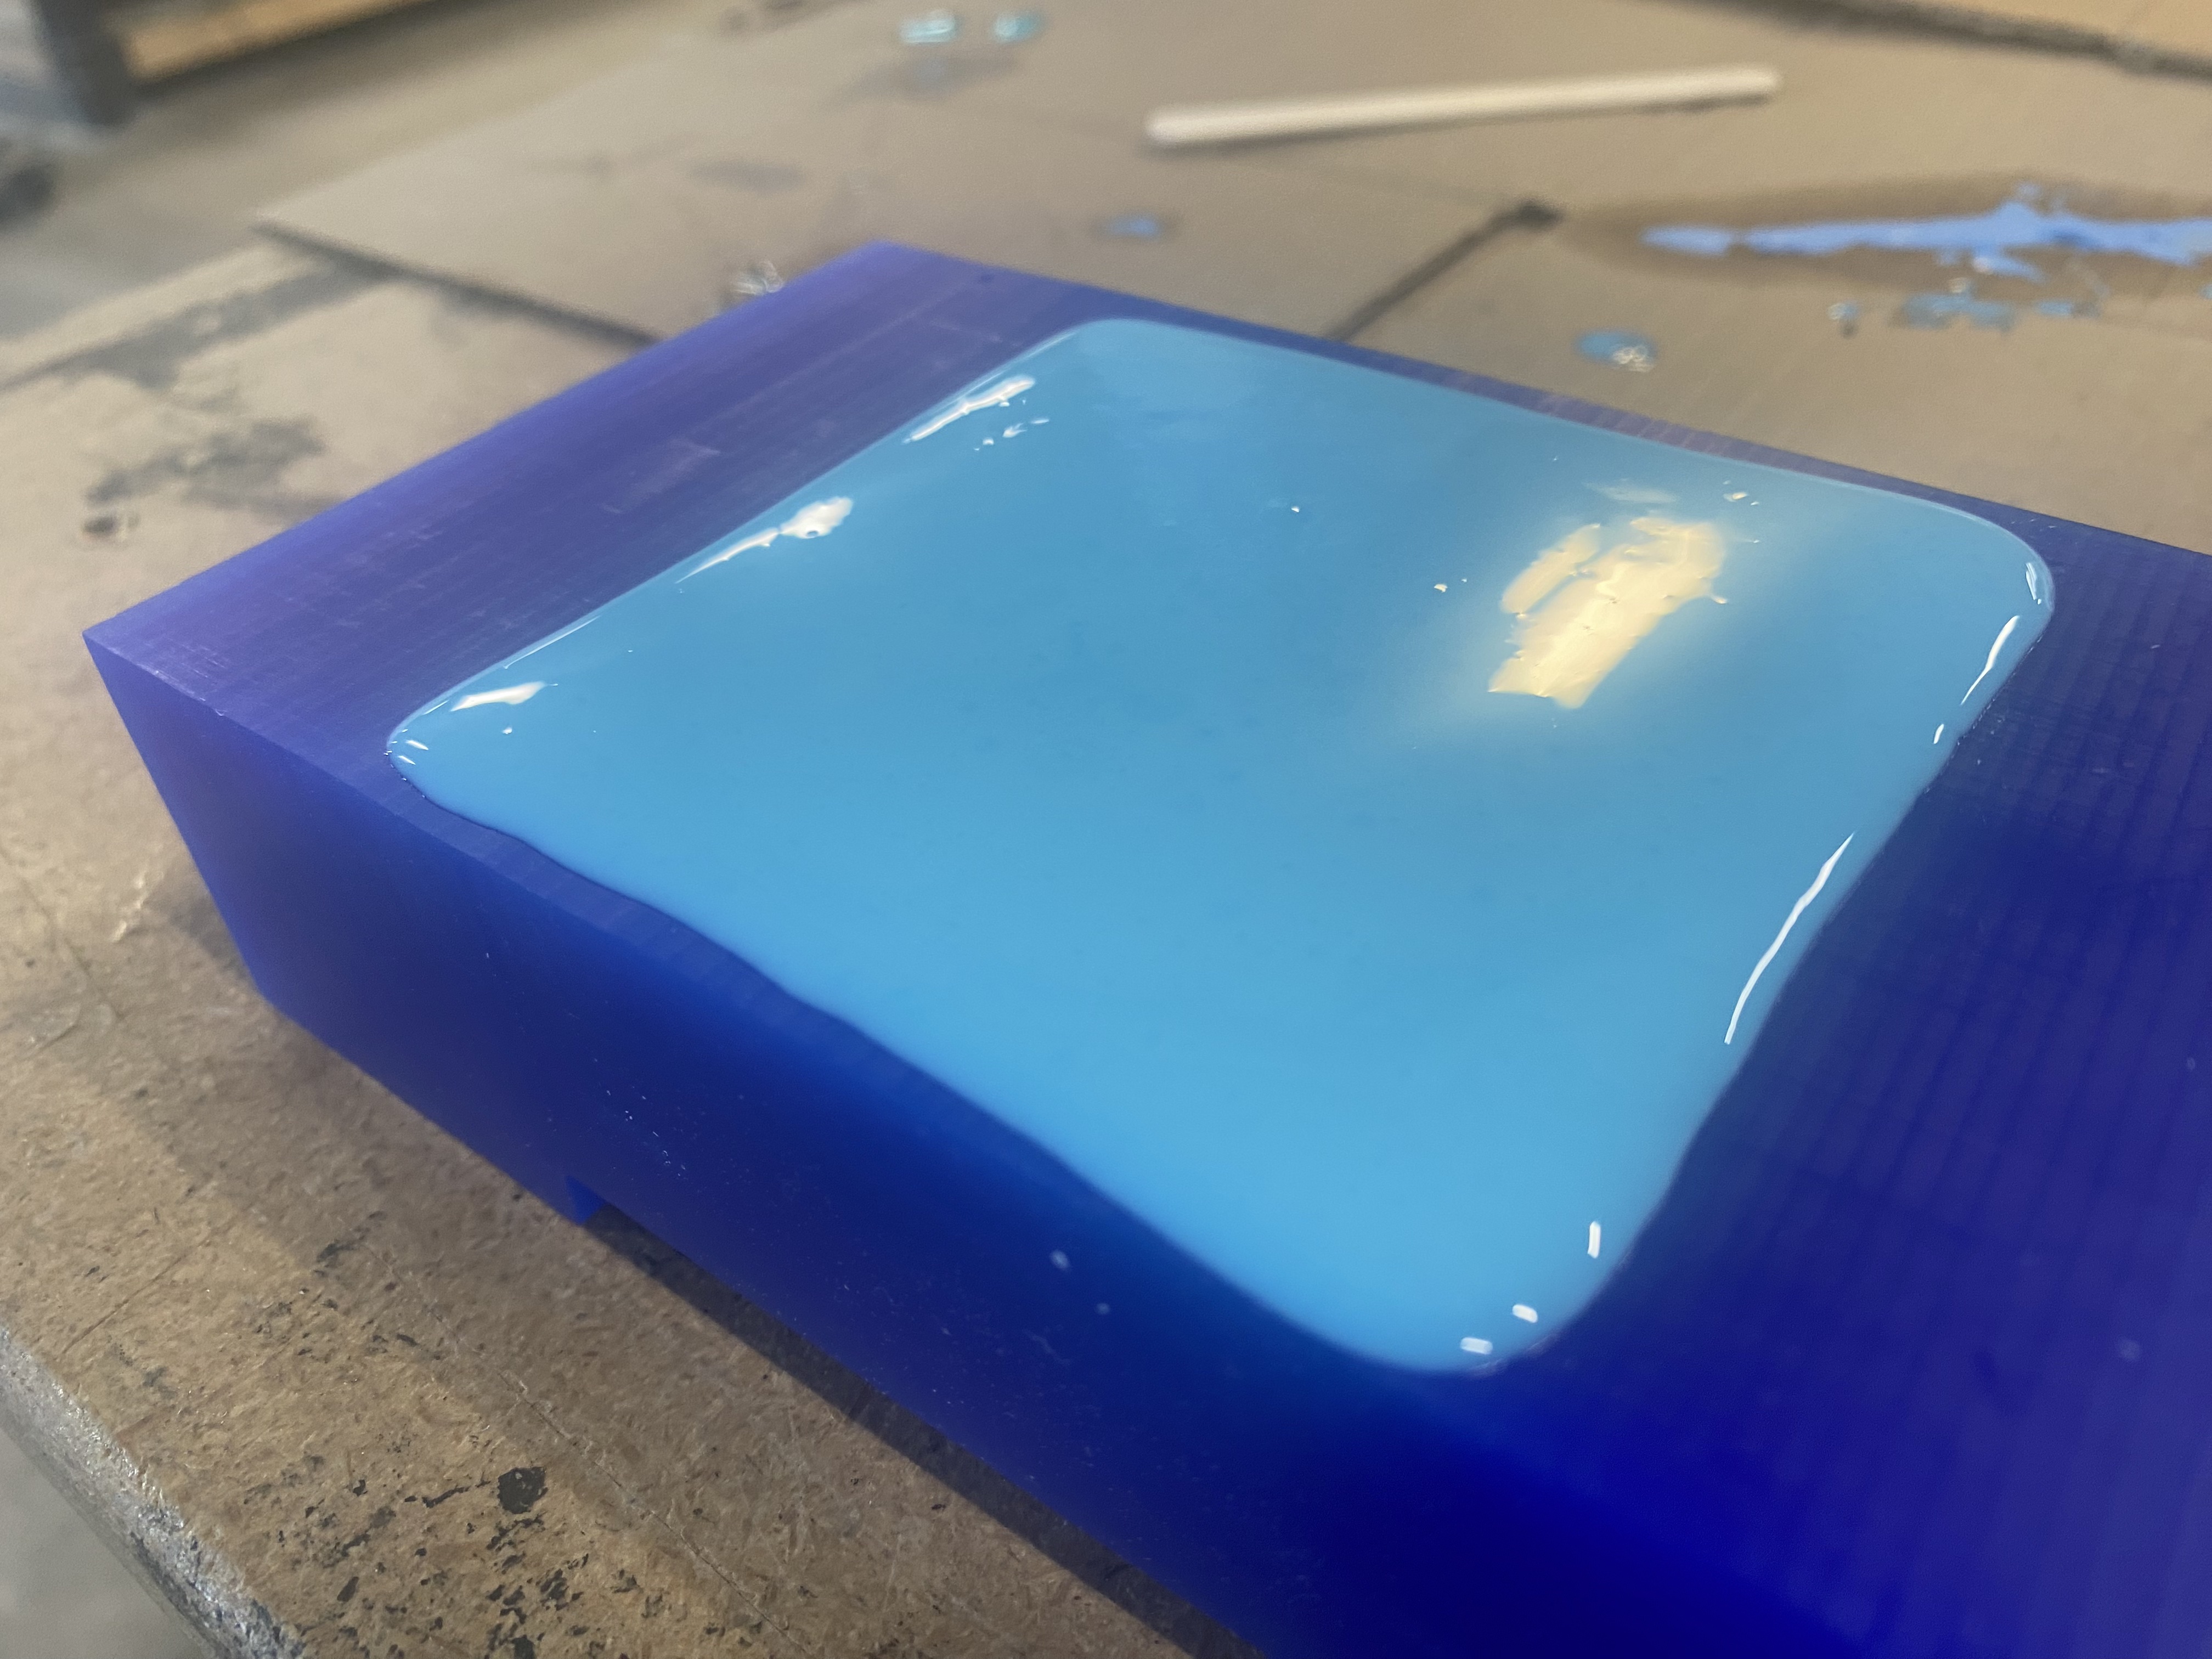
Next, I mixed the casting material equal parts until fully combined.
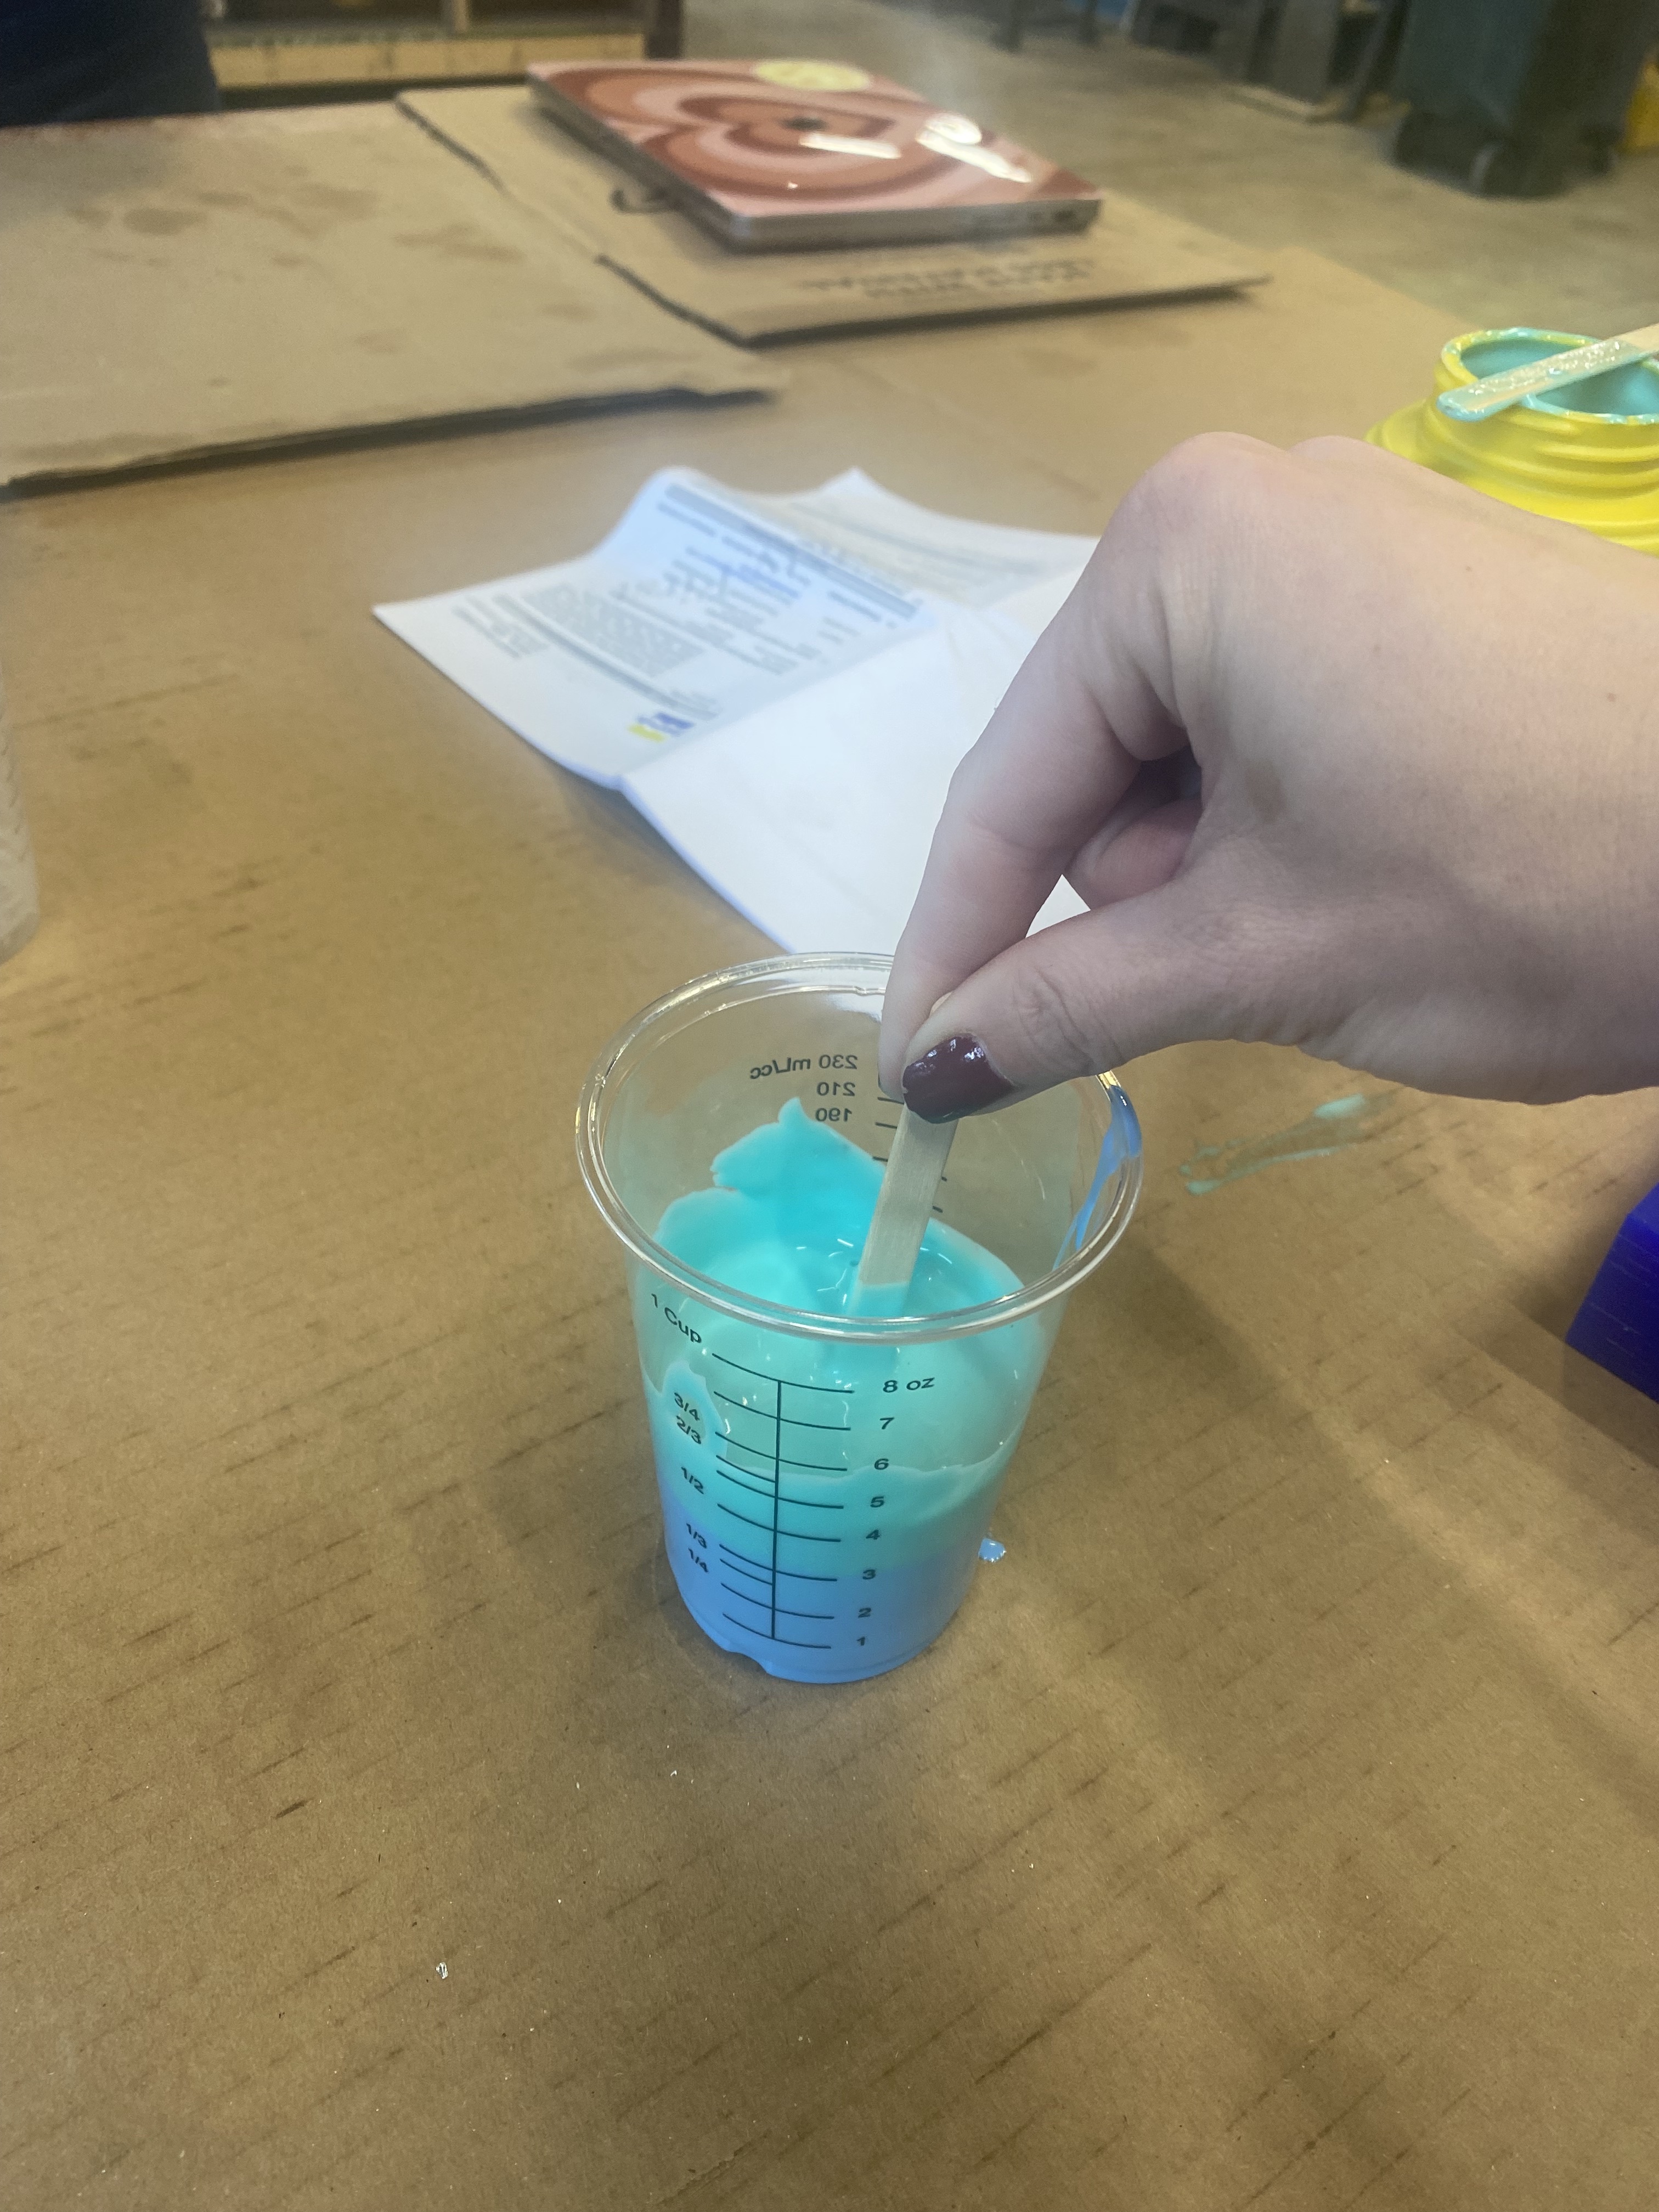
I then poured the material into my mold carefully.
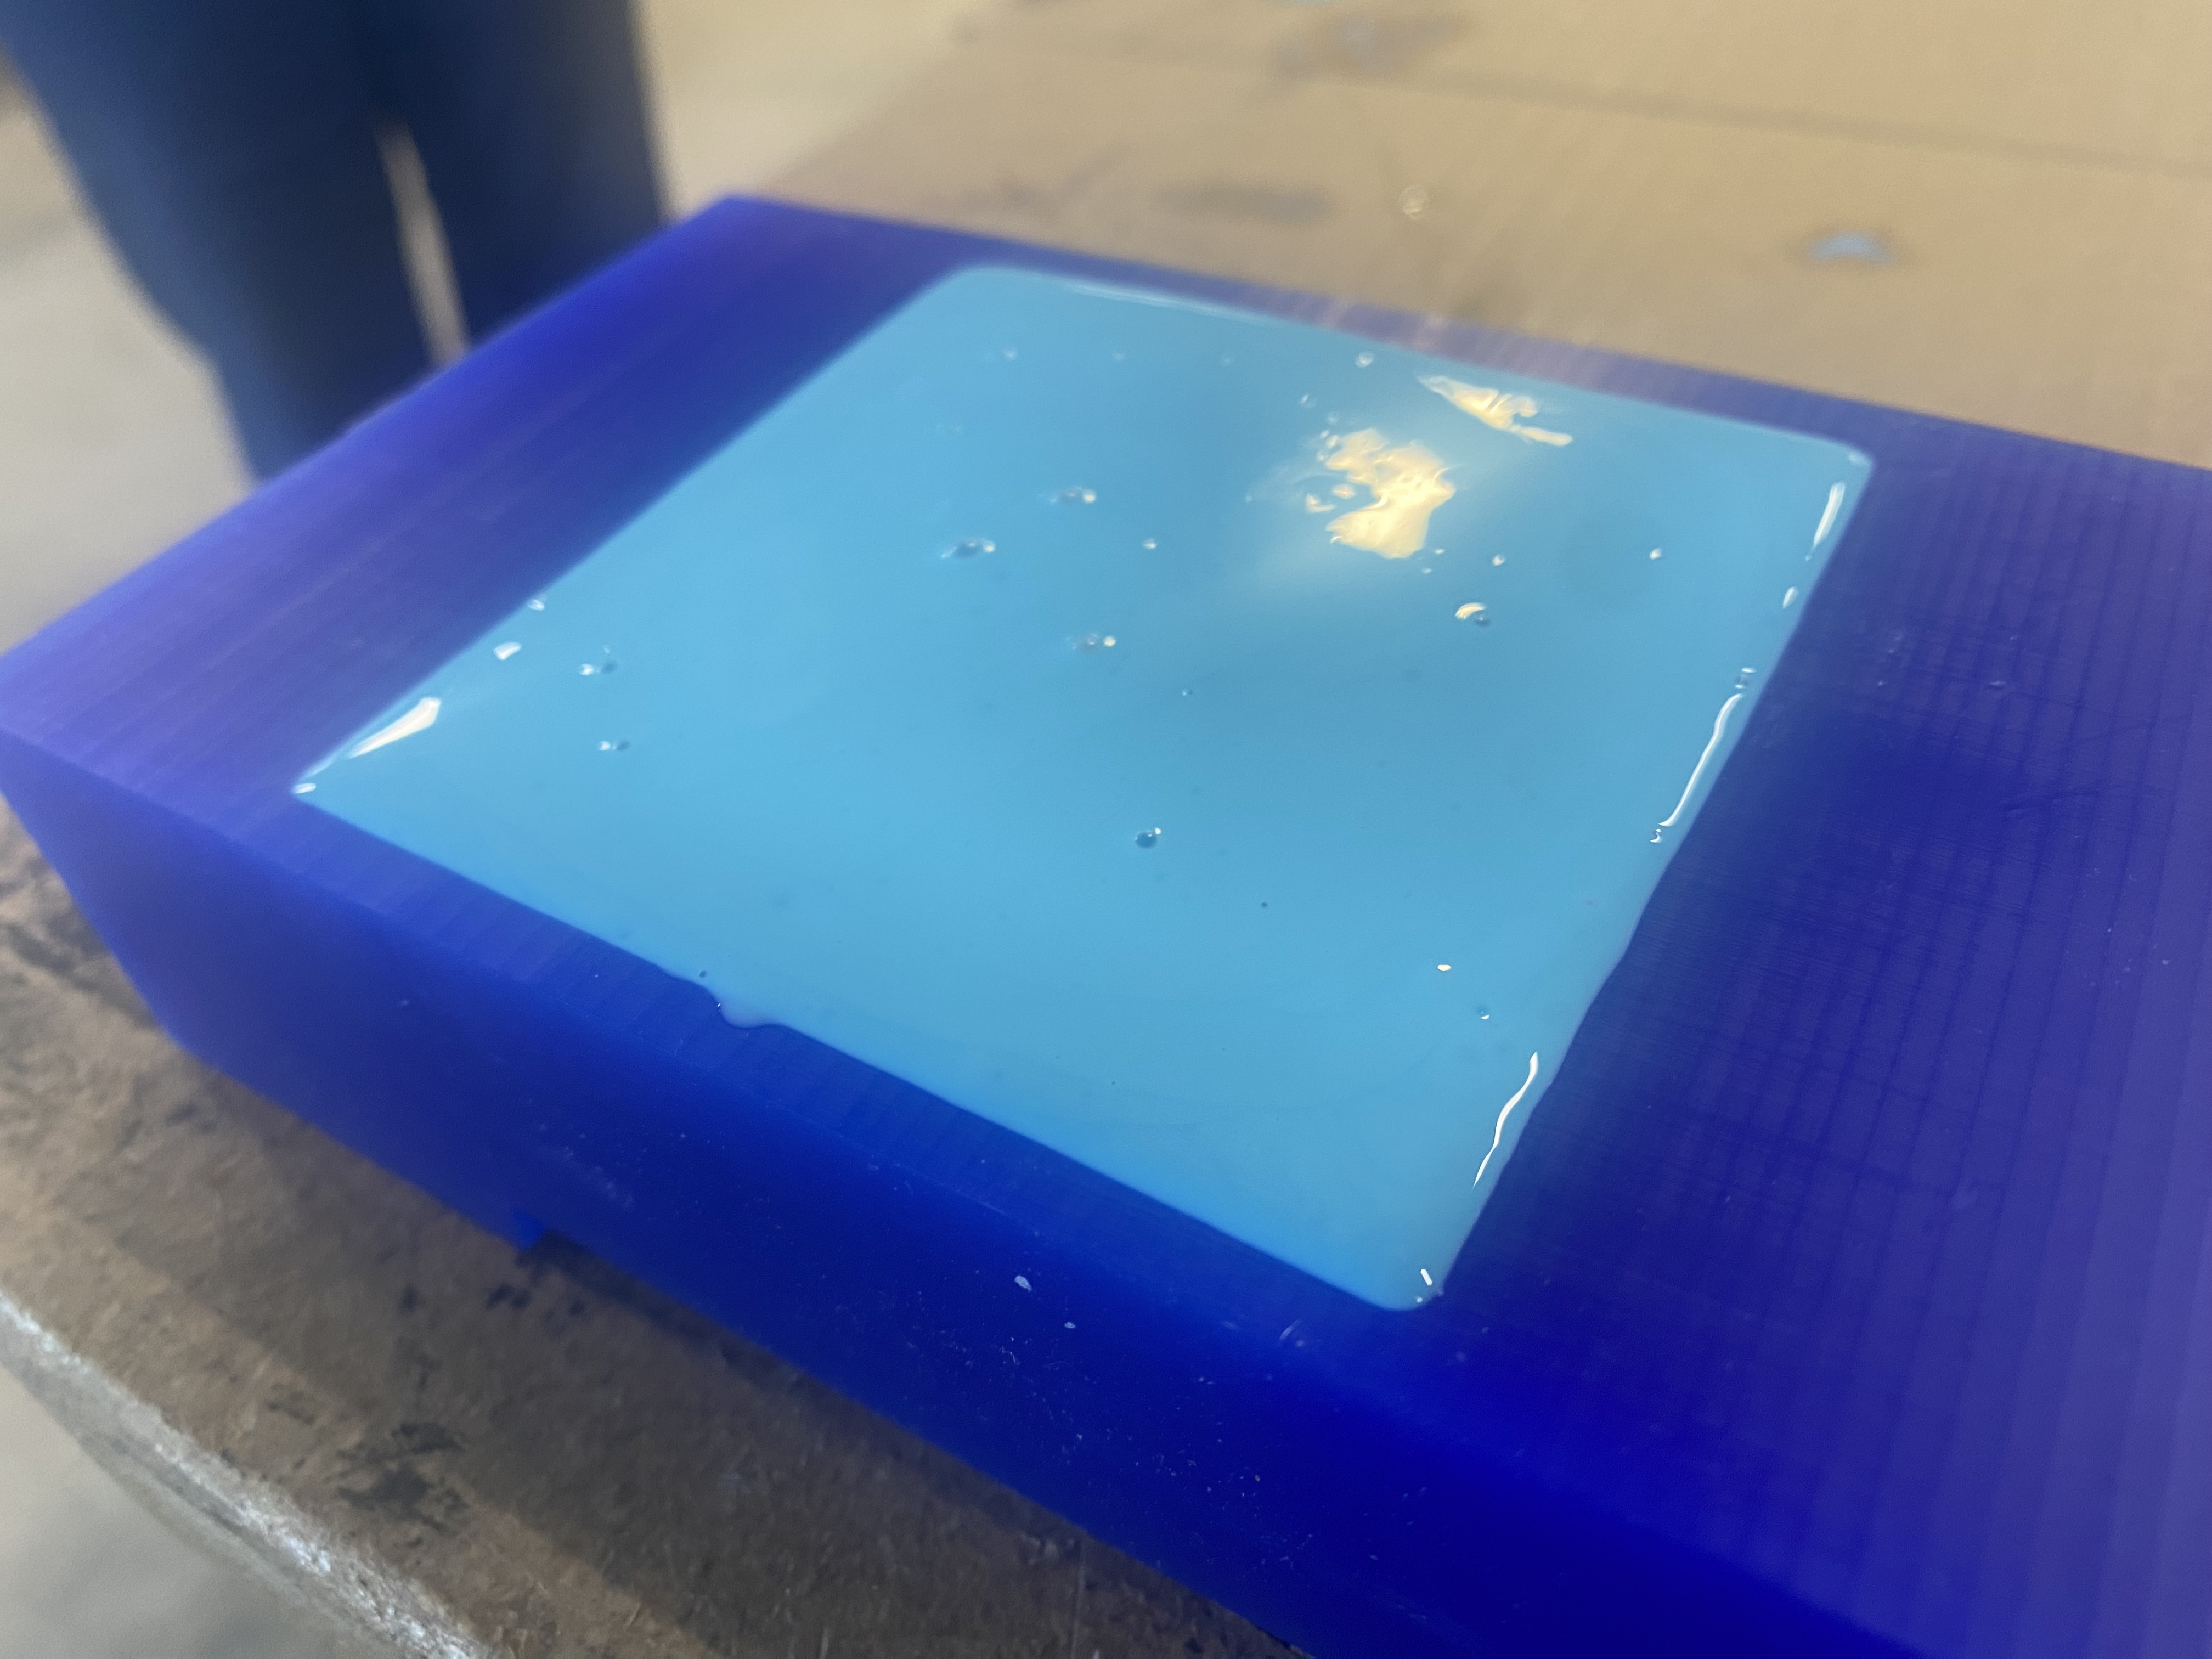
Next, I gently vibrated the mold and tapped the sides to remove all of the air bubbles.
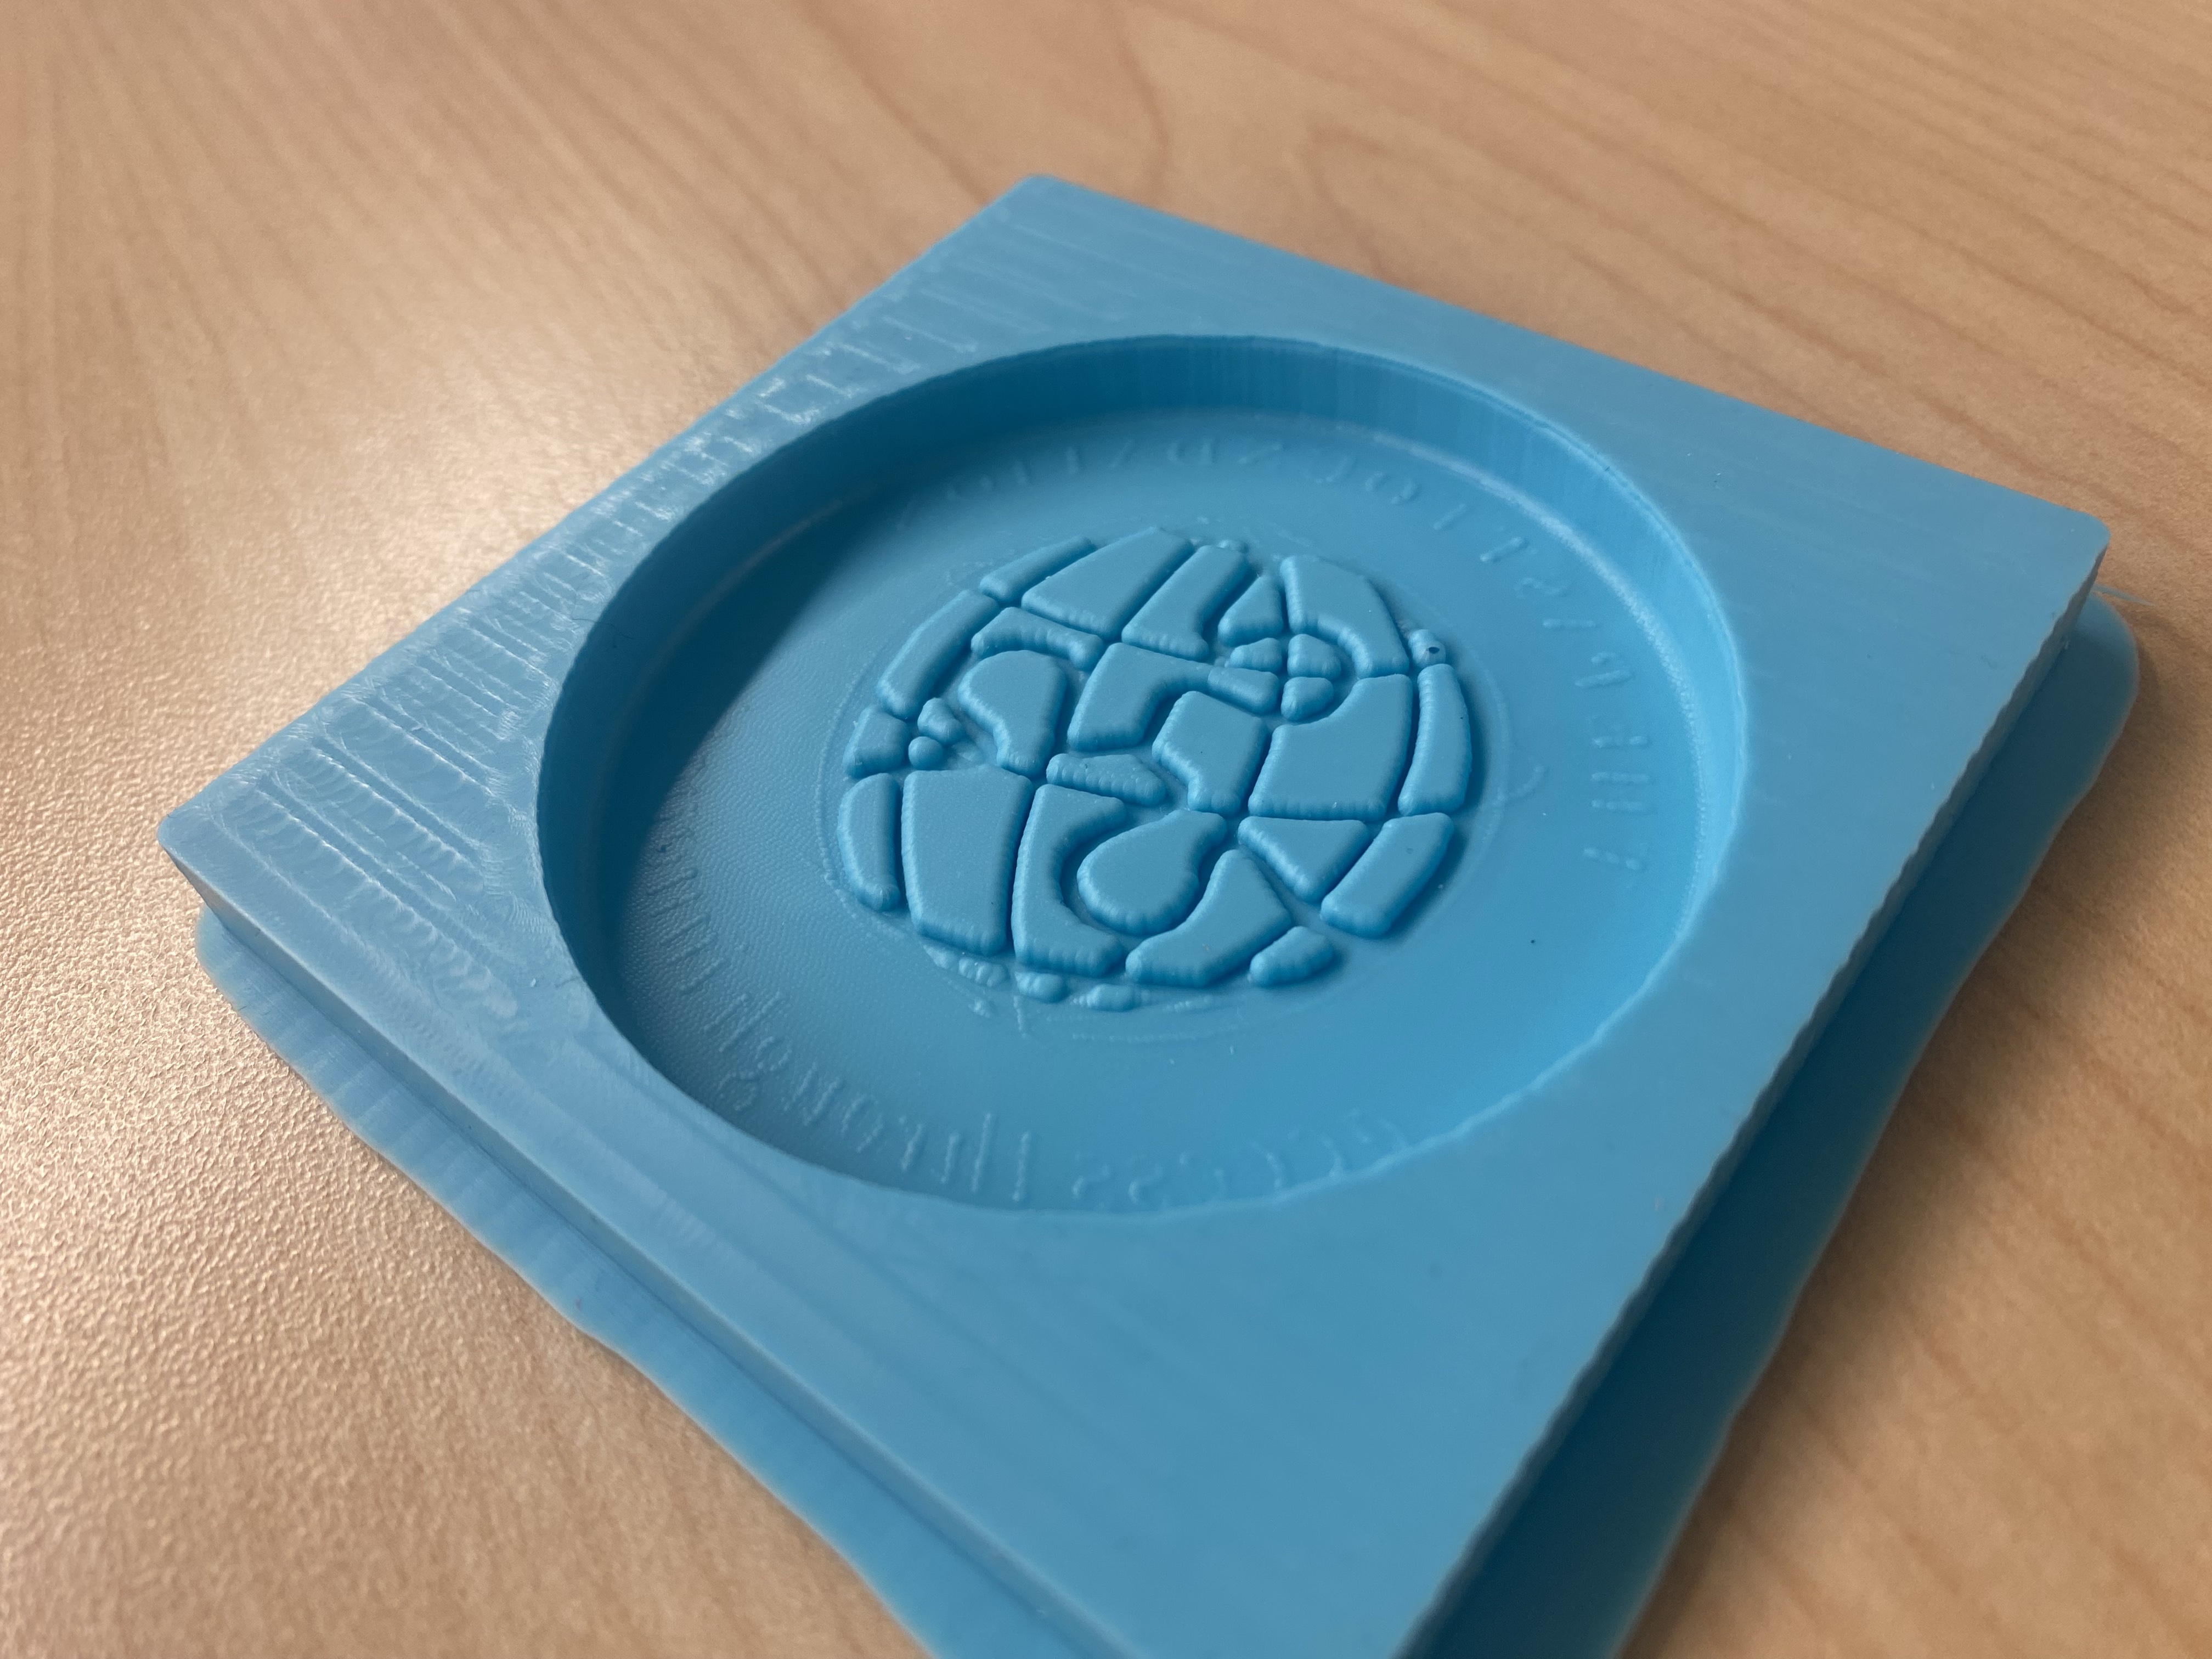
After waiting for it to cure, I removed the material. Here is the final product!
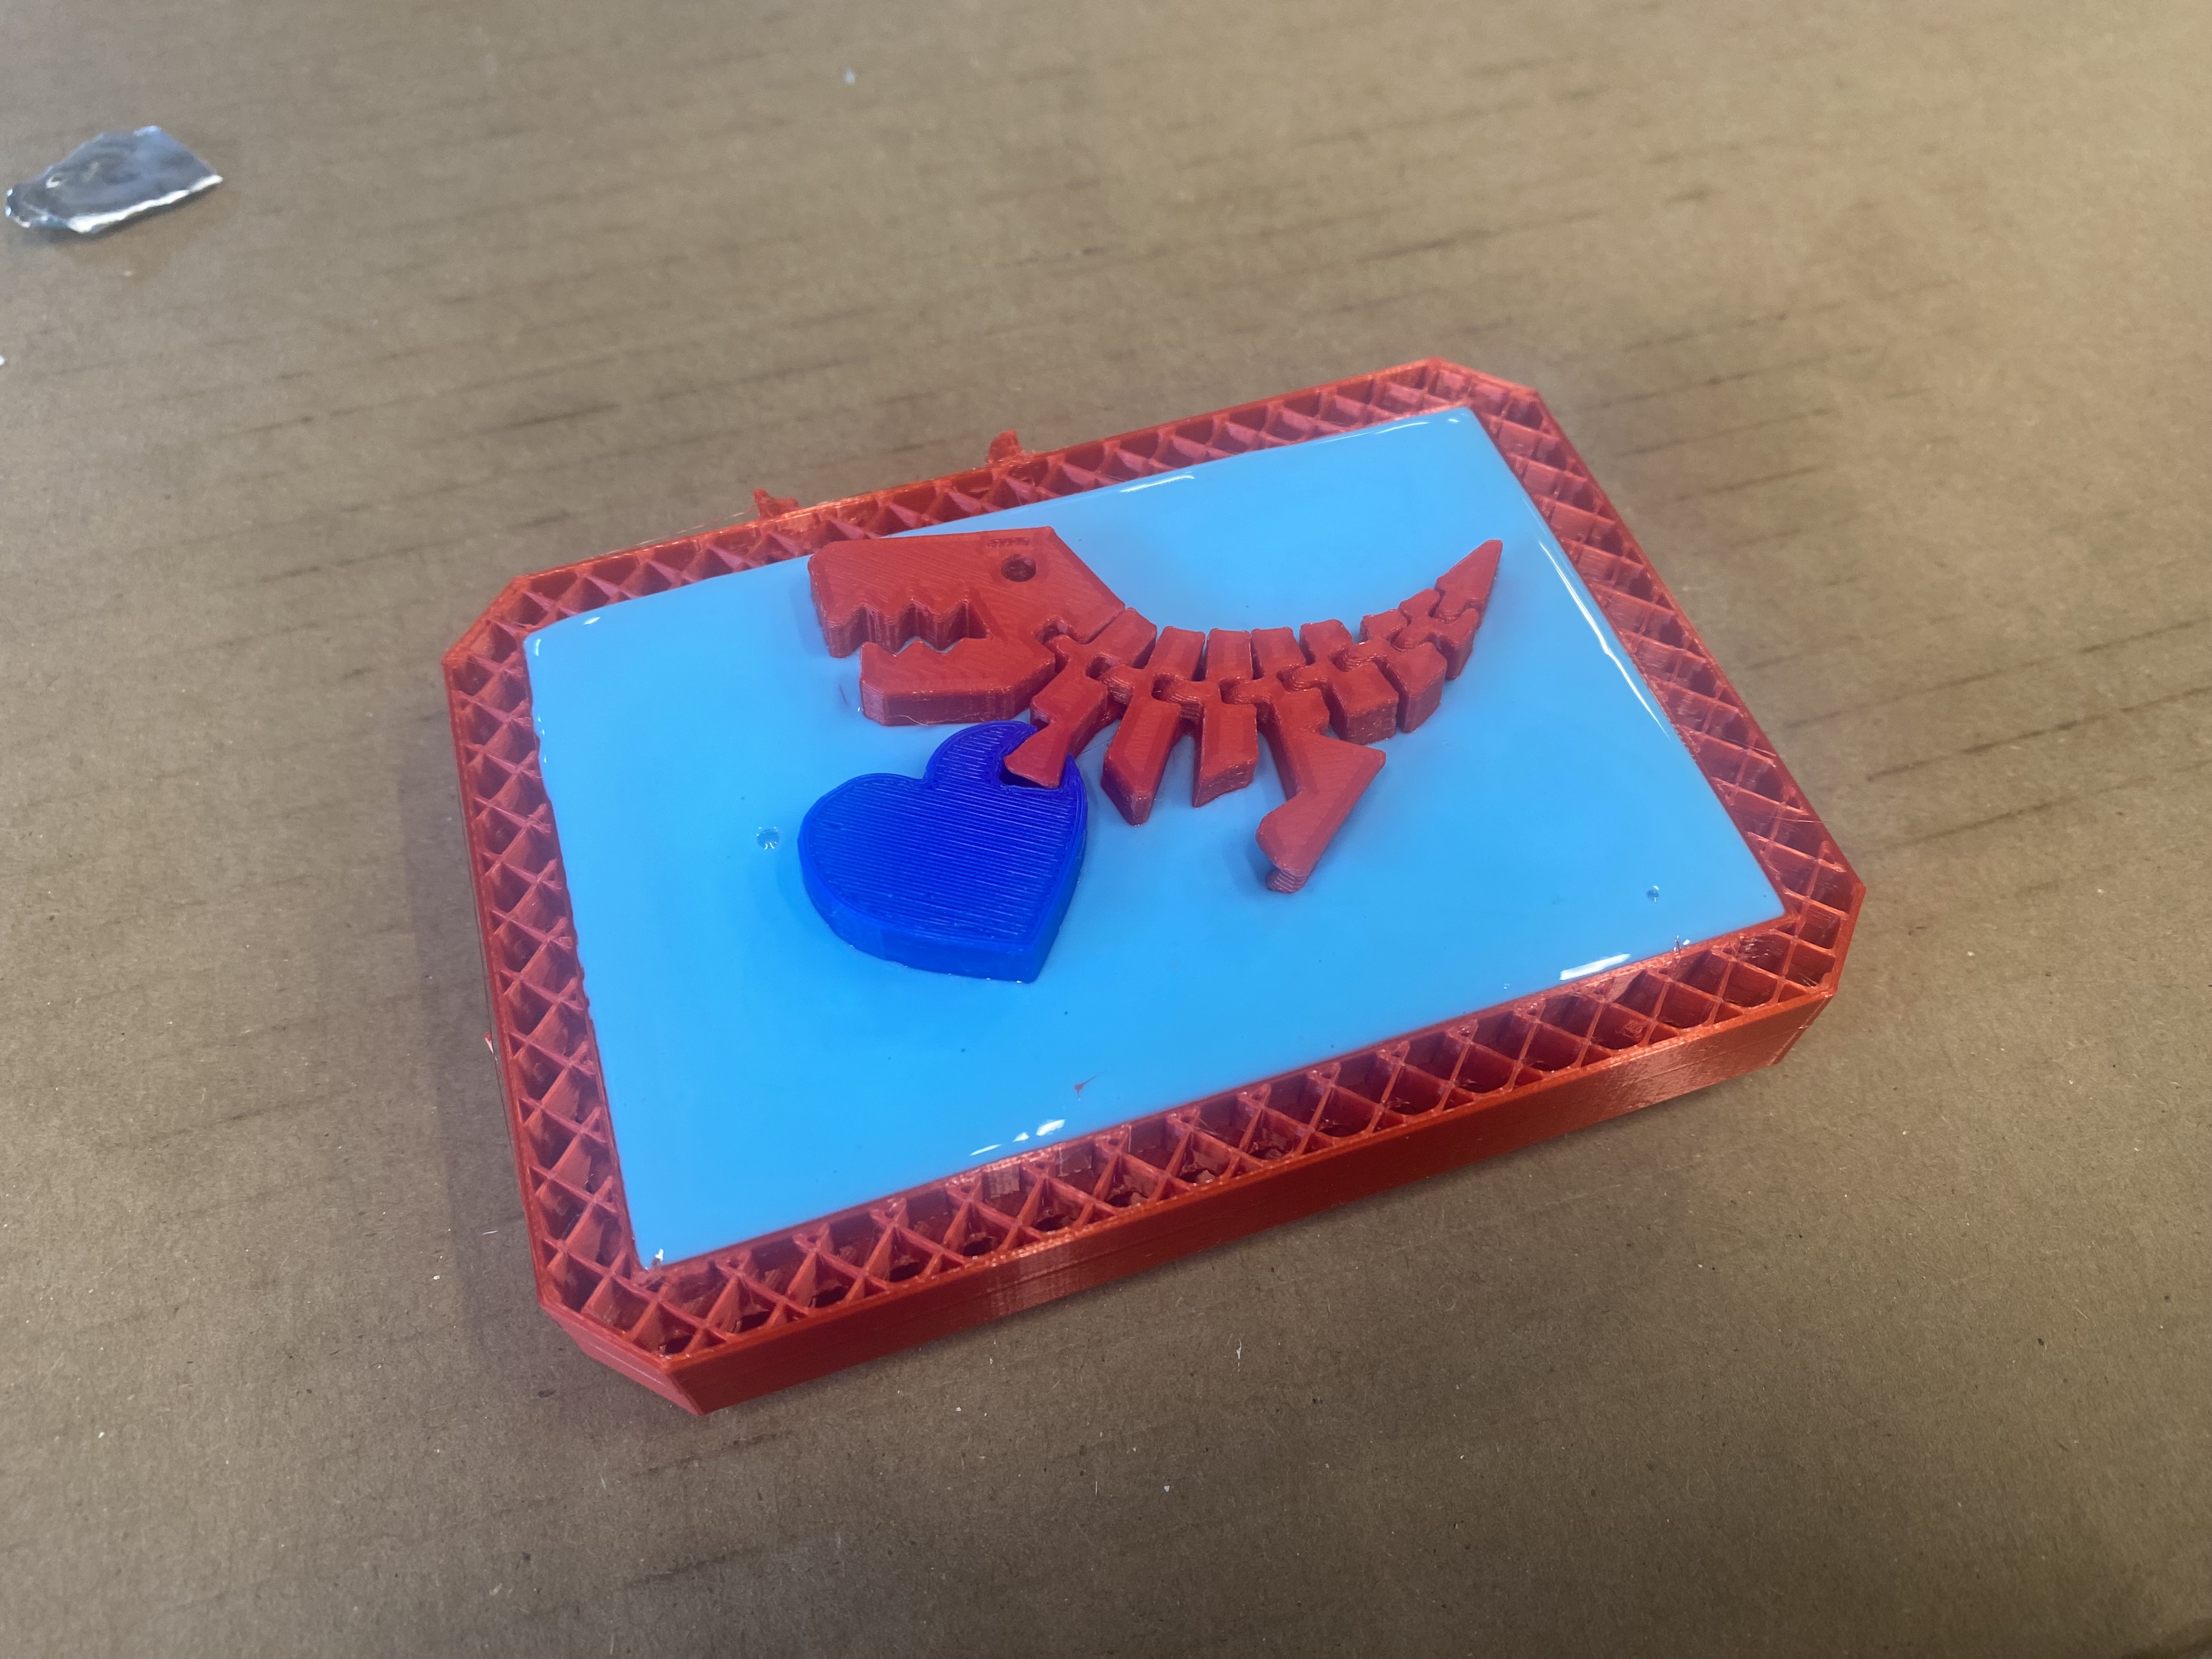
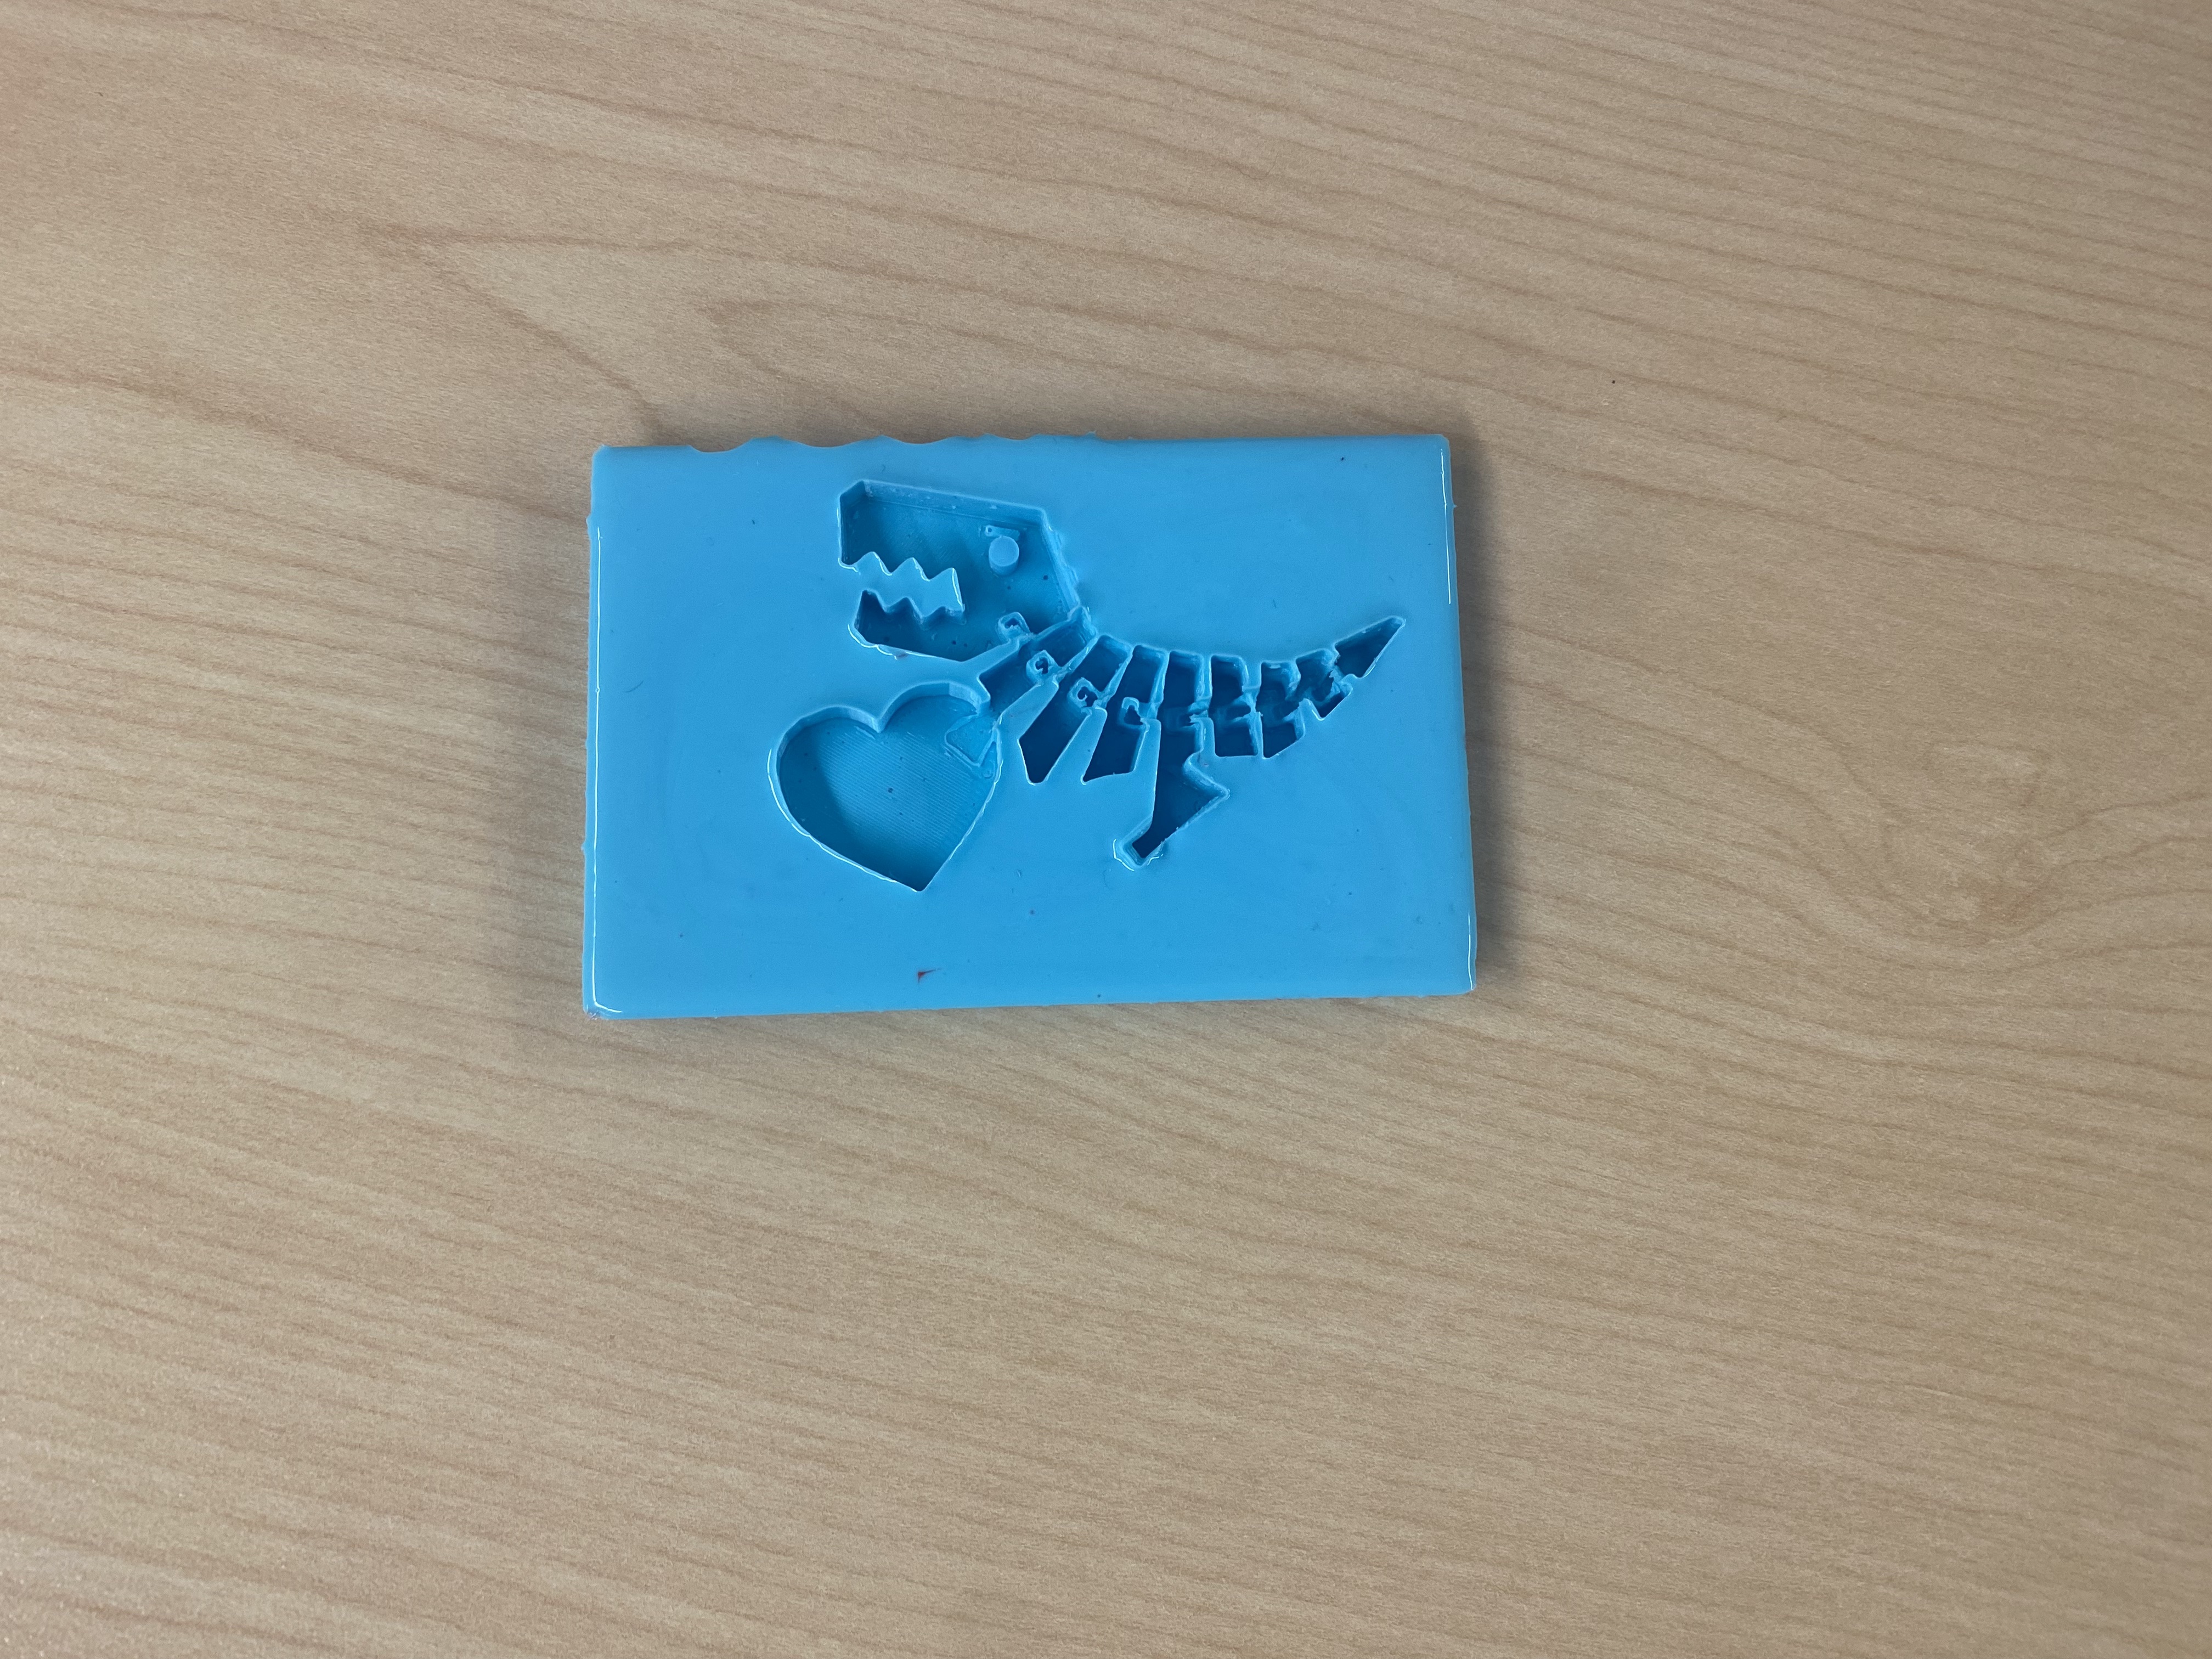
I decided to try creating a cast using a 3D print. I created a box to hold the material, and carefully placed a 3D print. I thought this would be a fun activity to do with students and eventually plan to use this strategy to create a "fossil" scavenger hunt for one of our student programs.
Files
Below is my OnShape design.