Week 7. Computer Controlled Machining
Group Assignment
Here is our group assignment on Andy's page:
Group AssignmentIndividual Assignment
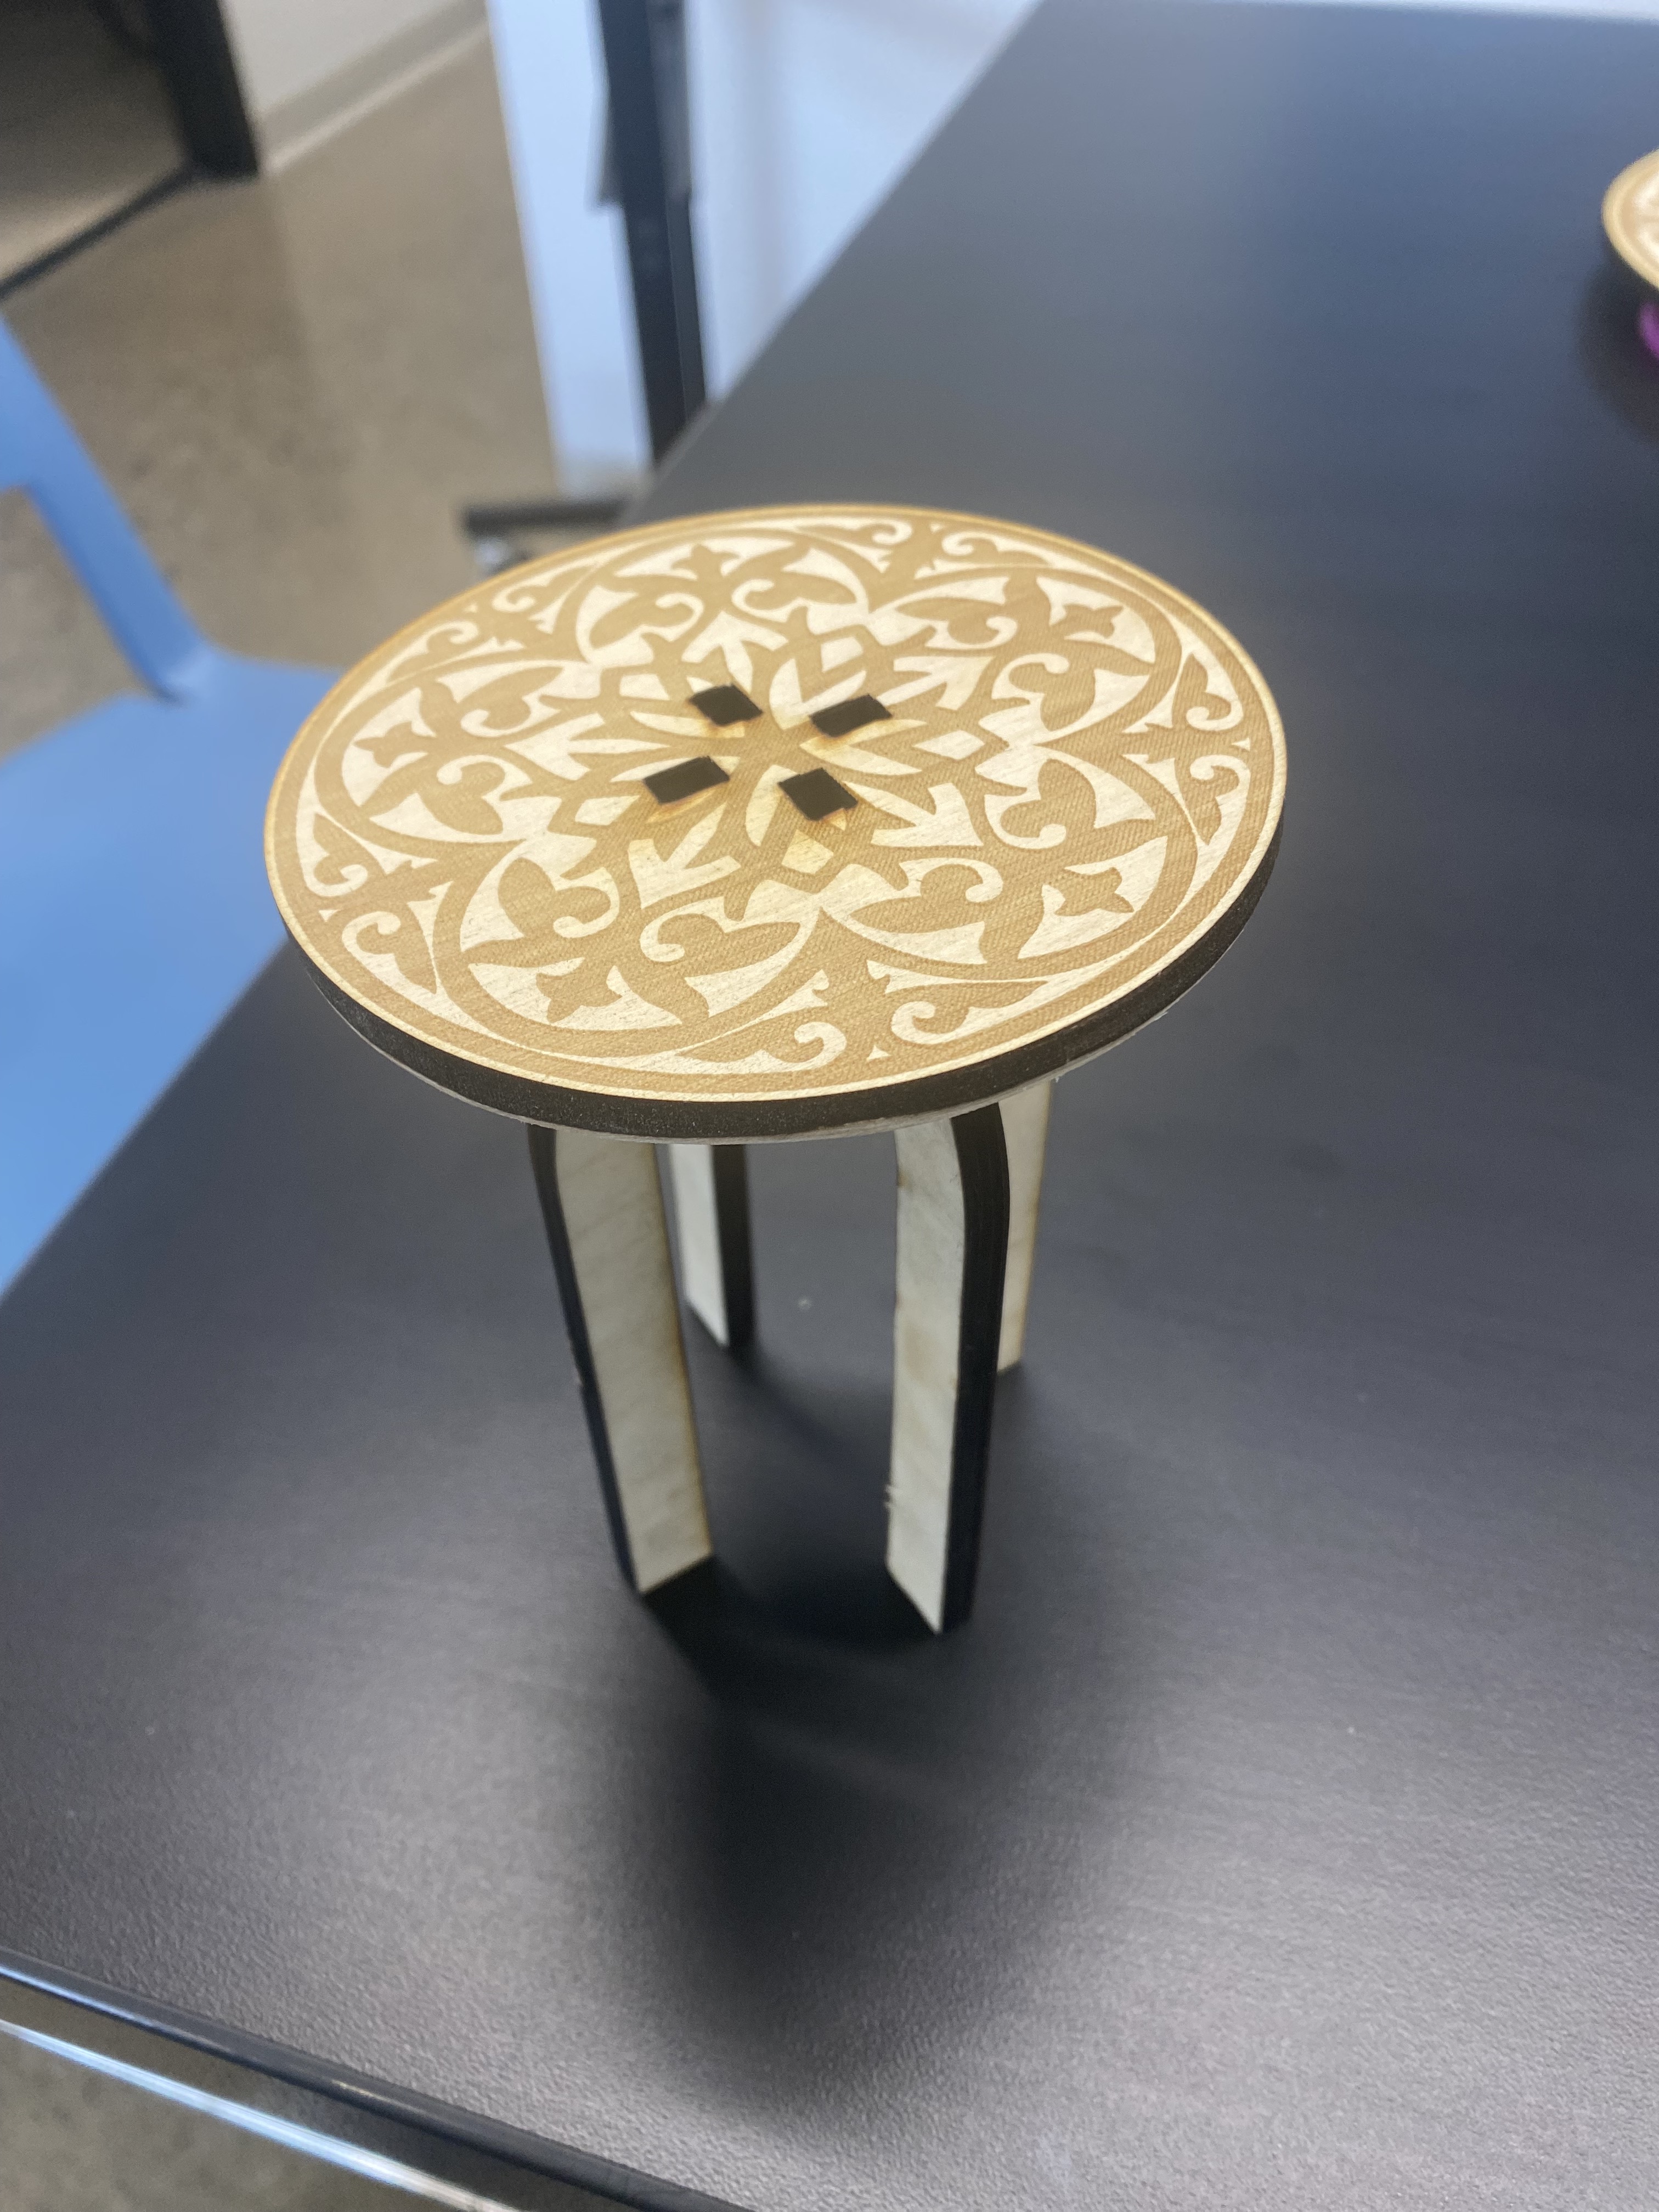
I decided to make a table this week using the CNC machine.
Using a CNC (Computer Numerical Control) machine involves several steps to transform a digital design into a physical object. Here is a general guide:
- Design the Model: Create a 3D model of the object you want to create using CAD (Computer-Aided Design) software. Ensure the design is compatible with CNC machining.
- Convert to CNC Code: Use CAM (Computer-Aided Manufacturing) software to convert the 3D model into CNC-readable G-code. This code contains instructions for the CNC machine to follow during the machining process.
- Set Workpiece and Tool: Secure the material (workpiece) to the CNC machine bed. Choose and install the appropriate cutting tool into the CNC machine's spindle. Ensure the tool is properly calibrated and in good condition.
- Load CNC Code: Load the generated G-code into the CNC machine's control software. This can typically be done through a USB drive, network connection, or direct input.
- Set Work Coordinates: Establish the work coordinates by indicating the reference point on the material where the CNC machine considers the starting point for the machining process.
- Machine Setup: Configure the CNC machine settings, including tool speed, feed rate, and depth of cut. Ensure the machine is properly calibrated for accurate and precise machining.
- Tool Touch-Off: Use a tool touch-off routine to measure the tool's length accurately. This ensures that the CNC machine has an accurate reference point for tool positioning.
- Dry Run: Before running the actual machining process, perform a dry run to check for any potential collisions or issues. This helps identify and correct errors in the program.
- Start Machining:Initiate the CNC machining process. The CNC machine will follow the programmed G-code to cut, carve, or shape the material according to the 3D model.
- Monitor the Process: Keep a close eye on the machining process, especially during the initial stages, to ensure everything is proceeding as expected. Monitor for any unusual sounds, vibrations, or tool issues.
- Post-Processing: Once the machining is complete, remove the finished part from the CNC machine. Depending on the project, post-processing steps like sanding or additional machining may be necessary.
- Inspect the Finished Part: Carefully inspect the machined part for accuracy and quality. Check for any defects or deviations from the intended design.
First, I designed my table in OnShape.
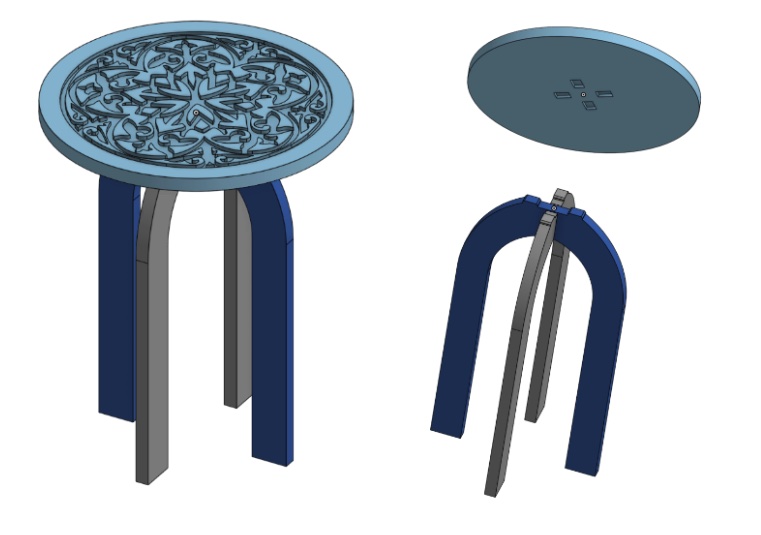
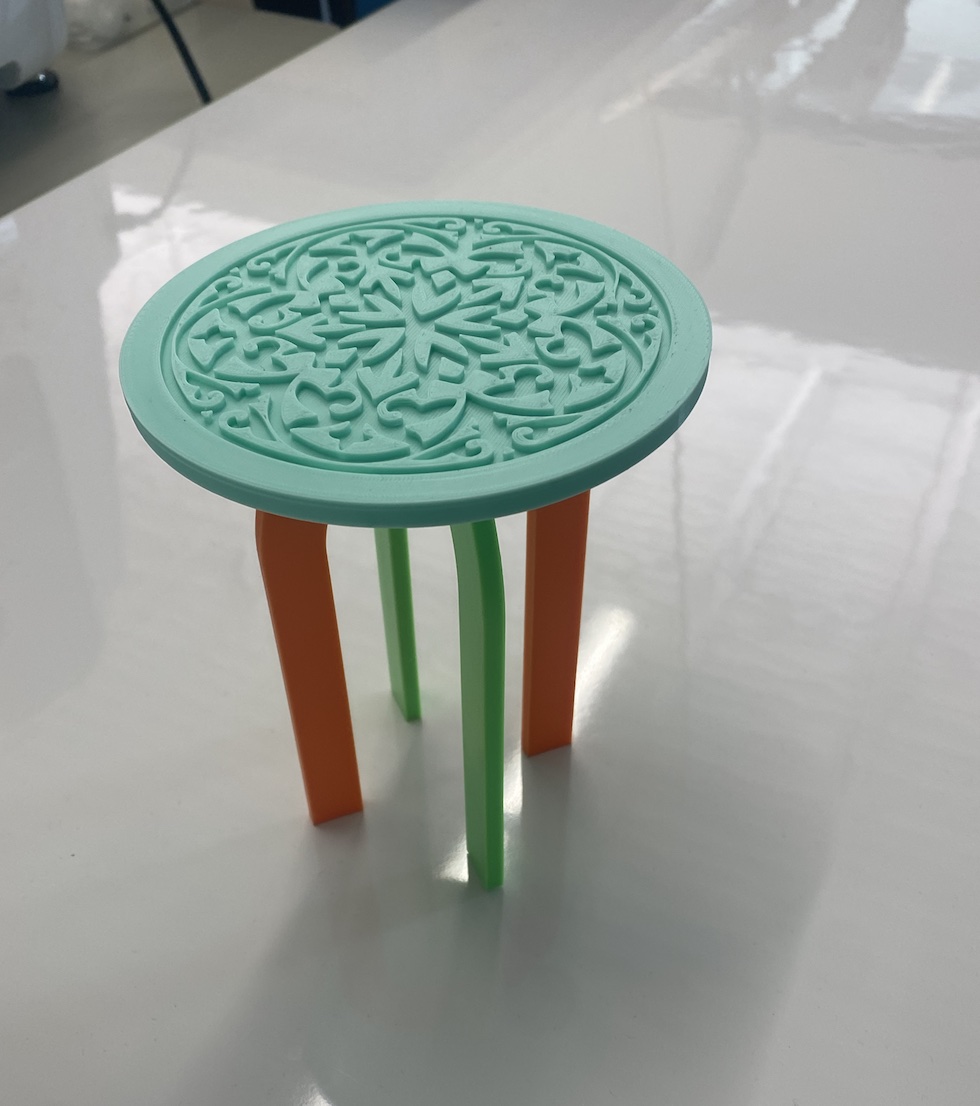
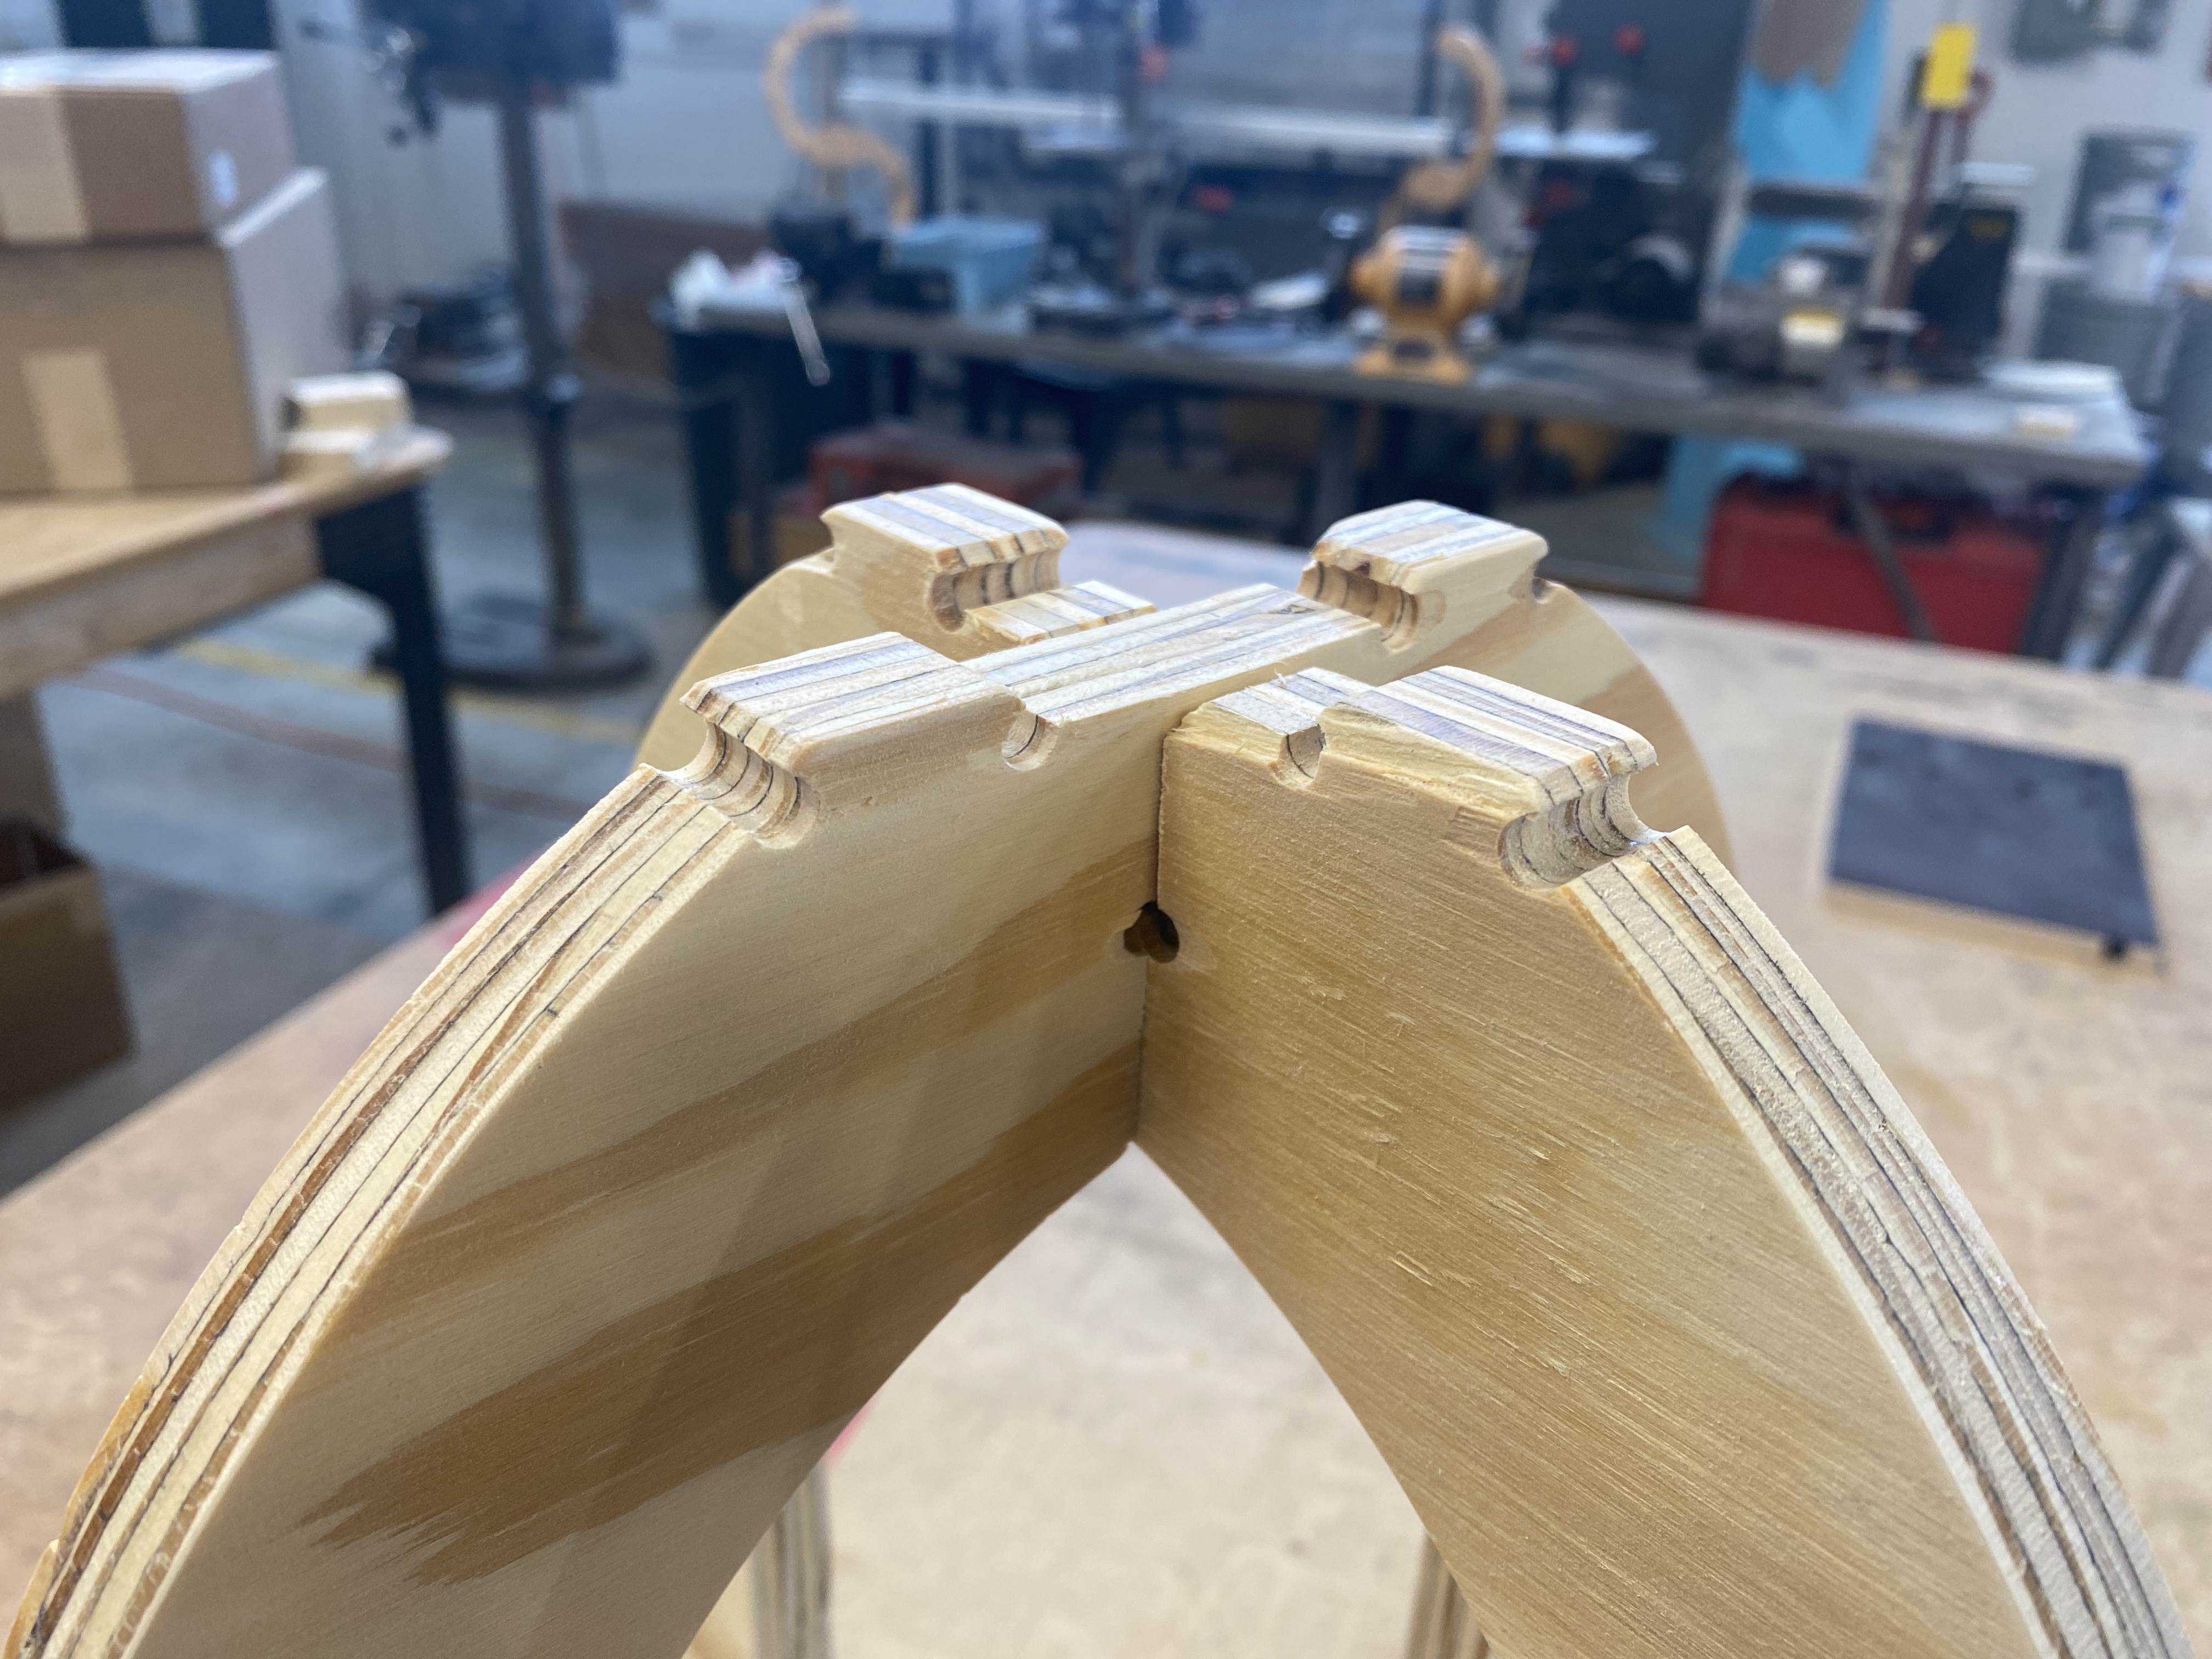
From there, I made a few prototypes to ensure the notches fit and the proportions were right.
3D Printed Model:
Laser Cut Version:
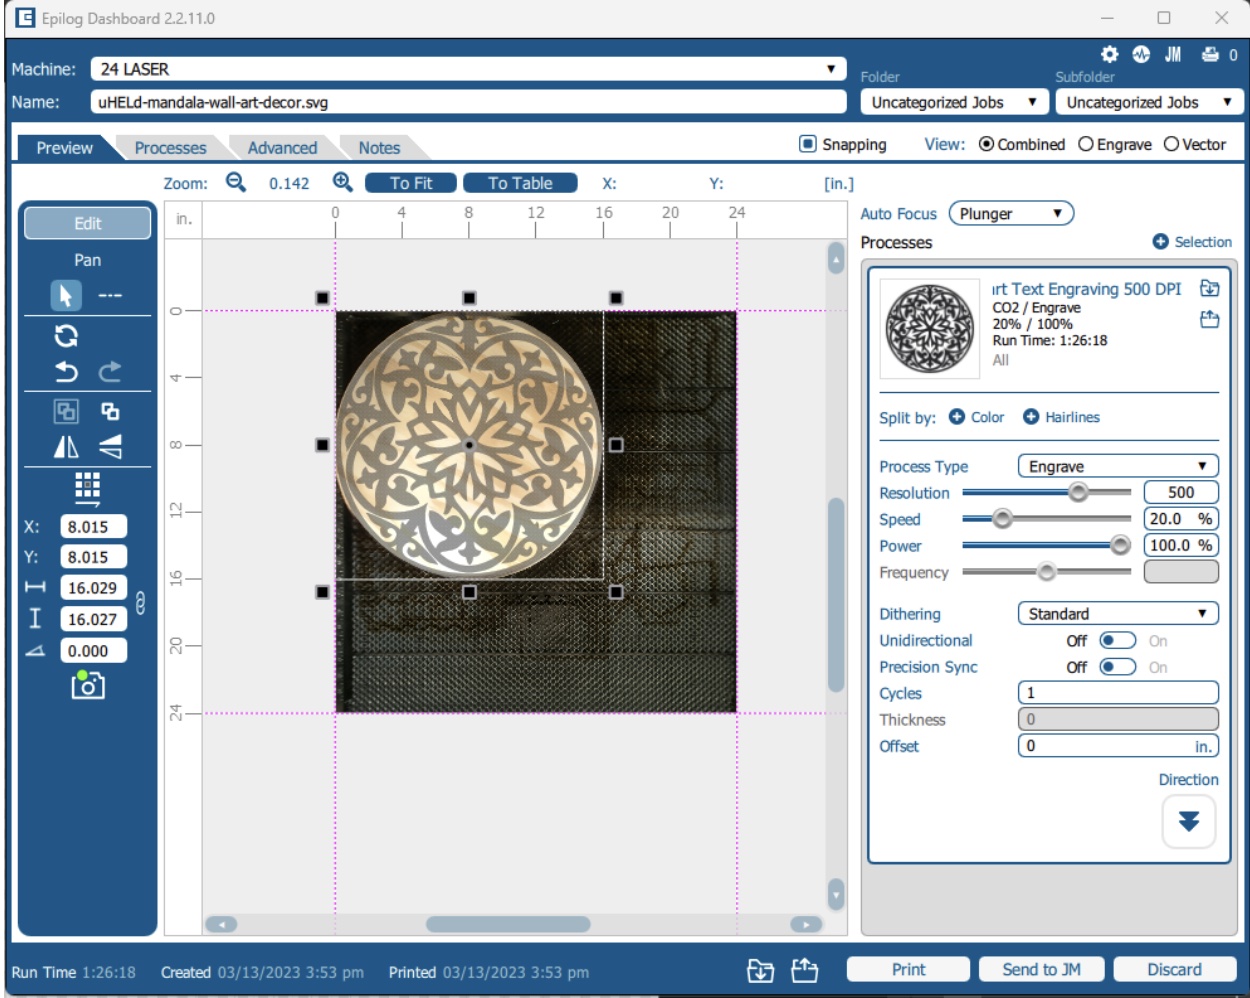
I decided to laser engrave the detailing on the top rather than machine it to provide some color contrast and because the sharp edges would not come out as clear with the CNC.
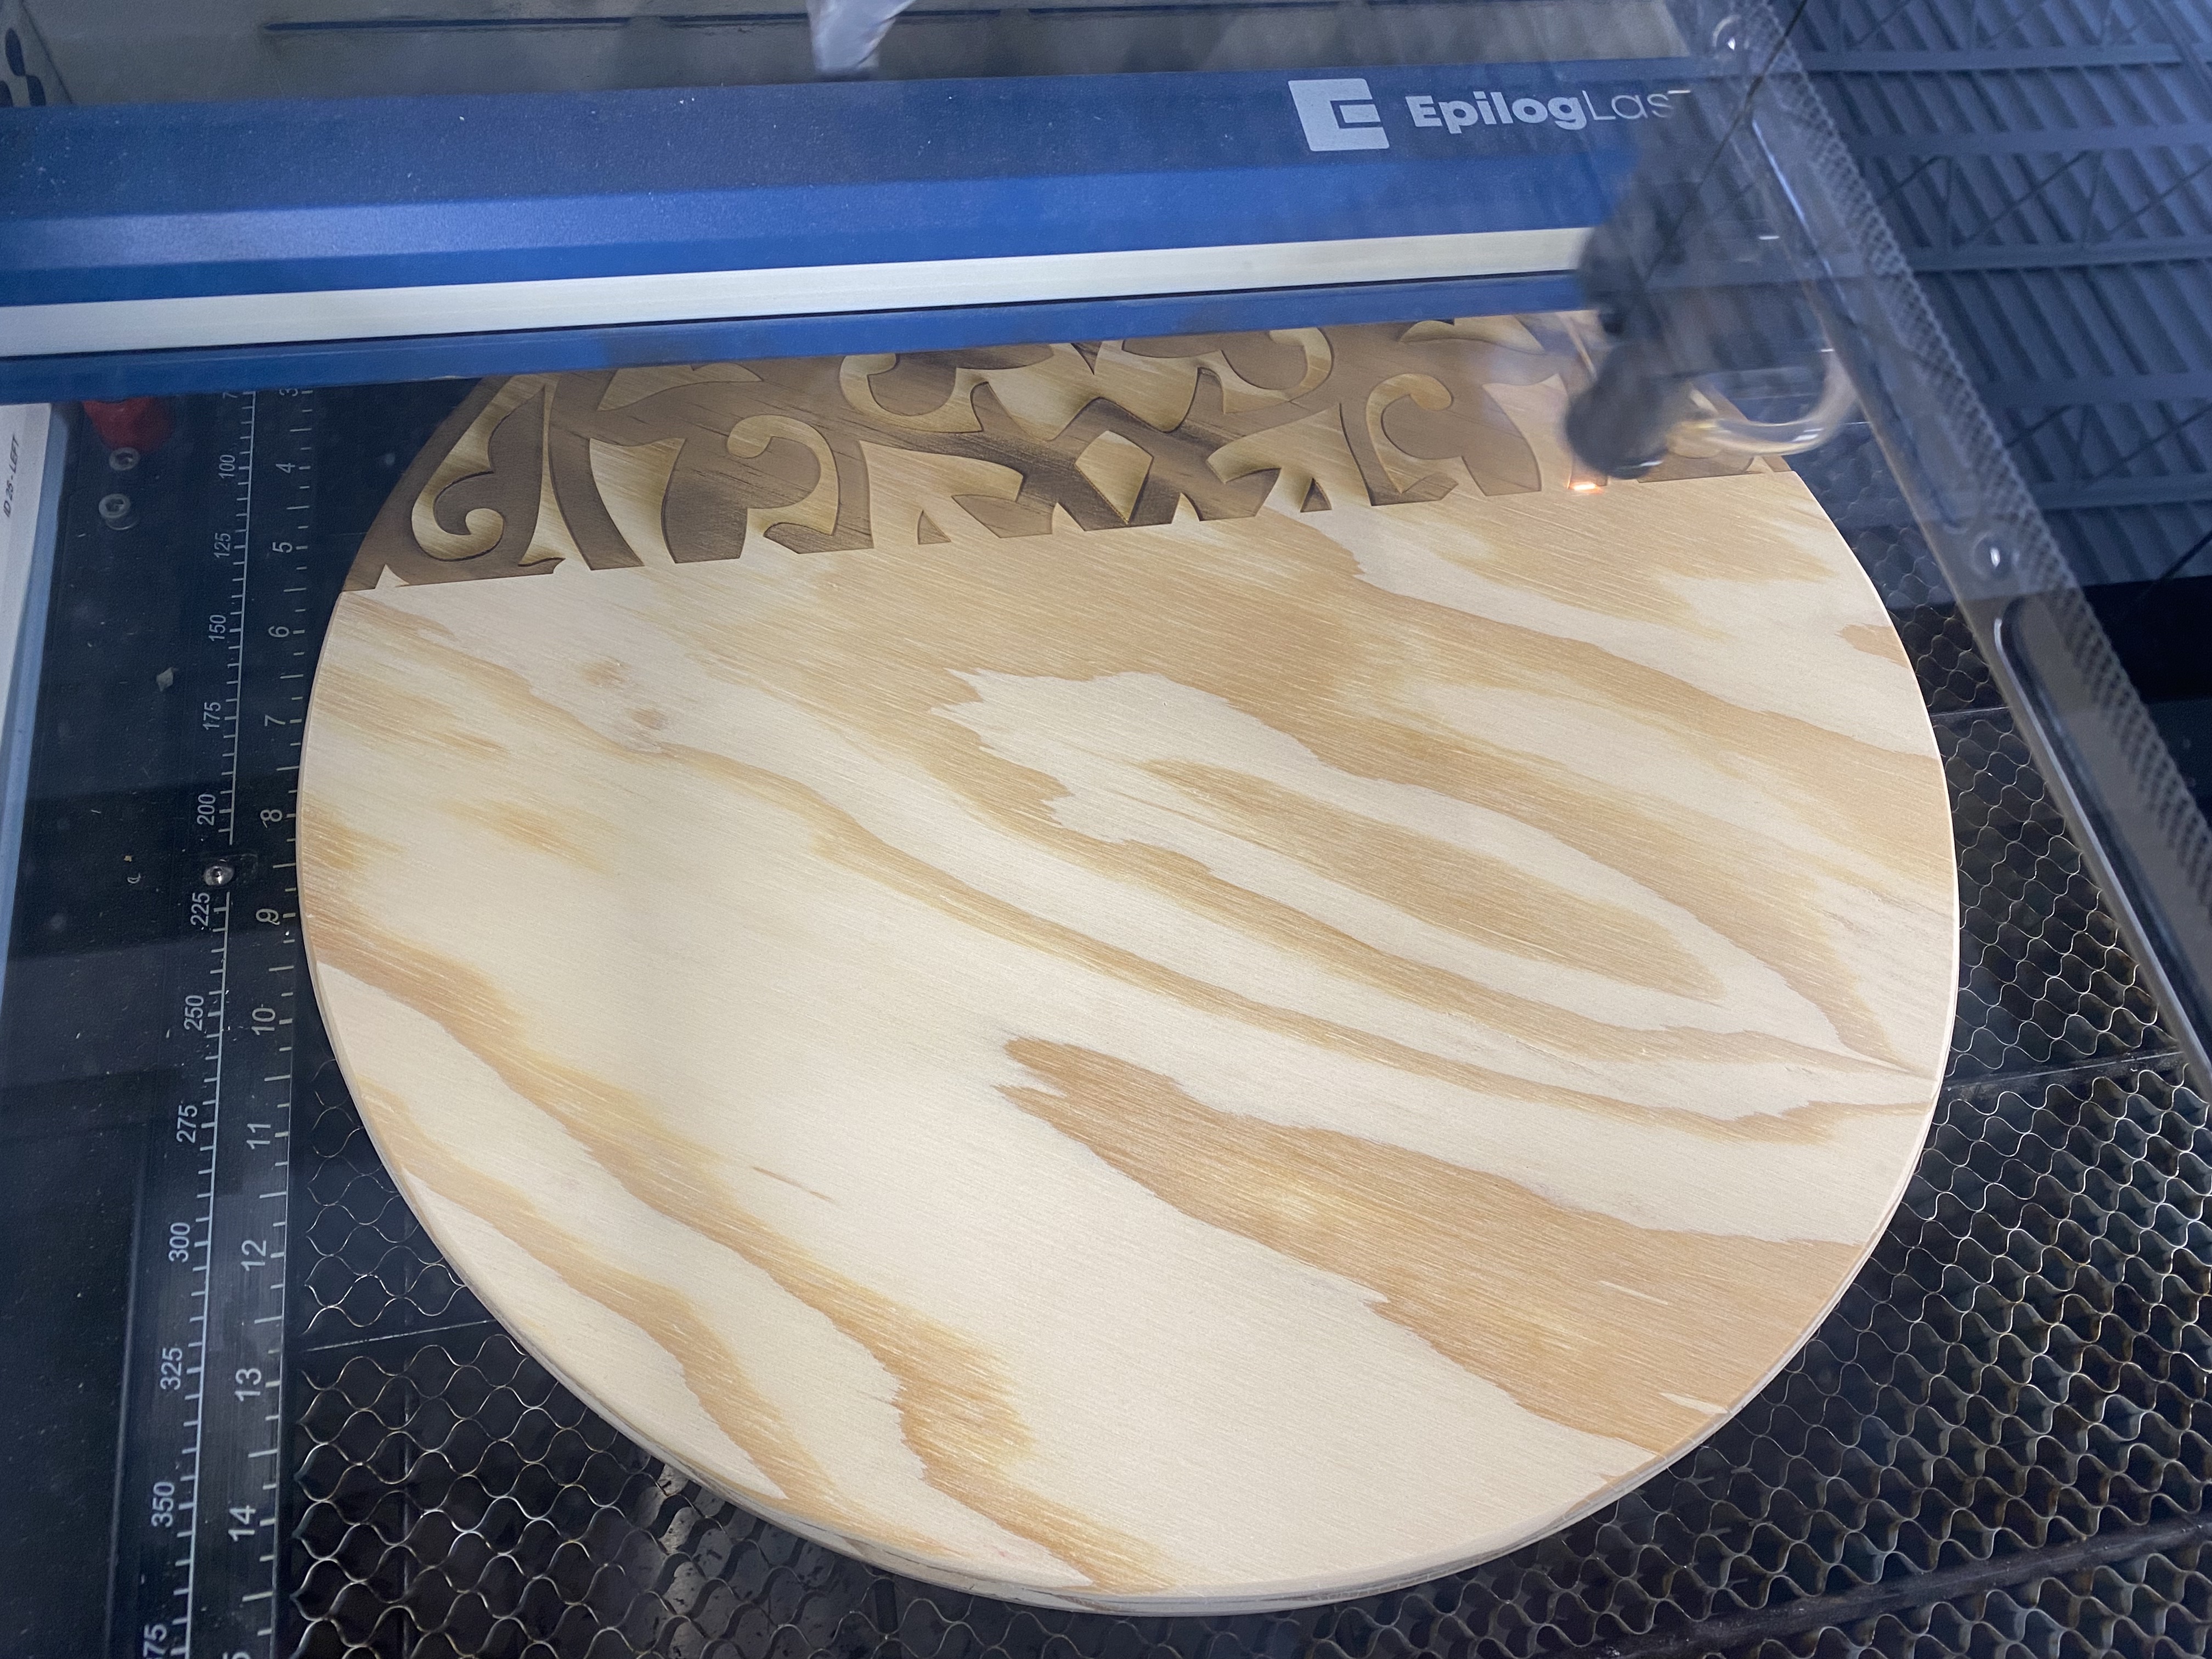
Here is a video of the laser cutting process:
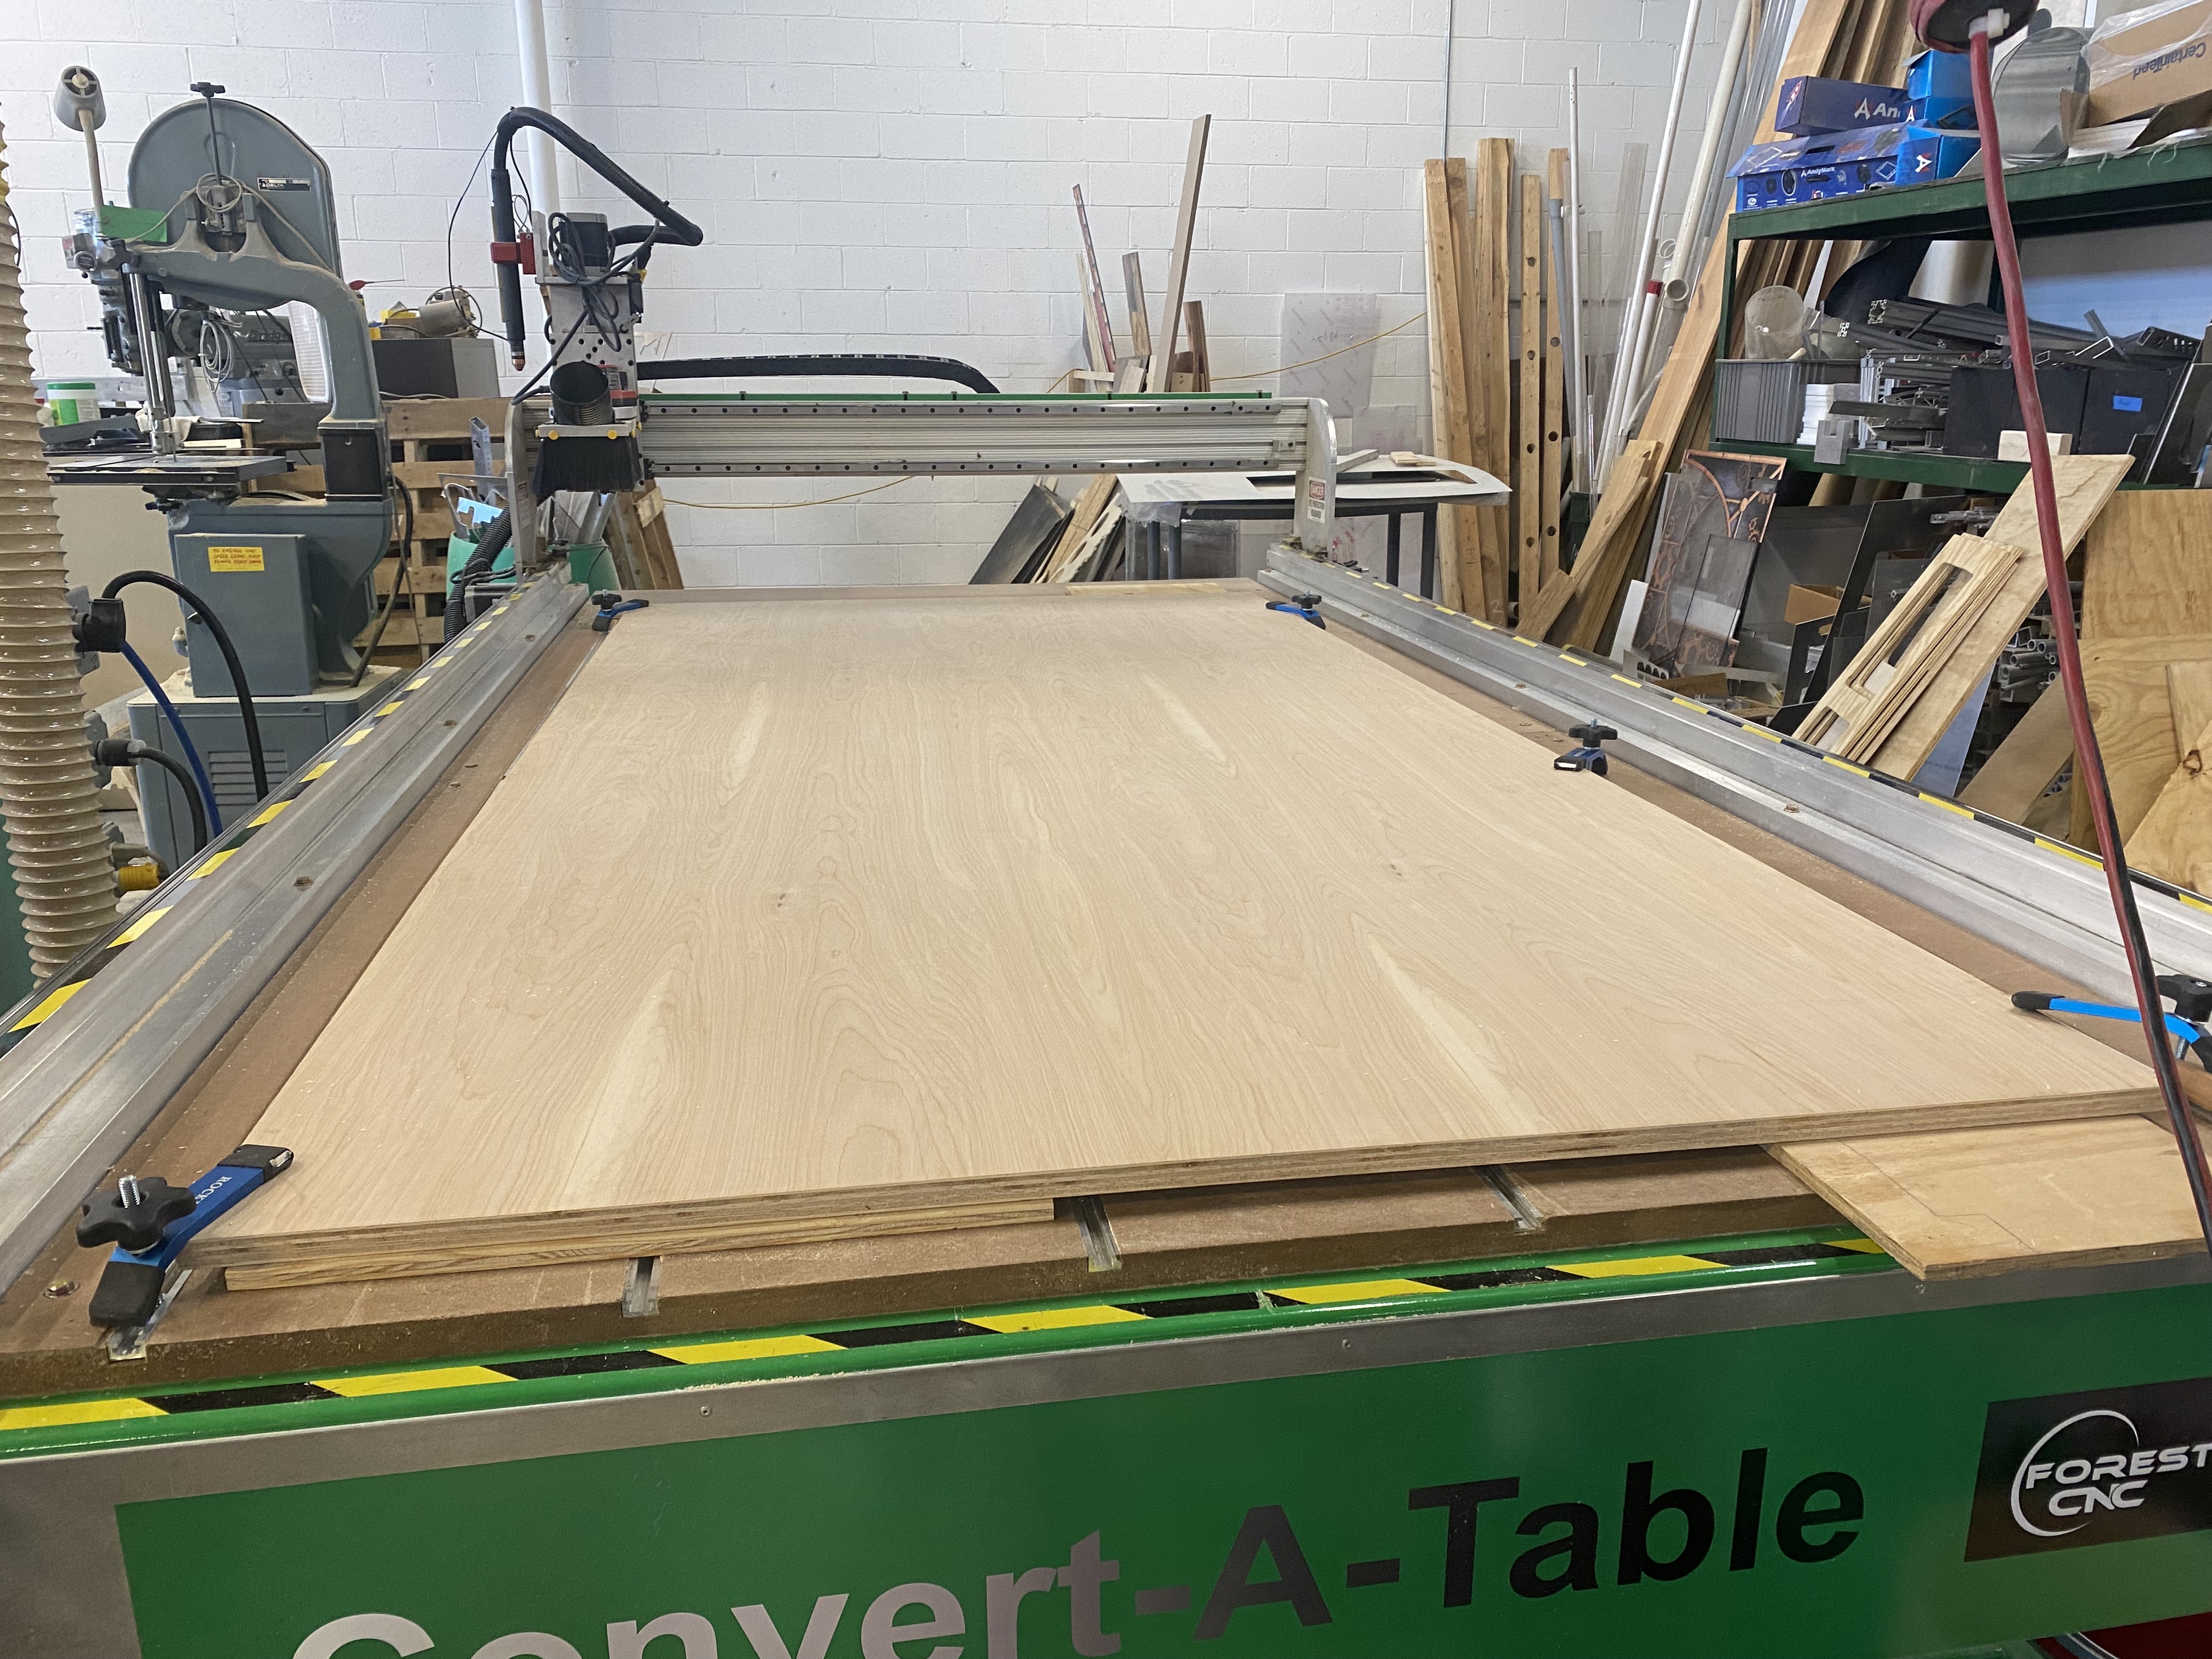
Machining:
Next, I prepared the CNC machine.
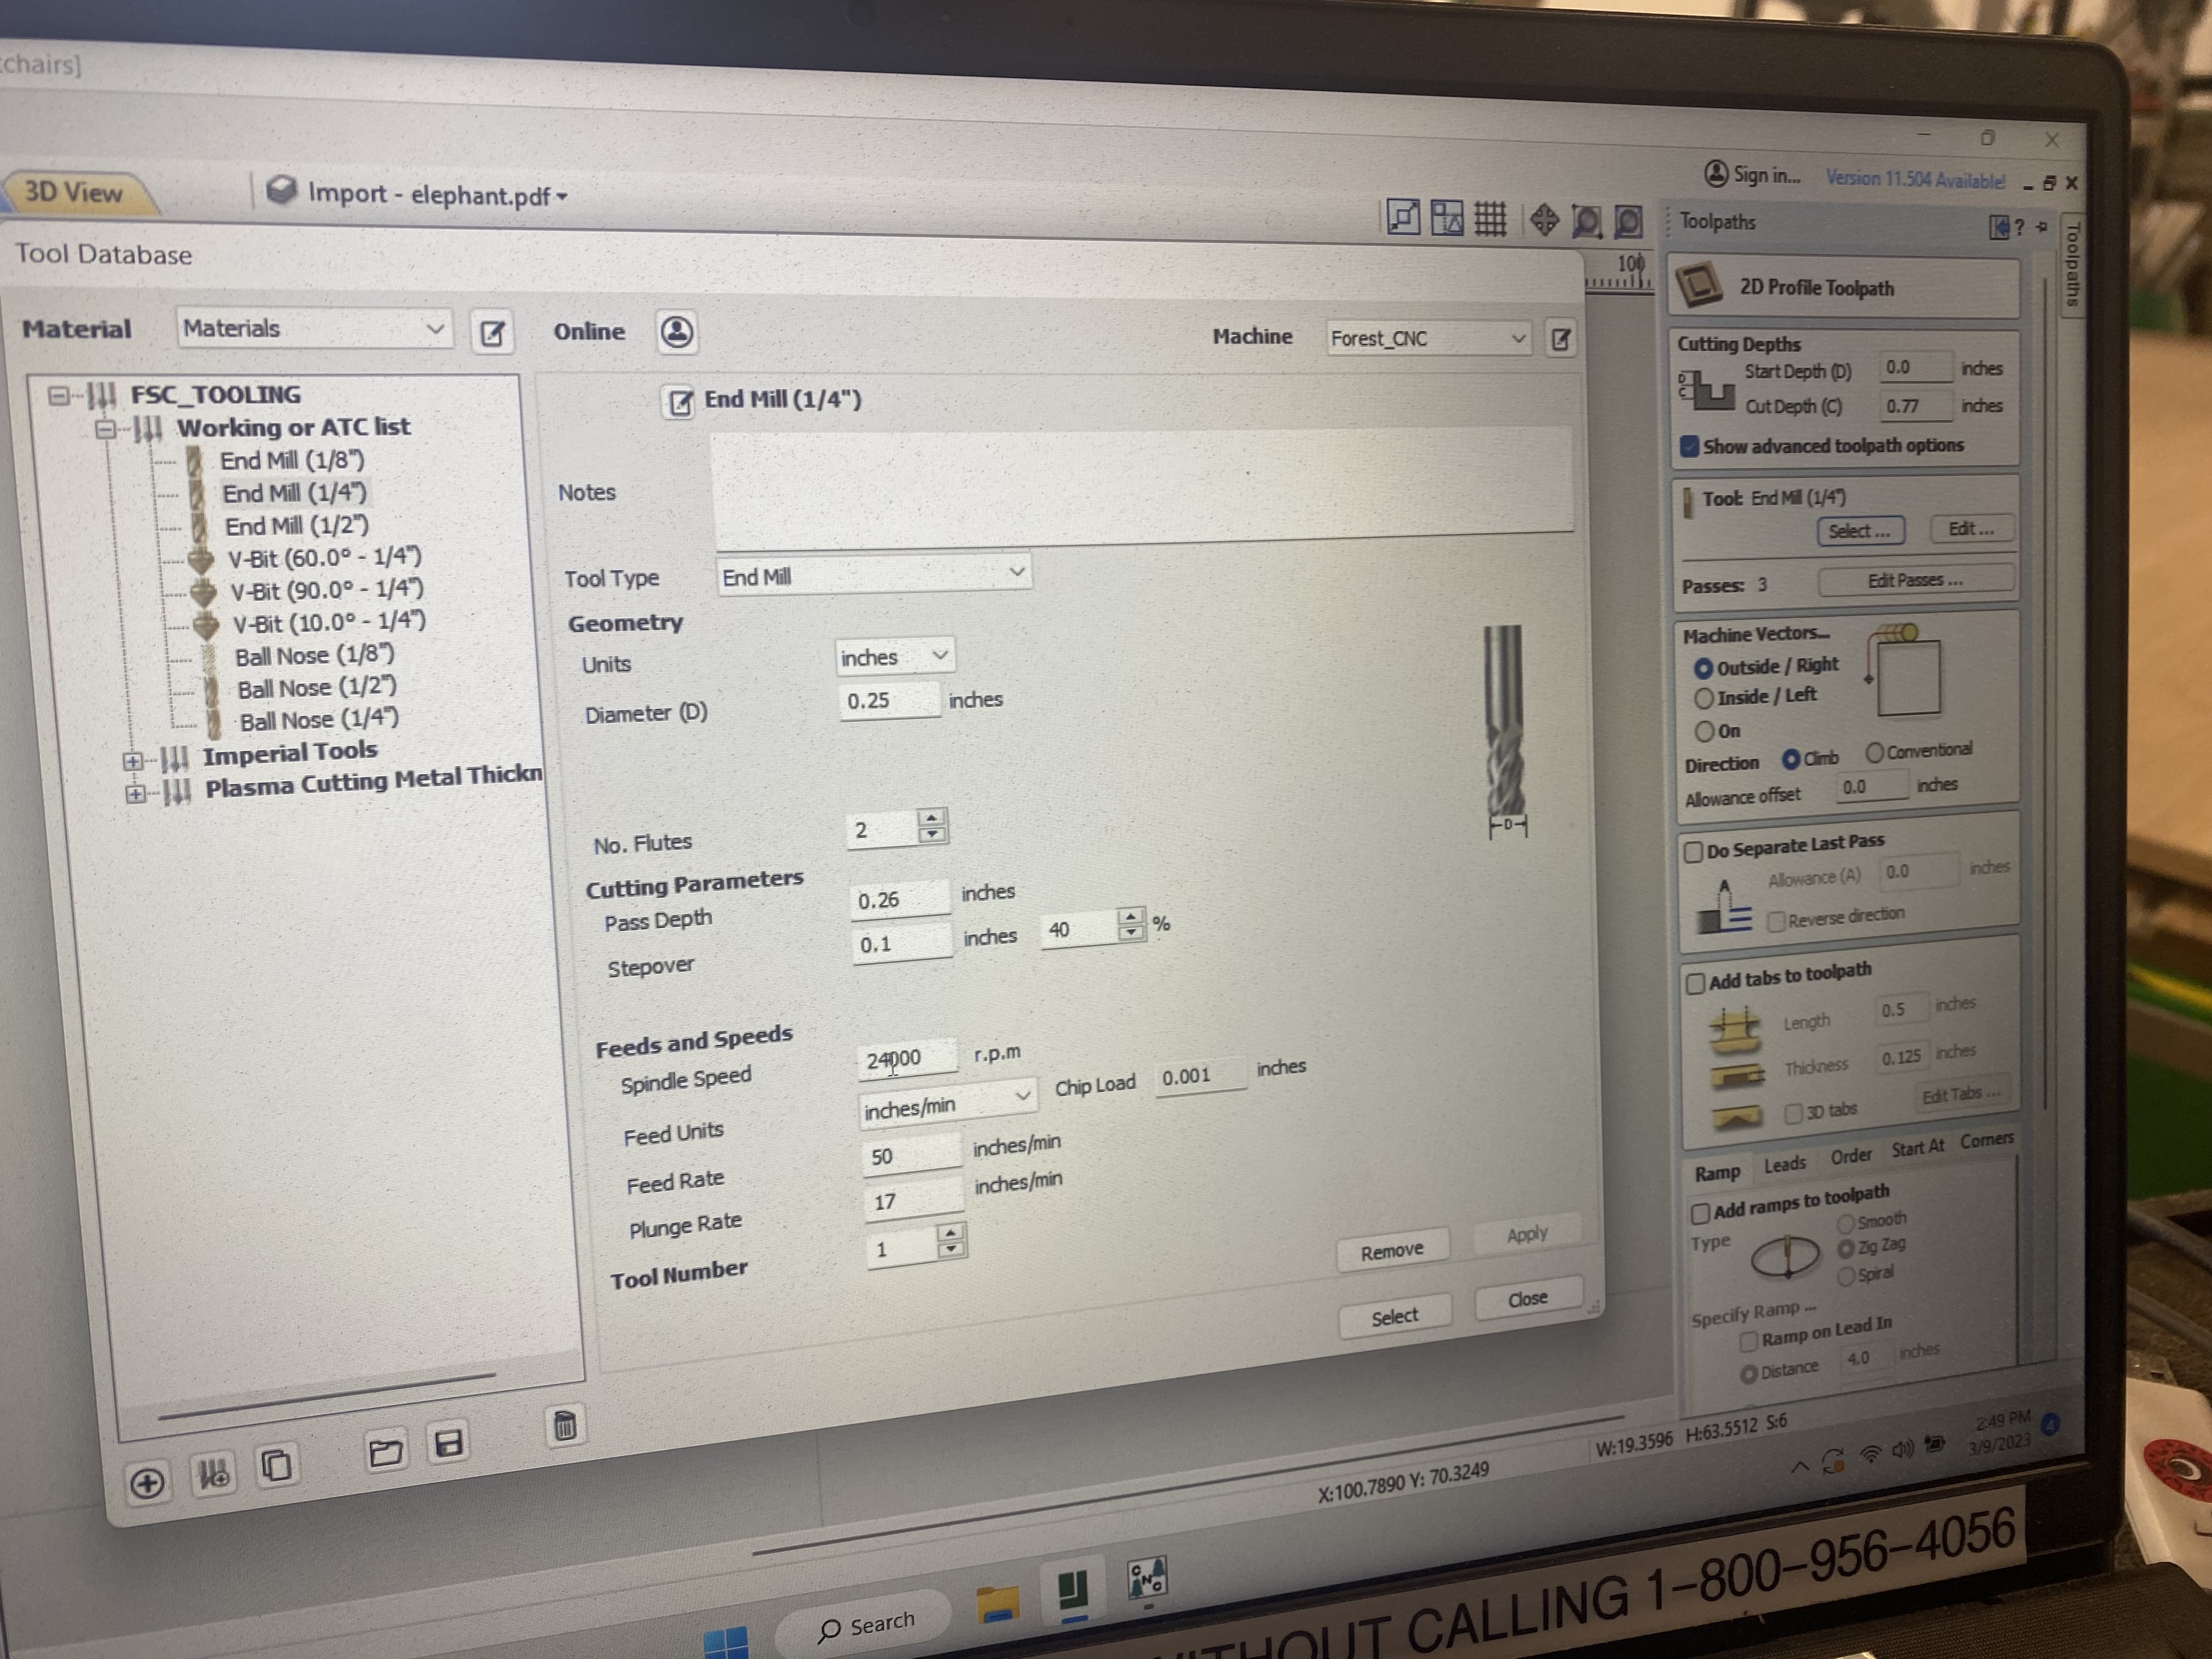
I created a drawing of the 3 parts, exported it as a PDF, and loaded it into the software.
I had to add .25 inch diameter circles to any spot that was an inside corner so that the parts would still be insertable. Otherwise, the inside corners would be round due to the machine not being able to make 90 degree turns.

I then selected the correct tool...
...and set the toolpath.
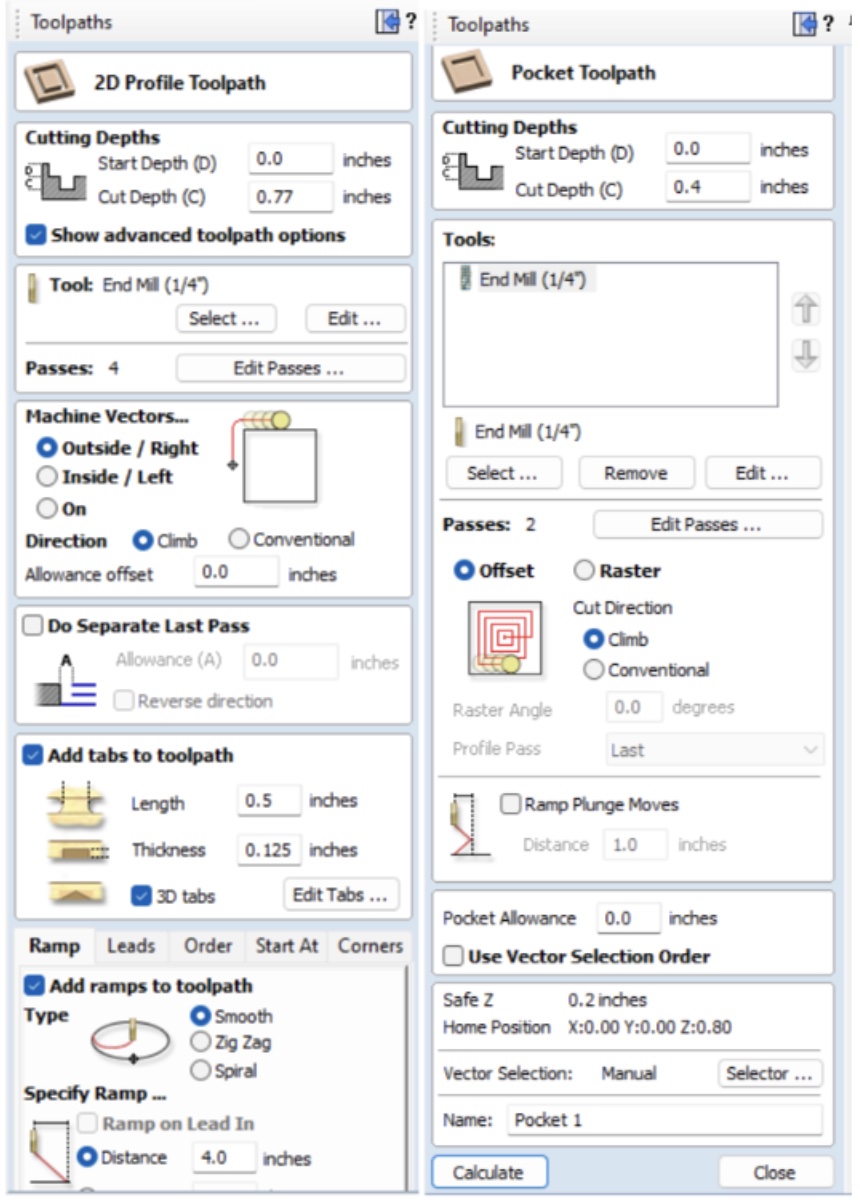
I added tabs and ramps.
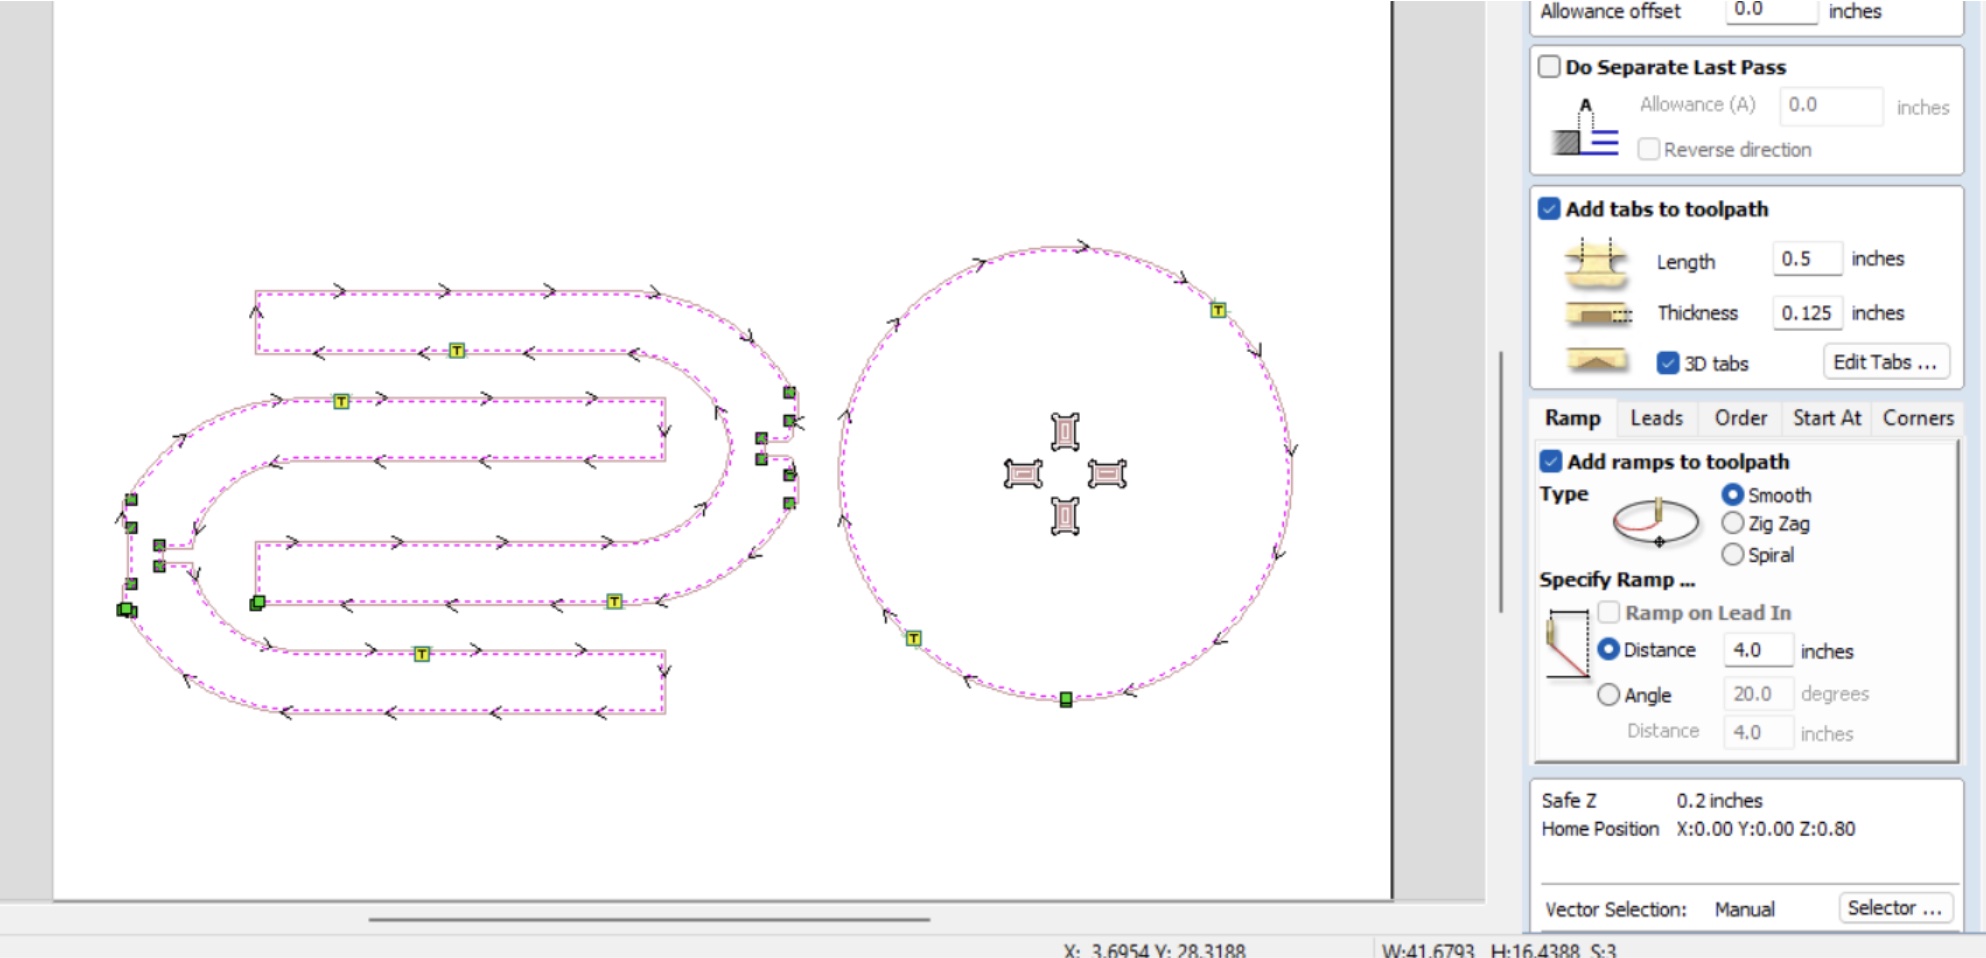
I created a pocket (so that it would not cut the inserts for the notches all the way through) and profile to go around the entire exterior.
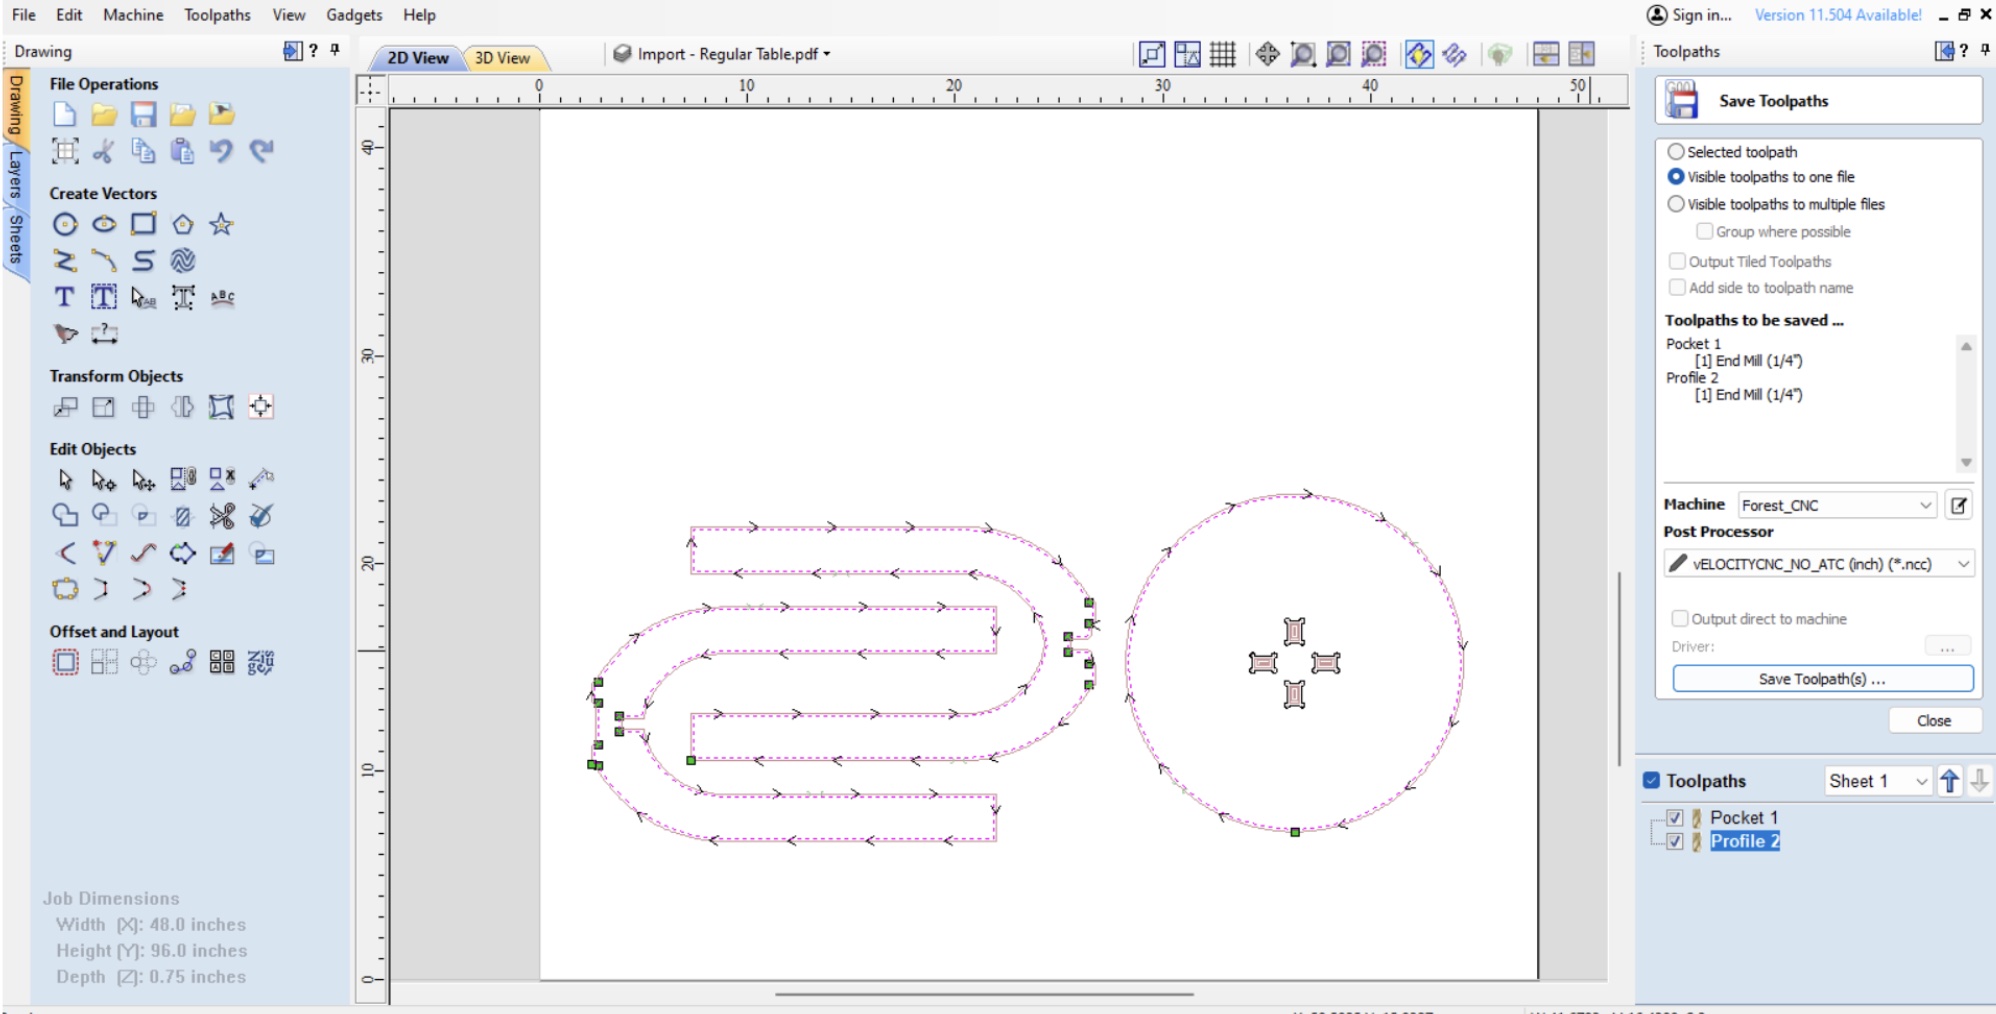
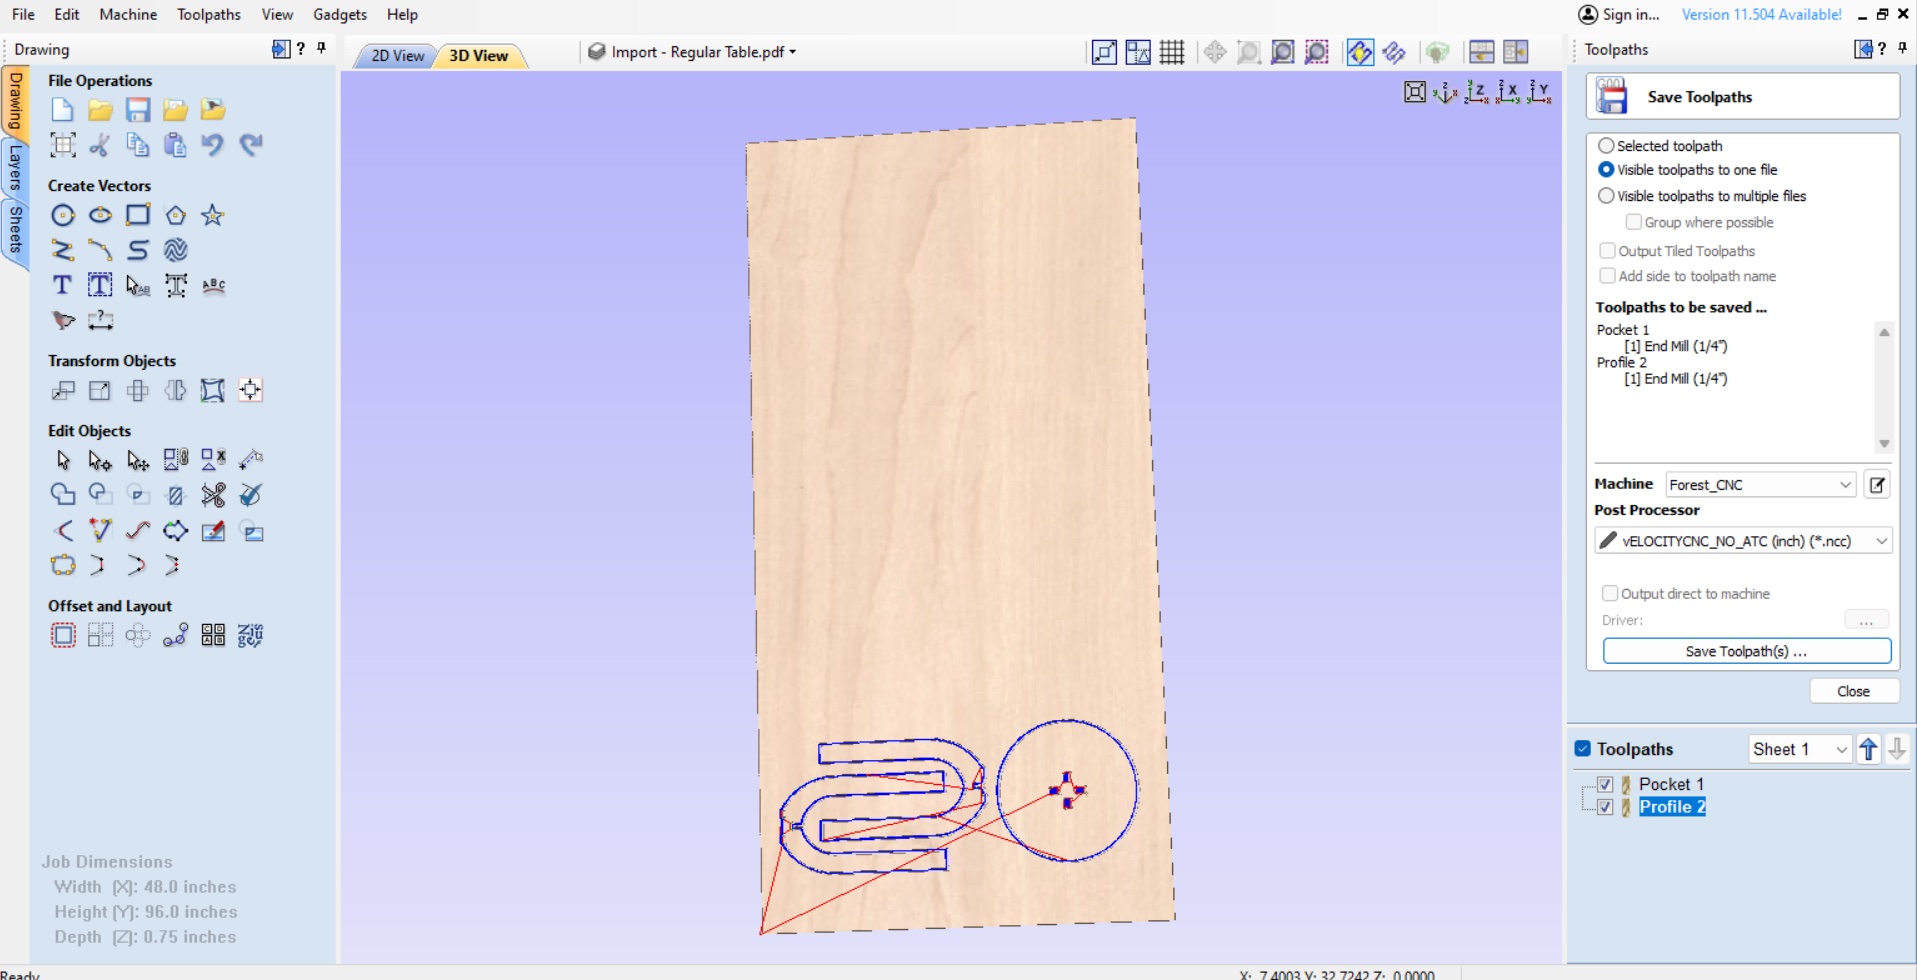
I then loaded the file into Velocity and previewed the toolpath.
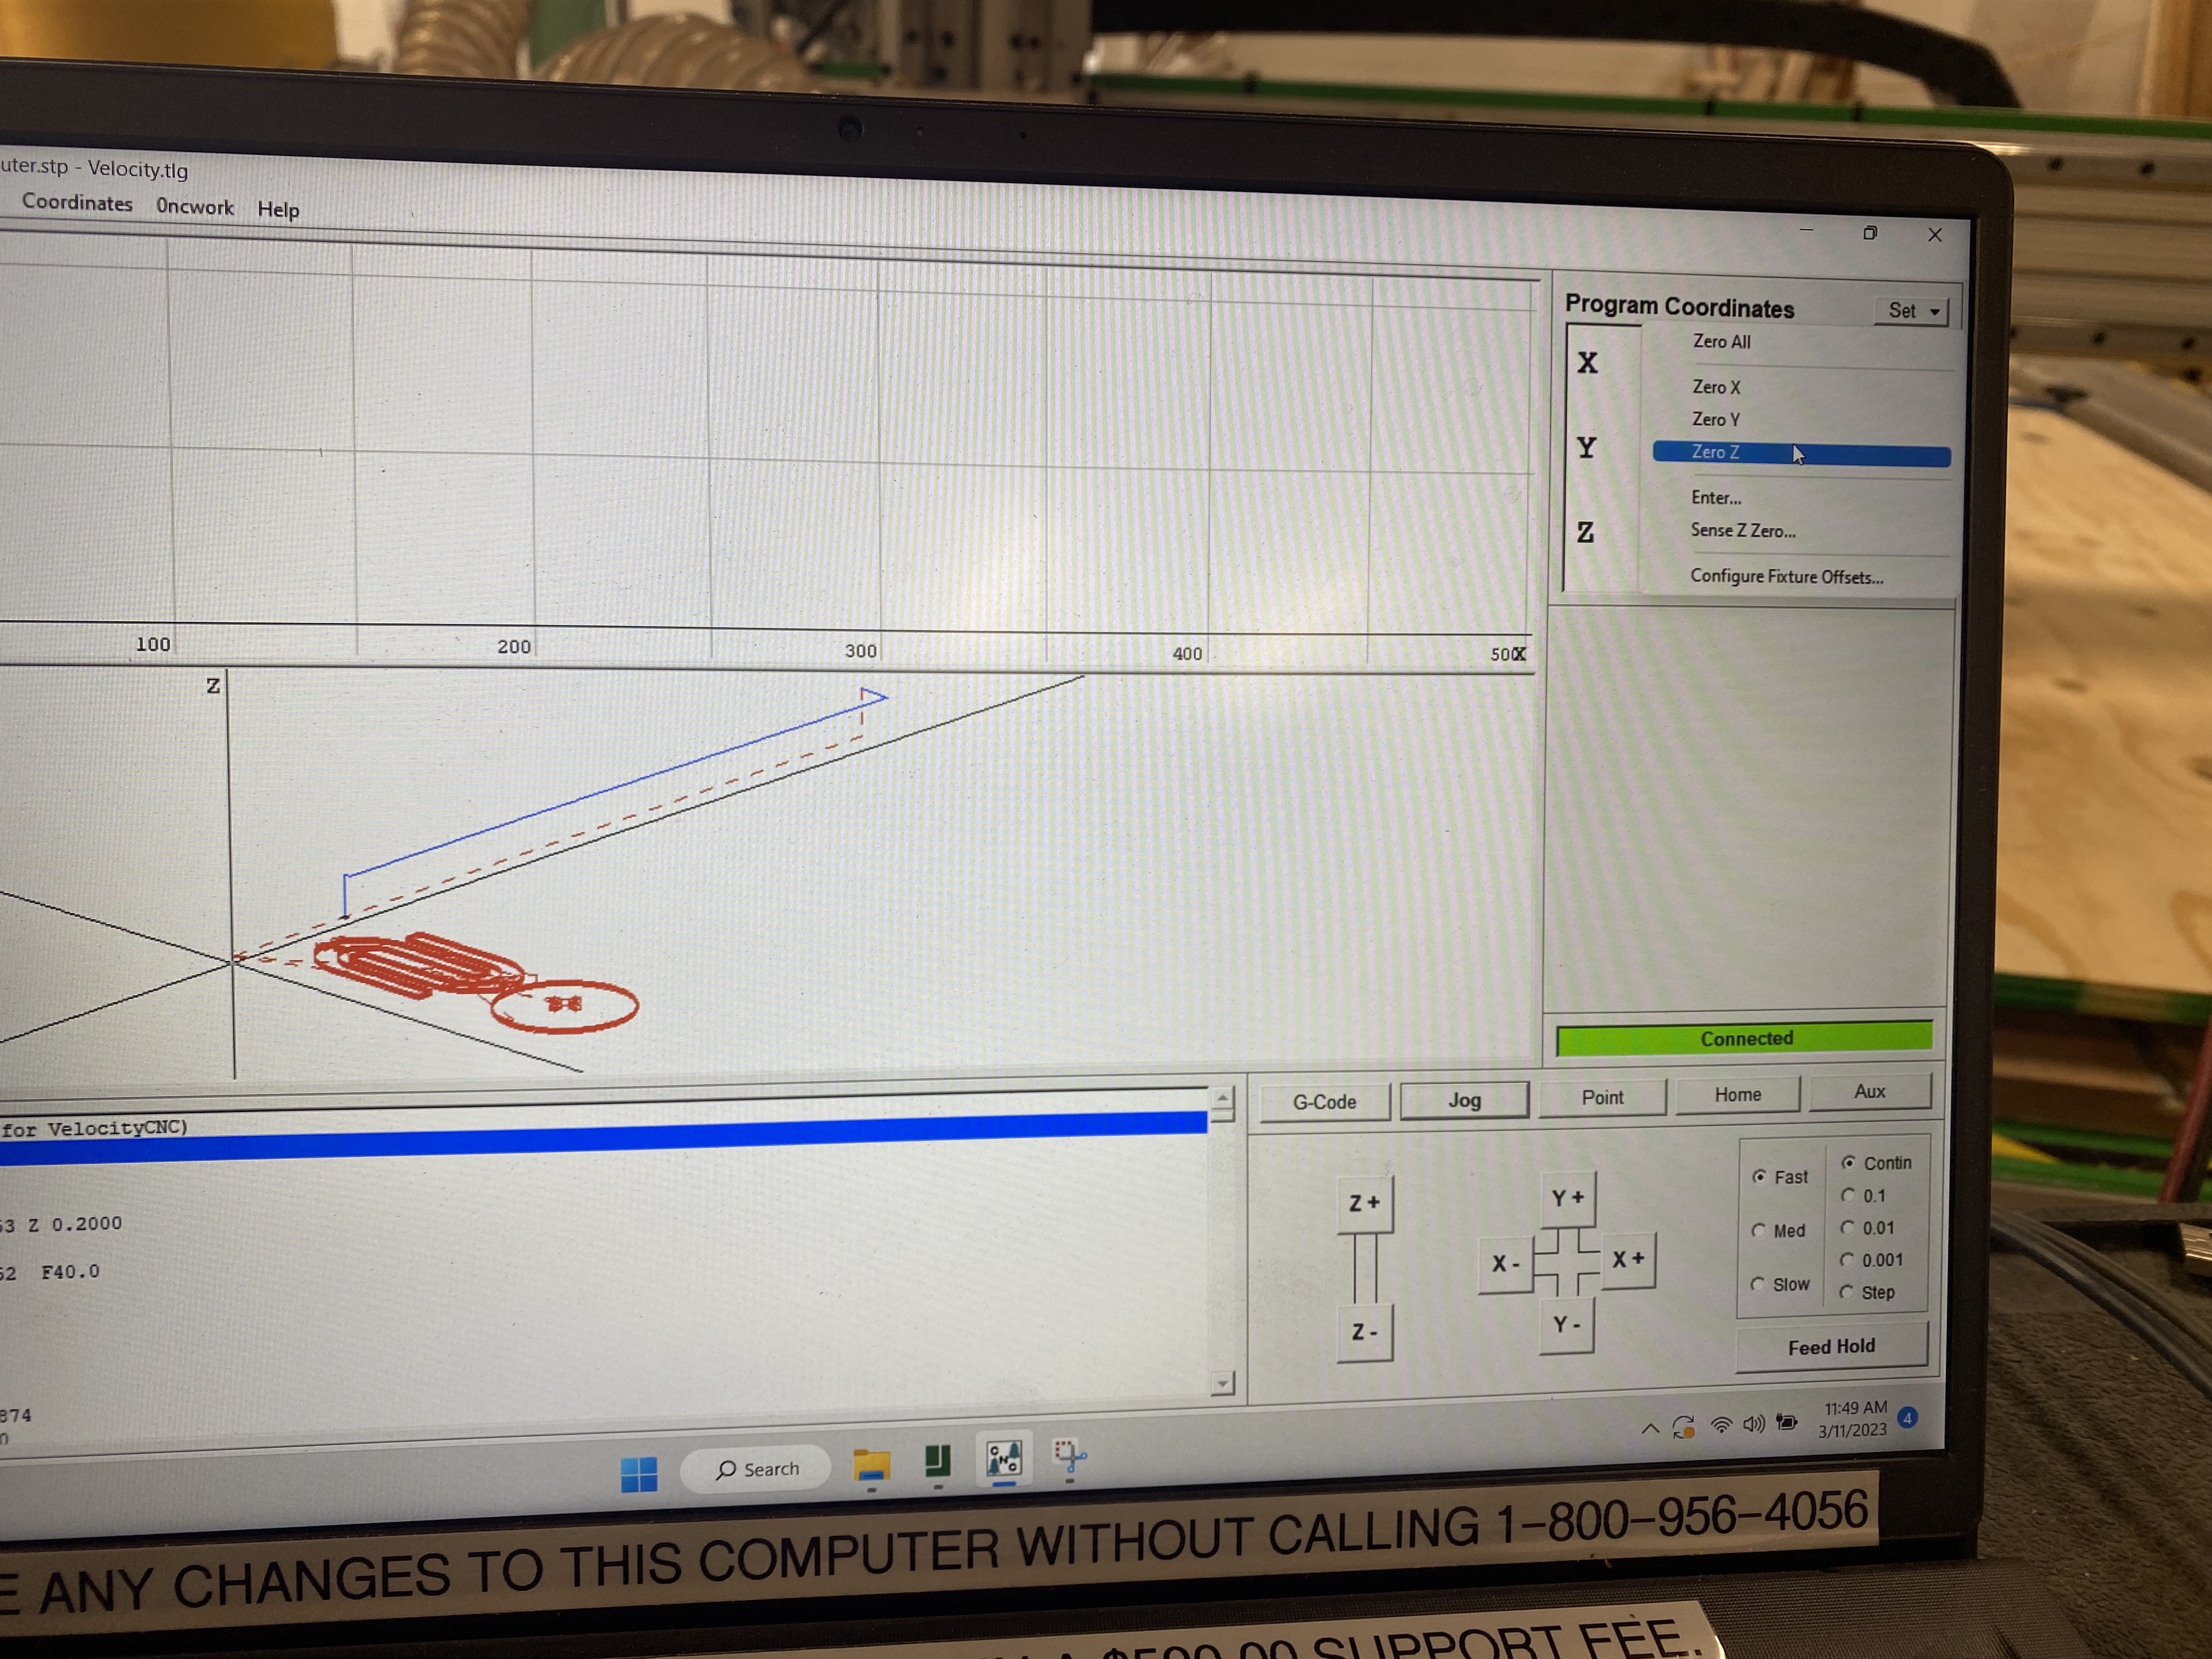
After ensuring everything was set up properly I ran the program and let the CNC do the work.

Here is a video of the process:
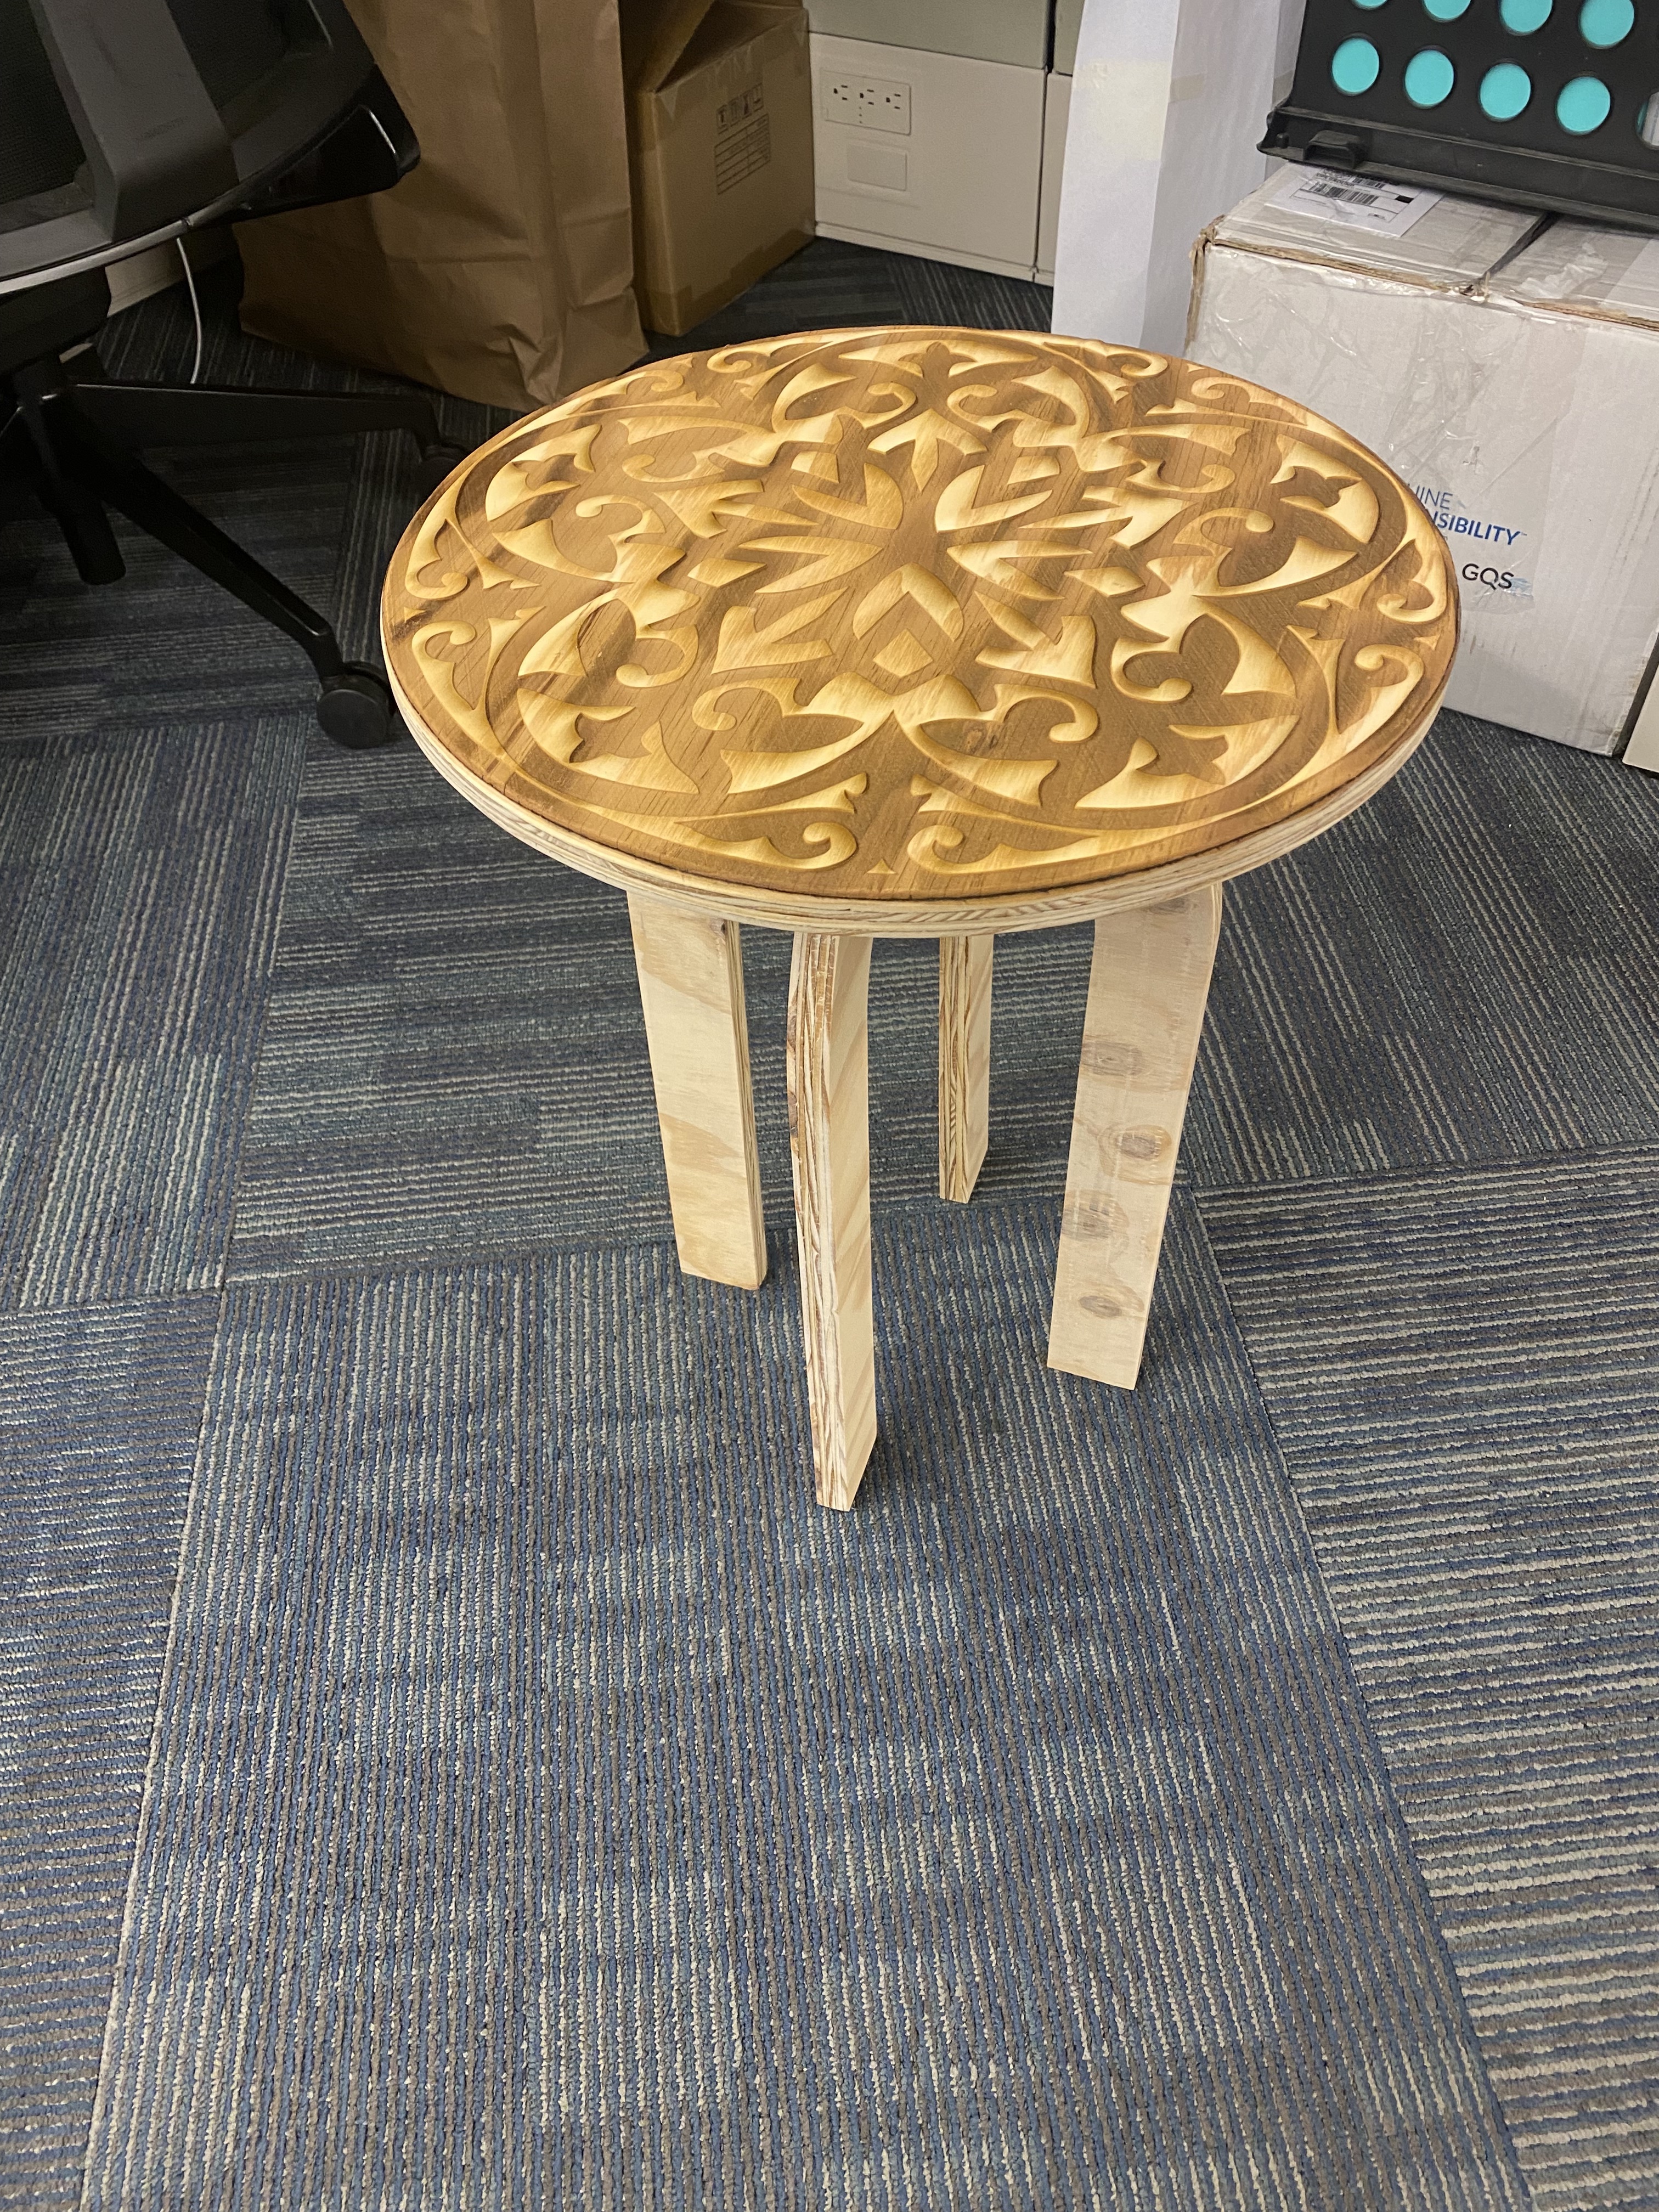
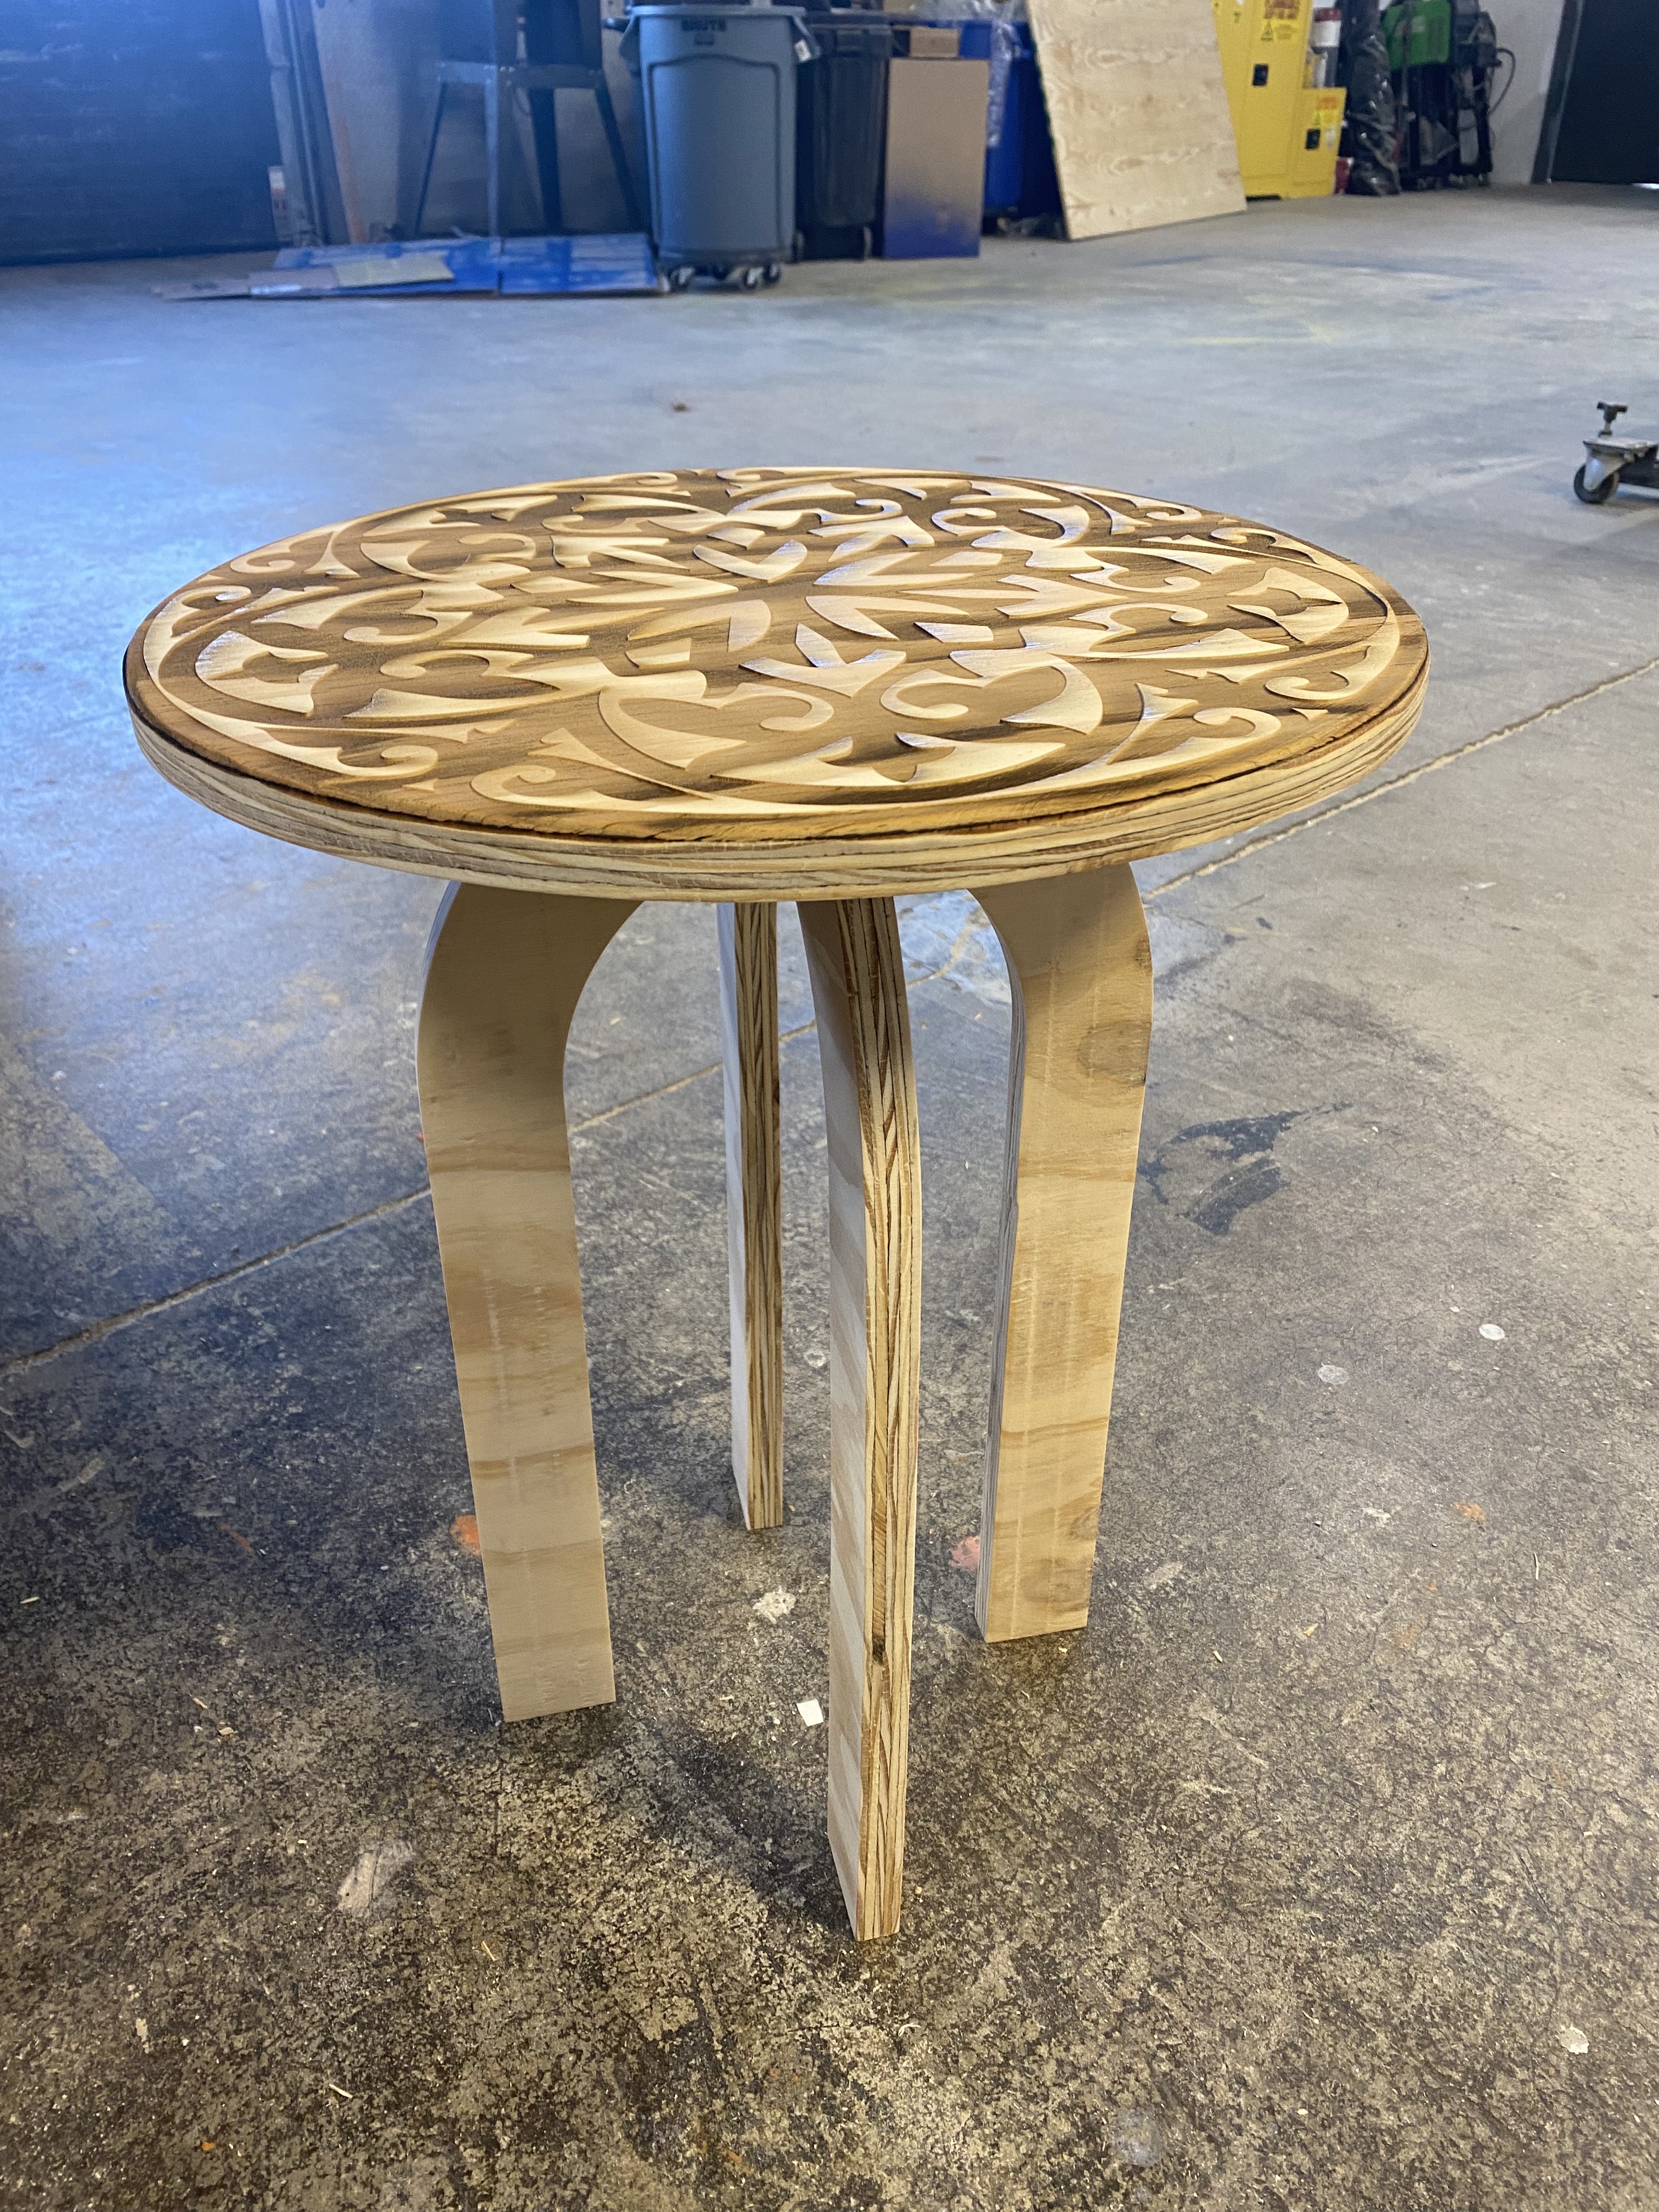
Here are some photos of the outcome:

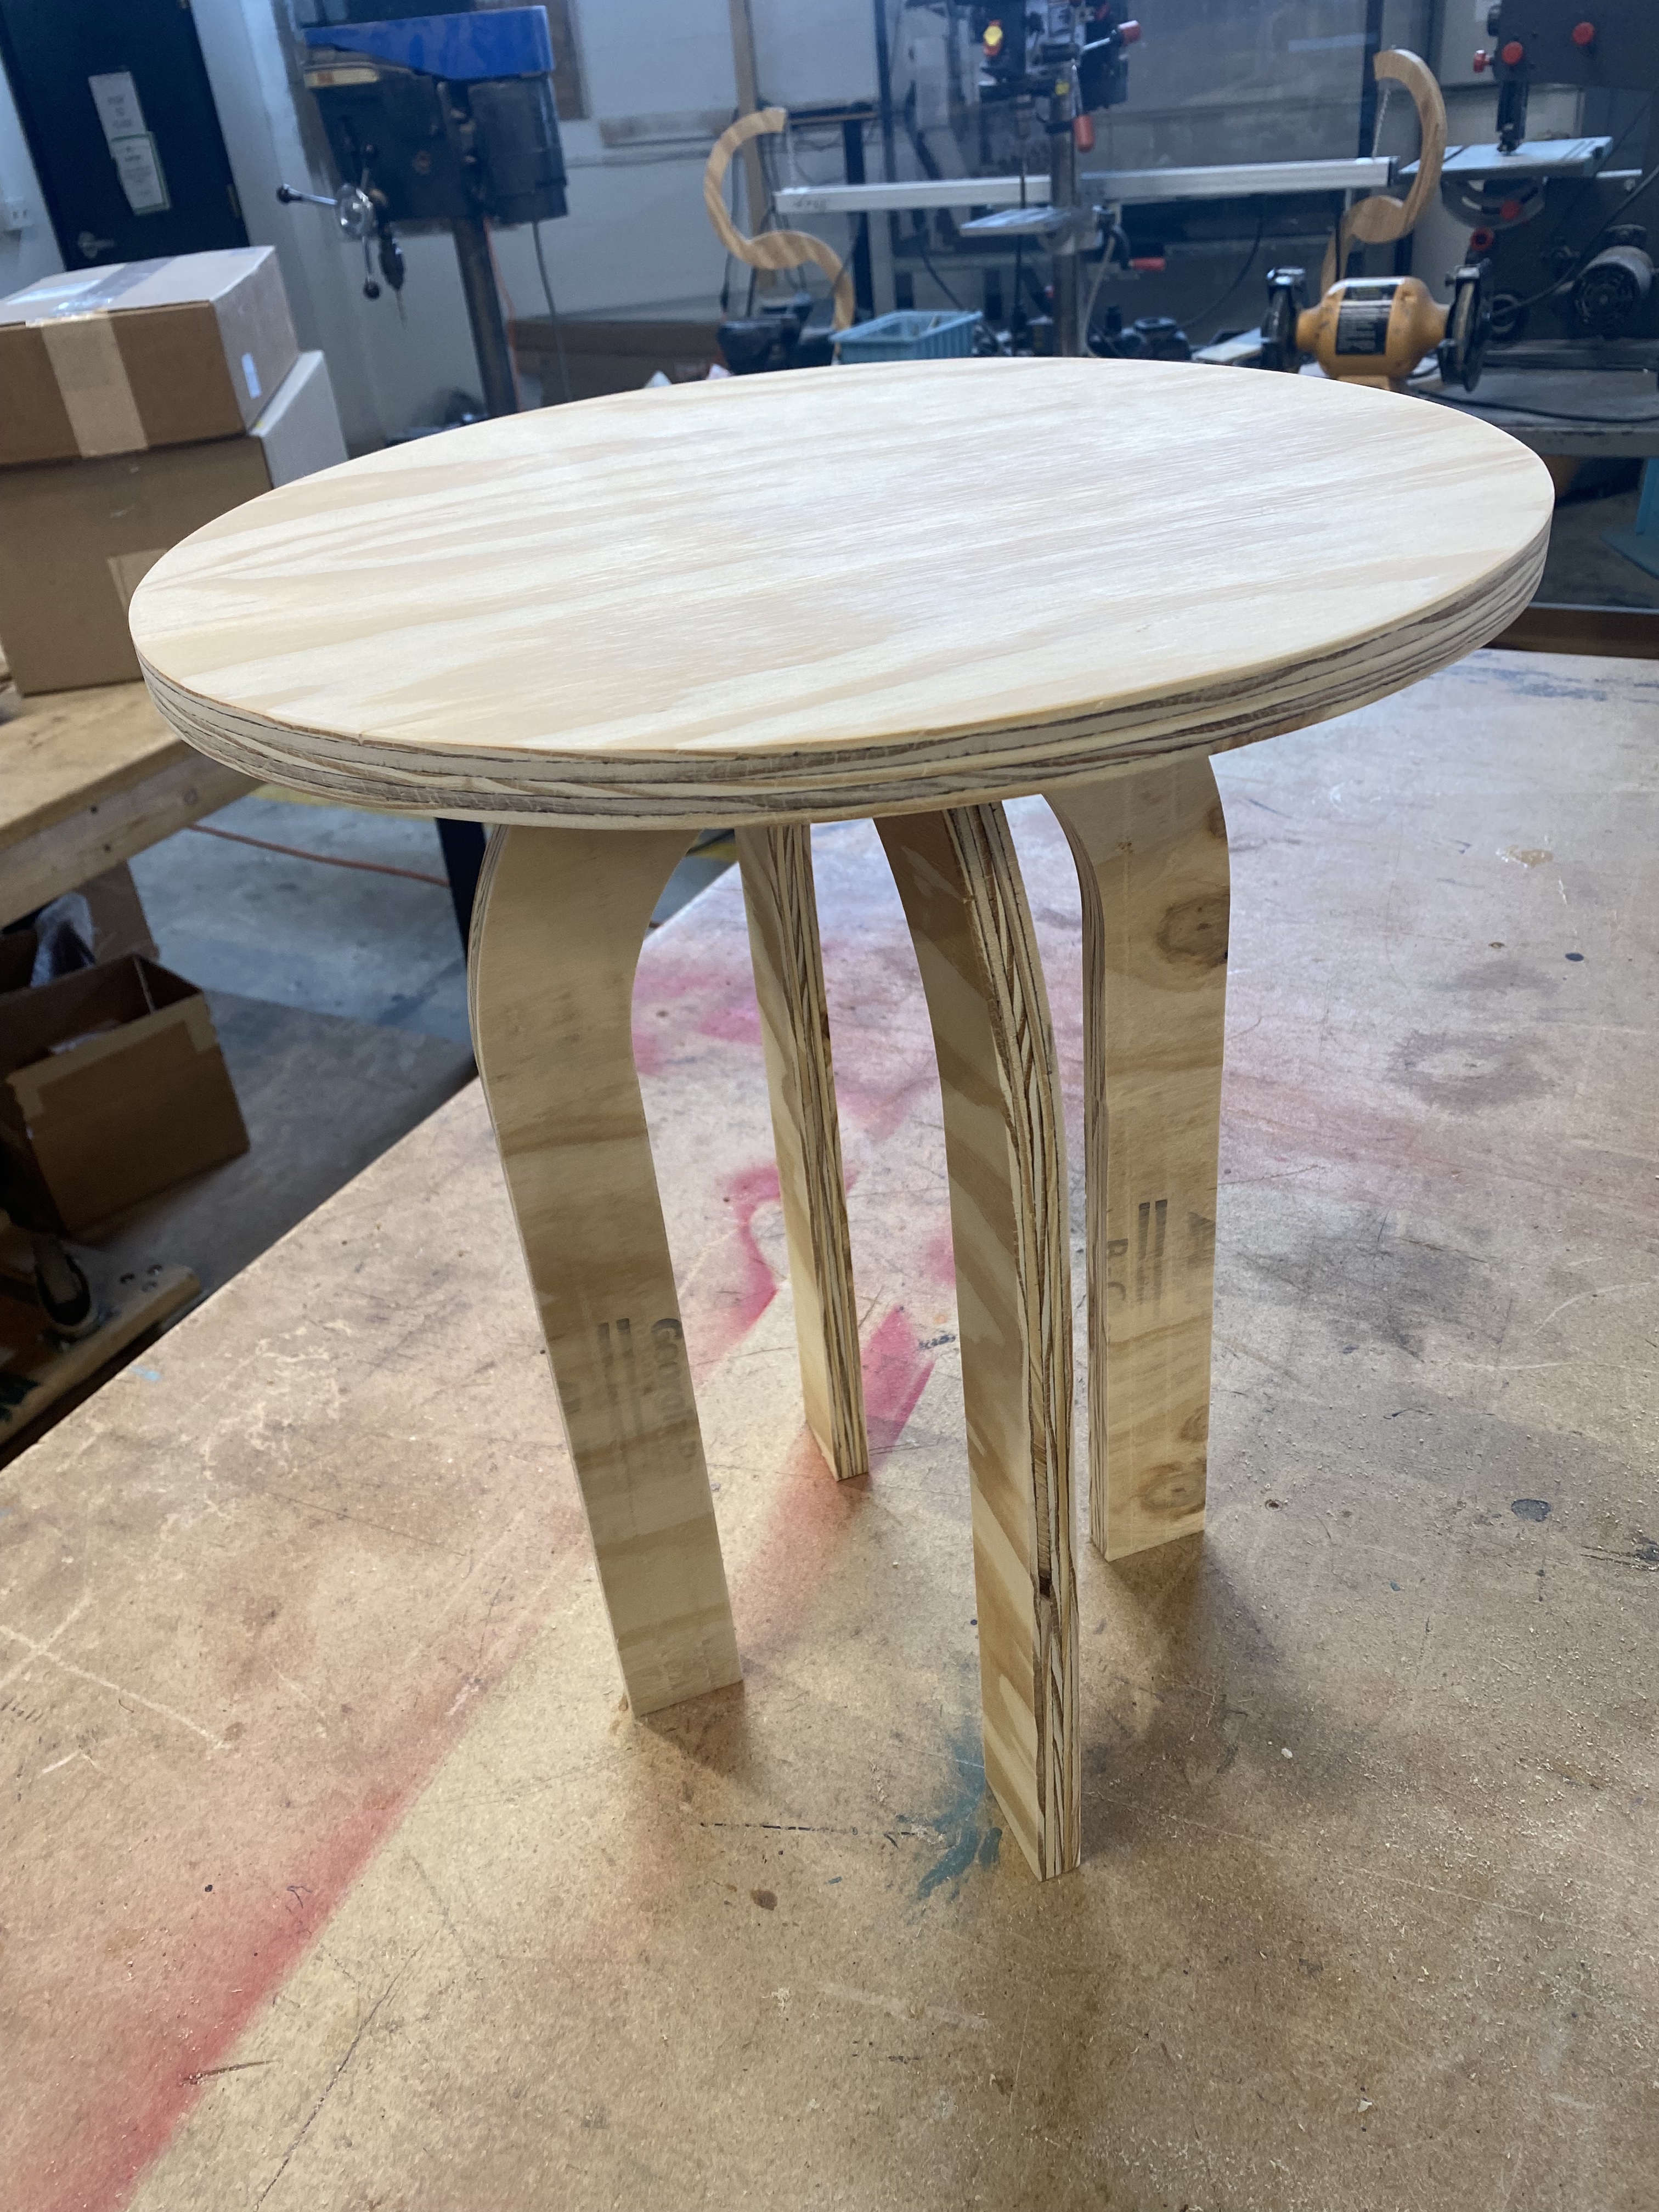
I then used the laser engraver to add the detail to the top piece.
After some sanding and final touches, here is the final product. I plan to eventually stain the wood for a more finished look.