3. Computer-Controlled Cutting
Our assignments this week are focused around the laser cutter.
Group Assignment
For the group assignment this week, we were asked to characterize our lasercutter's
- focus
- power
- speed
- rate
- kerf
- joint clearance
- types
Laser Cutting Tutorial
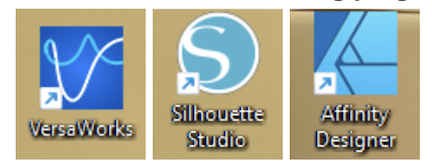
You need these programs:
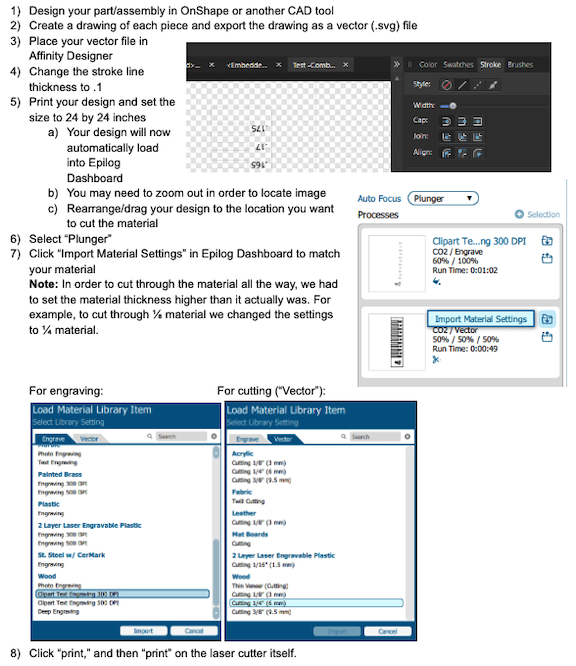
Using the Laser Cutter:
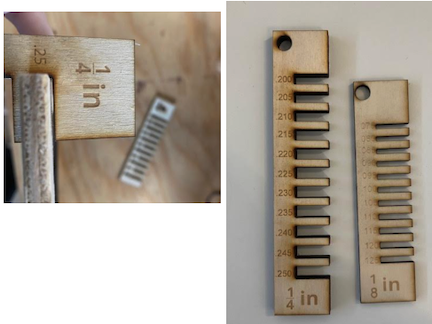
In order to determine the proper design dimensions for a good “press fit” accounting for the kerf (the laser burns away a portion of material when it cuts through) we used the following designs to find the proper fitting depending on the thickness of the material.
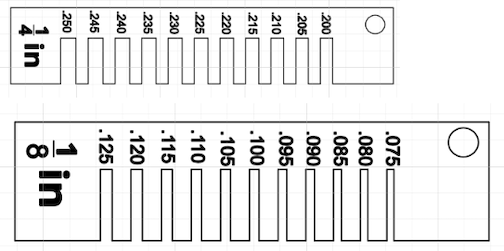
Example: While the material is ¼ (.25) inches thick, a slot that is .25 leaves too much wiggle room for a proper fit.
Vinyl Cutting Tutorial
You need these programs:
Getting Started/Design:
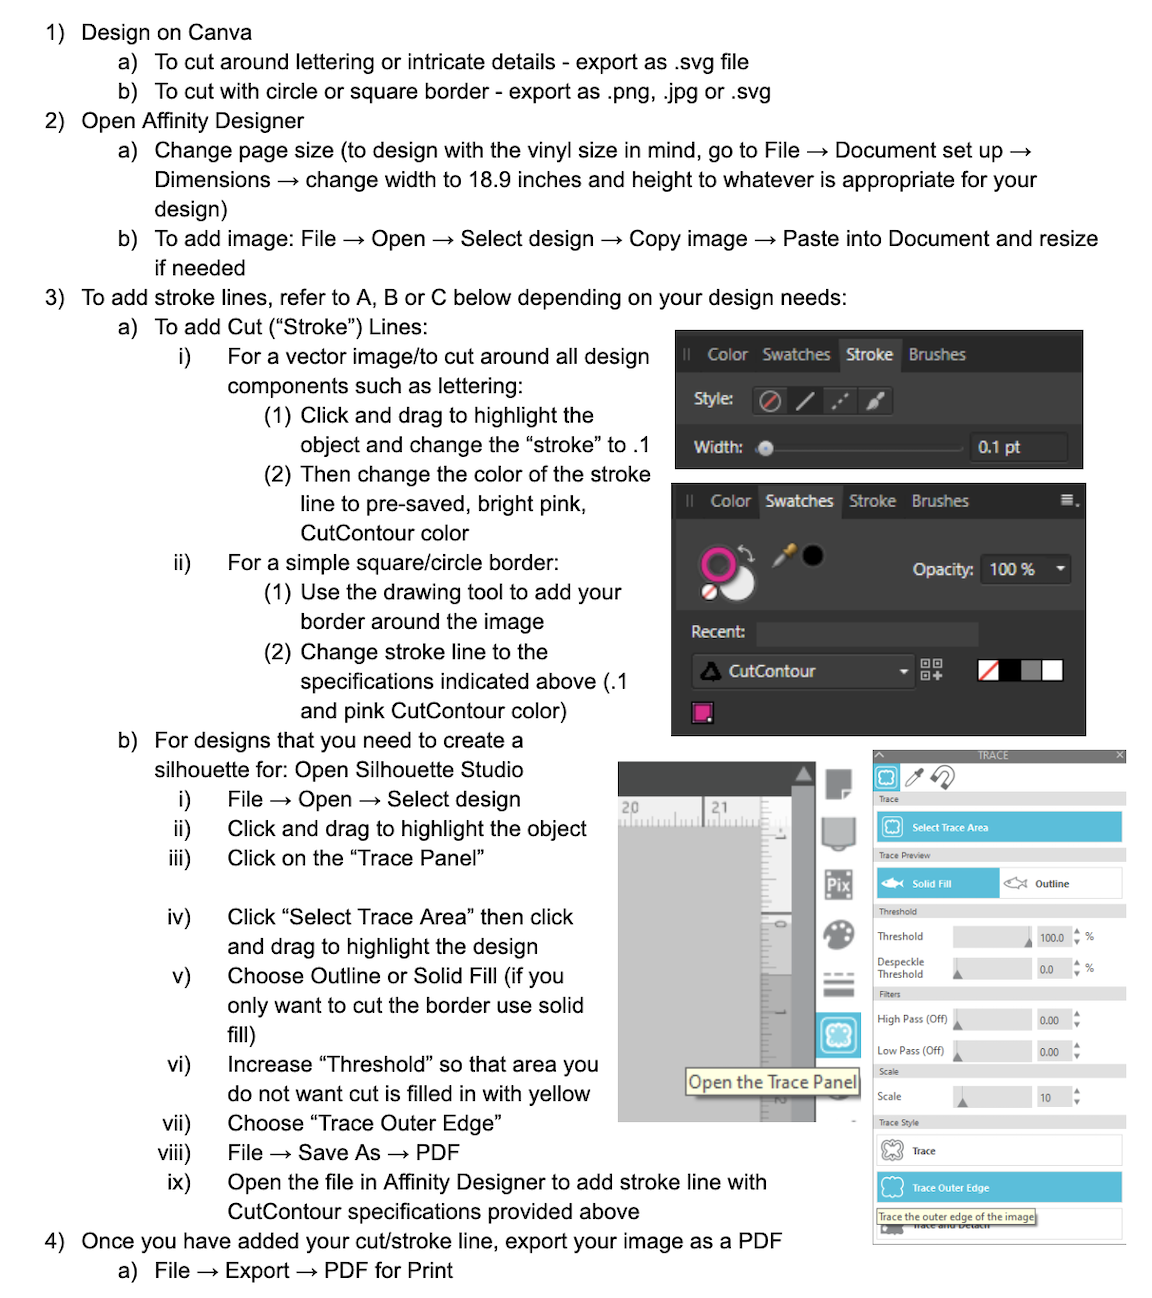
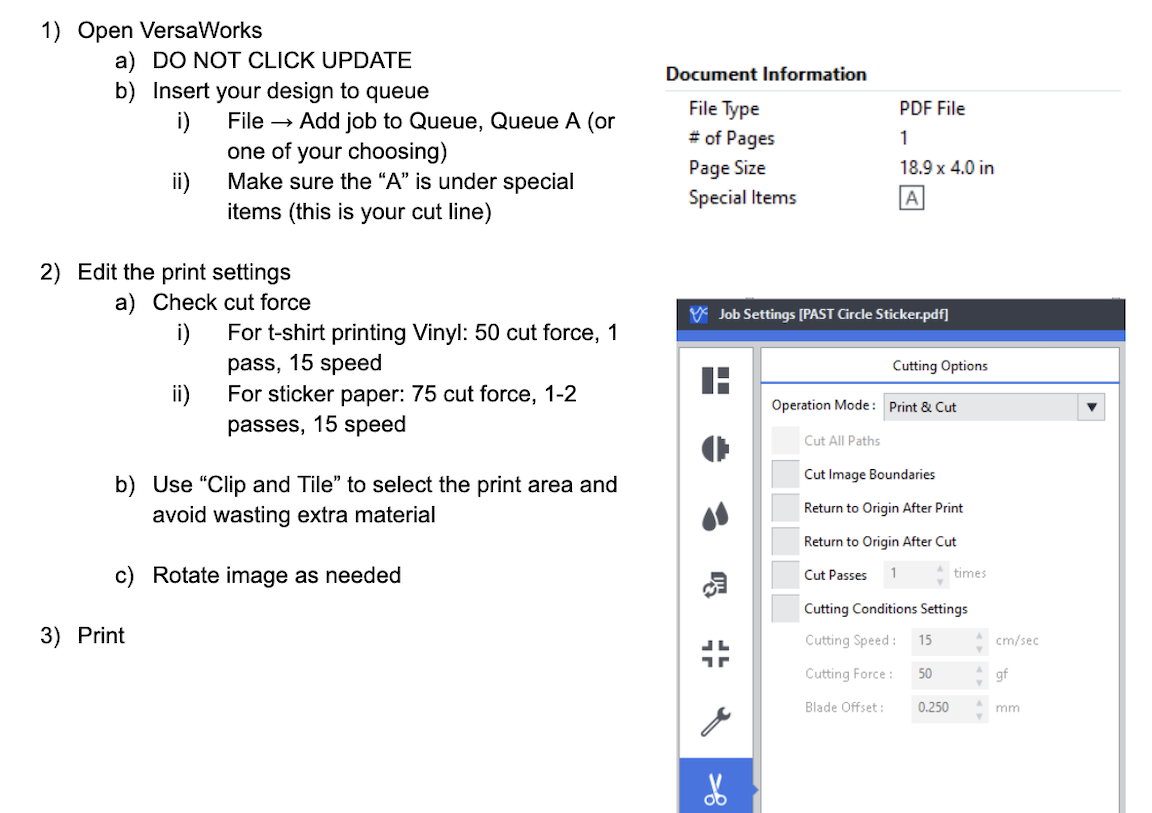
Using the Vinyl Cutter:
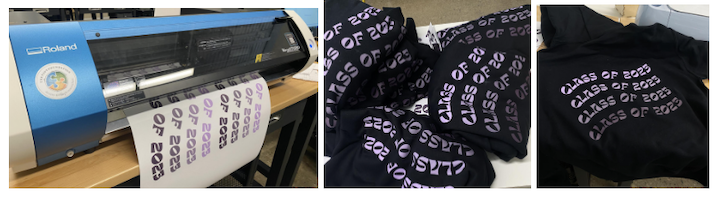
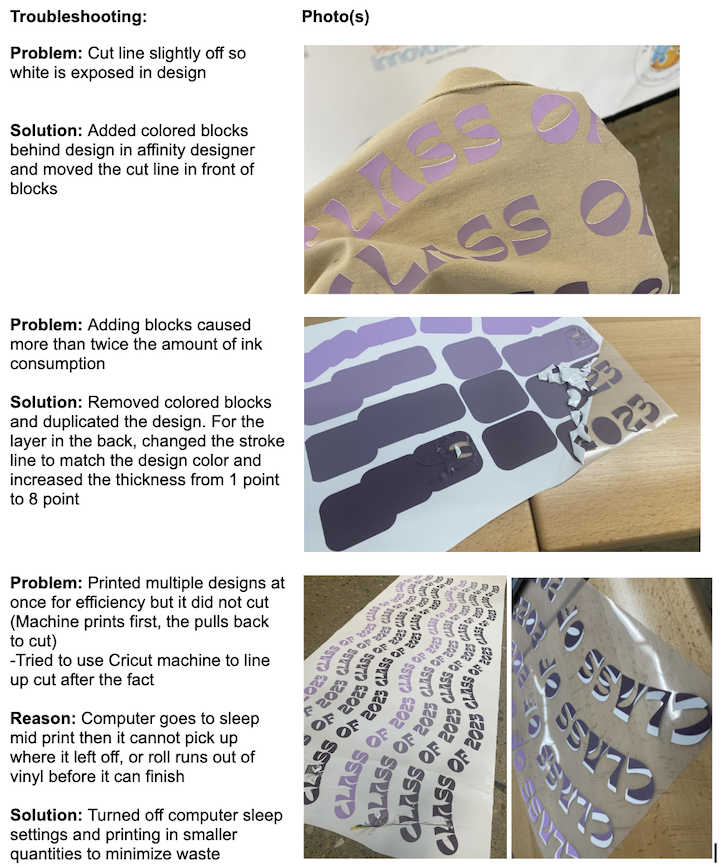
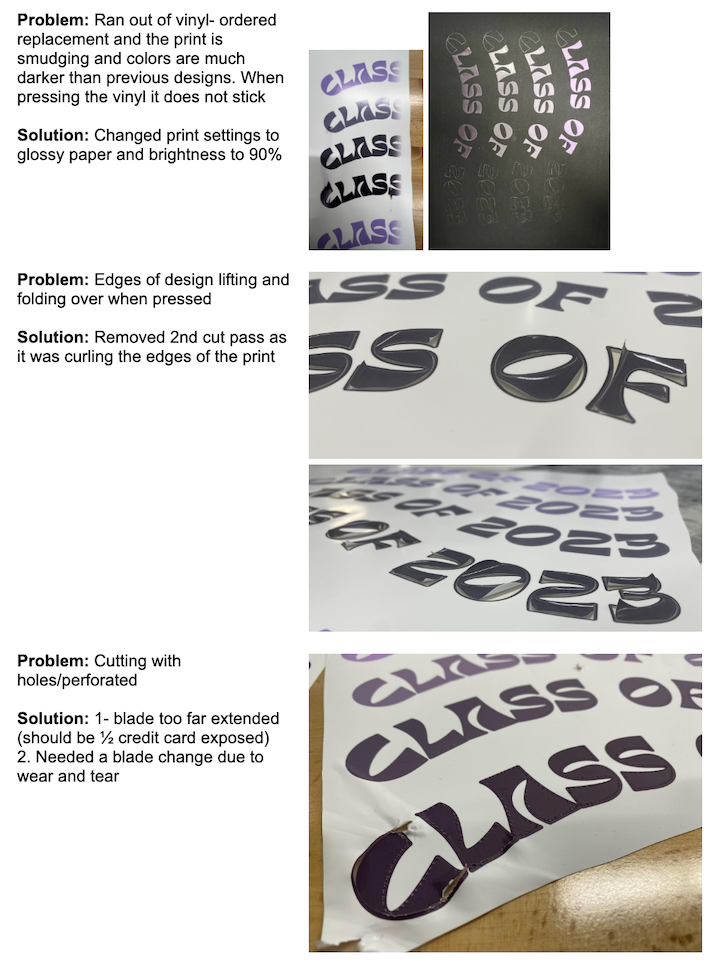
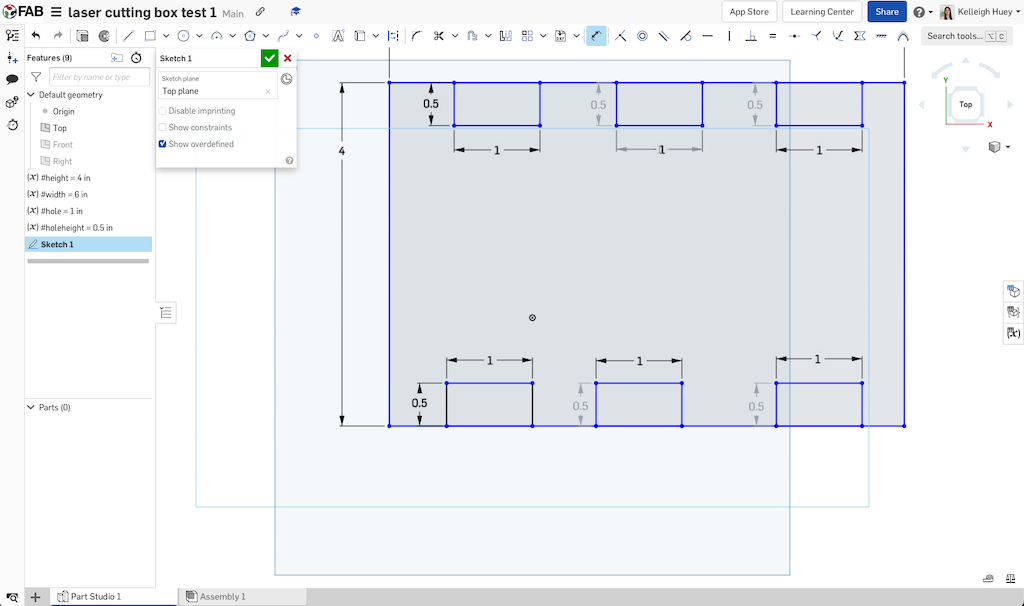
Project: We have been helping the senior class design and press 133 sweatshirts using the vinyl cutter and heat transfer press. Through this process, we have run into many issues that required trouble shooting and have been able to determine the best settings to use for various materials and designs.
Here are photos of the finished design:
Here are photos of some of the problems we have experienced and the solutions:
Research
This week was heavily focused, for me, in learning Onshape, Affinity Designer (laser cutter), Cricut Design Space (for vinyl cutting on the Cricut), and Affinity again for our larger vinyl cutter. To begin learning, I began by doing. I started in Onshape where I added a sketch, played with changing dimensions, using parametric designs to alter the shape and size of multiple aspects of my project at once, and learned about extruding my sketch into a 3D model. I also learned a great deal from our High School students from Metro Early College as they are well-versed in 3d modeling and experienced with the vinyl cutter.
Useful links and videos
To complete this weeks assignment, I used the following links to help guide me.
- Onshape Learn Link
- How to Code a Slideshow into HTML from GeeksforGeeks.
I used this link to get familiar with the tools in Onshape and worked through any issues I was having with finding where the tools I needed were.
I wanted to use a slideshow format to display progressions of images and documentation throughout my project. I found this site and tested the code and found it to work. This will allow viewers to see progression through steps without having to scroll or click.
OnShape
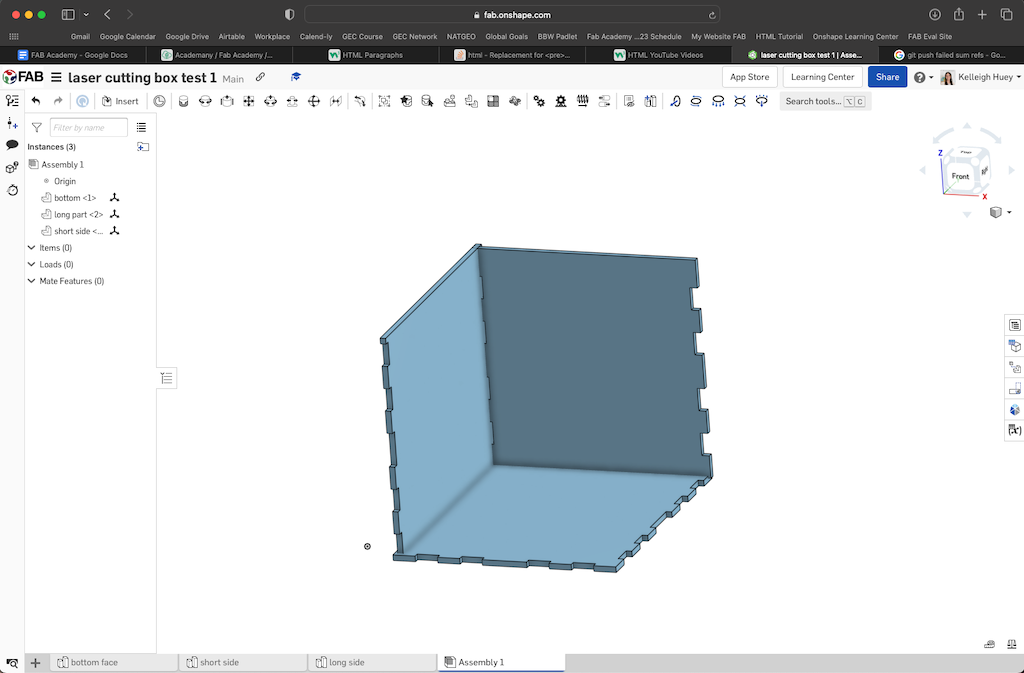
The object I decided to design to get used to the laser cutter and To begin, I logged in to Onshape and hit create --> new document. In this document, I will need to make one sketch for each of the different sized sides that I will be laser cutting and assembling.
How to Make the FingerJoint Box in OnShape.
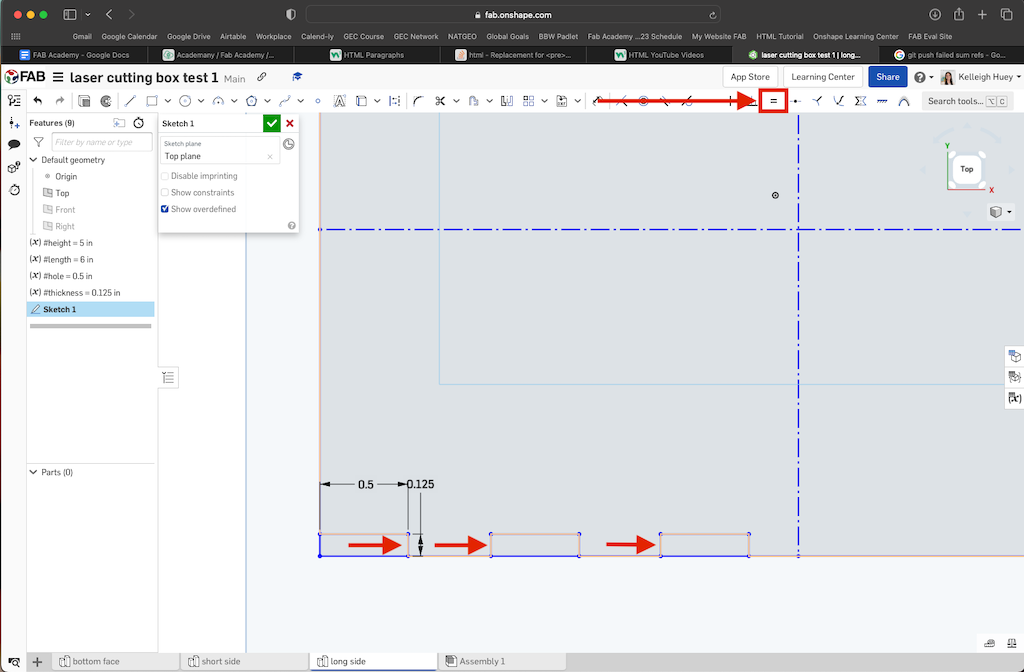
To make the bottom of the fingerjoint box, I knew I wanted to use parametric modeling to make it easier to replicate each side of the bottom. To do this, I started by creating four variables- height (=5 inches), width (=6 inches), hole (=0.5 inches), and thickness (=0.125 inches). These variables will allow me to set the size of one joint and the space in between to be equal across all of the joints, but I will circle back to that.
Once I had my variables set, I could then work on my sketch. (I found that if you sketch before you set your variables, OnShape will not recognize the parameters for the sketch itself- the variables need to be above the sketch in the list on the left.) I selected sketch and then selected he top face to work on. I made a ractangle them used the dimensions tool to set the dimensions of each side. I set my width to be equal to my variable, and my length to be set to my length variable. I then added lines across the center and made them construction lines. I then added lines to create where my finger joint will be. I set the length of each joint equal to my hole variable, and set the depth of the cutouts as the thickness. I then went between each joint and made the distance between them equal to the hole size to keep it symmetrical. When I had one corner of my joints done and spaced where I wanted them, I could use the mirror tool [press mirror, then select one of your construction lines through the center to mirror across, then select your joint shapes you just made and mirror them]. I repeated this across the other construction line and had a completed sketch of the bottom of the box. Then I extruded the sketch and set the thickness to 0.125 inches to match up with the thickness of my wood I was using.
Repeat the same for the short and long sides of the box, doing the opposite spacing for your joints so they will match up with the gaps in the bottom. Coordinate the spacing of the corners the same way and you now don't have to worry about the joints at the top, unless you want to make a lid, which I did not. I did each side as a new part in my parts studio and then went to assembly.
Assembly was a little difficult for me to learn at first but I got the hang of it after testing it out for a few minutes. I found that you need to adjust the positioning of the side, then change perspectives, and position it again.
Download my files here: Bottom of Box Front and Back of Box Left and Right Sides of Box
Gallery
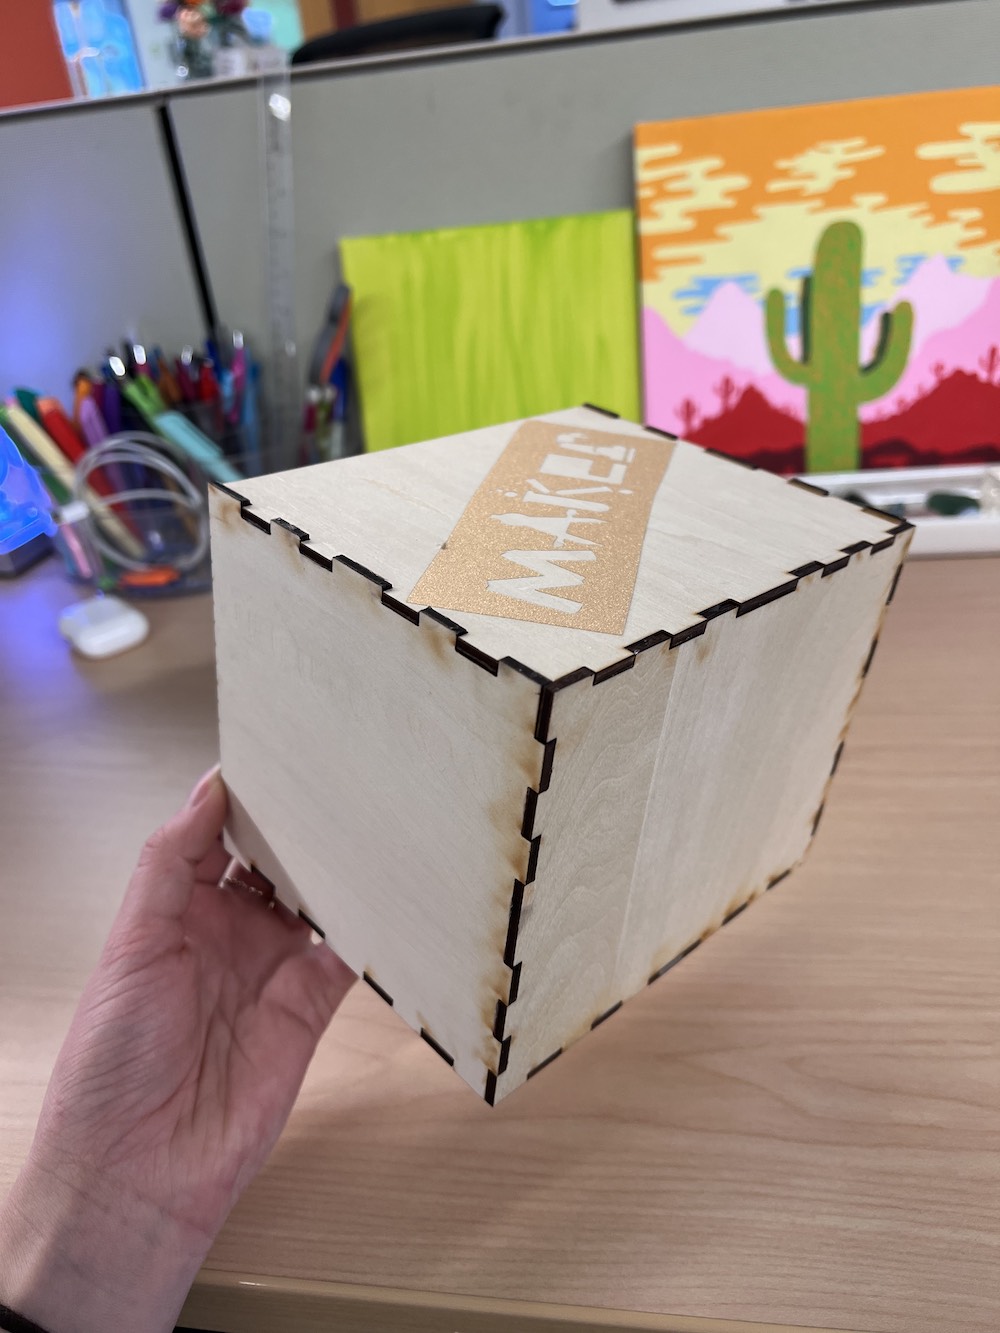
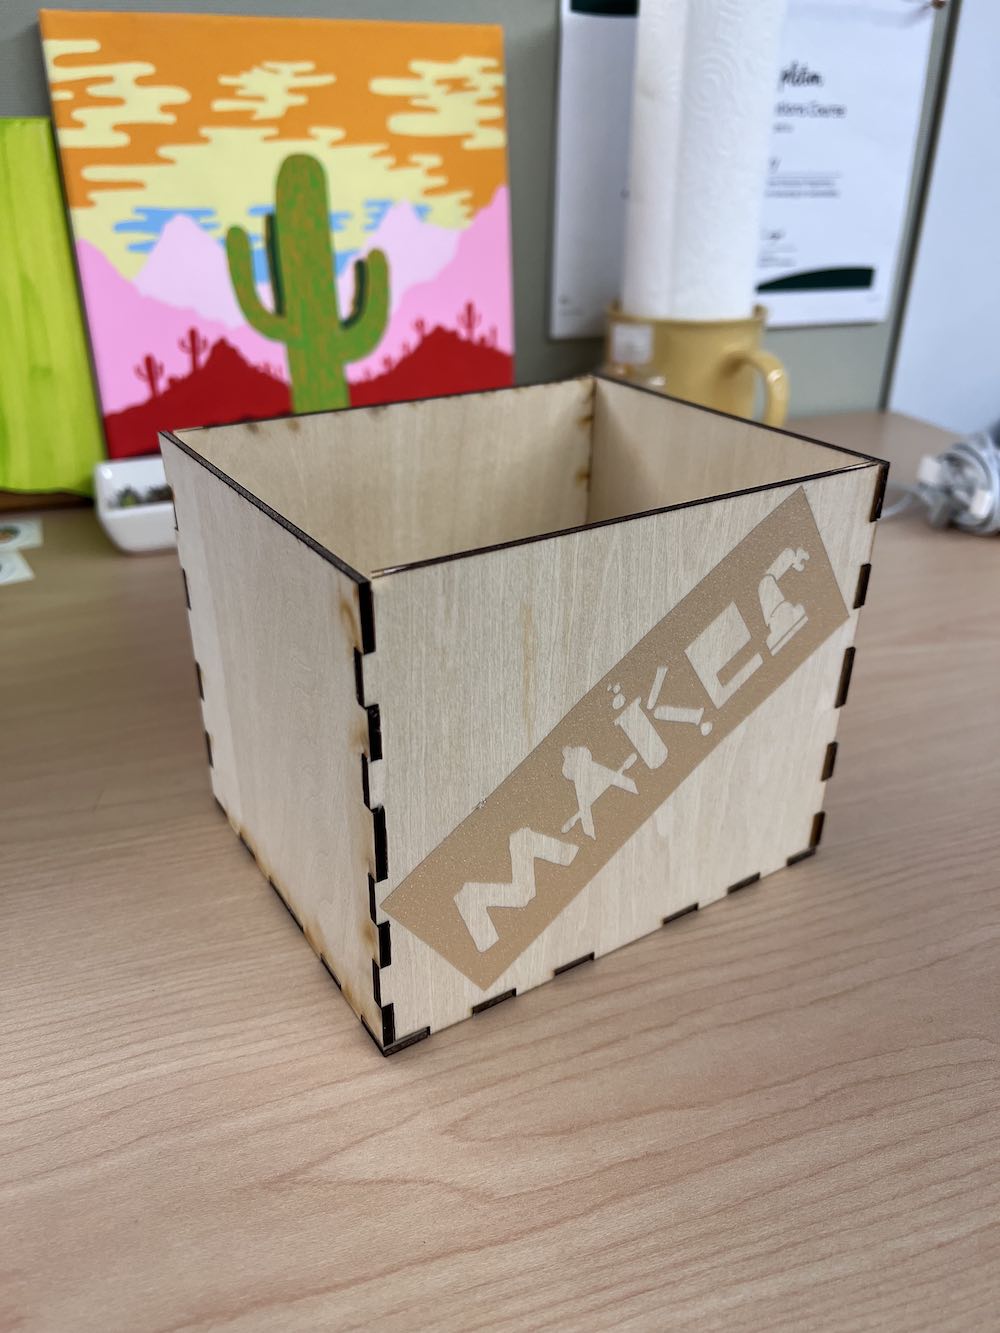
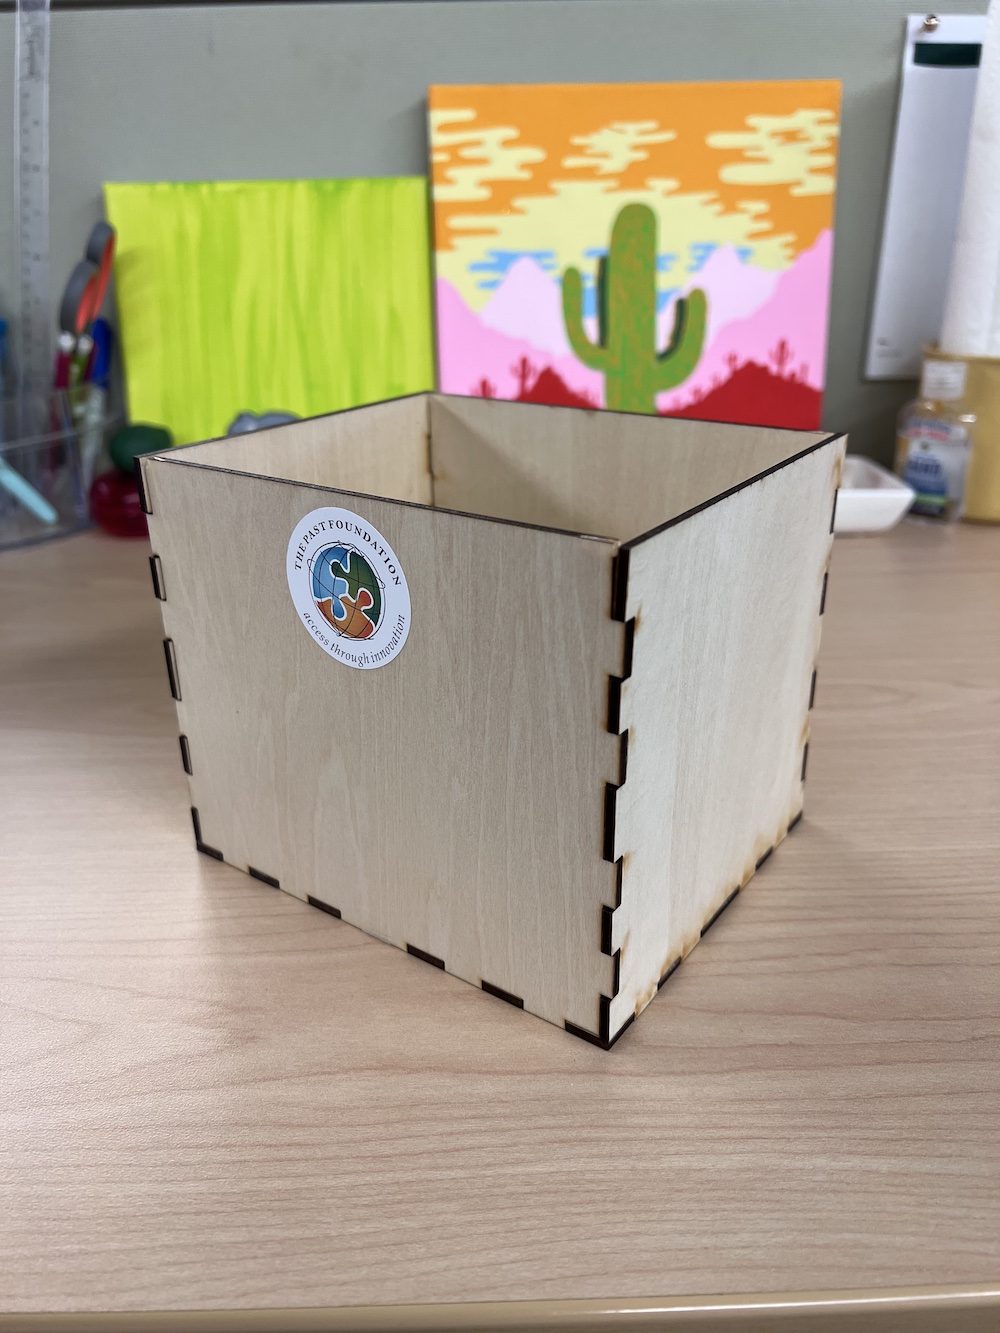
You can also see in the last images above, the images of my assembled box, a gold sticker that has "Maker" cut out. This is the skeleton of the vinyl cut sticker I made this week. The actual sticker cut out is currently shining on my water bottle.
Cricut - Vinyl Cutting
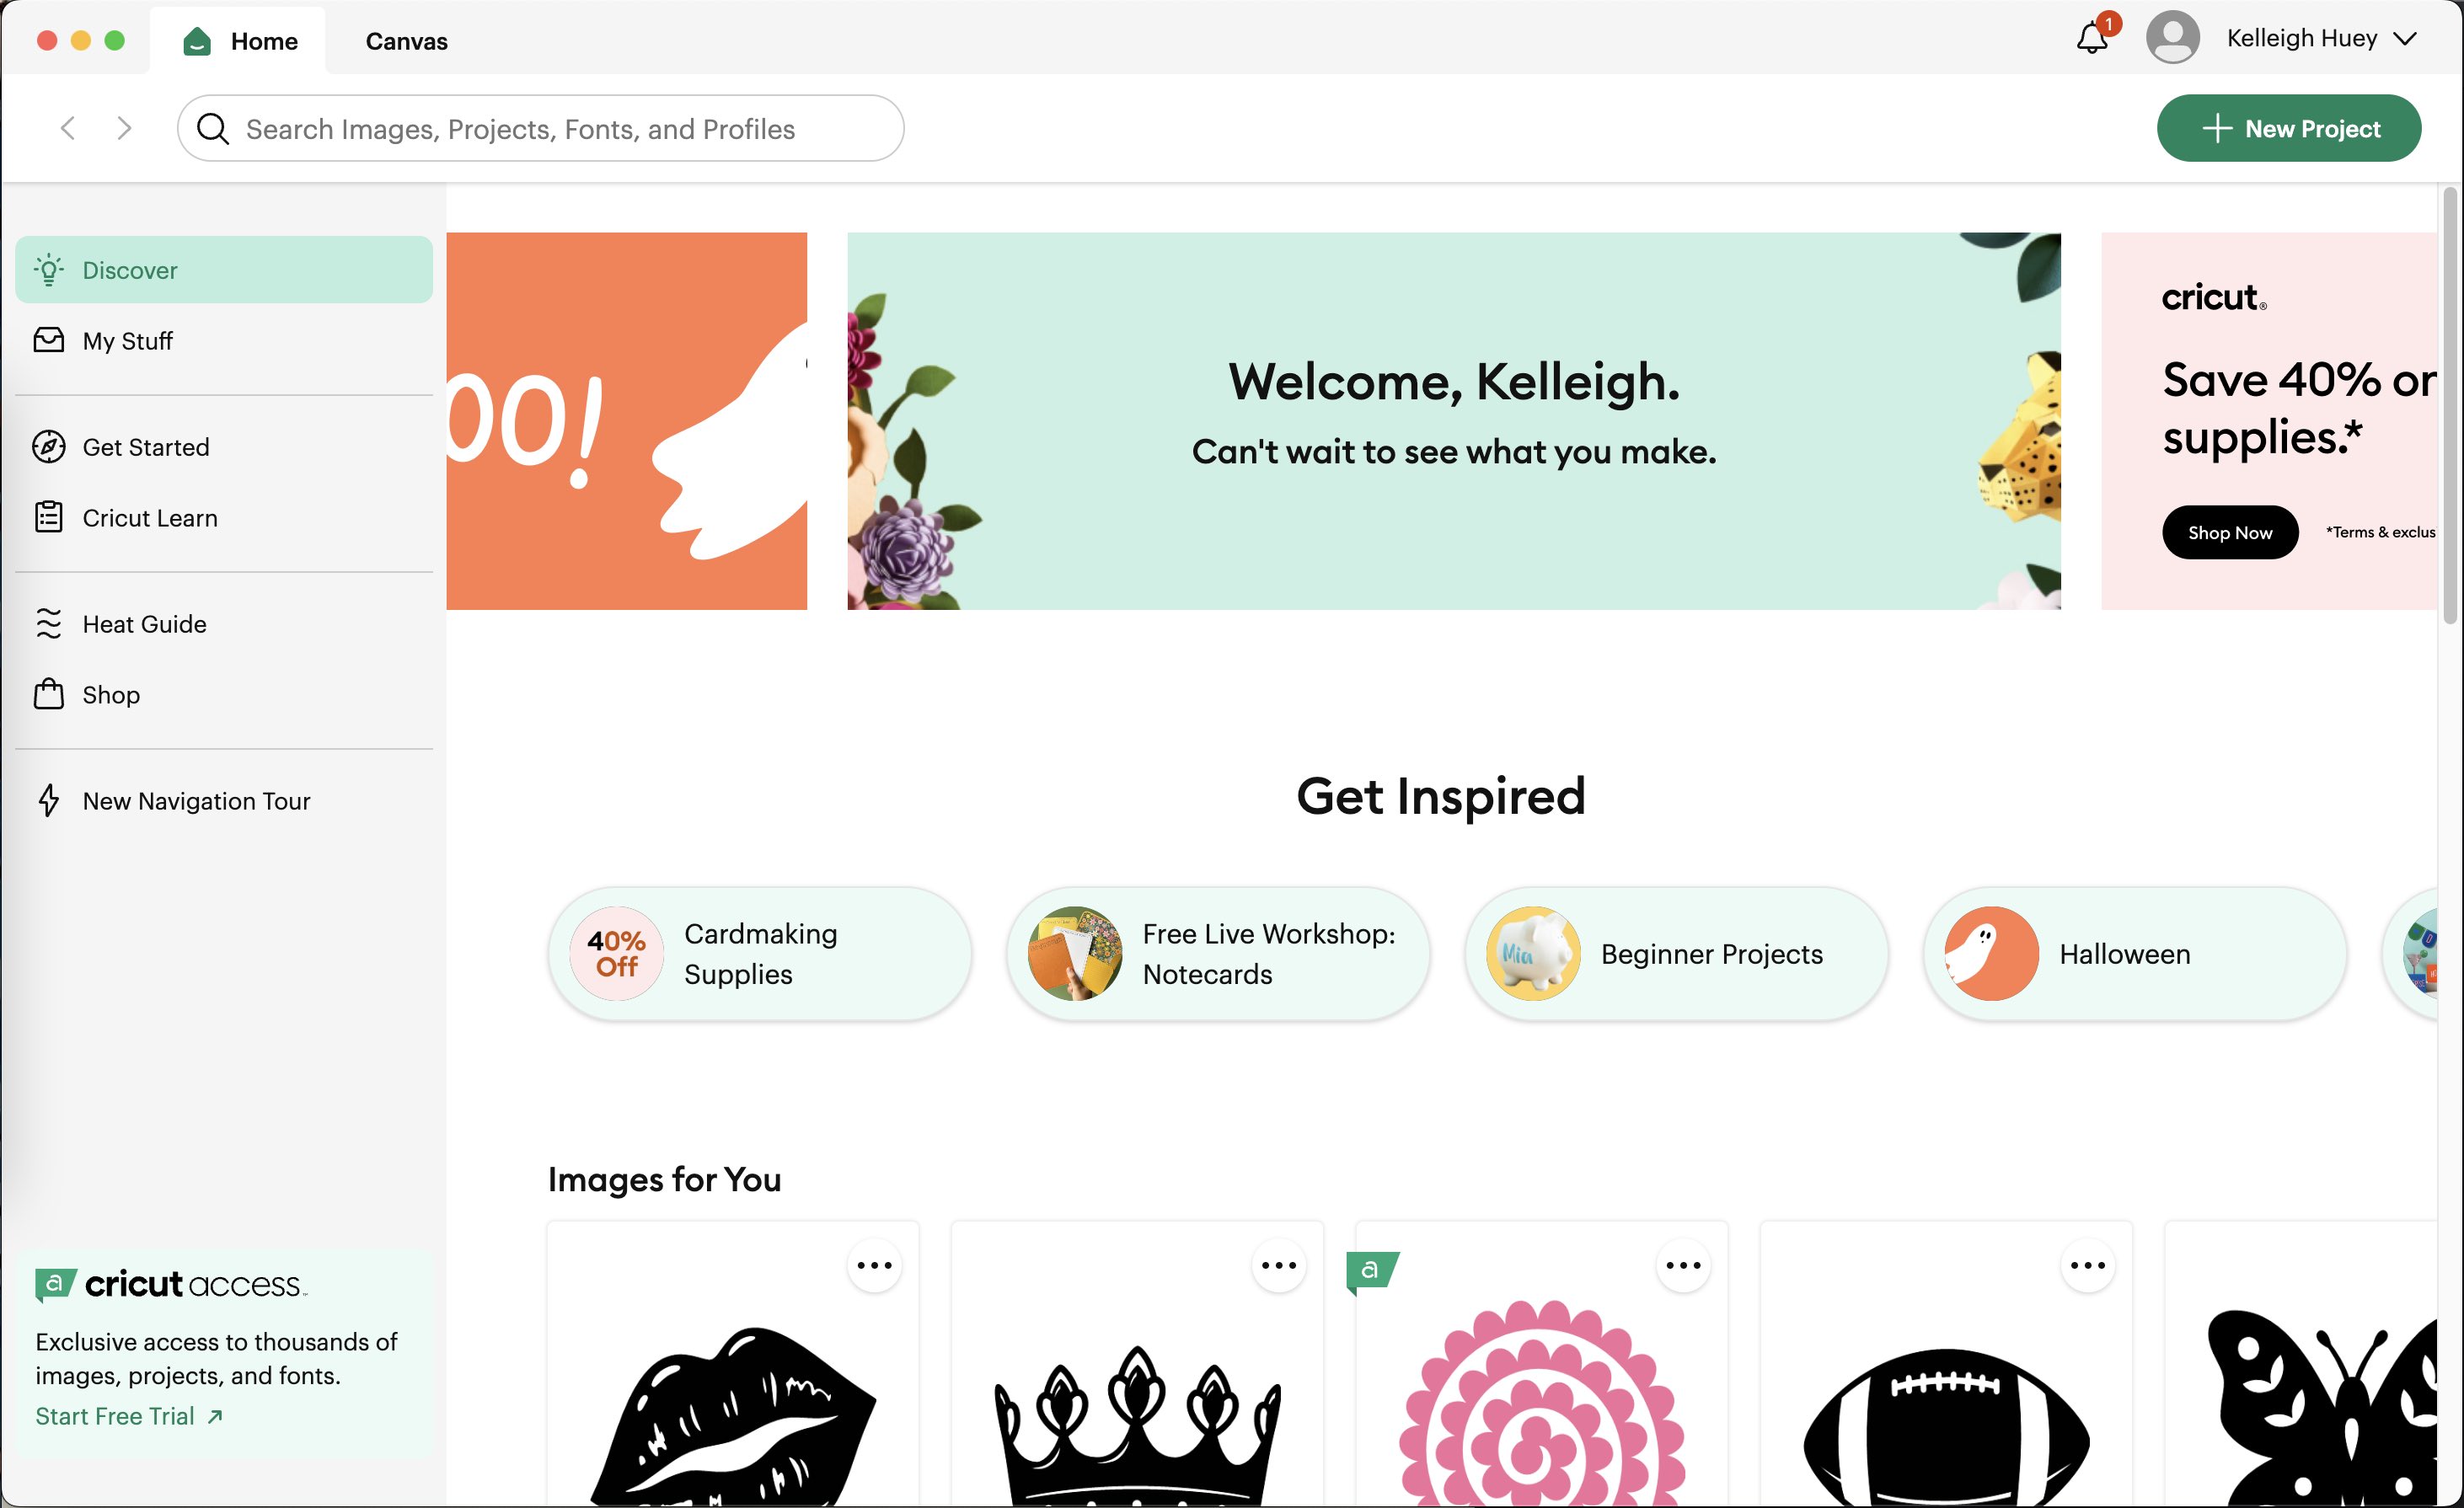
To make a sticker or decal using the Cricut, you must first download the Cricut Design Space Application. This is where you can design, upload a file, and send it to your Cricut to be cut. The application is very user friendly, in my opinion. First, I opened Cricut Design Space and select "New Project" in the top right corner.
 Once you are in the project page, to upload an existing file, select upload. My design was made previously through my work, The PAST Foundation. The file I uploaded was a PNG file. It is a Maker Mania logo, which is an event we hold where parents can bring their kiddos into our building to explore hands-on STEM activities and crafts. It is a free event for our community to experience STEM and the Maker Mindset.
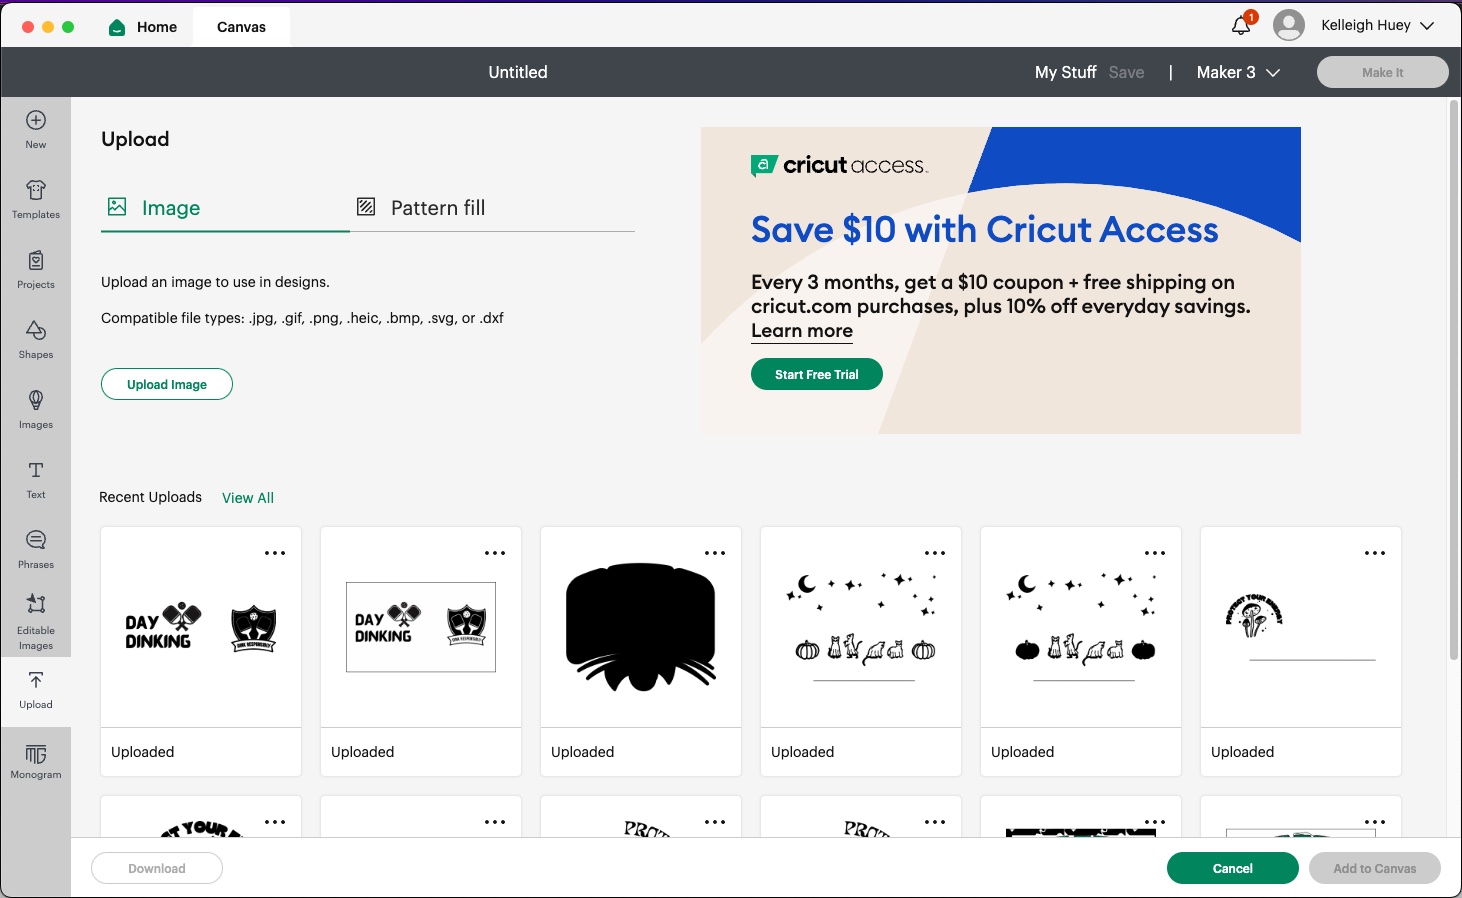
When you upload an image or file, it may ask you to select an image type. Because the sticker I wanted was a monochromatic, Cricut is a good outlet to cut it on. Cricut does not have the capabilities of some other vinyl cutters; it can not print a design first before cutting it. This means that your sticker will be one solid color and the cut lines are vital for keeping the image in tact. I always select "Simple" for my image type to keep it ..simple. I select continue, then select "Cut Only" to form my sticker upload. Next, I add this upload to a canvas by clicking on the file, then selecting "Add to Canvas" in the bottom right.
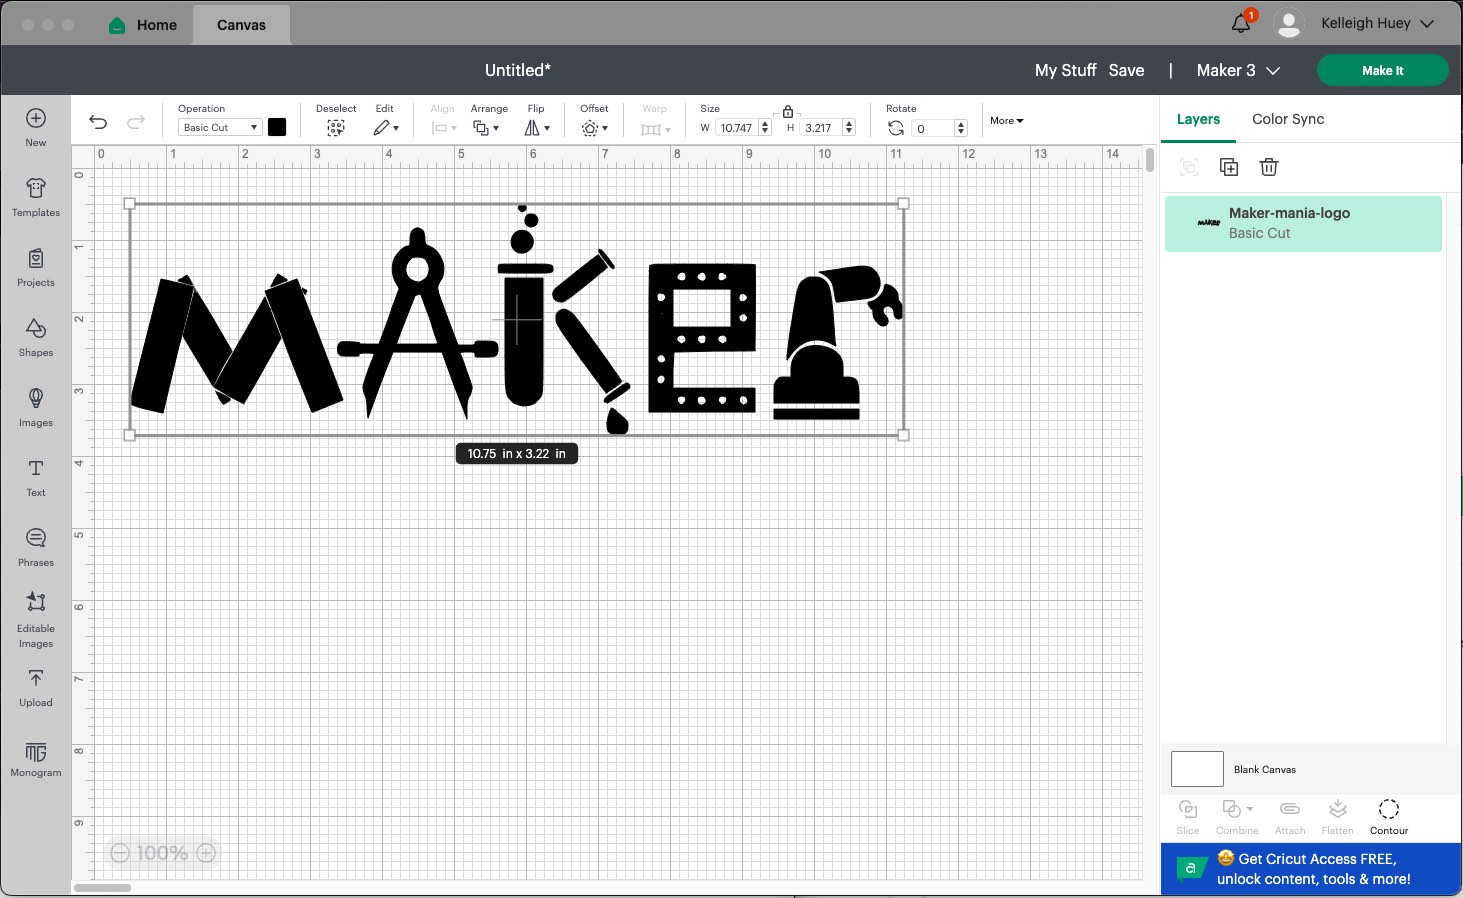
This is how it looks when a file is first added to the canvas. Here, you can resize and adjust your design however you would like. Once it is the right size and shape, select "Make It" in the top right. Follow the prompts that pop up. I used SmartVinyl, meaning I did not have to use a mat in order to cut the vinyl. It is also permanent vinyl, so I selected the appropriate settings and sizes, then clicked continue. Connect to your Cricut, mine is a Maker 3. Then, upload your design and load in your materials. Once the start button is flashing, you are ready to cut!