Applications and Implications
Individual Assignment
Propose a final project masterpiece that integrates the range of units covered. Your projects should incorporate:
- 2D and 3D Design
- Additive and Subtractive Fabrication Processes
- Electronics Design and Production
- Embedded microcontroller interfacing and programming
- Systems Integration and packaging.
Checklist:
- What will it do?
- Who has done what beforehand?
- What will you design?
- What materials and components will be used?
- Where will they come from?
- How much will they cost?
- What parts and systems will be made?
- What processes will be used?
- What questions need to be answered?
- How will it be evaluated?
Useful Sources
- Robot Electronics - Using the I2C Bus
- Medium - Microcontroller Connection Protocols: W1, I2C, SPI, UART
- Adrian Torres - FabXIAO page
Final Project Proposal
The Kitten Mitten - Kitten Toy
The Kitten Mitten Laser is a toy I designed that will function as a programmable robot. It is designed to have the basic appearance of a cat, but will feature a moving paw that controls a laser pointer.
I recently got two cats (7 months old now) and they love to play. They play, play, play all darn day and I can't keep up with them; while I'm working from home, cleaning/picking up around the house, whatever I may be doing, they want me to play with them. One of their favorite toys is the laser pointer, but that requires me to be focused on them and active in their play time, rather than doing what I definitely should be doing.
I've had the idea for a little while now but a colleague of mine commented on how my paw that I am molding (you will see later on) looked like a mitten. I said it was for my kittens. That one comment inspired the name of my toy, The Kitten Mitten.
What will it do?
The Kitten Mitten is a cat toy, that you can control remotely with a joystick, or you can pre-program it using your computer. It will have a built in laser pointer, but will also have a paw that is shaped in a way that can hold an external laser pointer. This is so I can still use the laser pointer I bought for myself, but the project will still be operable without the additional laser pointer. Also, when testing the strength of the lasers we already had here at the lab, it was not preforming as well as I would like it to. The laser diffuses vey easily, and is basically not a laser dot when pointed at the floor from more than a few inches away.
Who has done what beforehand?
A few designs for similar toys do exist on the market currently. Some of their limitations are in the range of motion they have, the visual appearance/aesthetics of the design, and cost. Some current ideas I have feature cute, interchangable facial vinyl stickers, the moving paw which I haven't seen before, and easy access to the electronics via the sliding box top. I will provide a link below to some example toys that exist currently.
- Chewy.com PetSafe Dancing Dot Laser Cat Toy
- Chewy.com PetSafe Laser Tail Laer Cat Toy
- Amazon.com Cat Laser Toy Automatic, Laser Light/Cat Toy
- Amazon.com AUKL Cat Laser Toys for Indoor Cats
What will you design? What processes will be used?
Subtractive Fabrications:
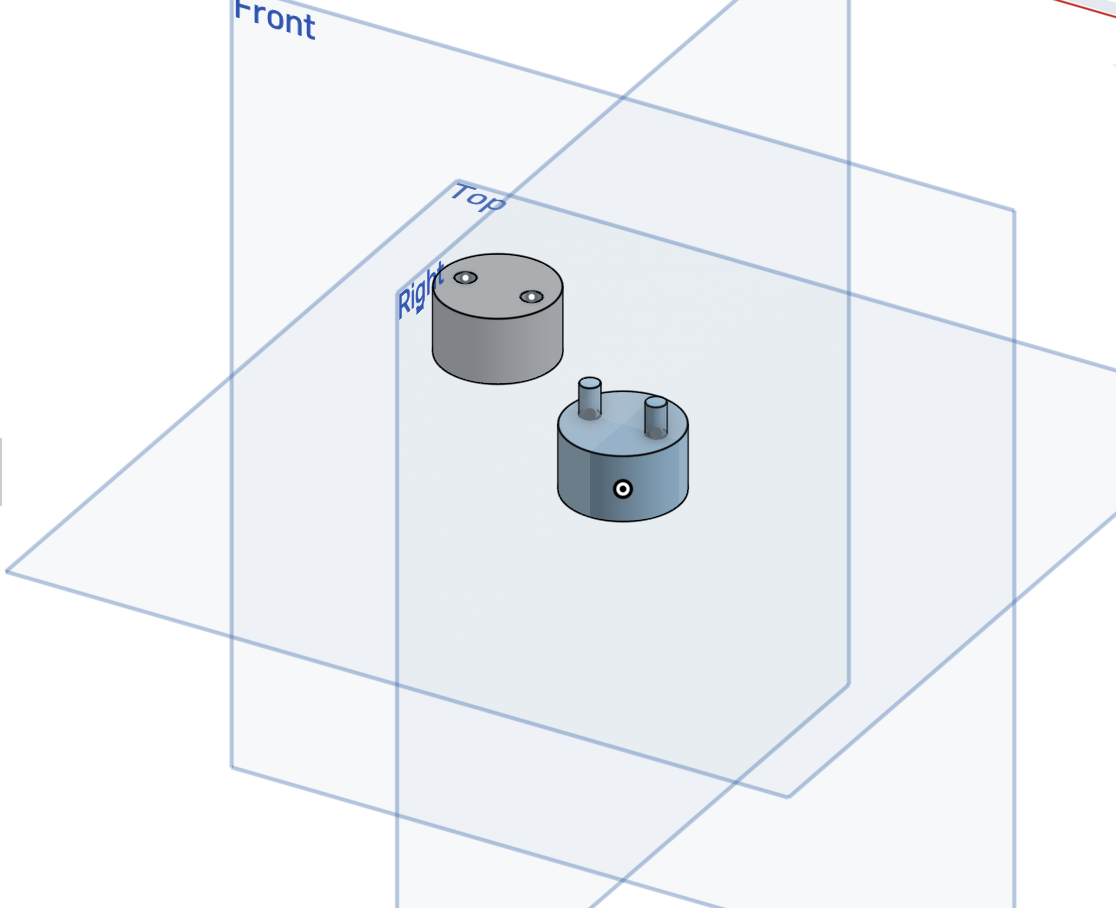
- Computer-Aided Design (CAD) and Computer-Controlled Cutting (CCC) - Laser Cutting a box for housing electronics and to serve as a base for the toy to remain level on a flat surface.
- CCC - Vinyl Cutting facial features, whiskers, paw print, and toy name for the box and aesthetics.
Additive Fabrications:
- CAD: 3D printing -
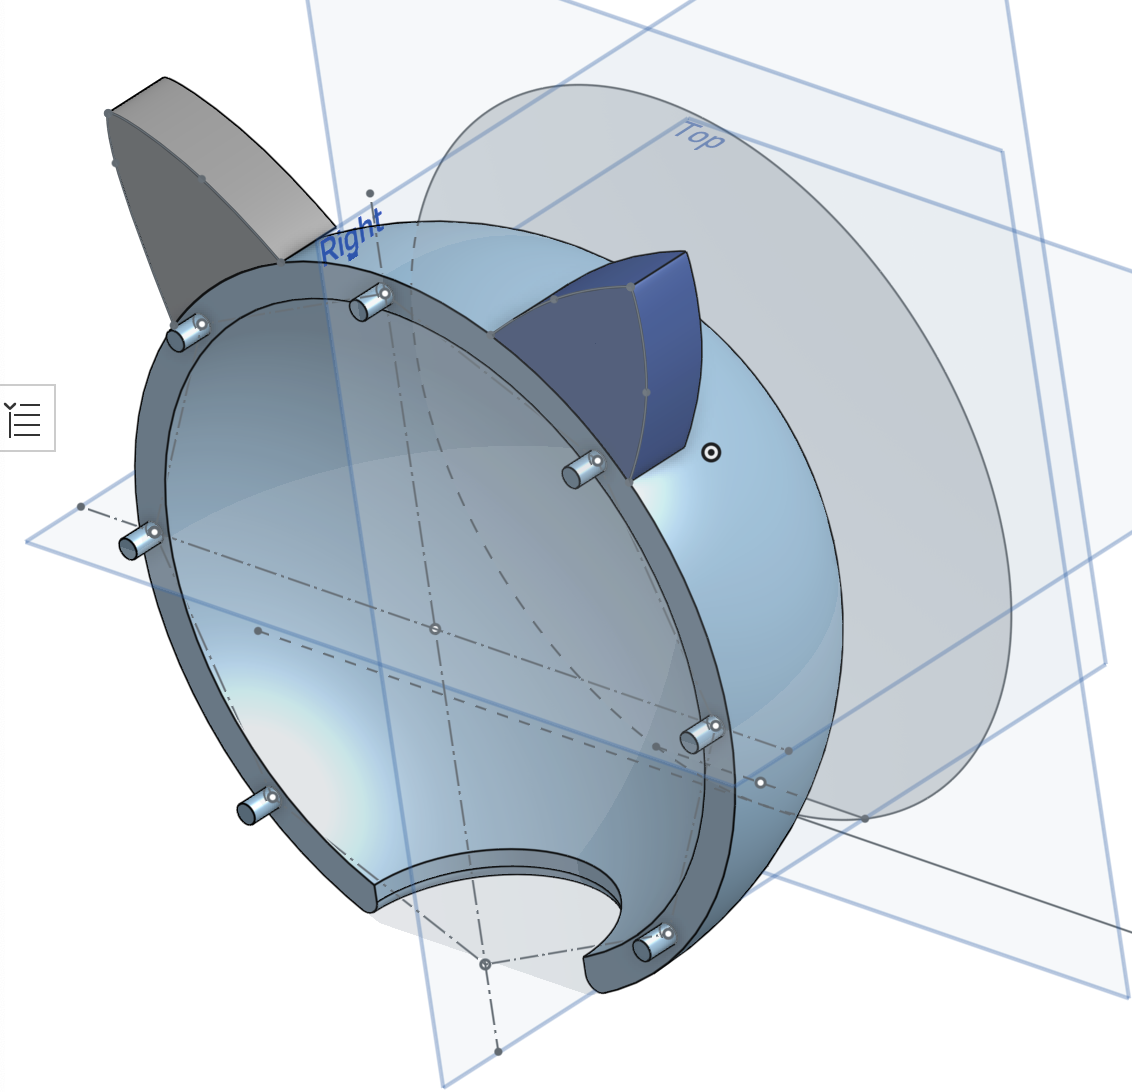
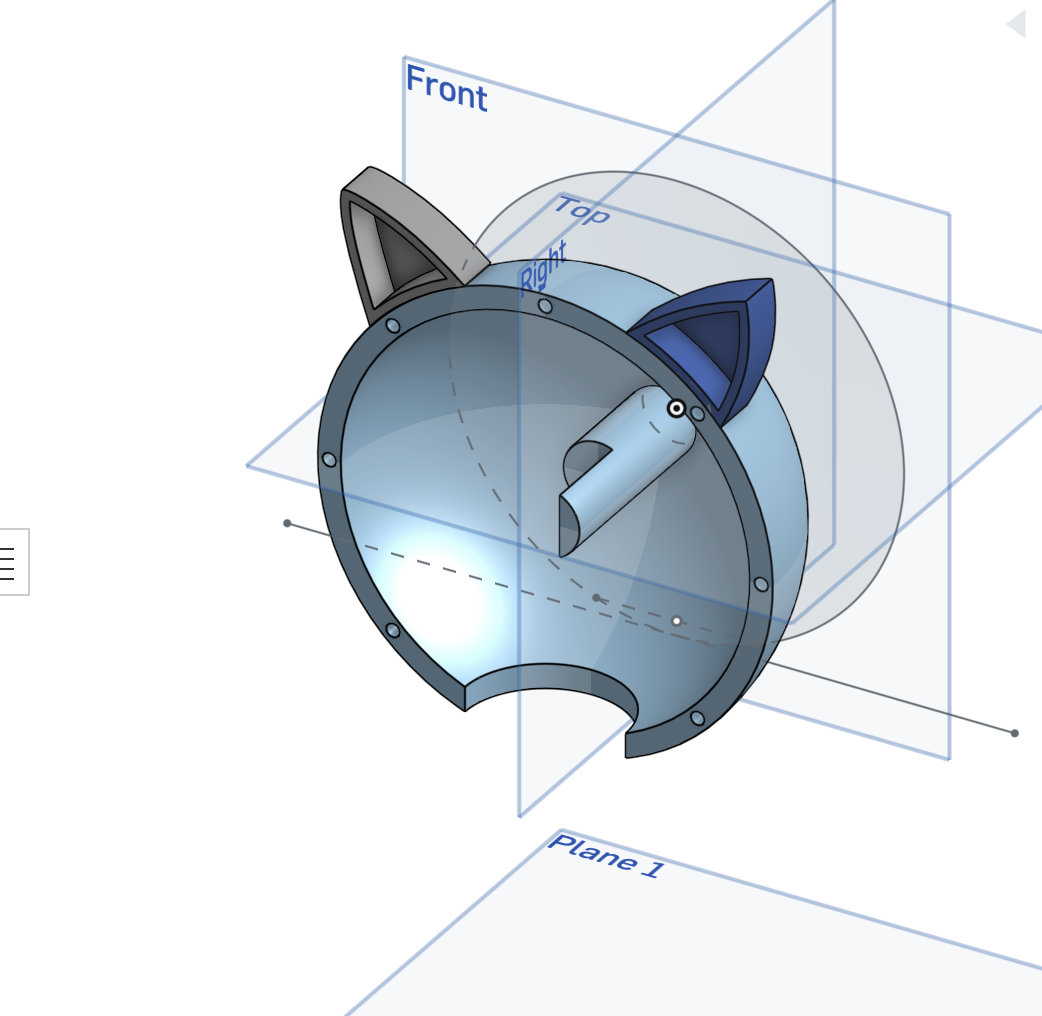
- Cat Body
- Cat Head
- Cat Arm
- Cat Paw
3D Scanning:
I made a model paw out of air dry clay that I will scan with a 3D scanner and use as a guide/model in Onshape. This will allow me to keep the approximate size and shape of the paw, but make the model a little smoother. I will also adjust the sizes ever so slightly to make sure the servo will fit inside, and will have an area to attach to on the inside of the paw. Having this connection to my servo will give my paw the Y movement that I need.
Electronics Design, Production, and Programming
I will be designing a new PCB for this project using Kicad. It will be designed in Kicad and will be made with enough pins to support two servos.
Producing the PCB will include milling the copper plated board in the Forest CNC machine in our workshop. It will also include soldering the components of my board onto the produced PCB.
Programming will occur after production, and I will be programming my board to control two servo motors. One motor will control the X movements of my paw, and the other will control the Y movements.
Materials
I will be using a relatively small list of materials during the final project development. I will list these by category below:
| Content Area or Toy Feature | Supplies | Cost | Link |
|---|---|---|---|
| Housing Box | Baltic Wood Sheets. Epilog Laser cutter. | ||
| Cat Head, Body, and Arm/Paw | PLA filament roll. PrusaMini 3D printers. Dowel rod (inside arm). | ||
| Cat facial features and logo | Permanent Cricut SmartVinyl. Cricut Maker 3. | ||
| Electronics | Copper clad PCB. Soldering Wire. Soldering Station. Forest CNC machine. Pin headers and connectors. Resistors. Jumper wires. XIAO RP2040 microcontroller. |
How to measure success?
The main component that I want to work is the moveable paw. The best possible outcome is that both the X and Y movement is working and the paw can move. Even better than that would be that the X and Y movements work, and the laser is getting enough power to shine a dot onto the table.
Another area where I want to measure my success is in the attachments, and placements of my holes for screws. This will show my progression in 3D modeling and fabrications techniques, as this final project requires much more than any other project I've done in the past. If all goes well, the cat head will pop onto the connectors from the neck, the bottom of the neck's screw holes will be aligned with the boxes' screw holes, and same with the arm. The cat paw also will be a measure of my success in 3D scanning, which was a pretty decent fail in the first few weeks of undergoing this course.
Some questions I still have...
We are rapidly approaching the second graduation deadline. I am supposed to have everything done and ready for evaluation on November 15th which is too close for my liking. Each weekly task, because I am taking this through my work, and it is within my 40 hour work week, I do not have all that much time on my hands to get this done. Especially when I compare to others who take this course, where they are able to spend all of their time working on the project, I am only able to spend maybe a few hours each day (Monday-Thursday when my office is open) working on these assignments and projects. That being said, I am slightly worried about the ambition behind my original cat toy, and have since toned down the extensive features it will have. The descriptions above are for the somewhat simplified version of my toy, but I will still be pushing myself to go above what I have planned, given time is nice to me and goes by slowly.
How will the servo attach and remain sturdy within the cat paw? This is one question I am still trying to work out. Now that I have my model of my paw, I will need to scan it and import the scan into Onshape. That is where I will play around with different designs to answer my question and see what works. I need to have a strong enough connection from the servo to the paw in order for the full range of motion I desire.
First Design Iteration Gallery


