15. Molding and Casting
Molding and casting are two related processes used to create reproductions of objects or parts.
Molding is the process of making a mold, which is a negative replica of an object or part. The mold is typically made from a flexible material, such as silicone or rubber, which is poured around the object and allowed to harden. Once the mold is set, the original object is removed, leaving a cavity that can be filled with a casting material.
Casting is the process of filling the mold with a liquid or semi-liquid material, such as plaster, resin, or metal, to create a replica of the original object. The casting material is poured into the mold and allowed to set or harden, taking on the shape of the mold. Once the casting has cured or solidified, the mold is removed, leaving the final product.
Molding and casting are used in a variety of industries, including manufacturing, art, and sculpture. They are often used to create multiple copies of a single object or part, or to create intricate and detailed designs that would be difficult or impossible to produce by other means.
There are many different types of molds and casting materials available, each with their own advantages and disadvantages. The choice of materials and techniques used will depend on the specific needs of the project, including factors such as cost, durability, and the desired level of detail and accuracy.
Group assignment:
Review the safety data sheets for each of your molding and casting materials, then make and compare test casts with each of them
Note: the link to the data sheets used are integrated directly in the test of the individual assignment
Extra credit: try other molding and casting processes
Individual assignment:
Design a mold around the stock and tooling that you'll be using, mill it (rough cut + three-axis finish cut), and use it to cast parts
Extra credit: use more then two mold parts
Creation of a 3D model of the Pawn chess piece using Fusion 360.
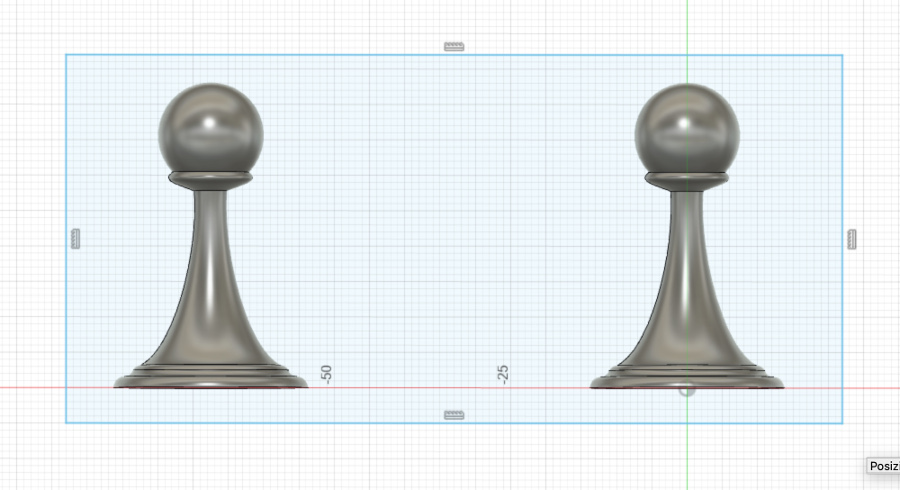
Start putting construction line and top sphere taking into account the dimensions of the block of wax ( L 179mms x W 76 mms x H 38 mms
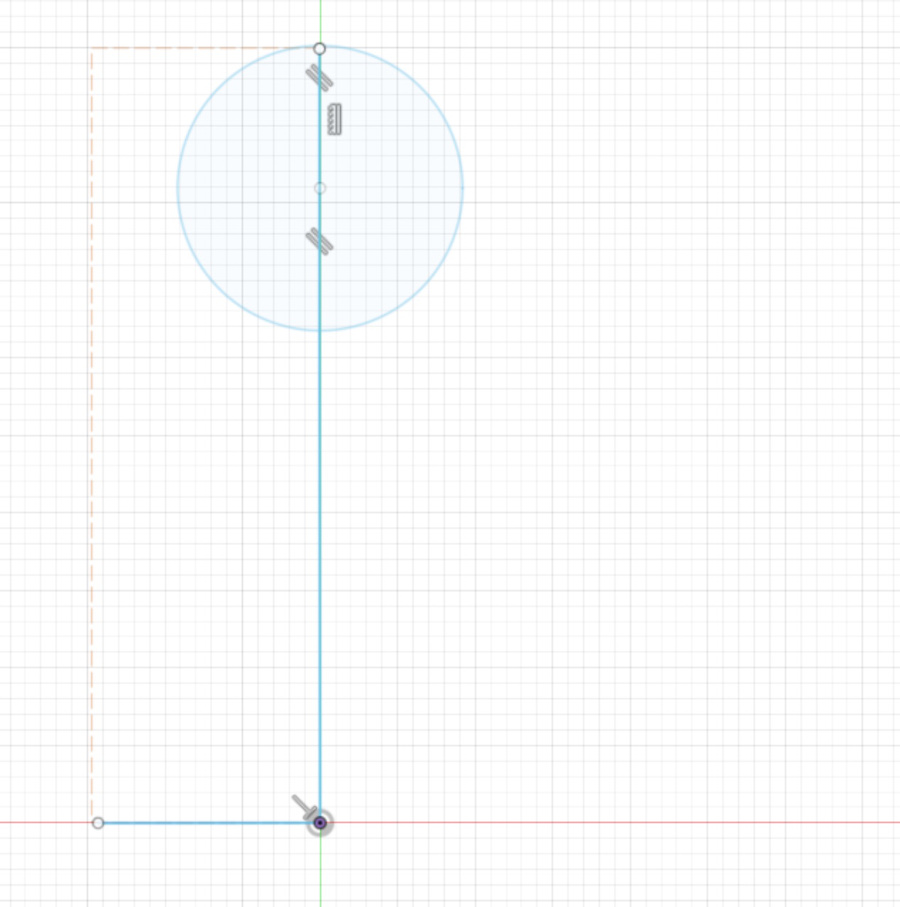
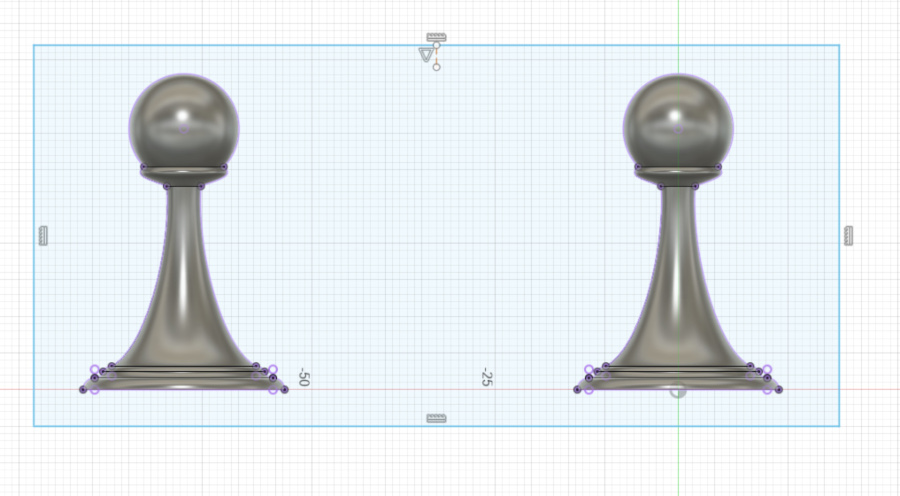
First construction of the pawn profile
Profile overview (with on-going work for the pawn base)

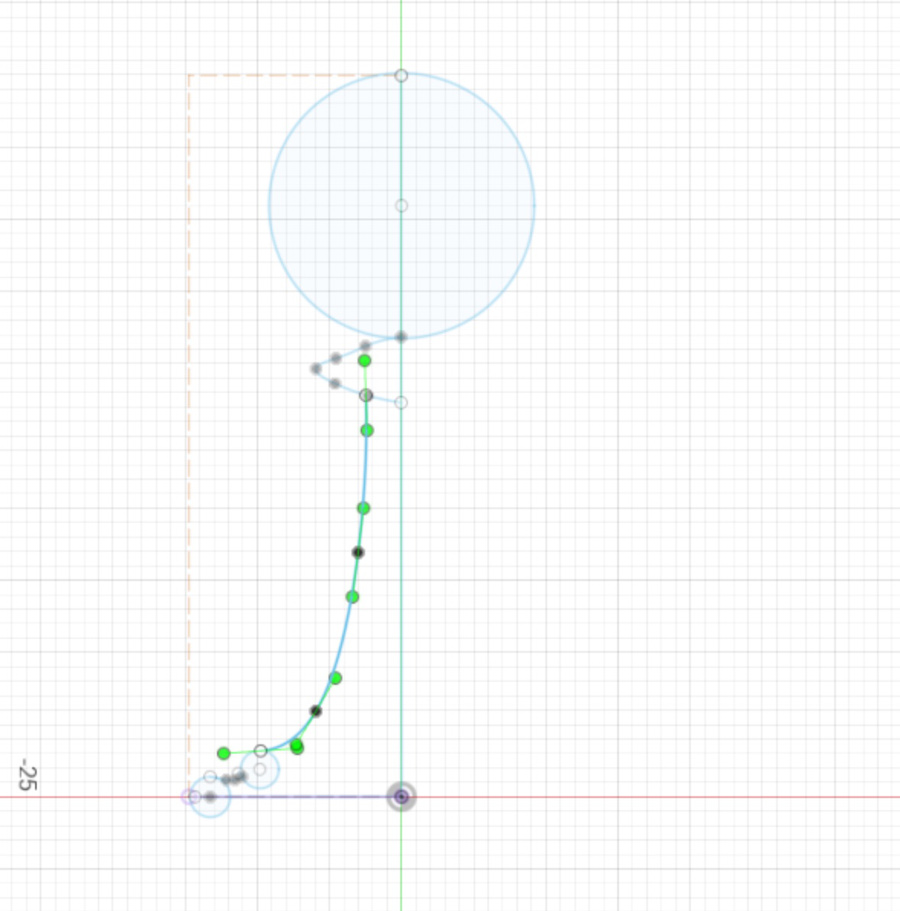
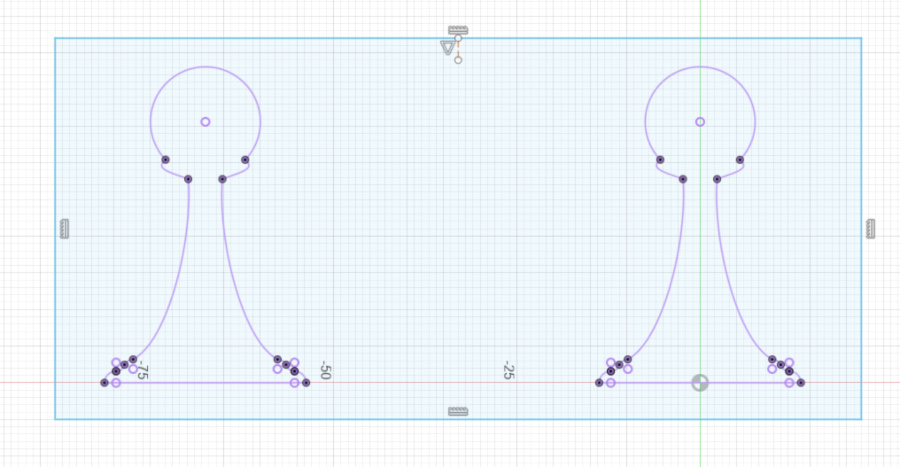
Details of the construction of the pawn base: use of three circles to create a harmonious shape compatible with milling process
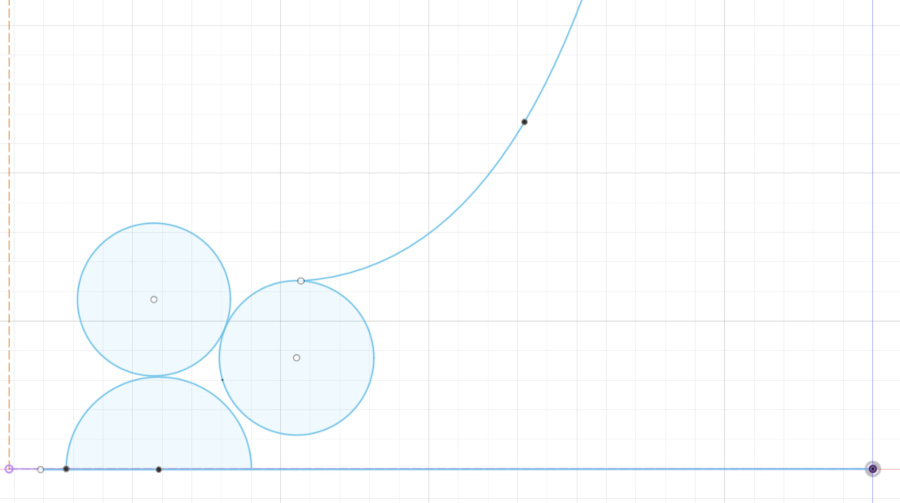
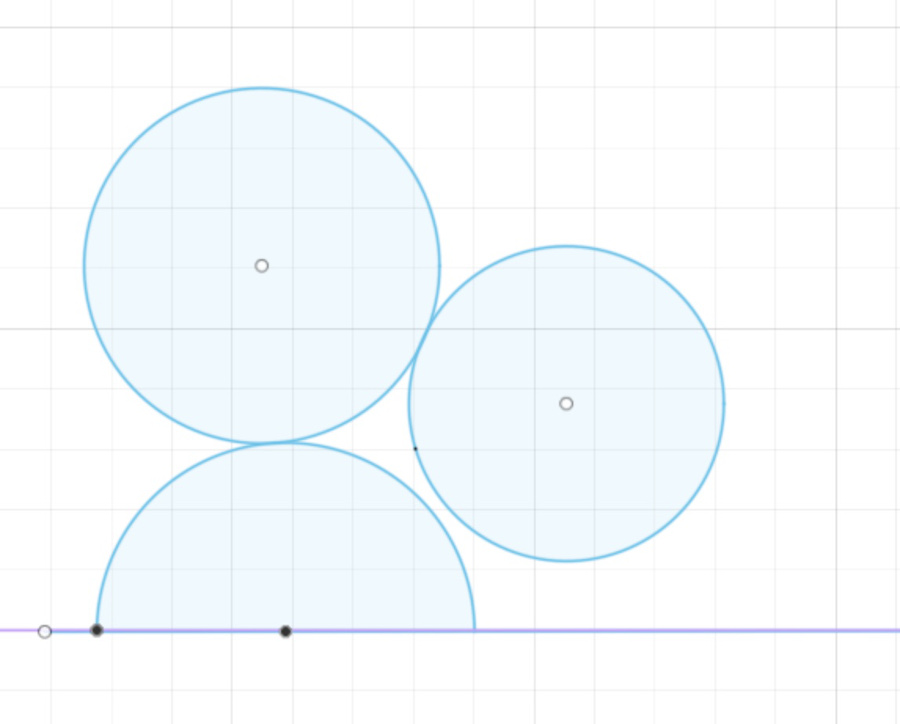
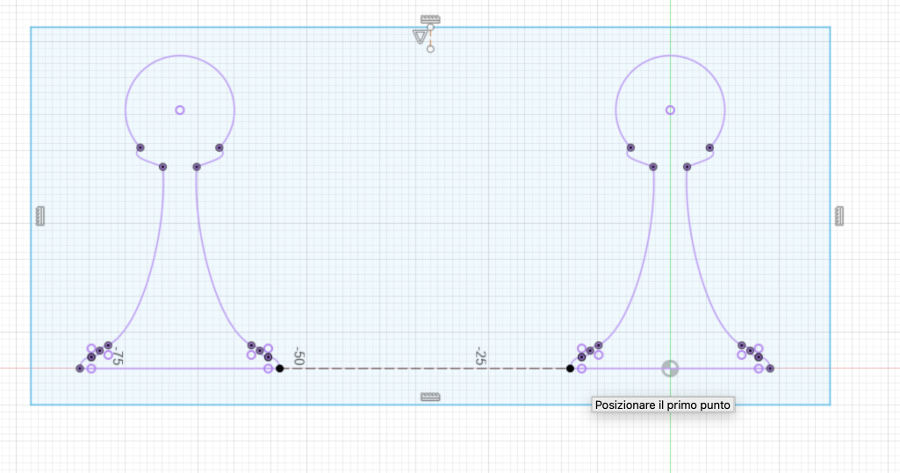
After removal of the unnecessary segment of the top-left circle

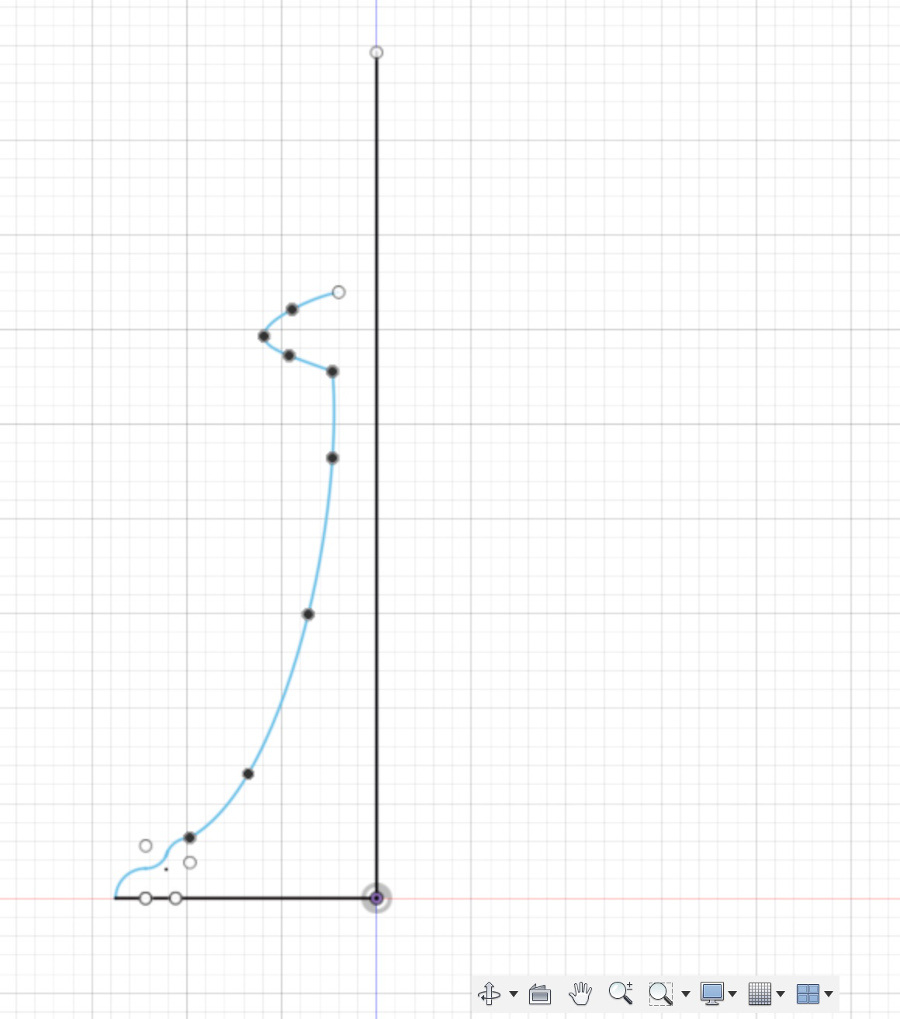
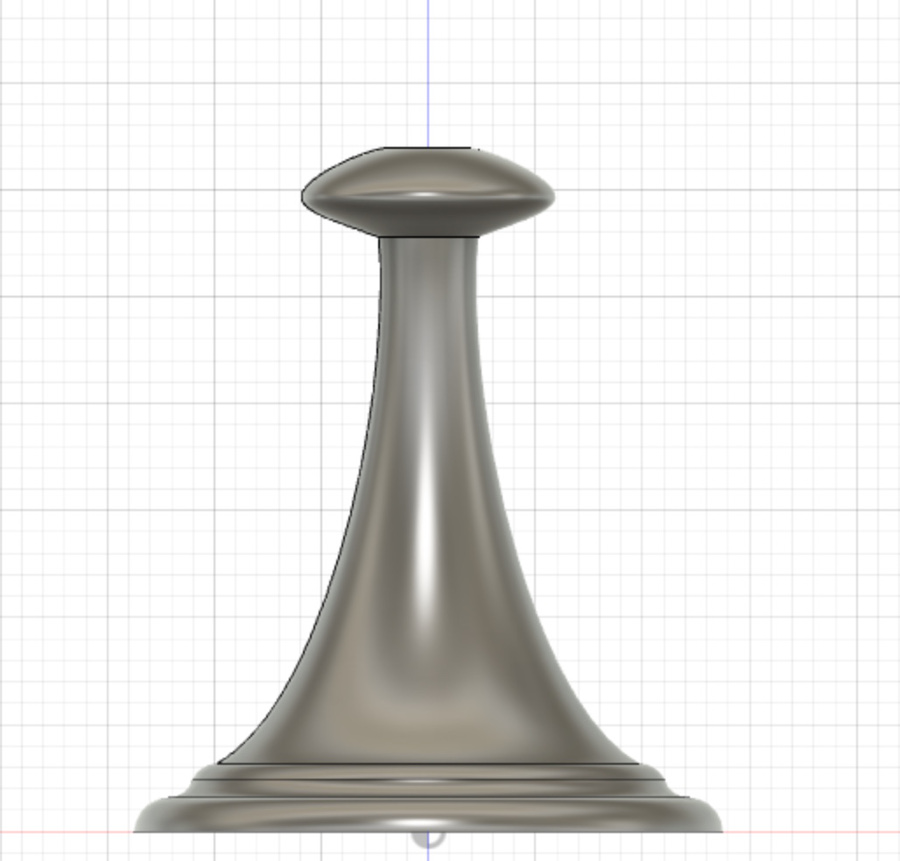
Profile overview (only missing element the sphere on the top)
Use of the profile and revolution tool of Fusion 360
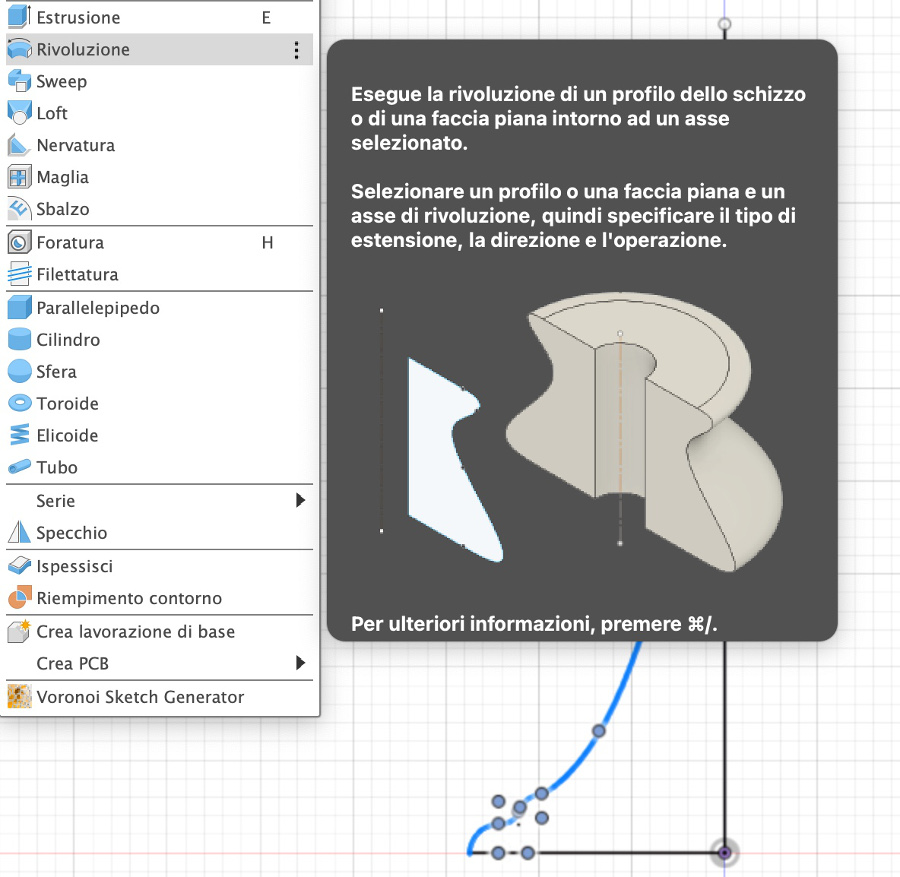


Overview of result after applying the revolution tool on the profile
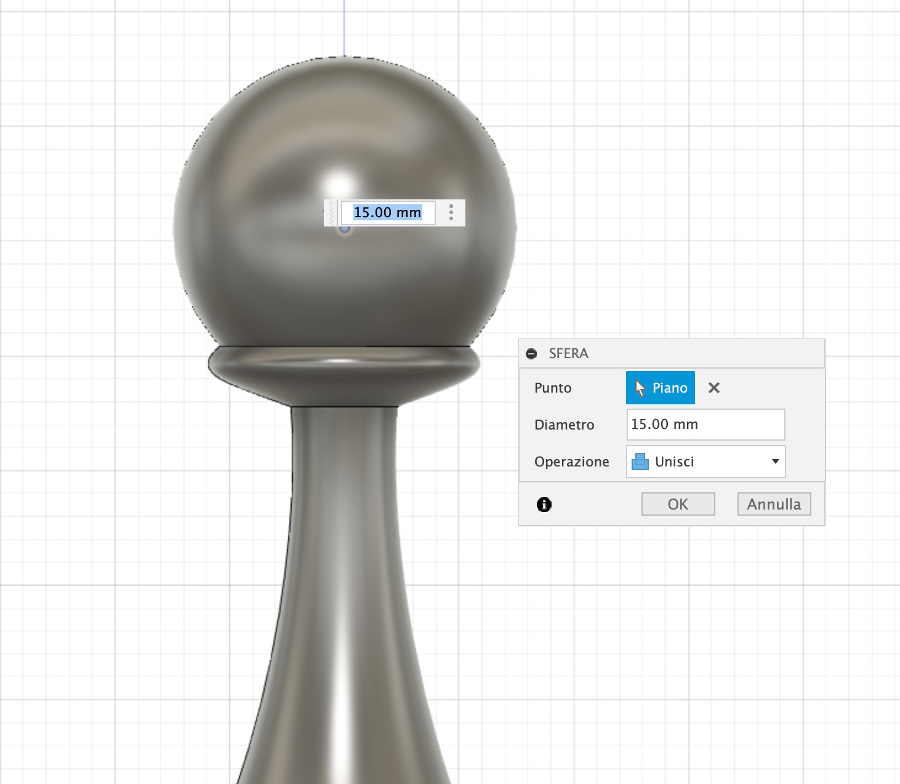
At this point I added a spher of 15 mm diameter on the top.
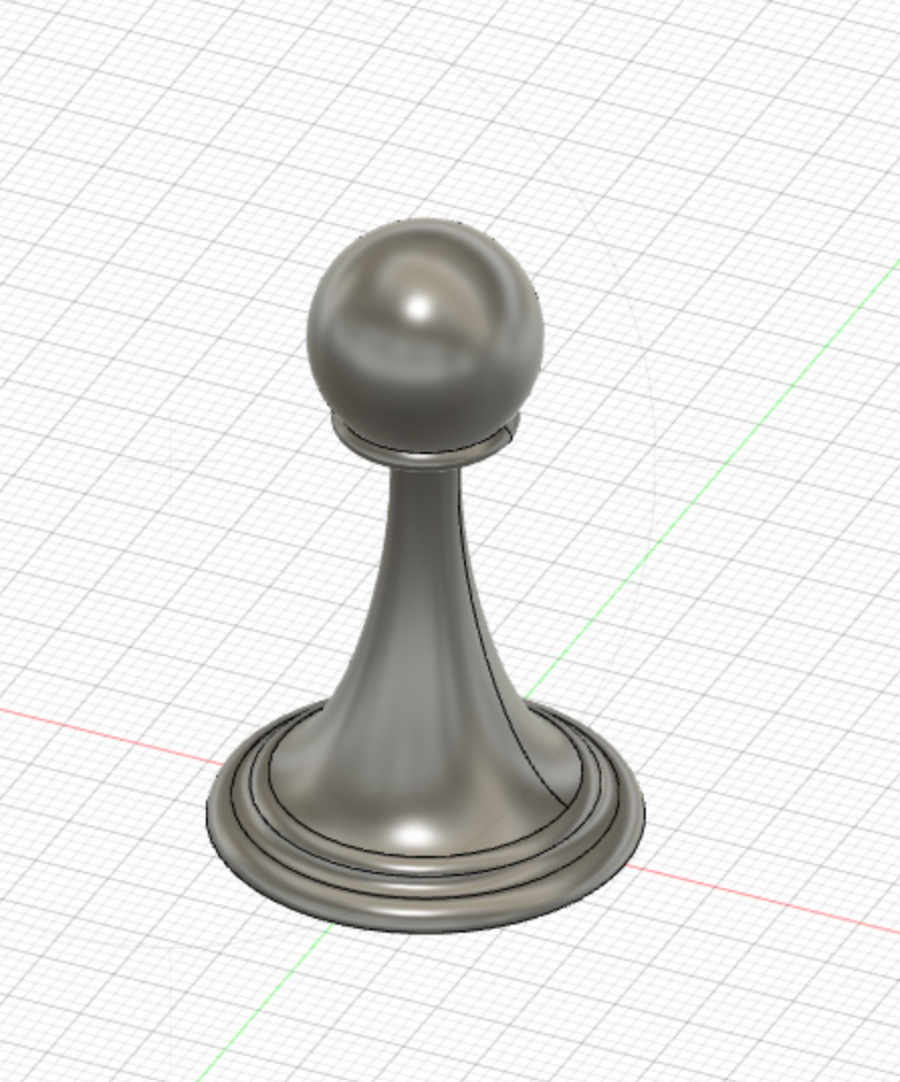
Overview of the complete pawn newly created
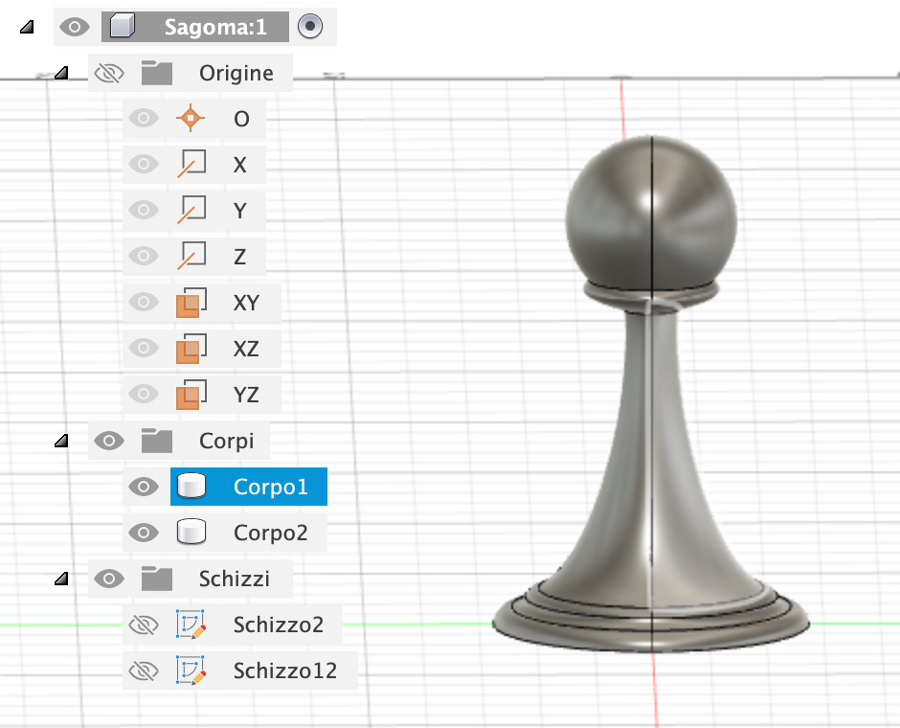
Split of the body into 2 pieces (body 1 and body 2)
Body2 part overview
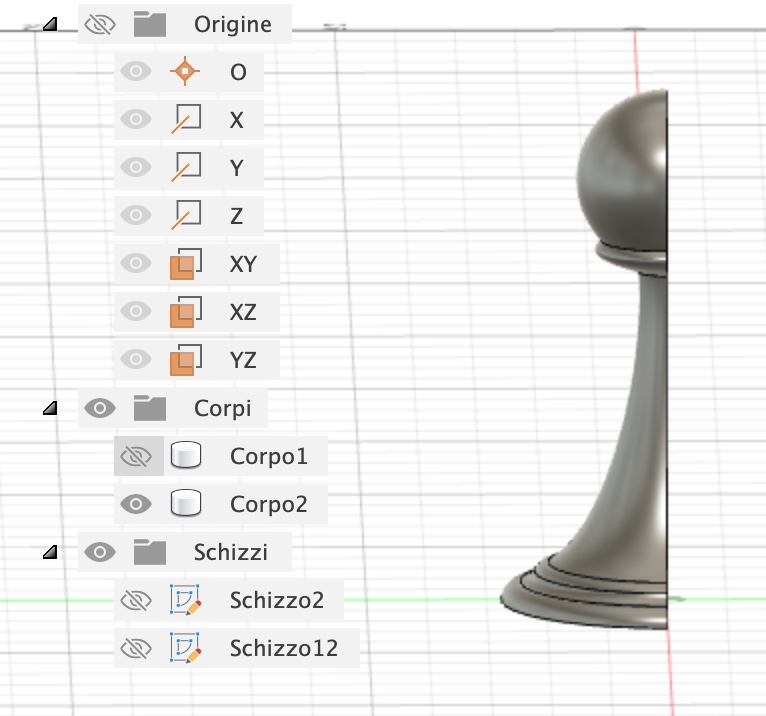
Body1 part overview
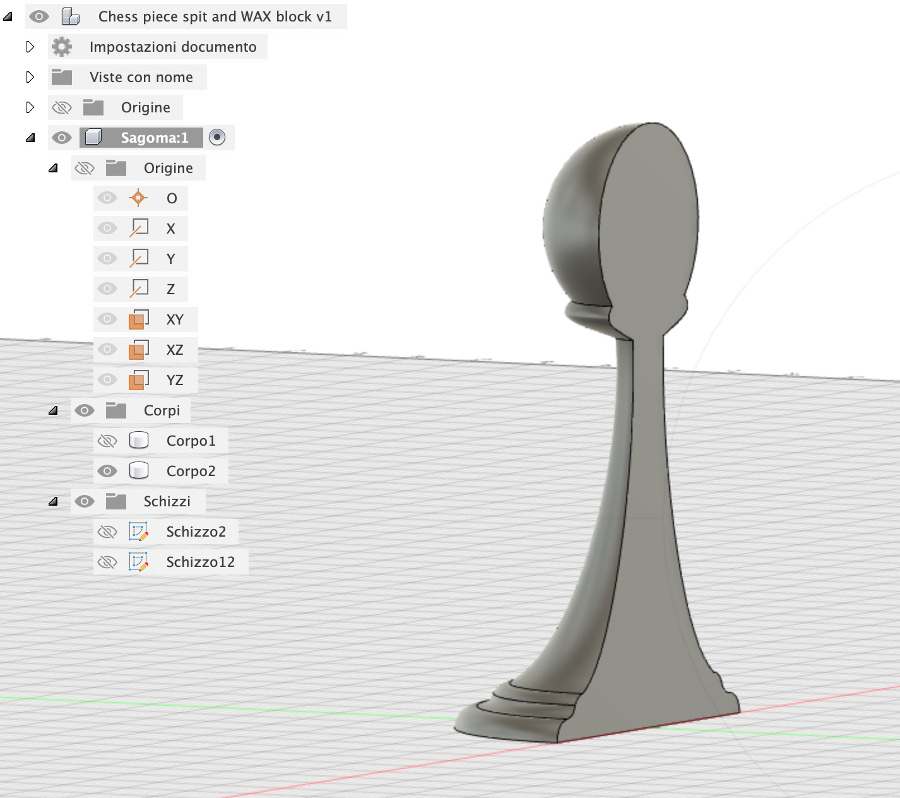
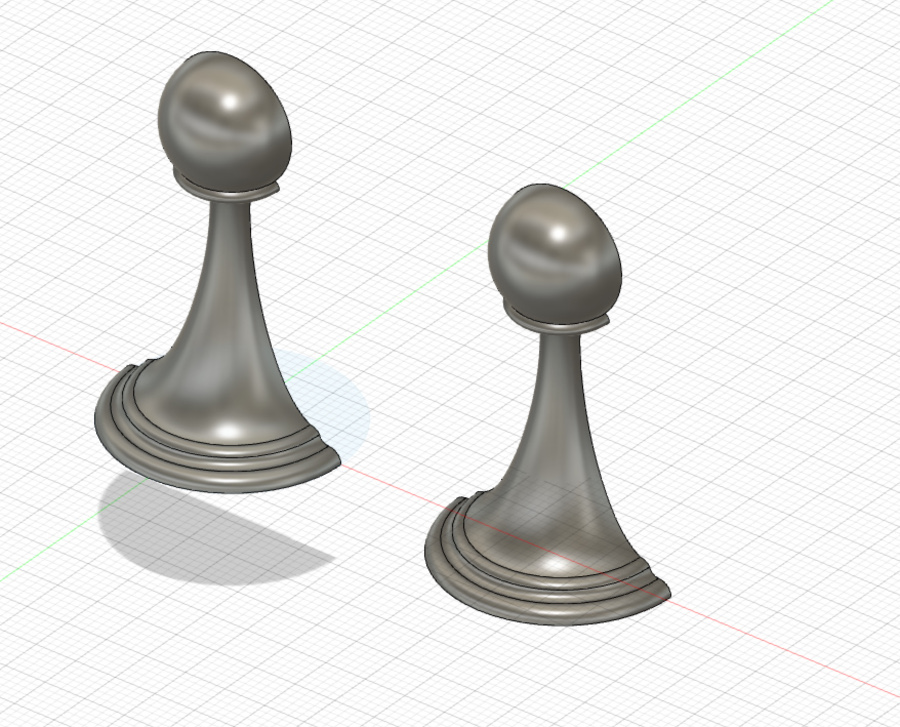
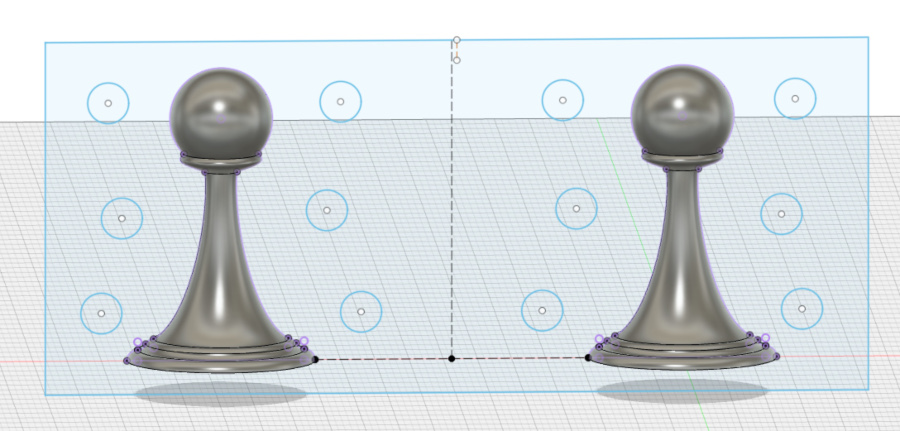
Move of the two halves next to each other in the position they will have in the mold
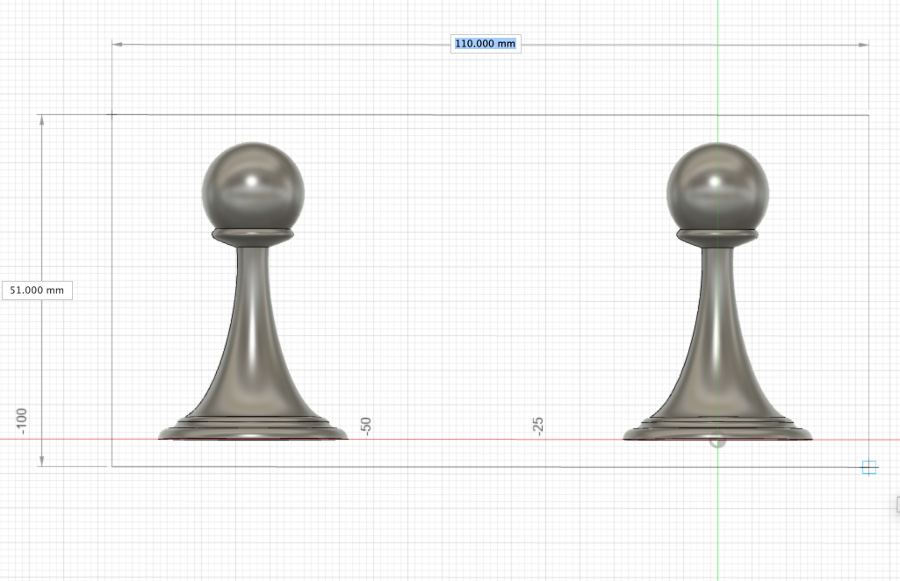
Creation of a rectangle sufficently big to contain the two half pieces:
Text for image 26
Text for image 27
Text for image 28
Text for image 29
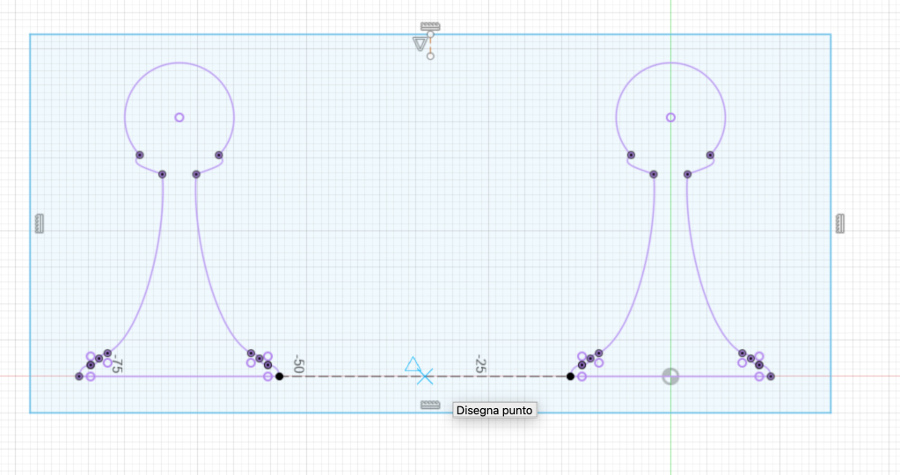
Creation of the median axis which will be useful for the next steps, in particular to precisely mirror the location rings to the other side of the mold.
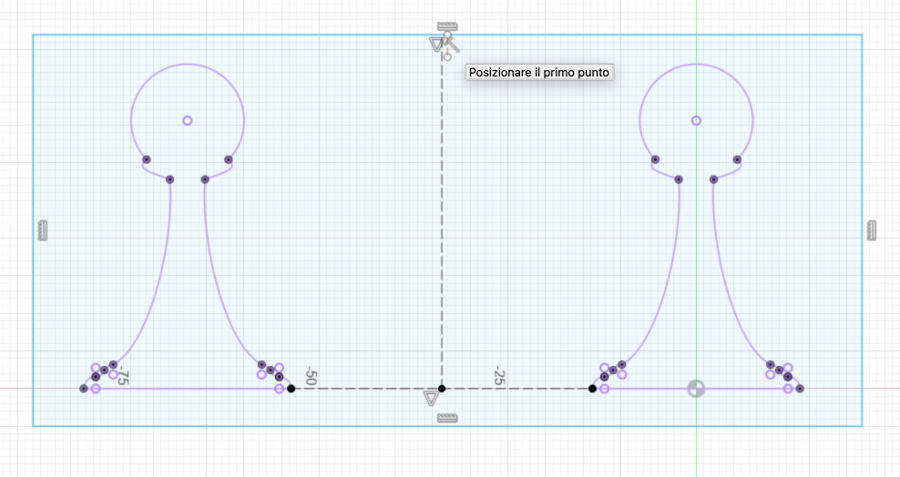
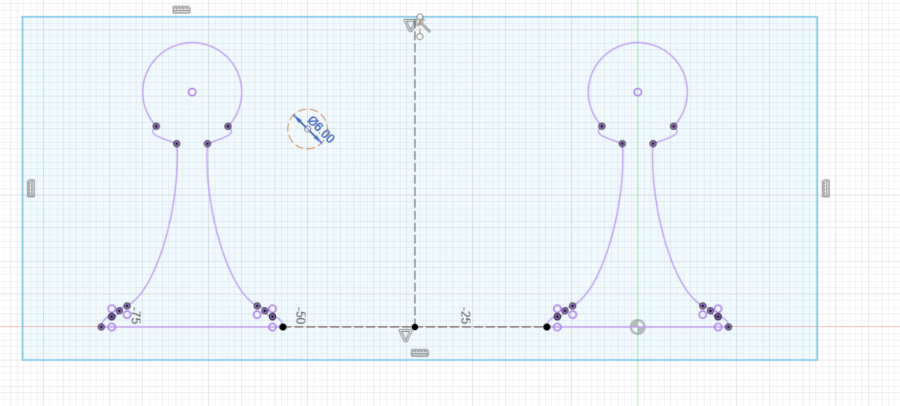
Creation of the first locating rings (6mm diameter). These location rings are used to ensure precise alignment and proper assembly of the mold.
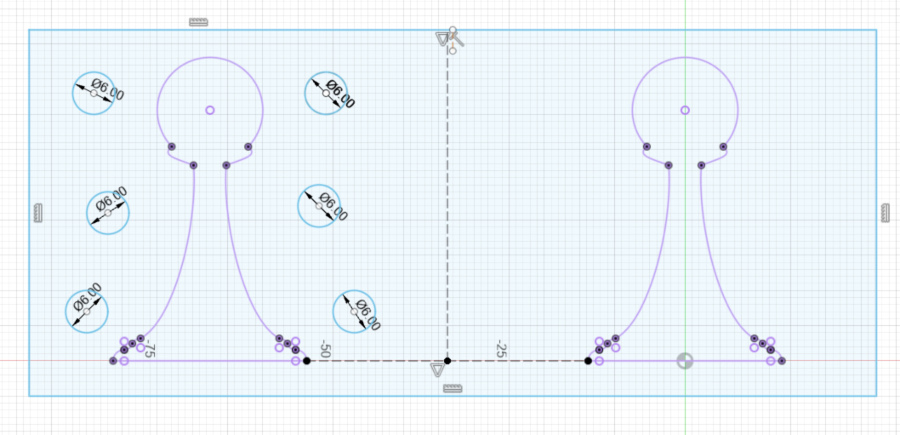
At completion of the creation of 6 location rings. I initially thought that 4 would be enough but opted for 6 to get super precise alignment:
Selection of all the locations rings created:
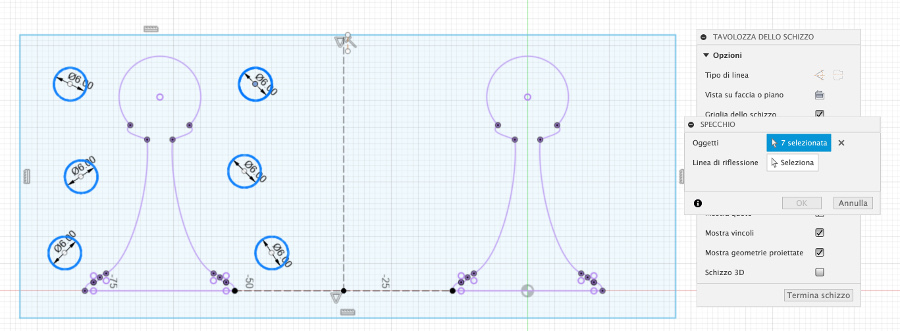
Selection of the reflection line:
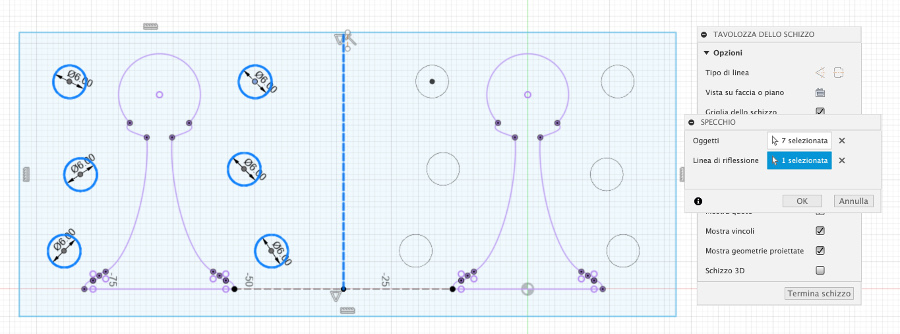
Mirroring of the 6 locations rings on the right part:
Text for image 38
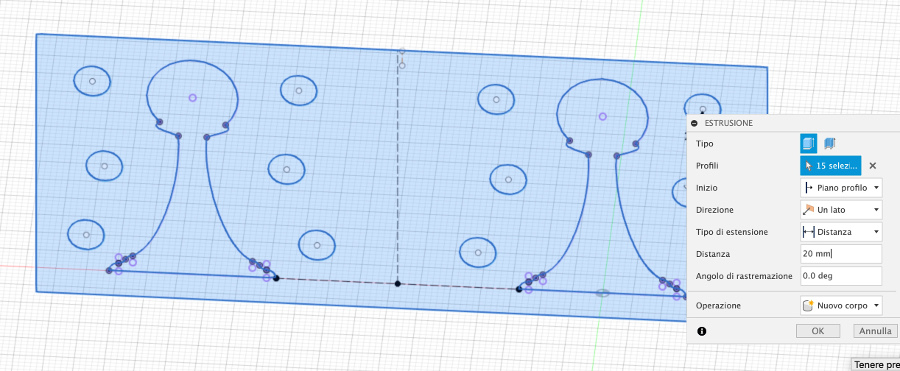
Extrusion of the 6 locations rings of the left side with a depth of 4 mms (distance parameter set to +4 mm)):
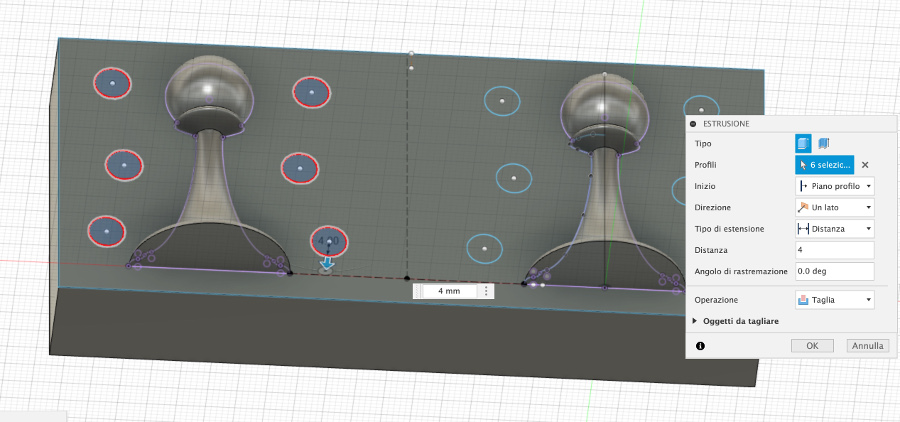
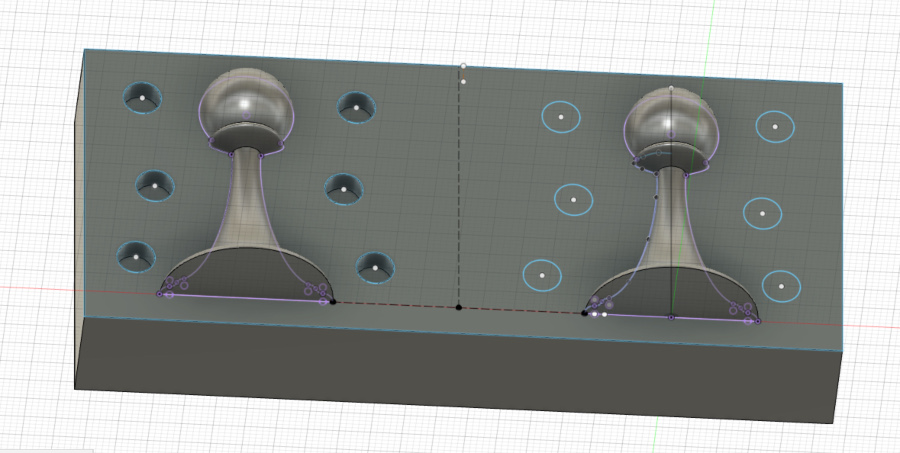
At completion of the extrusion:
Extrusion of the 6 locations rings of the right side with a height of 4 mms (distance parameter set to -4 mm):
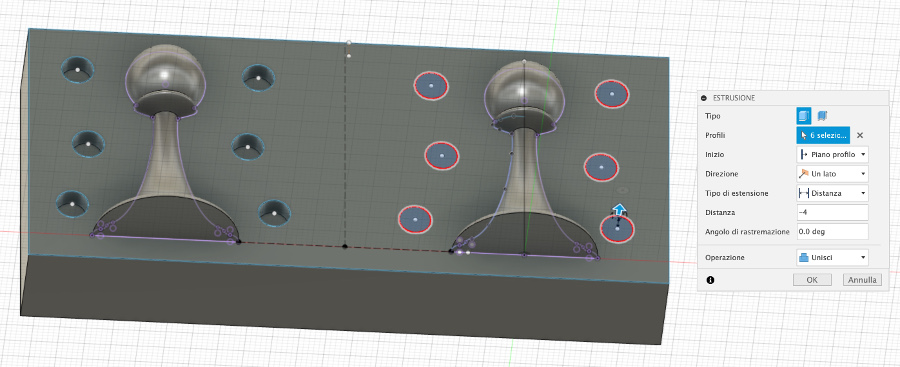
Overview of the 12 "locations rings" just created:

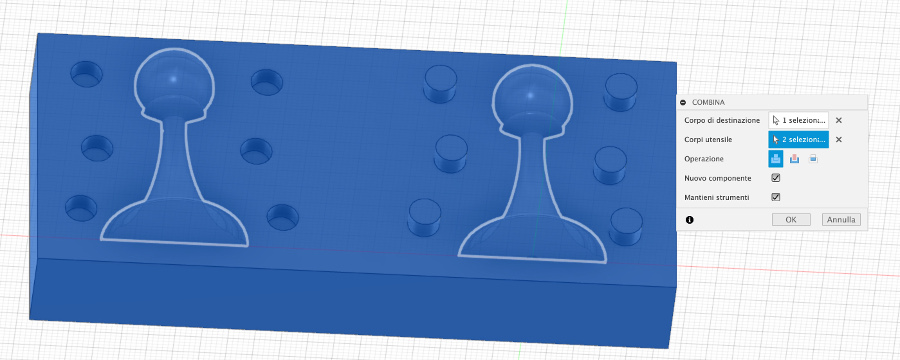
Aggregation of the two bodies into one:
Export of the combination in .STL format
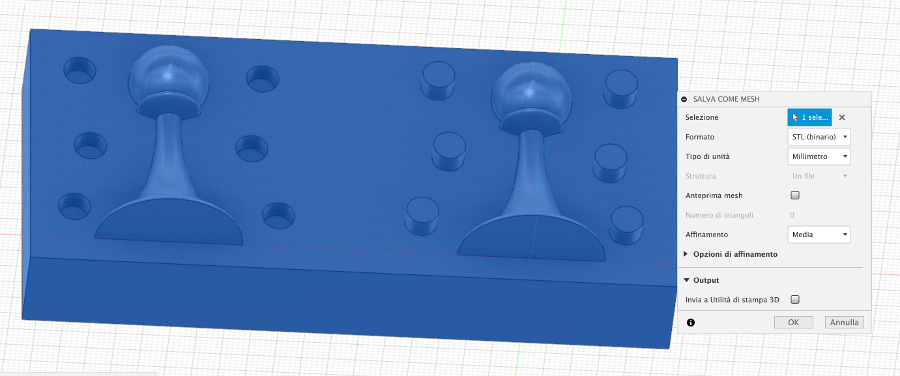
When finalized, The 3D model is exported in .STL format. STL file download
For the next operations, we use the Vectric Cut3D V1.025 available in the Santa Chiara Lab
This software allows us to setup all the tool path and create 2 files:
To create these two .rol files,he I went through 4 main steps using the Vectric Cut3D SW
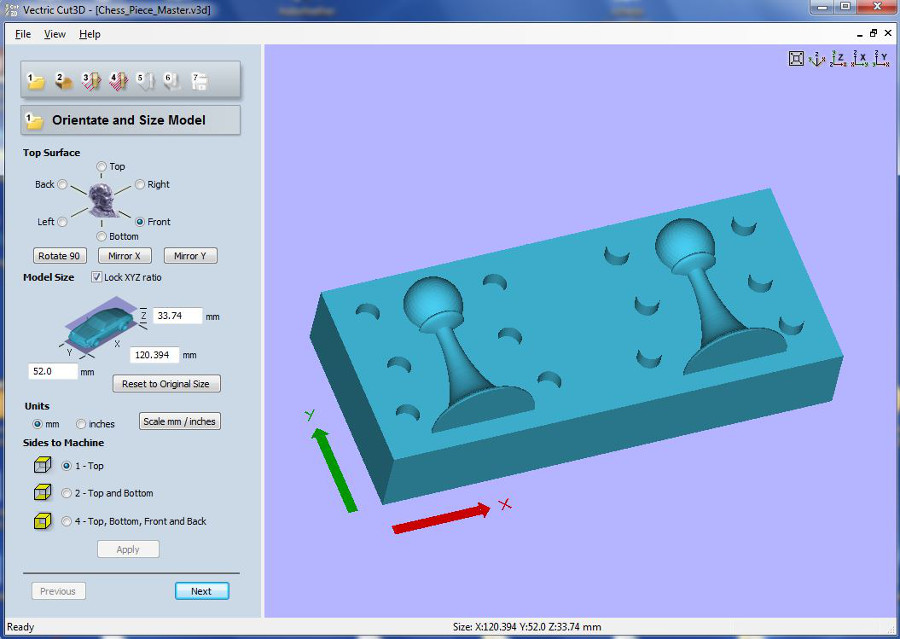
Step1: orientate and size model:
Set-up of the "top surface of te object", in this case the front.
Set-up of the size of the object.
Definition of the side of the object to machines, in this case the Top of the object.
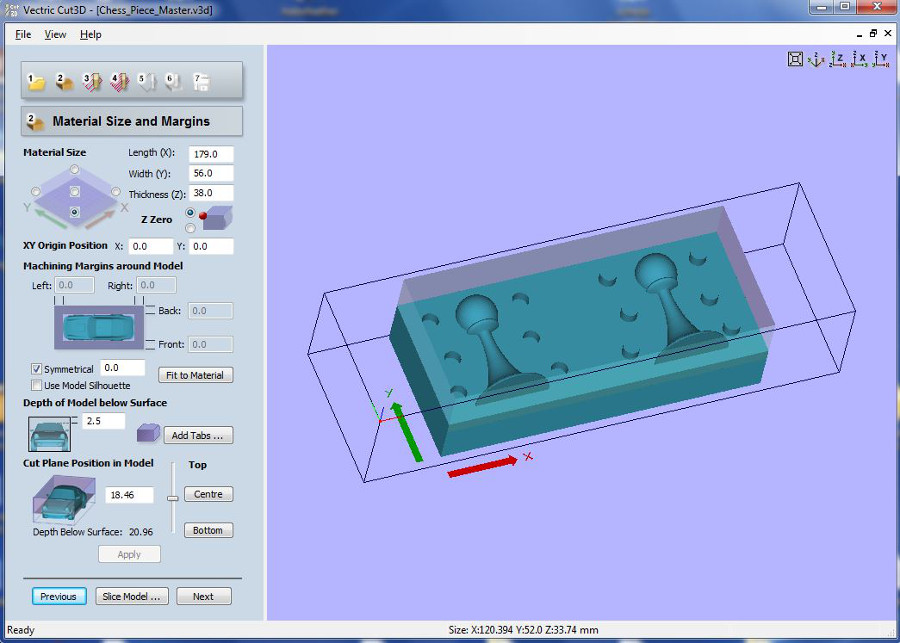
Step2: material size and margins:
Set-up of the precise dimensions of the block of wax that will be used to Mill the object.
Set-up of a critical parameter, the depth of model below surface. Should not be too tiny, in my case I have chosen 2,5 mm.
Set-up of the cut plane position in model: in my case the deepest point is consisting of the six holes.
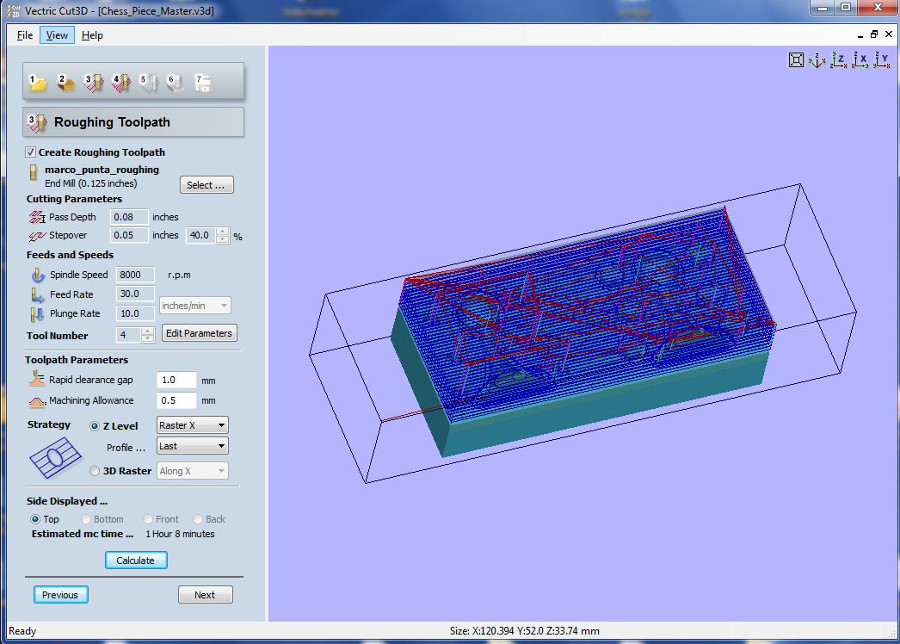
Step3: roughing toolpath
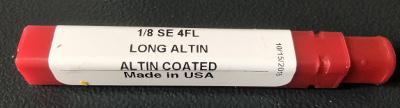
Selection of the End-mill
Below the end-mill at my disposal for the Roughing:
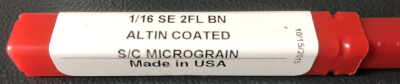
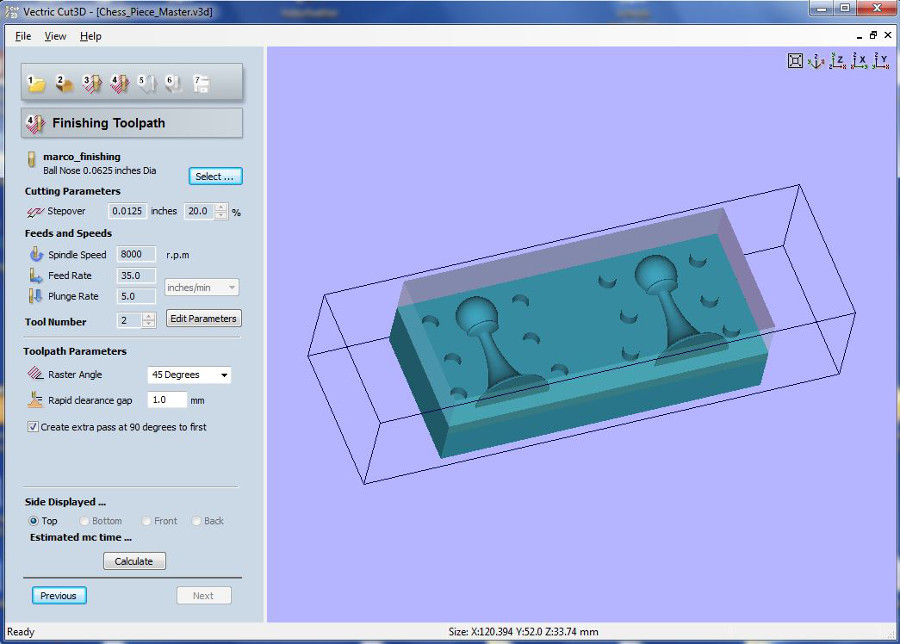
Step4: finishing toolpath
Text for image 53
Below the end-mill at my disposal for the finishig:
As soon as we completed the set-up, we were ready to launch the milling operation starting with the "roughing" phase.
Roughing phase:
Overbiew of the result at completion of the roughing step that required approximately 60 minutes:
Finishing phase:
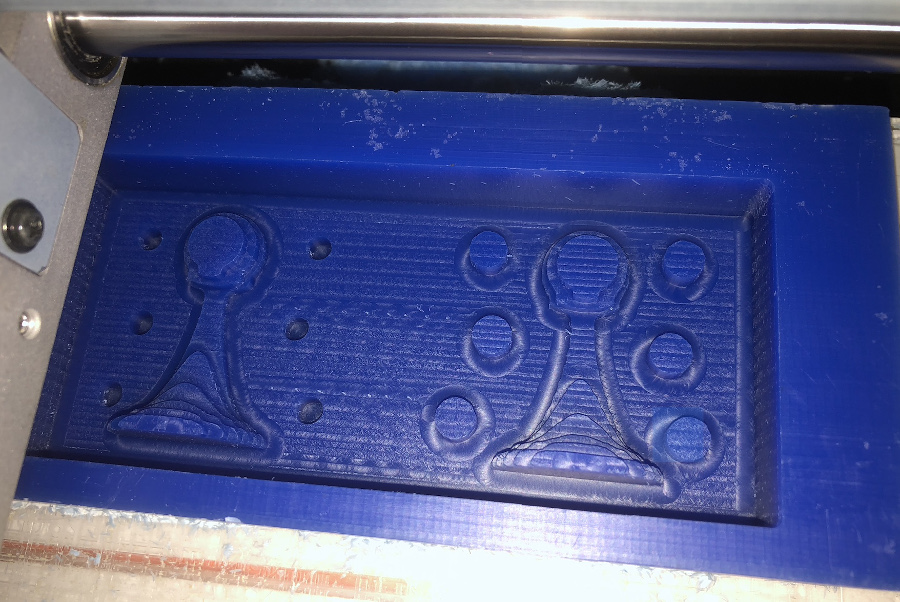
Overview of the block of wax at completion of the finishing step that required approximately 75 minutes (the wax dust is still to be removed)):
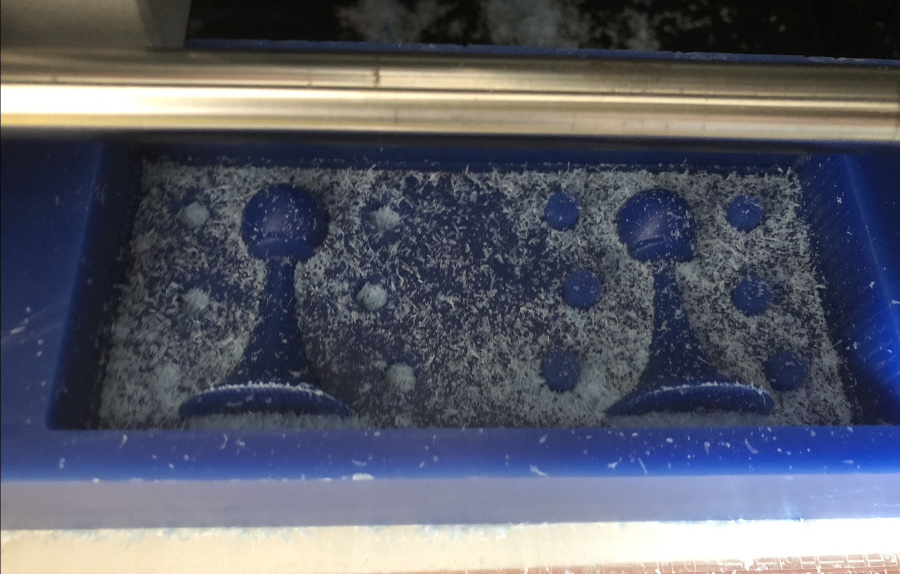
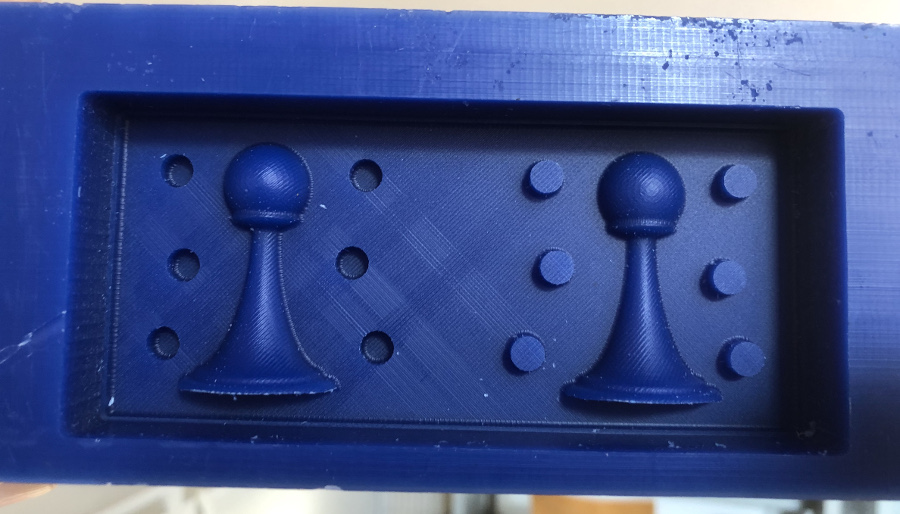
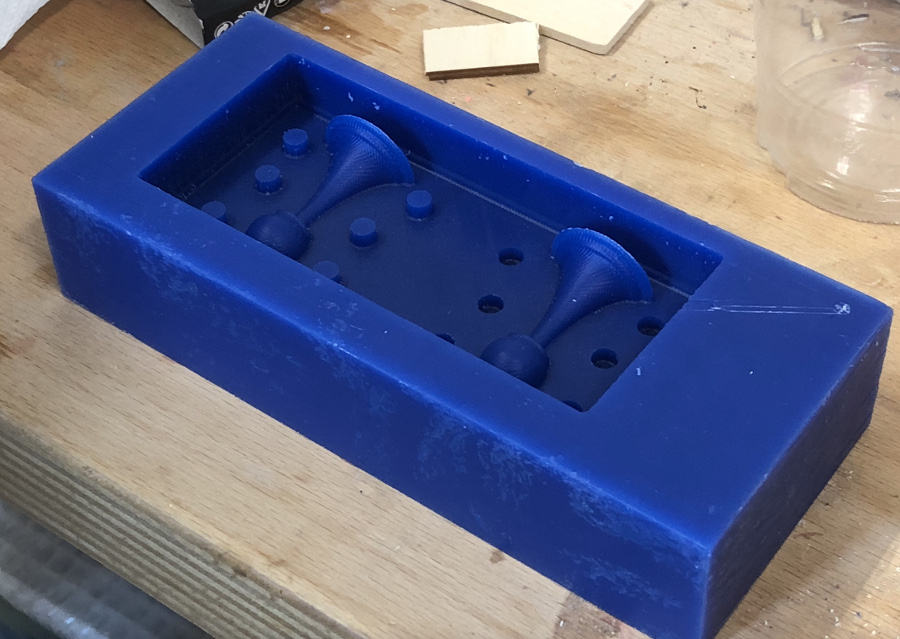
After removal of the dust of wax and clean-up:
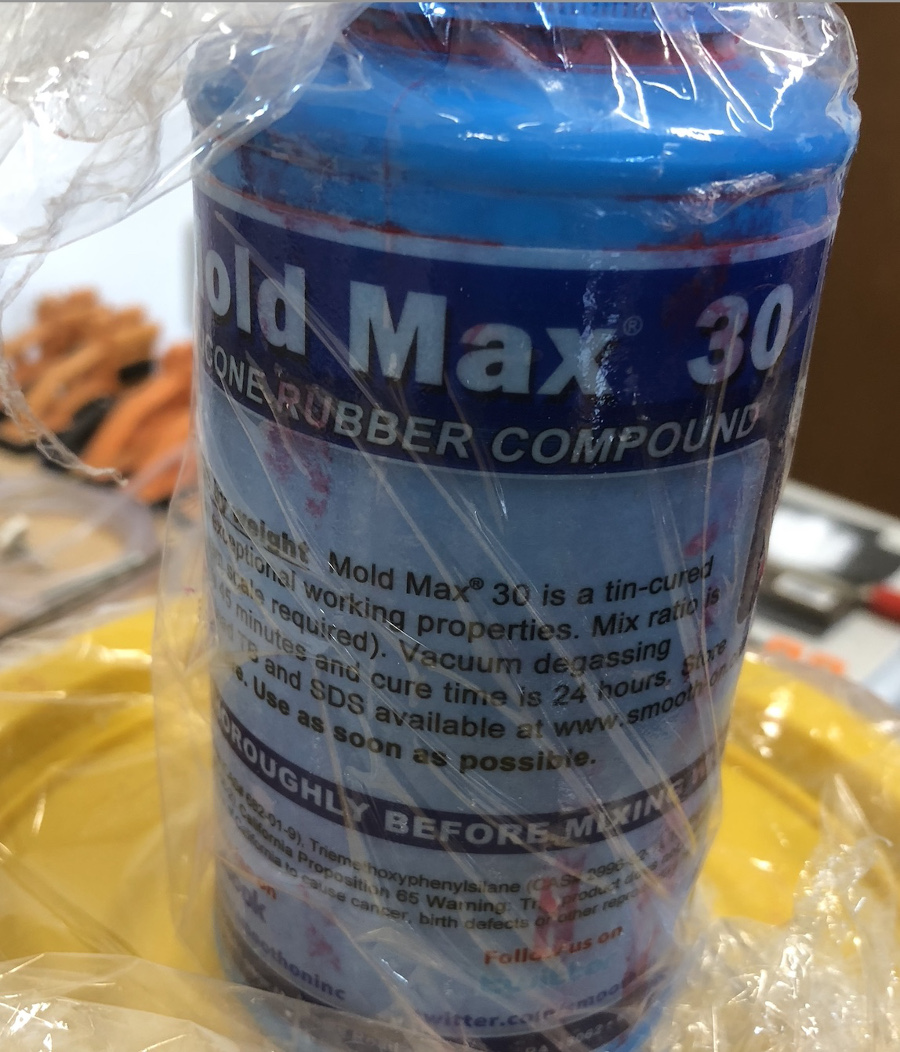
Overview of the silicon material used in the fablab: Mold Max '30 from Smooth-on company
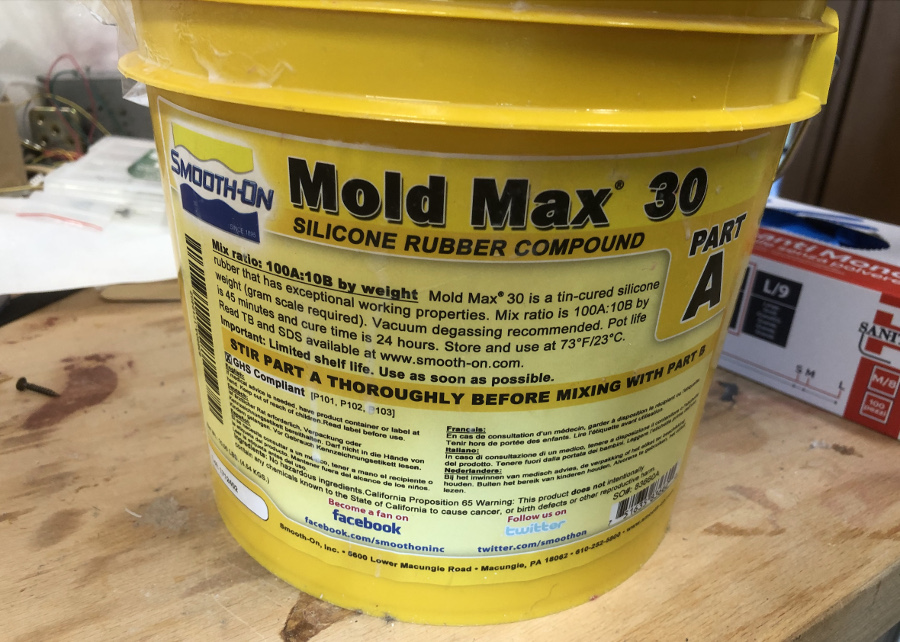 Technical details from the supplier
Safety datasheet can be found here
Technical details from the supplier
Safety datasheet can be found here
Text for image 57
 Safety datasheet can be found here
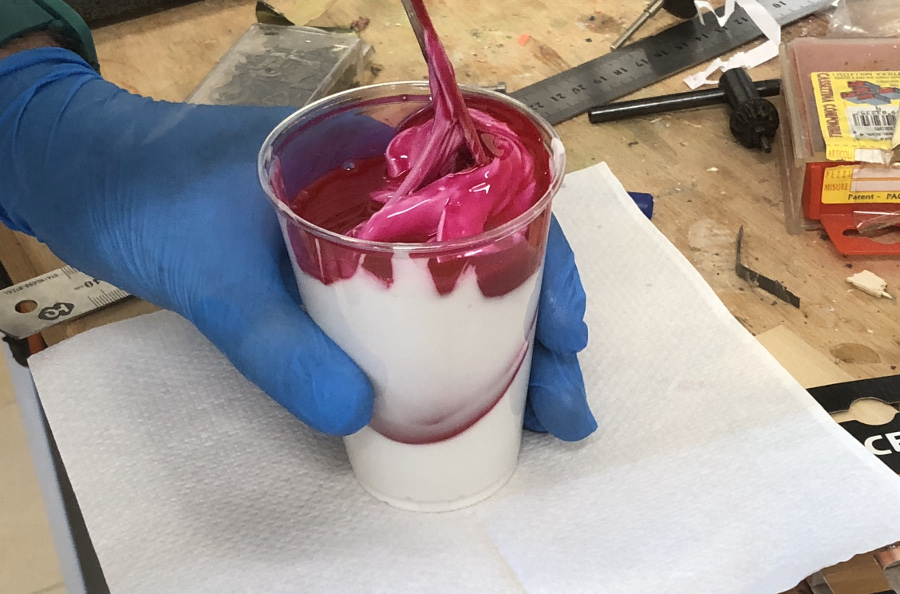
Plastic glass filled with 250 grams Silicon and 25 grams of XXX using
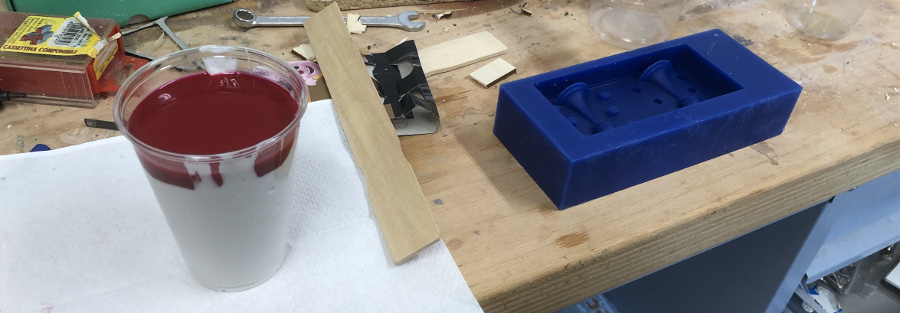
slowly stir the two components to obtain a homogeneous and bubble-free result:
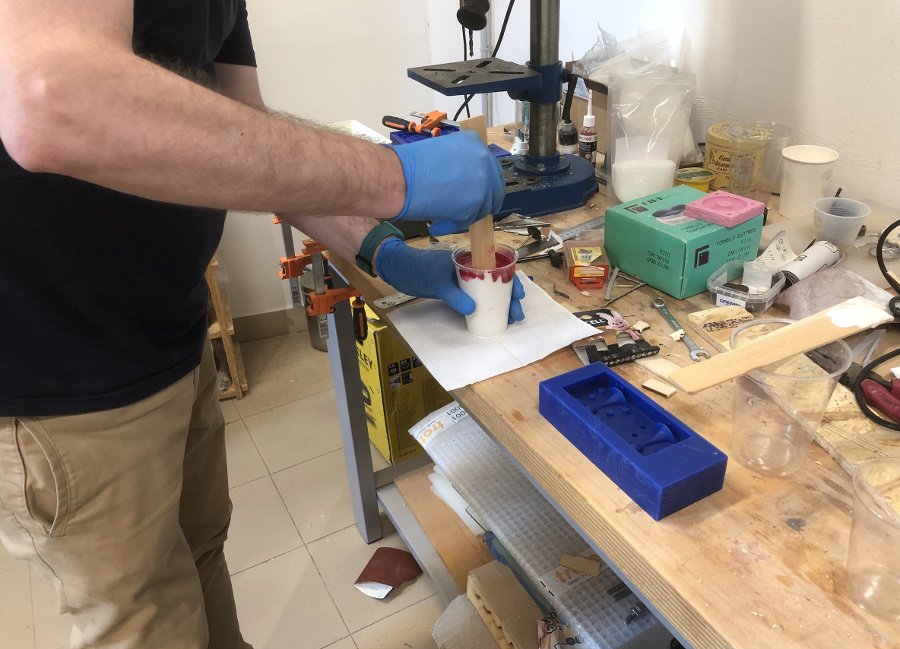
Zoom on the glass at the very beginnig of the stiring process:
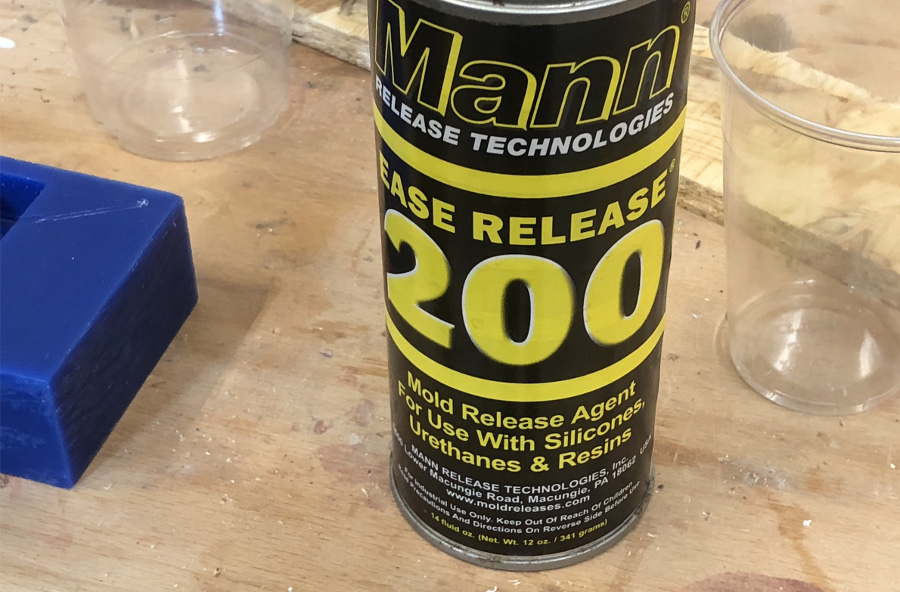
Application of a light coating of "Ease Release™ 200" before starting the molding activities.
 Safety datasheet can be fond here
Clean mold before the beginning of the molding operations:
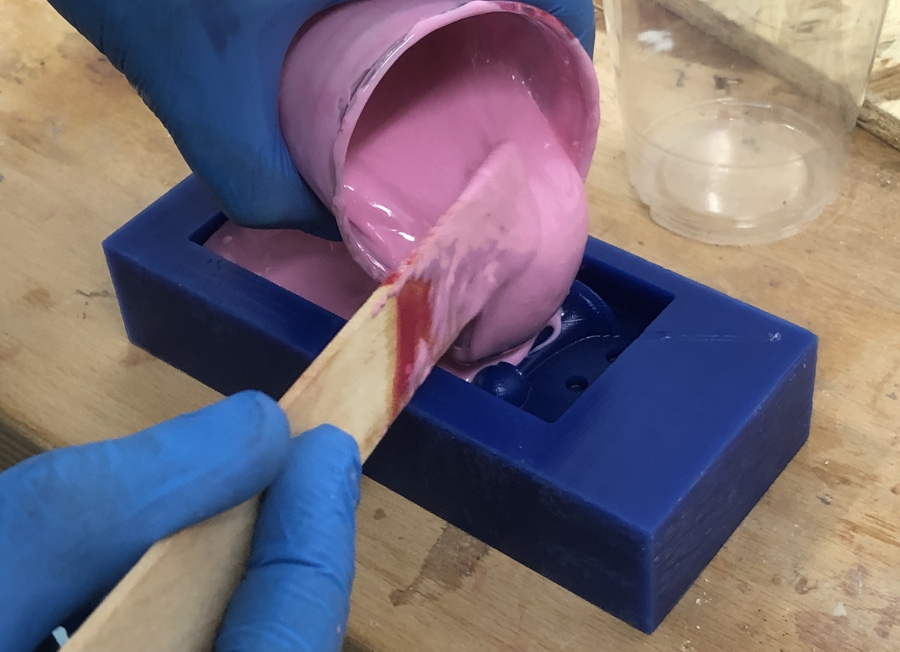
Start of the molding. Proceeding slowly to ensure proper filling of all parts.
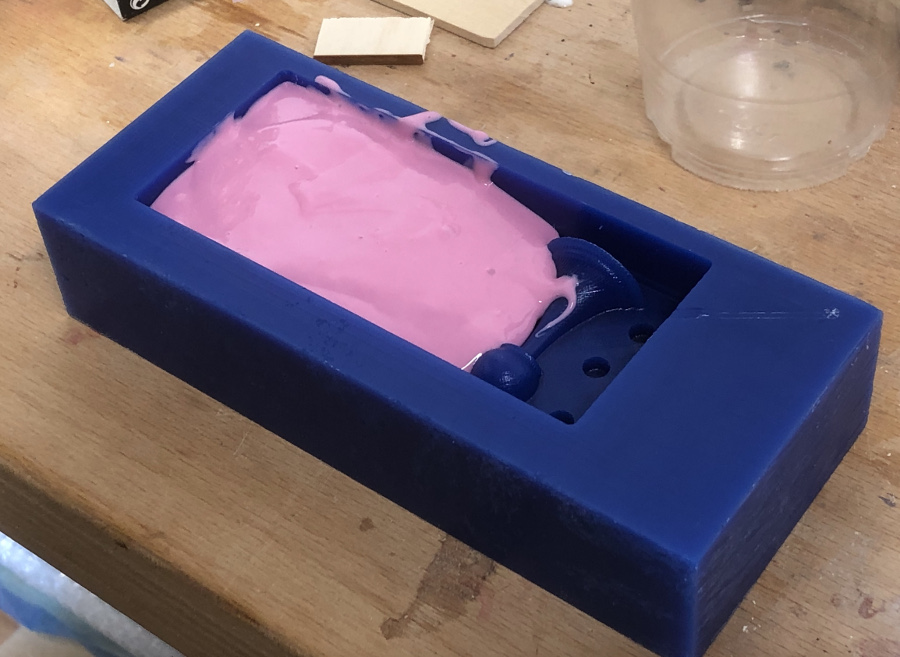
Molding in-progress:
Molding operations completed. After that I left everything drying during the week-end for 48 hours at room temperature.
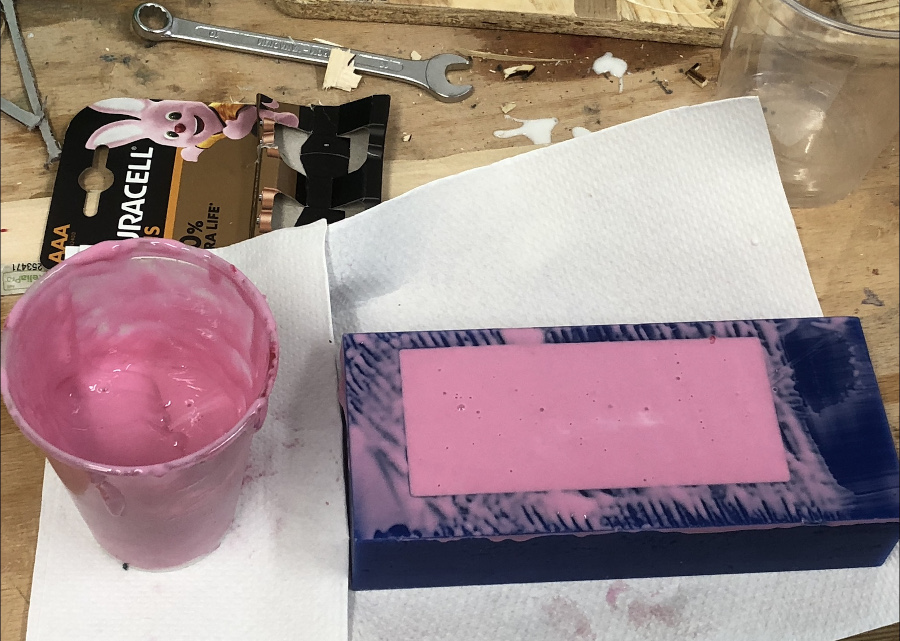
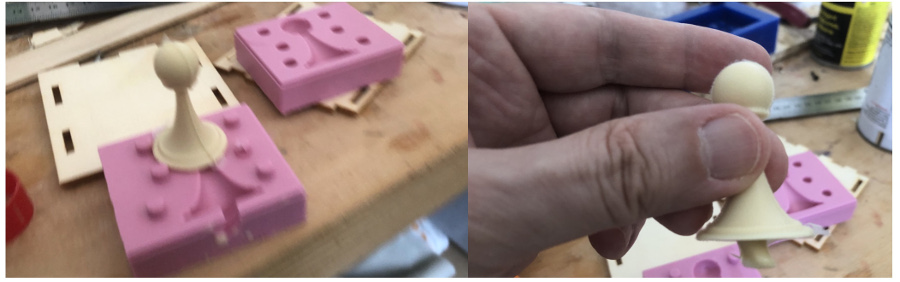
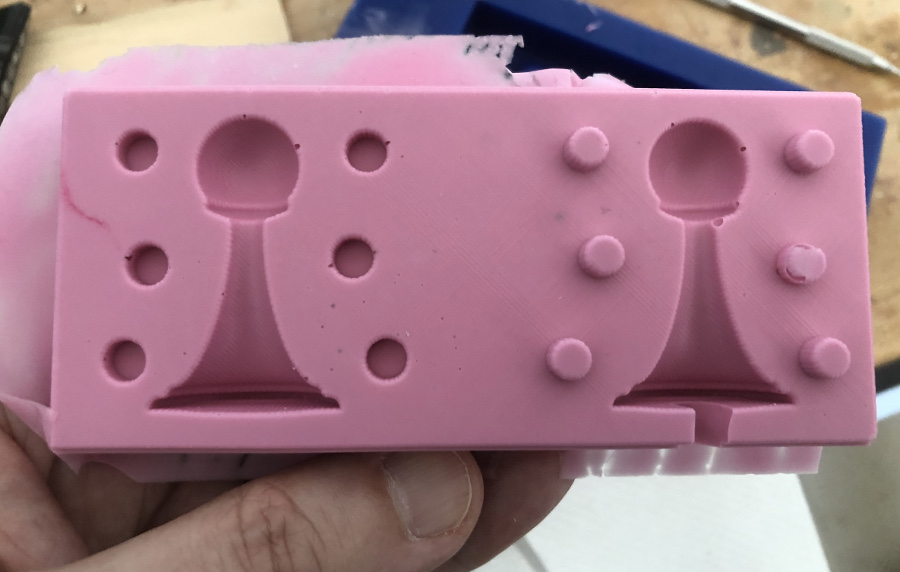
Result after demolding on Monday morning. Result is pretty clean and definitely usable for the next step.
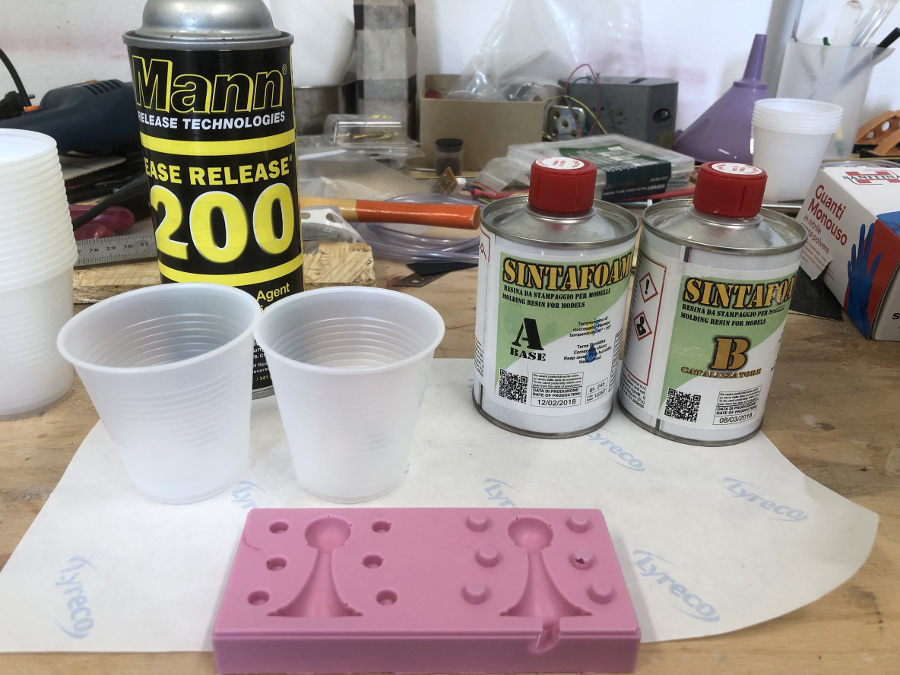
View of the elements necessary for the manufacture of the first pawn:
Sintafoam resin ,Technical details from the supplier
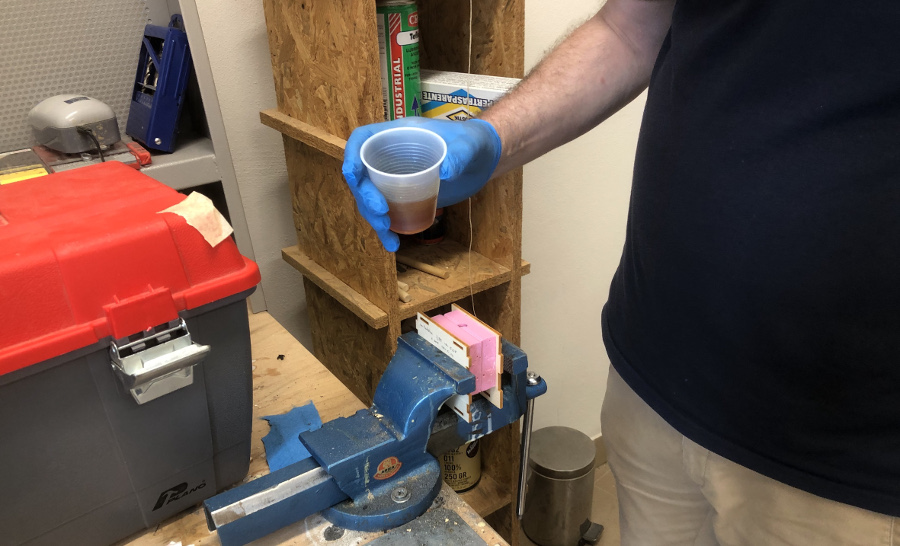
The two components A and B have been added in equal volume and stirred during approximately 20 seconds before pouring the mixture into the mold previously blocked in the vice.
According to the data sheet, 45 minutes should be enough but I preferred to wait a little longer.
Discovery of the result after an hour of waiting.
Unfortunately and despite attention, an air bubble remained in the head of the pawn (spherical part):
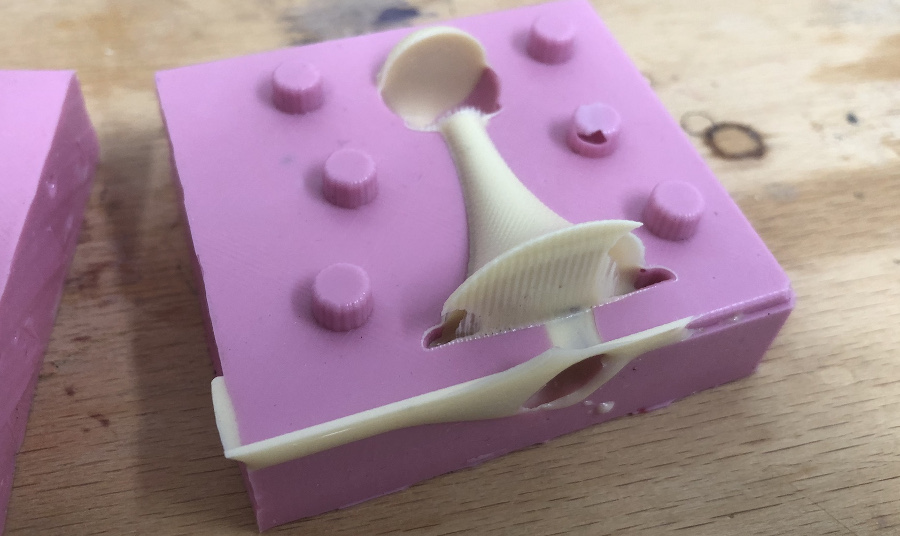
The unmolded chess pawn with defects due to air bubbles at the base and top of the object:
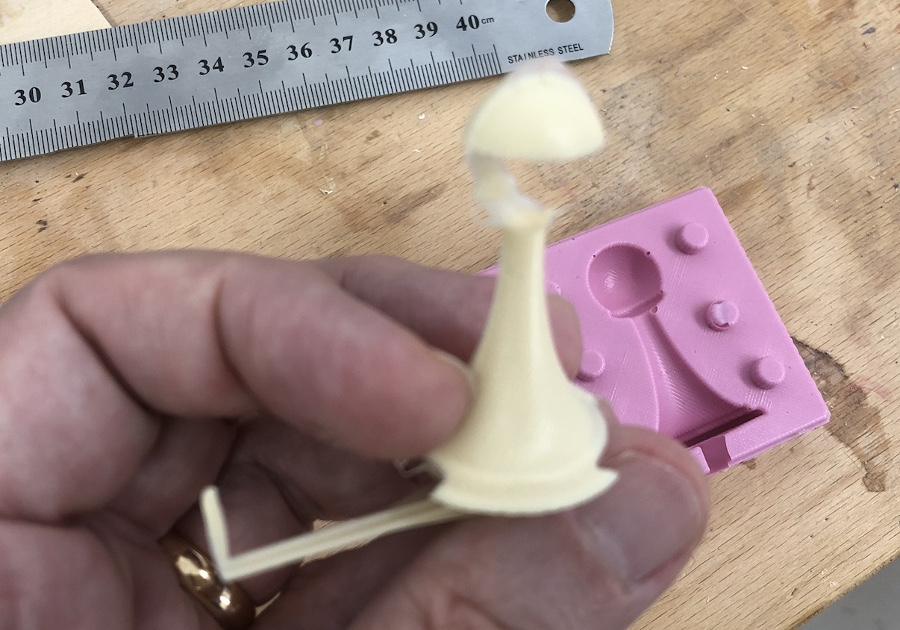
The same attempt under the same conditions was repeated a second time with the same unsuccessful result.
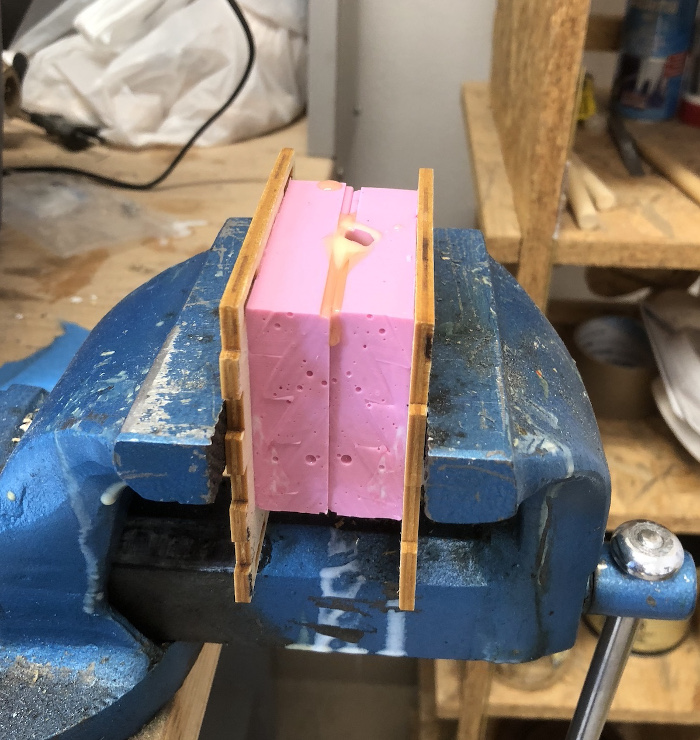
From there I changed approach and filled on one of the halves of the mold the spherical part before closing the mold for the complete filling.
The filling was done gradually with a quick pace considering the fast solidification process. After adding liquid, I agitated the mold for a few seconds and so on until completely filled.
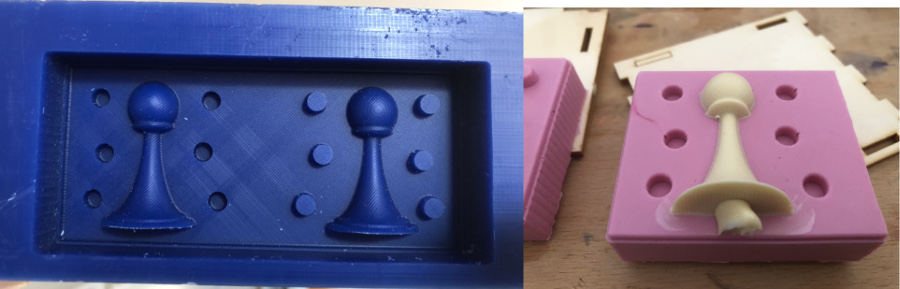
The new process brought great results as you can see from the picture below:
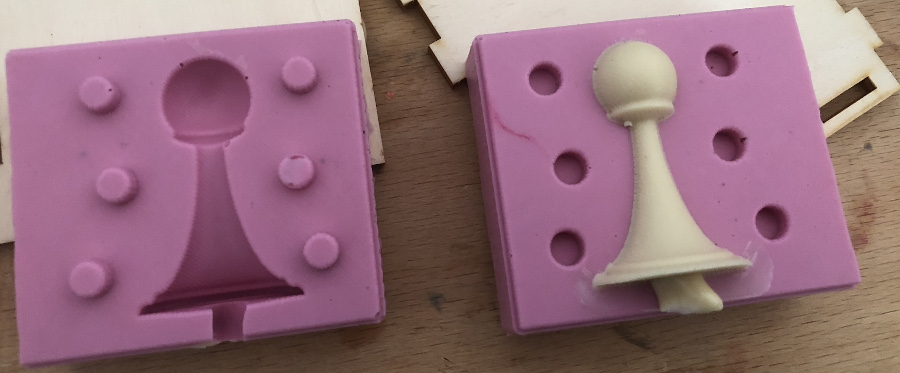
Overview of the pawn: