Week 05: 3D Scanning and printing
My key take-aways and notes of the session this week: 3D printing that is an additive process is a potential reducer of wastes There're known limitations in 3D printing: potential mechanical failures, the size of the feature to be printed, the finition of the surface can be an issue, the time to 3D print an object can be pretty long.
Most of the 3D printing have porous surface => favorish the creation of moisture on the surface of the objects => issue to store and maintain 3D printed objects over time. Solution: after 3D printing, consider using a filler (different materials option) to fill the voids.
Health and safety: 3D printing process is a releaser of chemicals and micro-particles. That's why it is very important to segregate the areas where the 3D printers are located.
Always keep into account the capabilities of your printer in the design phase of a new object. The set-up of the 3D printer is extremely important and ususally deeply impacts the result. In particular the distance between the printer's head and the bed surface. These parameters That have potential high impact on the quality of the object need to be controlled and eventually adjusted frequently. Other potential key aspect impacting quality: how the printed material sticks to the printing surface. To improve the situation, consider the opportunity to use glue or better options like a spray on the bed surface.
Overview of the materials that can be used for 3D Printing:
For more detials on the materials PROs and CONs, check the links below.
Assignments
Group assignment
Test the design rules for the 3D printers we have at our disposal in Siena's lab.
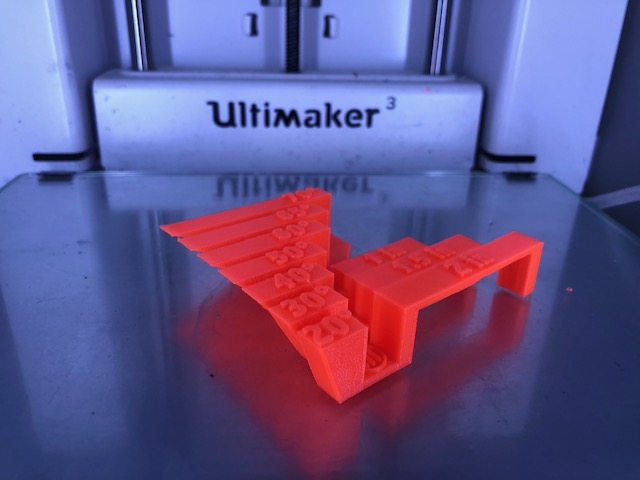
As part of this group Aassignment, We did some 3D printing experiment in the Siena lab using the Ultimaker 3 (see result below).
Hands-on activities: I have performed a qualibration of the printer (Ultimaker V1) under the supervision of my tutor.
Individual assignment #1:
Design and 3D print an object (small, few cm3, limited by printer time) that could not be made substractively. For this assignment, I have been using Fusion 360 on a Mac OS platform. I have decided to create a water clock object. Firstly, I created a new sketch that was the shape of half of the water clock.
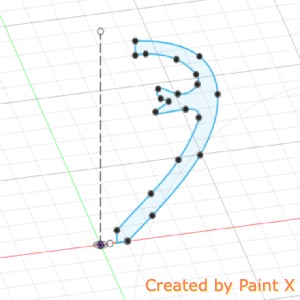
As soon as this shape got created, I used the "revolution fonction to create half of the water clock". Then I used the "mirror" function of Fusion 360 to create the second half of the water clock.
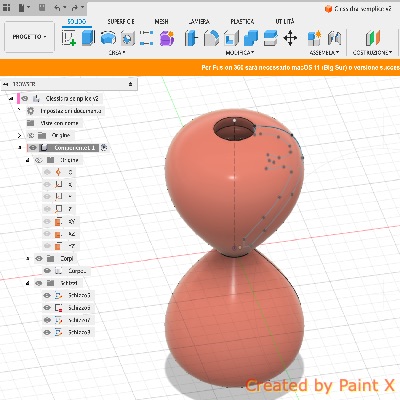
before being ready to print the 3D object, I have used Ultimaker Cura SW to create the slicing. Tips and tricks: I had issues using latest version of Cura(C) on Mac OS Catalina and had to downgrade to Cura(C) V 5.1.0 I have exported my water clock project in .obj format from Fusion 360(C) and imported this file into Cura SW.
After completion of the Slicing process, I had a check of the slices of the object from top to bottom.
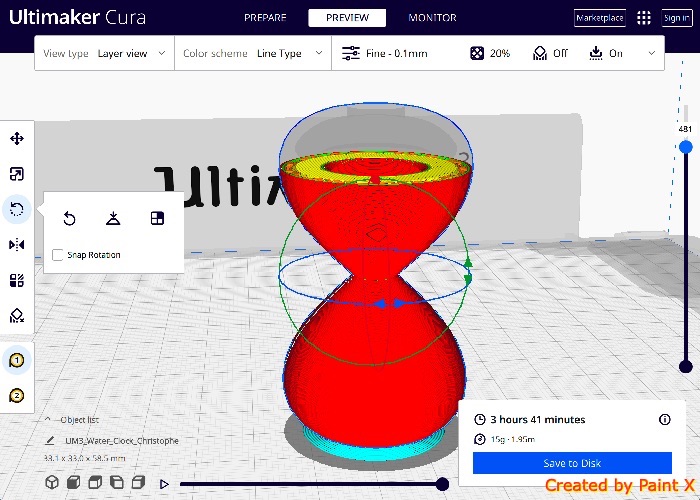
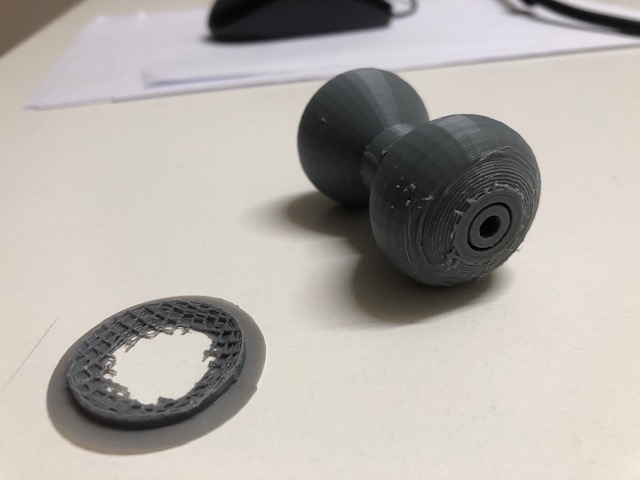
Below the result of the 3D print of the water clock. The object has been printed using an Ultimaker 3.
Individual assignment #2:
3D scan an object (and optionally print it)
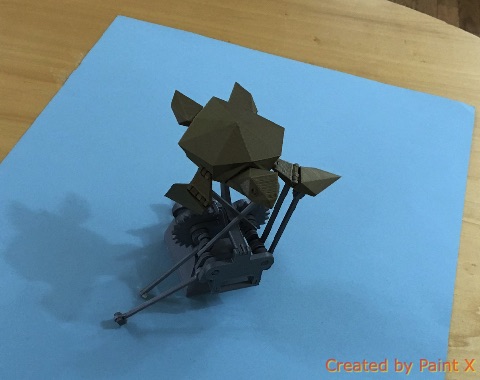
First attempt with a "Turtle machine" object
Since the photos were created using an iPad, the first step consisted in converting the .HEIC format to .JPEG.
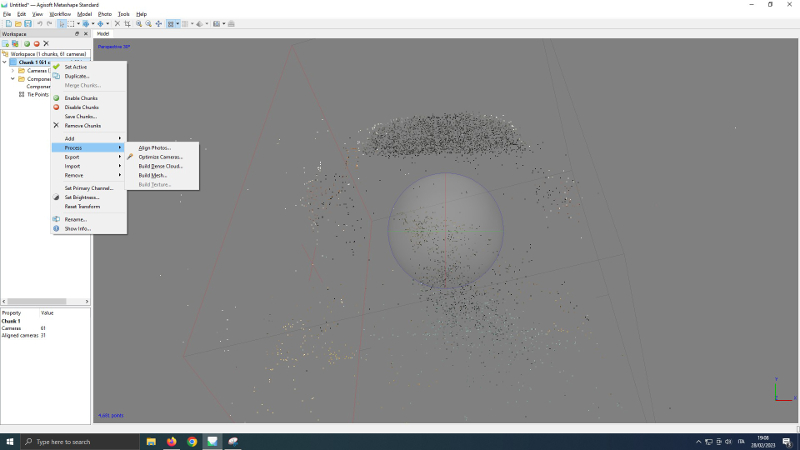
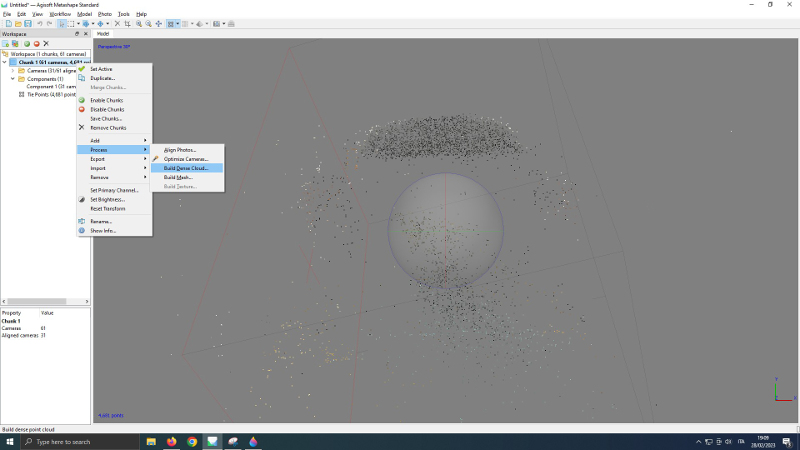
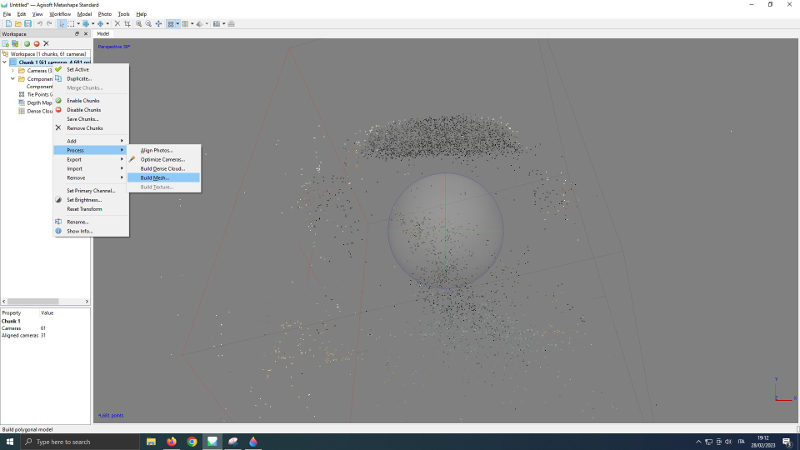
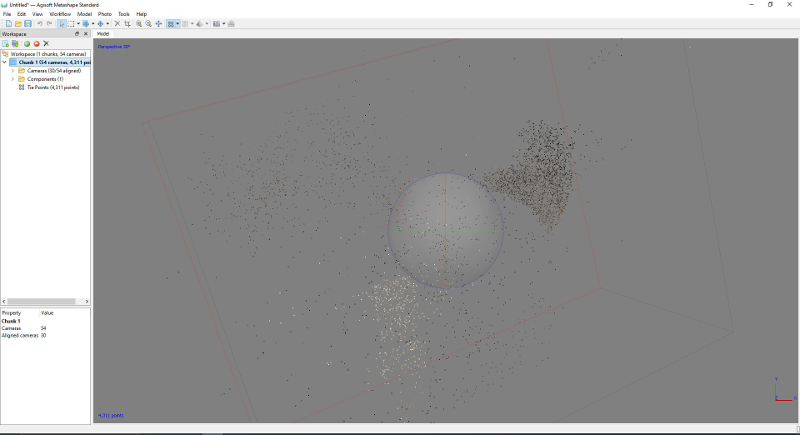
After that, the .JPEG liberary was imported into the Agisoft Metashape SW tool available in the Siena Lab
To create the 3D model, we went through the following steps:
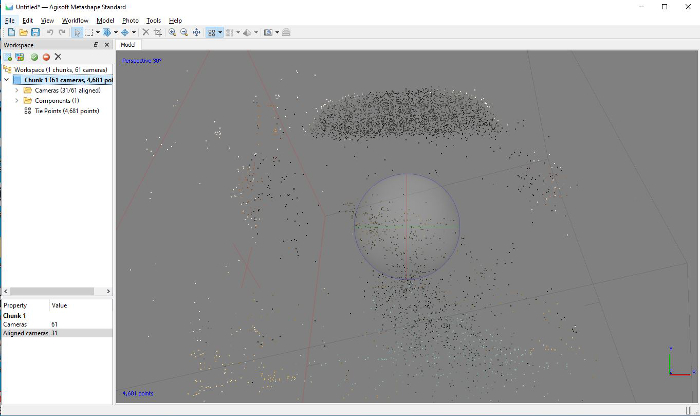
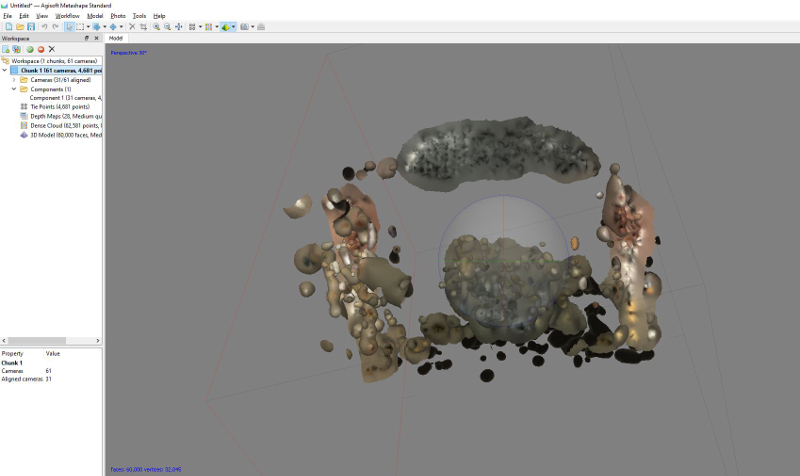
The 3D model created from the Turtle is pretty much disapointing. One of the reasons for this failure could be the light and shadows since photos were taken at 9 pm
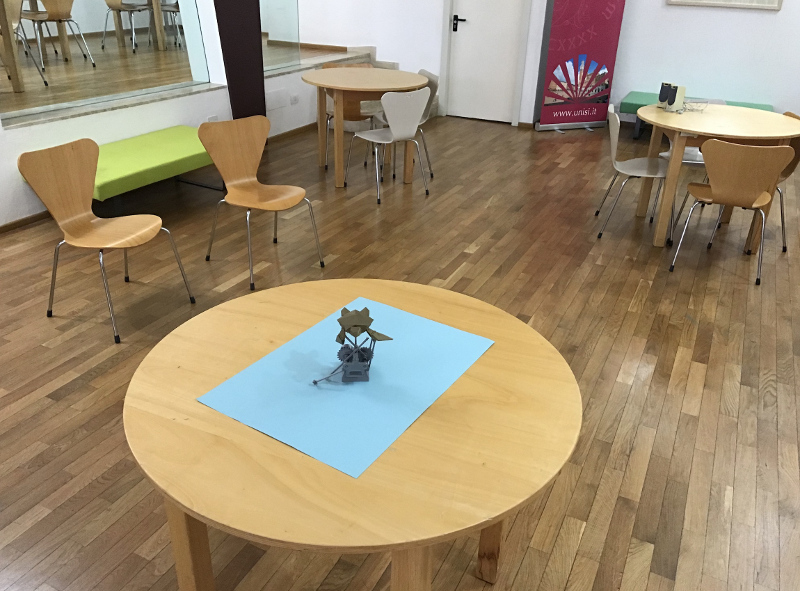
Overview of the ambient were the photos were taken:
Second attempt with a remote controler
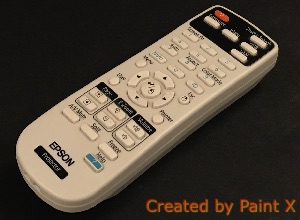
Same steps as described above have been followed to create the 3D model of the remote controler
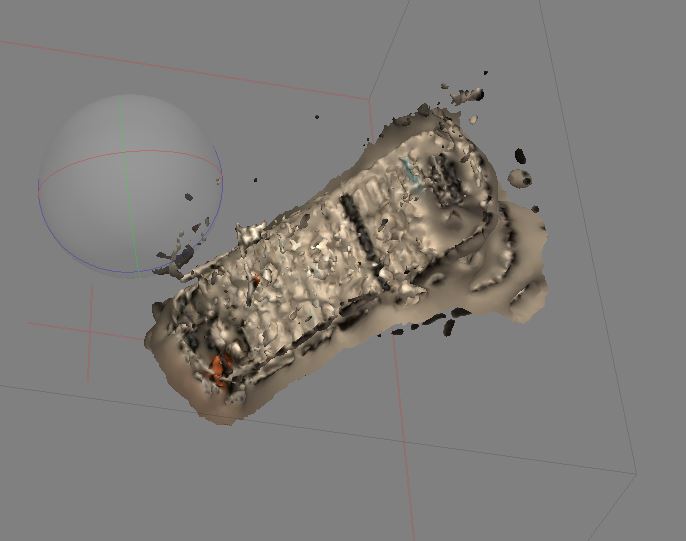
The result a definitely far from being good but we can recognize the remote controler with the buttons and the shape of the object.