1.Group Assignment.
. compare as many tool options as possible
You can access Group Assignment in details here
2.Individual Assignment.
.write an application that interfaces a user with an input &/or output device that you made
In This week 14 of interface and application programming became also another difficult week because it was my first time to study about interface but it was not that much because of some knowlegde I had before about some Programming languages,For This I learnt many types of user interfaces and made research of different programming languages was really a week of coding though many programs doesn't work but later alone I got the one to be used in this week.
Firstly,Let me first highlight the meaning of the key points that used in this week.
User Interface: is the point of human-computer interaction and communication in a device. This can include display screens, keyboards, a mouse and the appearance of a desktop. It is also the way through which a user interacts with an application or a website.
Application Program:An application program is a comprehensive, self-contained program that performs a particular function directly for the user. Among many others, application programs include:Email,Web browsers,Graphics software and others.
Programming languages:A programming language is an artificial language that can be used to control the behaviour of a machine, particularly a computer. Programming languages, like human languages, are defined through the use of syntactic and semantic rules, to determine structure and meaning respectively.
In this week of Interface and Application Programming,I have first used Blynk to display the interface but the time of compiling the codes in Arduino IDE it failed many times and I changed to the Library for GUI in Python called Tkinter which worked As I was thinking it,And I linked Python with serial monitor in Arduino and Then After reading Distance from Ultrasonic Sensor then it's displayed on the intreface(Tkinter).
Below are steps I followed While displaying on Tkinter interface.
I used input Device which ultrasonic Sensor and I displayed the readings on the interface.

I used my board with ESP 32 as MCU, it's the one I used in Week 9,In Week it's composed of the steps I followed While designing The board.

And I used Arduino IDE and Python with Tkinter Library.
Below Are the steps I followed.
I have connected the Board with the componets (Ultrasonic sensor and Programmer)
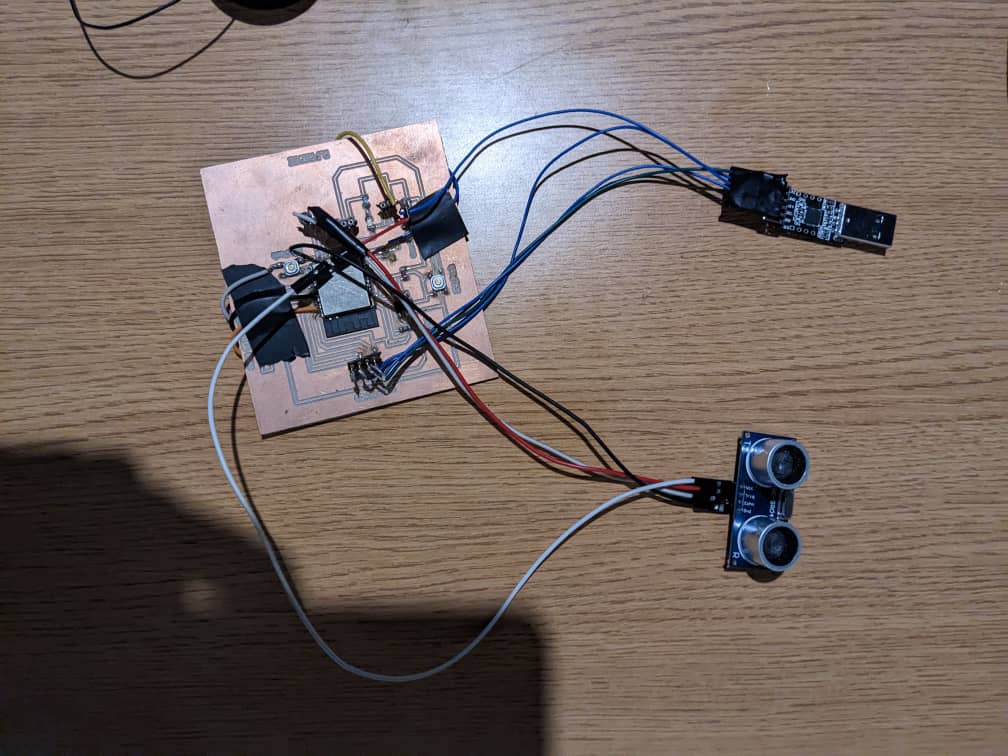
After Connecting all the components,then I plug the on Serial port of the computer.

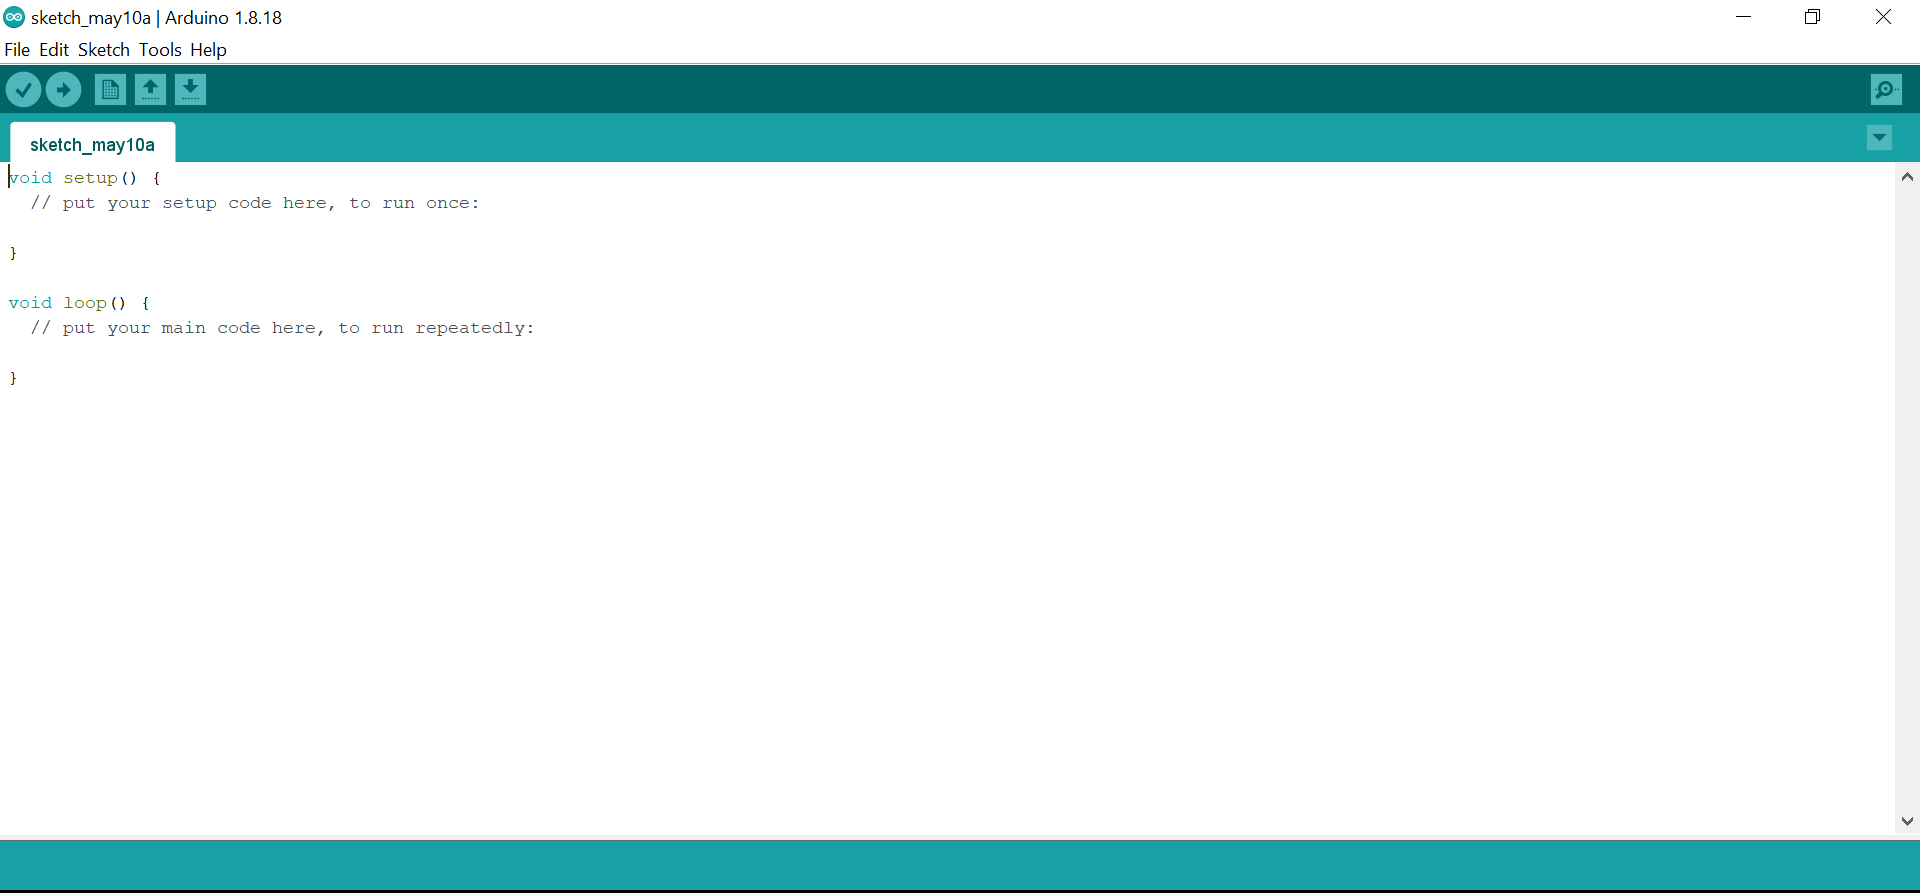
After connectecting to the computer, Then i open Arduino IDE and Typed the codes for ultrasonic Sensor and I selected the board and The Port where Data are Passing through.
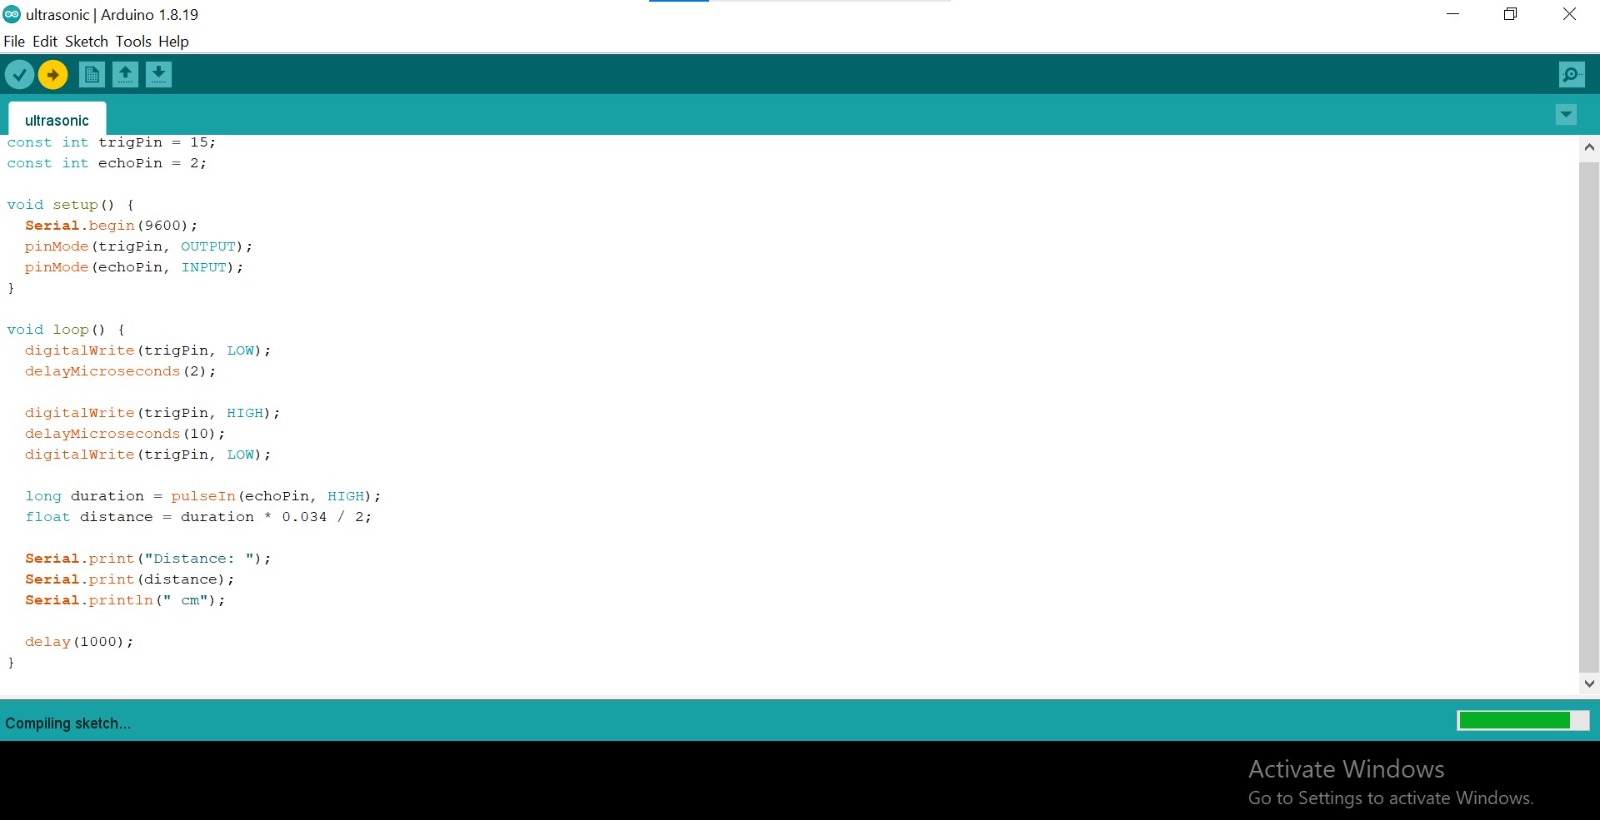
Below are the codes I used to run my ultrasonic sensor and display it on Serial monitor.
    const int trigPin = 15;
const int echoPin = 2;

void setup() {
  Serial.begin(9600);
  pinMode(trigPin, OUTPUT);
  pinMode(echoPin, INPUT);
}

void loop() {
  digitalWrite(trigPin, LOW);
  delayMicroseconds(2);

  digitalWrite(trigPin, HIGH);
  delayMicroseconds(10);
  digitalWrite(trigPin, LOW);

  long duration = pulseIn(echoPin, HIGH);
  float distance = duration * 0.034 / 2;

  Serial.print("Distance: ");
  Serial.print(distance);
  Serial.println(" cm");

  delay(1000);
}
Reading the distance on the serial monitor in Arduino IDE as the distance from obstacle Varies.

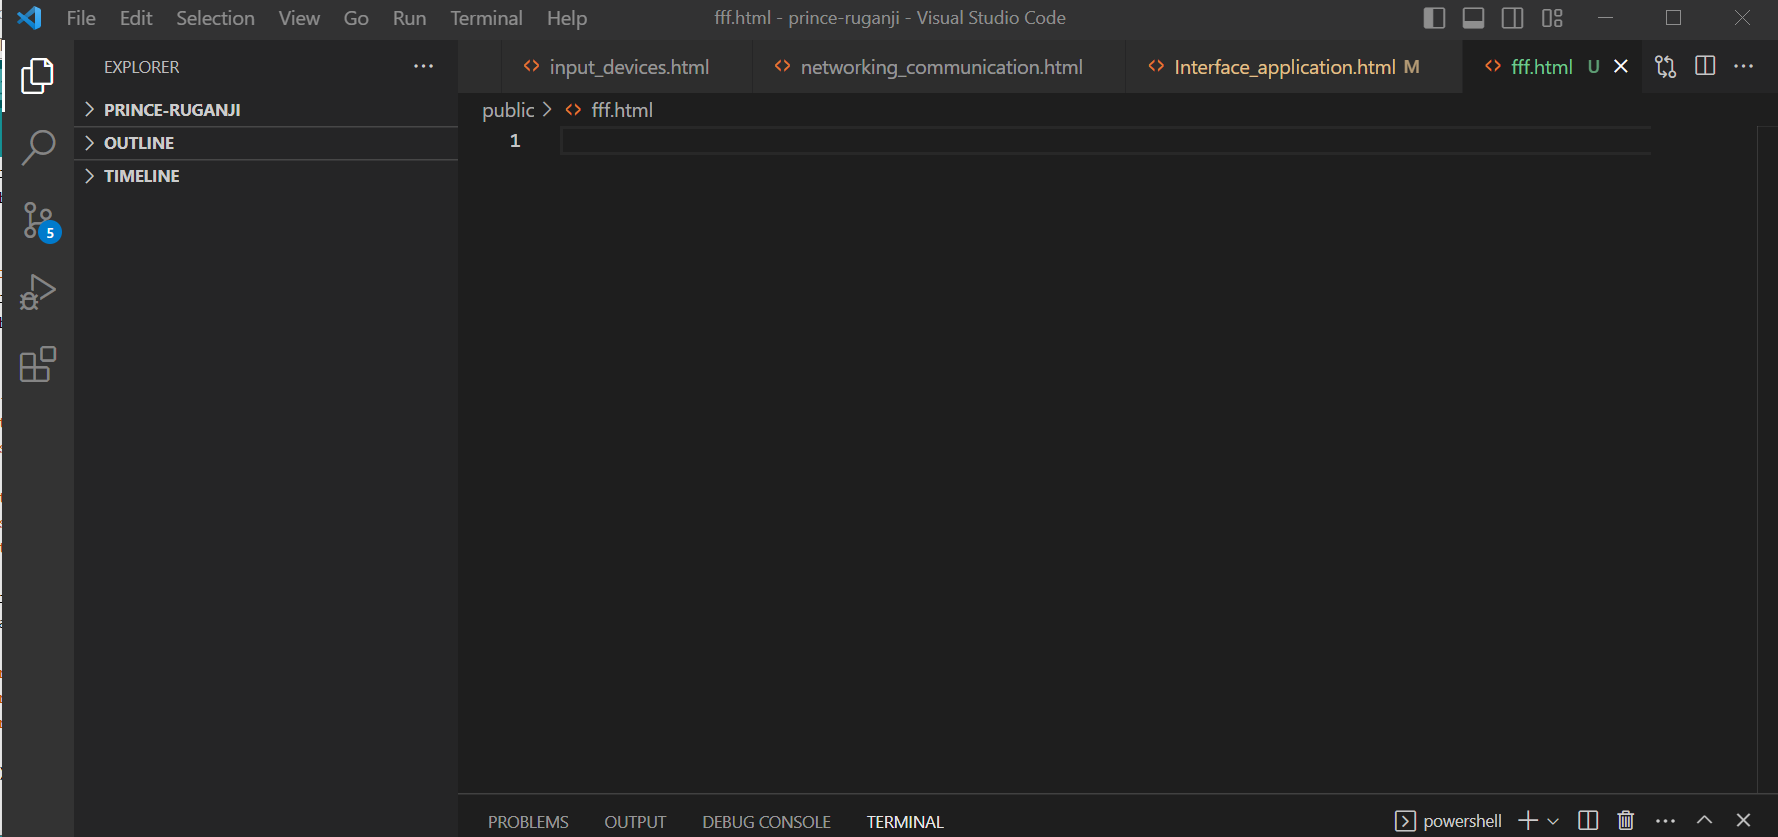
After it successfully reads the distance, the next thing is to open Visual studio and run the Python Codes with The library if Tkinter.
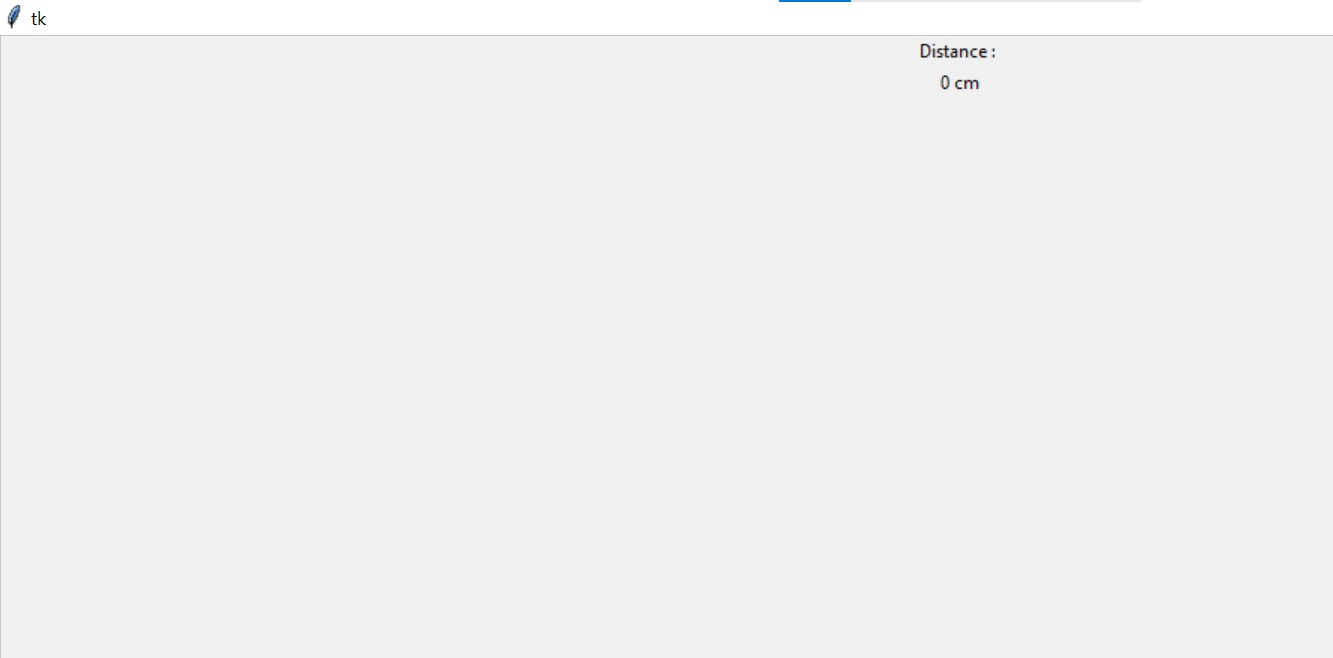
Below are the Python codes that I used.
    import serial
import tkinter as tk

ser = serial.Serial('COM7', 9600) # Change 'COM3' to the serial port of your ESP32

root = tk.Tk()

distance_label = tk.Label(root, text="Distance : ")
distance_value = tk.Label(root, text="0 cm")

distance_label.pack()
distance_value.pack()

def update_distance():
    if ser.in_waiting > 0:
        distance = ser.readline().decode().strip()
        distance_value.config(text=distance)

    root.after(100, update_distance)

update_distance()
root.mainloop()

After writing the codes that links the Arduino and Python and display it on the interface,Then I runed it with"python app.py" in new terminal, Because i have already included the library of Tkinter, Then it already display the interface.
Then to start measuring I had to click on the EN(Reset) button on my board.
Below is the hello shot while working.