Wildcard Week
Assignment to be done:
Design and produce something with a digital fabrication process (incorporating computer-aided design and manufacturing) not covered in another assignment, documenting the requirements that your assignment meets, and including everything necessary to reproduce it. Possibilities include but are not limited to.
This week, I chose to design a model probably attempting to design a log with solidworks that will be done by embroidery machine.
I just designed a simple model with words/text(including my name NYIRIGIRA into the middle) hoping to have the basic skills of using embroidery machine as it is my first time to use it.
The follwing are the steps I went through when designing with solidworks and then import it into Wilcom ES V9 to refine it as the software uses by the machine to the final product to be printed on my T-shirt:
CAD Design


Adding the text on the model
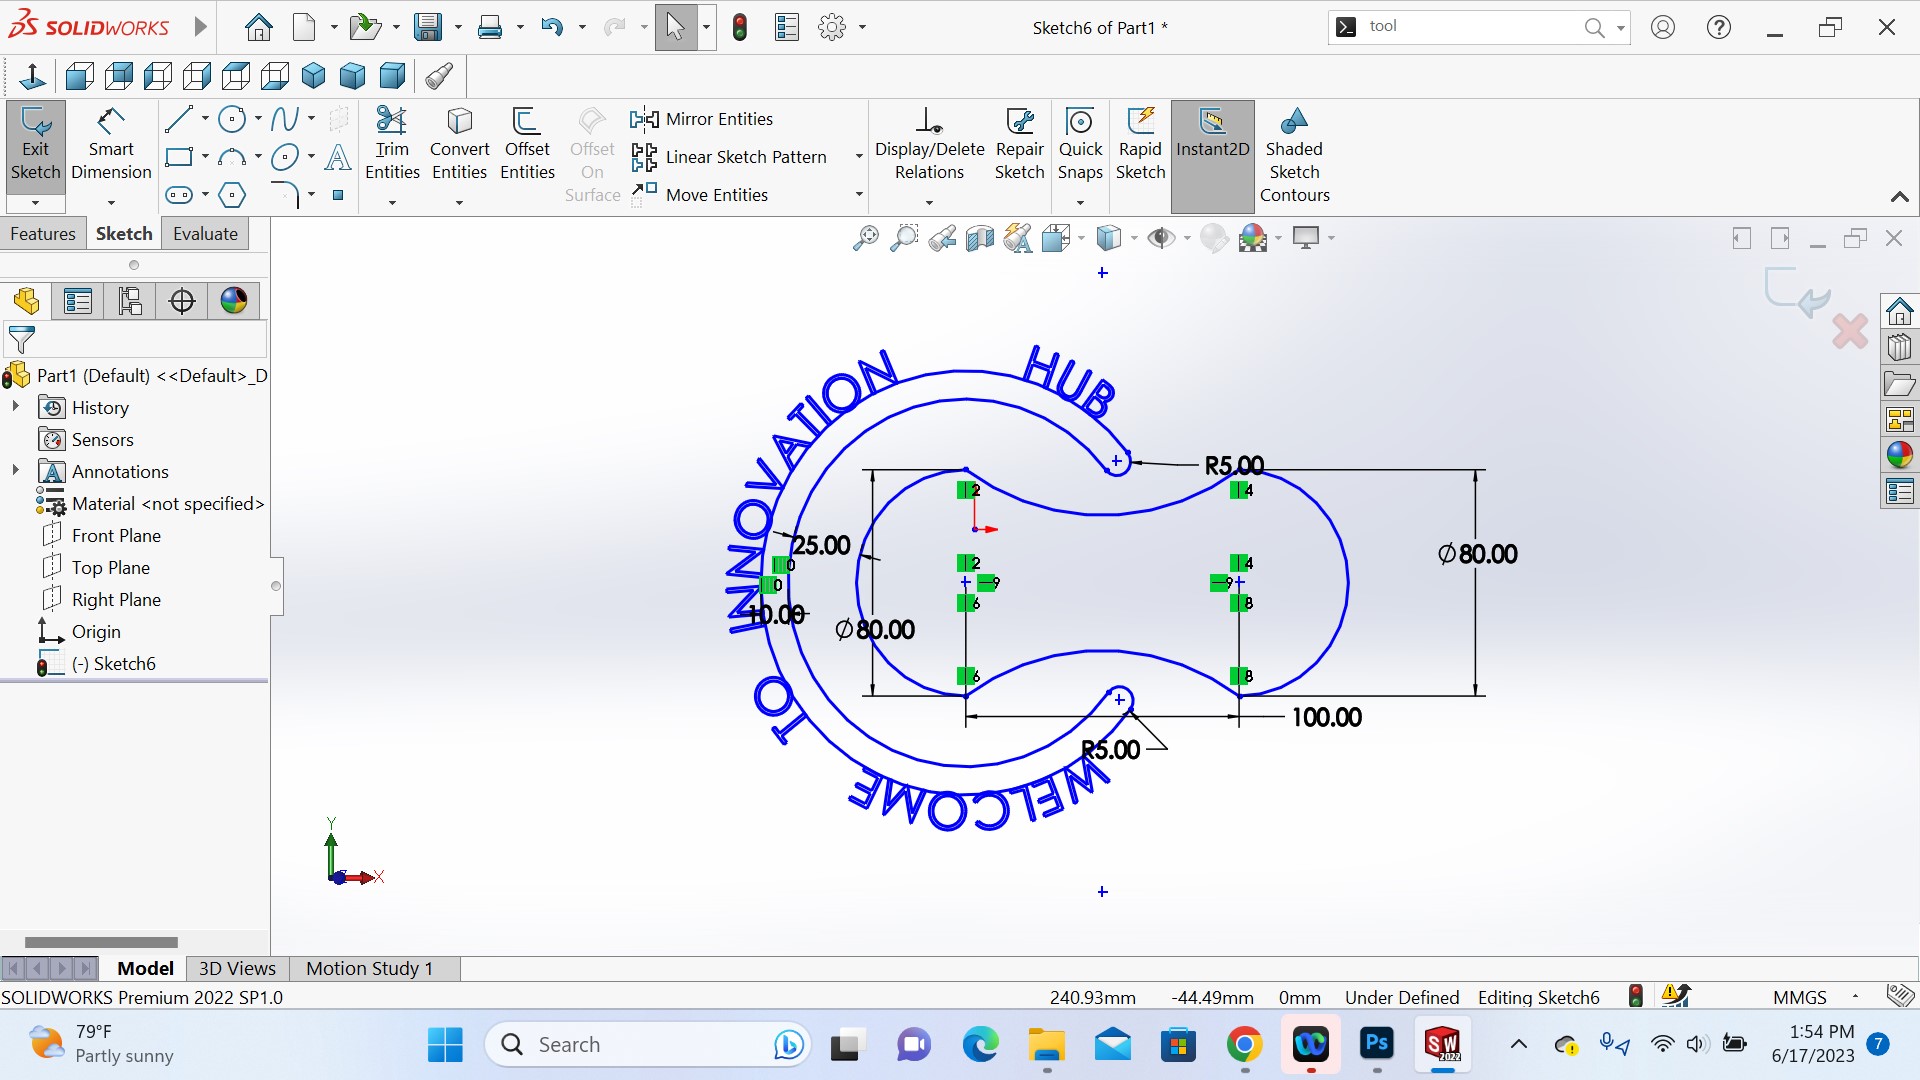
Image below is when I was adding my name NYIRIGIRA in the middle as text in my logo.
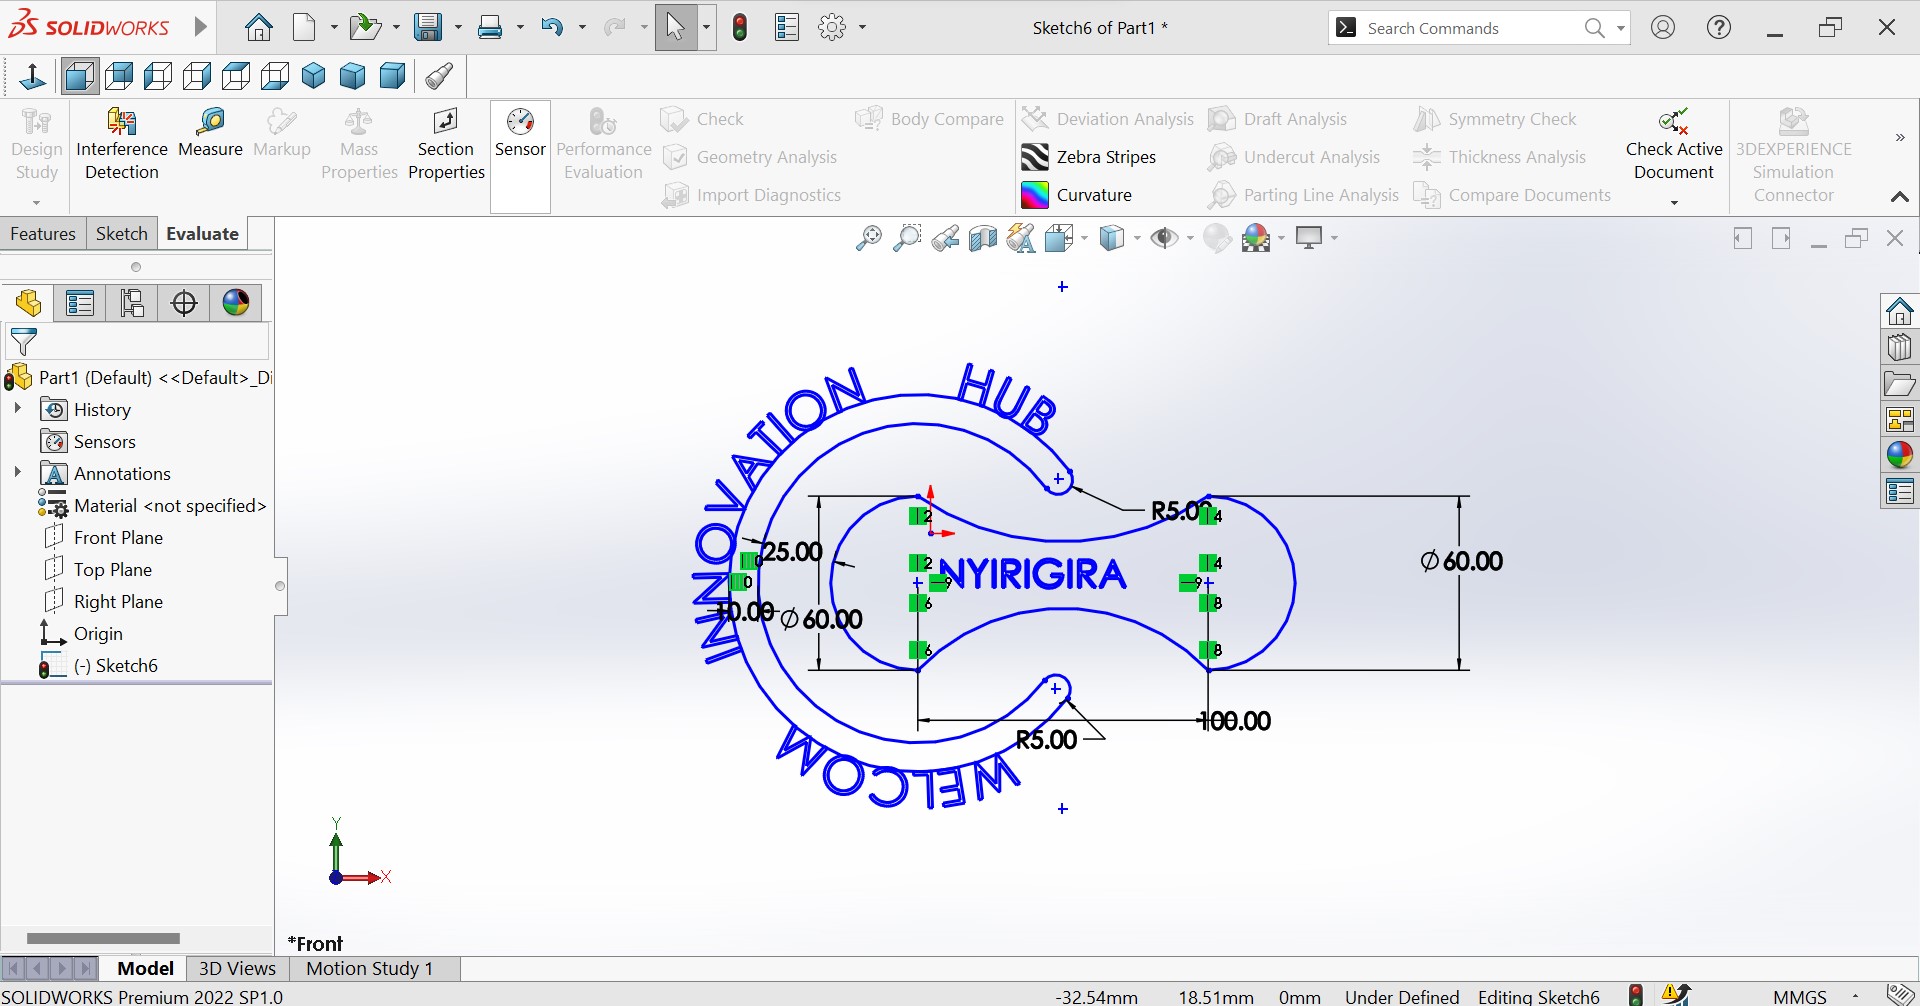
Image below shows the model when trying to extrude it but the letters did not!!!!
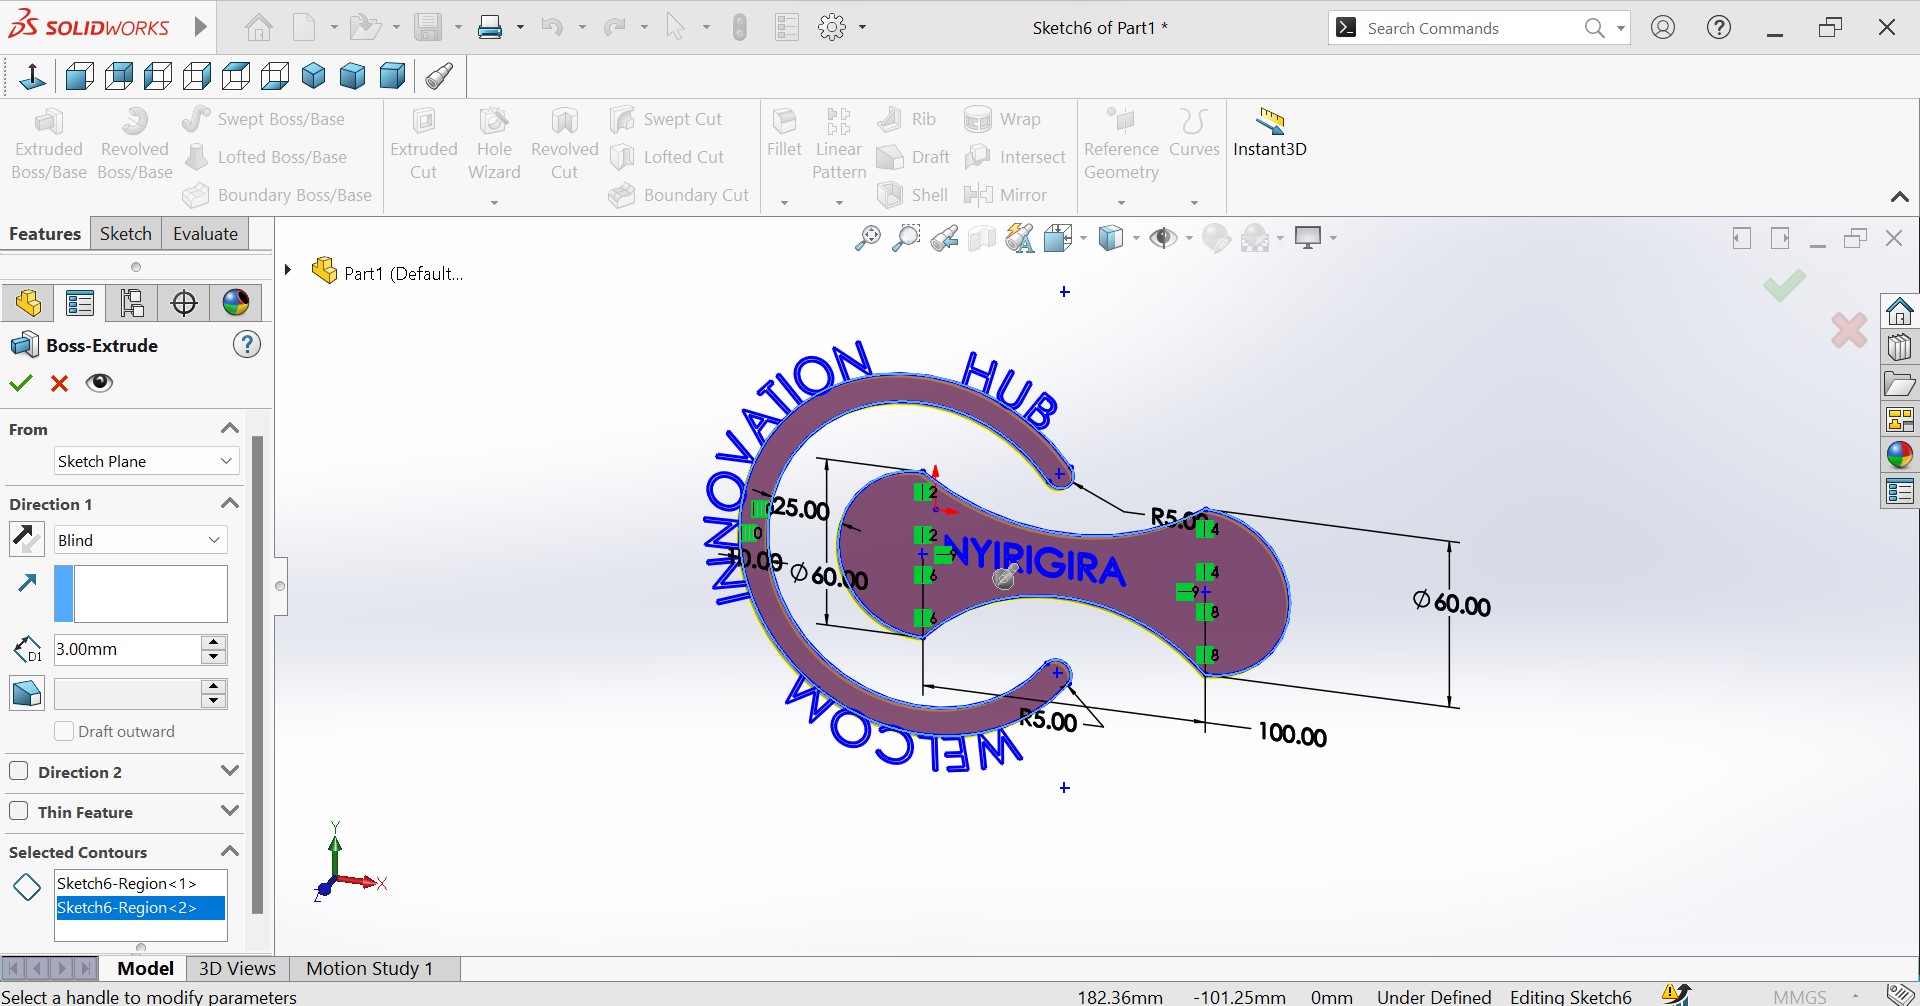
As to extrude the letters is not possible, they have to be dissolved and this also help them to be saved as dxf because if they are not dissolved they can't be appear on the design
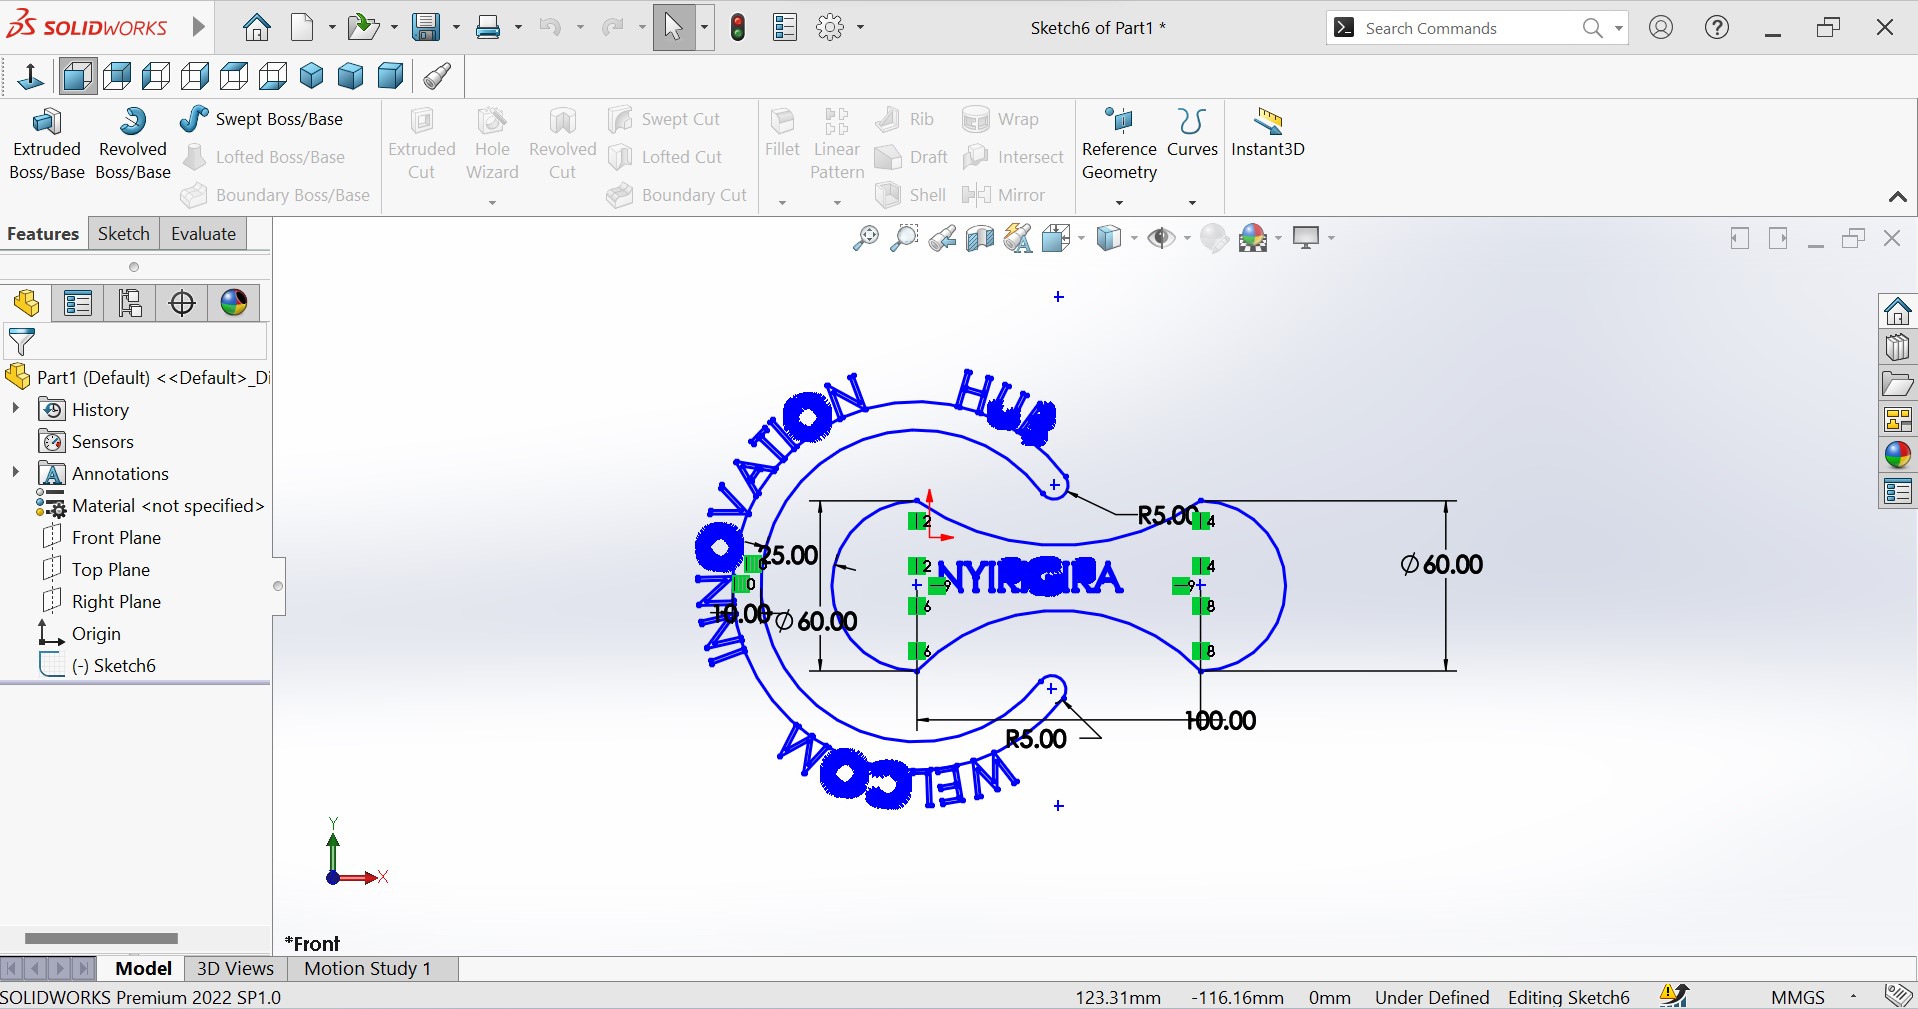
Then the model is saved into dxf

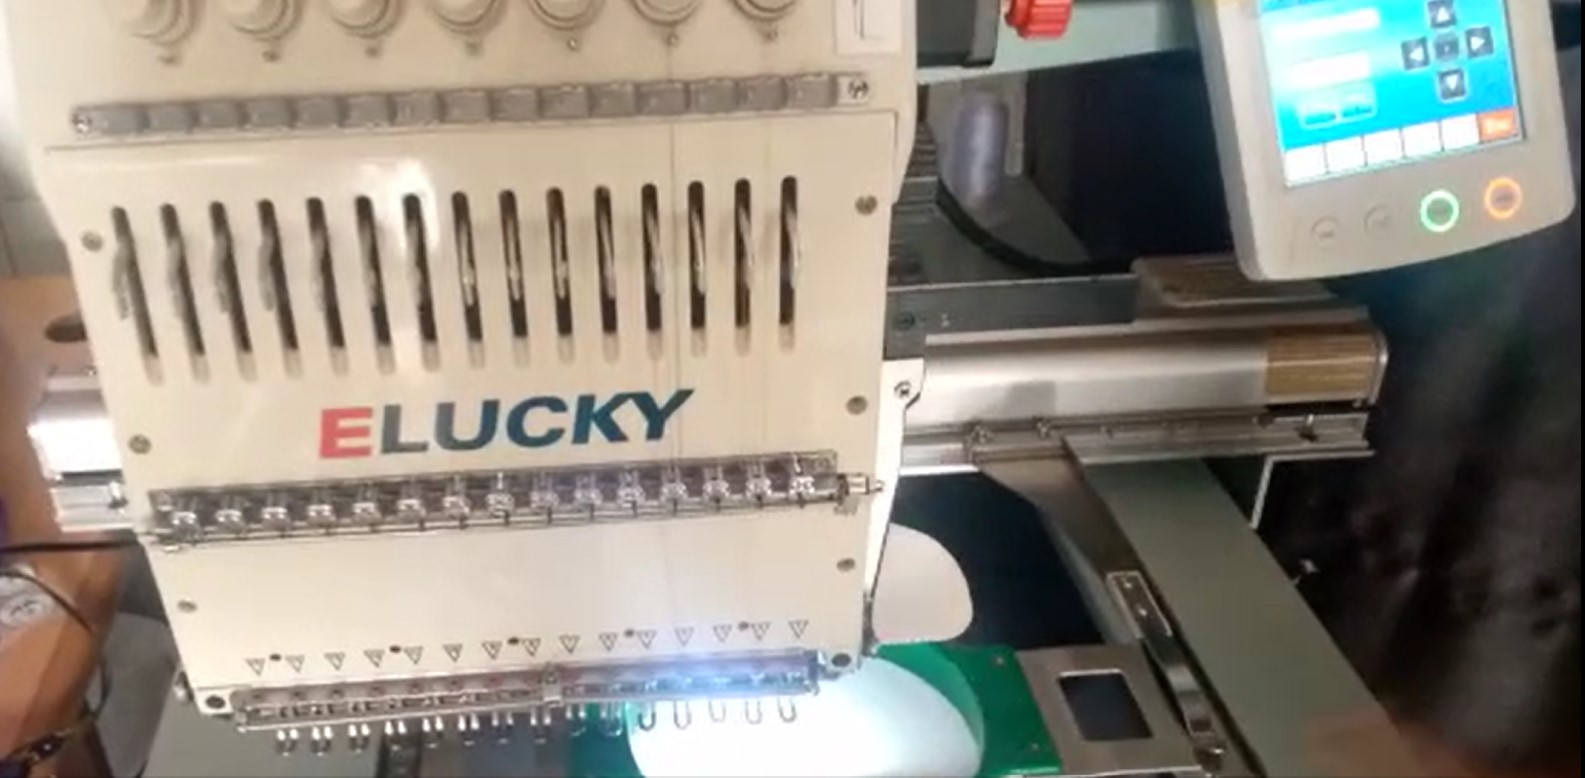
What is an embroidery machine?
An embroidery machine uses a needle and thread to stitch a design onto an embroidery blank, which can be anything from cotton fabric to cardstock paper or balsa wood. Reference to Here is the link.
T-Shirt on which logo is going to be printed on

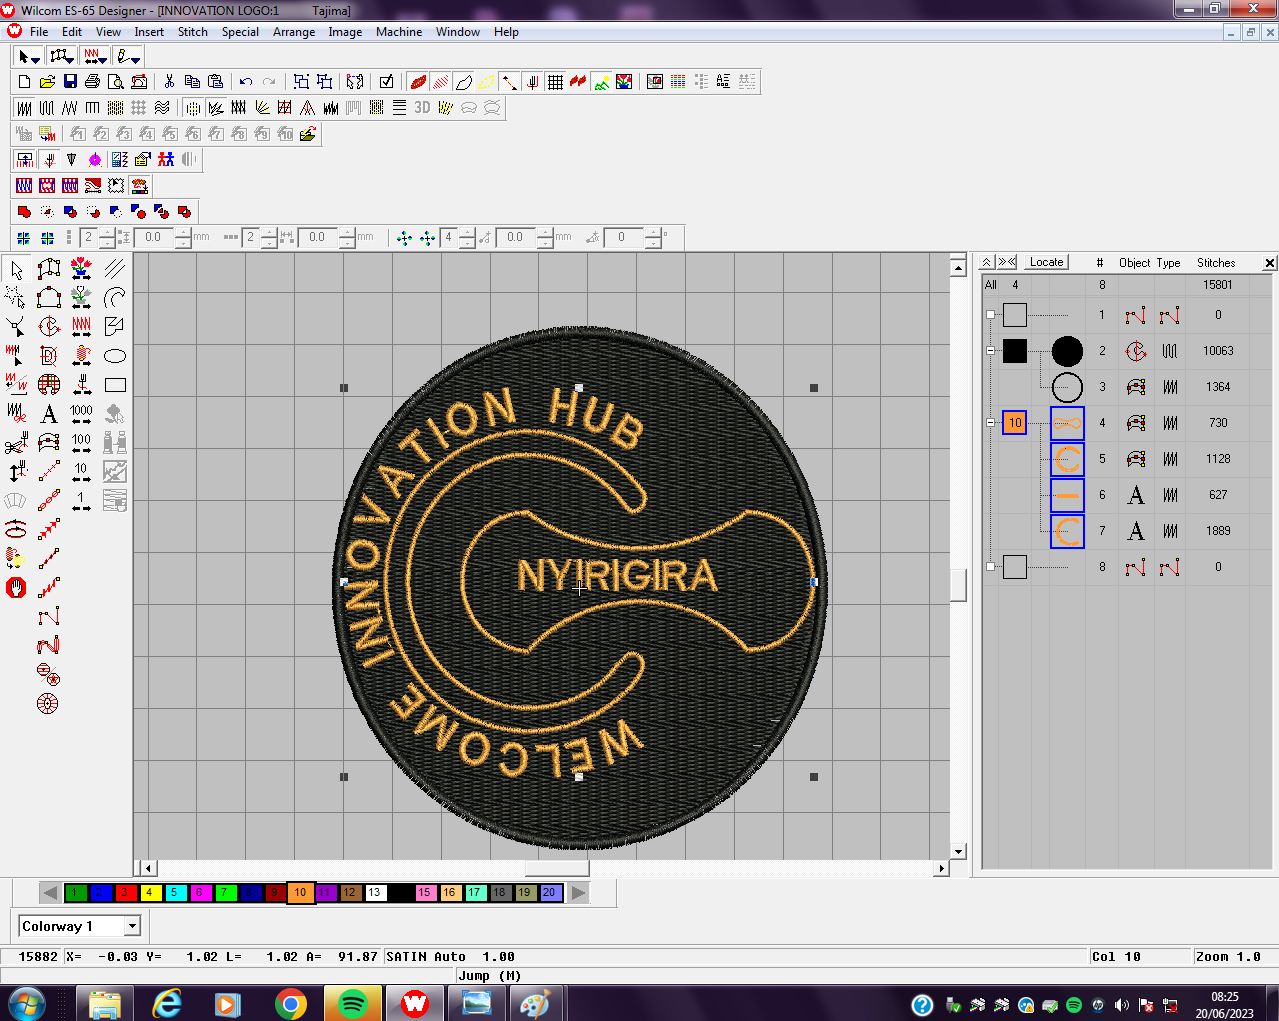
Exporting and refining my logo into Wilcom ES
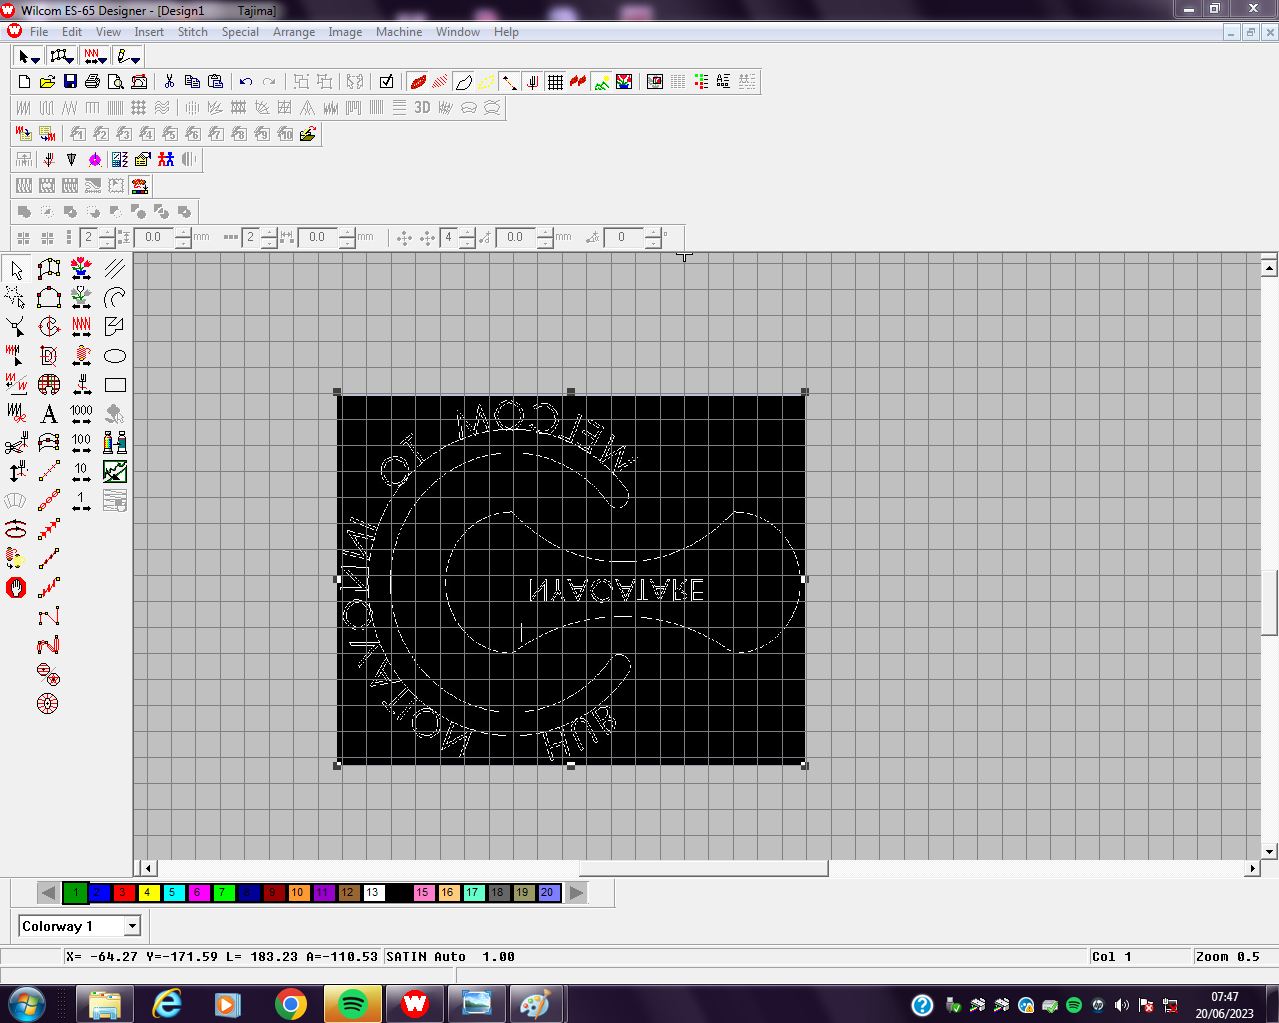
Rotating the design into right direction

Inserting the background
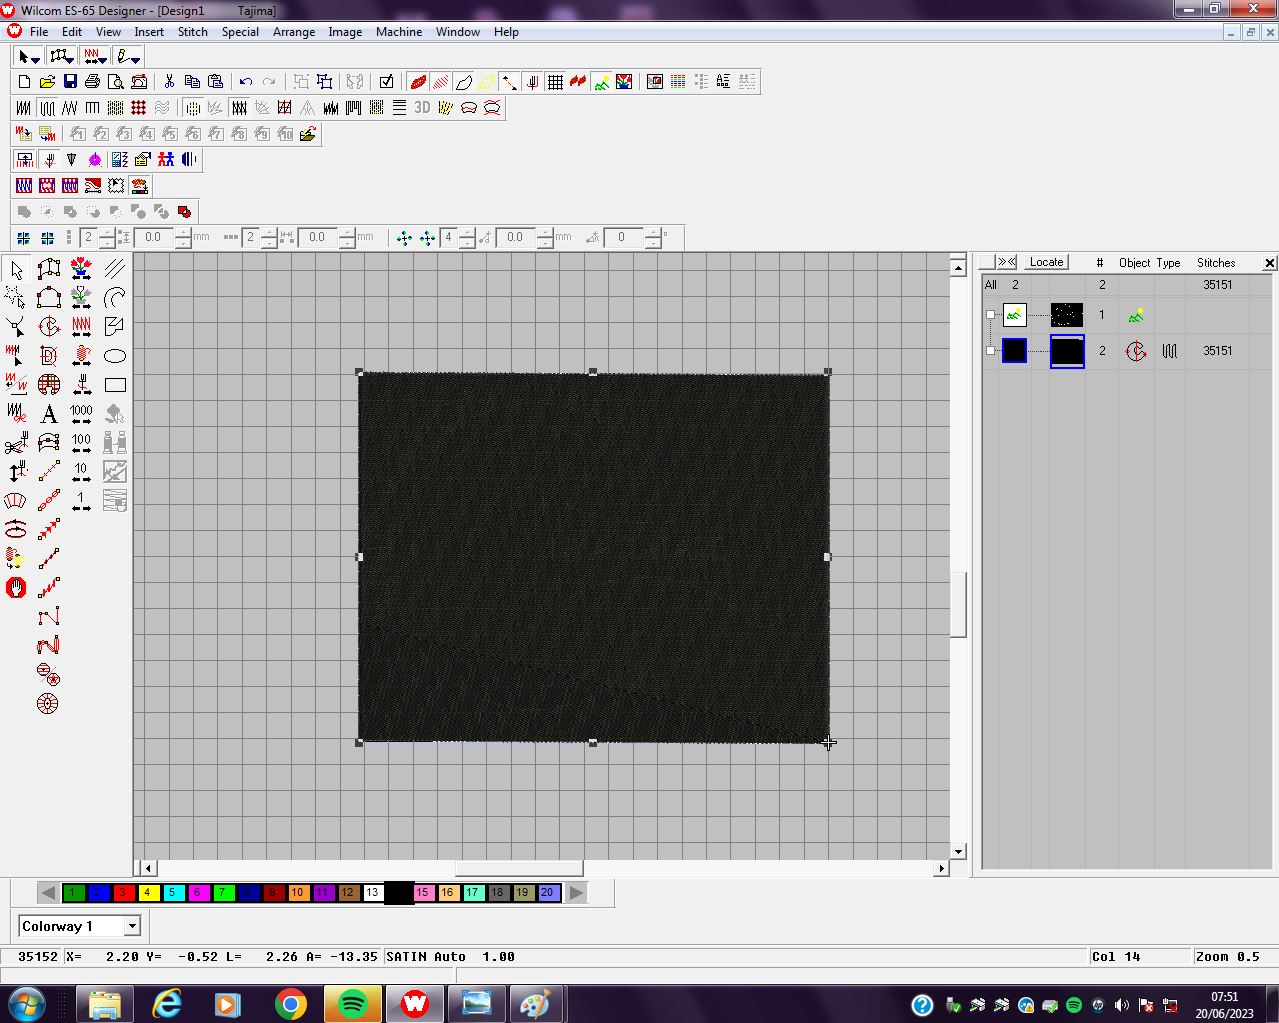
Then down here the main design is inserted into background
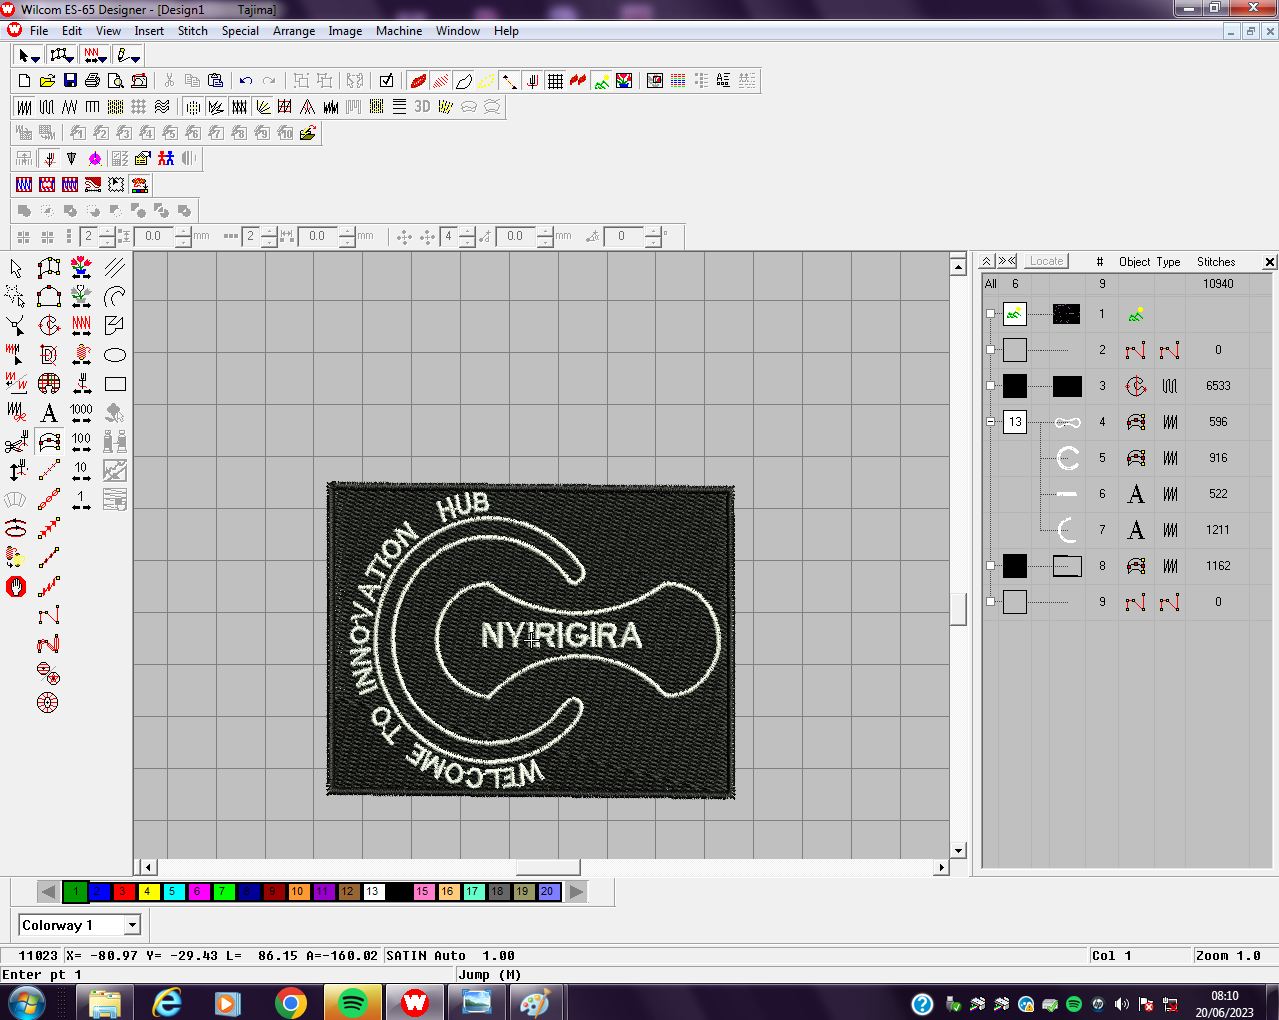
Down here was changing the shape of background from rectangular to Circle
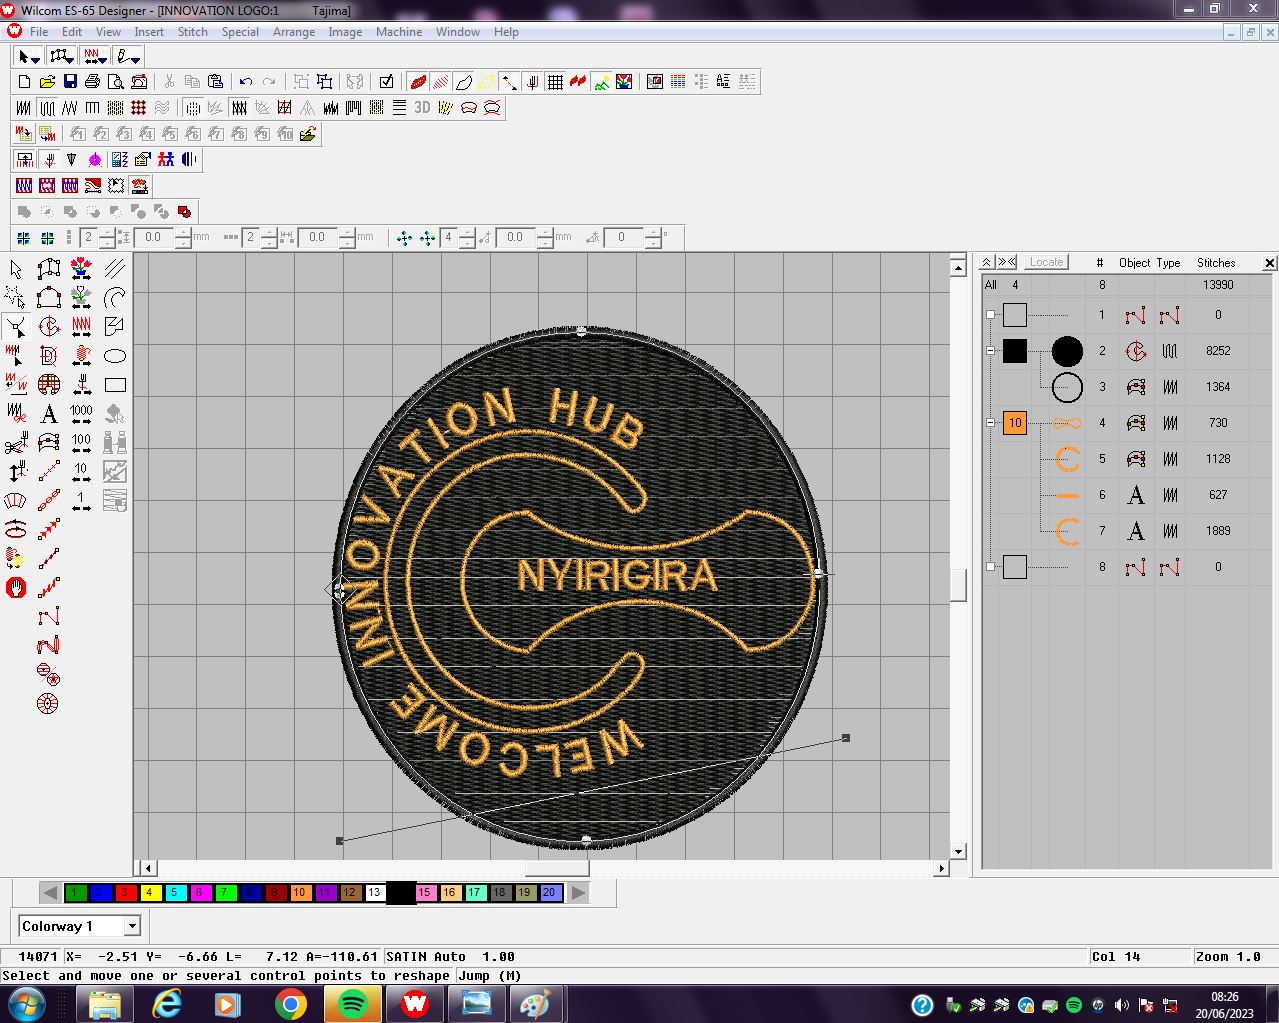
Final logo ready to be printed:
Though this, different steps have been done such as Transfer the design file to the embroidery machine(I have done this via USB),
to Select the appropriate embroidery settings such as stitch density, stitch length, thread tension, and embroidery speed etc.
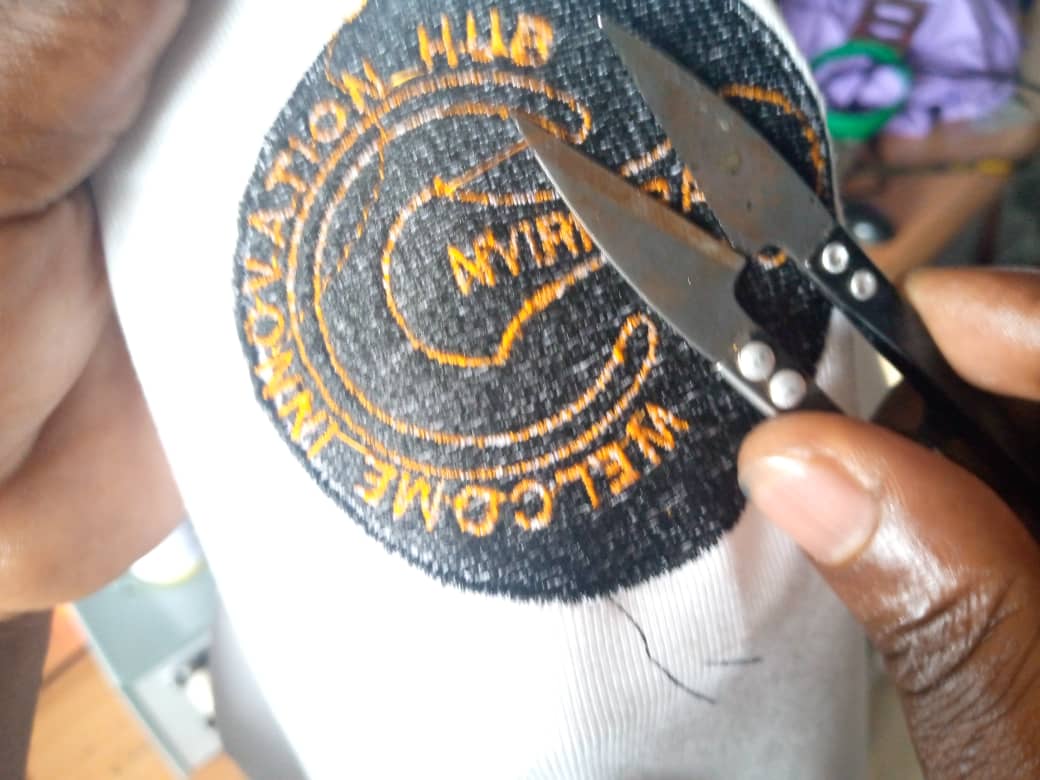
The following image is the T- shirt with printed logo but there is excess thread.

Even though the logo is printed on T- shirt but it remains the thread(excess thread ). Next is to remove or Trim these excess thread using scissors as shown in below image
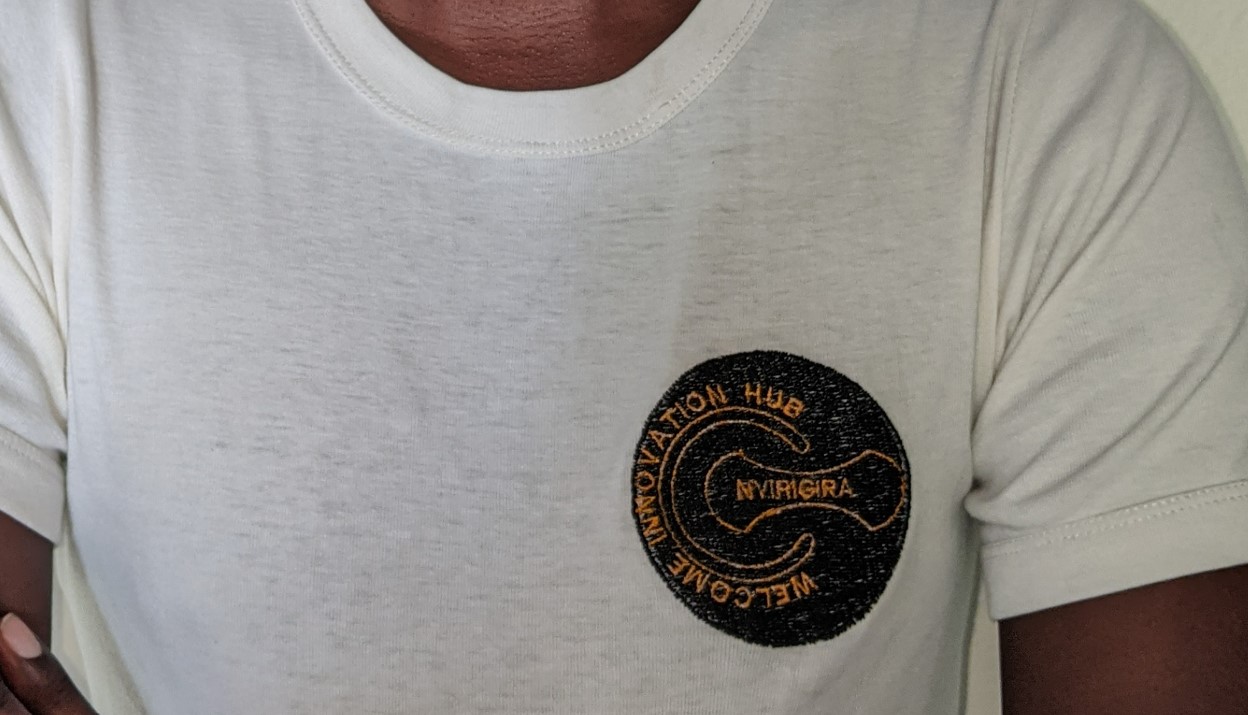
Next are my photo wearing my t-shirt with logo
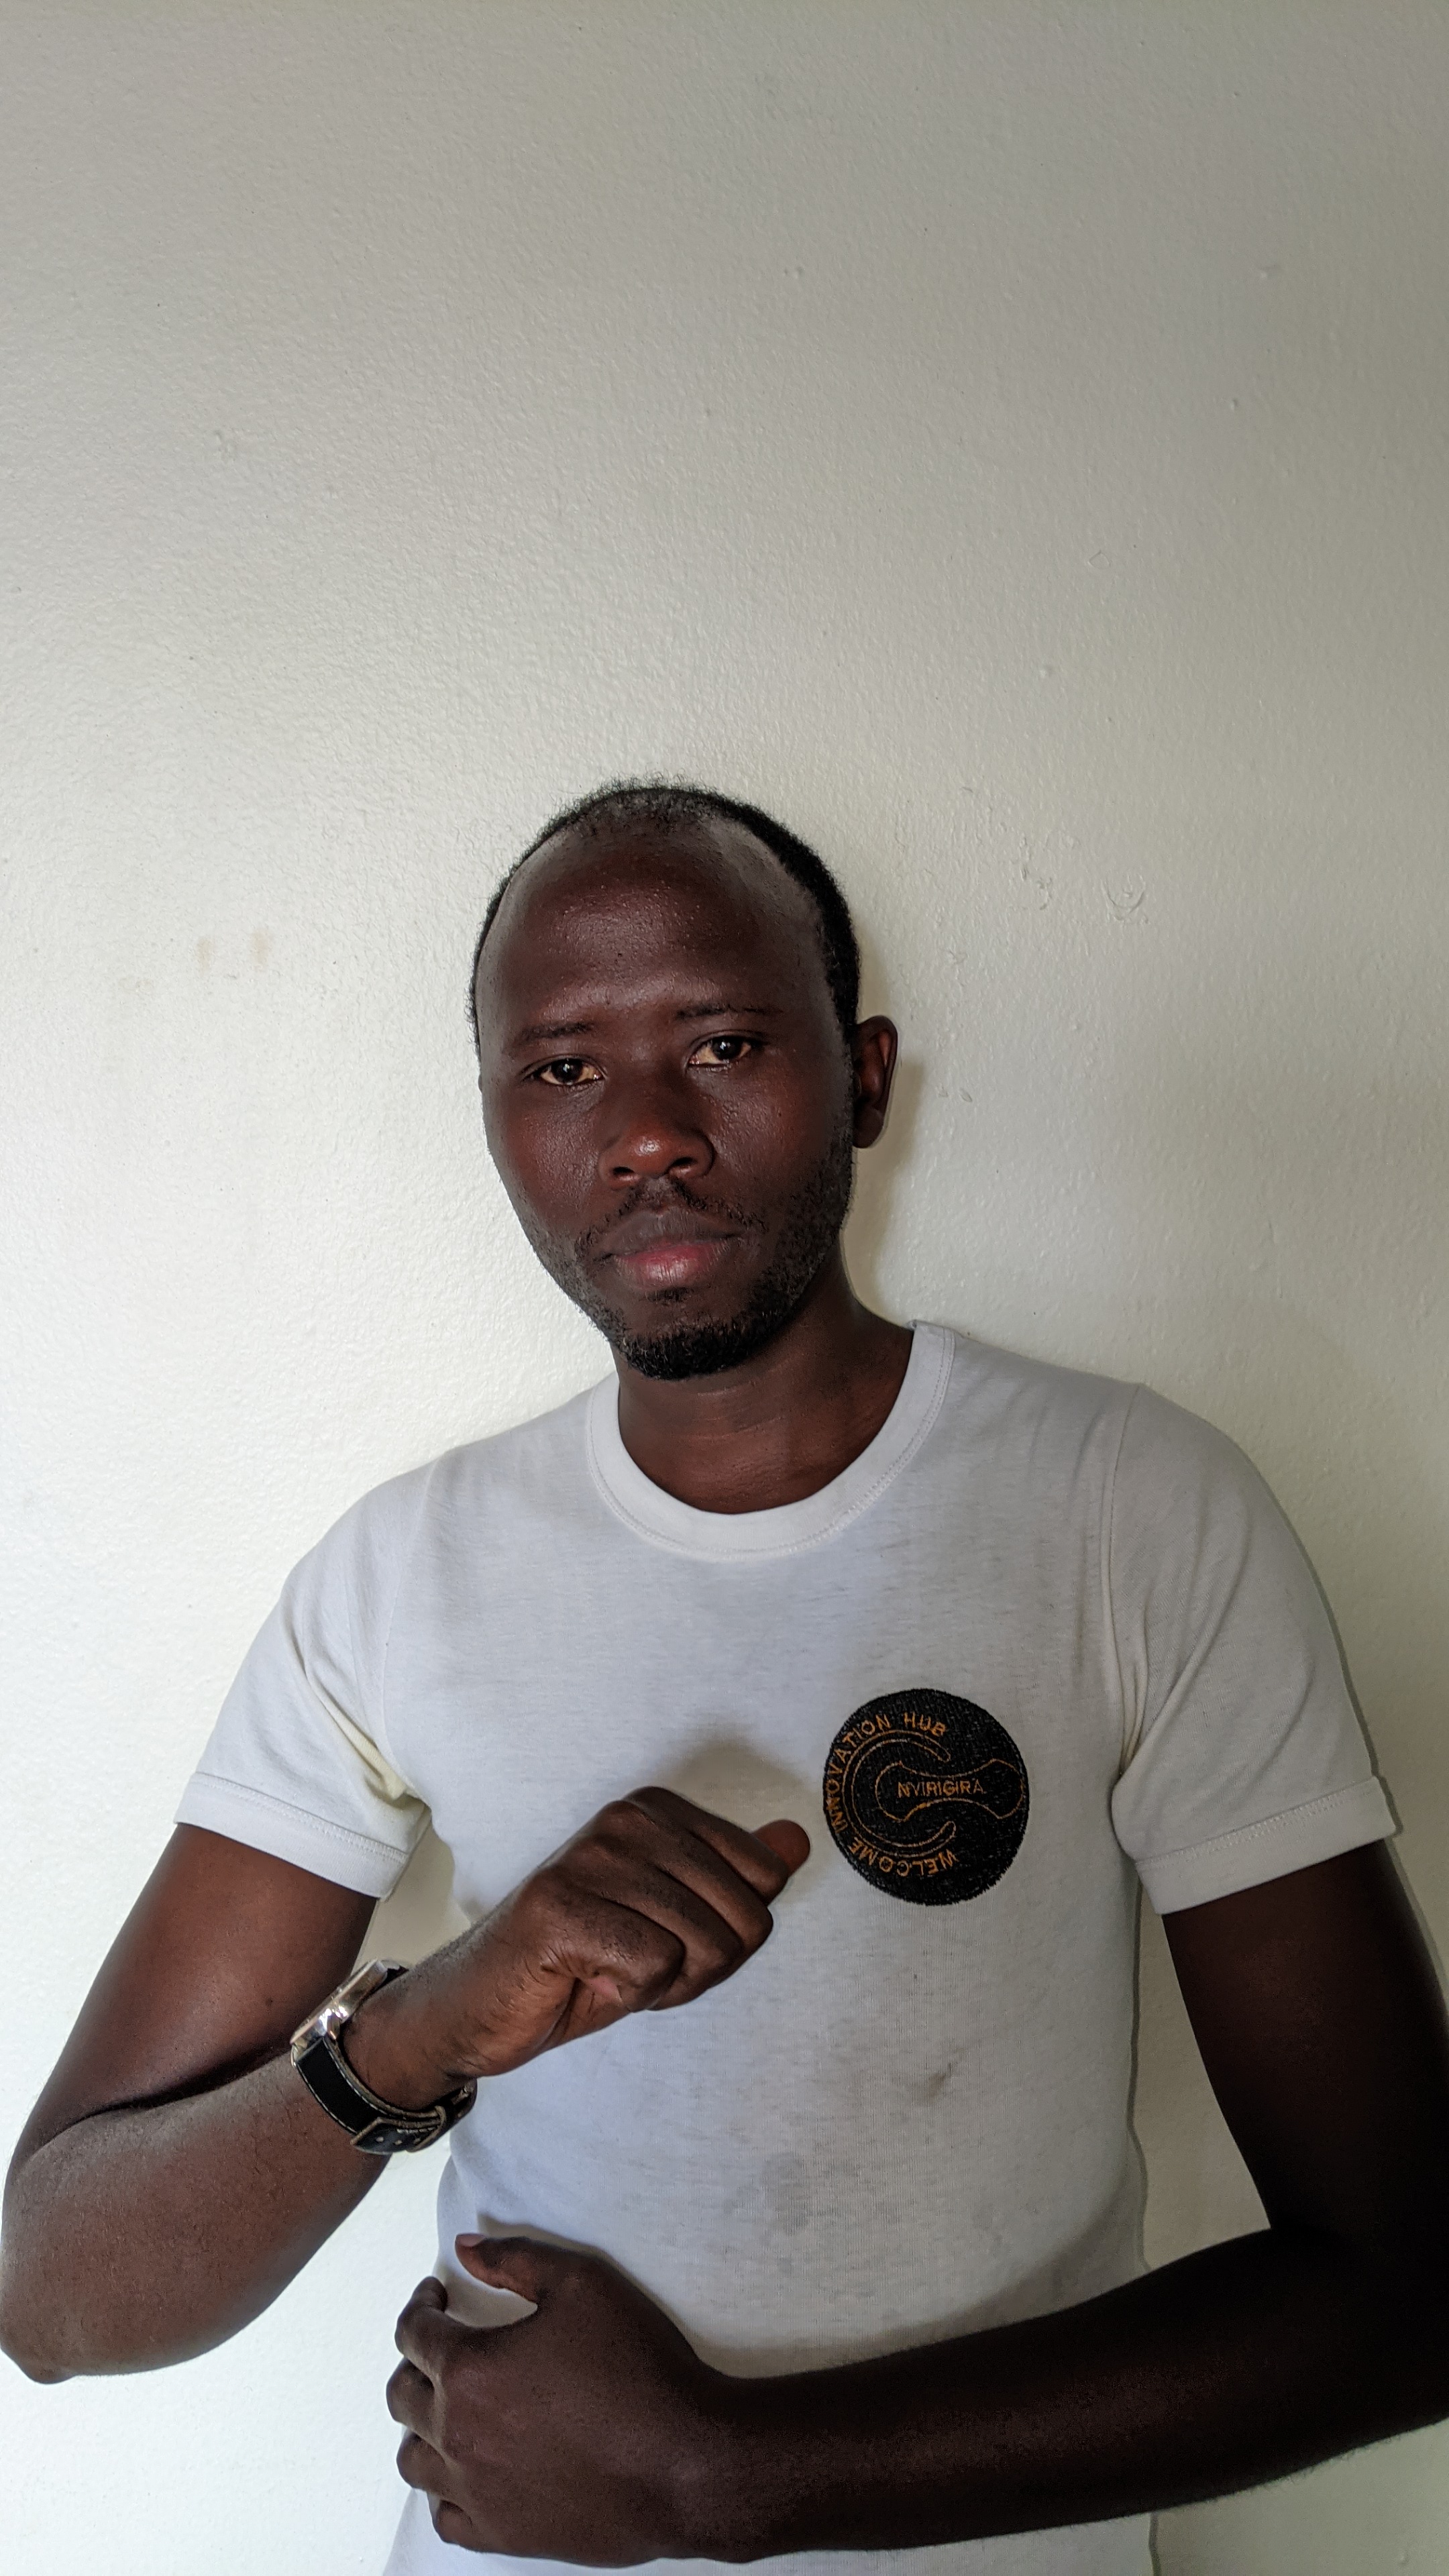
This week was very interesting because it gave me new skills of using embroidery machine .
All those works(designs) done have been saved as files and they can be accessed and downloaded as a whole zipped folder via here