Week 12: Molding and Casting
Molding and Casting
Assignment activities:Group assignment:
Review the safety data sheets for each of your molding and casting materials, then make and compare test casts with each of them extra credit: try other molding and casting processes If you want to explore the group Assignment Click Here Safety Precautions: Material Selection:
Individual assignment:
Design a mold around the stock and tooling that you'll be using, mill it (rough cut + three-axis finish cut), and use it to cast parts extra credit: use more then two mold parts What Are Molds & What Are They Used For? Molds are tools used in molding and casting processes to create replicas or duplicates of objects. They can be made of various materials such as silicone, latex, or plaster, and come in different shapes and sizes depending on the desired outcome. Molding is the process of creating a mold, while casting involves pouring a liquid material, such as resin or plaster, into the mold to create a solid object that is a copy of the original. Click Here for Reference Summary of Molding is the process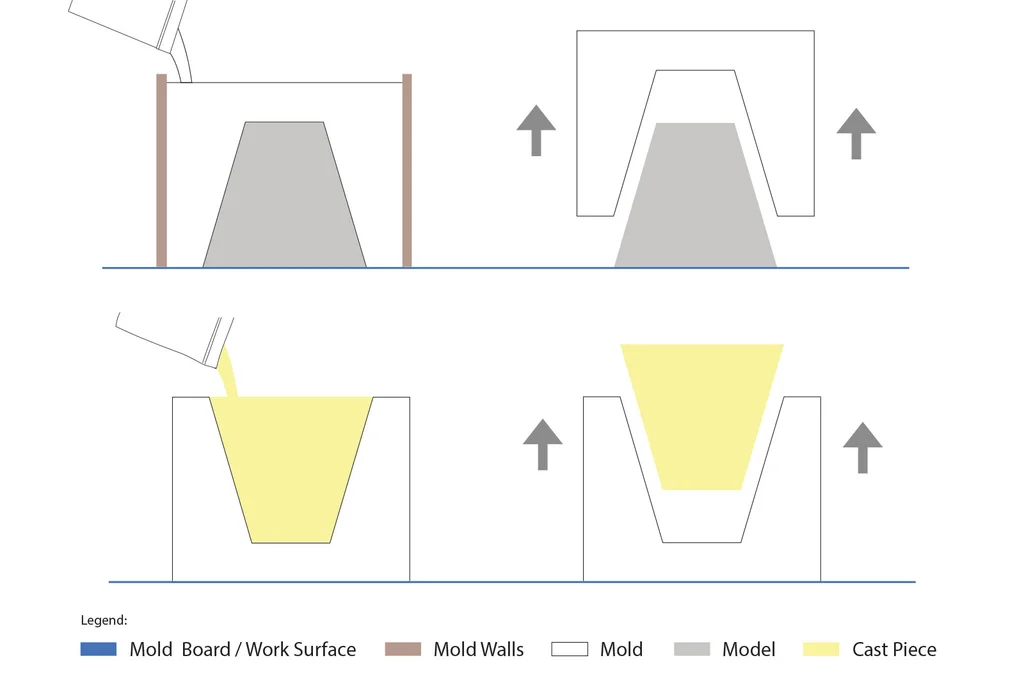 With SolidWorks, I designed a Button on Clothing
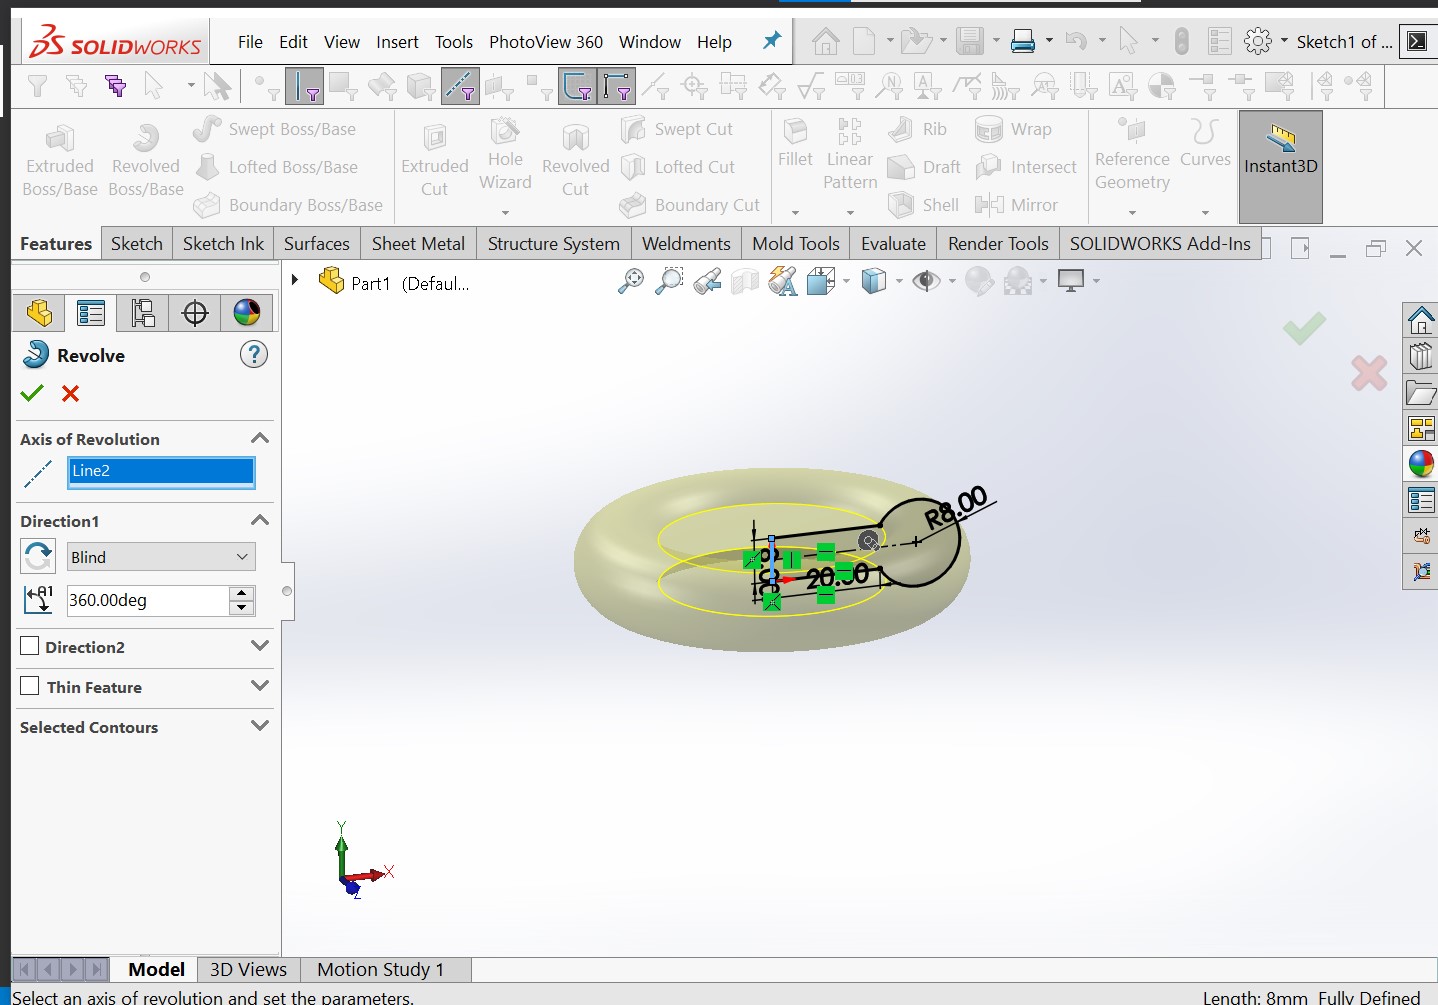
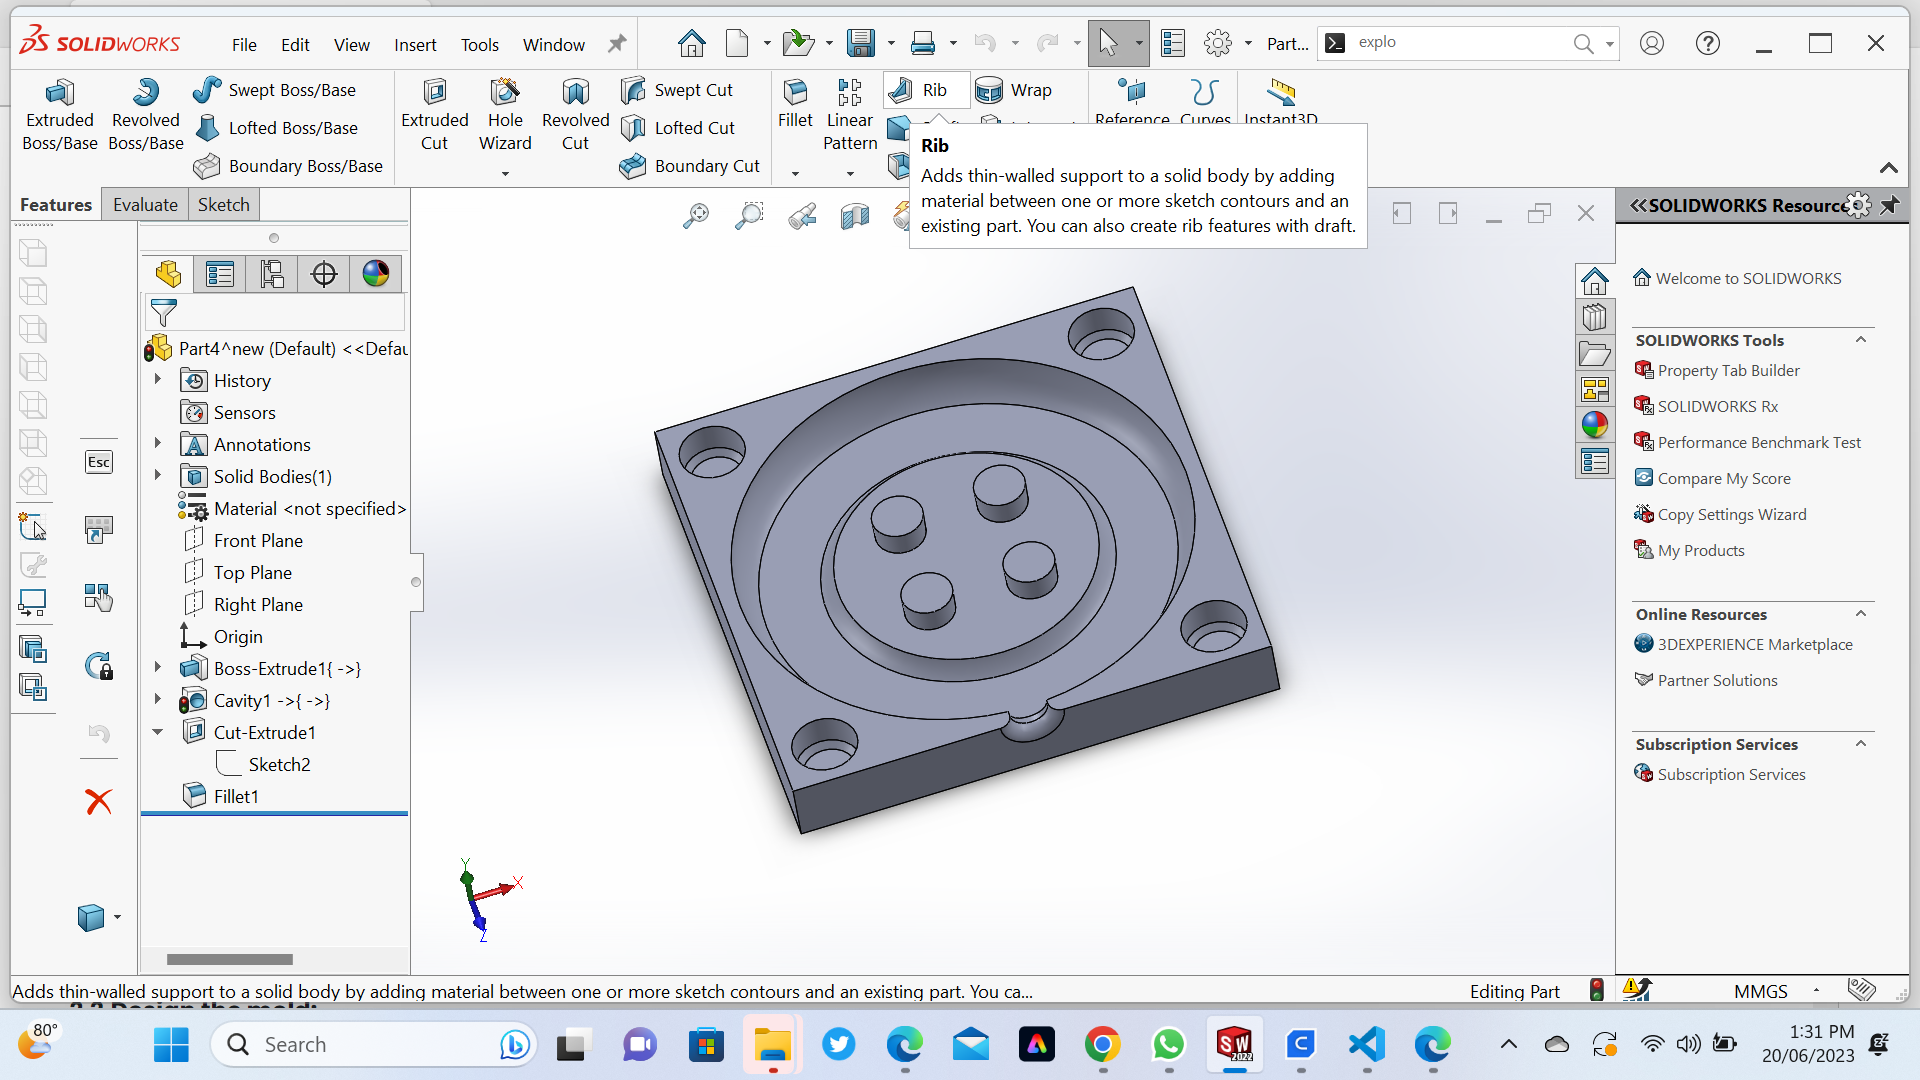
 1. Start Create a 3D model
 2. Start Create a Design the mold:
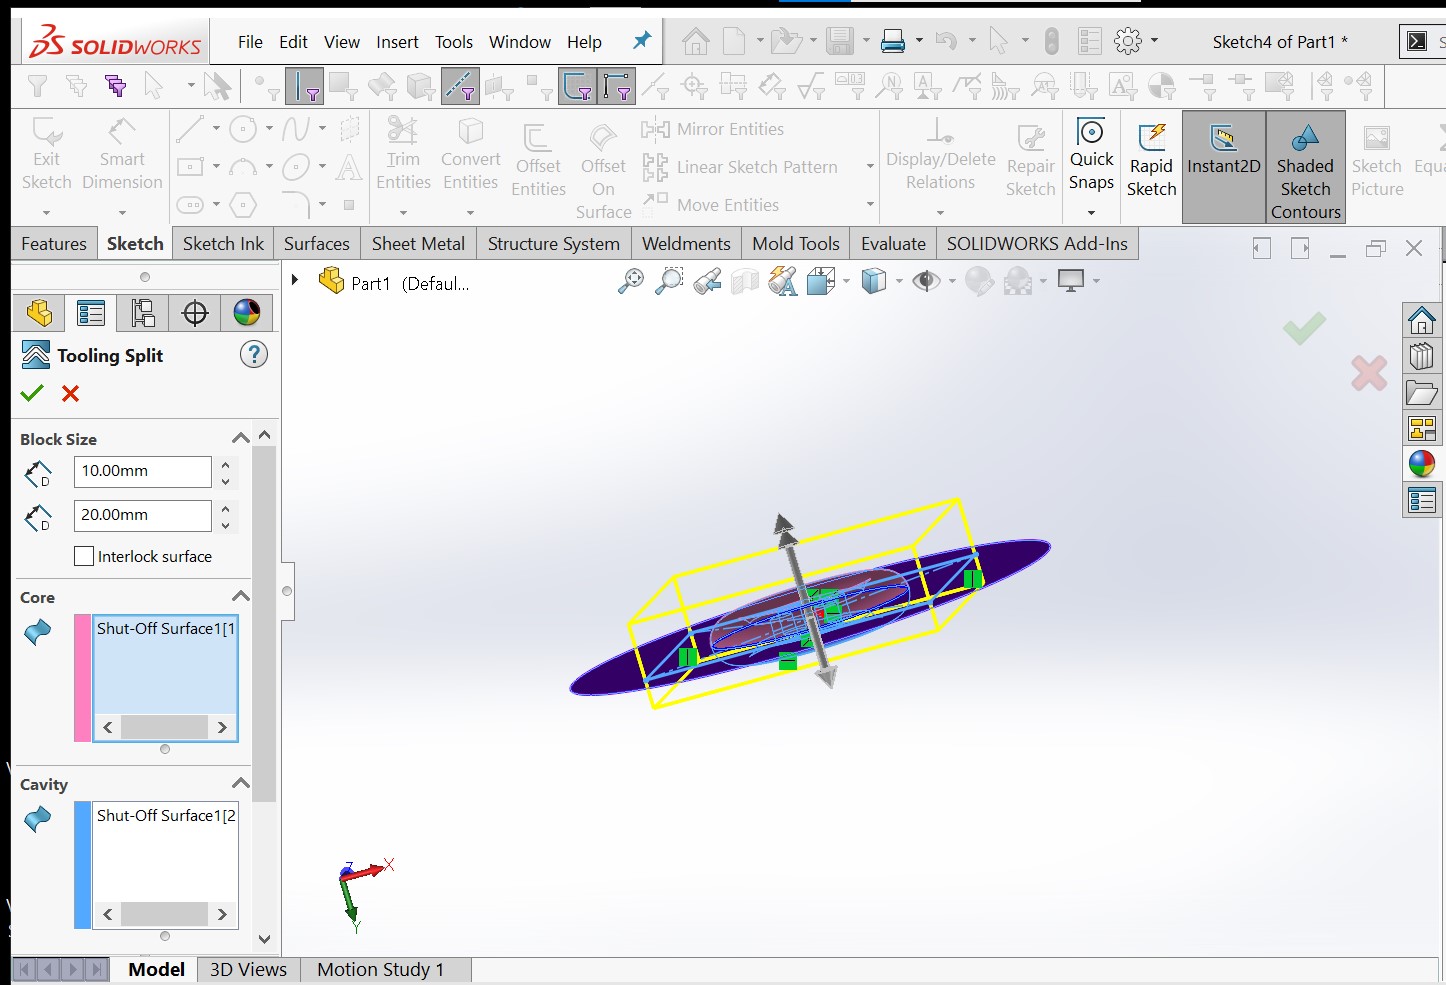
 2.1.Design the mold:
 2.2.Design the mold:
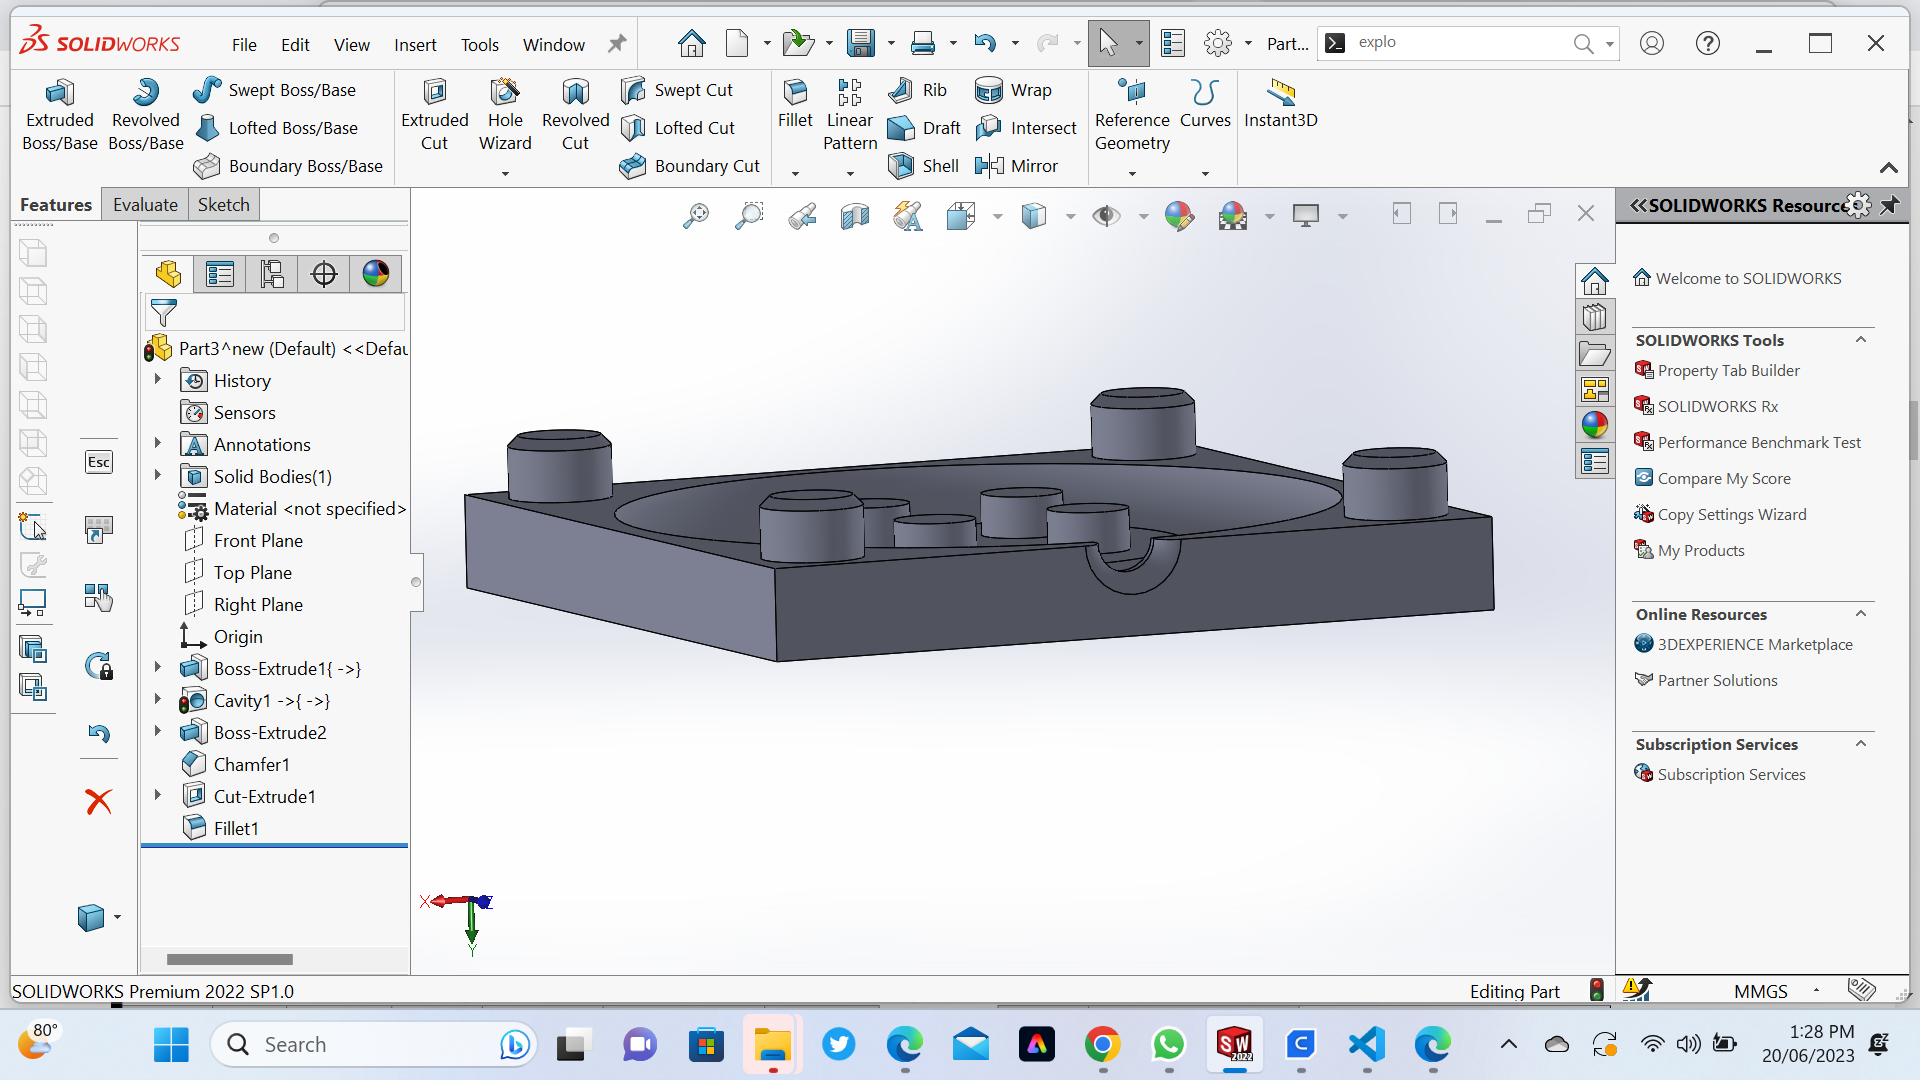
 2.3.Design the mold:
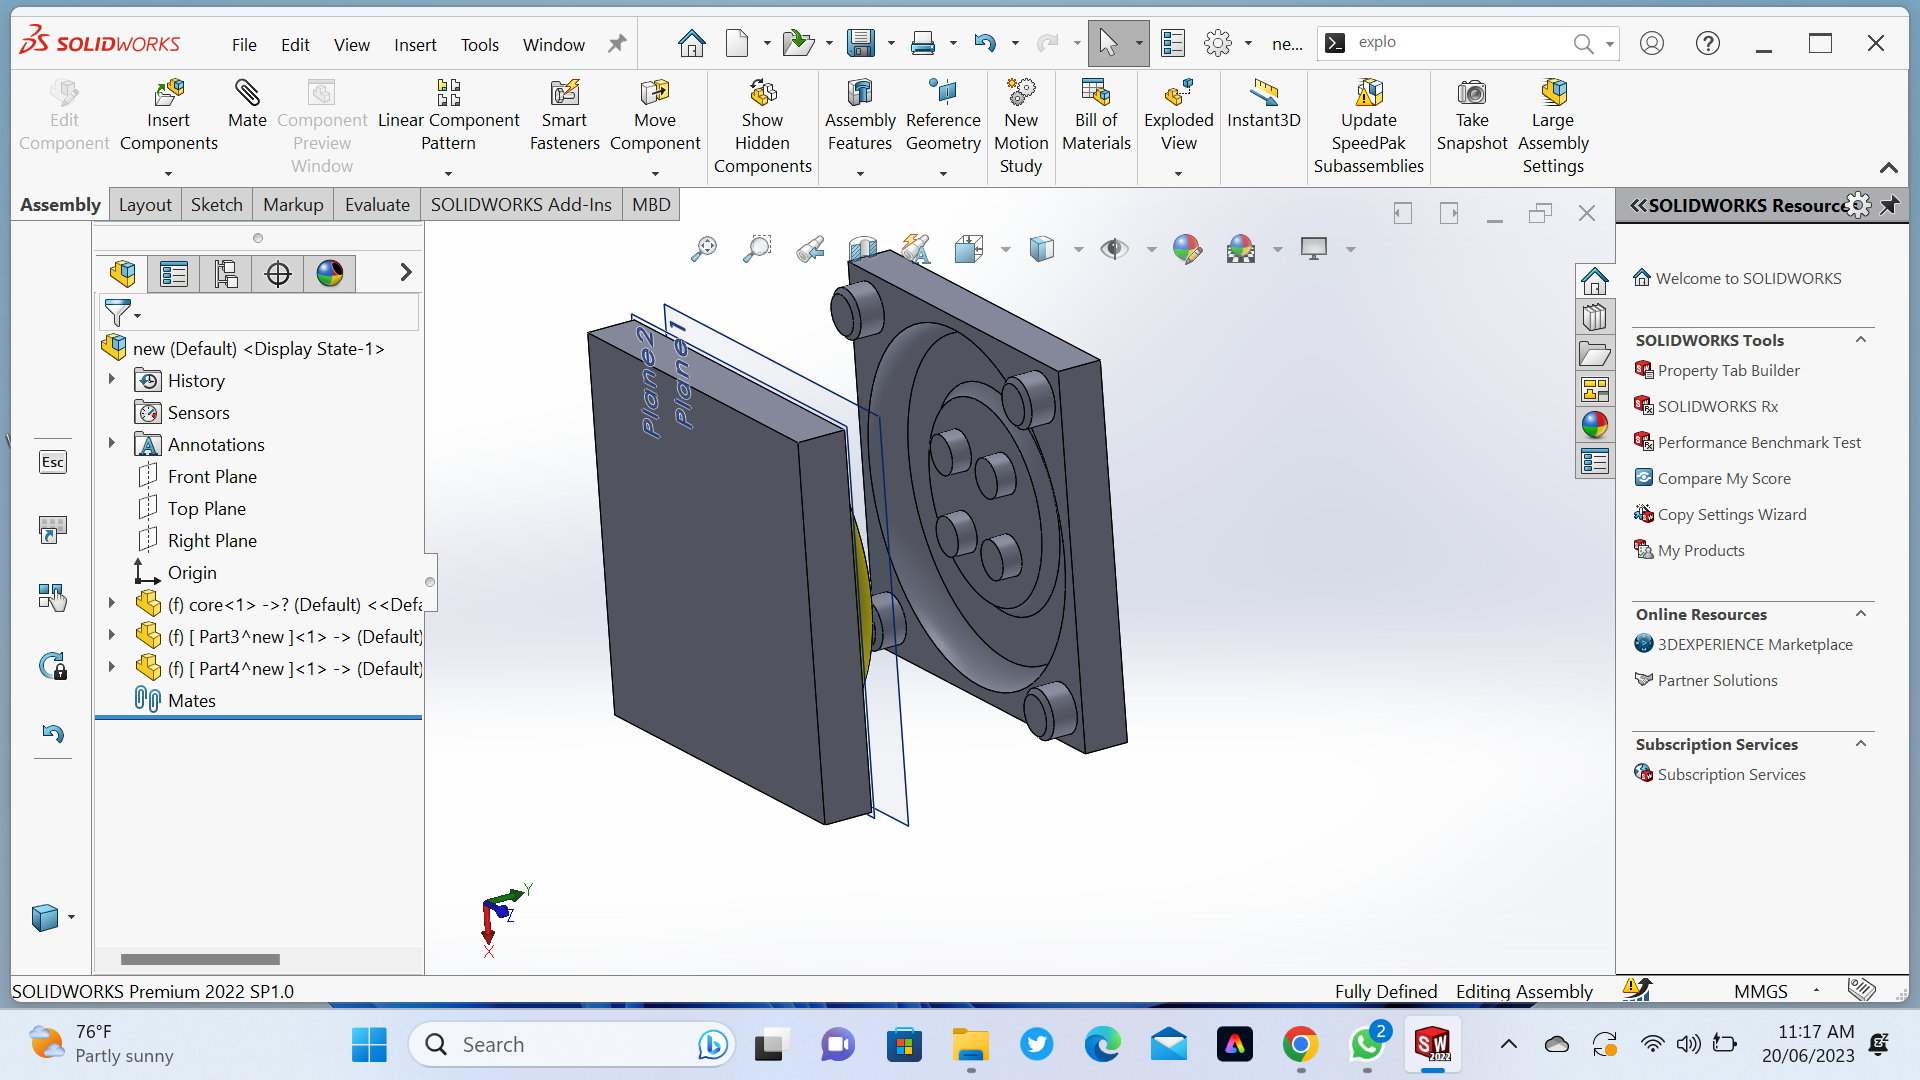
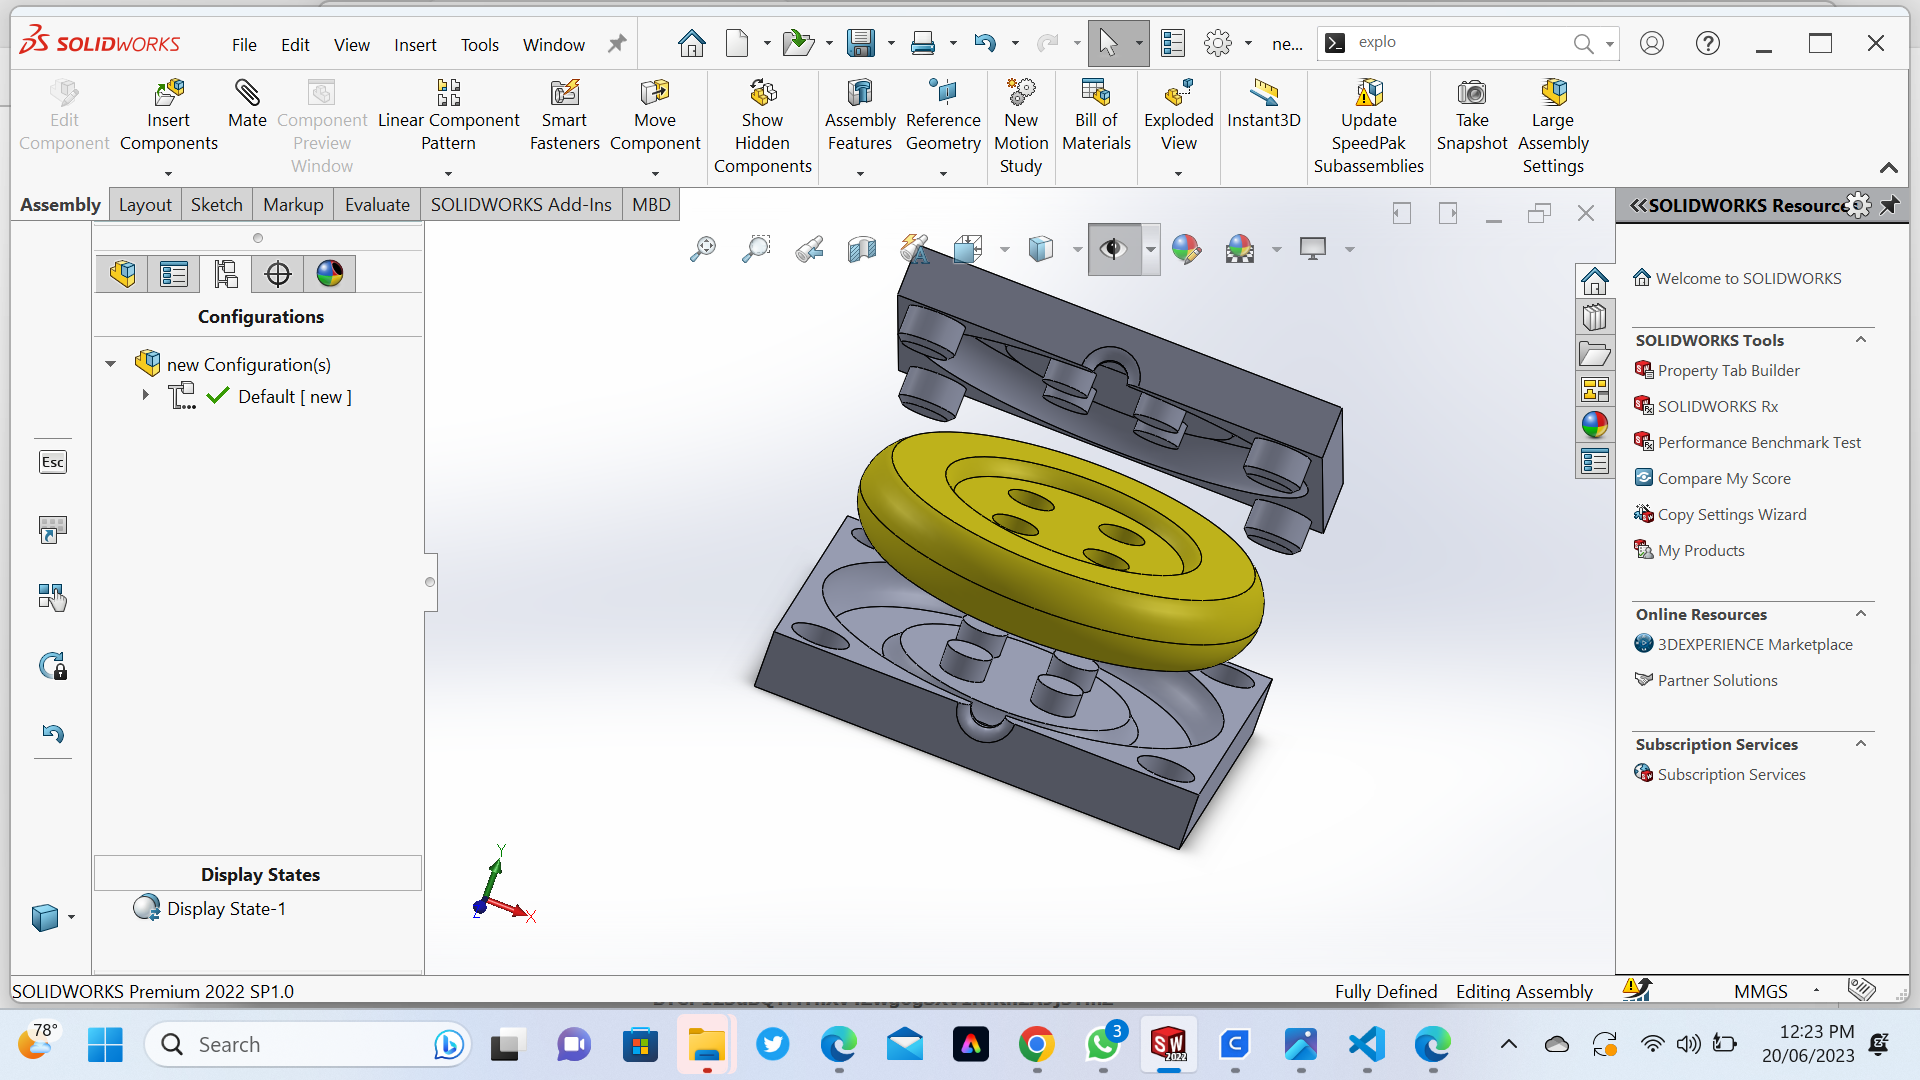
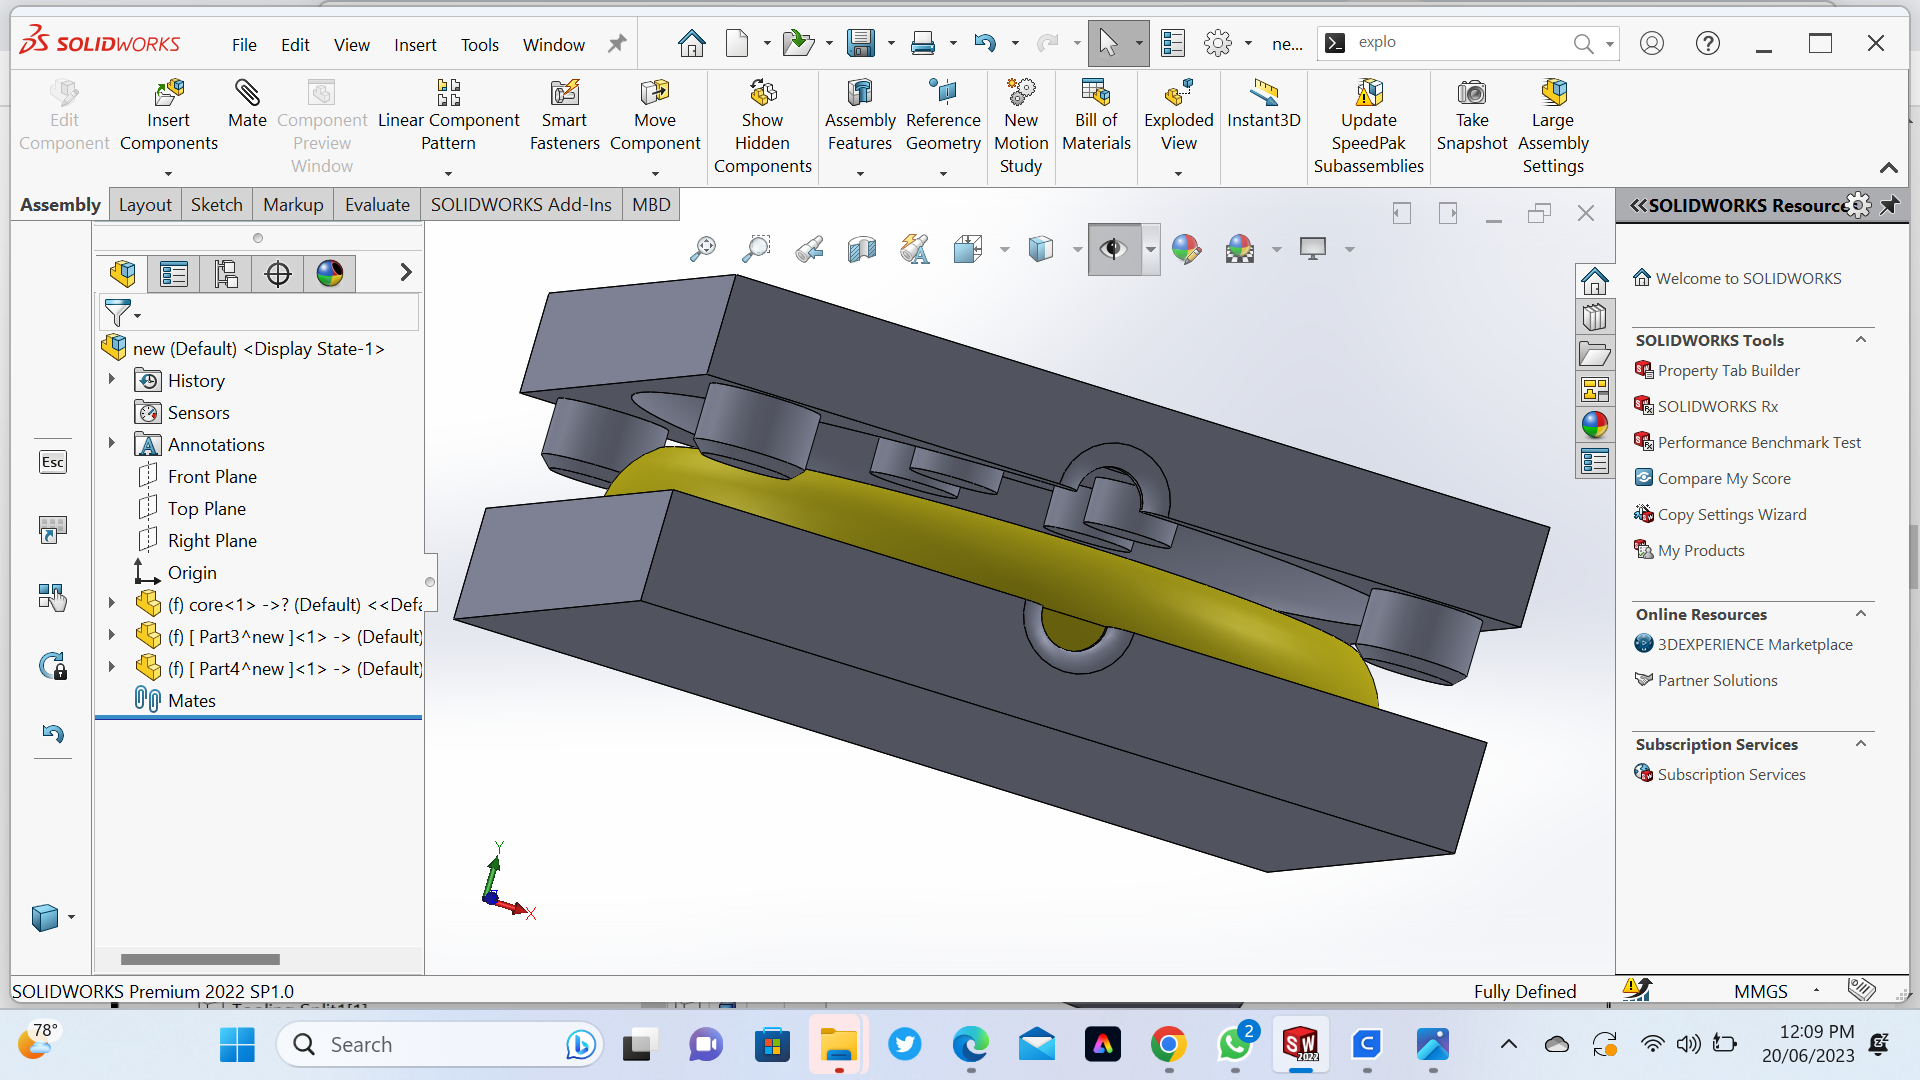
 2.4 Assembling:
 Machinable Wax
 using Glue Gun got Sealing Wax on working
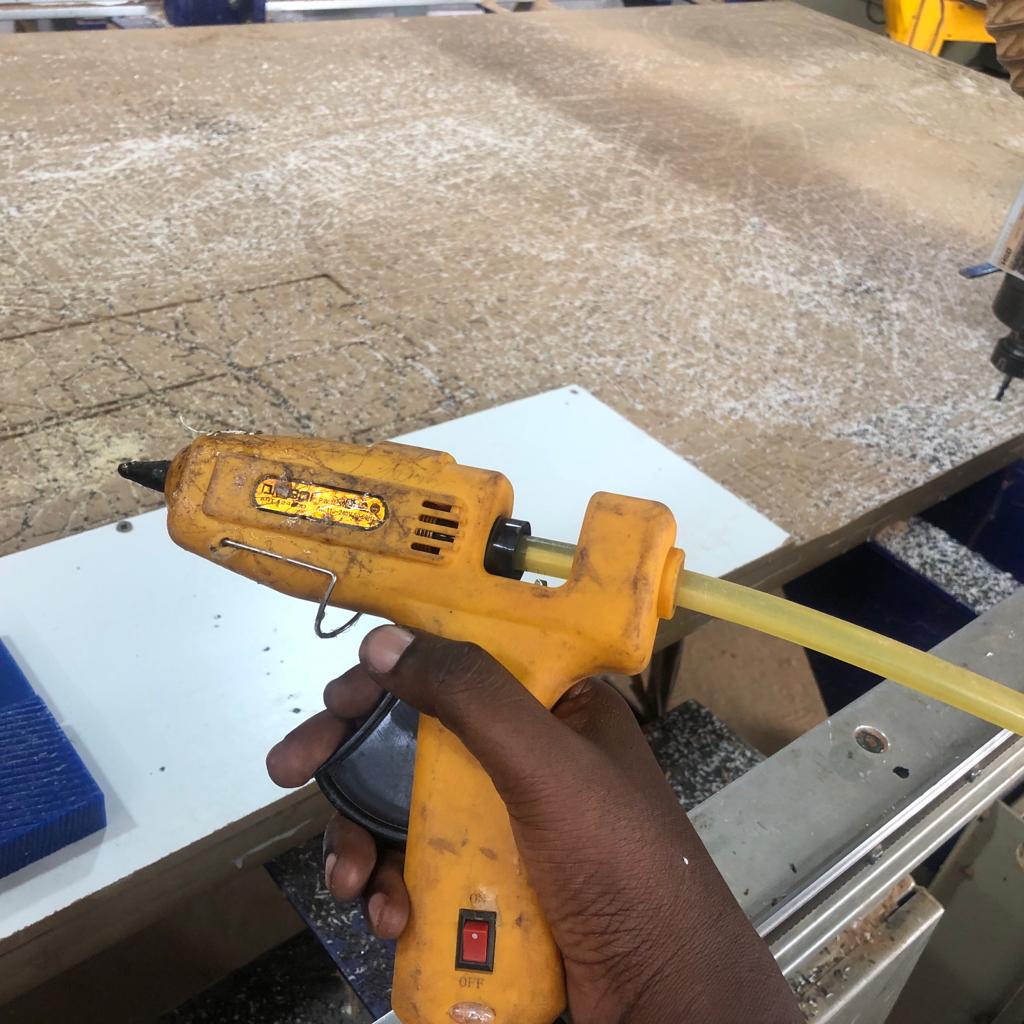 Sealing Wax on working Compounds
 Viewing Model in Vcarve
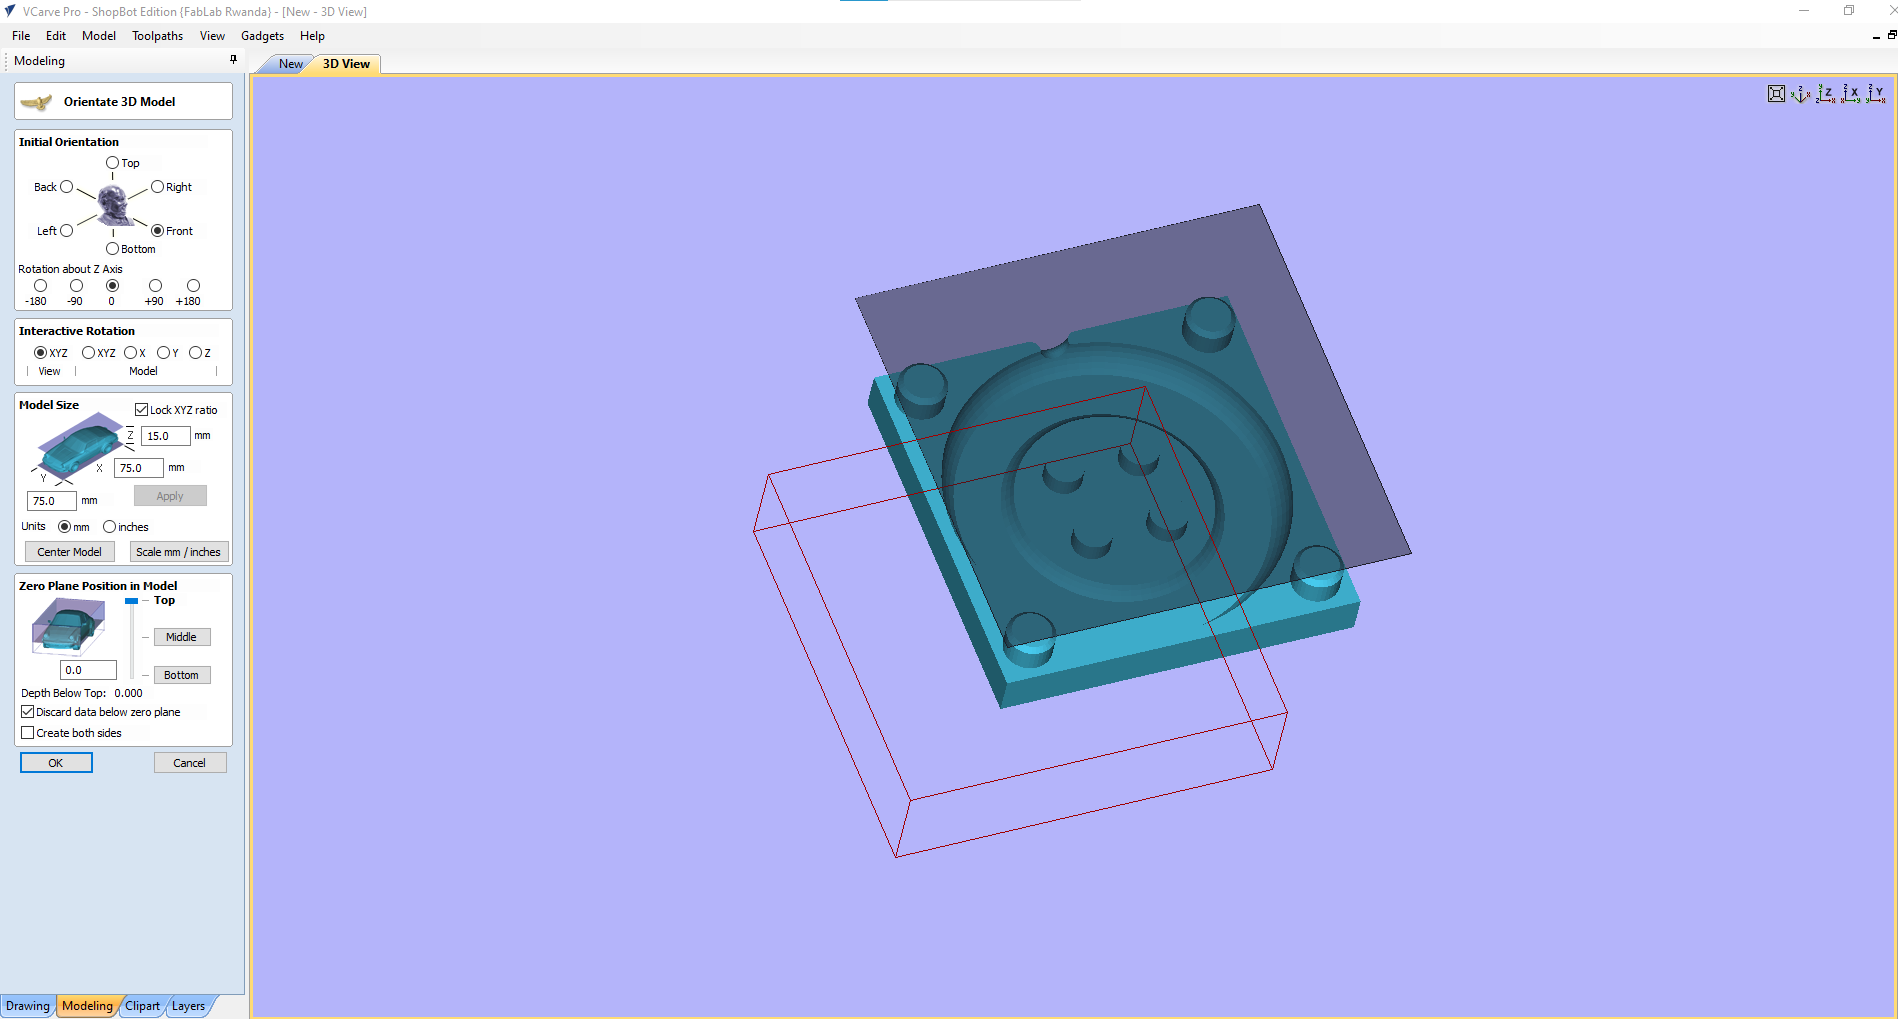
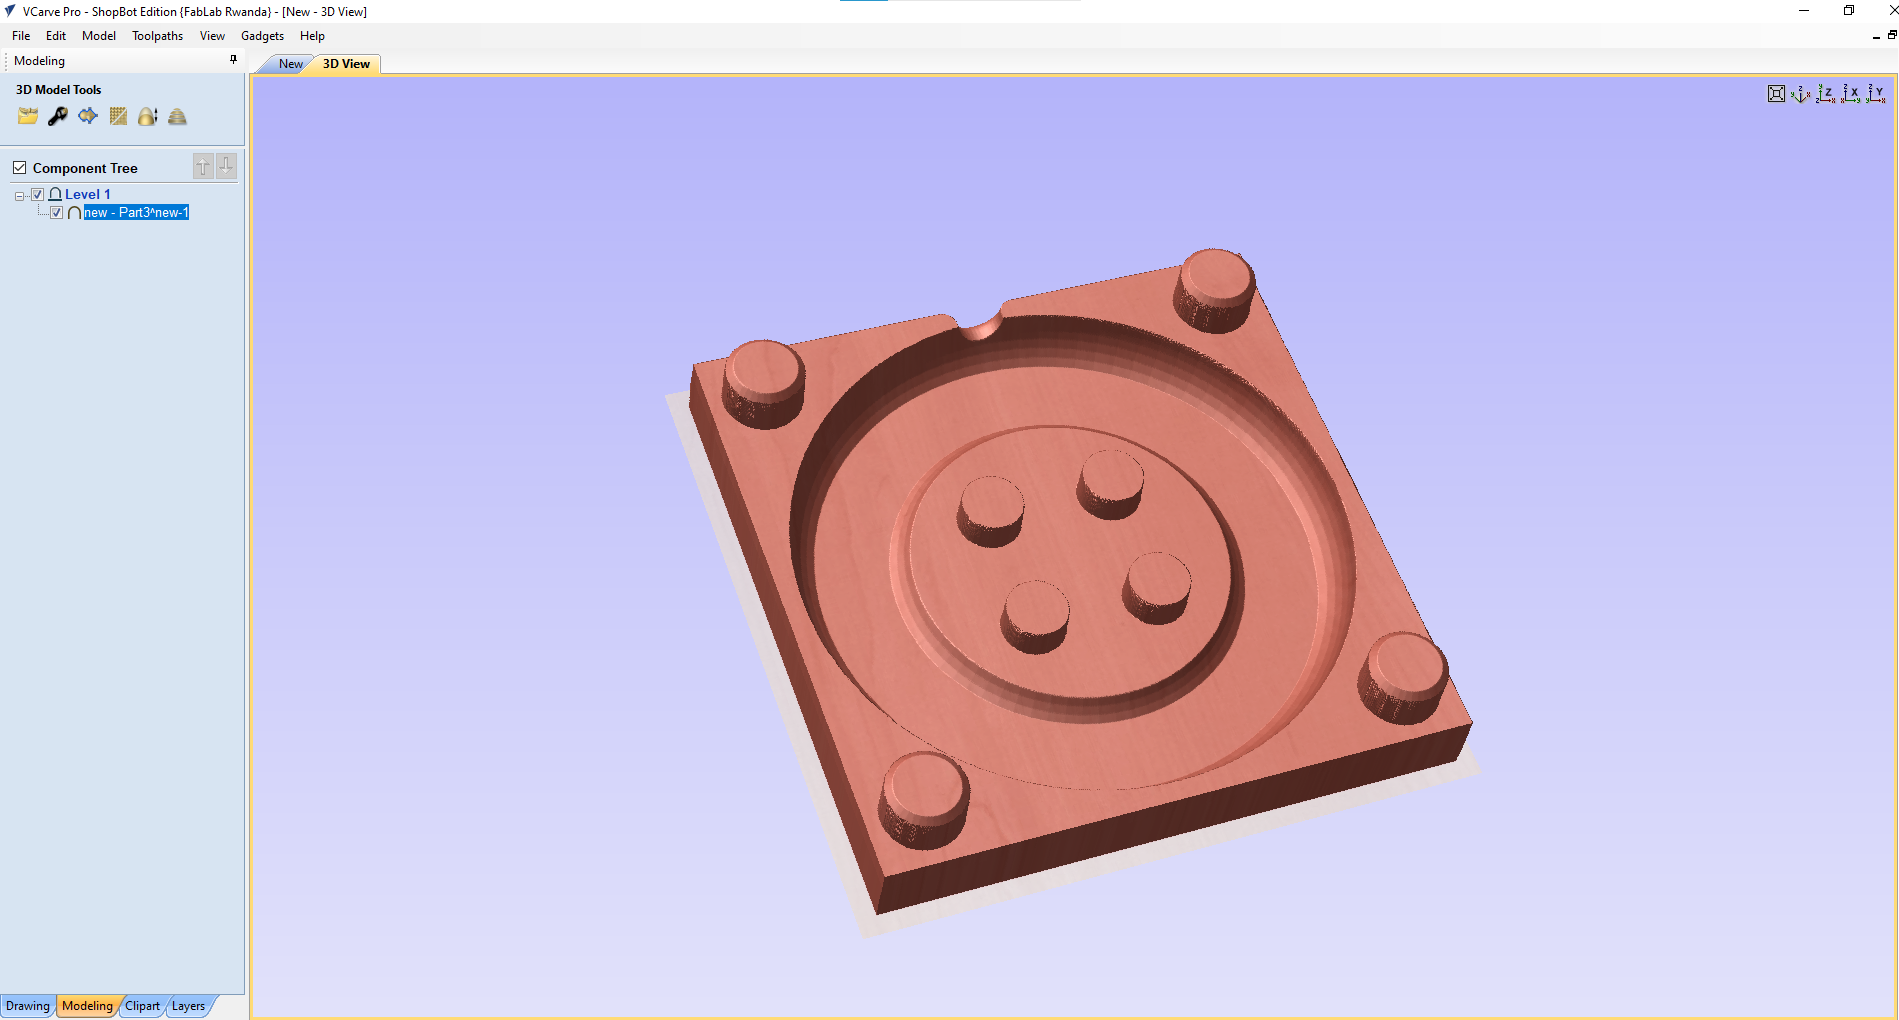 Viewing Oriantation in 3D Model in Vcarve
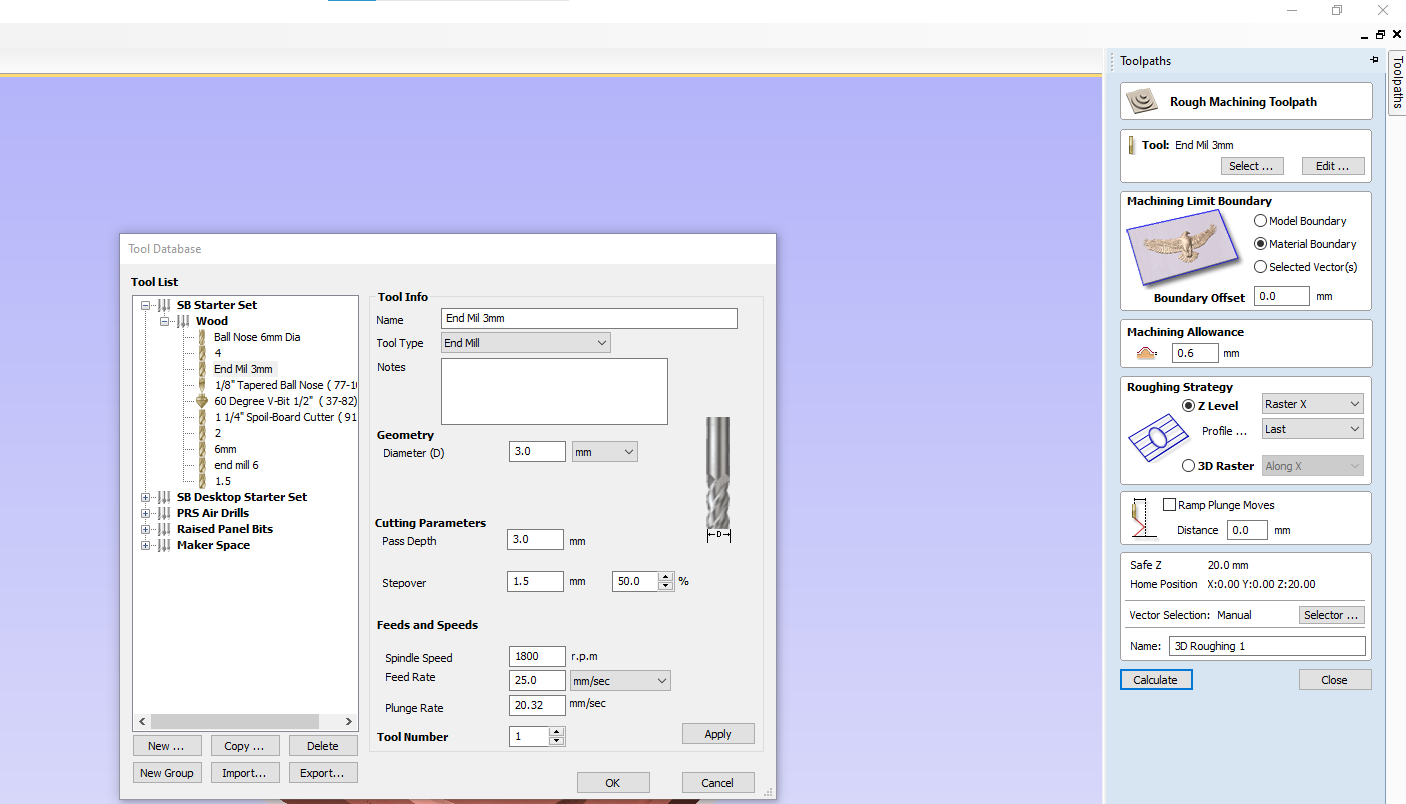
 Selecting Milling Tool in Vcarve
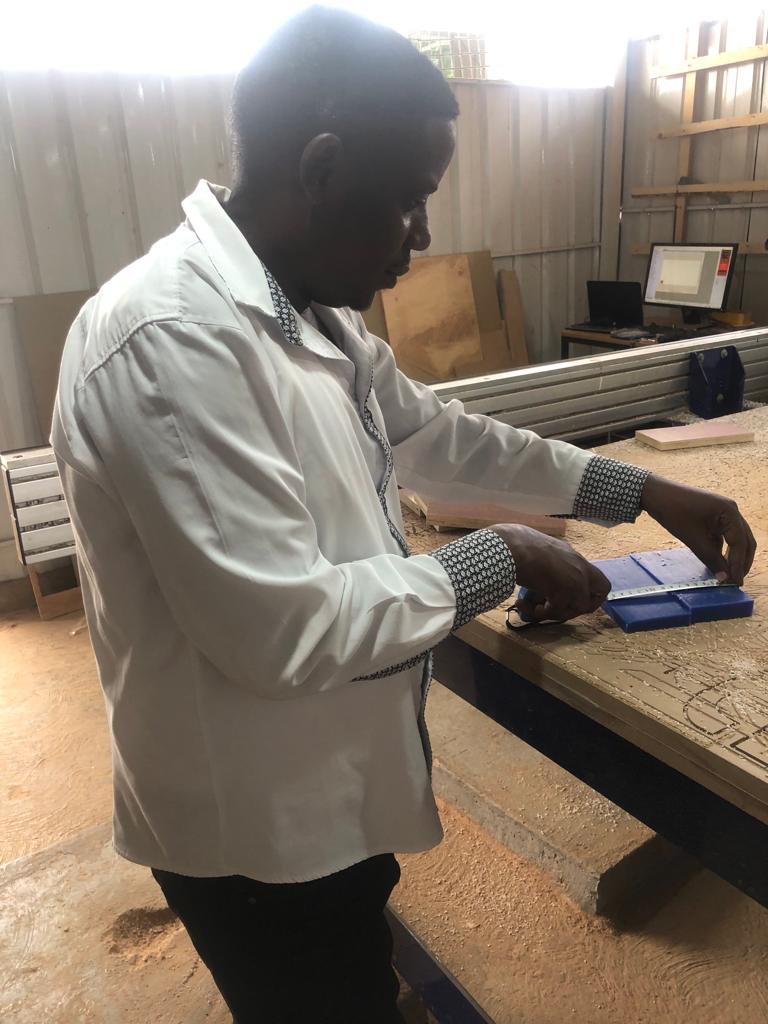
 Here in this vedeo shows how we started preparing our mold.
3D Milling Technics(Rough Cut and Finish Cut)
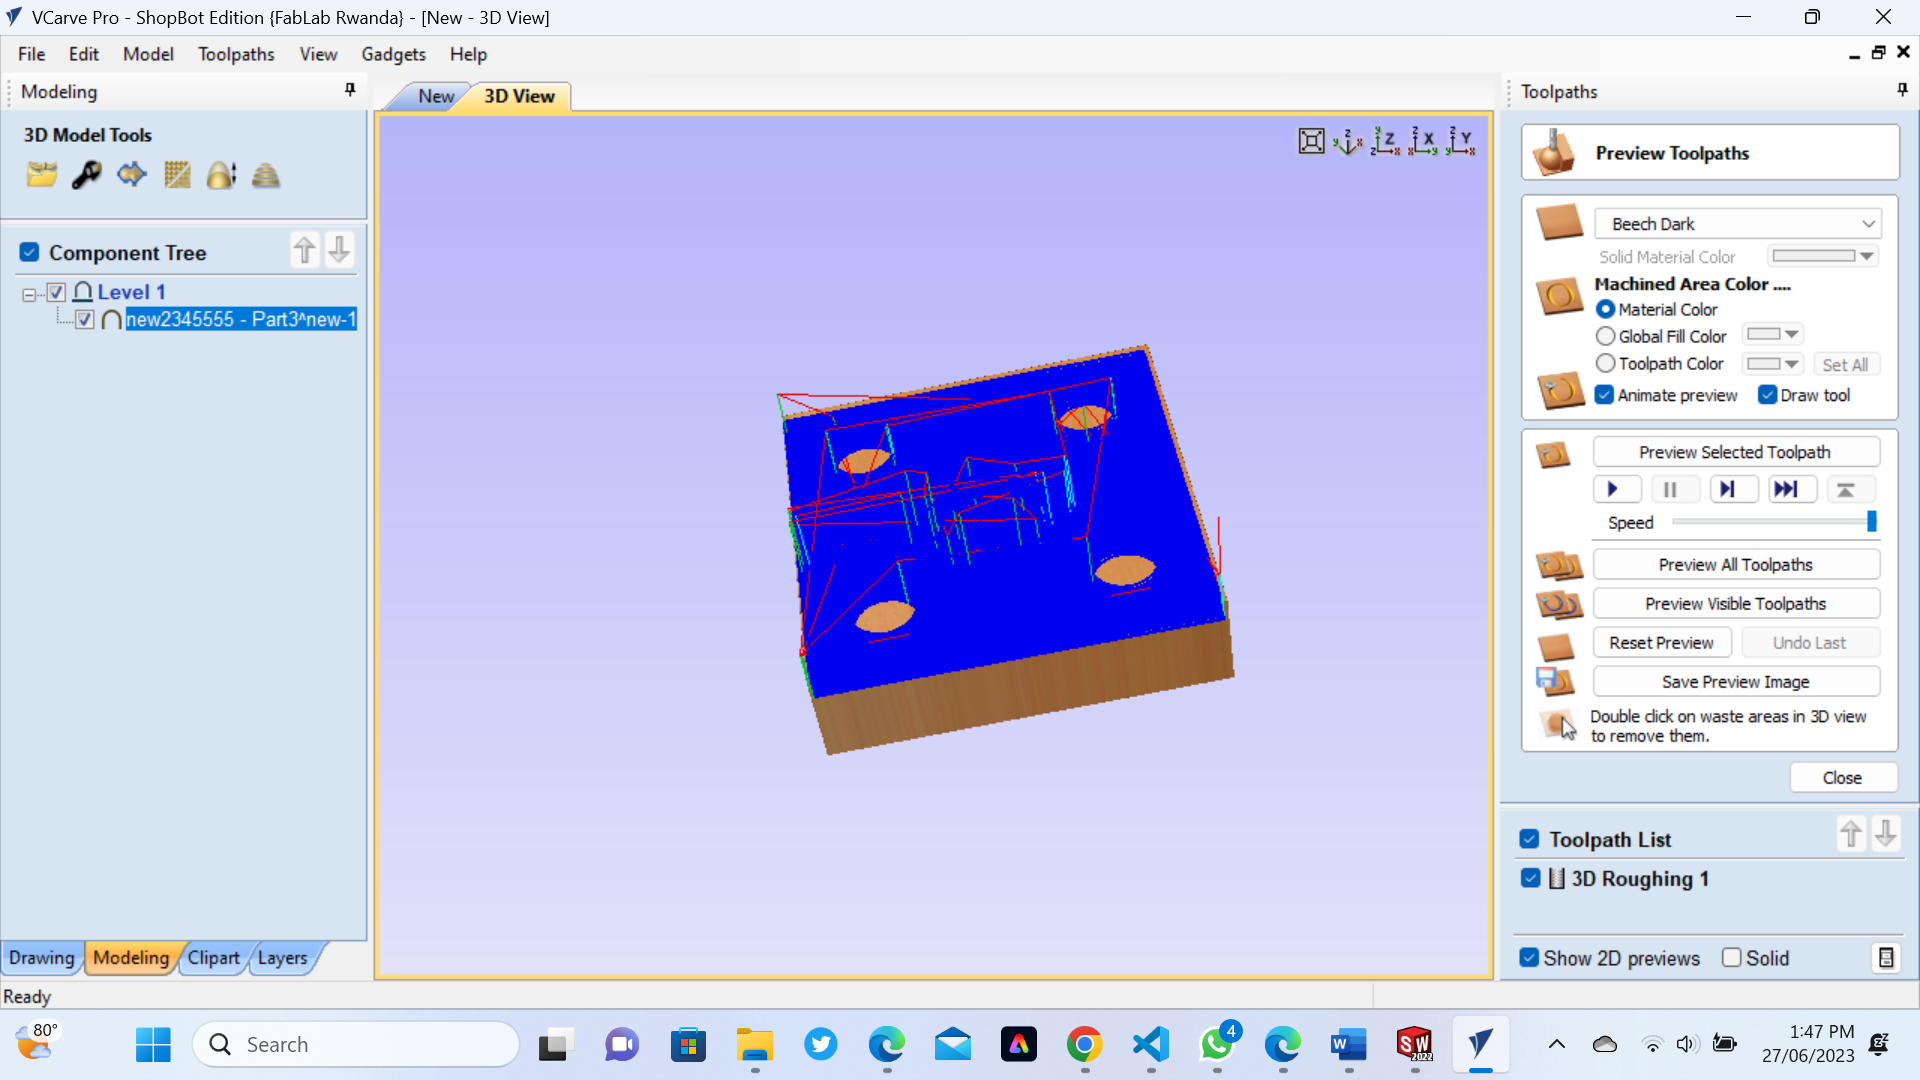
Rough Cut:
The rough cutting stage focuses on quickly removing as much material as possible, typically using larger and more aggressive cutting tools. The goal here is to remove the bulk of the excess material efficiently, leaving behind a rough or semi-finished shape
Here in this vedeo shows how we started preparing our mold.
3D Milling Technics(Rough Cut and Finish Cut)
Rough Cut:
The rough cutting stage focuses on quickly removing as much material as possible, typically using larger and more aggressive cutting tools. The goal here is to remove the bulk of the excess material efficiently, leaving behind a rough or semi-finished shape
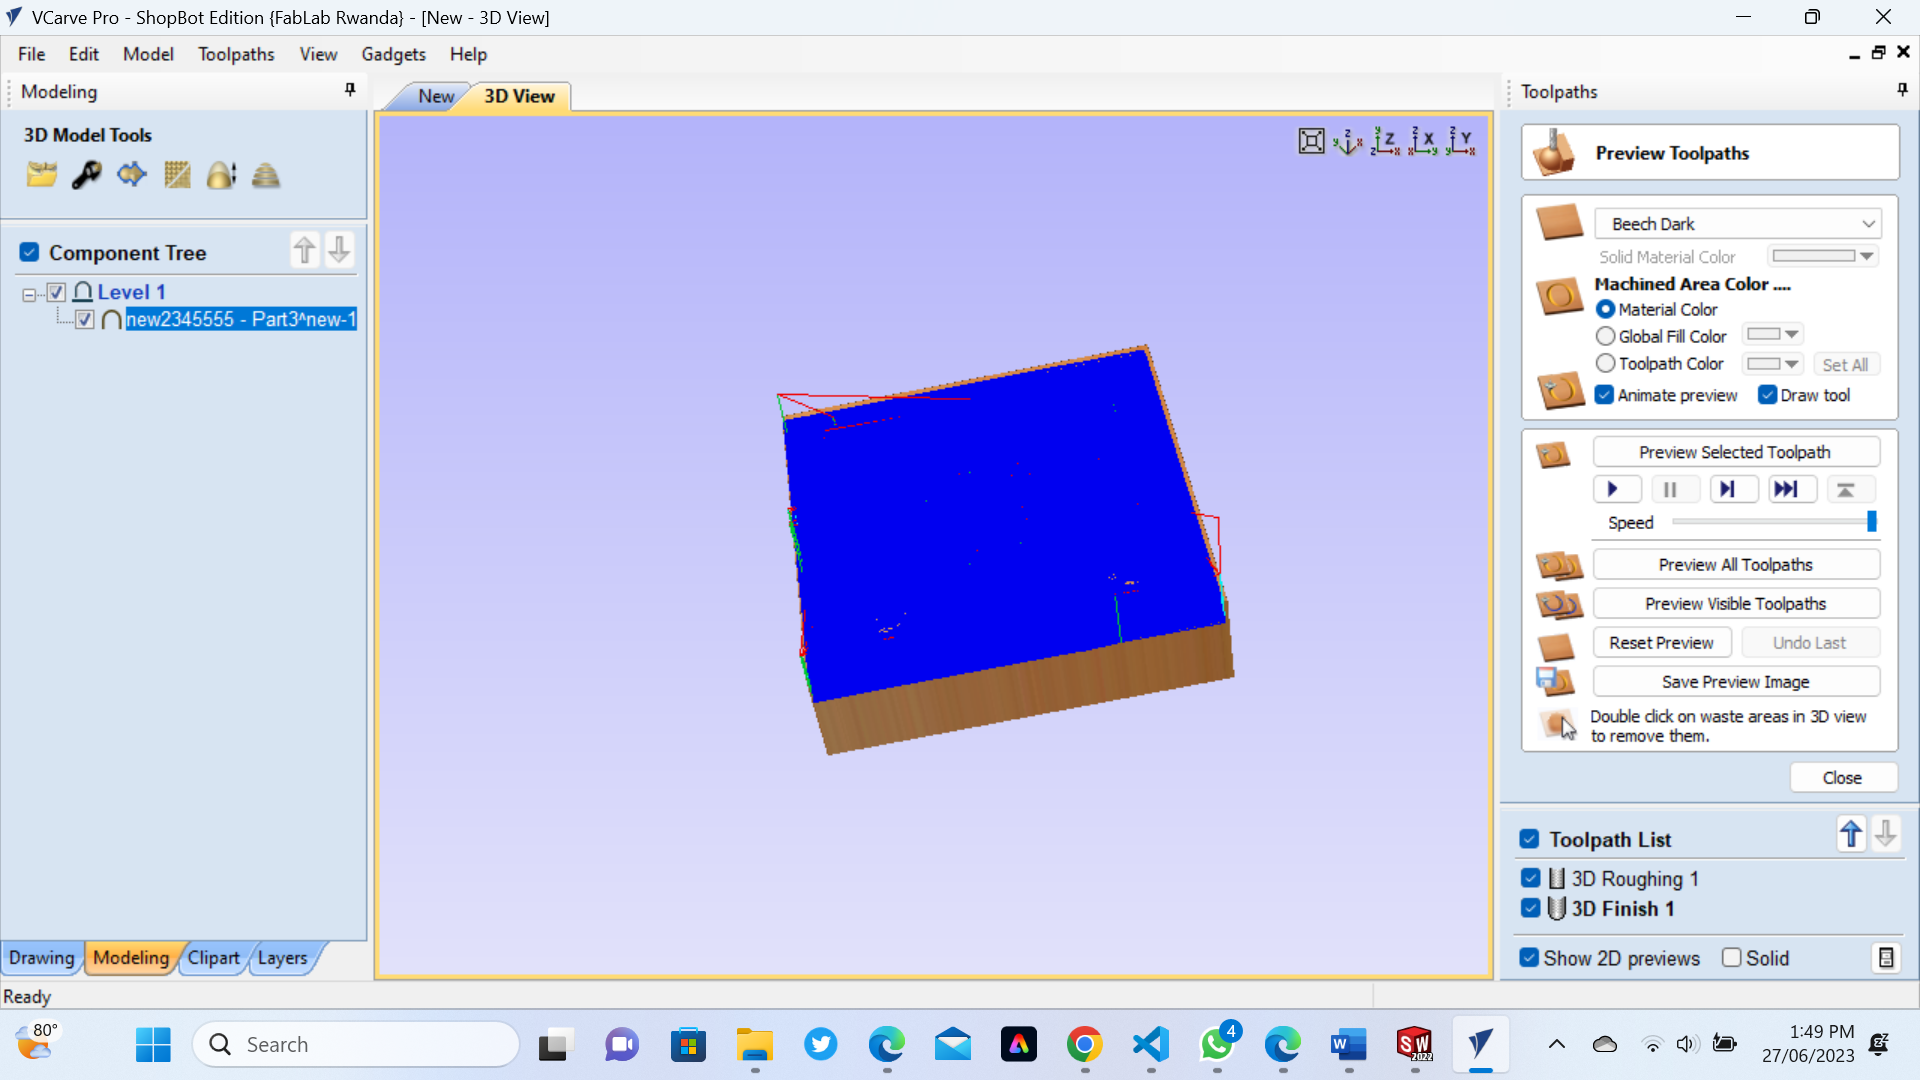
 Finish Cut:
Once the rough cut is completed, the finish cutting stage begins. This stage is concerned with refining the shape and achieving the desired level of detail and surface quality. Smaller and more precise cutting tools are employed for this stage. The finish cut involves smaller stepovers, shallower depths of cut, and lower cutting speeds. It focuses on removing smaller amounts of material and producing a smooth, precise surface finish.
Finish Cut:
Once the rough cut is completed, the finish cutting stage begins. This stage is concerned with refining the shape and achieving the desired level of detail and surface quality. Smaller and more precise cutting tools are employed for this stage. The finish cut involves smaller stepovers, shallower depths of cut, and lower cutting speeds. It focuses on removing smaller amounts of material and producing a smooth, precise surface finish.
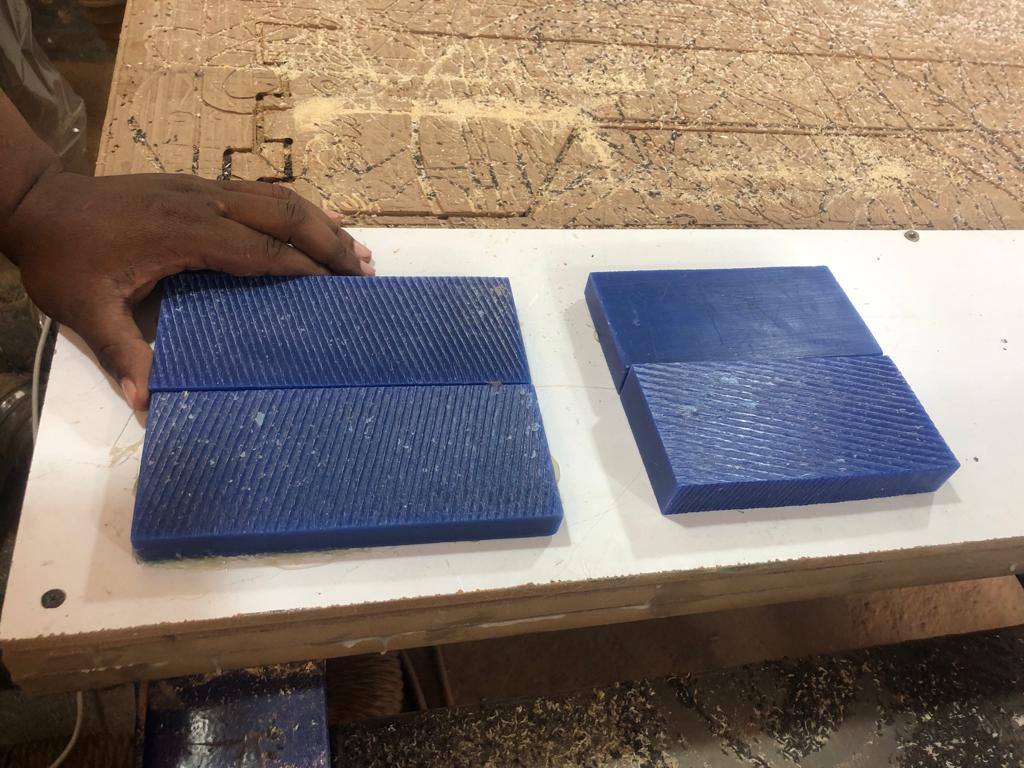
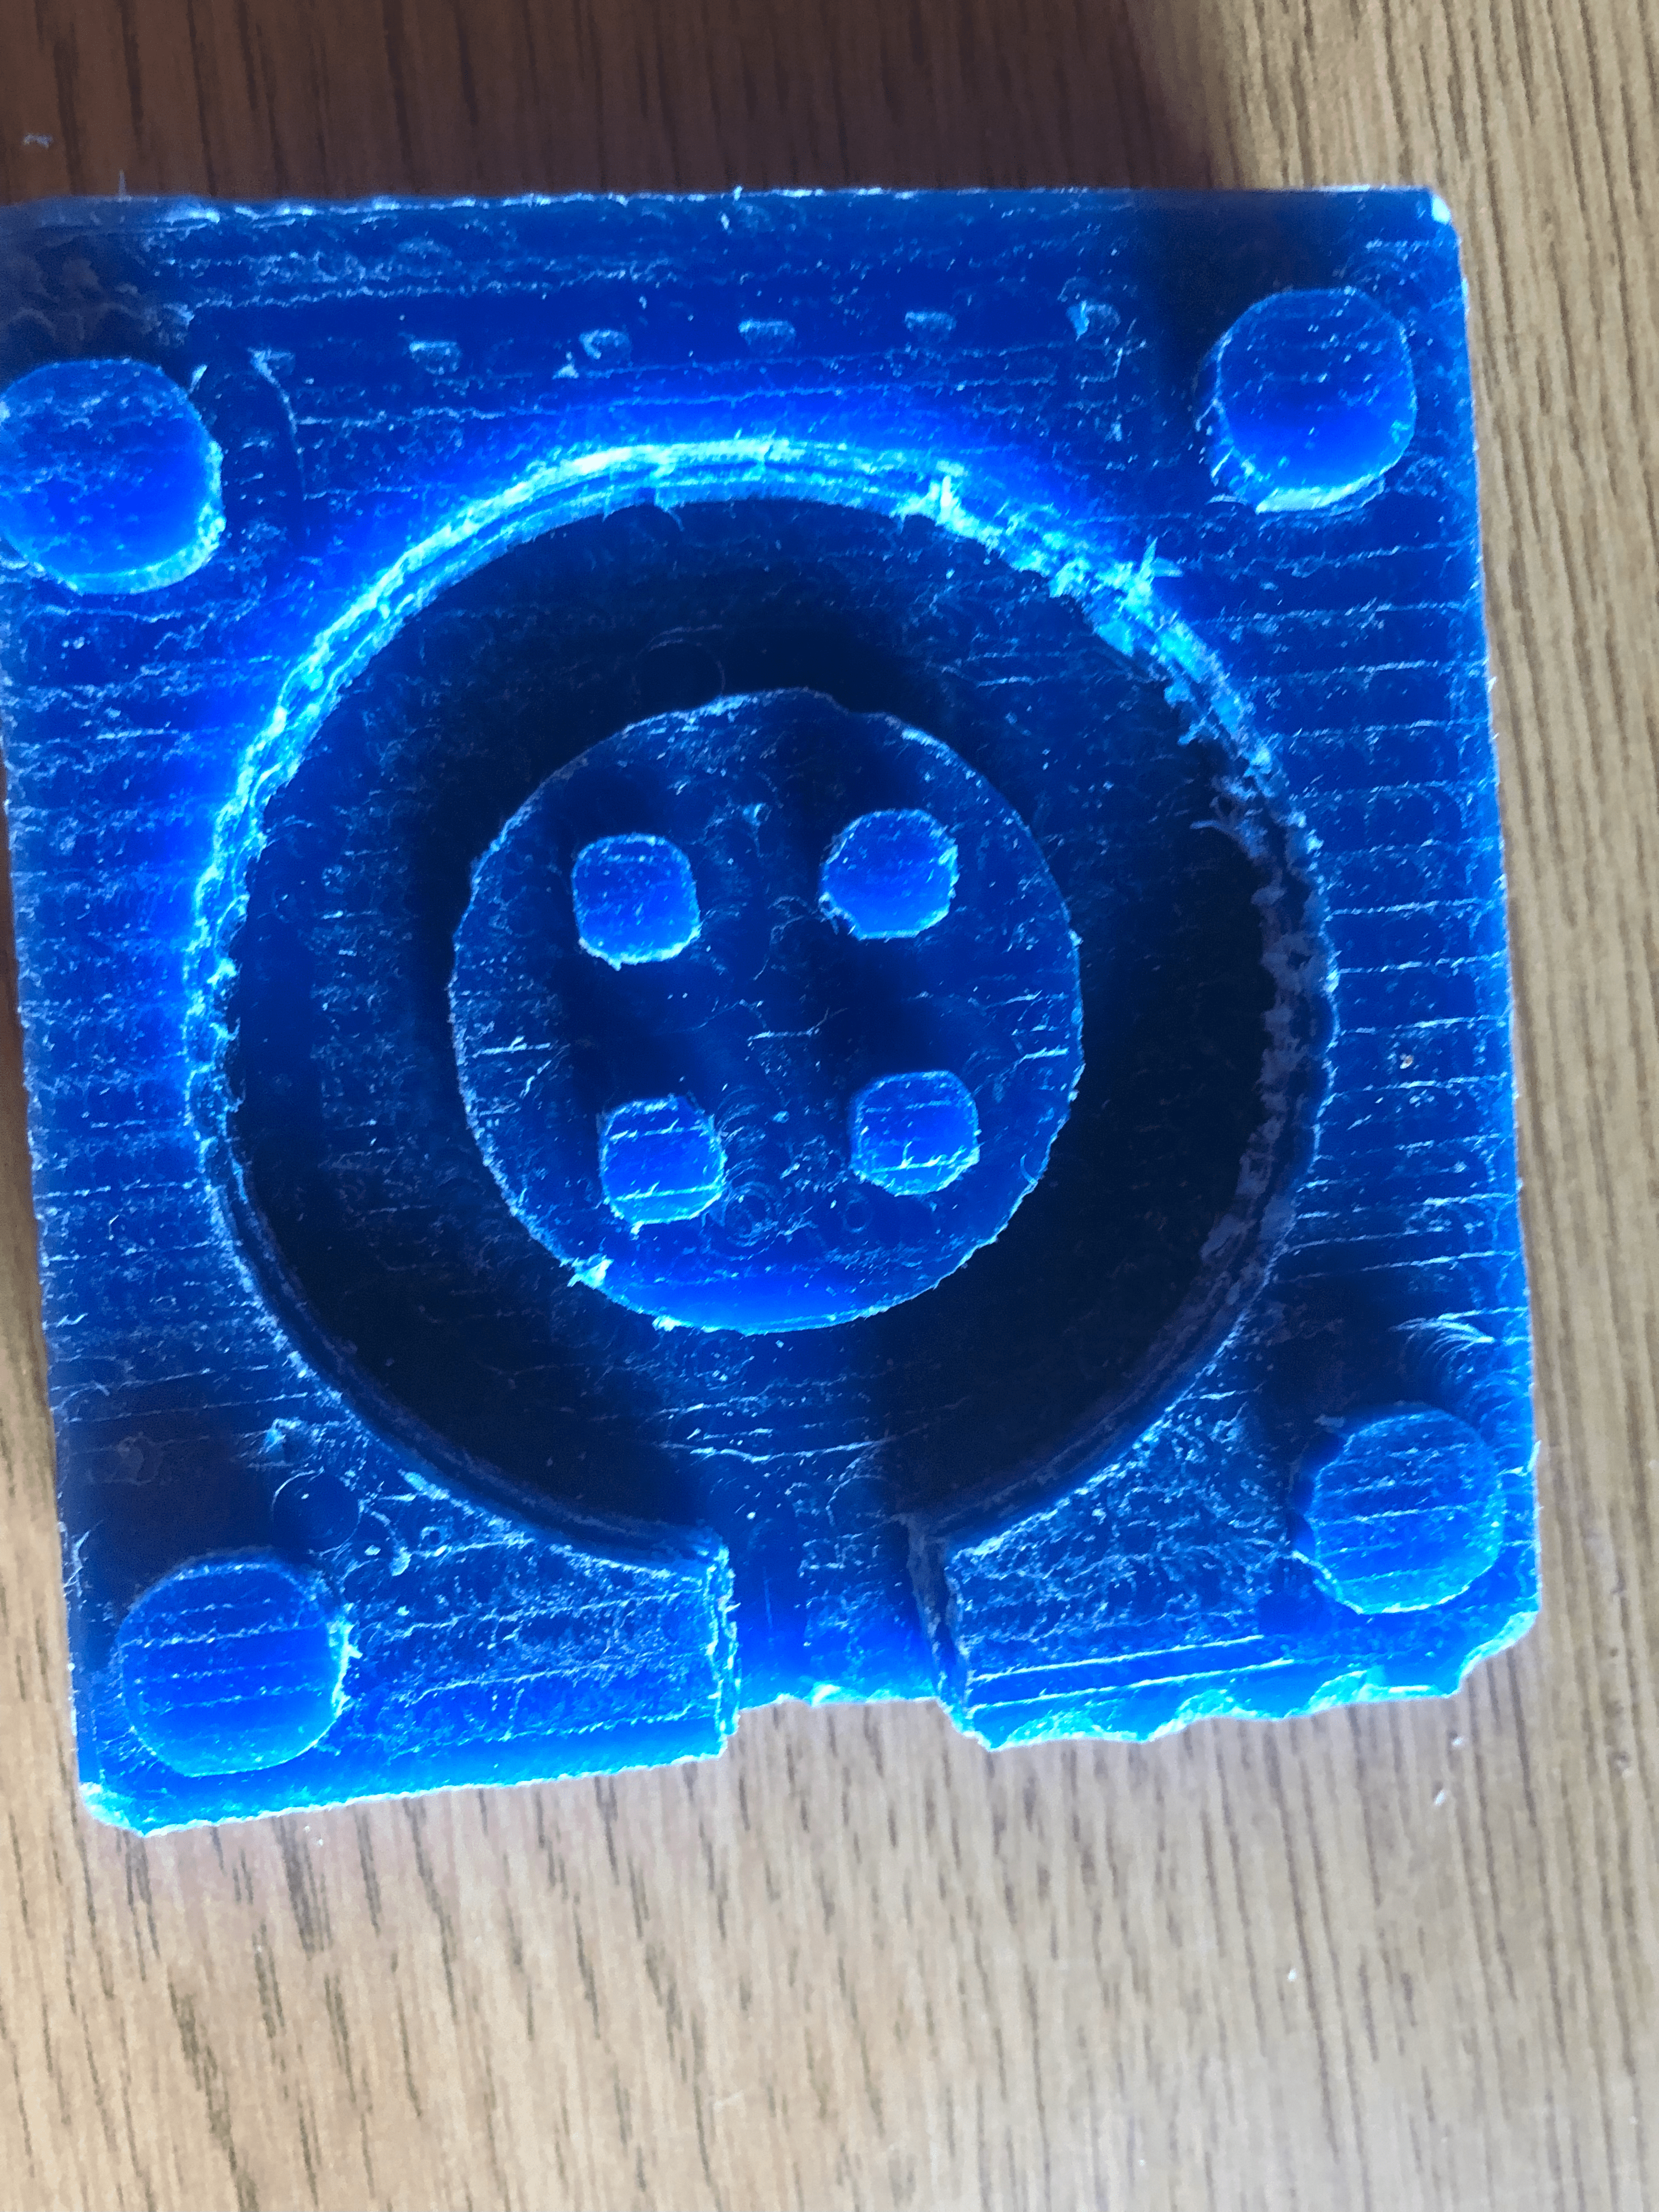
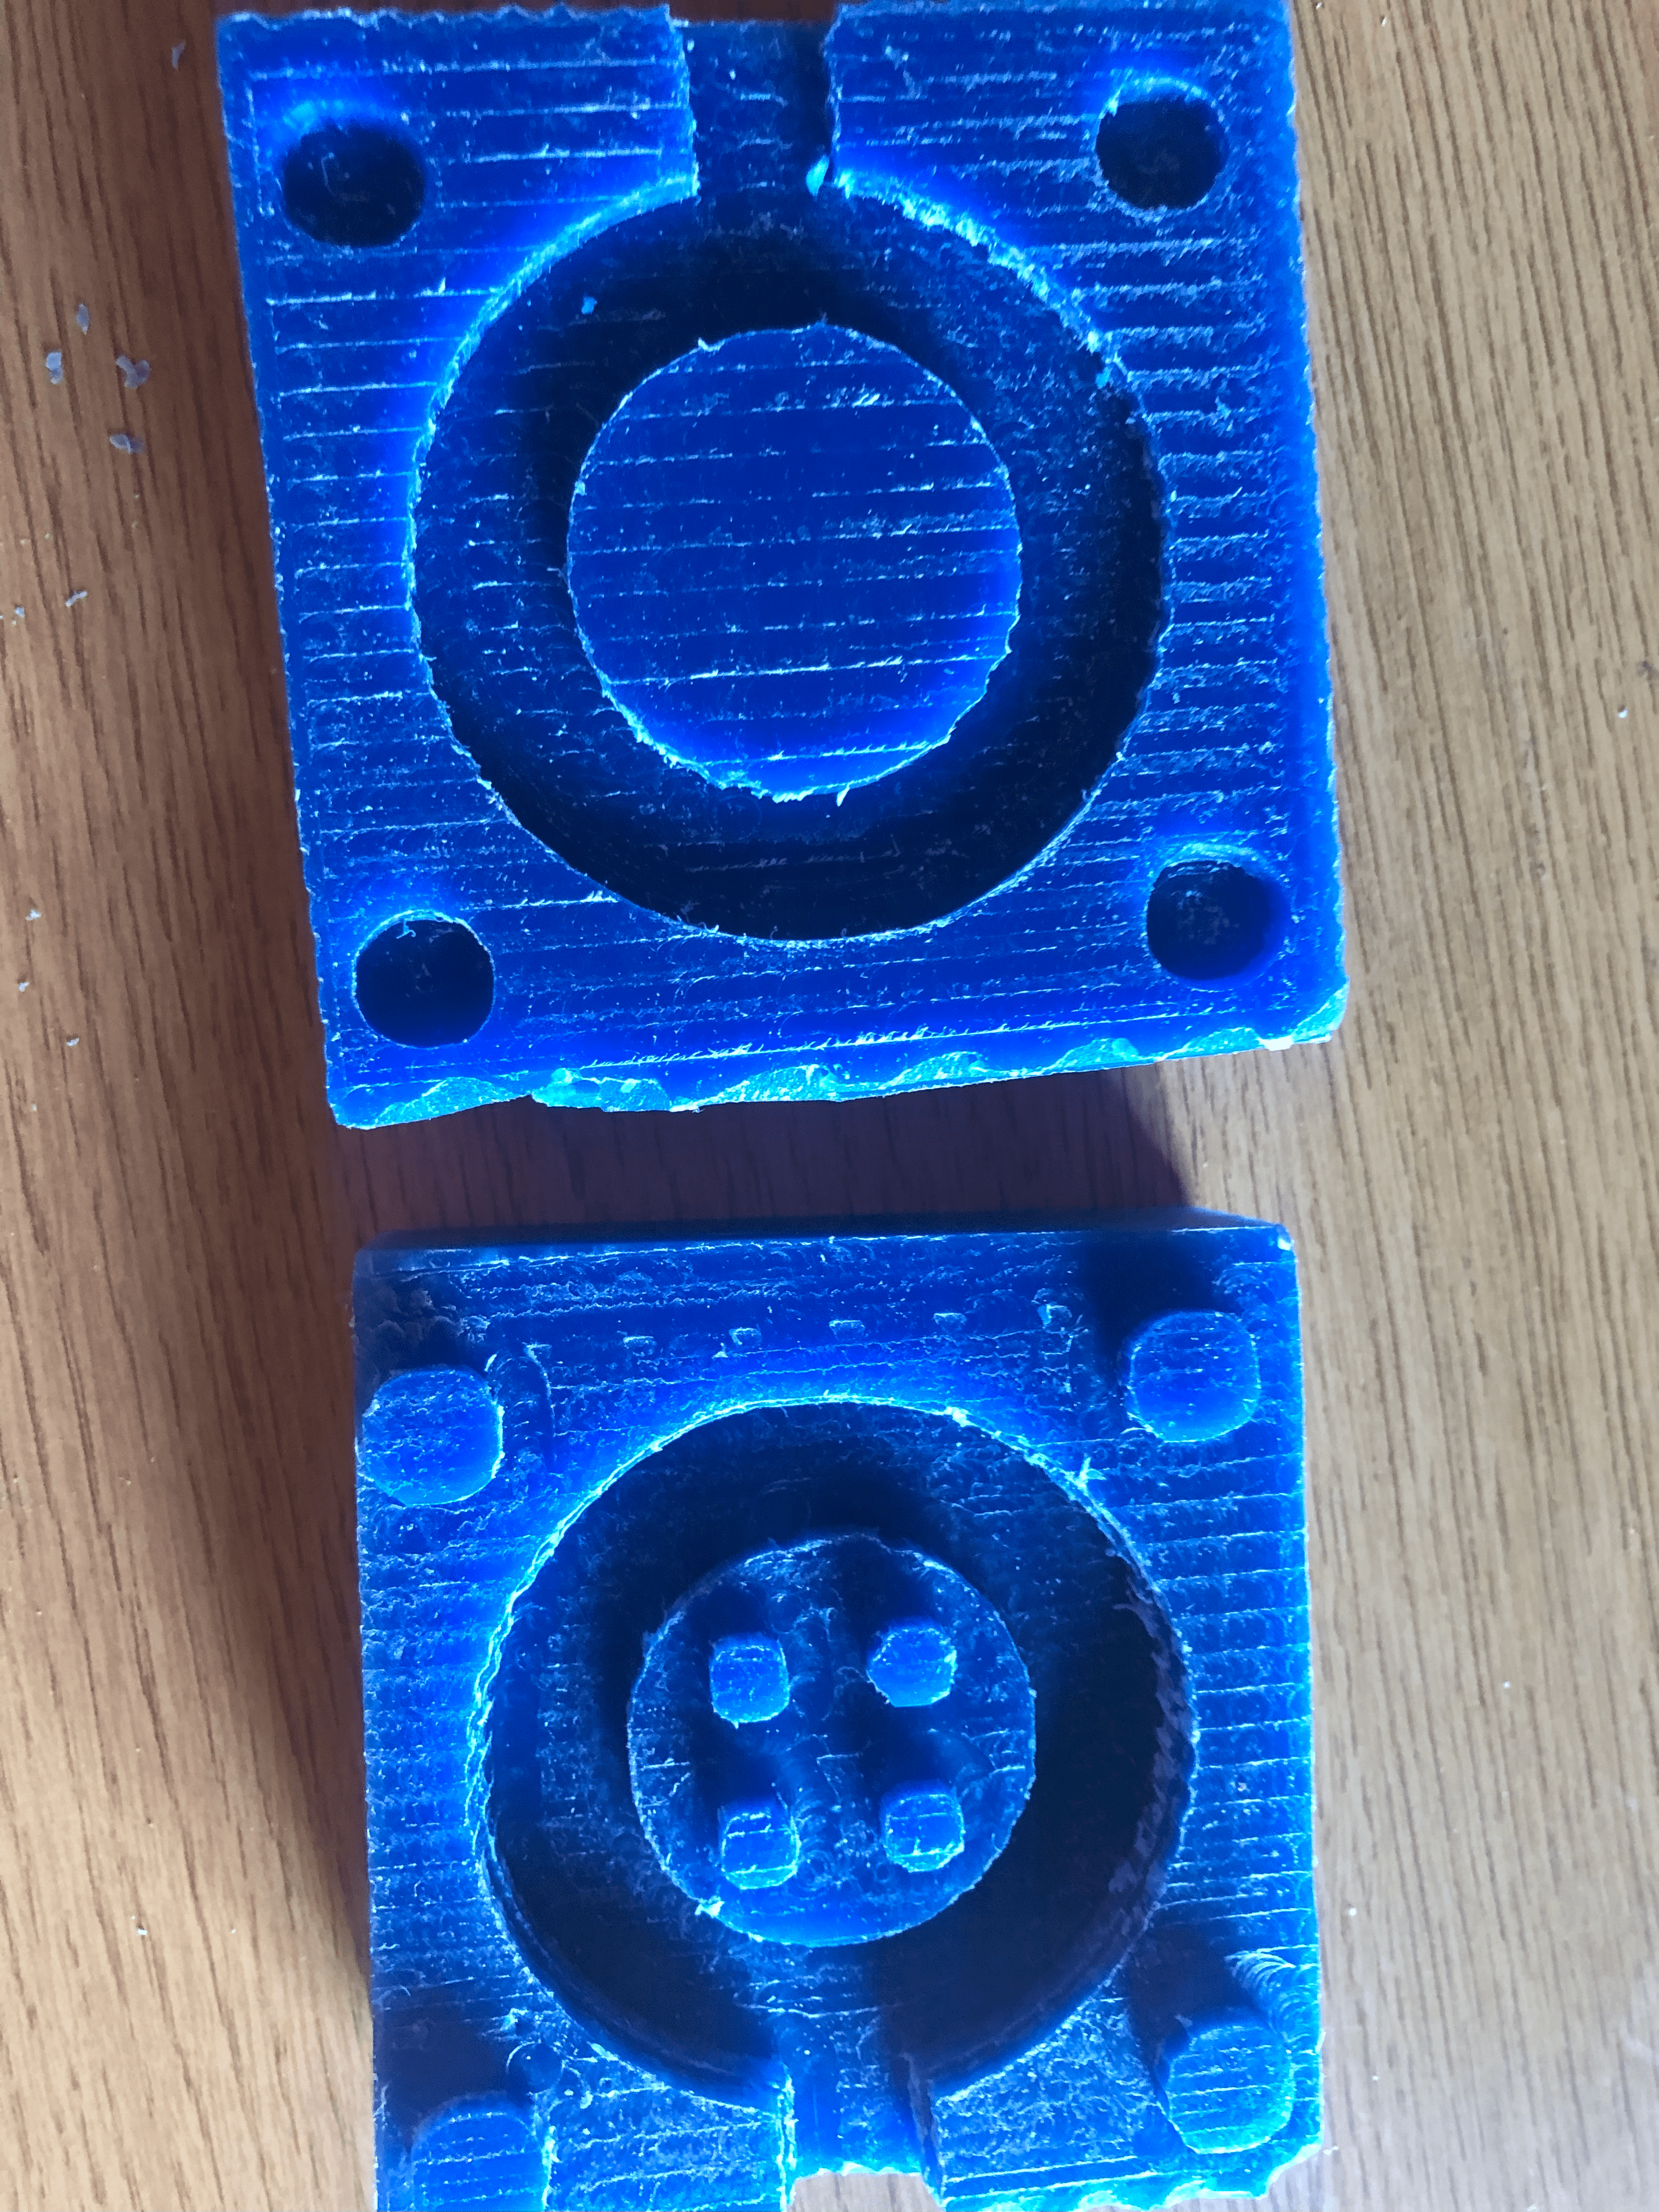
 View of WAX after cutting and Milling (Rough Cut)
 The Problems I faced when I milling Cut the wax on CNC and how I fixed it
During 3D milling Cut we dont have Finishing End Mill tool which is why we used rough cut only.
How I fixed the above challenges
I used Using wooden razor to make my Mold to becomes very smooth
The Problems I faced when I milling Cut the wax on CNC and how I fixed it
During 3D milling Cut we dont have Finishing End Mill tool which is why we used rough cut only.
How I fixed the above challenges
I used Using wooden razor to make my Mold to becomes very smooth
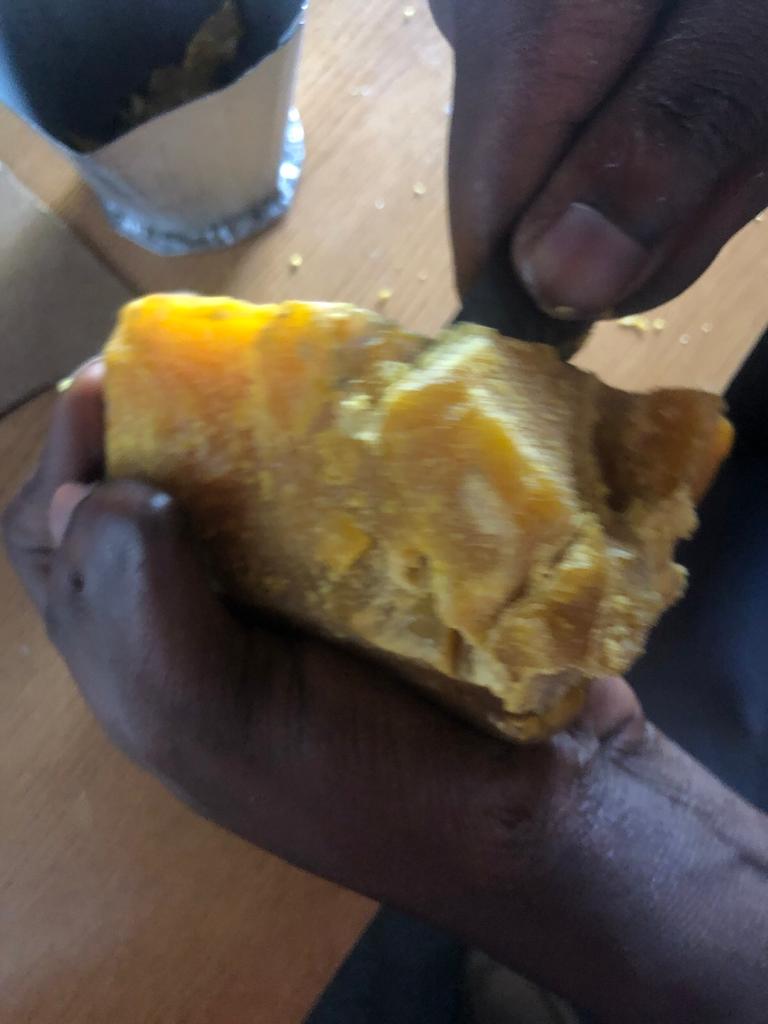
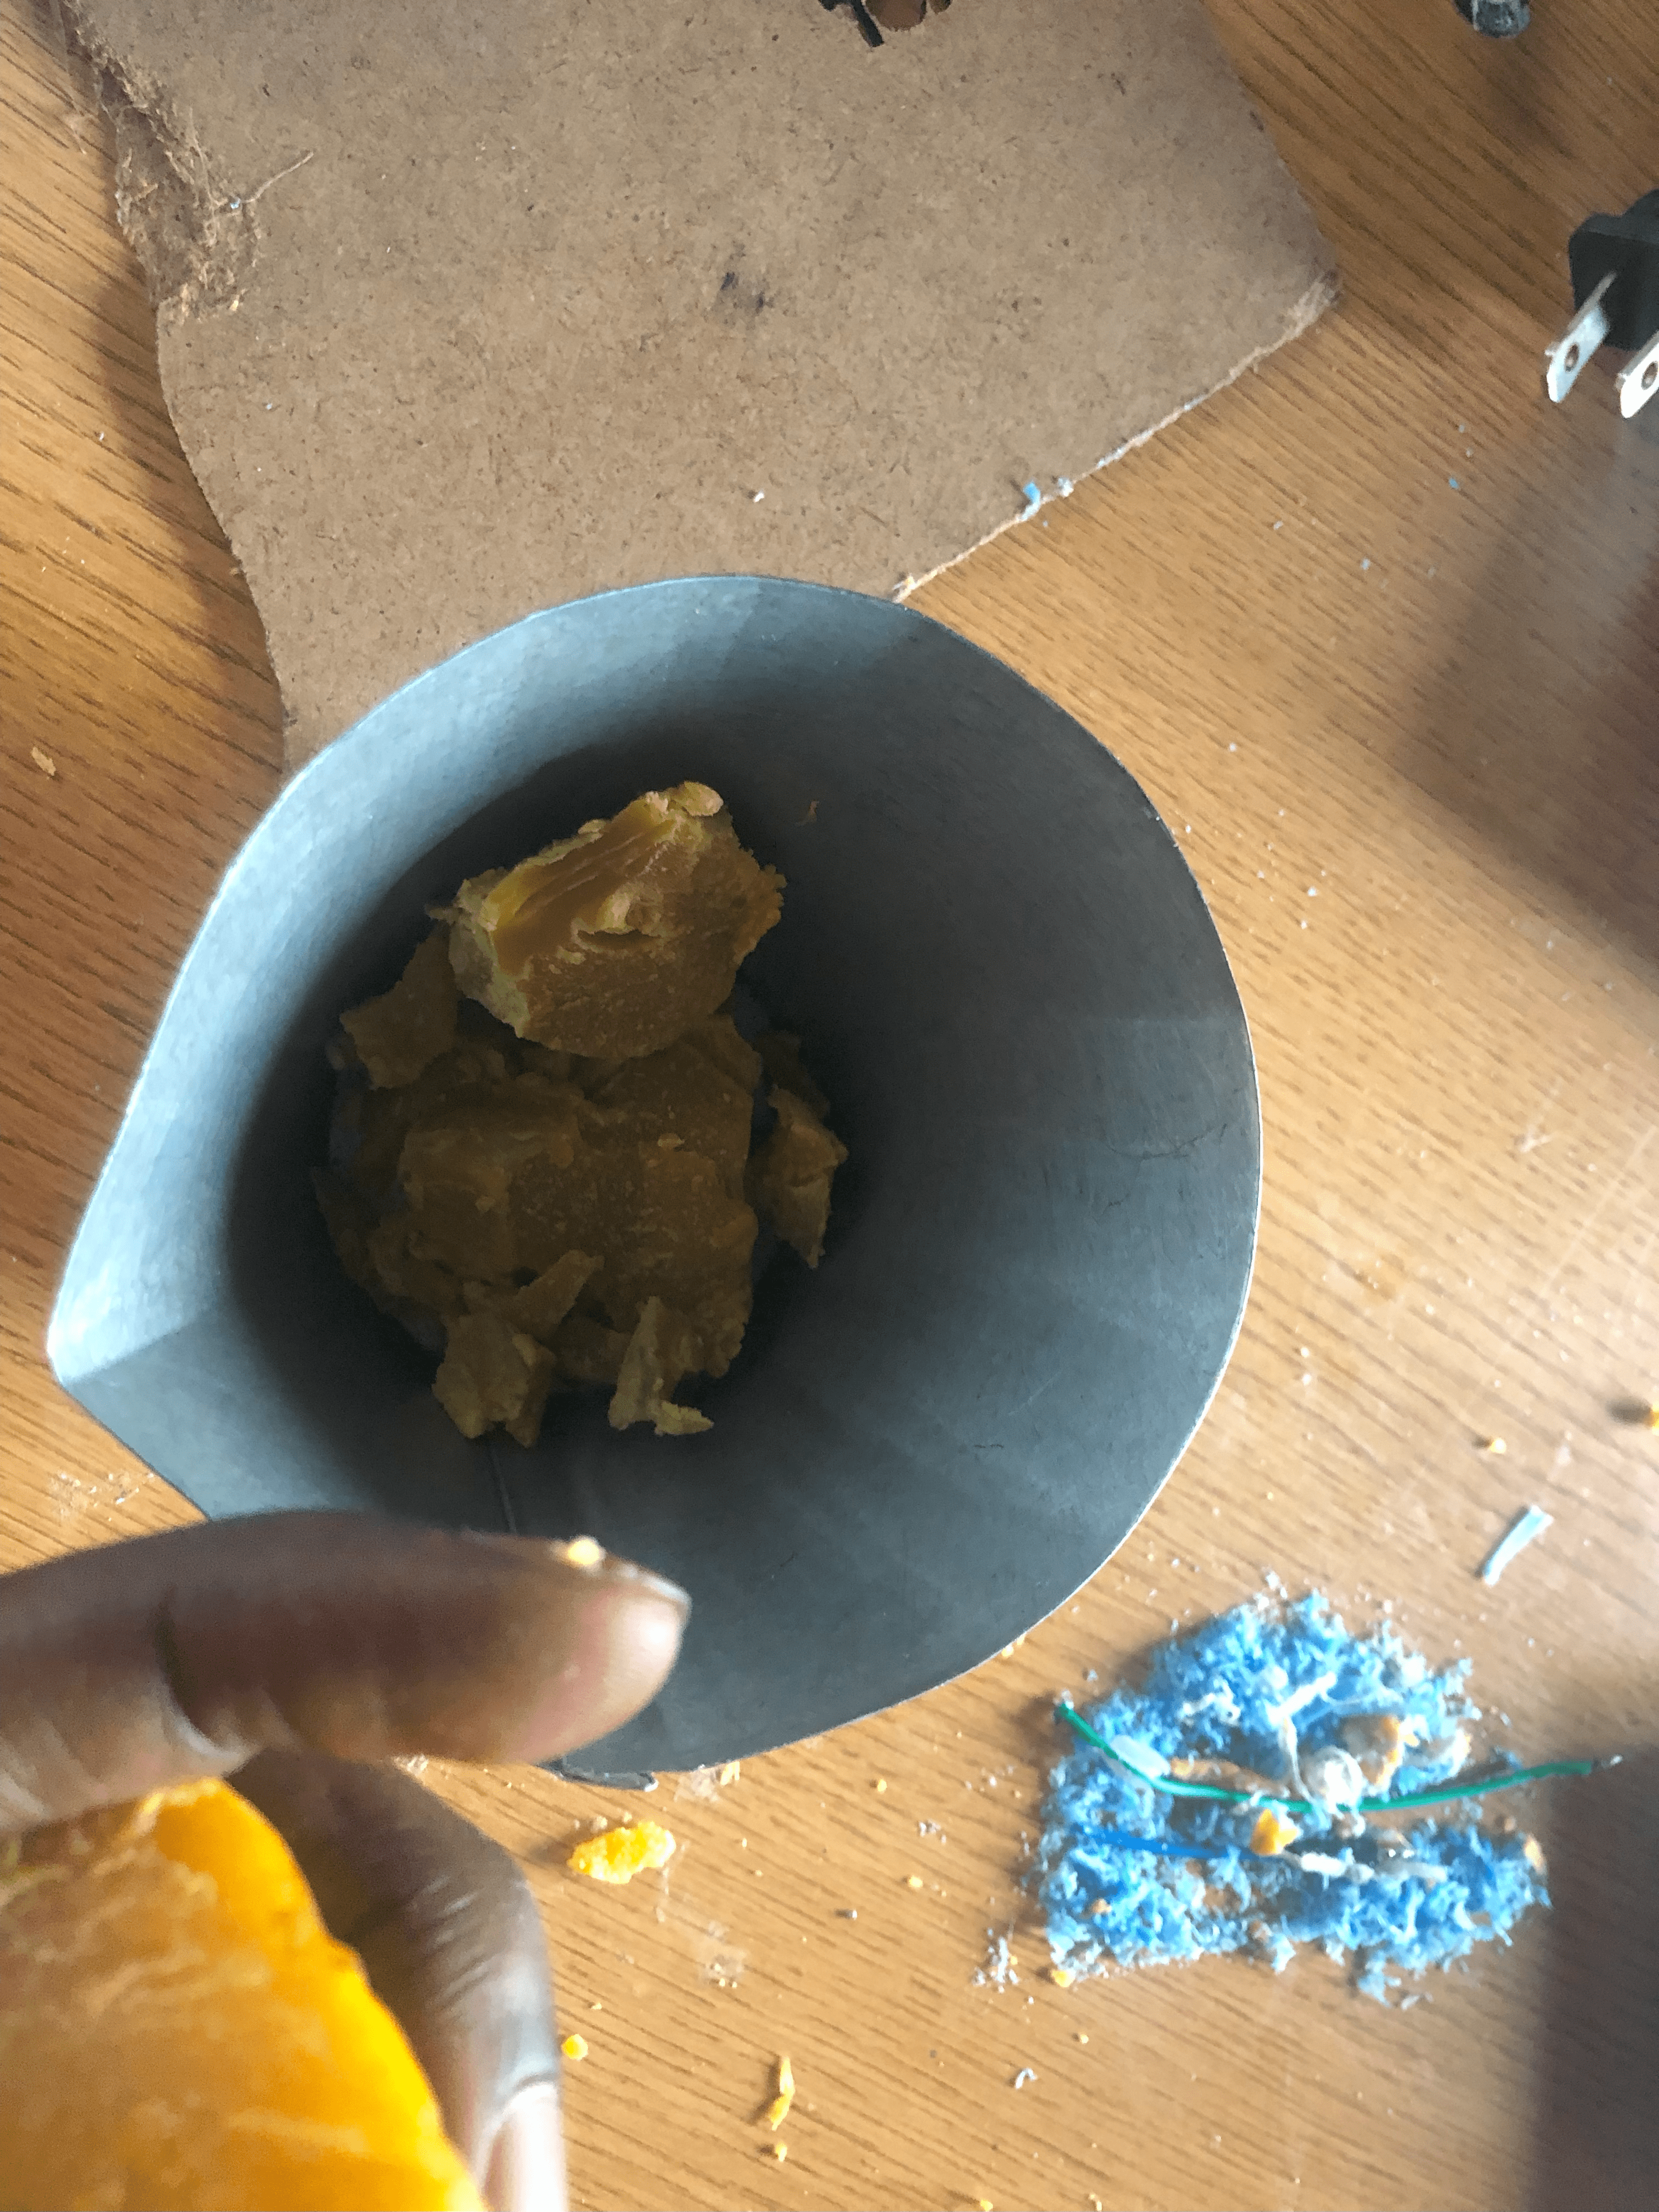
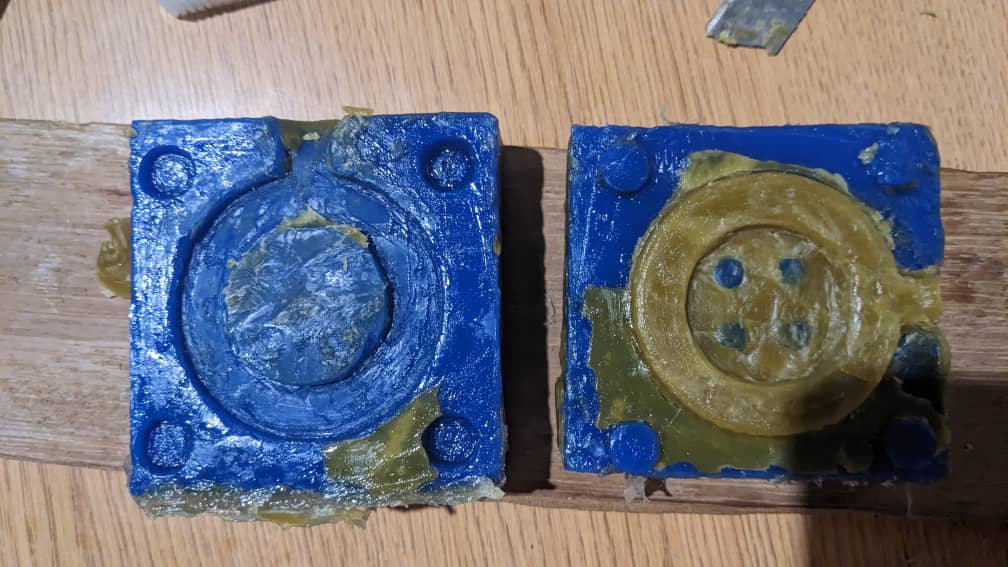
 Viewing Mold which will mealt
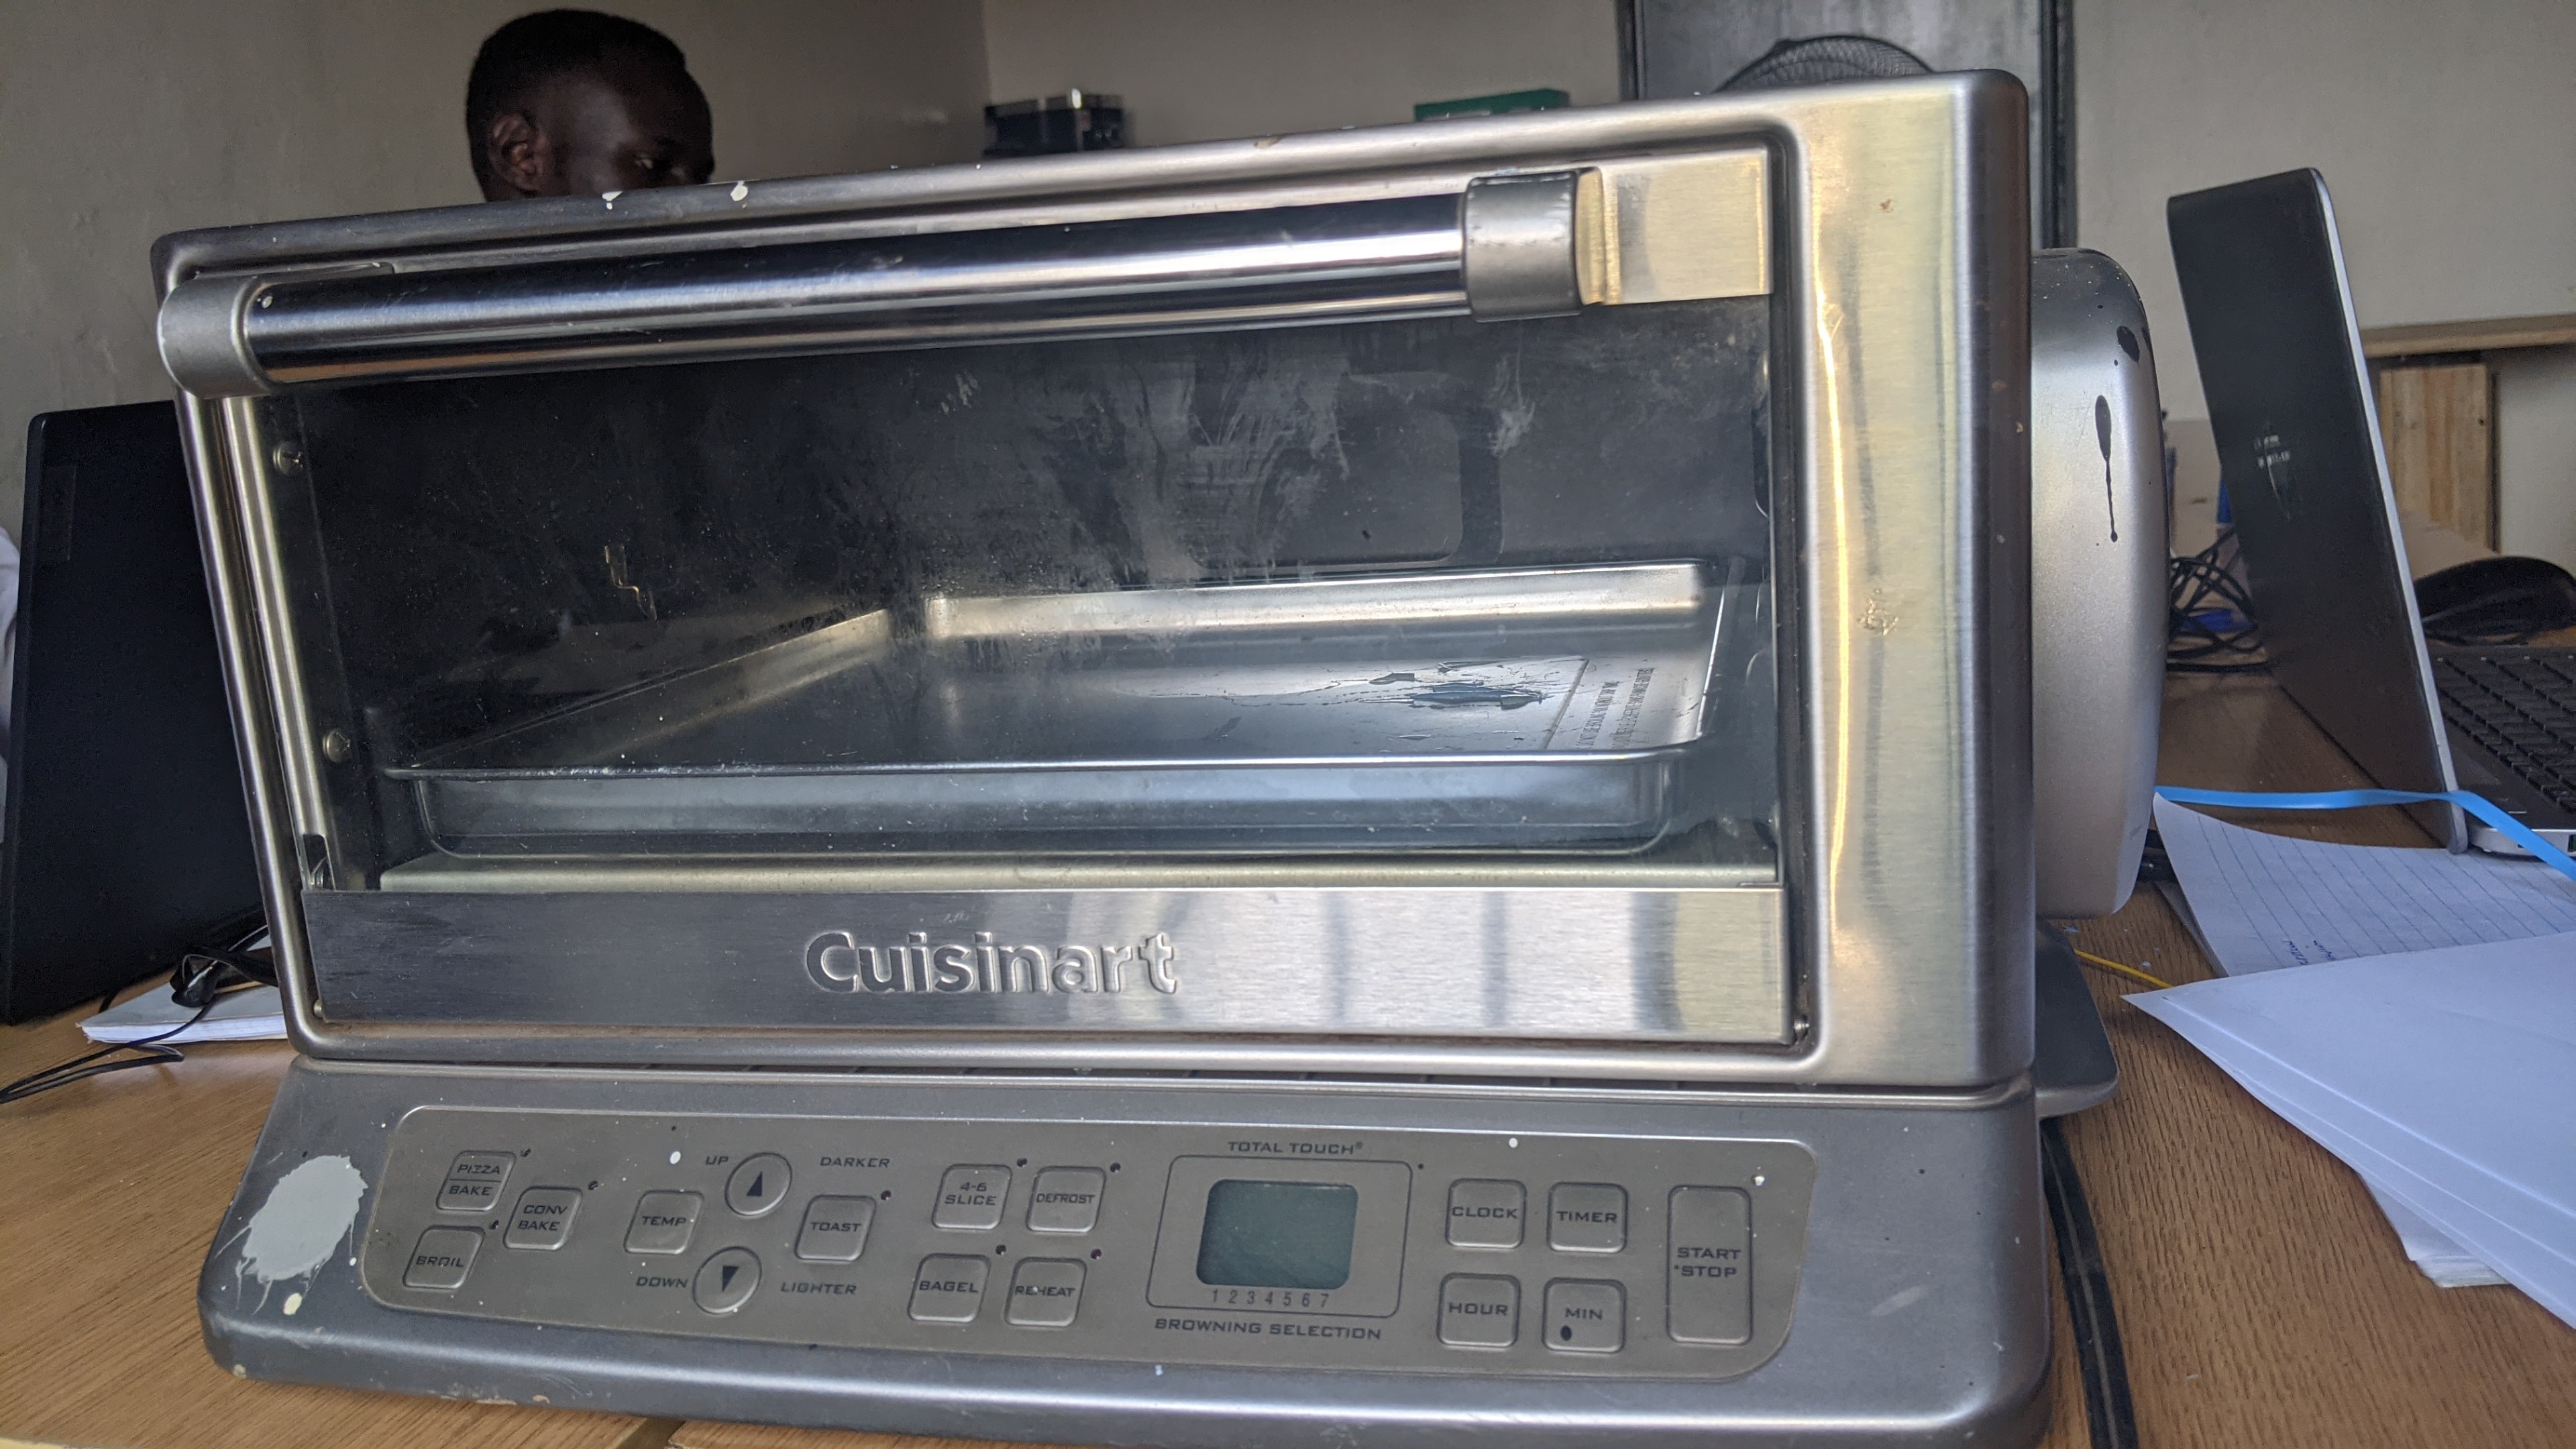
 The Machine used for mealting WAX
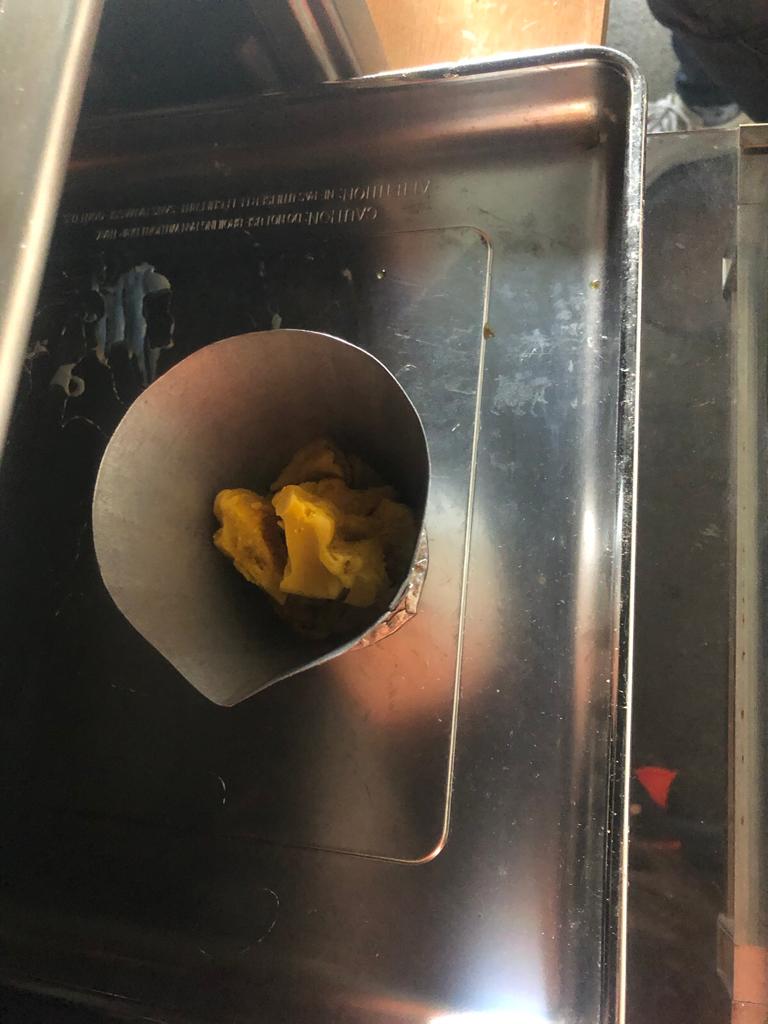 After mealting WAX on 150 Degree Celcius
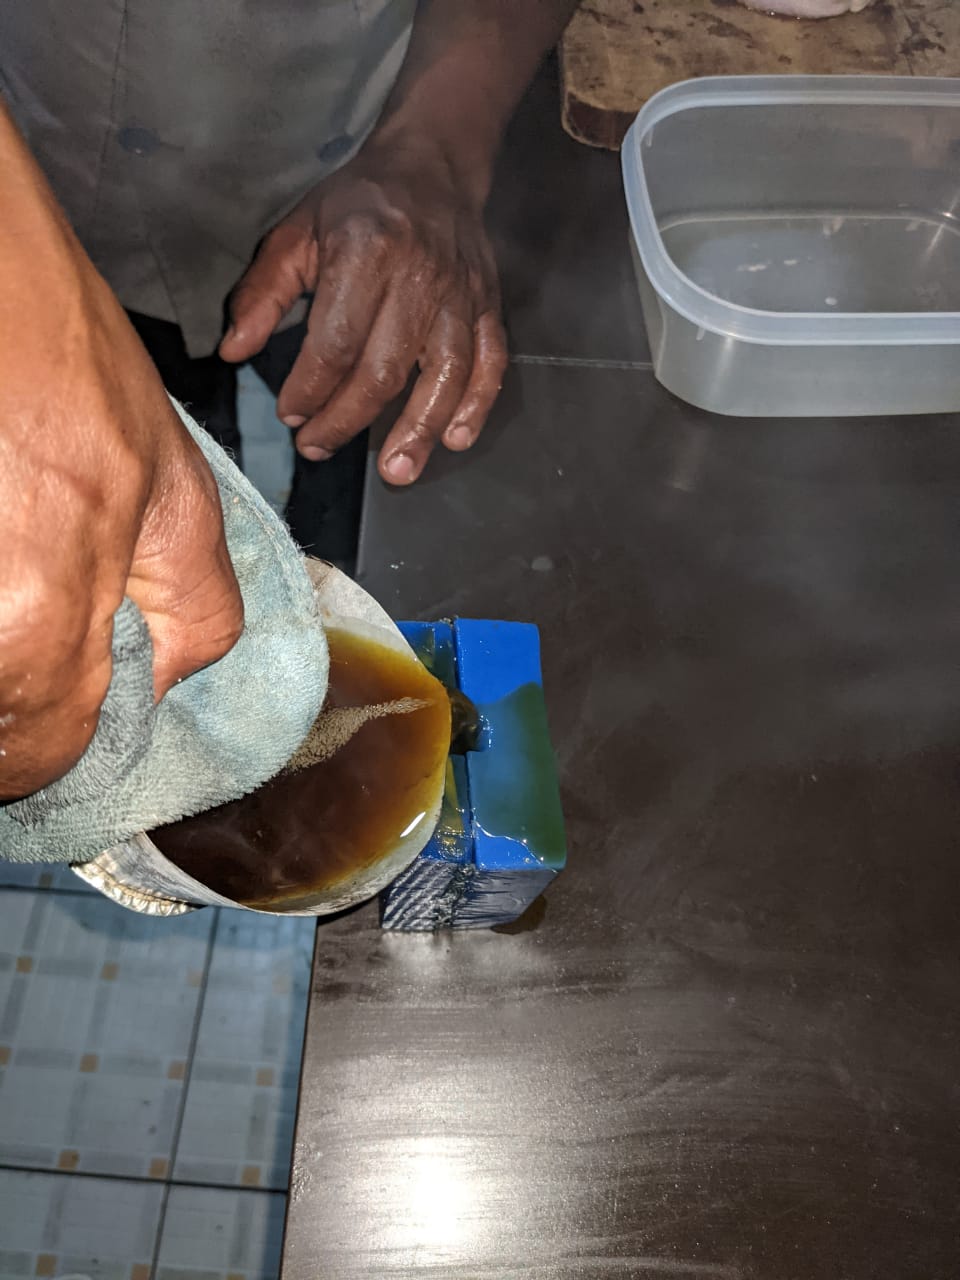
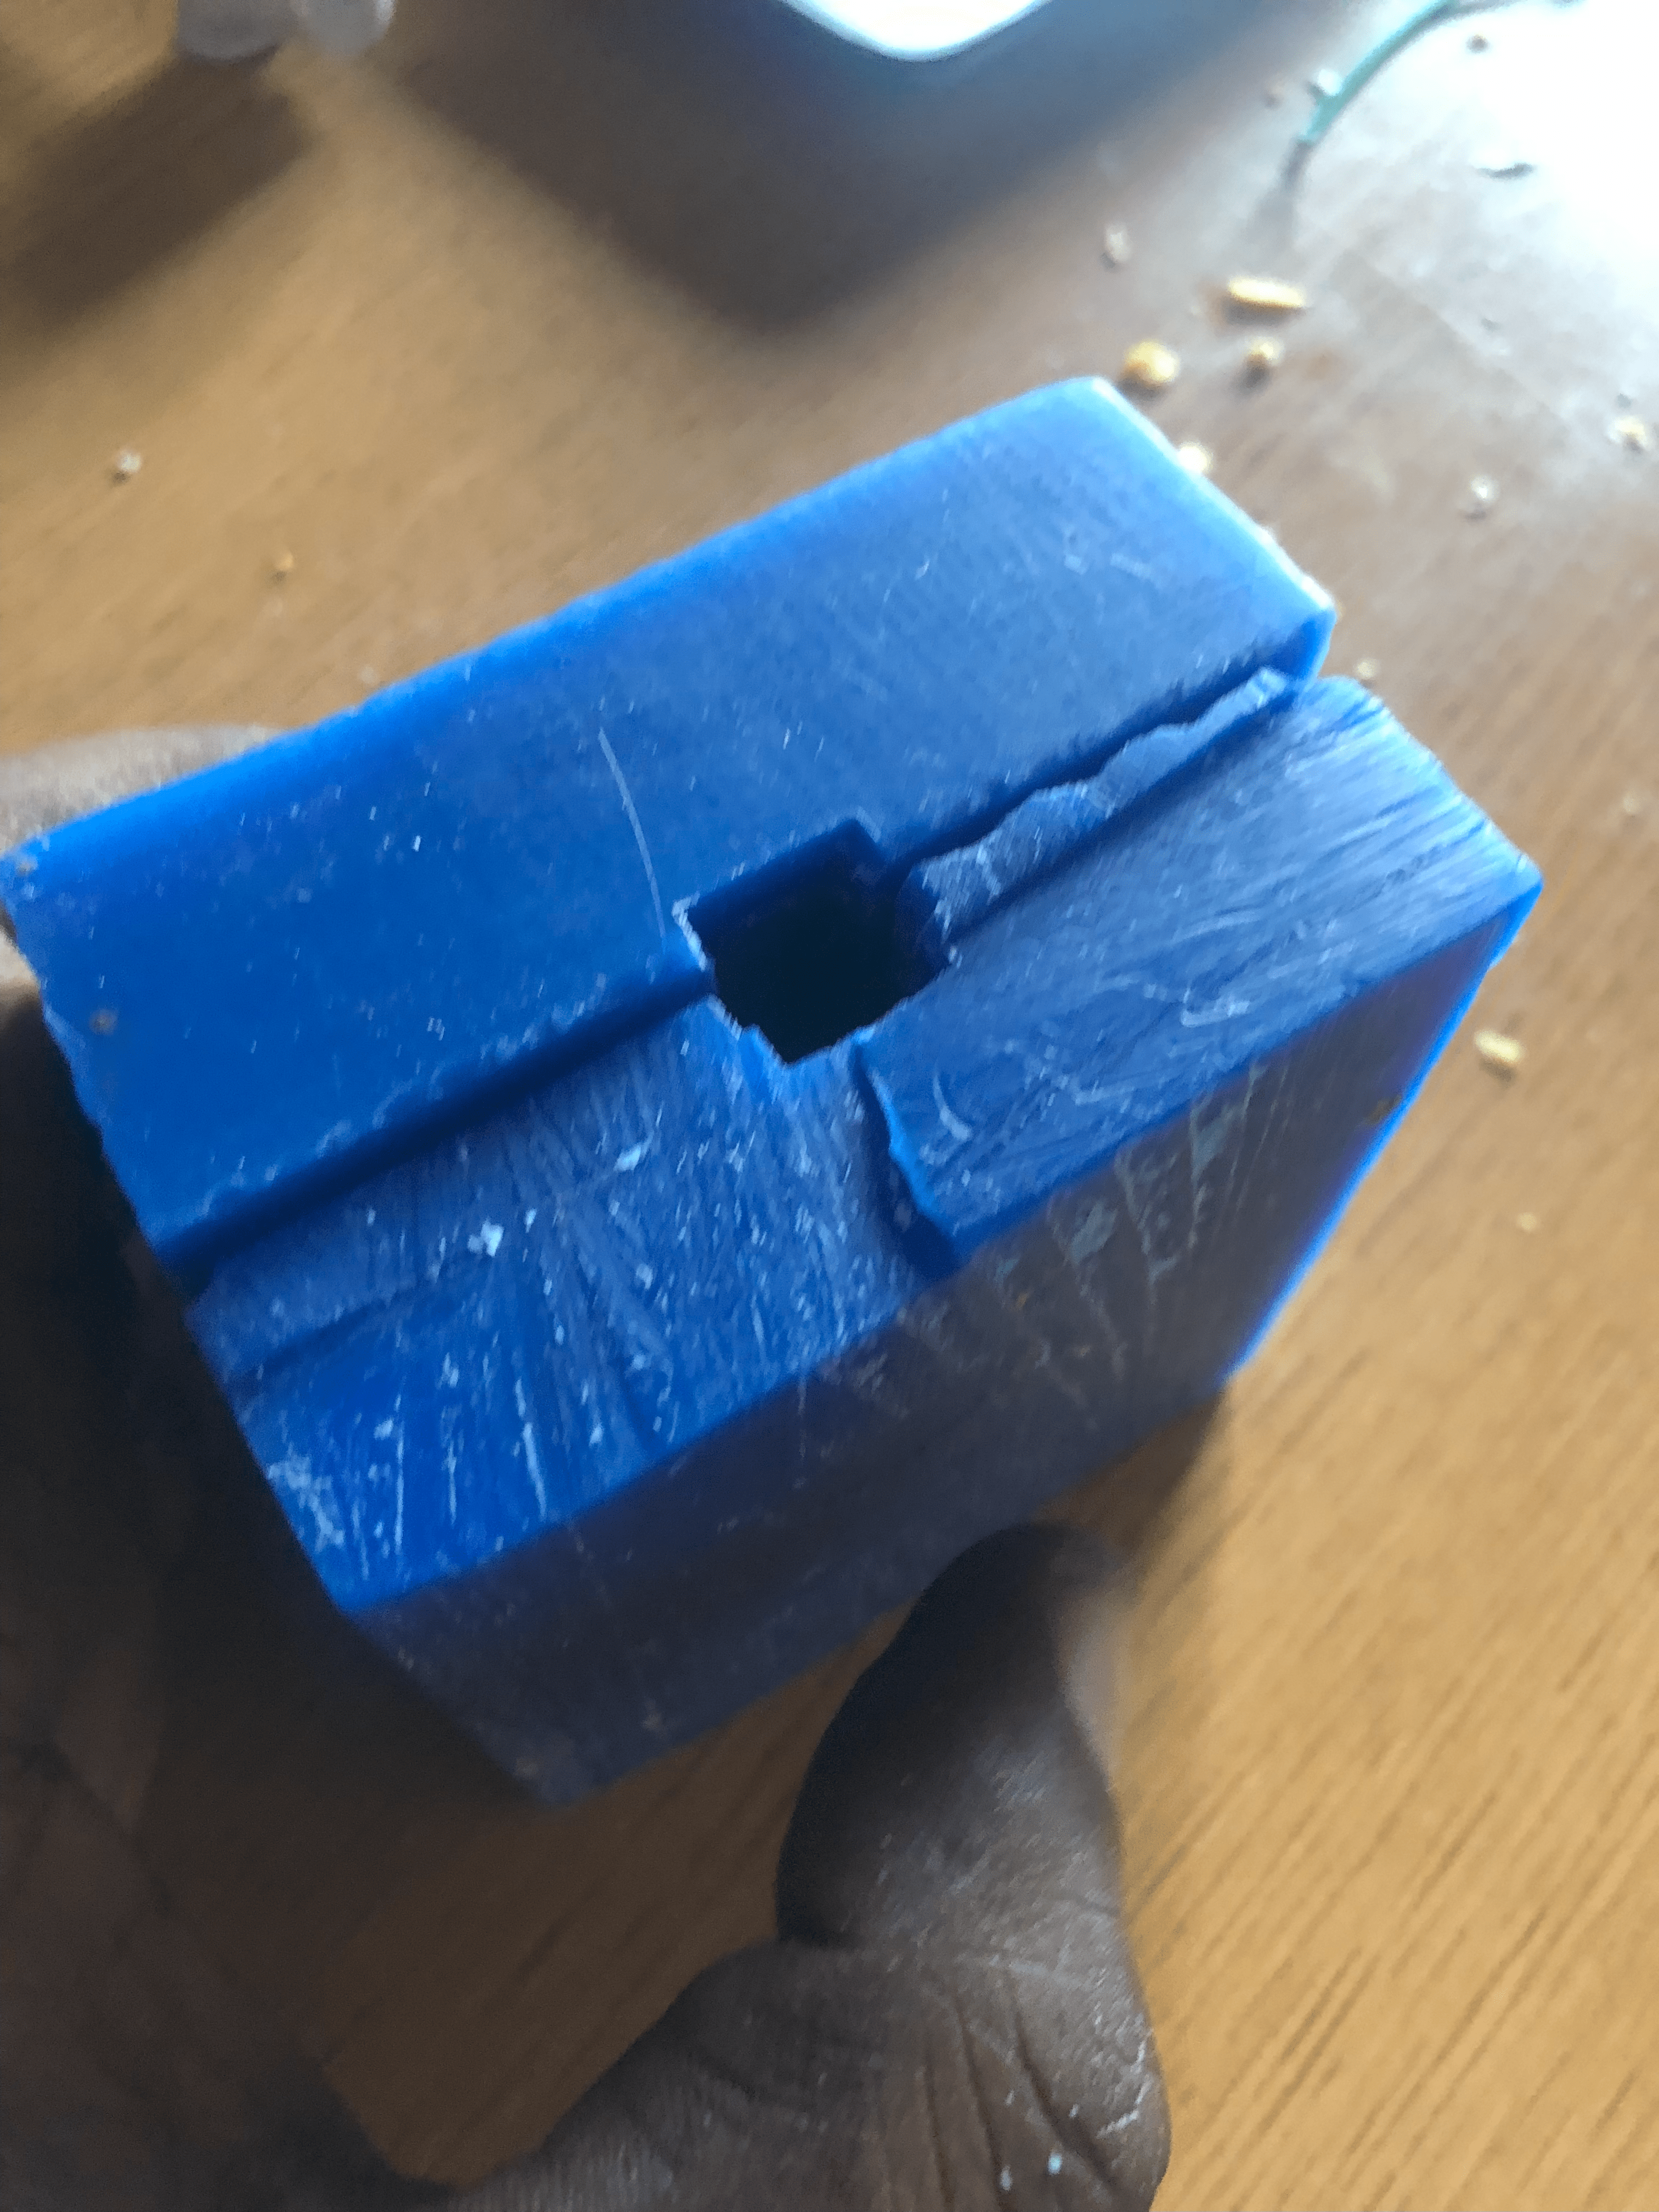
 After waiting around one hour the mealted wax becomes solid
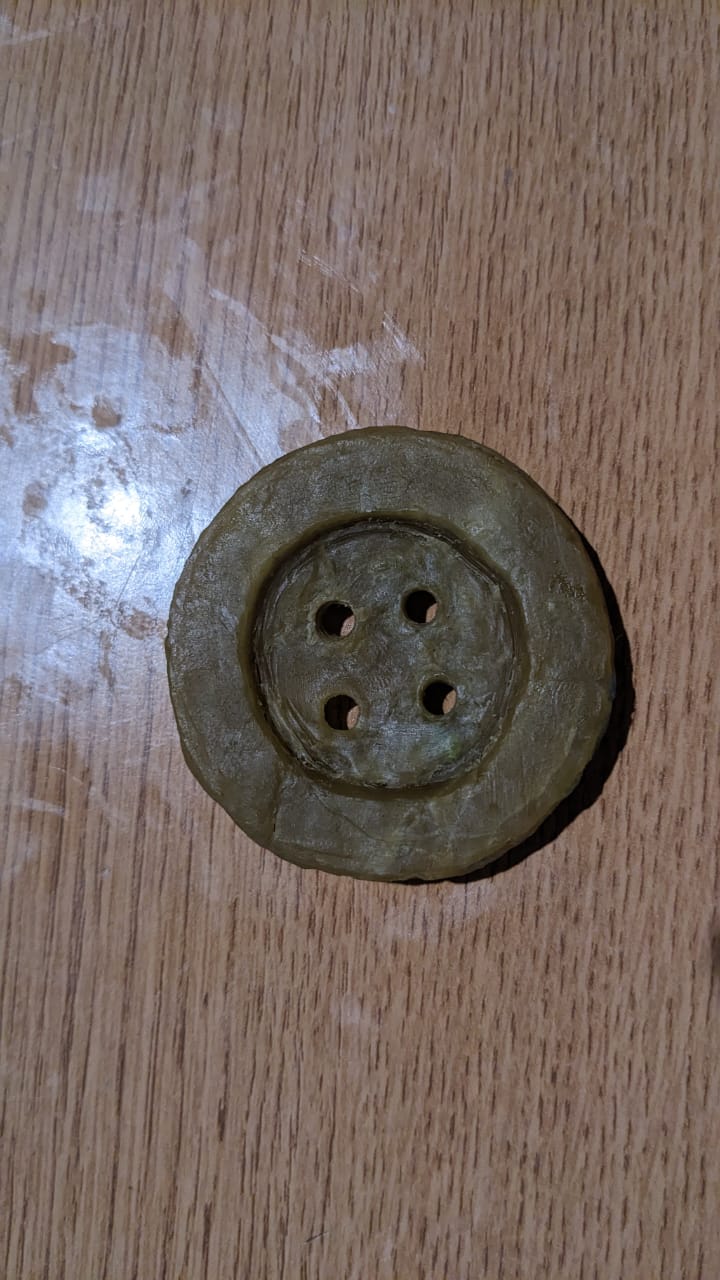
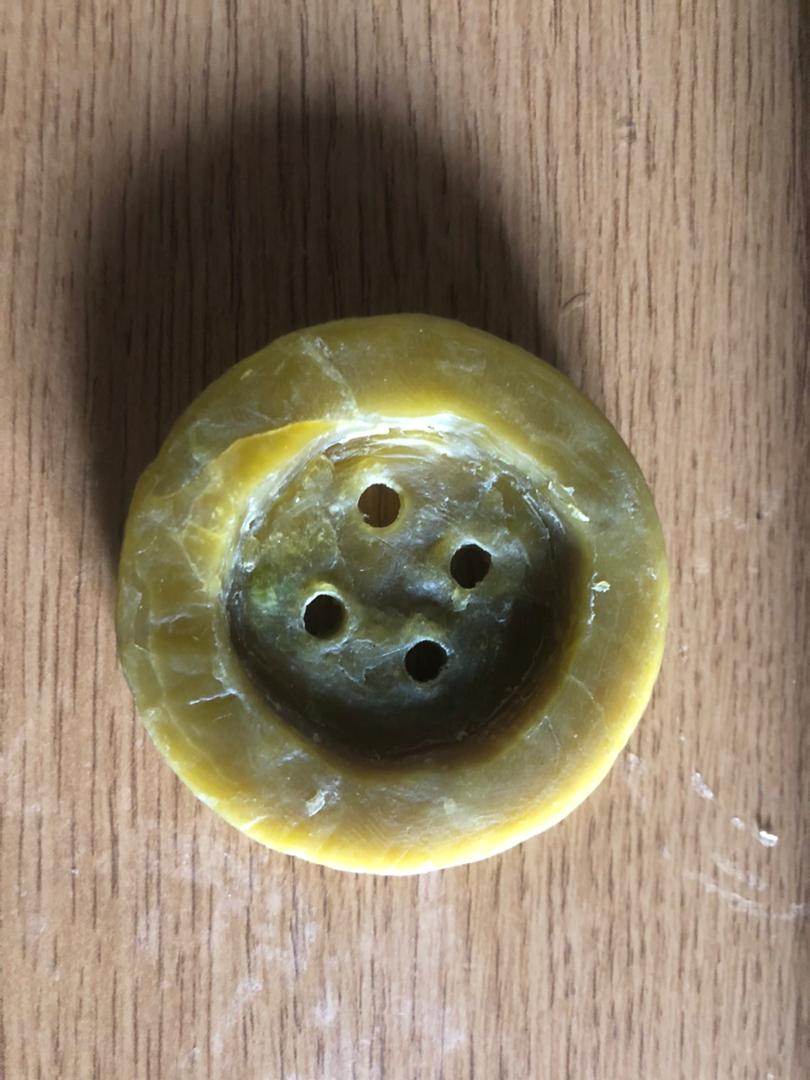
 After doing much finaly I get the product
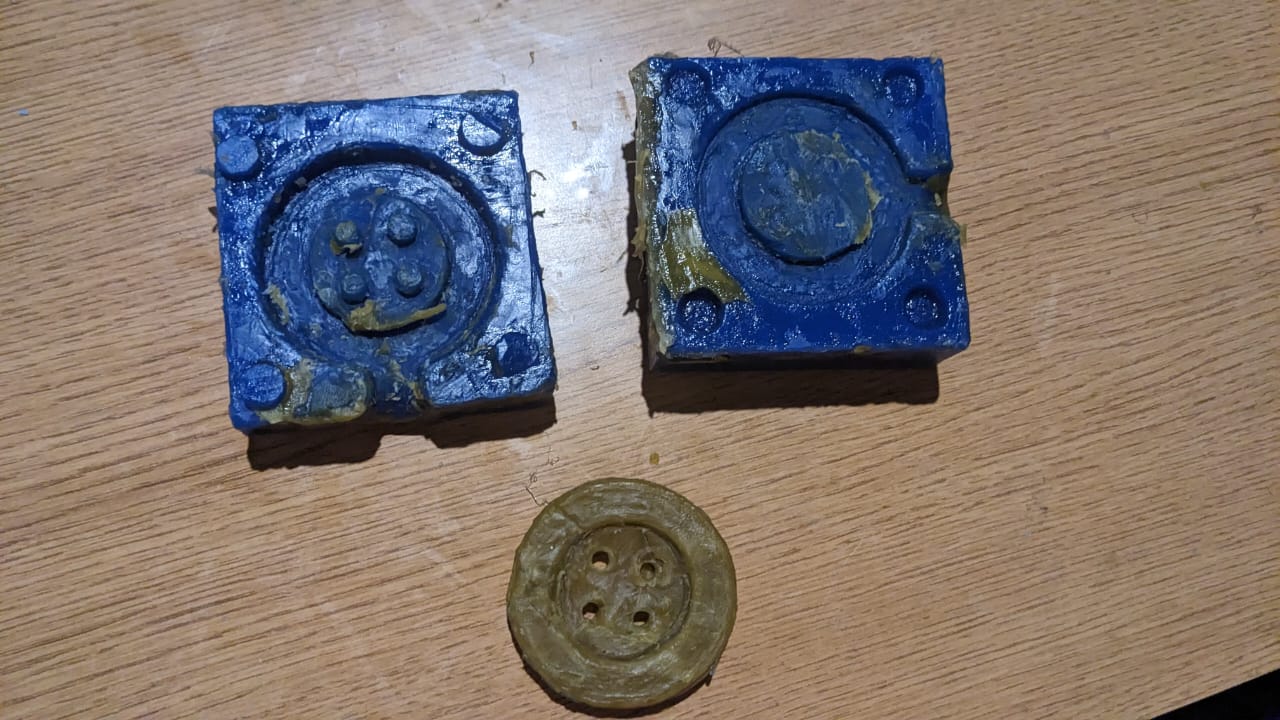
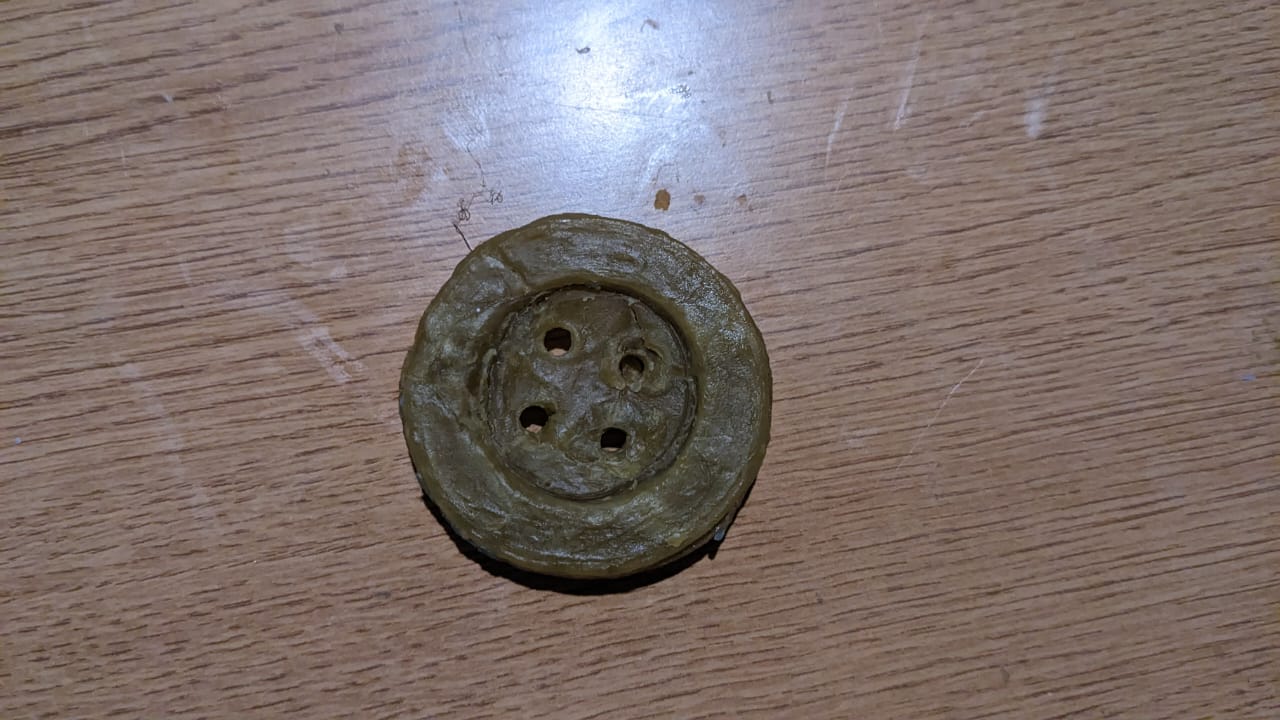 Finally I made button on clothing
If you want to learn about my Designs, kindly click here