Week 3: Computer Controlled Cutting
Computer Controlled Cutting
I. Group Assignment:
Characterize your lasercutter's focus, power, speed, rate,kerf, joint clearance and typesII.Individual Assignment:
Cut something on the vinylcutter design, lasercut, and document a parametric construction kit, accounting for the lasercutter kerf, which can be assembled in multiple ways, and for extra credit include elements that aren't flat
I.Group Assignment:
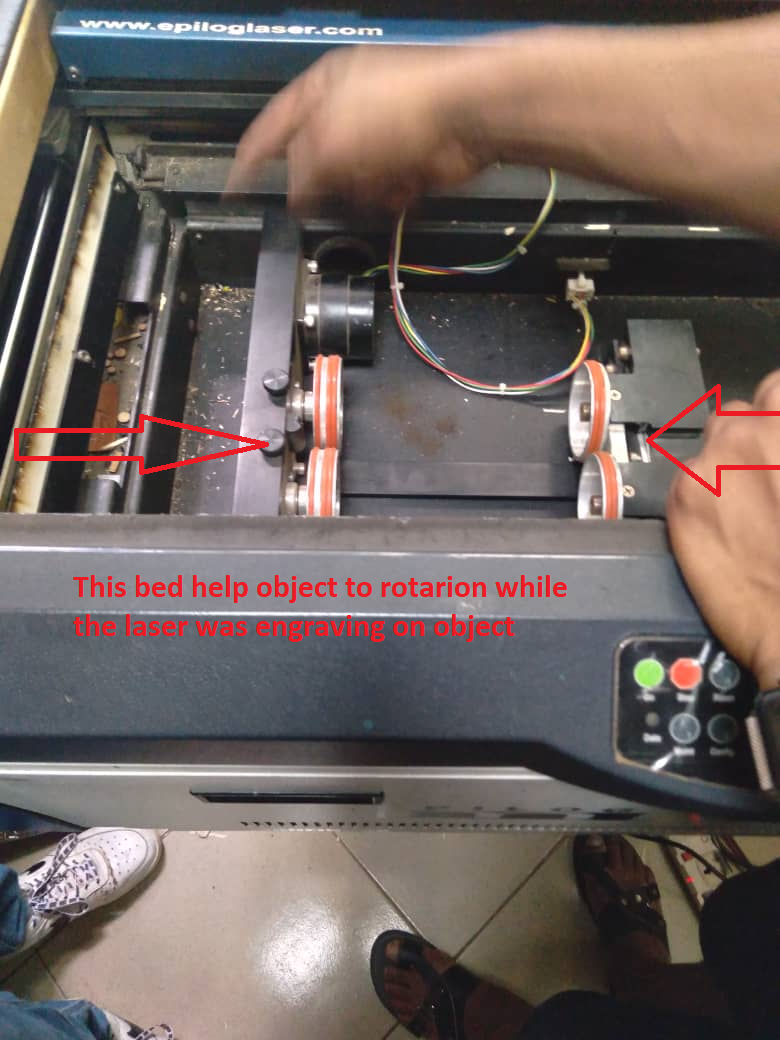
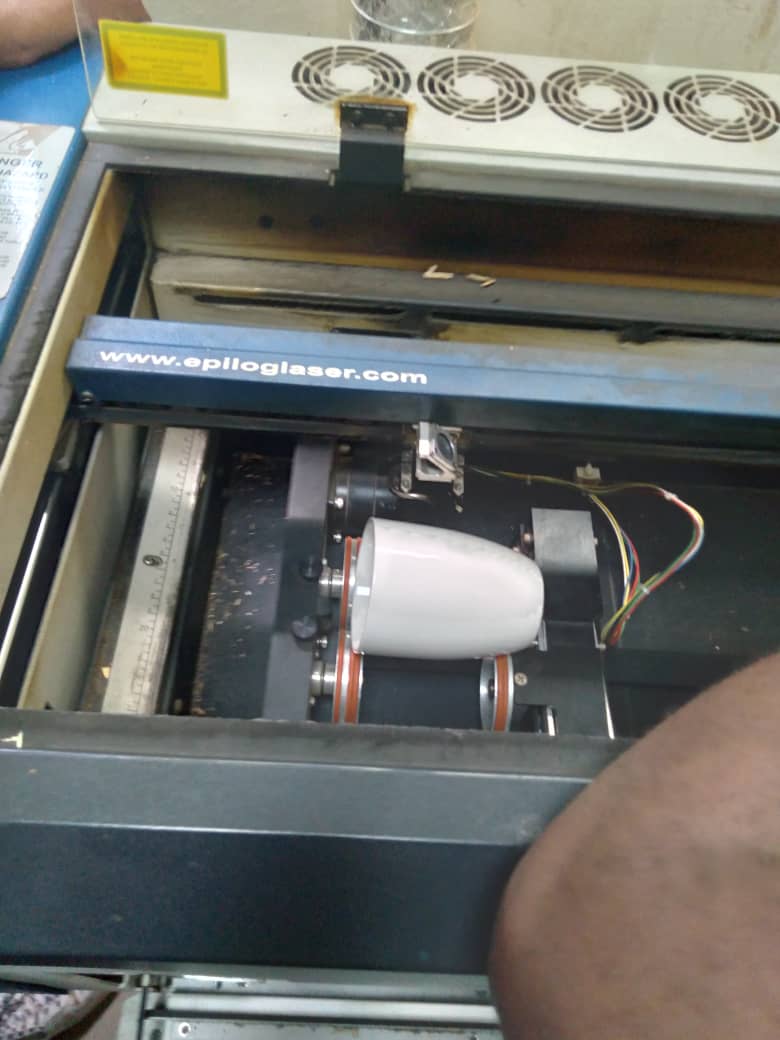
If you want to explore the group Assignment Click HereA. Machine description (lasercutter)
The laser cutter performs two main activities: Vector cutting (to cut) and Raster etching (to engrave) and also lasercutter can perform the task of Marking
Definition: A laser cutter is a machine that uses a laser beam to cut and engrave materials such as wood, plastic, metal, textiles, and many others. The laser beam is generated by a laser source, which is focused and directed onto the material to be cut by a system of mirrors. The laser cutter uses computer-aided design (CAD) software to create a design, which is then transformed into a set of cutting instructions for the machine. The laser cutter then follows these instructions to precisely cut or engrave the material according to the design.
Laser cutters are commonly used in a variety of industries, including manufacturing, architecture, engineering, and arts and crafts. They are valued for their precision, speed, and versatility, as well as their ability to work with a wide range of materials. Ref:lasercutter
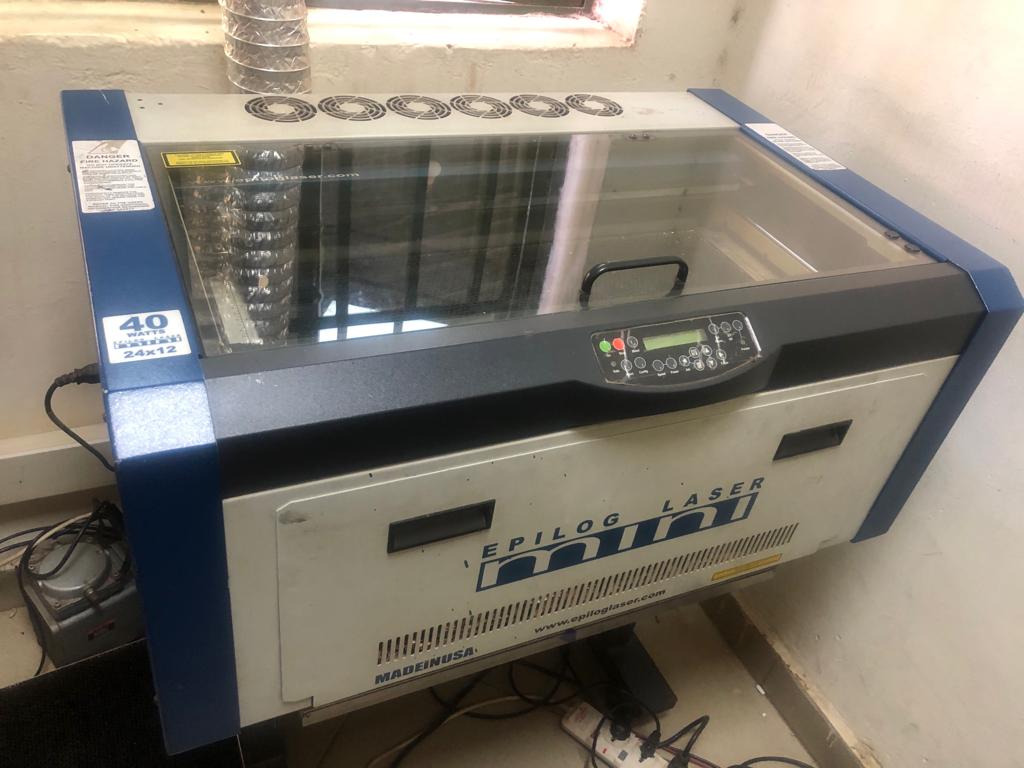
lasercutter Image :Epilog Laser Mini 24x12, 40 Watts
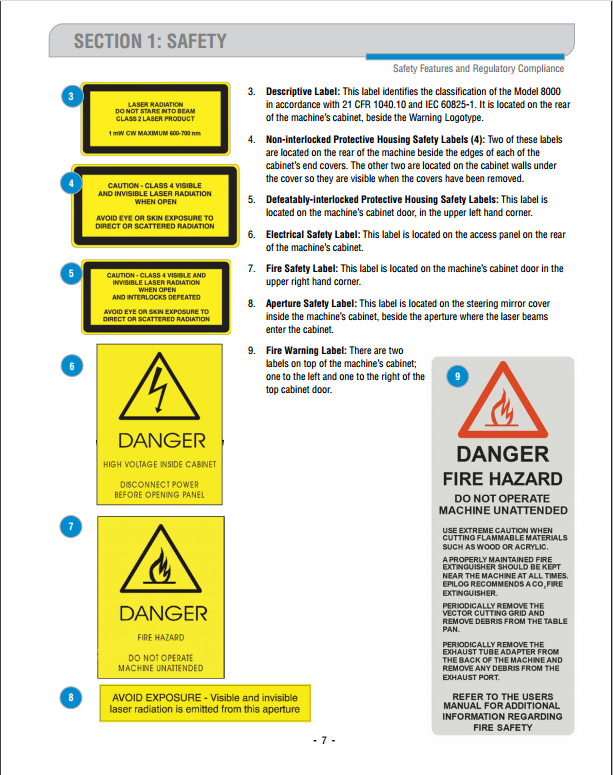
Safety rules before you start to use the Lasercutter: Ref: You can read Laser cutter and engraving safety rules Here
- Stay with the laser. Never operate the laser system while unattended.
- Keep the area clear. Clean around the machine and keep the area free of clutter, combustible materials, explosives,or volatile solvents such as acetone, alcohol, or gasoline.
- Be prepared with a fire extinguisher. Always keep a properly maintained and inspected fire extinguisher on hand.
- Use Air Assist. Always use the system’s Air Assist feature when vector cutting.
- Use caution when vector cutting. Many materials have the potential to suddenly burst into flames when cut with a laser even materials that may be very familiar to the user. Always monitor the machine when it is operating.
- Clean the laser. A buildup of cutting and engraving residue and debris is dangerous and can create a fire hazard in its own right. Keep your laser system clean and free of debris. Regularly remove the Vector Cutting Table to clean any small pieces that have fallen through the grid.
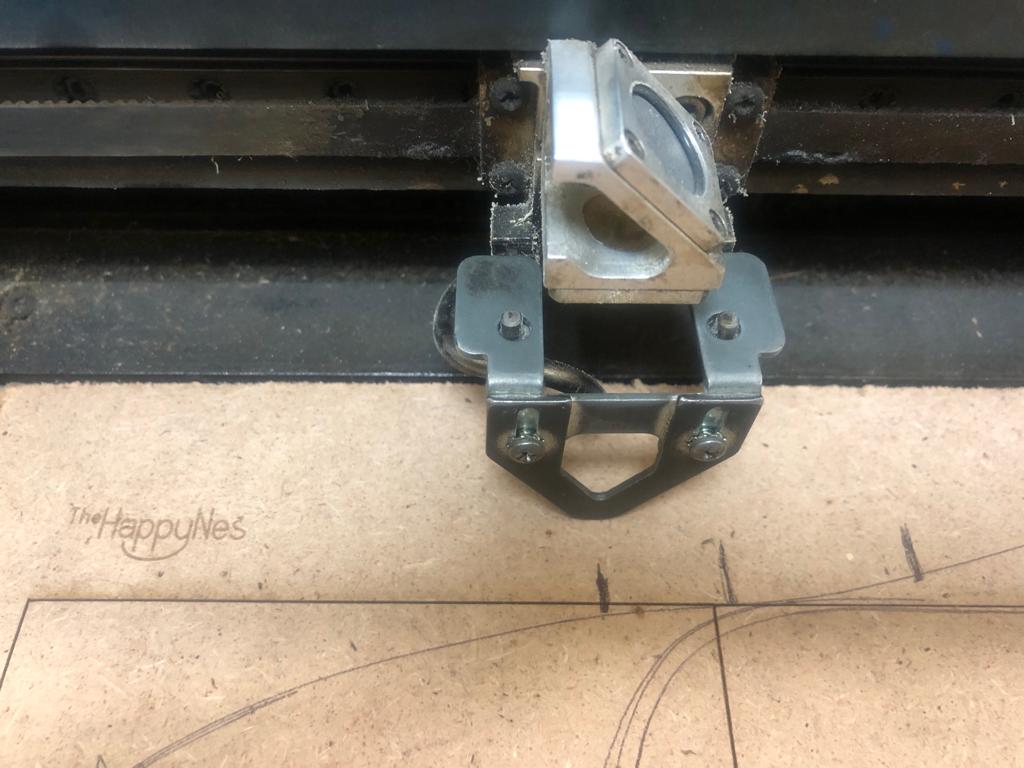
A. Setting the lasercutter focus:
The focus of a laser cutter refers to the distance between the laser source and the material being cut. Setting the focus correctly is critical for achieving the best results when cutting or engraving. If the focus is too high, the laser beam will be too diffused and will not cut the material effectively. If the focus is too low, the laser beam will be too concentrated and could damage the laser cutter or the material. Ref: Lasercutter focusHere are the steps for setting the focus of a laser cutter:
- Prepare the material: Place the material that you want to cut or engrave on the cutting bed of the laser cutter. Make sure it is securely fastened in place.
- Measure the material thickness: Use a ruler or a caliper to measure the thickness of the material. This information is needed to determine the correct focus distance.
- Adjust the focus lens: The focus lens is typically located near the laser source. Adjust the lens until the focus point is at the correct distance from the material, which is usually around the center of the material thickness
- Test the focus: Turn on the laser cutter and run a test cut or engrave on a small portion of the material. If the cut is too shallow or too deep, adjust the focus lens accordingly and repeat the test until the focus is correct.
- Record the focus: Once the focus has been set correctly, record the focus distance and the material thickness for future reference. This will save time when cutting or engraving similar materials in the future.
B.Setting the lasercutter's power, speed, rate, kerf, and joint clearance :
When using a laser cutter, it is important to set the correct values for various parameters that control the laser's power, speed, and precision. These parameters include power, speed, rate, kerf, and joint clearance.
- Power: Power refers to the amount of energy delivered by the laser beam to the material. The power setting determines the depth and quality of the cut or engrave. Power should be set according to the type of material being cut or engraved and the desired results.
- Speed: Speed refers to the speed at which the laser beam moves over the material. A slower speed can result in a deeper and more precise cut, while a faster speed can result in a shallower and less precise cut.
- Rate: Rate refers to the speed at which the laser beam is fired. A higher rate can result in a smoother and more uniform cut, while a lower rate can result in a more textured and uneven cut.
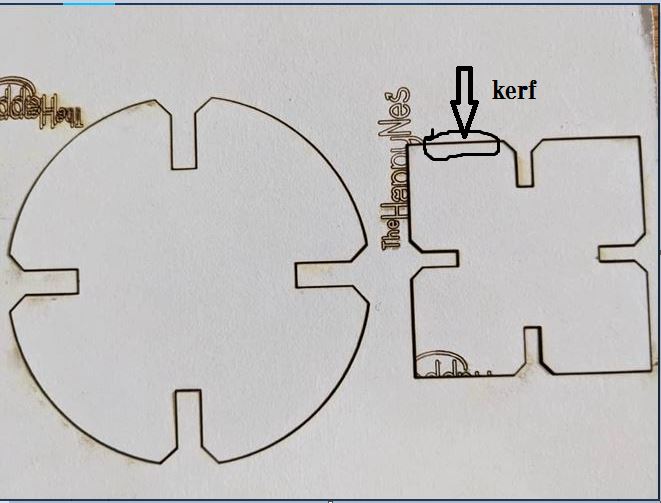
- Kerf: Kerf refers to the width of the cut made by the laser beam. The kerf setting determines the amount of material removed by the laser beam and affects the size and precision of the cut.
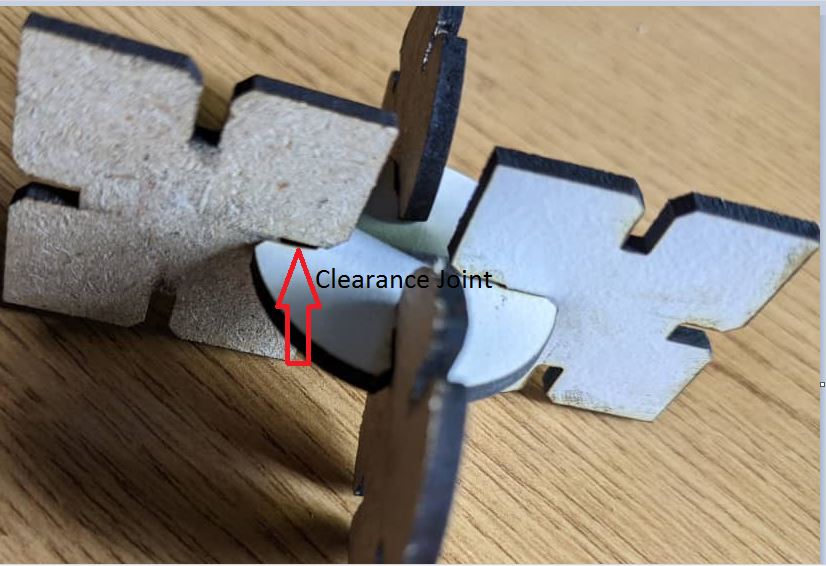
- Joint Clearance: Joint clearance refers to the gap between the cut pieces of material. The joint clearance setting affects the fit of the pieces when they are joined together.
 It's important to note that the correct values for these parameters depend on many factors, including the type of material being cut or engraved, the desired results, and the specific laser cutter being used. A good starting point is to consult the manufacturer's specifications and guidelines, or to use recommended settings from other users with similar materials and results. It may also be necessary to experiment with different settings to determine the best values for a particular project. Ref: Lasercutter Setting
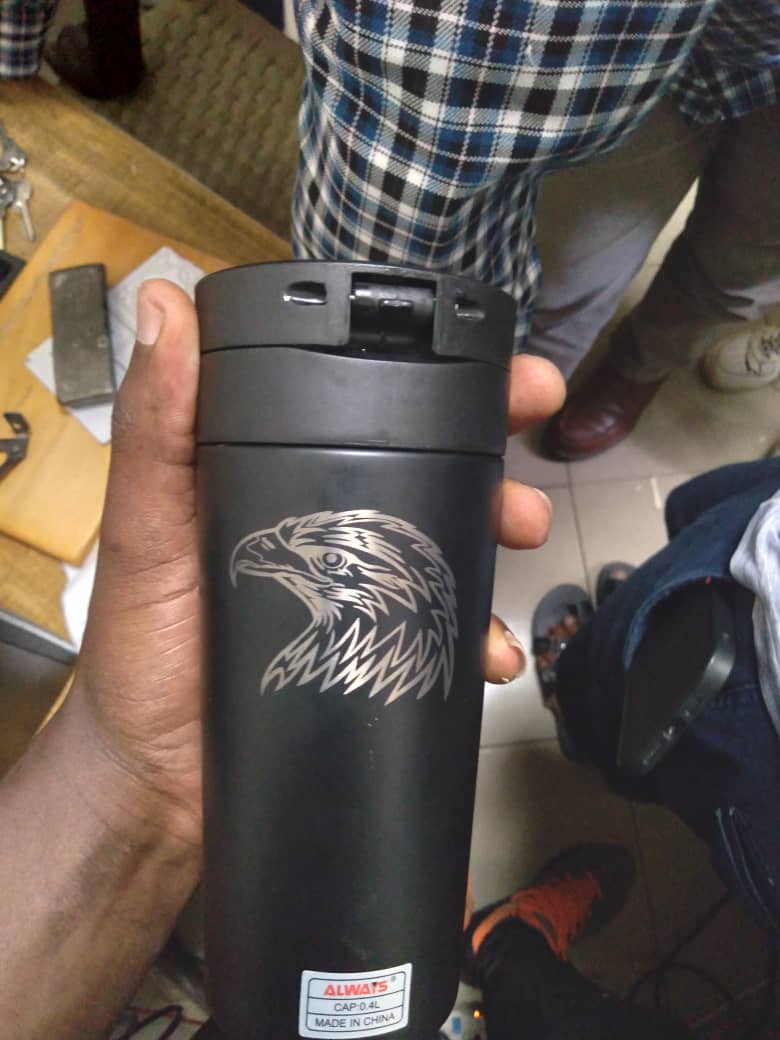
In group assignment we tried to cut and engrave differents objects as shown on following Images
Design Image
 Out put : put design on bottle:
II.Individual Assignment:
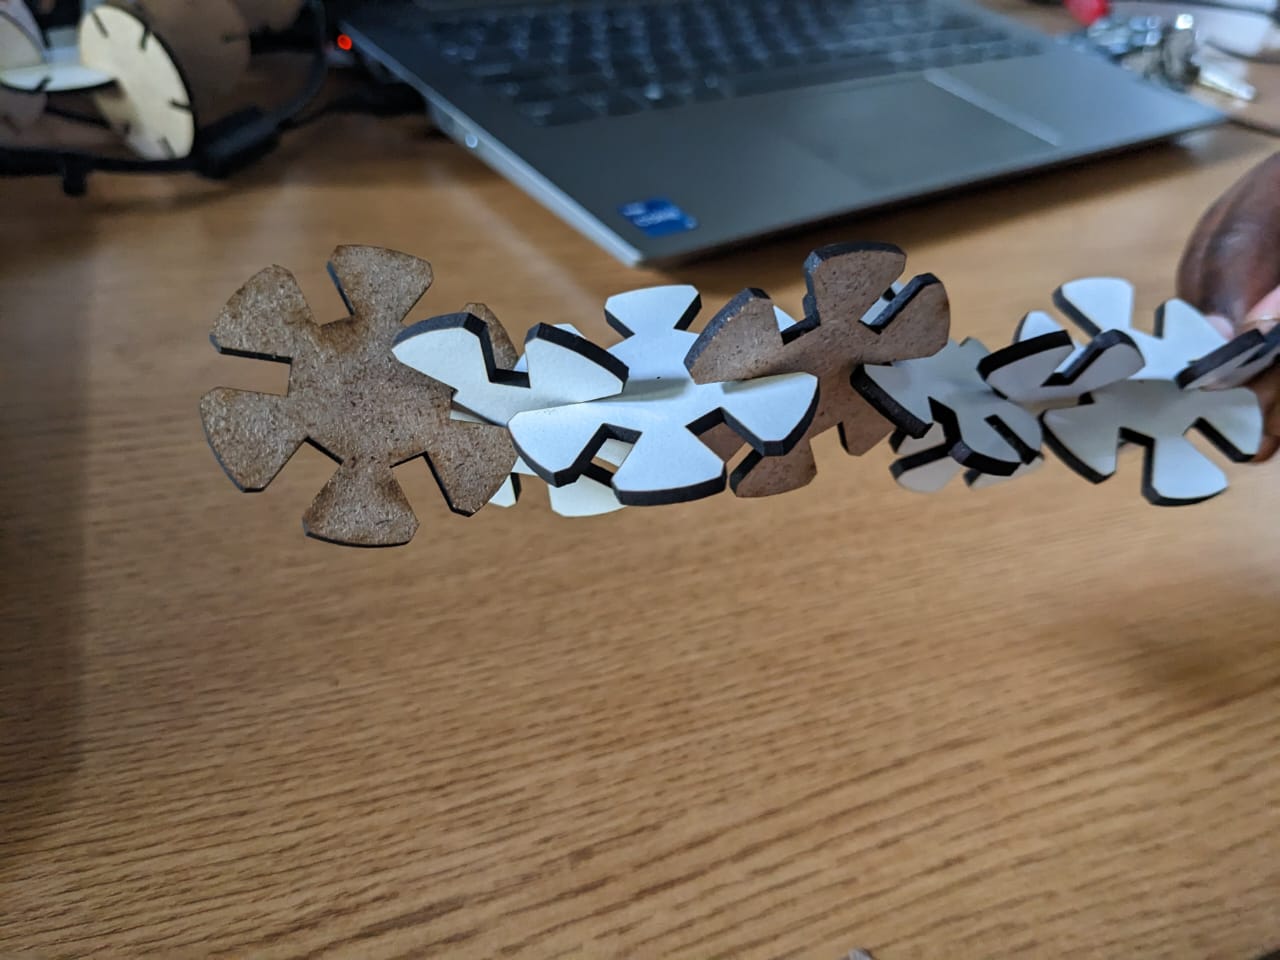
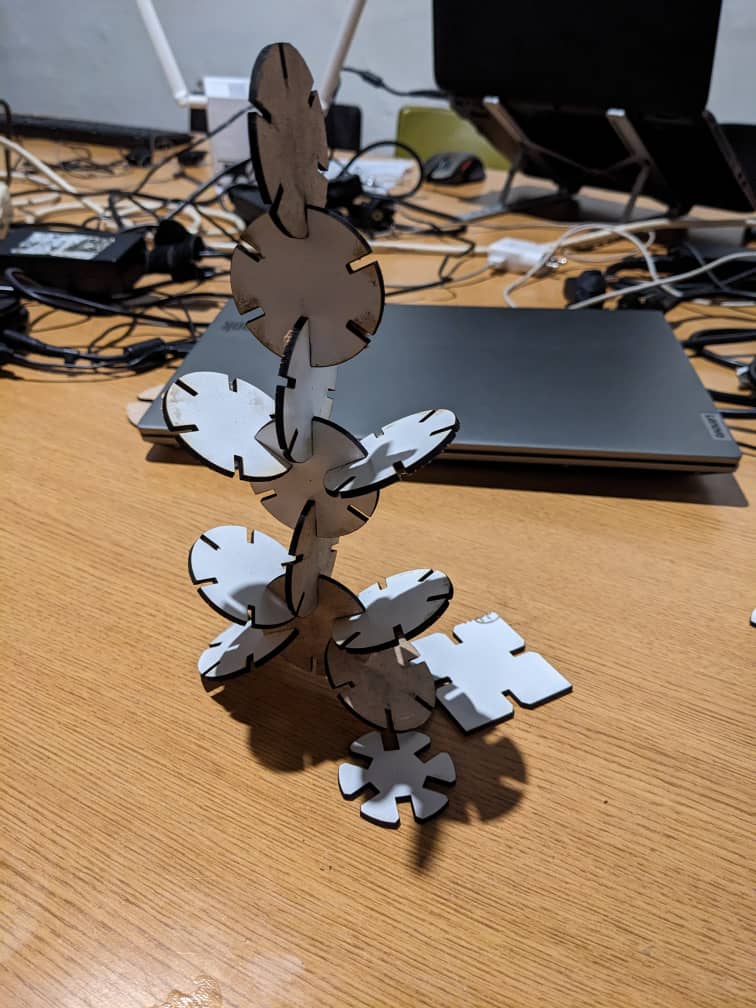
Cut something on the vinylcutter design, lasercut, and document a parametric construction kit, accounting for the lasercutter kerf, which can be assembled in multiple ways, and for extra credit include elements that aren't flat
A.Parametric design and Press Fit Kit and laser-cutting
After spending much time Learning Parametric design and Press Fit Kit by using Solidworks on differents tutorial like Creating Finger Joints in SolidWorks. After getting some skills I started applying what I have learned.
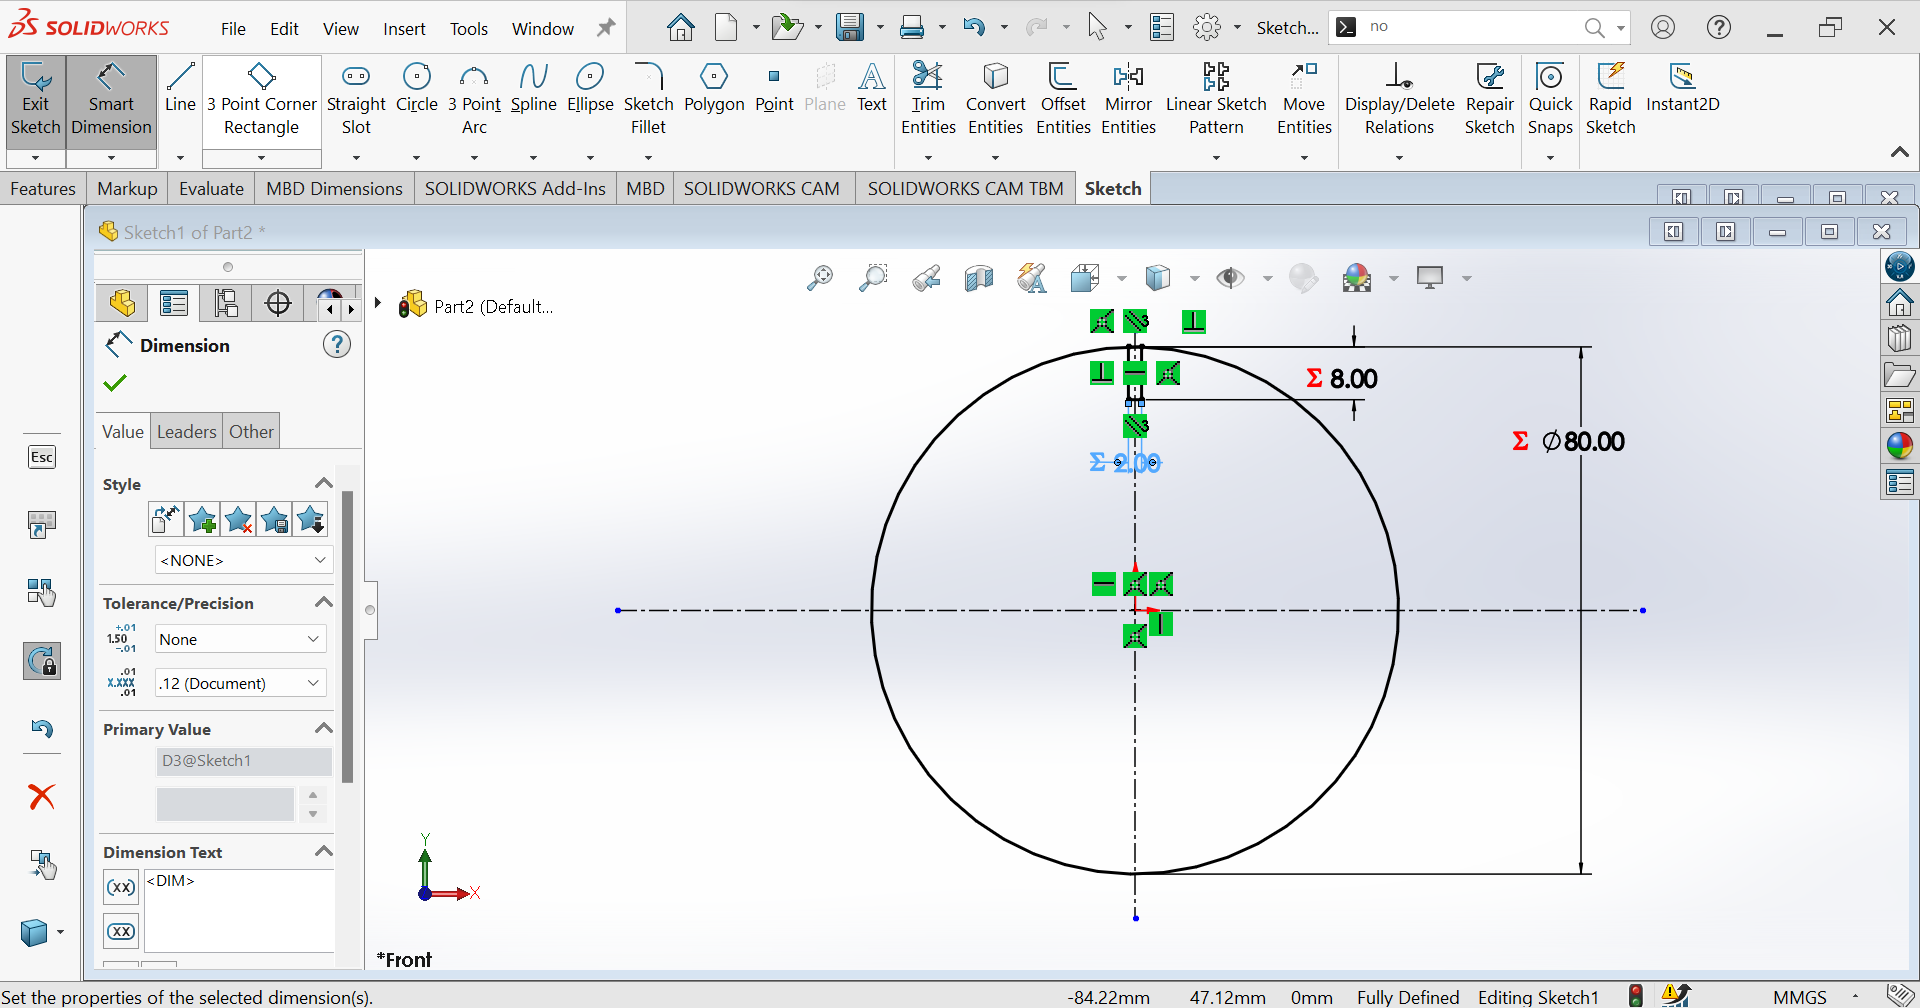
Using parametric design and SolidWorks, it is easy to modify the dimensions and features of the press fit kit to suit different requirements or specifications. You can simply adjust the variables for the parts and the interlocking features will update automatically, ensuring a perfect fit every time.1st Step:Start a new SolidWorks part file.
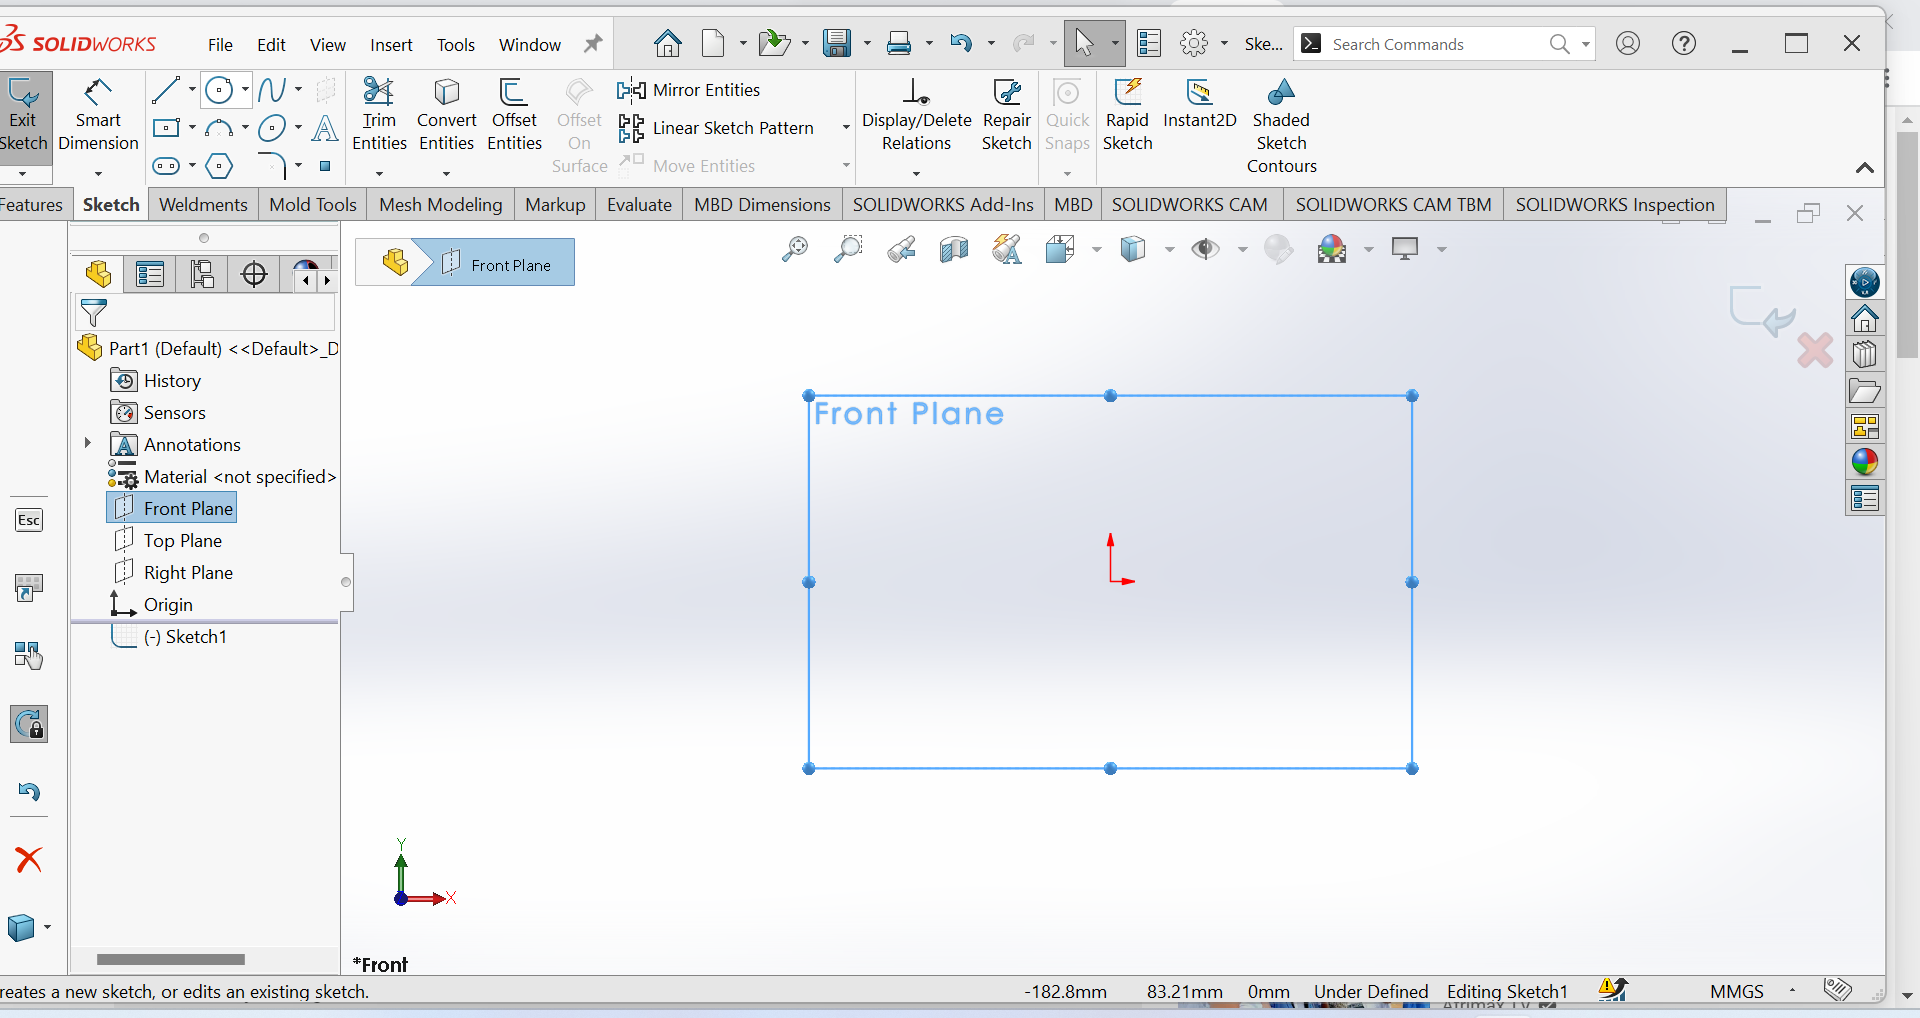
2nd Step:Create a sketch of the first part, such as a circle or rectangle.
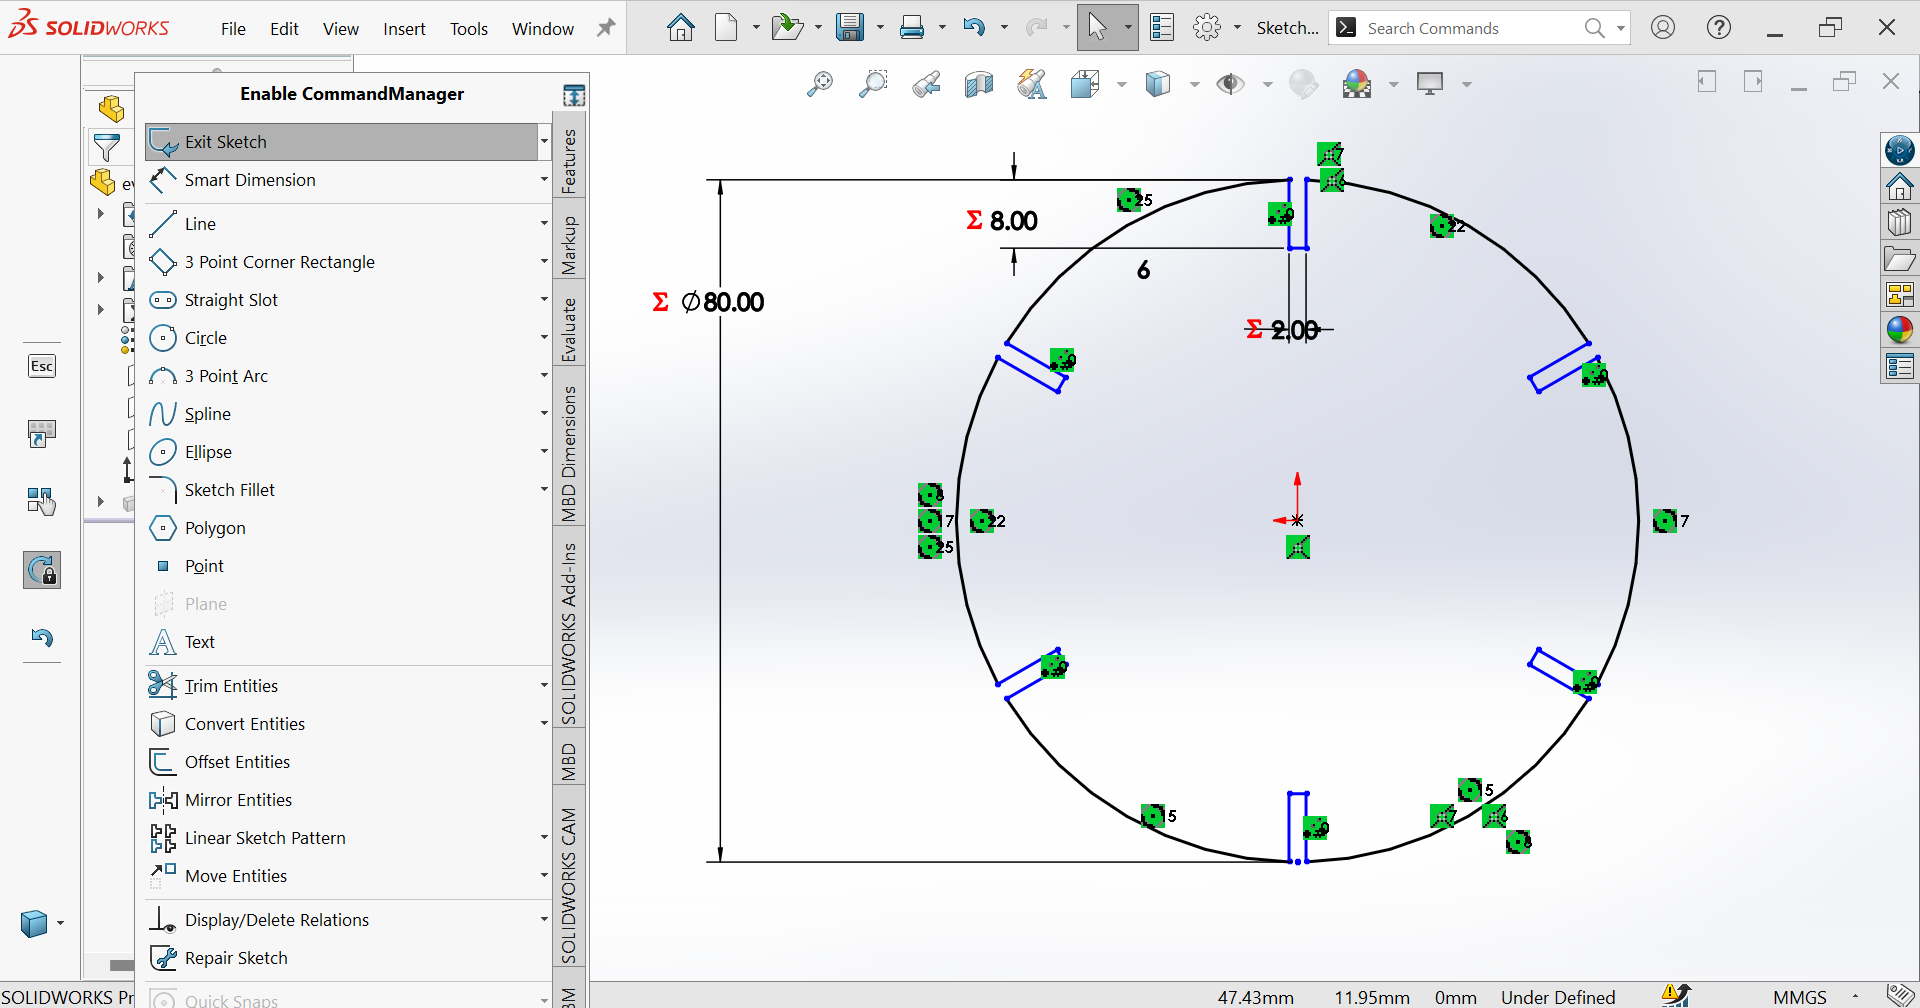
3rd Step: Using Circular sketch Pattern you will duplicate the number of rectangle.

4th Step: Trimming or the process of removing unwanted or unnecessary parts from circle
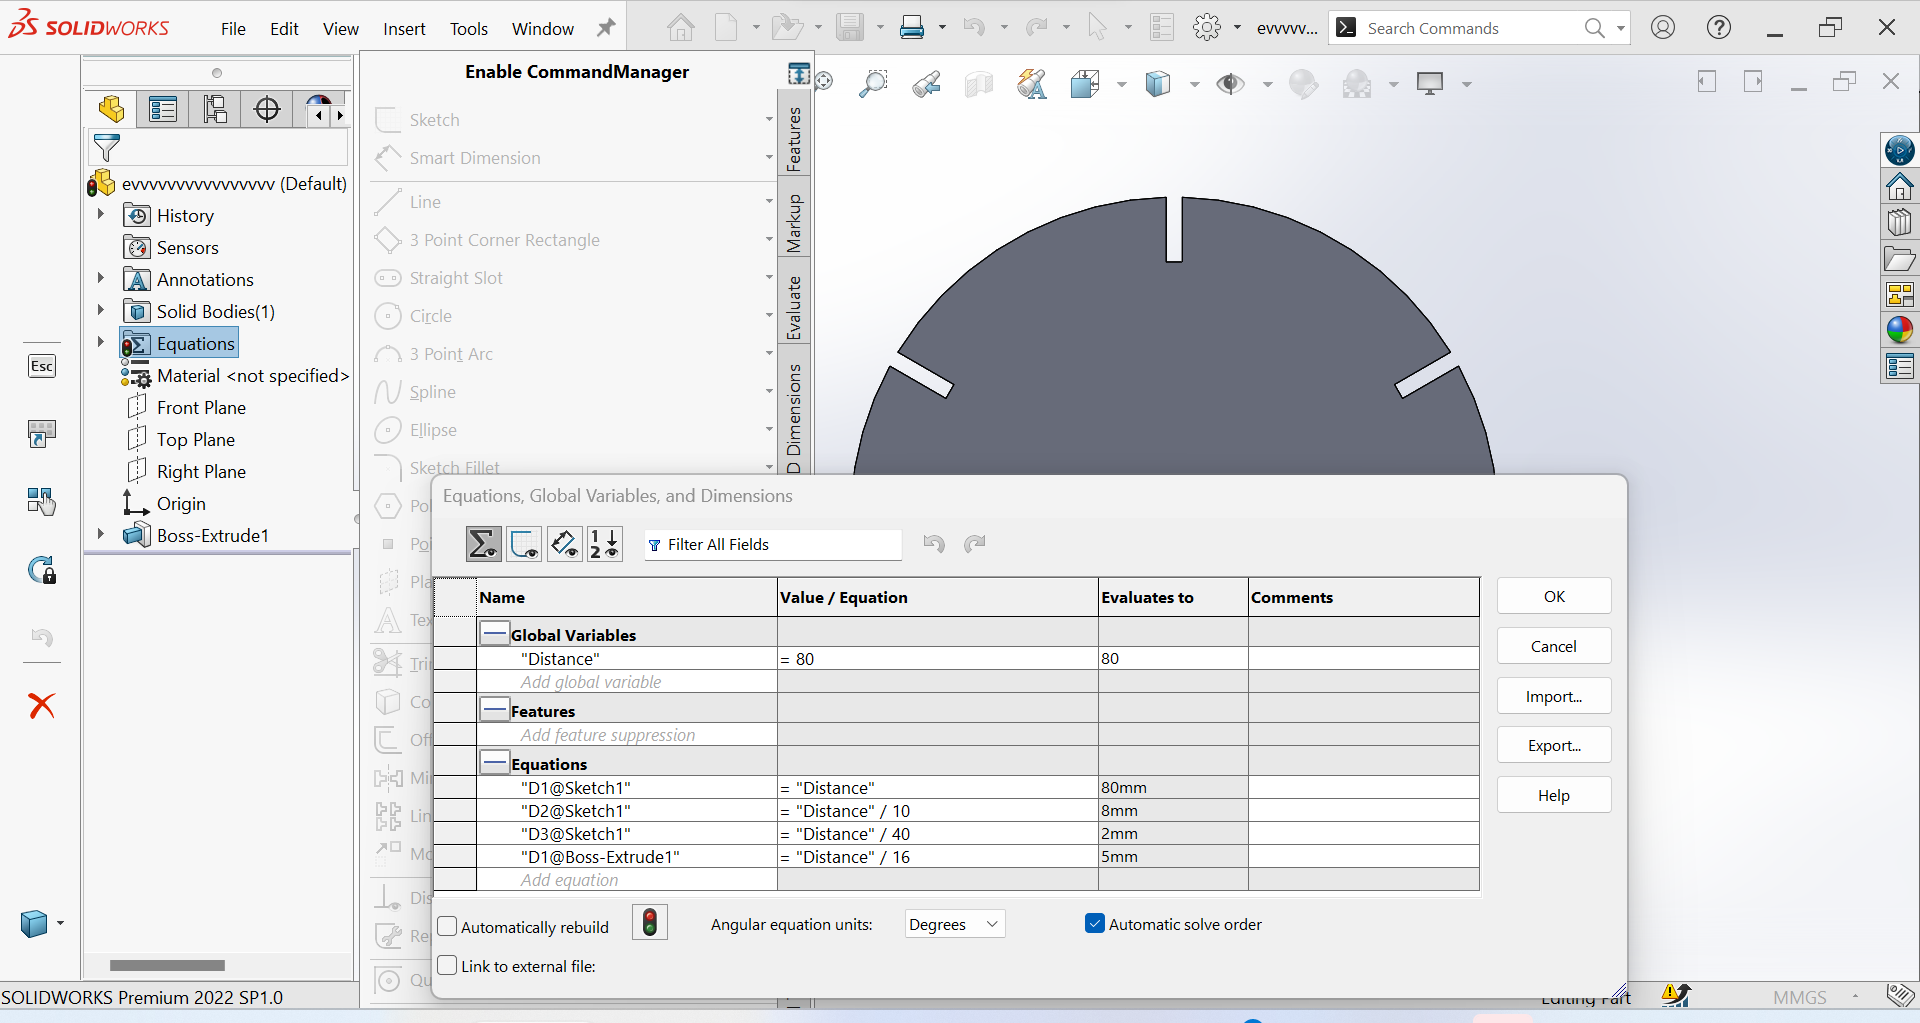
5th Step: Parametric design in SolidWorks refers to the ability to create 3D models that are defined by a set of parameters or variables that can be easily modified to make changes to the design.
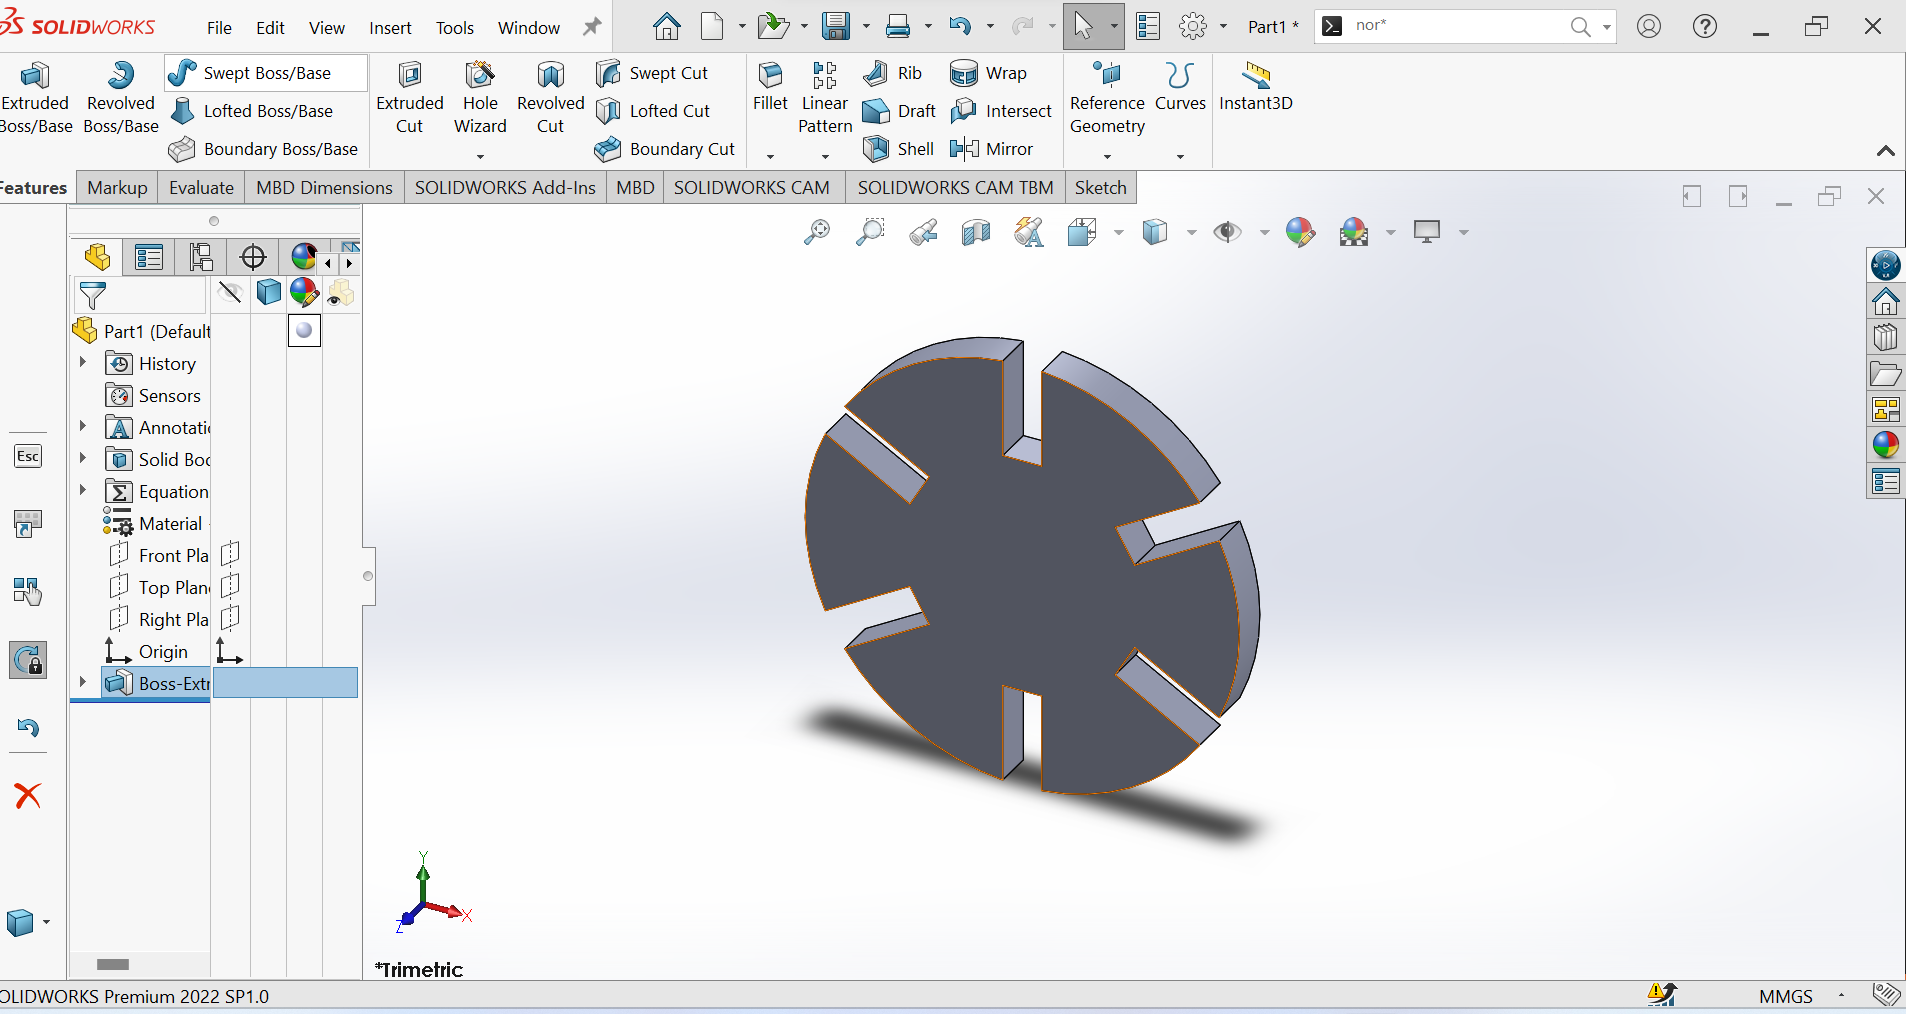
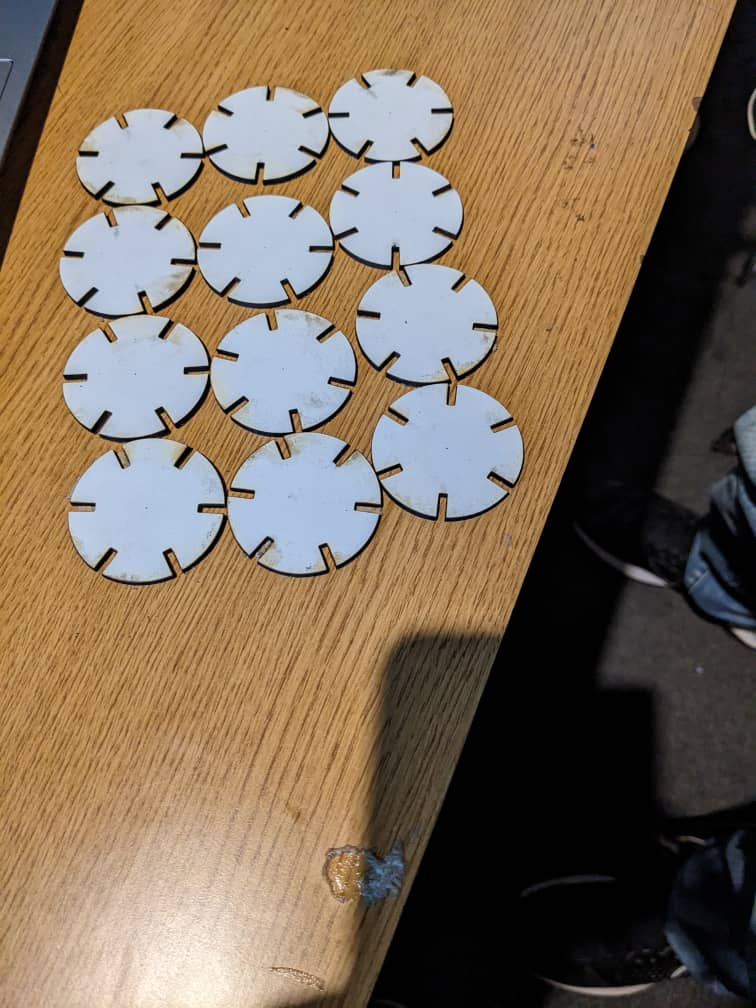
6th Step: My object after extruded Boss/Base
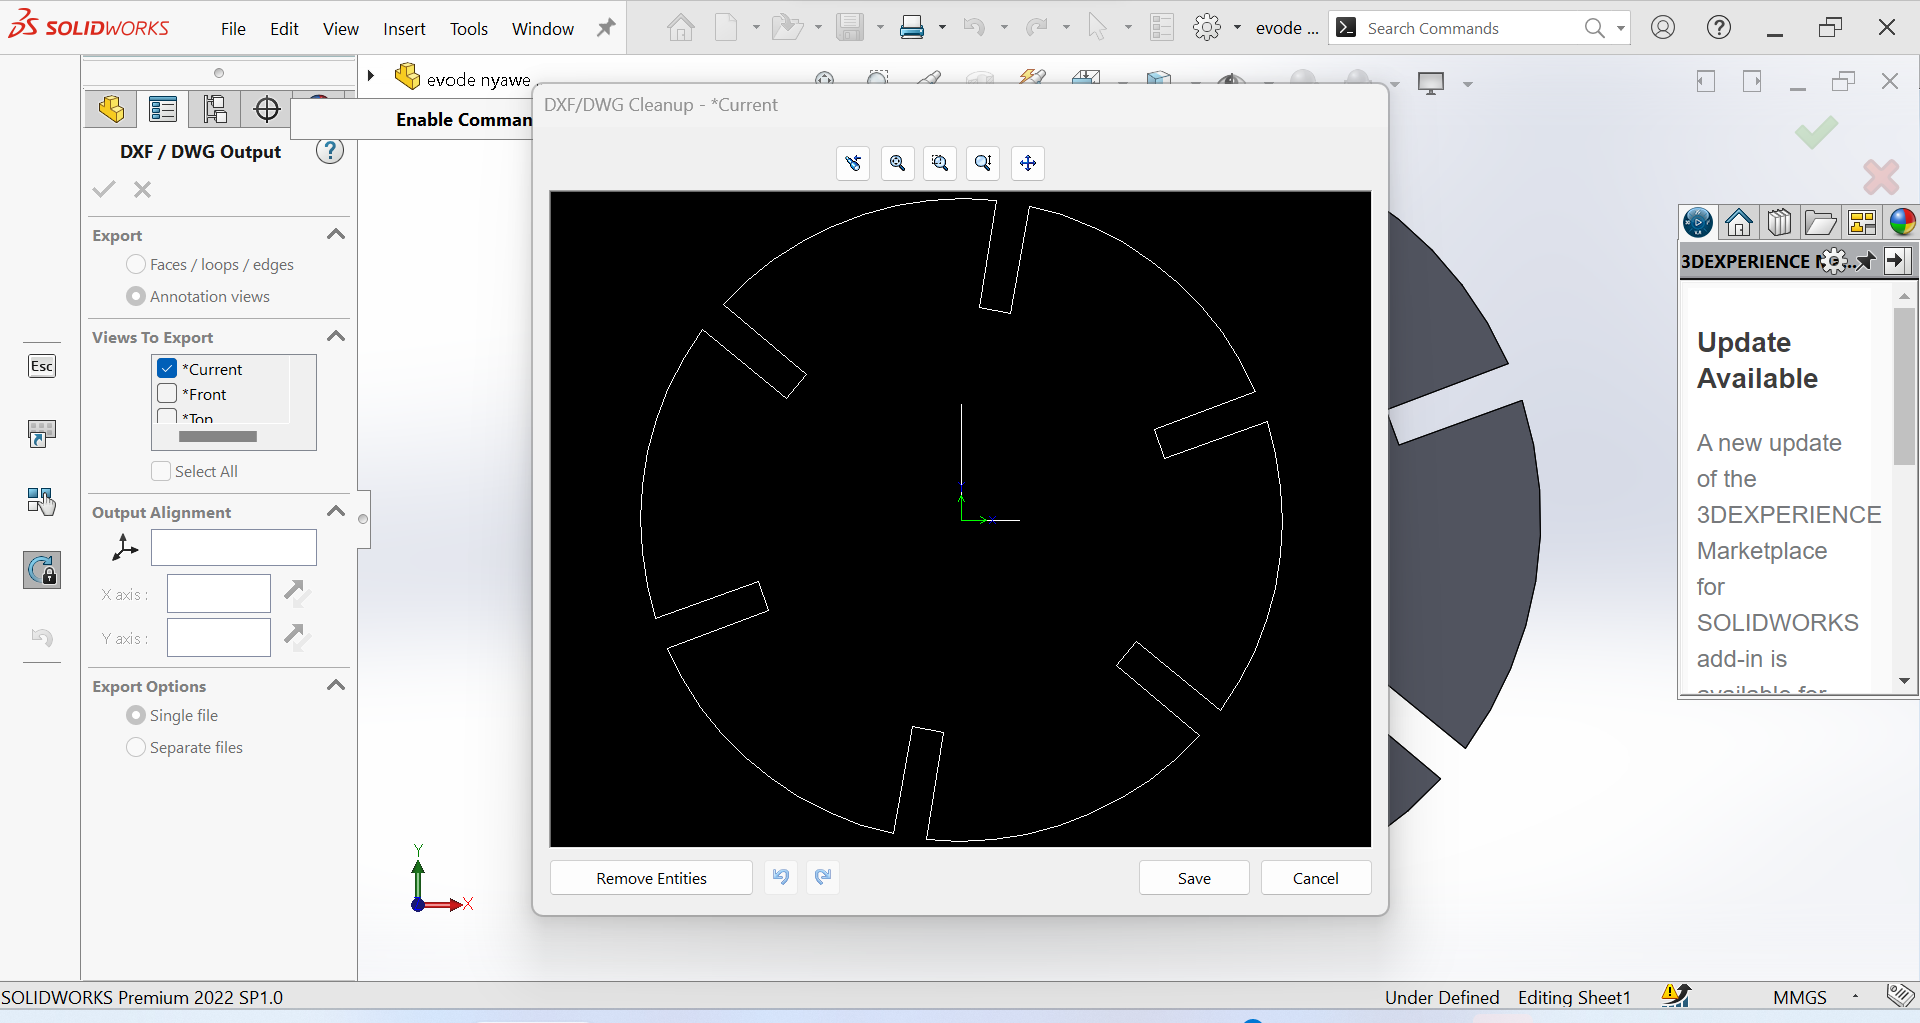
7th Step: Saving my Object as DXF"
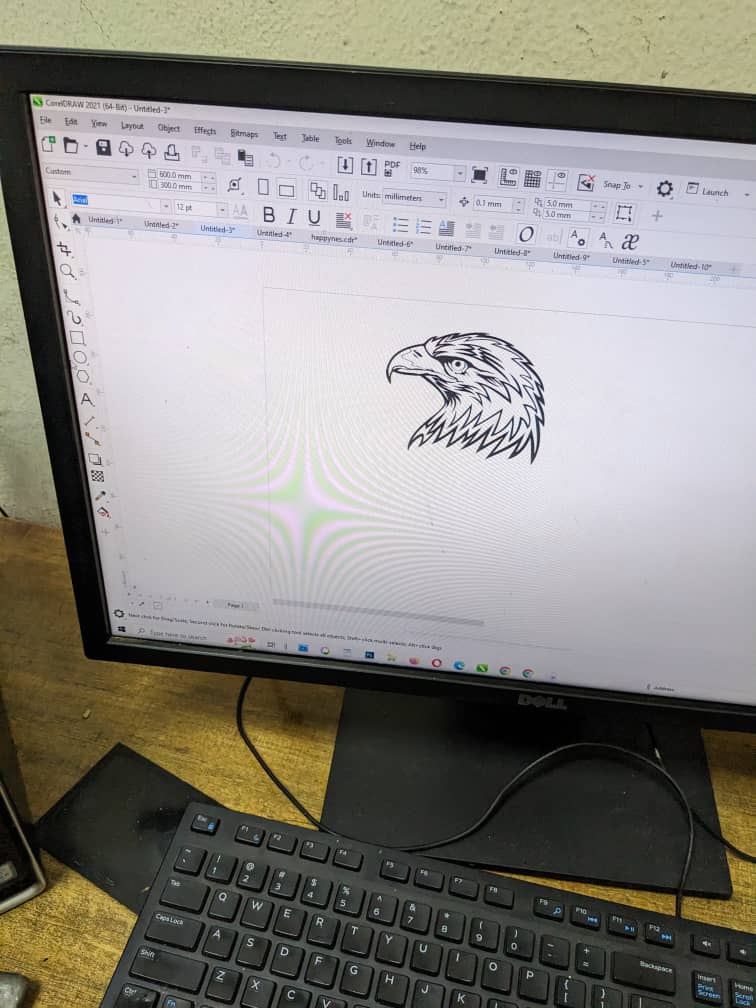
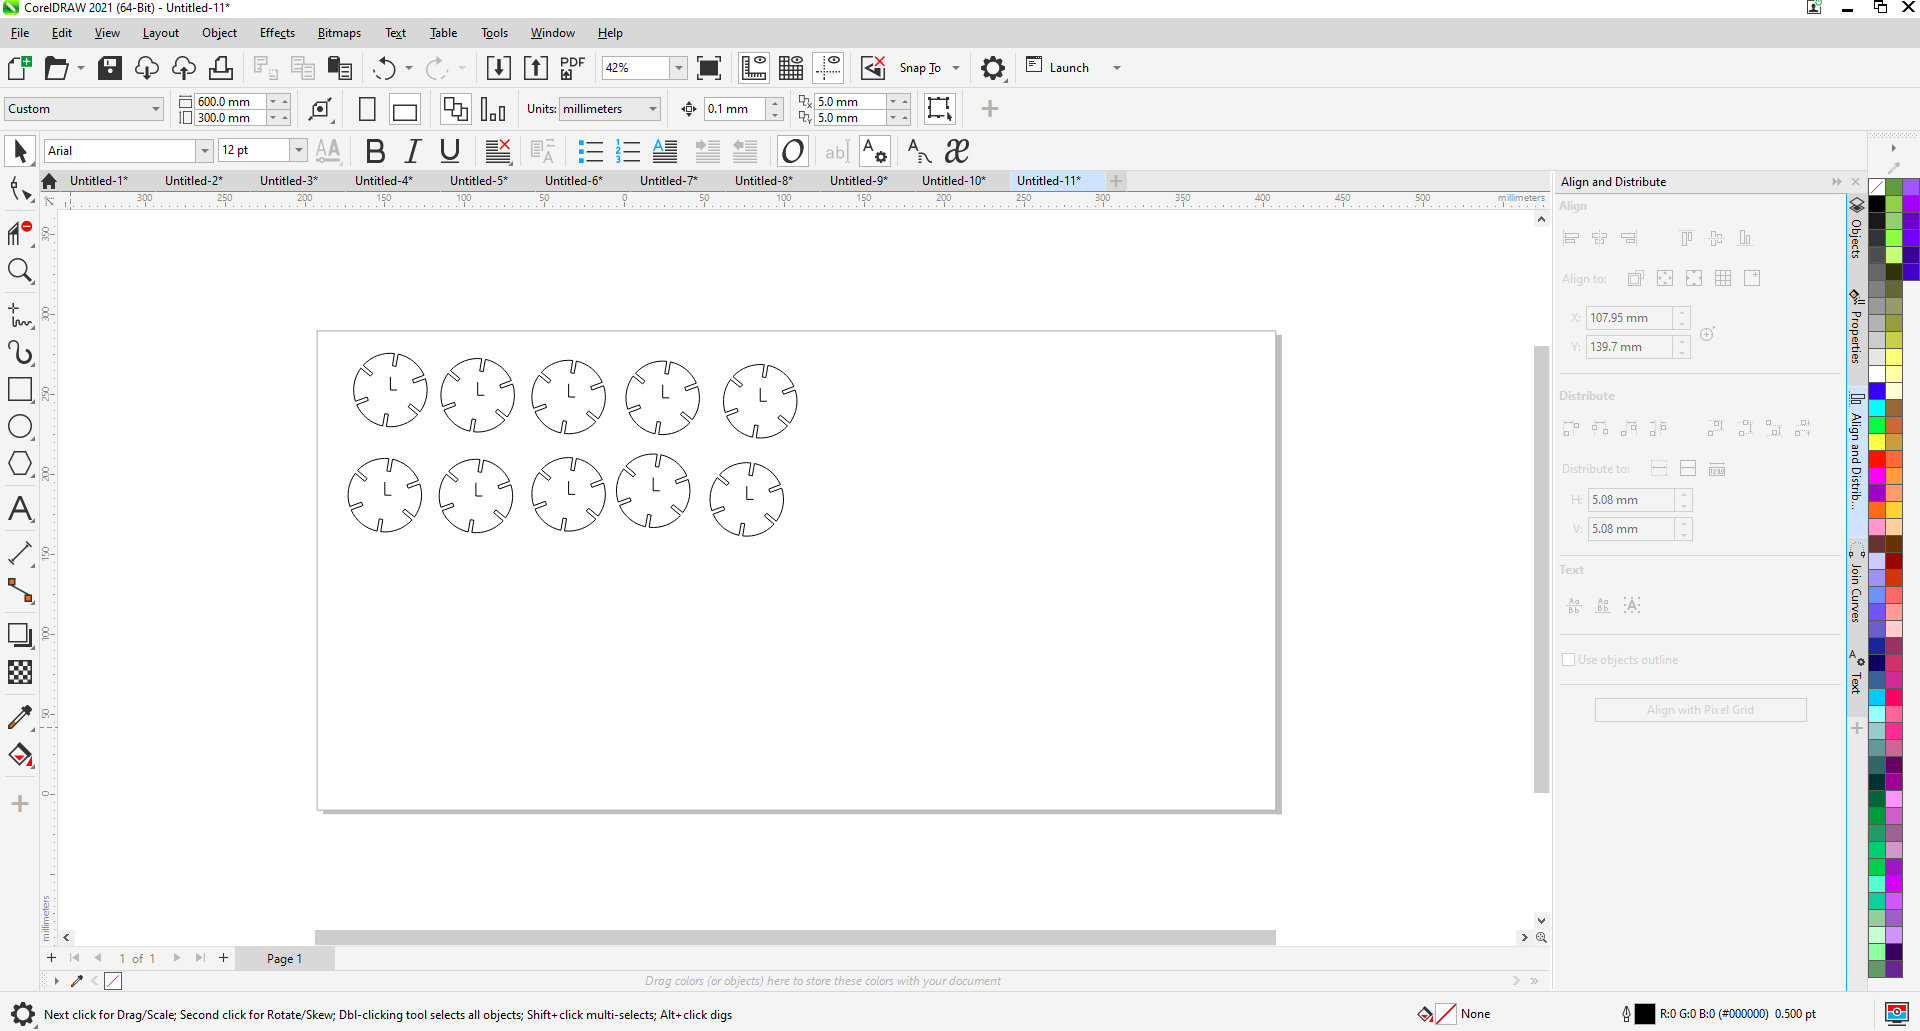
8th Step: I imported my design in CorelDraw software so that I can print"
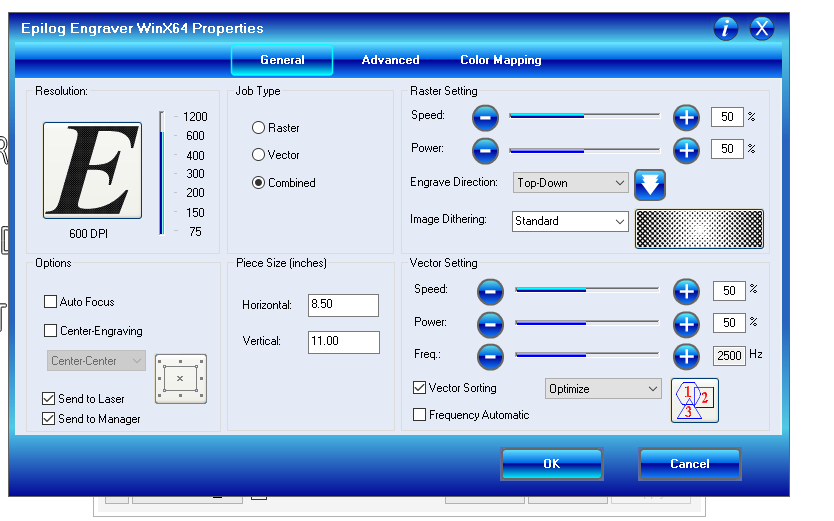
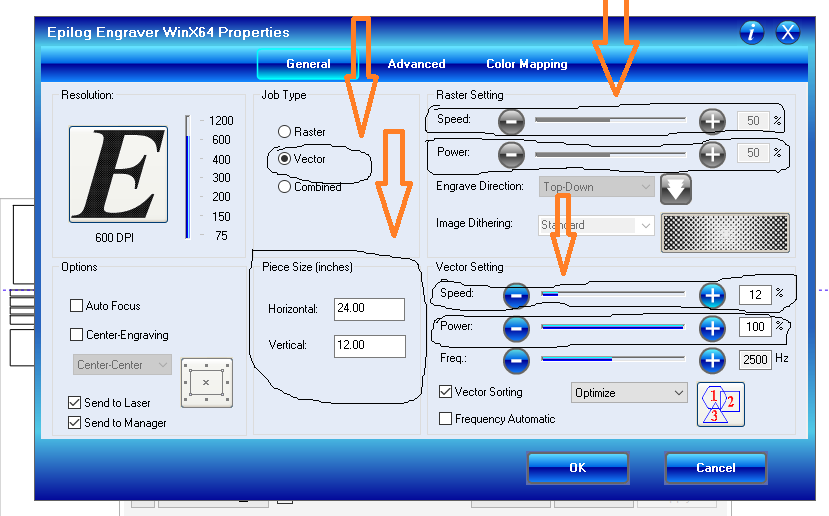
9th Step: Setting the printing parameters: power, speed, job type and piece size. Then send the job"
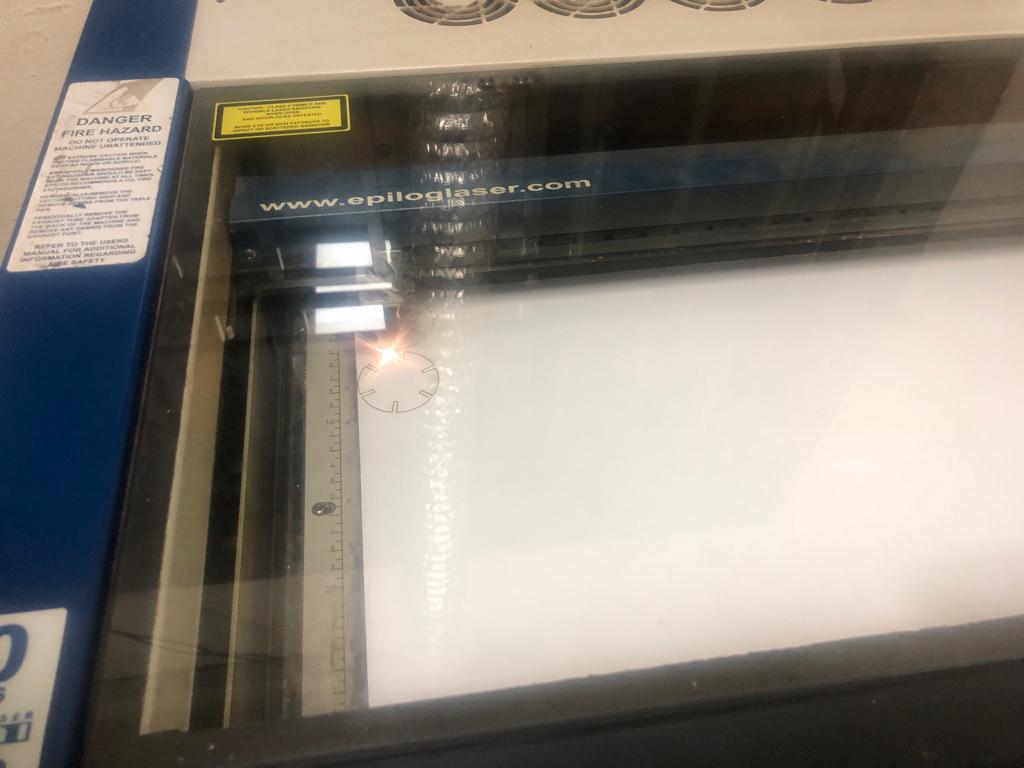
10th Step: The laser starts cutting the design"
11th Step: My first out put fail because the Joint Clearance was very big to fit with the thickness of material"
11th Step: My final results after laser-cutting"
>
12th Step: My last step was to verfy if it press-fit. wowwwww it is very fit"
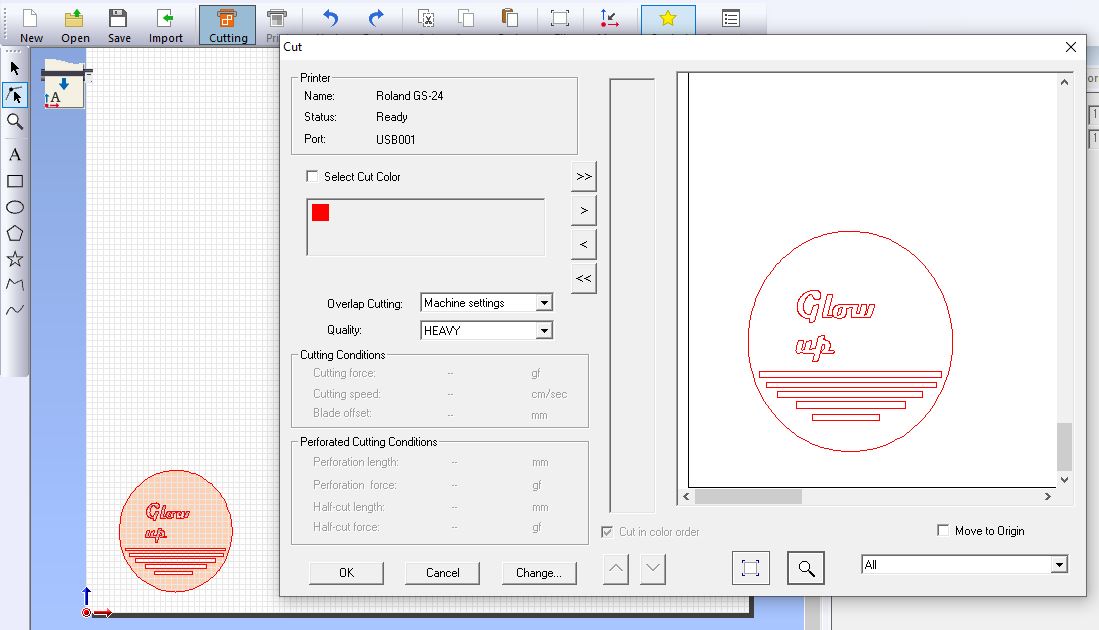
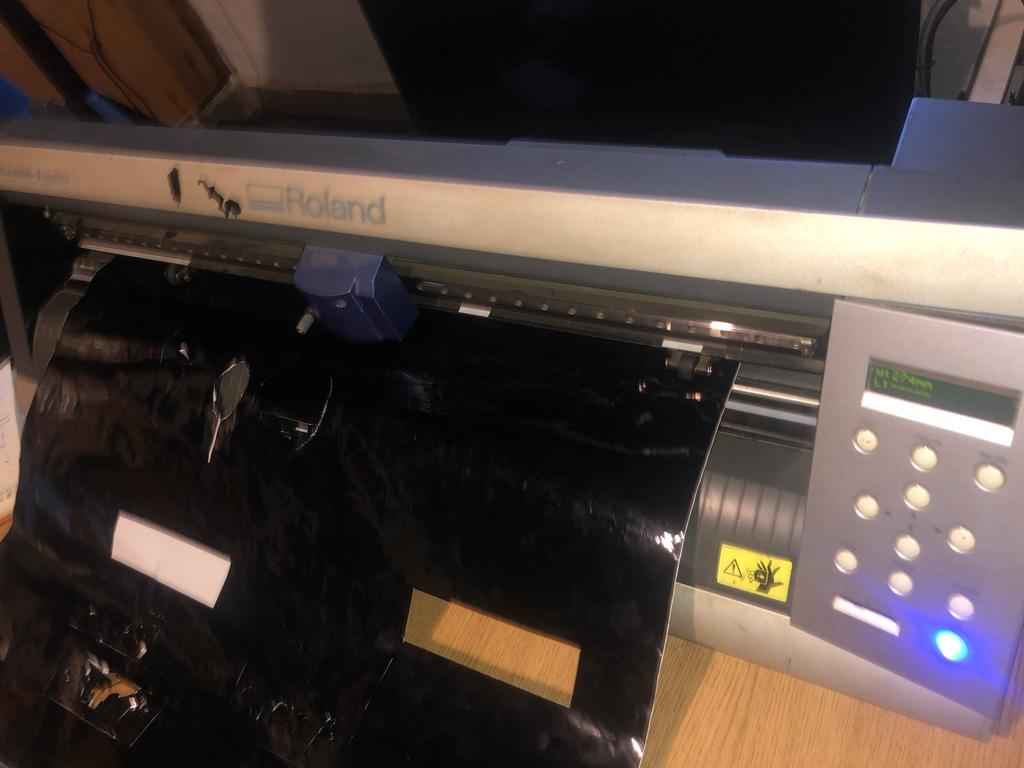
B.Cut something on the vinylcutter design,
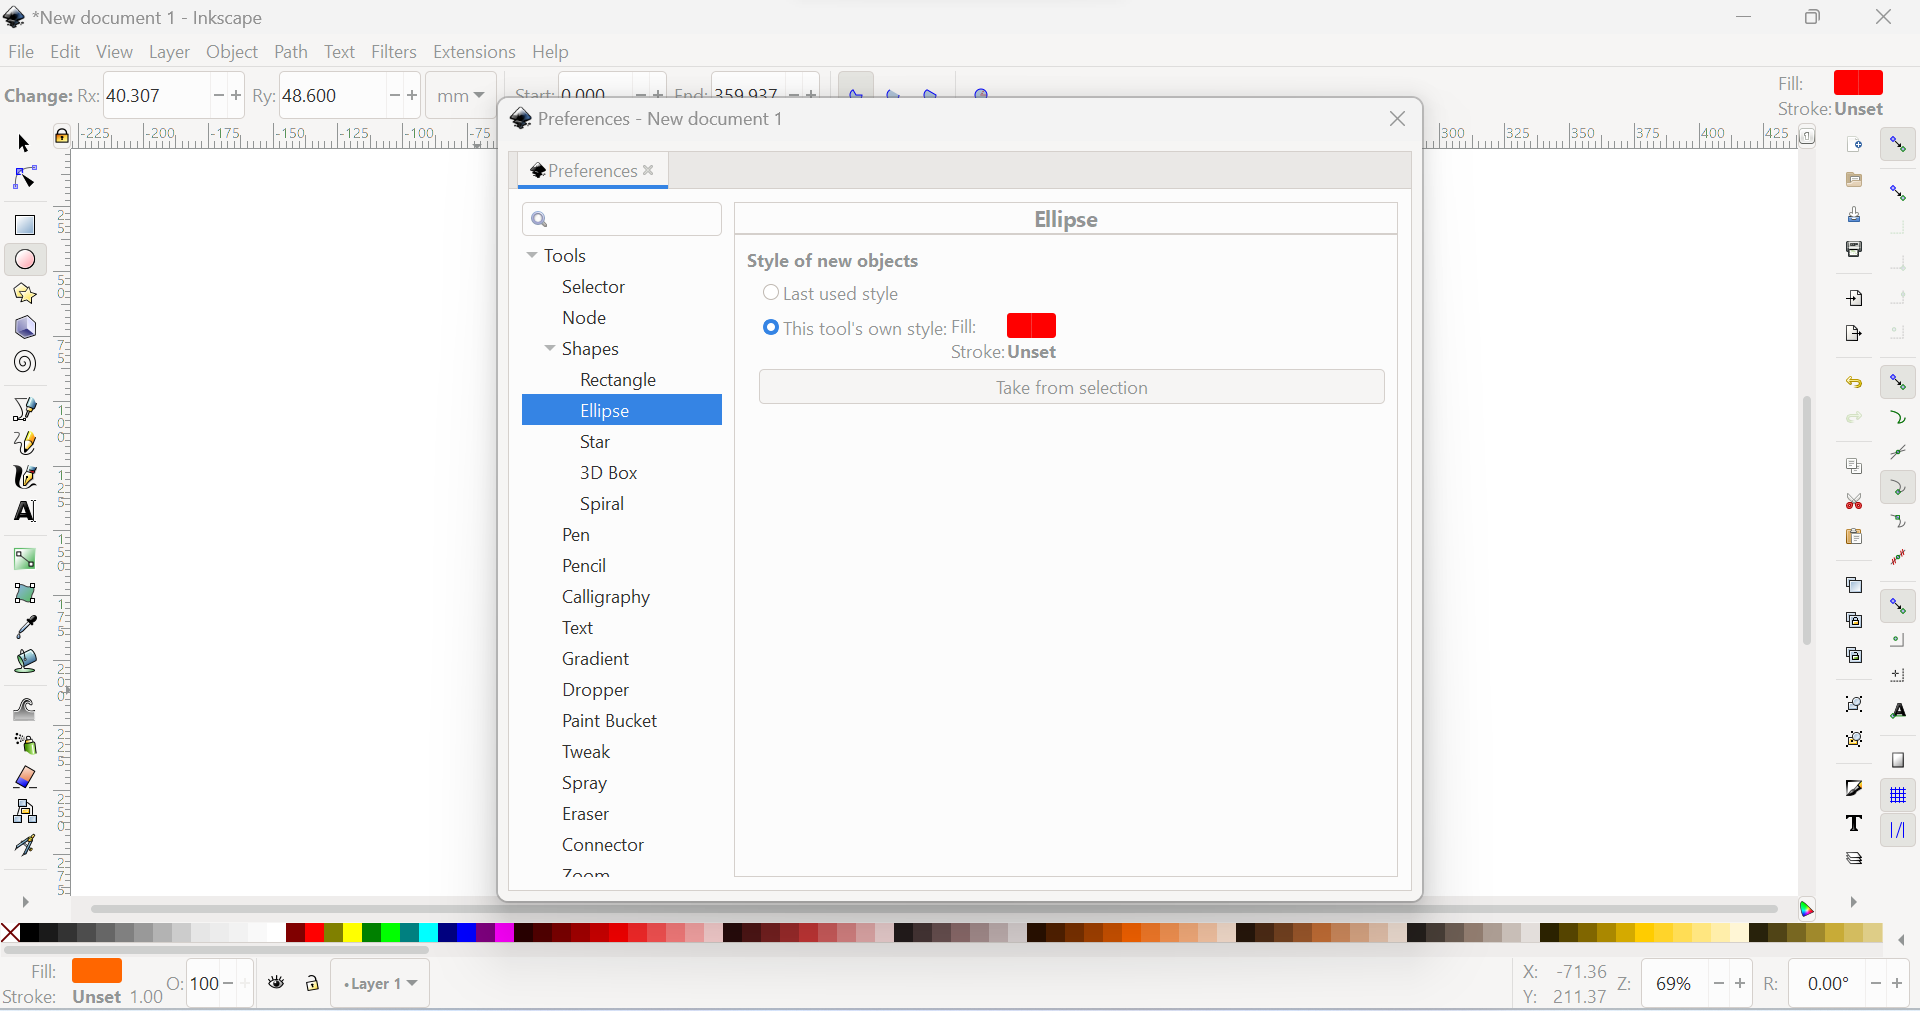
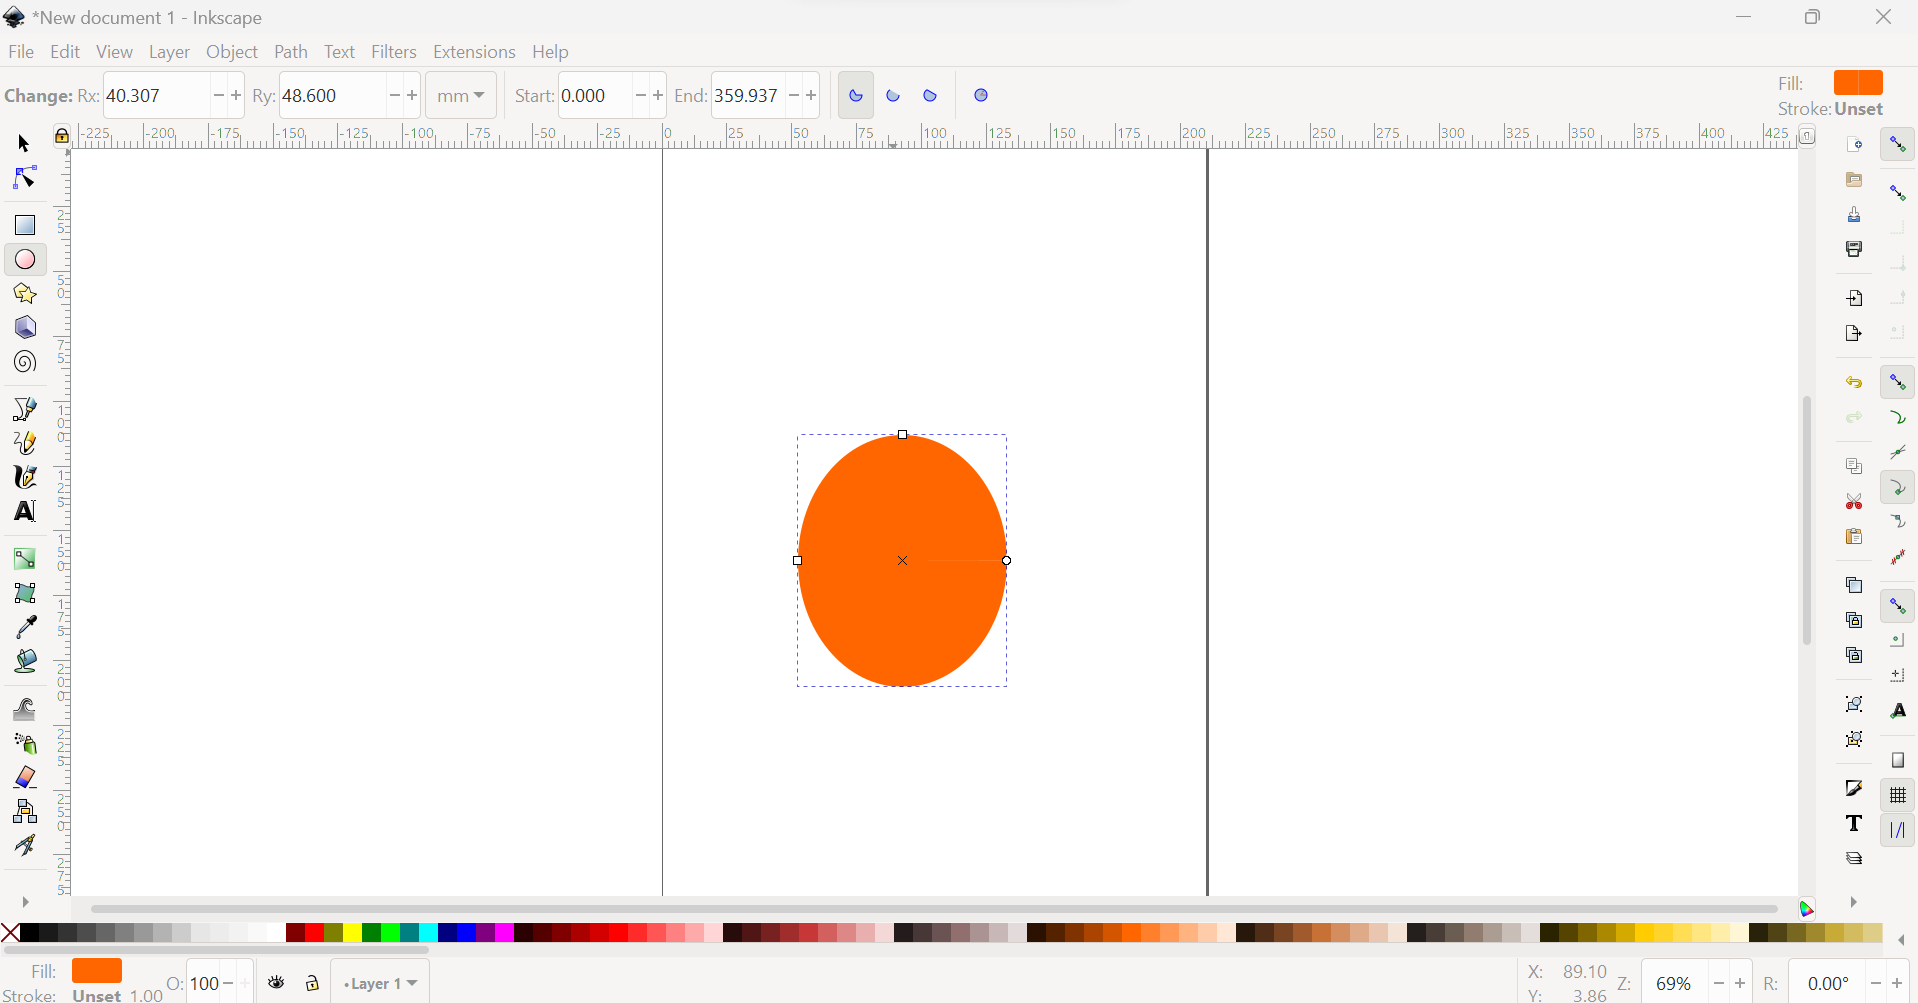
To create a vector design for a vinyl cutter, you will need to use vector design software such as Inkscape. Here are some general steps you can follow:
1st Step:Open a new document in your vector design software and set the dimensions to match the size of your vinyl cutter.

2nd Step:Create your design using the drawing tools available in the software. You can create shapes, lines, and text. Keep in mind that the vinyl cutter will only cut along vector paths, so all the elements in your design should be vector-based.
3rd Step: Use the selection tool to select all the elements in your design, and then group them together.
4th Step: Depending on the software you are using, you may need to convert the grouped elements to paths or outlines. This ensures that the vinyl cutter will cut along the edges of the design, rather than attempting to cut any fill areas.
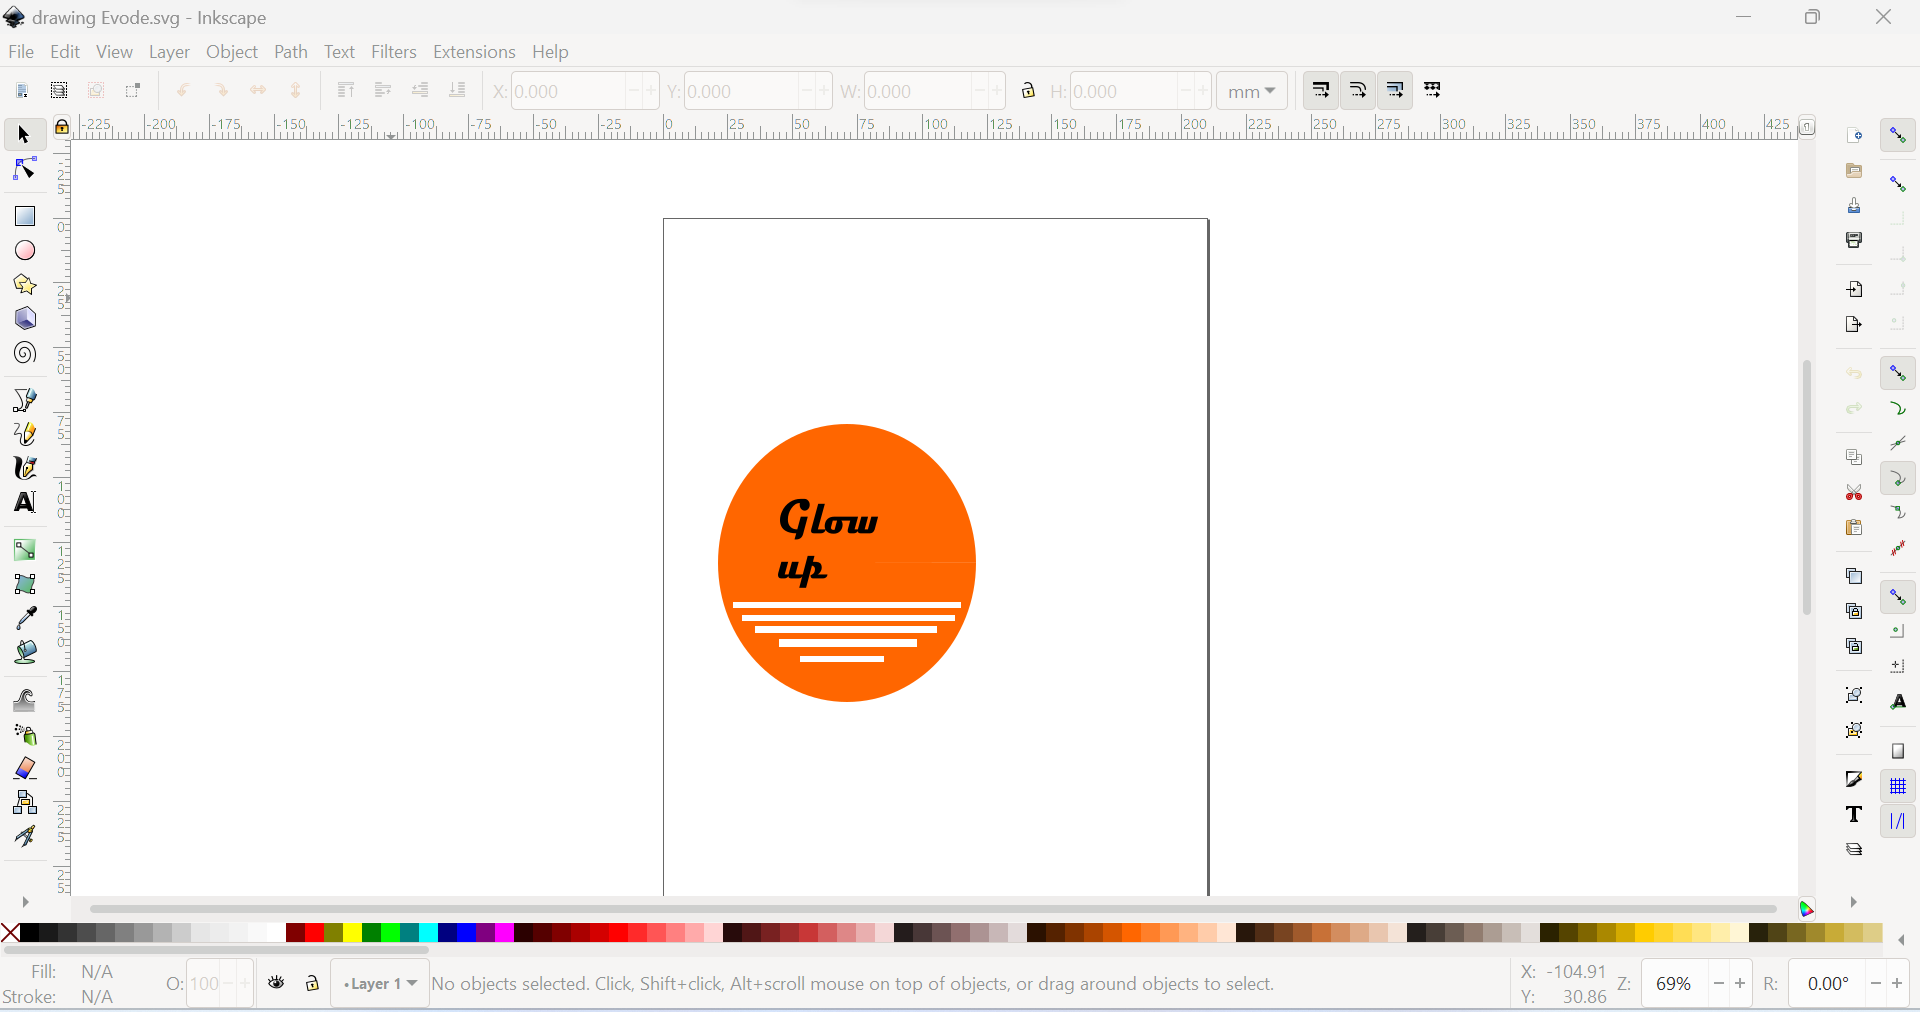
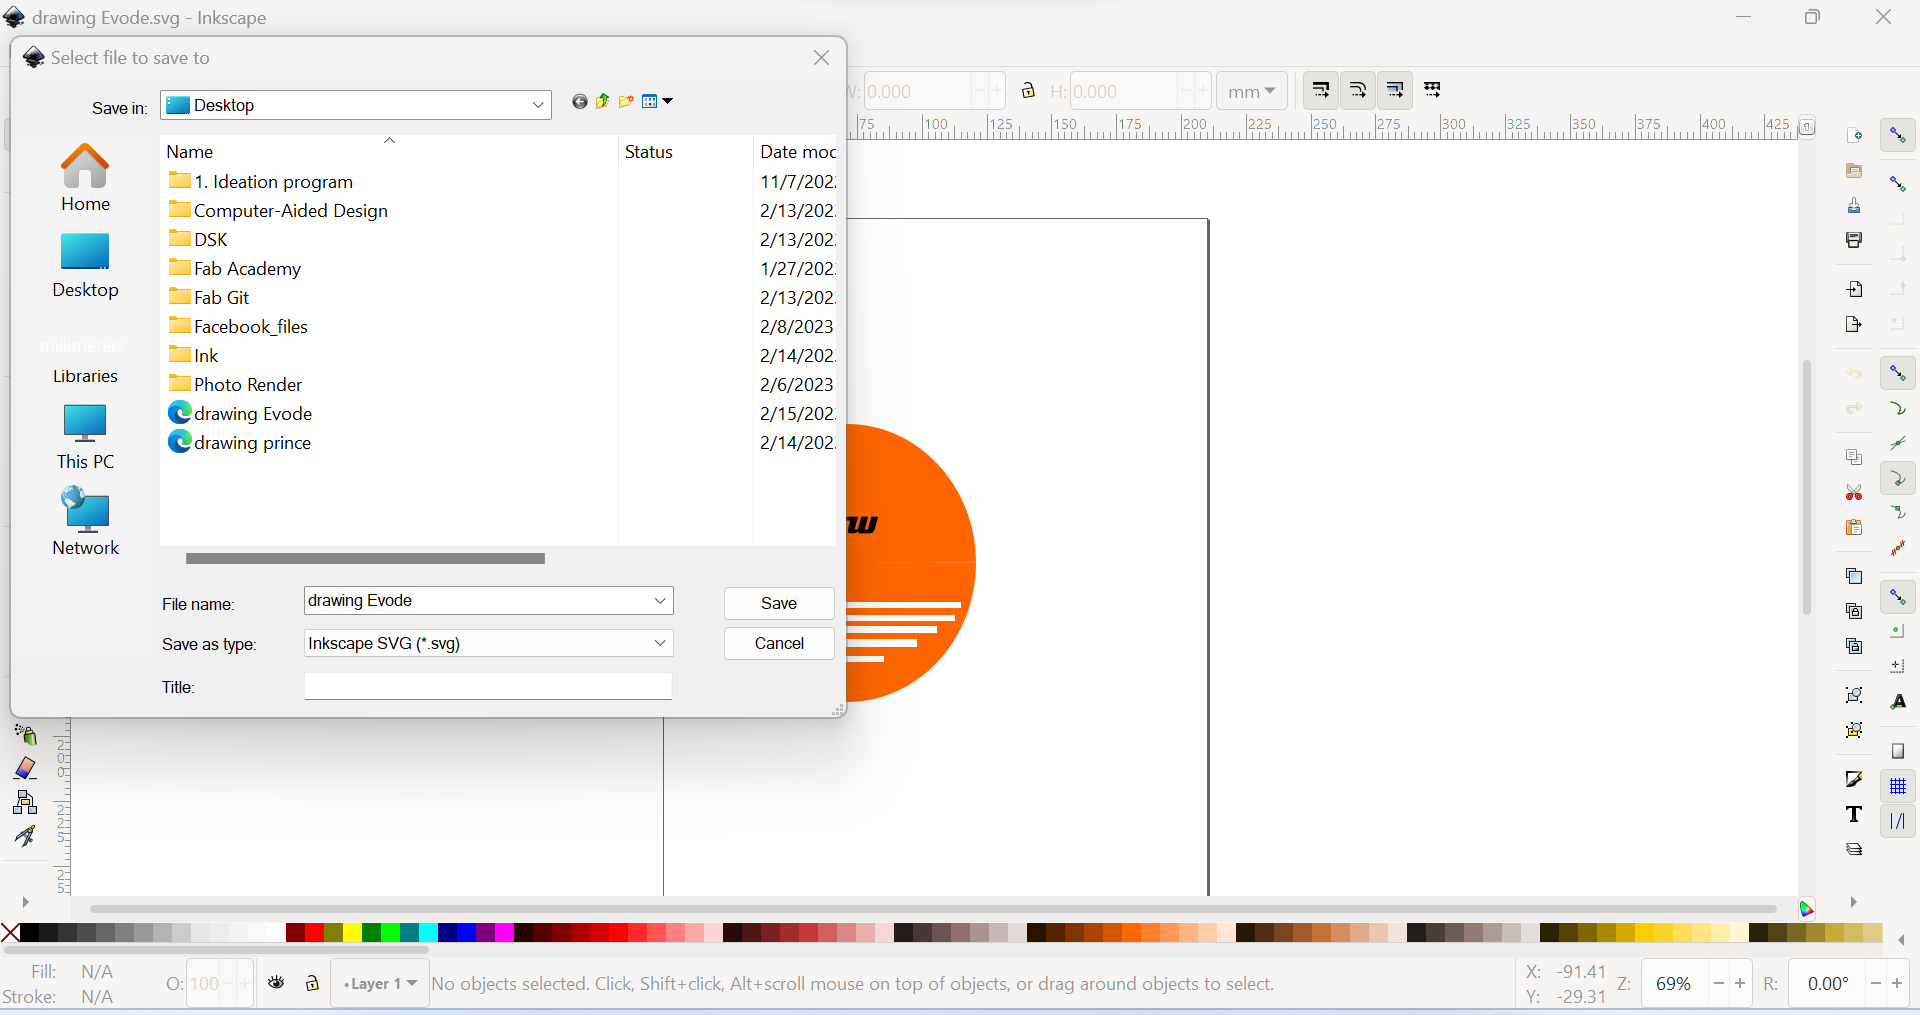
5th Step: Save your design as an SVG (Scalable Vector Graphics) file. This is the most common file format for vinyl cutters.
6th Step: Open Easy Cut Studio: Open the Easy Cut Studio software on your computer.
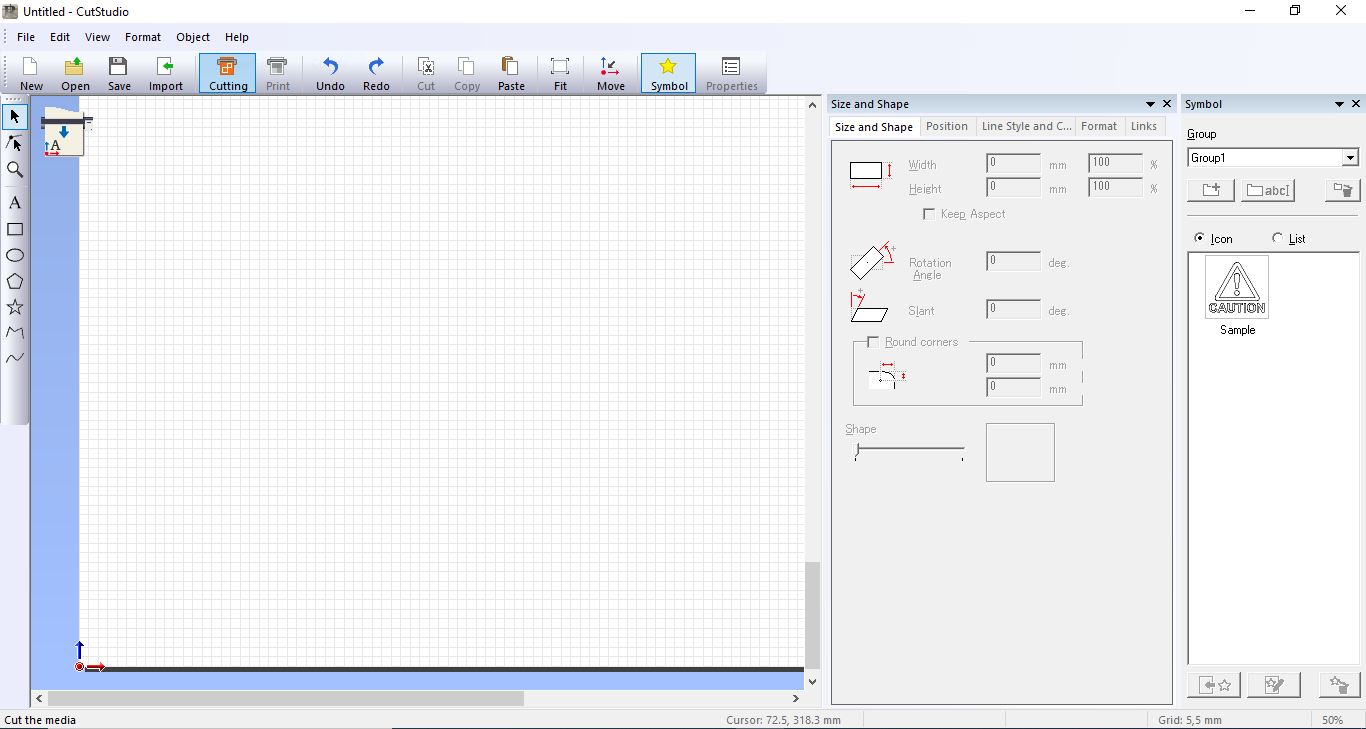
7th Step: Import your design: Create your design within the software, or import a design from a vector file such as SVG, Make sure that your design fits within the dimensions of the vinyl that you'll be cutting.
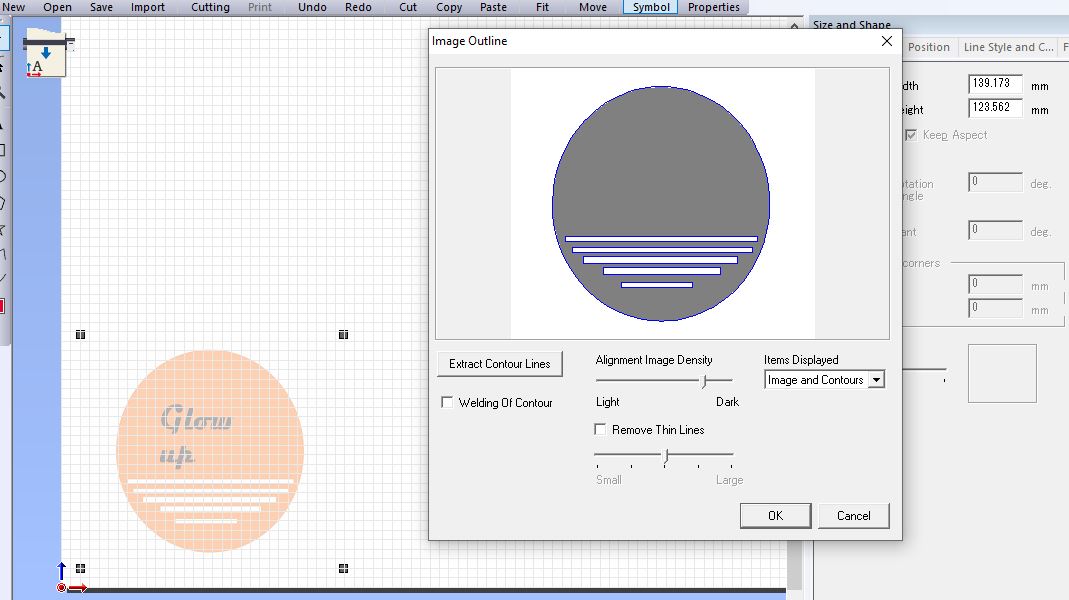
8th Step: Import your design: Create your design within the software, or import a design from a vector file such as SVG, Make sure that your design fits within the dimensions of the vinyl that you'll be cutting.
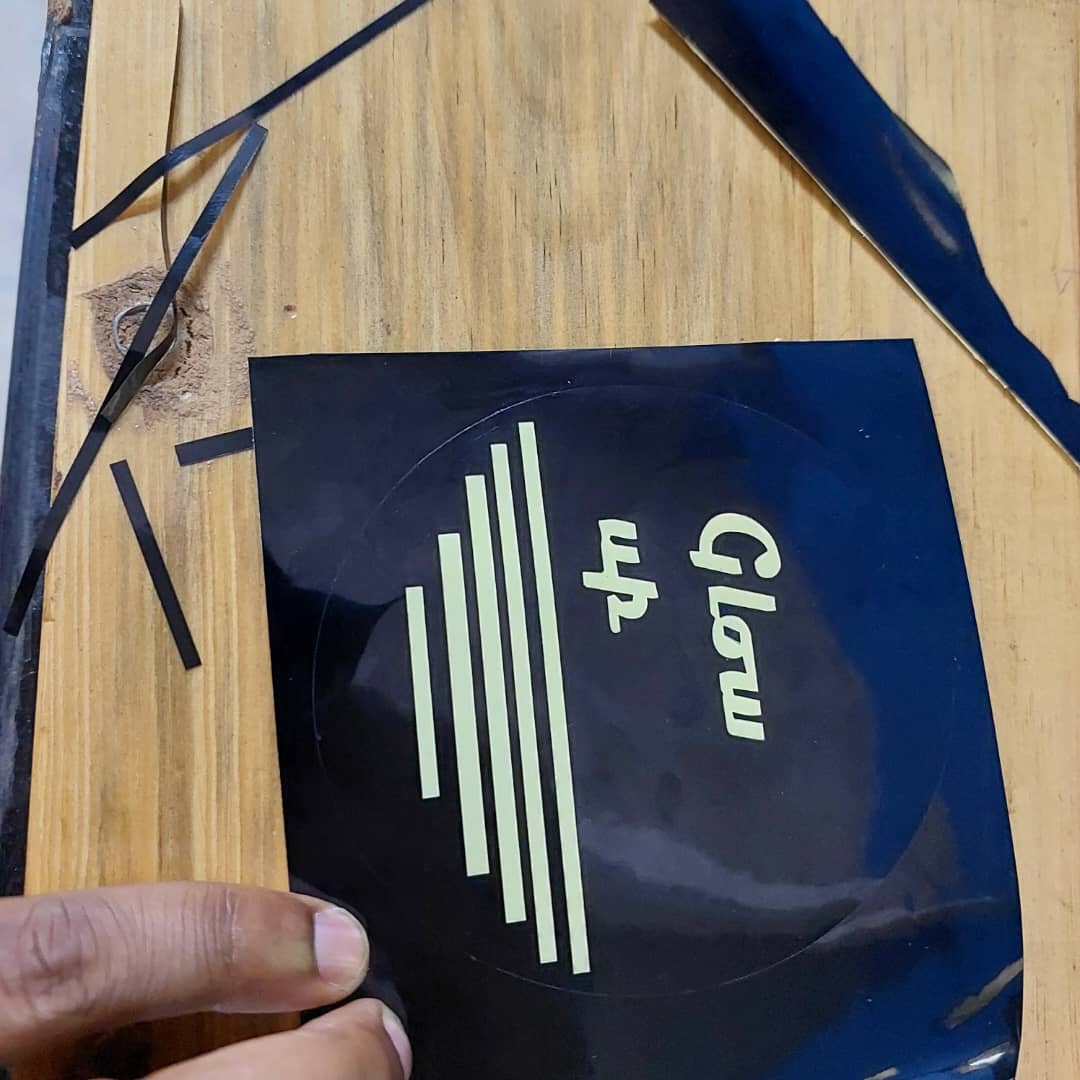

If you want to learn about my designs kindly click here for download my files