Week 5: 3D Scanning and printing
Assignment:
Group assignment
Test the design rules for your 3D printer(s)Individual assignment
. 3D scan an object (and optionally print it). Design and 3D print an object (small, few cm3, limited by printer time) that could not be made subtractively
3D Printing
Using solidworks, I am going to design a ball within a box (small, few cm3, limited by printer time) that could not be easily made subtractively
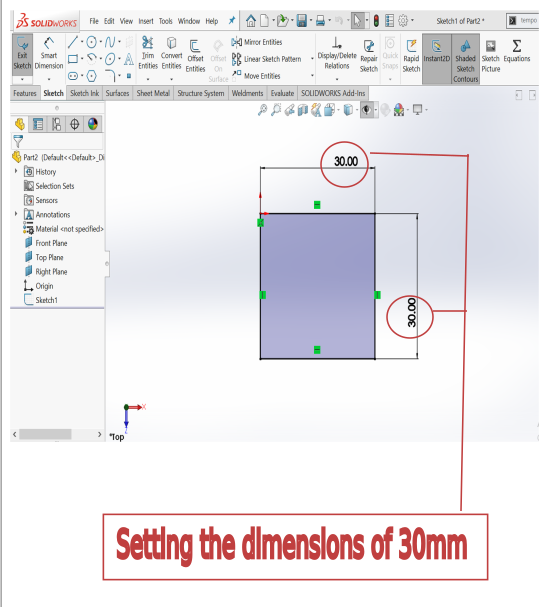
|
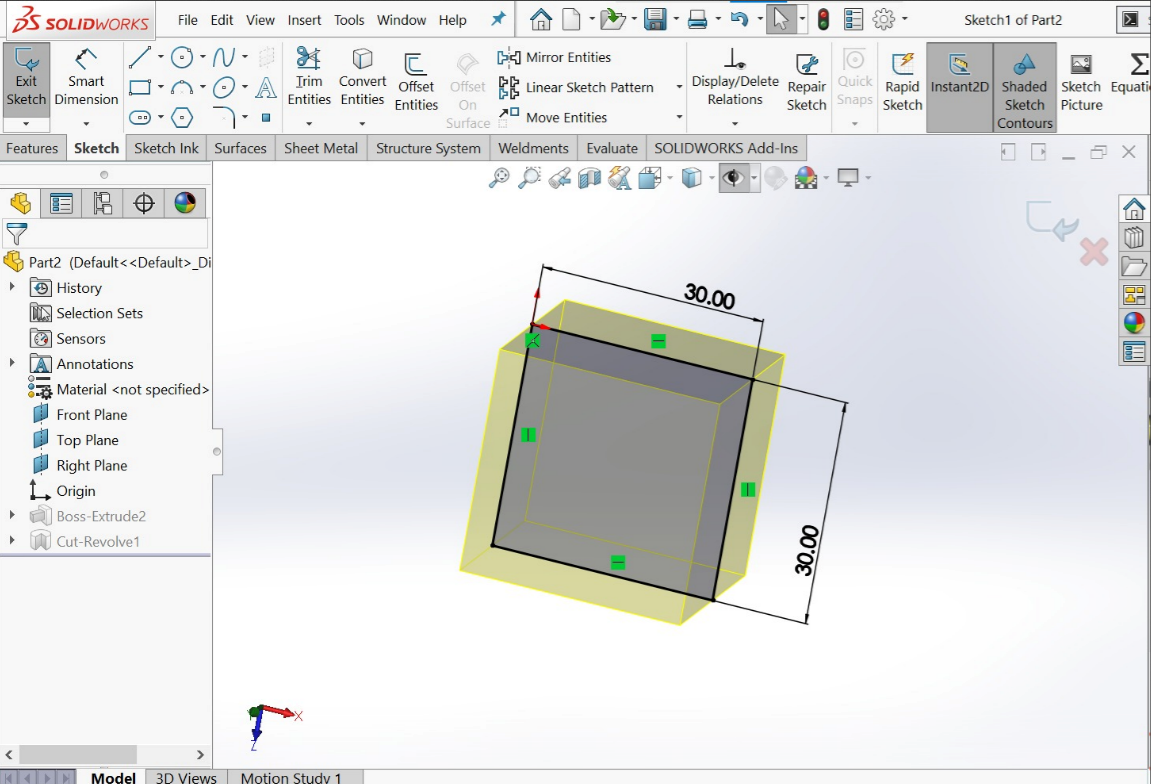 This is the cube design
|
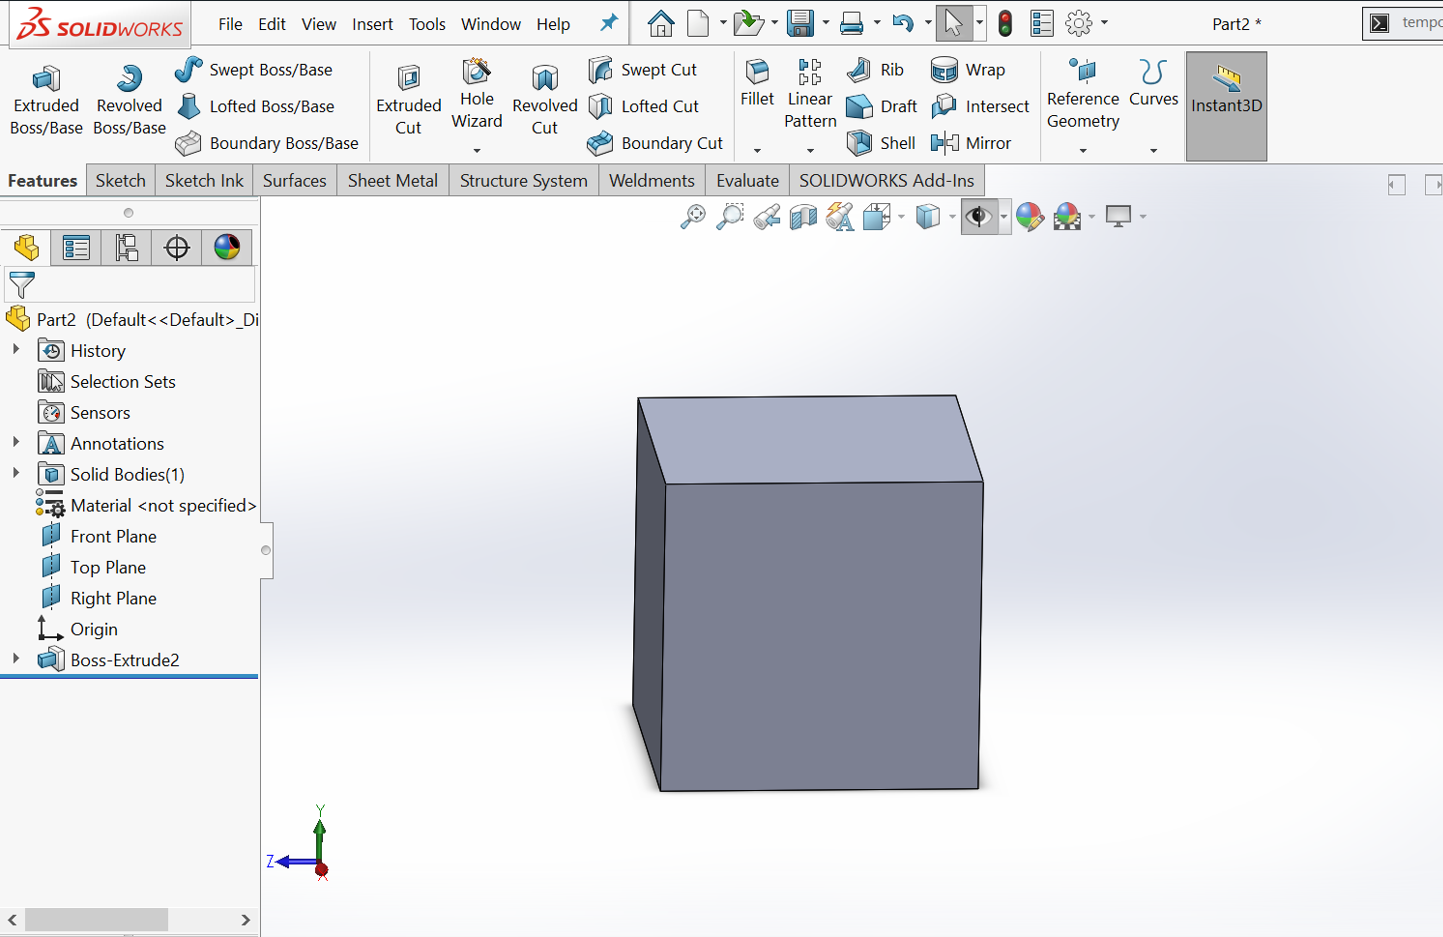 This is the extrude boss of cube
|
 This is the sketch of cut revolve
|
 This is the feature after cut revolve
|
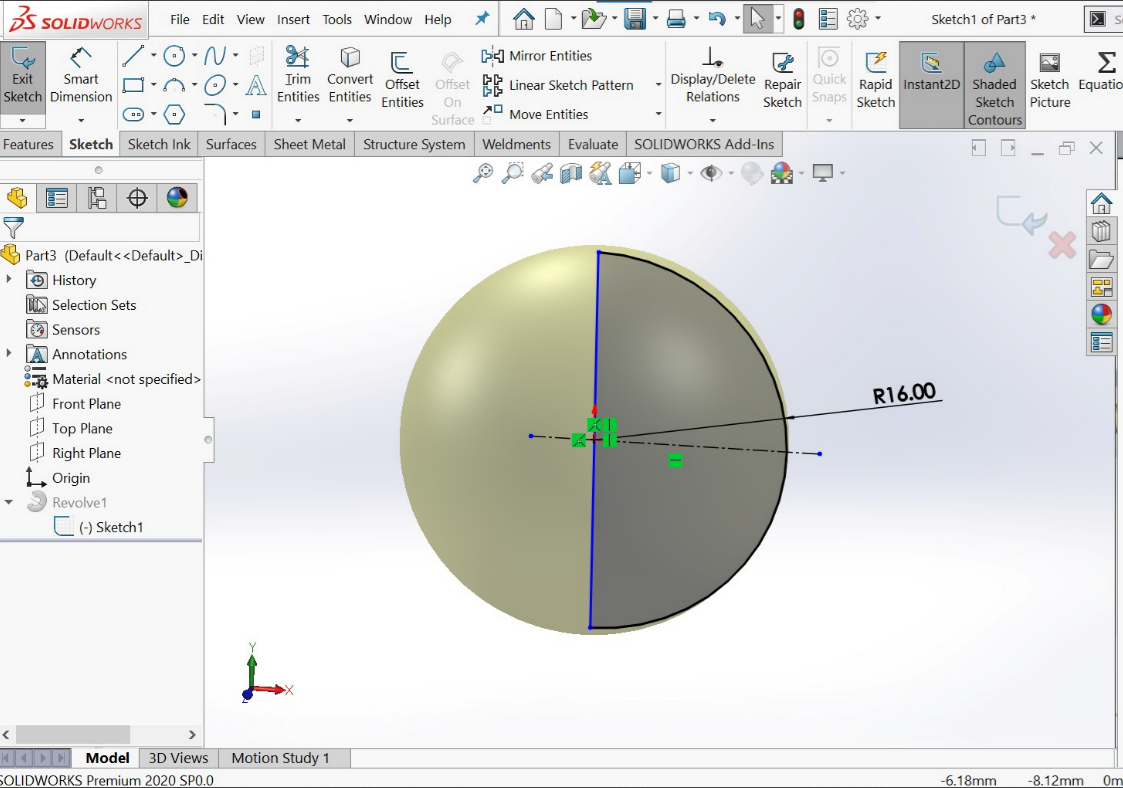 This is the spherical sketch
|
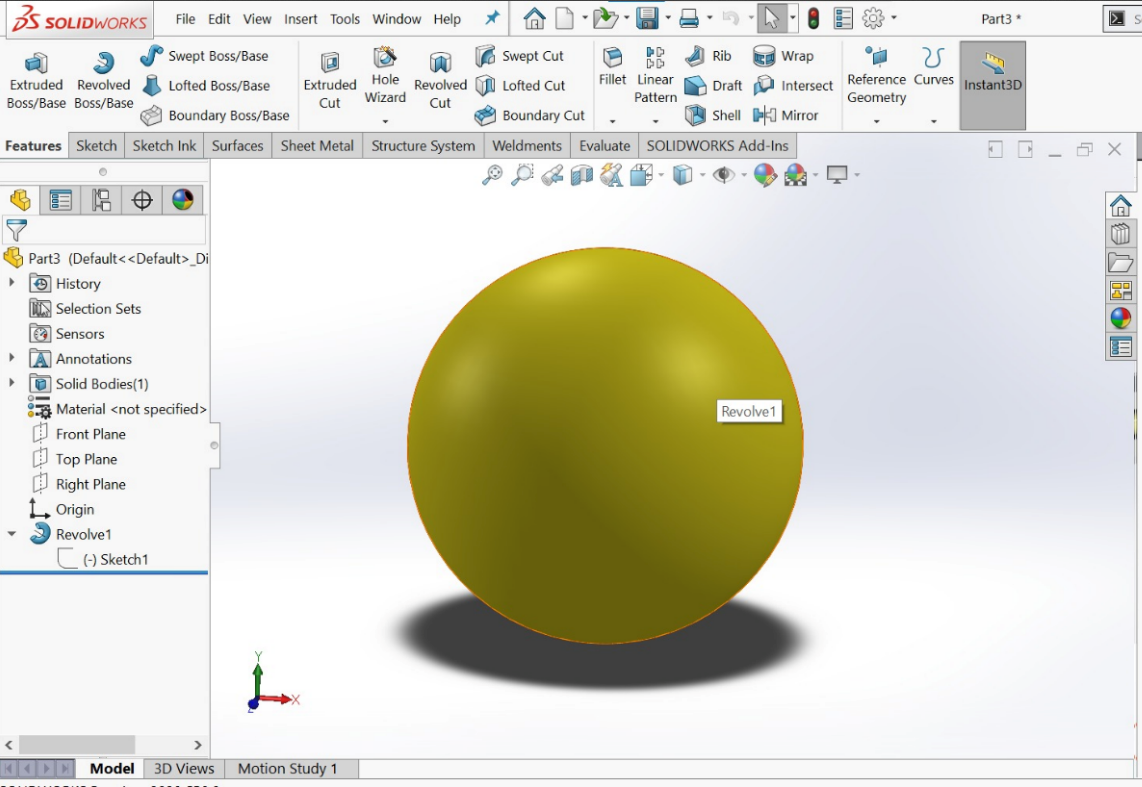 This is the revolve boss of the sphere which will be fitted in the previous designed cube
|
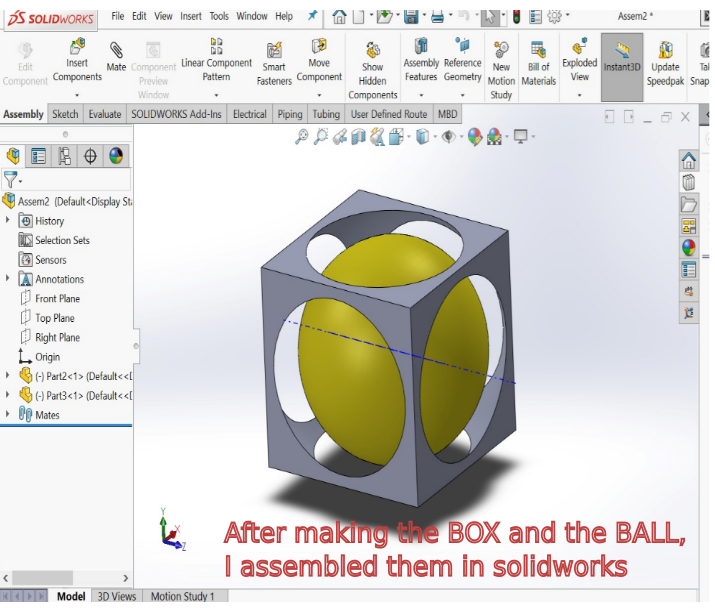
|
Using ultimaker-cura software, I am going to 3D print a ball within a box (small, few cm3, limited by printer time) that could not be easily made subtractively
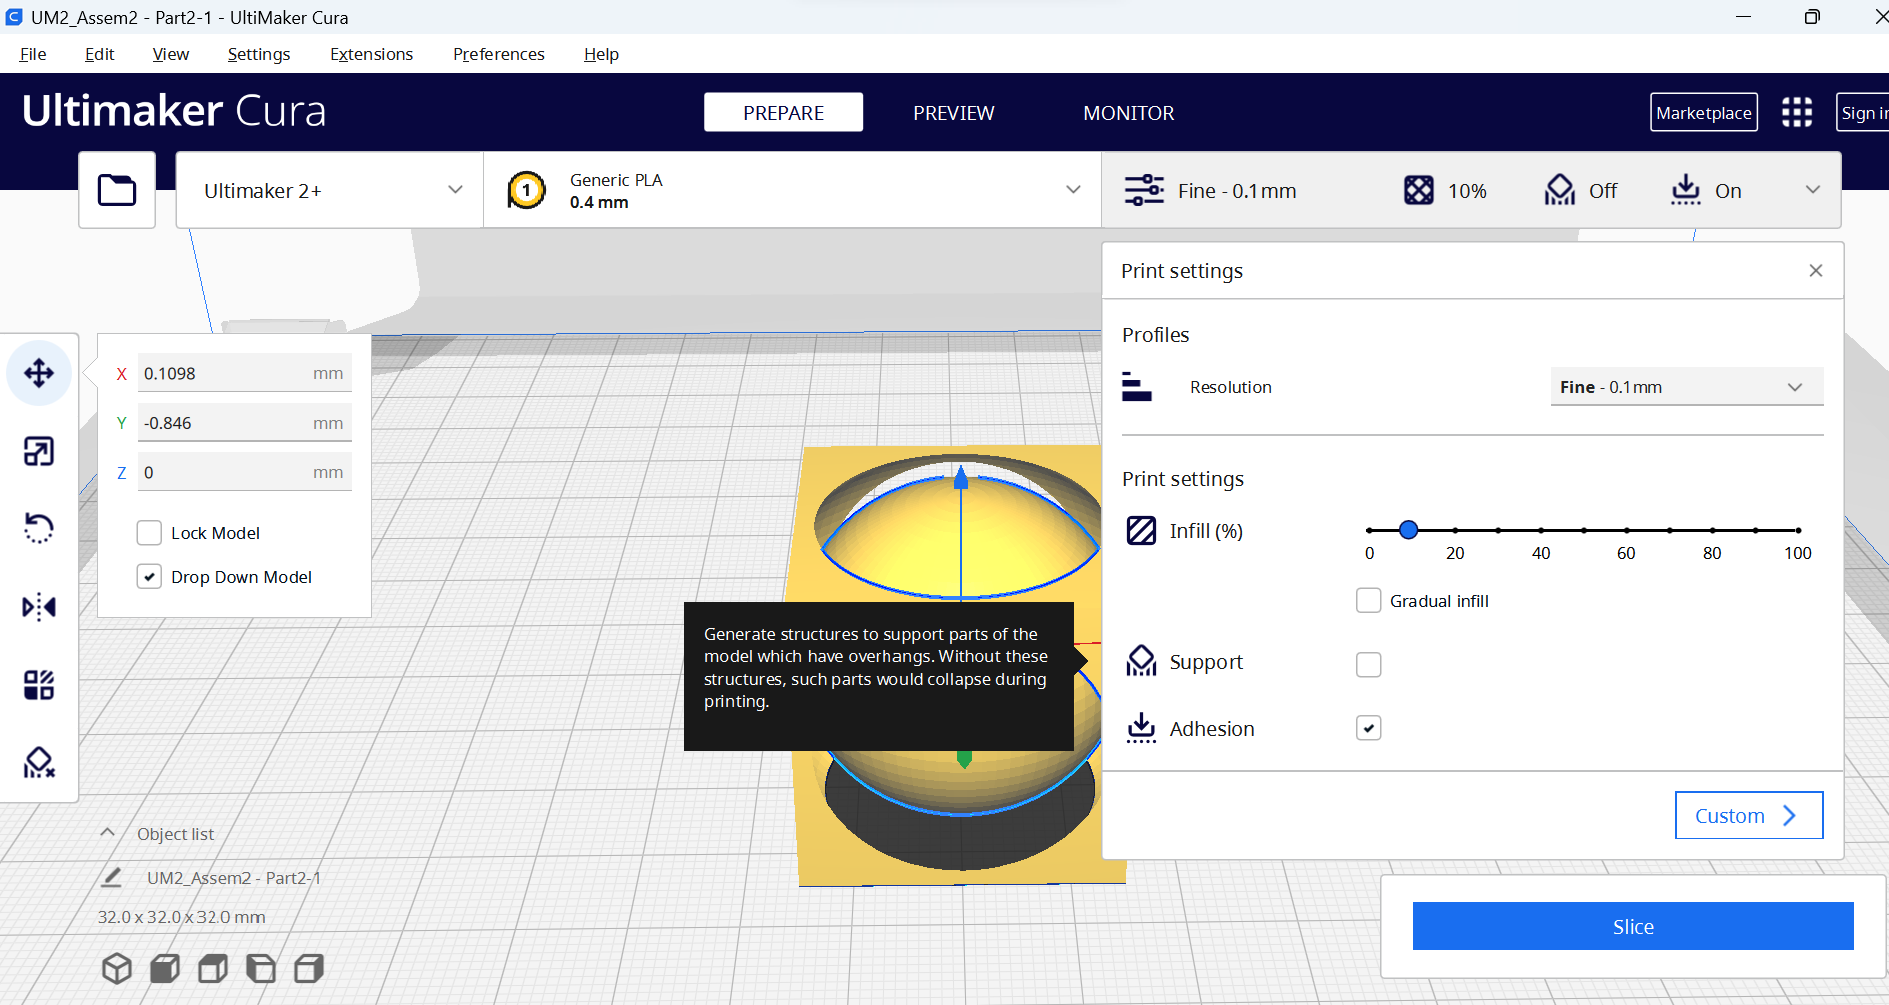
|
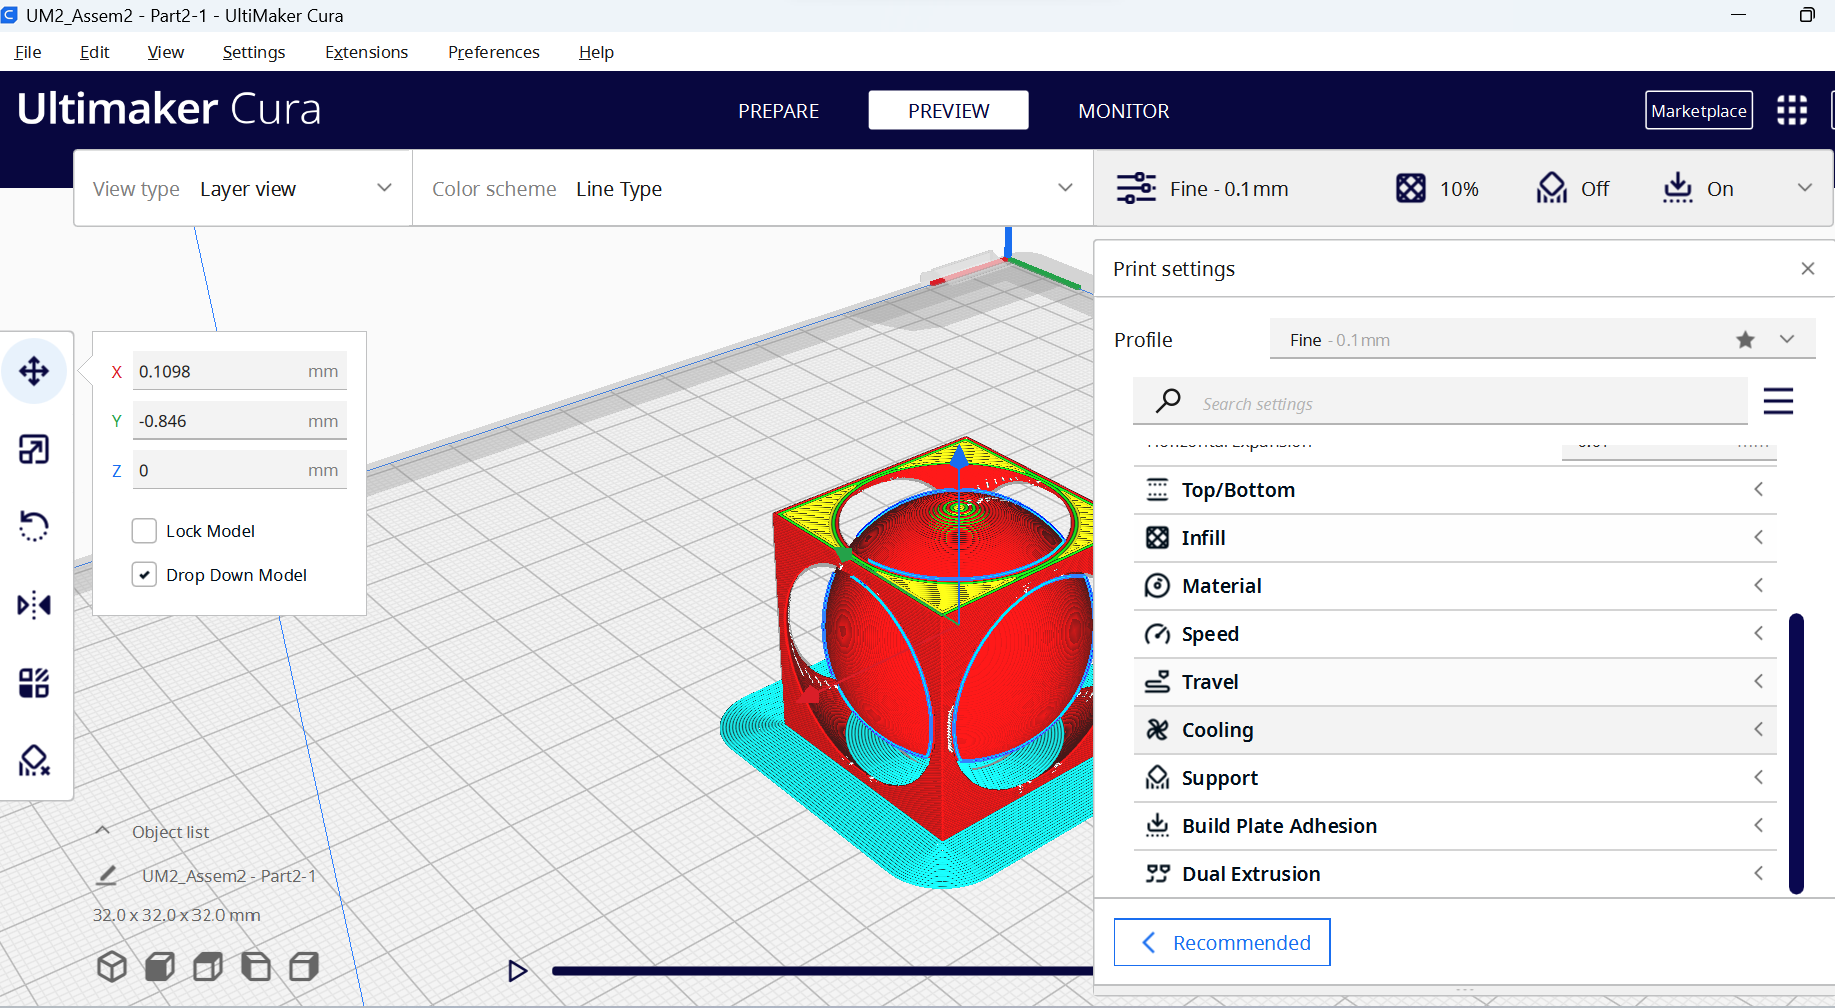
|
Starting the 3D printing using ultimaker
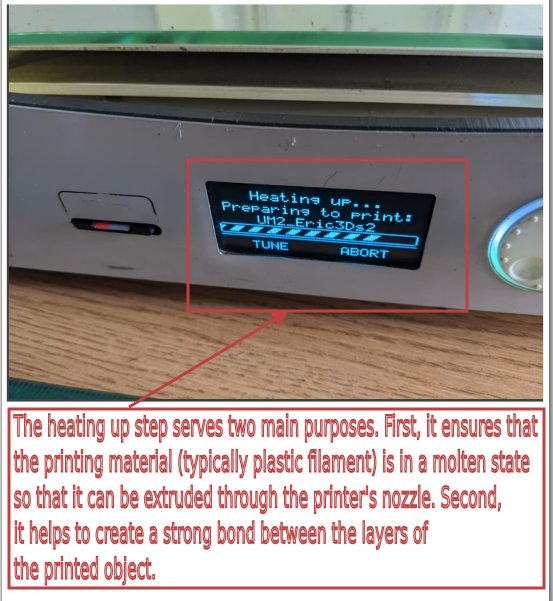
|
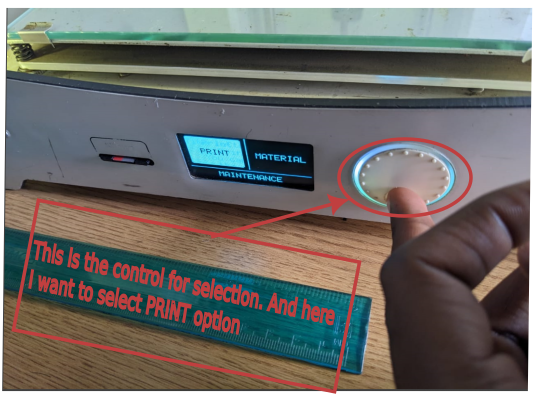
|
Printing in process
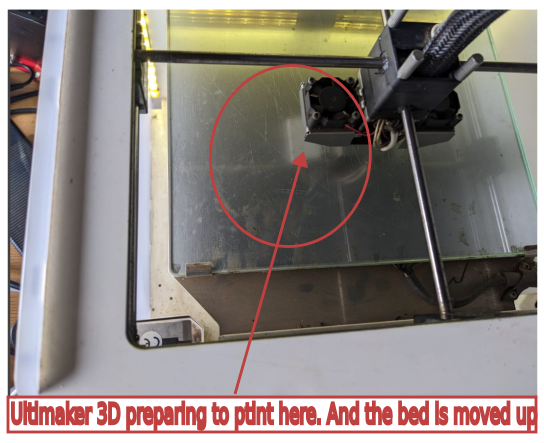
|
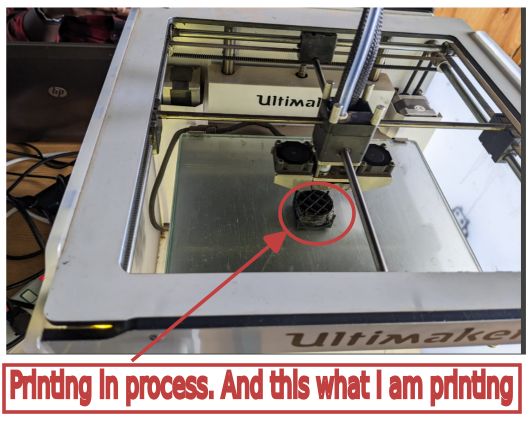
|
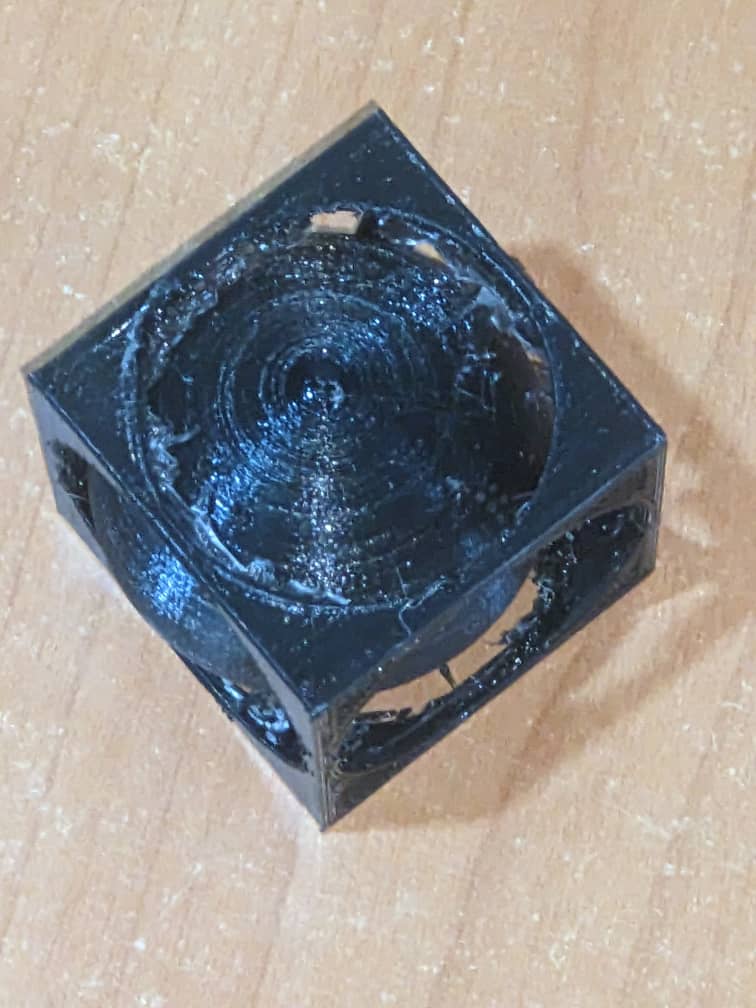
|
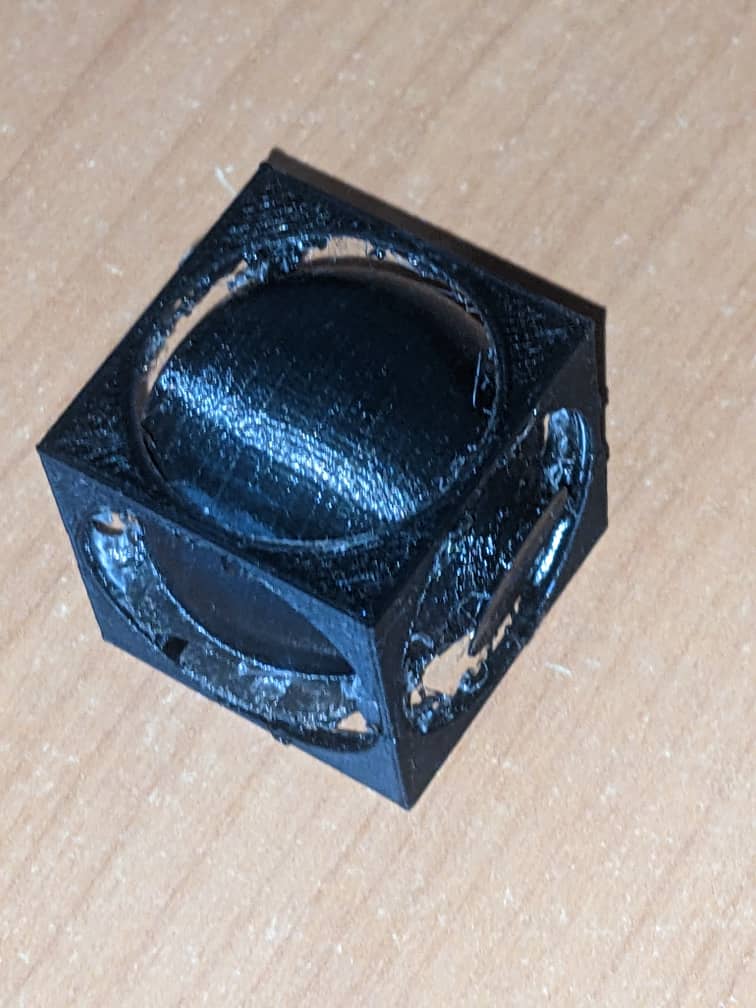
|
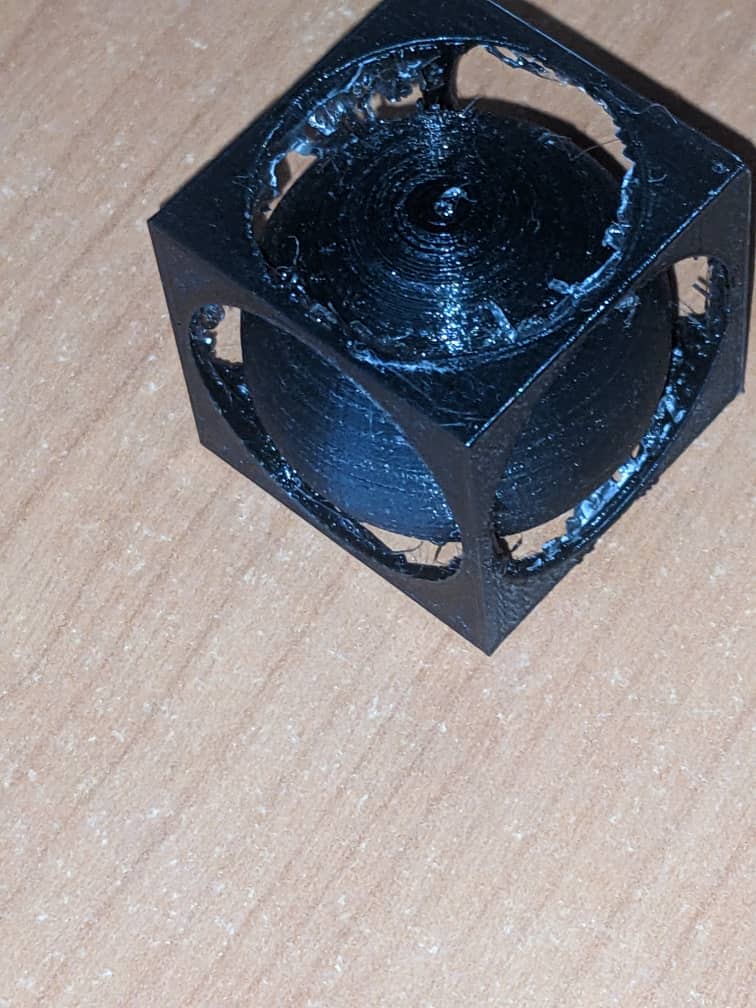
|
The following is the video showing 3D printed object that could not be made subtractively:
3D Scanning
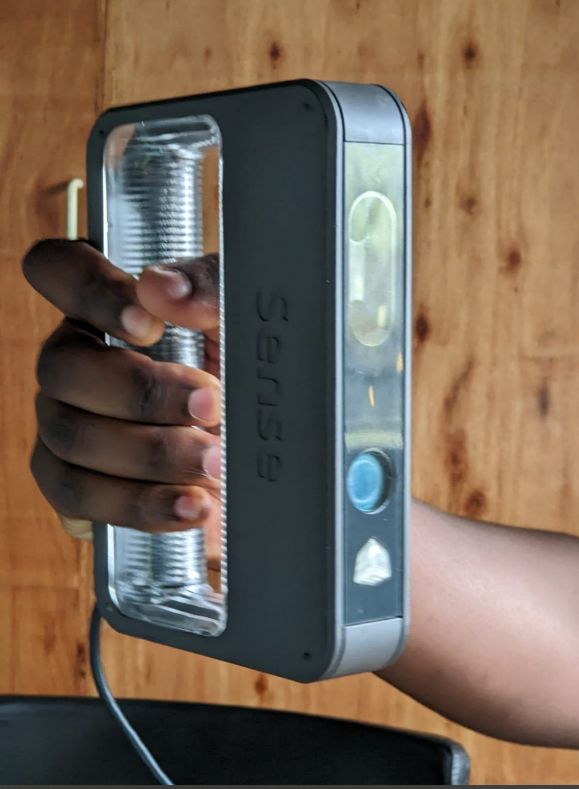
For 3D object scanning, I am going to use Sense 3D Scanner which is available in our Lab:
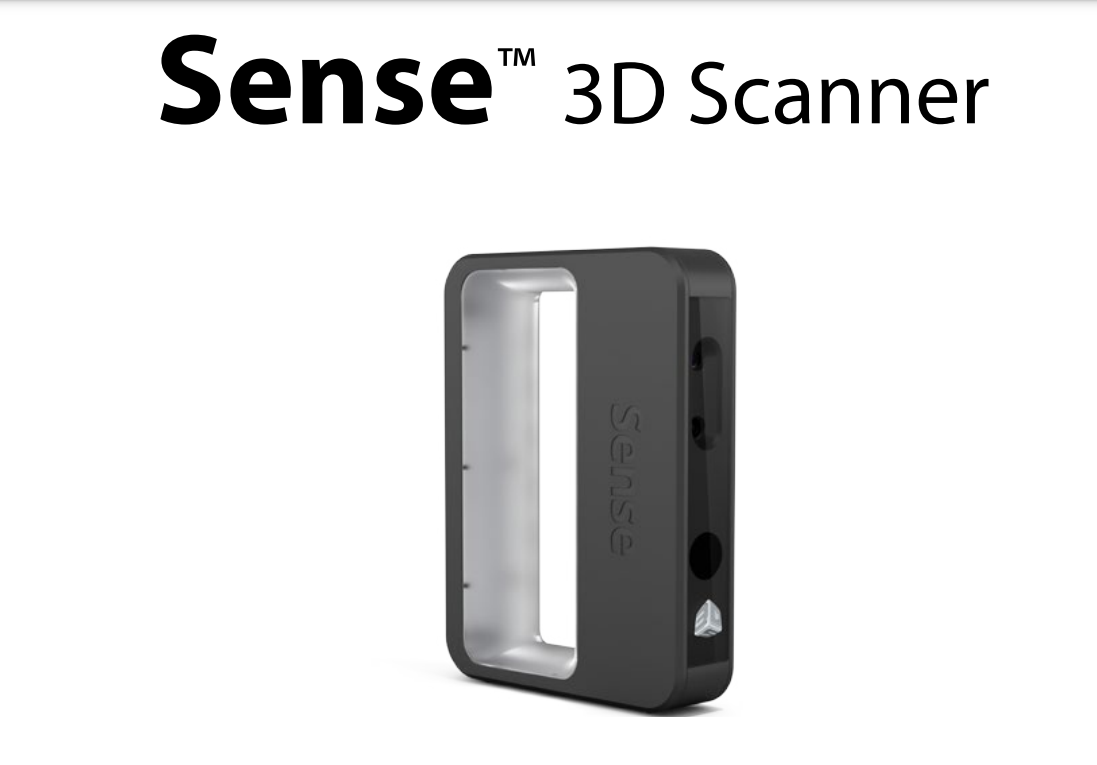
The Sense 3D Scanner is a portable device that uses infrared technology to capture three-dimensional images of objects and environments. It was developed by 3D Systems, a company that specializes in 3D printing technology.
The Sense 3D Scanner works by projecting a pattern of infrared light onto the object or environment that is being scanned. The scanner then uses two infrared cameras to capture the pattern as it is reflected back. By analyzing the differences in the patterns captured by the two cameras, the scanner is able to build a highly detailed 3D model of the object or environment.
- The best way to use the device for scanning is to place the object on a platform, and the camera is moved around it at regular intervals to capture all of its angles.
- Therefore, I scanned myself using the Sense 3D Scanner. I did this by sitting on a chair and placing the device parellel to my face.
-
To 3D scan my head, I am going to undergo the following
Using the Sense 3D scanner -
I start the Sense program in my computer
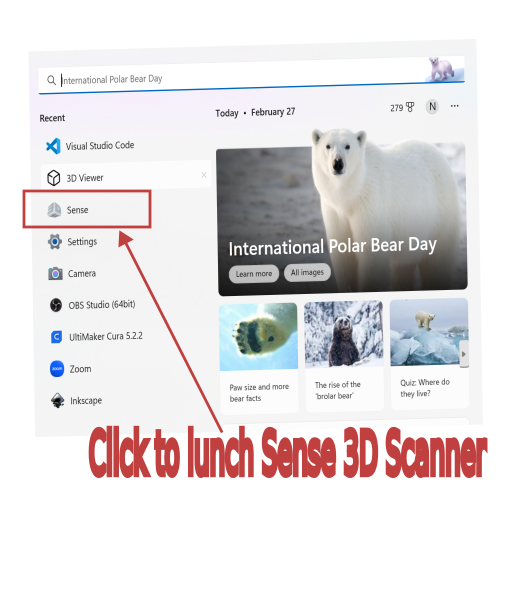
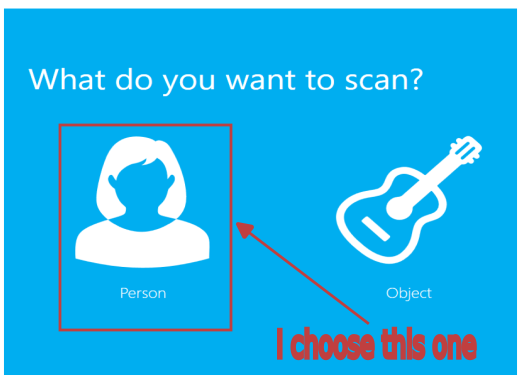
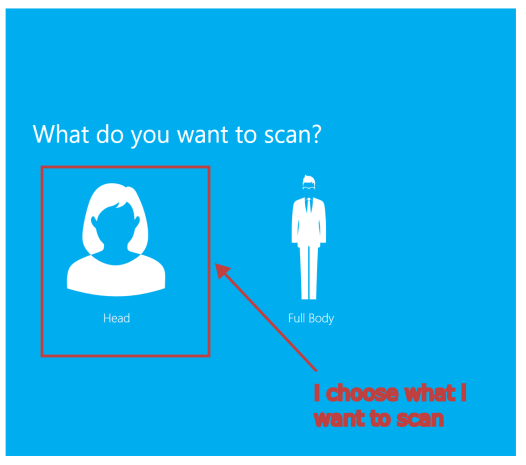
-
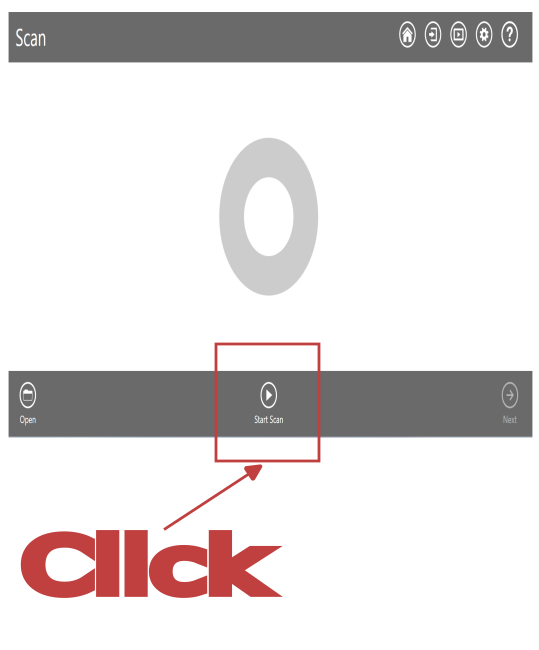
I hold the scanner about 65cm away from the object and then, I press 'START SCAN' on the program
-
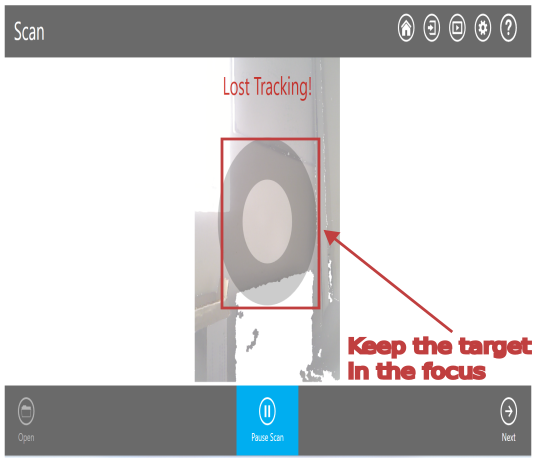
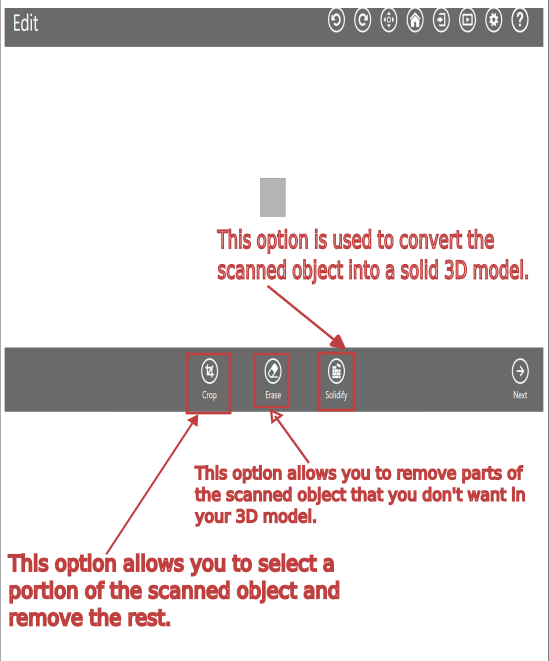
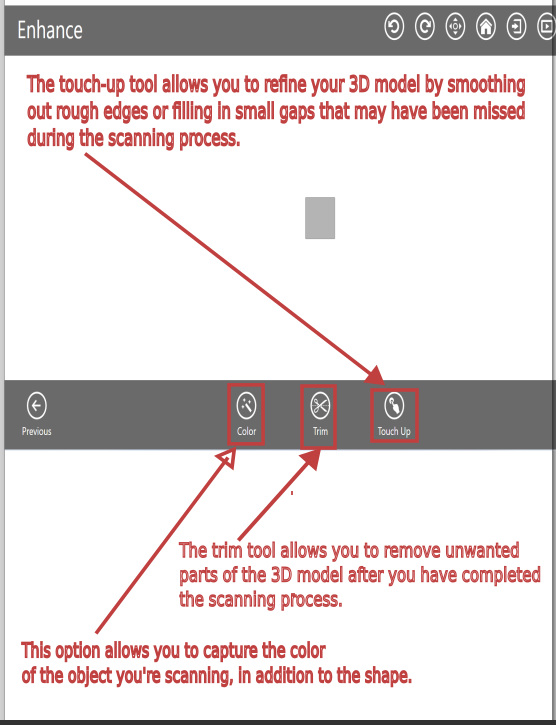
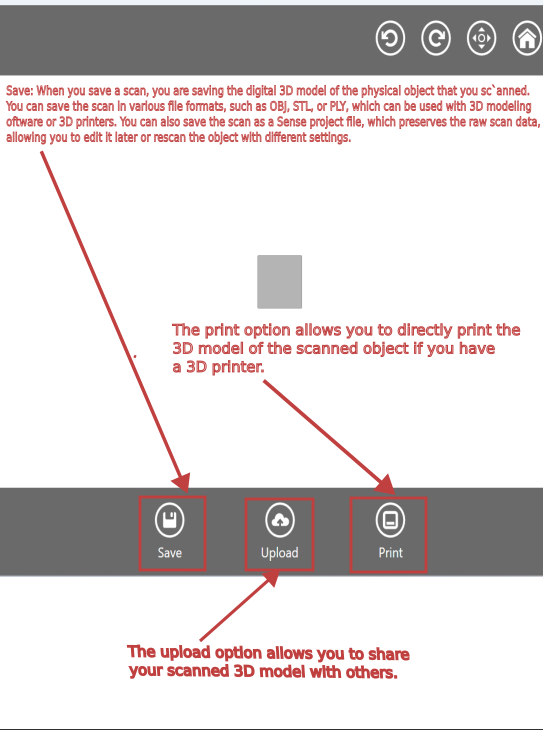
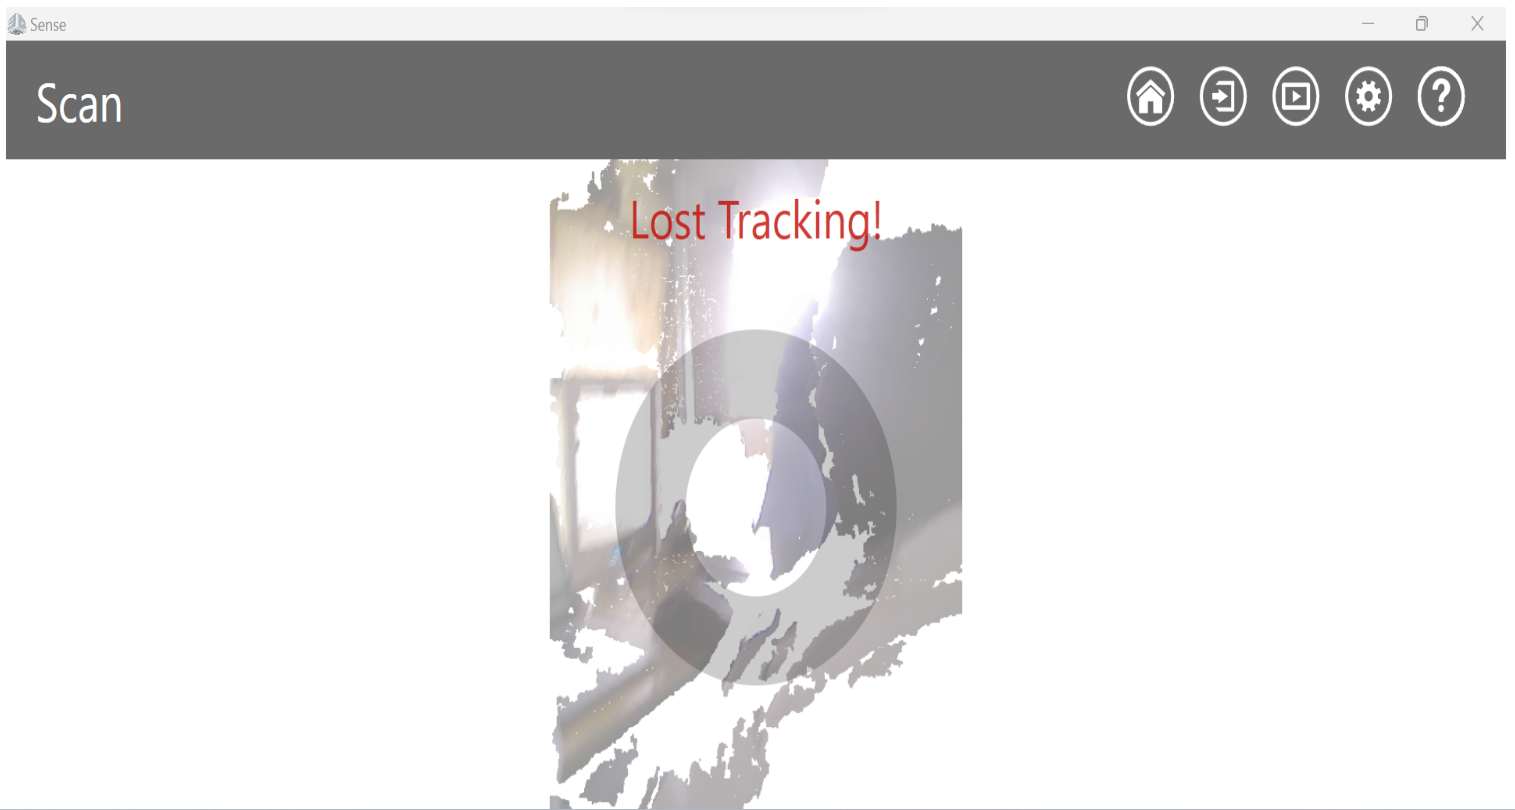
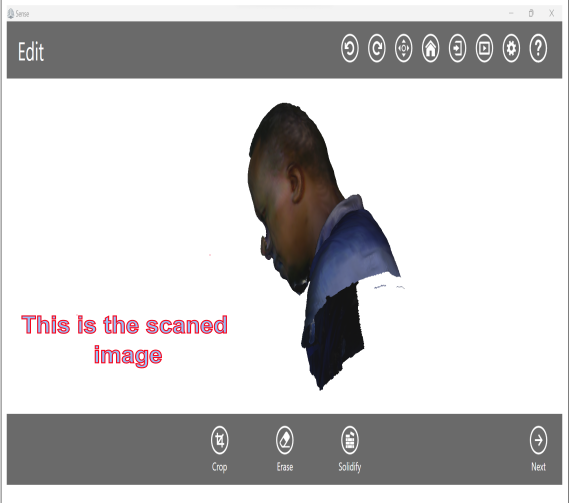
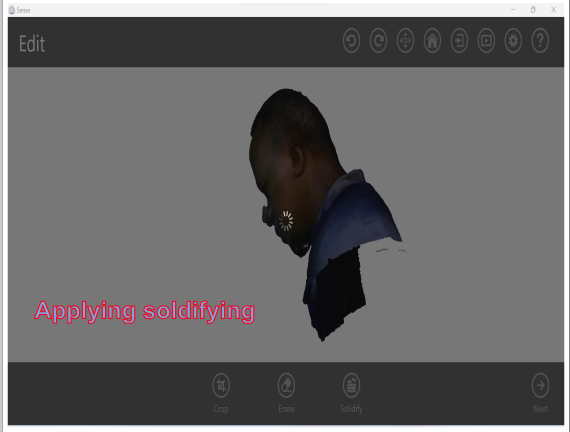
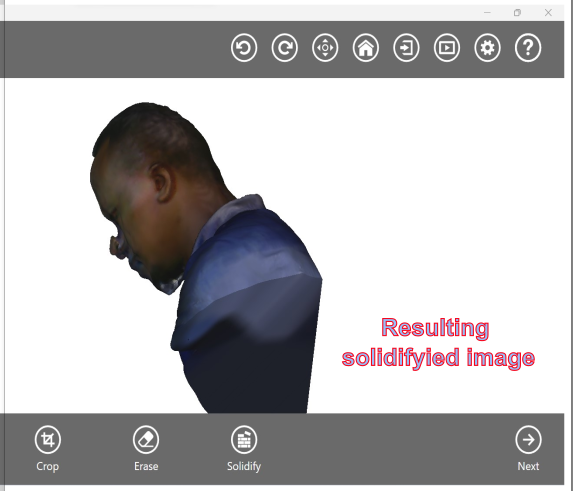
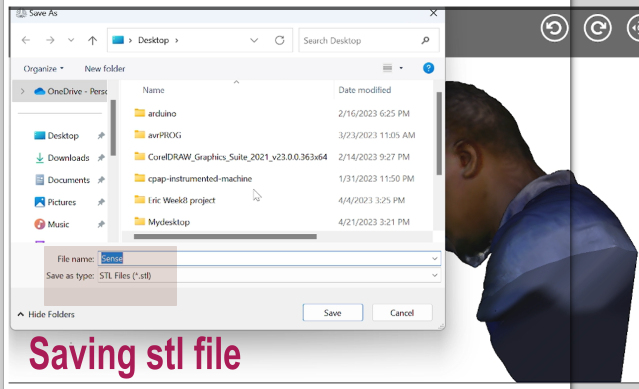
I try to scan as many sides as possible, and when I lose the tracking, I try to get back into it. When atisfied, I click NEXT, I edit the scanned image, and then click on 'SOLIDIFY'.
-
-
During scanning I faced challenges of losing truck! Thus, many time I had to adjust the scanner’s target!
-
-
-
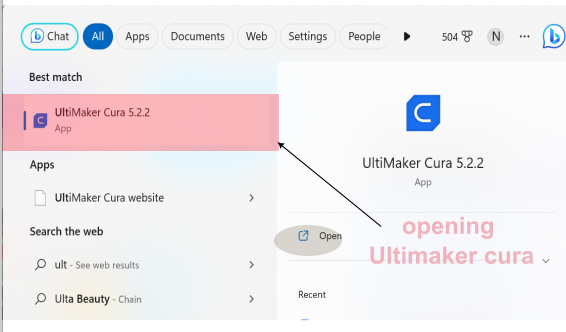
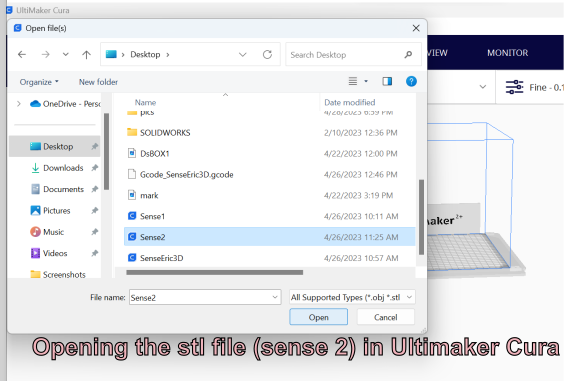 Cura slices the STL files to contain all the information needed to create a 3D print.
-
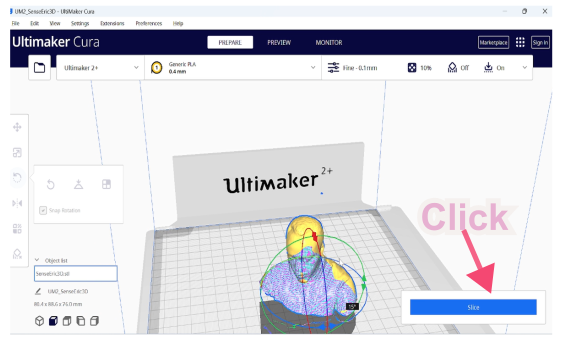
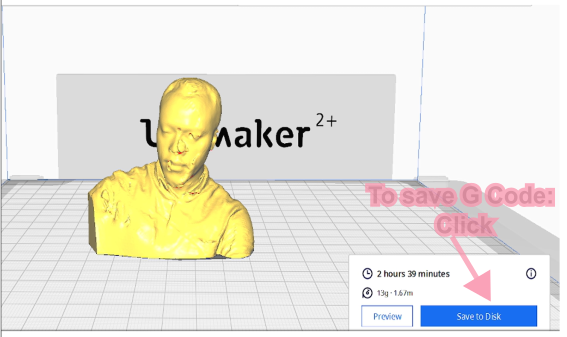
- Used file can be found here in File A and here in File B
© 2023 | Eric NDAYISHIMIYE | All Rights Reserved