Week_15: Wildcard Week
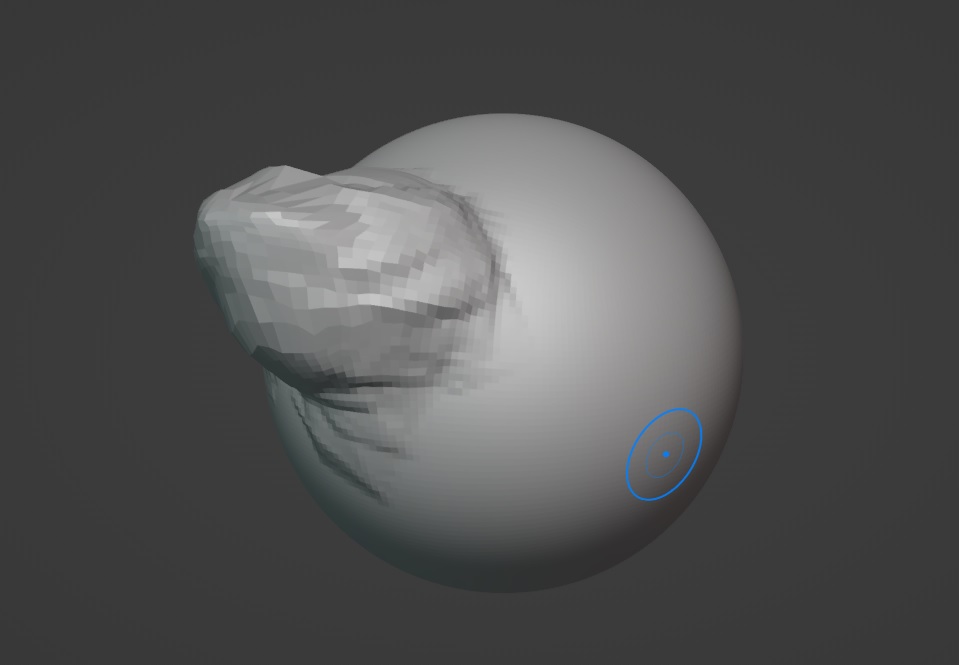
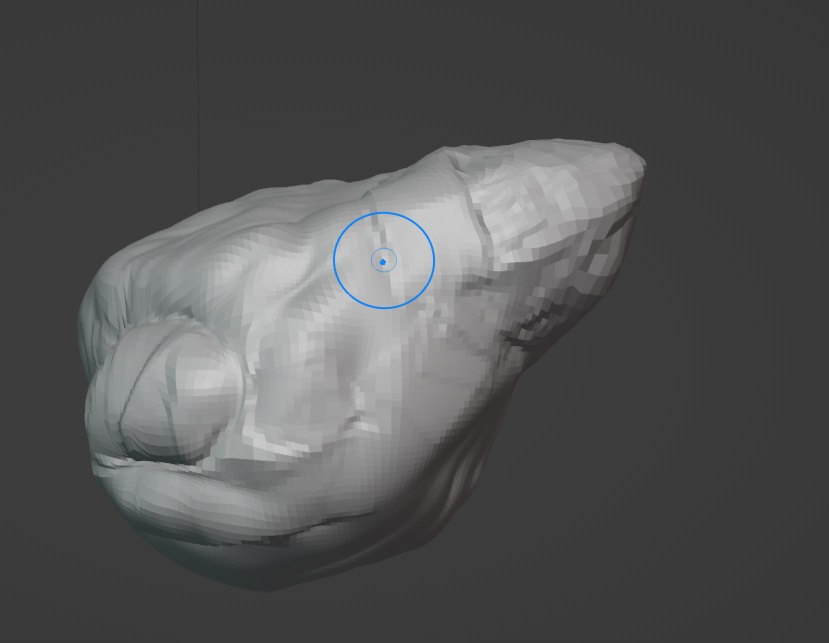
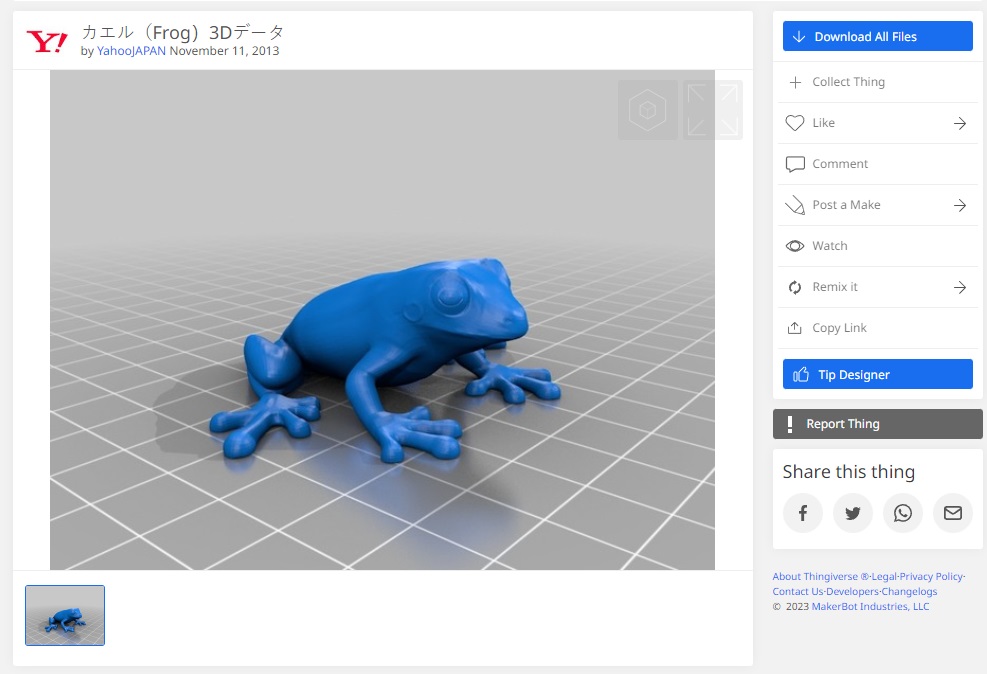
For this week's assignment we can choose different fabrication methods for learning. In my particular case I'm doing ThermoForming or VacuumForming, in which one heats a fine sheet of PET and then puts it over a solid figure for it to get the shape. Thermoforming machines have a vacuum table underneath the pieces so the plastic sheet sticks very well to the model. In this practice I'm doing a frog shaped chocolate mold. I'm using PET because it is food safe, and really easy to thermoform. But first things first, I must have a 3D model of a frog. I started using blender for sculpting the piece.
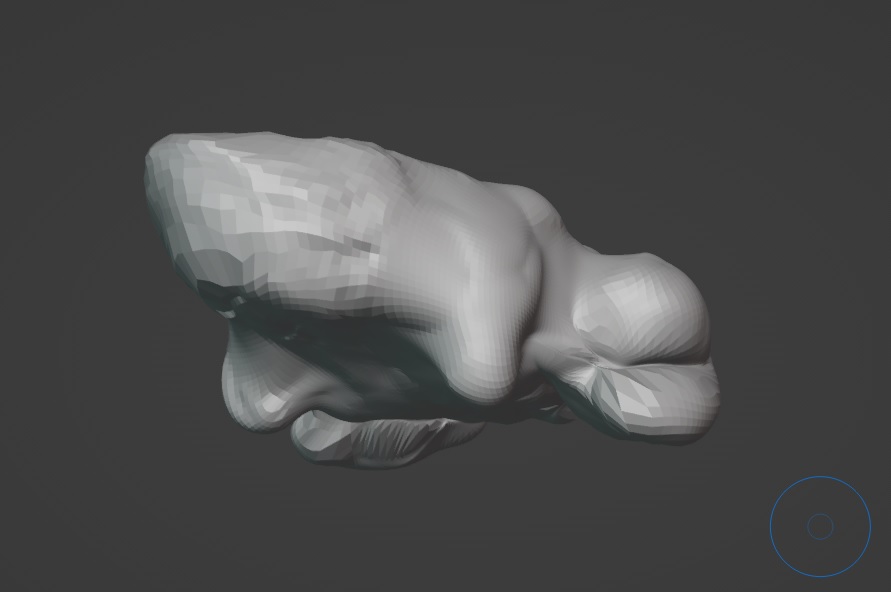
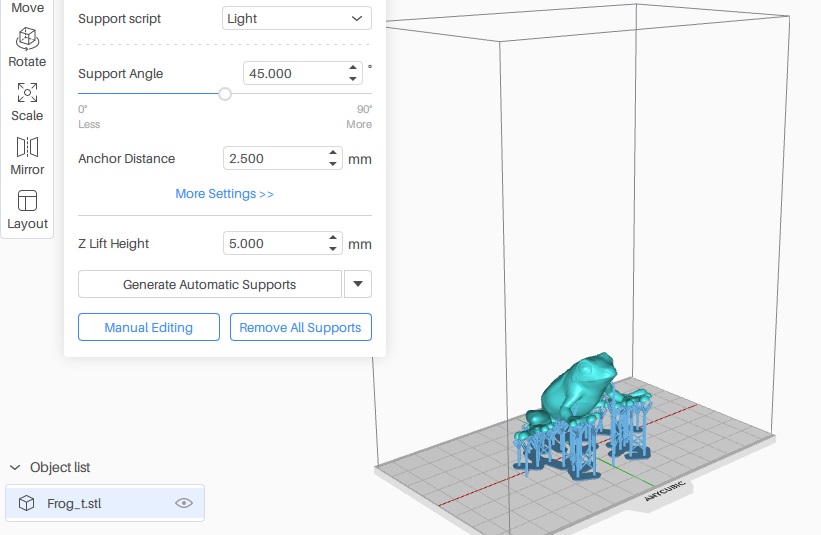
 The next step is to take it from the digital space and convert it into a tangible object, so I chose 3D Printing with resin, using the Anycubic Photon Mono 4k, which I have used before on the
3D Scanning and printing week.
The next step is to take it from the digital space and convert it into a tangible object, so I chose 3D Printing with resin, using the Anycubic Photon Mono 4k, which I have used before on the
3D Scanning and printing week.
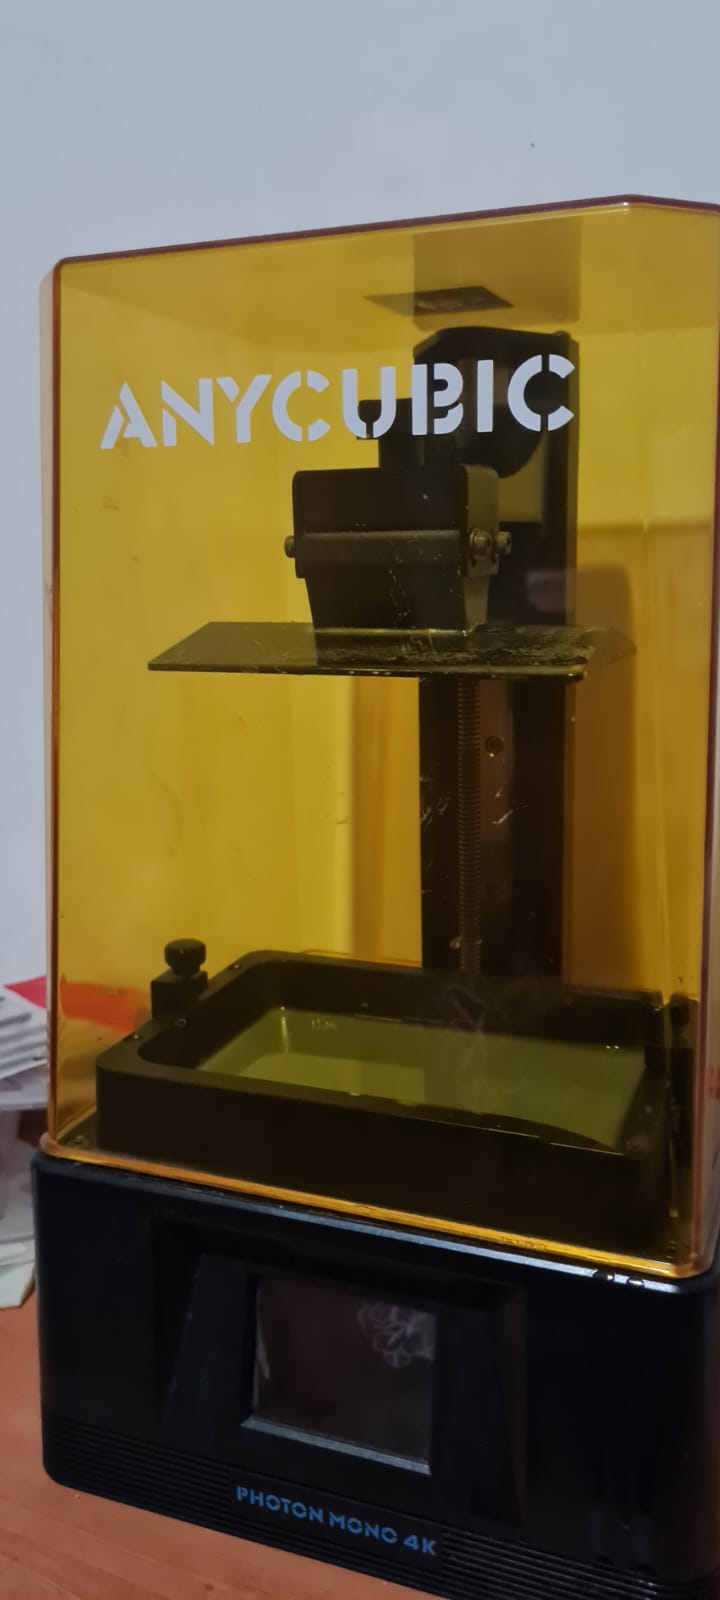

But it was a complete failure...
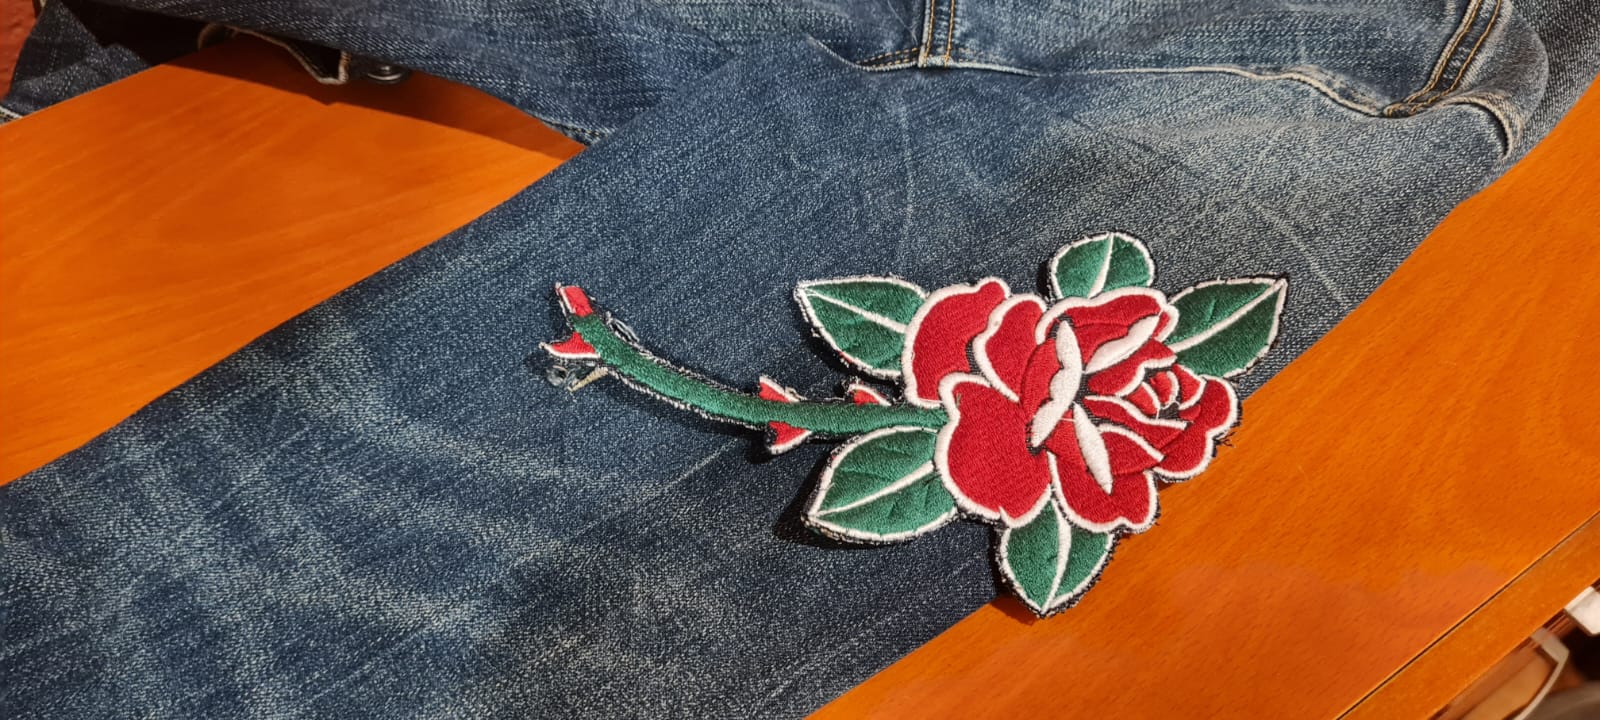
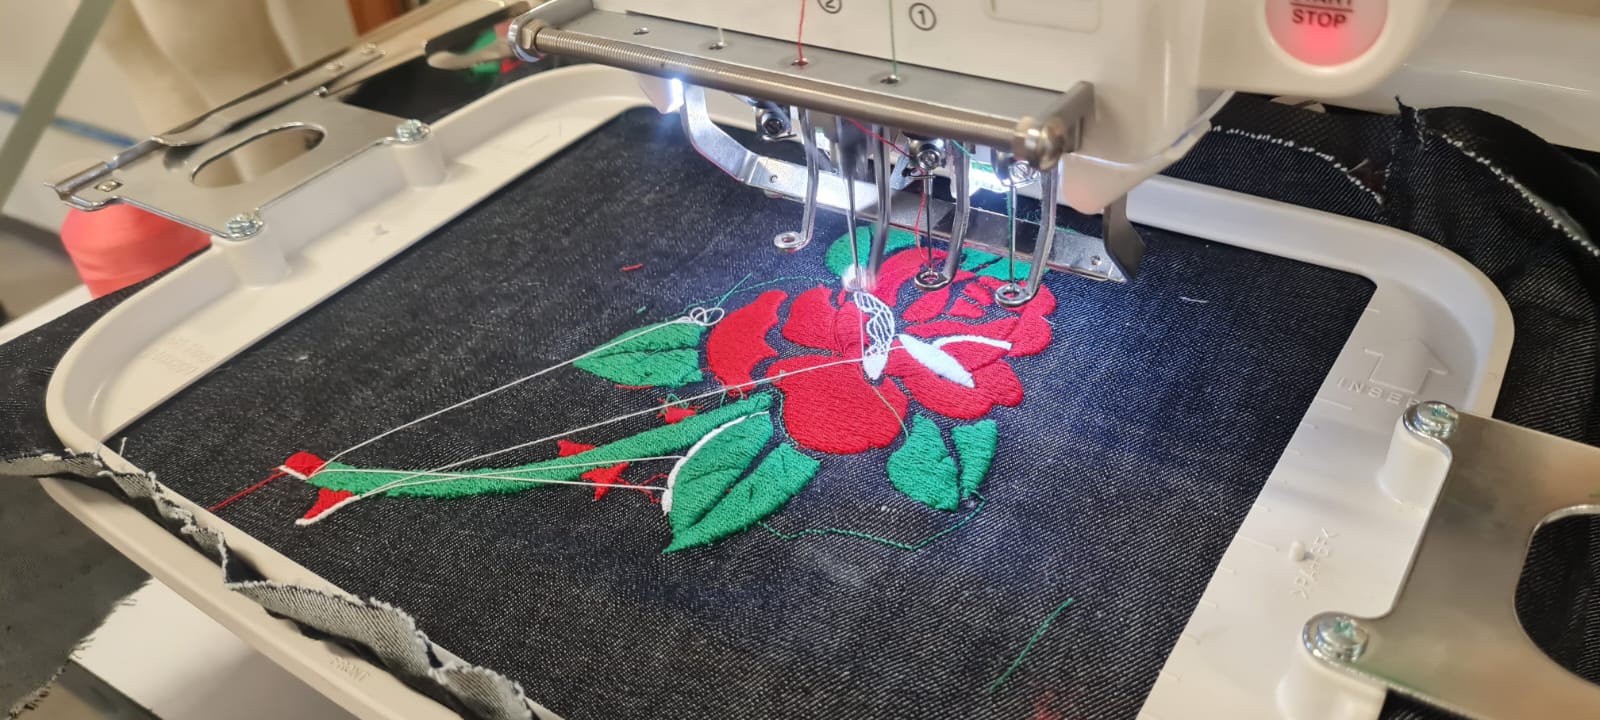
Apparently the resin puddle covered the screen and couldn't print anything of the frog. So I got a plan B: Digital Embroidery. I got this denim jacket with a hole I got in an incident with a dog and a bush (Funny story) and perhaps i could design a patch for it. So the first part was to design it. I found this awesome tattoo template on FreePik which then I slightly modified for it to be a single rose.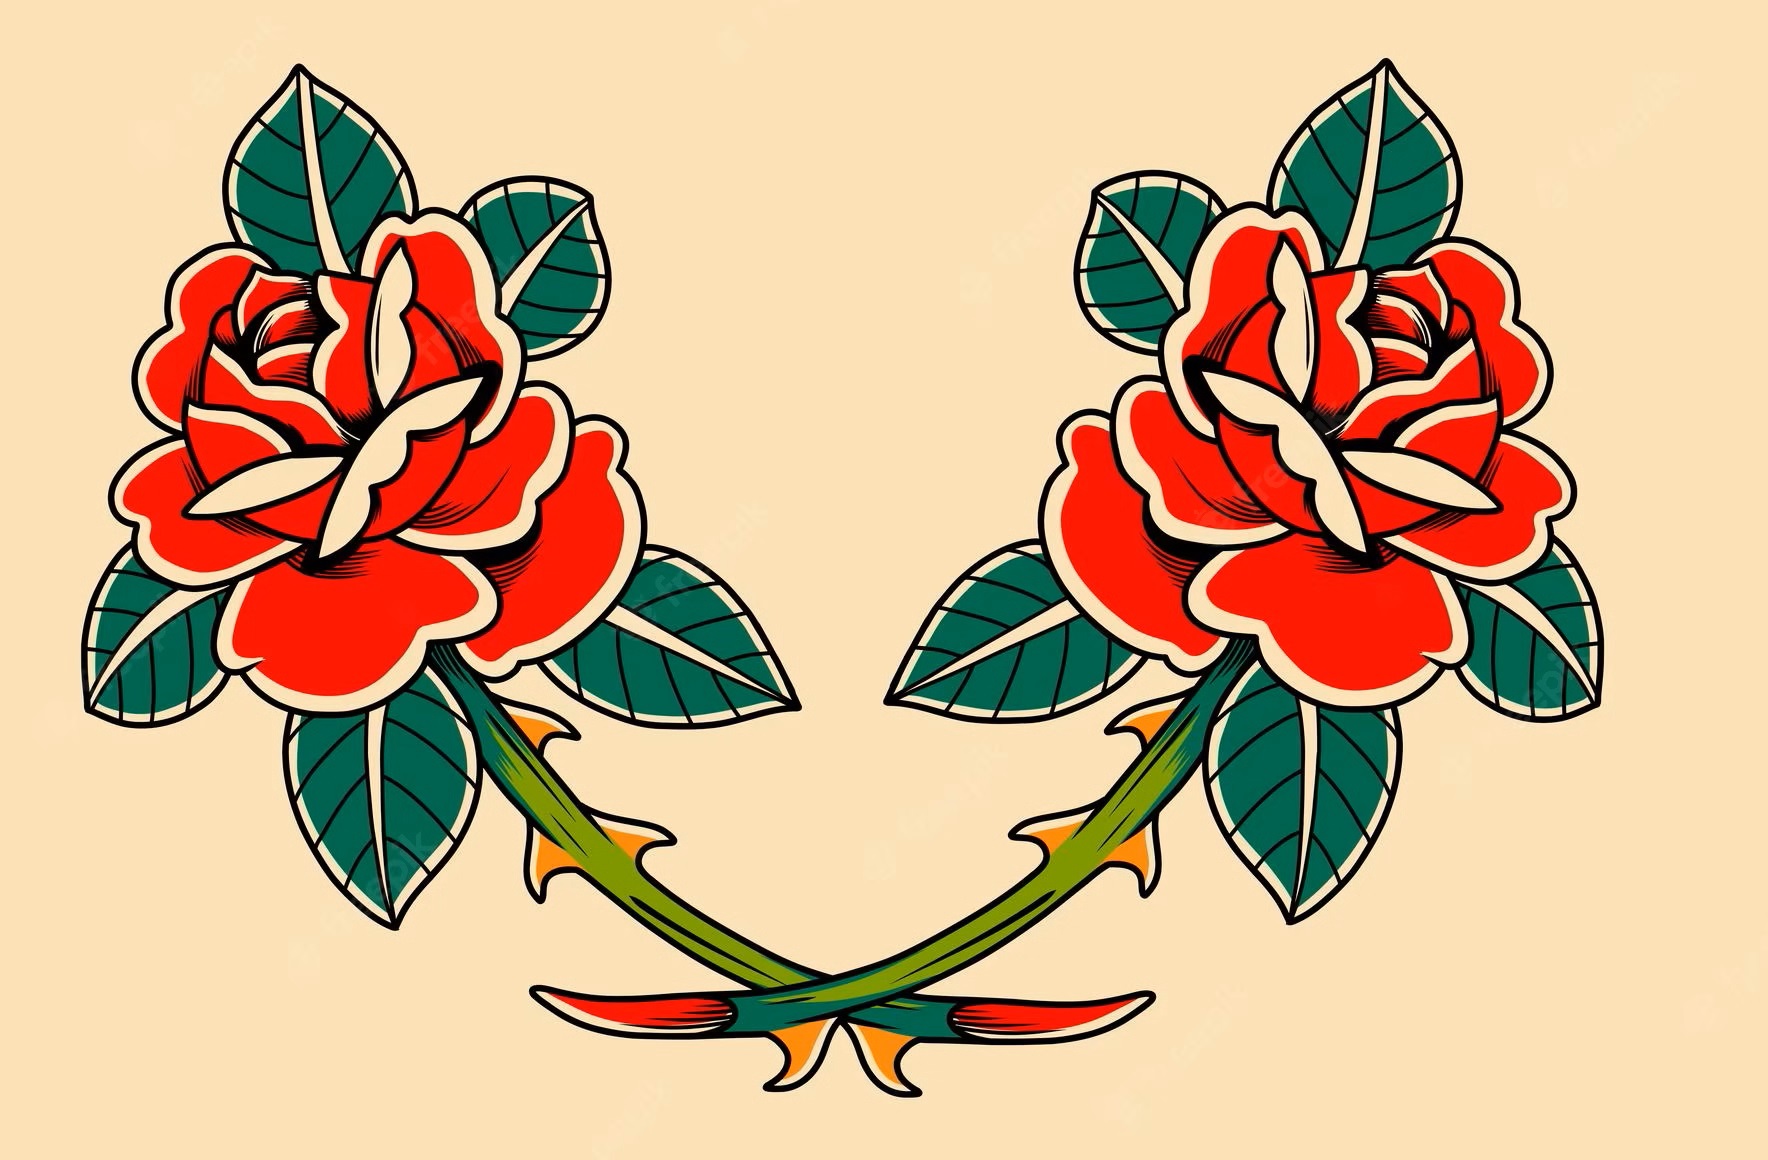
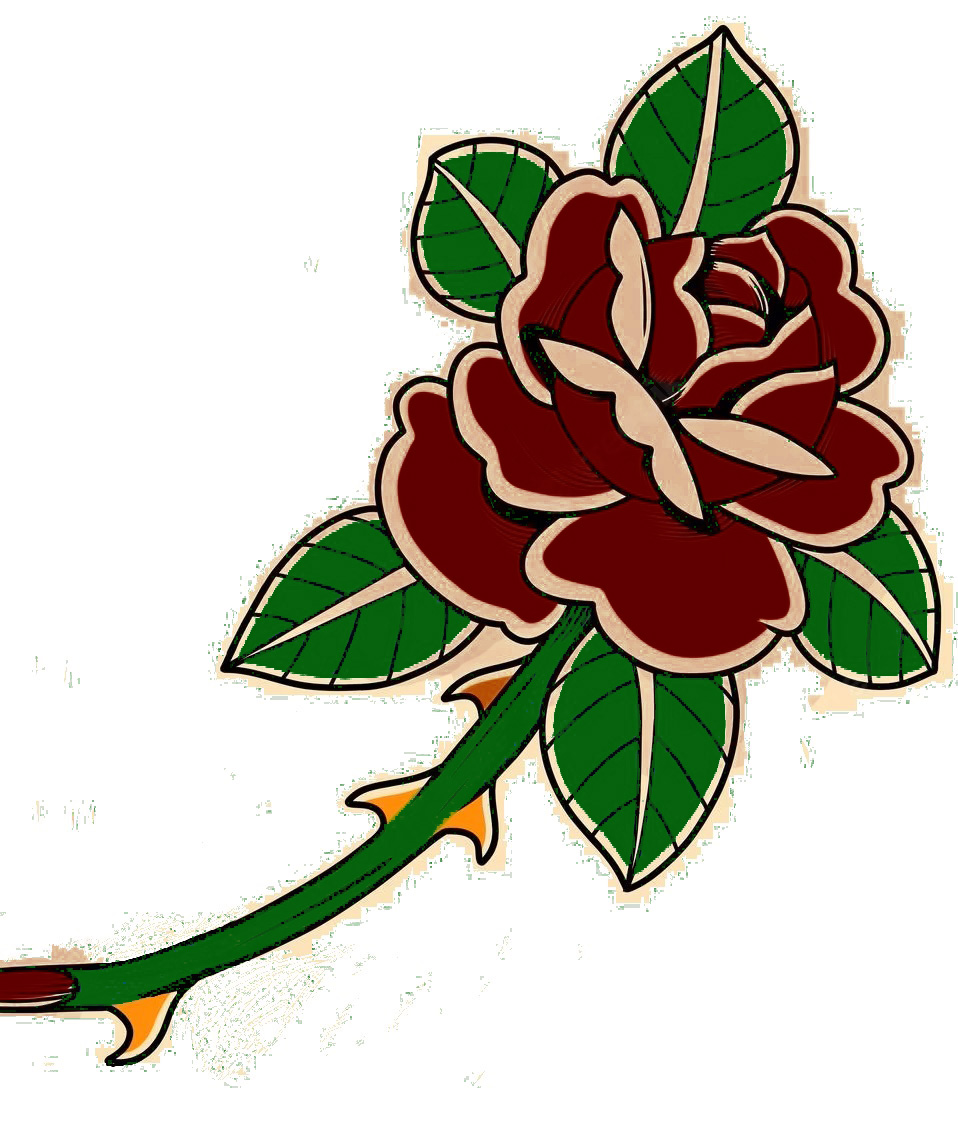
 I cleaned the final image for it to have just 4 colours (Yellow, green, red and white) and with a black textile for the background, which is called Pellón which is a kind of non woven textile, I couldn't really find a translation for it.
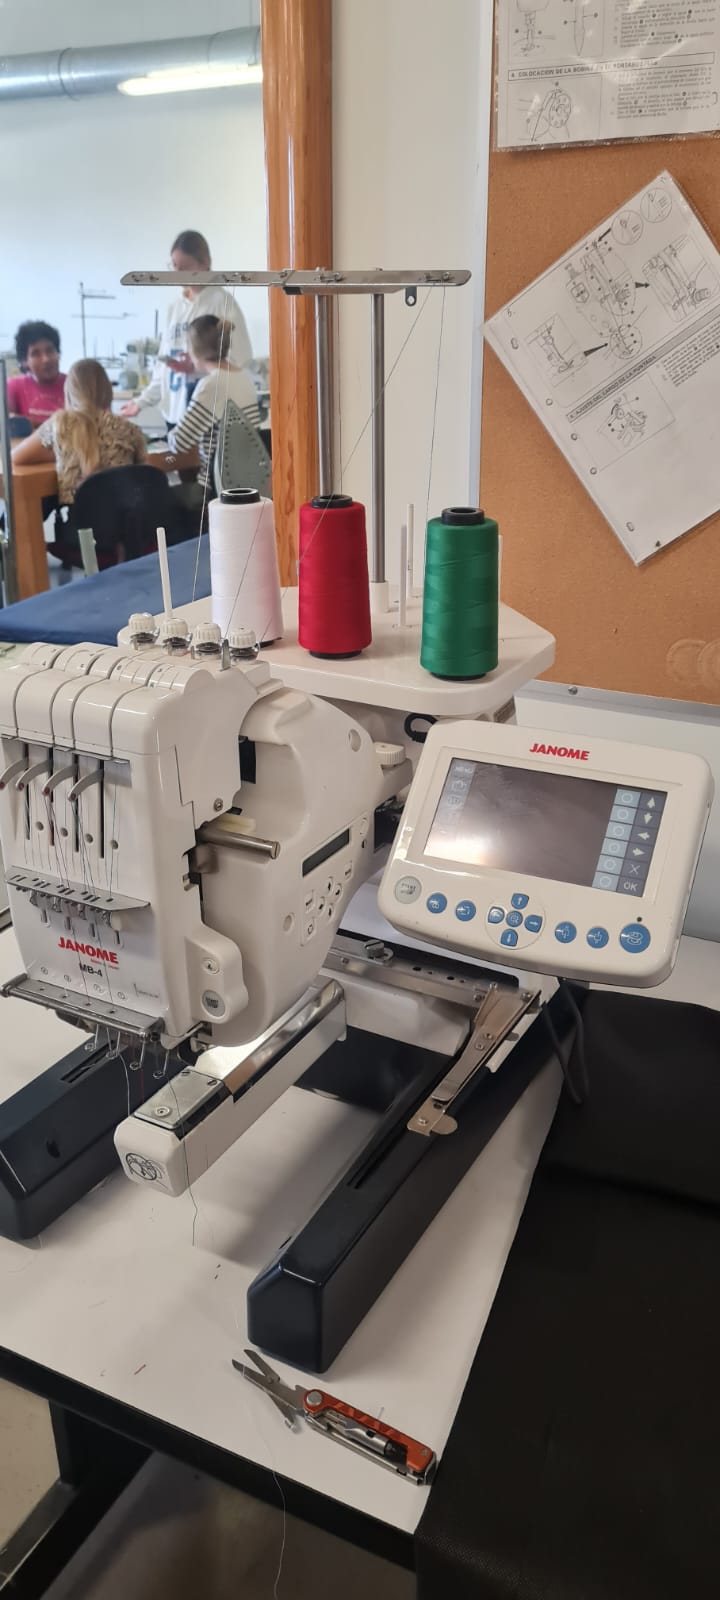
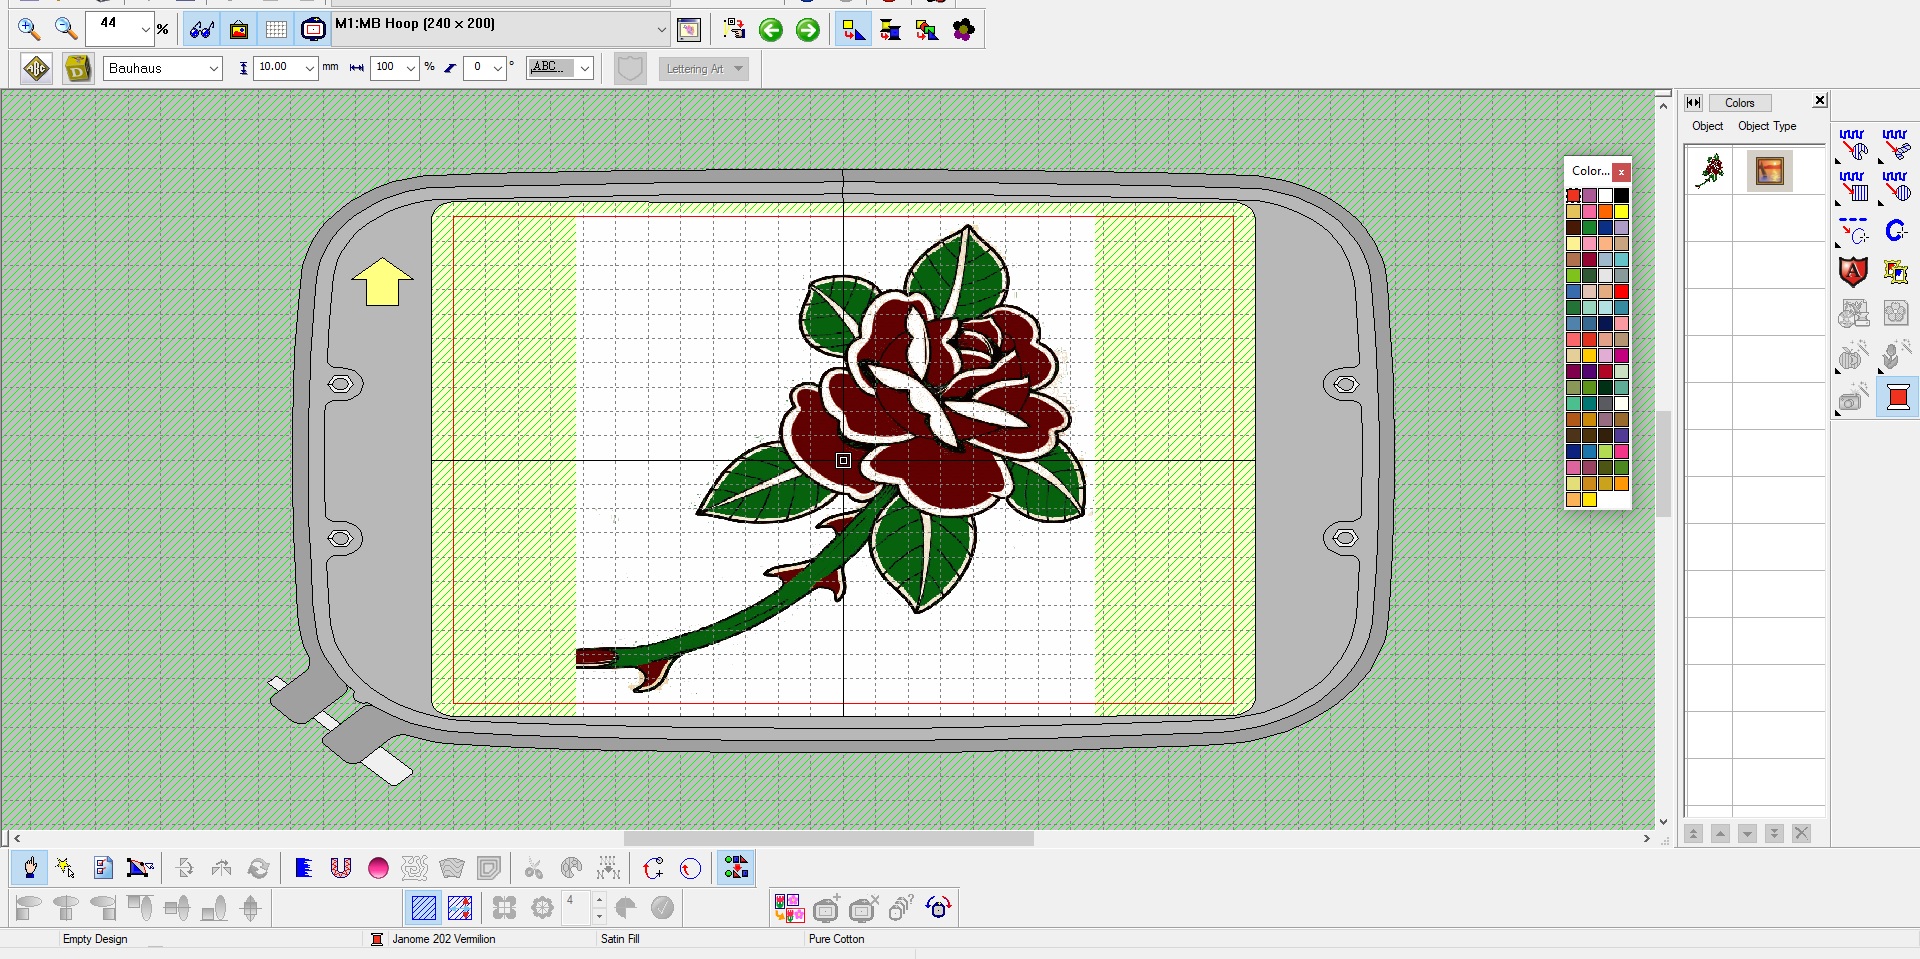
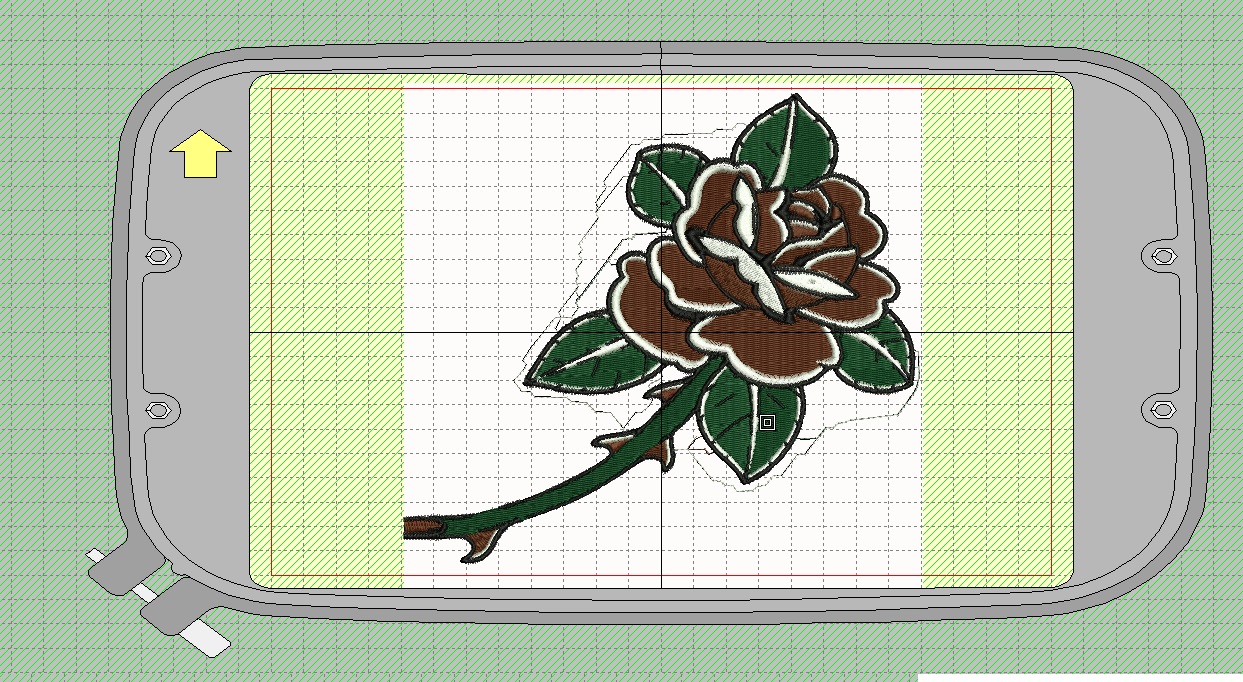
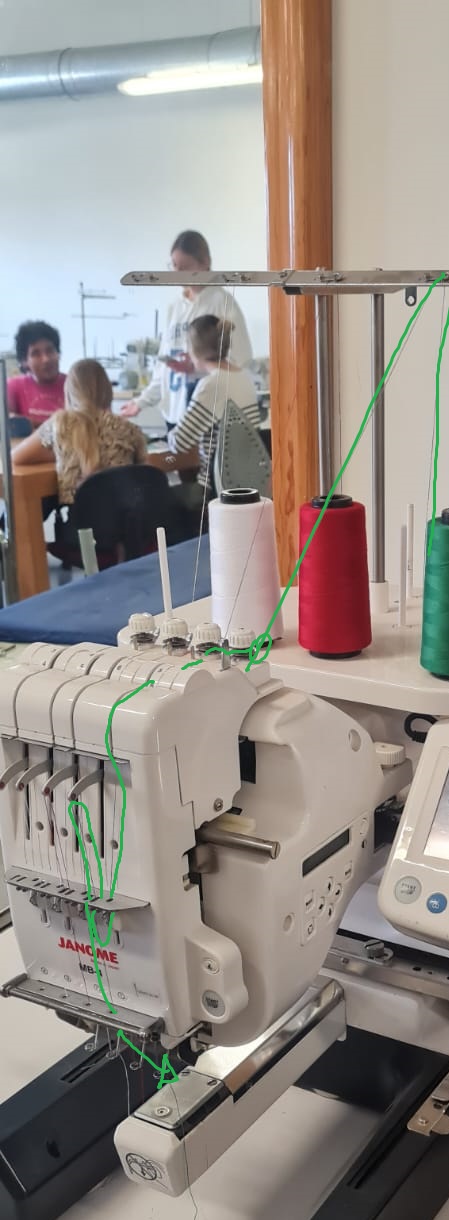
The software for the embroidery machine is called ______ and it's not very difficult to use. It works very similar to the other digital fabrication machines: You have your design, in this case it's a bitmap, then you run it through the specific software, which is
____, and the software translates the image into the "recipe", or instructions and positions, that the machine must follow in order to get the final product. The software exports the final file to an USB Drive, which goes into the machine.
I cleaned the final image for it to have just 4 colours (Yellow, green, red and white) and with a black textile for the background, which is called Pellón which is a kind of non woven textile, I couldn't really find a translation for it.
The software for the embroidery machine is called ______ and it's not very difficult to use. It works very similar to the other digital fabrication machines: You have your design, in this case it's a bitmap, then you run it through the specific software, which is
____, and the software translates the image into the "recipe", or instructions and positions, that the machine must follow in order to get the final product. The software exports the final file to an USB Drive, which goes into the machine.
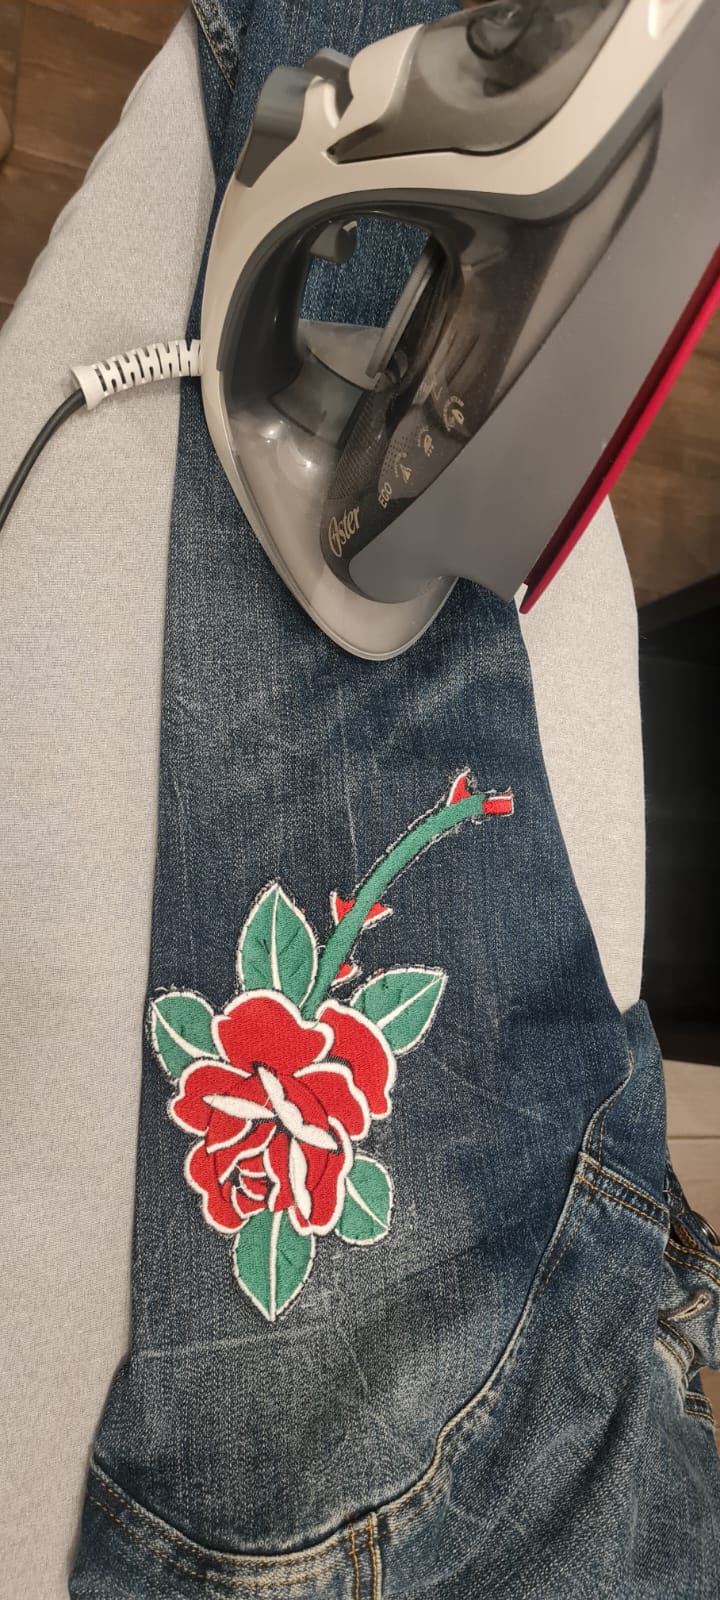
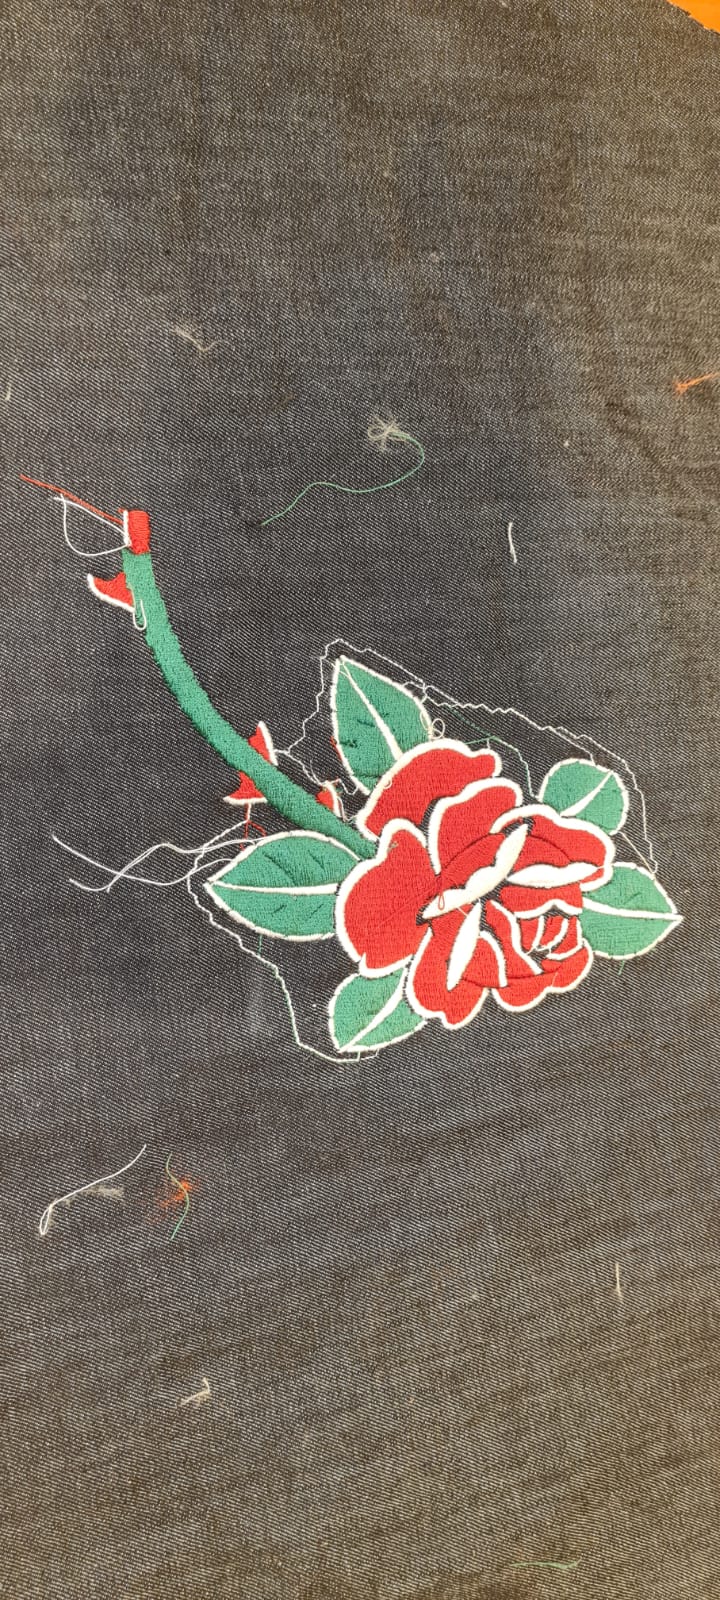 After a bit of refining the loose threads and cutting the final shape, I was able to get the perfect patch for my broken jacket. I used 3M SprayMount adhesive and then cured it with heat using an iron
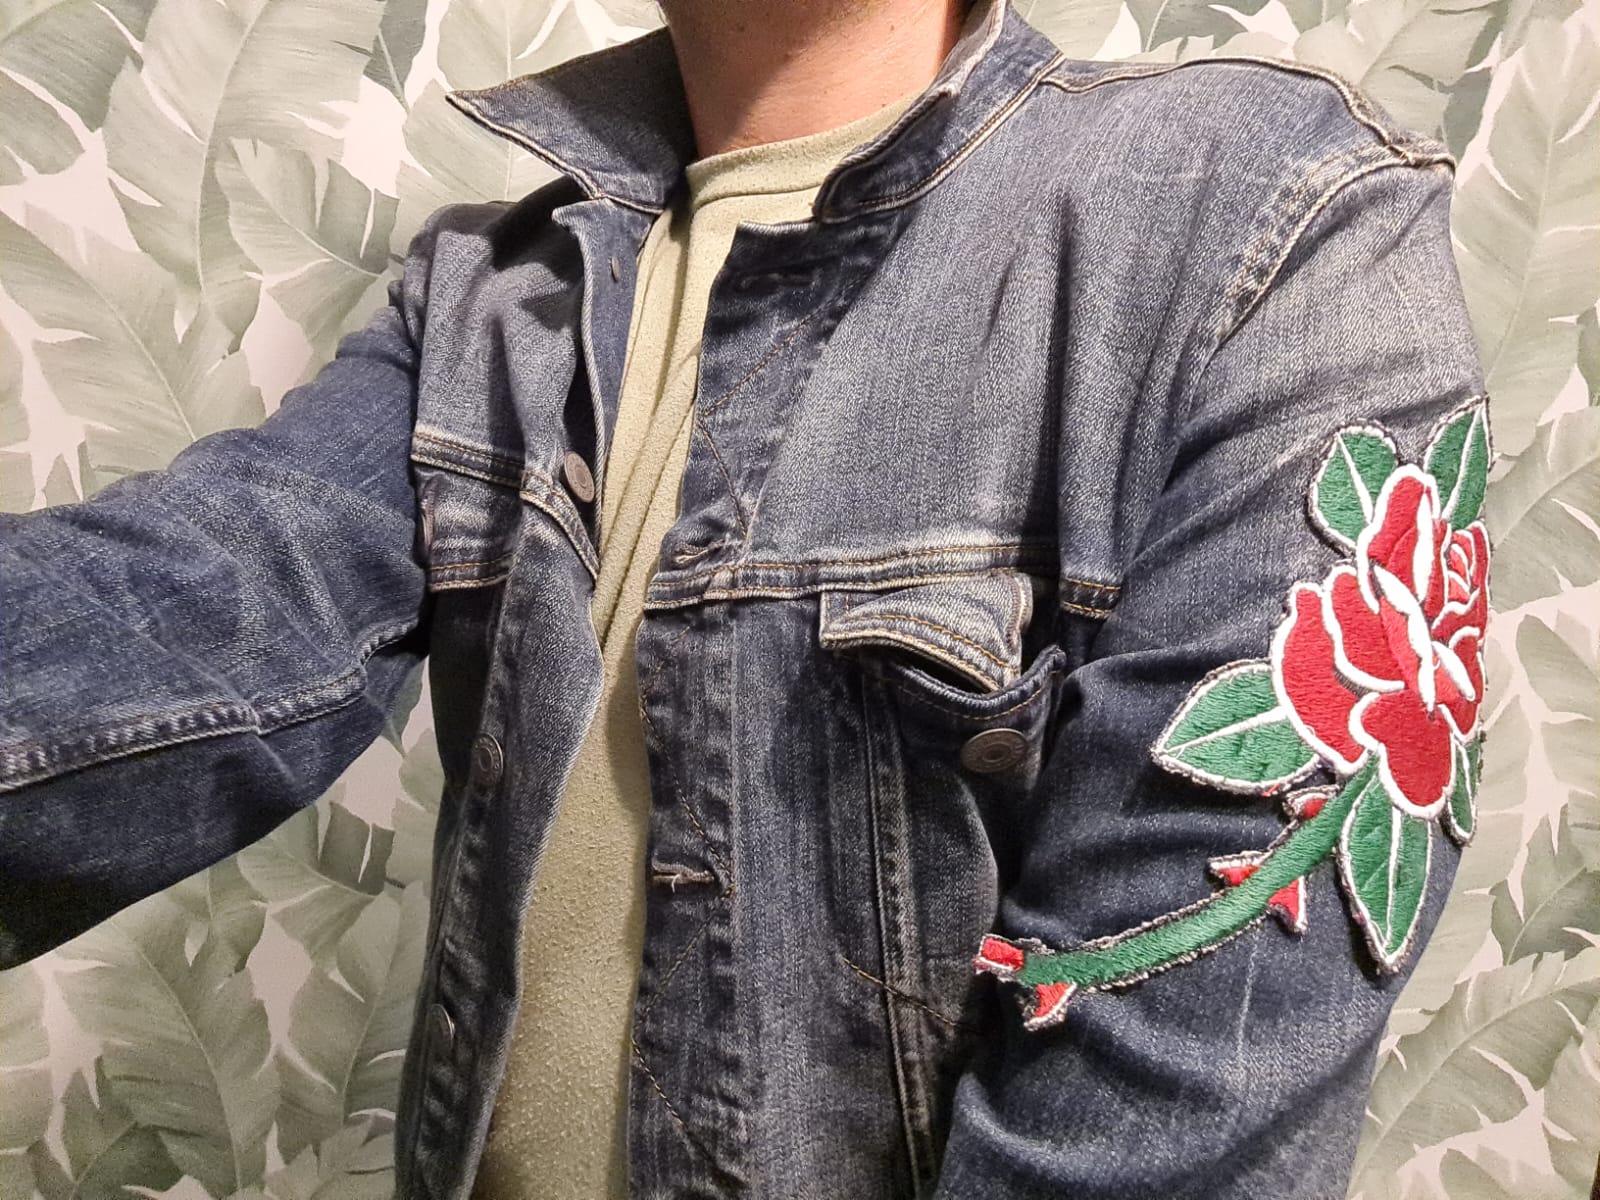 And Voilà! Customizing my clothes with digital fabrication. I am attaching the sample for the rose image in the Downloadables website. See you next week!