Week_04: Embedded Programming
For this week's assignment we have to choose the microcontroller that will be used for our final project, so first we must compare two powerful microcontrollers:
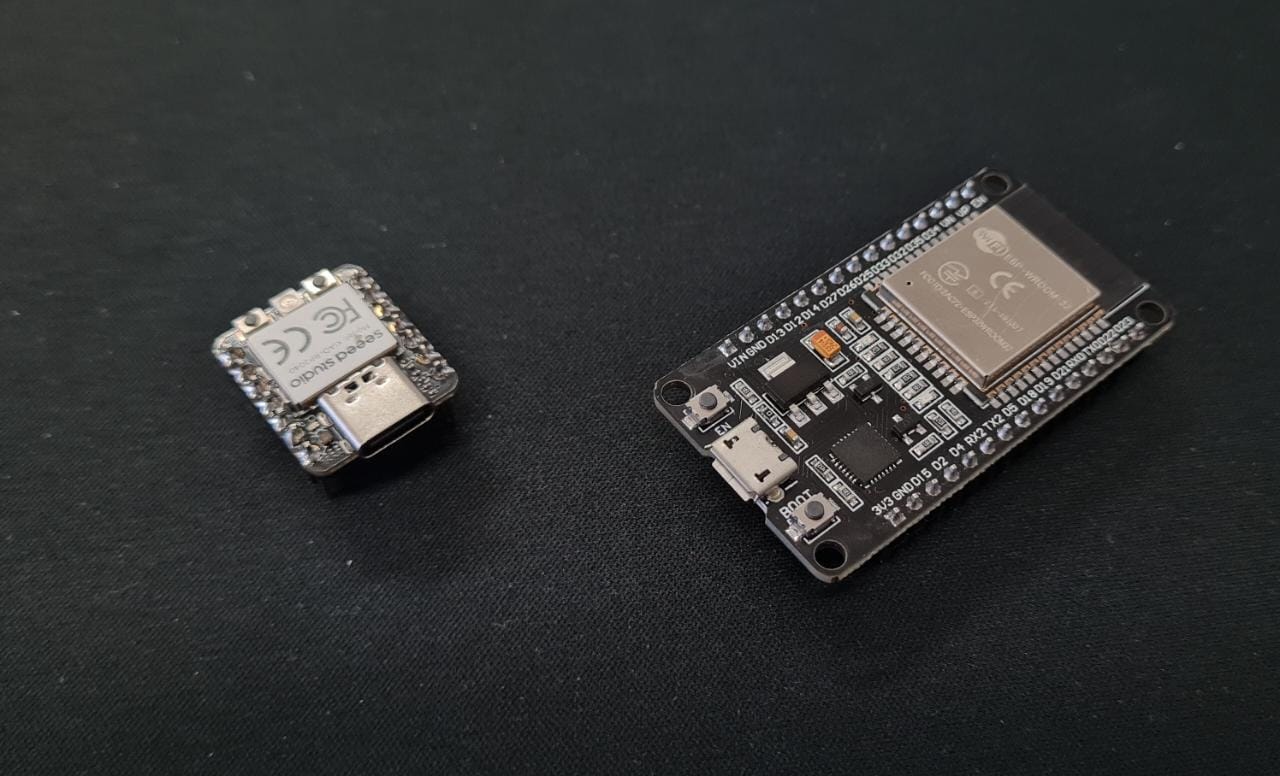
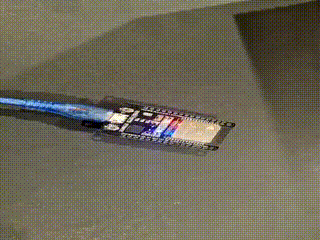
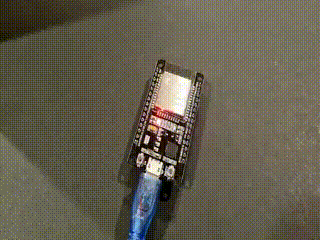
ESP32
- 28 pins available
- Microcontroller speed: 240 MHz
- Memory: up to 8Mb SRAM
- WiFi and Bluetooth connectivity
- Operating voltages: 2.6V - 3.3V
- Inputs: 23 (all of the pins except 6-11)
- Outputs: 19 (all the pins except 6-11 and 34, 35, 36, and 39)
- Programming Languages: C/C++, Python, Iua, Javascript
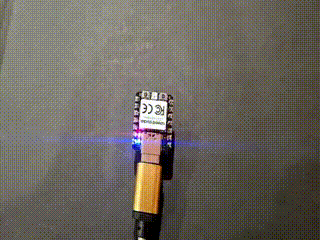
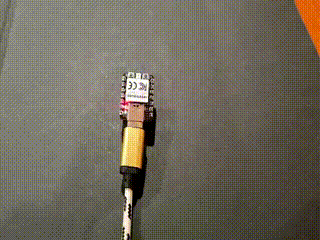
Xiao-RP2040
- 14 pins available
- Microcontroller speed: 133 MHz
- Memory: Up to 264 Kb embedded SRAM in 6 banks
- Operating voltages: 5V and 3.3V
- Inputs: 11 (4 of them are analog)
- Outputs: 13 (including one 3.3V and one 5V)
- Programming Languages: C/C++, Python, MicroPython
These are two very versatile microcontrollers, they both can be programmed using the languages
C++ and Python.
Also both have several analog and digital pins, which can be used as inputs and outputs. The functioning difference for which the ESP32 will be chosen
for my project, is the WiFi connectivity, since the real-time data for the air quality sensors must be downloaded directly from the website.
Base Code
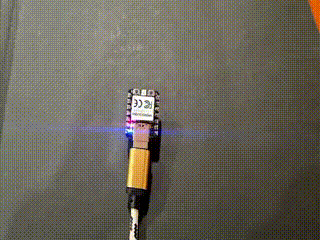
I wrote a code (With the help of this[for C++] website) that blinks at random times, between 0 and 1.5 seconds intervals, the built-in LED on each of the two microcontrollers, using C++ language. Before this I was somewhat familiarized with the Arduino IDE and C++ language, but never used it for an integral application such as the final project. Also I challenged myself to learn (at least the basics of) Python. First, here is a (not so deep and thorough) comparison of both languages.C++ through the Arduino IDE
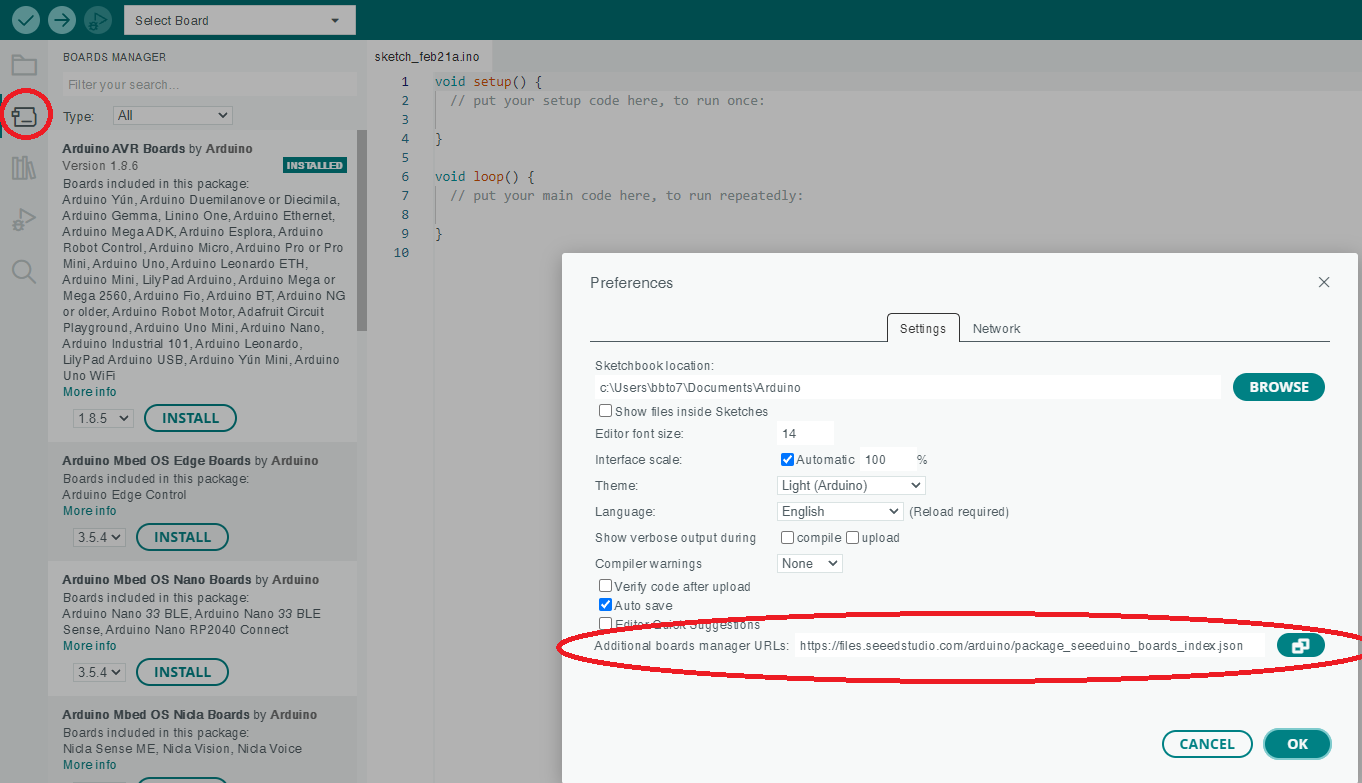
(C++) is a general-purpose programming language that means it is used to build software for a wide variety of applications.According to the website Simpli Learn. We first have to download the proper board communication driver for the Arduino IDE, which is done like this: Firstly on the preferences window we insert the URL for the controller we seek to program, in this case is
https://raw.githubusercontent.com/espressif/arduino-esp32/gh-pages/package_esp32_index.json, http://arduino.esp8266.com/stable/package_esp8266com_index.json it is then added to the Boards Manager and that's all. One could find any of the controllers available through the manufacturer. The process for
adding the Xiao-RP2040 is the same but with this https://github.com/earlephilhower/arduino-pico/releases/download/global/package_rp2040_index.json
I started with the Built-in examples for blinking, but added the randomizer for it to have different values. The code for the Blinking program is the next:
int X = 1000; 		//Here I'm creating the variable X, which will be the time the LED will be ON.
Int Y = 1000;		//Here I'm creating the variable Y, which will be the time the LED will be OFF.
void setup() {
pinMode(LED_BUILTIN, OUTPUT);		// initialize digital pin LED_BUILTIN as an output.
								  }
// the loop function runs over and over again forever
void loop() {
X = random(1000);                 // This line gives X a random value between 0 and 1000
Y = random(1000);                 // This line gives Y a random value between 0 and 1000
digitalWrite(LED_BUILTIN, HIGH);  // turn the LED on (HIGH is the voltage level)
delay(X);                    	  // wait for X seconds
DigitalWrite(LED_BUILTIN, LOW);   // turn the LED off by making the voltage LOW
delay(Y);                  	   // wait for Y seconds
}		//Since all this chunk of code is between the "{}" of Void Loop, it will be repeated indefinitely.
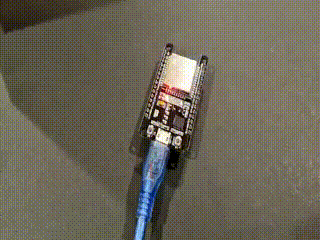
Programming the ESP32
The code for the ESP32 is a bit different, as it doesn't have the
LED_BUILTIN variable, it is only called LED. The process
was very much the same and here is the code for a random interval flickering ESP32:
#define LED 2                      //In this line i'm telling the program which LED I want to turn on/off.
int X = 1000;                    //Here I'm creating the variable X, which will be the time the LED will be ON.
int Y = 1000;                    //Here I'm creating the variable Y, which will be the time the LED will be OFF.
// the setup function runs once when you press reset or power the board
void setup() {
// initialize digital pin LED as an output.
pinMode(LED, OUTPUT);
}

// the loop function runs over and over again forever
void loop() {
X = random(1500);                 // This line gives X a random value between 0 and 1500
Y = random(1500);                 // This line gives Y a random value between 0 and 1500
digitalWrite(LED, HIGH);  // turn the LED on (HIGH is the voltage level)
delay(X);                      // wait for X seconds
digitalWrite(LED, LOW);   // turn the LED off by making the voltage LOW
delay(Y);                      // wait for Y seconds
}	//Since all this chunk of code is between the "{}" of Void Loop, it will be repeated indefinitely.
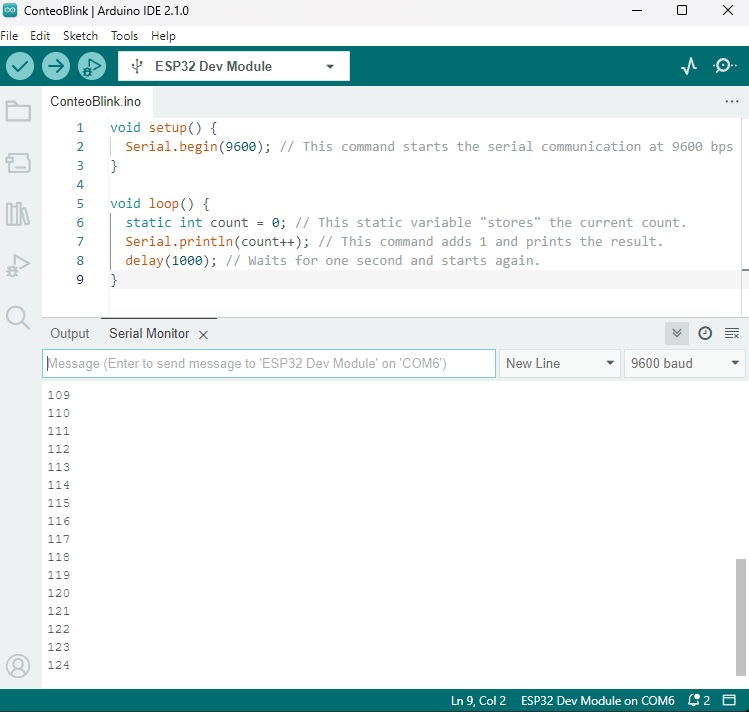
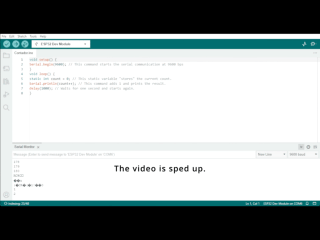
I also did this program to have serial communication with the microcontroller, what this code does is it counts one by one and prints the result in the serial monitor.
void setup() {
Serial.begin(9600); // This command starts the serial communication at 9600 bps
}
void loop() {
static int count = 0; // This static variable "stores" the current count.
Serial.println(count++); // This command adds 1 and prints the result.
delay(1000); // Waits for one second and starts again.
}
Python
Python is widely used in machine learning, data analysis, statistics, etc. Python supports multiple programming models, including procedural, object-oriented, and functional programming.
This was also according to Simpli Learn. Python is widely used in modern technologies, like artificial intelligence and machine learning. Python is suitable to build machine learning models because of its support for various libraries.
Comparison
For C++: it's sintax is more complex as one has to declare each of the variables, but it is faster because it is embedded and compiled, therefore stand-alone. It is used on embedded systems, as it is closer to the hardware, and hence it is preferred for manufacturing gadgets. For Python: it has a simpler sintax as the variables are created the moment one writes it, but it is a bit harder to compile the program and to make it stand alone on the pcb.So the definitive choices are:
- ESP32 Microcontroller: Because of the WiFi and Bluetooth connectivity, in theory I could program the different city through my smartphone, and the data could be downloaded through internet straight from the card.
- C++ Programming language through the Arduino IDE: Because of the Stand-alone capability, the easy debugging and the overall easier programming