16. Wildcard week.
The assignment for the week:
Design and produce something with a digital fabrication process (incorporating computer-aided design and manufacturing) not covered in another assignment, documenting the requirements that your assignment meets, and including everything necessary to reproduce it.
Go to:
Metal laser cutting
I didn't have anything special in my mind that I would've needed to cut from metal. I did though want to try the machine to learn how to use it. That's how I can come back to it later when I have some project in my mind.
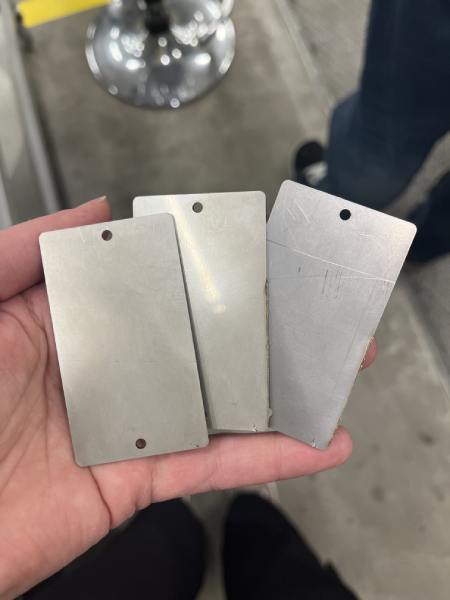
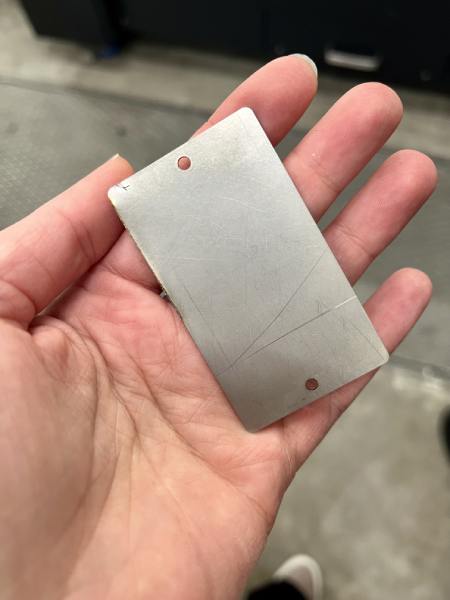
I made a simple design of a small sign/plate, that I can attach to wood. I'm planning to make a bird house or a bug hotel as a gift, and a tailor made sign would make it feel more special. I will add text to the plates by sand blasting.
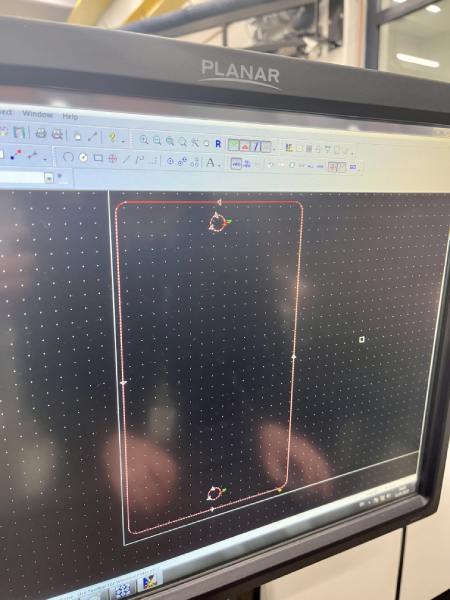
This design could've been made with Inkscape or Fusion, but as my instructor had his laptop near and Autodesk Inventor open, I wanted to try that. It was very similar to Fusion. I just drew a rectangle, added fillets, circles and then extruded. The file was saved as dxf.

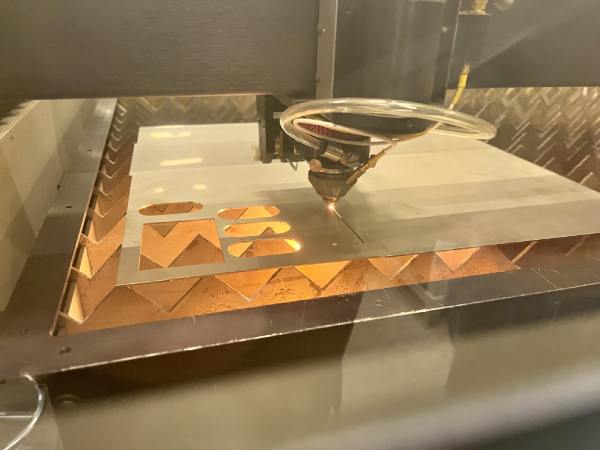
This design had to then be opened in LaserLink to make the toolpaths for the machine. As there was a bunch of us and limited time, our instructor did the preparing for us and we learned with it. With the program you can define for example that the holes will be cut first before the outline, so that there's no movement in the piece while cutting.
Here is the design opened in LaserLink.
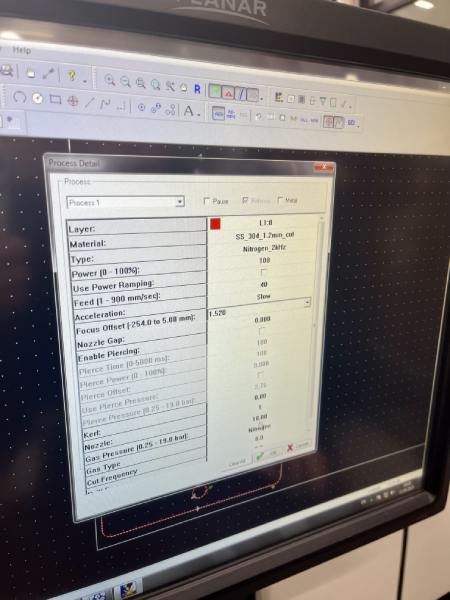
In Process we defined the thickness of the material as 1.2 mm. Also focus offset was put to 1.520.
The next step was to do the Lead In and Lead out. In the offset type 'Inside' we changed properties to Linear and Lenght to 1.
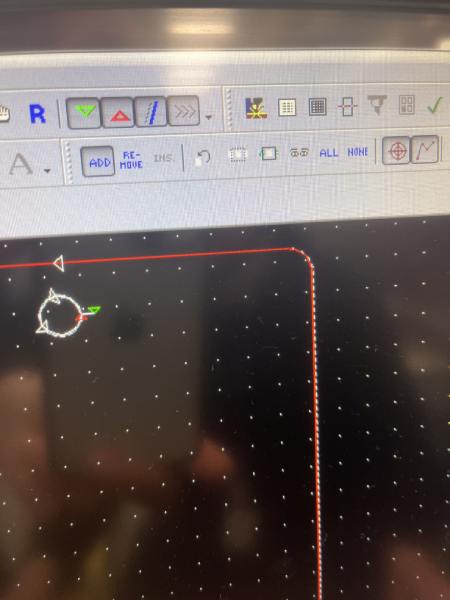
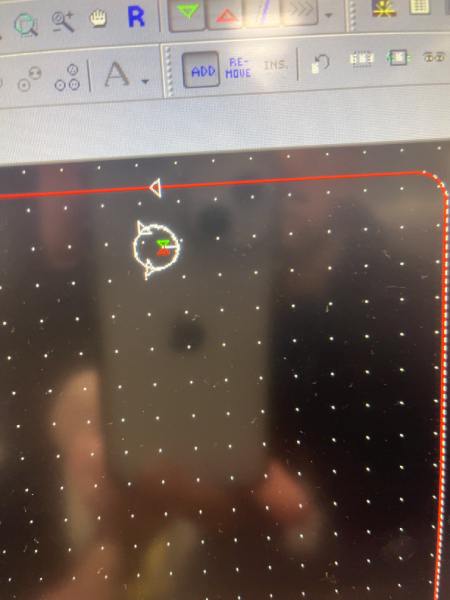
We also set the brake in Offset type 'Outside'.

The ready file is saved in .LMC file.
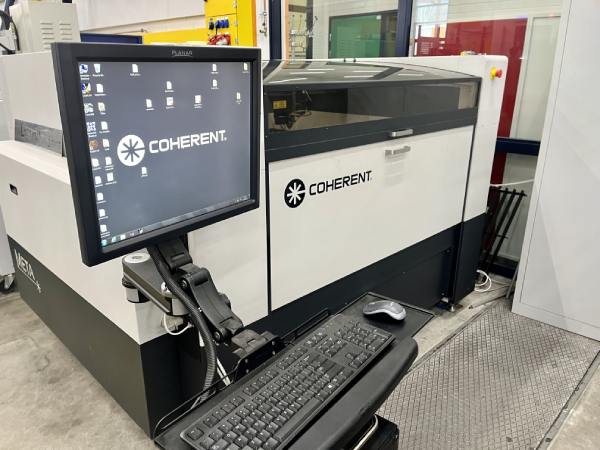
The machine
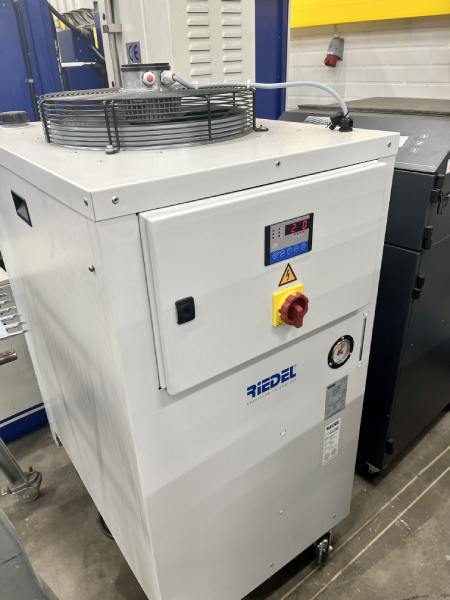
The metal laser cutter we have is Coherent Meta 4C. I checked some of the features from link here.The META 4C is a compact, powerful 400W laser cutter that is designed to be accurate and easy to use on metal and non-metal materials. It has a cutting area of 1.23m x 1.23m and 300 mm of Z travel. It has a simple user interface and job loading software.
META 4C Processing Capabilities: acrylic, ABS, Wood, Metal etc. It has a moving platform bed, flying Optic Beam Delivery, Honeycomb Material Support Platform, LaserLink Job Management/BeamHMI Control Software, Capacitive Height Sensor with Auto Focus, Crash Protection and Nozzle Centering, and Auto focus system with crash sensor cutting head.
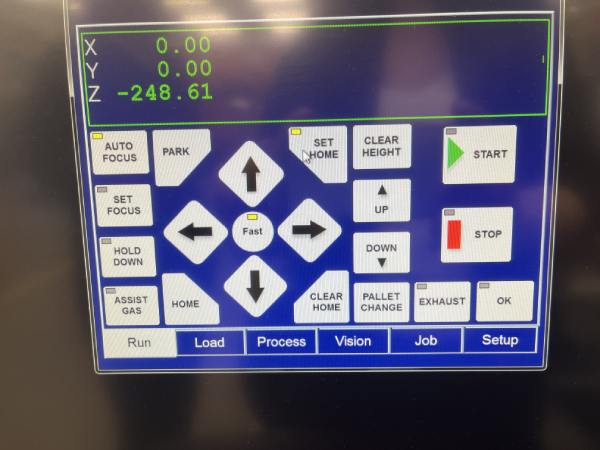
To cut we start with opening the .LMC file in Beam Control Panel.

Settings for the steel we used:
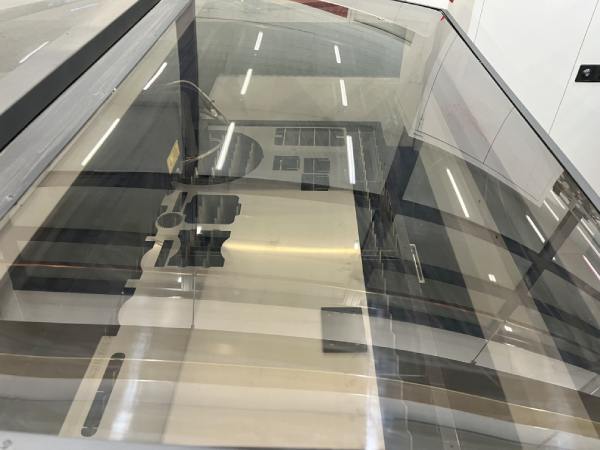
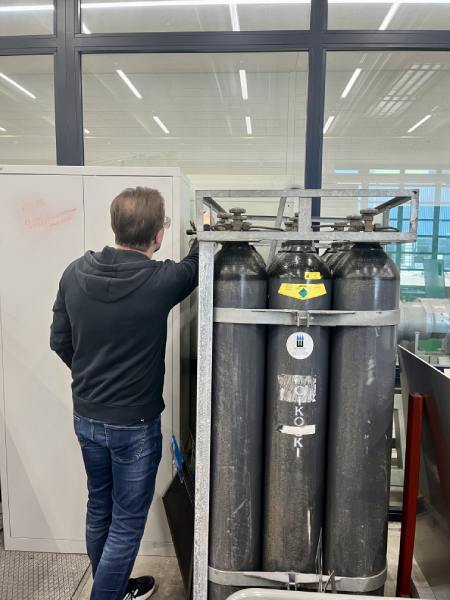
Everything seemed ready, so we measured the area on the available metal sheet. It was enough for my design!
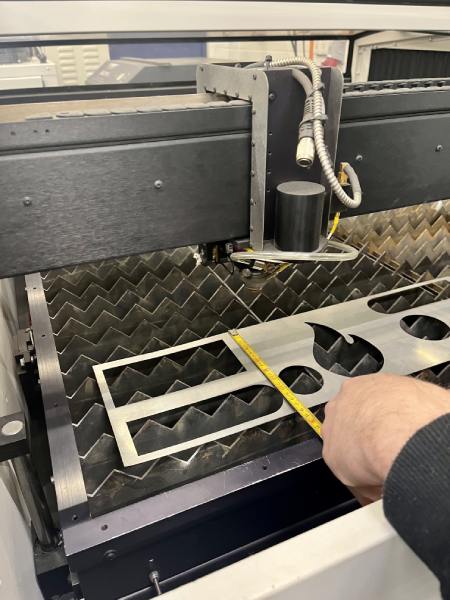
I needed to move the cutting head into the right spot. The laser has a red dot to help to aim. Origin of the work is the bottom-left corner of the design. I used the arrow keys to move the head, and when the place was right I just pressed 'Set Home' at Panel. Because of the autofocus, nothing more needed to be done.
It started the work!
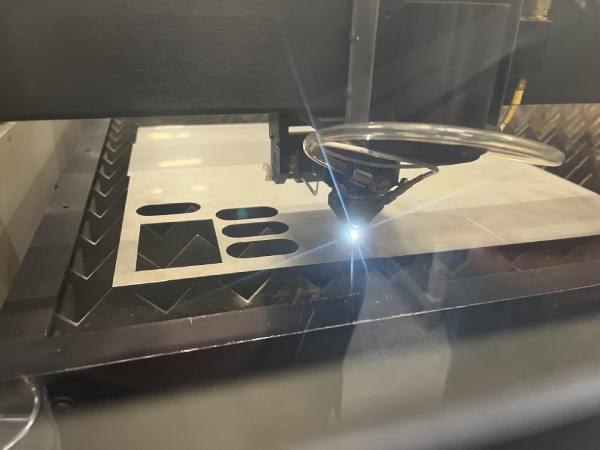
The cutting was very fast. As you can see, one side of the outline had melted back together. I did get the piece out, but the metal needed some bending to tire it out and finally to click off. The corner was a bit funny now, but I got it hammered to straight. The sheet seemed to be a bit thinner than the 1.2 mm, so that was propably the reason to what happened.
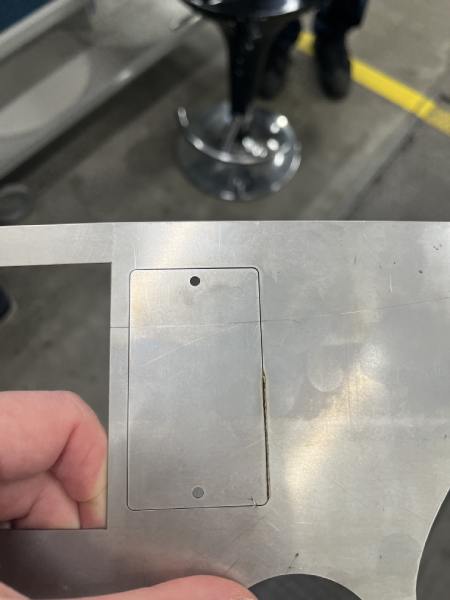
I changed the sheet to another which was definitely 1.2mm and cut two more pieces. One of them turned out perfect, and the other had just a bit of the same problem as before. But not so bad. I am not sure why this happens. Is the sheet's thickness not stable?
I also used a file to make the edges smooth. I was happy with the plates!