
3D scanning / Printing
WEEK - 5
During the fifth week of the FAB Academy, we learned about 3D scanning and printing. This will include an introduction to various 3D scanning techniques, such as photogrammetry and structured light scanning. Also learned how to prepare 3D models for printing and how to operate a 3D printer.
Objectives
Group (To redirect to group assignment page Click here)
- Test the design rules for your 3D printer(s)
Individual
- Design and 3D print an object that could not be made subtractively.
- Understand the basics of 3D scanning and printing
- 3D scan an object (and optionally print it).
3D printing
types of 3D printing
FDM 3D printing
I used FDM 3D printing because it is the most common and cheaper type of3D printing
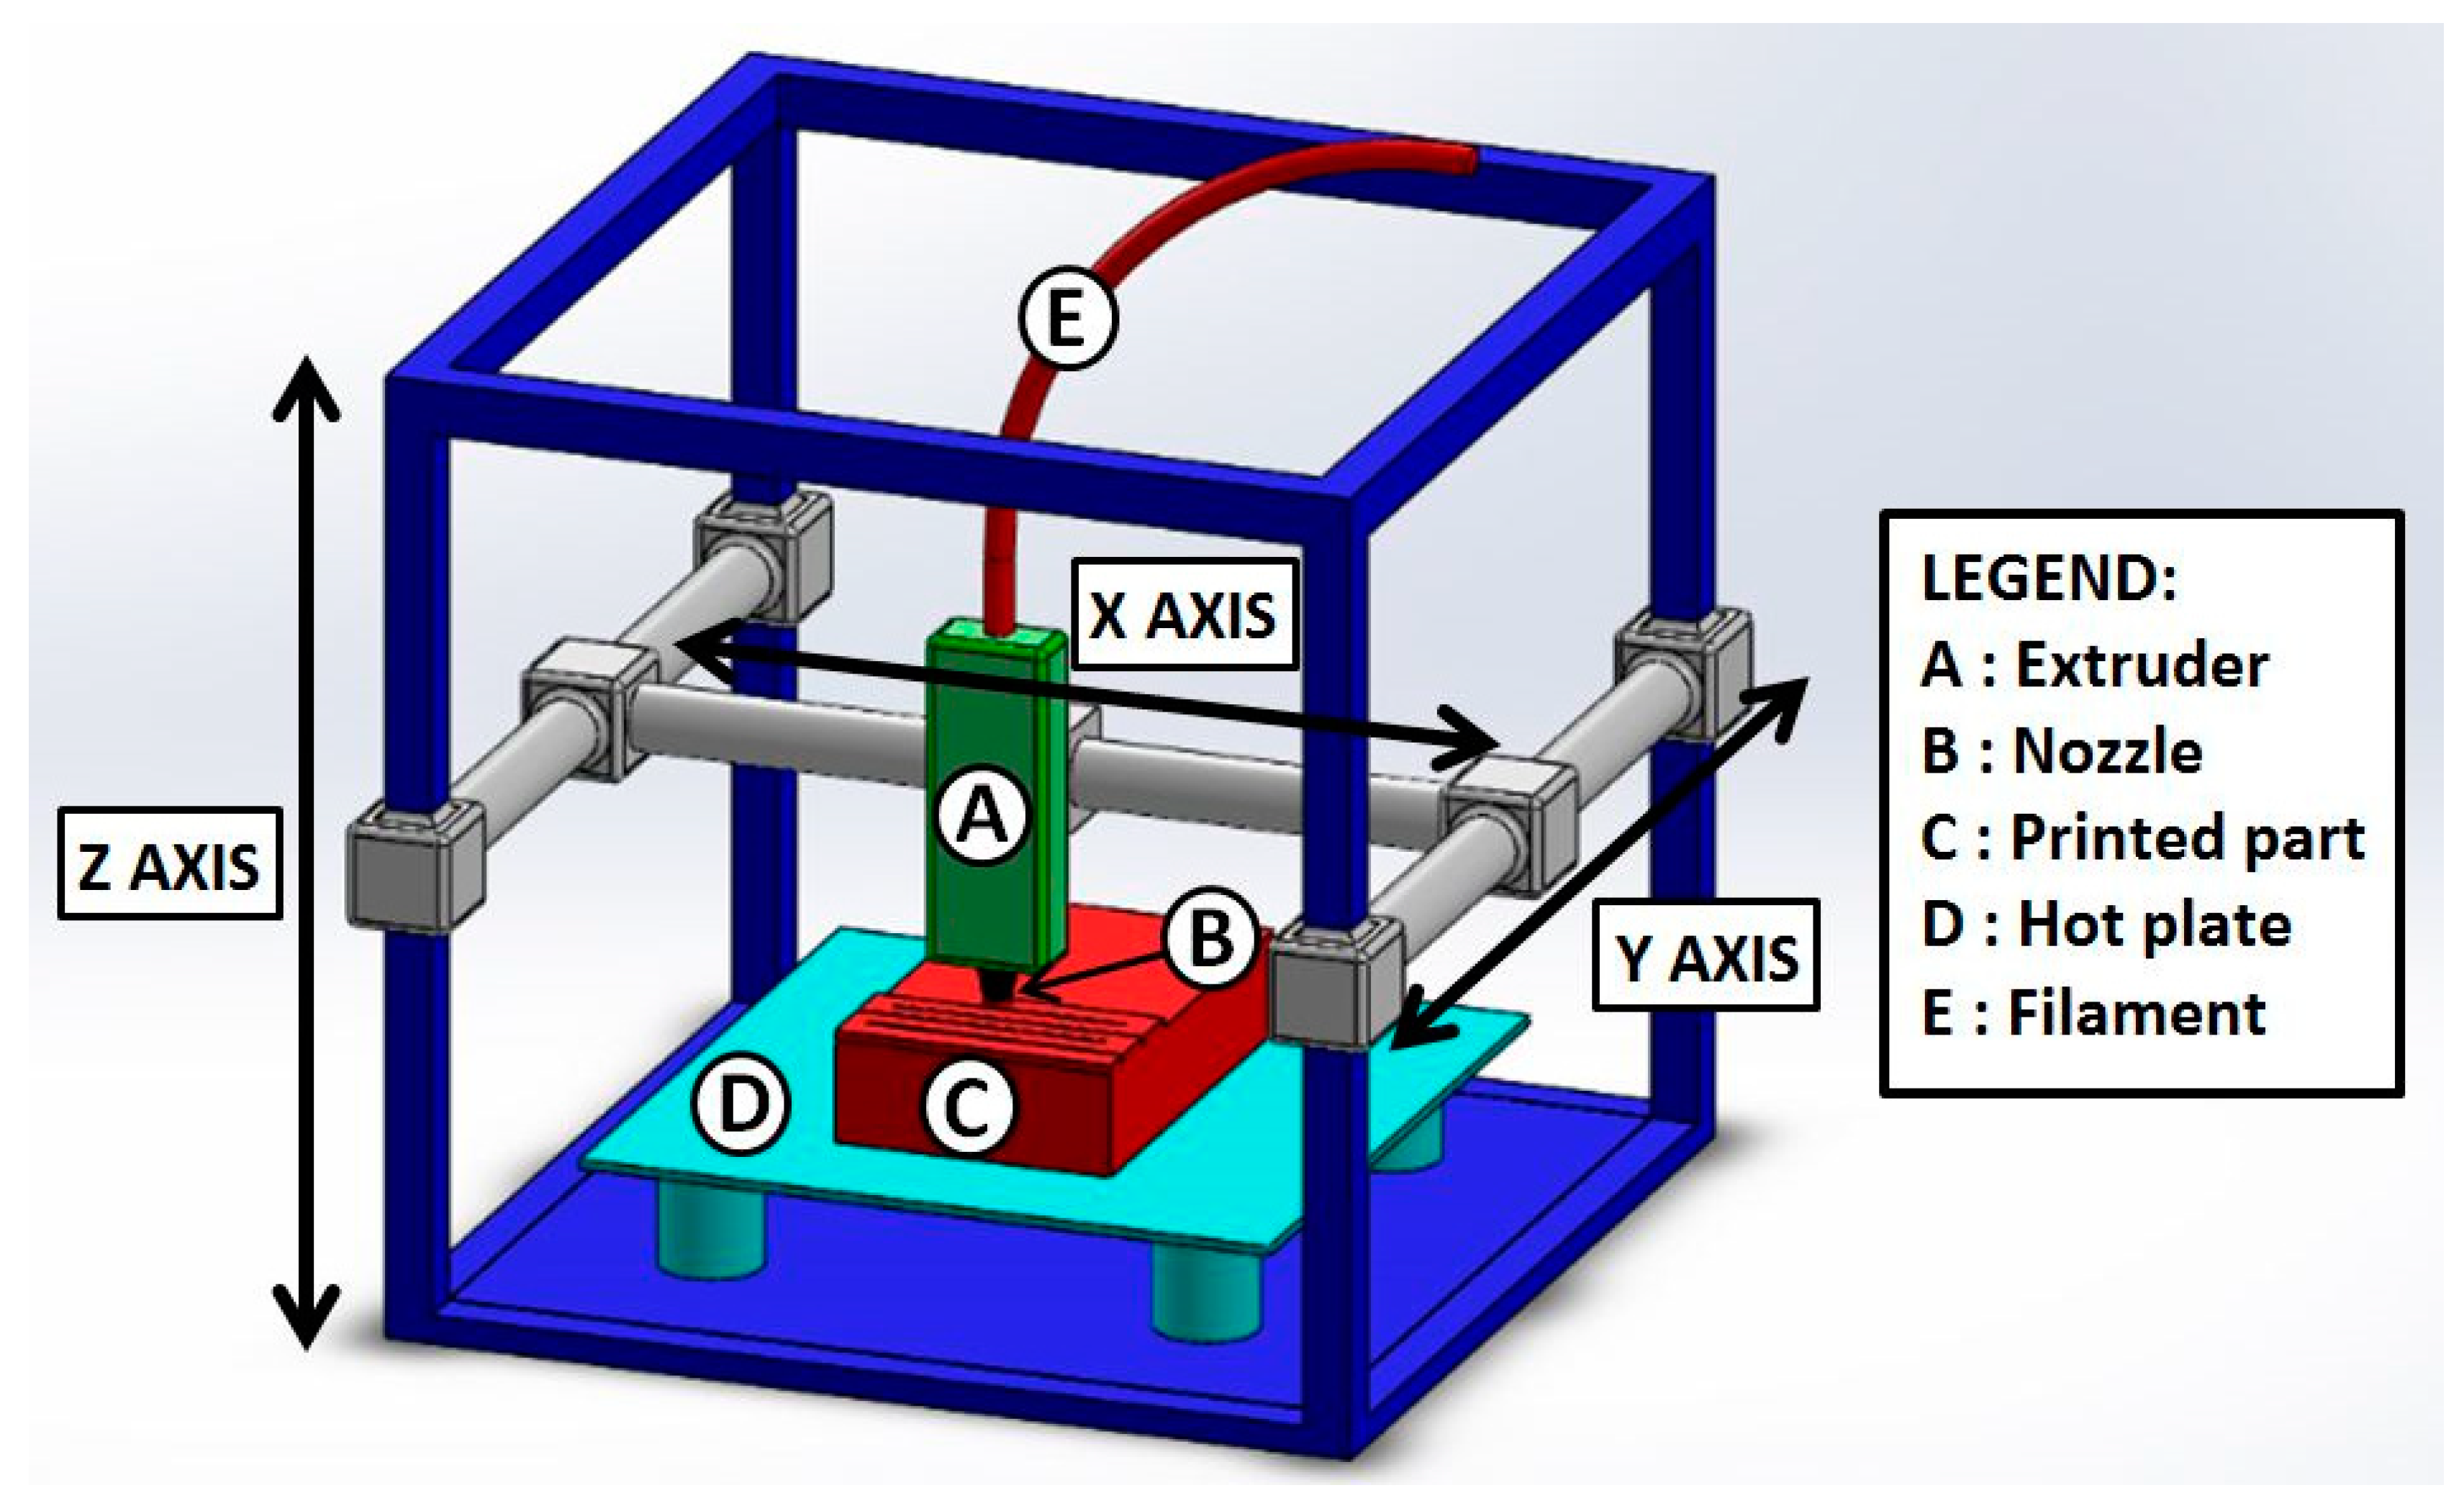

FDM 3D printing is a type of 3D printing technology of making physical objects by building up successive layers of material, A thermoplastic filament is pushed through an extruder to make these layers.
FDM 3D printers
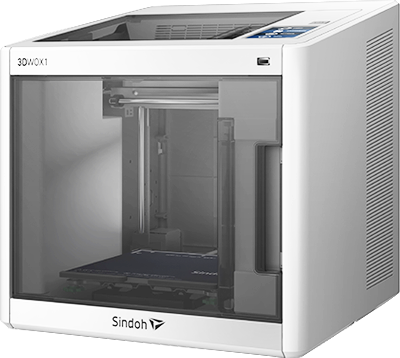
The printer we have in our lab is a PRUSA i3 Mk3s and Sindoh 3D WOX 1

Here I used PRUSA Mk3s for the assignments
Features of PRUSA Mk3s:
- Build volume: 250×210×210 mm
- Nozzle: 0.4mm default
- Layer height: 0.05 - 0.35 mm
- Max travel speed: 200+ mm/s
- Max nozzle temperature: 300 °C
- Max heatbed temperature: 120 °C
Materials
check this video out for a short insight on 3D printing filaments
materials we have in the lab
PLA+
- the most common filament we use is PLA+
the settings for PLA+ is
nozzle temp: 215 C and bed temp: 60 C
vendor- ESUN
Design for 3D printing
I had to design a part that cannot be made subtractively, By machining.
So i designed a cube that has a Sphere inside, and made a hexagonal lattice structure outside.
It was made with simple steps, extruding and cutting.
- the file has to be saved in .STL format
- The slicer can only read .stl and .obj formats
To learn about CAD designing click here
Slicing the the 3D model
We have to convert 3d model into slices and the to .gcode
This has to be done because the FDM 3D printing is done in layers and we have to convert this 3D model into number of layer, the software used for doing that is called a Slicer software,
the slicer software converts the model ito layer and then to Gcode, the Gcode is the only language or format that the 3D printer knows
G-code: a language that humans use to tell a machine how to do something. With 3D printing, g-code contains commands to move parts within the printer. G-code consists of G- and M-commands that have an assigned movement or action.
Slicing in PrusaSlicer-2.5.0
there are different types of slicer software like CURA, PrusaSlicer, ChiTuBox, Netfabb, Slic3r
more about slicer software here
The most common and reliable one is PrusaSlicer-2.5.0 and it was easy for me as we where using a Prusa 3D printer and trouble shooting was easy with that.
Slic3r was the basic version of this software and Prusa used it and renamed it as PrusaSlicer-2.5.0
The software i used was PrusaSlicer-2.5.0
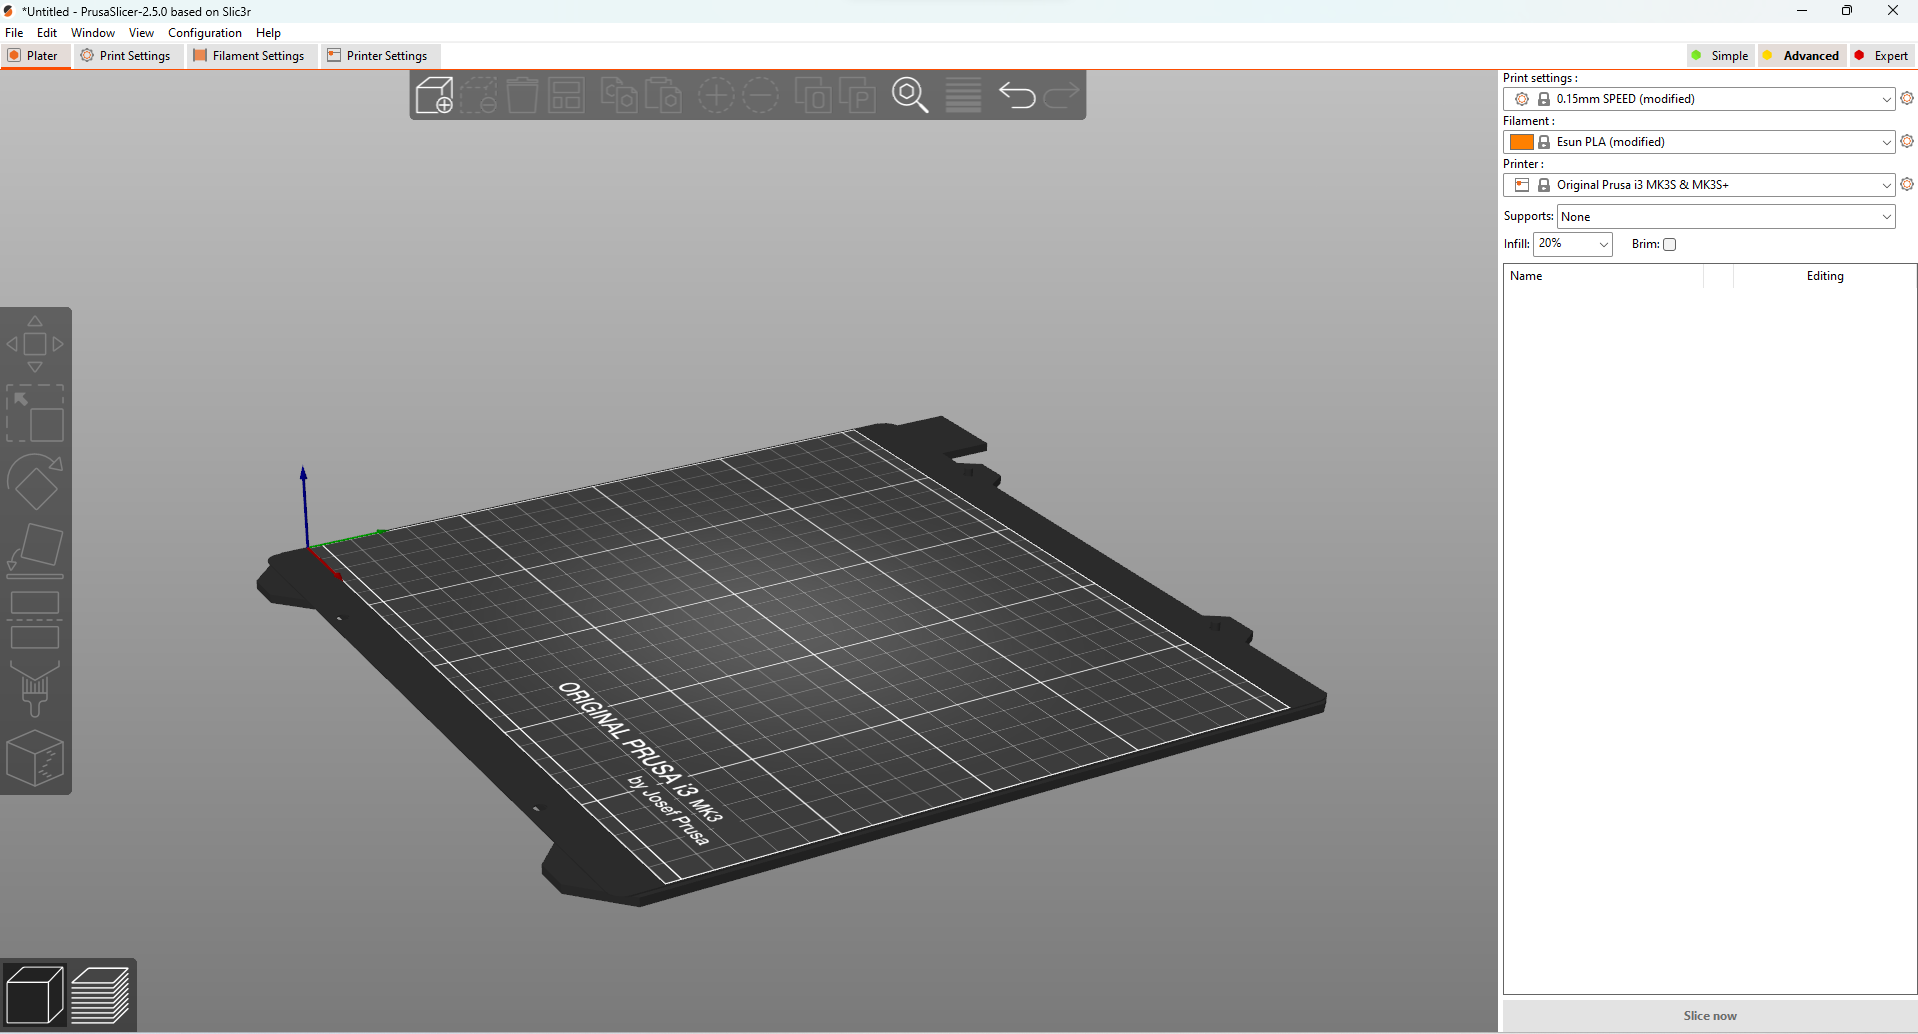
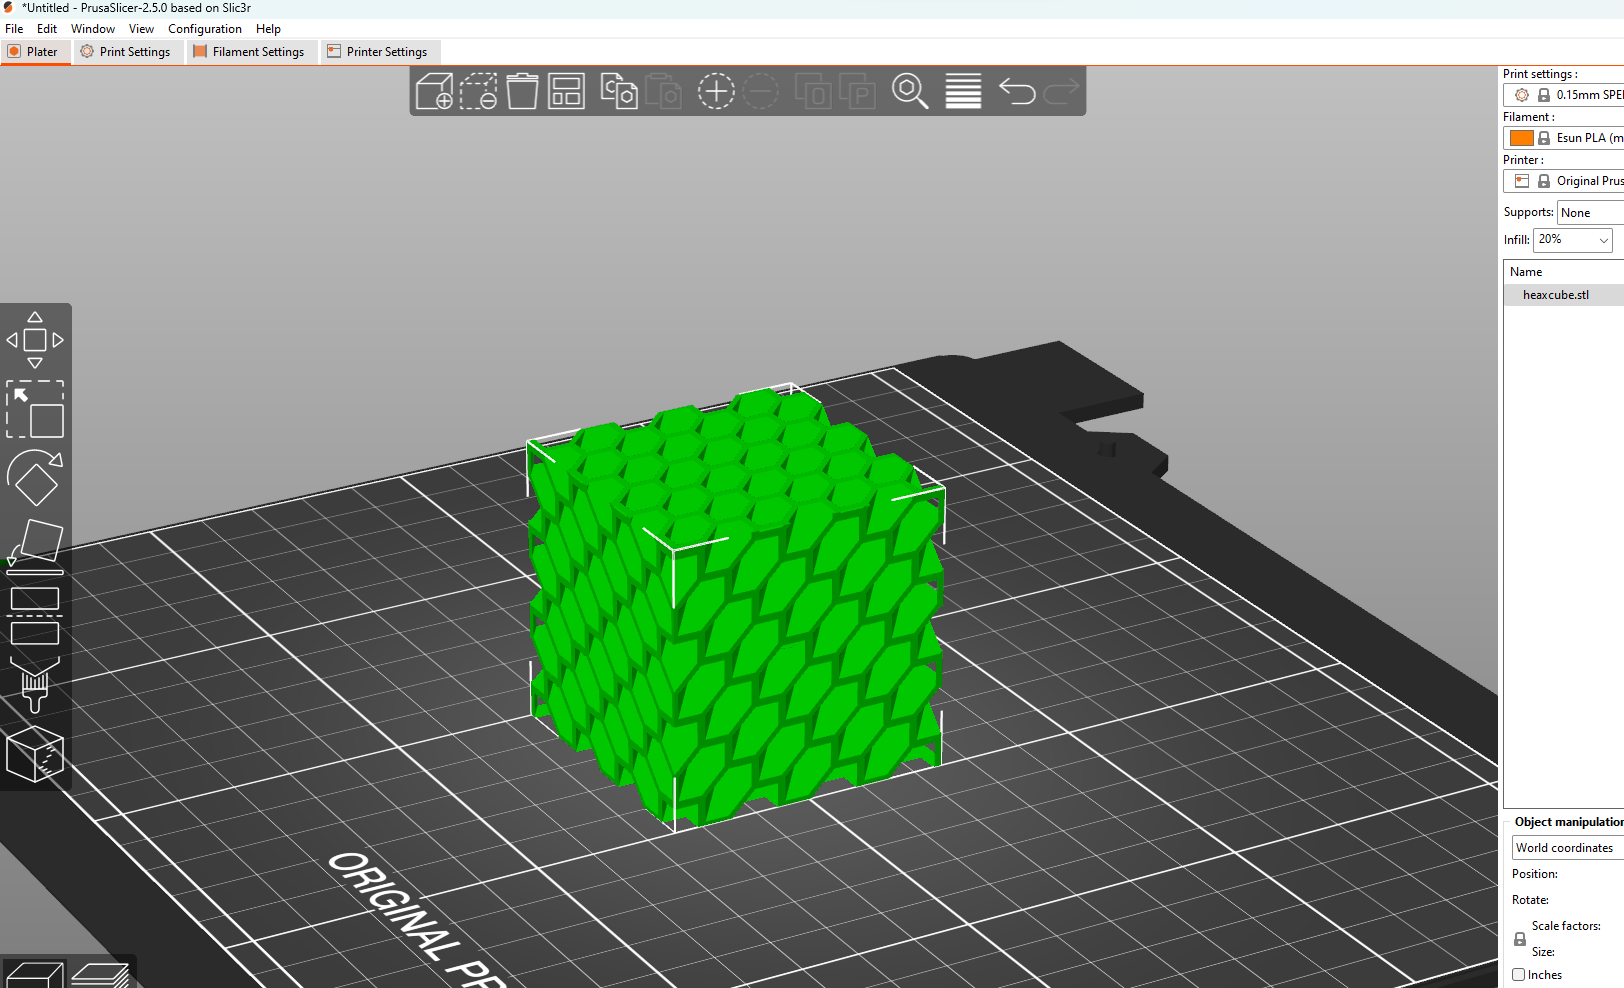
- i can just drag and drop the .stl file to PrusaSlicer-2.5.0 interface
these are the common tools for simple editing the model
- moving the part
- scaling
- rotating the part
- place the part on a face
- cutting the part
- painting the supports as required
- seam painting

here is the setting for the printer, filament, and print properties
- for my print i used:
layer height: 0.15mm
material: PLA
printer: PRUSA i3 Mk3s
- Since the settings for these type was pre loaded in the printed i didn't have to enter it manually.

PLA: the settings for printing this material is mention above at the materials section, so i just copied that.
click this button for slicing
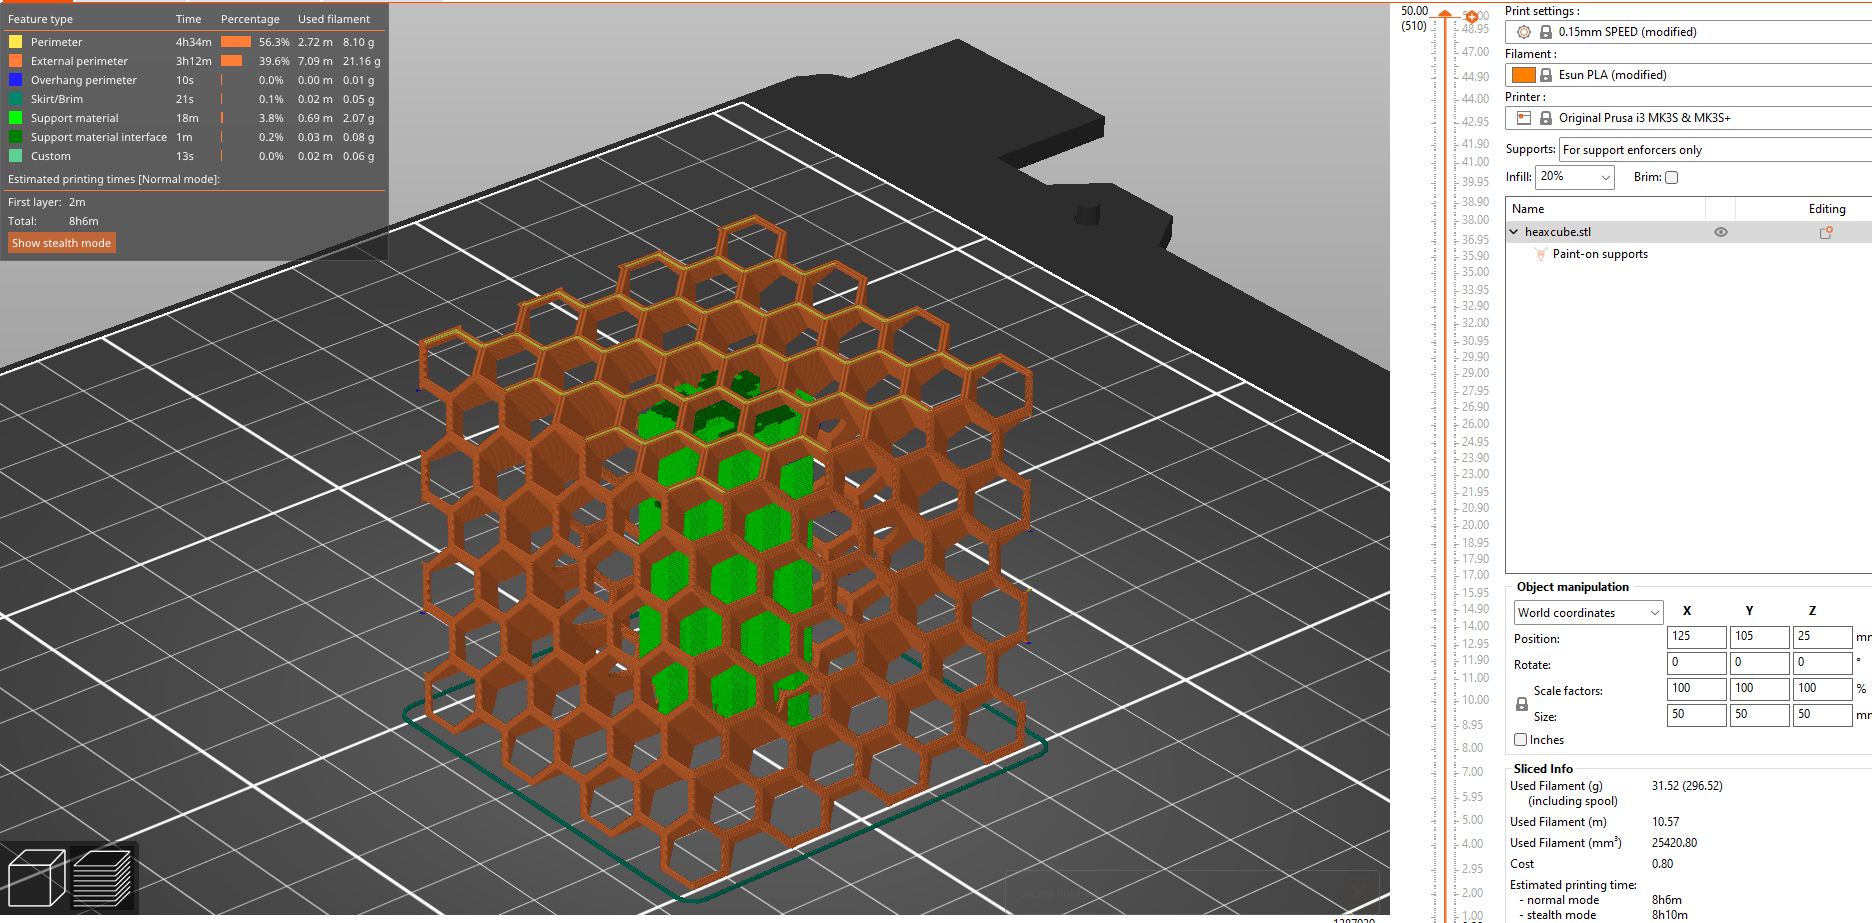
after slicing
- Here i used support enforcers so there is only supports where i mentioned.
- we can see the supports in green color and part in orange color
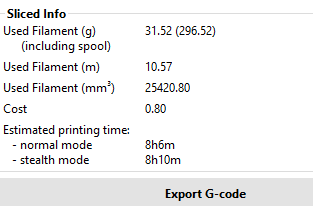
This are the details for this print,
- time taken
- amount of materials used
this gives me a rough estimate of how the printing is to be going.
simulation of how the print will be done
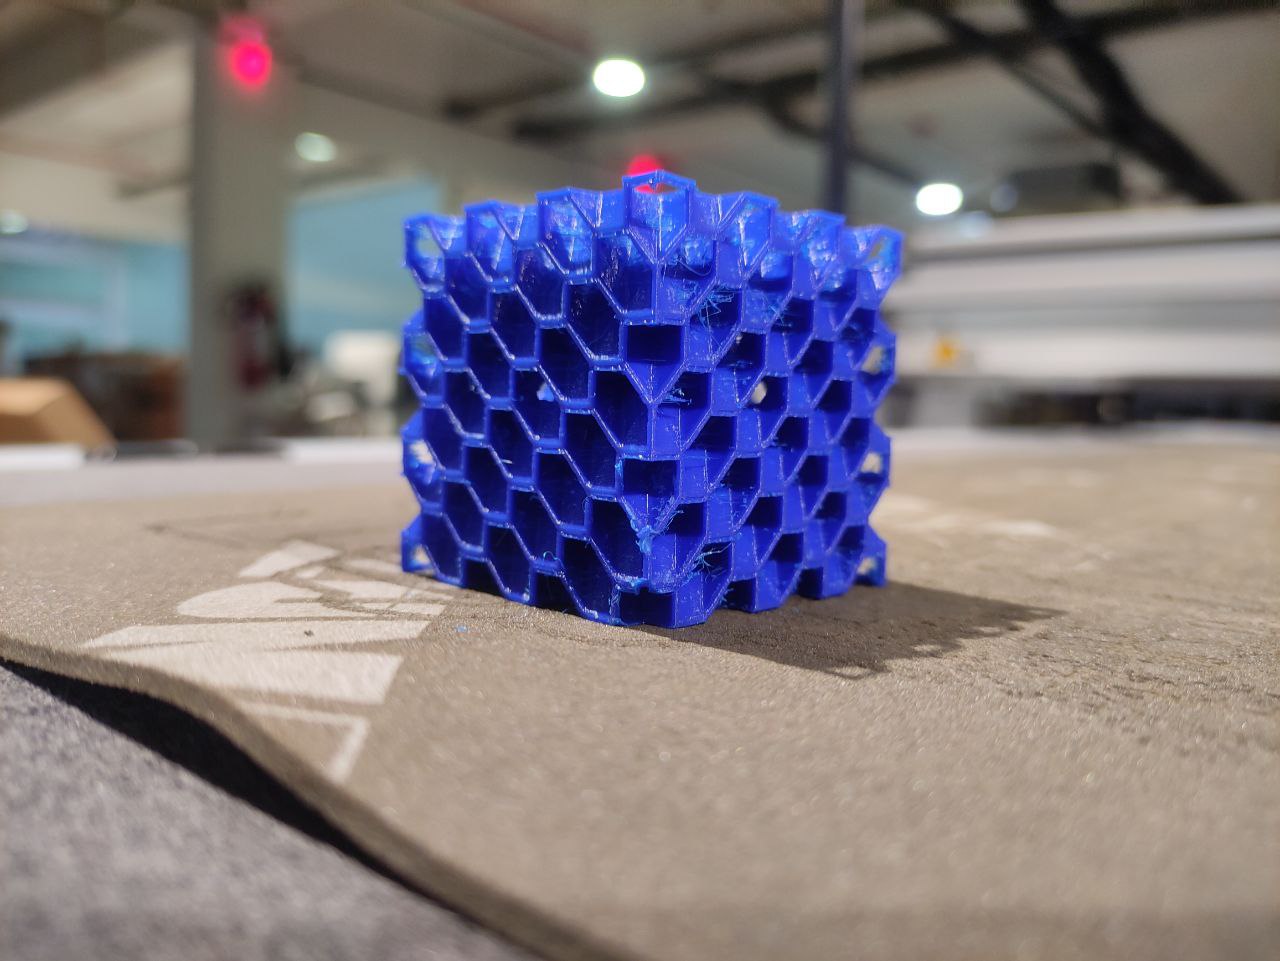
The print

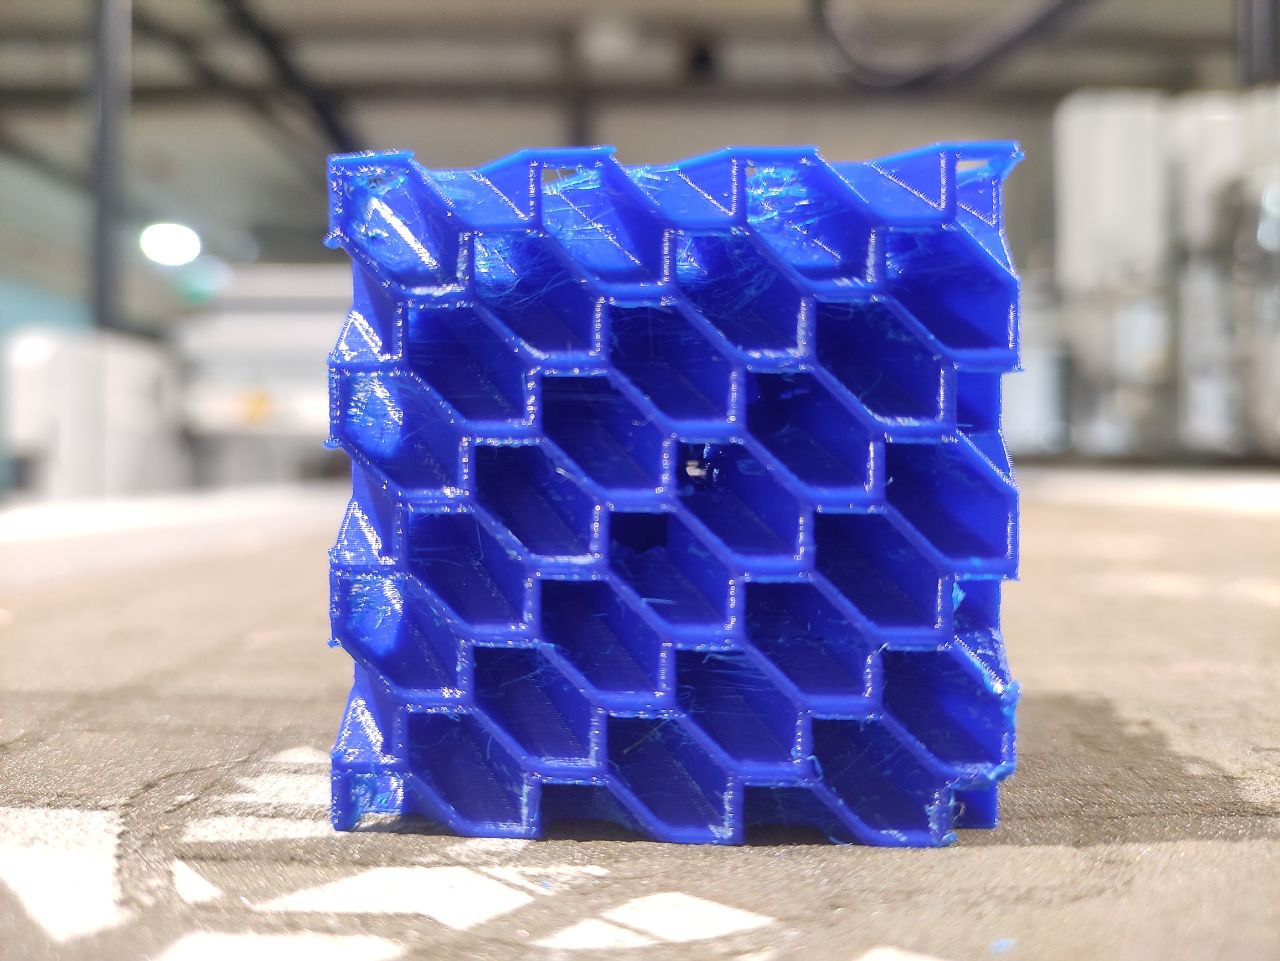
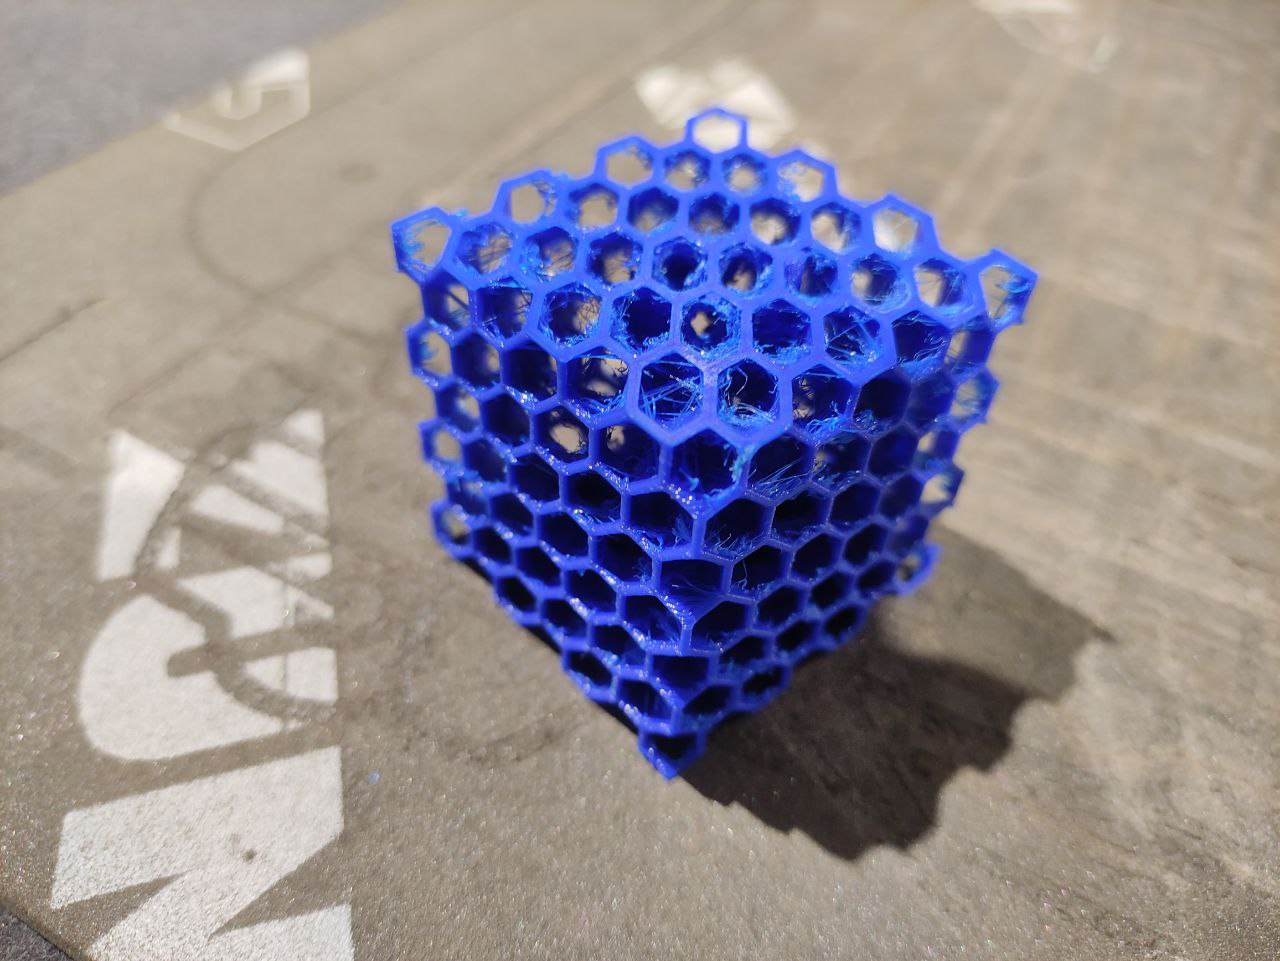
- the print came good but had some issues
- there was stringing
- And also, it was harder to remove the support inside, maybe impossible xd.
So i printed again by changing some parameters,
- retraction speed
- retraction length
- decided to print it without supports, fingers crossed 🤞🏼.
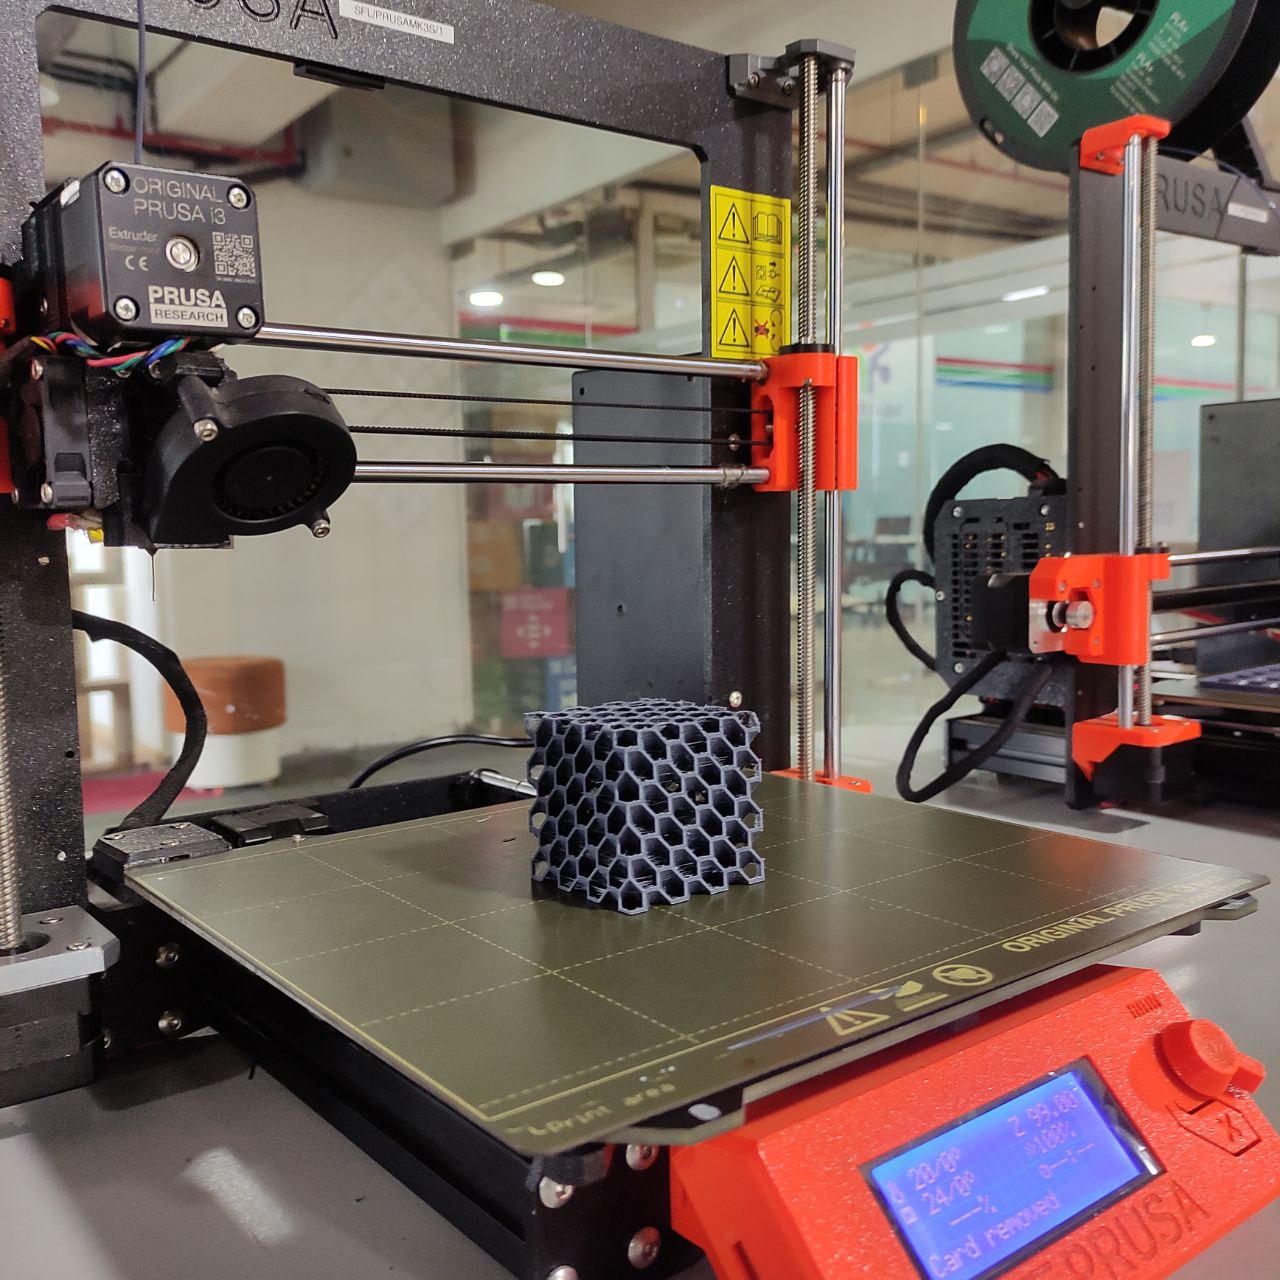
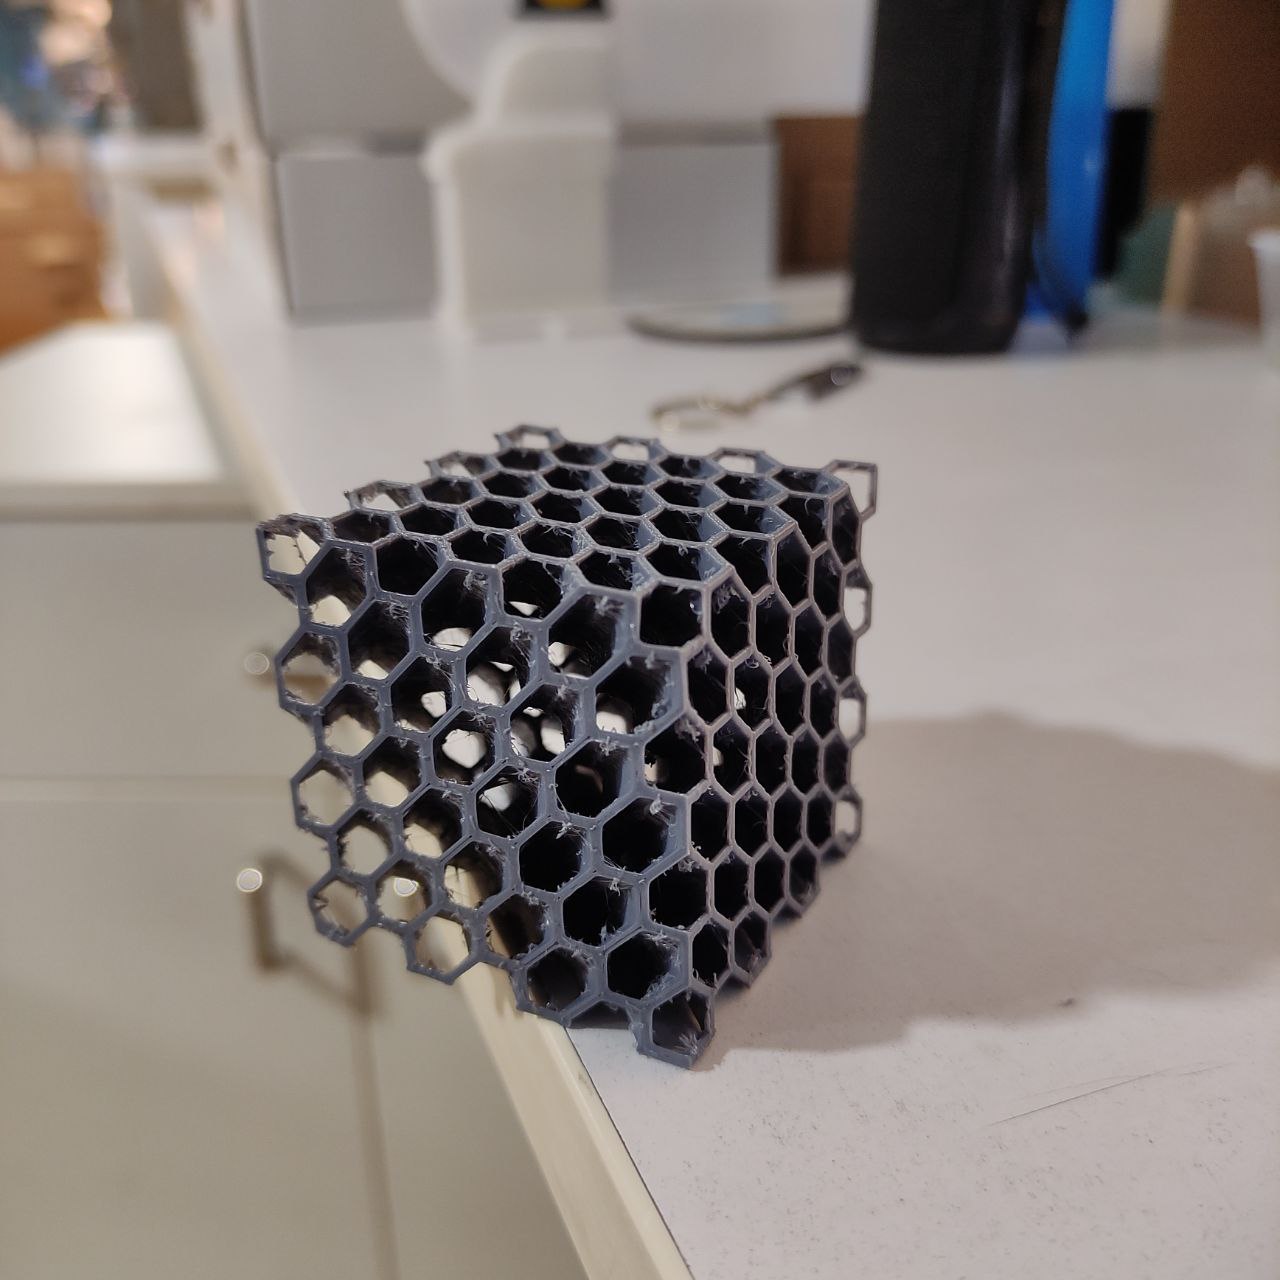
the print was good but still had some small amount of stringing
- used a heat gun to remove stringing.

apply heat by a soldering heat gun
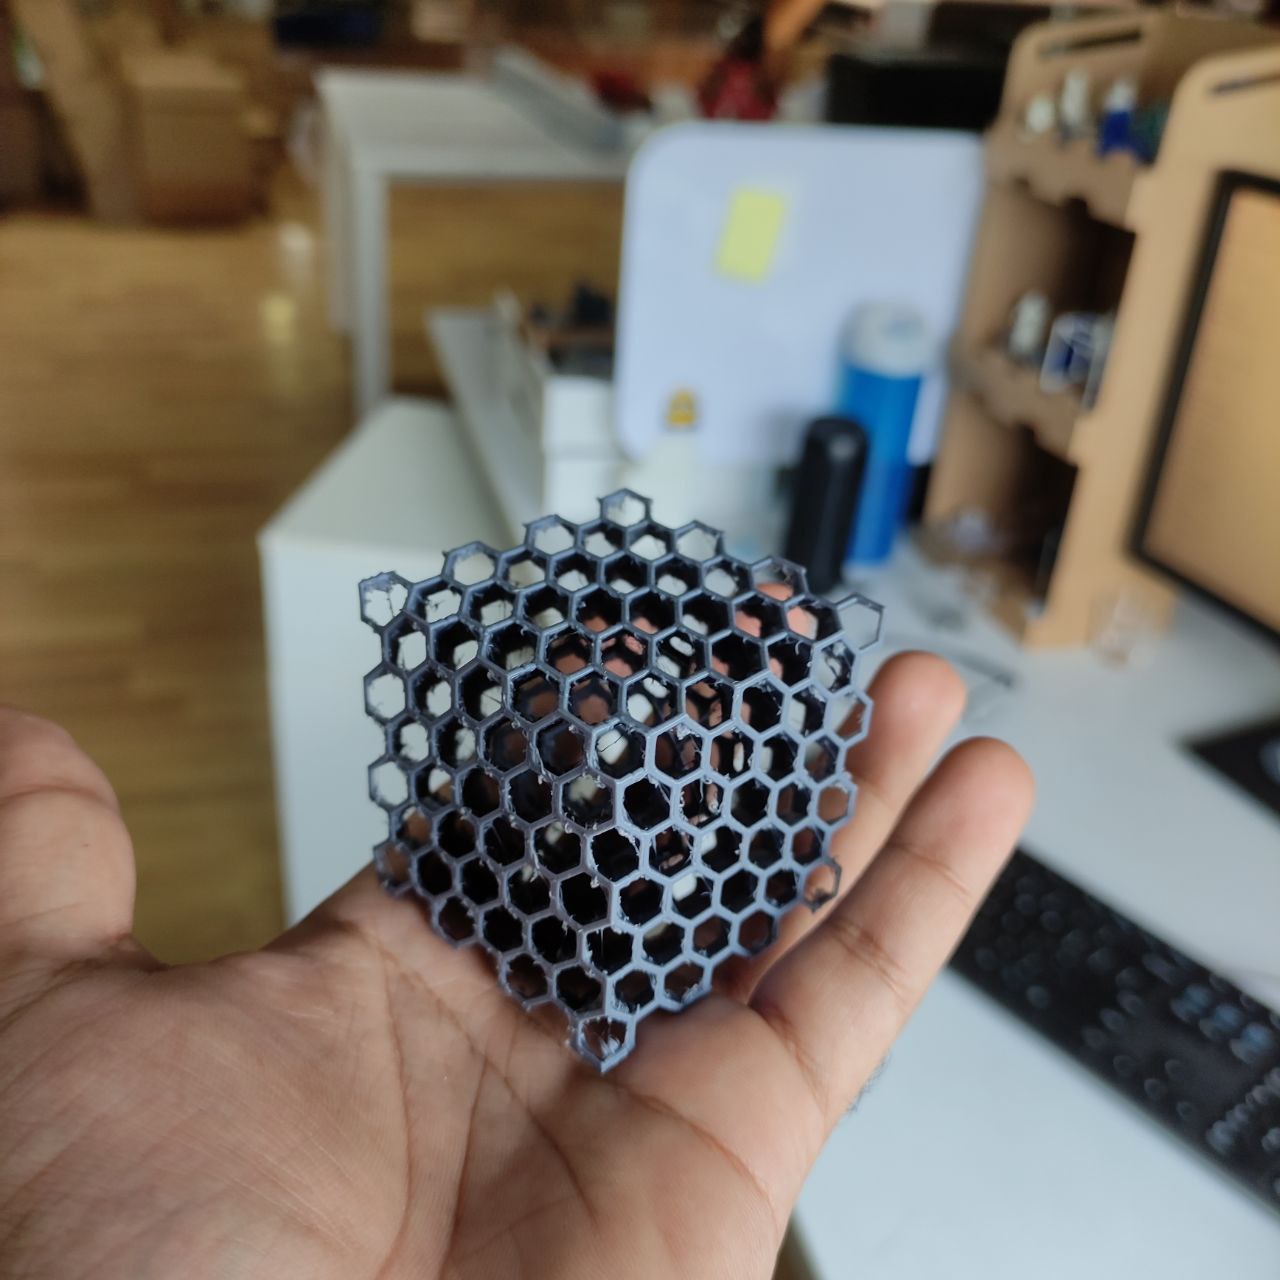
Now i got the desired output.
You can download the file here 👇🏼
3D Scanning
By 3D scanning you can take a physical product, scan it into a digital format (e.g. the STL file format), and work with the digitized model to create prototypes and i can also then printed by 3D printers.
The 3D scanner I used is Artec leo wireless 3D scanner
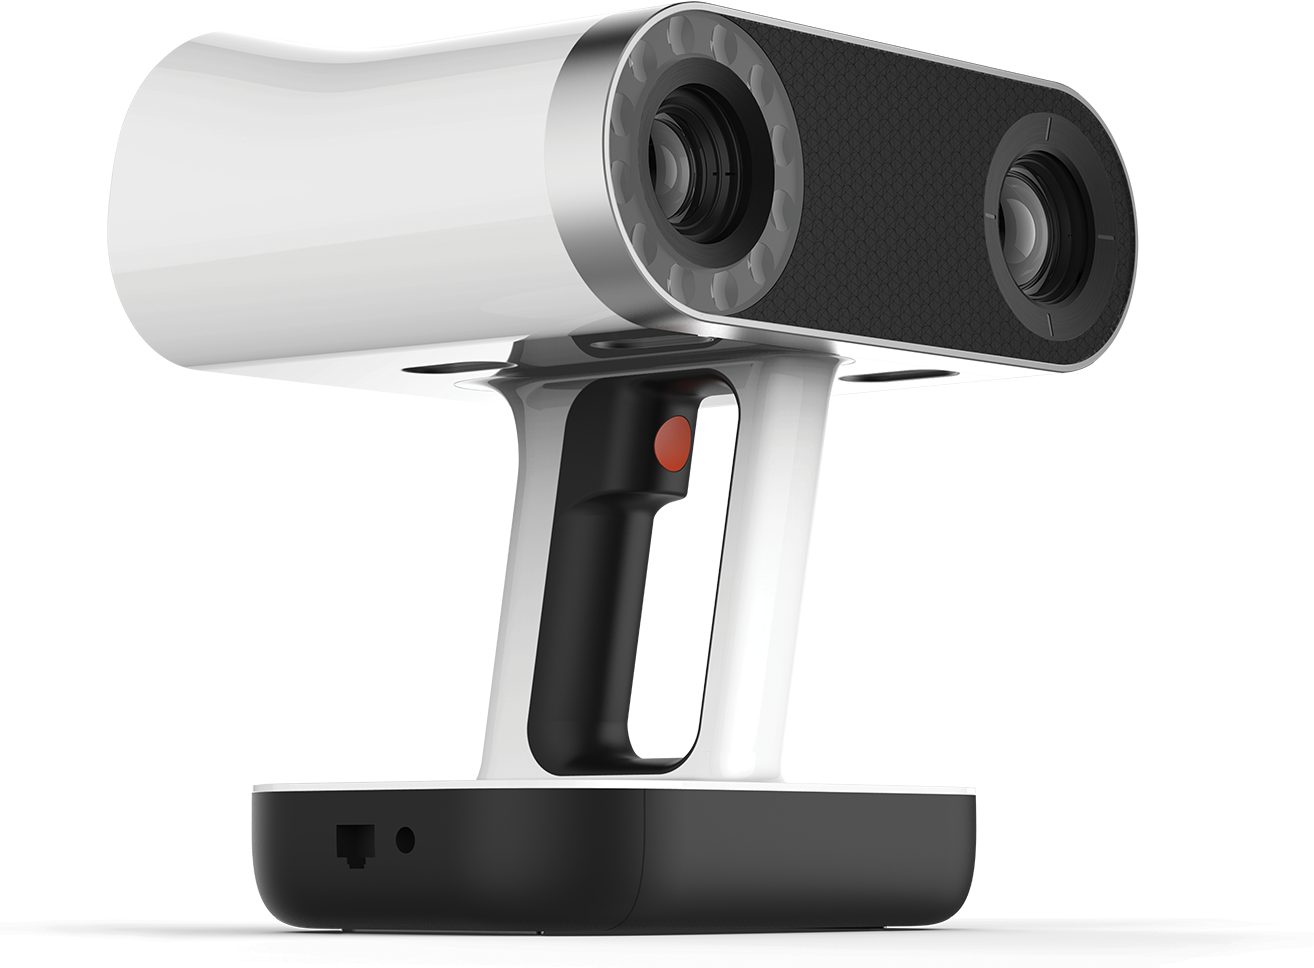
This printer costs around US $34,800, so i had to be cautious when scanning.
The advantage of this type of 3D scanner is that it is portable and we do not have to manually connect to a PC and do the processing there,
As this scanner is portable we can take it outdoors and scan environments and large objects.
Scanning
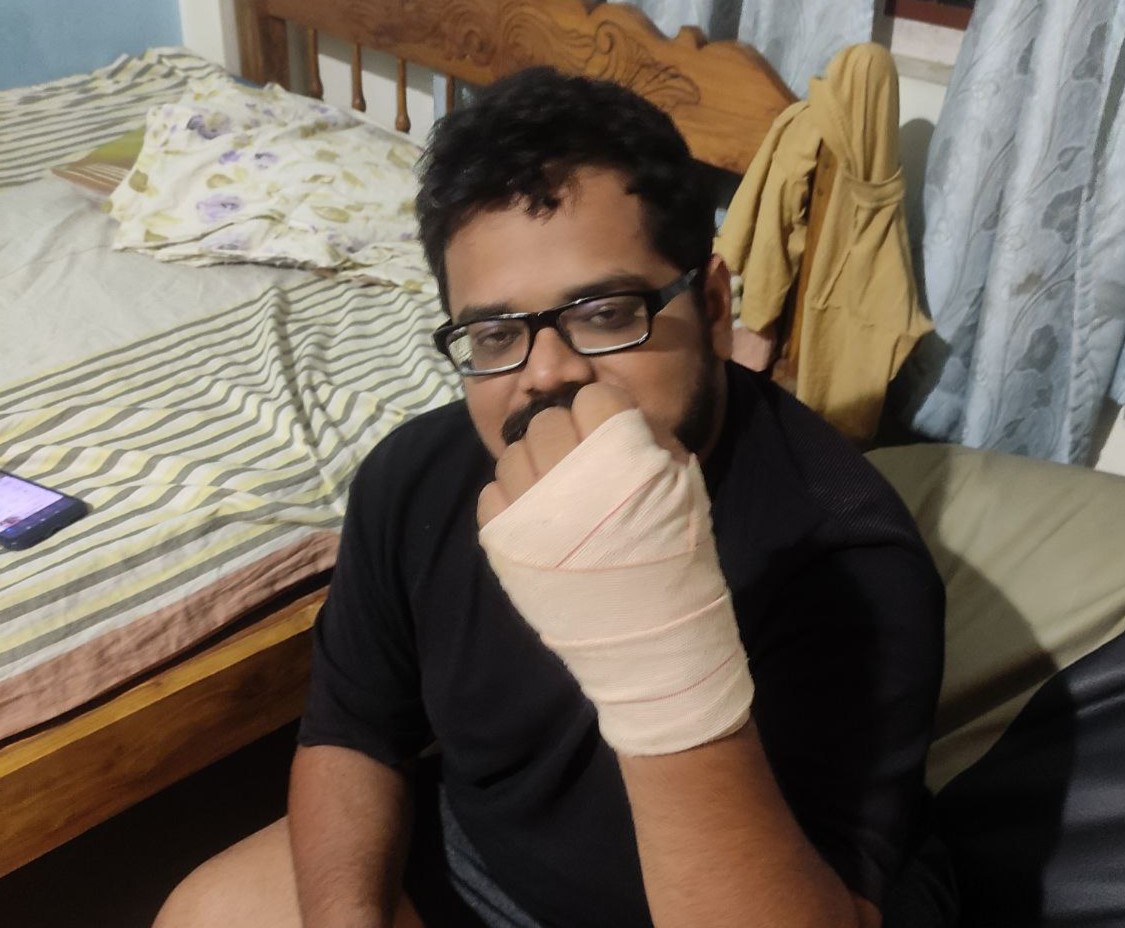
The idea was to scan our instructor “joins fransis” hand to create a 3D printed cast for him,
He had sprained his hand while playing Football this week, And there is no better time than this to try out 3D printed casts.
Scanning the hand with Artec Leo 3D scanner
Processing the Data received from the 3D scanner
- I had scanned it in a single take, i only got one scan,
- if i had to pause between the scans the number of scans will be more
- it is better to do the scan in one take.
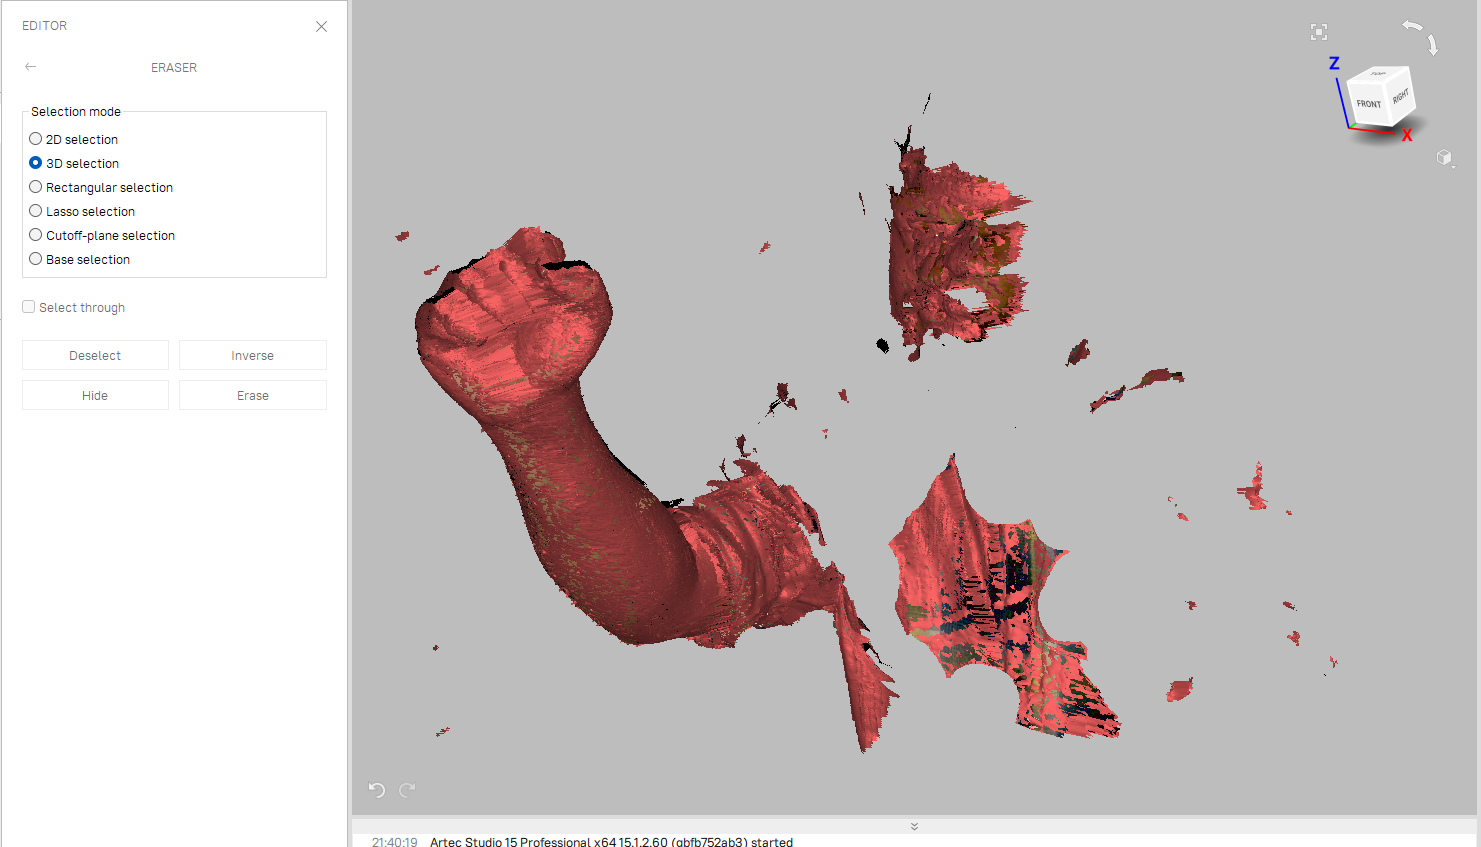
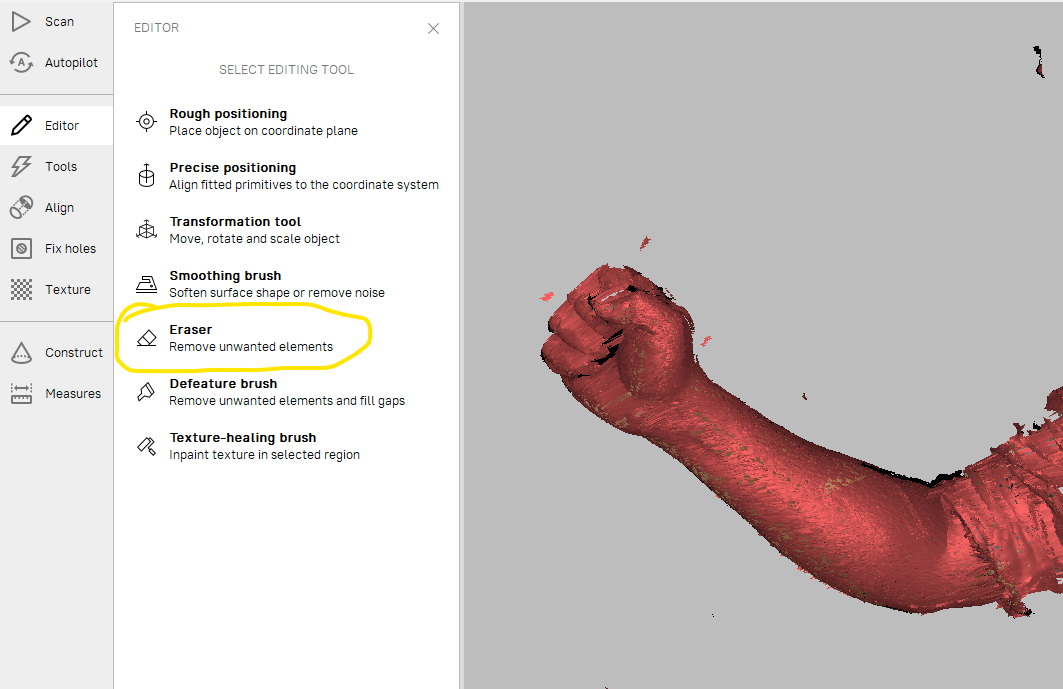
Editing
I only wanted the arm shape so i erased all other with the eraser tool
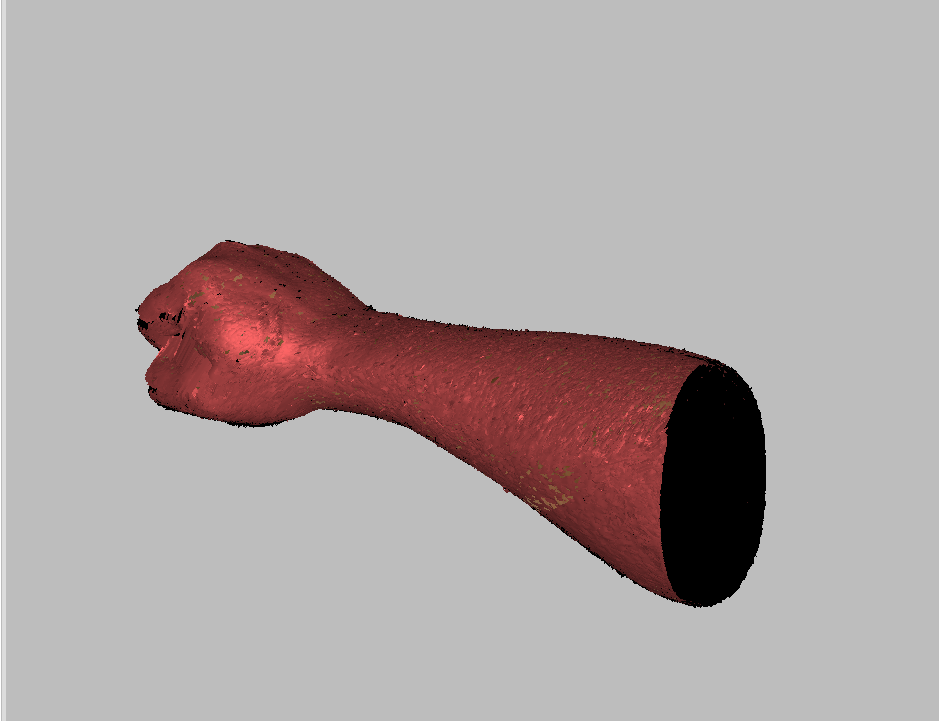
after several steps i got the shape i needed
There are different steps to go through for getting the final output
- after cleaning the part, we have to do the registration
Here i have done global registration,
registering all the scans in a position
- now Fusion, fusing all the parts into a single model.
here i have done fast fusion, as it is a simple shape.
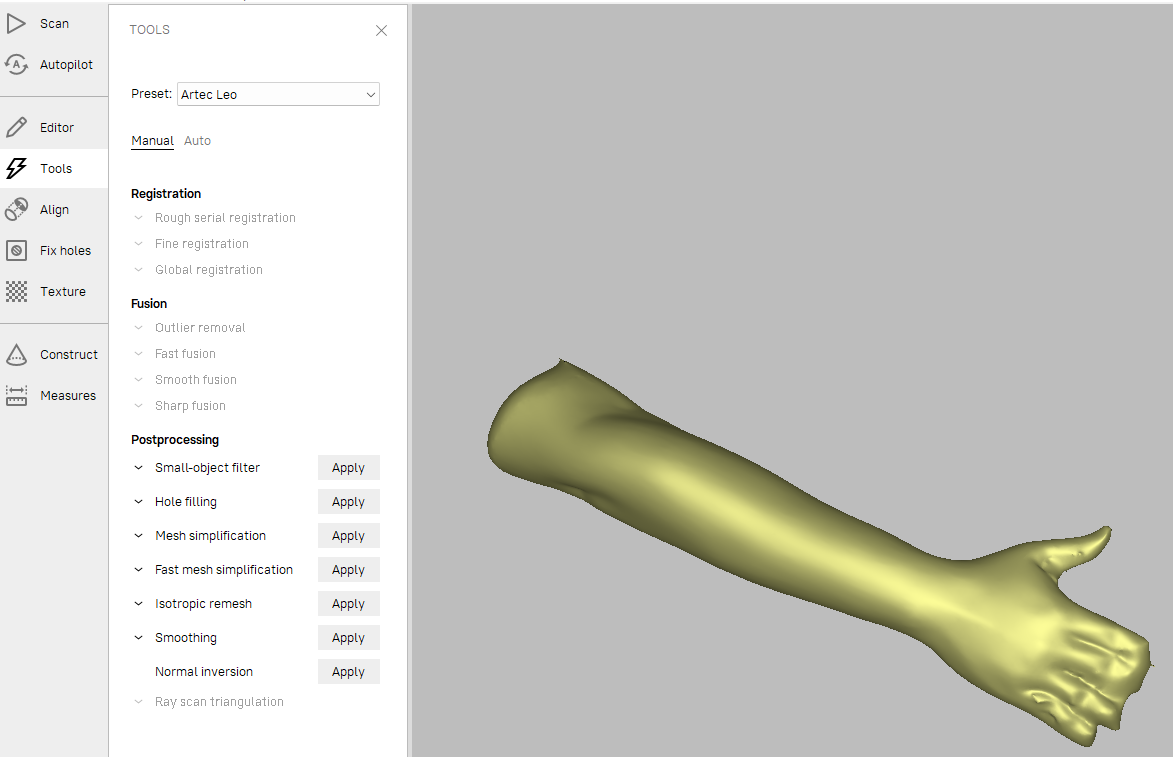
Post processing,
apply all the options here
- Mesh simplification:
to reduce the mesh, which in turn reduces the overall size.
this can be helpful for processing the file in other apps.

After applying all the options, i got the result like this 👇🏼
Adding texture
From the options in the side click on texture,
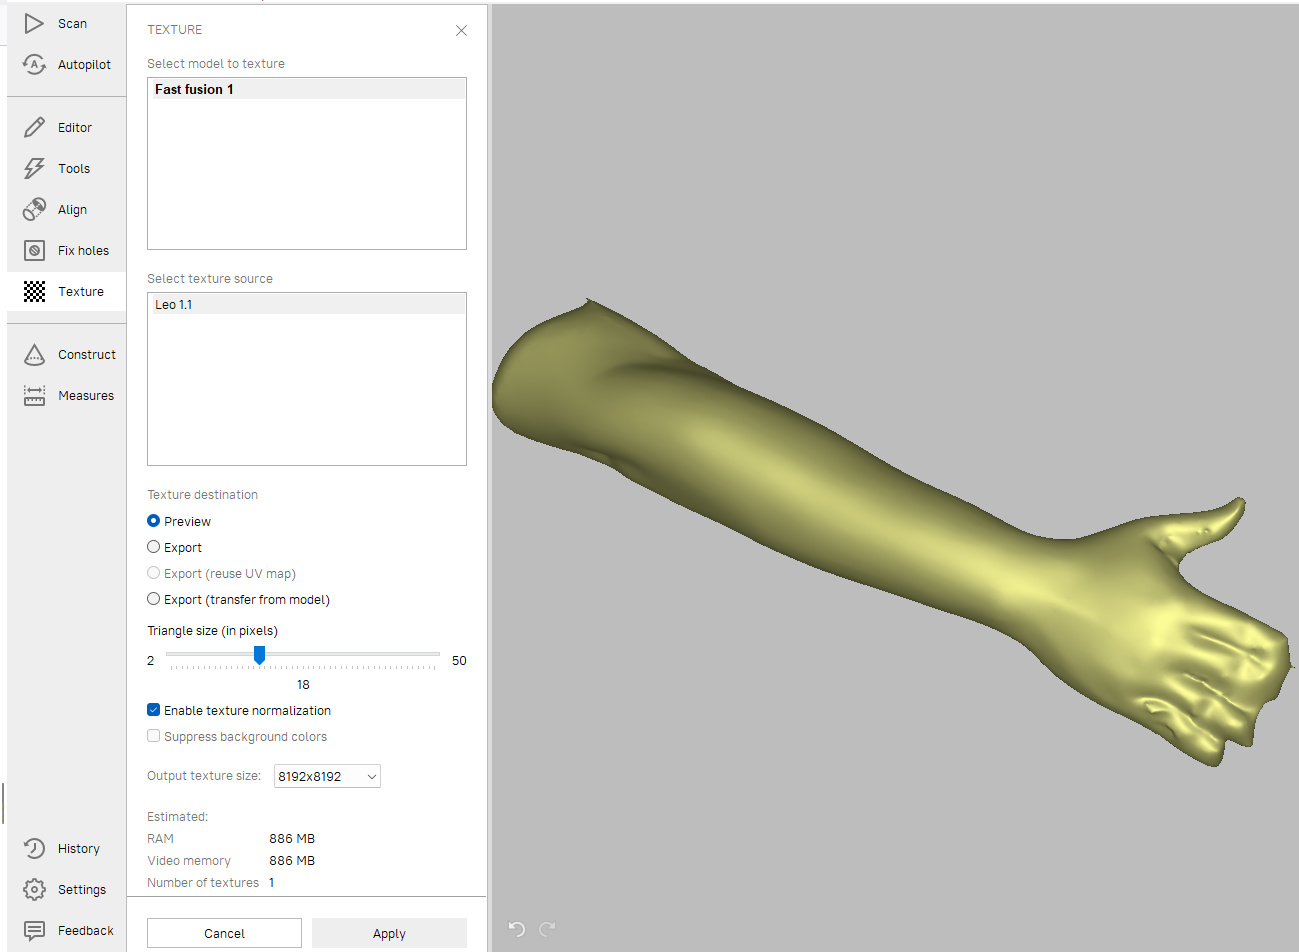
- Since i had only one scan, there is only one texture source “Leo1.1”
- The settings where okay, now click apply for applying the texture to the model.

- Here we can change the details of the texture like the brightness, saturation, Hue.
- after changing these parameters as liked, click apply
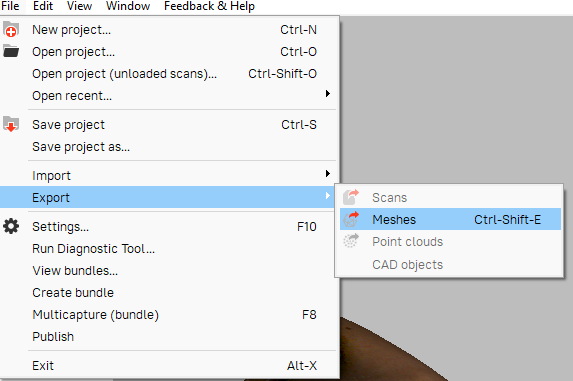
- The processing is completed and we can export the file


The 3D model of the hand with texture
Making a 3D printed cast.
For that i am using Rhino software and grasshopper for creating the model of the cast
my plan is to make parametric shapes using voronoi patterns with help of grasshopper plugin in rhino
Cast using Rhino-Grasshopper
- importing the 3D scanned model in rhino, i just drag and dropped the .obj file
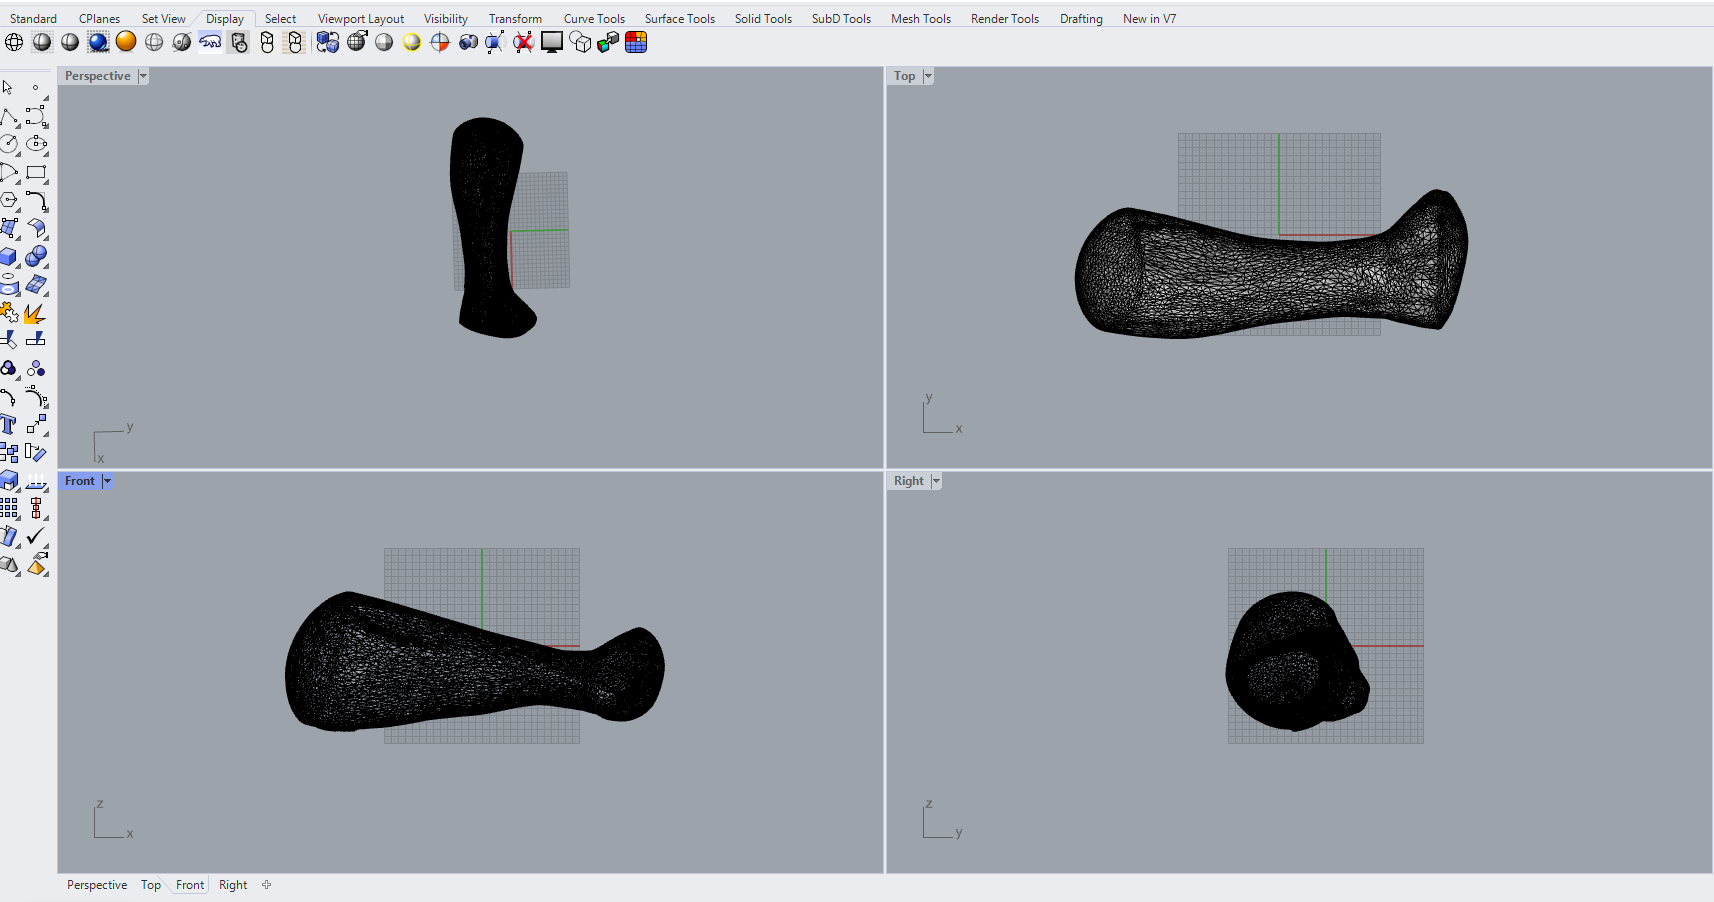
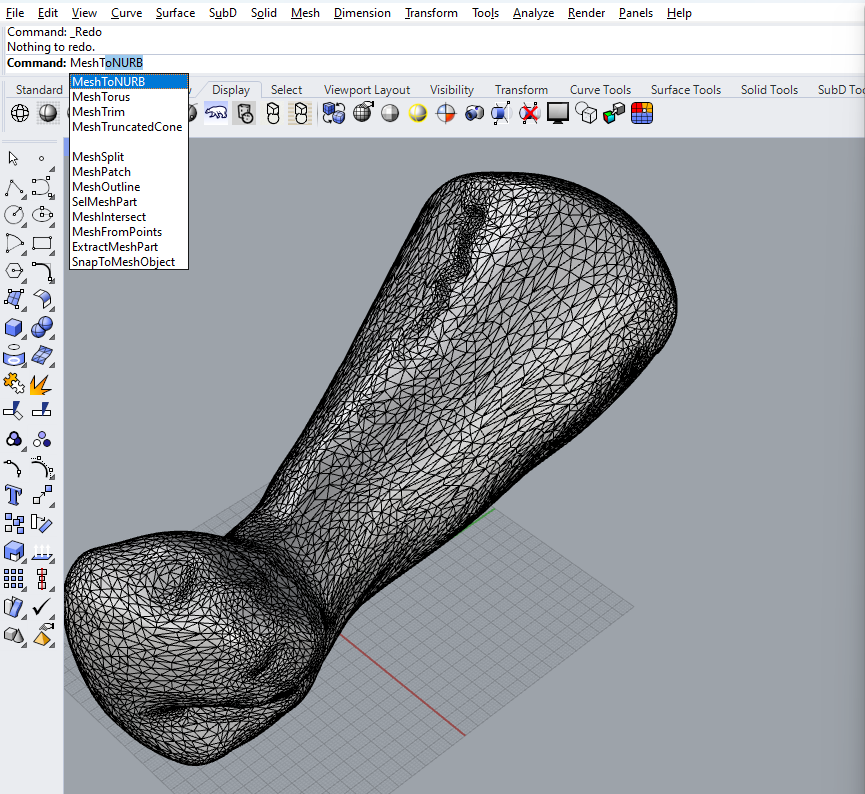
the imported part was in mesh “.stl” format so i had to convert it into NURB,
with a simple command MeshtoNURB
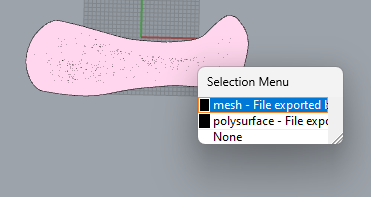

now i can see both, and i moved the poly surface to a side.
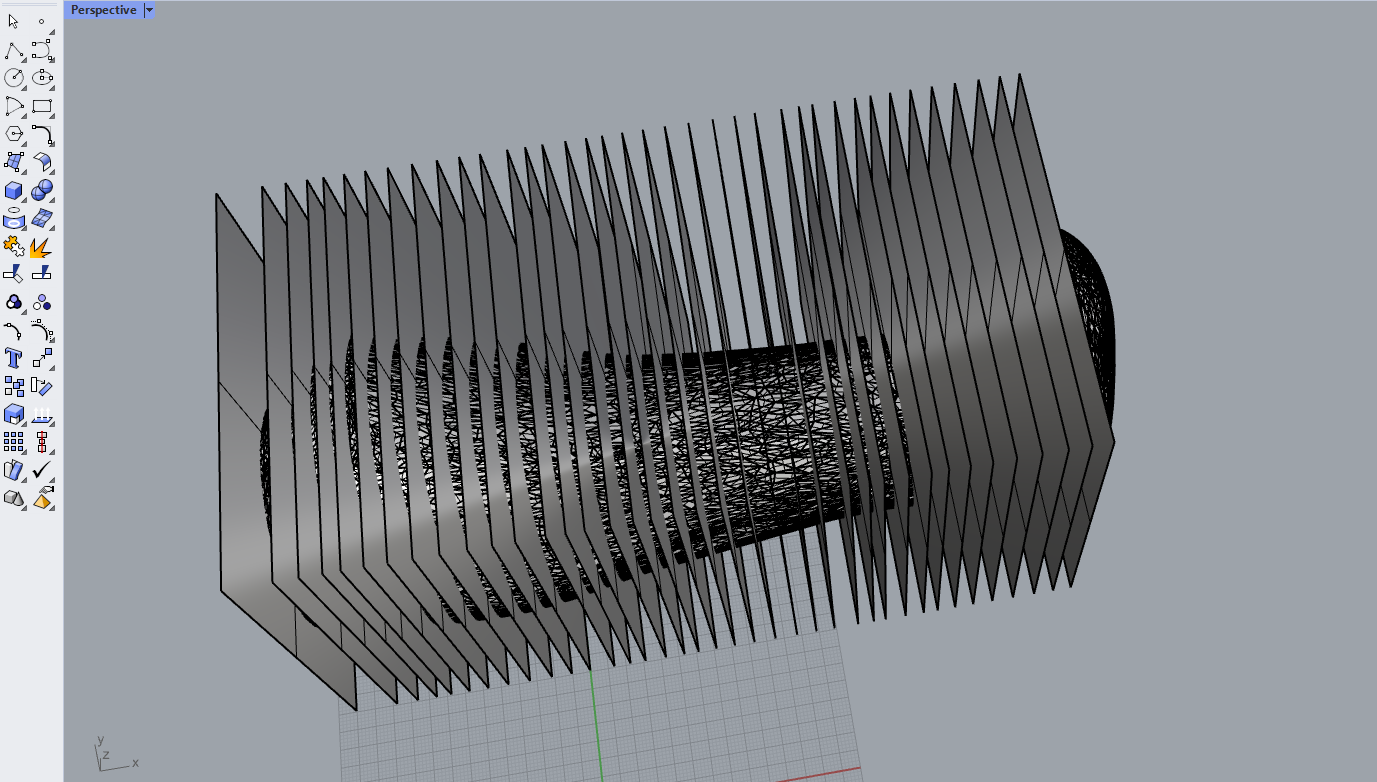
- created a number of planes to trace the boundary
- use the command “intersectTwoSets” and select the planes and press enter to get the boundary lines
now i got the simple traces of the surfaces to make a model
- with “loft” command i created a surface using the curves
Grass hopper
Grasshopper is a plugin for the 3D modeling software Rhino, used to create and manipulate parametric designs using a visual programming language to create and manipulate parametric designs using a visual programming language.
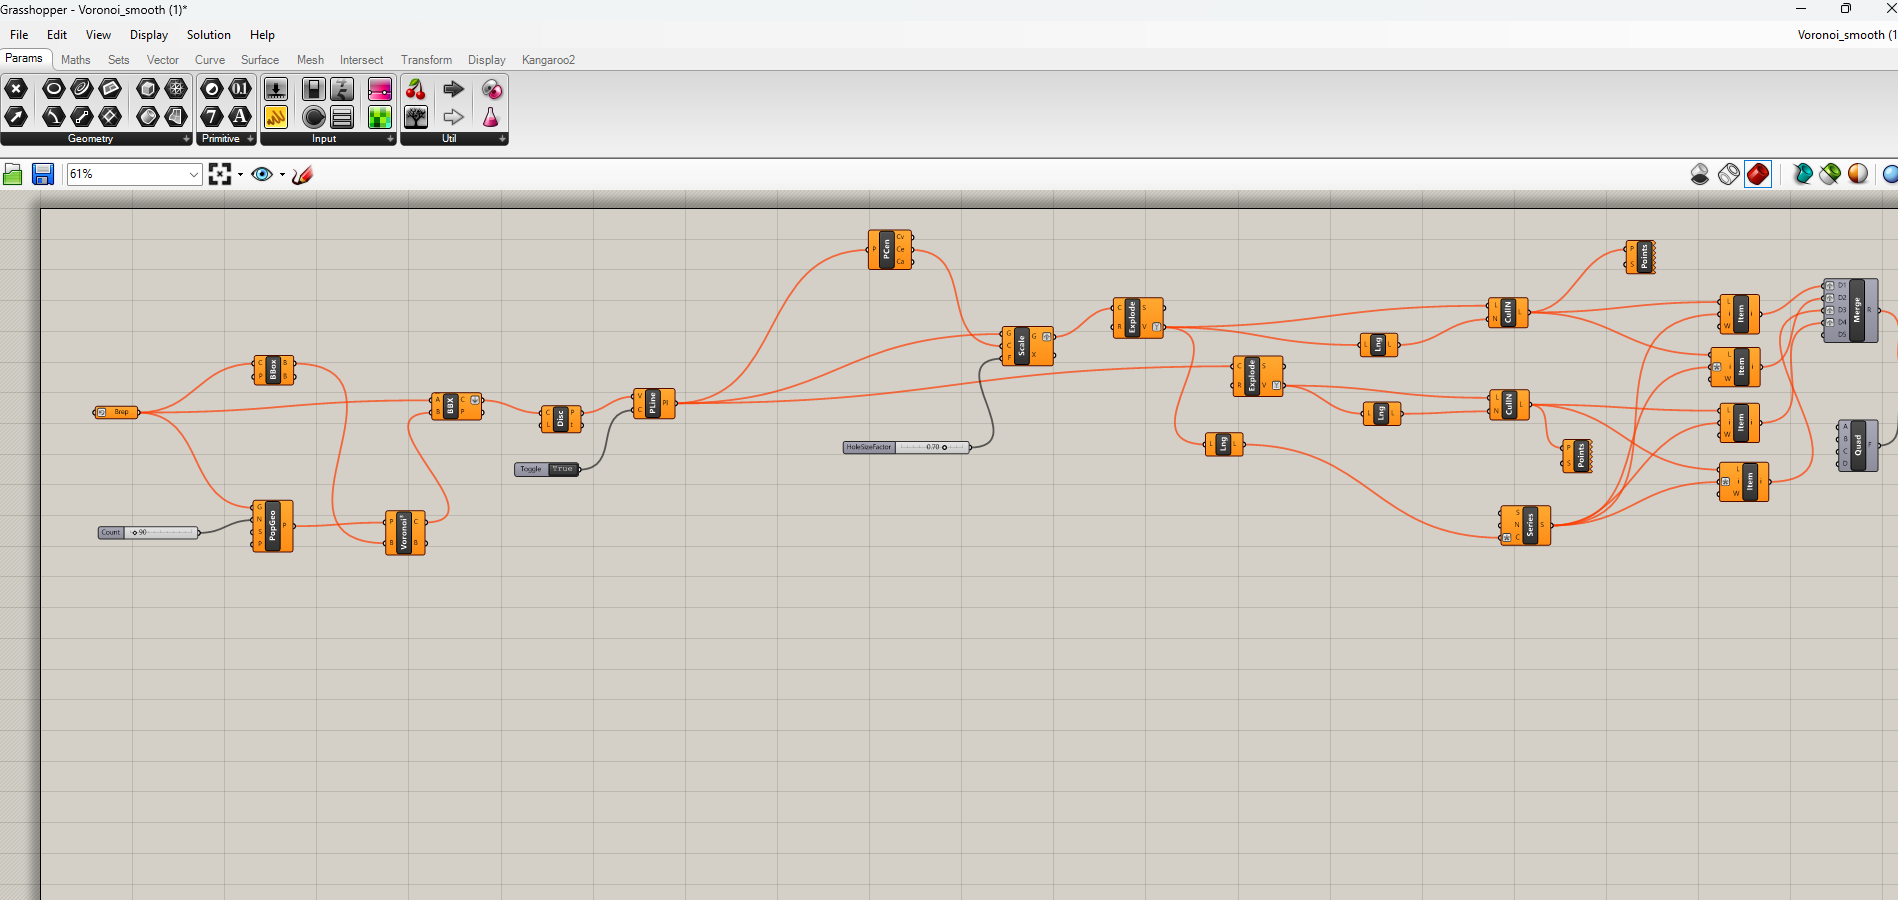
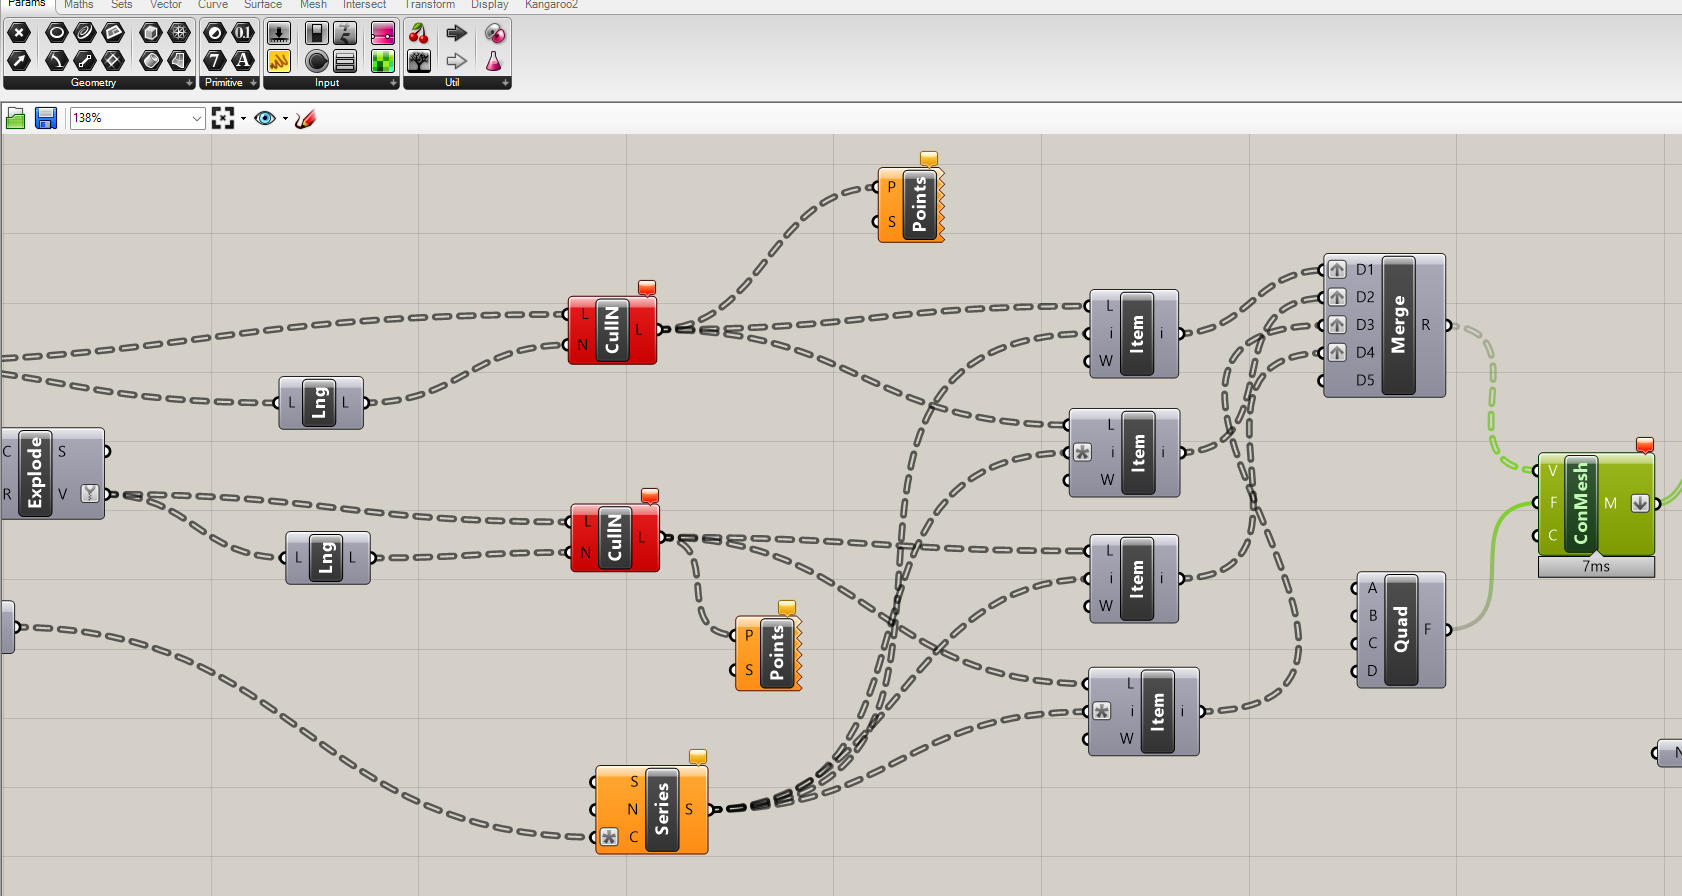
I got this script for making vernoni pattern from think inverse
- here i used this grasshopper script to make my model of the hand to a shape similar to a cast.
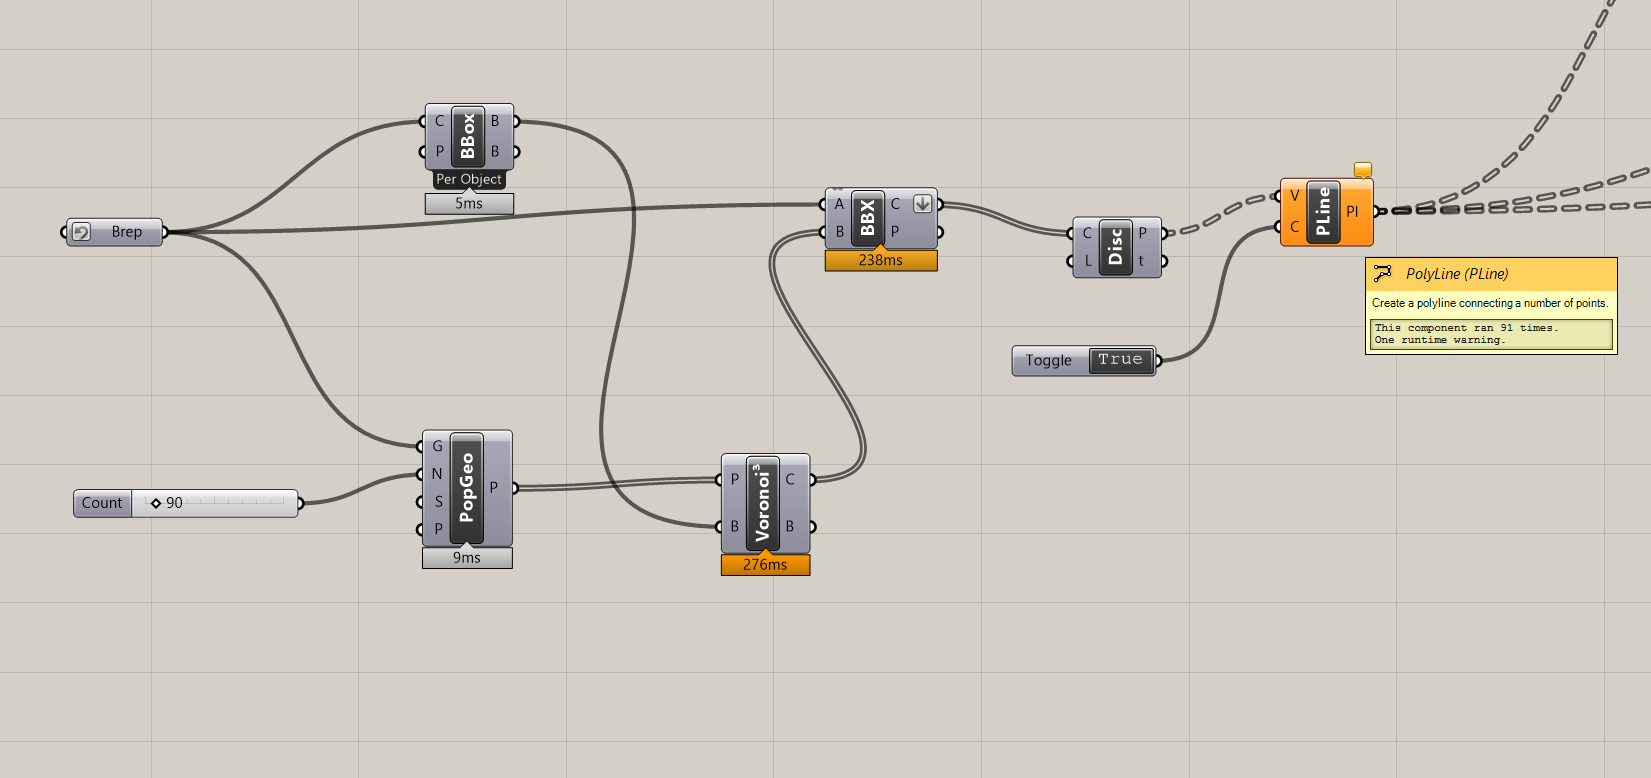
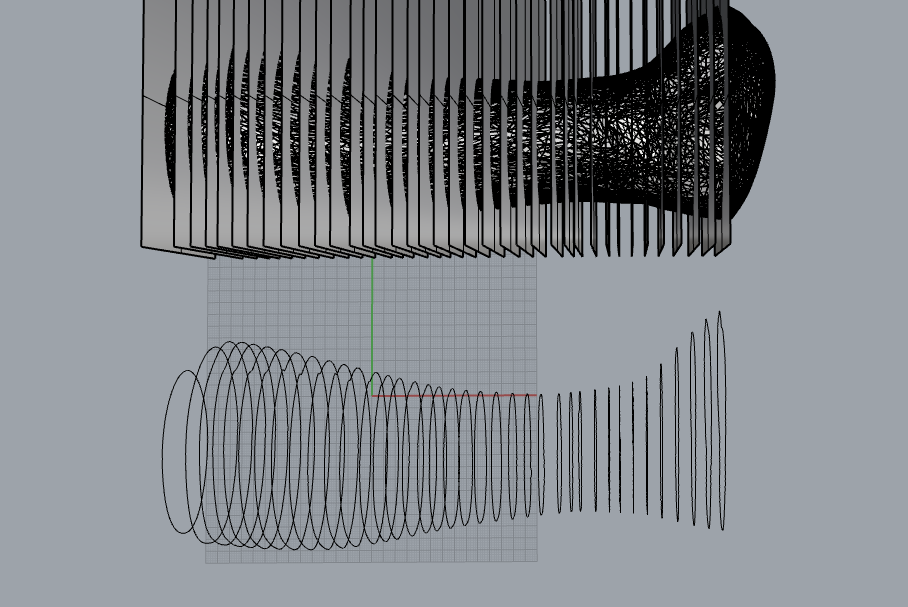
with this script i created a poly line of the model with a veronoi pattern
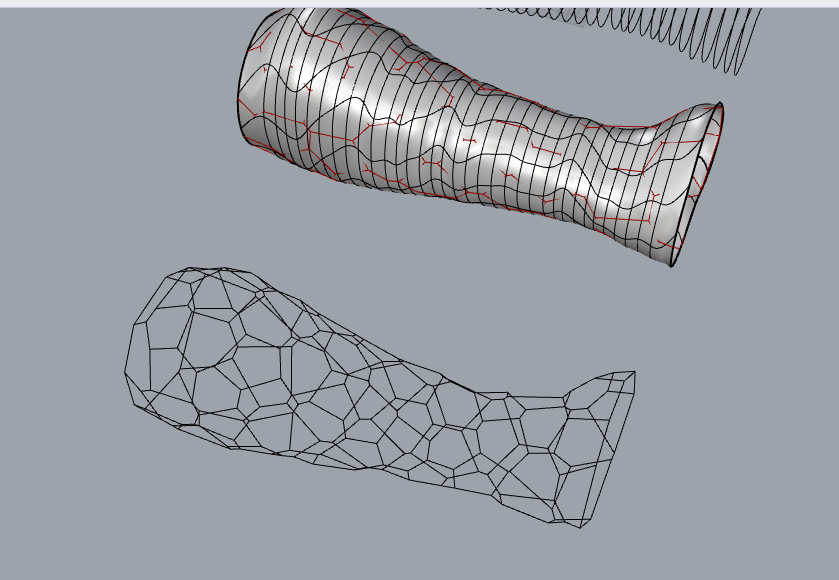
- after changing some parameters in the above script, i baked it”ran the program”
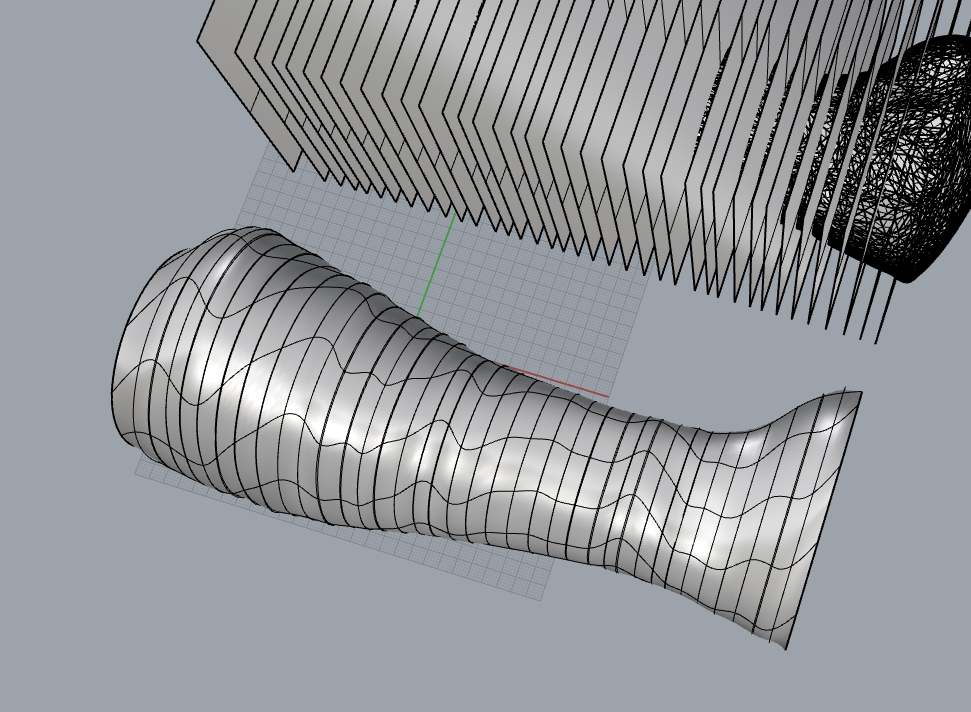
- and got the result as shown below
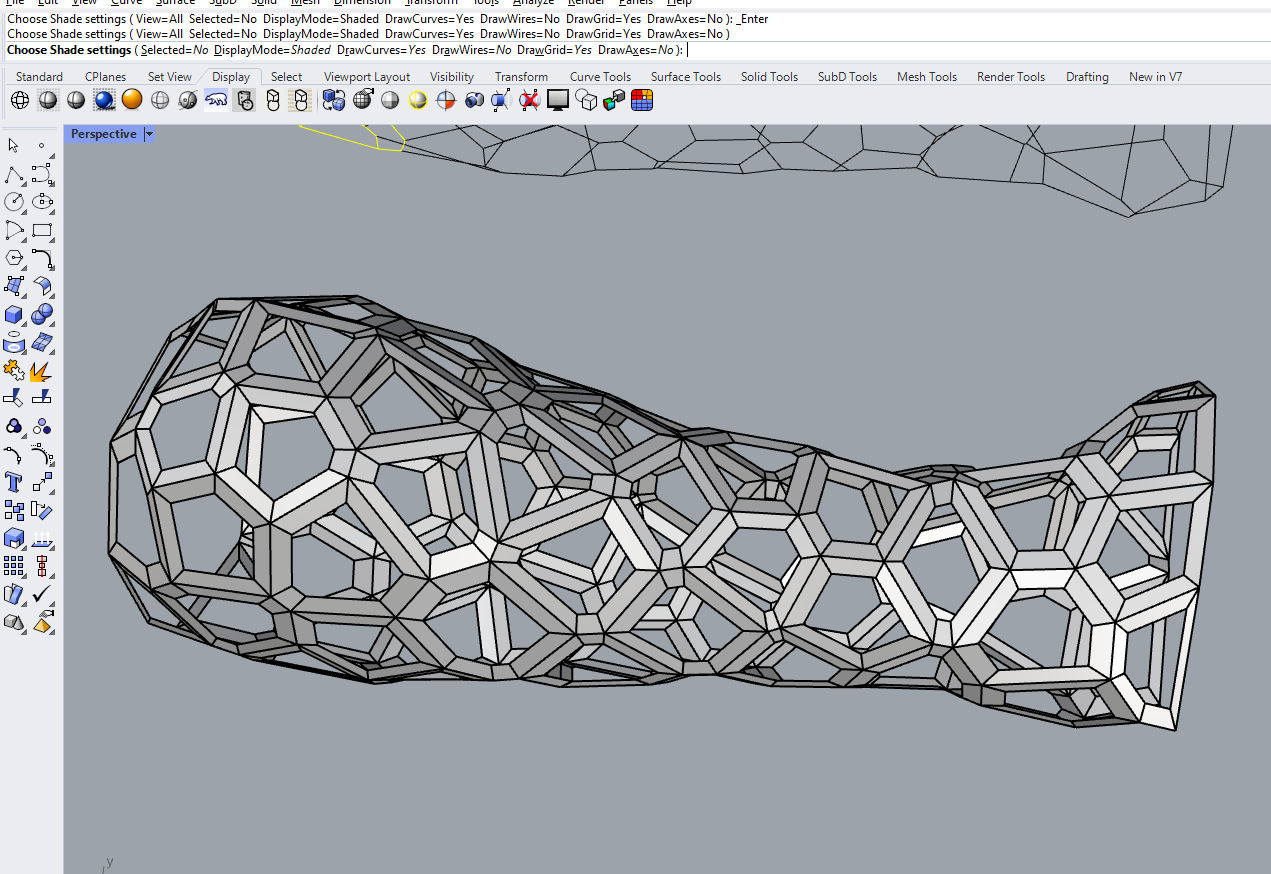
now it almost looks like a cast that can be worn,
.gif)
- i exported this model in .obj format
- there are some more features needed to be added for printing, like thickness and smoothening the surface
- and now i have to split the part into two, for it be worn easily, that can be done in the slicing software
sadly we didn't have enough filament to print this part, i had to stop this here,
Design files
3D file of the cast:
obj file of the 3D scan: