Computer-Aided Design
WEEK 2
Objectives
- Model (raster, vector, 2D, 3D, render, animate, simulate, ...) a possible final project, compress your images and videos and post it on your class page.
- I already had some experience in 3D design so this week I mainly focused on 2D designs and tools
This document discusses computer-aided design (CAD) and the differences between vector and raster graphics. It also covers 2D design using AI tools, editing raster images using Photopea, converting raster images to vector format using Inkscape, and 3D modeling using Fusion 360, including rendering and adding decals.
Contents 📖
2D Design
As I already had some experience in 2D software like Photoshop, illustrator and Inkscape, In this week I wanted to explore 2d designs using an AI tool.
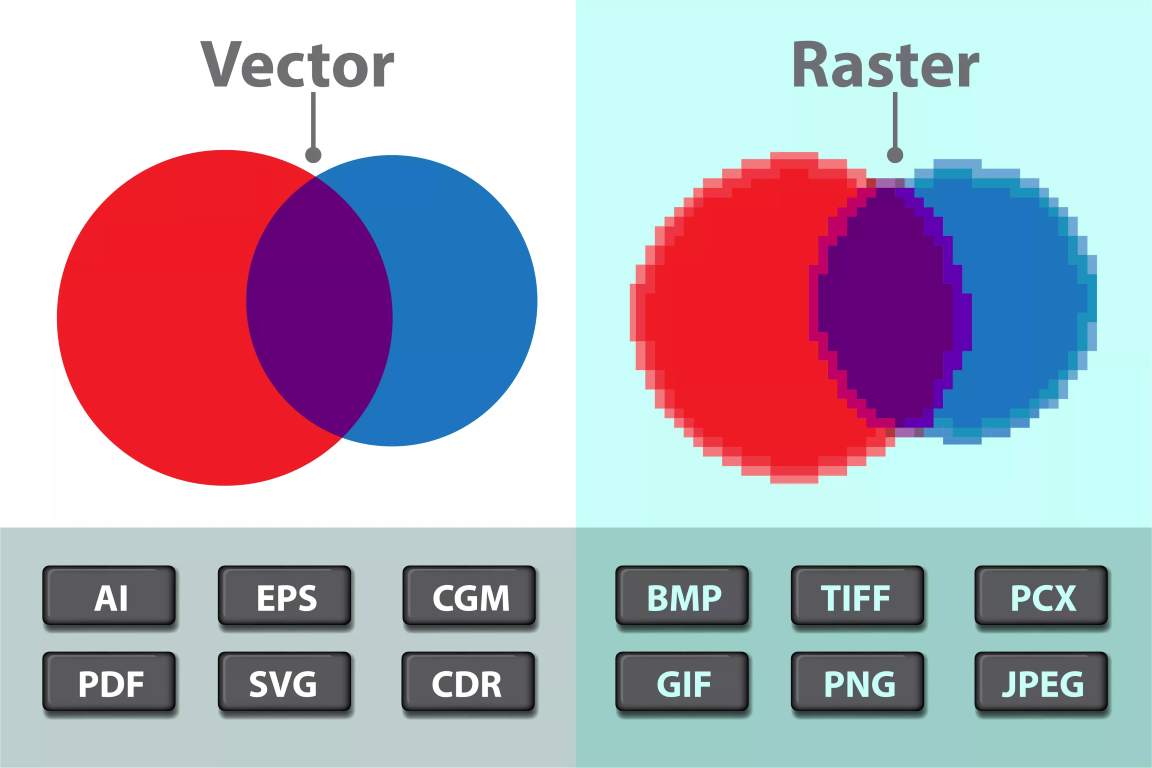
Vector vs Raster
Vector and Raster graphics are two different ways of representing images in digital format.
Vector graphics are made up of paths, which are defined by a start and end point, along with other points, curves, and angles along the way. These paths can be easily resized without losing quality or becoming pixelated, as they are defined mathematically. They are most commonly used for logos, illustrations, and types.
Raster graphics, on the other hand, are made up of pixels arranged in a grid. Each pixel has a specific color value and cannot be resized without losing quality. Raster graphics are best suited for photographs and other images with smooth colour transitions, as they can represent a wide range of colours and shades.
To sum up, vector graphics are highly scalable and well-suited for creating illustrations, whereas raster graphics are better suited for photographs as they can accurately represent a wide range of colors.
A useful way to identify whether an image is a raster file is to look for blurriness or pixelation, as these are common artefacts of low-resolution raster images.

2D Design
As I already had some experience in 2D software like Photoshop, illustrator and Inkscape, In this week I wanted to explore 2d designs using an AI tool.
Getting a raster image
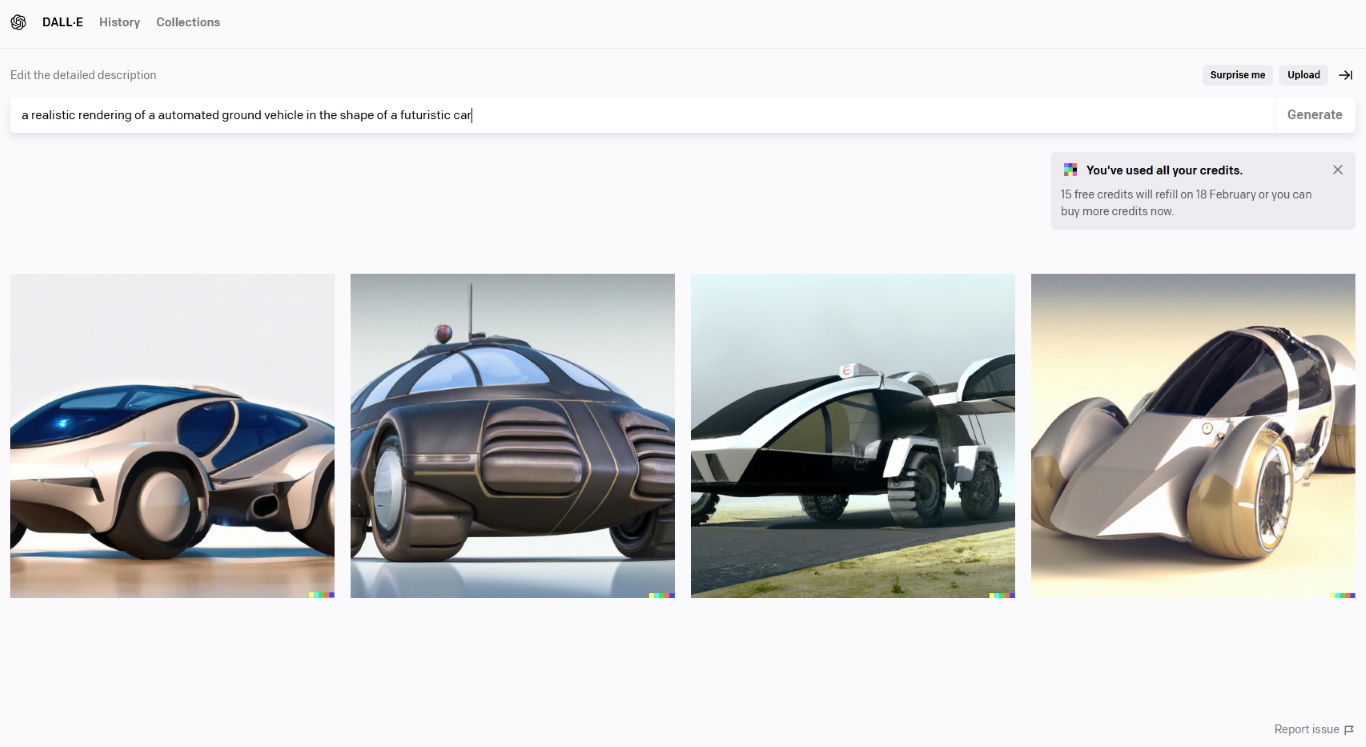
- The first step was to get a raster design using an AI tool like DALL-E
- here i searched for an electric all-domain vehicle, and these were the results I got:
DALL-E
Results from DALL-E
Results from MIDJOURNEY AI
I asked Midjourney AI for an illustration of a futuristic small indoor autonomous bot with a rectangular shape having four wheels
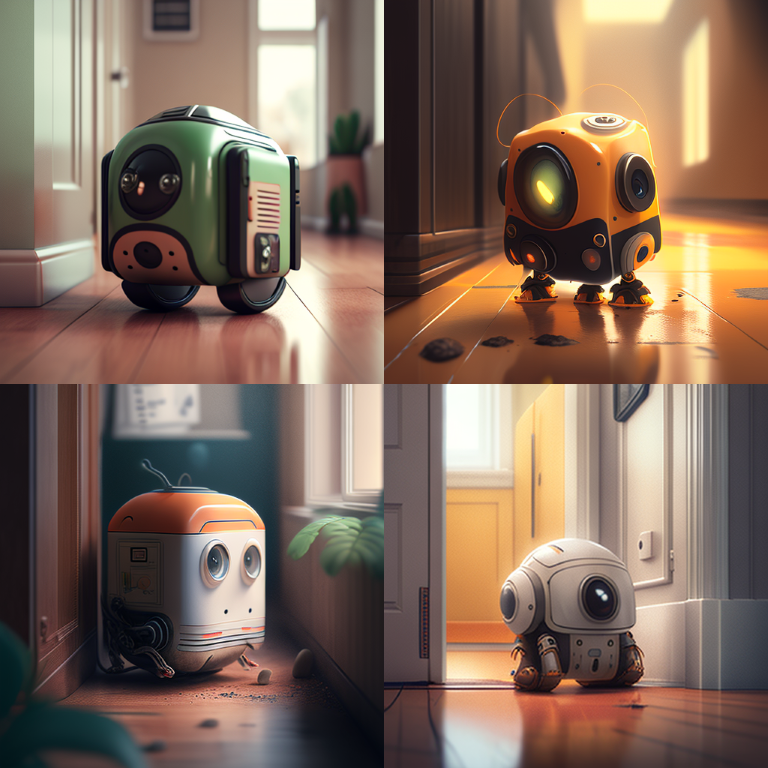

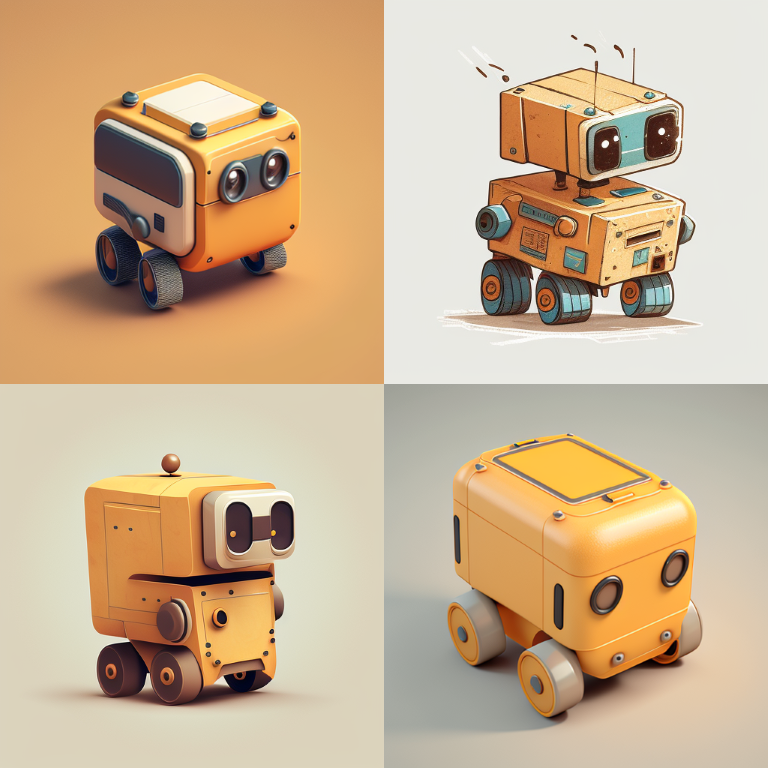
these were the results I got, and to be honest I was not that convinced by the output, it's may be because i was not able to convey my idea properly
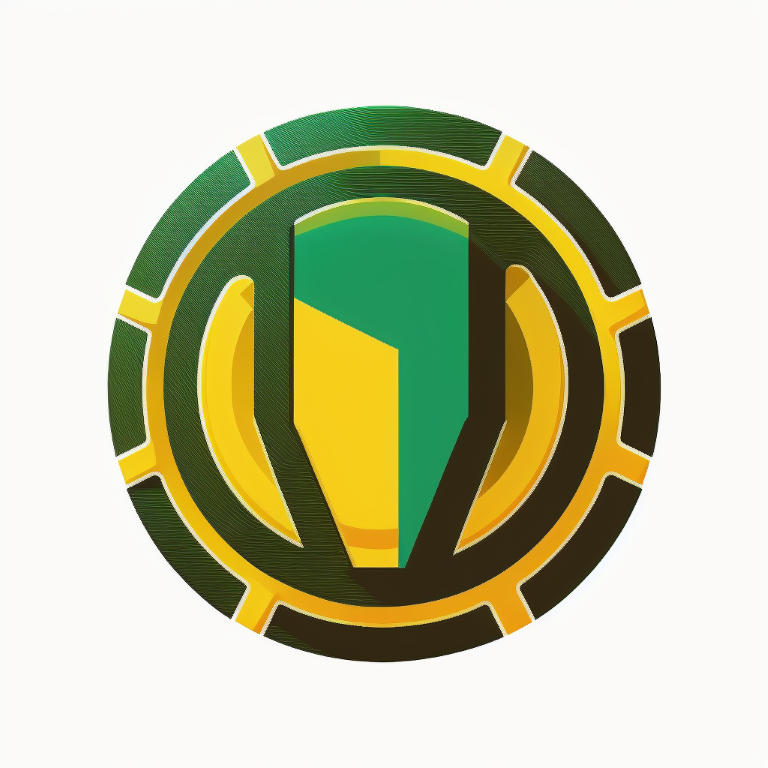
logo for the AGV
- I asked midjourney AI for a logo, this was some of the results shown
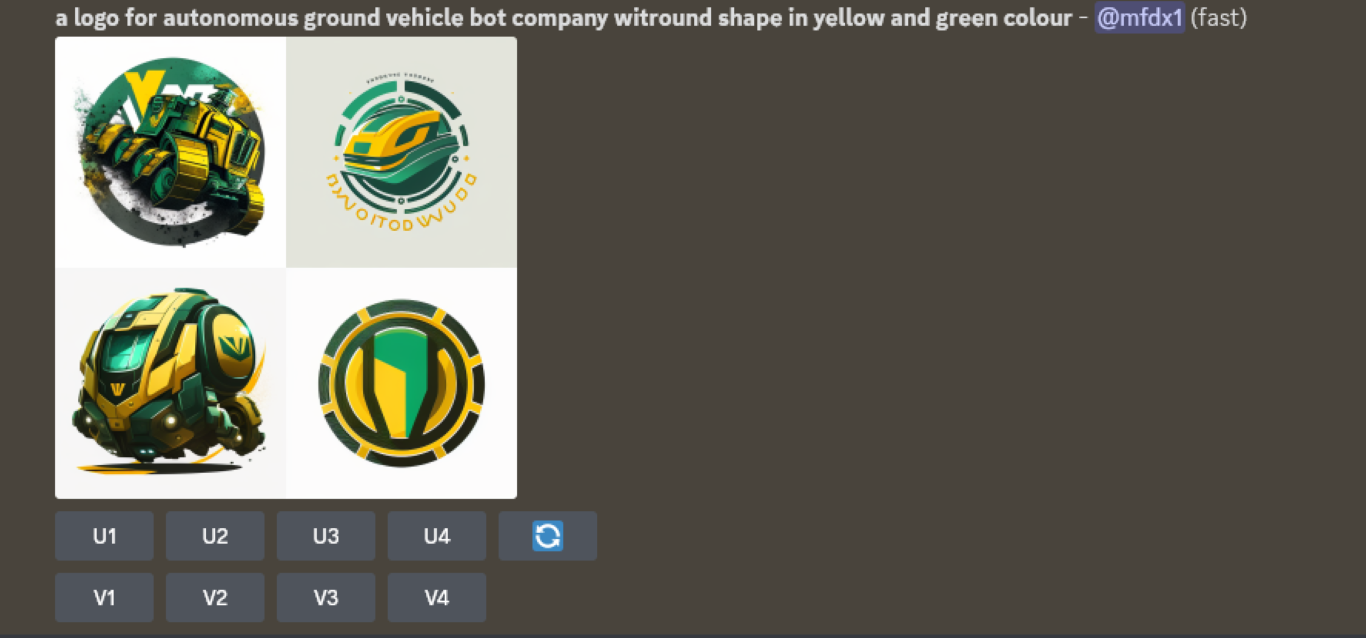
- I selected the last one which was more convincing for me
- also, the result I got had a lot of imperfections in it, there were unwanted shapes and colour that I needed to change
- and moreover, the image was in raster format
- so first I used Photopea to just clean up the image
Photopea
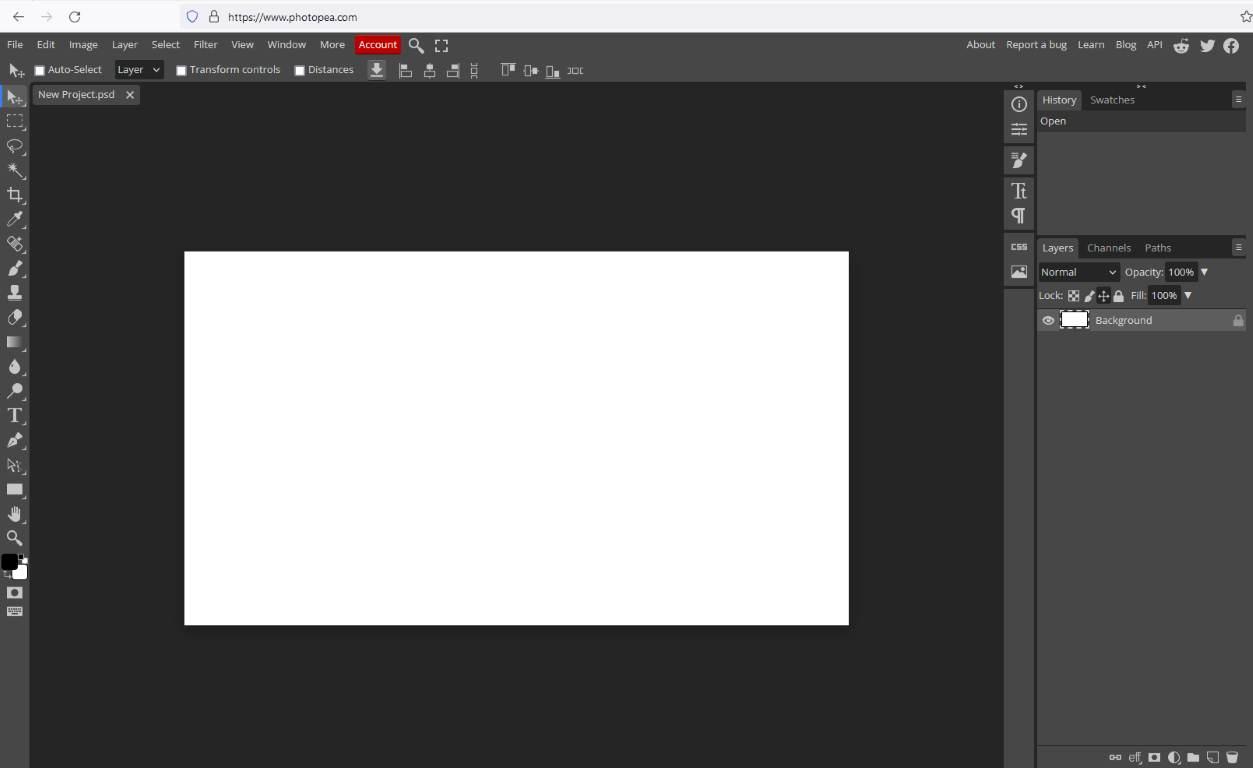
- Photopea is similar to Photoshop where you get most of the tools and its runs on the browser.
 https://www.photopea.com/
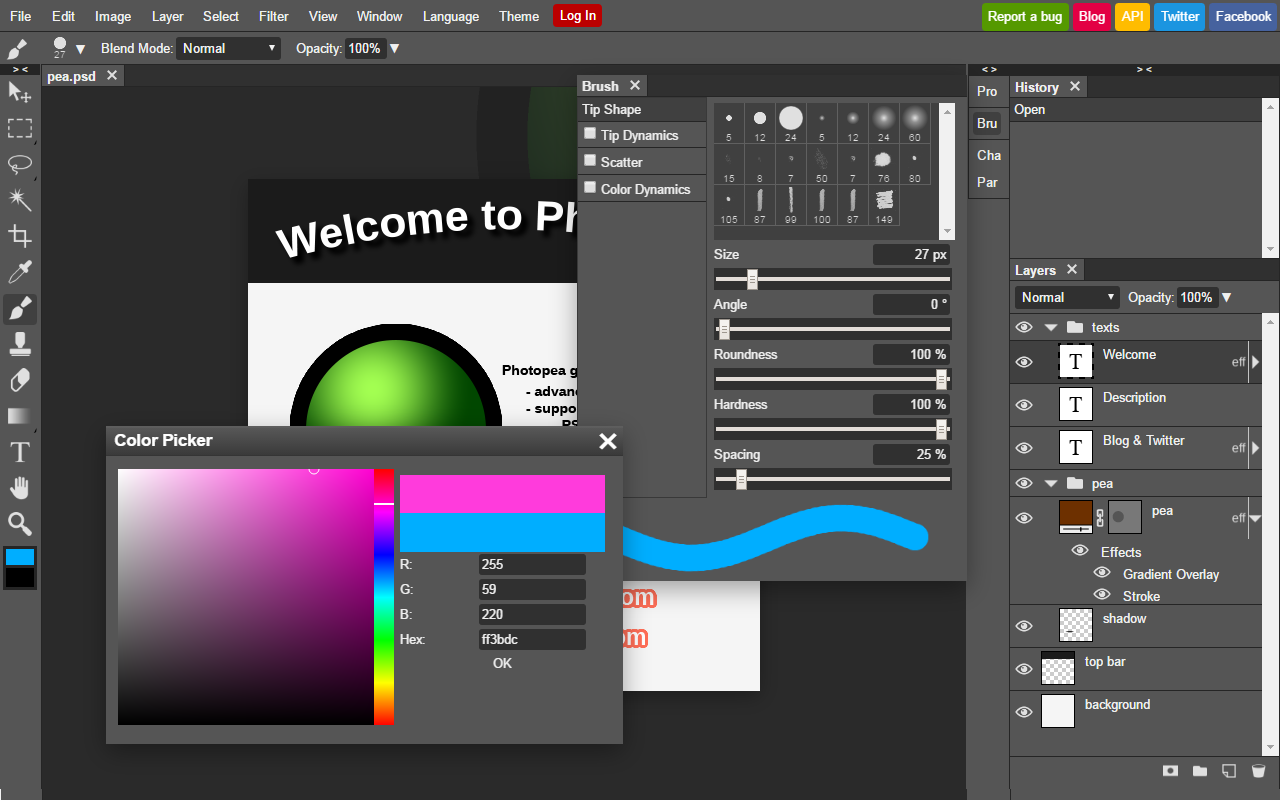
The logo was further edited in the photopea and this was the result:
- this is the workspace of photopea
- we have all the tools similar to the photoshop
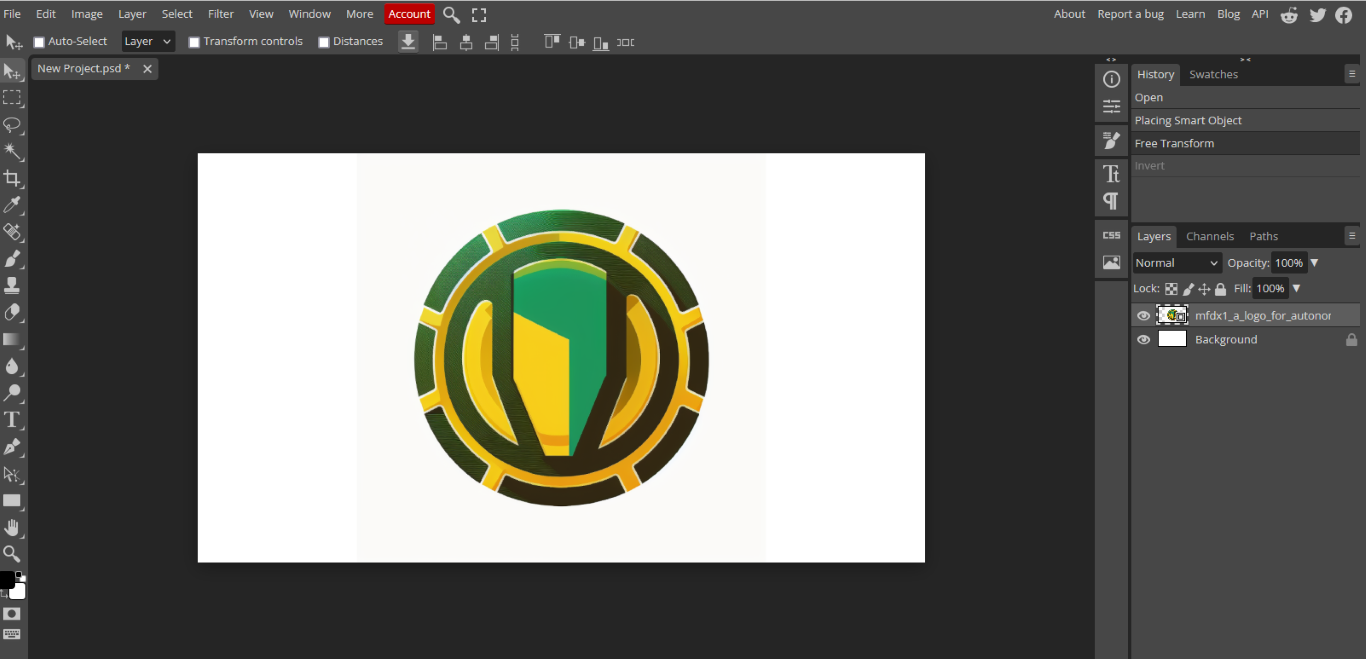
- i have erased all the unwanted things from this image
- changing the colors by inverting it, it can be used for another theme
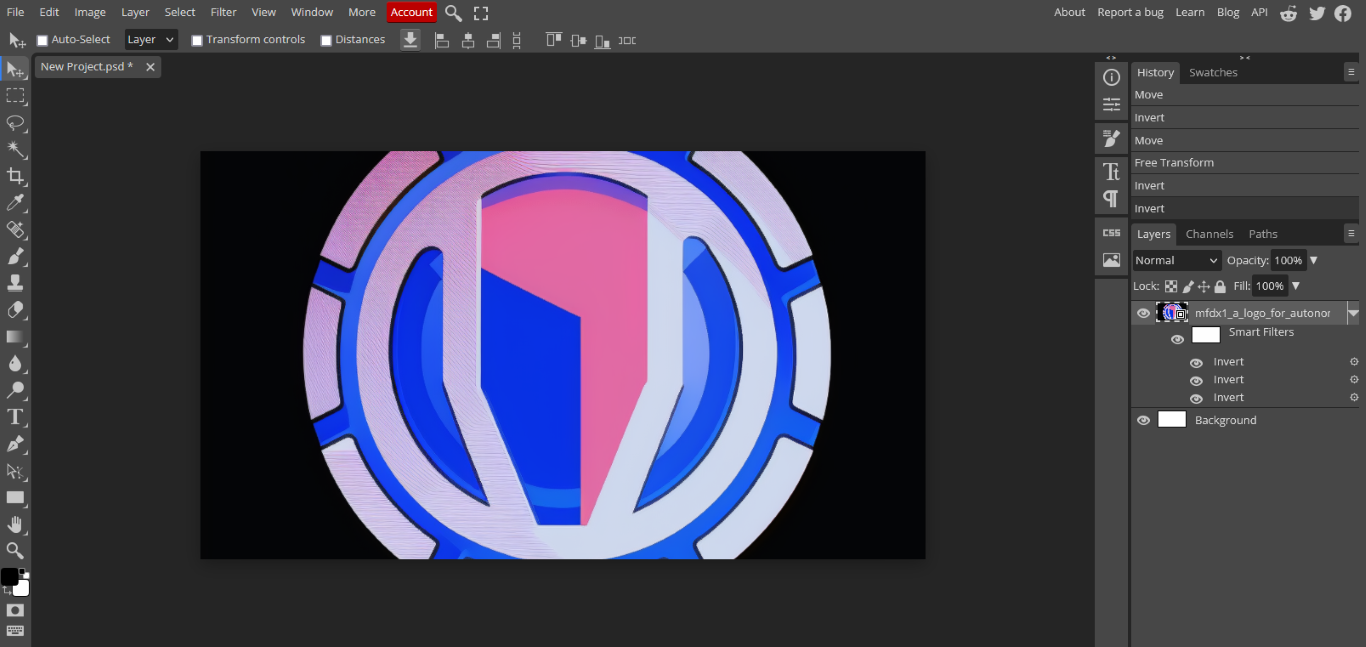
- now the image is cleaned and now i have to convert it into raster format
- for that, I am using Inkscape, Inkscape is a free and open-source vector graphics editor used to create vector images
Inkscape
 https://inkscape.org/release/inkscape-1.2.2/windows/64-bit/msi/?redirected=1
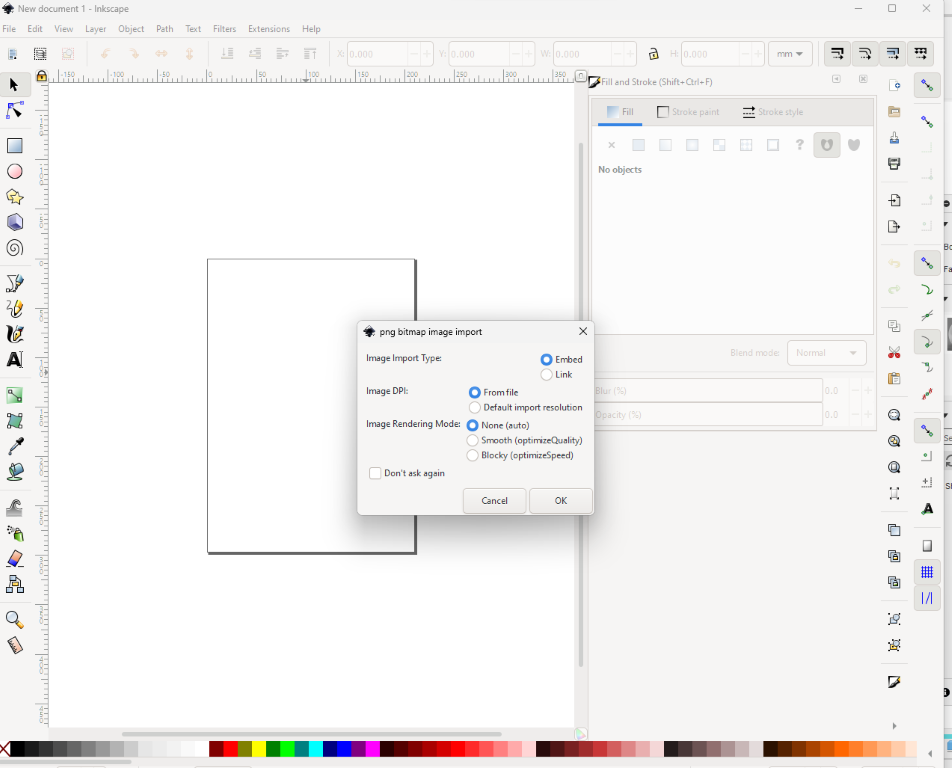
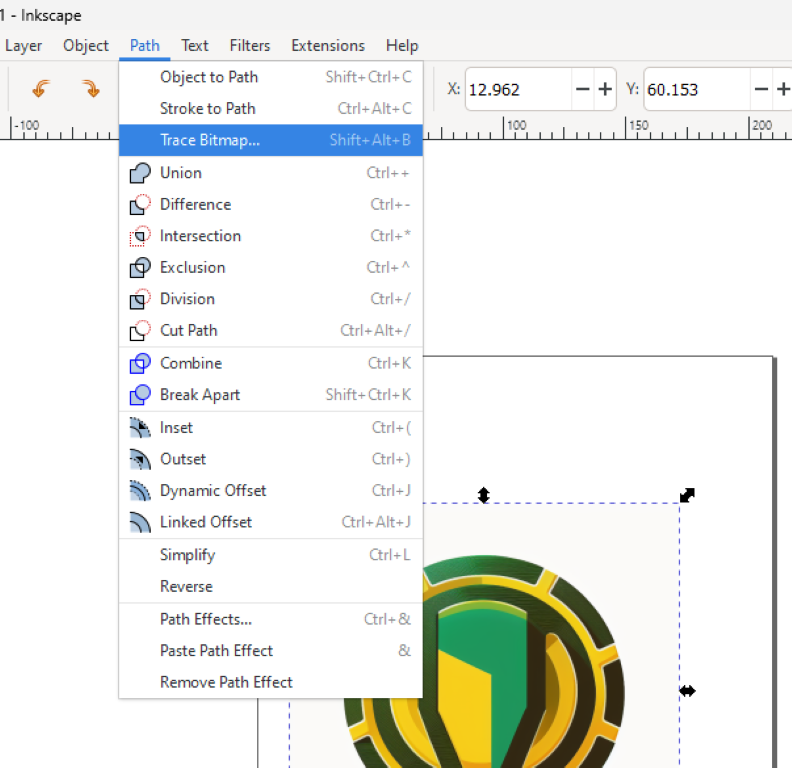
In Inkscape, we can use the "Trace Bitmap" feature to convert a raster image to a vector format.
- Open Inkscape and import the raster image File > Import.
- Select the imported image and go to Path > Trace Bitmap.
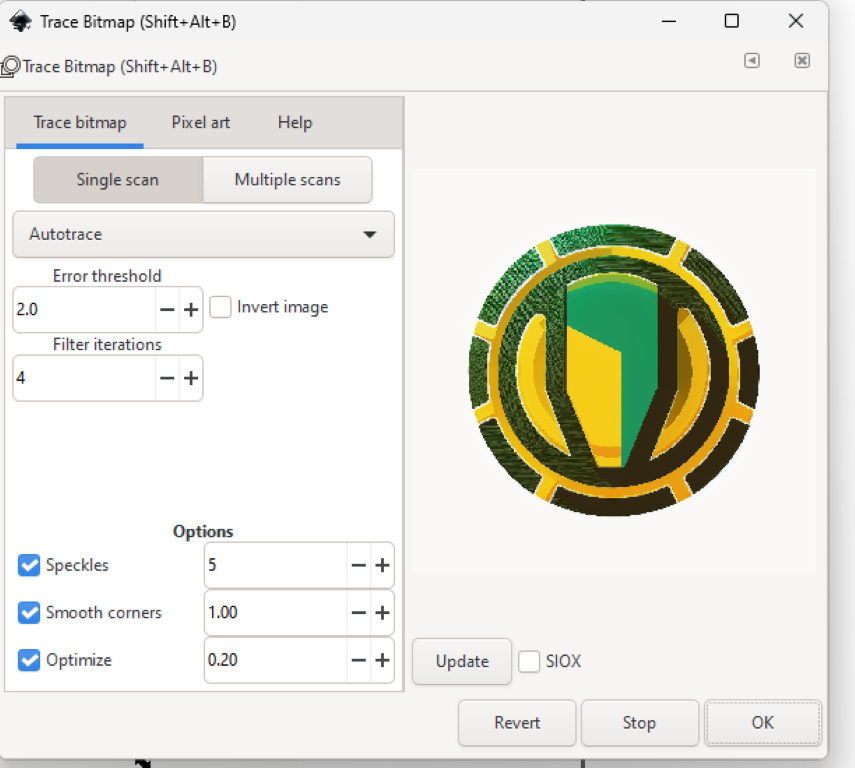
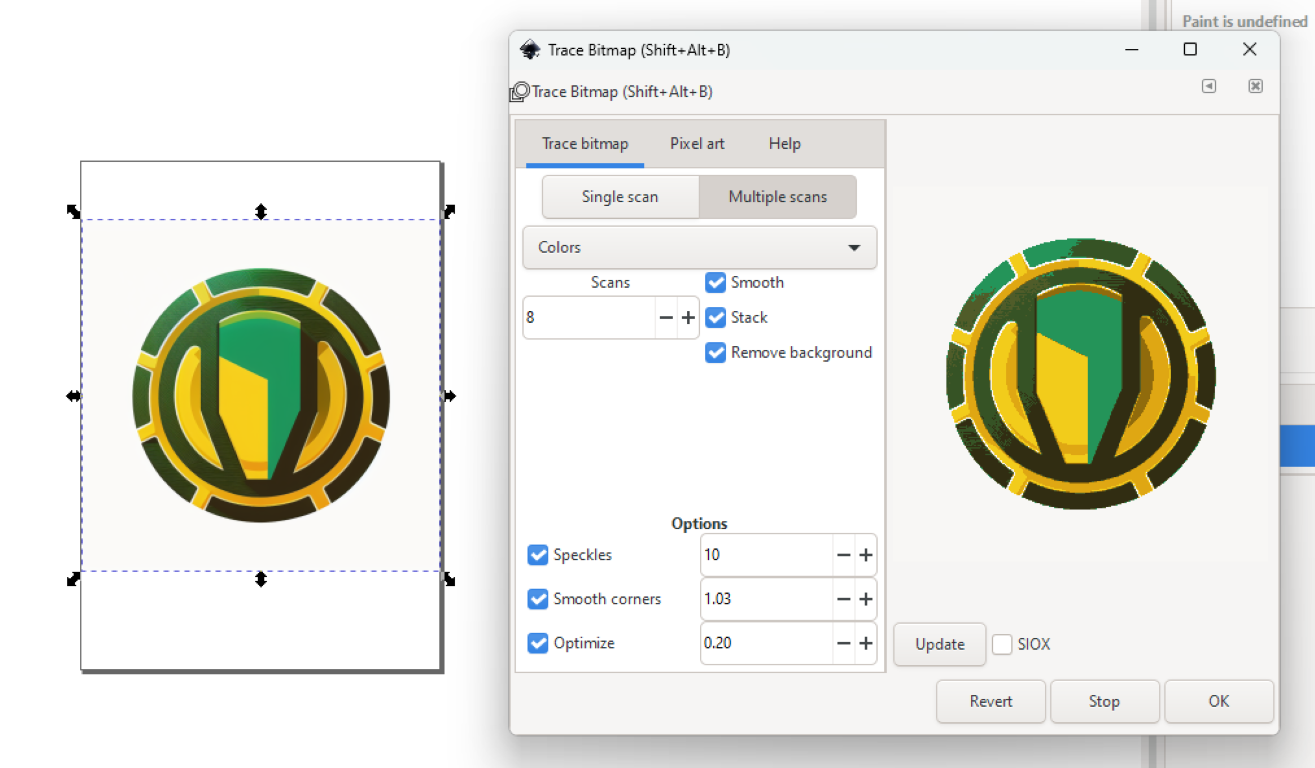
- In the "Trace Bitmap" window, choose the "Brightness Cutoff" option if you want to convert the image to a black and white vector format, or choose the "Colors" option if you want to convert the image to a vector format with multiple colours.
- Adjust the settings in the "Options" section to fine-tune the conversion process. You can choose different threshold values, smoothing options, and corner smoothing settings to get the desired result.
- Click on "OK" to apply the changes and convert the image to a vector format.
Once the image is converted to a vector format, we can edit it and make any necessary adjustments using Inkscape's vector editing tools.
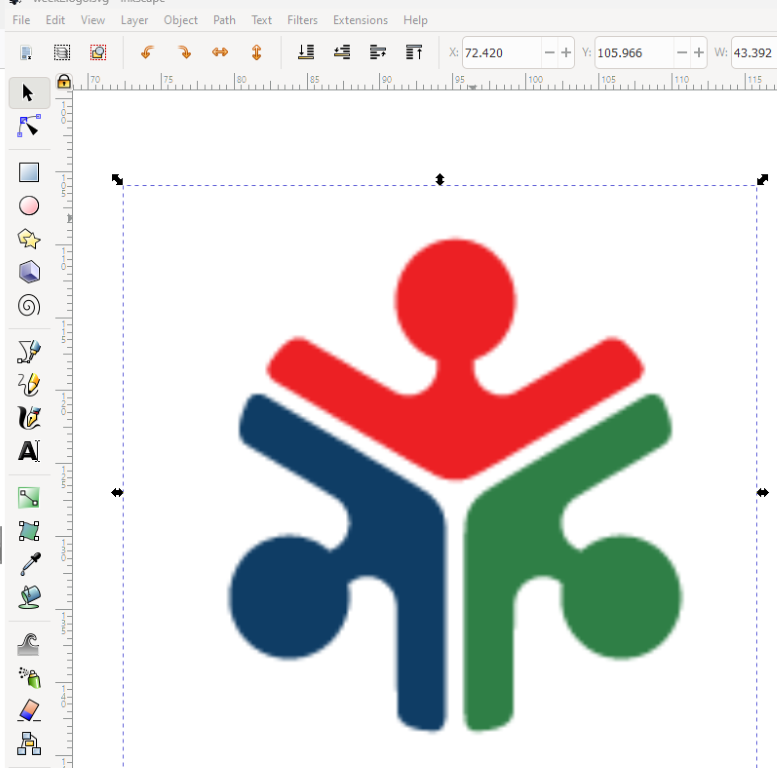
A Raster image
- now with these steps, u can convert a raster image into a vector one
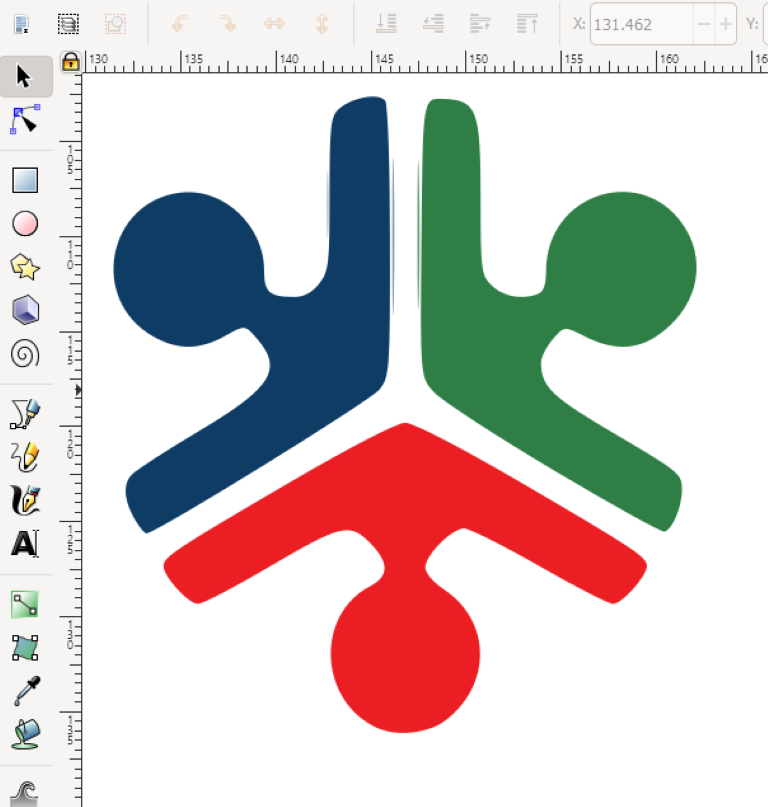
- we can see this image is converted to vector
I also tried converting our Fablab logo into a vector, since it will be needed as a decal when rendering my 3d model
3D MODELING
3D CAD designing
I had some experience in CAD designing using Solid Works and Catia and for the Fabacademy projects i am going to use Fusion 360 as I got the license for that and it is much easier to use for doing small projects also our instructor told me that we will be doing electronic and PCB boards using fusion 360, so its better to get the grip now
3D modelling in Fusion 360
Fusion 360
Fusion 360 is a cloud-based 3D computer-aided design (CAD), computer-aided manufacturing (CAM), and computer-aided engineering (CAE) software developed by Autodesk.
- This is the interface of Fusion 360-
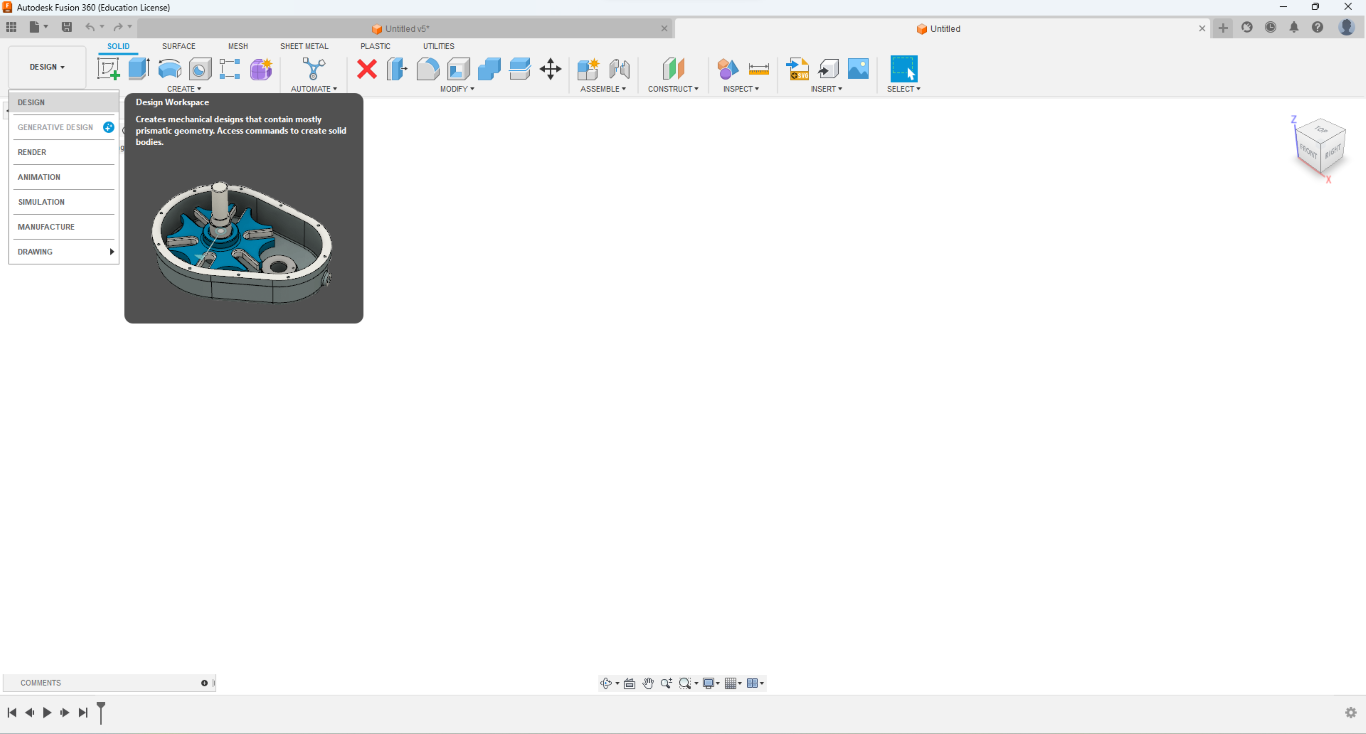
- here i am going to make a 3D model of the final project that i going to make
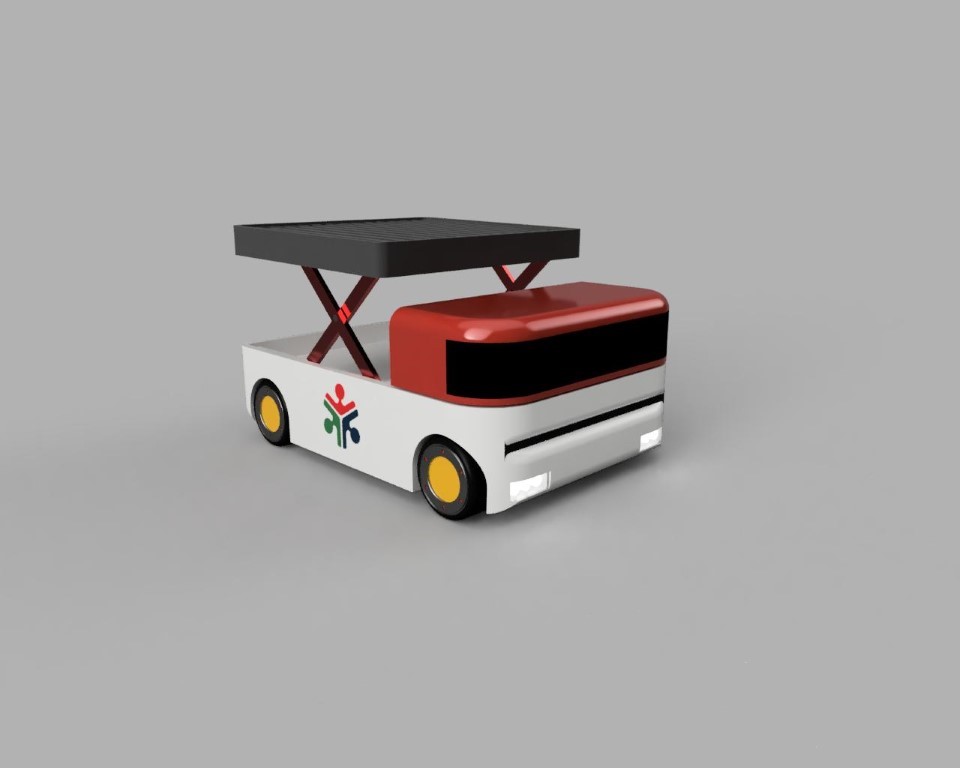
- it is an AGV “autonomous ground vehicle” with a lifting mechanism, the project might change but still, let me visualize how it going to look,
- Fusion 360 has rendering and simulation so I will be able to know how its going to look and work in the actual work
- i got some ideas for reference from the mid-journeys AI generated images
- so i will be referring to that for ideas
— —
Designing in Fusion 360
- first open a new design
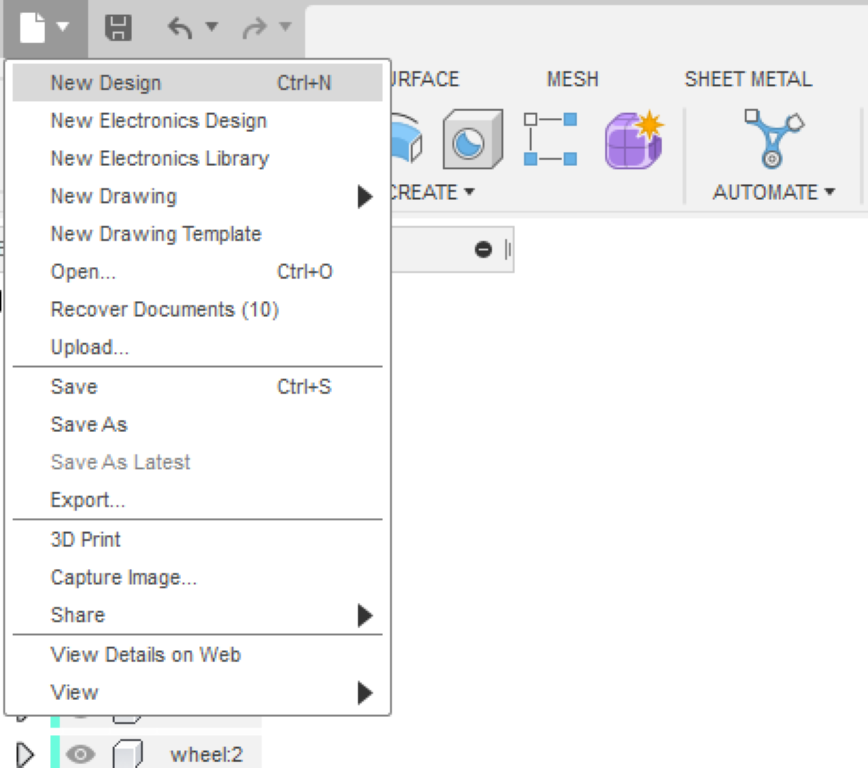
.gif)
- this is the time line of the editing process,
- to add some movements, i created some mechanisms using joints feature in fusion 360
Joints
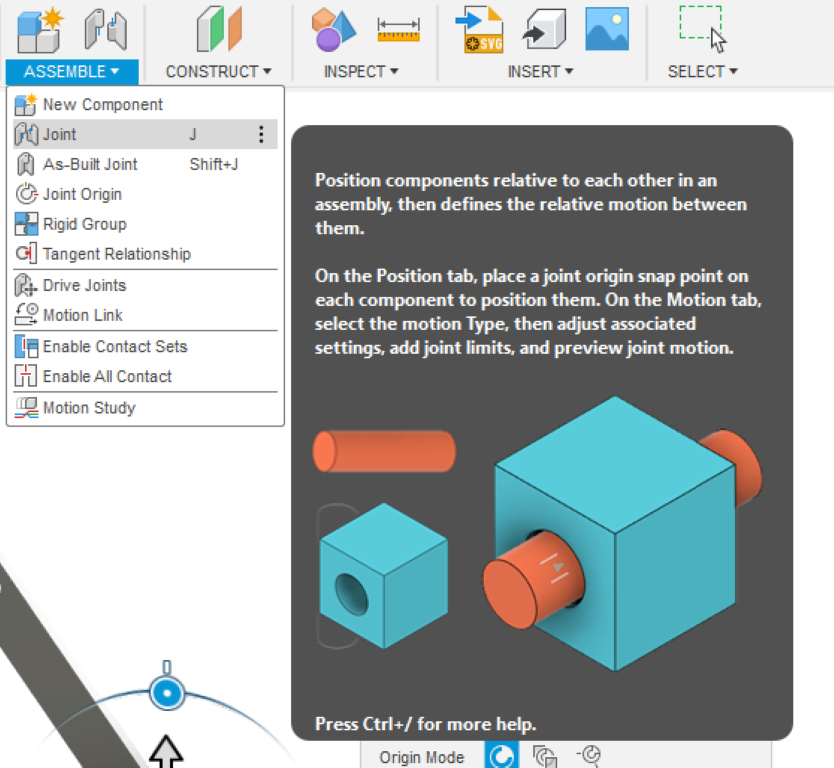

- movements of the mechanisms
So here our model is almost complete so its time to add some color to it,
Appearances / Rendering
Rendering is done to make a photorealistic image or animation of a 3D model by applying materials, textures, lighting, and other visual effects to a 3D model, it will be a representation of how it would appear in the real world.
Fusion 360 has a built-in rendering engine called "Arnold Renderer," which is a the high-quality, physically-based rendering engine used in many industries, including film and television.
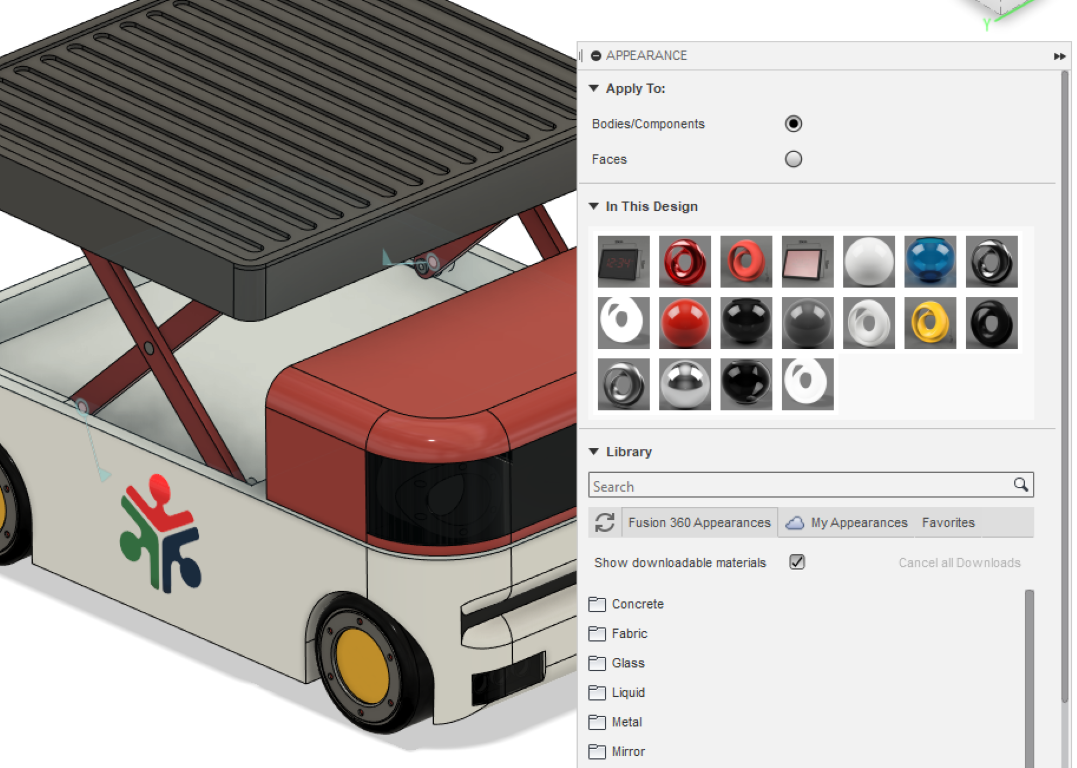
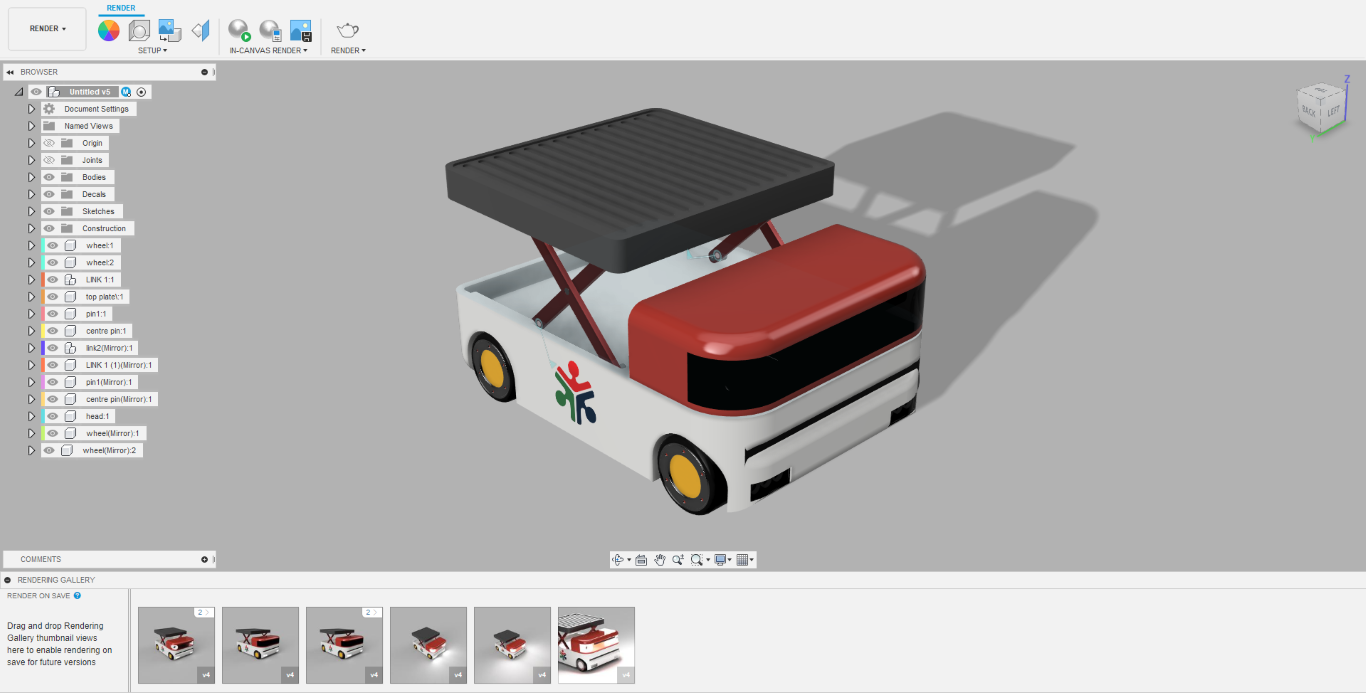
- adding materials and color
- here i have added the colors and the materials i wanted, the theme was red and white.
Adding decals
- in fusion 360 you can add decals to your models,
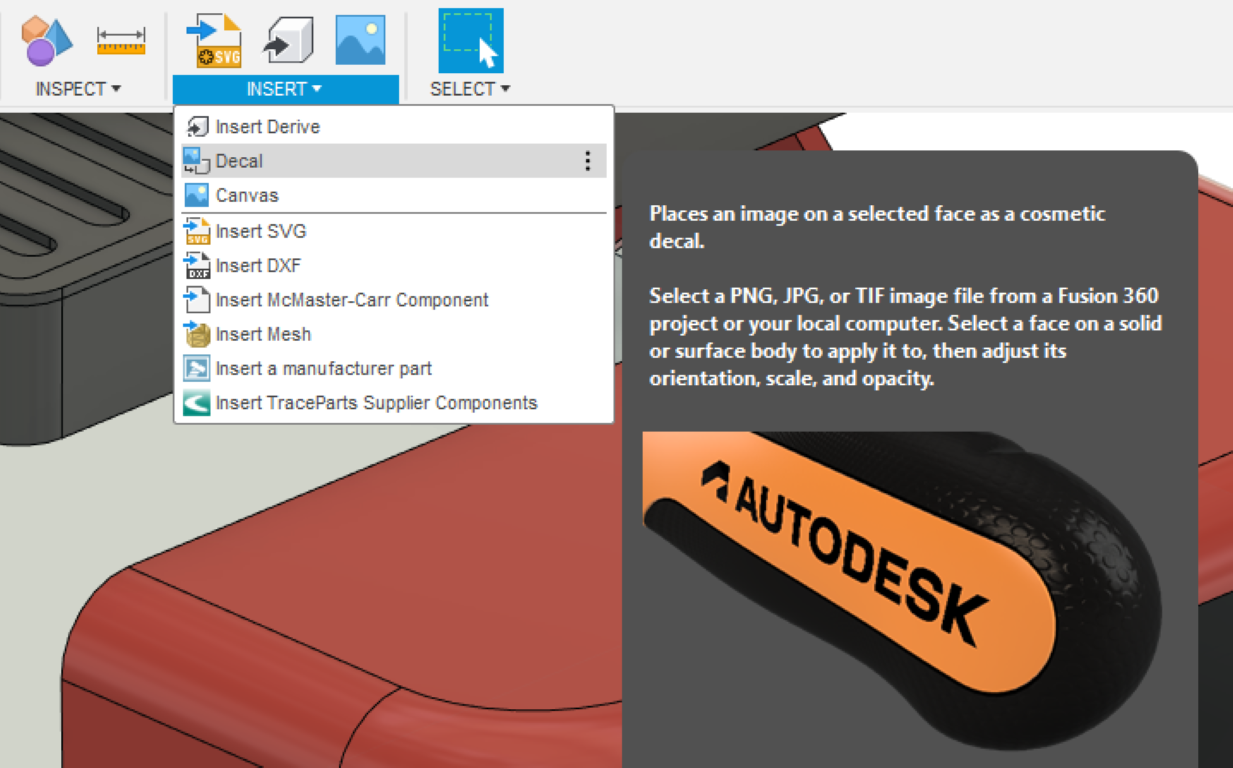
- here I choose a background less png image of our fab lab logo
- select the image and select the face, the image will be placed on the face, and you can do adjustments
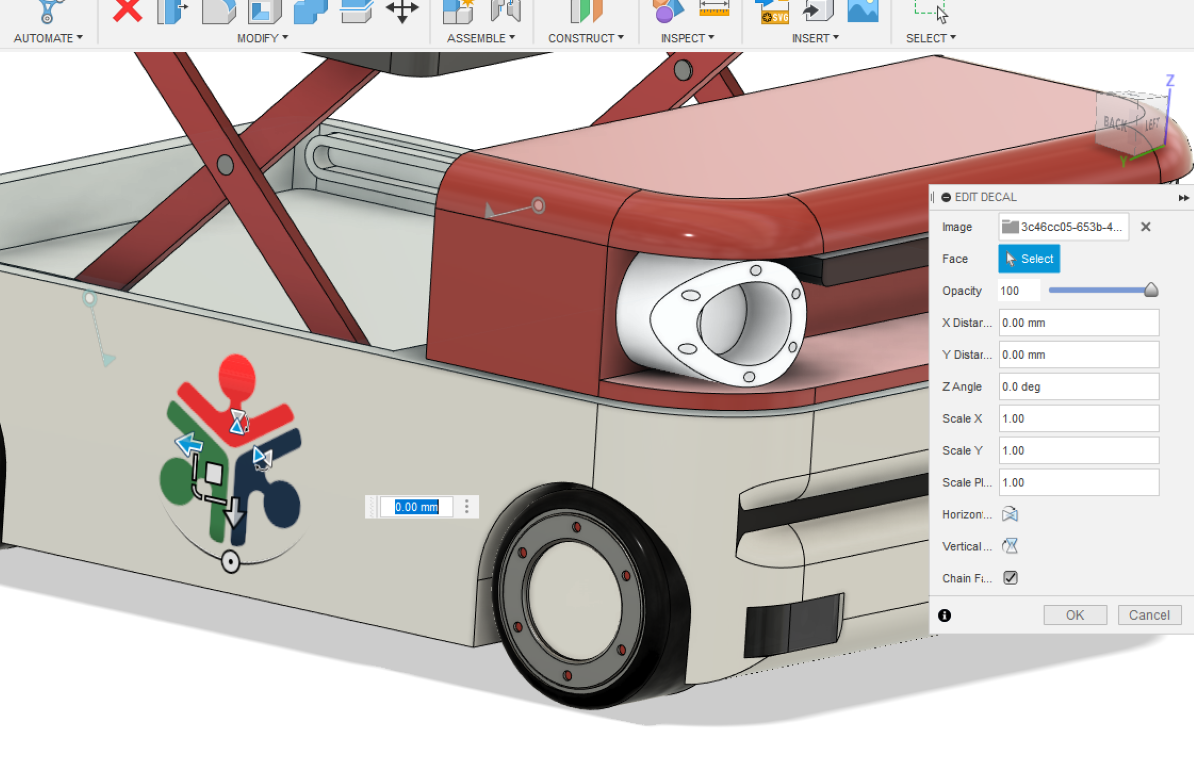
* placing the Fablab logo
Rendering
- First we have to change the workspace to rendering
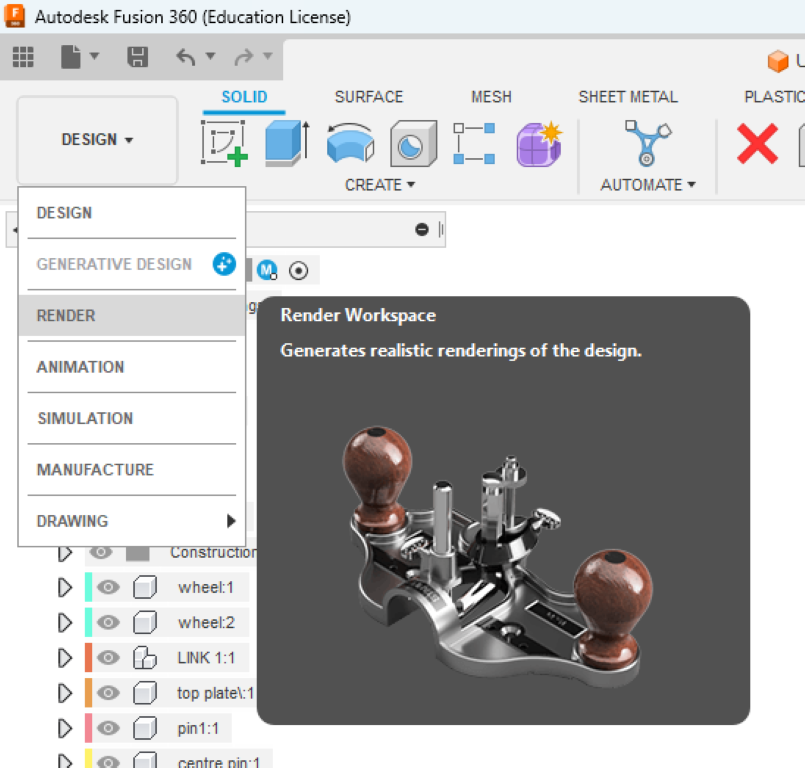
- this is the RENDER workspace
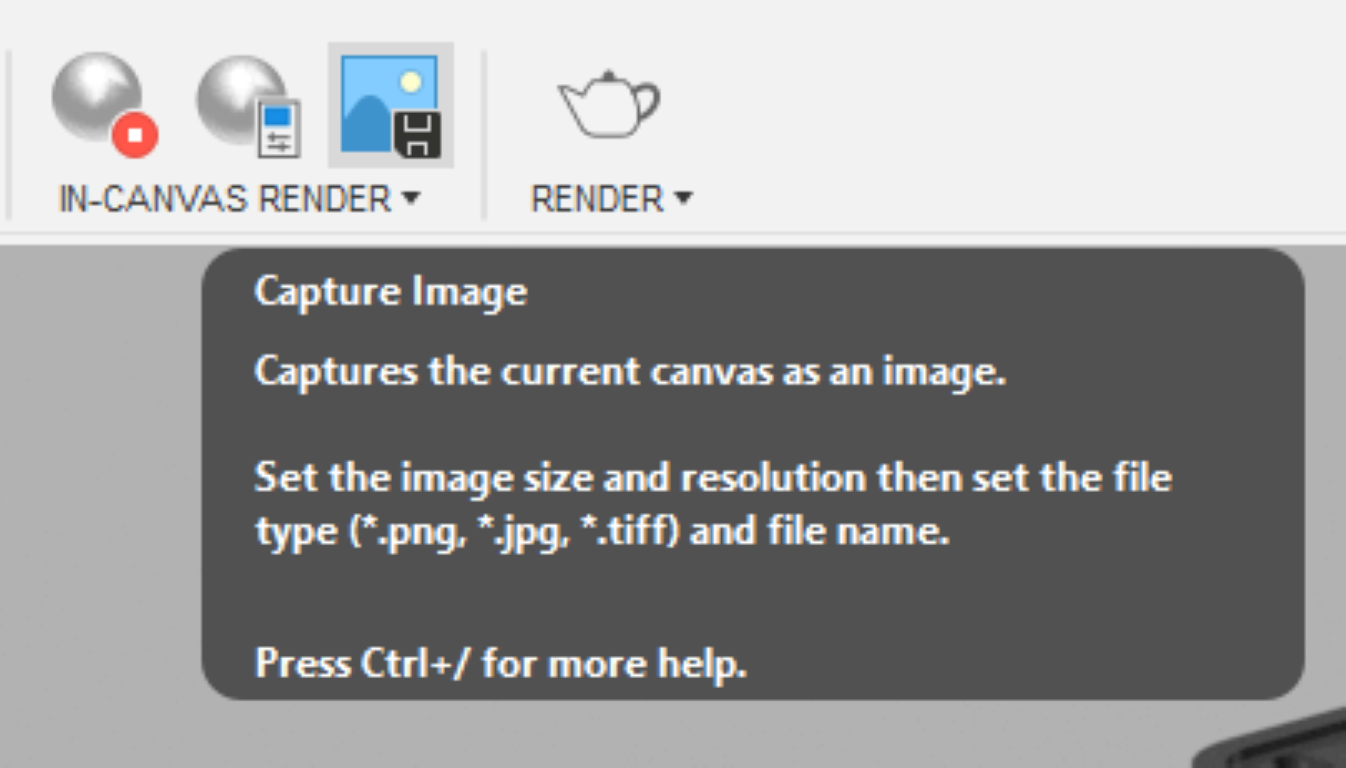
- now select in canvas render
- we can also change the environment and play with the lightnings
- here i am just opting the default settings

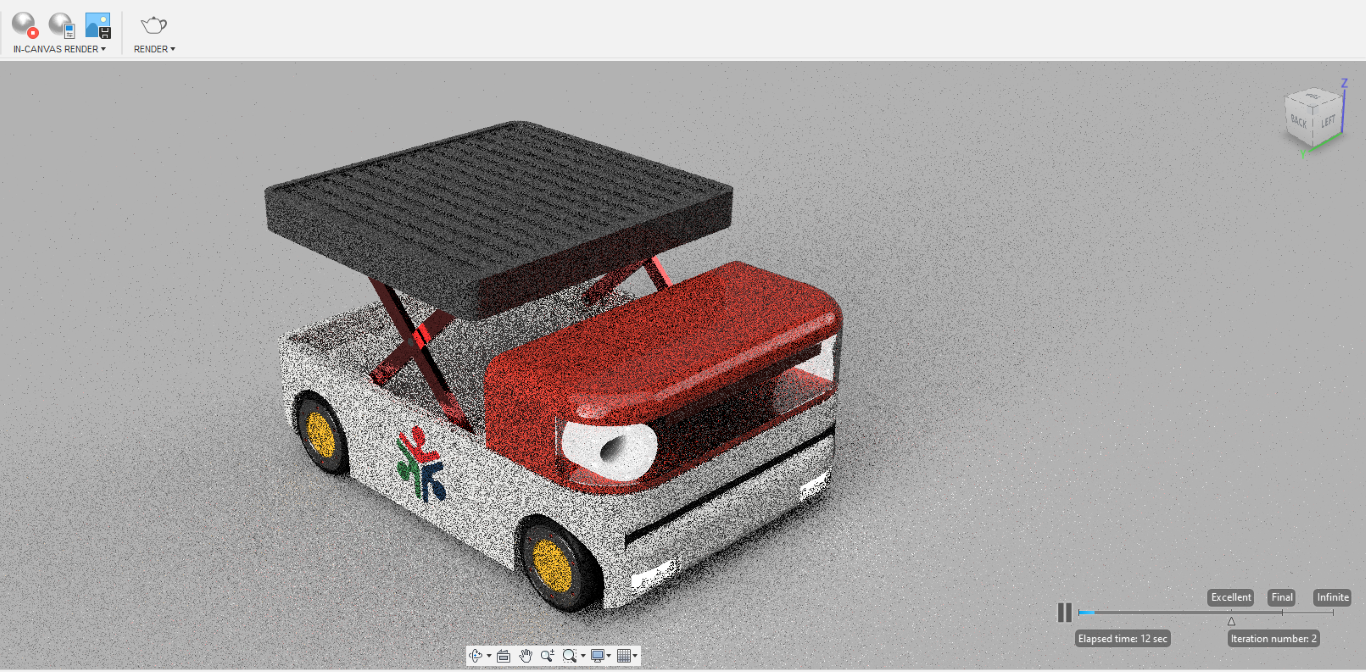
- when the rendering starts is will be seen like this
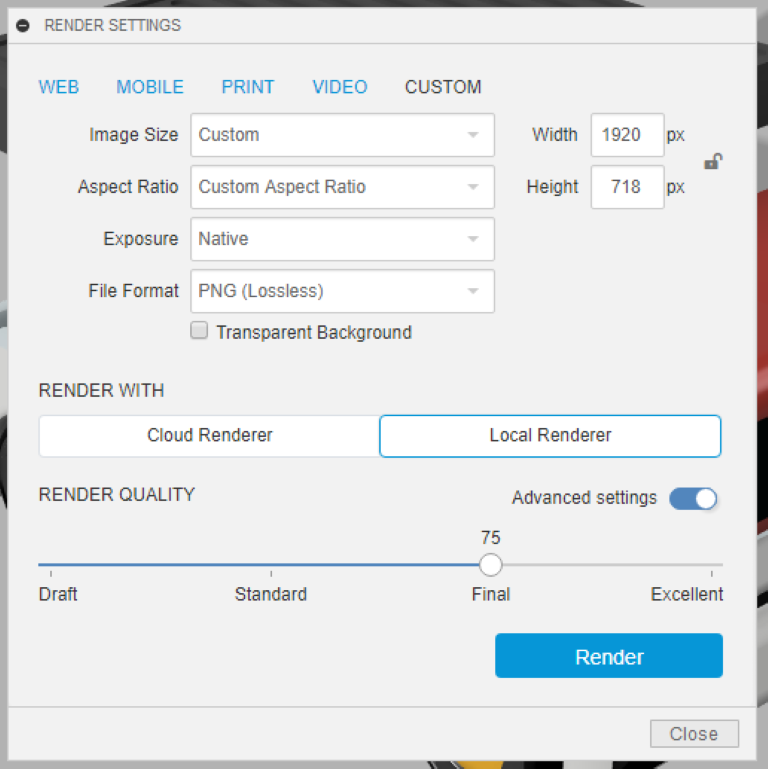
- copy these settings for fast rendering
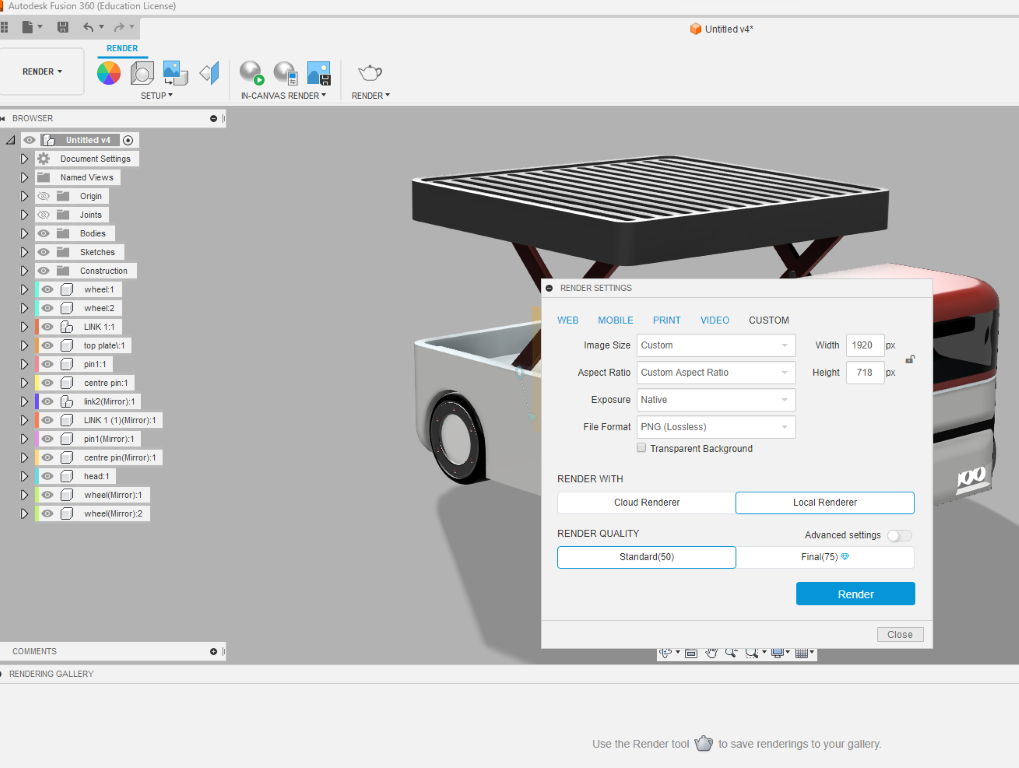
- you can also slide this pointer to change the quality of the rendered image
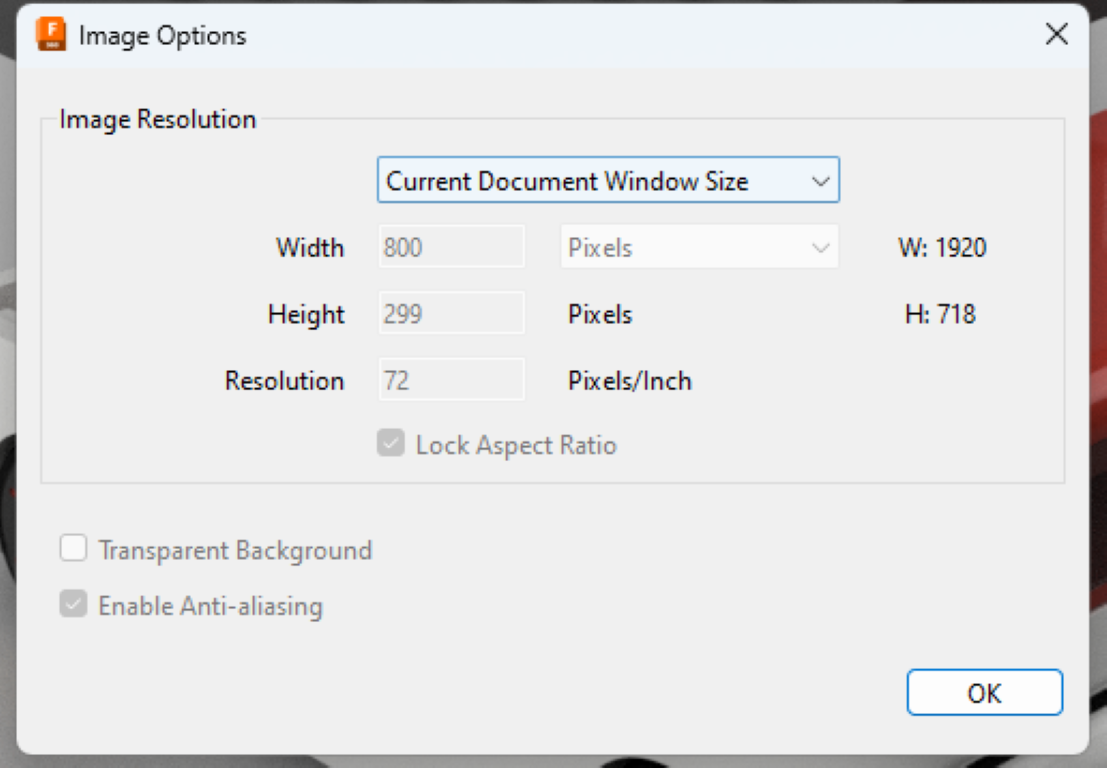
- when you have get the desired output, save it by clicking this button
- set the size and press ok
- fusion 360 has two types of rendering methods, it can be done locally or online/cloud render
- i chose local, since online rendering requires premium membership
.png)
This is the rendered image
Files:
- Step file of 3d model done in fusion 360
- Logo vector svg
- DOWNLOAD