15. Wildcard week
1.1 Assignments of the Week
Design and produce something with a digital fabrication process (incorporating computer-aided design and manufacturing) not covered in another assignment, documenting the requirements that your assignment meets, and including everything necessary to reproduce it.
1.2 Hero Shots
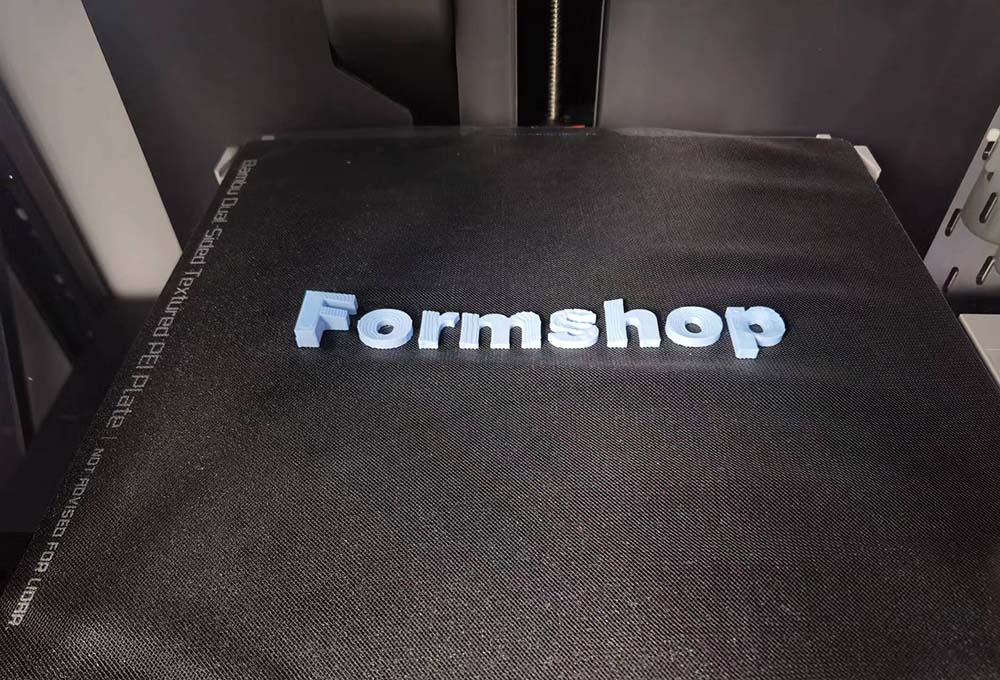
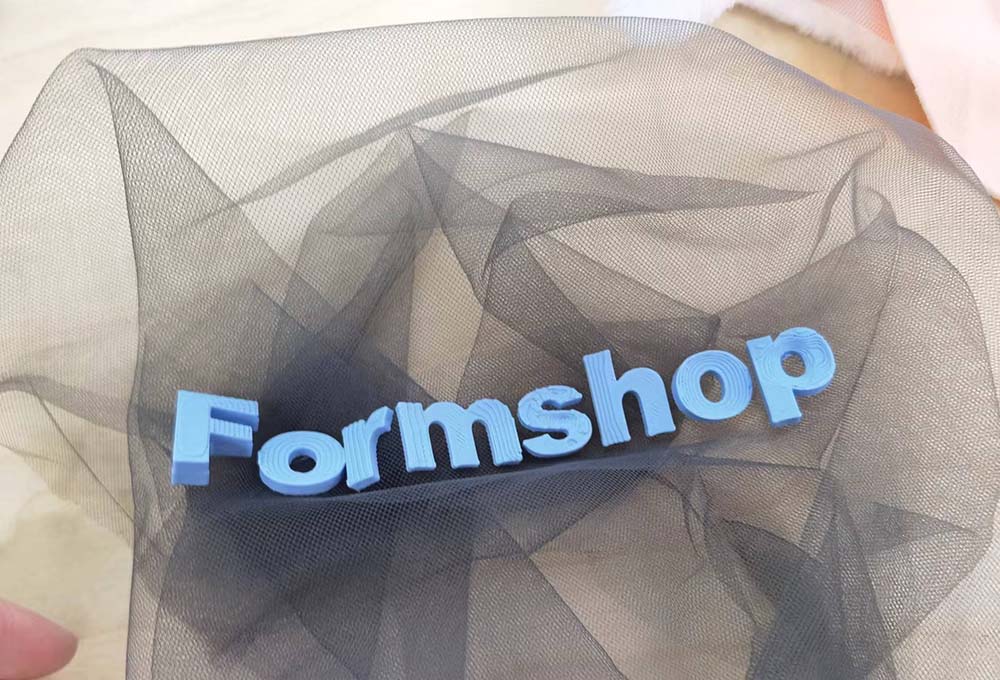
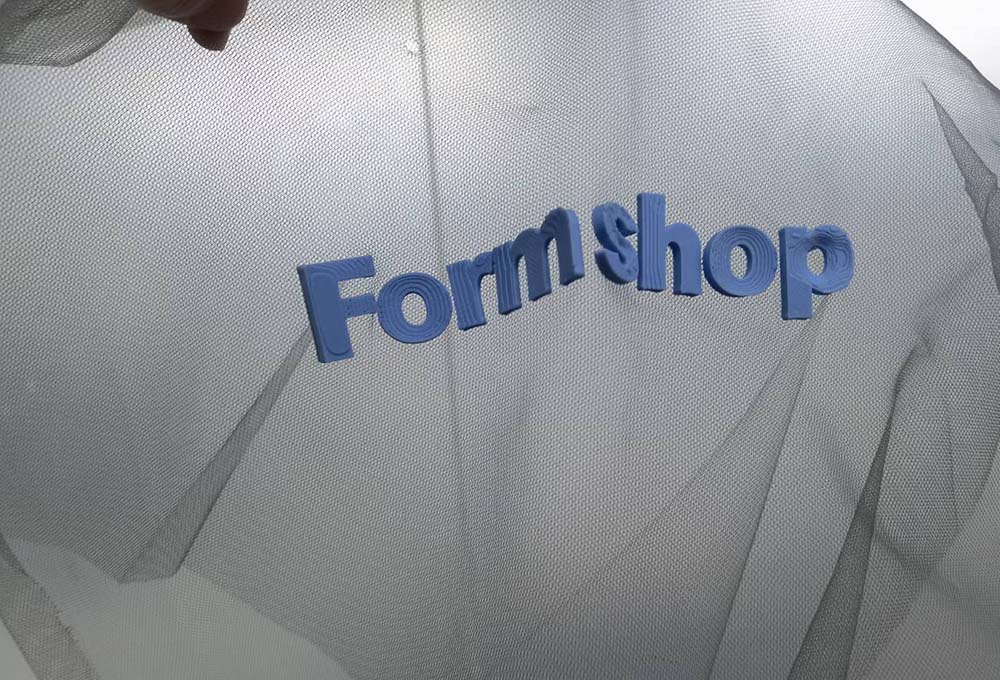
For the wildcard Week, I want to try 3D printing on fabric. I designed a 3D logo for Fablab Formshop and printed it on a piece of gray mesh fabric. Here are photos of the finished product. In the future, it may be applied to the production of our cultural shirts.
1.3 Design
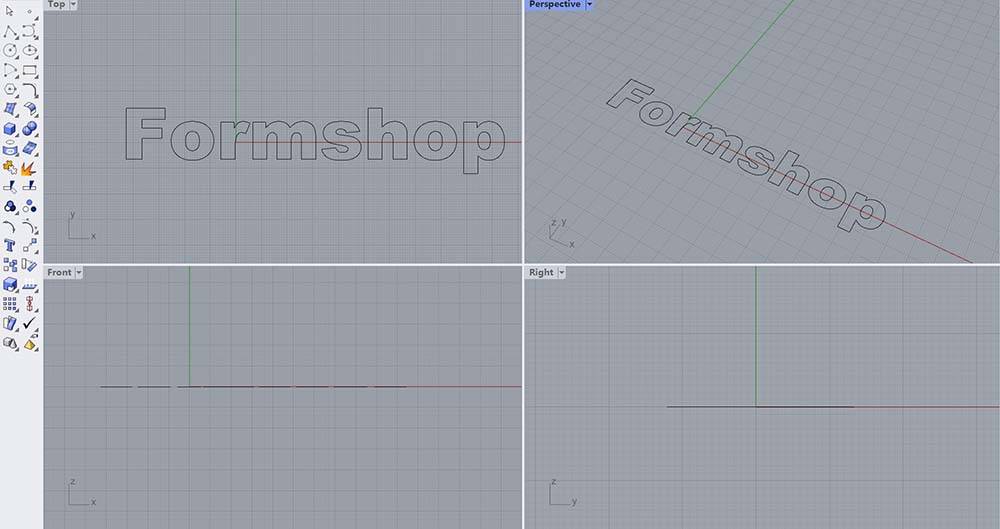
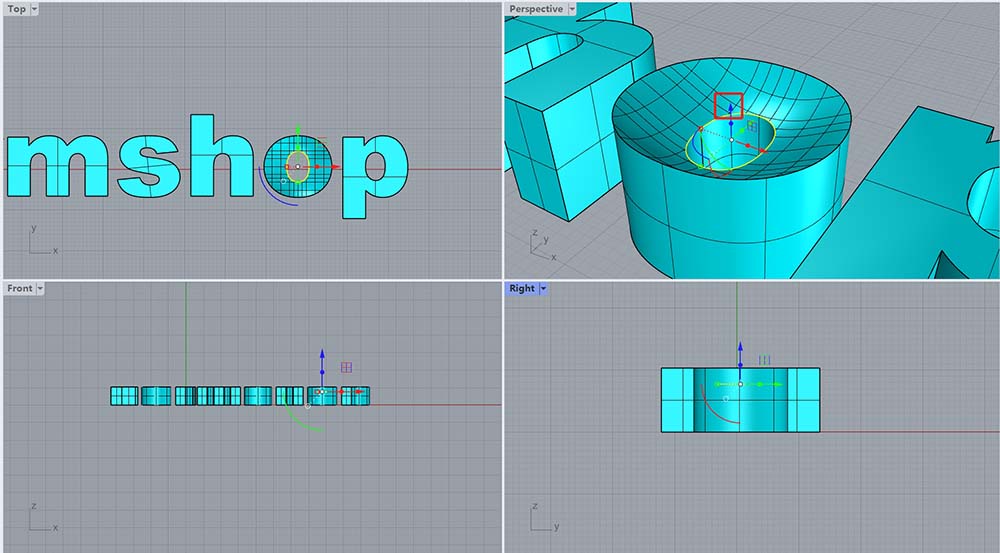
For this modeling, I chose Rhino, because using it to build freeform surfaces is much simpler for me.
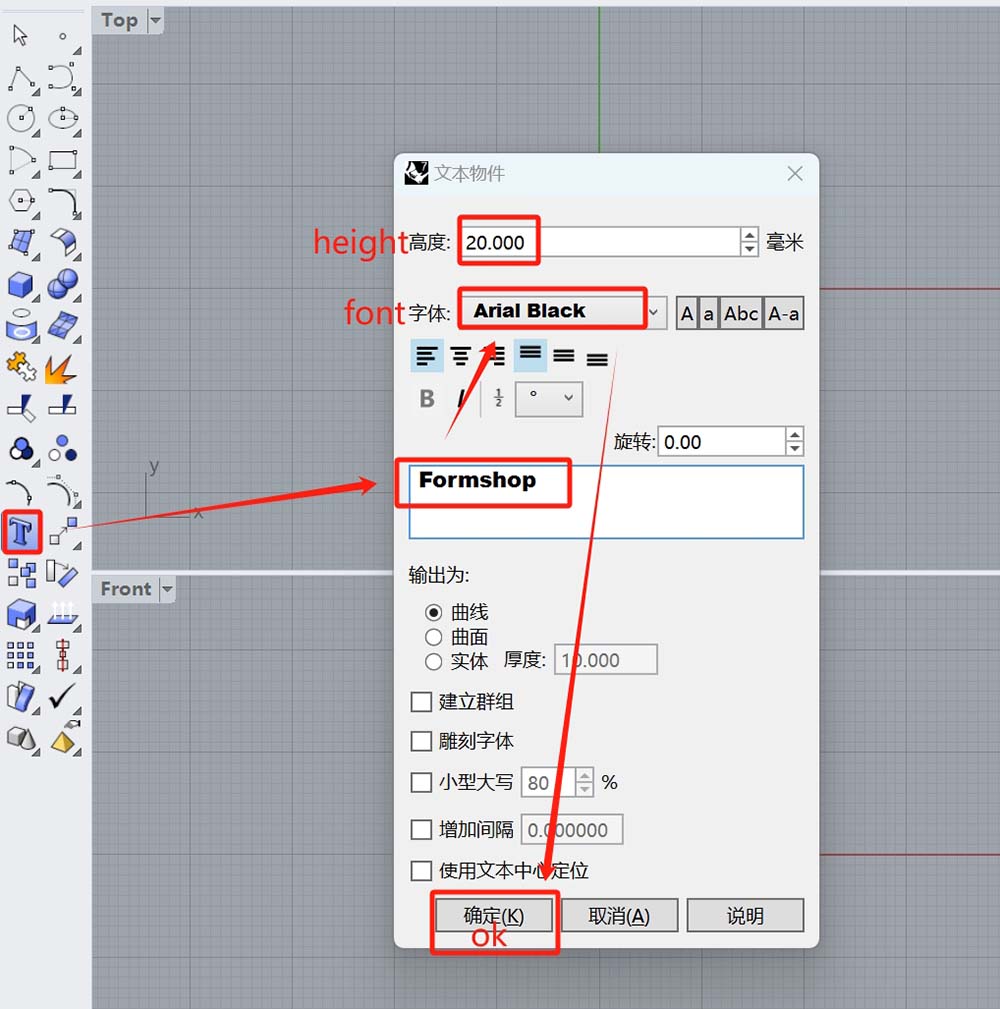
Select the text tool, input "Formshop", set the font to Arial Black, font height to 20mm, click OK. At this point, the generated text is a set of closed curves.
 →
→ 
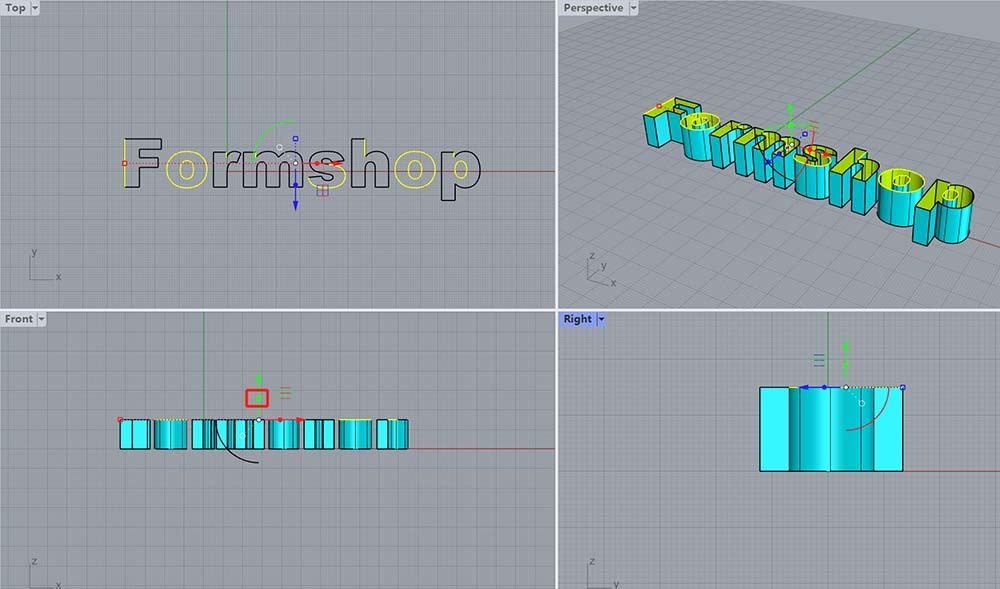
Select all the closed curves, drag the solid small circle on the green axis upward in the front view, and you will get a series of surfaces stretched by the curves. At this point, all the surfaces are open. In the command box, type cap, and all the surfaces will be capped, forming closed surfaces. At this point, the text has volume.
 →
→ 
ExtrudeCrv Cap
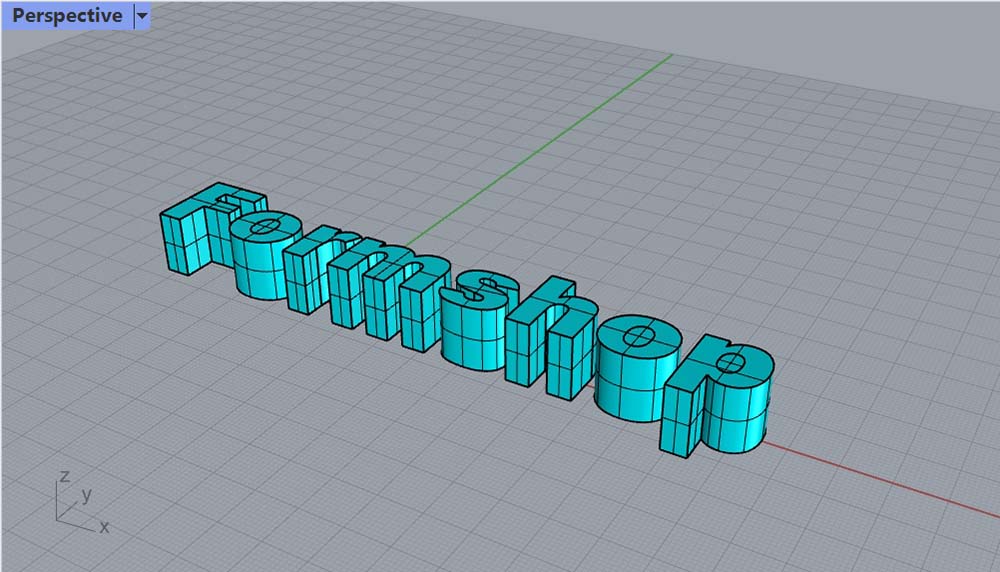
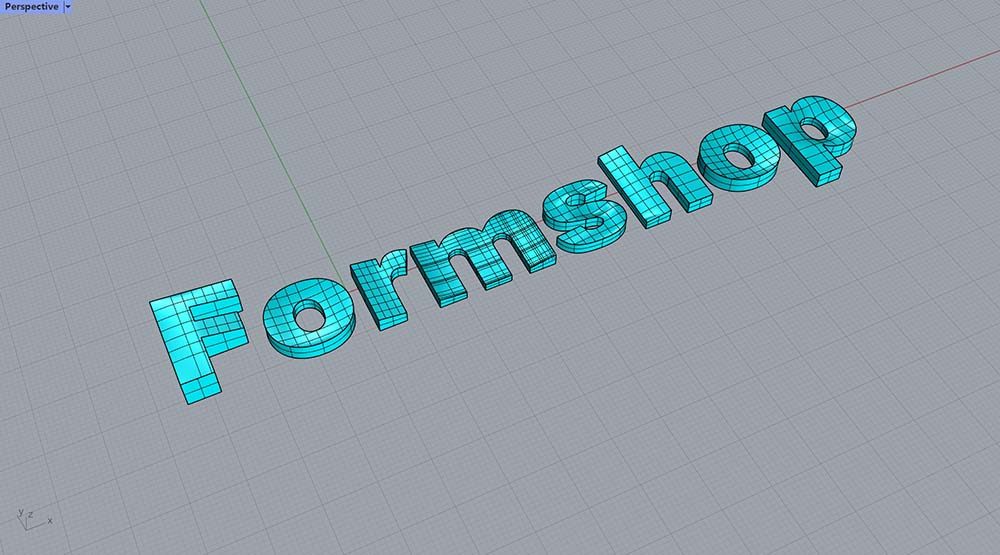
To create the letters "o" and "p", you need to perform a Boolean operation (Difference) to cut out the middle hole. The command is BooleanDifference, where you first select the object to be cut, then select the "tool", and the operation is completed. After that, simultaneously hold down CTRL and shift, select the surface edges, and drag up and down to control the Z-axis arrow of the Gumball to create a three-dimensional effect with highs and lows.
 →
→ 
After BooleanDifference Three-dimensional Effect
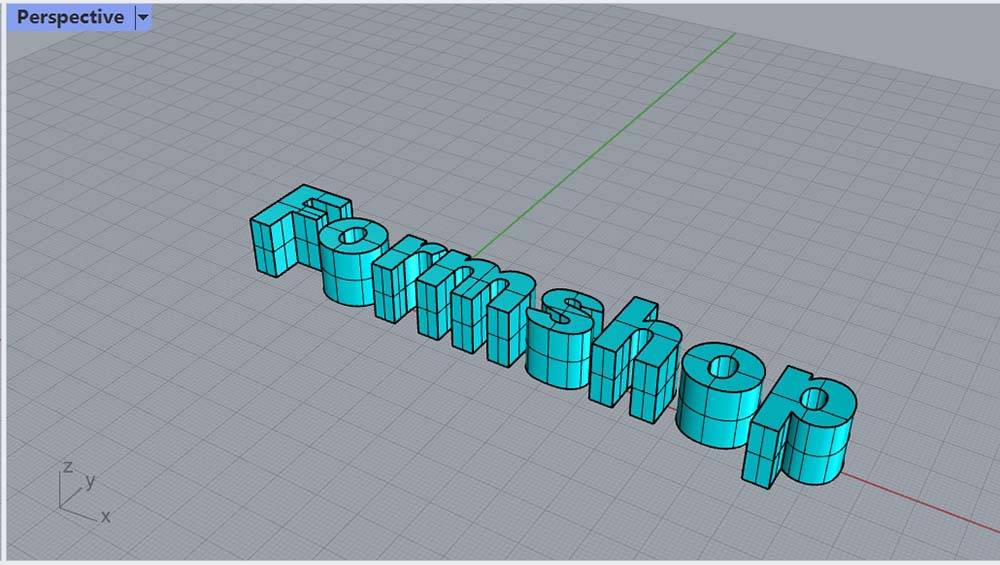
The final model:
1.4 3D Printing on Fabric
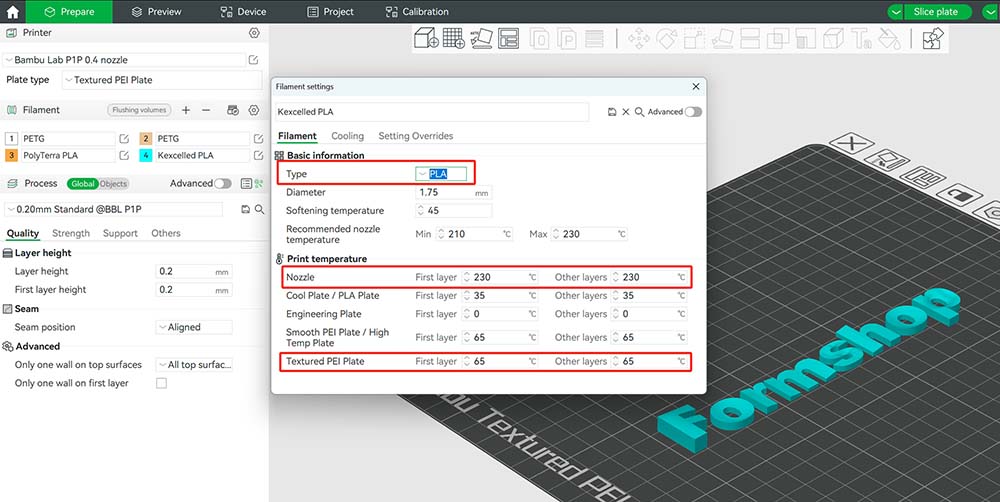
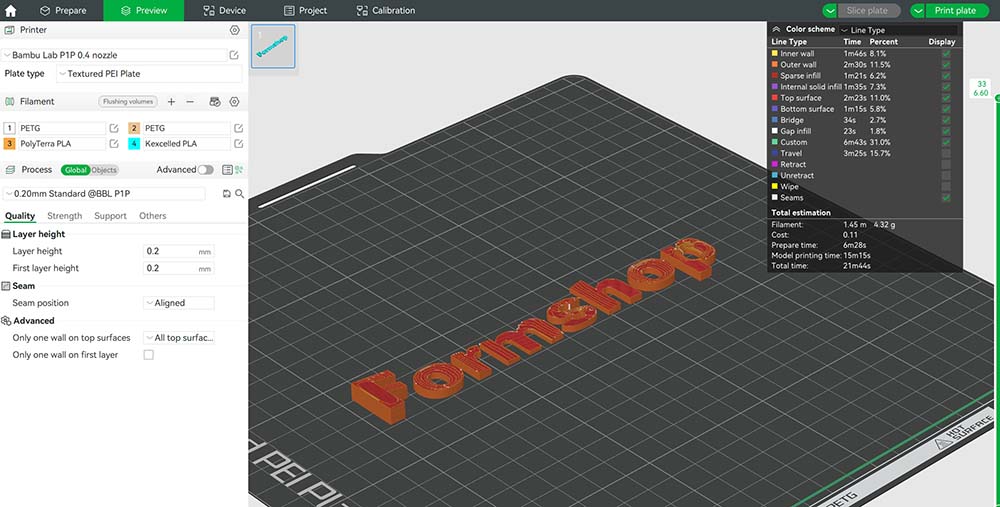
In Rhino, export the model as a STEP file. Import the STEP file into the slicing software Bambu. Choose PLA as the filament, set the nozzle temperature to 230°C (since Bambu printer has a very fast printing speed, it's common to set the nozzle temperature to the upper limit of the filament's printing temperature to avoid under-extrusion), bed temperature to 65°C, and leave the remaining parameters at default for slicing and printing.
Secure the fabric to the print bed: I used a method of wrapping the fabric around the print bed and applying double-sided tape to the back to prevent the fabric from shifting or deforming during the printing process.
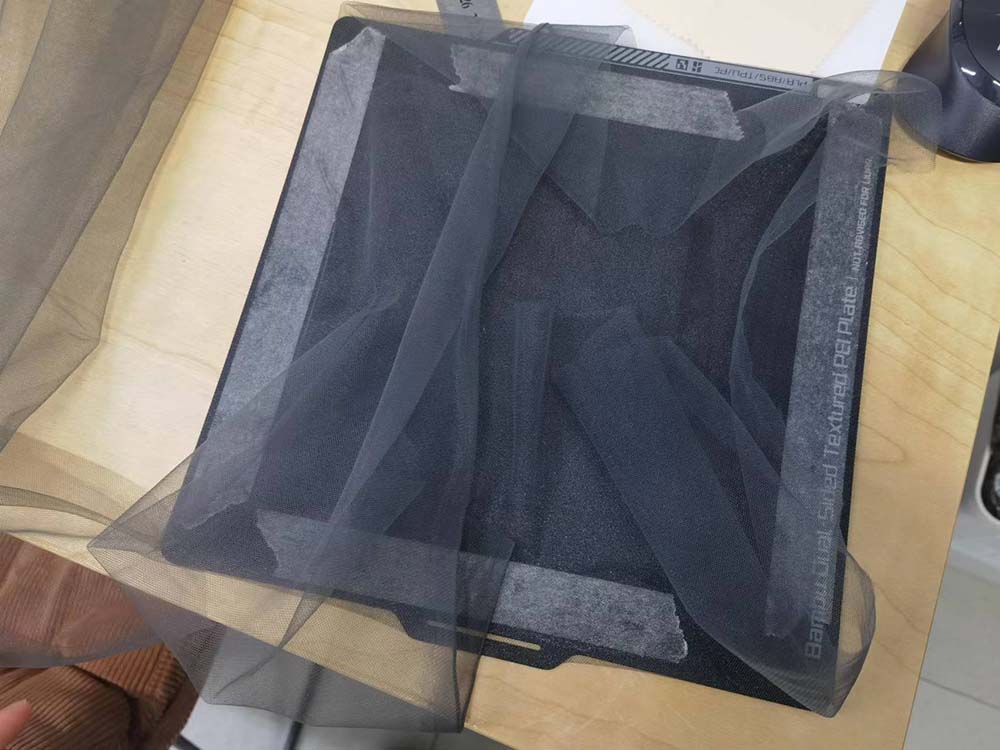
Printing:
Result