
This week's assignment is about wildcard and we are going to make a structure that will serve us for our final project based on composites.
We will first start by producing test coupons for our composite manufacturing process.
For this we will use 2 materials that will be fabric and raffia, from 1 to 3 layers individually and together.
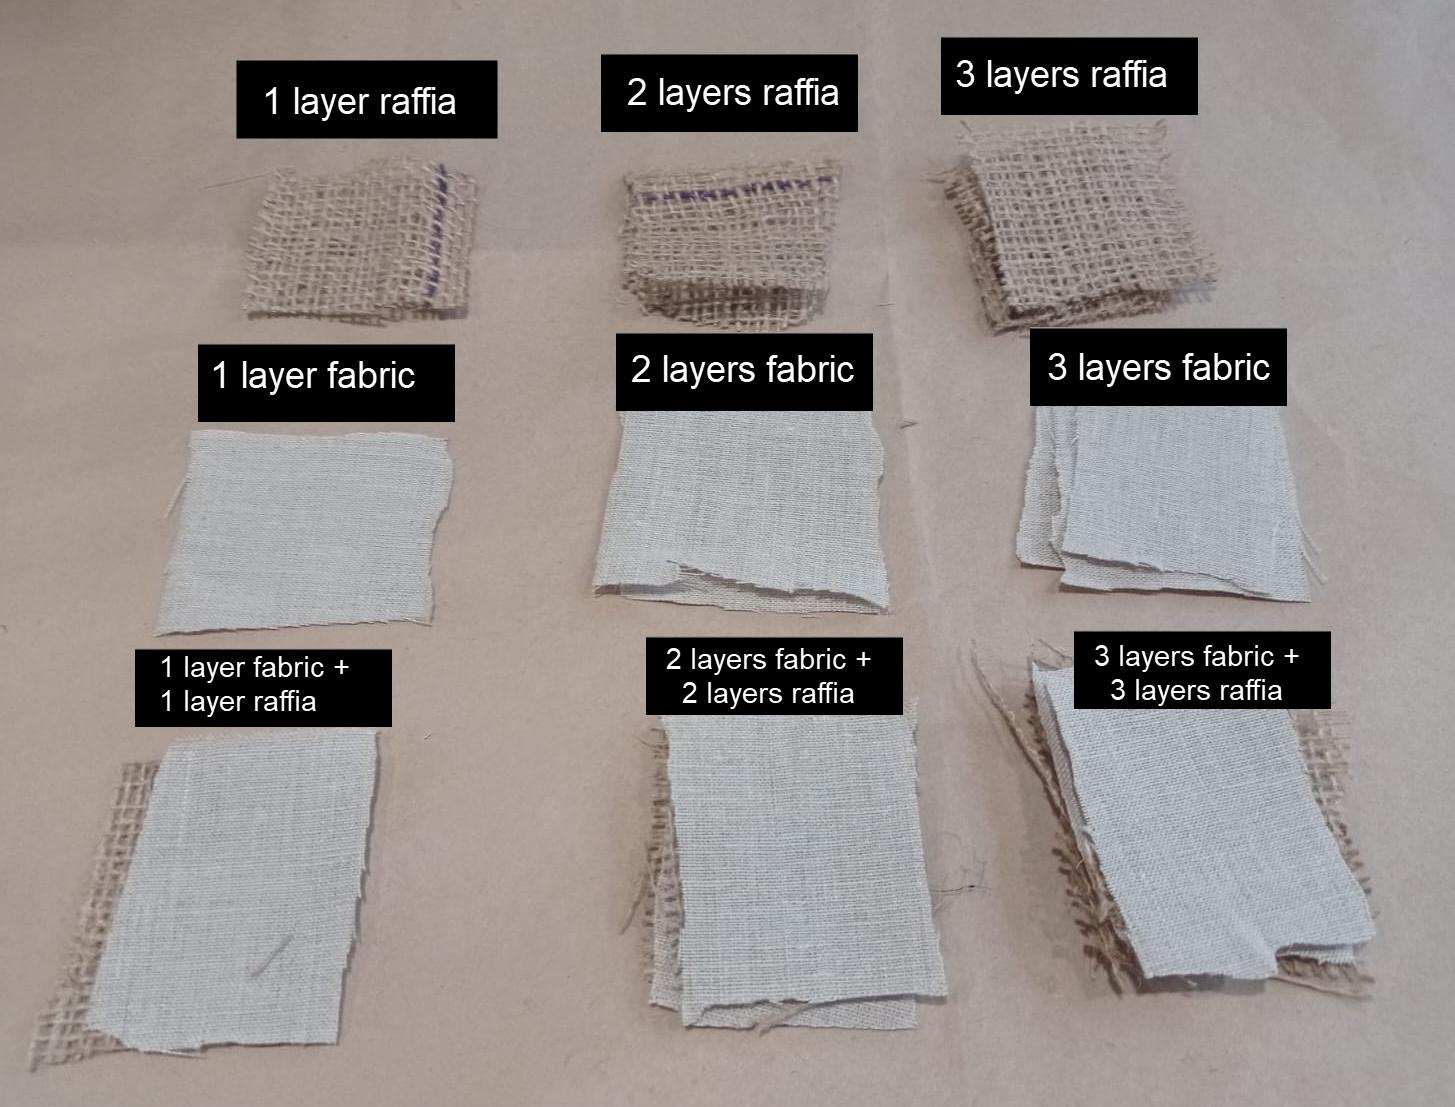
Figure N°1
All these test coupons will be dipped in a resin mix, the same one that was documented in week 12 which has a ratio of 1 to 5 between part A and part B.

Figure N°2
Now we will go on to evaluate the hardness of each of these combinations.
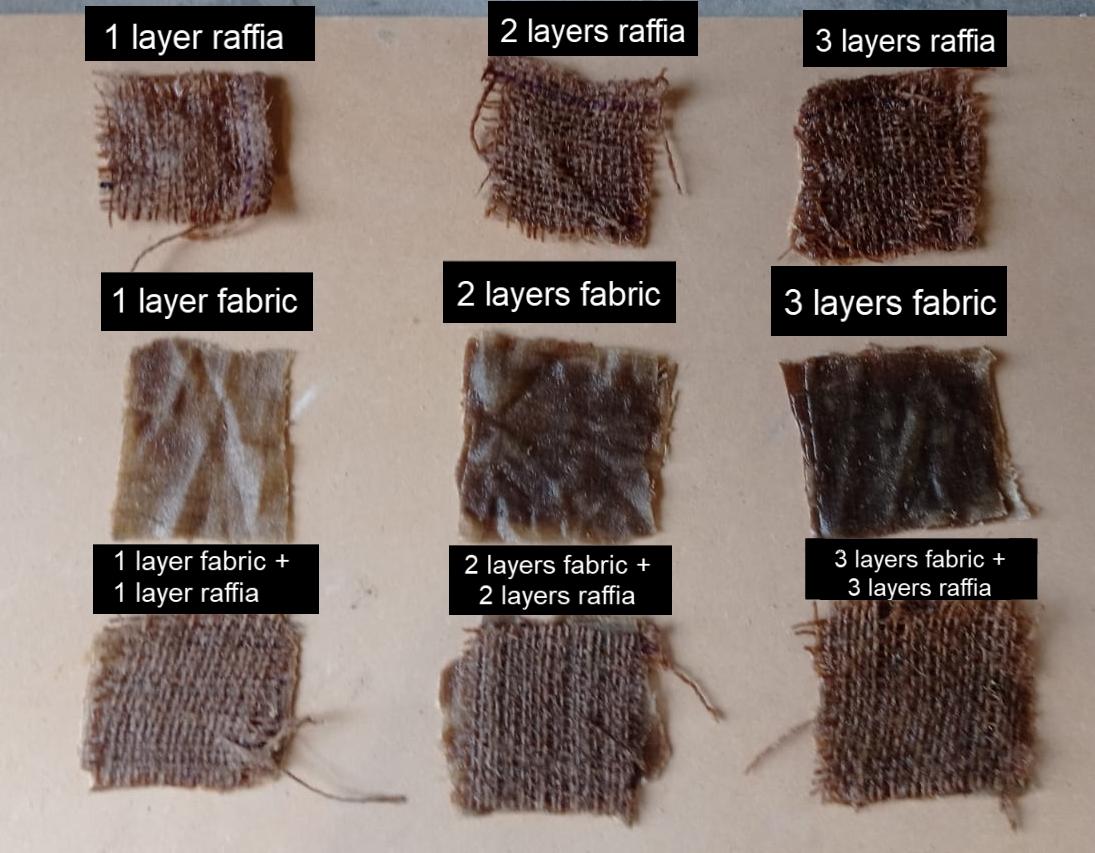
Figure N°3
In the case of only raffia coupons, we see that one and two layers are not hard enough, the 3-layer one is considerably hard, but the material falls apart and loses its shape.
Video N°1
In the case of fabric-only coupons, it is observed that a single layer is totally flimsy, whereas having 2 and 3 layers generates enough hardness.
Video N°2
In the case of the combinations of both materials, we see that the 3 cases are hard enough, but the raffia easily falls apart, taking the piece's shape away.
Video N°3
In conclusion we see that having between 2 and 3 layers of fabric only is the right combination for the construction of our case.
We will start with a free design of a cat with its paws. The design is from Thingiverse, you can download it here.
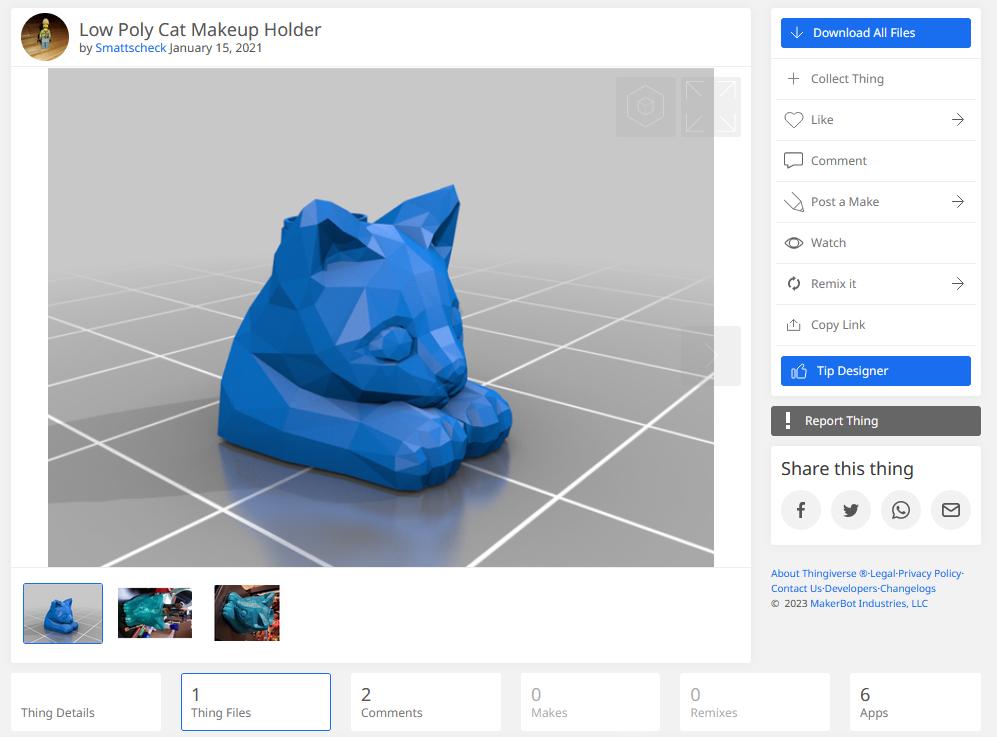
Figure N°4
In Blender changes were made to create a separation between its legs, the idea is that there is enough space to put a plate of food there and we export in .STL format.
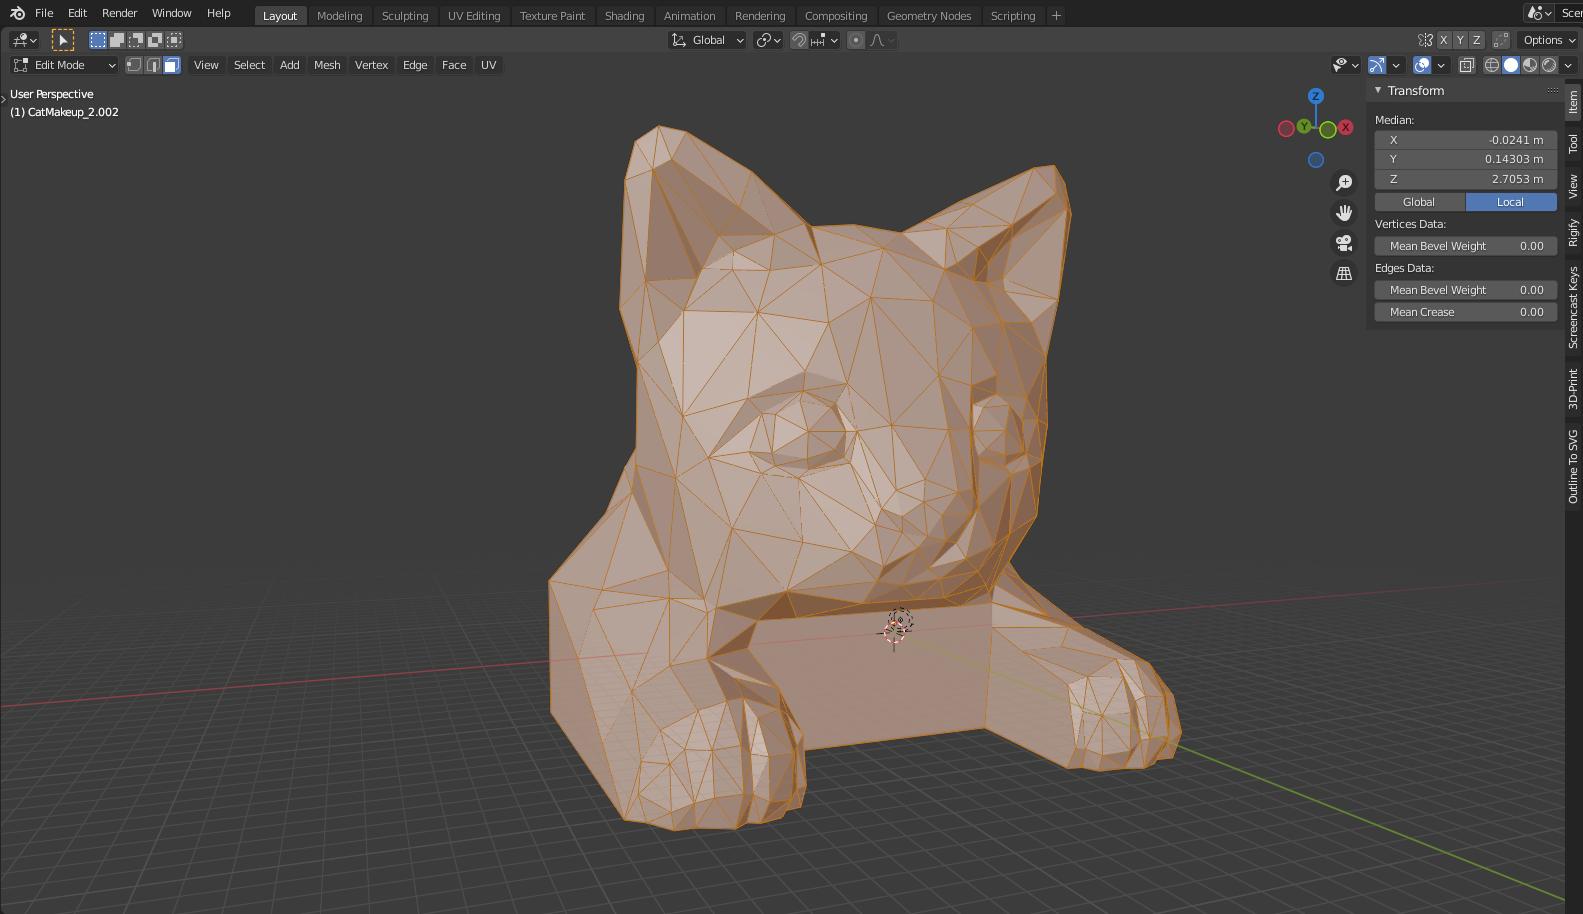
Figure N°5
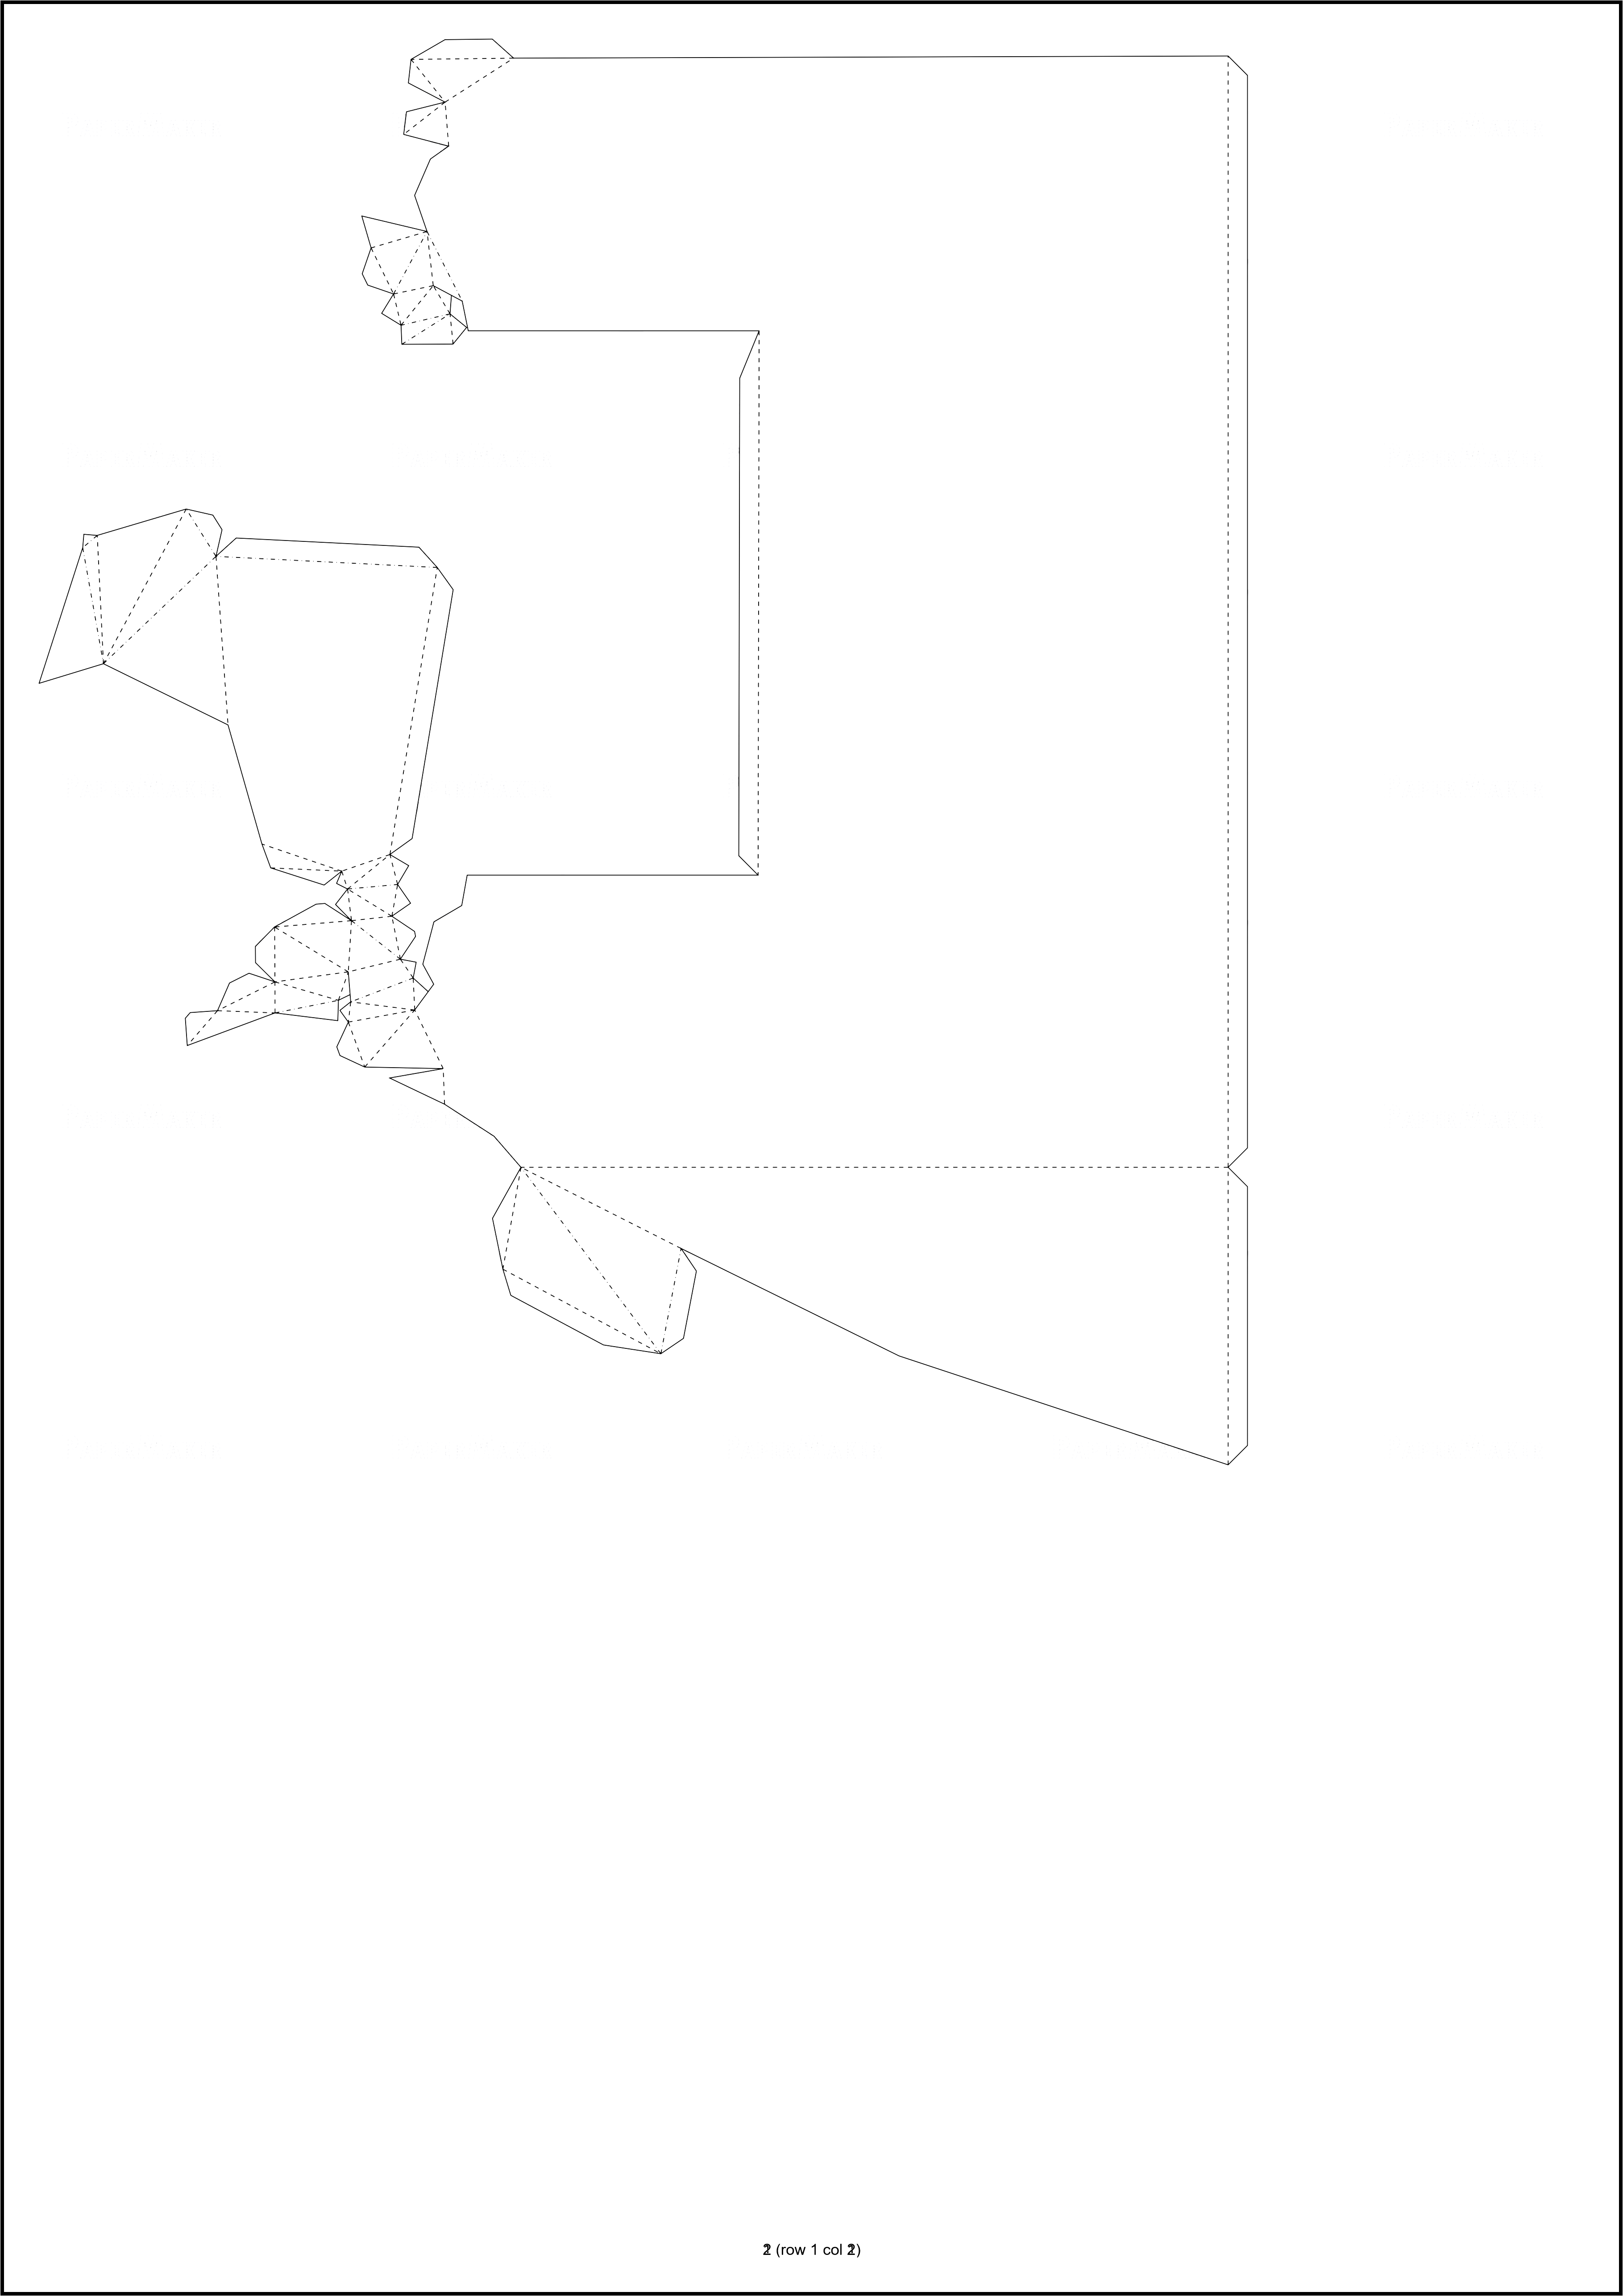
We use the page Papercraft-maker to make a display to create it papercraft style, we choose a sheet size of A3 so that the approximate dimensions are a 30cm cube.
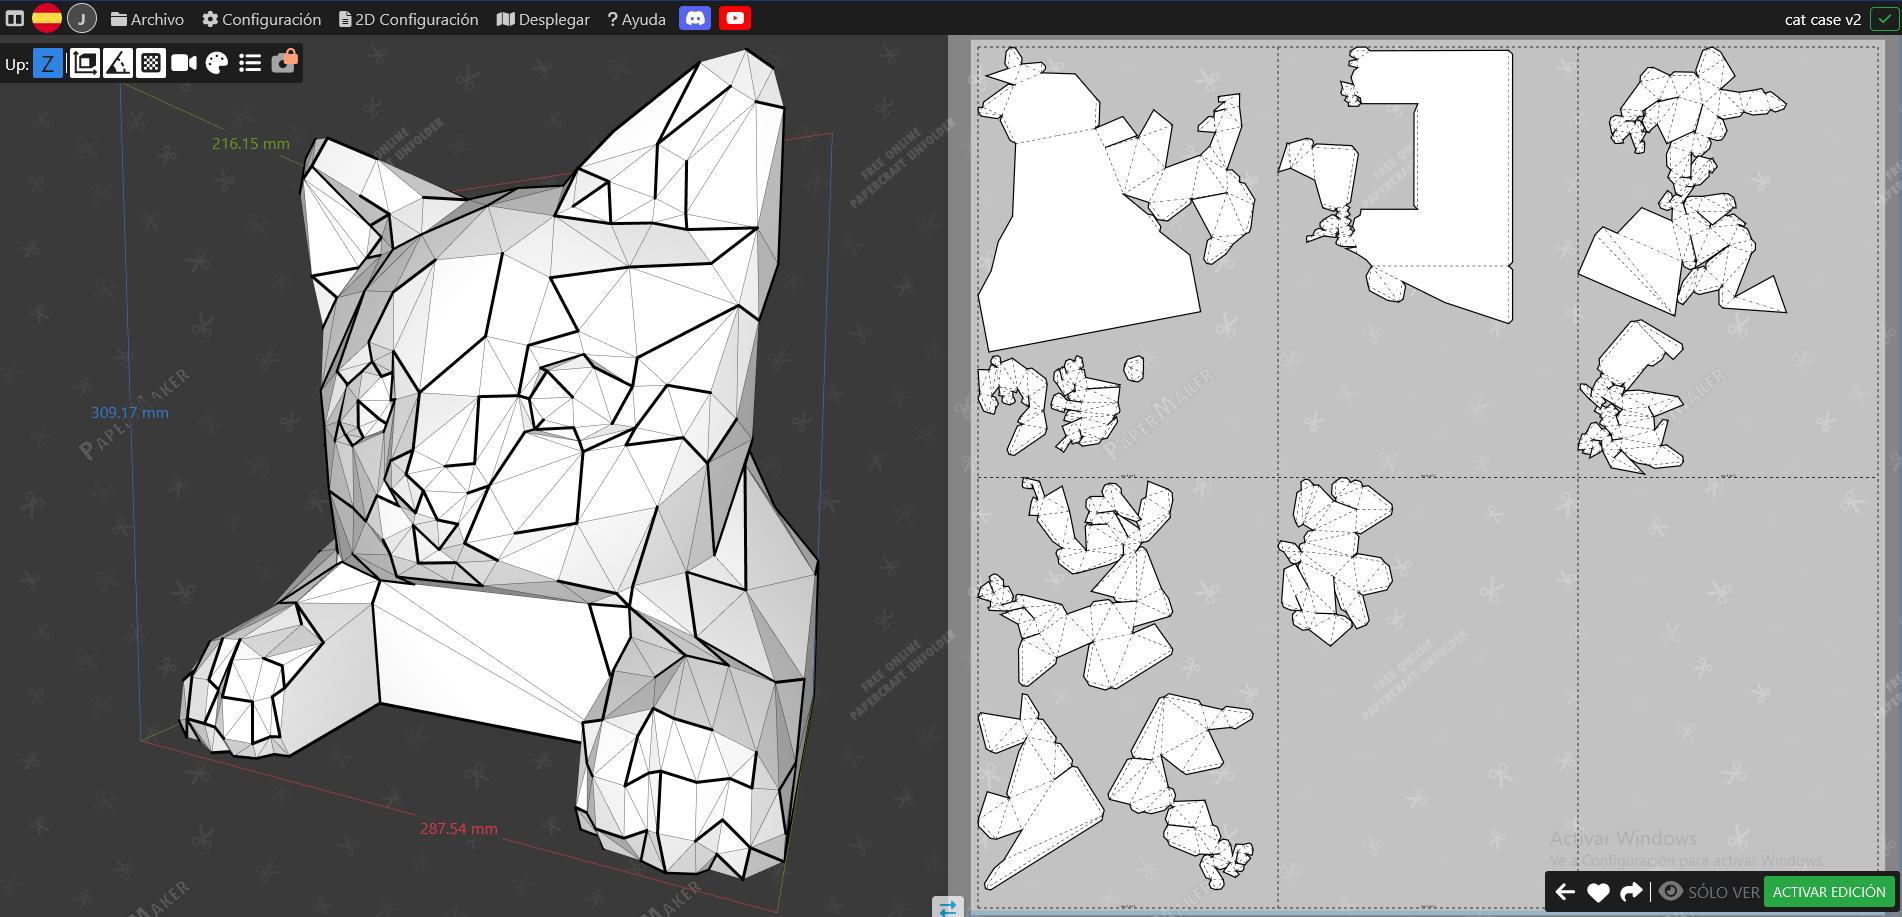
Figure N°6
The first cutting tests with cardboard are made.
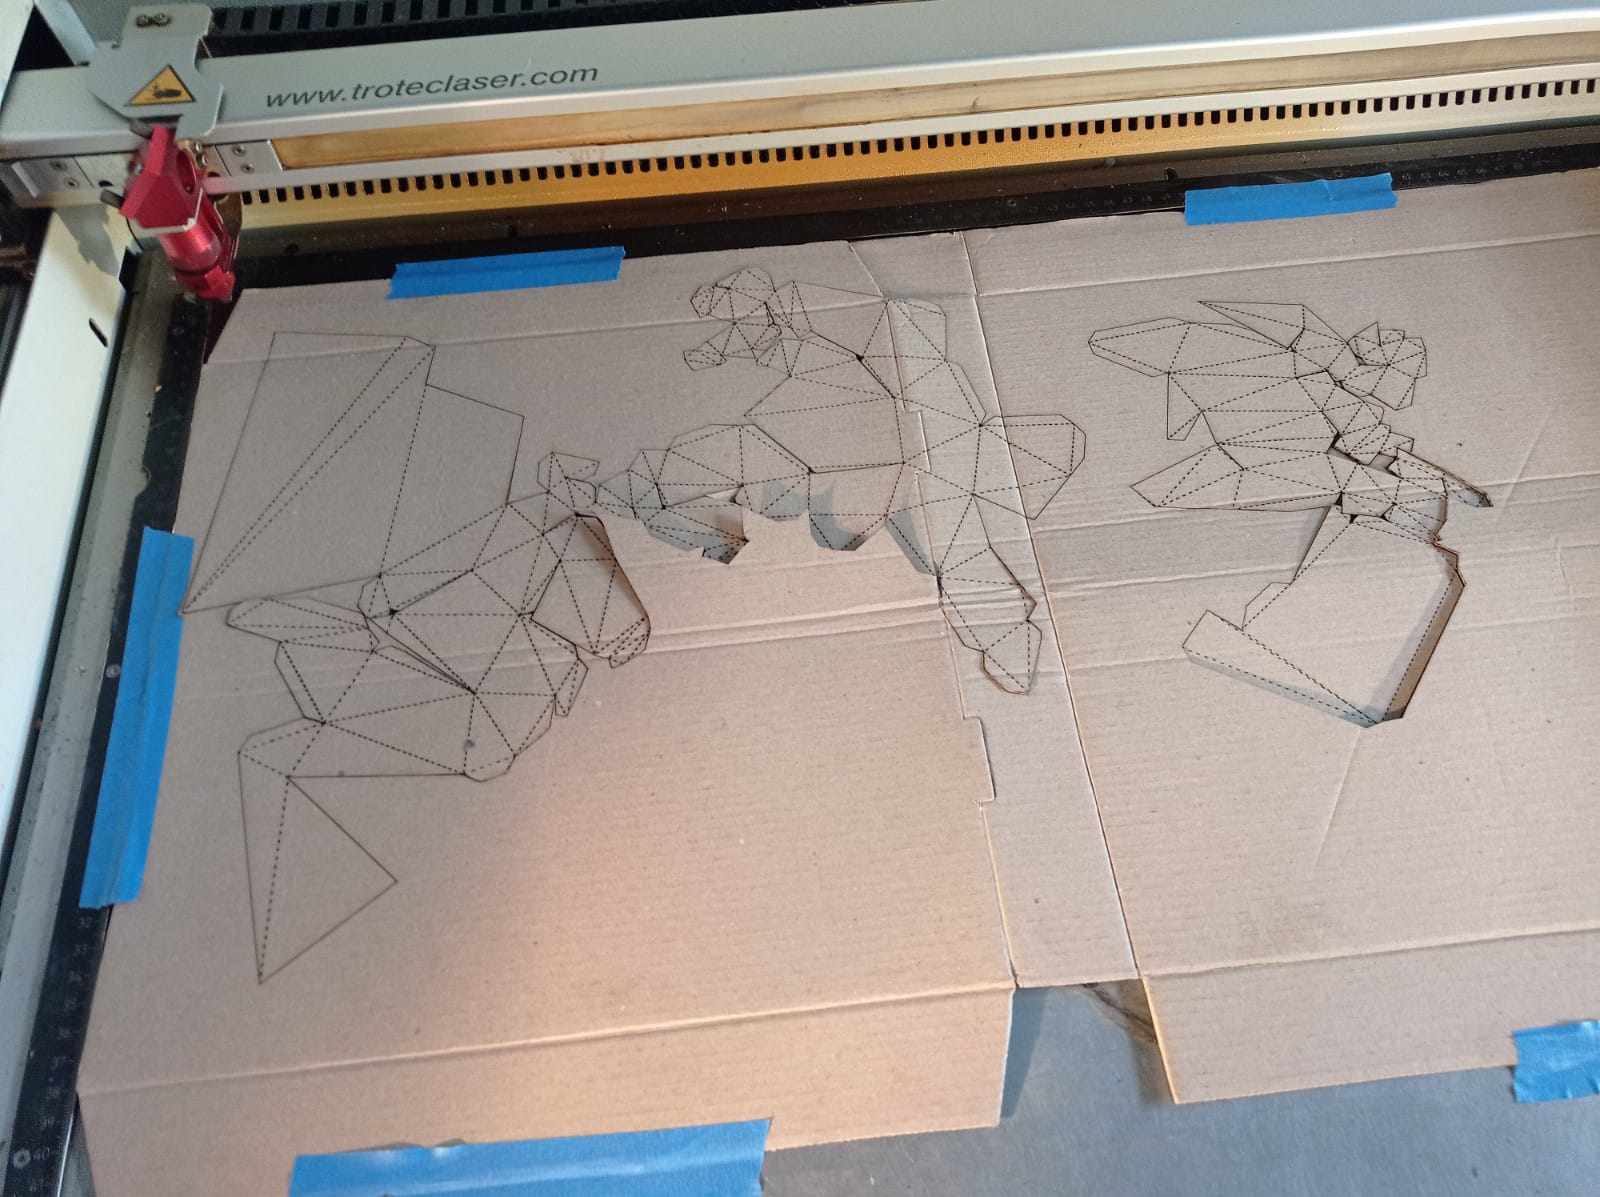
Figure N°7
It is necessary to modulate the speed of the cut since by having a slow speed you end up burning more than cutting the cardboard and when folding it you end up undoing the material.
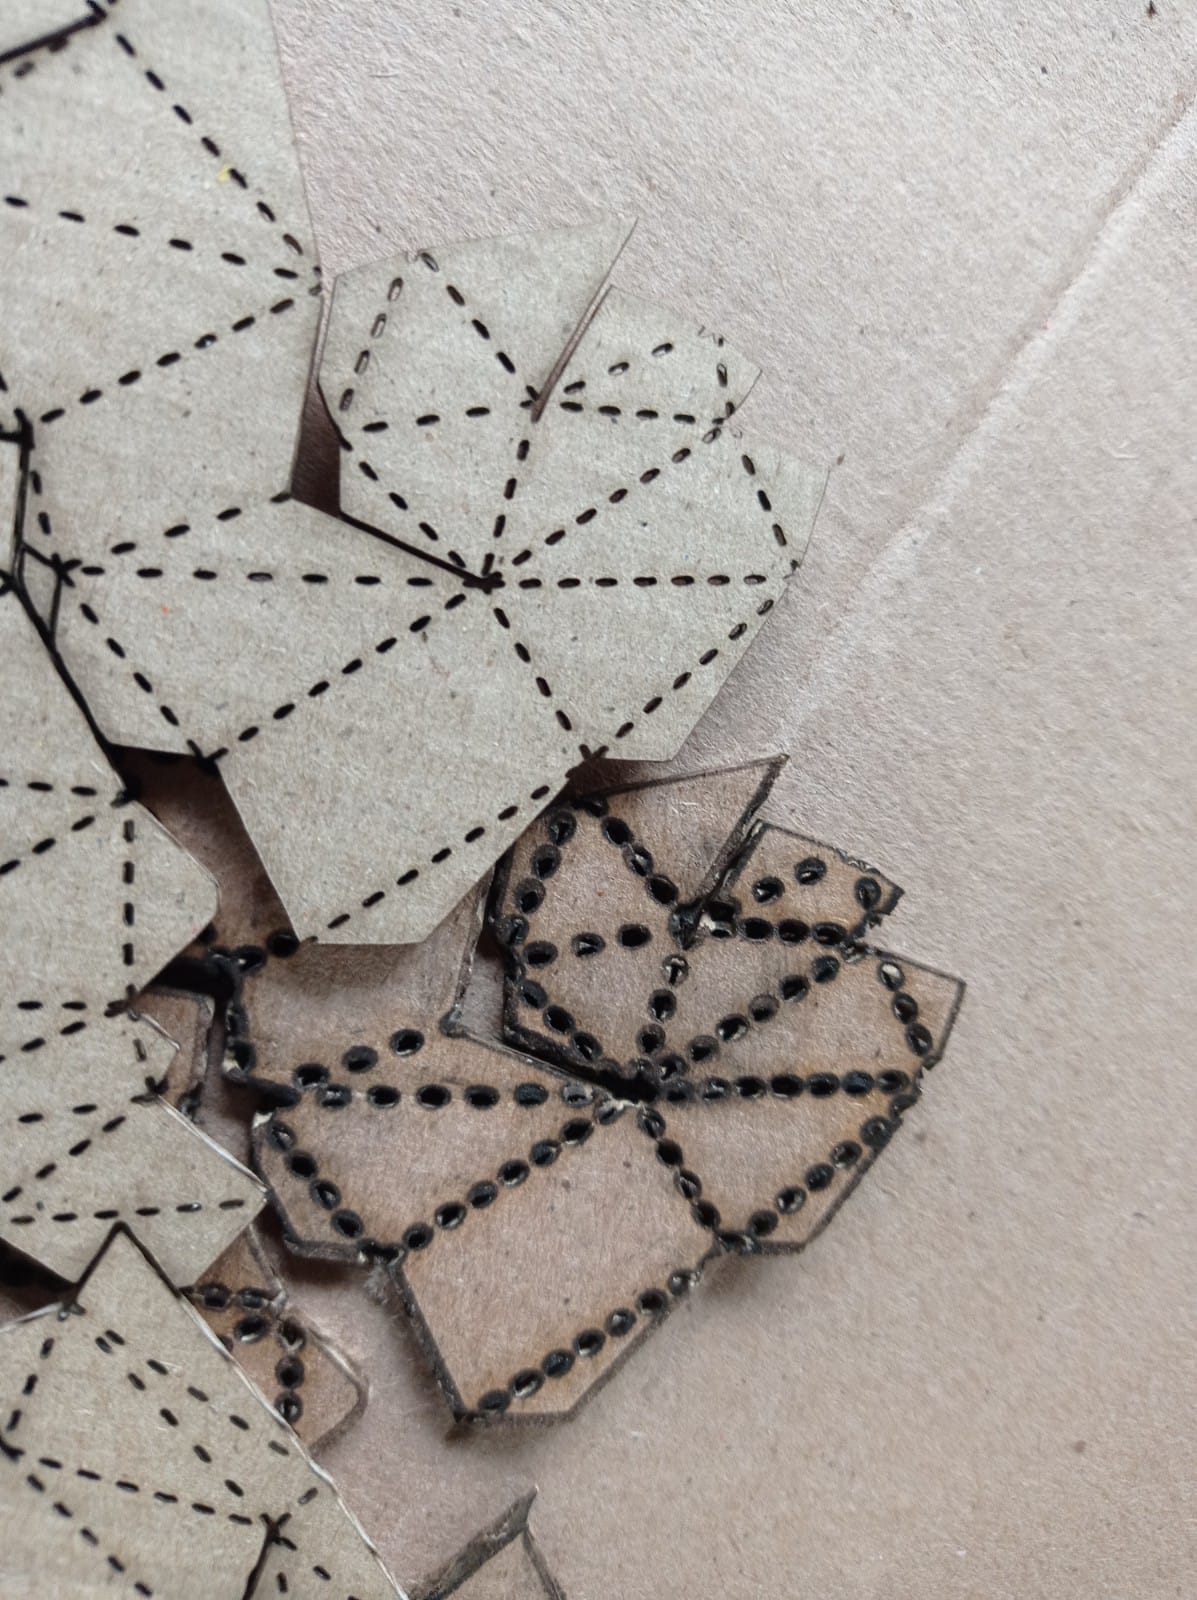
Figure N°8
After several tests these are the ideal settings for cutting cardboard.
| Cardboard__ Cut Results __ | |
| Power | 25 - 30 |
| Speed | 1.5 |
Table N°1
We start gluing the parts with school glue.
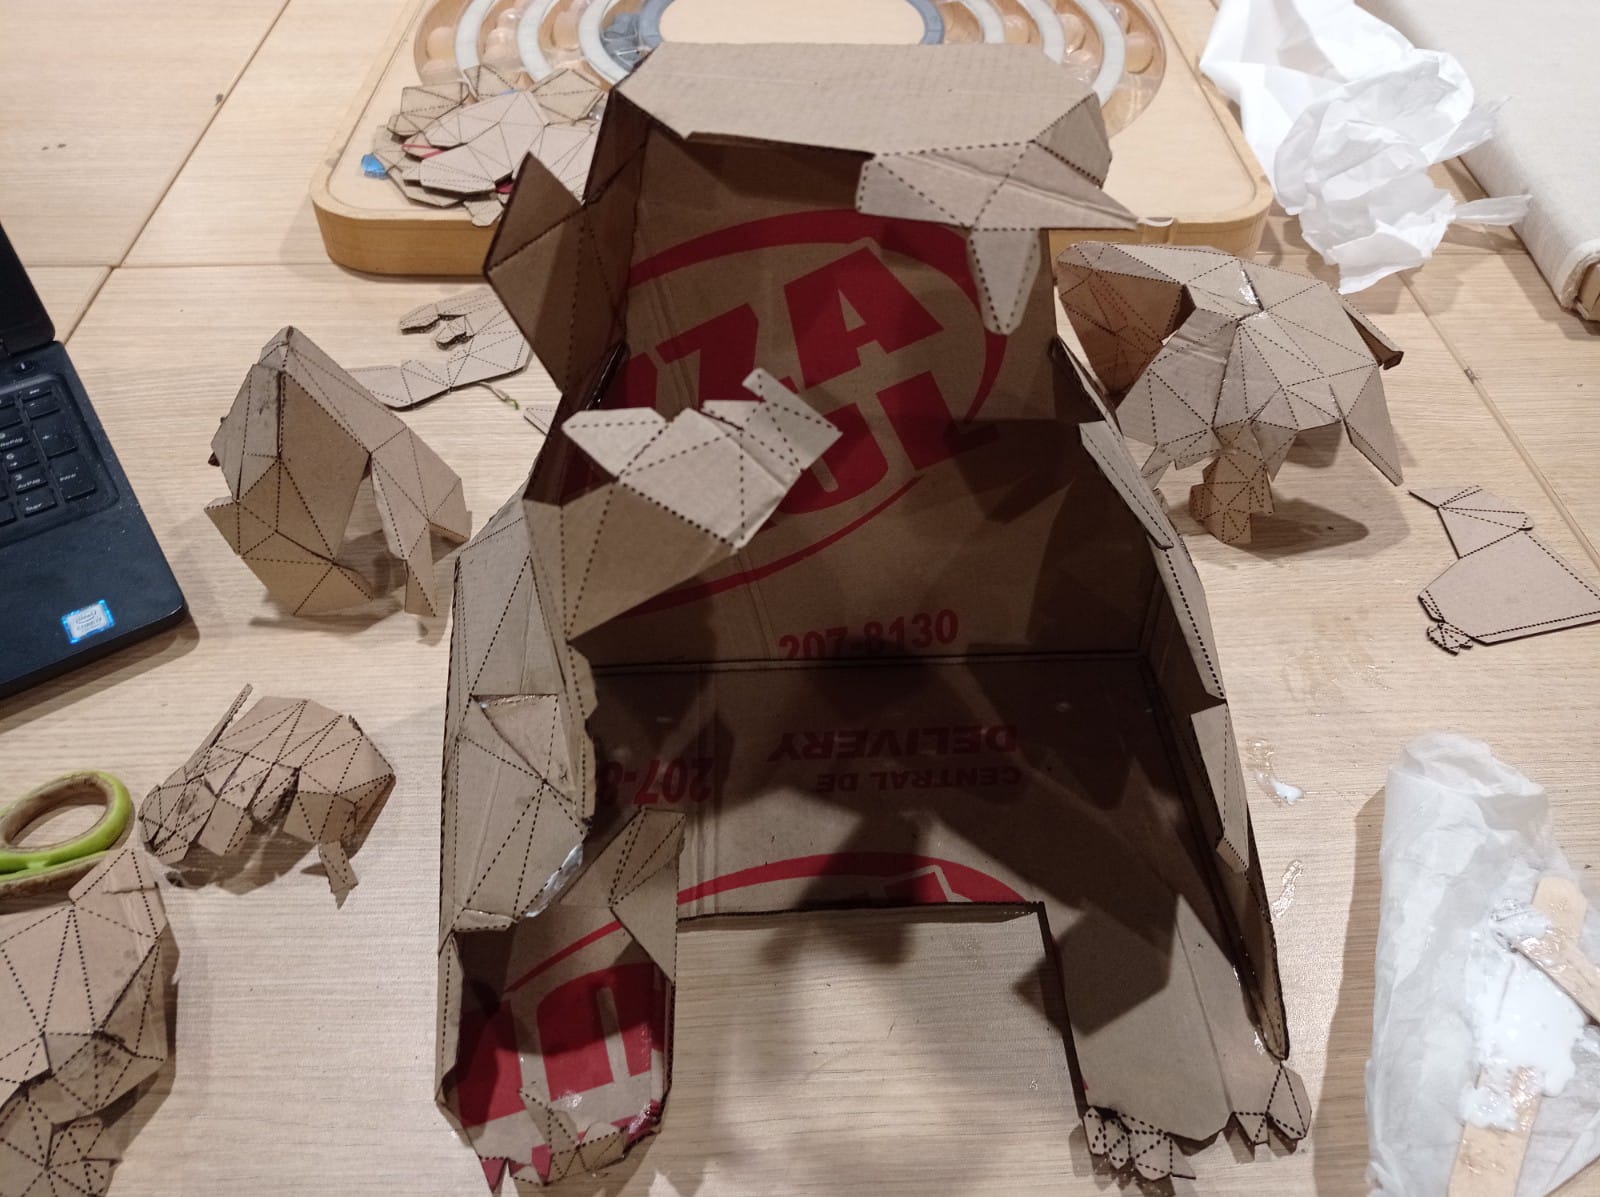
Figure N°9
Sticking it with school glue is usually quite a slow and tedious process so that the parts don't end up moving.
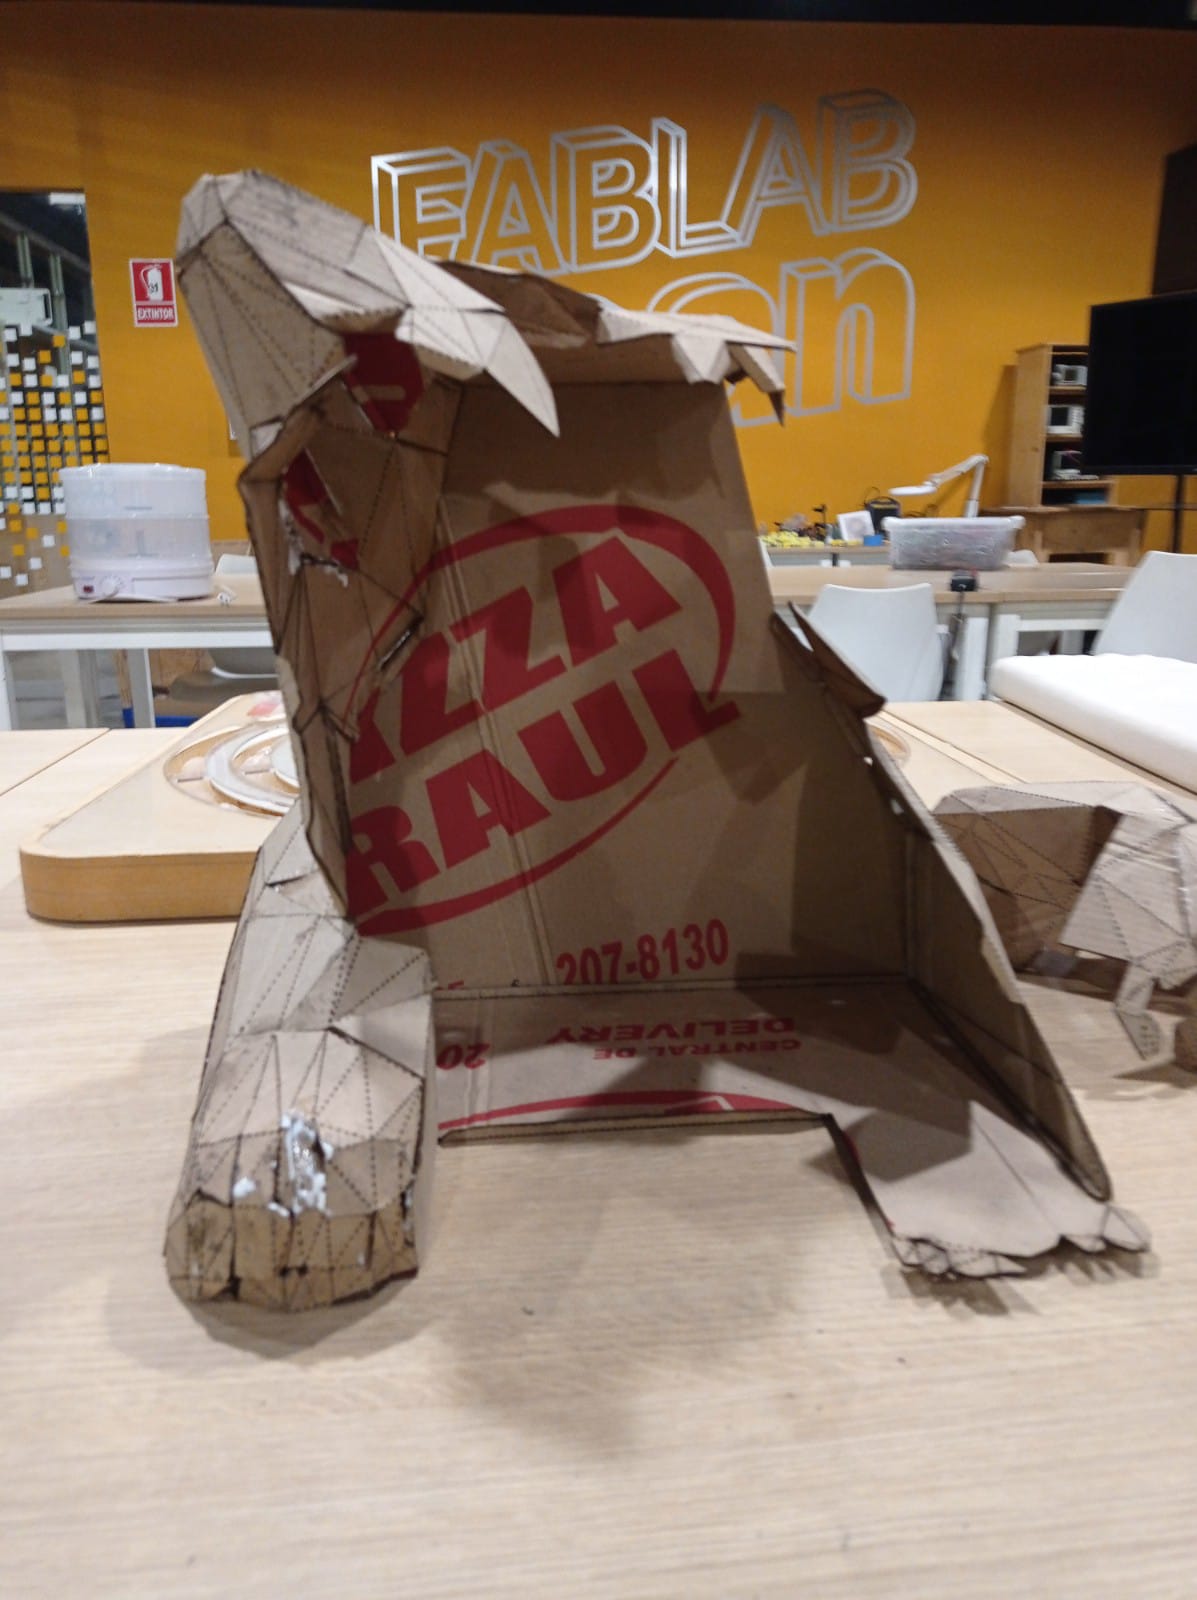
Figure N°10
The gluing material was changed to super glue, with that the process sped up a lot and we see how the pieces add up.
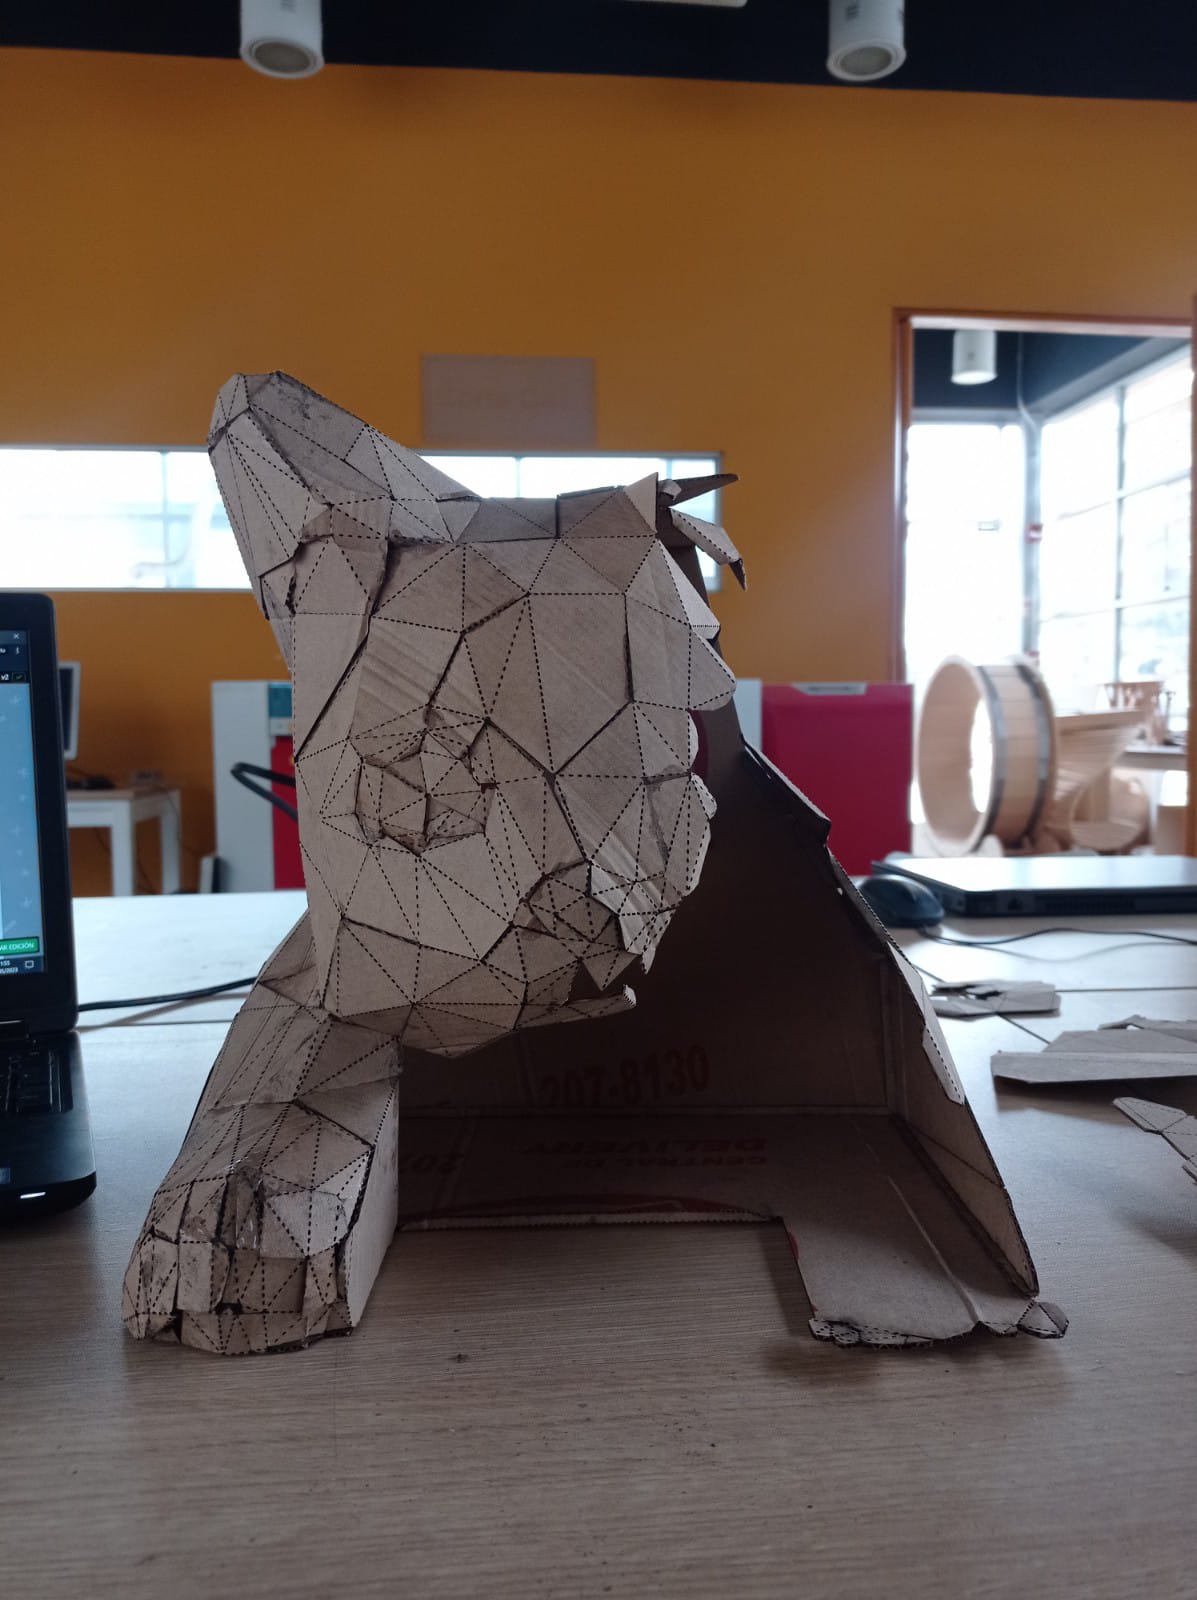
Figure N°11
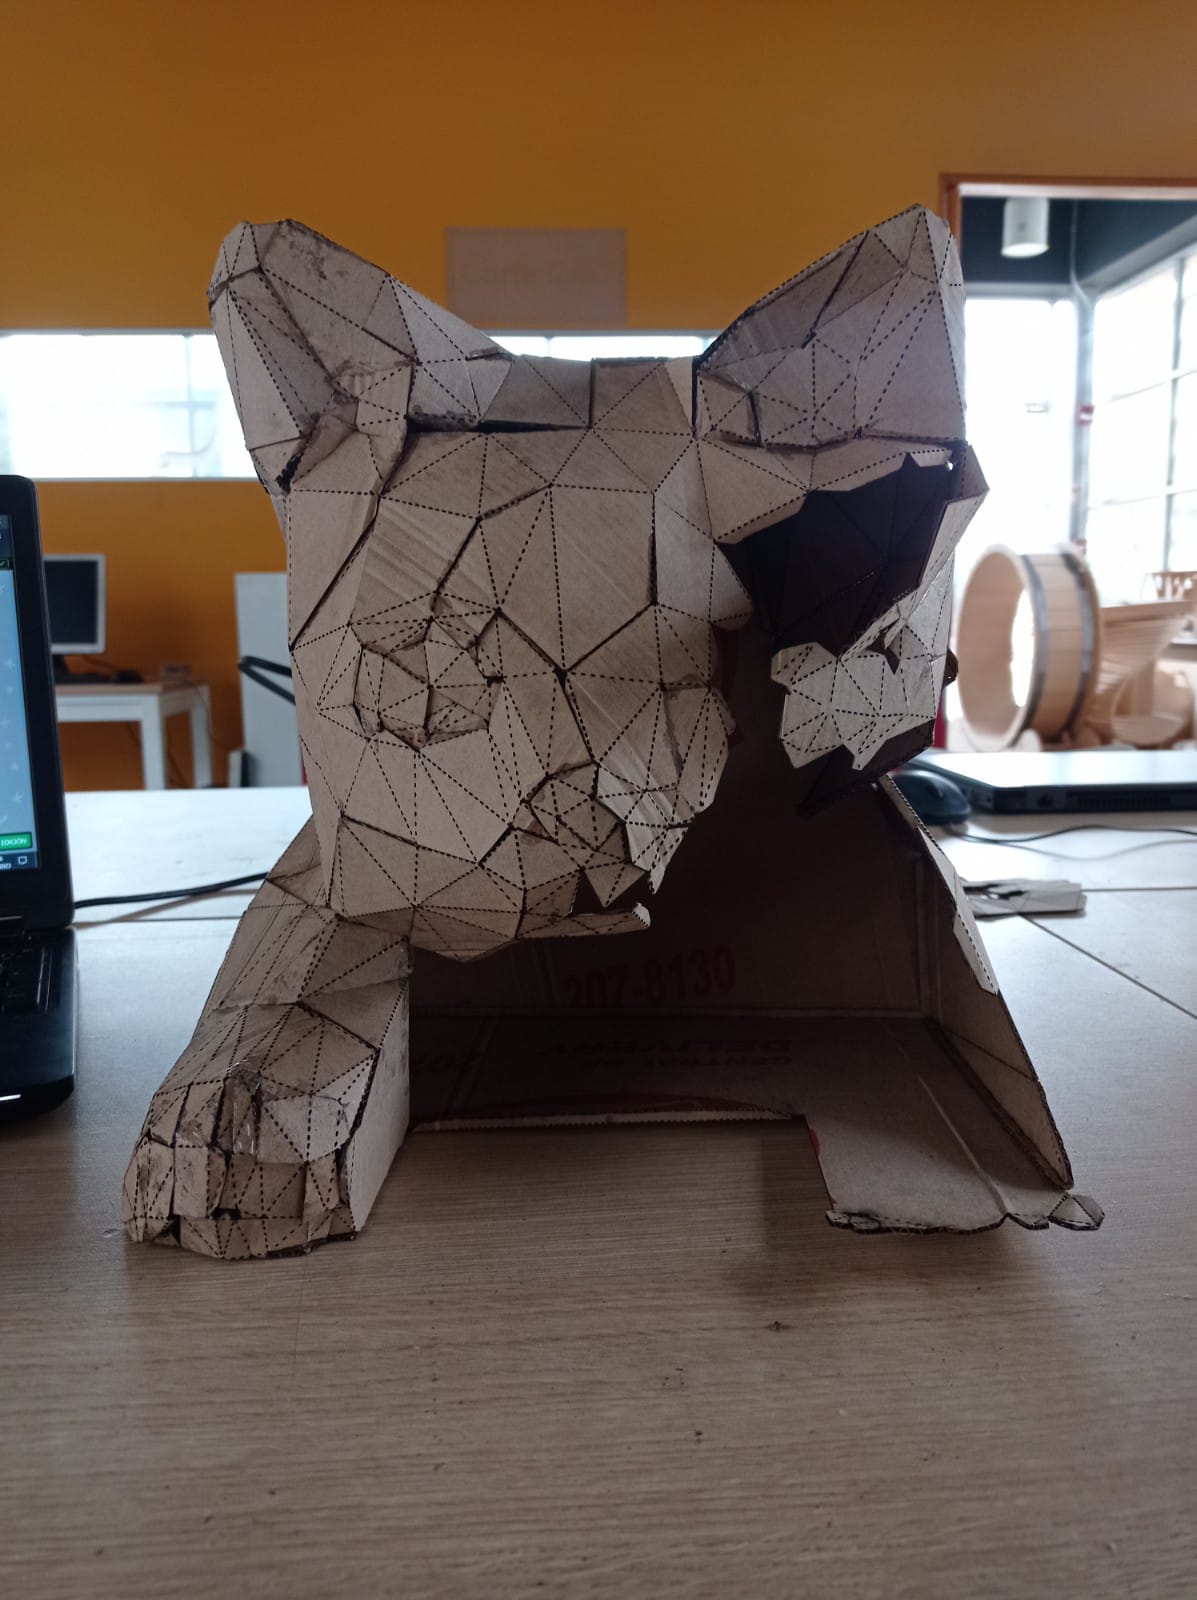
Figure N°12
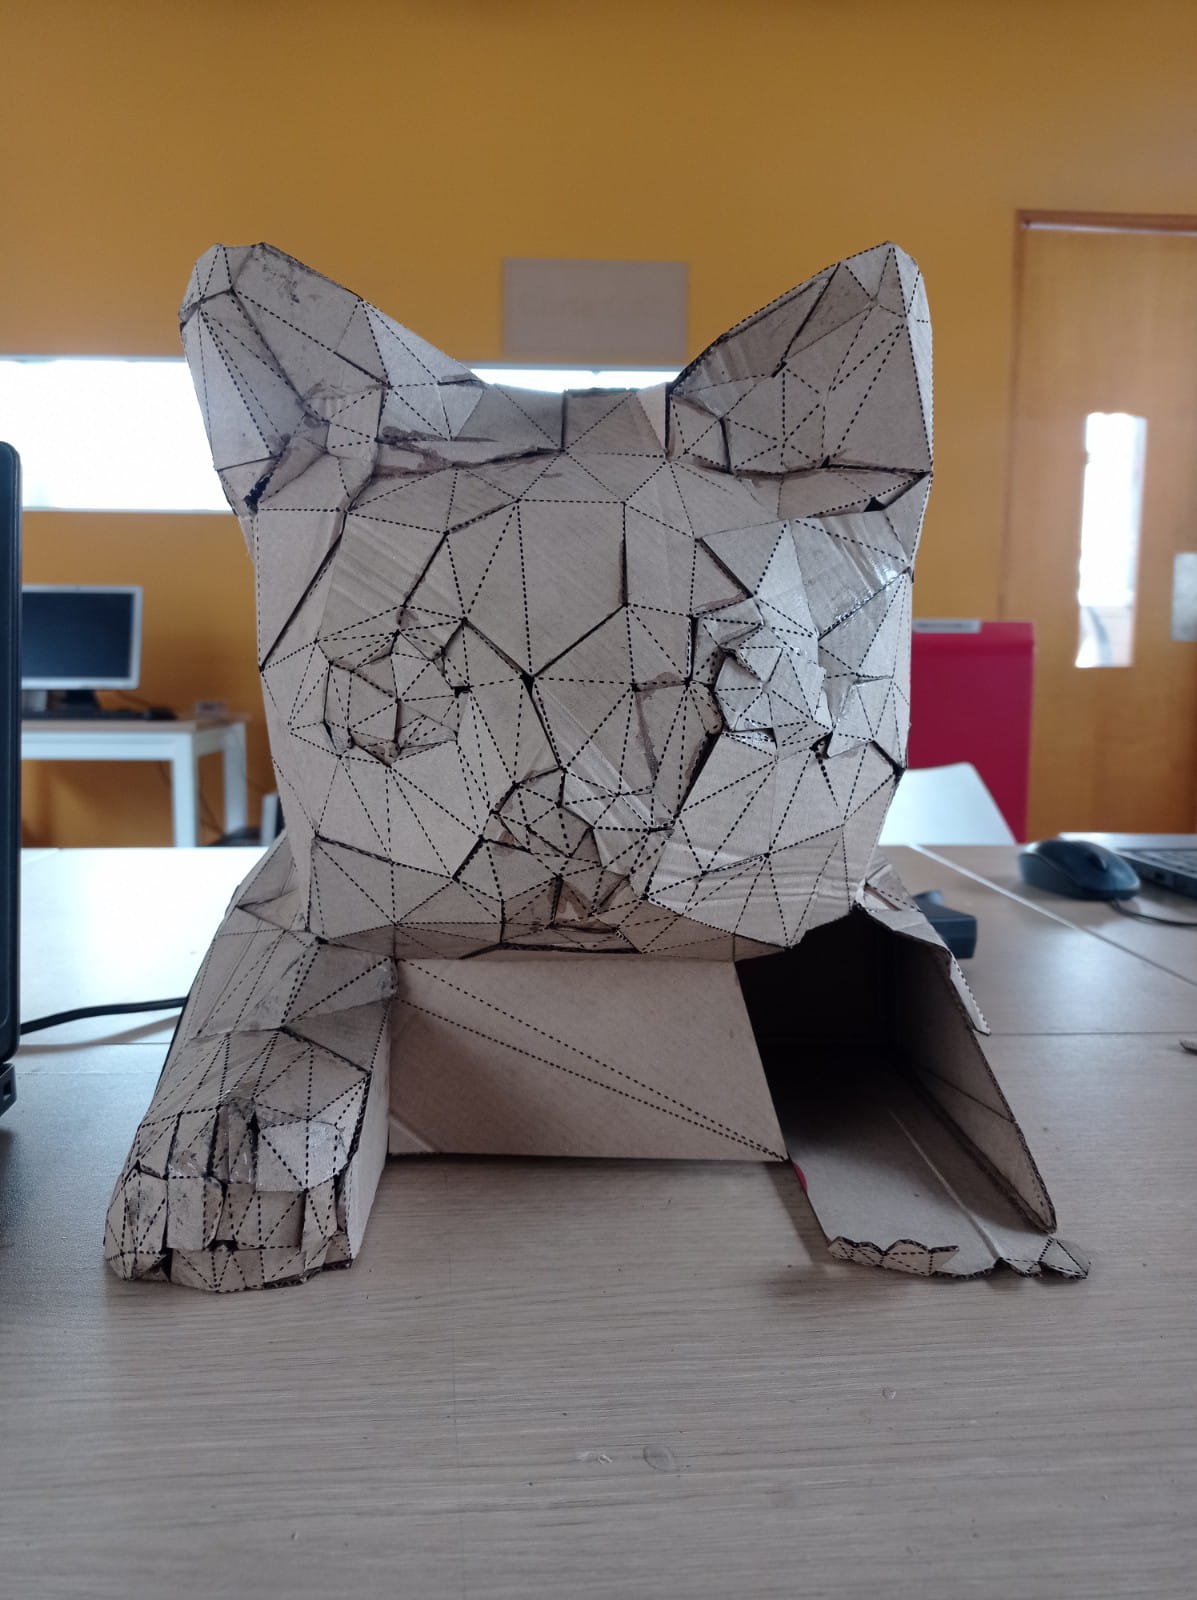
Figure N°13
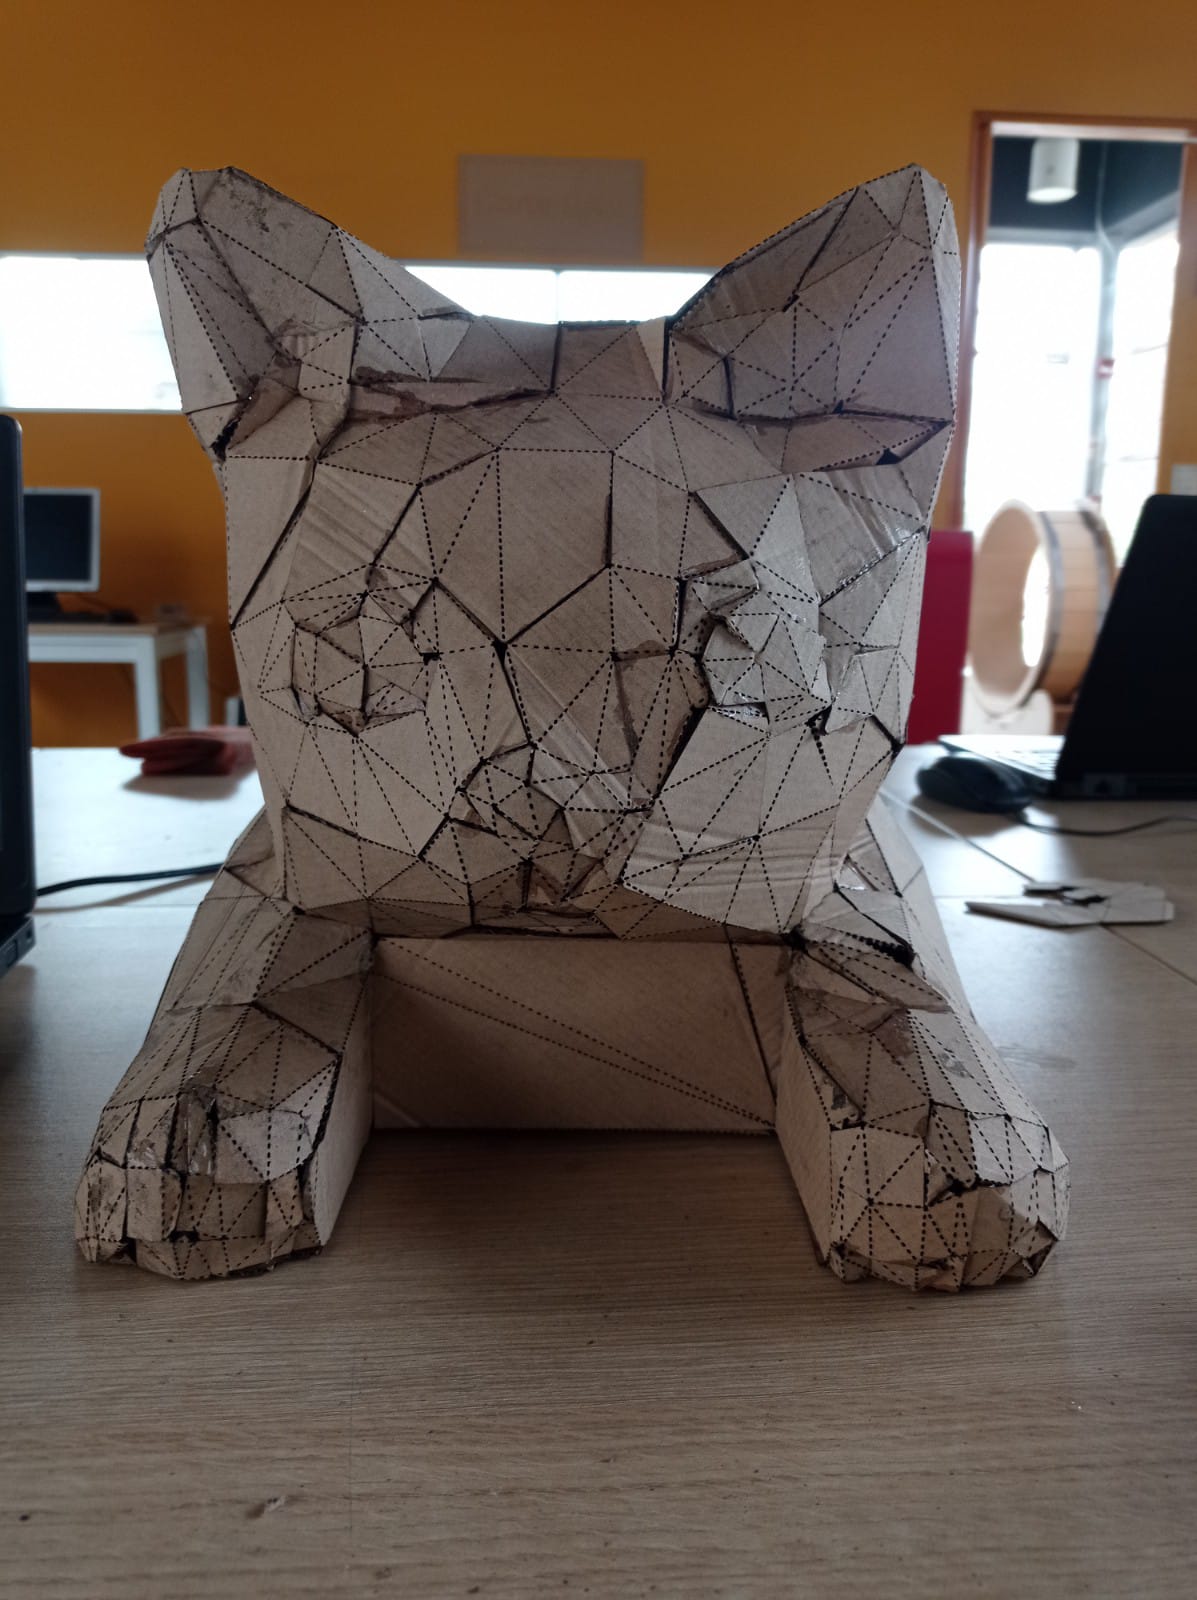
Figure N°14
And this is what all the pieces look like together, a pretty decent product
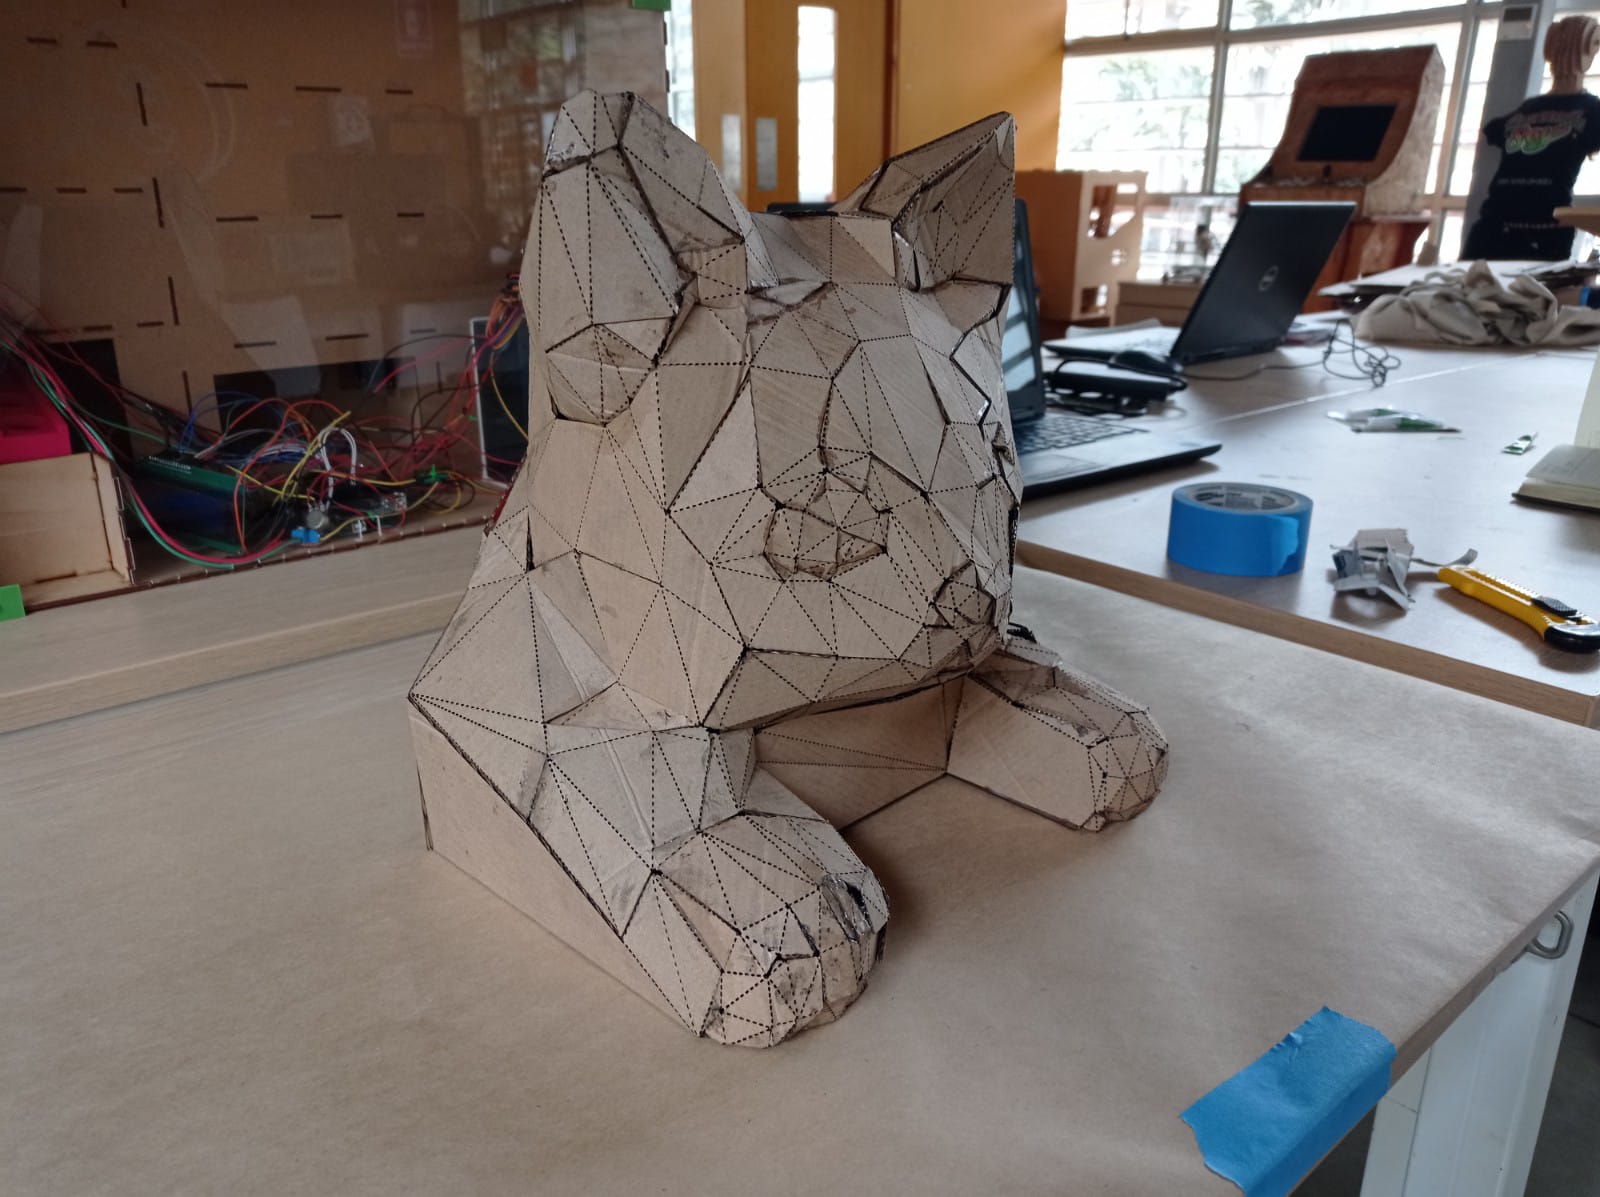
Figure N°15
Now to make the composite we will use fabric to cover the cardboard, we will use the same design to make the cuts.
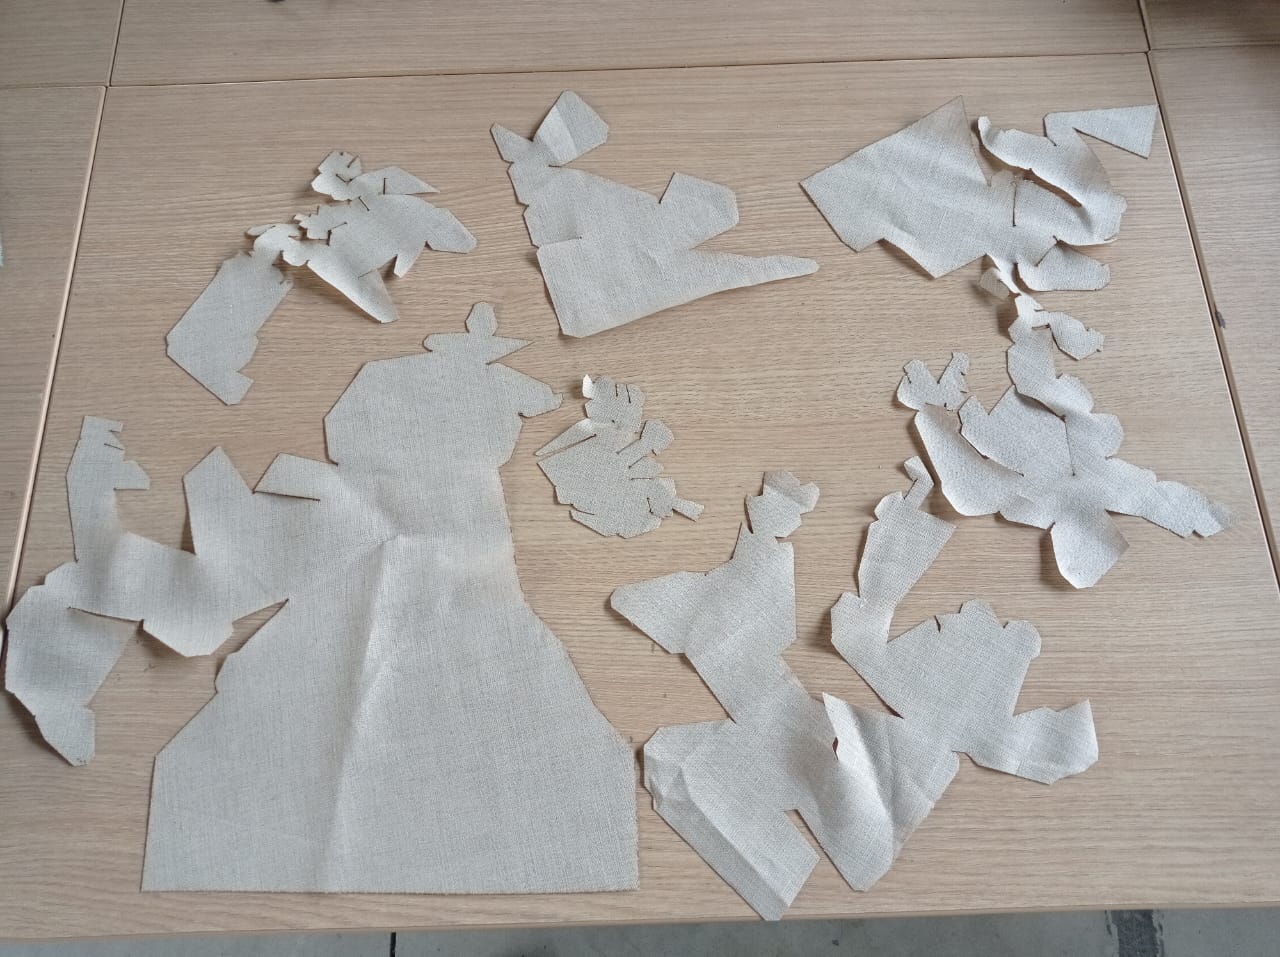
Figure N°16
The proper settings for cutting this fabric are as follows.
| Fabric__ Cut Results __ | |
| Power | 10 - 15 |
| Speed | 1.5 |
Table N°2
The resin that we are going to use is the same one described in week 12.
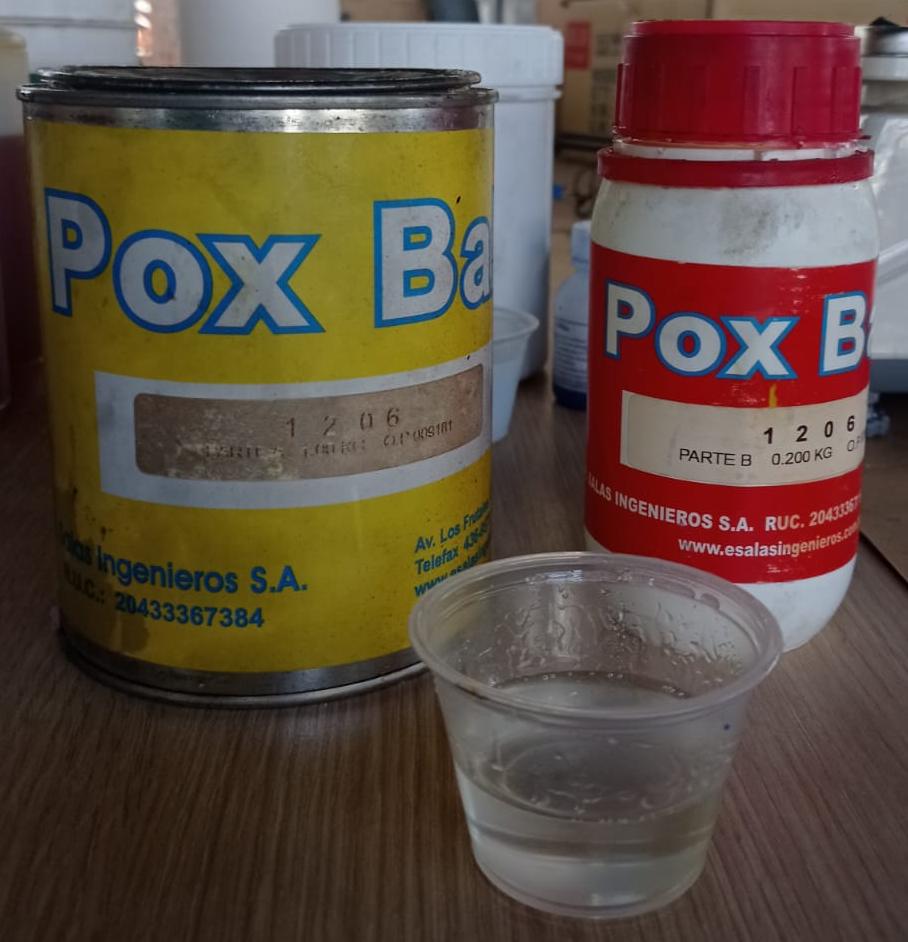
Figure N°17
Therefore, the way to mix this material is as follows:
| Material | Epoxy Resin |
| Mixing Ratio | 1:5 |
| Example | 10 ml(A) : 50 ml(B) |
Table N°3
Each piece of cloth is dipped in the mixture and glued on top of the cardboard.
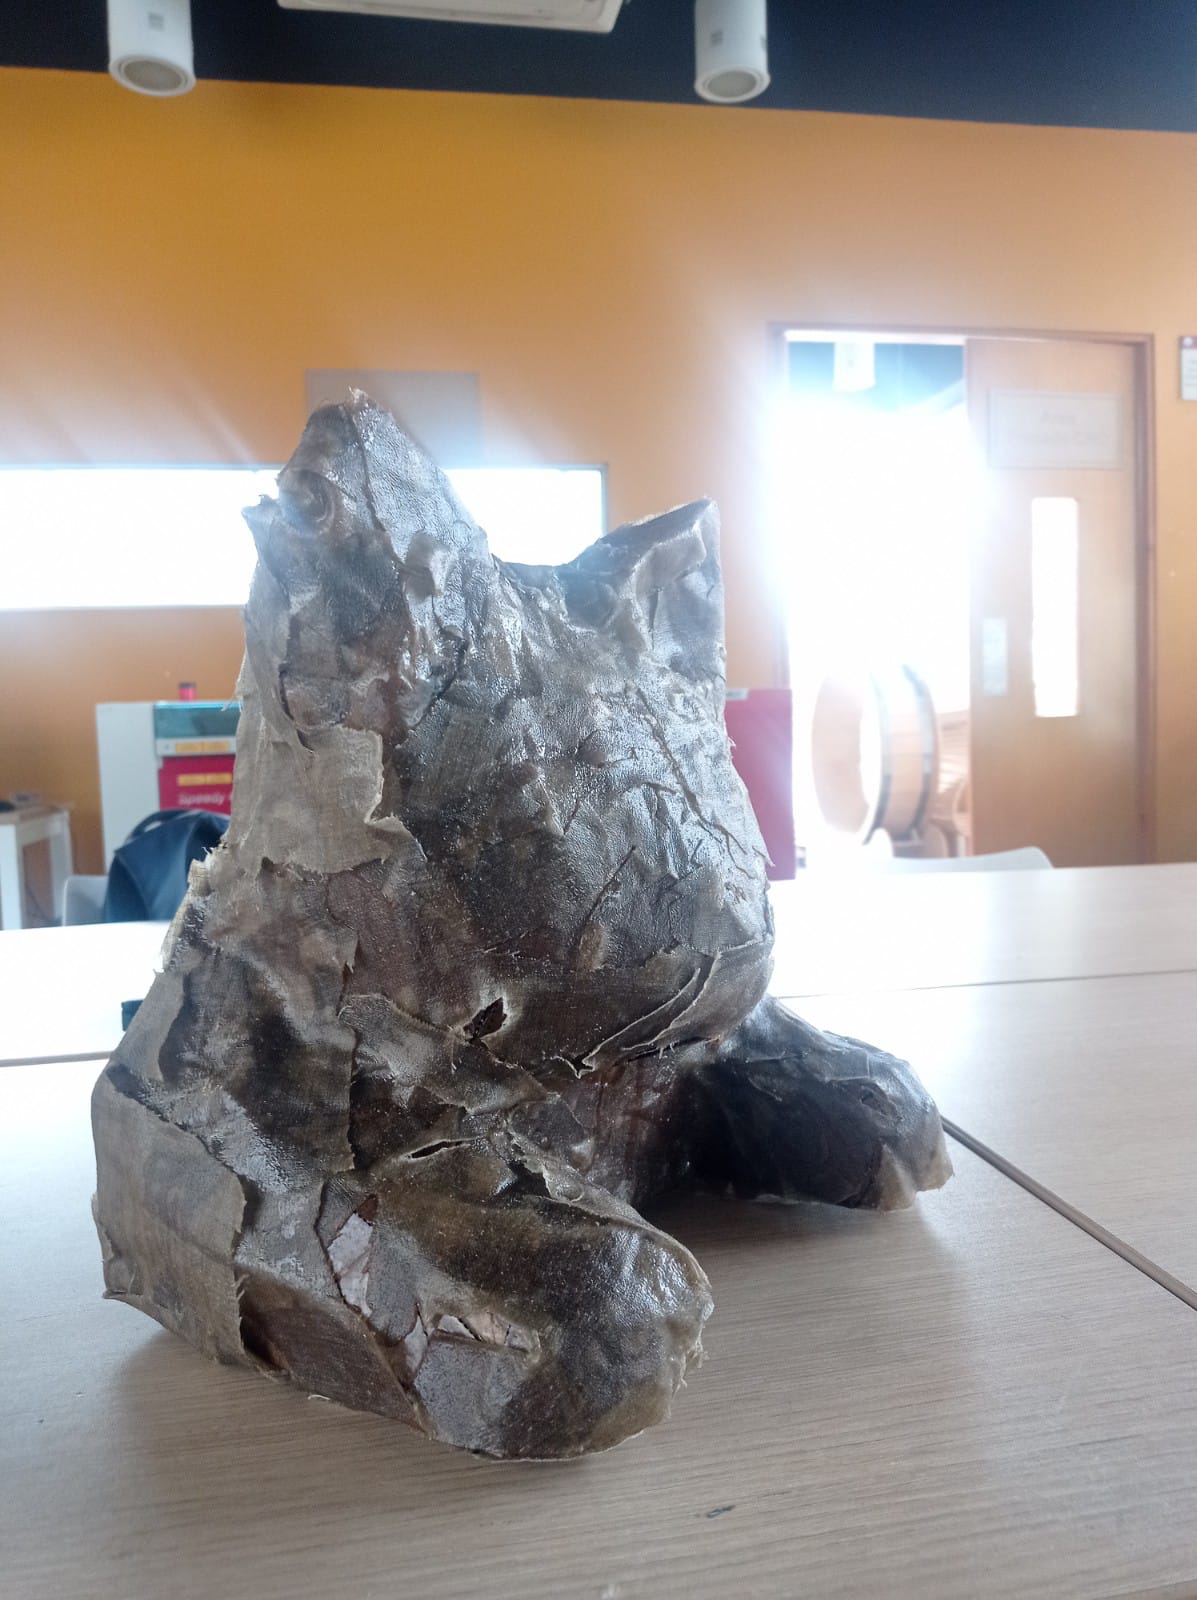
Figure N°18
When the resin is dry, quick-drying drywall putty is added to sand the piece down.
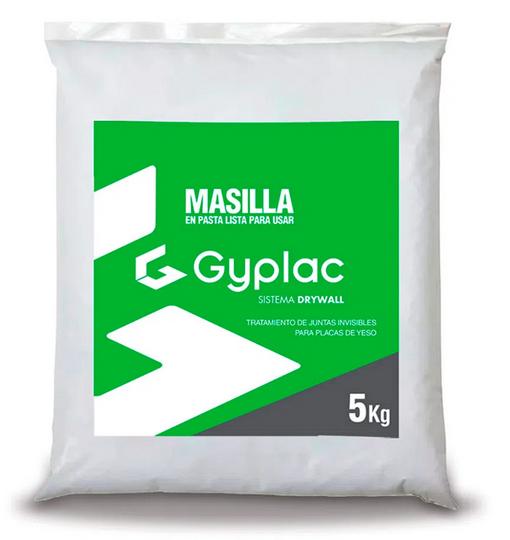
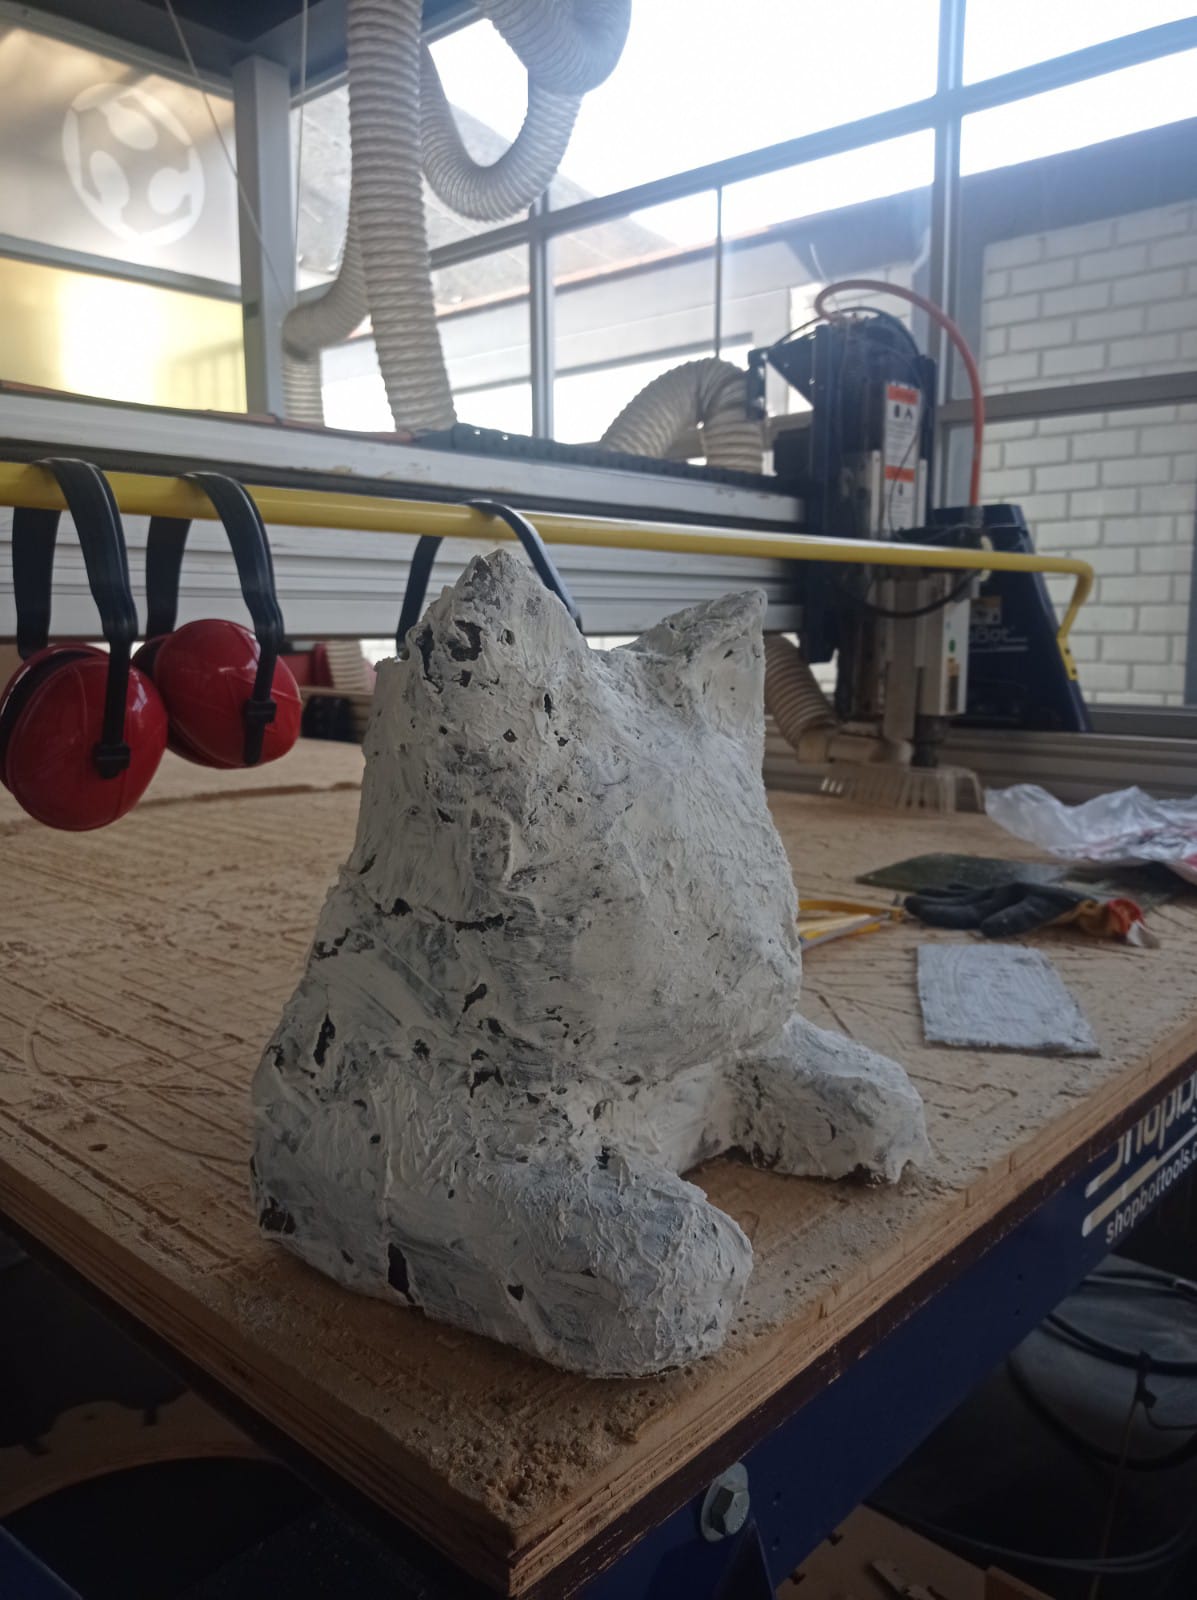
Figure N°19
Two passes of putty were made on the structure.
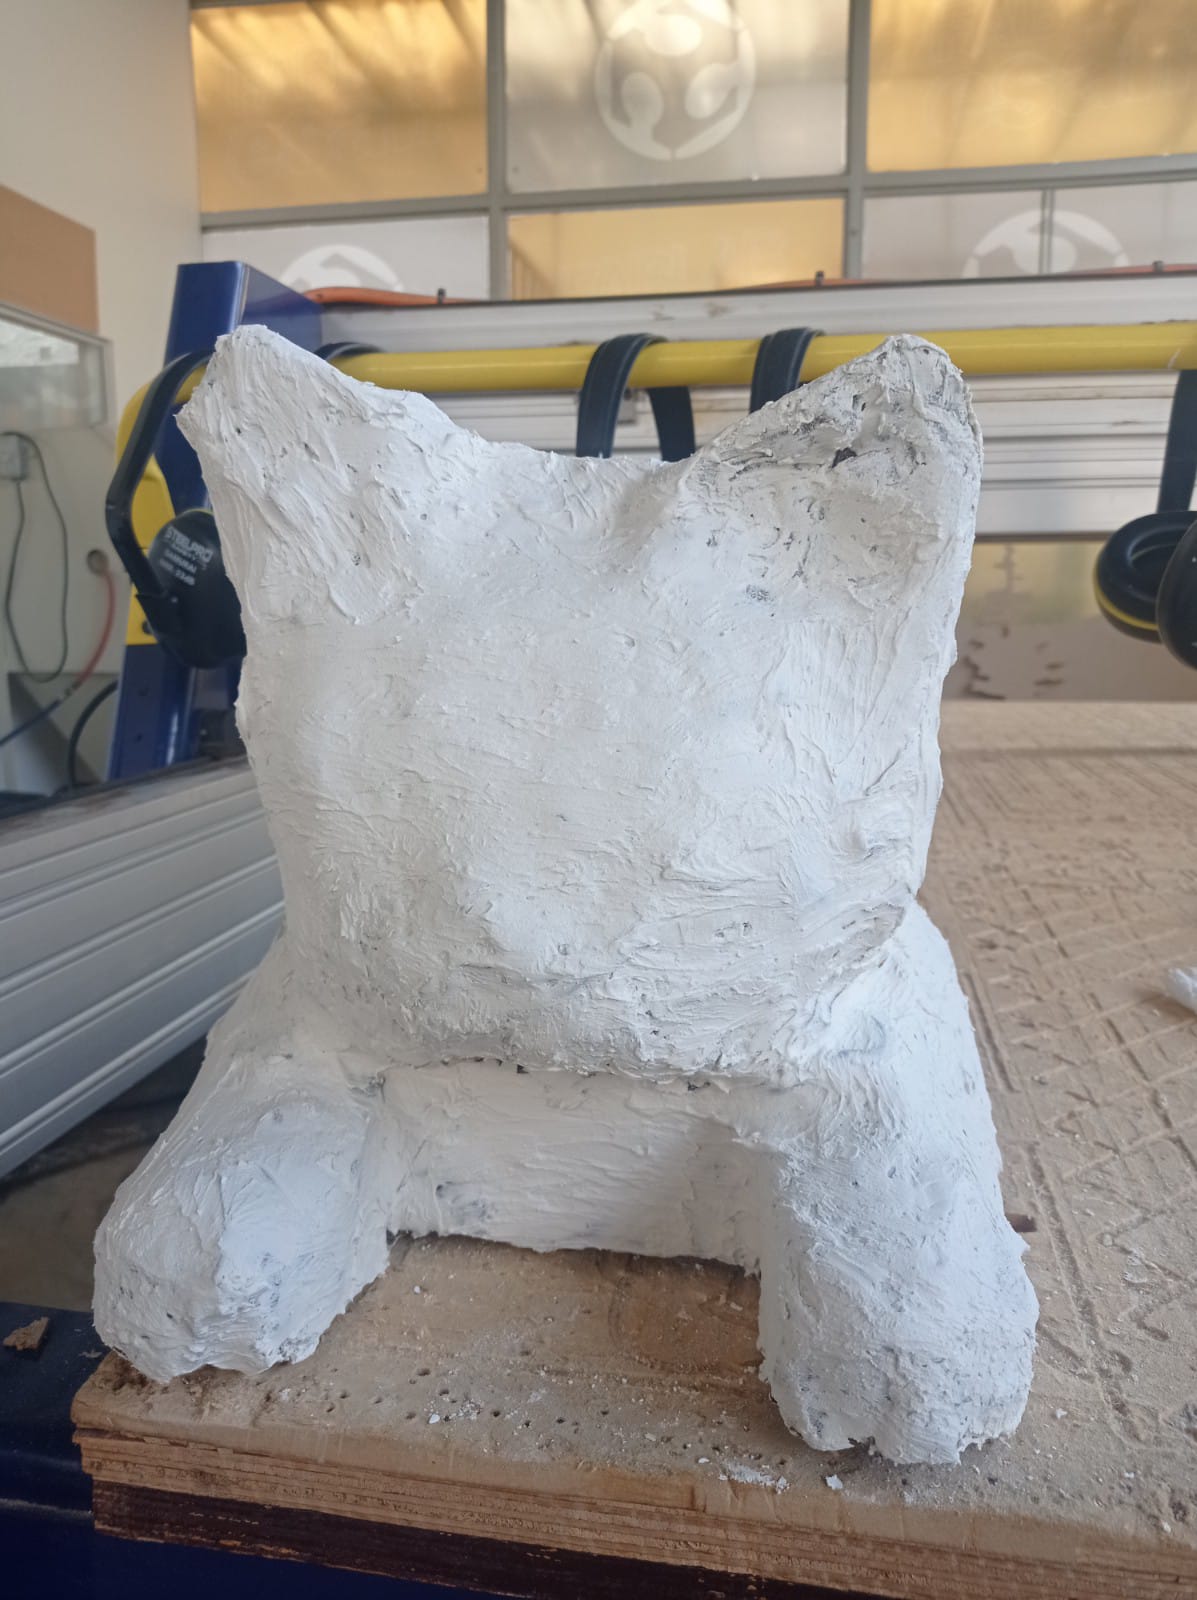
Figure N°20
The entire piece was then sanded and painted, finishing with a better finish.
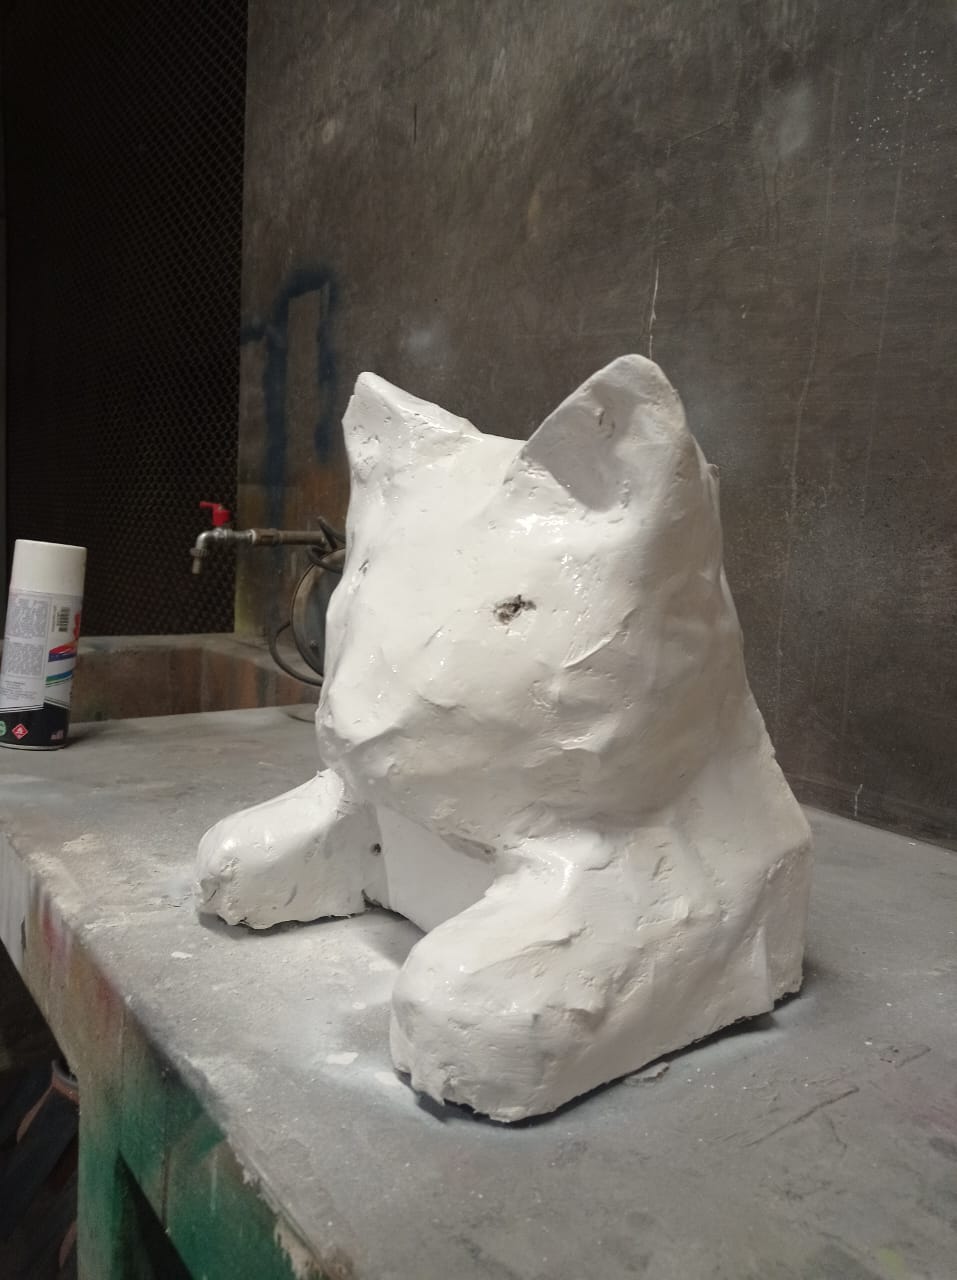
Figure N°21
Finally we obtained a completely solid structure.
Video N°4
The files created or used this week can be downloaded here:
| Cat case in .STL | Link |
| Cut Parts Part-1 | Link |
| Cut Parts Part-2 | Link |
| Cut Parts Part-3 | Link |
| Cut Parts Part-4 | Link |
| Cut Parts Part-5 | Link |