
This week's assignment is to write an application that interacts with a user with input and/or output devices on one of the boards that have been created.
For this task we will use one of the boards created in week 13 where an XIAO ESP32 is used.
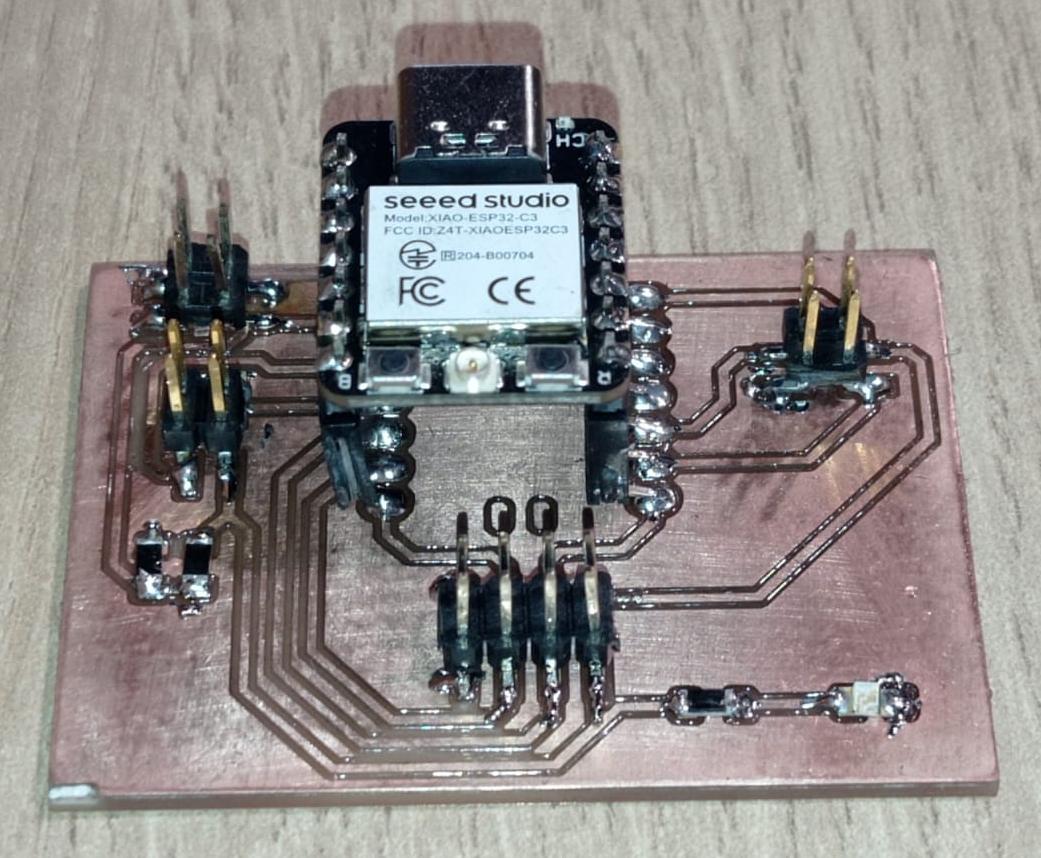
Figure N°1
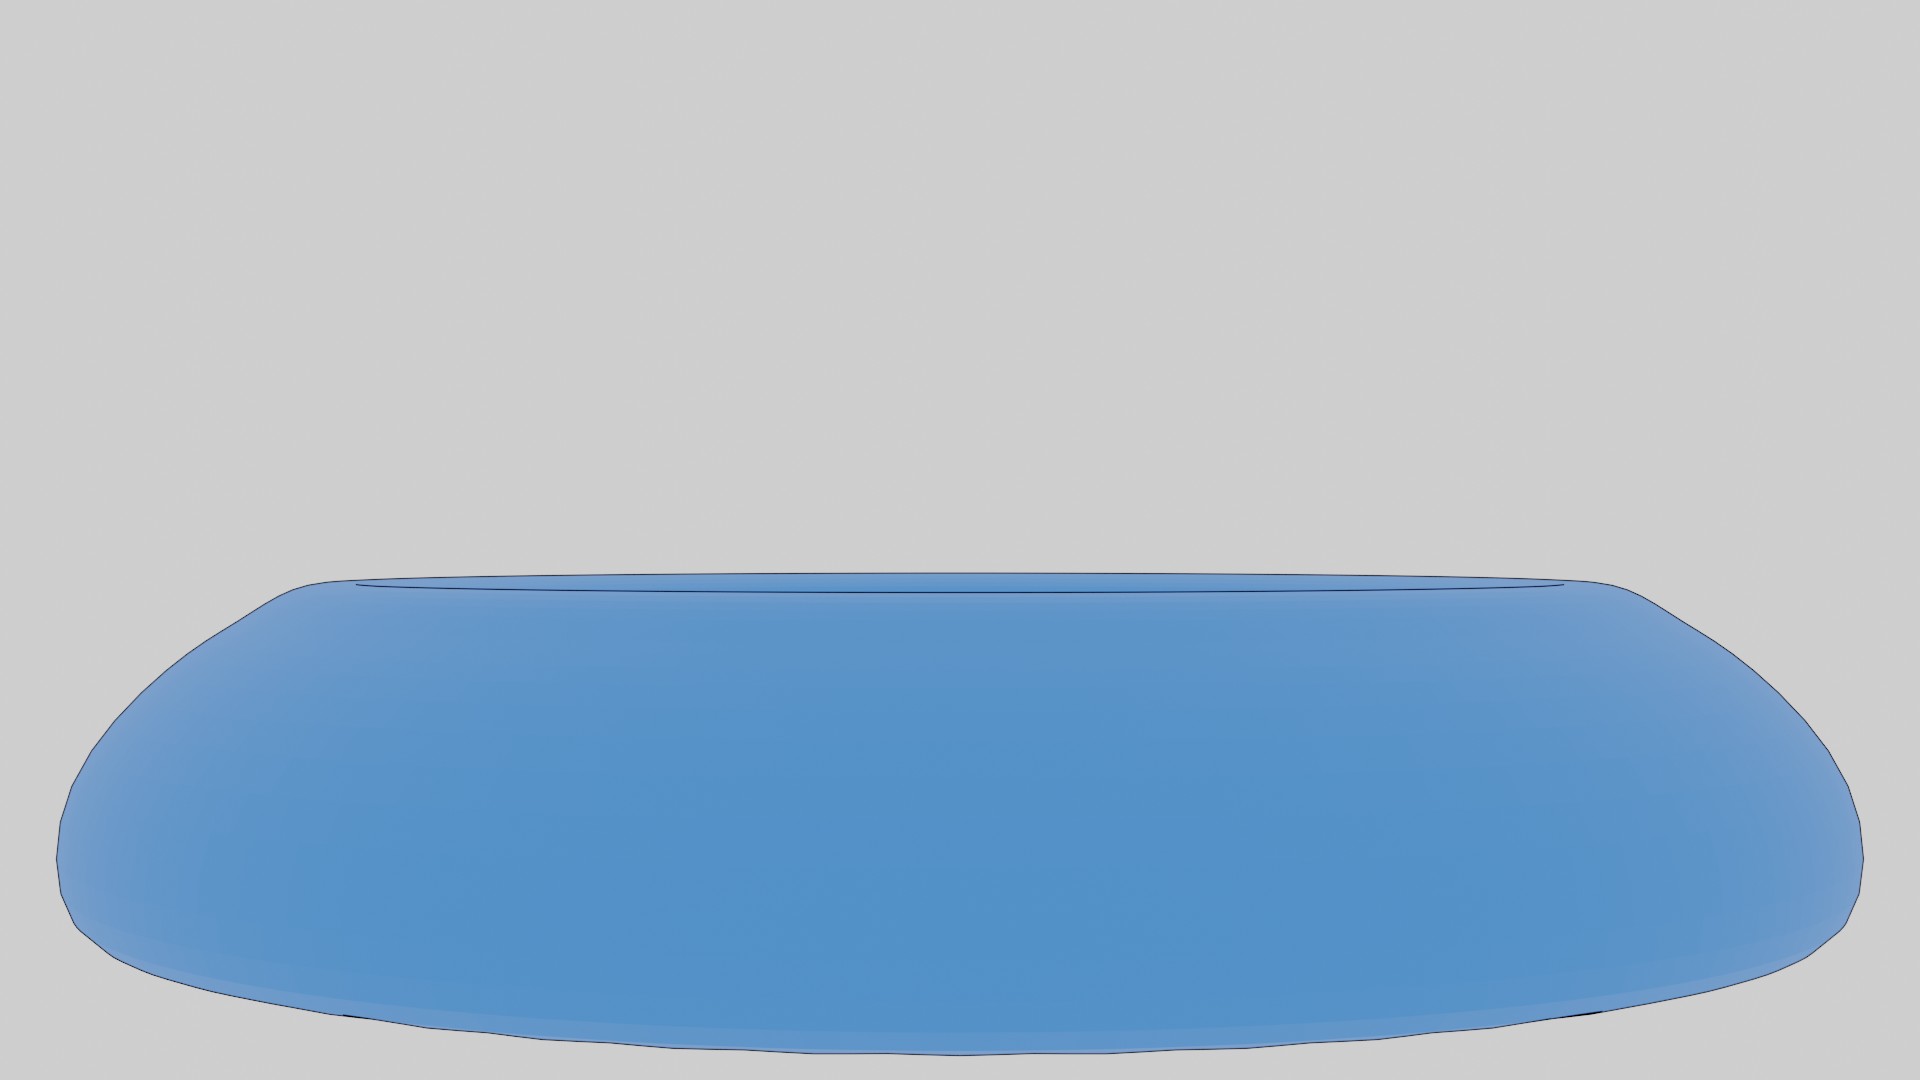
We are going to create a graphic interface that reads the value of a potentiometer and based on the value obtained has an image that changes, since our final project is the automatic cat feeder, the image we will use will be an empty bowl to a full one.
The language that we will use to program our interface will be Python together with the Tkinter library, we will use chatgpt to give us a basic script that we will modify.
The prompt that was used was the following: "I want to make a graphical interface in python in which I have an image that changes depending on the value read by pyserial"
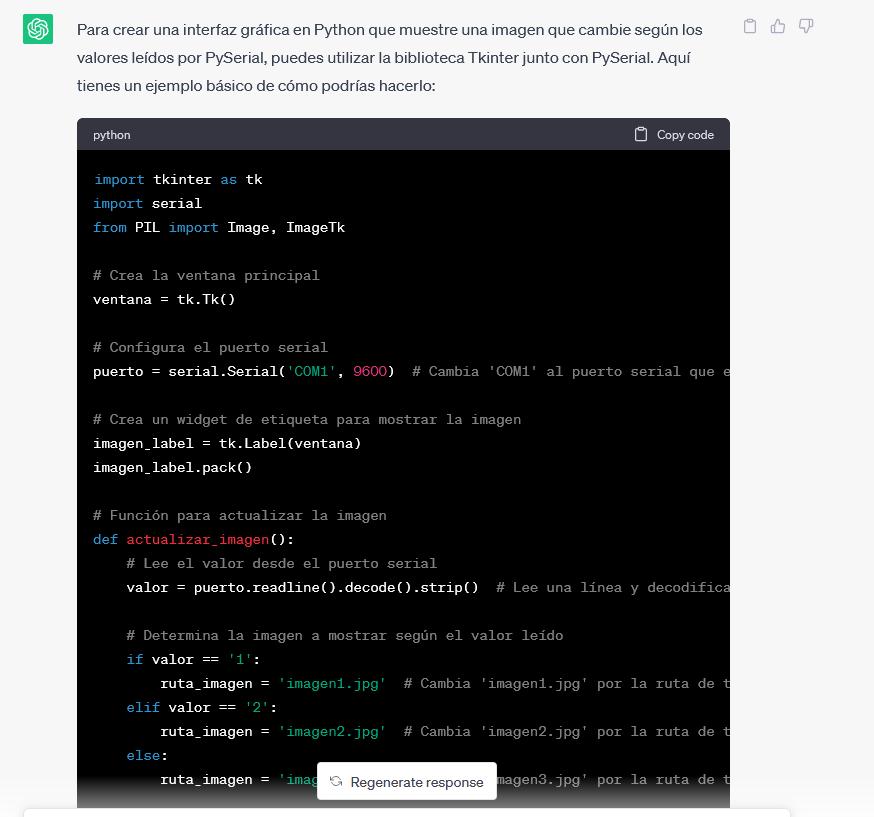
Figure N°2
The result obtained was the following:
import tkinter as tk
import serial
from PIL import Image, ImageTk

# Crea la ventana principal
ventana = tk.Tk()

# Configura el puerto serial
puerto = serial.Serial('COM20', 9600)  # Cambia 'COM1' al puerto serial que estés utilizando

# Crea un widget de etiqueta para mostrar la imagen
imagen_label = tk.Label(ventana)
imagen_label.pack()

# Función para actualizar la imagen
def actualizar_imagen():
    # Lee el valor desde el puerto serial
    valor = puerto.readline().decode().strip()  # Lee una línea y decodifica los bytes a cadena

    # Determina la imagen a mostrar según el valor leído
    if valor == '1':
        ruta_imagen = 'imagen1.jpg'  # Cambia 'imagen1.jpg' por la ruta de tu primera imagen
    elif valor == '2':
        ruta_imagen = 'imagen2.jpg'  # Cambia 'imagen2.jpg' por la ruta de tu segunda imagen
    else:
        ruta_imagen = 'imagen3.jpg'  # Cambia 'imagen3.jpg' por la ruta de tu tercera imagen

    # Carga la imagen y la muestra en el widget de etiqueta
    imagen = Image.open(ruta_imagen)
    imagen = imagen.resize((300, 300))  # Cambia el tamaño de la imagen según tus necesidades
    imagen_tk = ImageTk.PhotoImage(imagen)
    imagen_label.configure(image=imagen_tk)
    imagen_label.image = imagen_tk  # Actualiza la referencia a la imagen para evitar que sea eliminada por el recolector de basura

    # Programa la próxima actualización de la imagen
    ventana.after(1000, actualizar_imagen)  # Cambia el intervalo de actualización según tus necesidades (en milisegundos)

# Inicia la actualización de la imagen
actualizar_imagen()

# Ejecuta el bucle principal de la interfaz gráfica
ventana.mainloop()
From this we will make a small change, we will increase one more option in the conditional so that there are 4 images depending on the value obtained.
    if valor == '1':
        ruta_imagen = 'imagen1.jpg'
    elif valor == '2':
        ruta_imagen = 'imagen2.jpg'
    elif valor == '3':
        ruta_imagen = 'imagen3.jpg'
    else:
        ruta_imagen = 'imagen0.jpg'
Additionally, the image refresh time was also changed to be 10 milliseconds and the image size was changed to (960,540).
Then another request was made for an arduino script that works with the interface, the prompt used was the following: "what would be the arduino code to send the signal through the serial port"
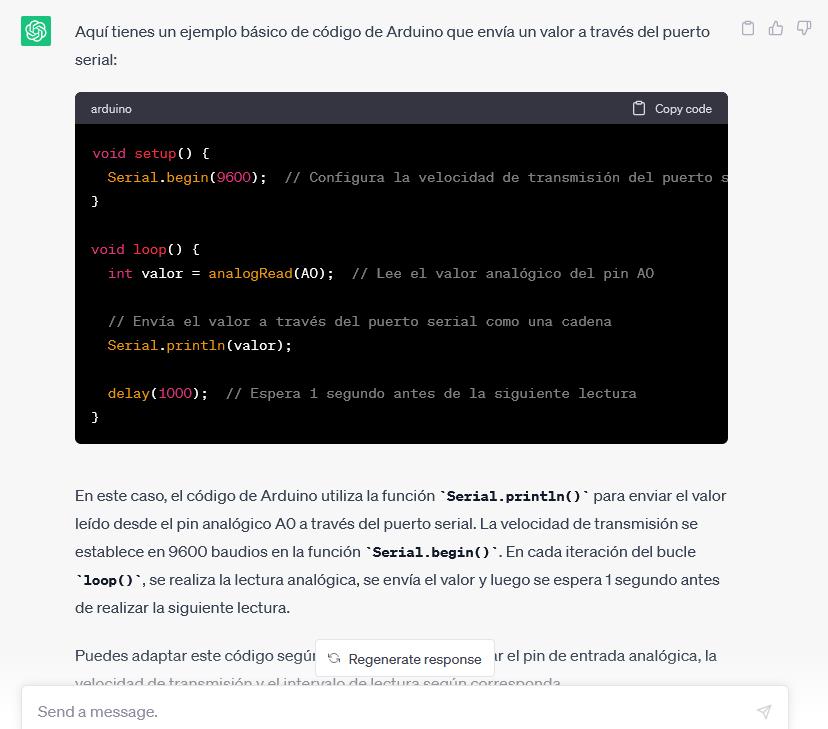
Figure N°3
The result obtained was the following:
void setup() {
  Serial.begin(9600);  // Configura la velocidad de transmisión del puerto serial a 9600 baudios
}

void loop() {
  int valor = analogRead(A0);  // Lee el valor analógico del pin A0

  // Envía el valor a través del puerto serial como una cadena
  if (valor < 512) {
    Serial.println('1');
  } else {
    Serial.println('2');
  }

  delay(1000);  // Espera 1 segundo antes de la siguiente lectura
}
Here the result was quite simple, we make changes in the conditional since when using this module we have a 12-bit ADC, that is, the values go from 0 to 4095.
if (valor <= 4095 && valor>=3072) {
  Serial.println('3');
}
else if (valor < 3072 && valor>=2048) {
  Serial.println('2');
}
else if (valor < 2048 && valor>=1024) {
  Serial.println('1');
}
else {
  Serial.println('0');
}
delay(100);
To design the images of the interface, Blender was used, starting from a basic figure called a torus using the edition mode, a bowl for pets was created.
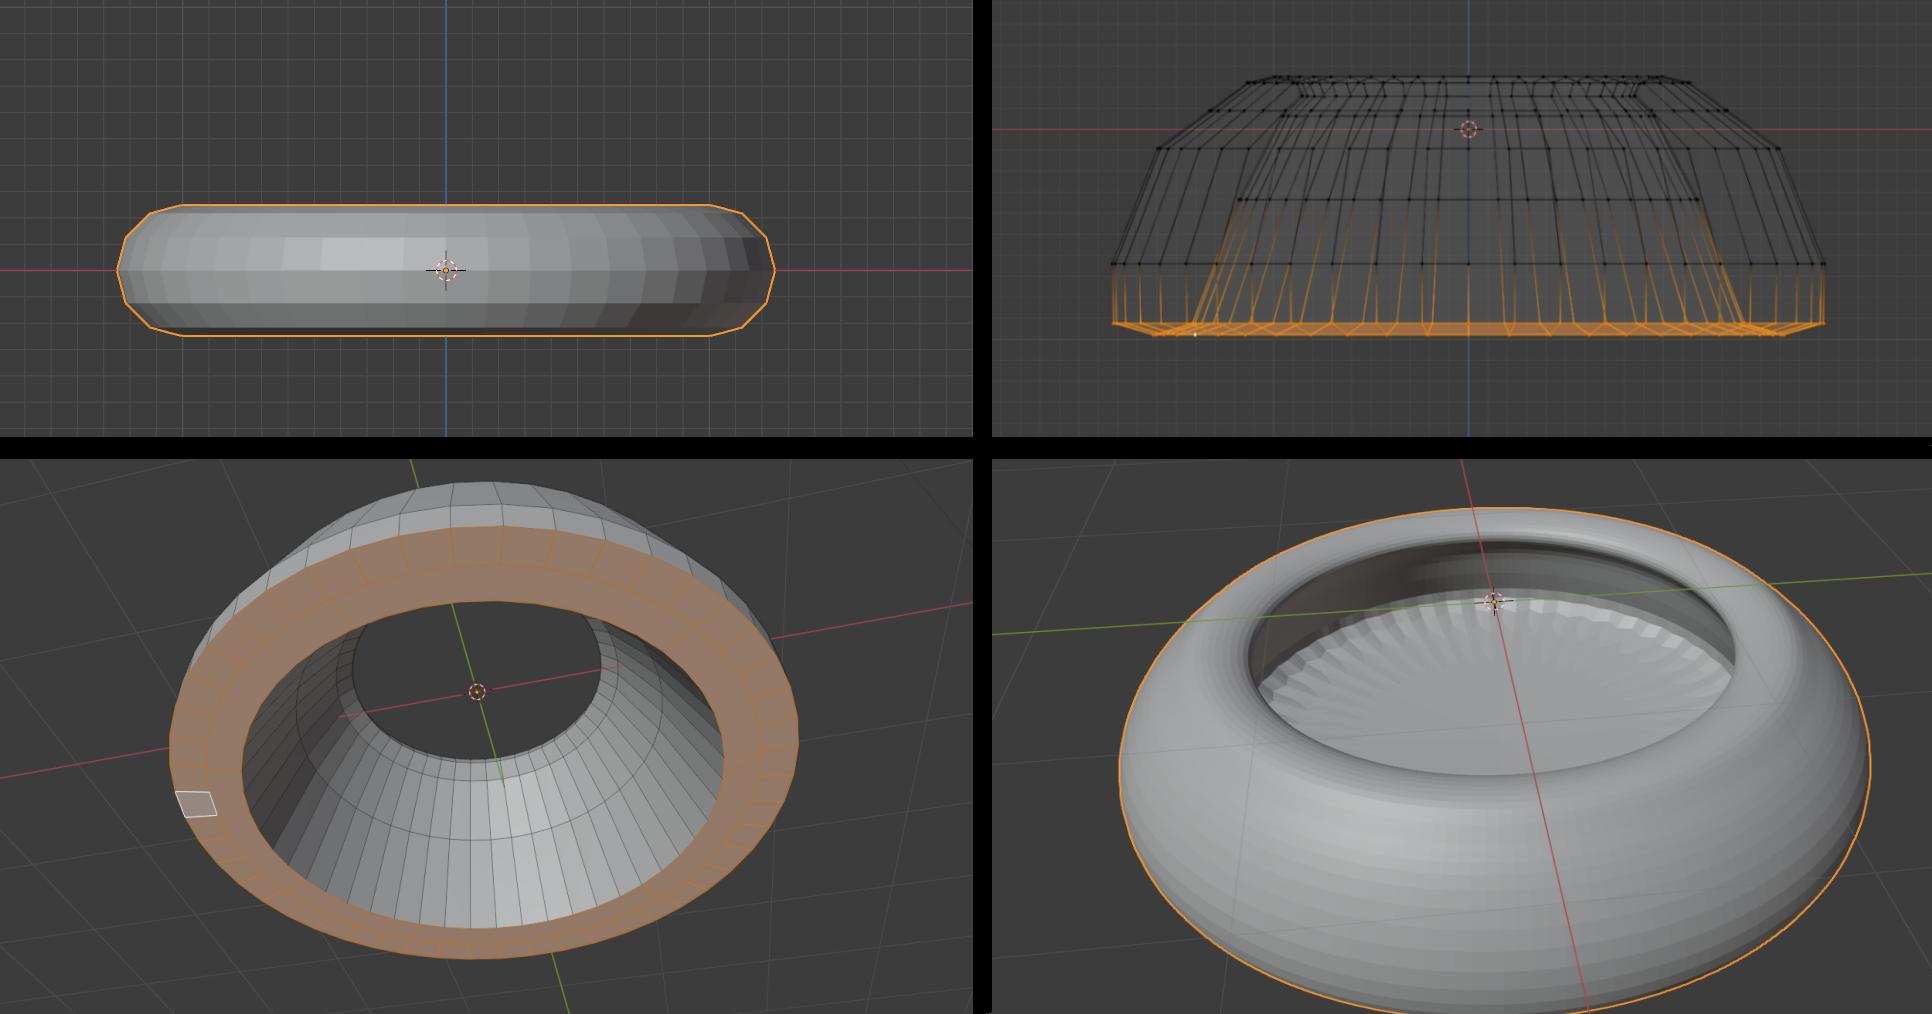
Figure N°4
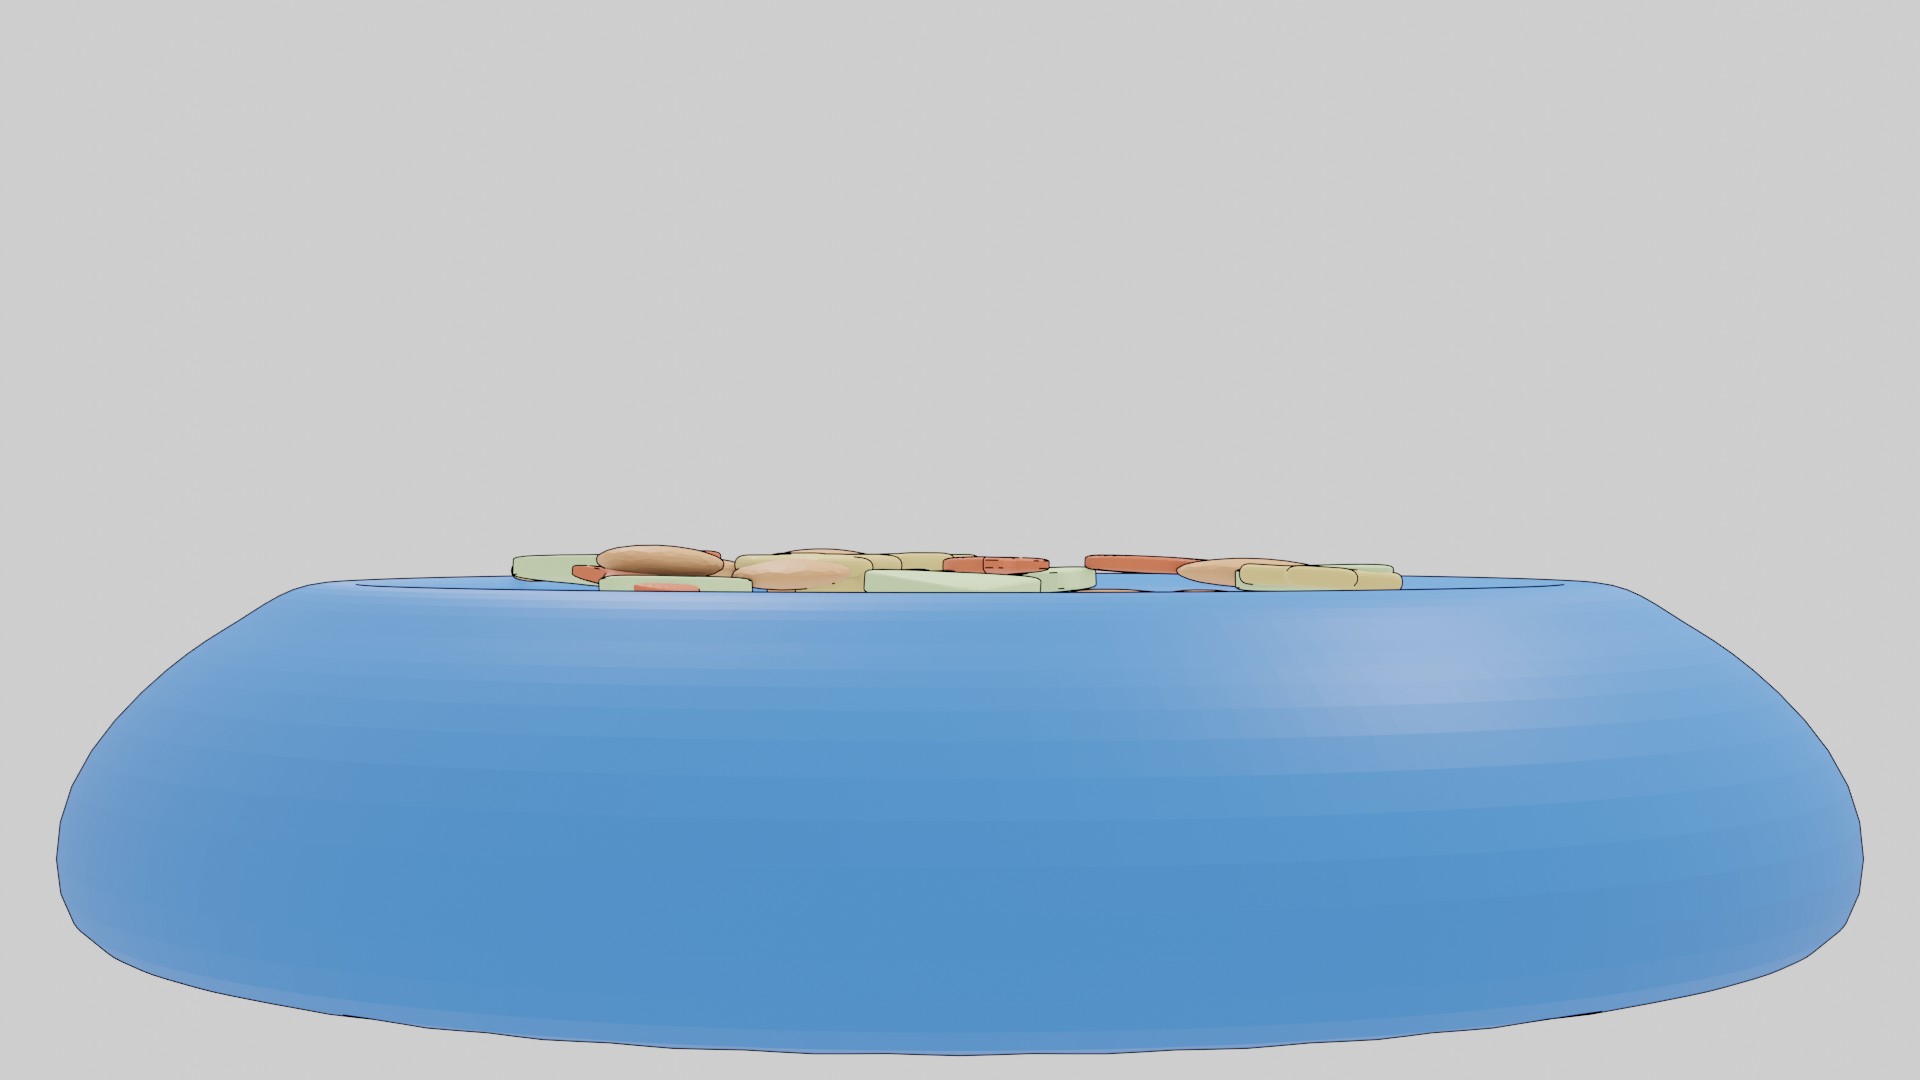
Basic figures representing the small cookies were also created and they filled the bowl to create these images.
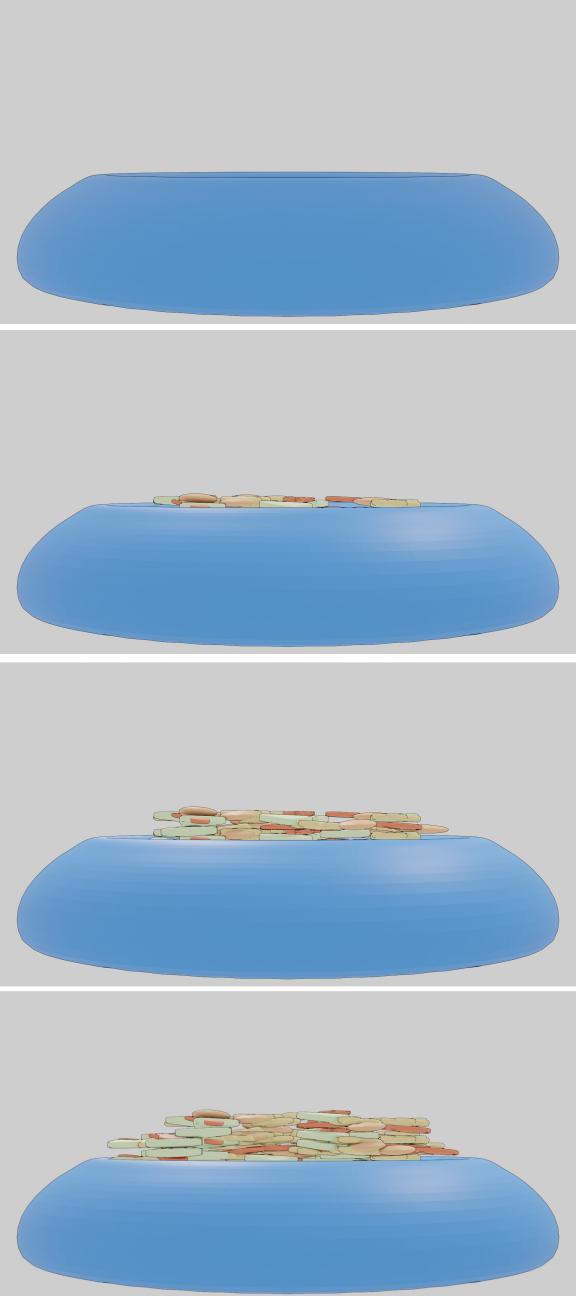
Figure N°5
We uploaded the arduino code to our XIAO ESP32 and the python script was executed from the Geany IDE.
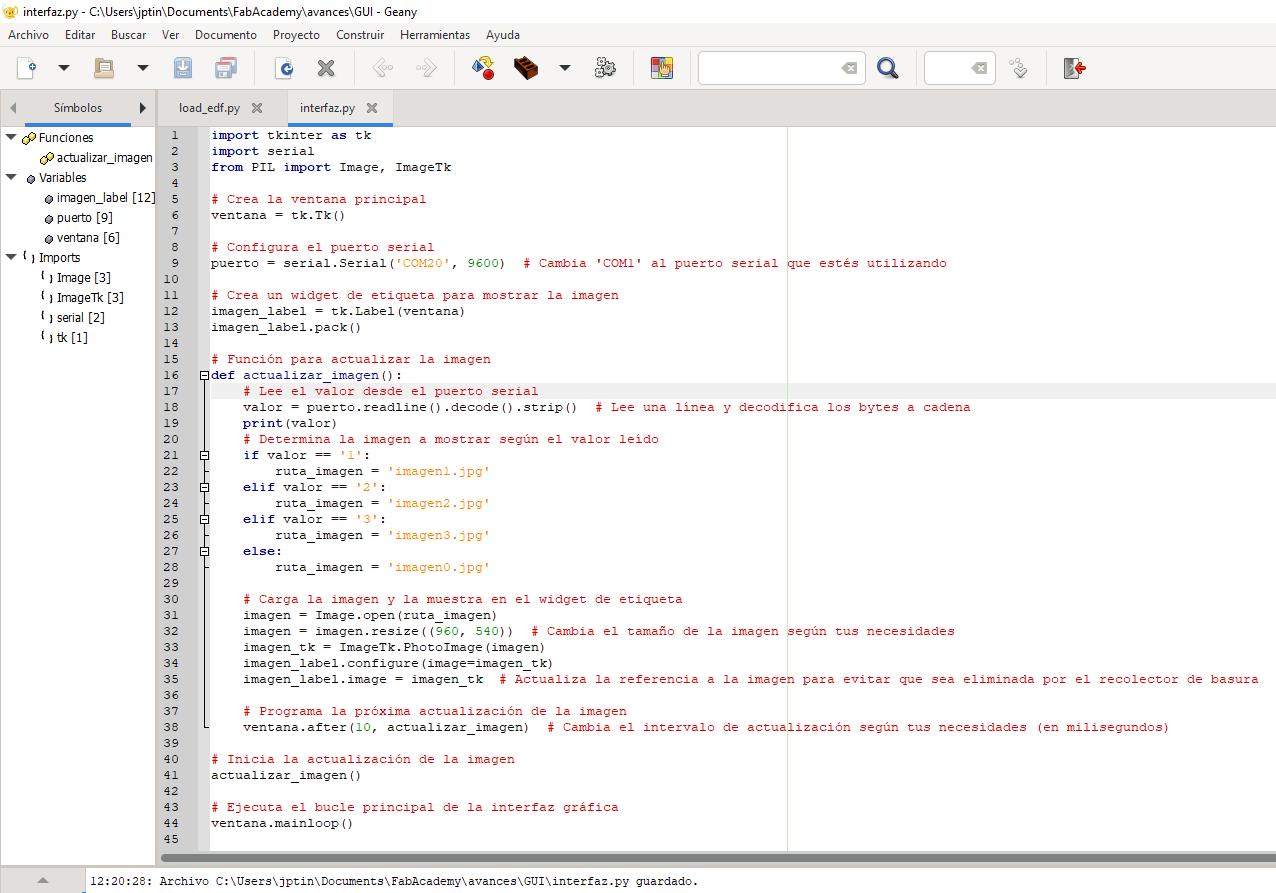
Figure N°6
We see a demonstration of the integrated elements.
Video N°1
The goal now is to write an application that interfaces a user with input and/or output device(s) on a board that we made. We will use the PCB created in week 13 with the XIAO-ESP32 and a servo motor.
This language is used in conjunction with arduino to create interactive graphical interfaces. The IDE is quite similar to the Arduino IDE.
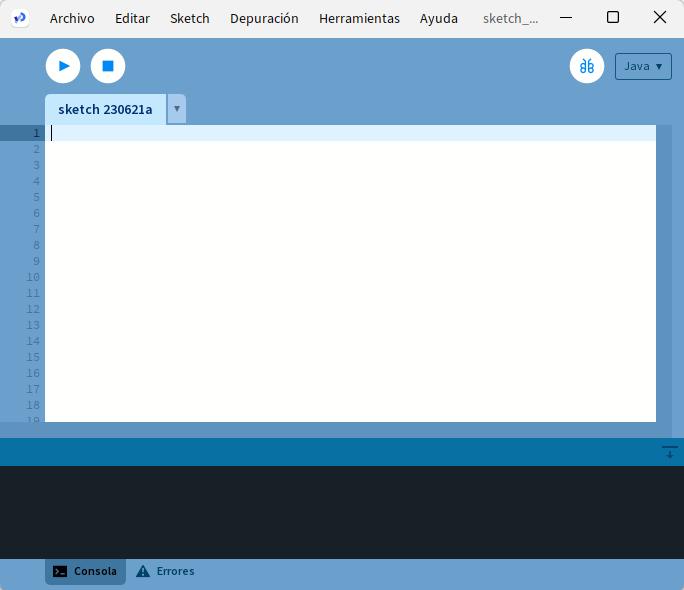
Figure N°7
For this task we will use the Control P5 library, to install it we must go to Sketch --> Library Import and place the term in the search engine and install.

Figure N°8
In this language we have two main functions like arduino but instead of void loop() we have void draw().
In the Setup part we define the size of the window, we establish the communication port according to the PC port assigning it to a Control P5 instance, then we create a button defining its position and size.
                      import controlP5.*; //import ControlP5 library
                      import processing.serial.*;

                      Serial port;

                      ControlP5 cp5; //create ControlP5 object

                      void setup(){ //Same as setup in arduino

                        size(500, 500);                          //Window size, (width, height)
                        port = new Serial(this, "COM20", 9600);   //Change this to your port

                        cp5 = new ControlP5(this);

                        cp5.addButton("Button")  //The button
                          .setPosition(150, 140)  //x and y coordinates of upper left corner of button
                          .setSize(200, 150)      //(width, height)
                        ;

                      }

                      void draw(){  //Same as loop in arduino

                        background(150, 0 , 0); //Background colour of window (r, g, b) or (0 to 255)

                      }

                      void Button(){

                        port.write('t');

                      }
Finally, a function is created for the button with which we will transmit the letter 't' via serial.
This is how the interface with the button would look.
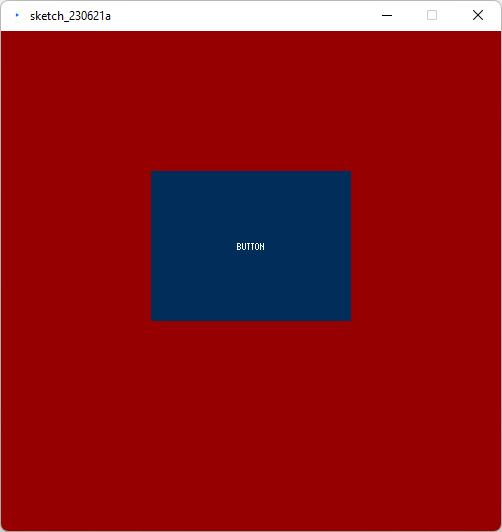
Figure N°9
From the arduino side, since we are using an XIAO-ESP32 module, we cannot use the usual servo library, but we must use the library called "ESP32Servo.h"
Within Setup we assign the microcontroller timers and assign the servo to a pin defining the rise and fall time in milliseconds.
Then, based on the value read by the serial port, we will place the servomotor in one position (0°) or another (180°).
                      #include
                        Servo myservo;
                        boolean state = false;

                        void setup() {
                         Serial.begin(9600);   //Start serial communication @9600 bps
                          ESP32PWM::allocateTimer(0);
                          ESP32PWM::allocateTimer(1);
                          ESP32PWM::allocateTimer(2);
                          ESP32PWM::allocateTimer(3);
                          myservo.attach(9, 500, 2400);
                        }

                        void loop() {

                          if (Serial.available()) {

                            char val = Serial.read();

                            if (val == 't') {
                              if (state == false) {
                                state = true;
                                 myservo.write(0);
                              } else {
                                state = false;
                                 myservo.write(180);
                              }
                            }

                          }
                        }
We see a demonstration of the integrated elements.
Video N°2
The files created or used this week can be downloaded here:
| Python GUI | Link |
| Image 0 | Link |
| Image 1 | Link |
| Image 2 | Link |
| Image 3 | Link |
| XIAO ESP32 Pyserial | Link |
| Script Processing button | Link |
| Script Servo ESP32 | Link |