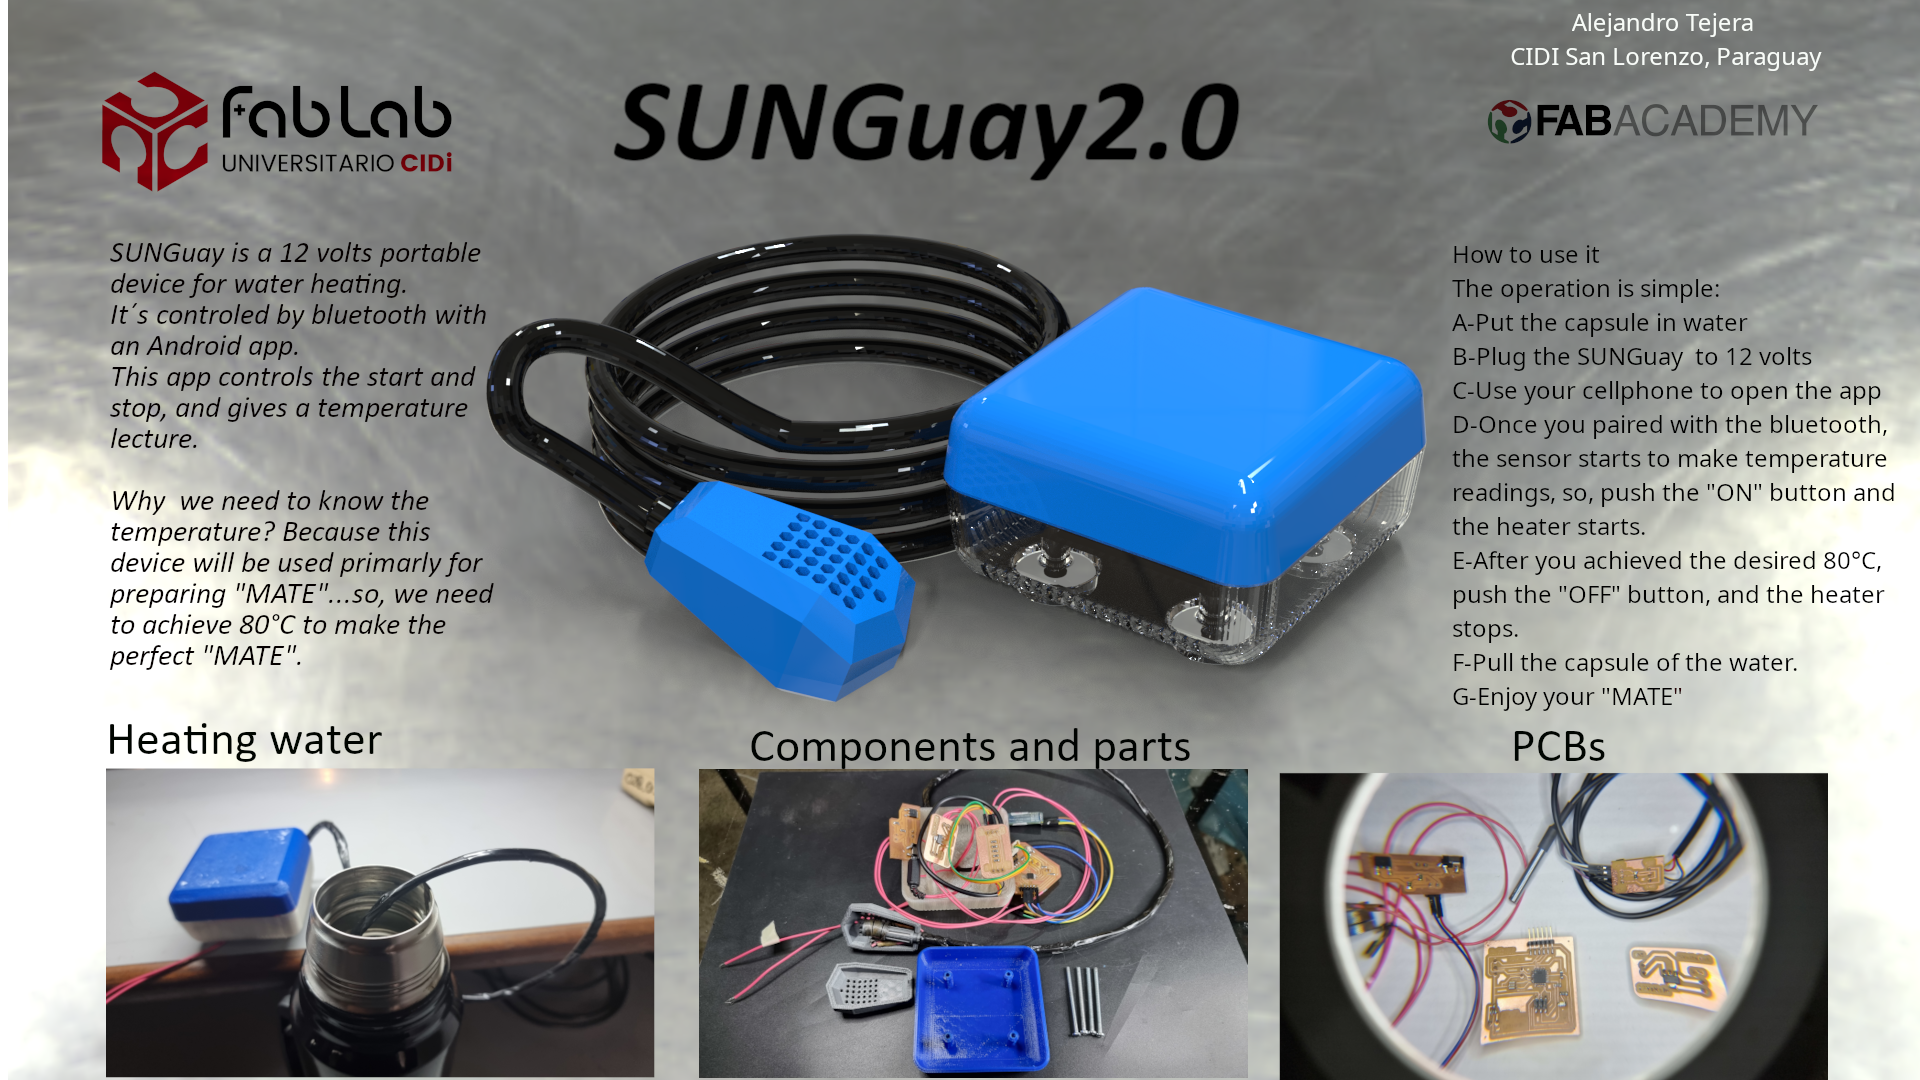
Final project
First approach
Well, i started to make some parts for my final project to see if it´s good idea.
Made an output module with a mosfet to make it posible to work heating element with a higher voltage...it worked.
Now i´m testing my inputs....a heater sensor...and i´m stuck right there.
I made the board of fabacademy's examples, with the thermistor....didn't work.
Also made another one with a submergible sensor....didn't work either.
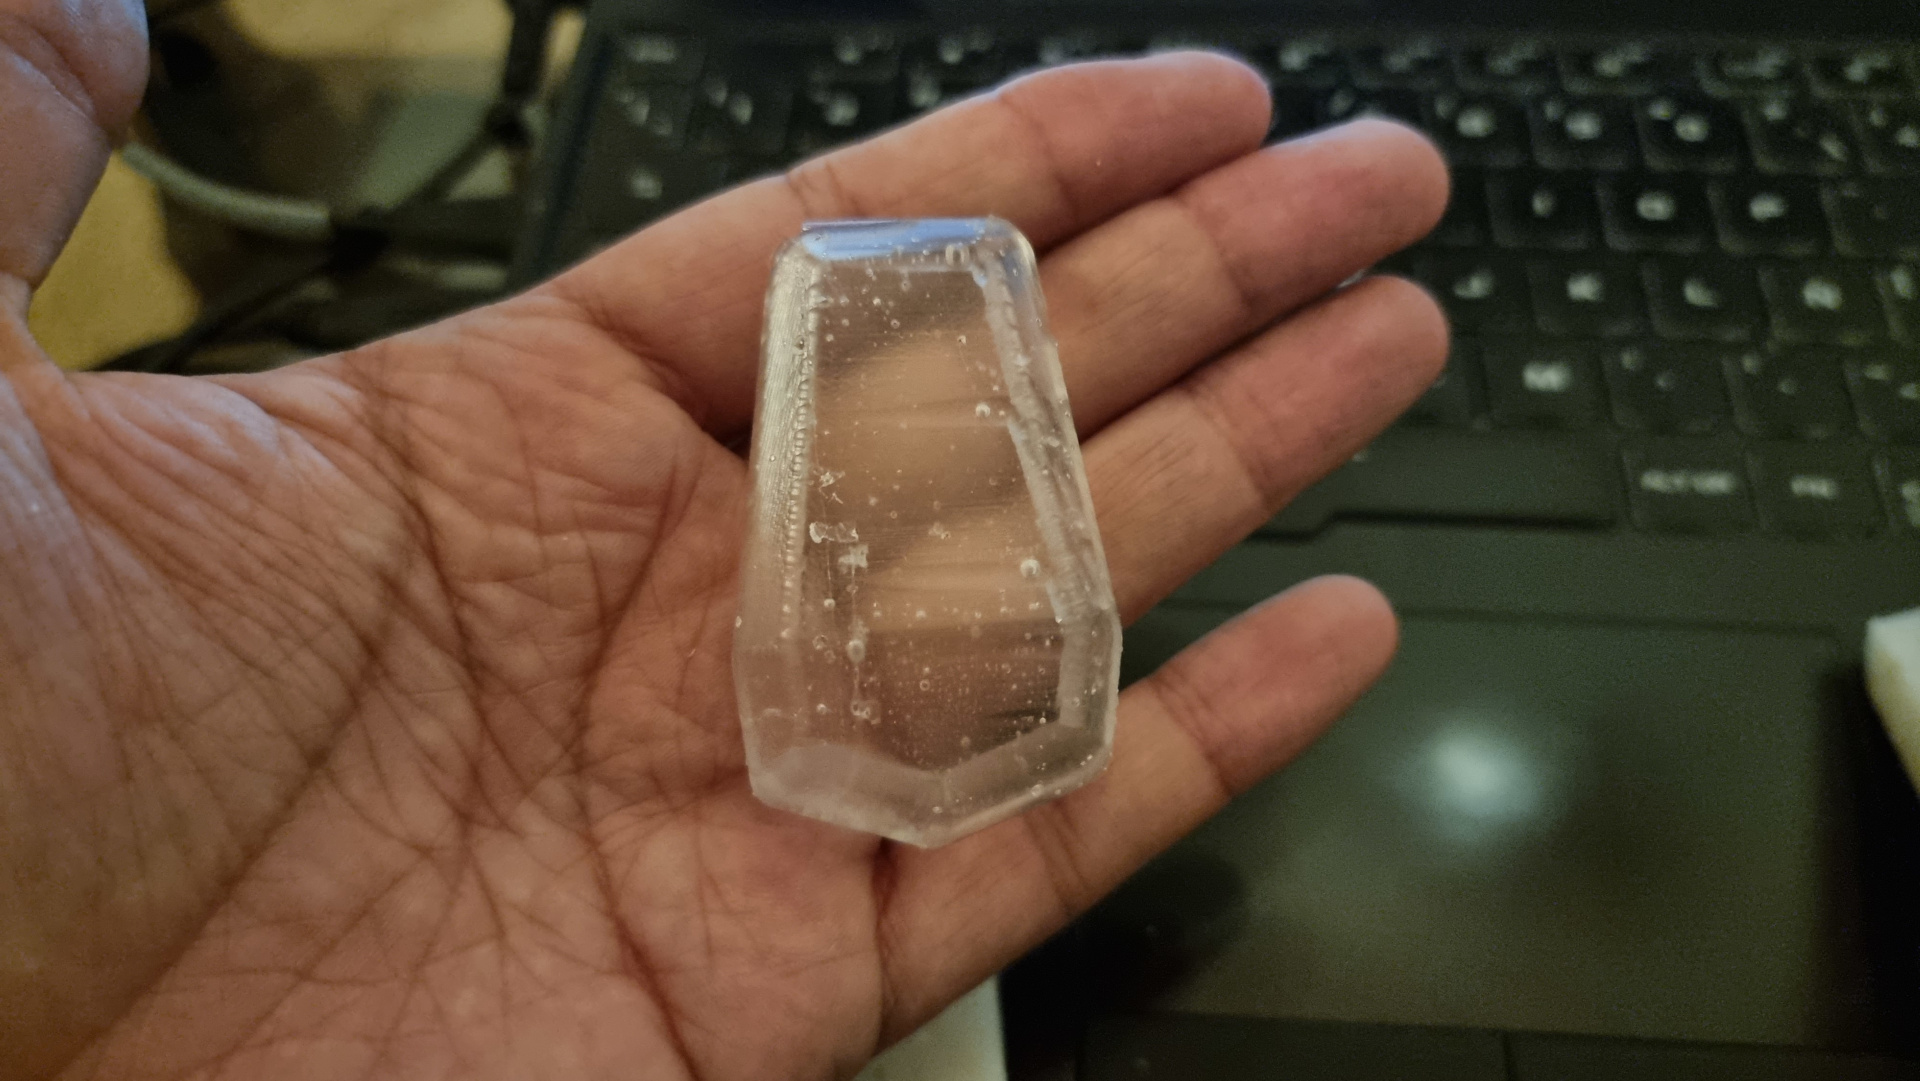
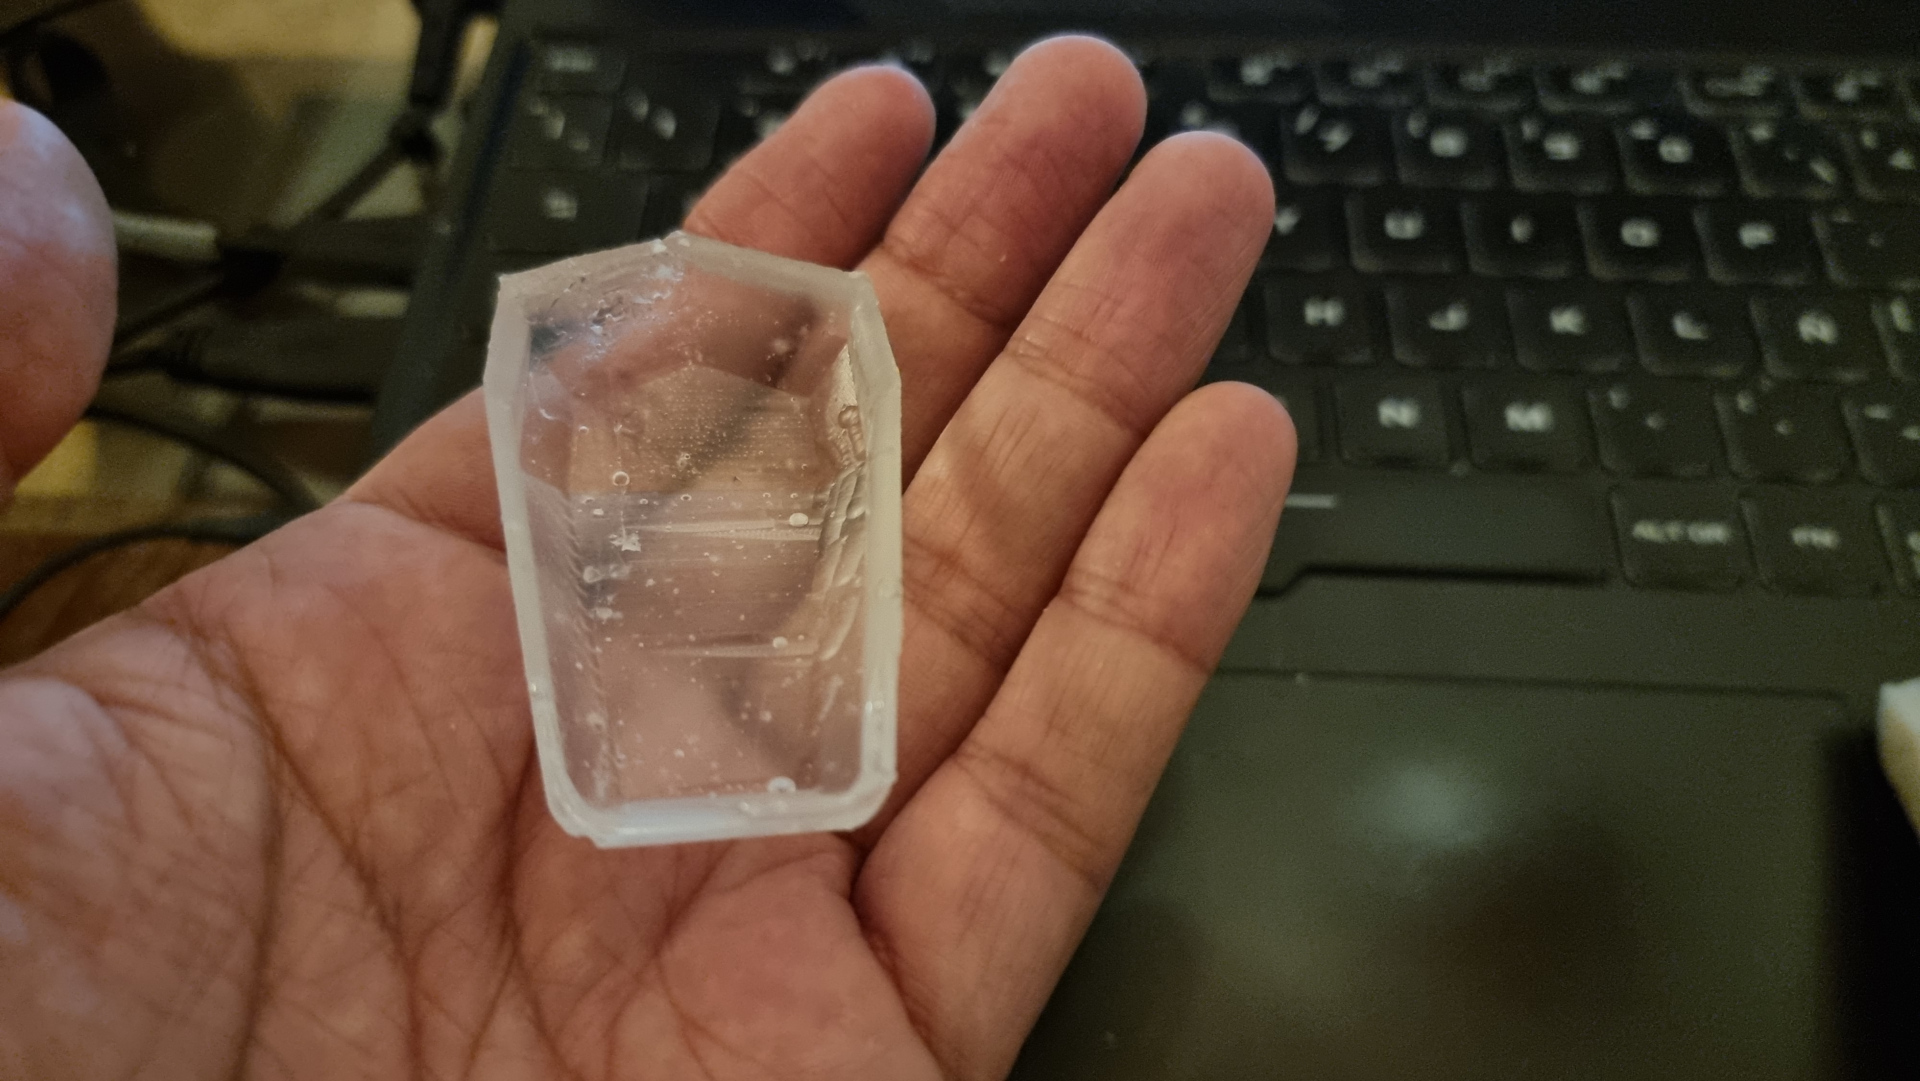
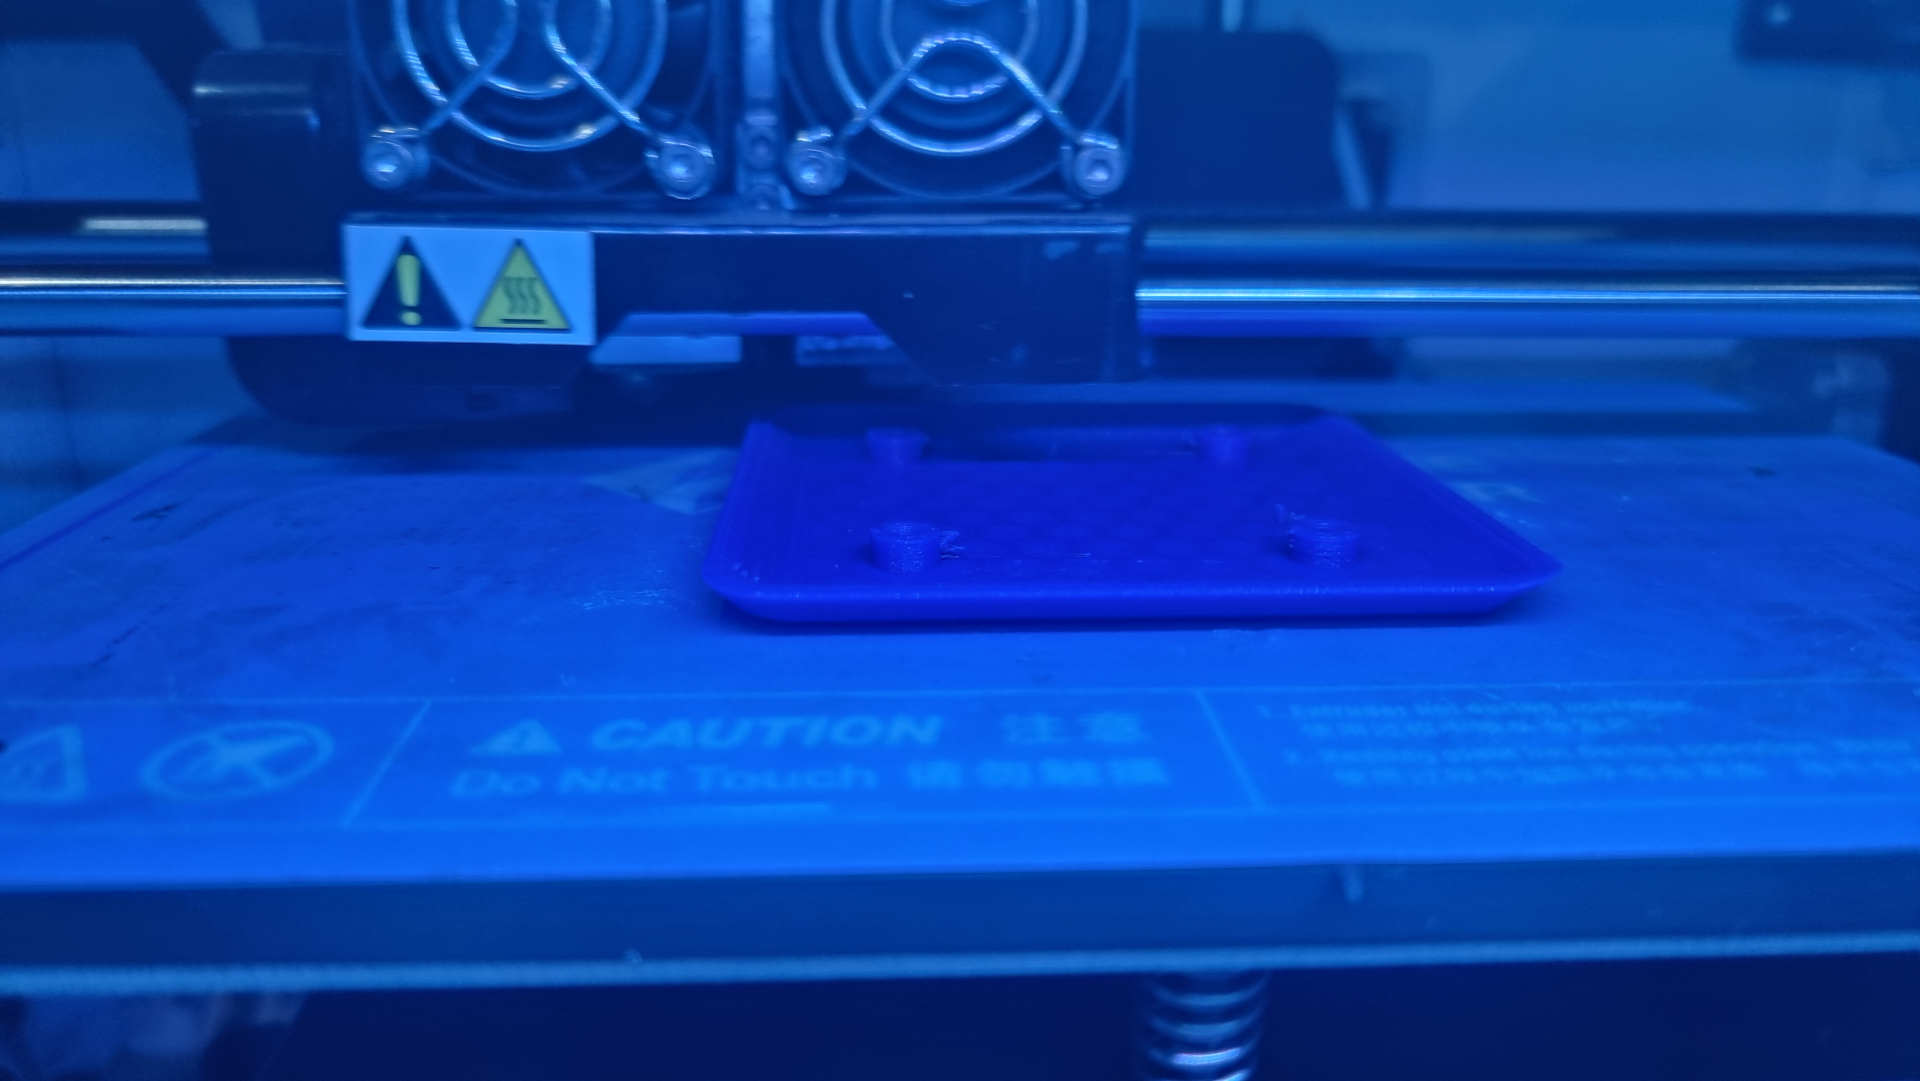
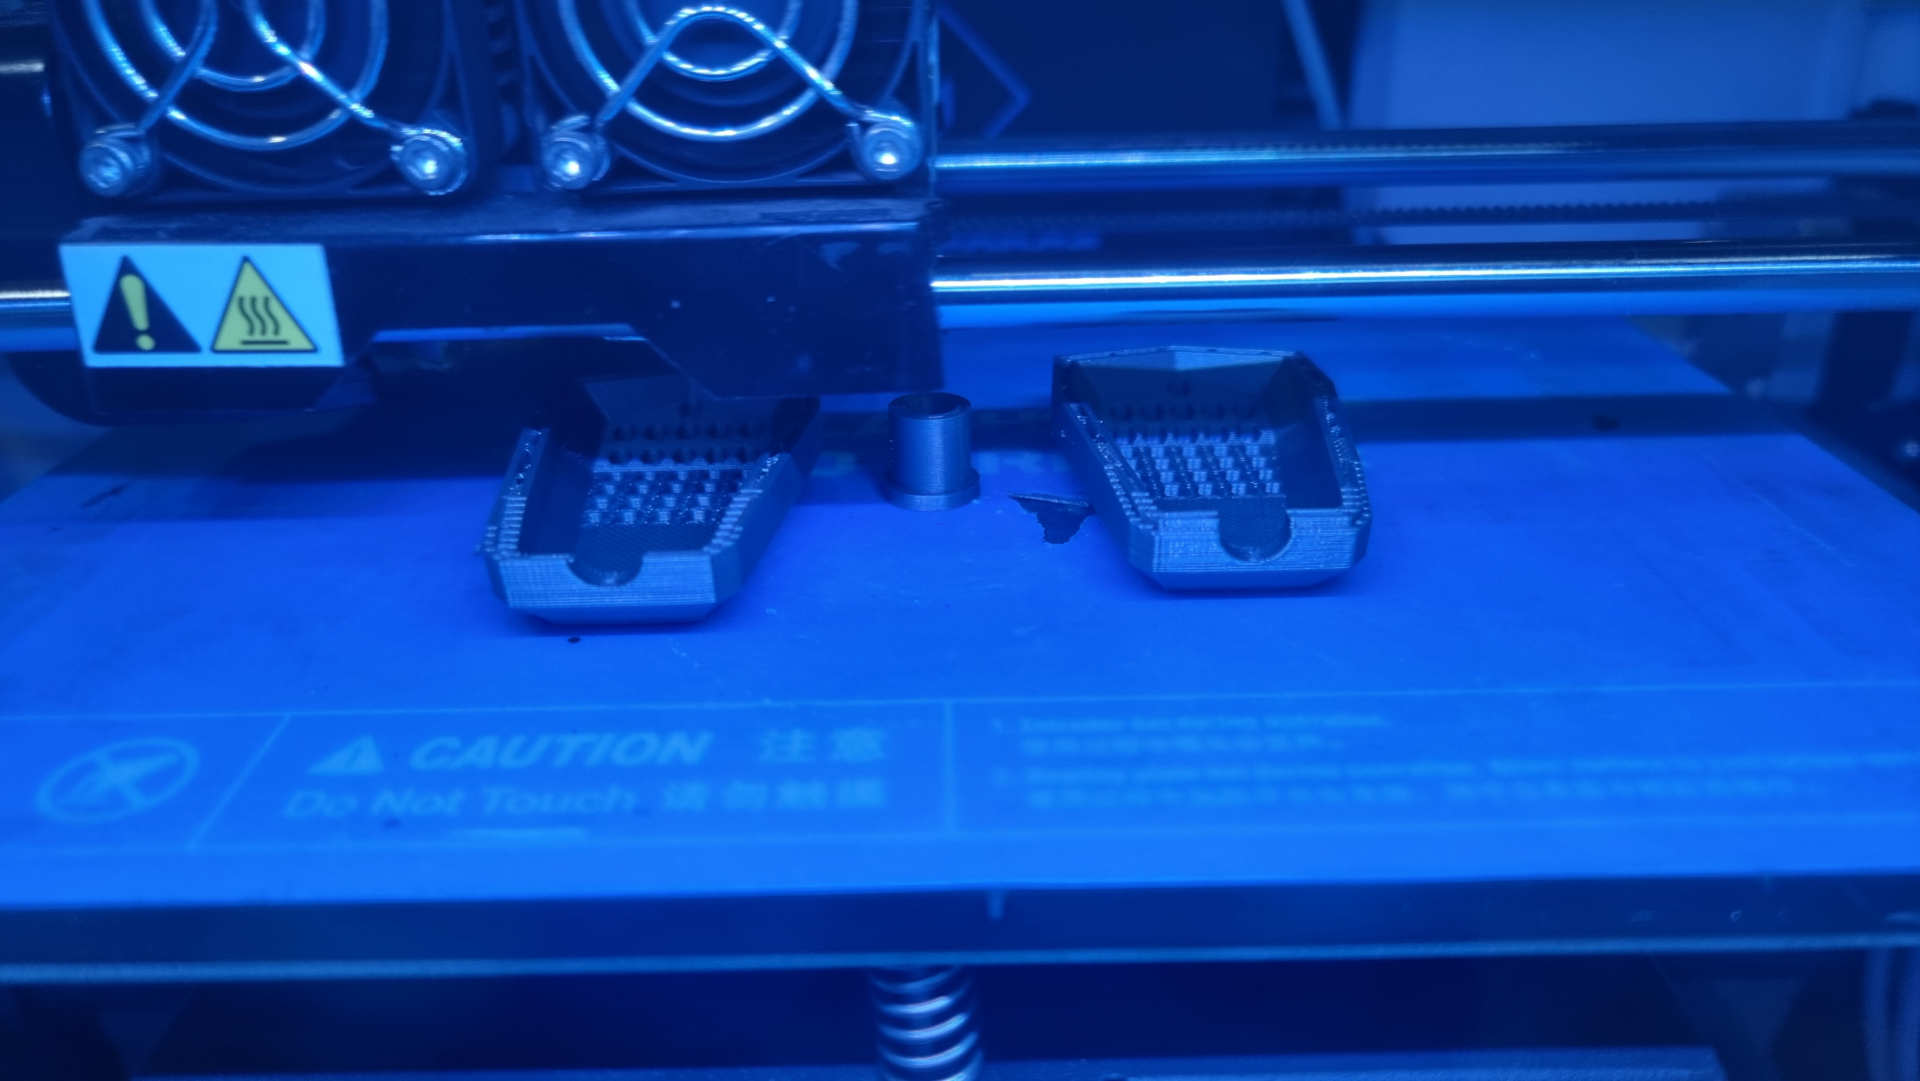
To change a bit and refresh my ideas....started to make some moulds for epoxi resin to get the size and proportions of the under water part.
This part will be in ceramic, to be harmless for use with drinkable water....the heating part in Nickel or stainless steel.
What i've got so far?
Well, from my output week i've got my heater controller from a simple board with a mosfet N and some resistors.
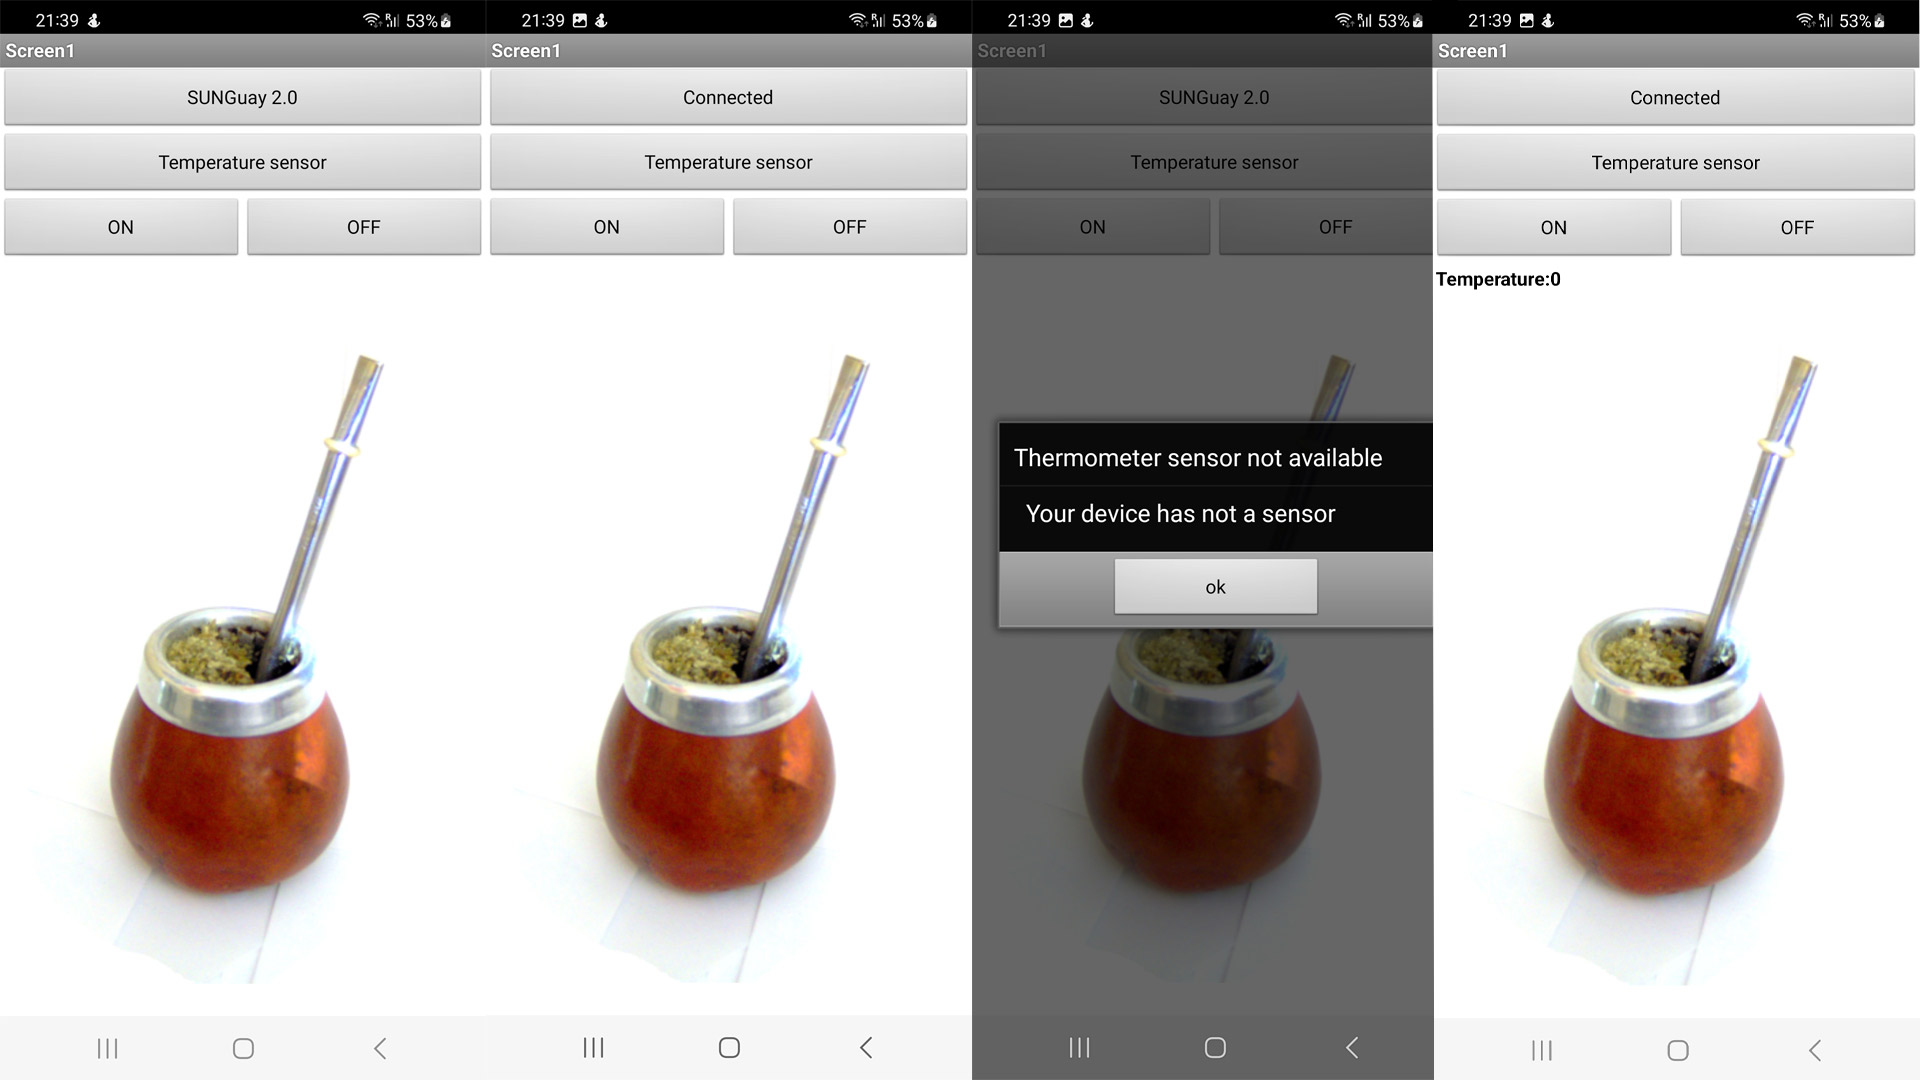
Also, i've got the app for android that could work with the system.
From my moulding and casting week, i test my future moulds and saw the proportions.
week 12. Molding and casting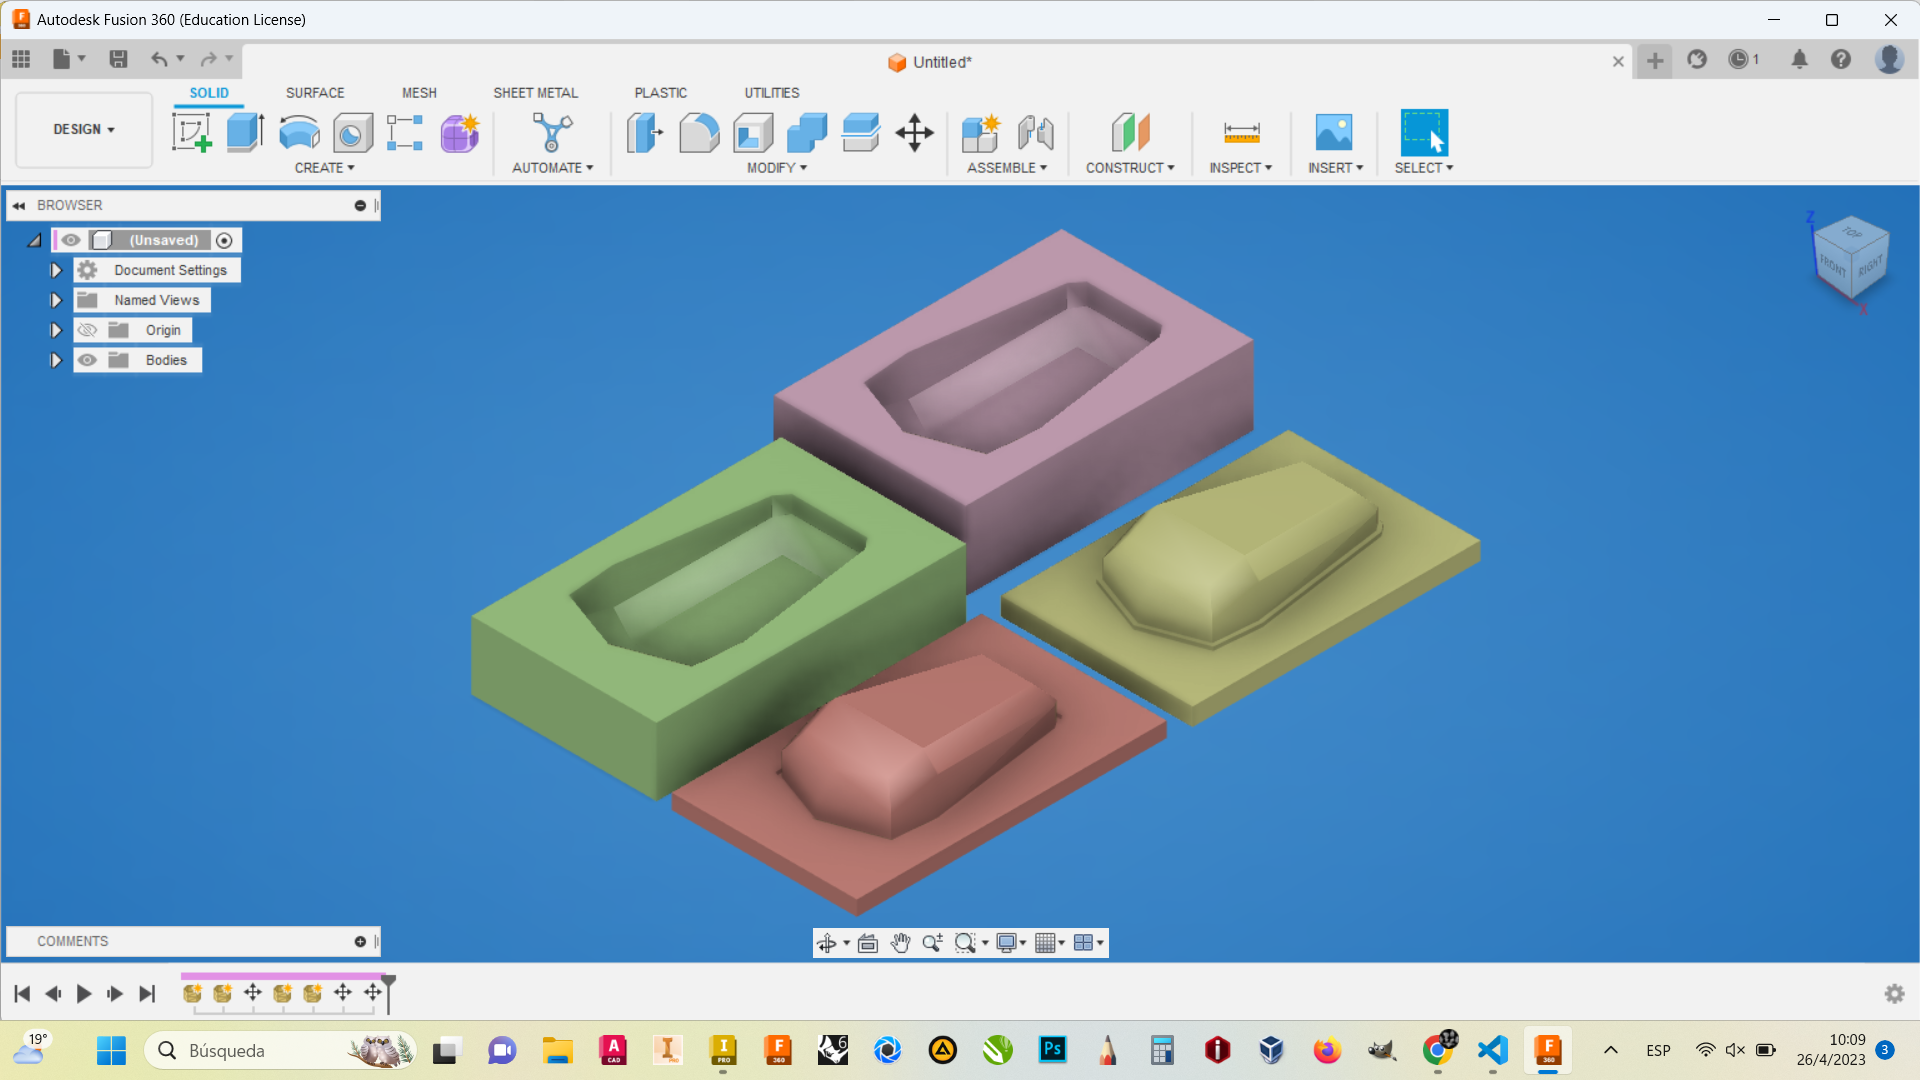
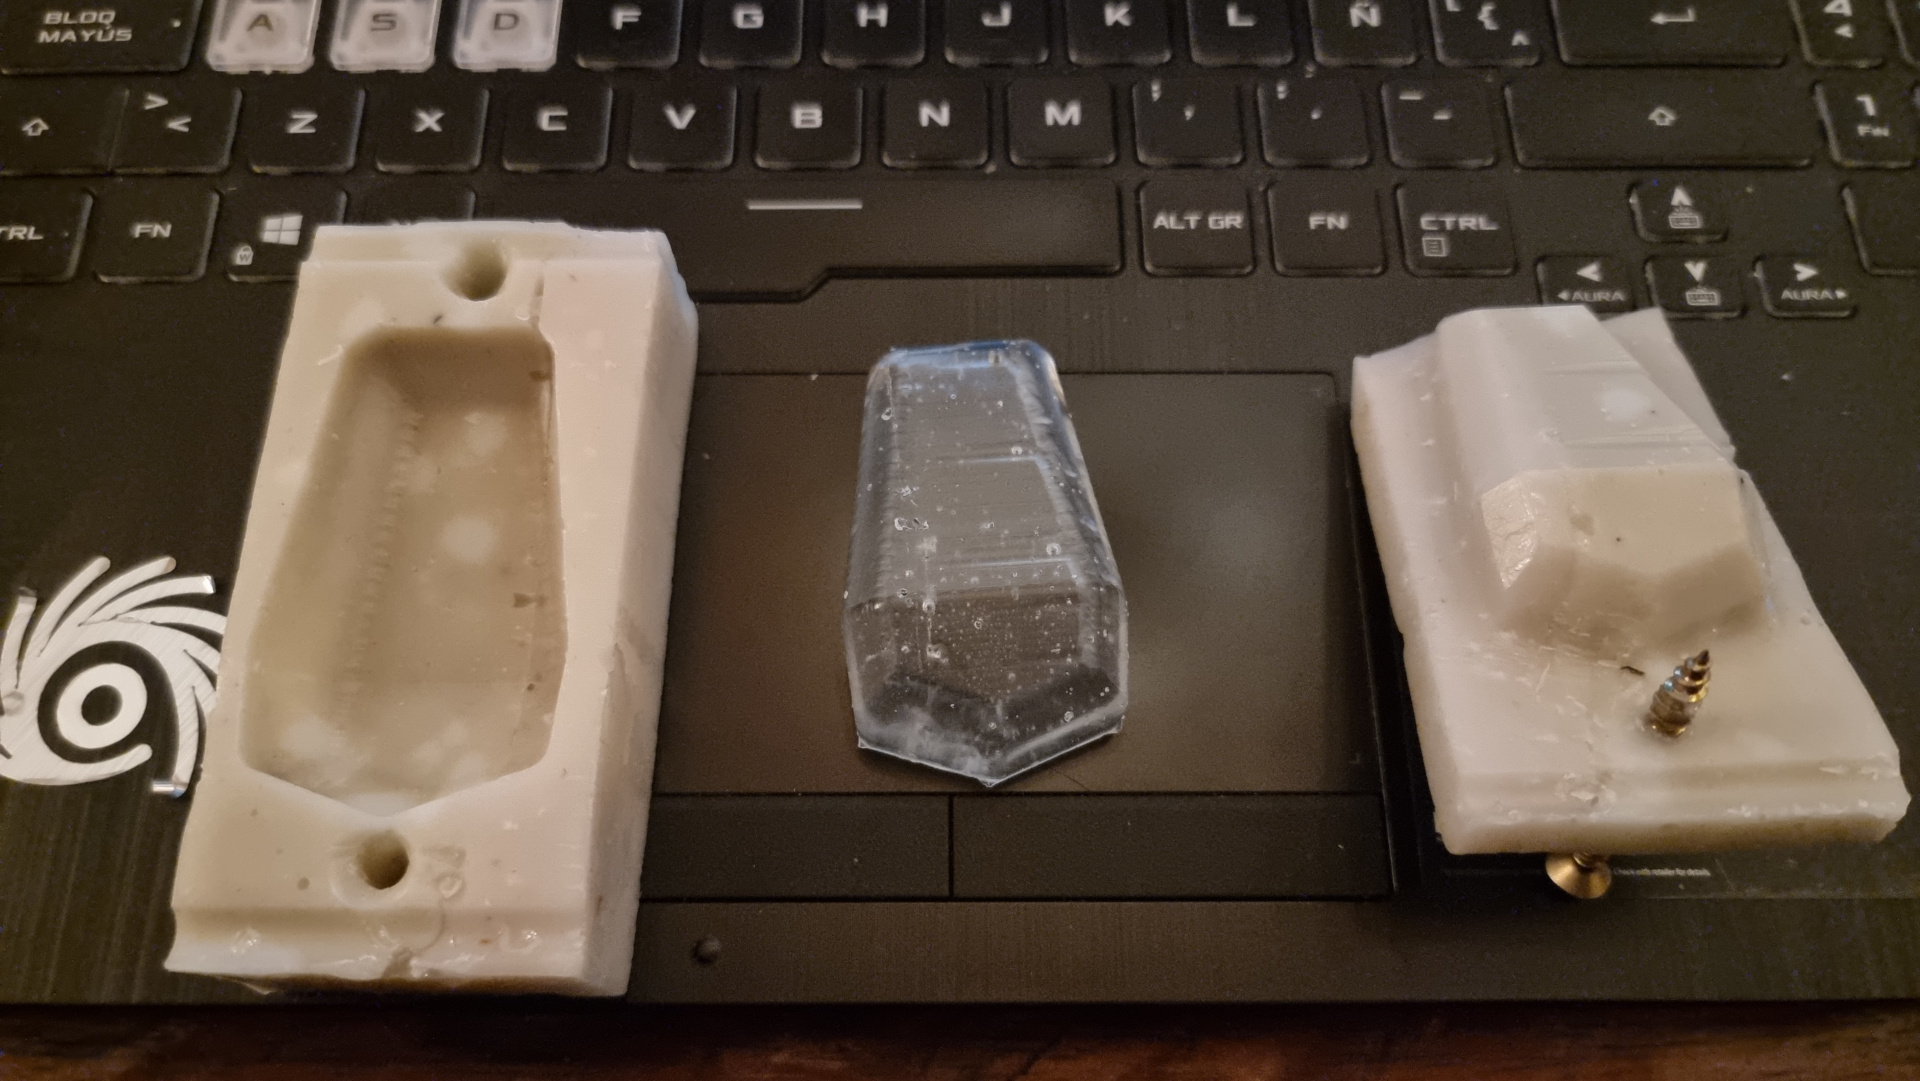
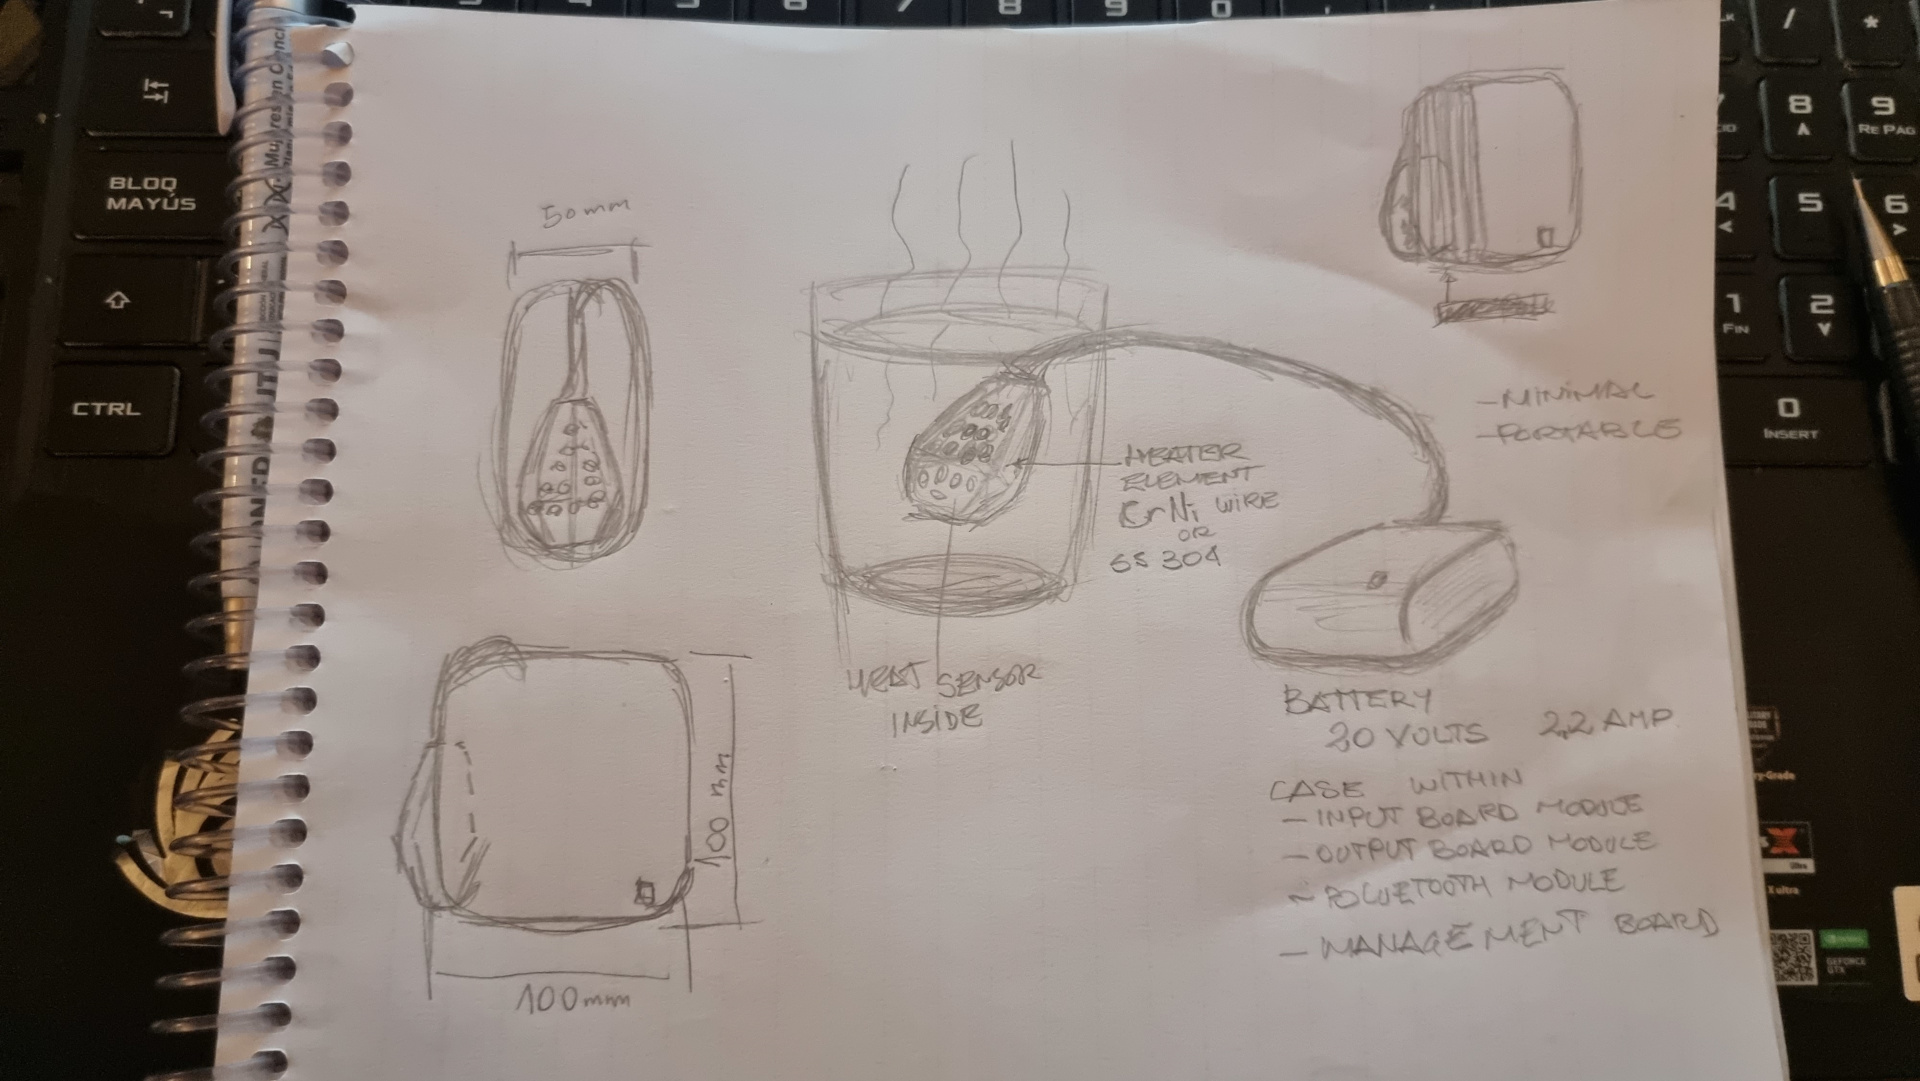
So, after we get the correct dimensions, i decided to use a 20volts battery commonly used in wireless drills.
This will give me portability and ease to get spare parts.
The battery will be inside the case, easily accesible to change and to charge.
Next time, i hope i can solve my boards to make a 1:1 full prototype and tested.
Update
Ok, bought another sensor, a submergible Ds18b20, this one with a new set up, did work.
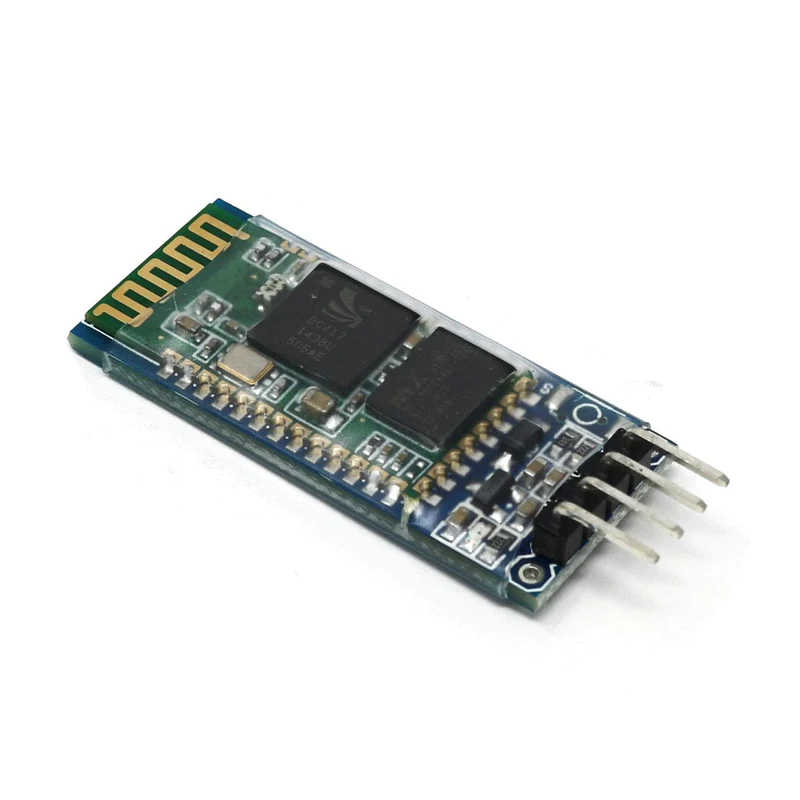
Also, with an external bluetooth module HC-06, i made connection between the sensor and the app in my cellphone.
Sensor
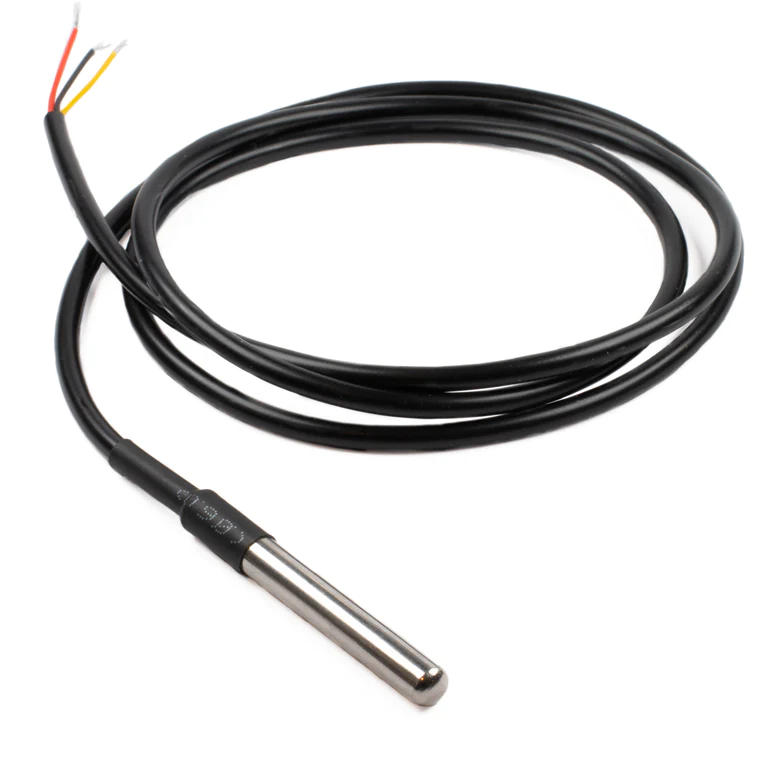 Datasheet DS18B20
The Ds18b20 is a submergible sensor that can resist up to 125 degrees celcius, more than enough of the temperature my project will make.
This sensor need a pull up resistor of 4.7k ohm and between 3 to 5 volts to work properlly.
So, i made a board with a set of resistors, and it works great.
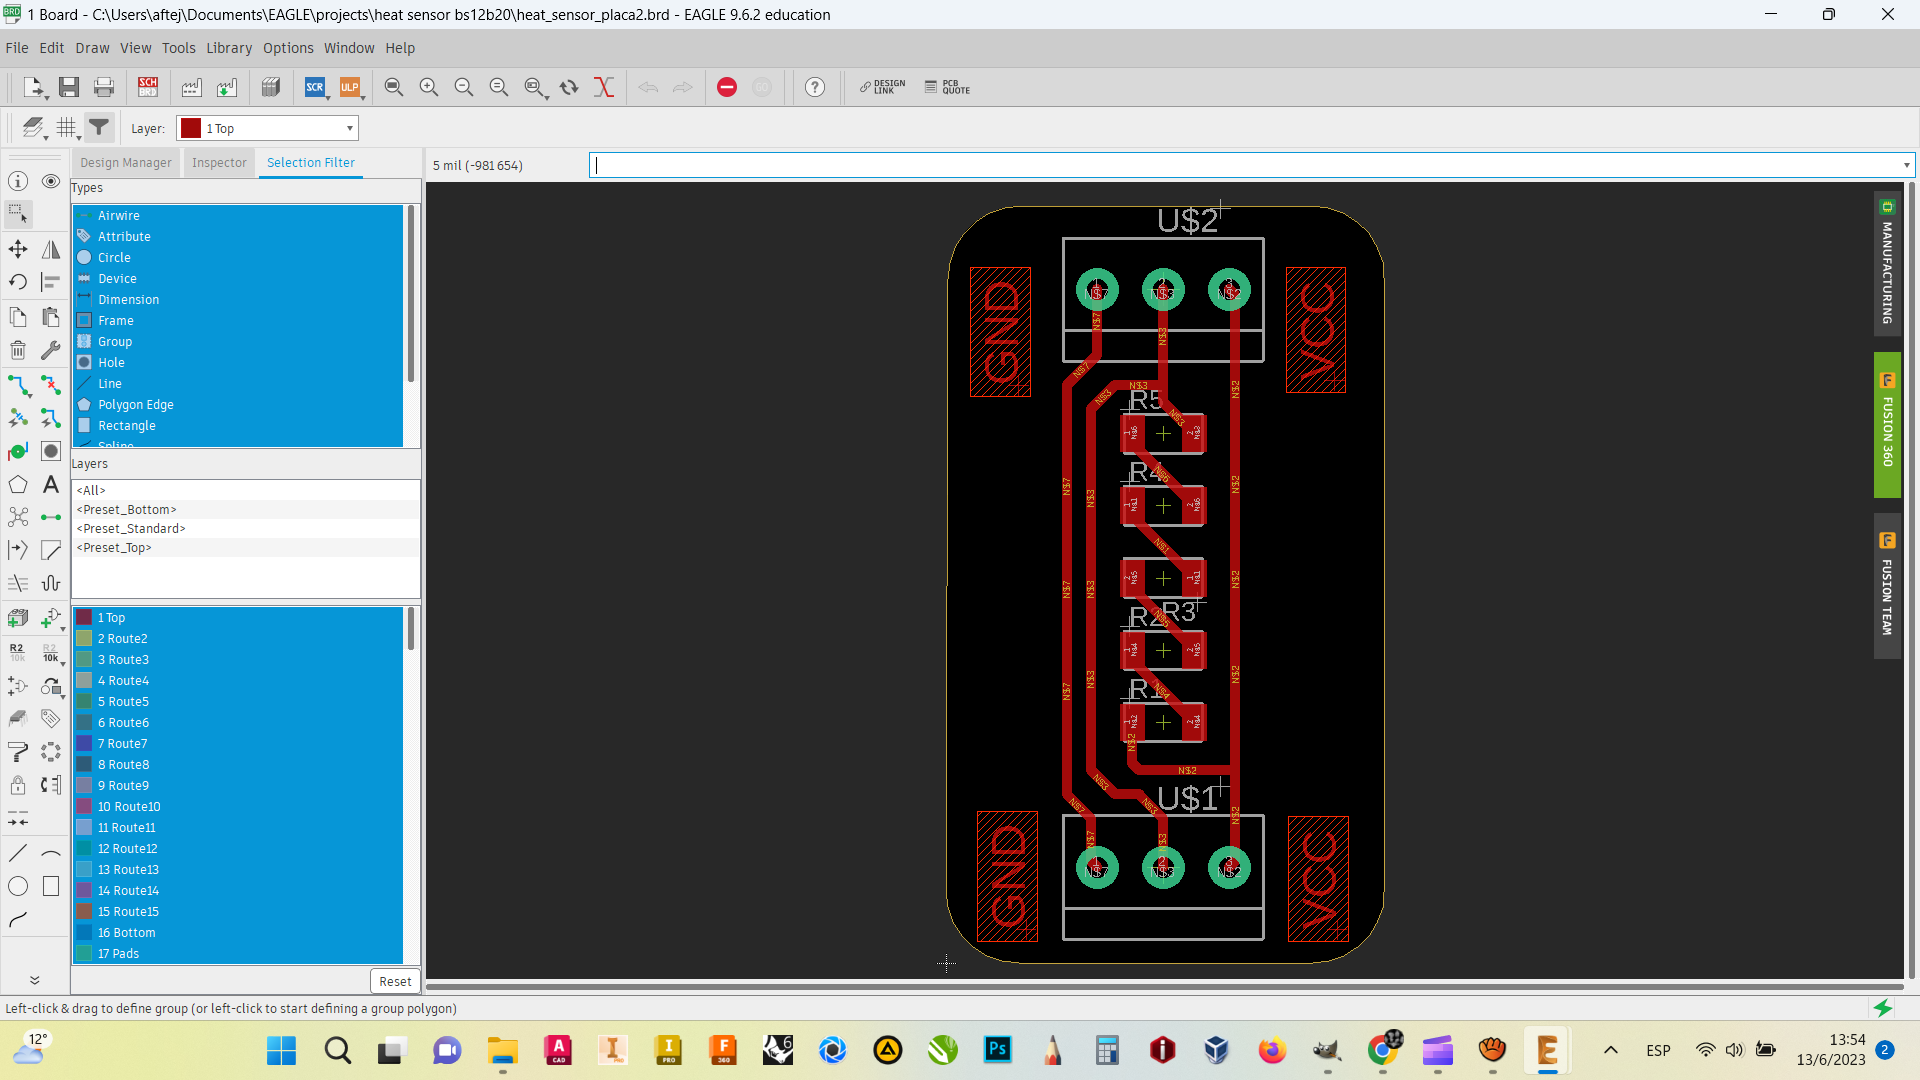 In week 11, input, this was fully explained.
Outputs
Ok, it all started with a heater from a 3d printer.
I tested it, and heat water at desired temperature, but it take a long time to heat it.
So, i thought i need something more specific, more suitable for water heating and more important, safe to drink.
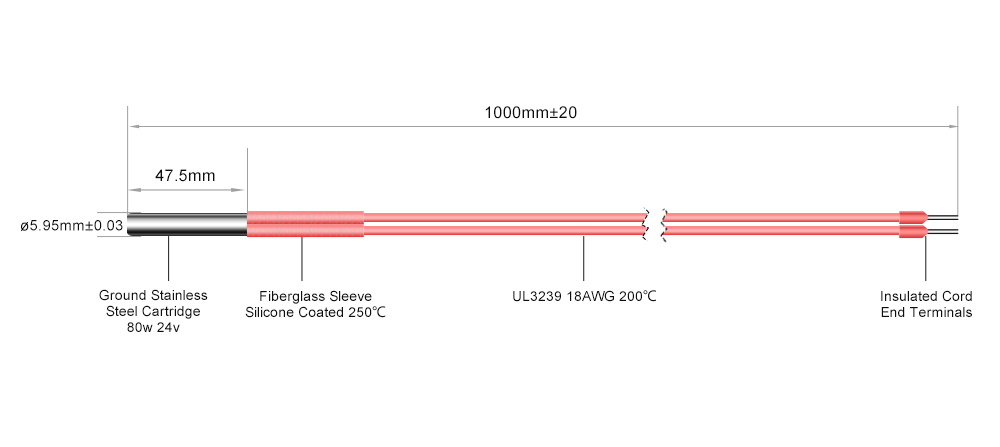
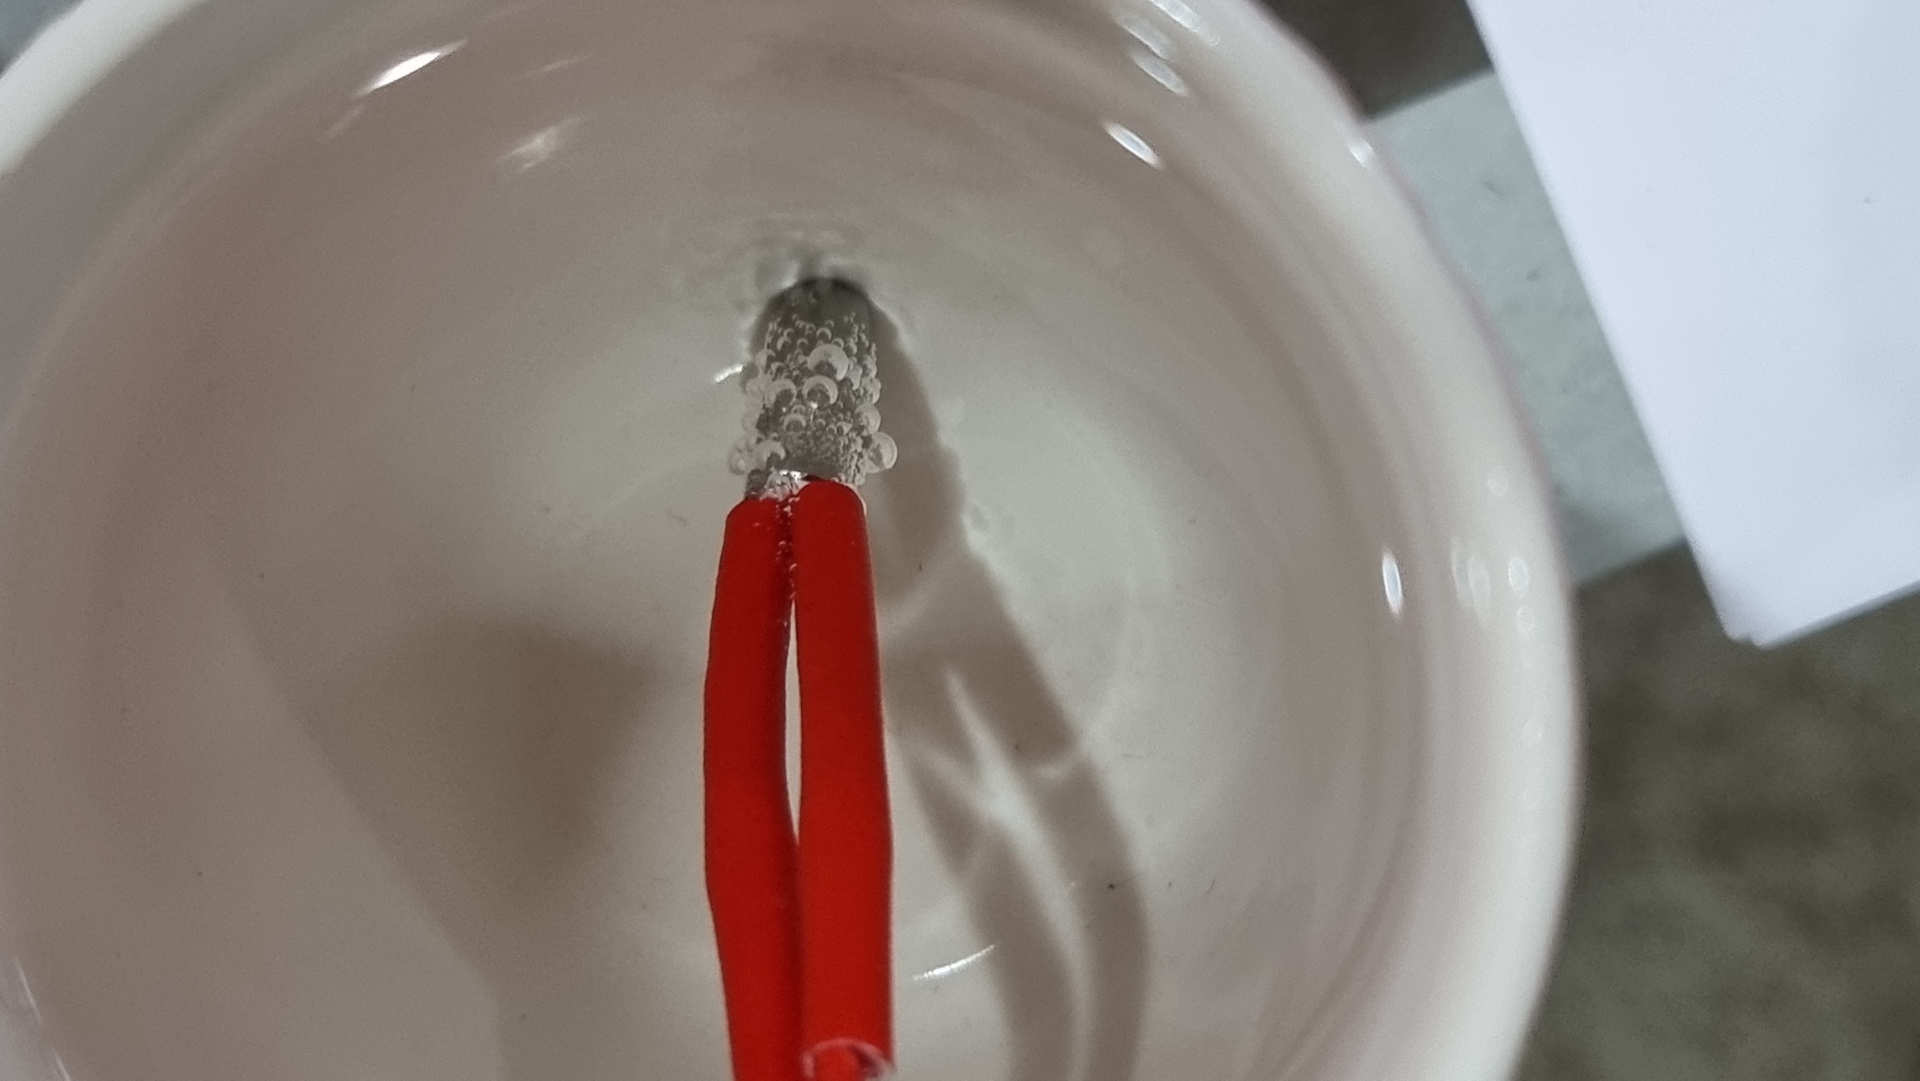
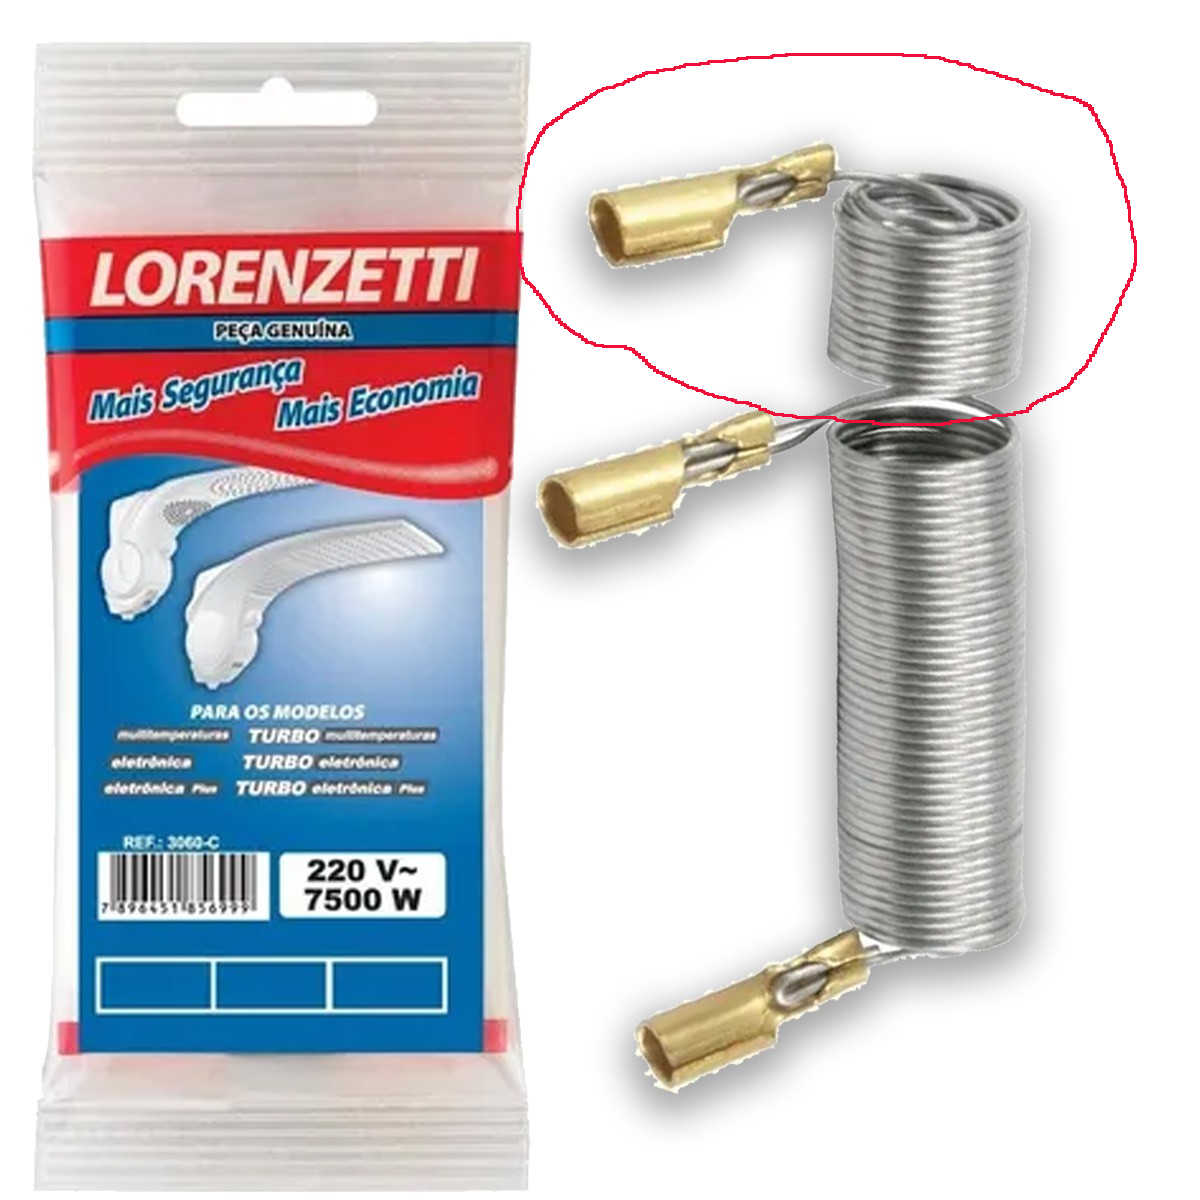
Eureka, the shower heater enter on stage.
This device is over engineered for this task, and it is warranted to be safe to drink water after it heat it.
And it is also cheaper.
After tested, i reduce the coil to a size more compact and with less comsumtion.
The smaller size could handle 150 watts hour, with 12 volts and 12.5 amps
This more than enough to heat the water at 80 degrees with no hesitate.

Mainboard
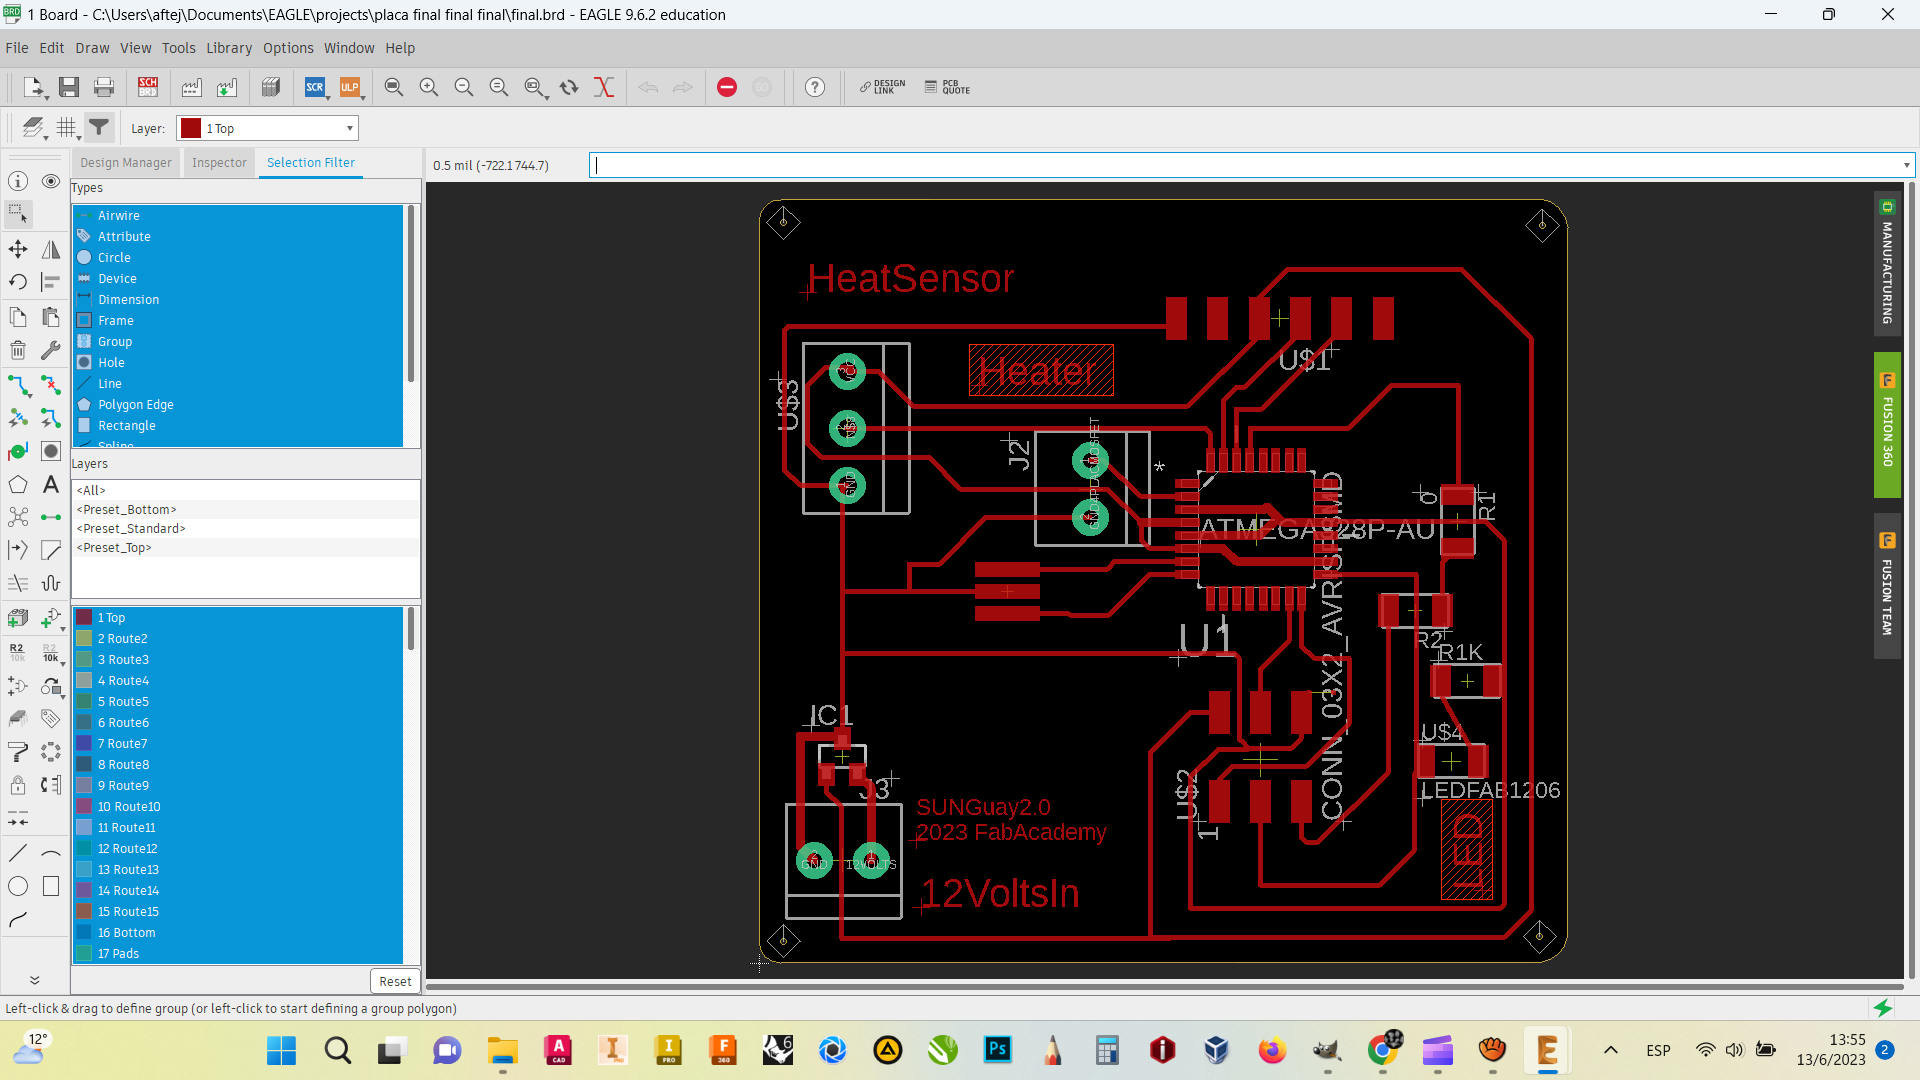
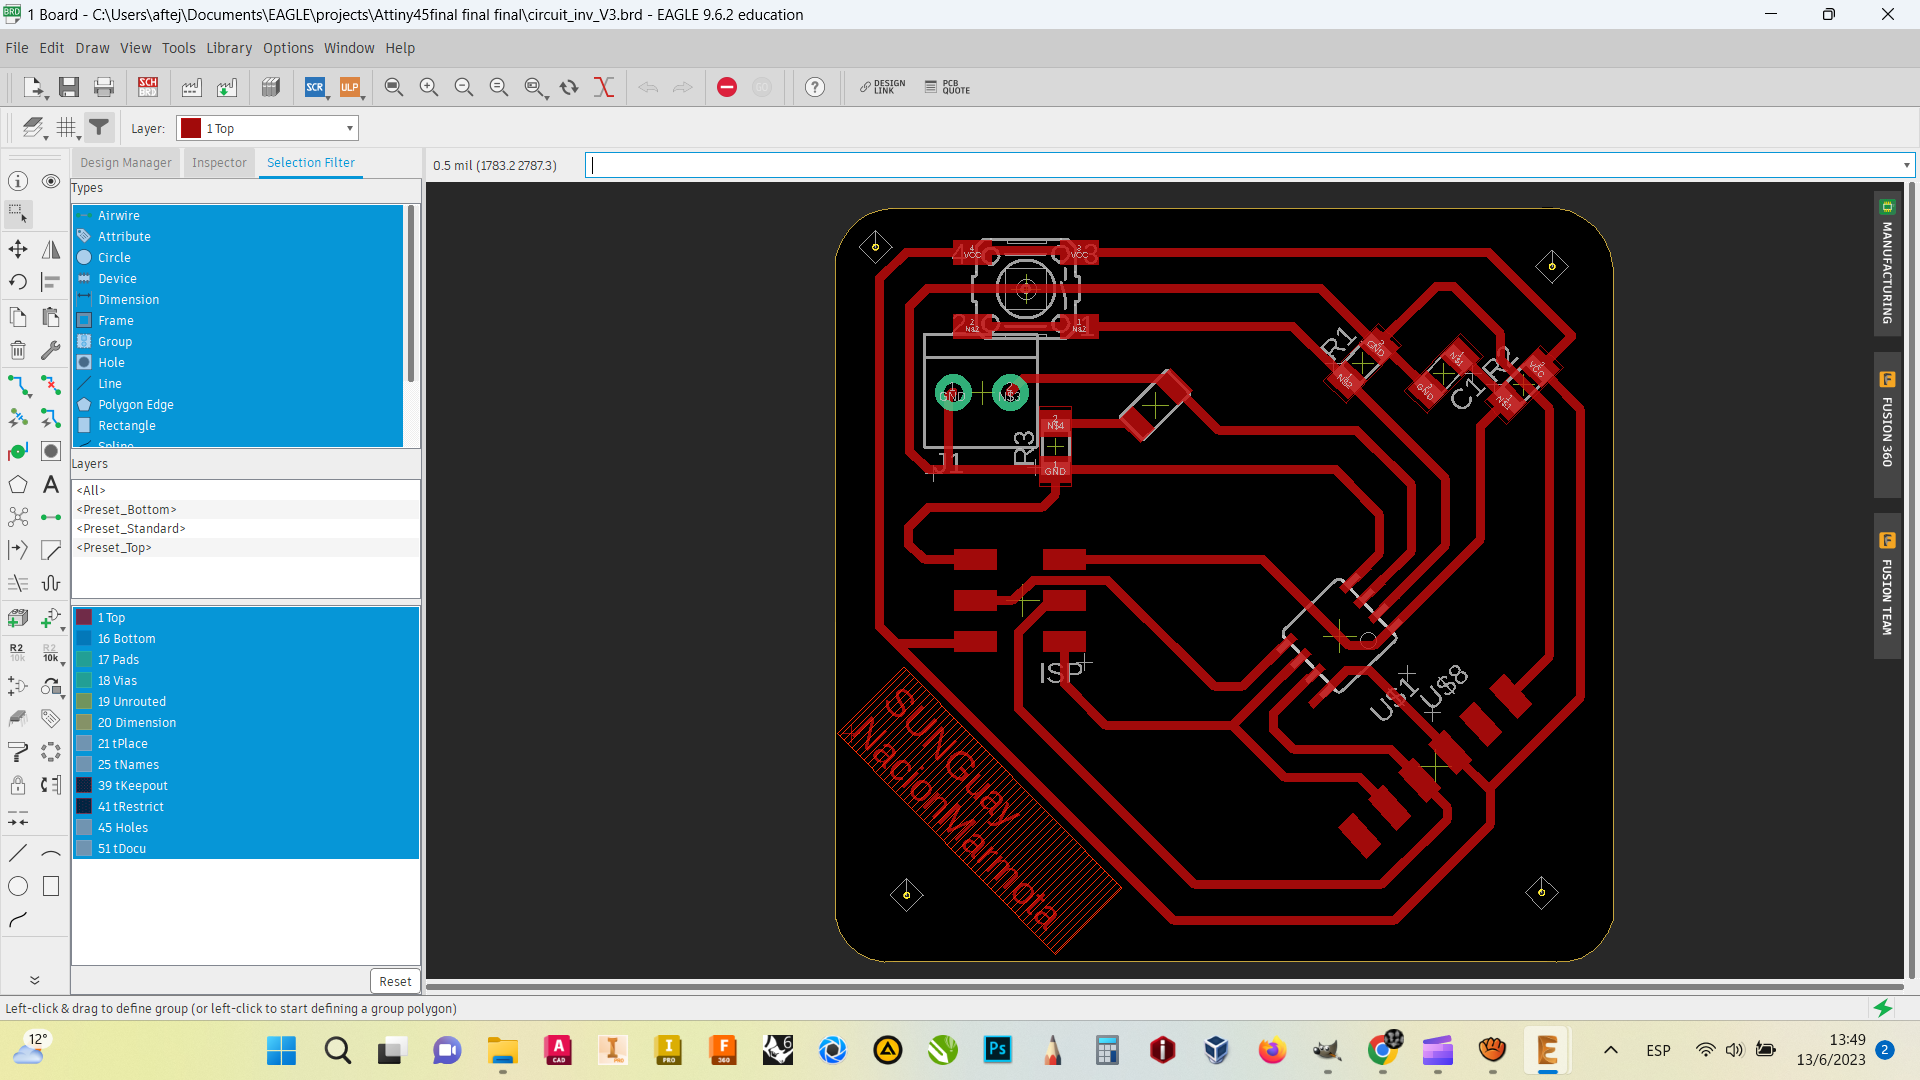
To handle all the modules, i design a board with an atmega 328p
Atmega datasheet.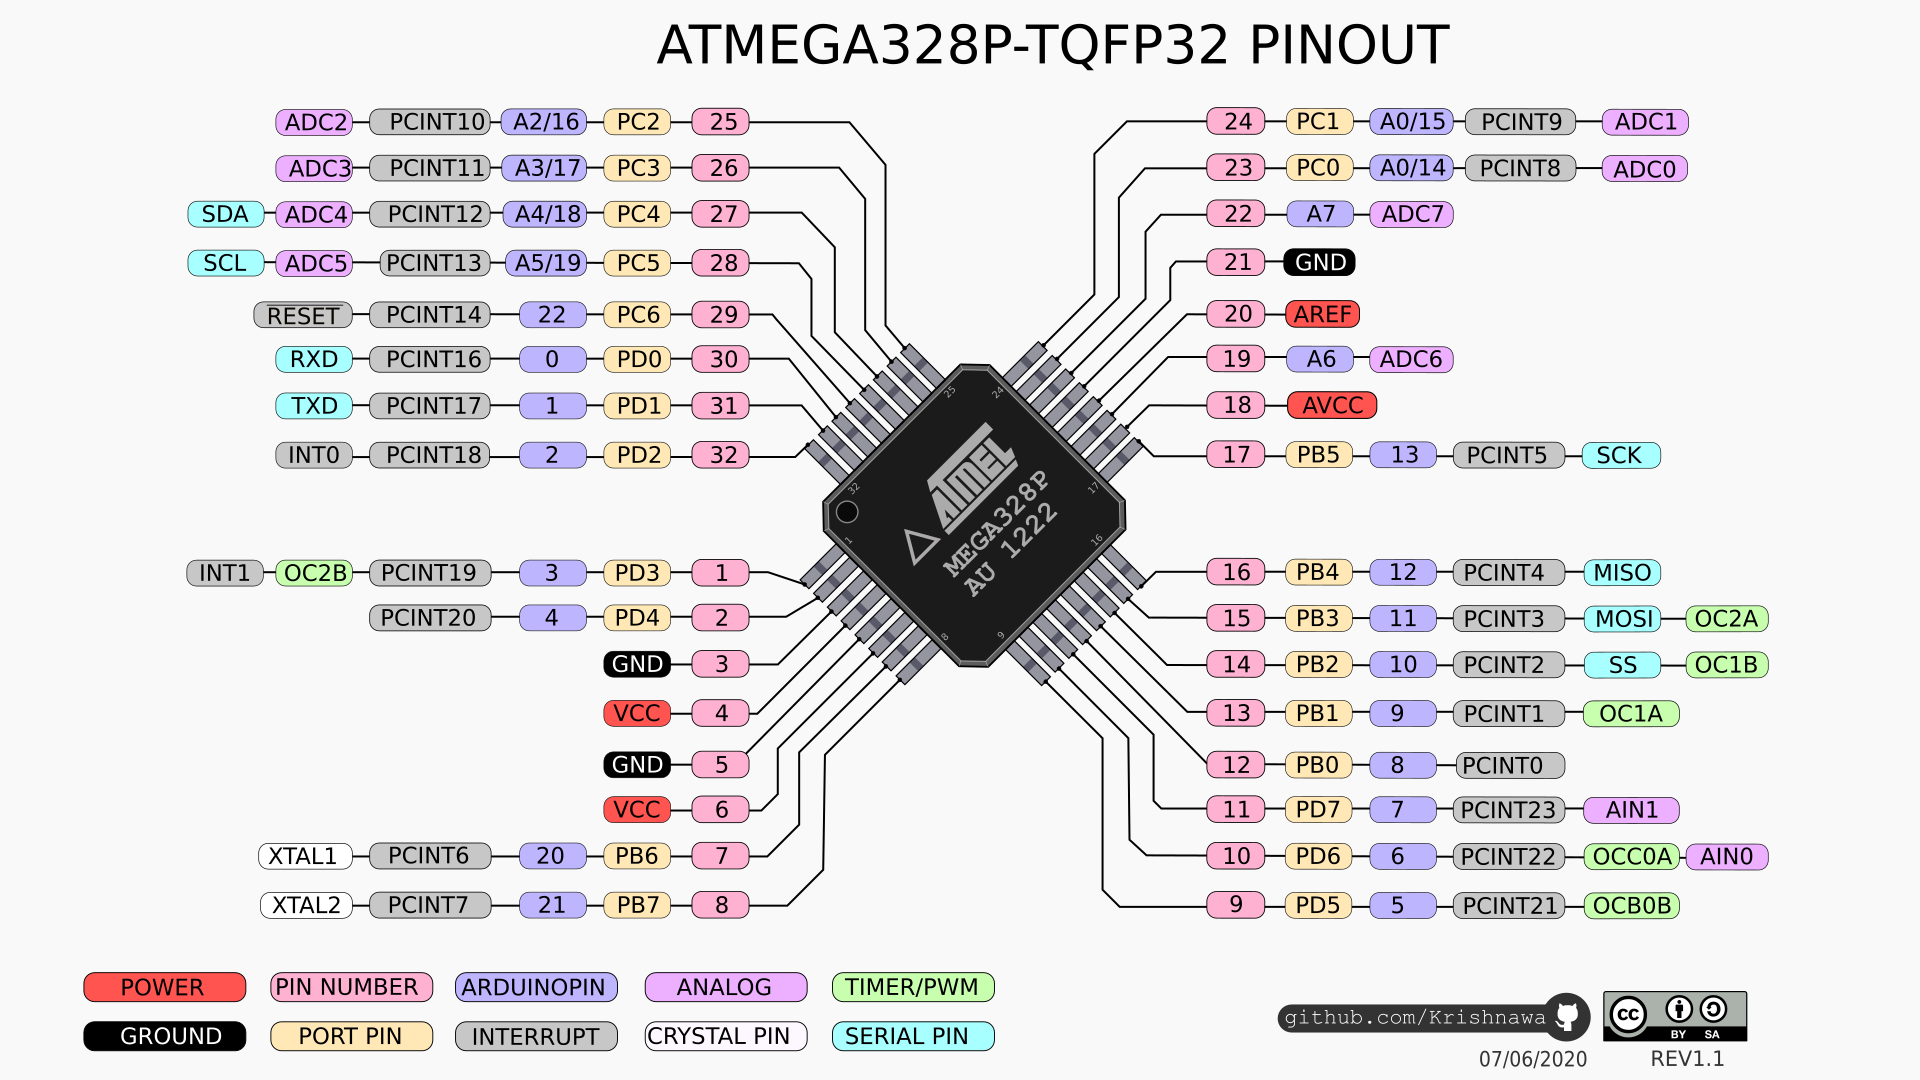
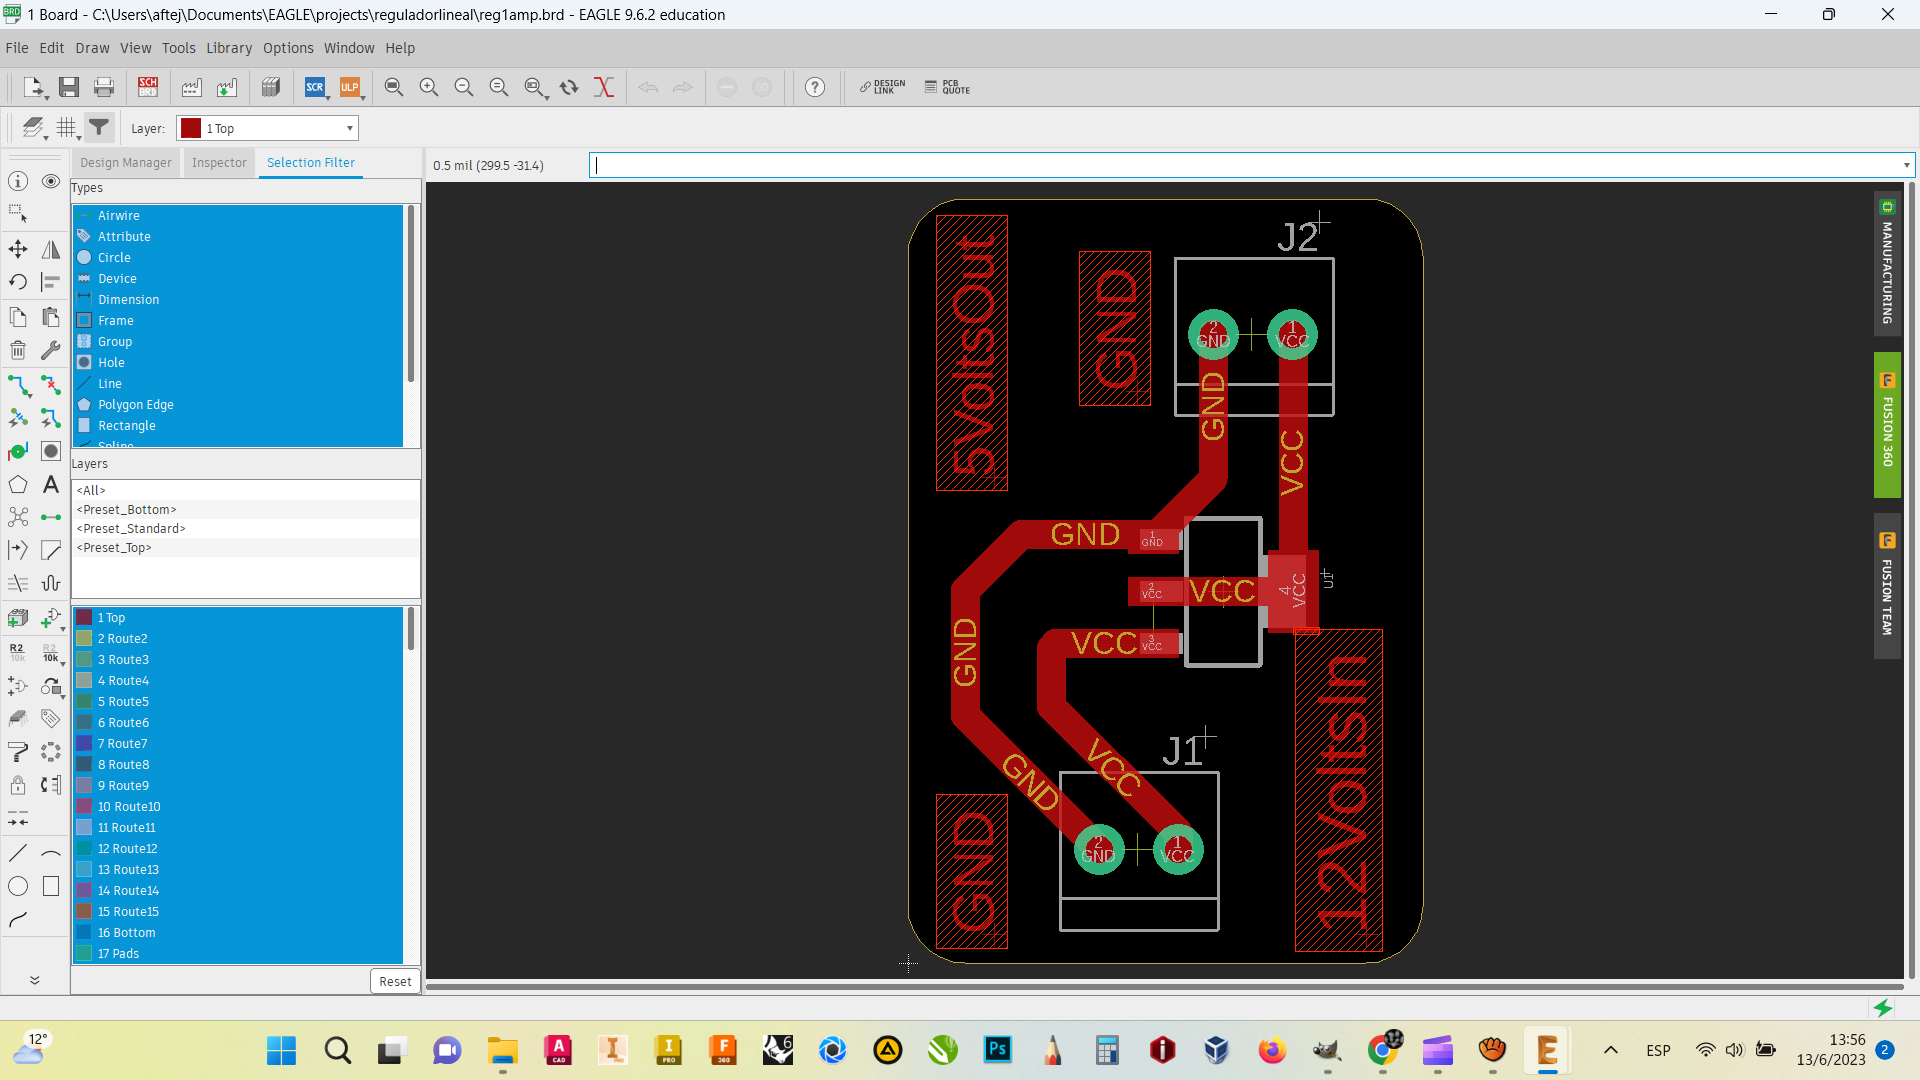
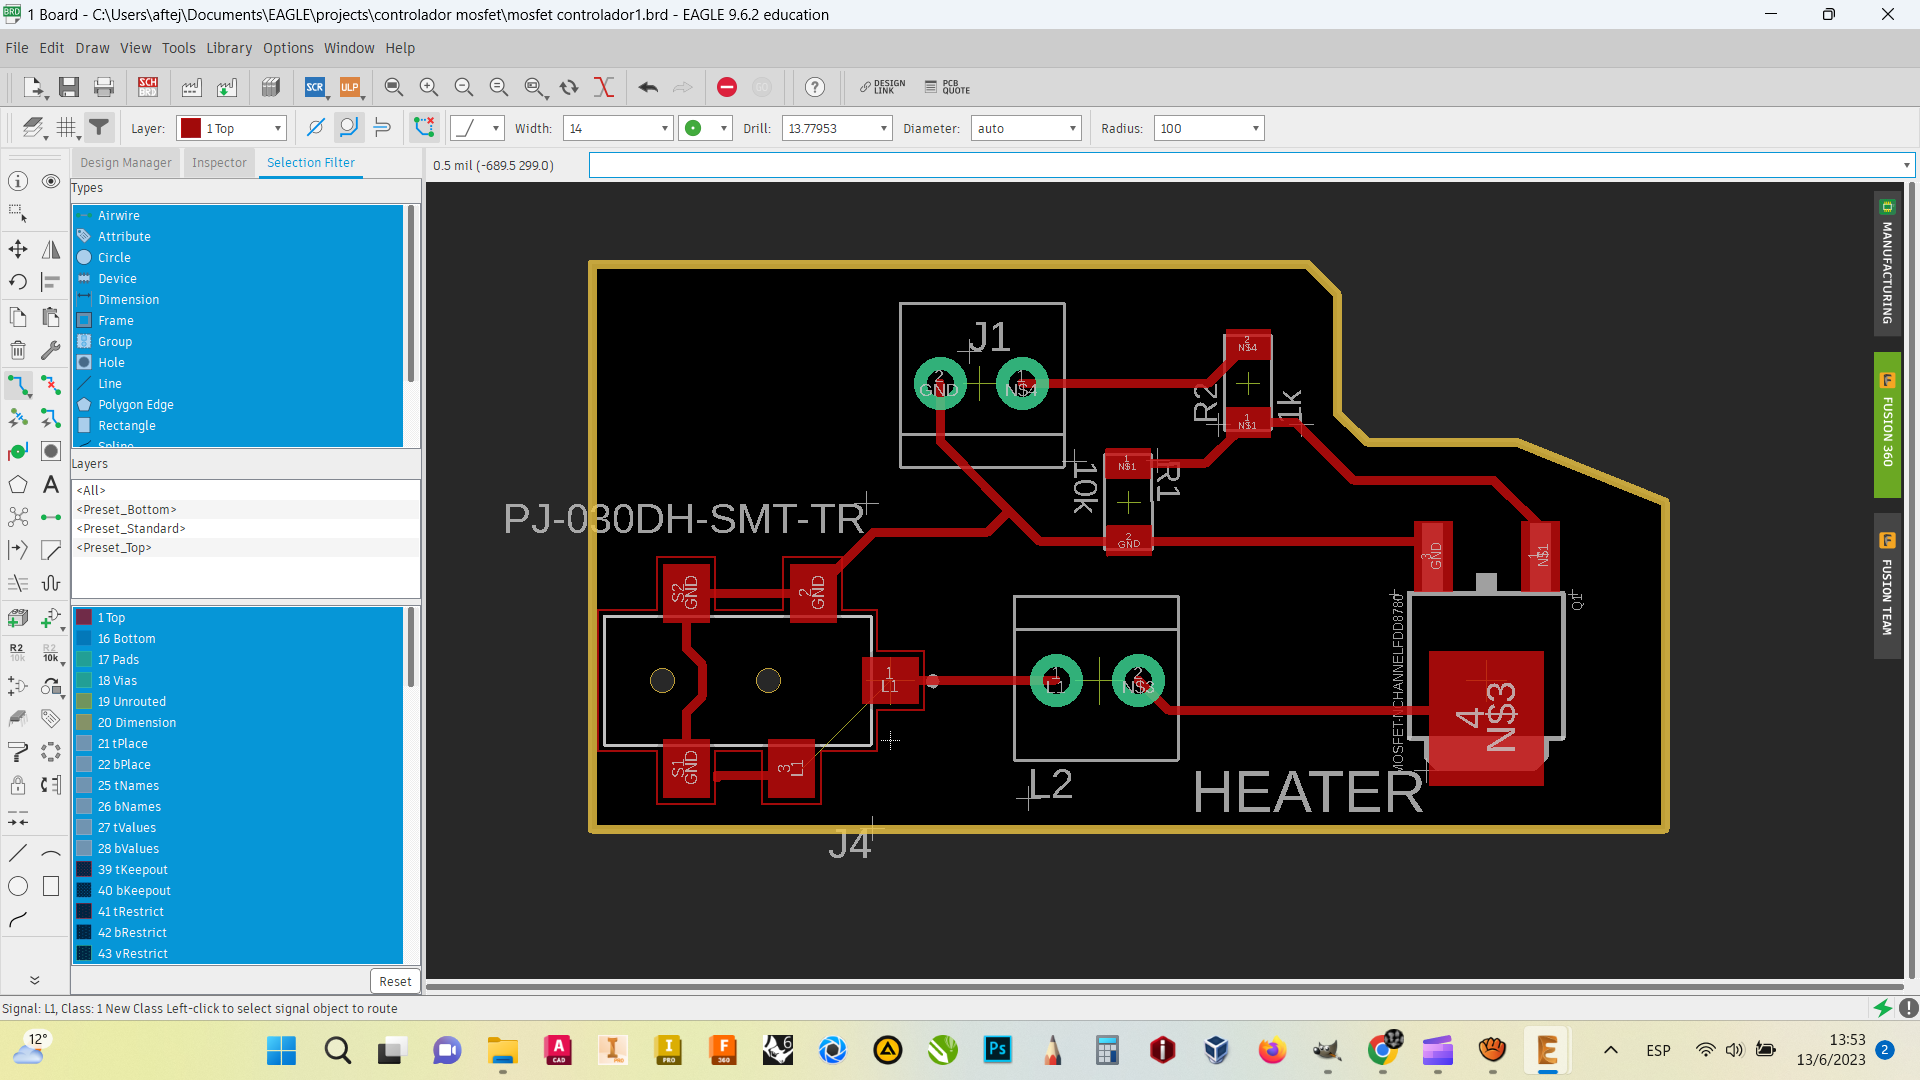
Made the design in Eagle.
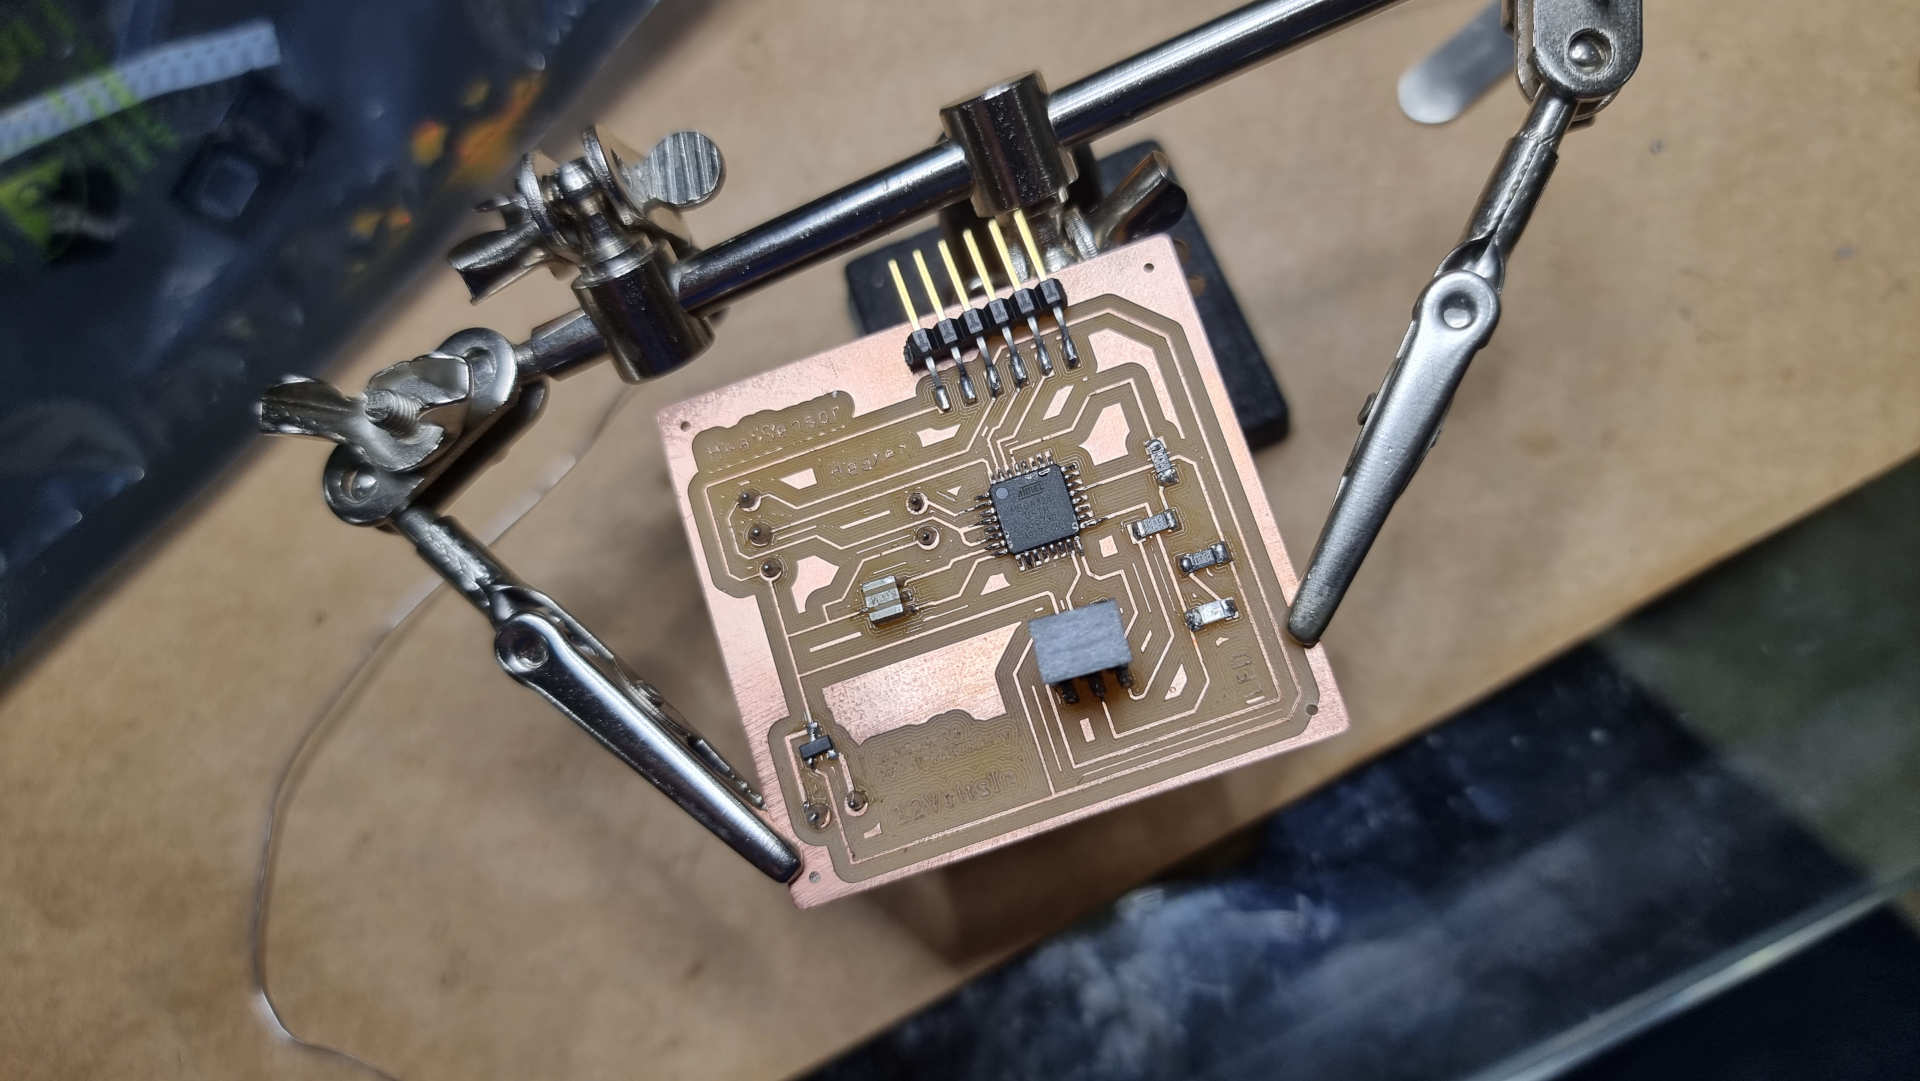
Programmed the board with the Atmel ICE with blink sketch to see if it works.
Ok, the board works....until it doesn´t....the regulator i put in the board can´t handle the consume and got hotter and burnt.
Well, i decided to make an external regulator, because at that time i didn´t want to make another board.
Regulator
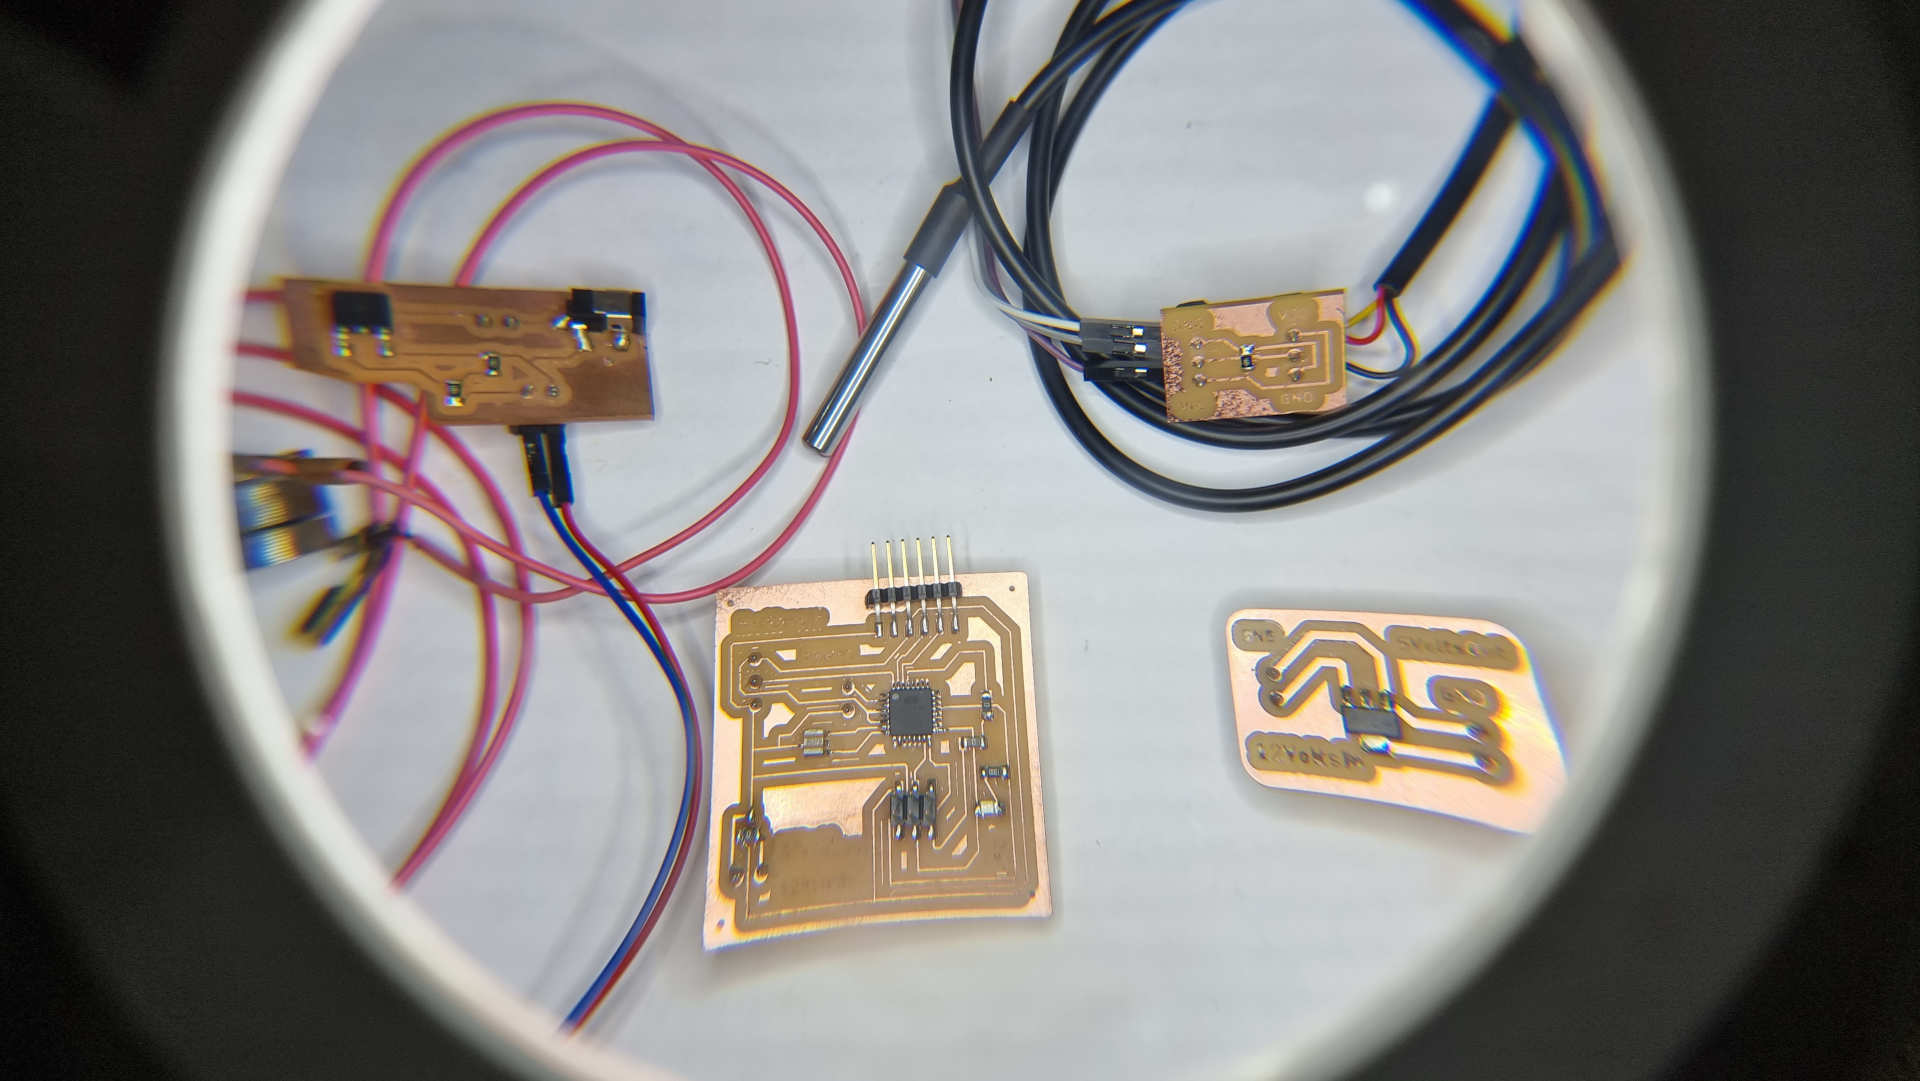
Now i have all the modules and the board, so, let´s test them.
All the boards
Mosfet
The bluetooth module
Testing
While everything was working ok....suddenly, it stops working...the Atmel 328p collapse.
We tryied to program it, but nothing worked...it didn't even recognize the devices.
With very short time, my instructor suggested me:"let´s try another board"
So, i borrowed a board from my partner Patricia, tested and worked great every time.
Well, i took Patricia´s design and add some extras to get all the features i need.
New board
With this board i did all the new testing, everything works fine....loved it.
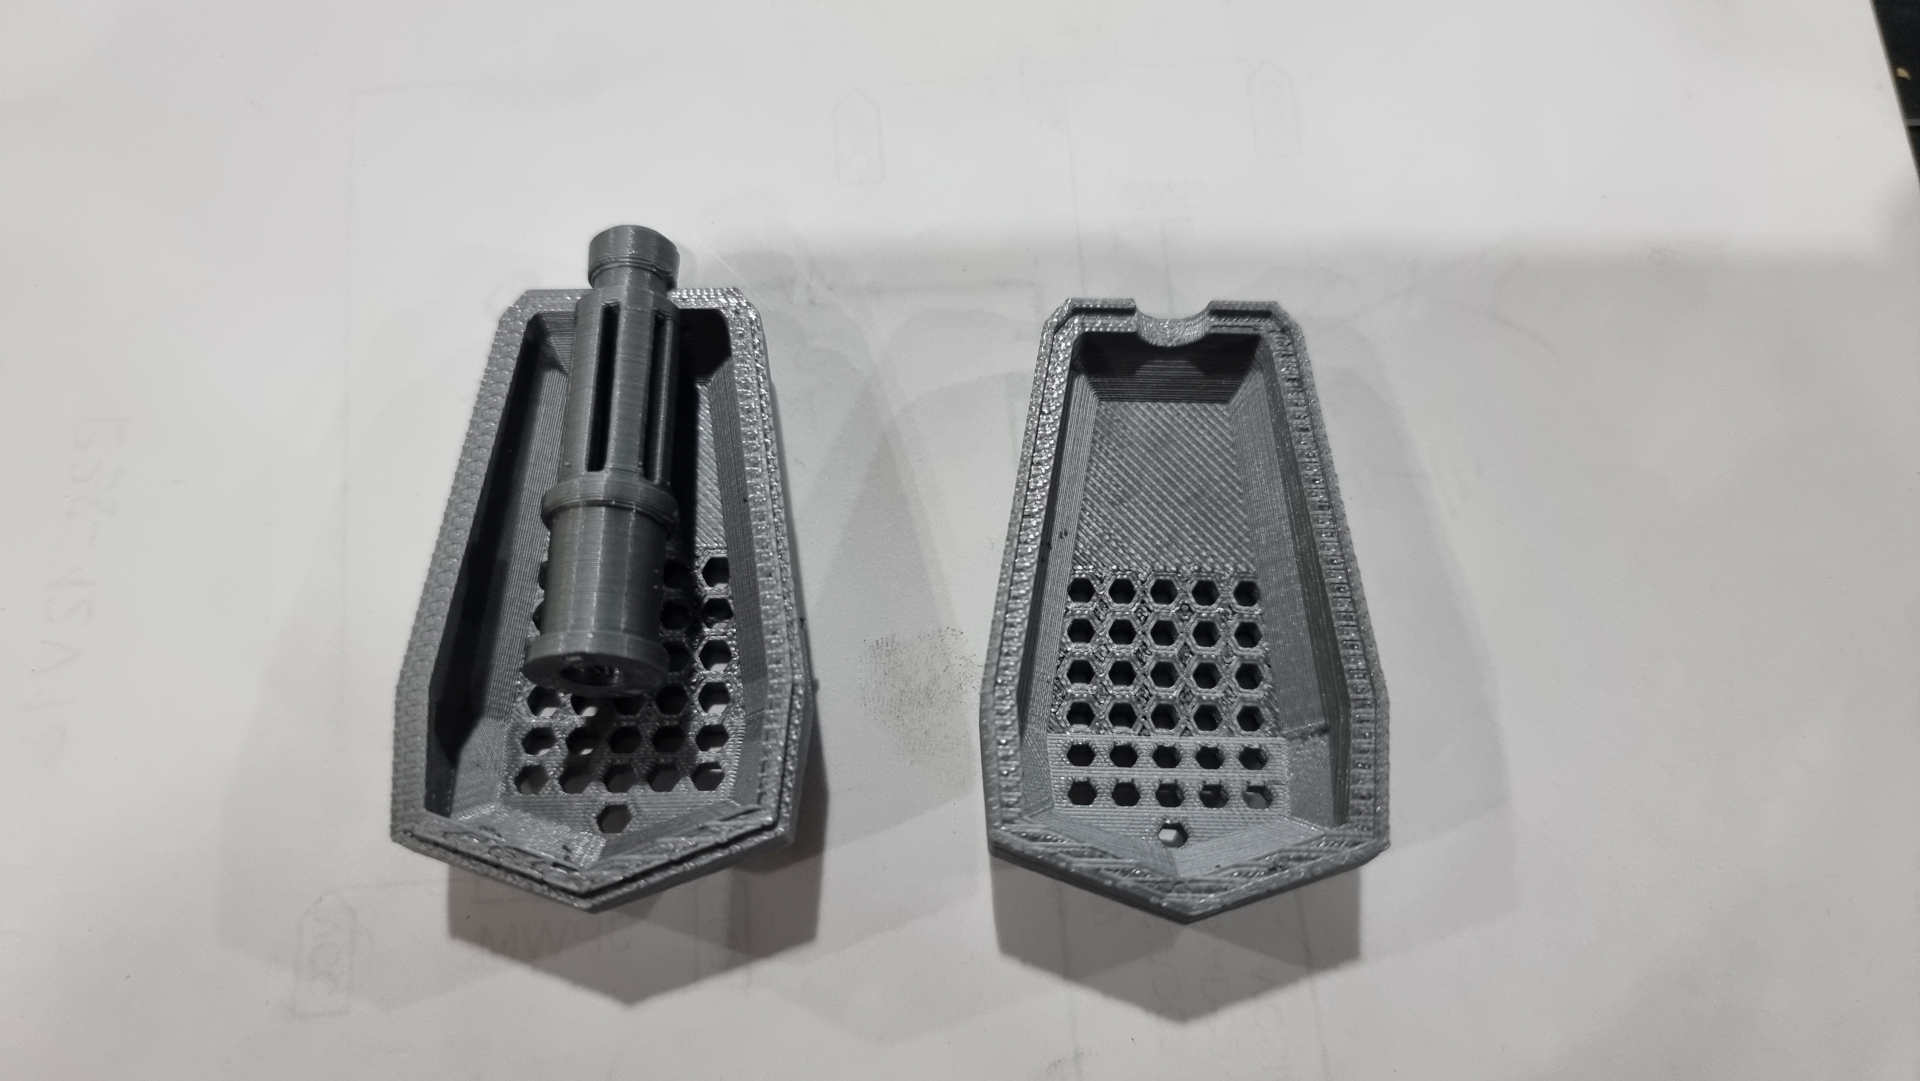
The SUNGuay
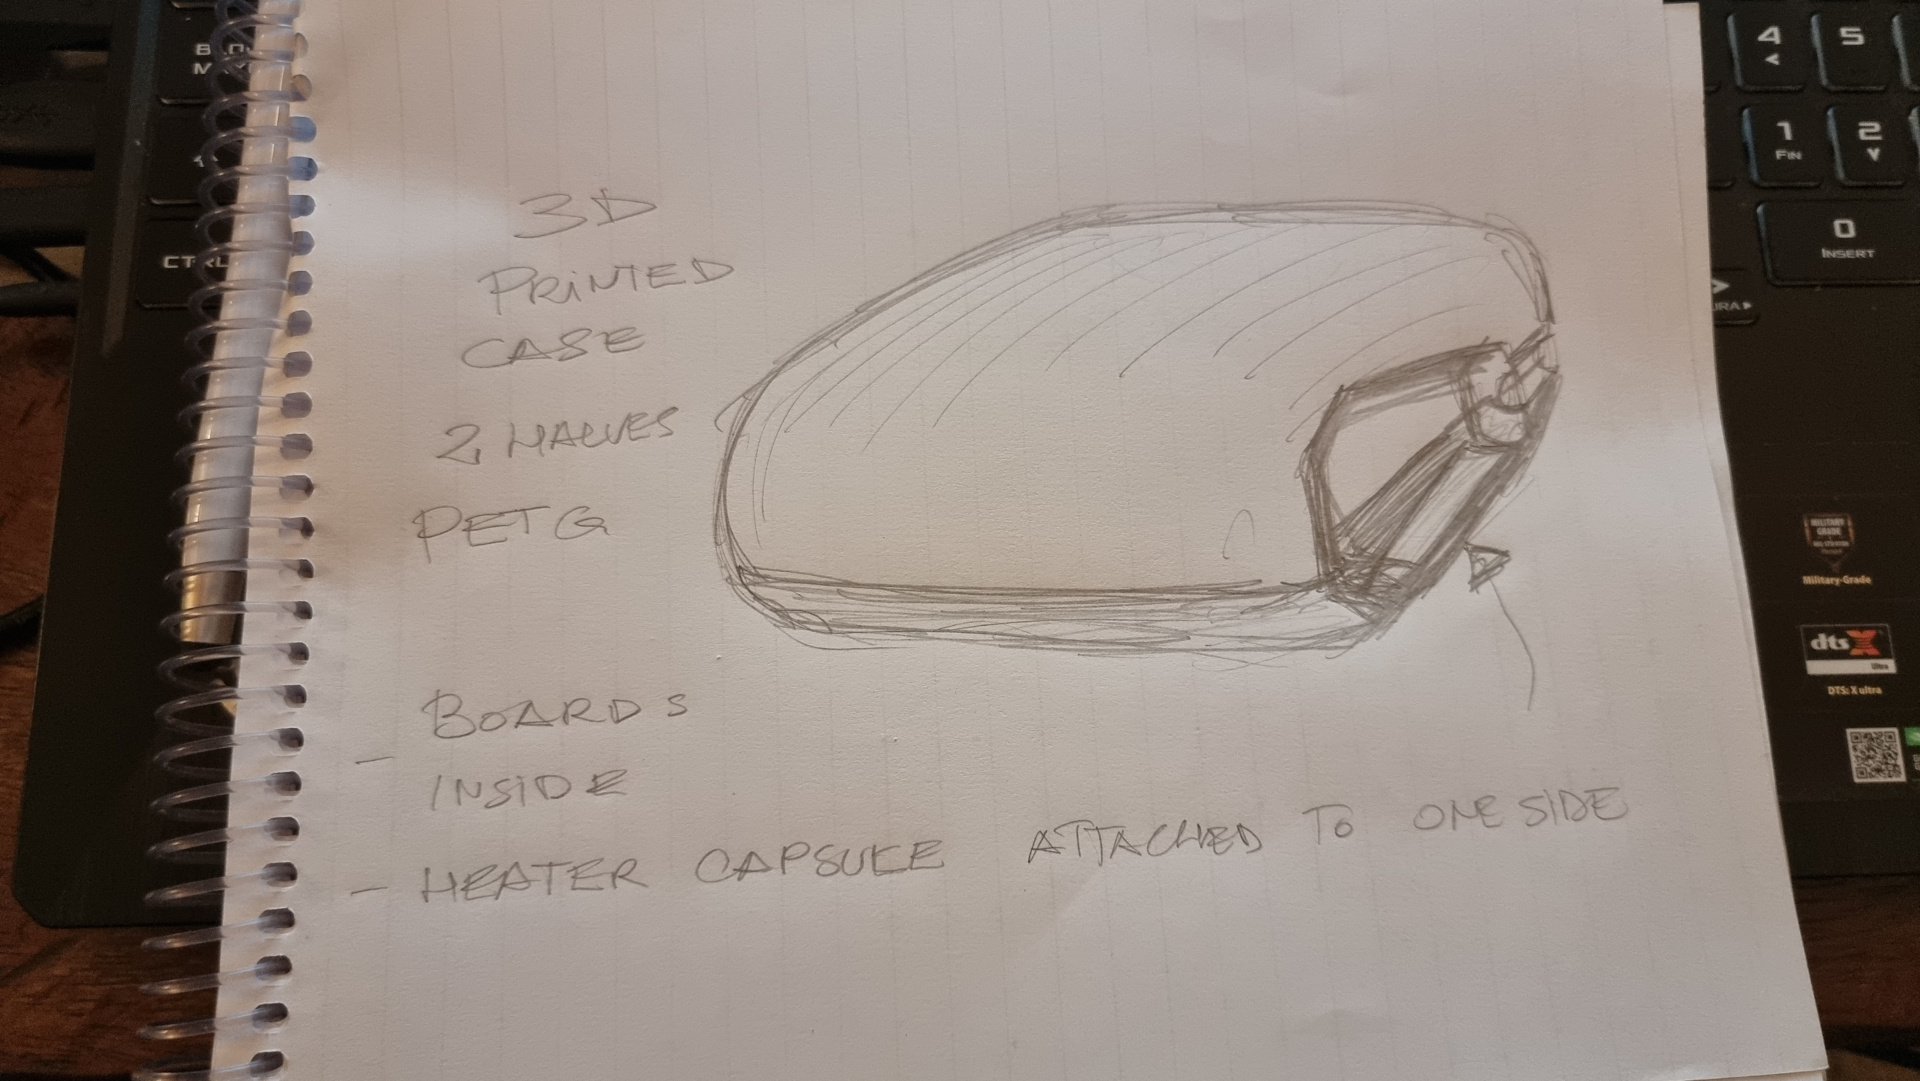
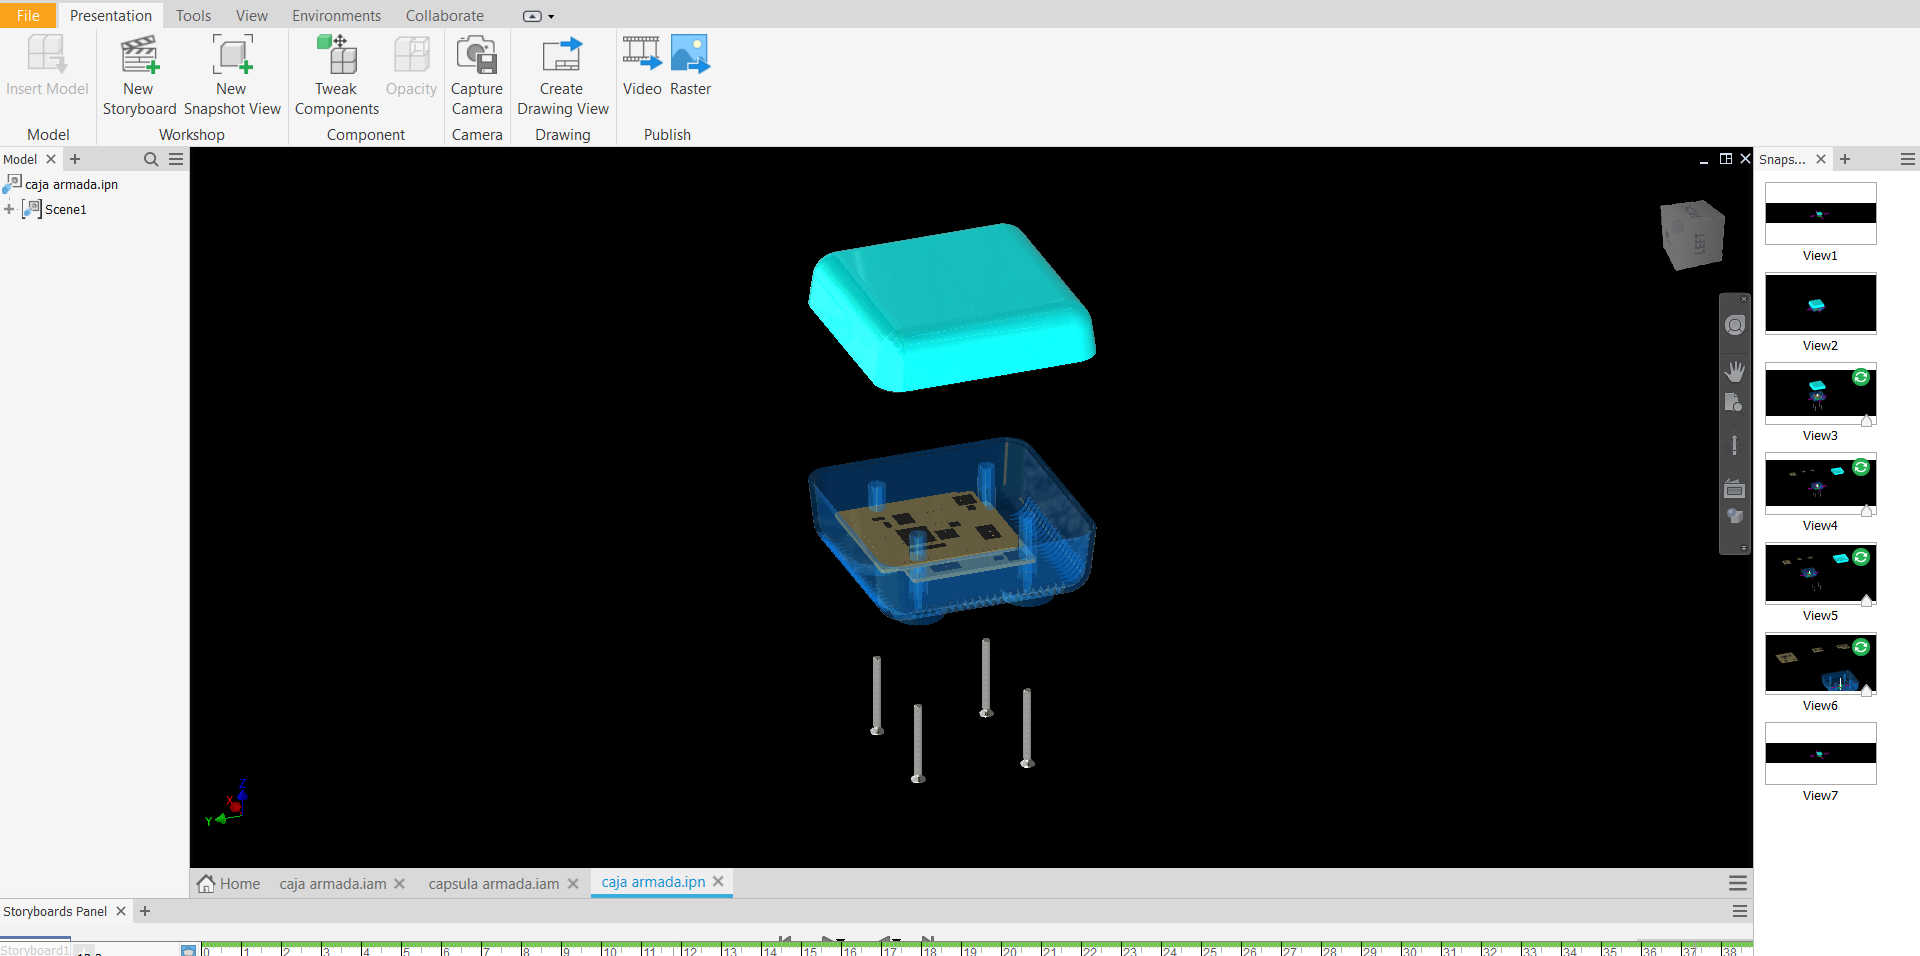
The SUNGuay started as a 2 main parts product: a case for the electronics and the submerged capsule.
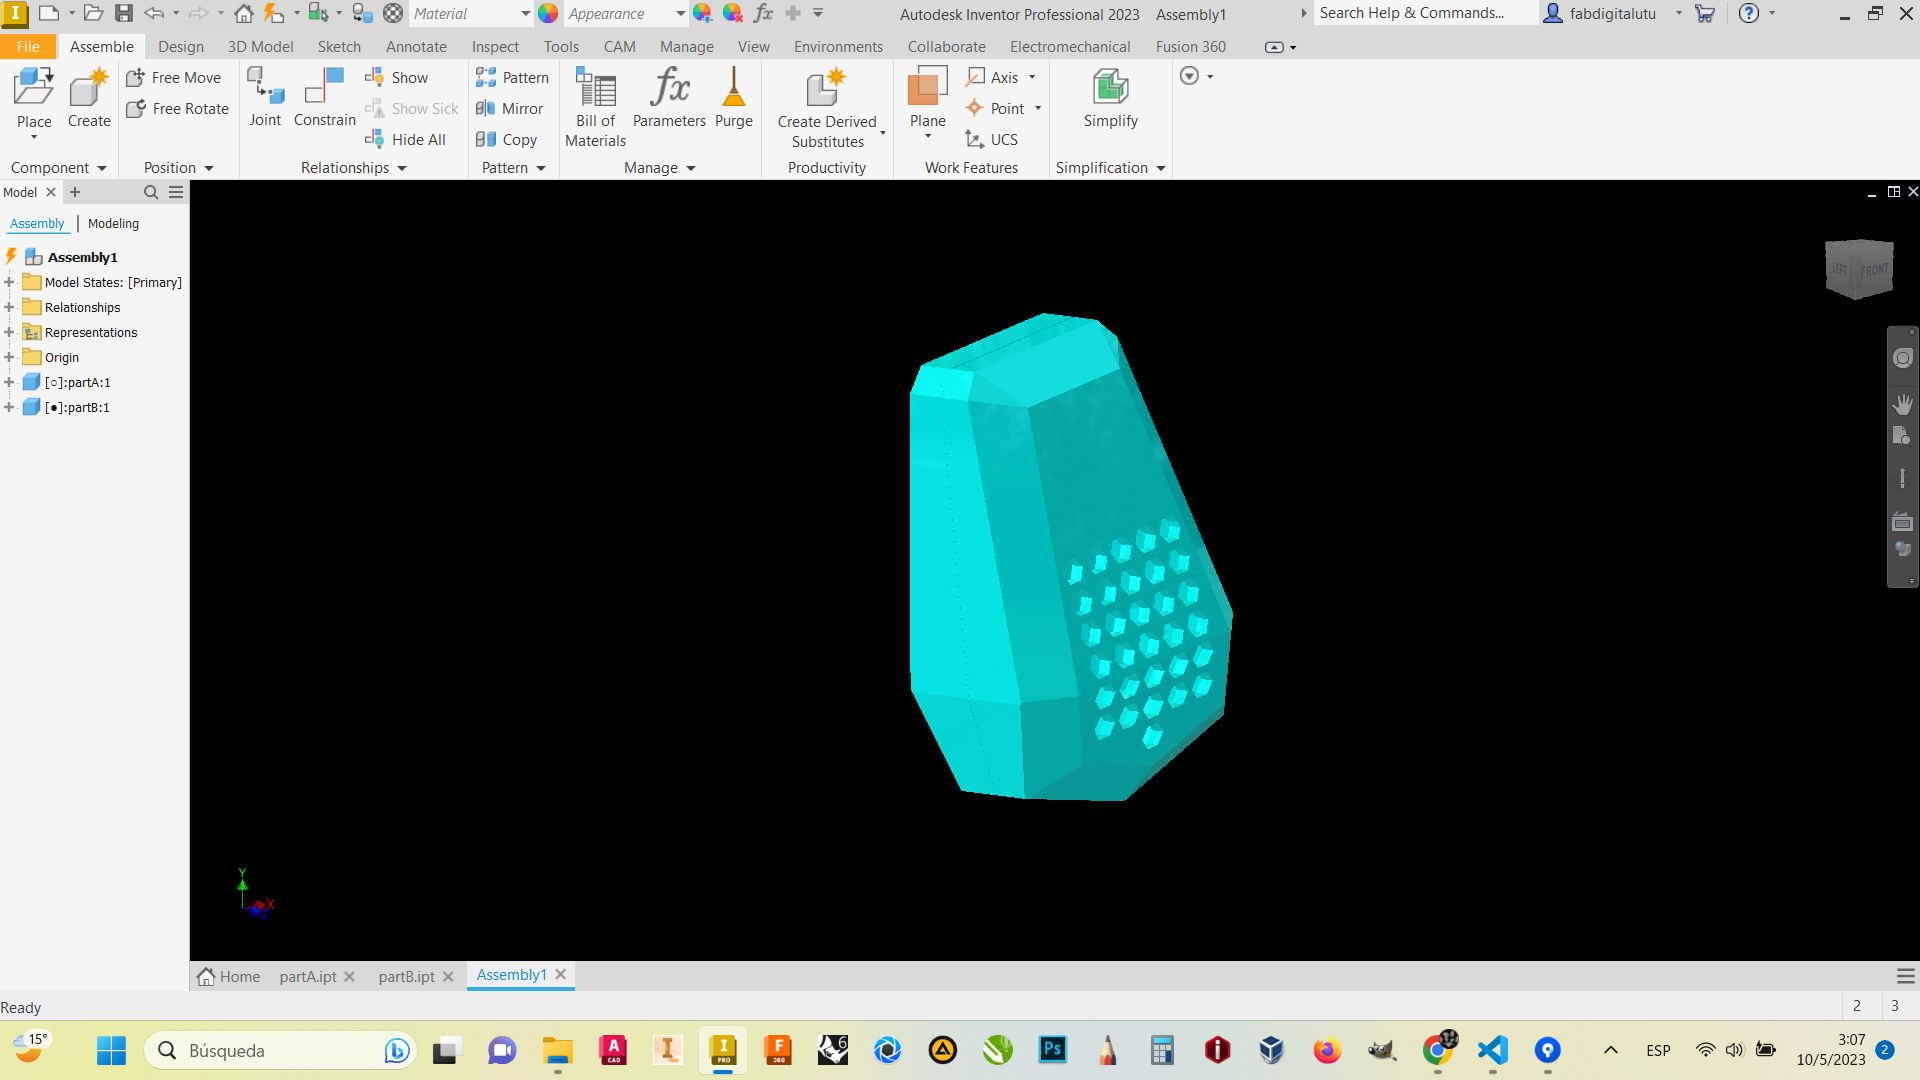
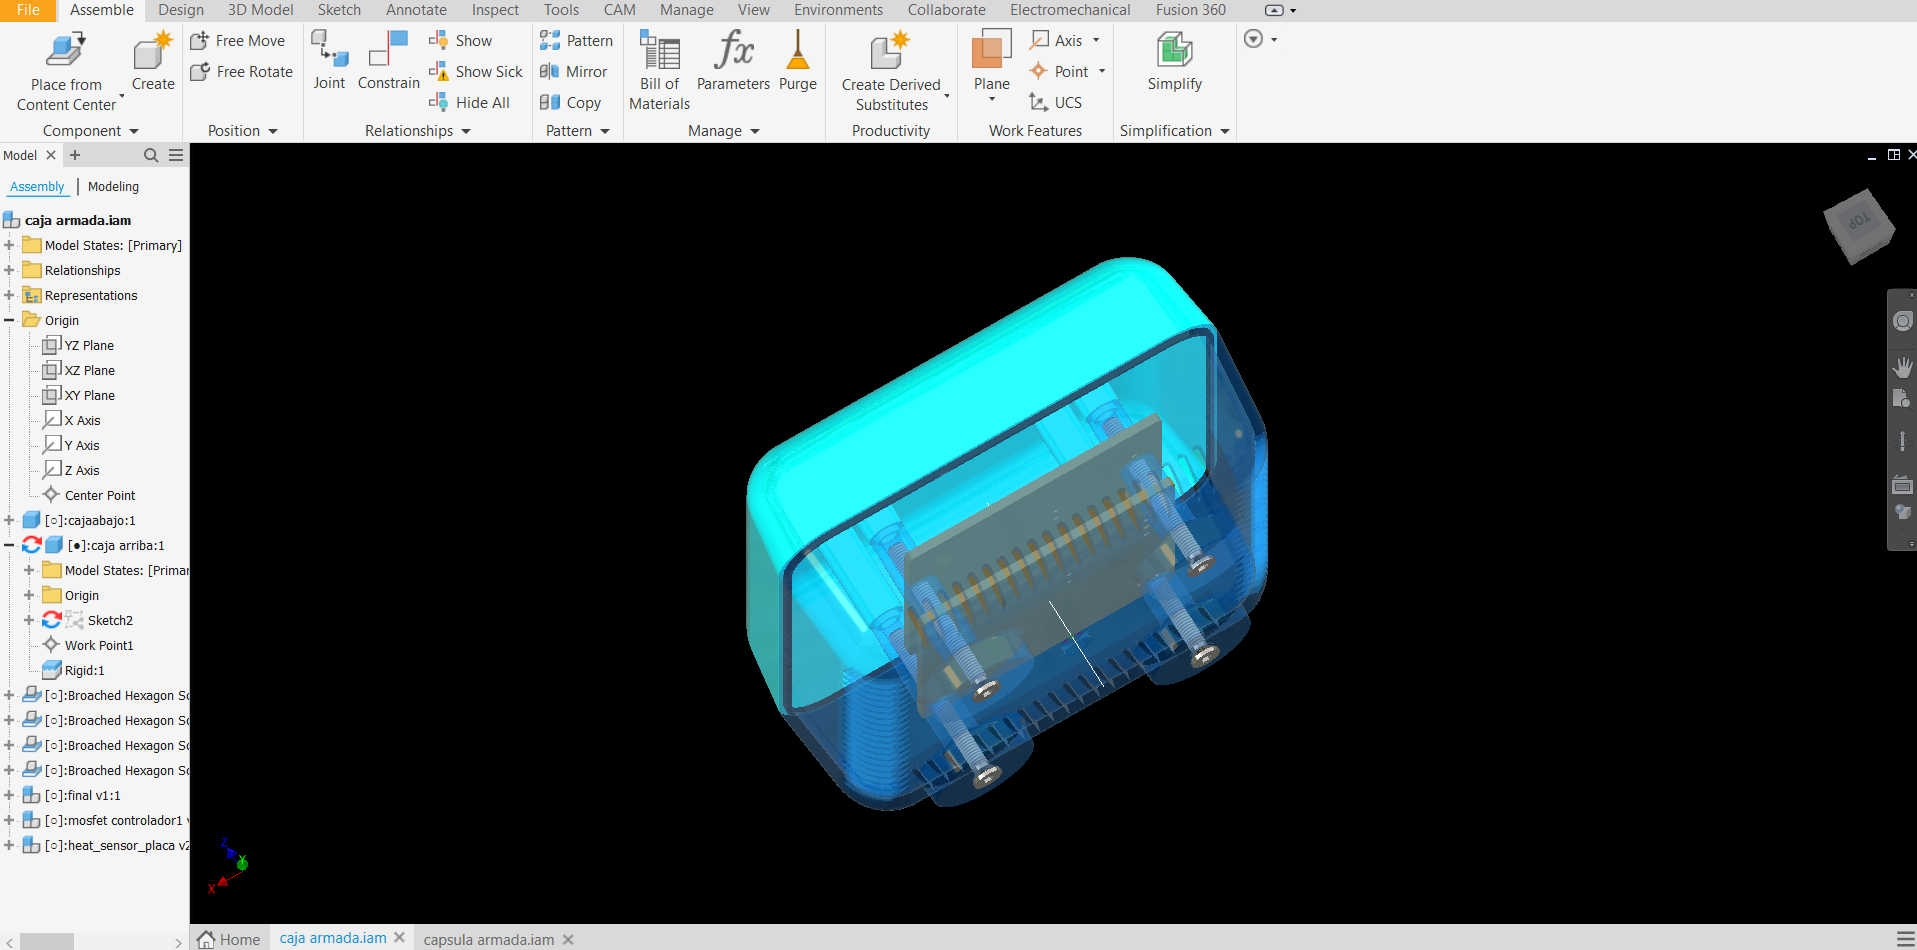
I designed the case in Autodesk Inventor software, because i wanted a parametric design.
The case

The capsule

After having all the things....let´s put them together
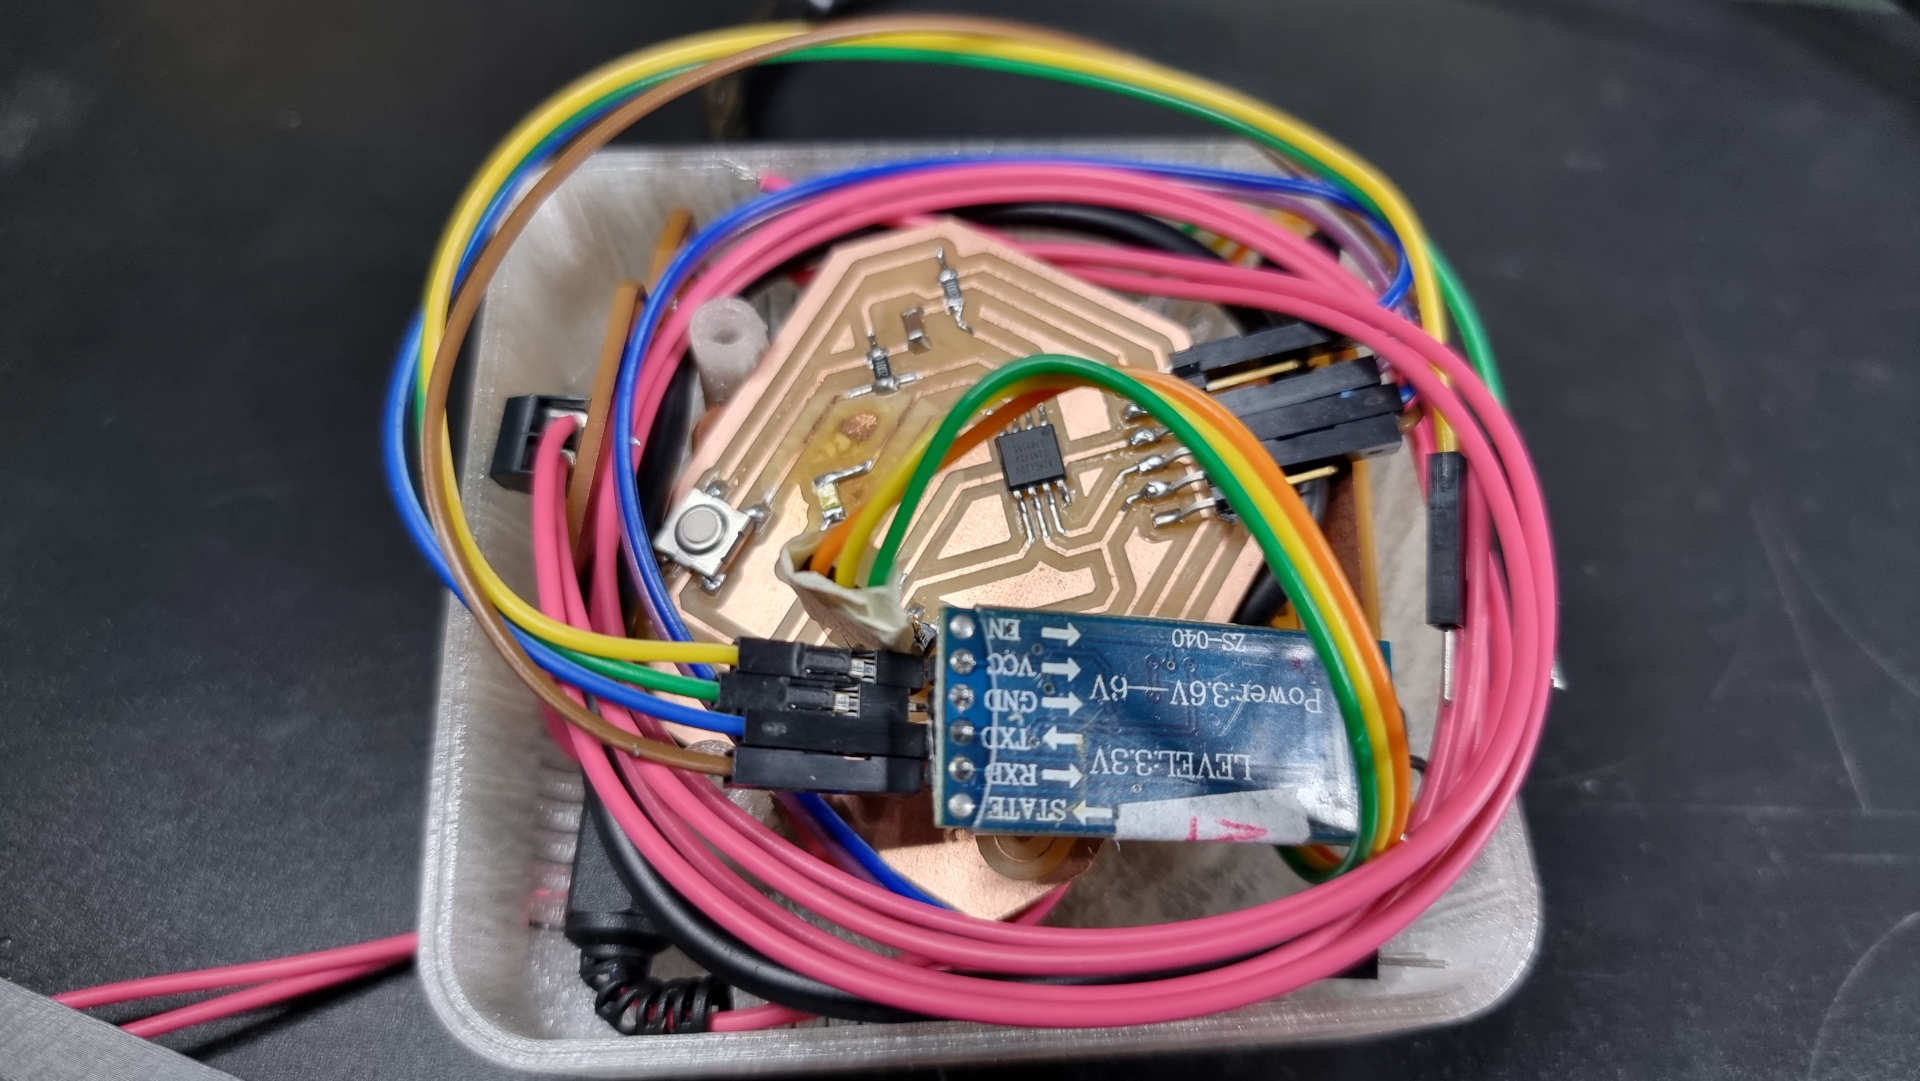

Assemble everything to test

Presentation Video and Slide.
Video SlideOff the record
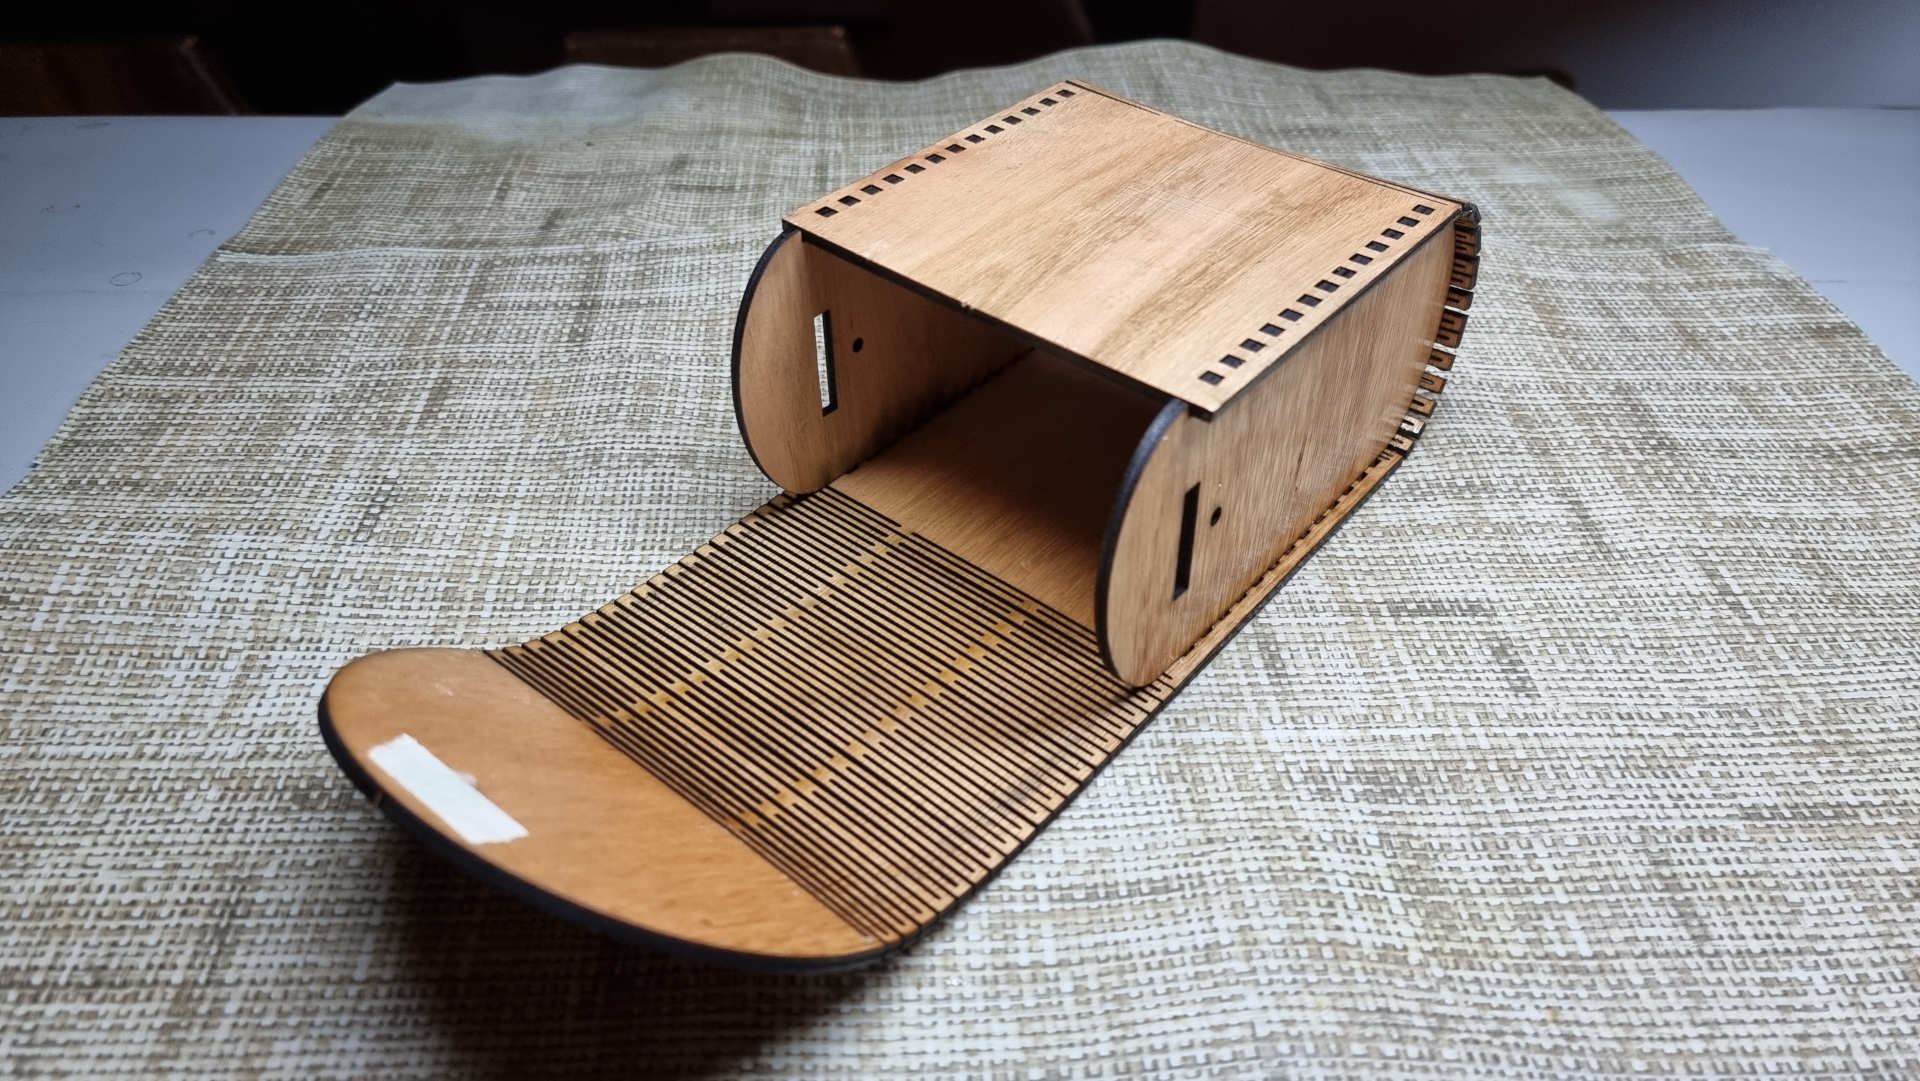
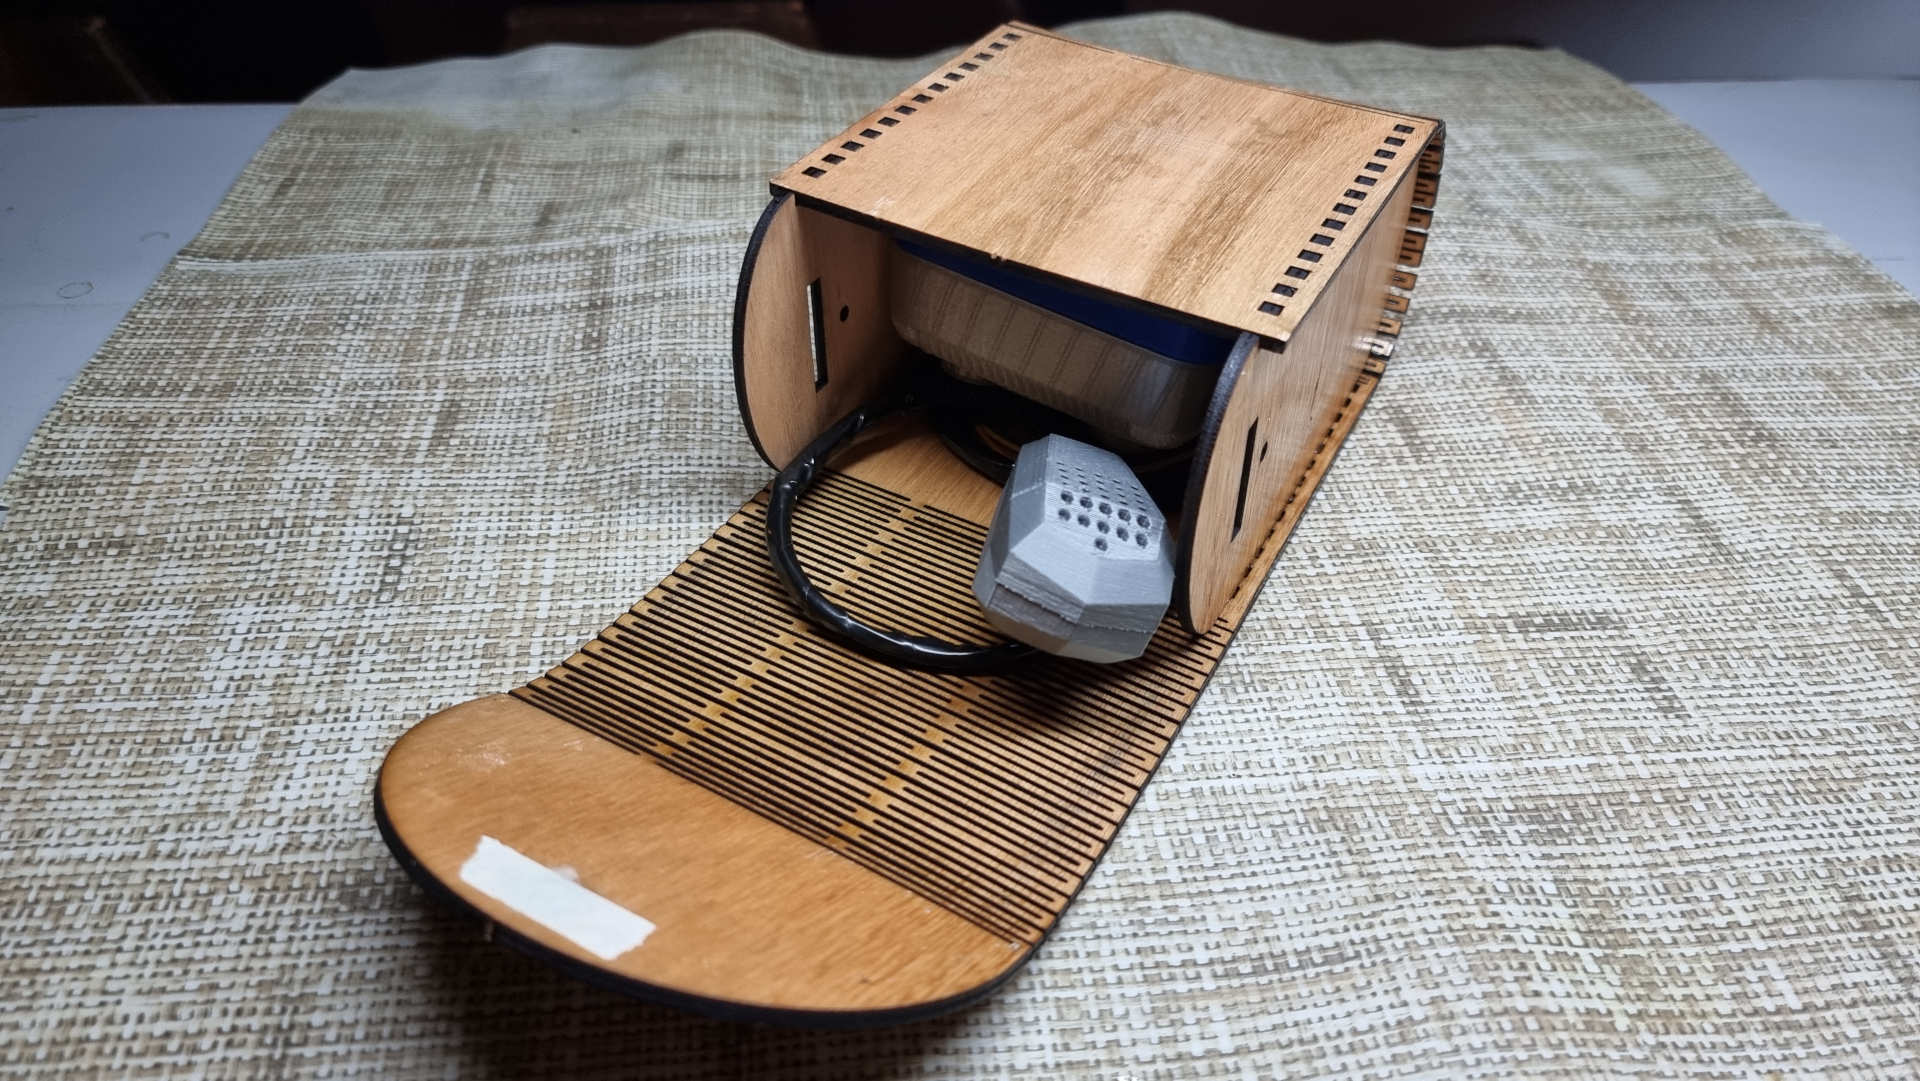
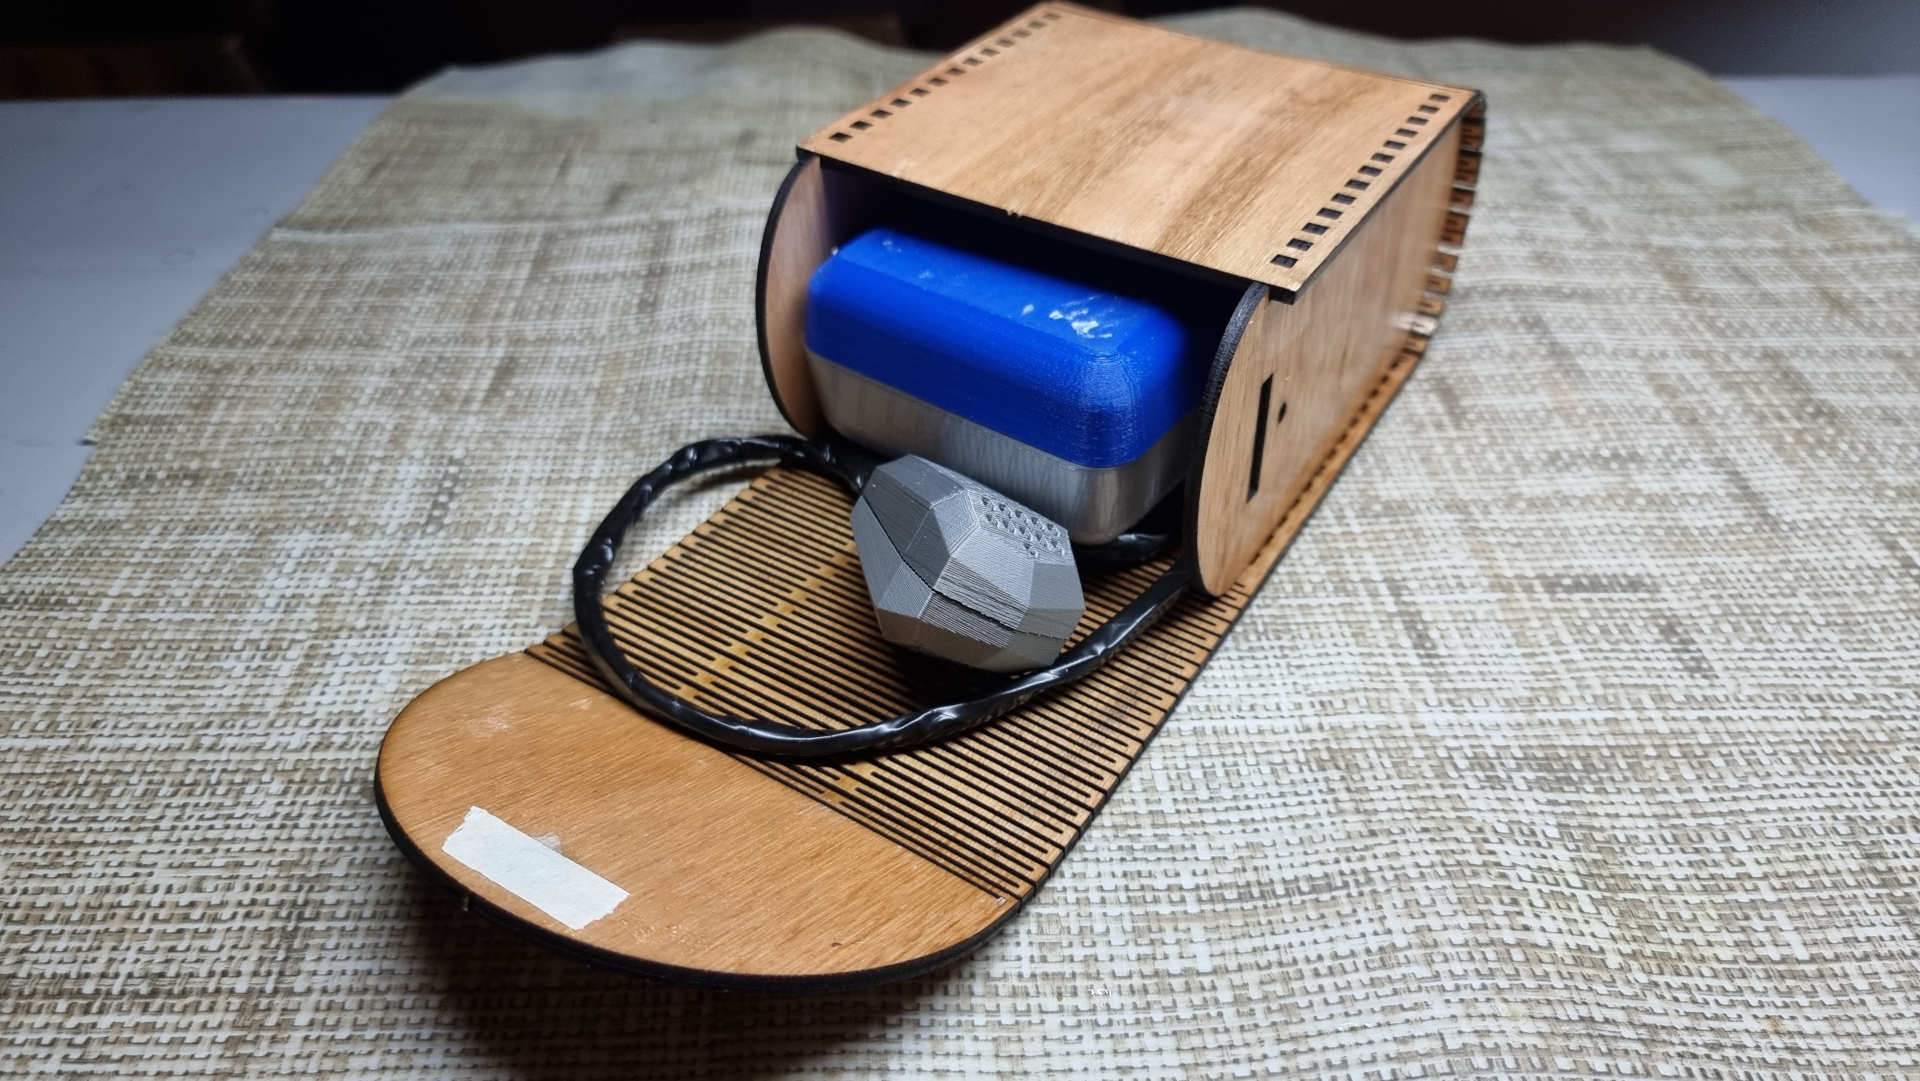
Because i want something more, i also design a wooden pouch, to put my SUNGuay when is not in use
I used 4mm plywood and cut it with the lasercut machine, and put two 6mm neodimium magnets to close it.

Conclusion
This project was really a wild ride, running counter clock. Murphy´s Law happened everytime but i learnt how to fix and survive.
Right now, i can say with property that i´m a good pcb machinist, a well soldering, i can use everyone of the lab's machines with knowledge and suggest to my fellow students how to survive to the unknown.
This project is something i want to continue upgrading, because it´s fun and i think it could be saleable.
I would like to thank my instructors in FADA-CIDI, to DGETP-UTU Uruguay and to everyone that helped me in this crazyness.
Also thanks to my Global Evaluator for the patience and to FabAcademy Community, specially Global Saturday Fever.