8. Electronics production
From electronic design to final board.
Two weeks before this, on electronic design week , we leart basics for electronics and made our own design of a simple MCU.
We made the schematics of the board, generated the board example and now it´s time to fabricated
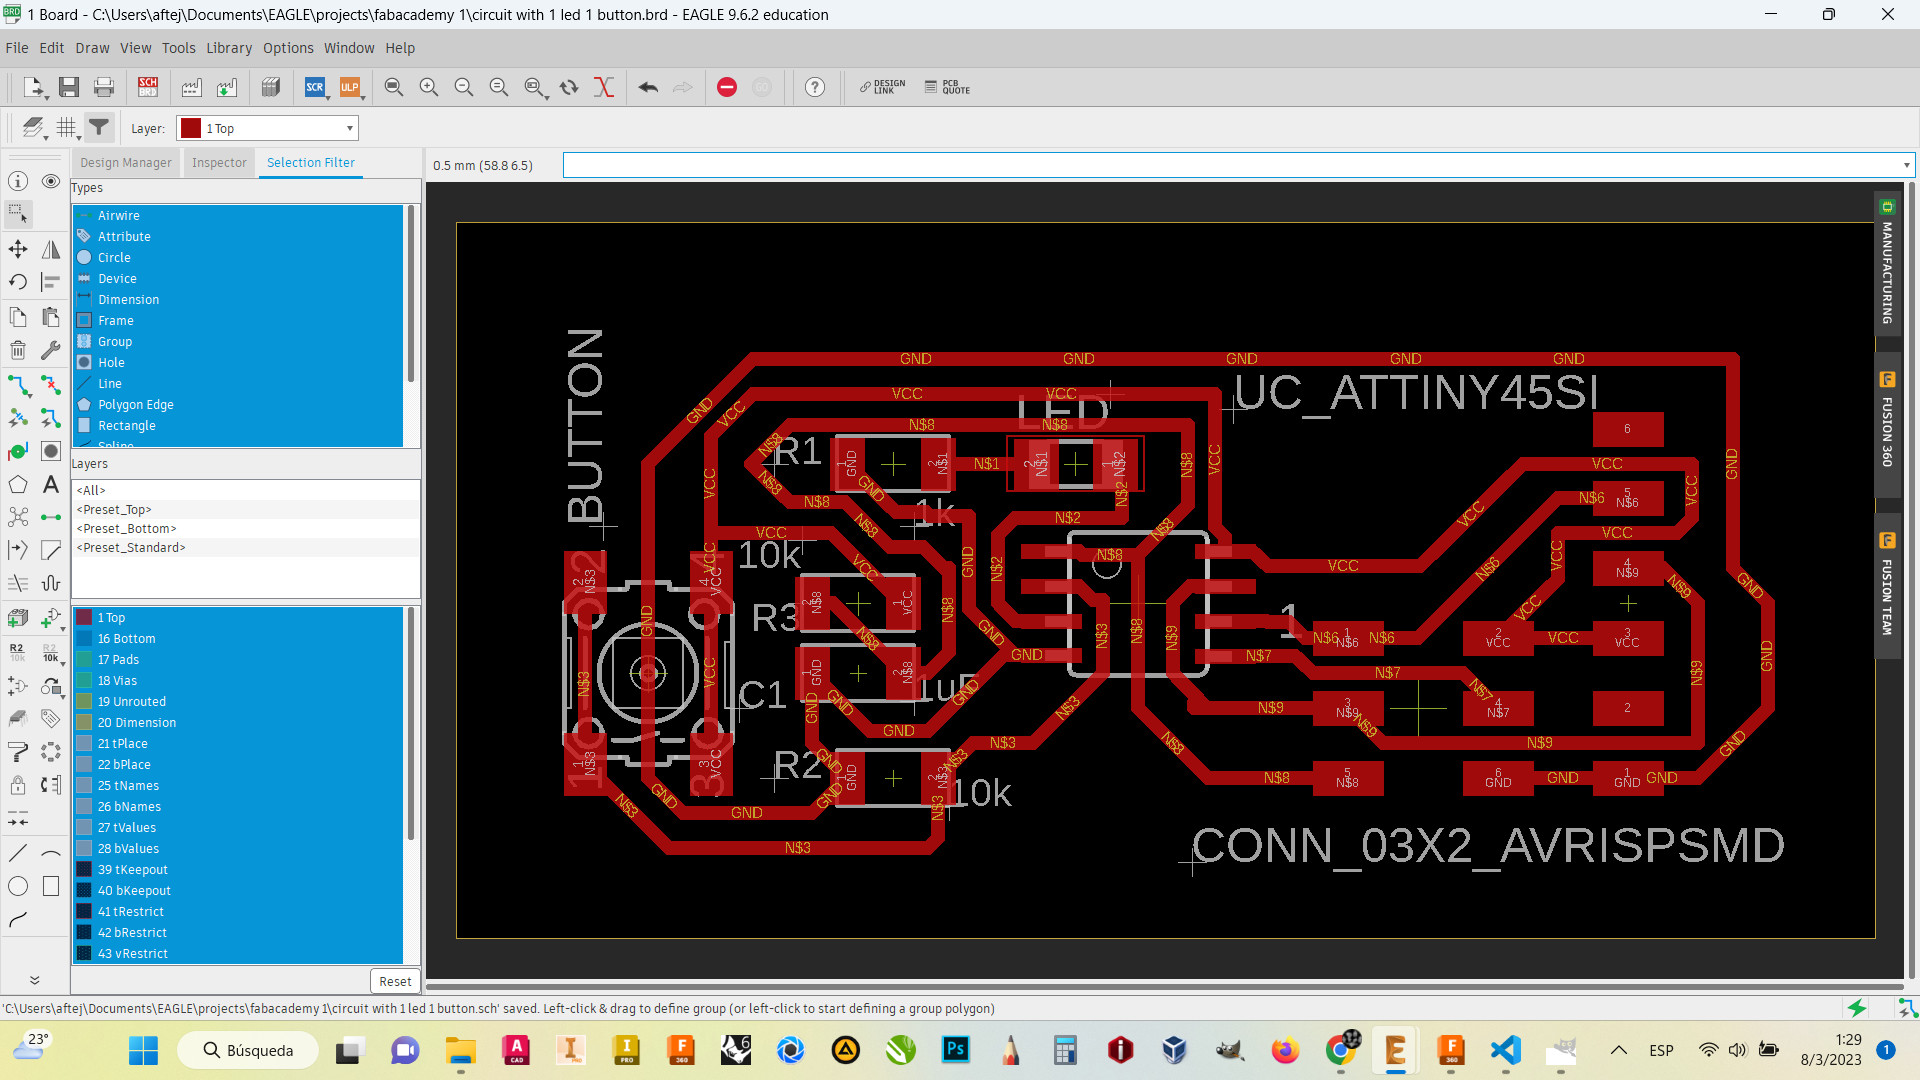
To fabricated the board, we need to check first that there are no airwire connections, no overlapping paths and no wrong labeled terminals.
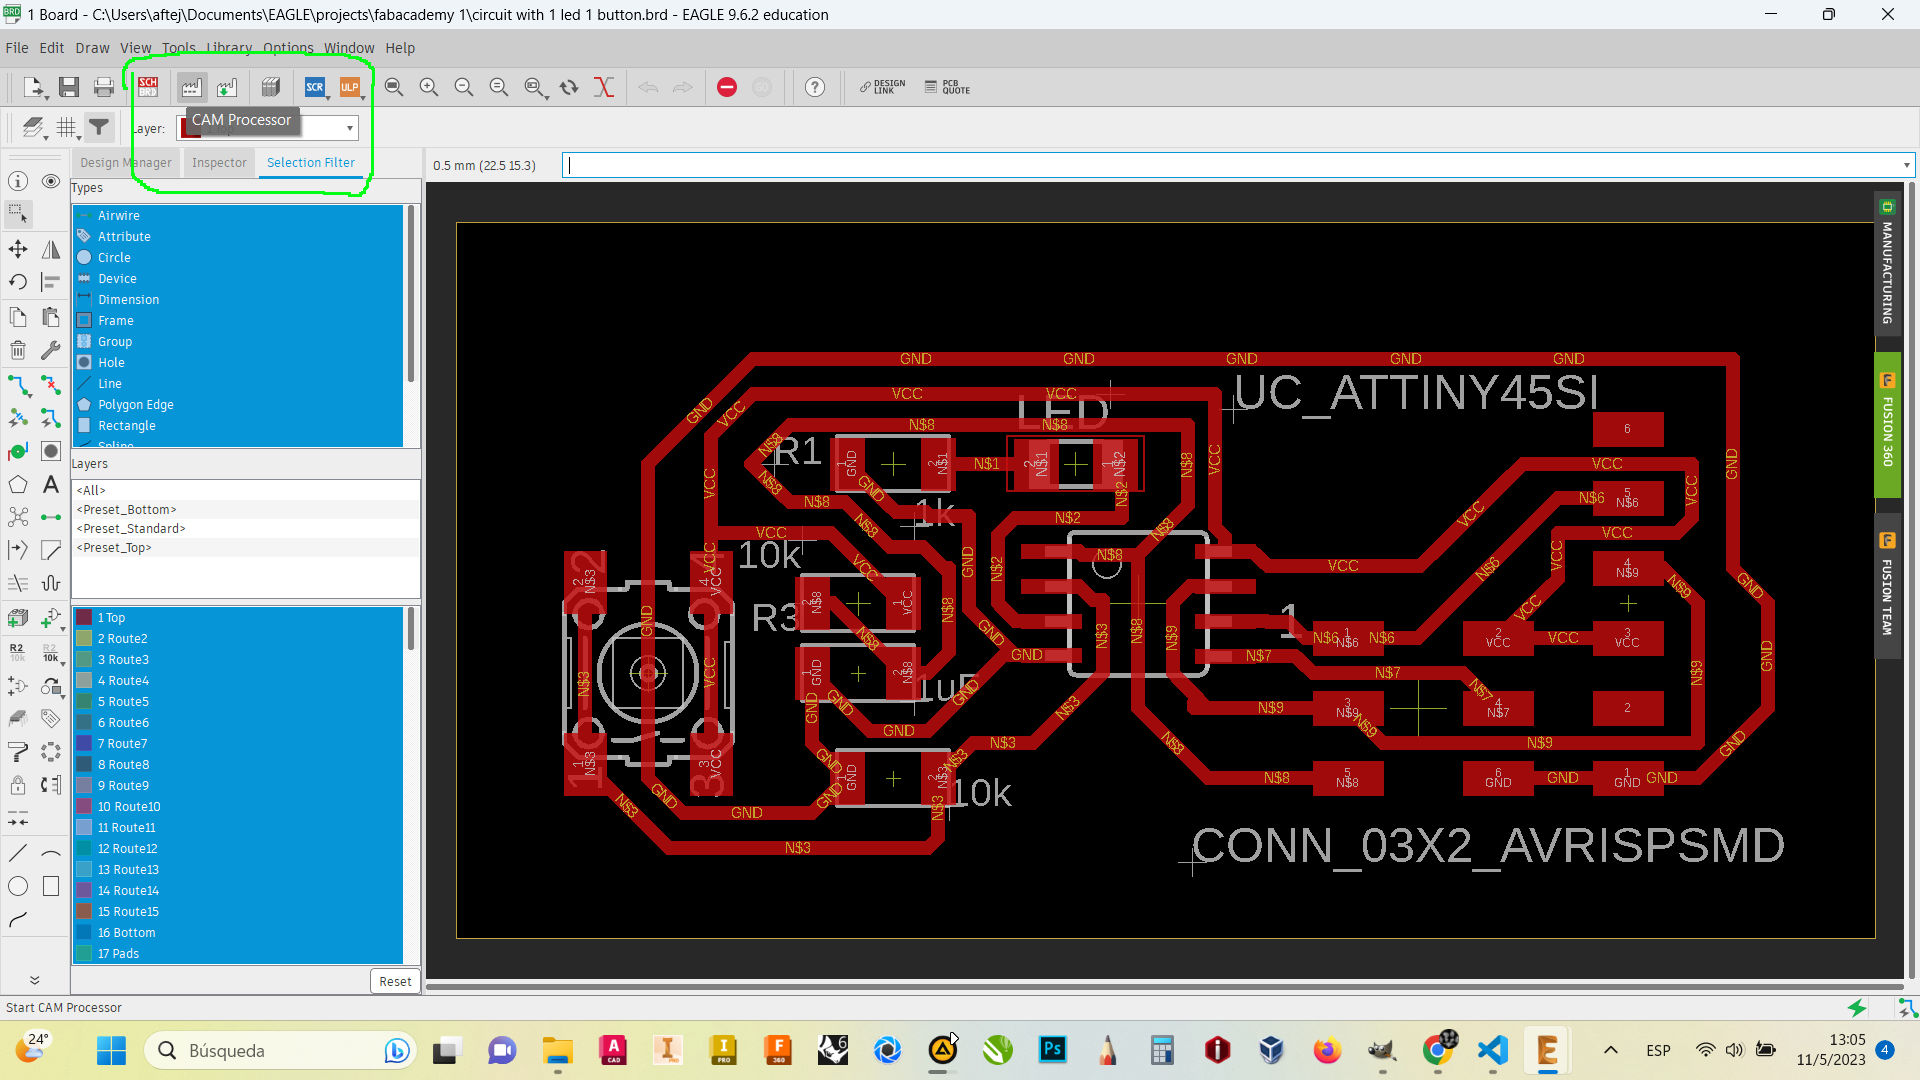
After that, we can make our GERBER files to be processed in FlatCam
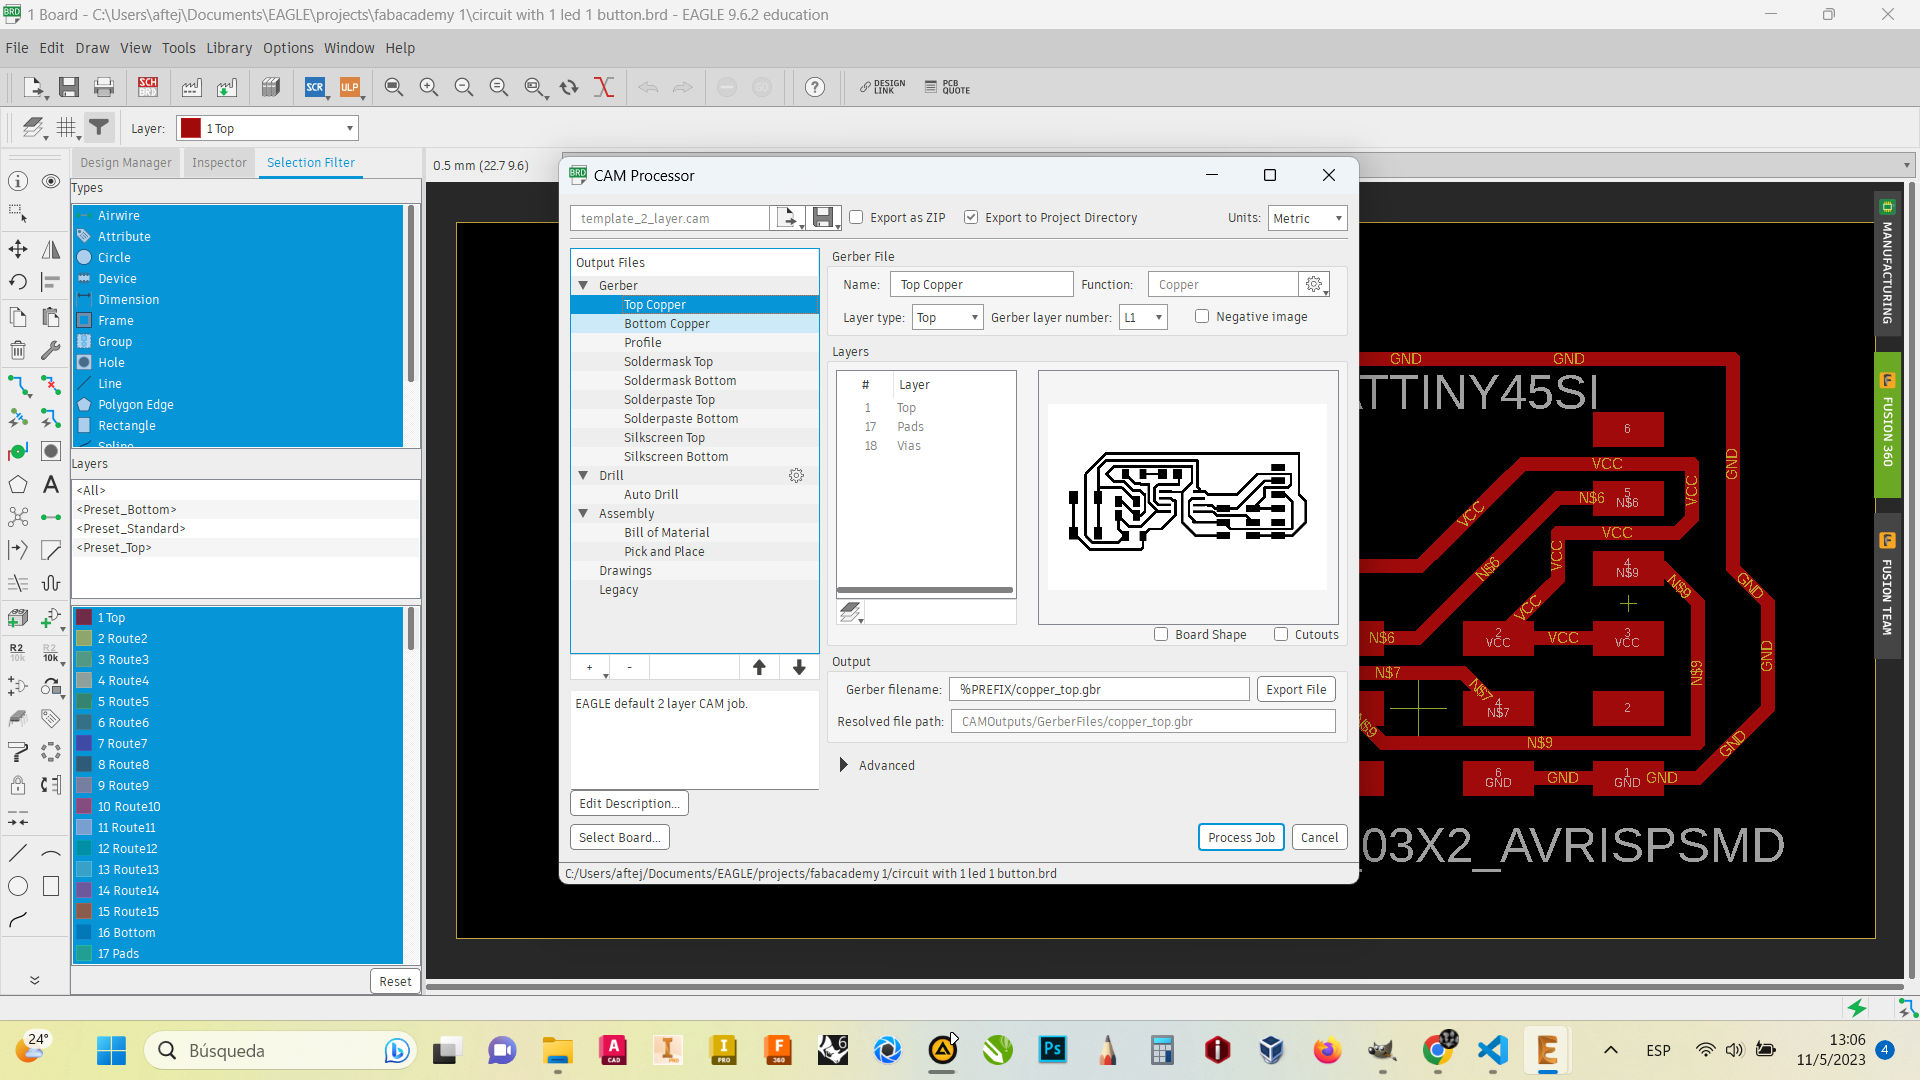
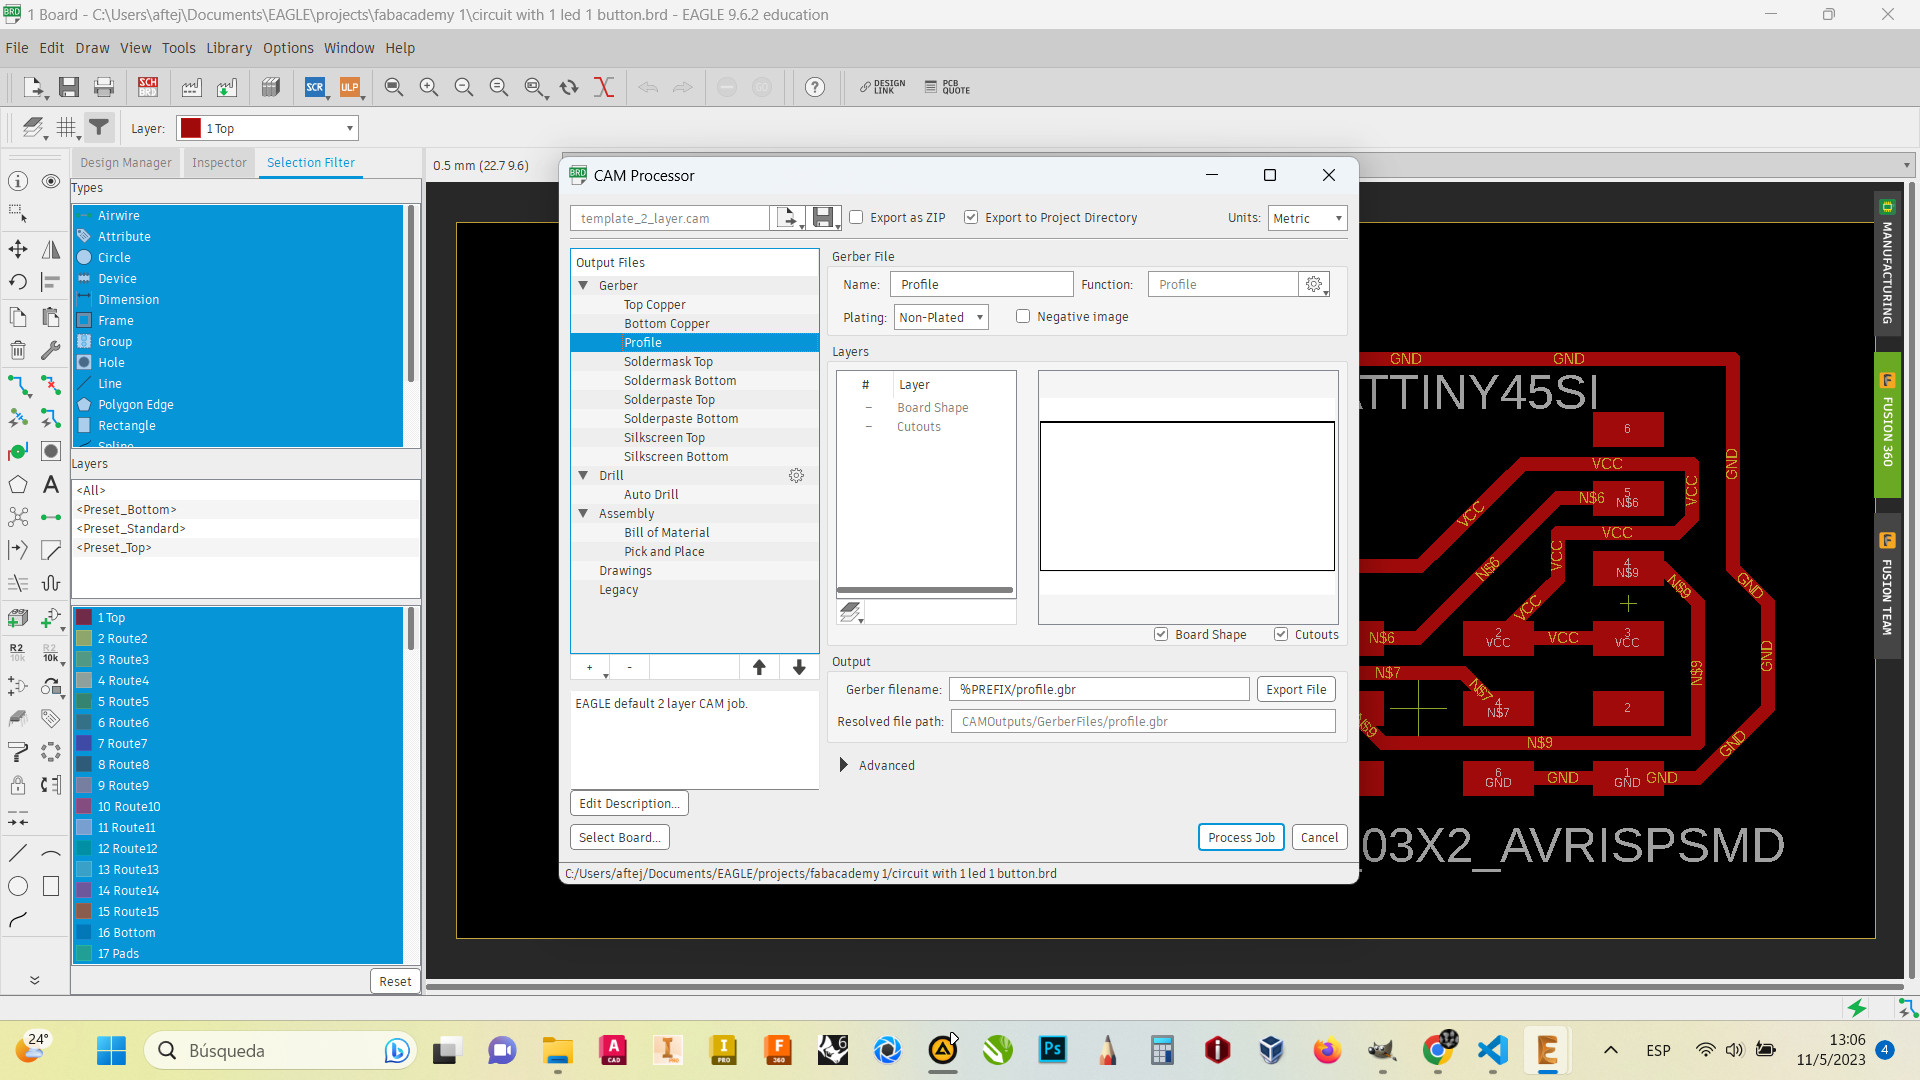
Now we have a "Top copper" file and a "profile", with those files we can create our own board.
FlatCam
FlatCam is a processing software to make Gerber files into machinable files, so the CNC could use.
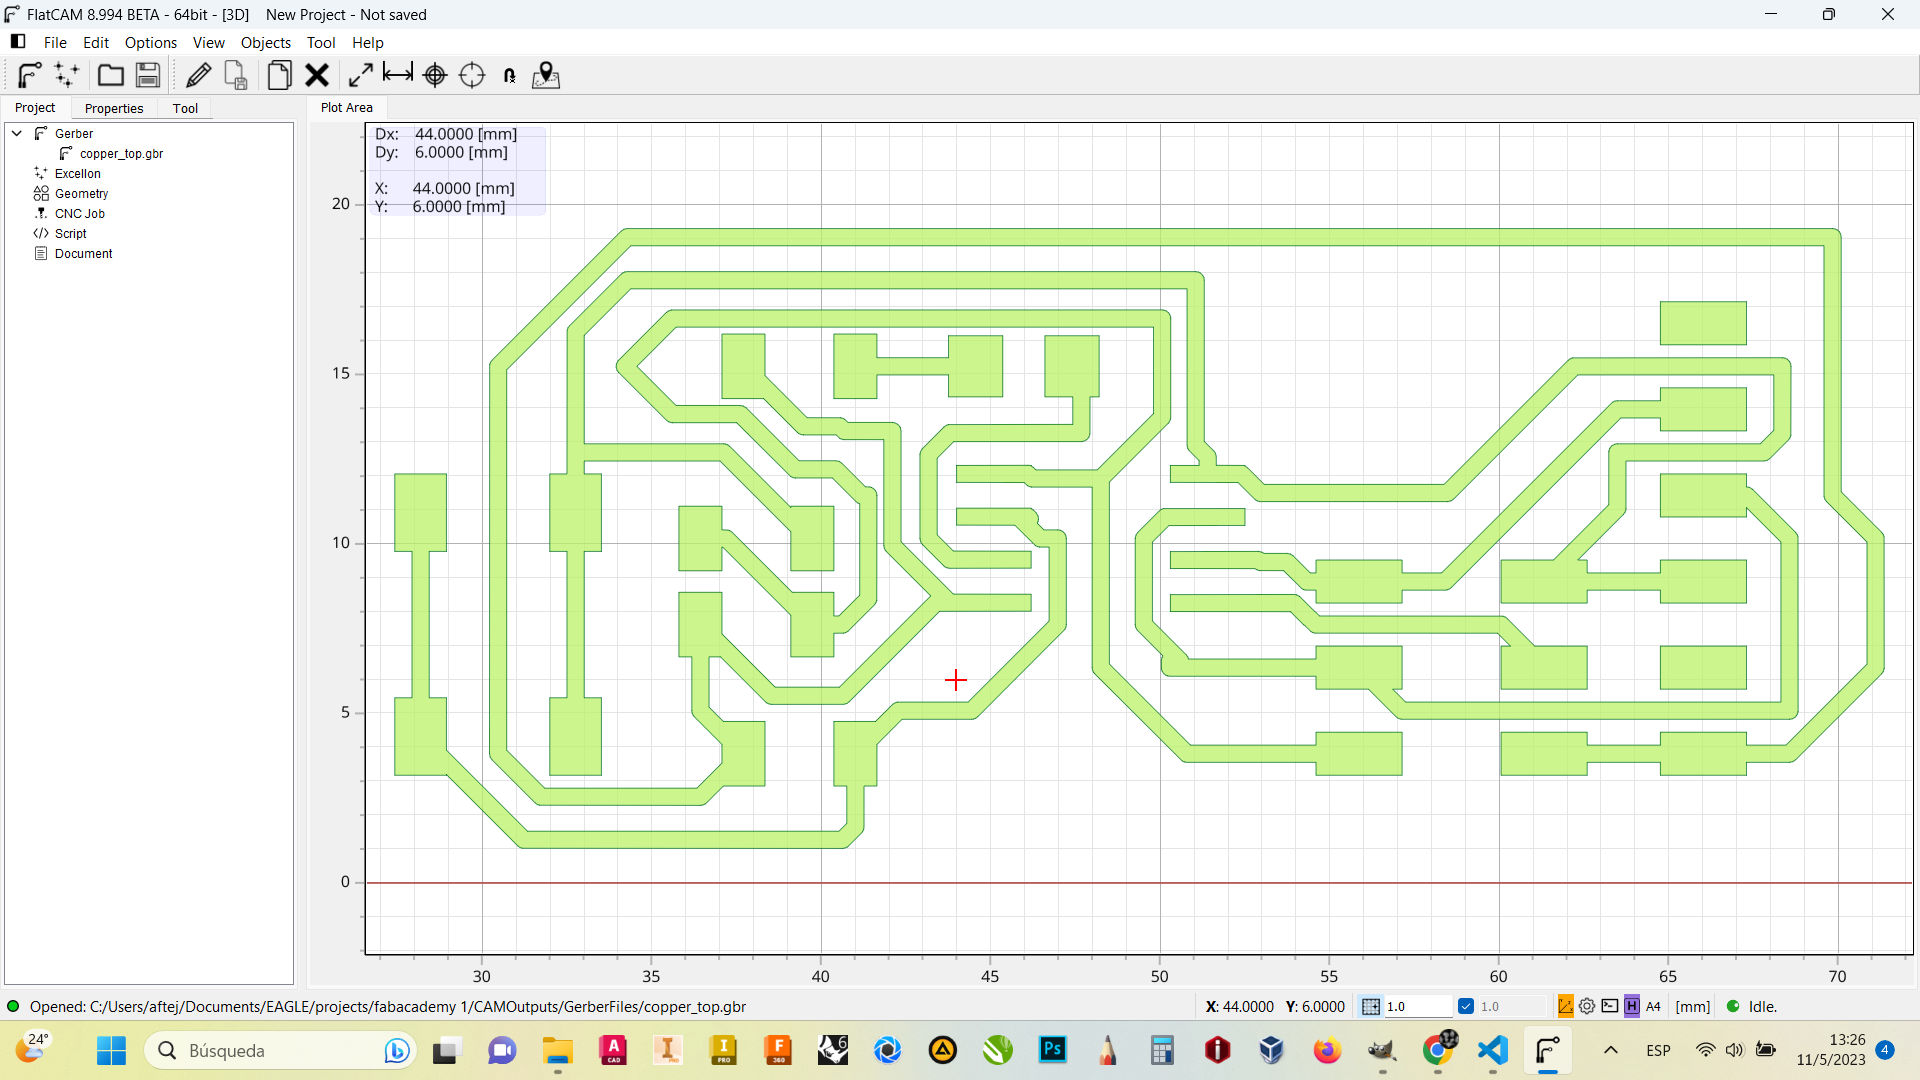
First you have to open the software, and open the Gerber files.

Select the "top copper" file to start with the process with the footprints of our circuit.
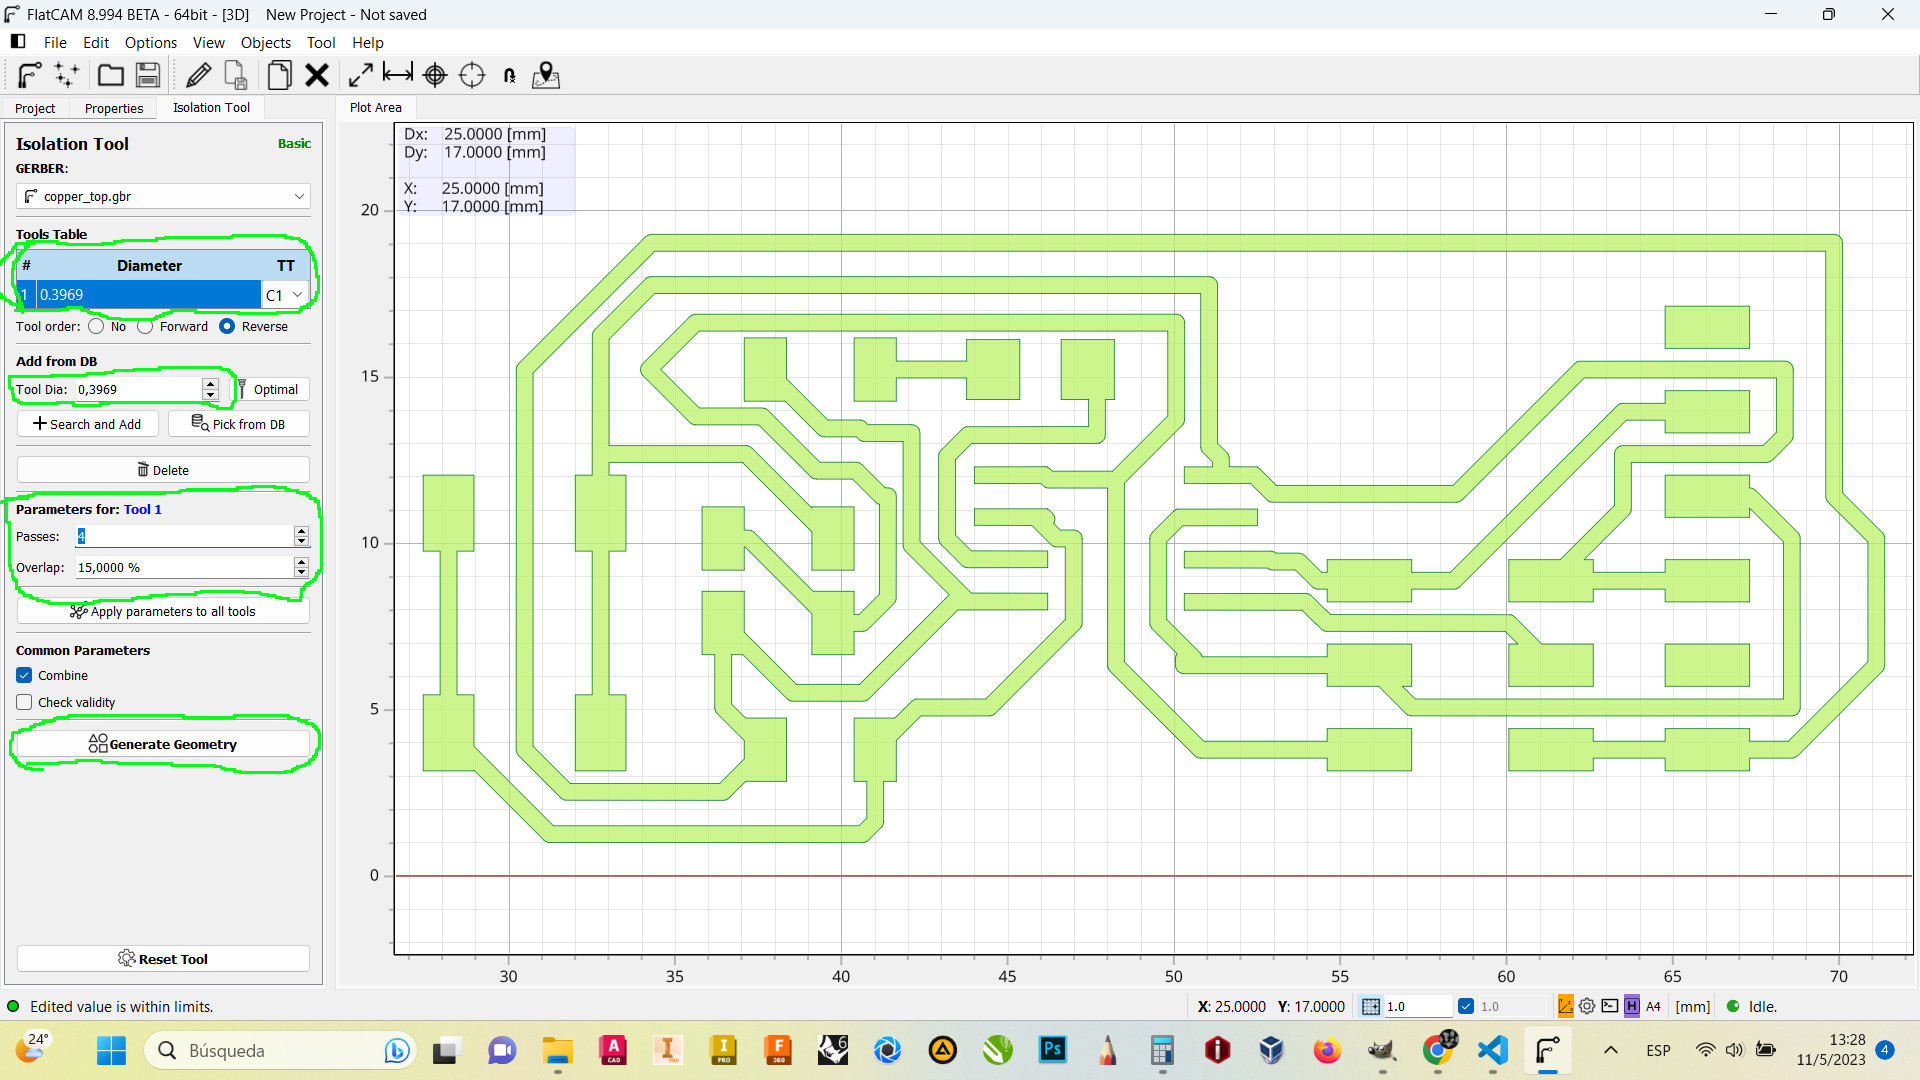
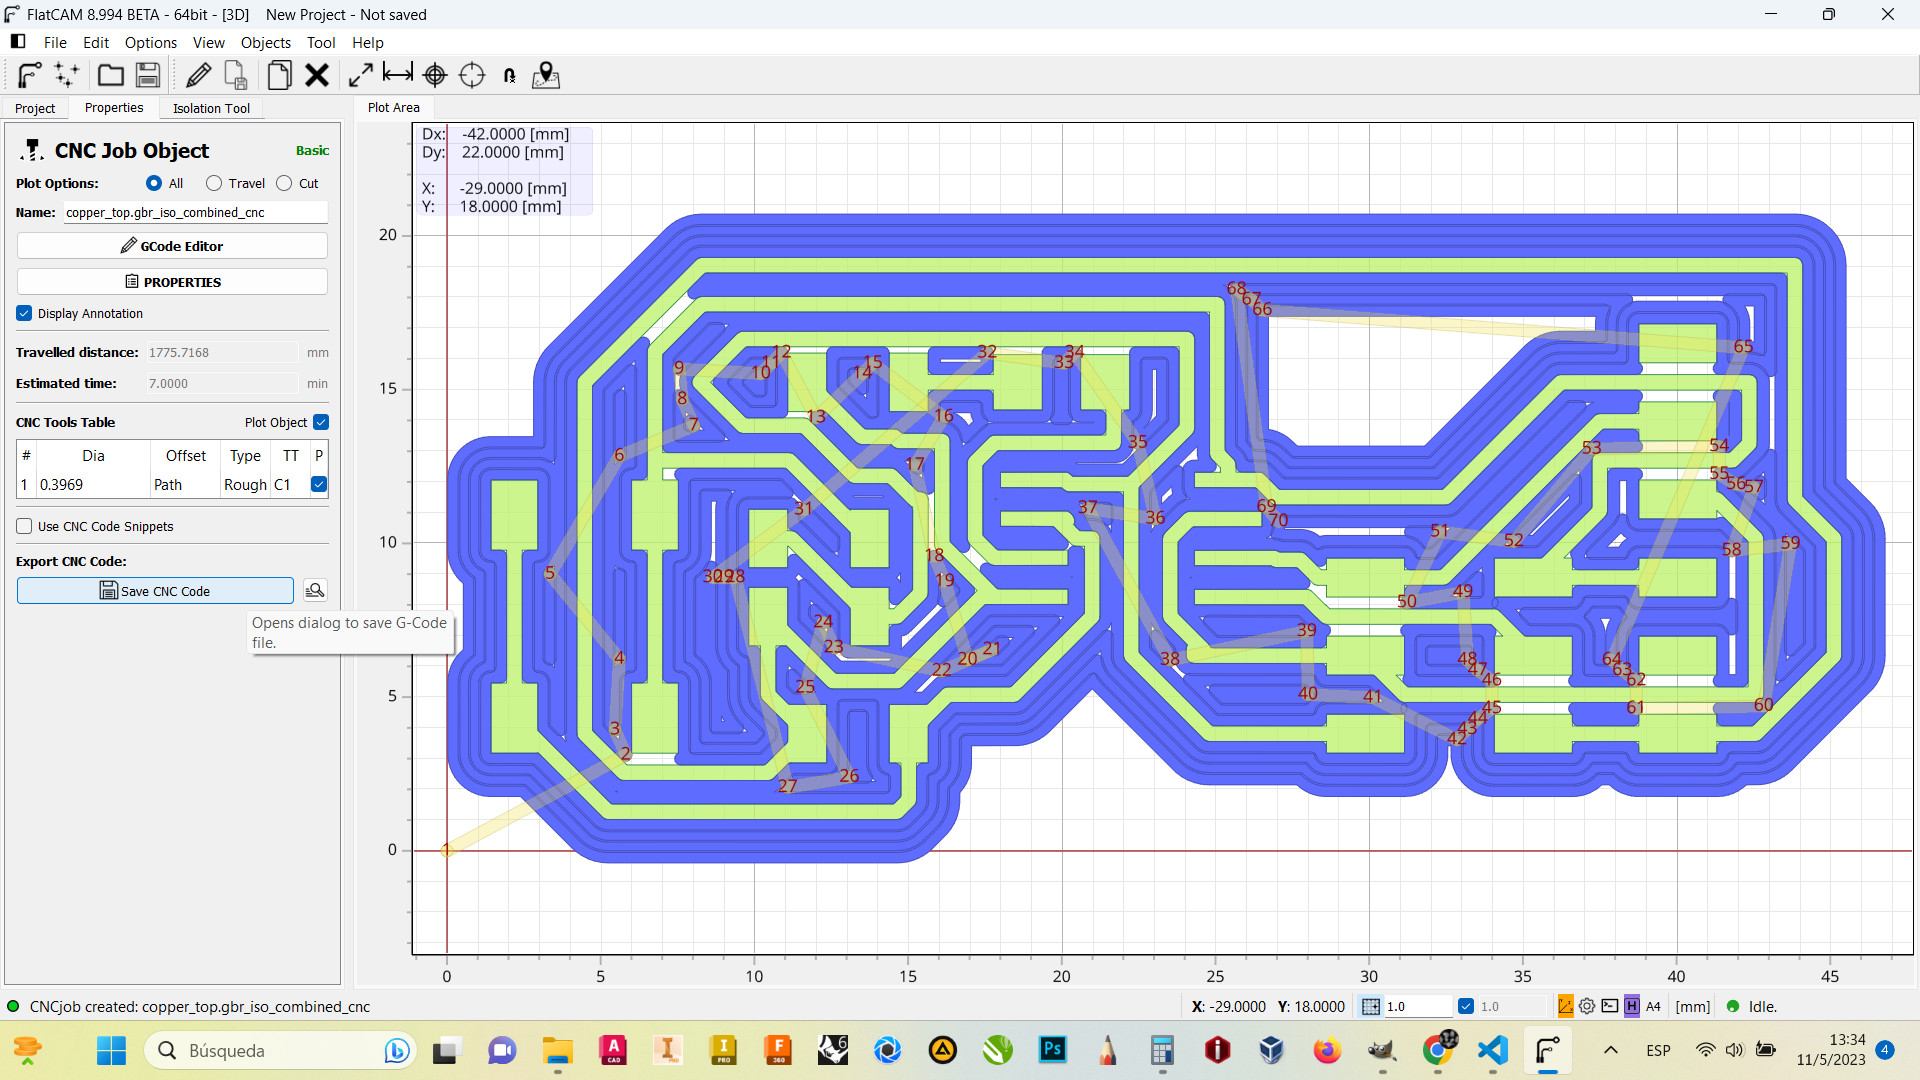
Now you have to "isolate your route" to get the paths cleared..you also could make define a "cutout tool" if you were trying to cut the profile.

After that, you need to select the tool you choose "1/64th inch" (0.3969mm), also the number of passes and porcentage of overlapping of the cut, and push "Generate geometry".
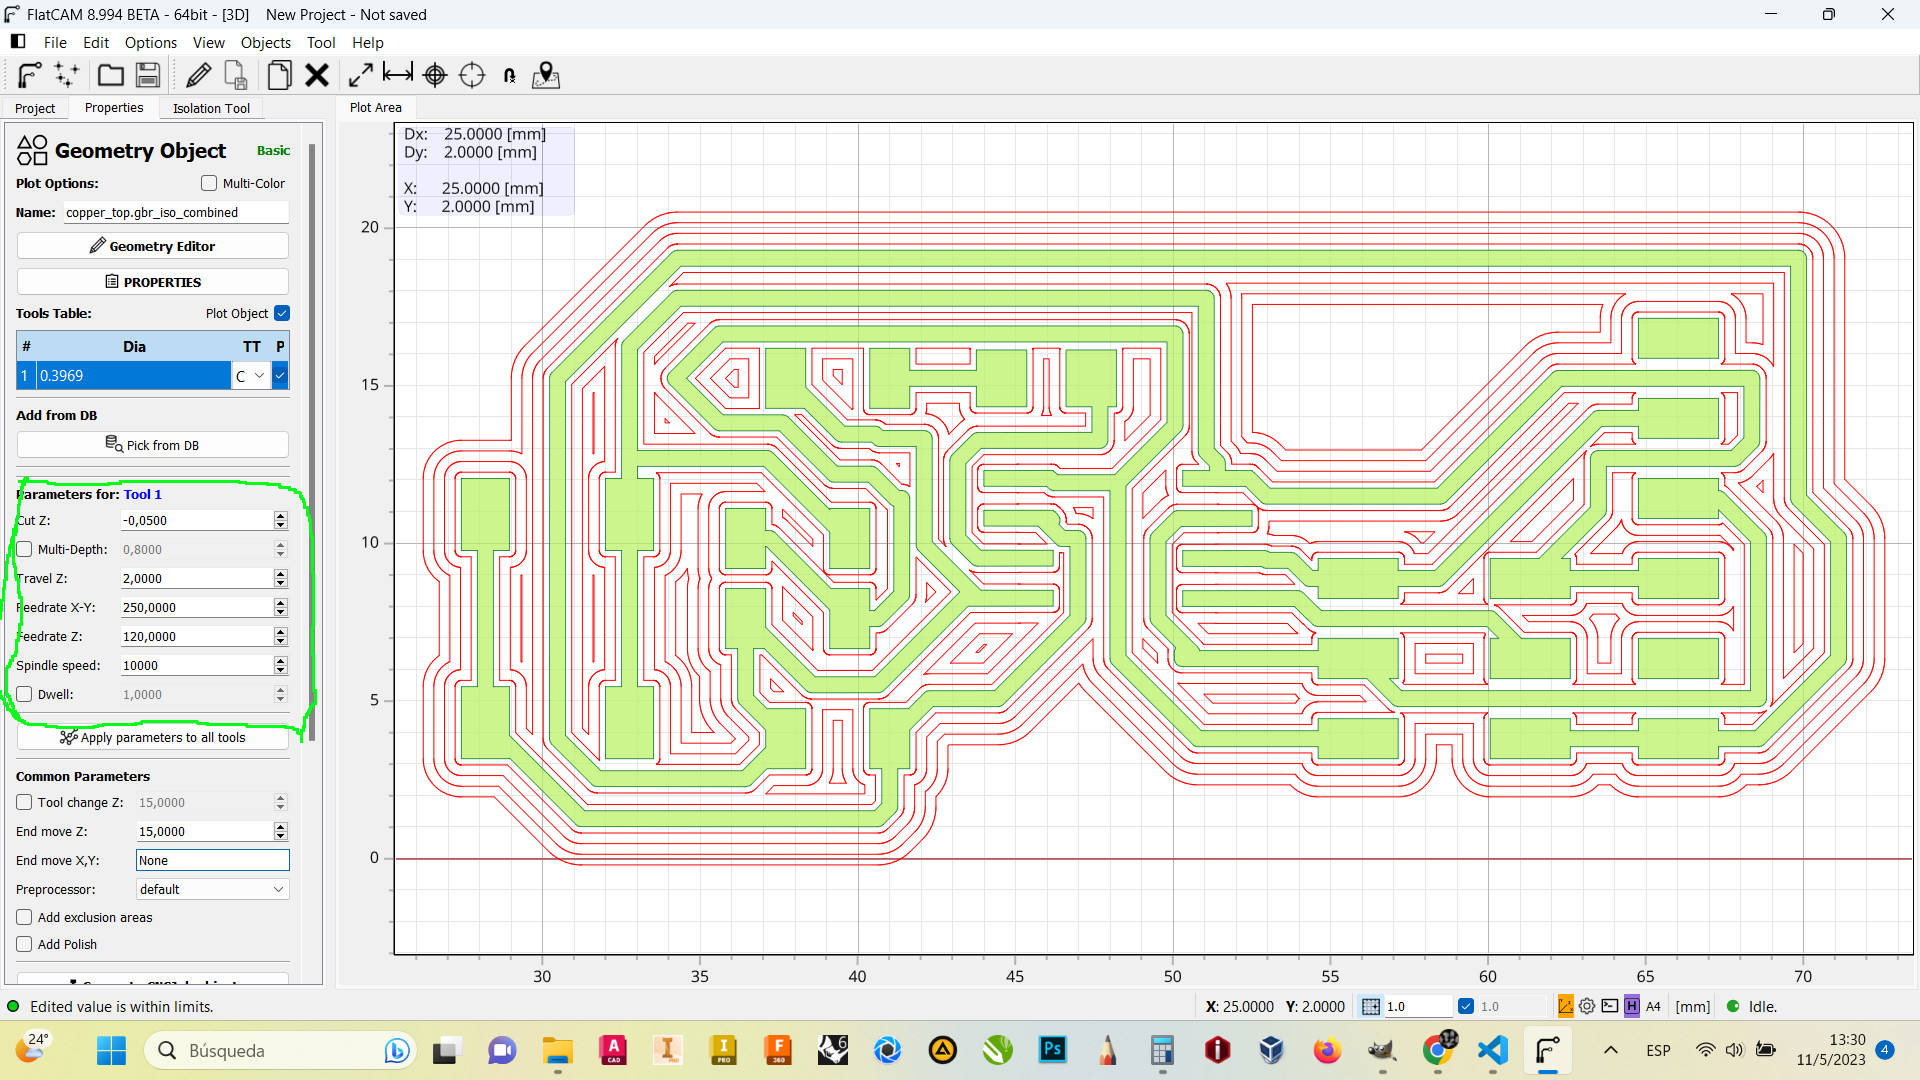
After that, we have to set the feedrate in x-y, and Z, the speed of the spindle and the cut height of Z.
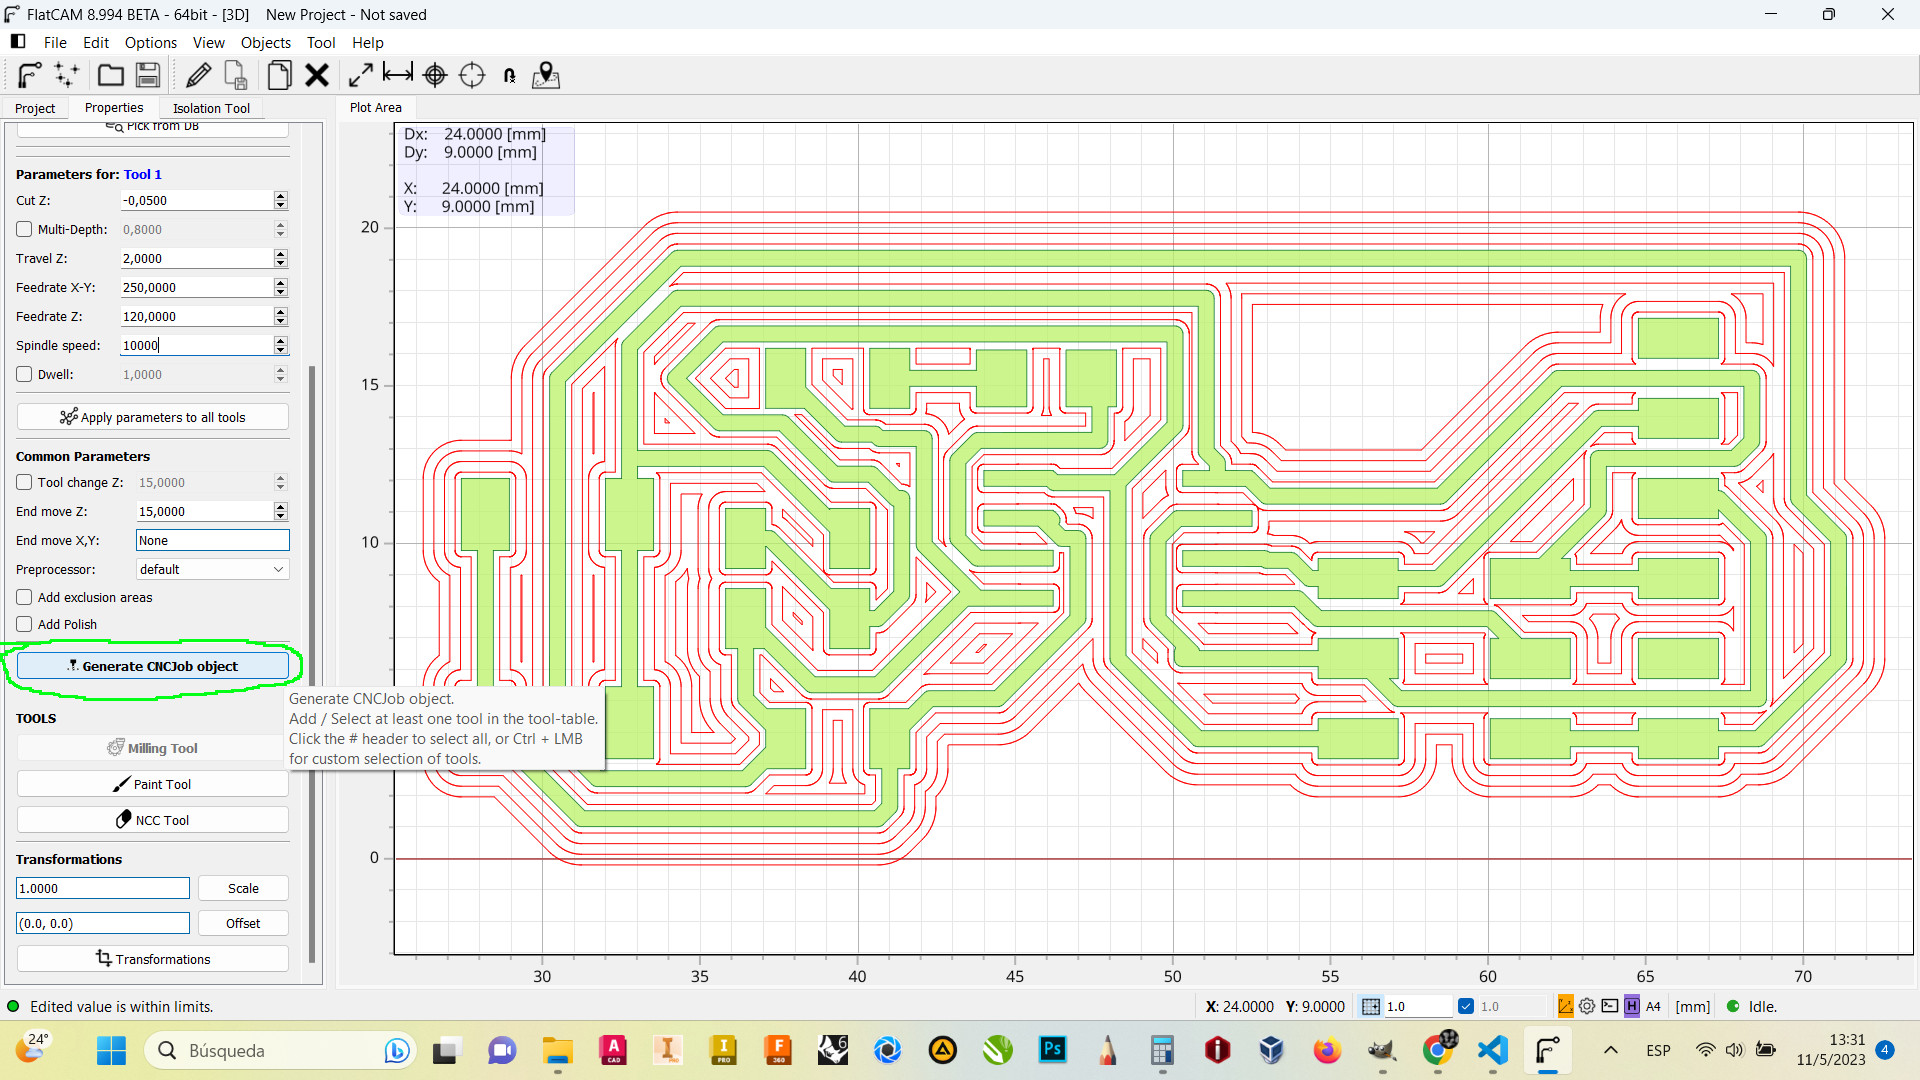
And push the create CNC Job button.
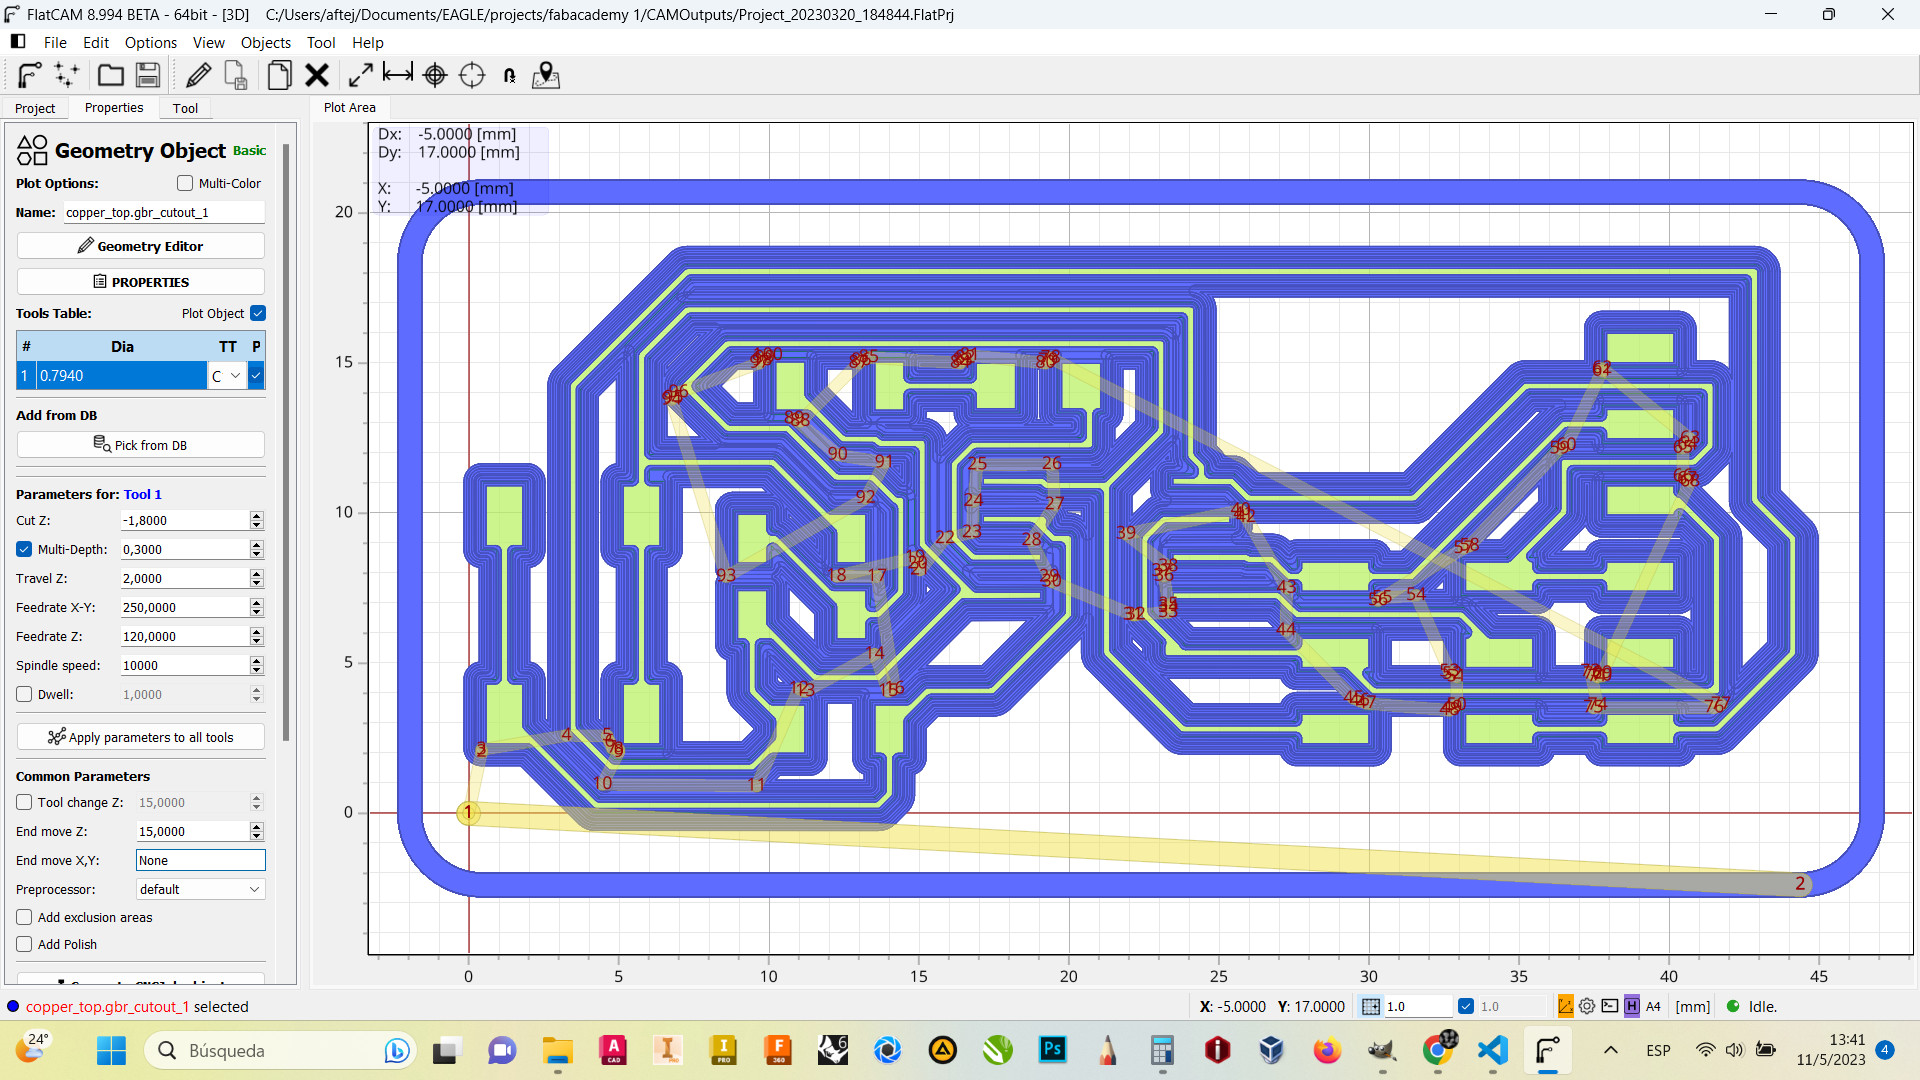
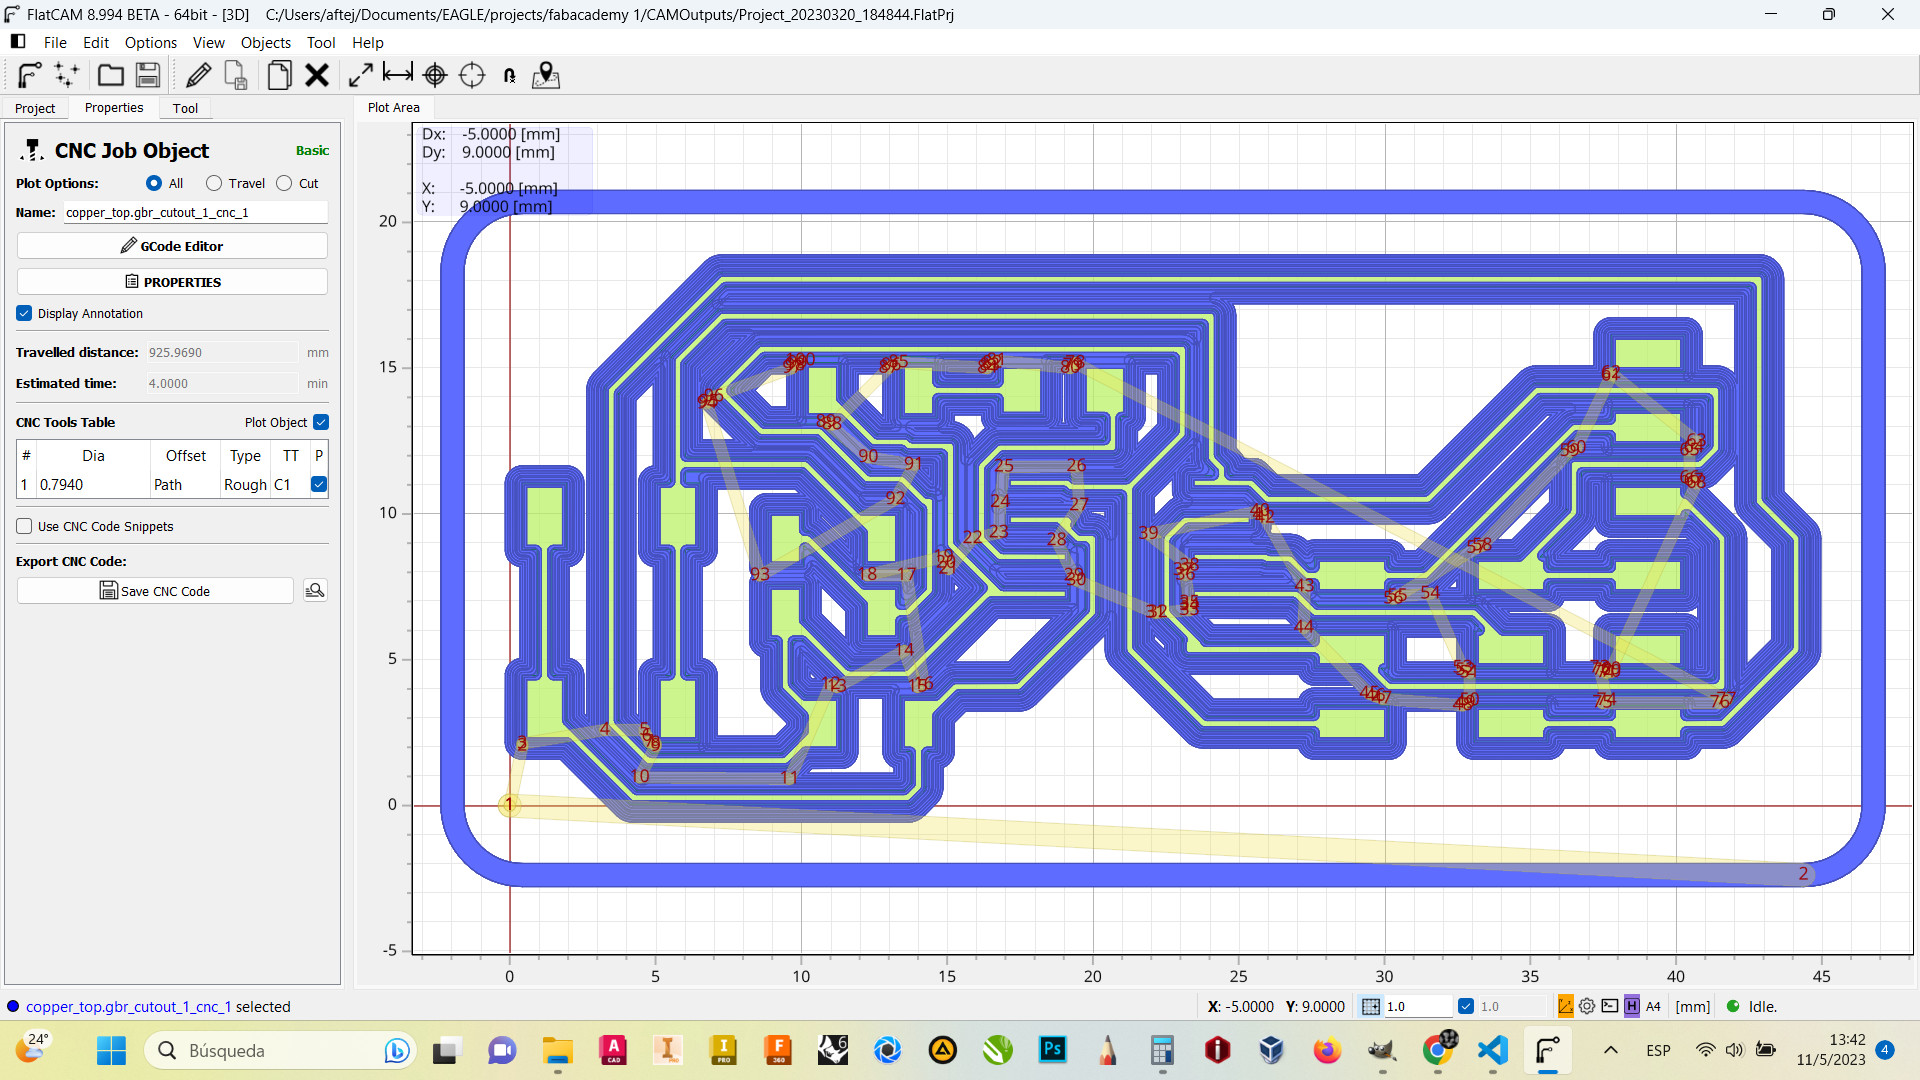
With the same procedure, we load the Gerber for the cutout profile, set the tool to "1/32" (0,7938 mm), the deep we are going to cut, parameters for feedrate, and get the CNCjob for this profile.
Roland MDX540
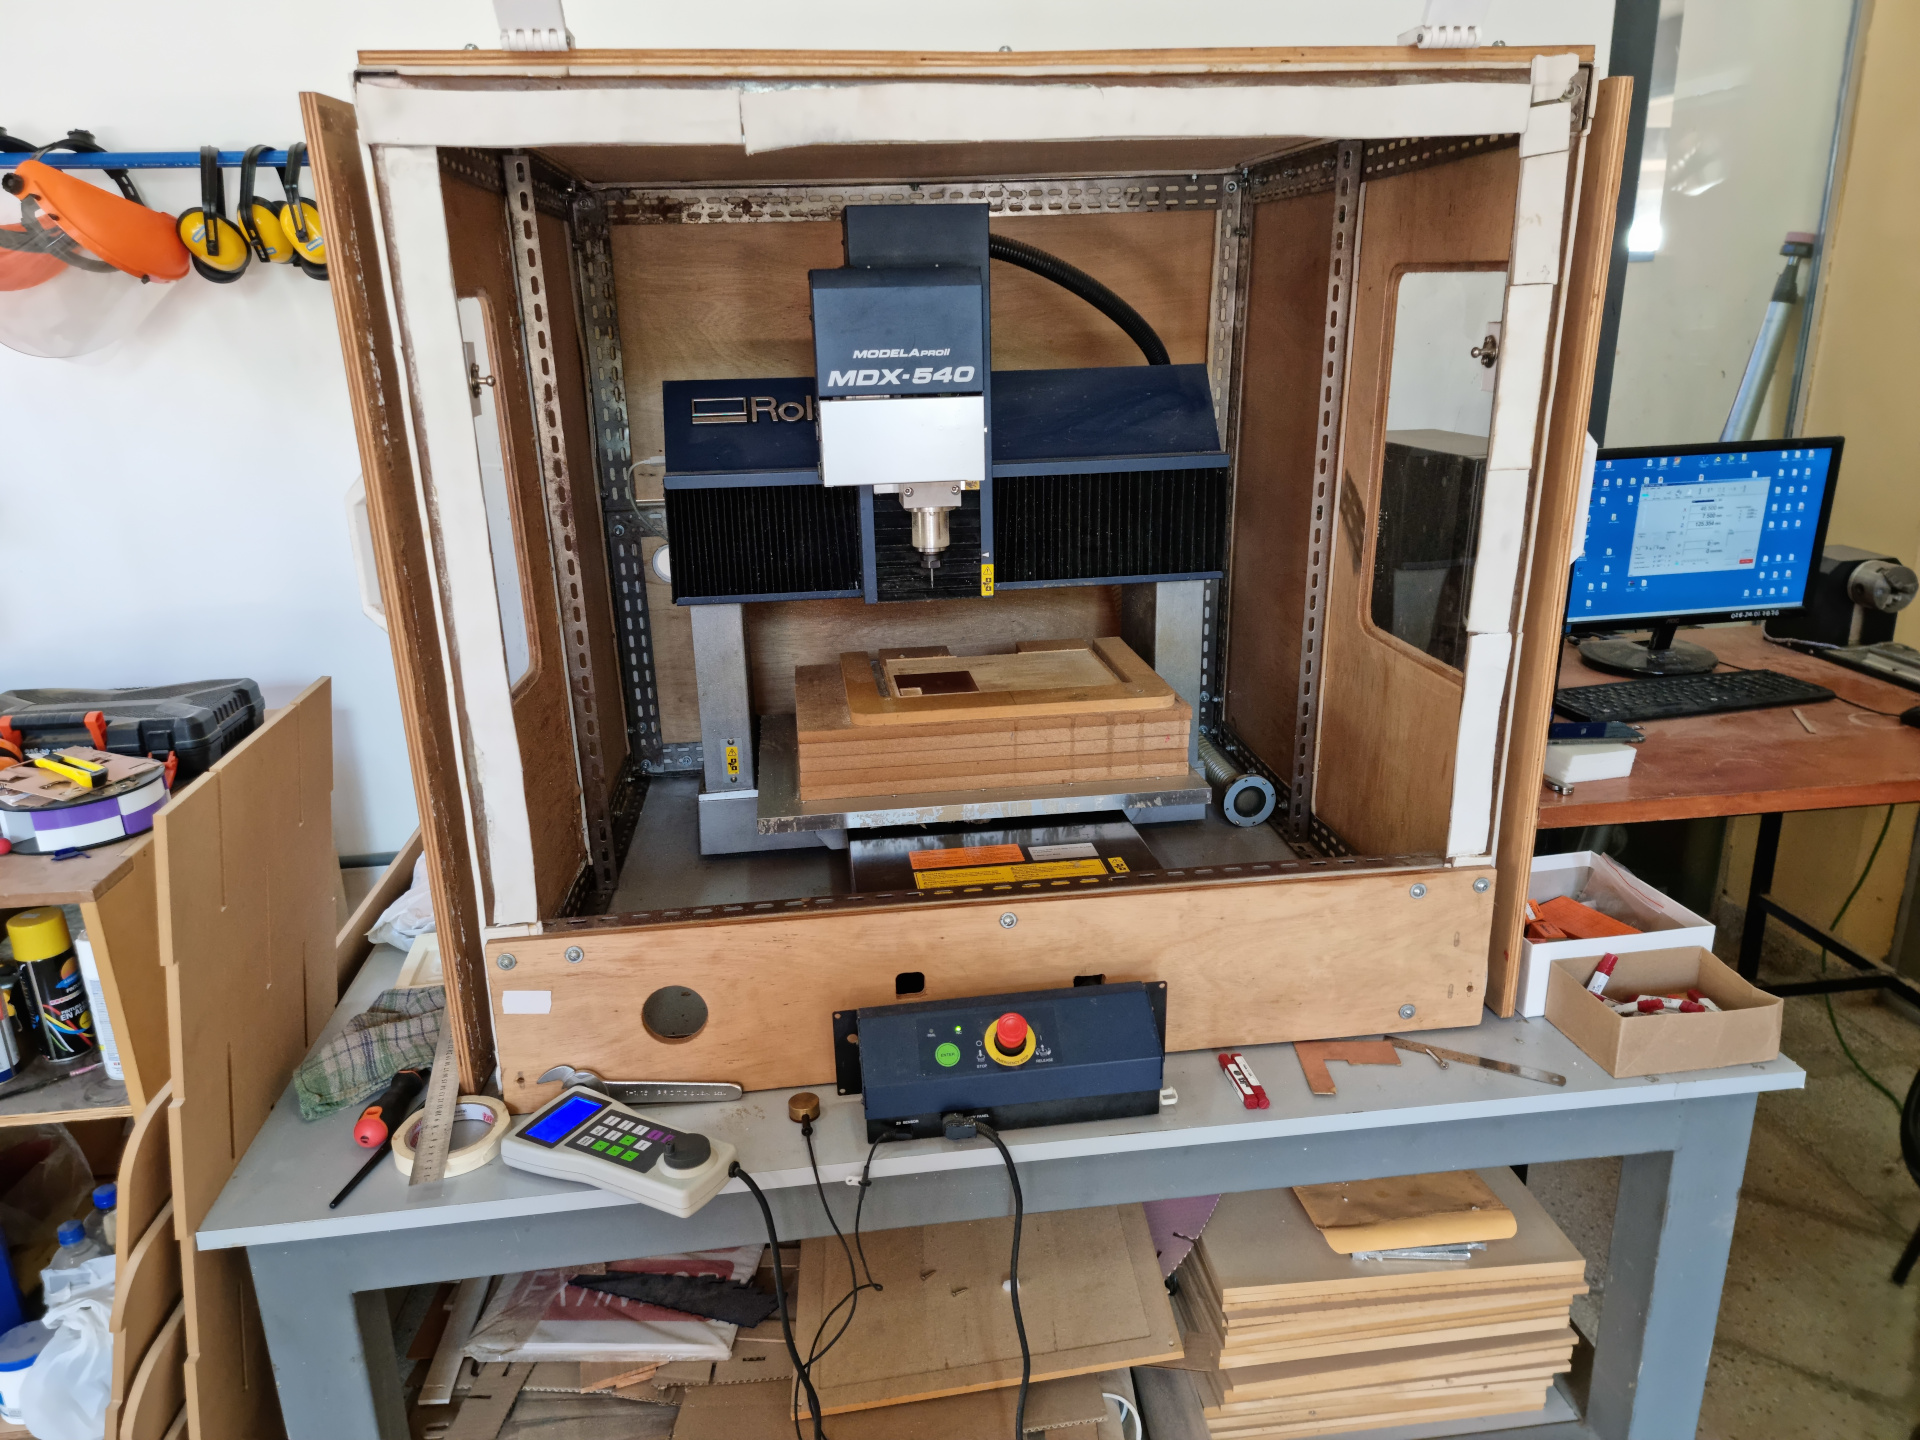
The Roland MDX 540 CNC milling machine can engrave and cut with precision, almost any material.
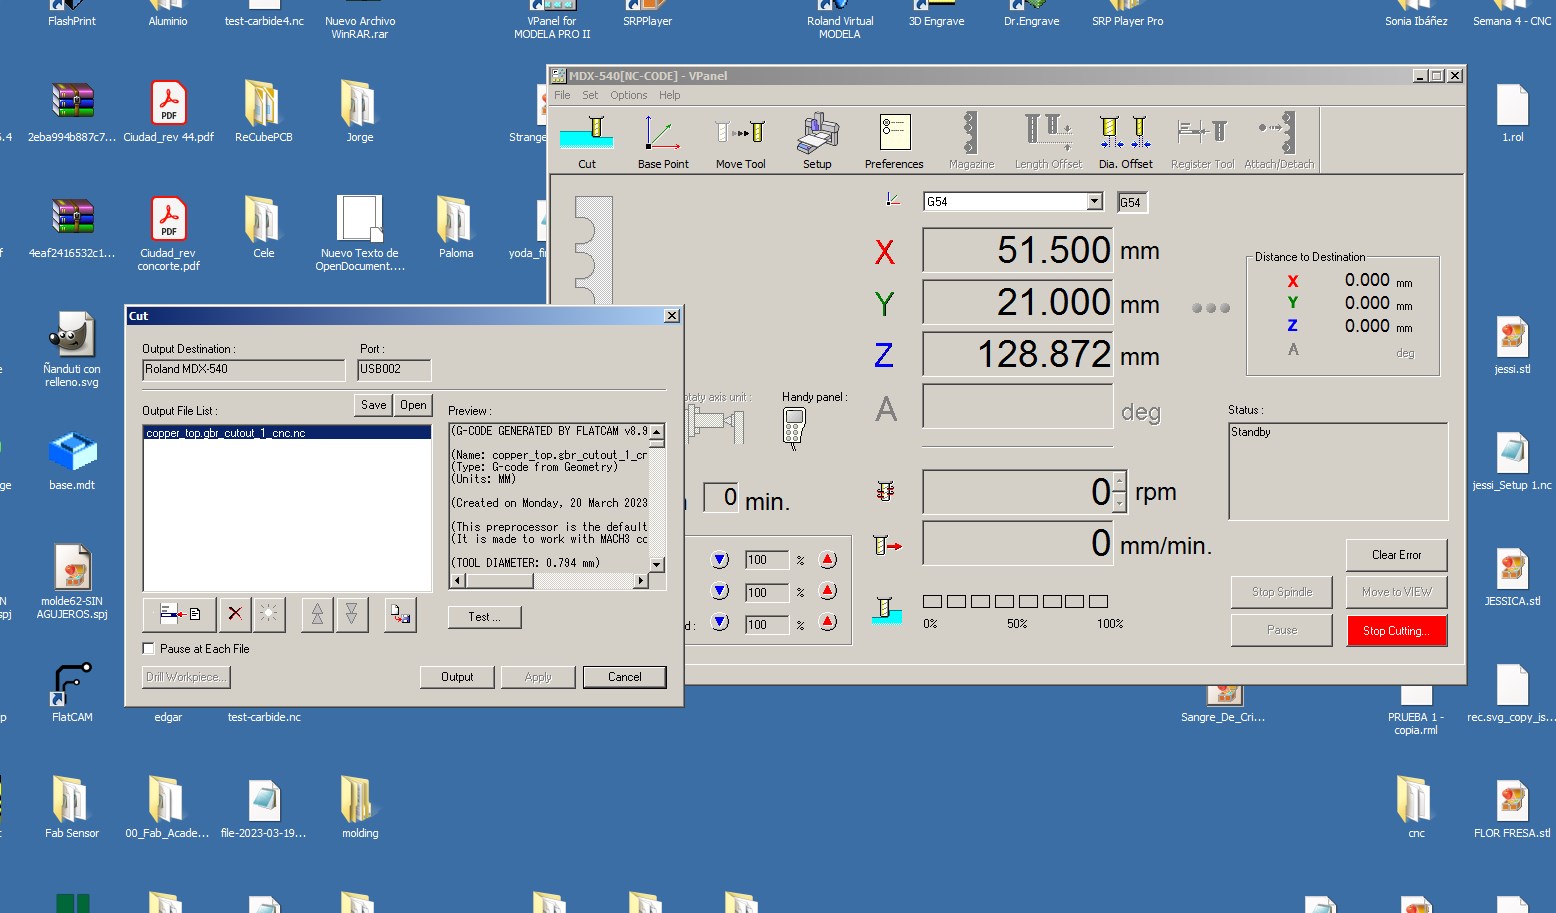
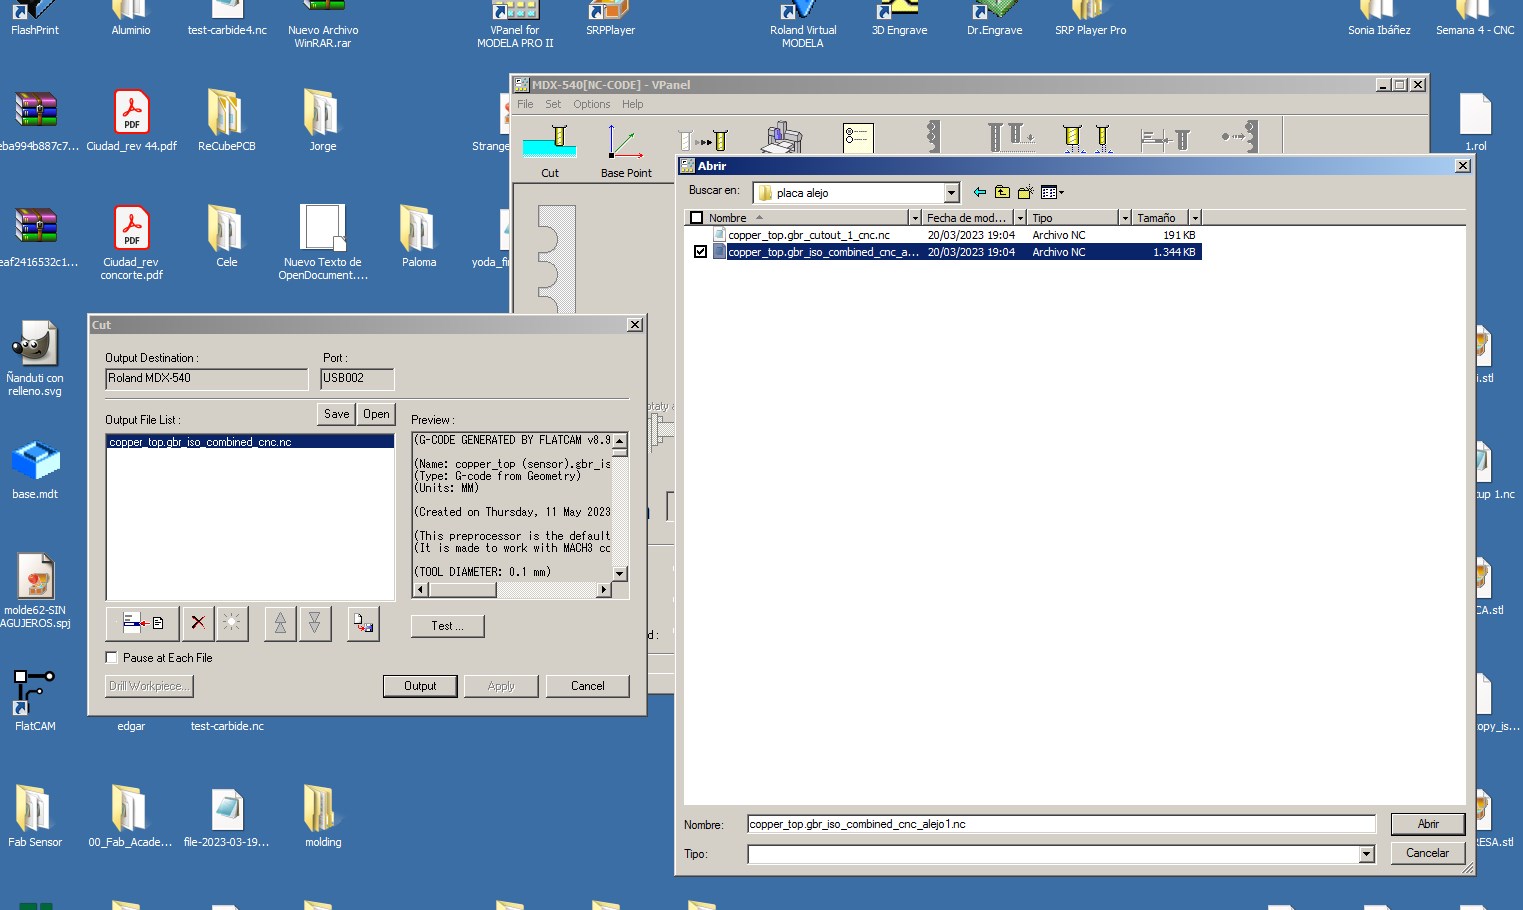
With the NC files created with the FlatCam, we only need to put the PCB on the milling bench and load them into the PC.
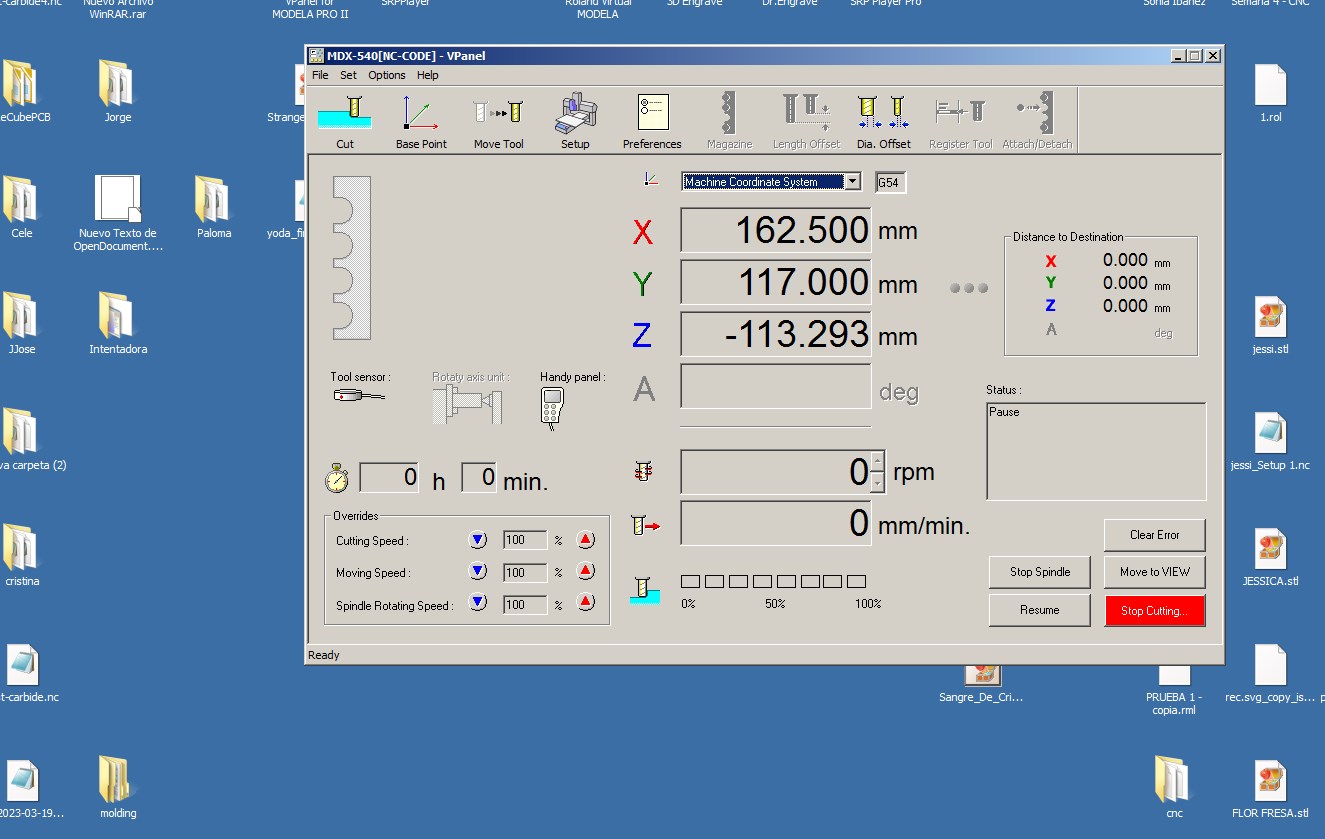
To start the milling process, we need to home the machine, basically put the x-y an z axis in zero.
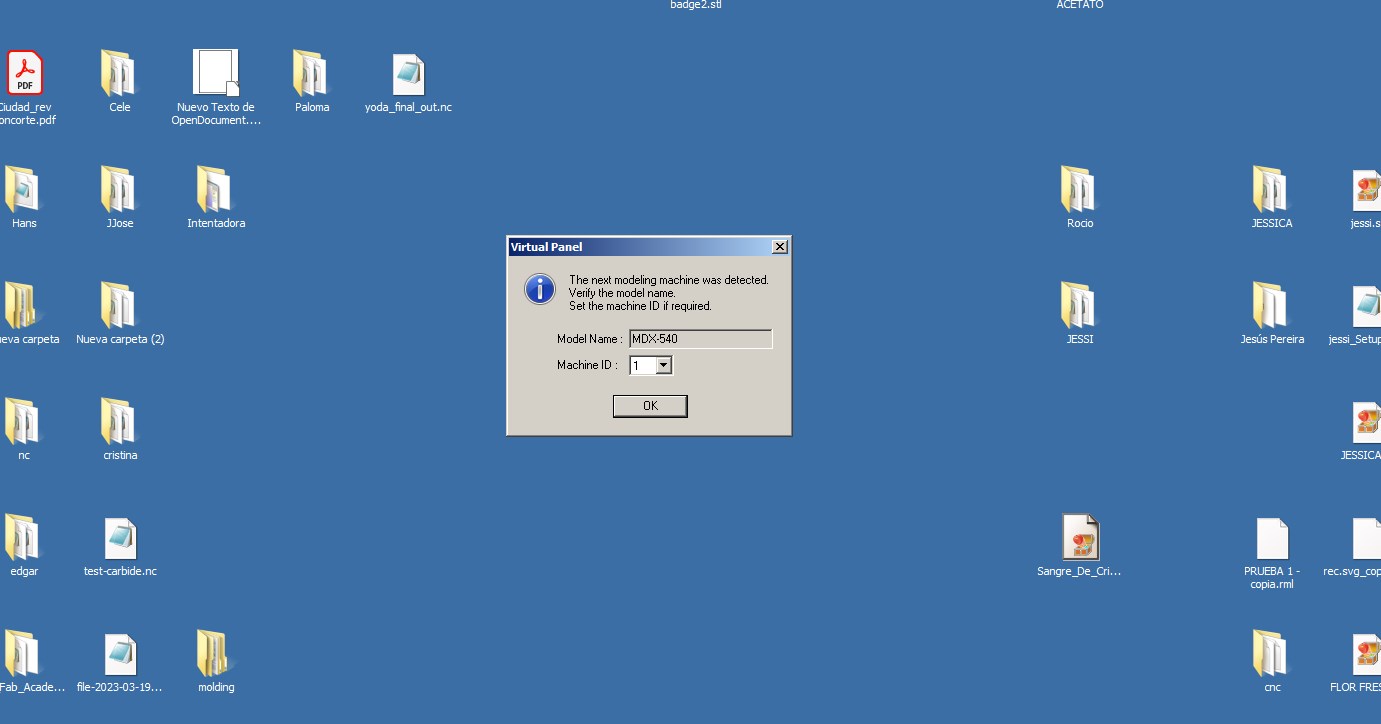
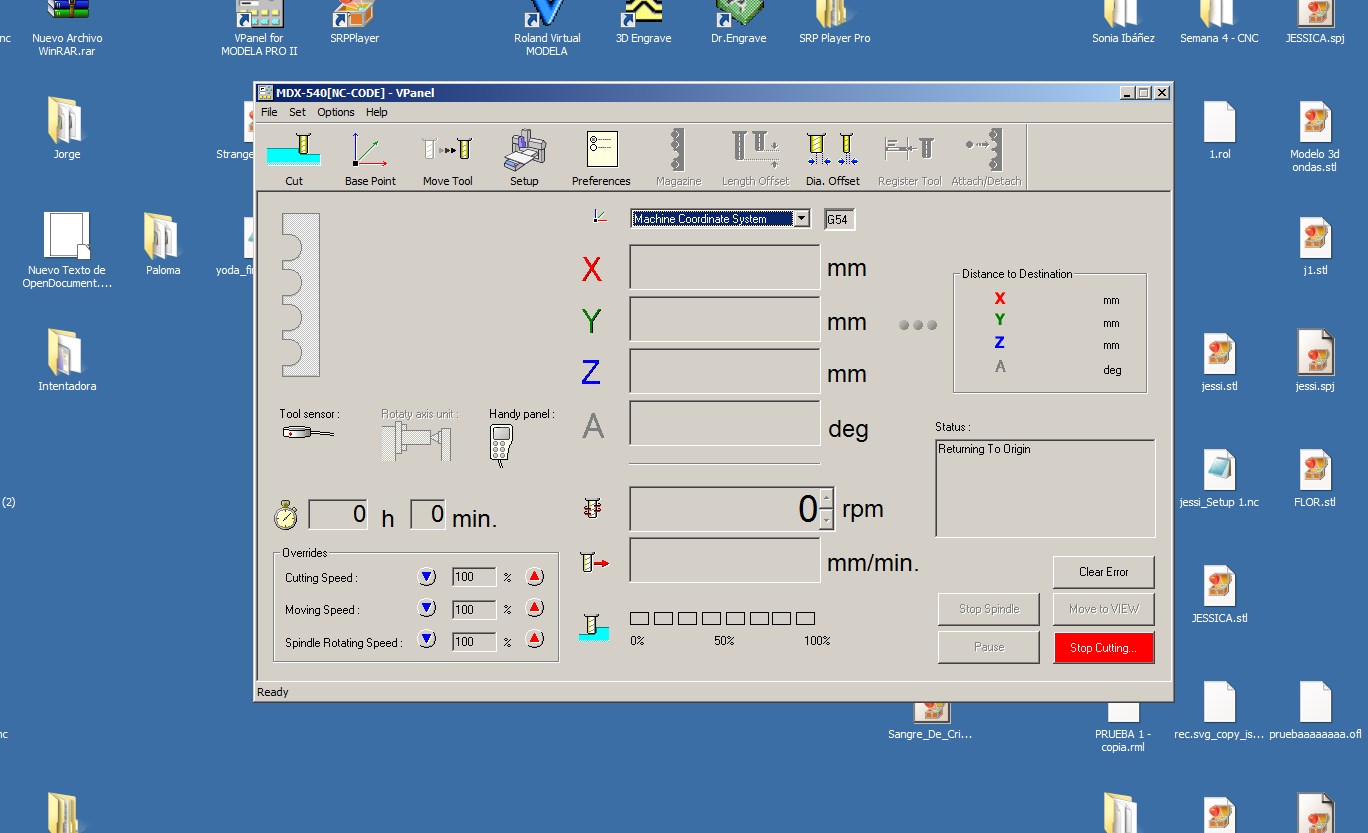
We need to set the machine to "NC", to get to work with our "NC" files.
Zeroing x-y...and Z.

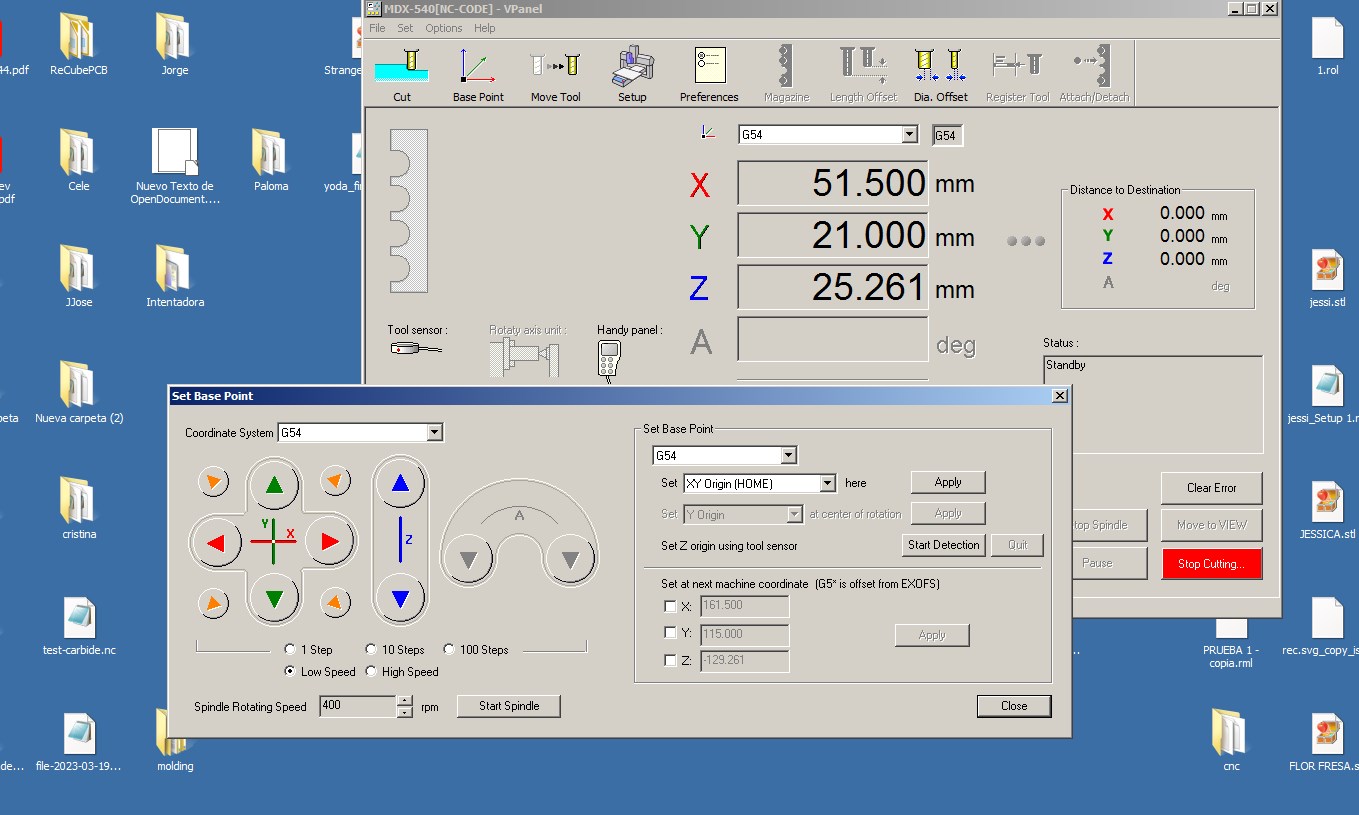
Now the machine is ready to cut.....first we load the "Copper top", to mill the paths and footprint of the board. Then the profile.

Programming
So, the board is ready to be programmed, we'll use a board as a programmer to set basic arduino sketches and test if it works.
First, upload the "button sketch" i made weeks before and then, the "Fade" and "blink" sketches.
What i learnt
I learnt How to achieve the transition between the design and the final board, how to use the milling machine, soldering and programming of the board.
Download arduino sketches zip files Download flatcam NC Zip files Download Circuitboard zip Link to group assignment