5. 3D Printing and Scanning
This week I worked on experimenting with different 3D printer capabilities. Our group compared 3 different printers, the Prusa Mini, the Bamboo X1 Carbon, and the Formlab Form 3B. Here is the link to our comparisons.
|
|
|||||||||||||
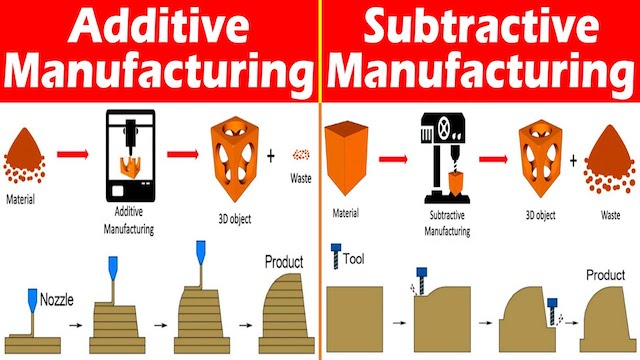
Additive manufacturing isn't perfect, however. Subtractive manufacturing, while producing more waste, can shape elementally-bonded substrates such as metals and plastics. This allows us to quickly create structures that can handle higher stress and loads, such as structural metal pieces and wood. For additive manufacturing methods that use layering - such as 3D printers, the bond is due to a layer being melted together. This isn't as strong as the elemental bonds as in solid materials, so it can't be as reliably used for structural components since it's maximum load value is a lot lower due to the layer-layer adhesion. However, additive methods such as molding and casting don't necessarily have this same drawback of layer-layer bonding, since all the material goes into the mold in a liquid state that rebonds together. That methods has its own drawbacks such as requiring "breathing holes", and needing to create a mold in the first place.
Not to mention, there are limitations on what can be accomplished with additive manufacturing. Circuits, for example, are typically made using subtractive manufacturing. This is due to relying on needing a copper/metal substrate to solder components to. Additive methods to create circuits, such as using conductive filament, can attempt to create circuits and succeed at simple ones. But, once the circuit becomes smaller and complicated, this method is completely impractical, and introduces other complications such as electrical conductivity and the heat resistance being affected by the polymers in the 3D printed traces.
Creating The Design In Fusion360
|
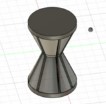
I wanted to try using the revolve method to create the hourglass shape of the model. I started by sketching a flat, hollowed-out, half hour-glass shape. Just the right side as see in the video(1s may need to pause), albeit the bottom "cap" piece. I then used the revolve tool to wrap the shape around to create the 3D hourglass base shape (2s). 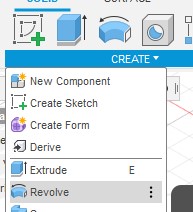
|
|||||||||||||||
|
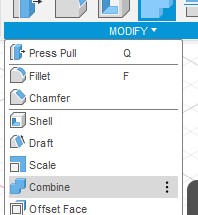
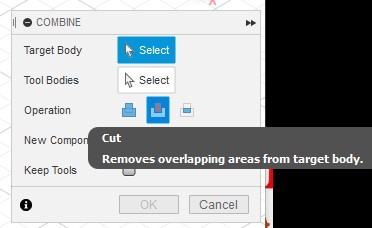
I then created a rectangular plane, with approximately the height the same as the middle concave section of the hourglass, and a width much longer that the hourglass shape's width. I extruded it 2mm, and aligned it to the center of the hourglass (3s). I created 3 copies of the plane, and rotated each 45 degrees from one another. Making planes at 0, 45, 90, and 115 degrees, dividing the hourglass into 8 sections (5s). I then combined the planes with the hourglass, and used the cut method to remove material (6s). |
|||||||||||||||
|
|||||||||||||||
|
You can then observe as I struggle to make a copy of the lid (7s-10s). I ended up taking the heuristic approach by removing each face one at a time.
This was because when I tried to delete multiple faces, or even try to just copy the lid without them, it just wouldn't copy or would delete the whole thing- lid, faces and all.
But by deleting each face individually, this seemed to work around this issue.
Then, the lid was flipped 180 degrees to make the bottom. The planes cutting into the lid was unintentional, but I thought it actually looked pretty neat when taking a closer look from the side- so I decided to leave it.
I then added spheres with really small cylinders (0.5mm diameter) to hold them up. This way I could just shove something between the slots on the side to knock them loose. The spheres we`re set to 4mm diameter, so as to prevent them from slipping through the side slots. I copy-pasted a bunch of these ball-and-stick combos all over the base, then moved all of them directly into place at the bottom of the hourglass shape. It was now ready to print! |
|||||||||||||||
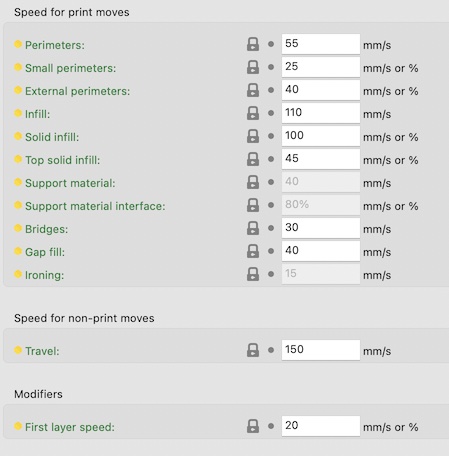
The PrintAnd the first print ended up fantastically, and at worst only a few deformaties plagued the spheres here or there, but a majority of them actually held shape nicely! I have to chalk it up to the reliable Prusa Minis in our fablab for making a smooth print. Here, I just used the default settings on Prusa-slicer for the prusa mini at a 0.15 layer height (speed). |
|
||||||||||||||
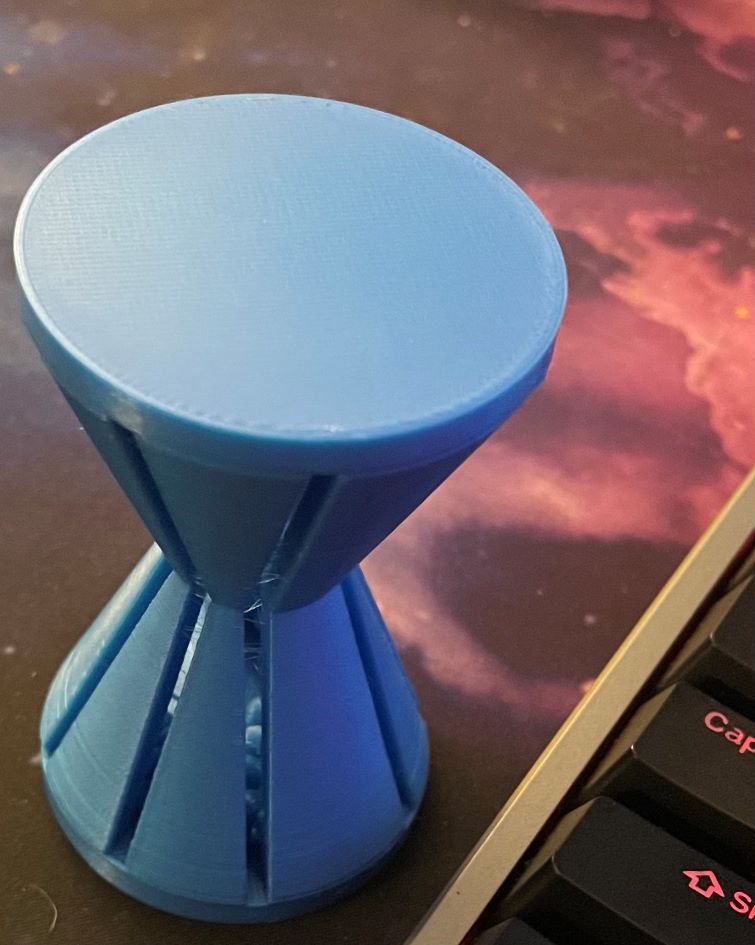
Here you can see the final print of the maracca-type instrument:
|
Here I cracked it open to see how the inside ball-and-stick combos printed. Most seemed to be perfectly round!
Others were a bit mishapen, but luckily defects such as those shouldn't negatively impace the operation of this device.

|
||||||||||||||
3D-Scanning
| Scanning and printing an object has always been around, but with amazing apps such as Polycam, it has become super accessible and free! Provided, you have a smart phone. No, this is not and ad, but using this app was pretty fun, and I could definitely see some potential use for it. | |
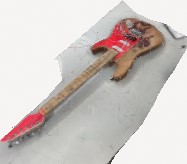
Scanning My GuitarThis was my first attempt to 3D scan something. In this case, it is my guitar that I had built in our Fablab. Polycam works by taking a bunch of pictures at different angles around the object, then constructs them together to make a 3D model. I only used about 15 pictures to construct this one, and the details are alright. I am able to see the small details on the texture, but the model itself is misshapen.guitar stl |
|
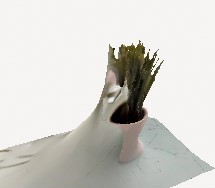
A Plant..?Here, I tried a different method of capturing images. I placed this fake plant on a cart, and spun it around slowly while holding the camera steady. This didn't work too well, since the background stayed stagnant, there wasn't a very good frame of reference for the plant to construct properly. It seems to work better when you leave the object stationary, and walk around it with the camera.plant stl |
|
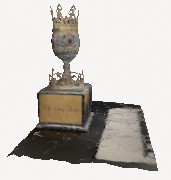
CLS Esports Valorant 2021 TrophyI tried scanning the King's Cup a few times, and I learned that basically more pictures means a better outcome. I used about 25 pictures to construct this one, and the details it captured were pretty solid! I am not expecting perfection, but the fact it was able to keep shape and get some intricate shapes in there is pretty impressive for an image-based construction.trophy stl |
|