Project management
This week I worked on defining my final project idea and started to
getting used to the documentation process for the next assignments.
Research
Git is a version control system for software development that allows
teams to manage and keep track of changes to their code. It enables
multiple users to work on the same codebase simultaneously and provides
features such as branching and merging to manage different versions of
code.
GitLab is a web-based Git repository manager that provides source code
management (SCM), continuous integration and delivery (CI/CD), and
project management features. It is built on top of Git and extends its
functionality to provide a web interface, a bug tracking system, and
other features for collaborative software development. With GitLab,
teams can manage their code repositories, plan and track projects,
automate testing and deployment, and collaborate on code development in
a single place.
2. GitLab Workflow
Clone a repository, make changes, commit and push, using CMD
To clone a repository from GitLab and make changes, these steps should
be followed:
1. Open a terminal or command prompt window and navigate to the
directory where you want to clone the repository.
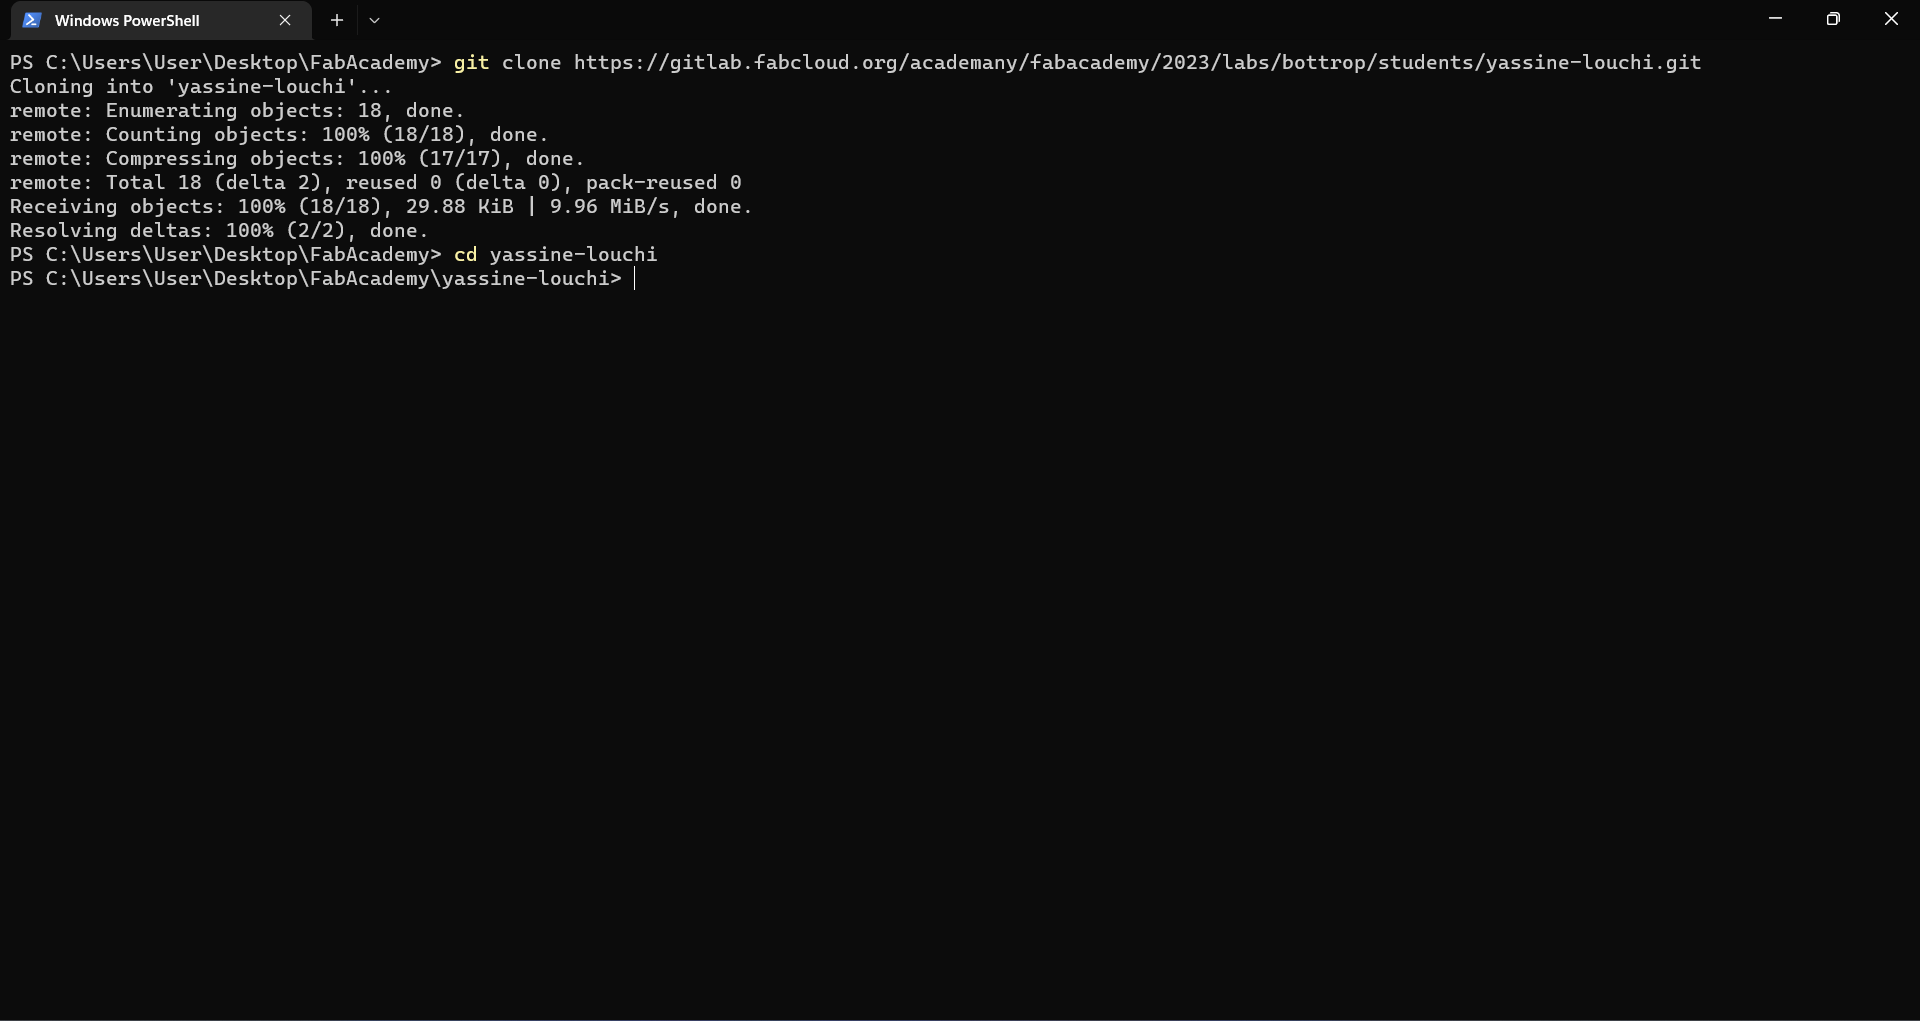
2. Run the following command to clone the repository: "git clone
https://fabacademy.org/2023/labs/bottrop/students/yassine-louchi" and
change to the newly created directory:
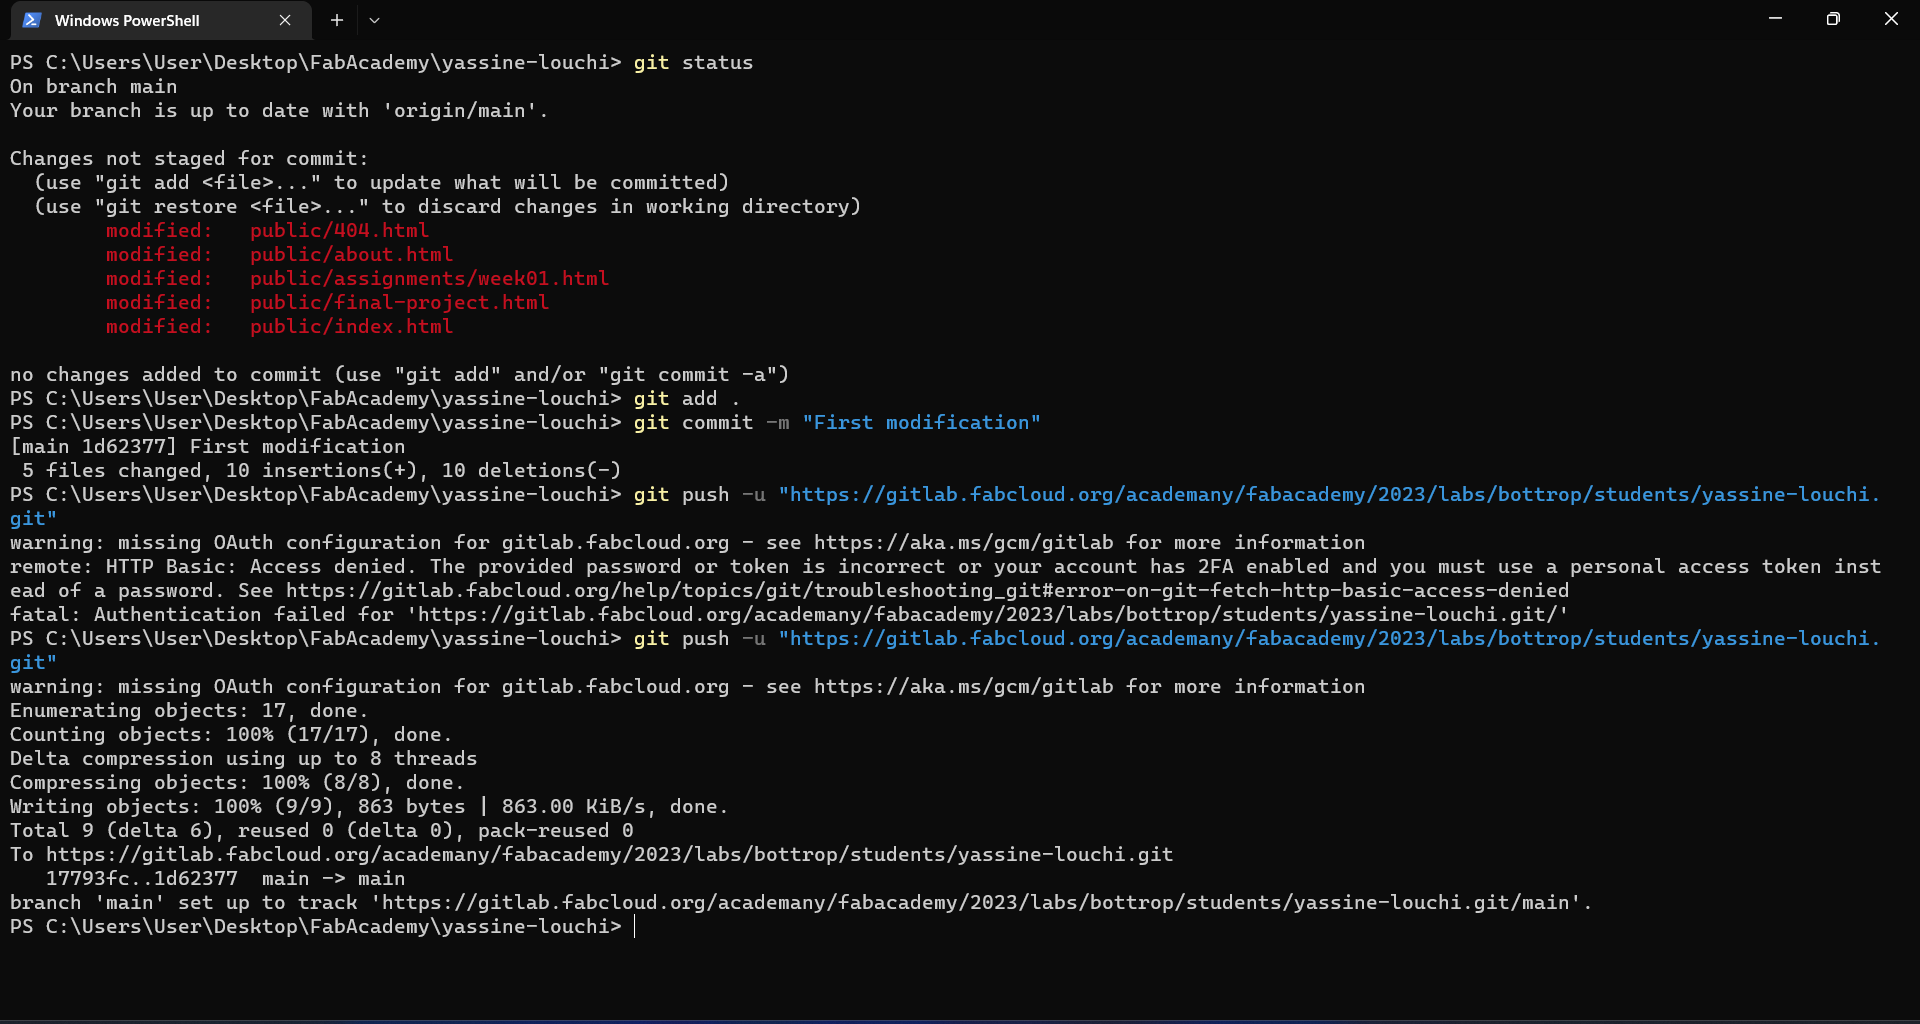
3. Make the changes to the files you want, following commands to stage,
commit and push the changes
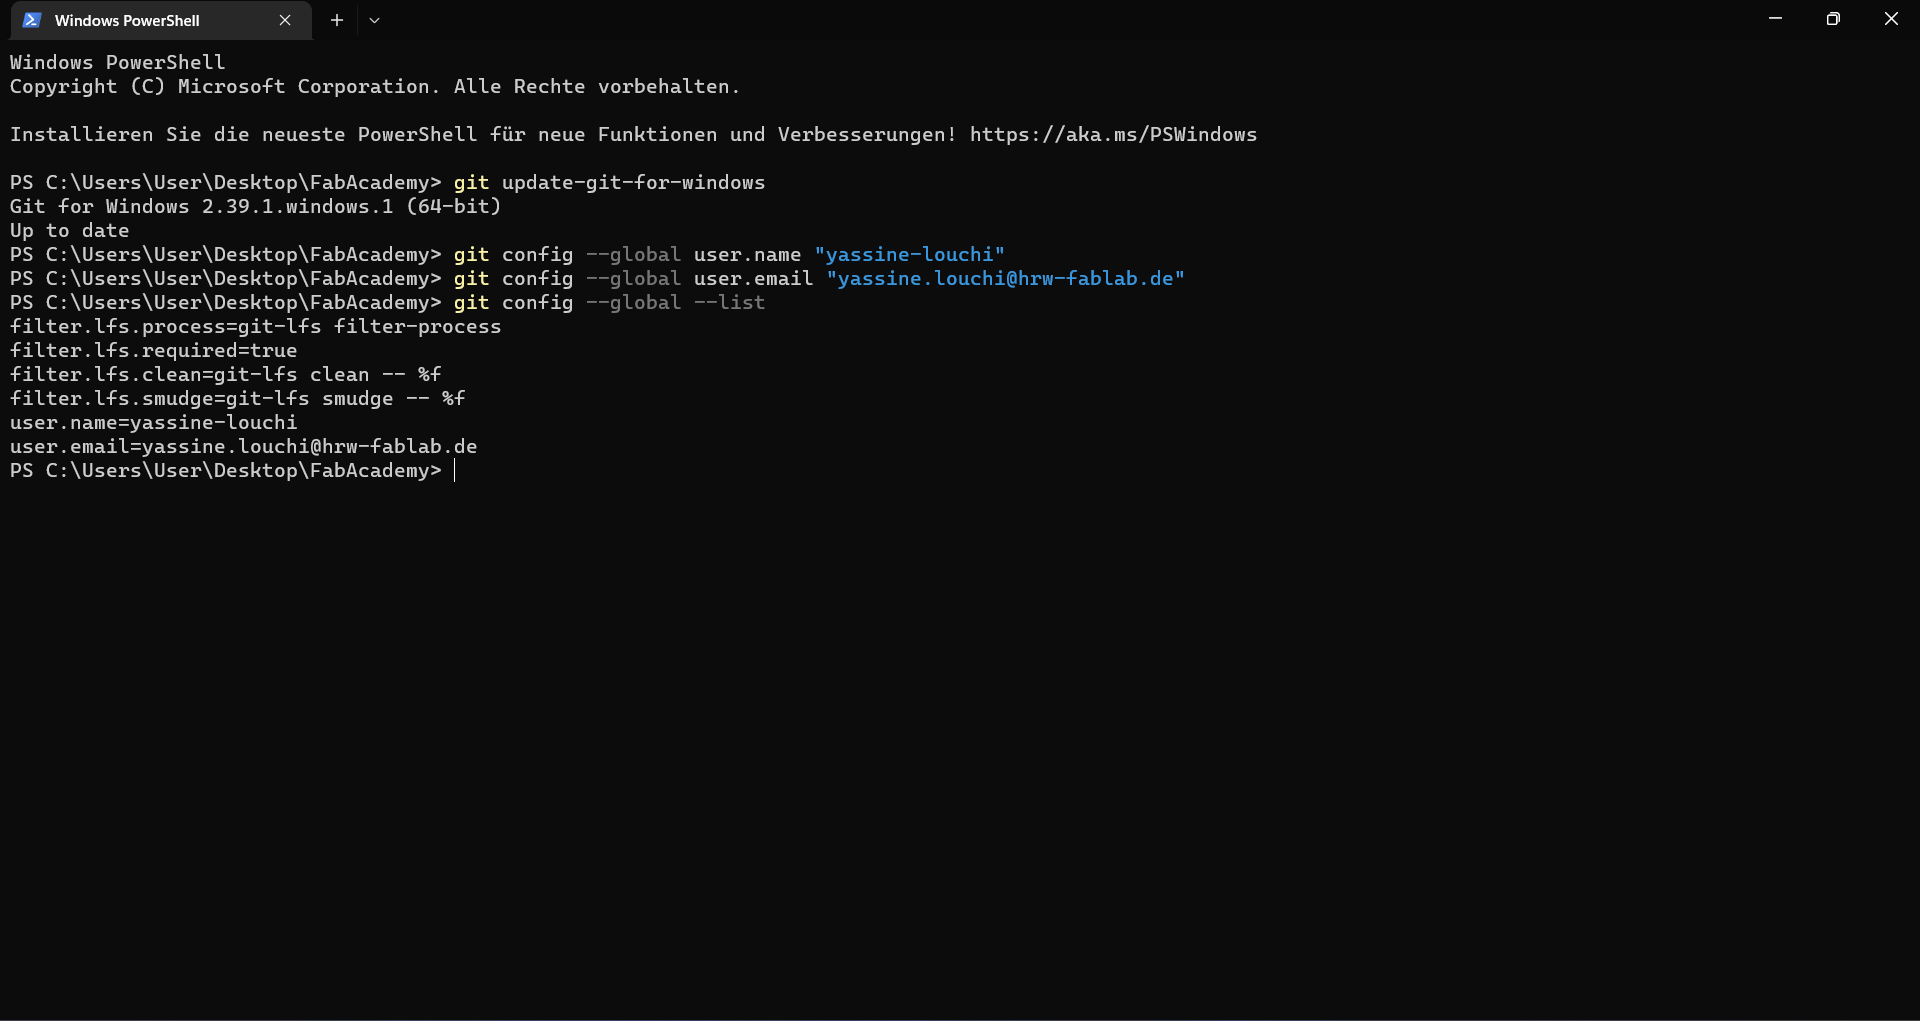
Basic Commands:
git init: Initialize a new Git repository.git clone <repository_url>: Clone an existing repository.git add <file>: Stage changes for commit.git commit -m "commit message": Commit staged changes with a message.git push: Push commits to a remote repository.git pull: Fetch and integrate changes from a remote repository.
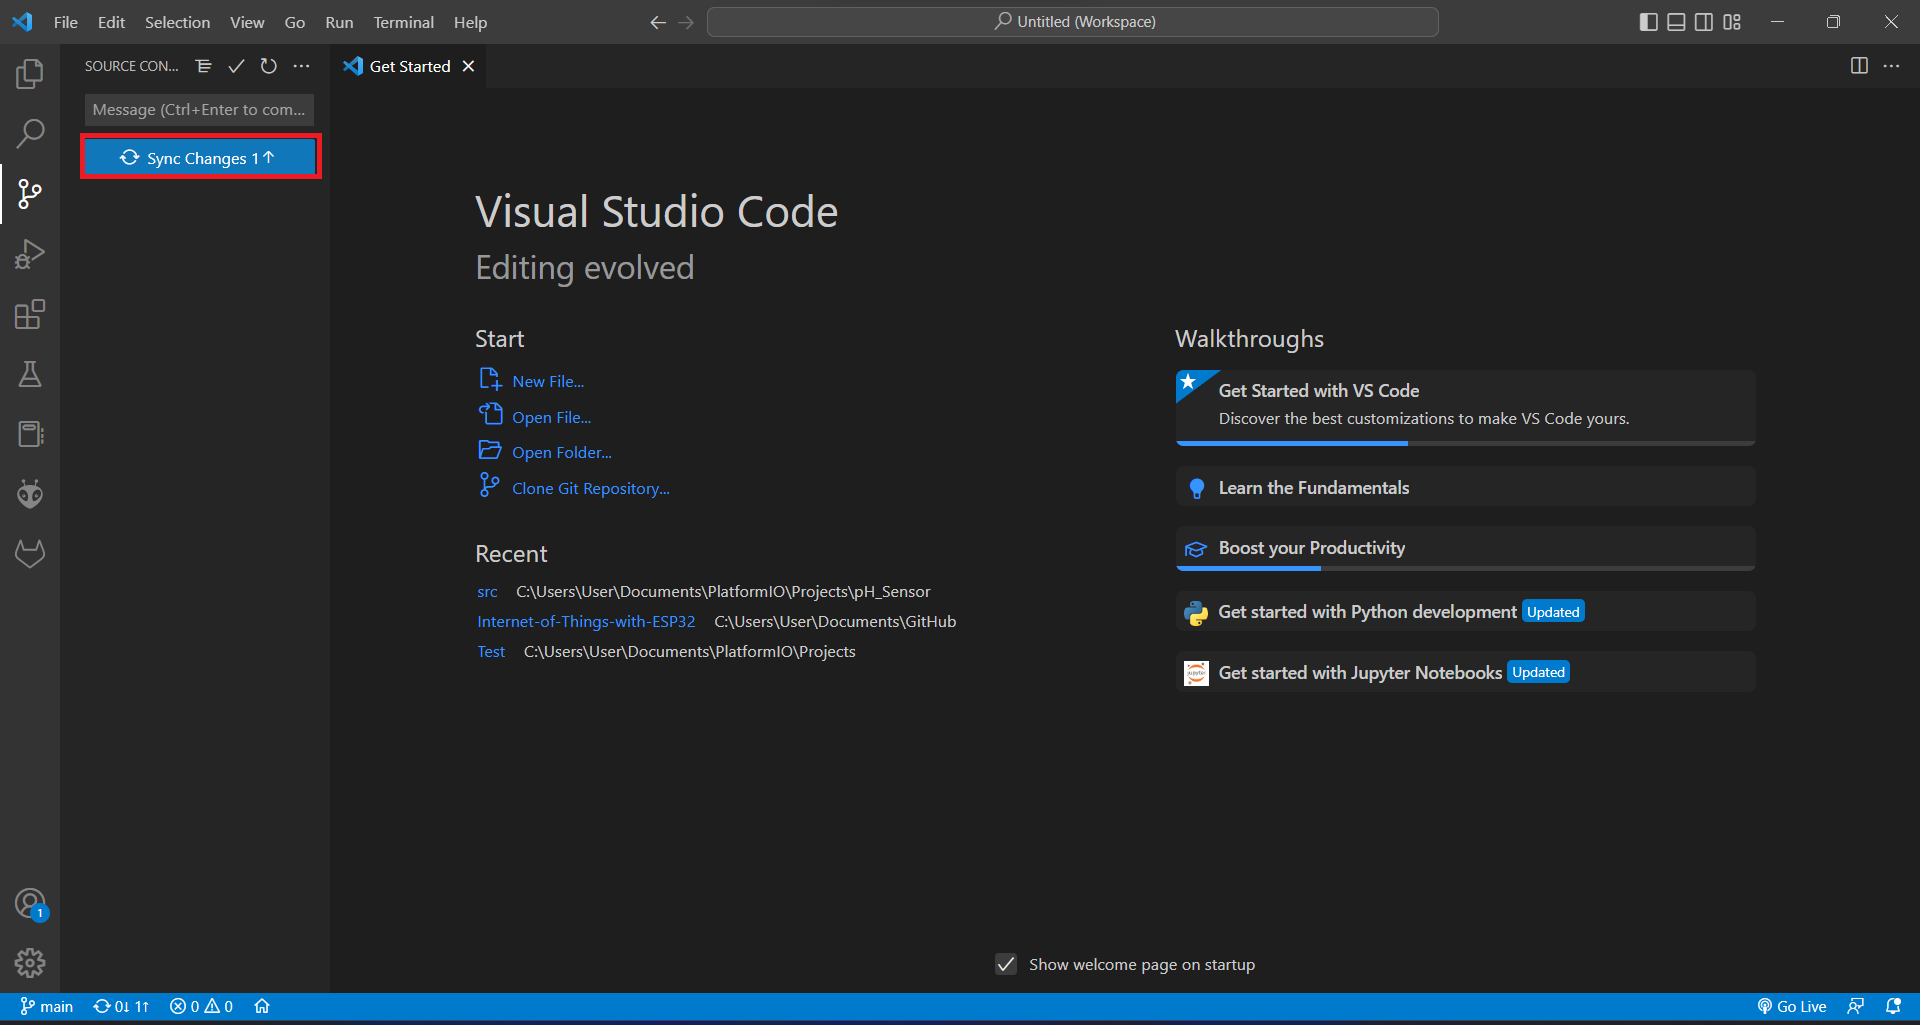
Clone a repository, make changes, commit and push using VSCode
To clone a repository from GitLab and make changes, these steps should
be followed:
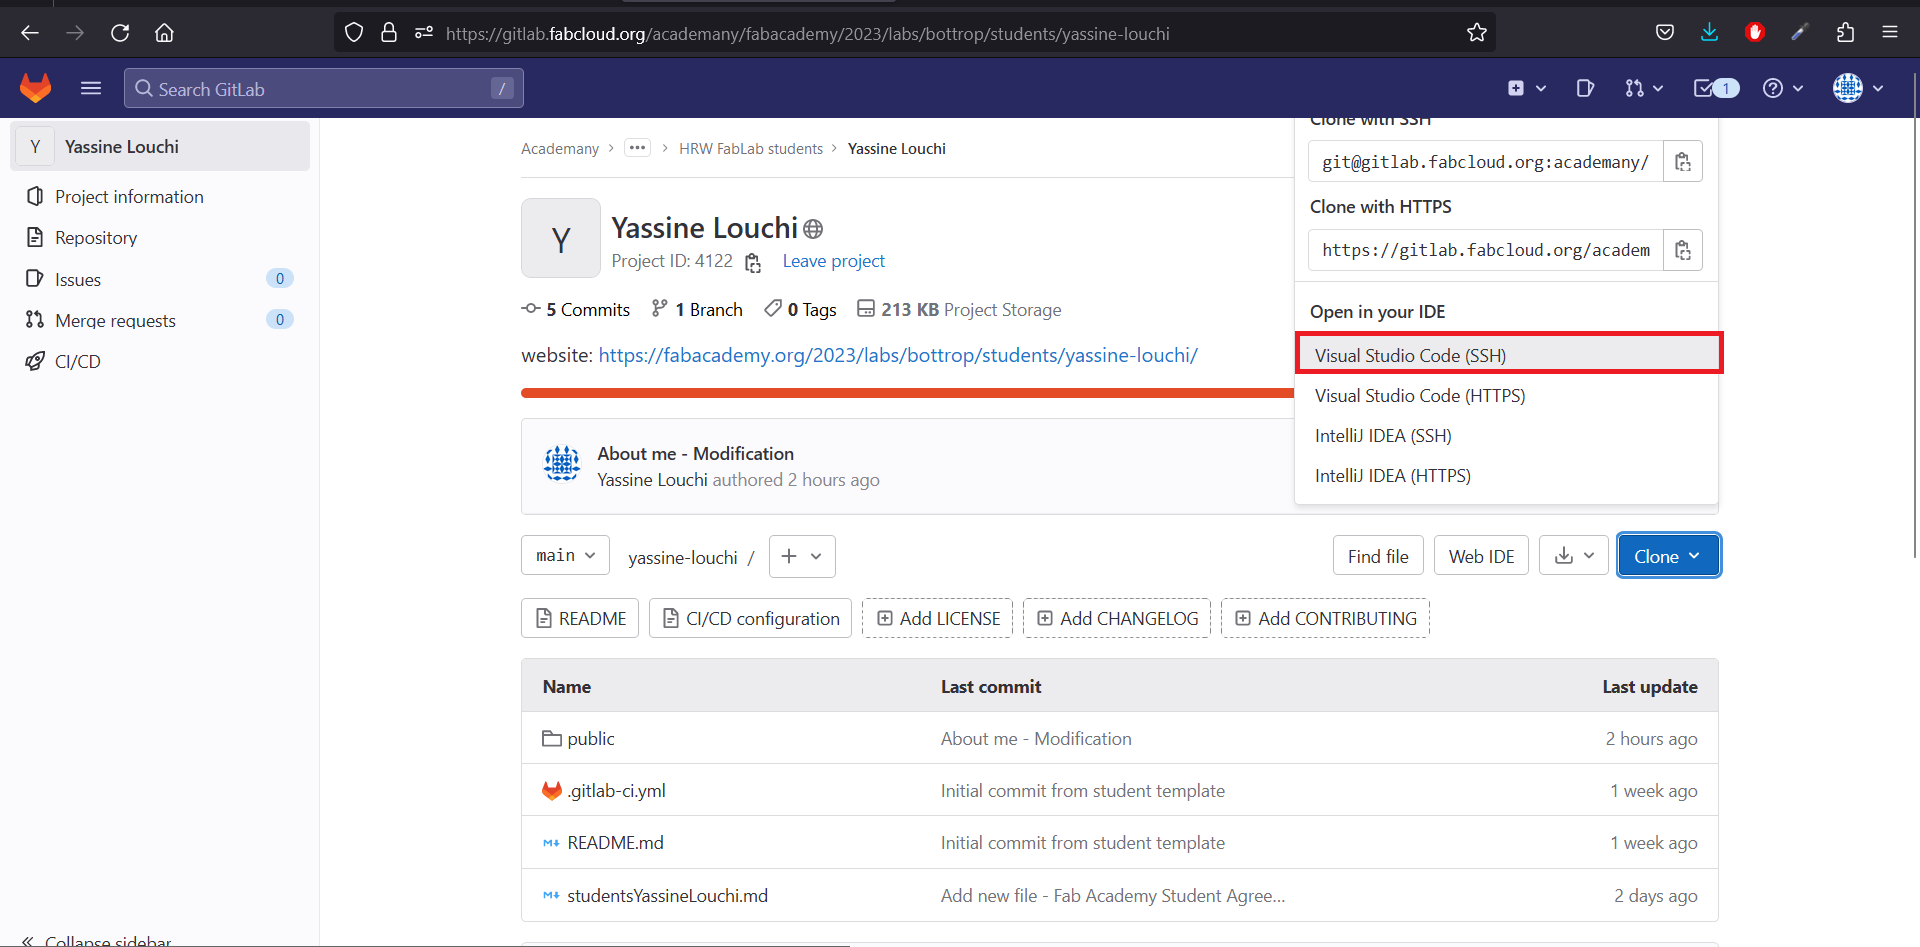
1. I begin by clicking on the "Visual Studio Code (HTTPS)" link. This action initiates the process to open the
repository in Visual Studio Code. By selecting this link, I direct my system to recognize the HTTPS protocol and
open it in the appropriate application, which in this case is Visual Studio Code.
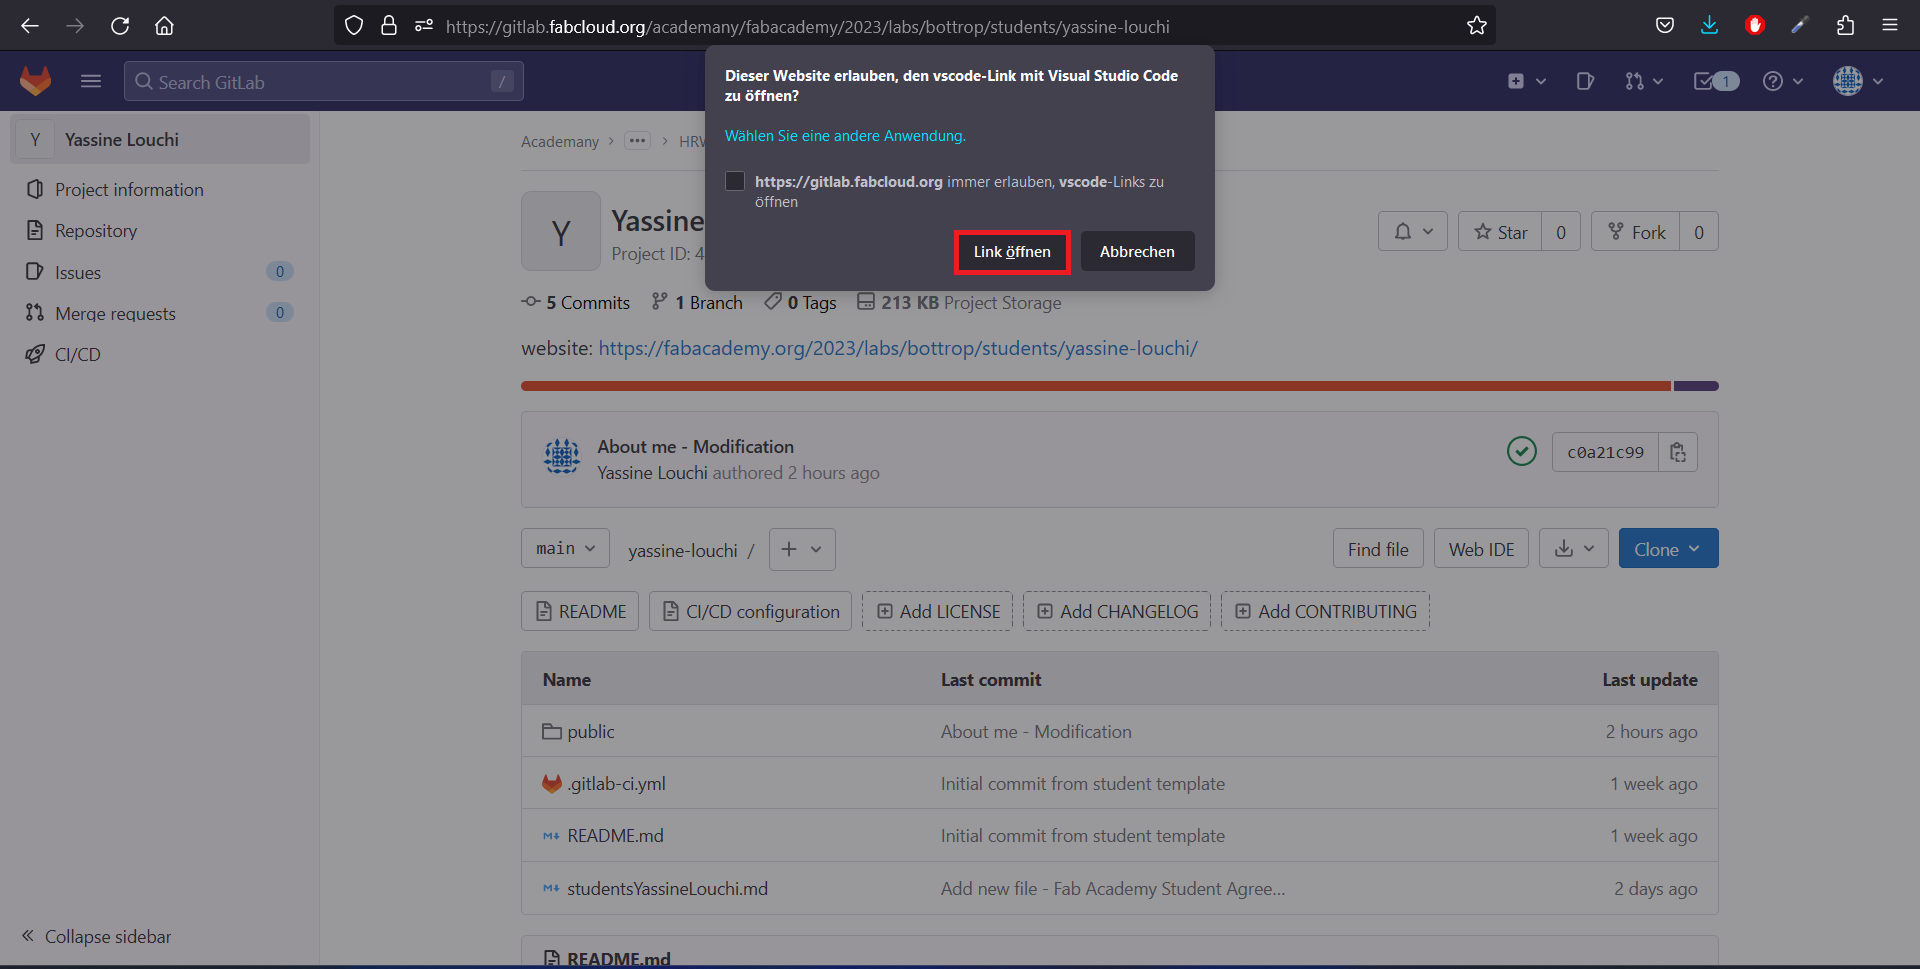
2. Once I click on the link, a prompt or dialogue box appears asking me to "Open the Link." I click on this
option to proceed. This step ensures that the link is correctly interpreted and opened within Visual Studio Code,
allowing me to access the repository directly in the code editor.
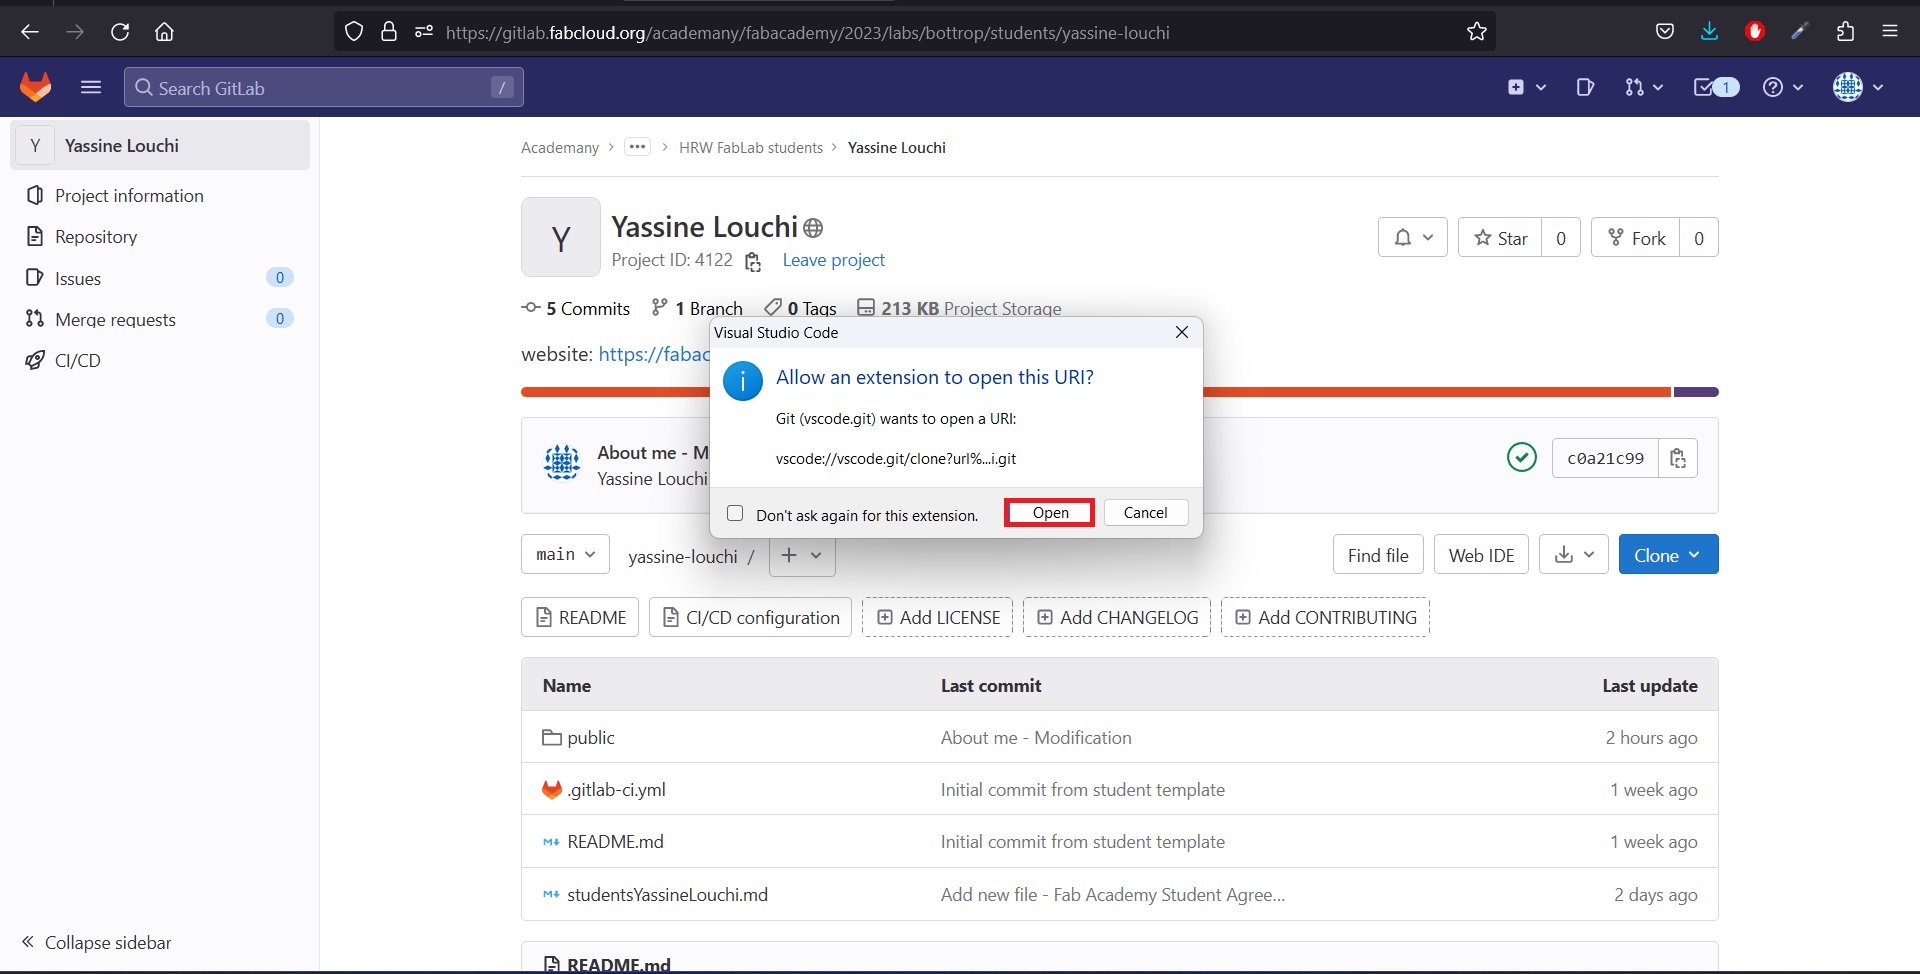
3. After the link is opened, another prompt appears asking me to "Open" the repository in Visual Studio Code. I
click on "Open" to continue. This step confirms that I want to access the repository and opens it within the
editor, making all the files and folders in the repository accessible for editing
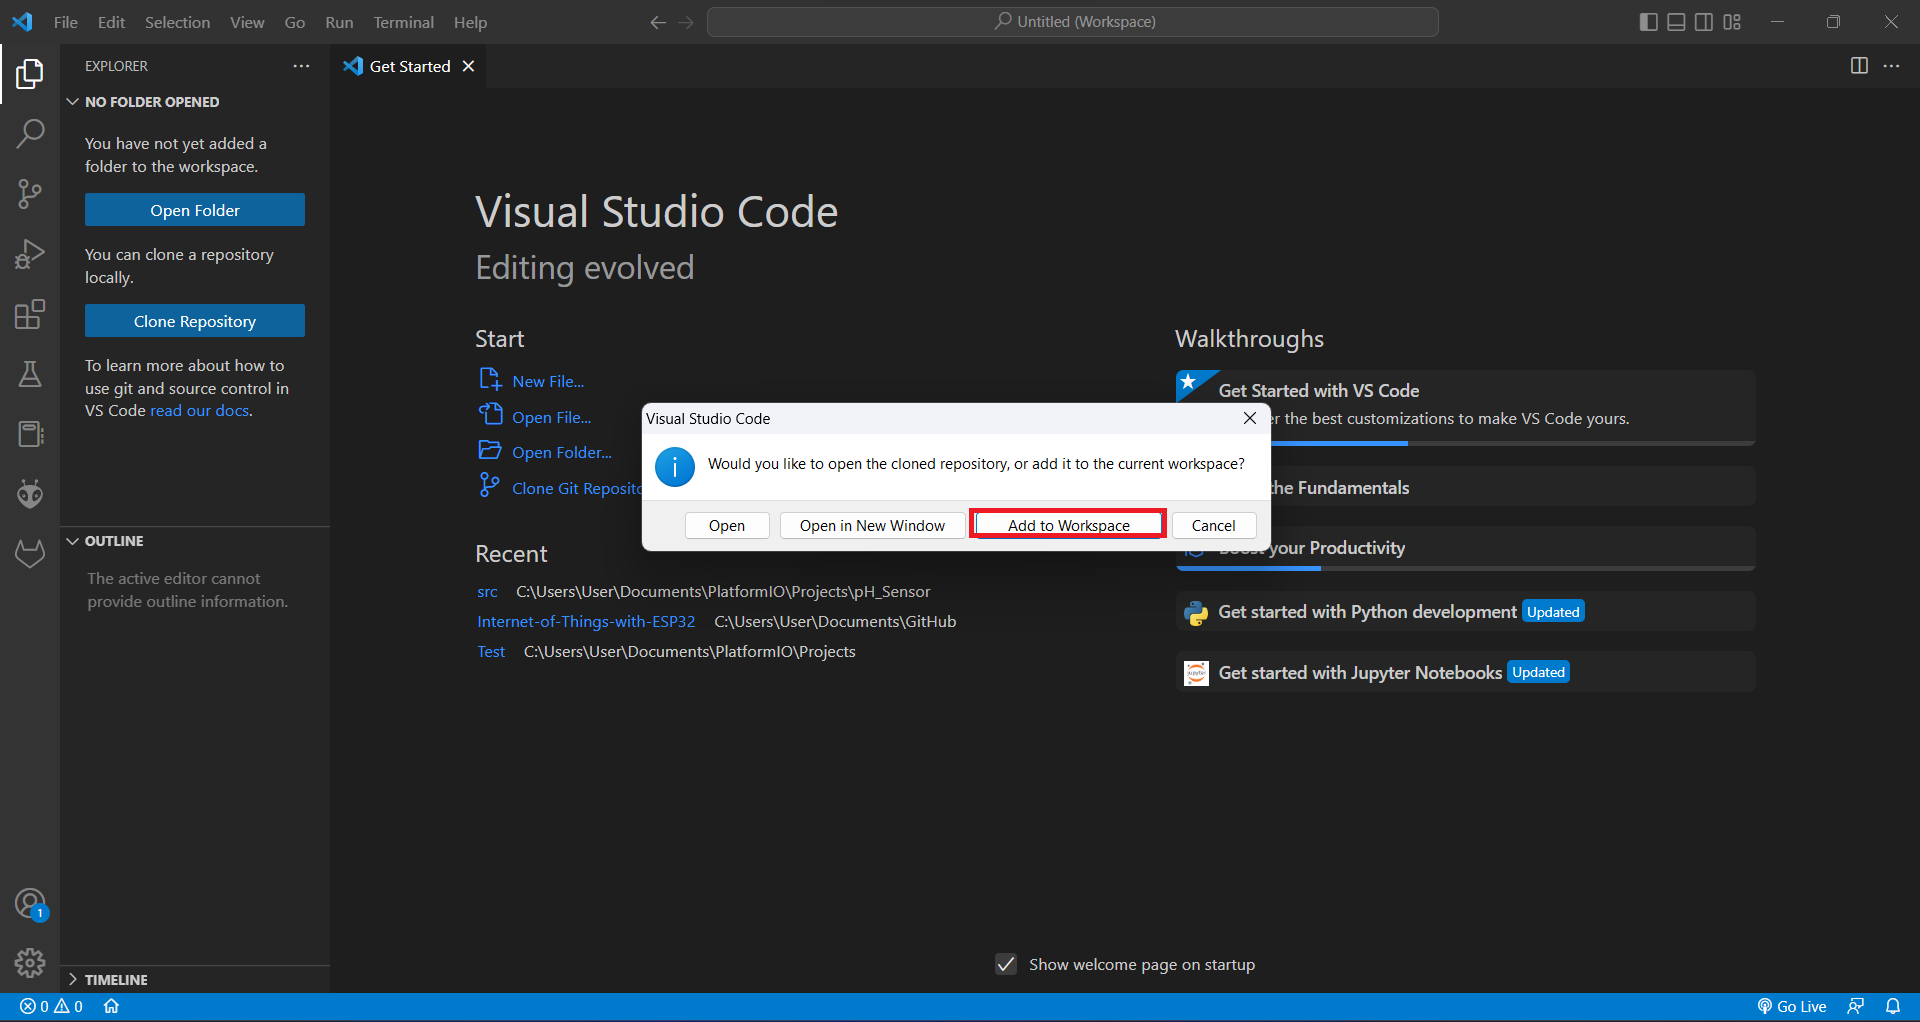
4. Within Visual Studio Code, I navigate to the option "Add to Workspace" and click on it. This step adds the
cloned repository to my current workspace, allowing me to manage multiple projects and files within a single
workspace environment
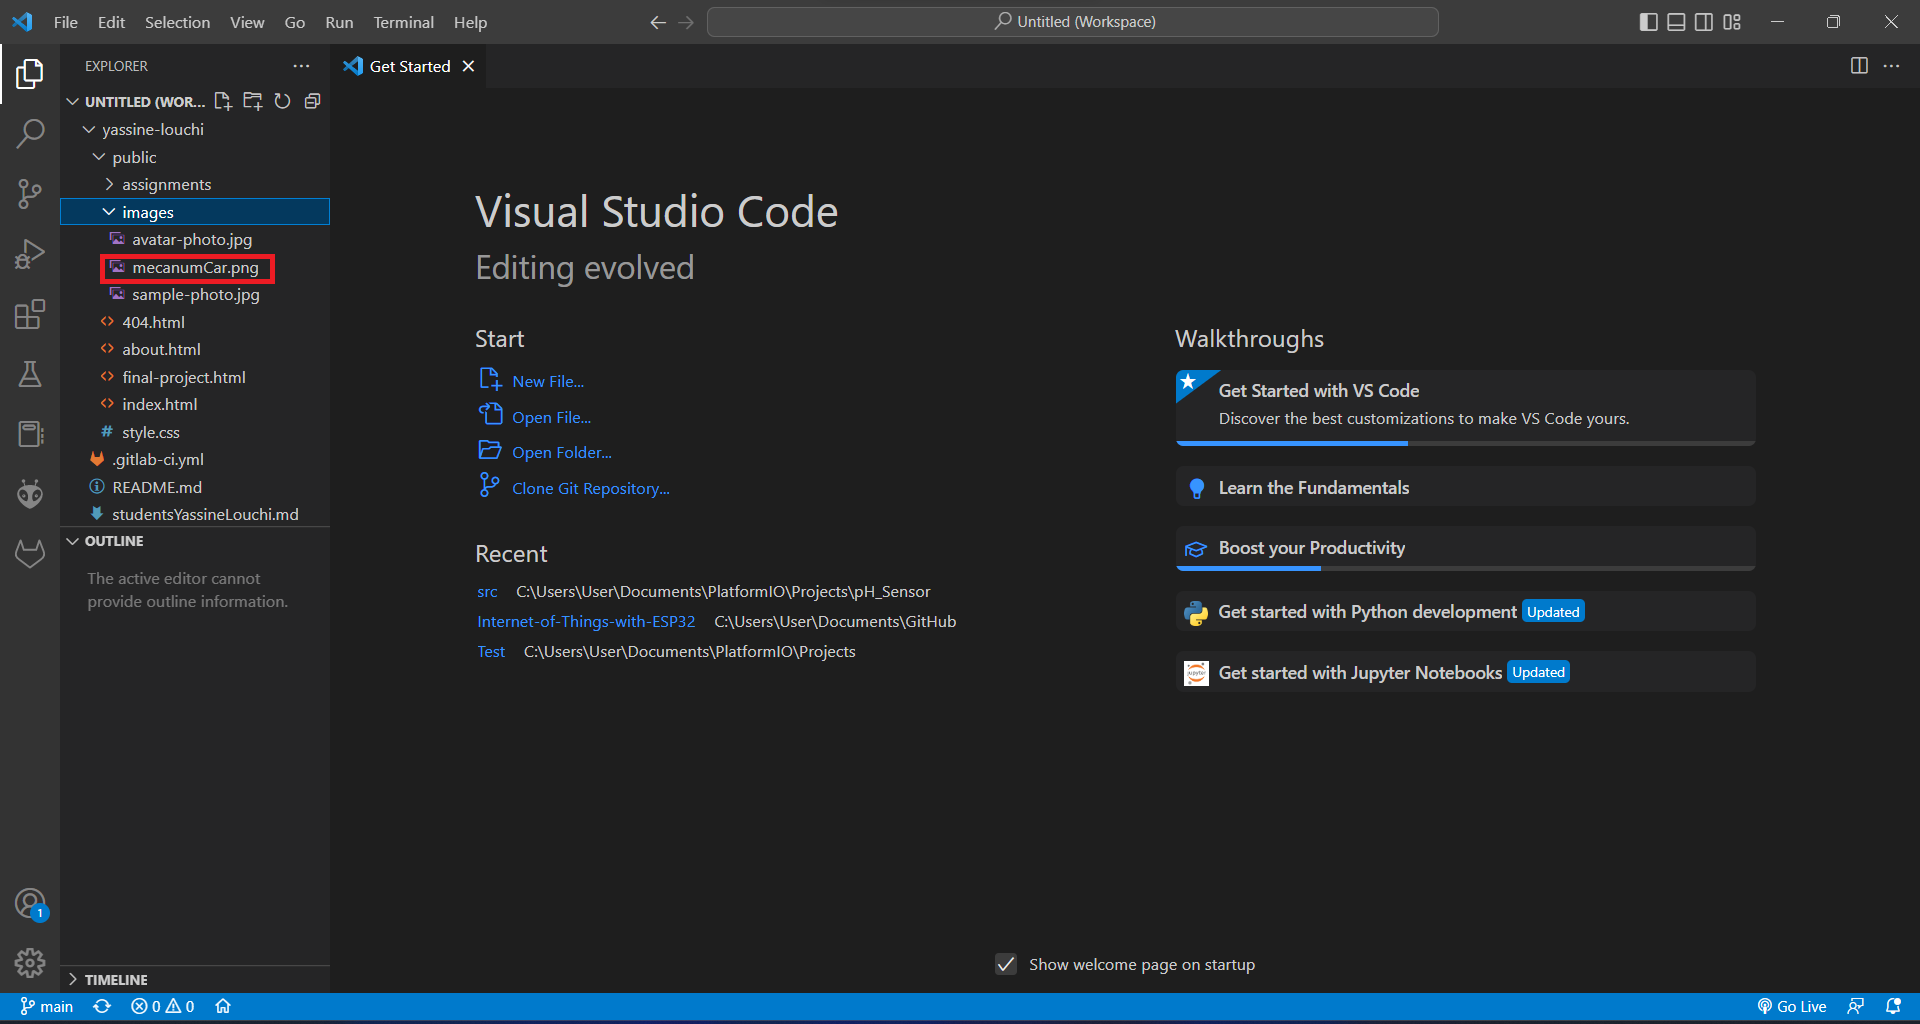
5. Now, I make the required changes to the repository. This could involve adding new files, modifying existing
files, or deleting files that are no longer needed. I ensure that all changes are relevant and necessary for the
development of my project.
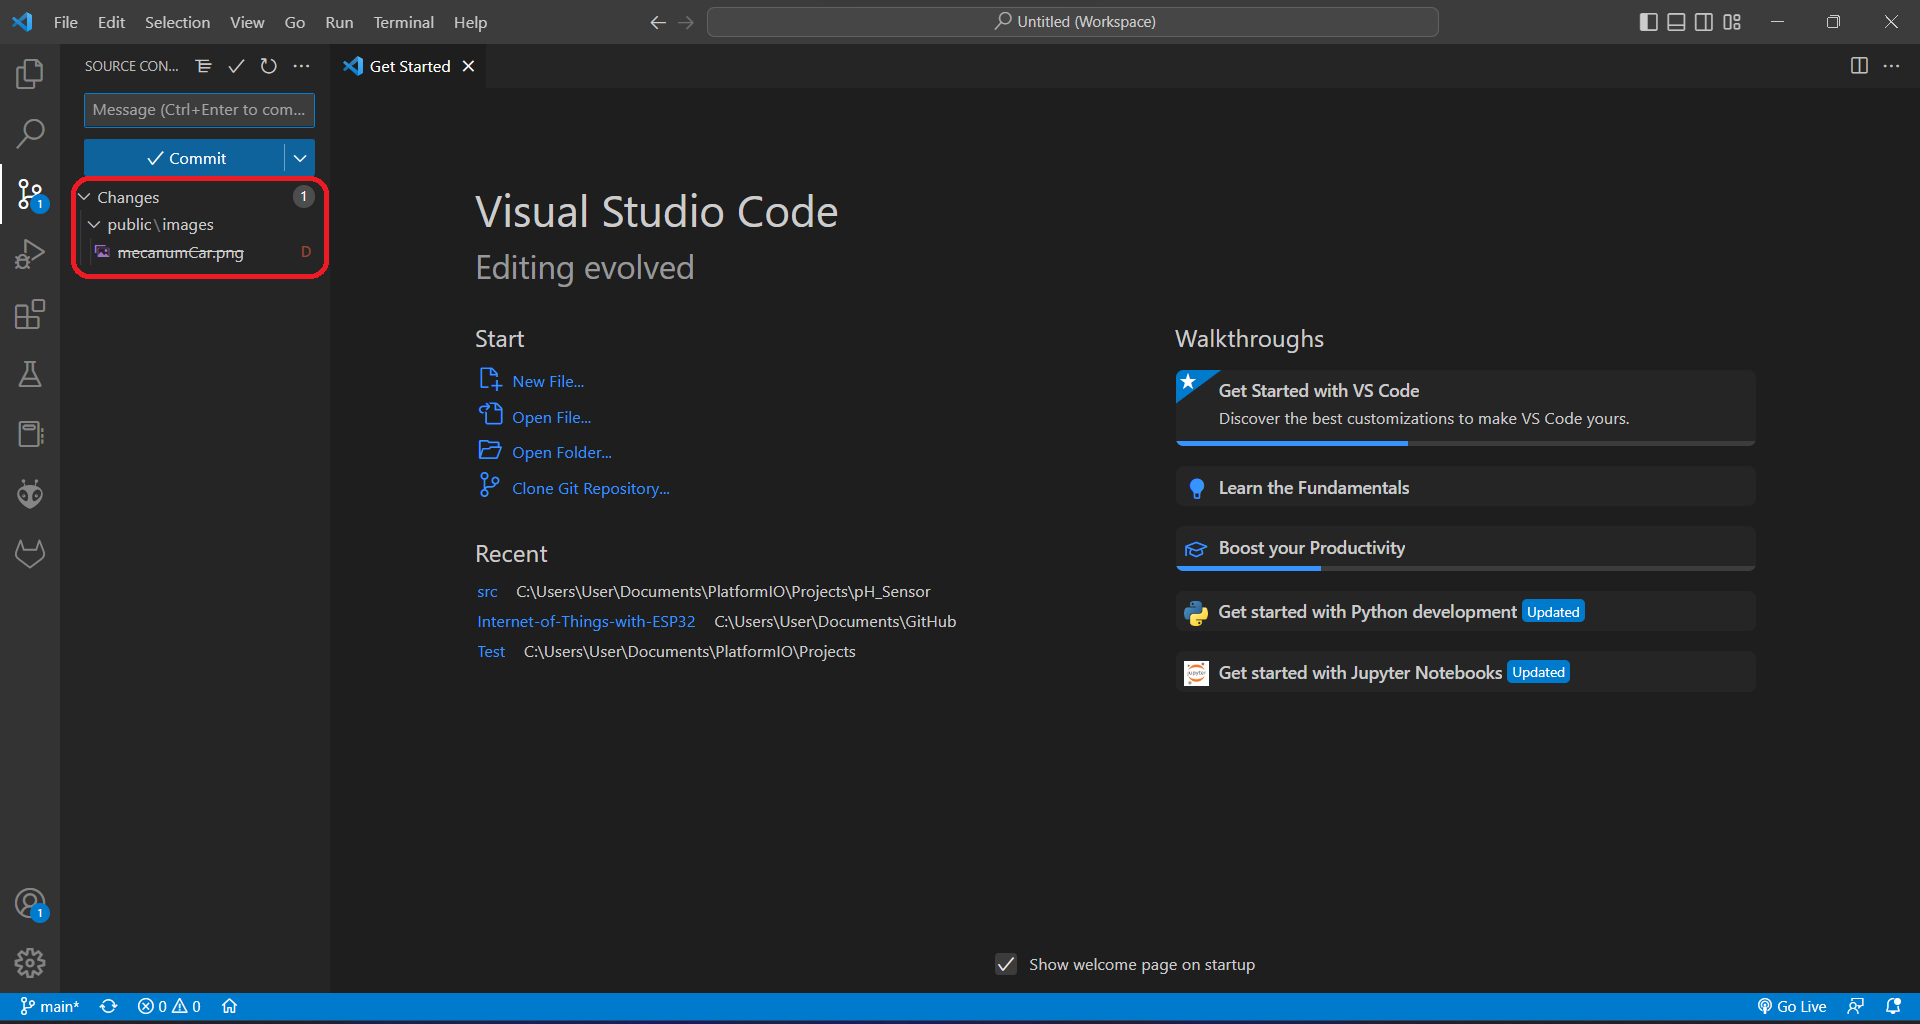
6. After making the changes, I visualize the modifications to ensure they conform to the specified requirements.
Proper visualization helps me identify any discrepancies or errors that need to be corrected before committing the
changes.
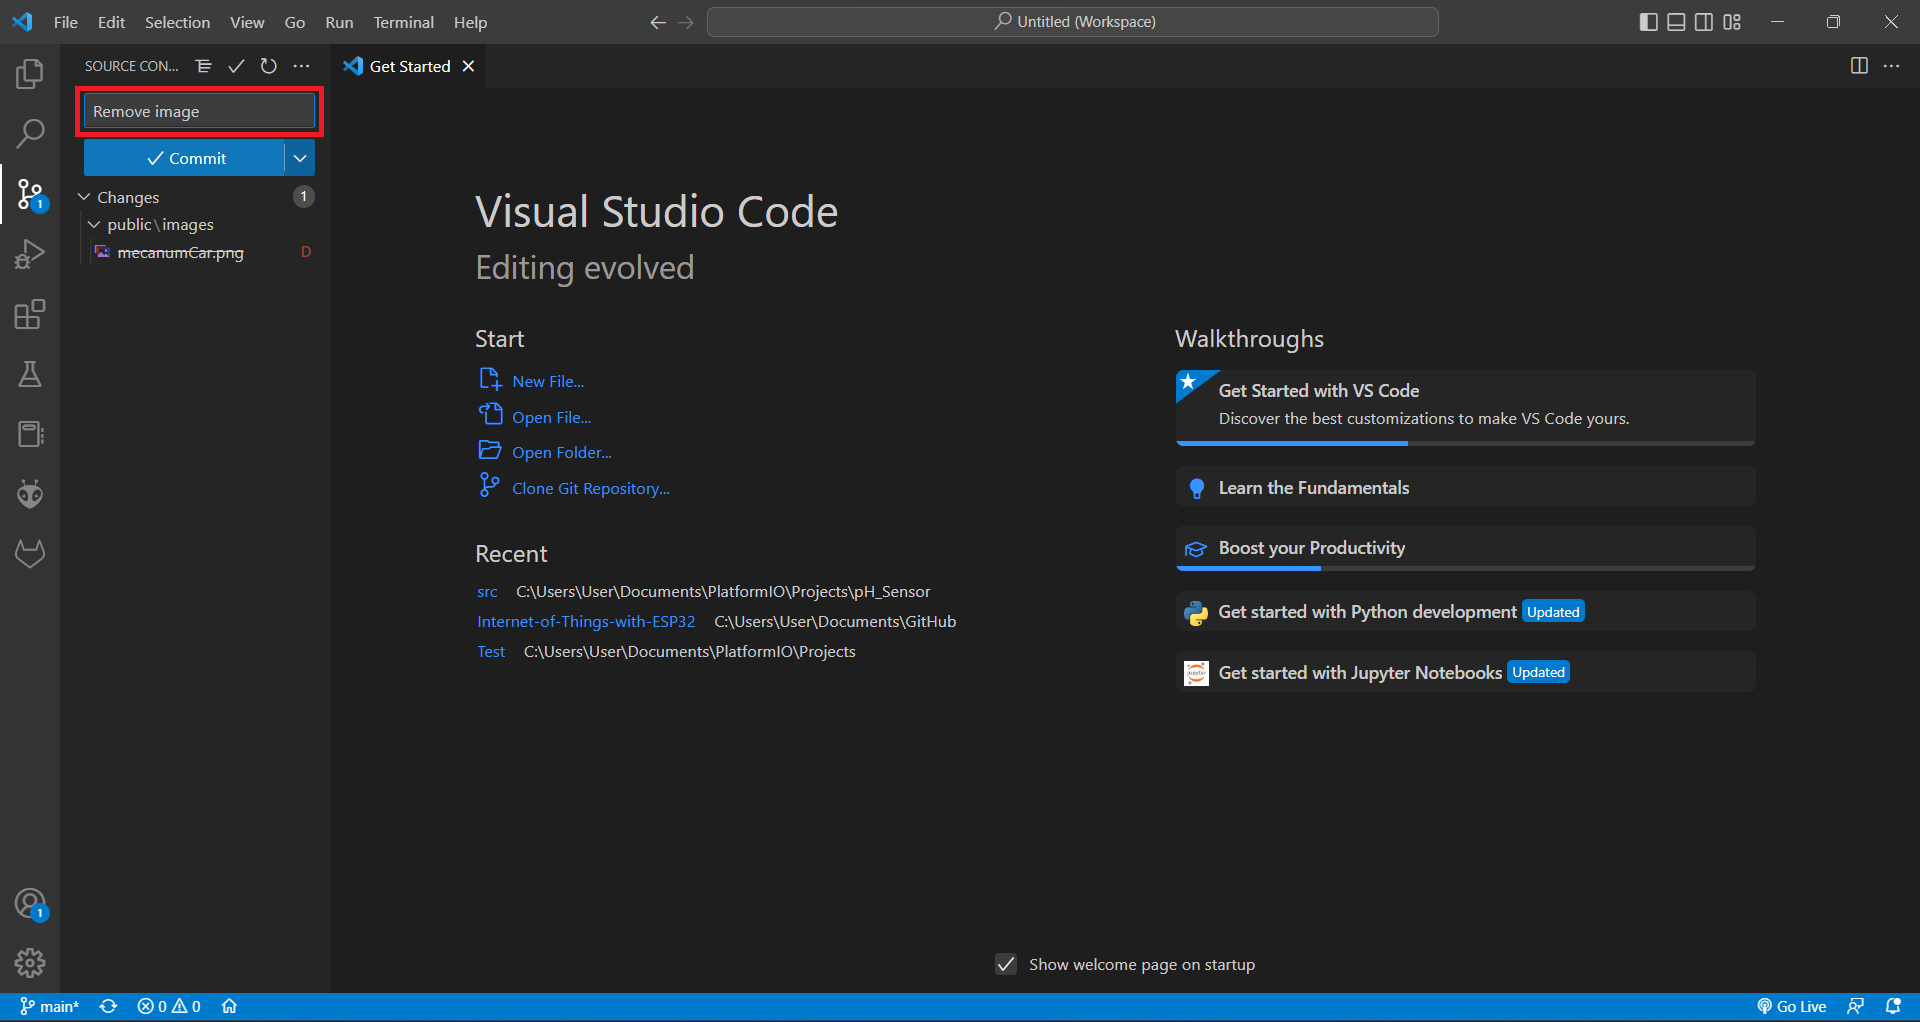
7. I write a clear and concise commit message that briefly describes the purpose or nature of the change. This
message is important for tracking the changes throughout the development of the project.
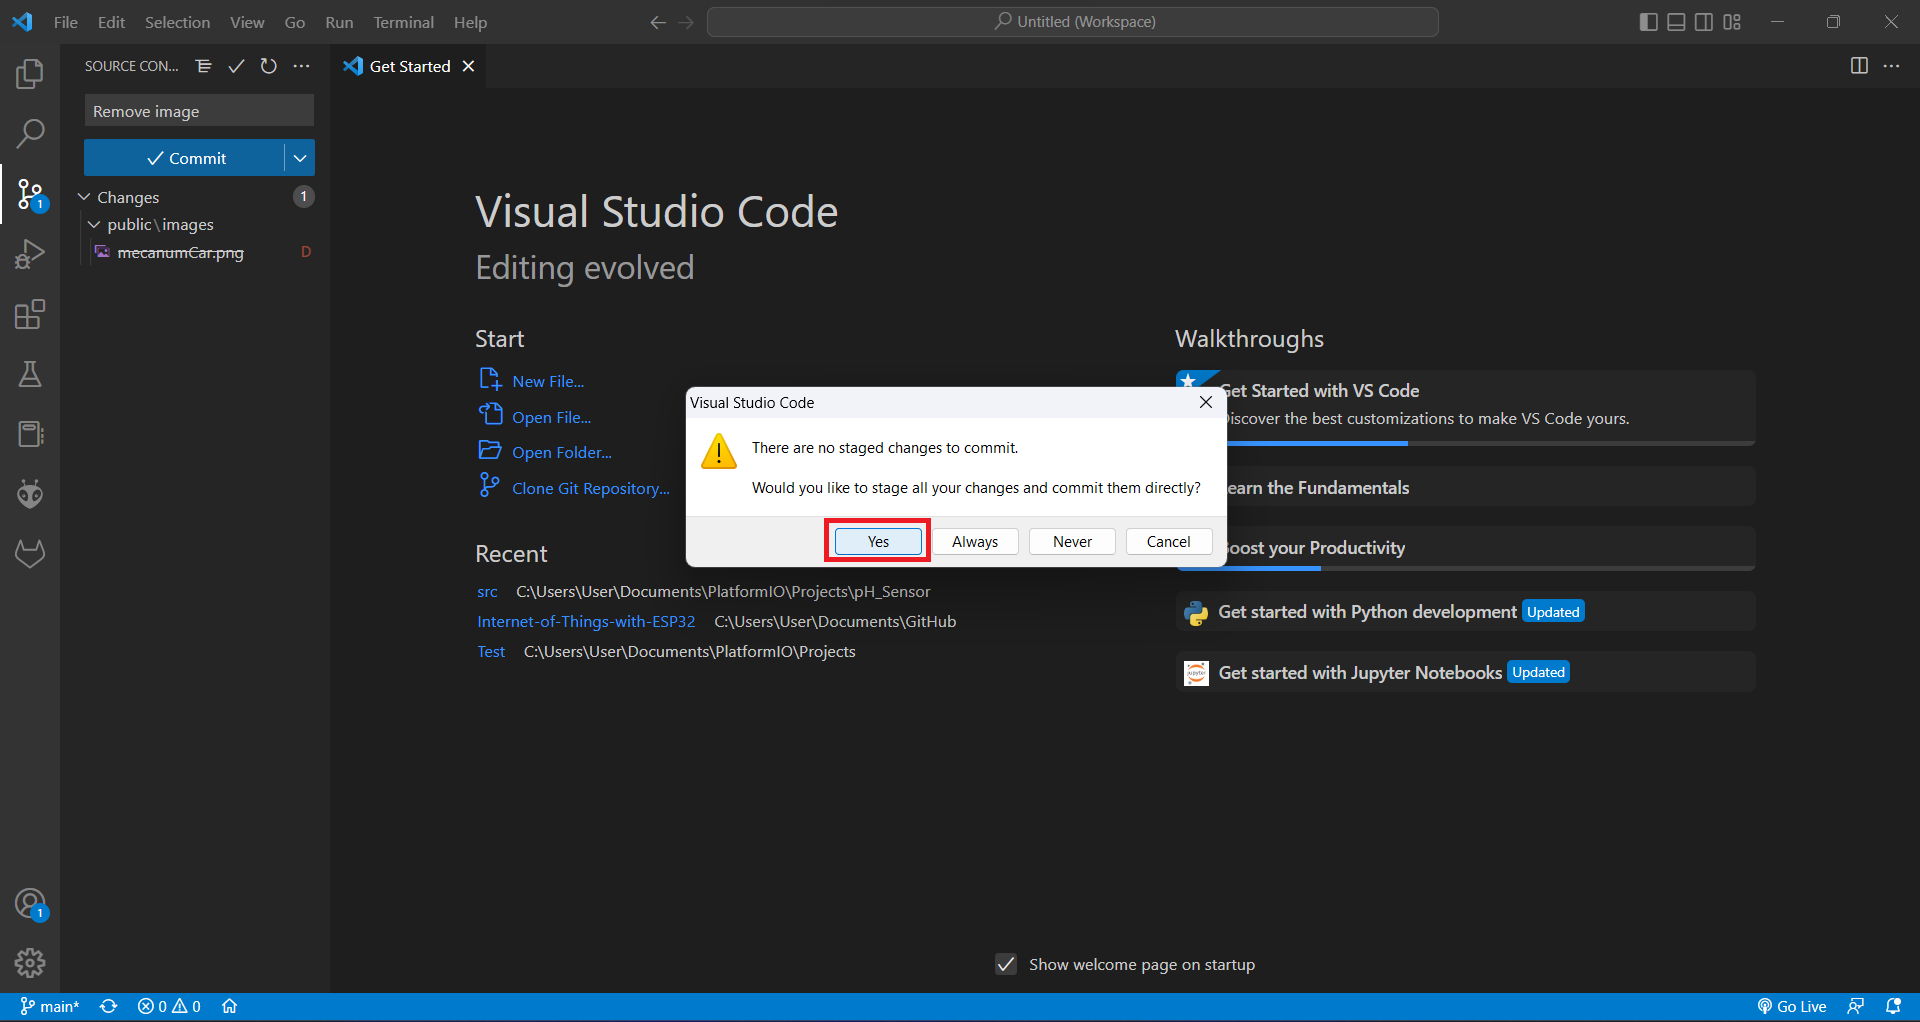
8. Once the commit message is written, I commit the changes to the repository. This step involves saving the
modifications along with the commit message, creating a record of the changes in the version control system.
9. I synchronize my changes with the remote repository. This step involves pushing my local changes to the remote
repository, ensuring that all team members have access to the latest version of the project.
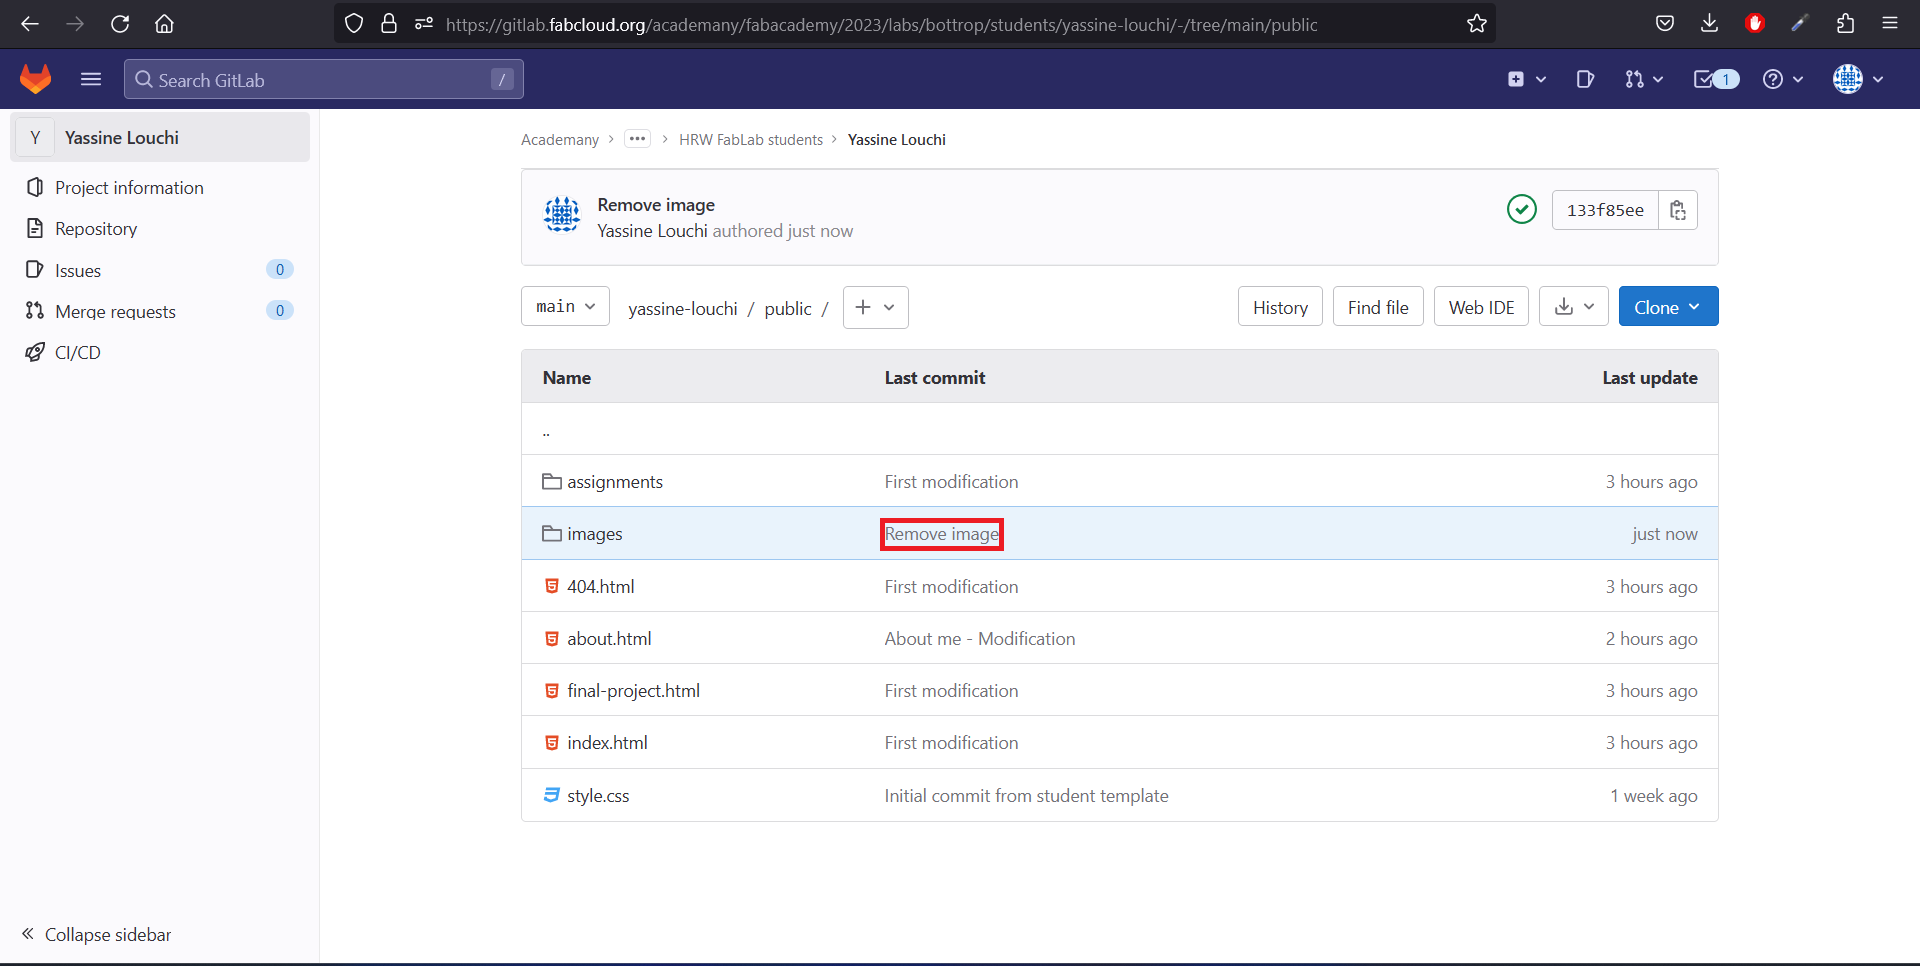
10. Finally, I verify that the changes are visible in the remote repository. This step involves checking the
remote repository to ensure that my changes have been successfully pushed and are accessible to other team
members. Verifying the changes helps me confirm that the synchronization process was successful.
Creating My Website with HTML and CSS
Structured Approach
- Project Structure: Main folder with subfolders for HTML, CSS, and resources. For exemple:
images, video or other files.
- HTML: Created distinct HTML files for various pages using Visual Studio Code, incorporating
essential tags for structure.
- CSS: Managed styling through a dedicated
styles.css file linked in the HTML
<head> section for layout, colors, and fonts customization.
- Version Control: Maintained using Git with regular commits to document changes.
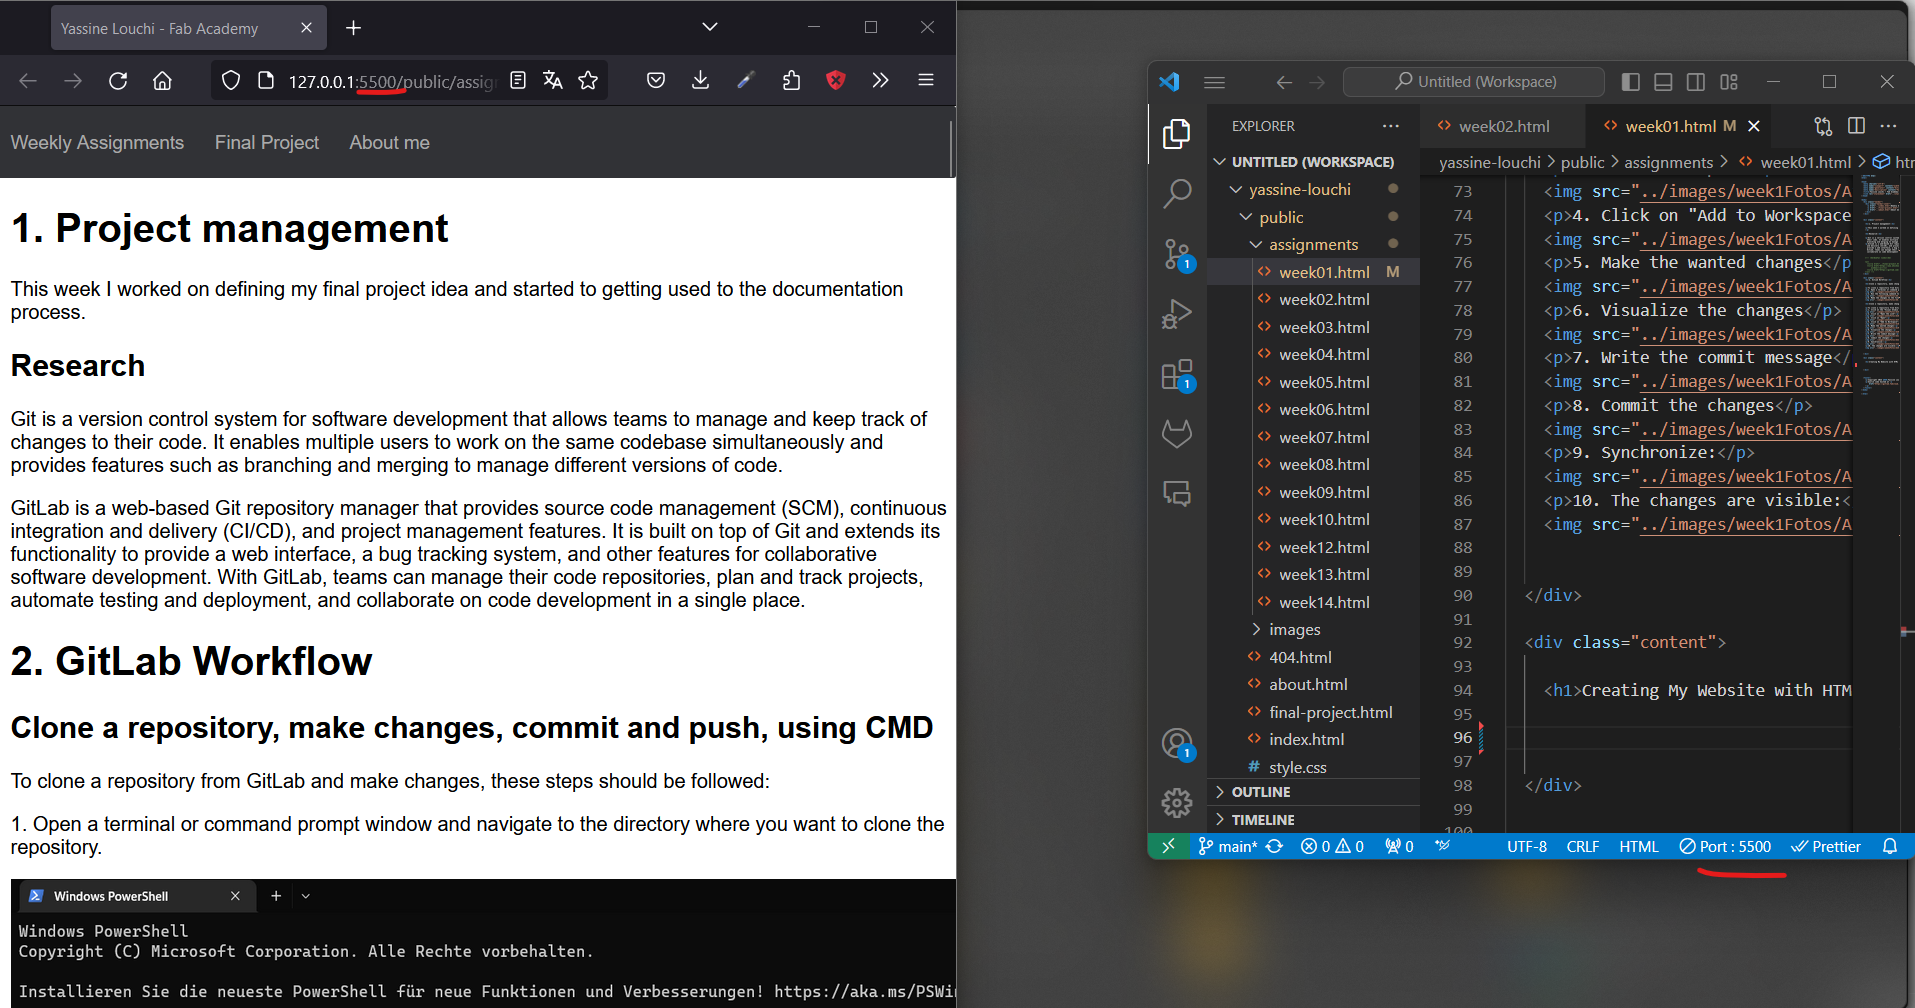
- Live Previews and Testing: Utilized a local server in Visual Studio Code for live previews
and testing.
Tools Used
- HTML, CSS, JavaScript: Fundamental languages for web development. I used vanilla JavaScript
because I am more familiar with it compared to frameworks like Vue.js or Angular.
- Bootstrap: I considered using Bootstrap for responsive design if necessary.
- VSCode: My primary code editor, equipped with extensions like Open Live Server to see
real-time changes while editing HTML files, speeding up my workflow.
In addition to HTML, CSS, and vanilla JavaScript, several other tools can enhance the development and
functionality of my webpage. Frameworks like Vue.js and Angular provide powerful features for building dynamic and
interactive user interfaces, though they require a steeper learning curve.
Final Project
XplorerBot - Unmanned Ground Vehicle (UGV)
Introduction:
The XplorerBot is a versatile and robust Unmanned Ground Vehicle (UGV) designed for various applications,
including research, exploration and development tasks. Equipped with advanced control systems and a
comprehensive suite of sensors, the XplorerBot can navigate diverse terrains, avoid obstacles, and perform
precise tasks autonomously or via remote control.
Key Features:
The XplorerBot would be designed for researchers in robotics and artificial intelligence, operators needing
automated solutions for inspection and maintenance, and hobbyists interested in exploring the capabilities of
unmanned vehicles. Its flexible expansion capabilities make it suitable for a wide range of customized
applications, from academic research to practical industrial use.
-
Robust and Agile Chassis:
- Aluminum alloy chassis for stability and protection.
- Adapted design for maneuvering diverse terrains.
-
High-Performance Motor System:
- Powerful DC motors and heavy-duty motor drivers.
-
Precise Control System:
-
Advanced control system with an integrated MCU and motor driver
board.
-
Encoder for DC motor ensures precise control, accurate
navigation, and positioning.
-
Comprehensive Sensor Suite:
- Ultrasonic and TOF sensors for distance measurement.
-
Gyroscope for orientation
sensing, line following sensor, and RGB-Camera.
-
Flexible Expansion Capabilities:
-
GPIO pins and I2C ports for seamless integration of additional
sensors, actuators, or modules.
-
Customization and system integration for specific requirements.
-
Extensive Software Support:
-
Programming and control, autonomous behavior development, and
third-party software integration.
-
Remote Control and Communication:
-
Wi-Fi and Bluetooth support for remote control via PS4
controller.
-
Real-time monitoring, data collection, and operation from a
distance.
-
Efficient Power Management:
- Rechargeable power bank support for prolonged operation.
Key Sensors:
-
Ultrasonic Sensor and TOF Sensor:
-
Accurate distance measurement for obstacle detection and
collision avoidance.
-
Camera Module:
-
Visual information capture for object recognition, tracking, and
image processing.
-
LIDAR Sensor (optional):
-
Laser-based sensor for advanced perception, obstacle detection,
and autonomous mapping.
-
IMU (Inertial Measurement Unit):
-
Combines accelerometers and magnetometers for vital data on
linear acceleration, angular velocity, and magnetic field
orientation.
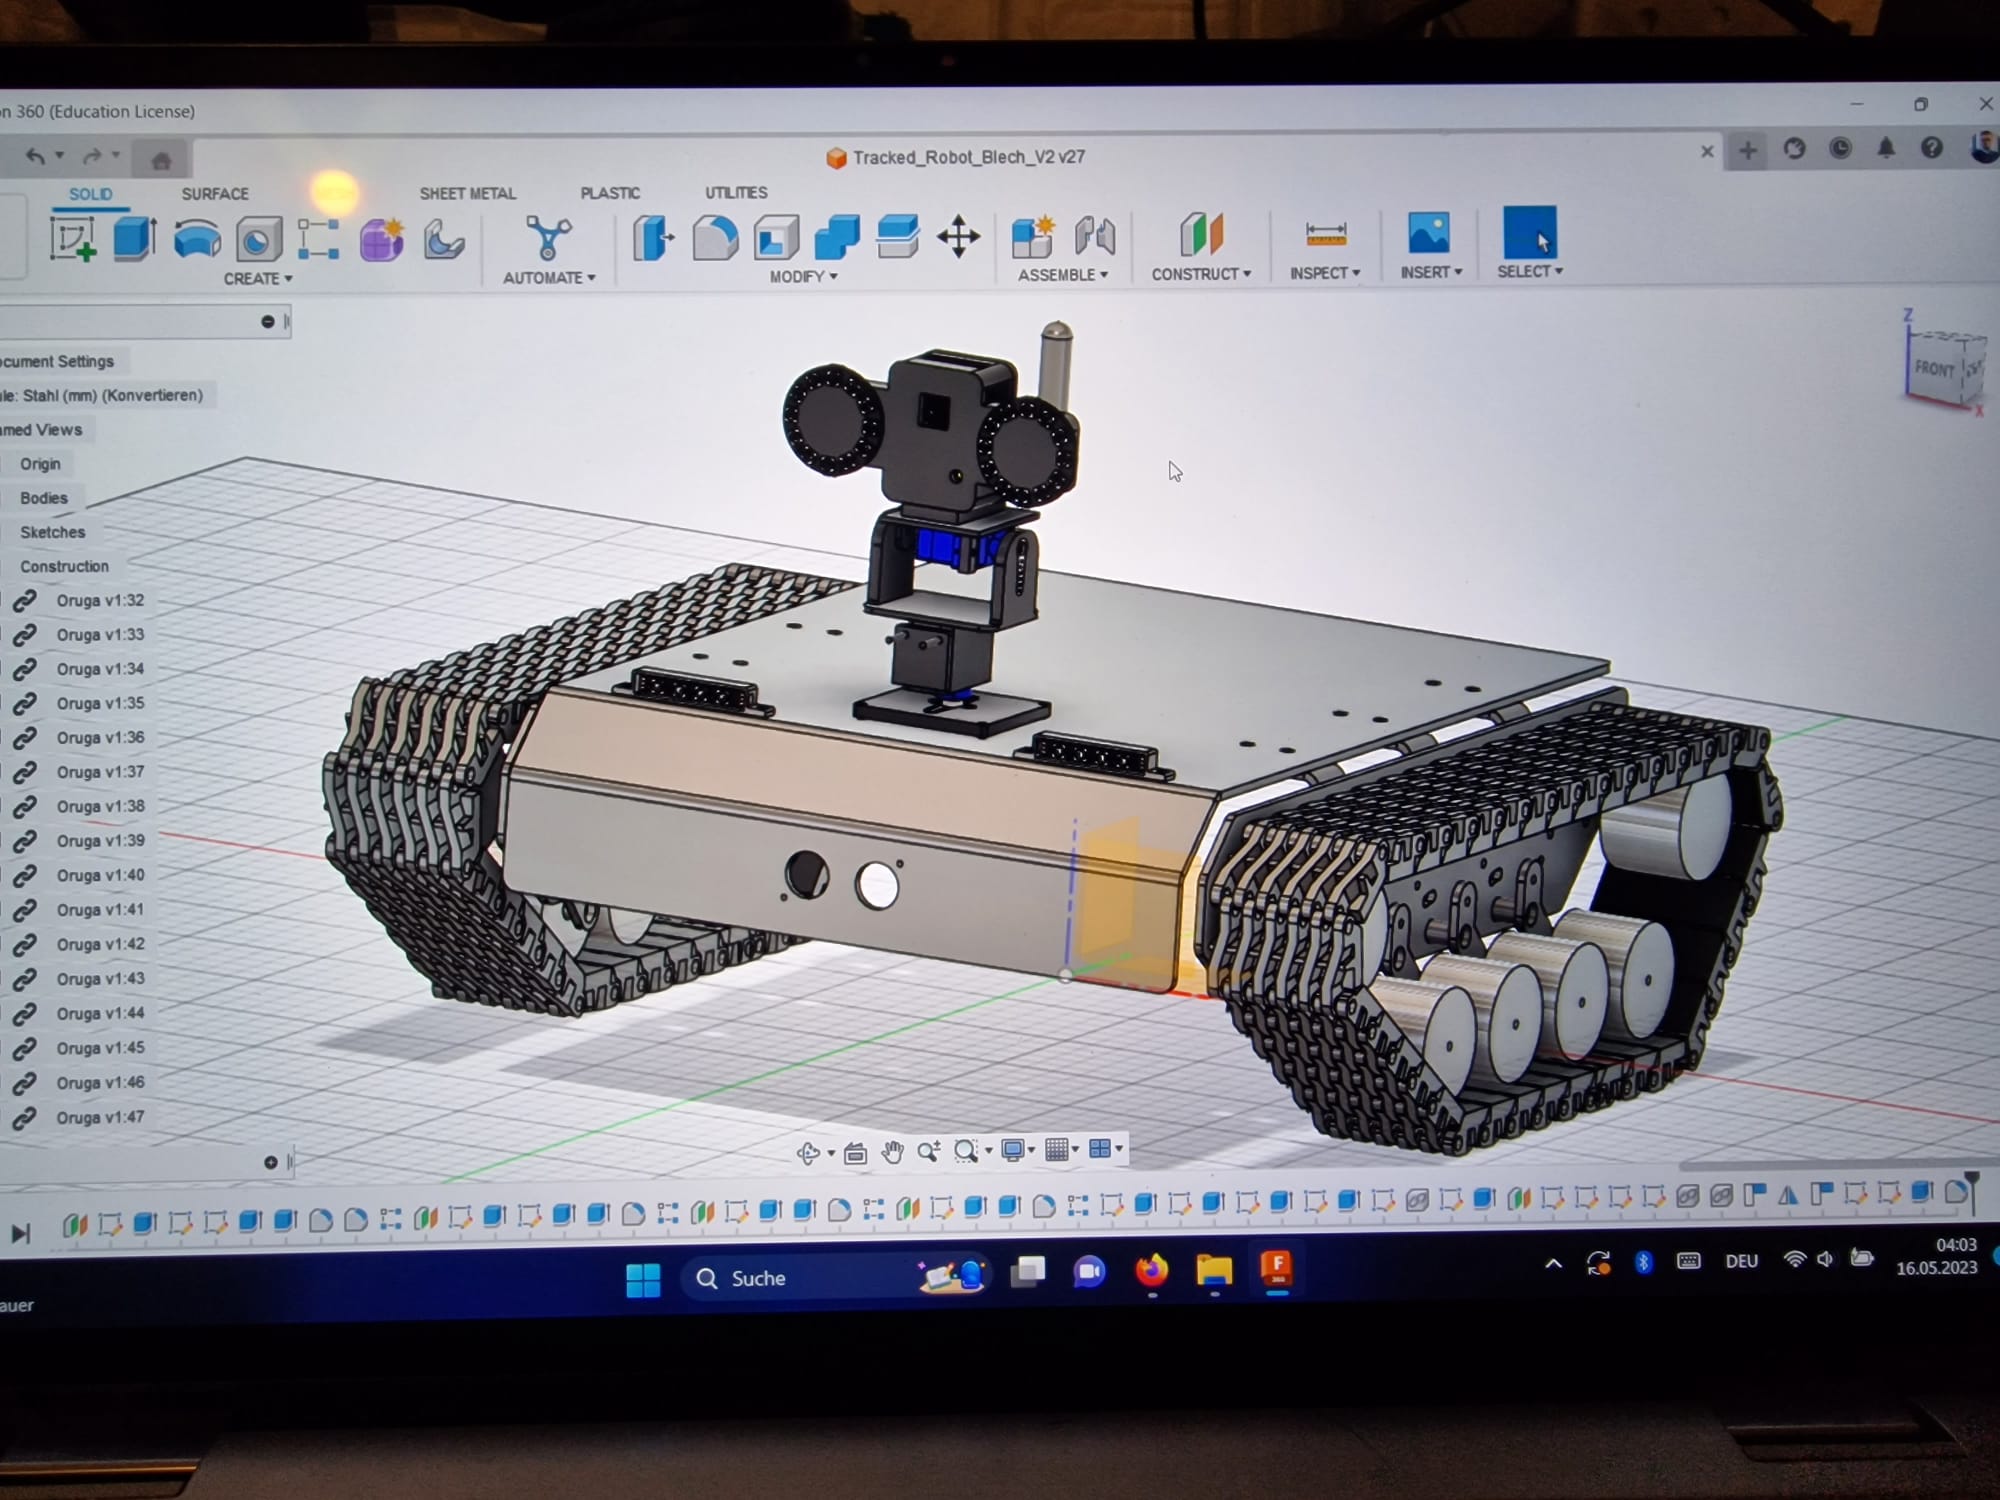
Respresentation of the final Project
This initial version I drew in Fusion360 provides a simple overview of
the robot. It's like a rough sketch that helps me determine the sizes
for the case, electronics, DC motor, and other mechanical parts. This
starting point gives me a general layout, making it easier to plan out
the details as I move forward.