5. 3D scanning and printing
assignment group assignment: - test the design rules for your 3D printer(s) individual assignment: - design and 3D print an object (small, few cm3, limited by printer time) that could not be made subtractively - 3D scan an object (and optionally print it) individual assignment For my final project I want to construct a xy-table maybe using a reliant mechanism, which could be 3D printed. For the geometry of the reliant mechanism I simply extruded a svg file in one direction, so this geometry could also be fabricated using lasercutting or maybe an EDM machine, so I also designed and printed a further 3D model, which only can be produced by 3D printing (see below). 3D geometries 1) Reliant mechanism For the generation of the geometry see week 2. For printing we normally use the Prusa i3 MK3S. The PrusaSlicer unfortunately did not connect the square in the middle of the reliant meachansim to the bending beams:This was no display artefact from the slicer, but it also printed with a gab between the square and the beams:
The same problem occured in the programm Slic3r:
So I tried the slicer ReplicatorG for my CTC 3D printer. The installation of this old programm is quite complicated for Windows 11: Here you find a good, but not sufficiant instruction: https://www.youtube.com/watch?v=lPbMDegy4_4&t=632s Here you find all necessary steps: 1.) Disable driver signature enforcement (Windwos 11): https://www.youtube.com/watch?v=PSyL5SLA-1o
2.)
Install
Pypy
2.7!!! with newer versions ReplicatorG does not
work!
https://www.pypy.org/download.html
3.)
Install
Microsoft Visual Studio
vcredist.x64.exe
4.)
Install ReplicatorG
http://replicat.org/
You
were prompted to install several drivers - accept these prompts.
5.)
Under
File - Preferences - Advanded Tab - " Select Python
interpreter" you have to give the location of the Pypy.exe
file.
In
ReplicatorG you can not see the generated paths of the gcode.
But in the Gcode Viewer (https://gcode.ws/) you can see the paths in the Gcode. This looked much better:
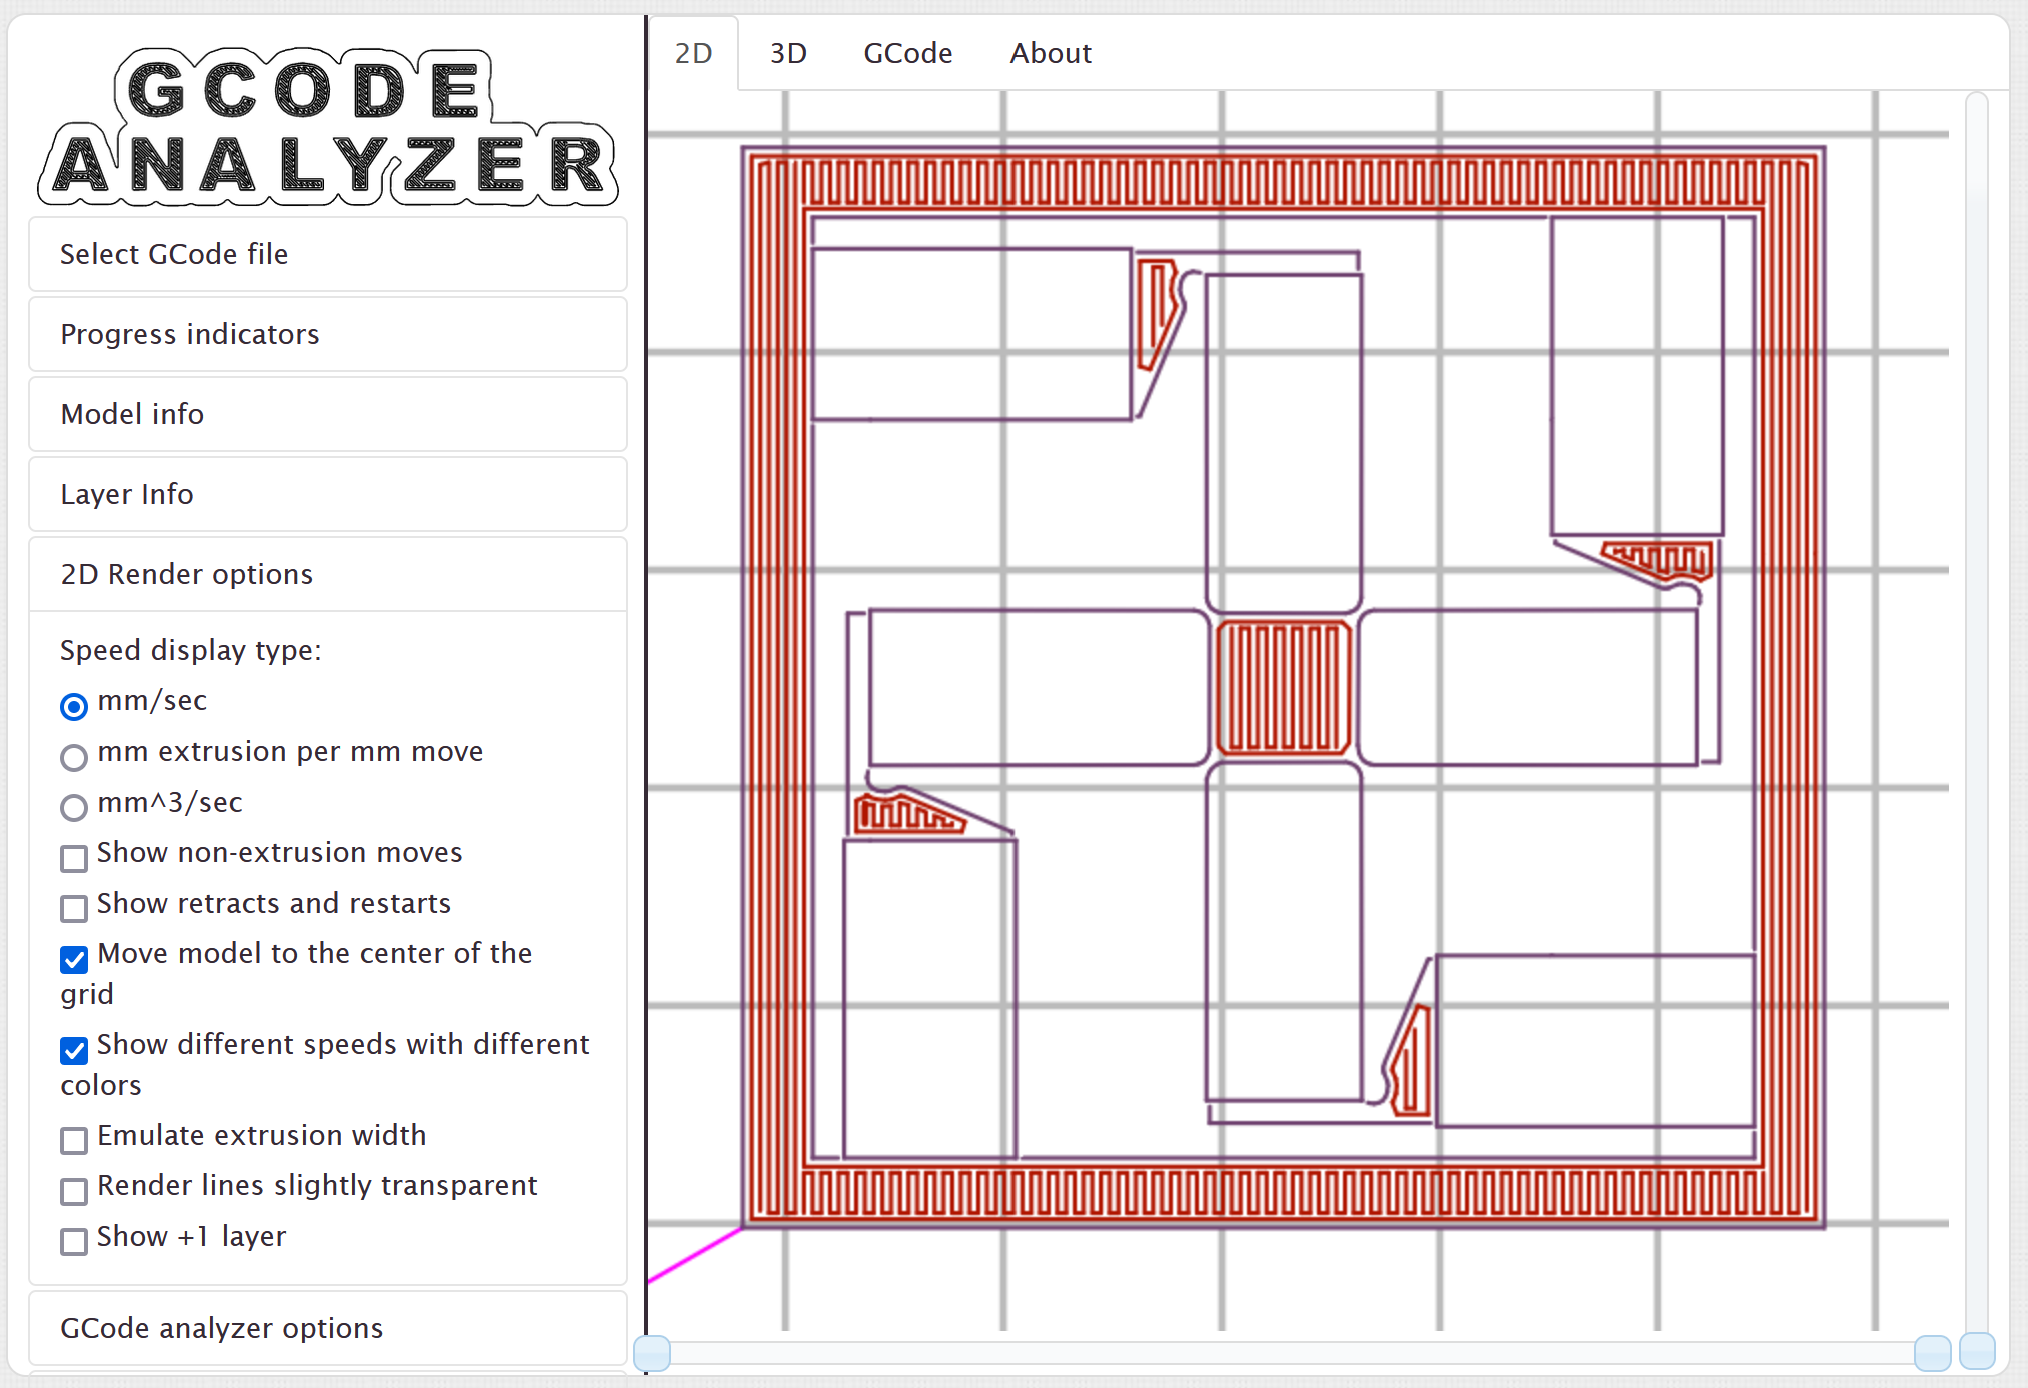
After that, I also made the contour connecting the beams and the square rectangular and then also the PrusaSlicer was able to slice the geometry correctly and the connections of the beams to the contacting geometries look better than in the gcode made with ReplicatorG:I will shortly print this geometry on a Prusa 3D printer.
On the prusa the geometry printed better, but still not that robust. So I printed it on a Bambu printer and this led to great results.
At the bottom of the page you can download files for 3d printing reliant mechanisms I designed for my final project. 2) 3D model, which only can be produced by 3D printing Here I designed a scraffold like structure made out of single 3D printed paths:Sideviews:
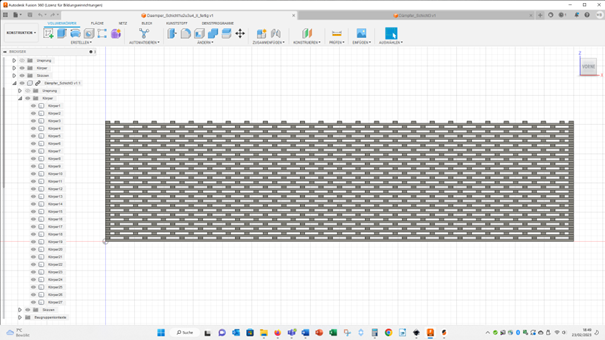
The paths of each third layer are shiftet, so that the paths are between the lower and upper paths pointing in the same direction. By this the 3D design shall be resilient. Printed out of stiff material it might be used to absorb the energy of impacts as needed in bicyle helmets. Printed with flexible material the stucture might be used to absord vibrations. Maybe it is beneficial to place these prints under the feeds of 3D printers. To design the geometry I first draw two patterns of lines in Inkscape:
Then I converted the contour of the paths into paths. These svgs I imported into Fusion and extruded them to a thickness of 0.2 mm. Then I arragend the four different layers (turning both layers above additional around 90°) on top of each other. Here you see some of the prints:
printed in PLA.
printed in InnoFlex 45. The paths were not printed very accurately. I will try to improve the printing parameters later. Here you can download the stl file of the damper: Earlier Leonie Beek and I presented the following poster about 3D printing at a conference about biomimetics in Bremen: (Leonie and I won the poster price for this poster)
3D Scan In the Fablab we used an iPad with an iSense sensor to scan 3D objects, but the resolution was quite low for small objects. So I made several images from a feed indentation of my financee into floral foam to use them for photogrammetry. Here you see one of the pictures I took with a Sony alpha 6000:
The lego parts can help the software to recognize same features in the images. I used Meshroom for photogrammetry. Here you find a very good explanation how to use this software and edit the final results: https://www.youtube.com/watch?v=yKbyVDK2Ep8&t=65s Here you see a screenshot of Meshroom:
And here you see the preliminay 3D geometry:
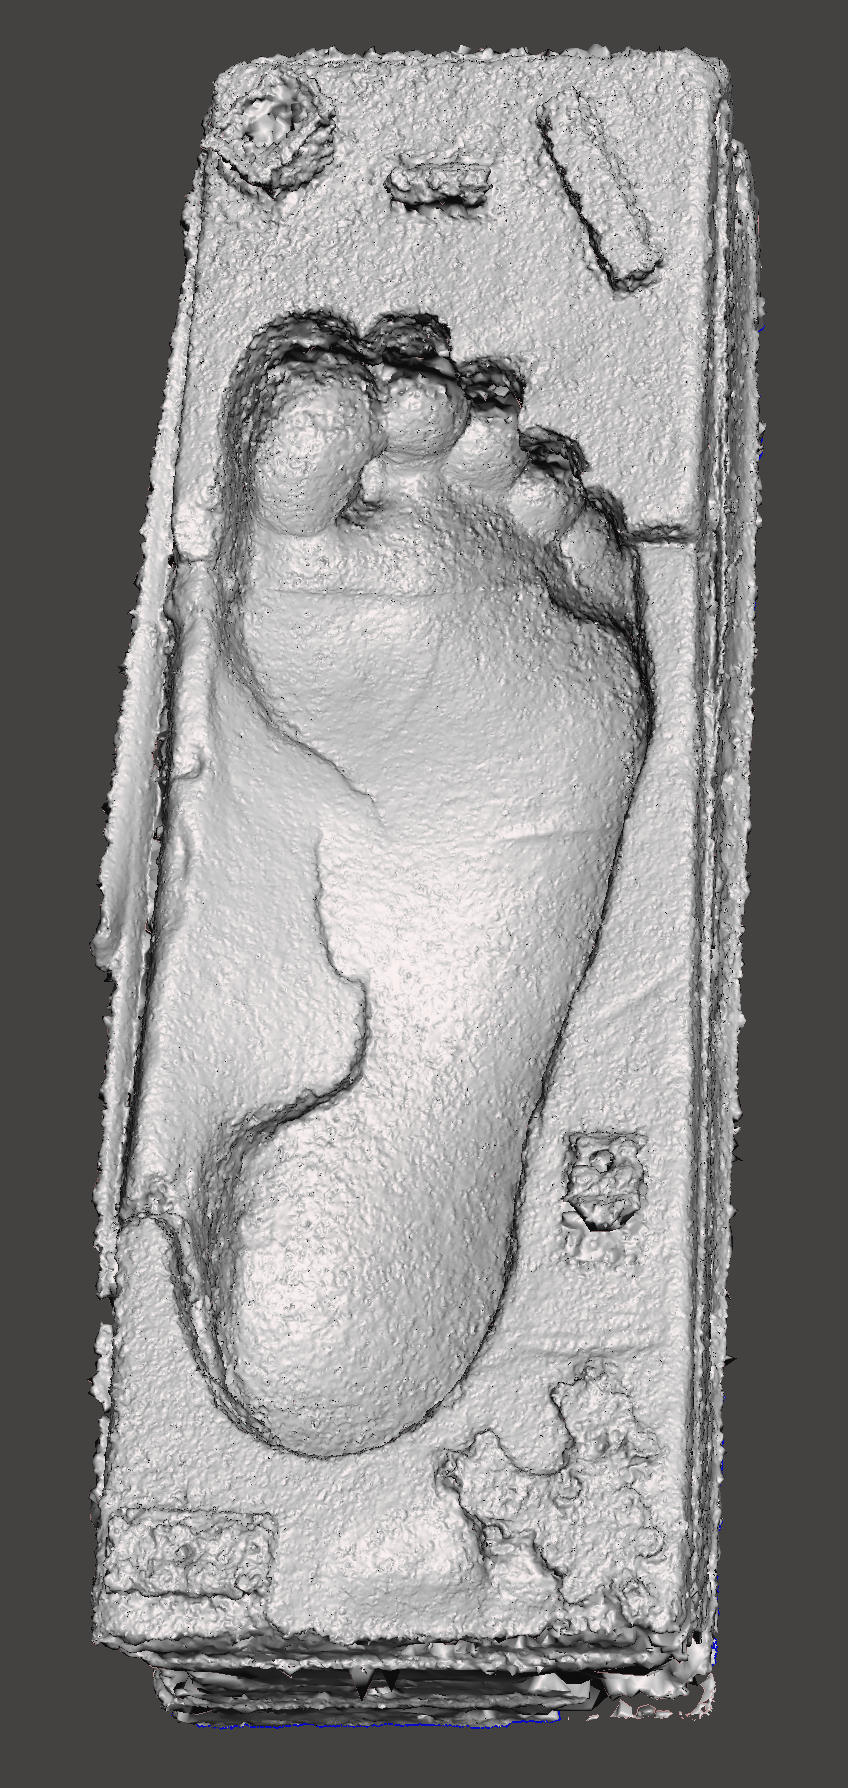
And here you see the final geometry after editing in Meshmixer:
In a next step I want to construct shoe soles, which show the above shown scraffold micro structure and the imprint of the feets of my financee. Earlier I presented the following poster about photogrammetry at the conference of the Society of Experimental Biology in Gothenburg:
group assignment
We tested several printing parameters. Mainly we analysed the accuracy of our 3D printers. Testest the effect of different print speeds, and printing temperatures and learned how to print overhangs.
see page of Yassine Louchi: see page of Yassine Louchi: https://fabacademy.org/2023/labs/bottrop/students/yassine-louchi/assignments/week05.html This page was build with SeaMonkey (www.seamonkey-project.org/). Later I switched back to LibreOffice, because the documentation of SeaMonkey is sparsely.
Downloads
Here you can download 3d printing files of the reliant mechanisms I designed for my final project.
You can use under the Creative Commons-Licence: CC BY-ND 4.0
Please cite: © Dr. Michael Bennemann
Bambu G-code motorized Reliant mechanism
Bambu G-code hand driven Reliant Mechanism
Here you see our Prusa and Bambu 3D printers in the lab:


Here you find informations about our Prusa MKS3 printer:
https://www.prusa3d.com/product/original-prusa-i3-mk3s-3d-printer-3/#Features
And here you find informations about our Bambu printer: