Project management/Principles and Practices


This week I worked on defining my final project idea and started to getting used to the documentation process. Prior to attending the global class lecture by Professor Neil on Principles&Practices/Project Management dated Jan 25,2023, I participated in student boot-camp from 19 to 24 Jan 2023 virtually.


Principles and Practices


Fab Academy Program is part of the Academany, the Academy of Almost Anything. It Offers a Distributed rather than Distance Educational Model. It is six months extensive course whereby participants/students are required to parallelly complete the documentation along with hands of experience and project development.

Final Project Sketch
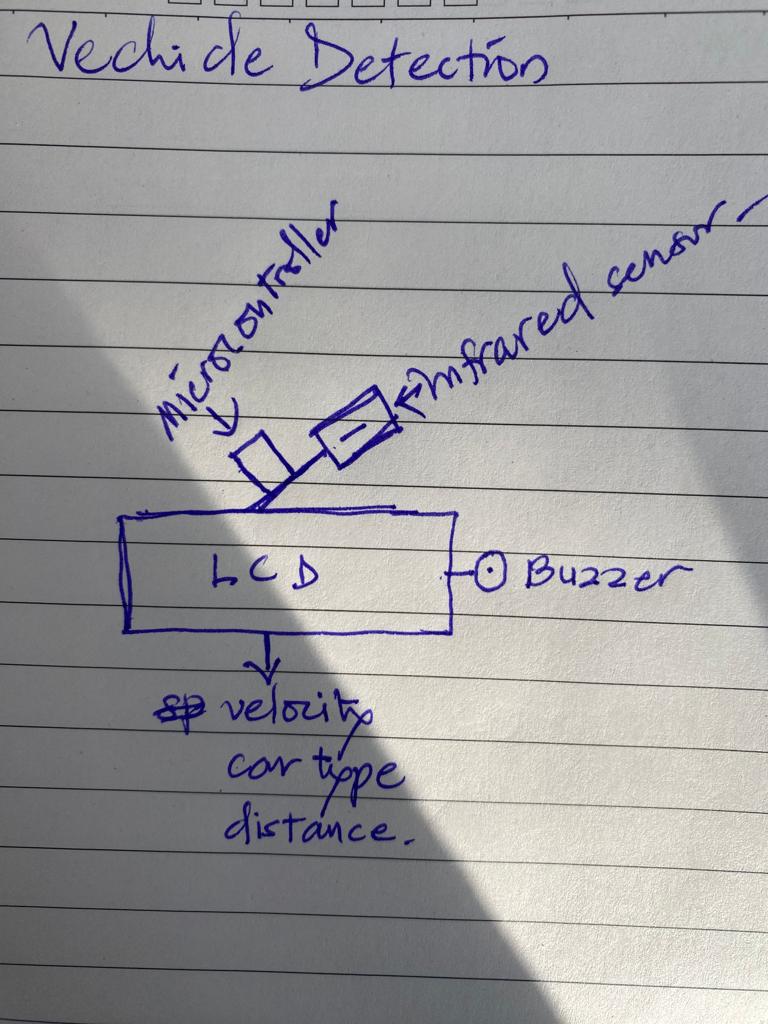

        
                                                  Description of image


  • Car detection device in curvy roads
  • Safety control/Avoid accidents
  • Buzzer in case of over-speed approaching car
  • Small and compact to be mounted on dashboard
  • Cover radius= 100m
  • Display velocity, car type and distance of approaching car
  • Useful in mountainous country like ours
  • Input infrared sensor
  • Output LCD
  • Applicable in all range of cars
  • 
         

    Why this project?


    This project mainly aims at solving accident/collision problems faced by drivers in Bhutan. This is because the Bhutan is a mountainous country and the roads are narrow and curvy which poses risk of collision between the approaching cars. Therefore, with this detection device, drivers can read or analyze the velocity of approaching car and control accordingly to avoid collision. Accidents do not necessarily happen only when you are reckless, but it can occur when others are.""


    Recommendations on my Project


    On 3rd week my name got called in random generator which is coordinated by Professor Neil on a global class session. Upon reviewing my project idea, Professor and other tutors gave me some recommendations. To fully materialize my project it appeared very difficult for me as a newbie to programming and electronics. Therefore, I searched through online project ideas which was simple(but effective) and compatible for this Fab Academy course. Then I came up with another idea to make things easier in our daily life.


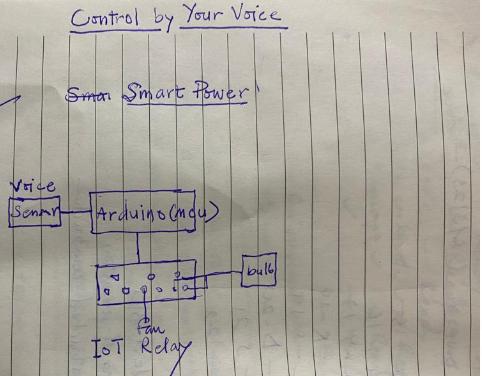
    Second Final Project- Smart Power


    This Smart Power is about controlling your electrical appliances with your voice command. I thought it has become necessary in this technological era where you don't always have to manually hover around nearby switches to put and put out lights and fans. Also, I have seen in TV shows like Alexa which plays songs according to voice commands which literally inspired me to have something like it. The sketch below gives overview of how my project will function.


                                                    Second Project Sketch


    Why this project


  • Voice command to control electrical appliances
  • Easy control over electrical items
  • Saves time
  • Daily applicable
  • Convert ordinary house to smart home
  • Easier than always turning on - off from the switch boxes
  • Inspired by Alex, Siri voice on phone etc.
  • Input voice and its recognition sensor
  • Output put on and put out lights, fans etc.
  • Applicable in all the homes.
  • 
          

    Why this project


    This project was basically inspired by application like Siri voice on phone and Alexa which requires no manual searching to call or change songs. Basically ordering device to work for you and therefore, I want to make people control home appliances through voice commands which is easy and fast. Usually I get lazy to put out the lights when I am on bed, so this project will help me solve one of my problems as one and everyone's home can be converted to smart home as whole.


    Materials Required


  • 1. Arduino Uno
  • 2. Voice recognition sensor- Elechouse Module V3
  • 3. IoT Relay
  • 4. LED
  • 5. Jumper wires
  • 6. Breadboard
  • 7. USB A-B cable
  • 
          

    Project Management


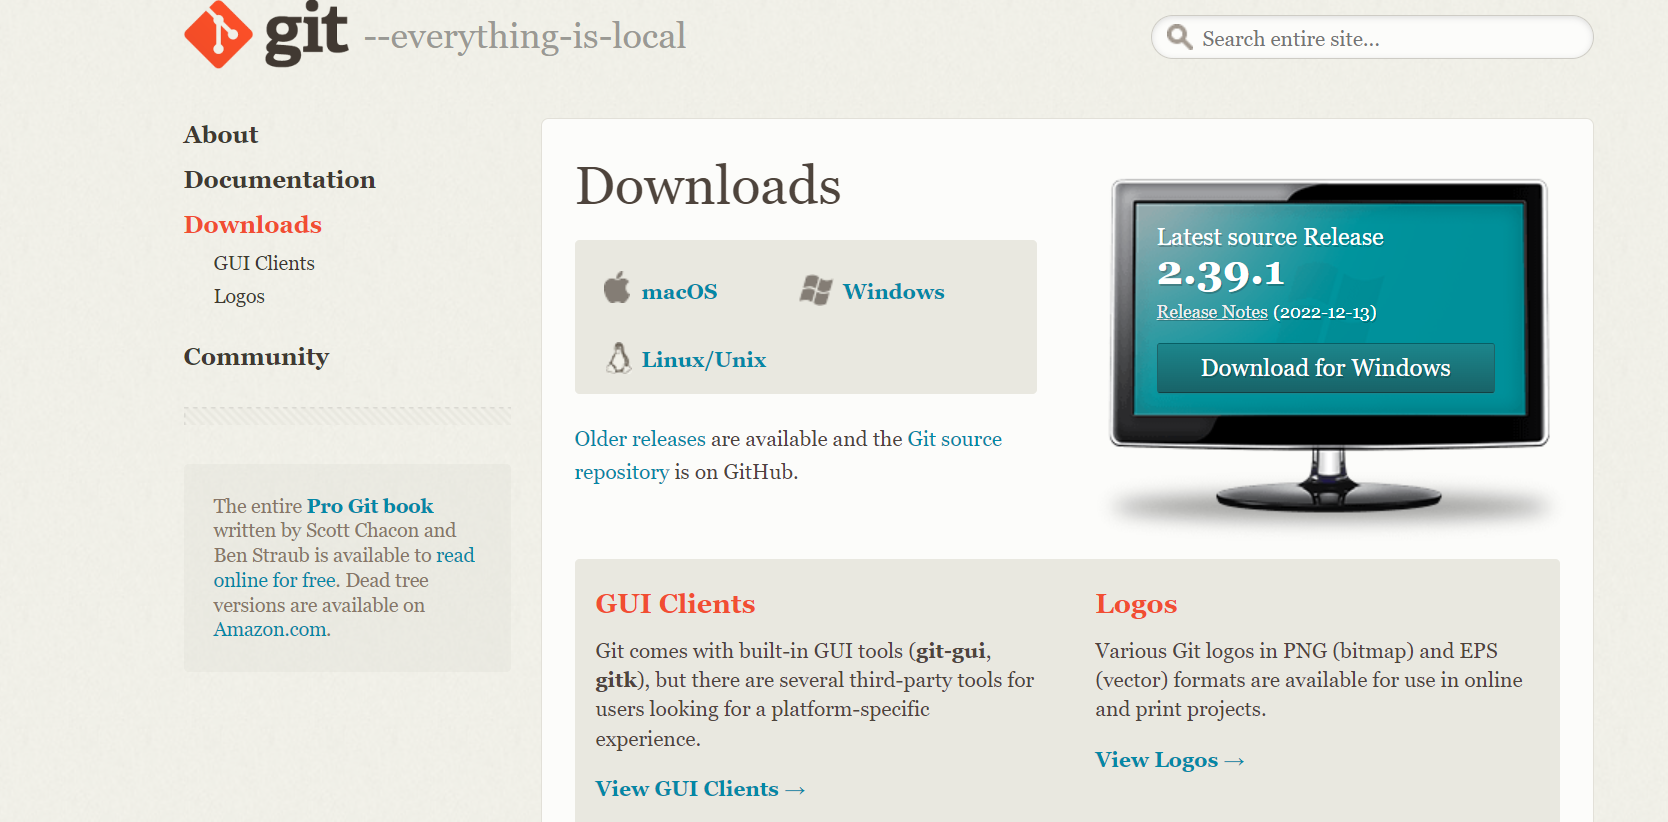
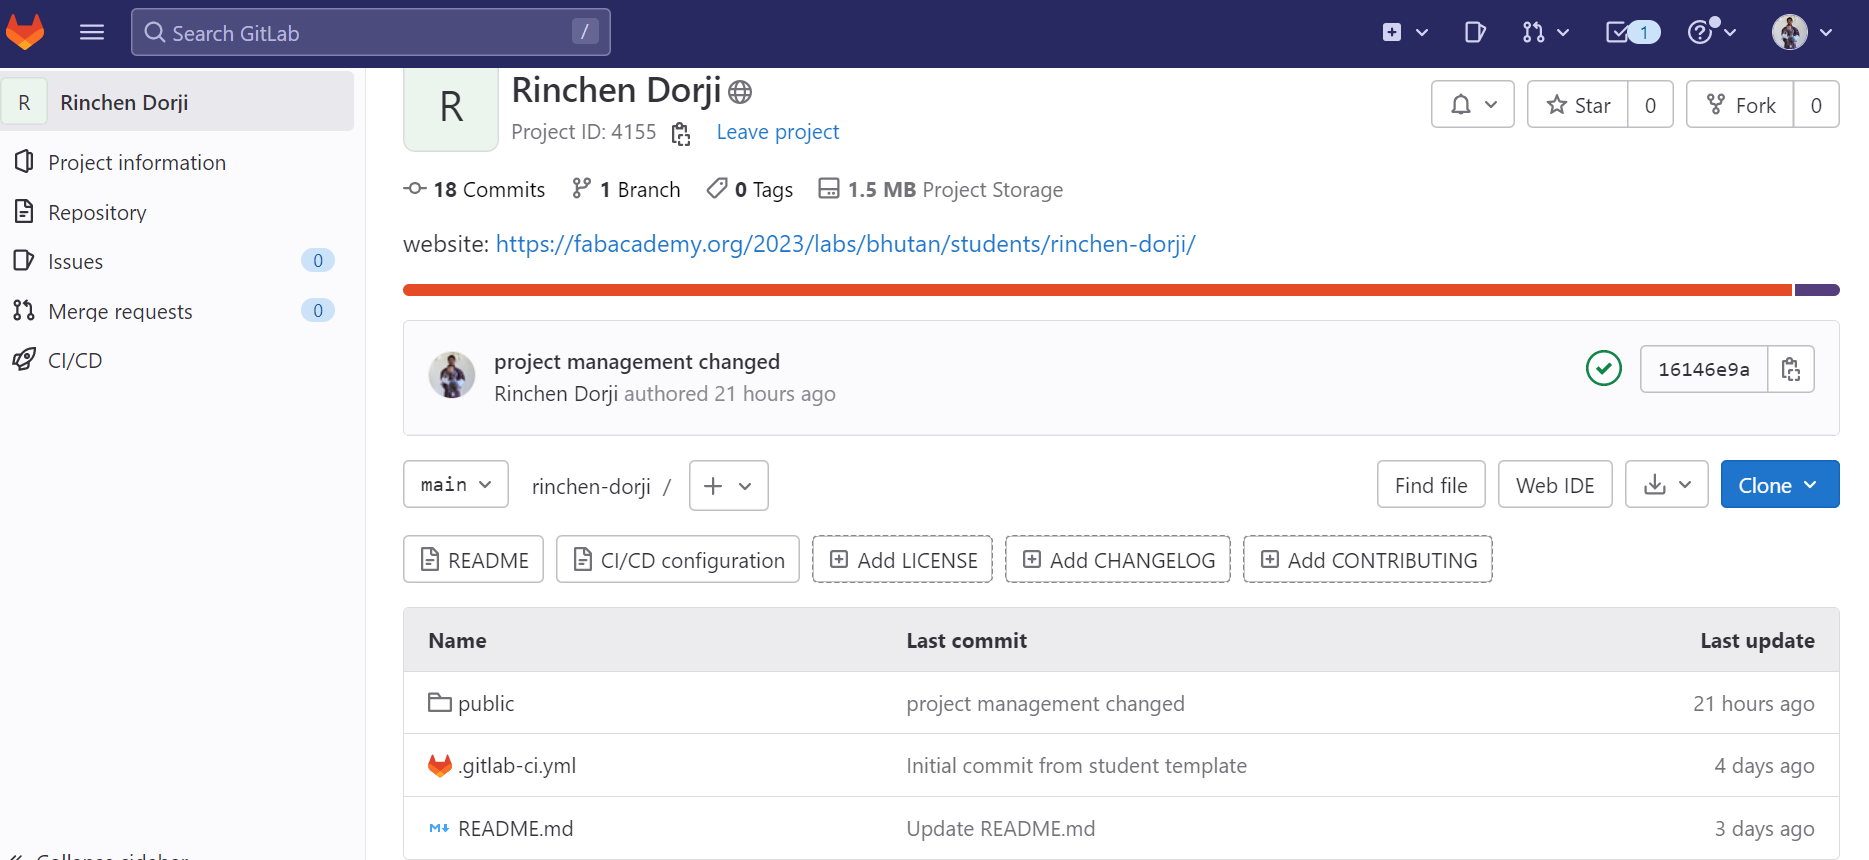
    In order to complete the project management holistically, Professor Neil stressed on Spiral Method project management in which you start small and grow big. This is mainly because even if we fail at the end, you have something or little to produce what you have done. Further, professor also emphasized on distributing our time parallelly to project development, carrying out assignments and documenting to ensure that we do not completely lag in one area and progress in others. Therefore, for the project management program-FabAcademy 2023, we were required to document and store in it Git. Despite having basic ideas about gitlab, I struggled to really understand whole thing and therefore I had to go through lots of tutorials on Youtube and articles shared by Fab Gurus, Ms. Zina and Mr.Rico. To know more about Git visit the link Git


    Why Document?


  • It is for the FabAcademy, documentation is to review and assess the participants/students performance/progress.
  • It can also be used as personal diary.
  • In addition, it can be used as your guide/reference in future if you forget some of the steps or can be used as history book.
  • 
        

    Git Installation and Process


    I received the mail from Fab Coordination of accounts access with Fablabs.io account being created and then I followed the link and whole process began as follows:

  • Step1: Visited the site download Git and following links popped up
  • 
          
                                                  Description of image
    
          
  • Step2: I downloaded the option with windows as I use windows, and mac users can download option for mac
  • Step3: Successfully installed Git after selecting all the default selections in set up.
  • Step4: Git account set up in GitBash, to enter your email ID and user name.
  • using the command: git config --global user.email "youremail@gmail.com" and press enter. (Note: I used the email that I registered for FabAcademy , followed same command for user name but using user.name "your name". And now ready to document for my FabAcademy course. )

  • Step5: To start documenting you need to clone. Meaning create a copy of Git repository which is created by FabAcademy Coordination and this is to obtain working copy of central repository.
  • Some of the basic and useful git commands are:

  • git clone - To a copy of an existing Git repository. Cloning is the most common way for developers to obtain a working copy of a central repository.
  • git add - To move changes from the working directory to the staging area. This gives you the opportunity to prepare a snapshot before committing it to the official history.
  • git commit -To take the staged snapshot and commits it to the project history. Combined with git add, this defines the basic workflow for all Git users.
  • git pull- Pulling is the automated version of git fetch. It downloads a branch from a remote repository, then immediately merges it into the current branch. This is the Git equivalent of svn update.
  • git push-Pushing is the opposite of fetching (with a few caveats). It lets you move a local branch to another repository, which serves as a convenient way to publish contributions. This is like svn commit, but it sends a series of commits instead of a single changeset.
  • Also, follow this link for more GIT COMMANDS


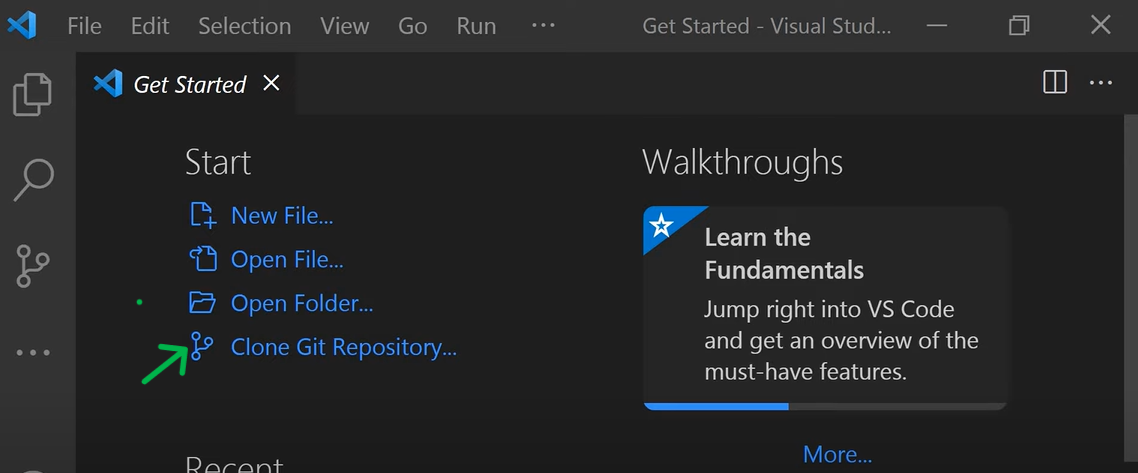
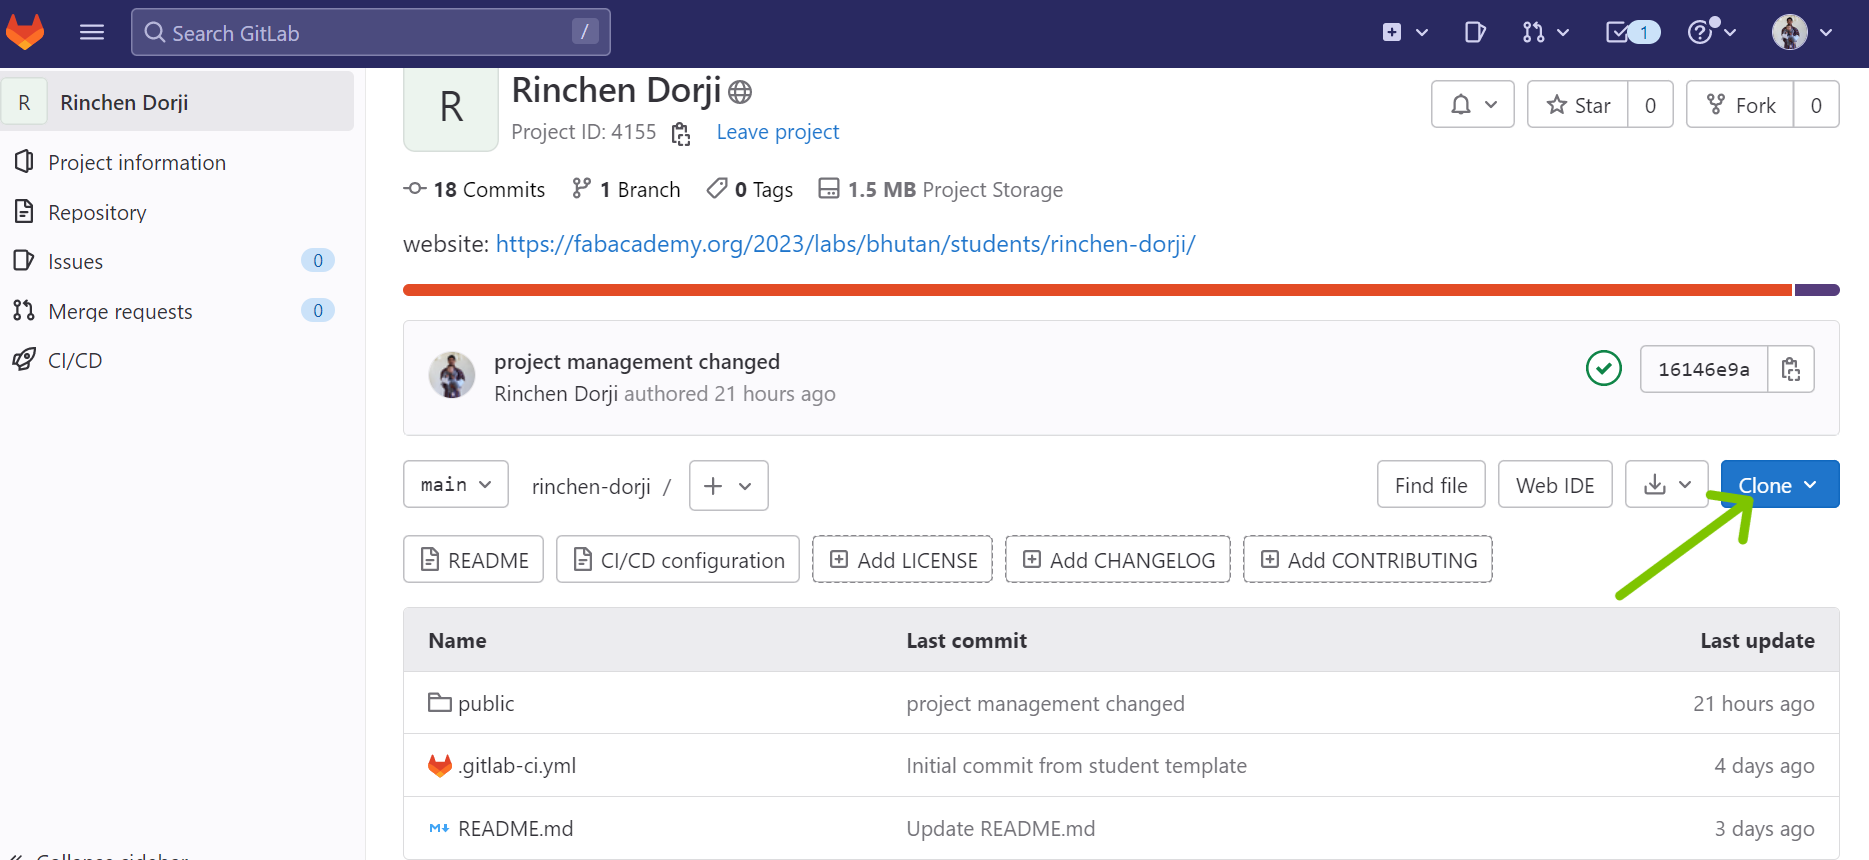
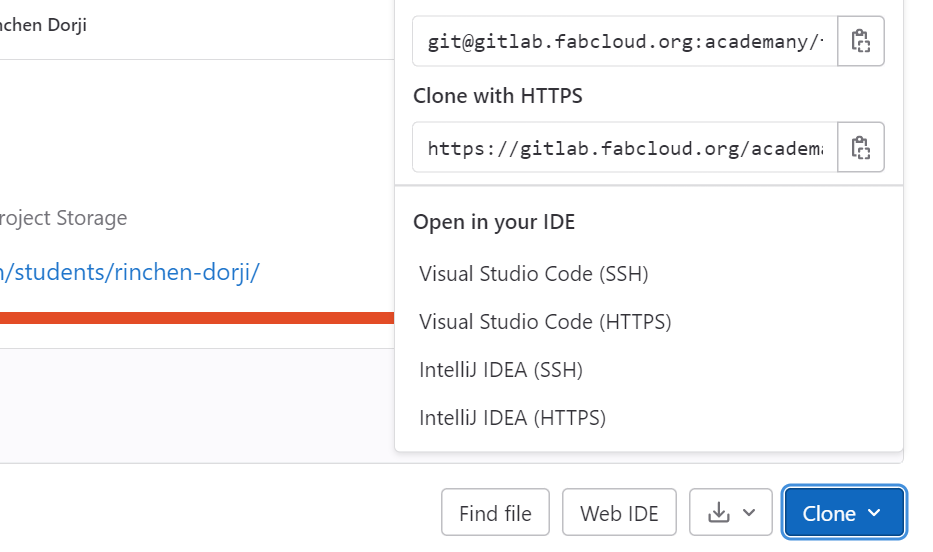
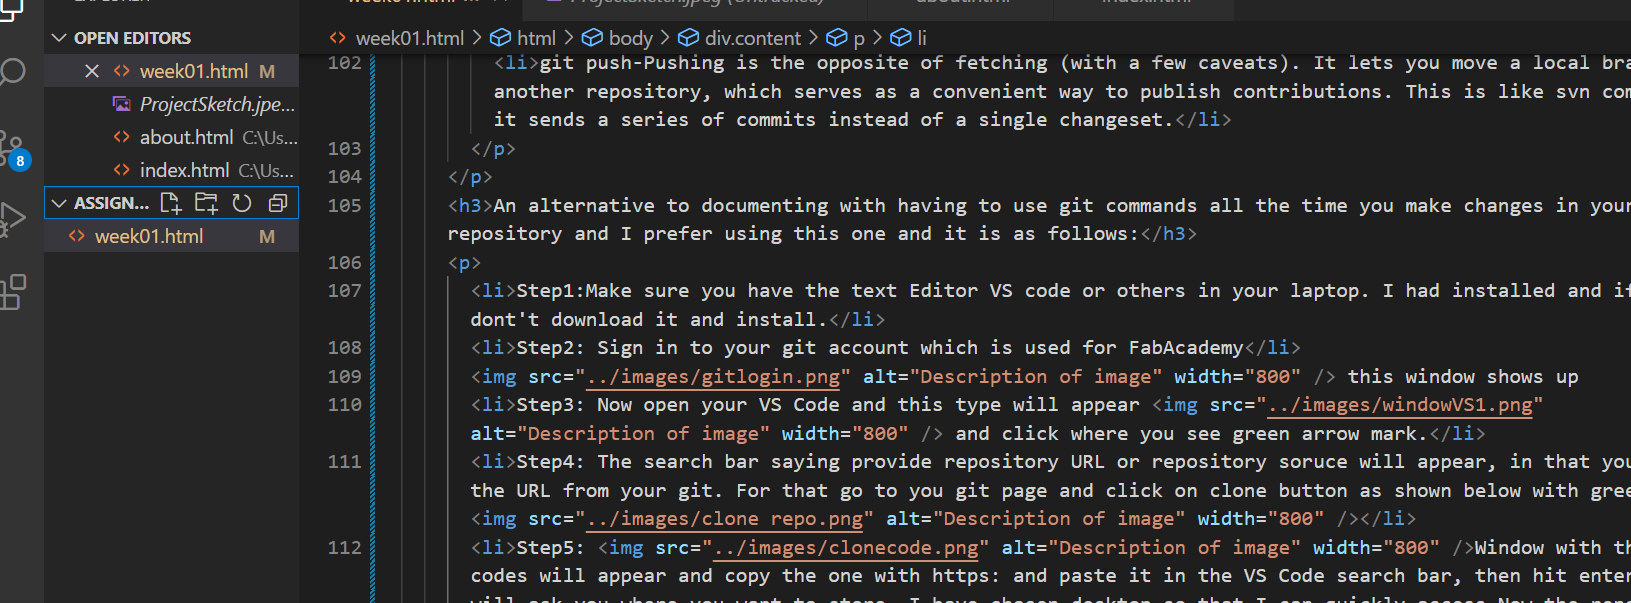
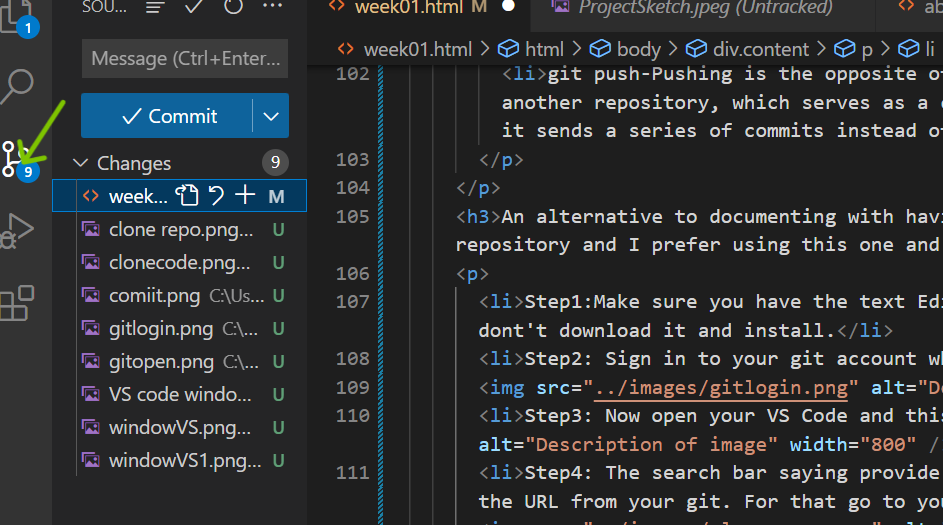
    An alternative to documenting without having to use git commands all the time you make changes in your local repository and I prefer using this one because I am much familiar with using VS Code and it is as follows:


  • Step1:Make sure you have the text Editor VS code or others in your laptop. I had installed and if you don't have, download it and install.
  • Step2: Sign in to your git account which is used for FabAcademy, this window pops up
  • 
          
                                                   Description of image 
    
          
  • Step3: Now open your VS Code and this type will appear and click where you see green arrow mark.
  • 
          
                                                   Description of image
    
          
  • Step4: The search bar saying provide repository URL or repository source will appear, in that you paste the URL from your git. For that go to your git page and click on clone button as shown below with green arrow
  • 
          
                                                   Description of image
    
          
  • Step5: Window with this two codes will appear and copy the one with https: and paste it in the VS Code search bar, then hit enter and it will ask you where you want to store, I have chosen desktop so that I can quickly access.Now the repository is cloned meaning VS code extracted from git store. And you are ready to document or edit the template from your own local repository and commit to central.
  • 
          
    Description of image Description of image
    
          
  • Step6: To edit and commit changes in the template given to you, select the folder that you want to edit and makes changes example like this, I selected week01
  • 
          
                                                   Description of image
    
          
  • Step7: After few changes you made, go to green arrow mark and click then enter message to say what changes you made, and commit.
  • 
          
                                                   Description of image 
    
          
  • Step8: This appears and select save all and commit
  • 
          
                                                   Description of image
    
          
  • Step9: Then you get the window, click on sync changes
  • 
          
                                                   Description of image
    
          
  • Step10: And select OK or don't show again option in the image below
  • 
          
                                                   Description of image


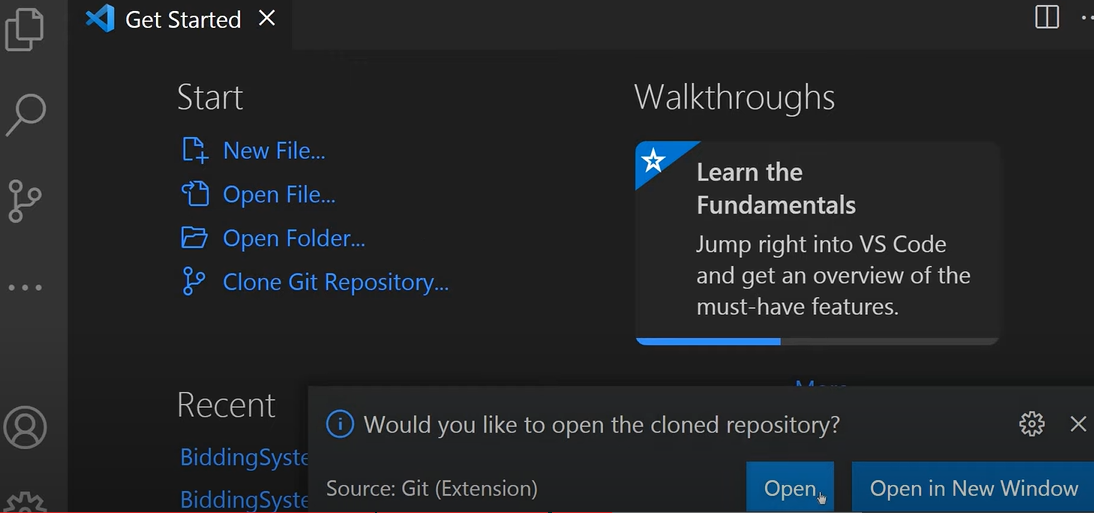
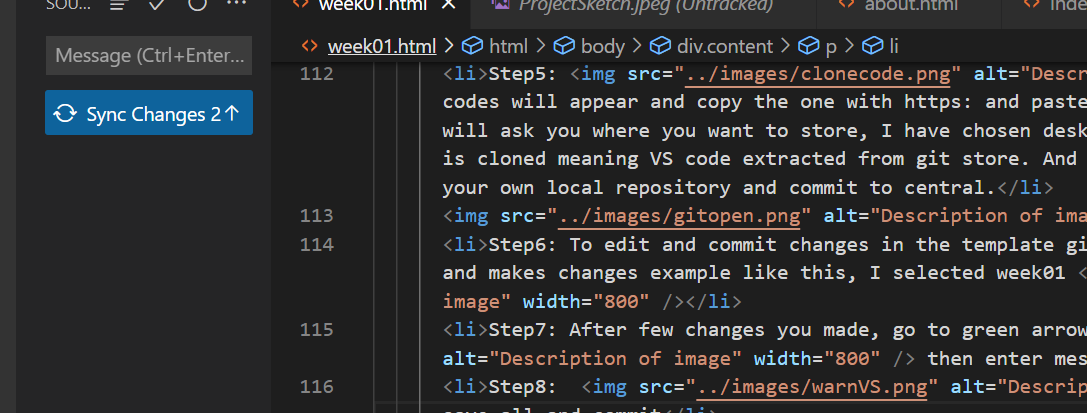
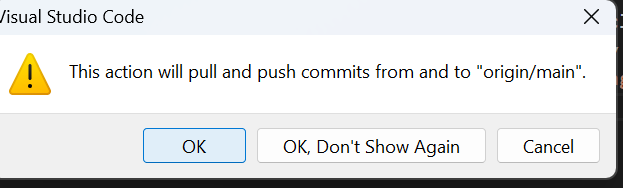
    Your changes are committed successfully and you can check in your site if it gets updated.


    Problems I encountered


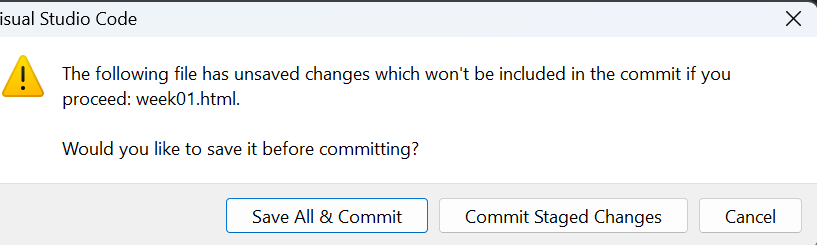
    Despite being fluent in using VS Code editor, I encountered issues when trying to commit and sync my changes in the template. Therefore, it consumed lot of my time and I tried fixing after arduous research online and watched several tutorials that were suggested by FAB gurus.


                                                   Description of image


    The problem statement appeared this and I troubleshooted with the help of Ms.Zina. In this kind of issue, I had to create and generate access token.

  • Go to Git account and click on your profile>>Preferences>>Access Tokens>>Check in the all the boxes of select scopes that appears>>Create personal access token>>and use the key that you generated to log in.
  • This key is used once and thereafter, I was not required to use again.