Molding and Casting
Task for Week 12
- - Group Assignment
- review the safety data sheets for each of your molding and casting materials, then make and compare test casts with each of them
- extra credit: try other molding and casting processes
- - Individual Assignment
- design a mold around the stock and tooling that you'll be using, mill it (rough cut + three-axis finish cut), and use it to cast parts
- extra credit: use more then two mold parts
Group Assignment
- Here is the Link to our group Assignment.
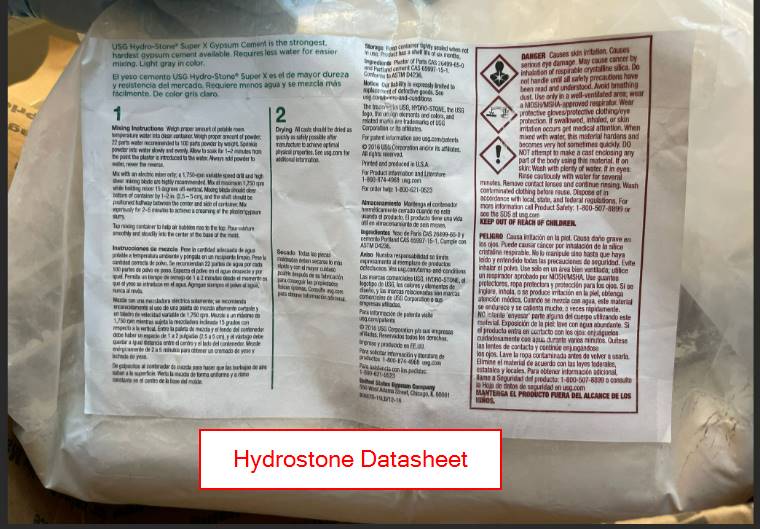
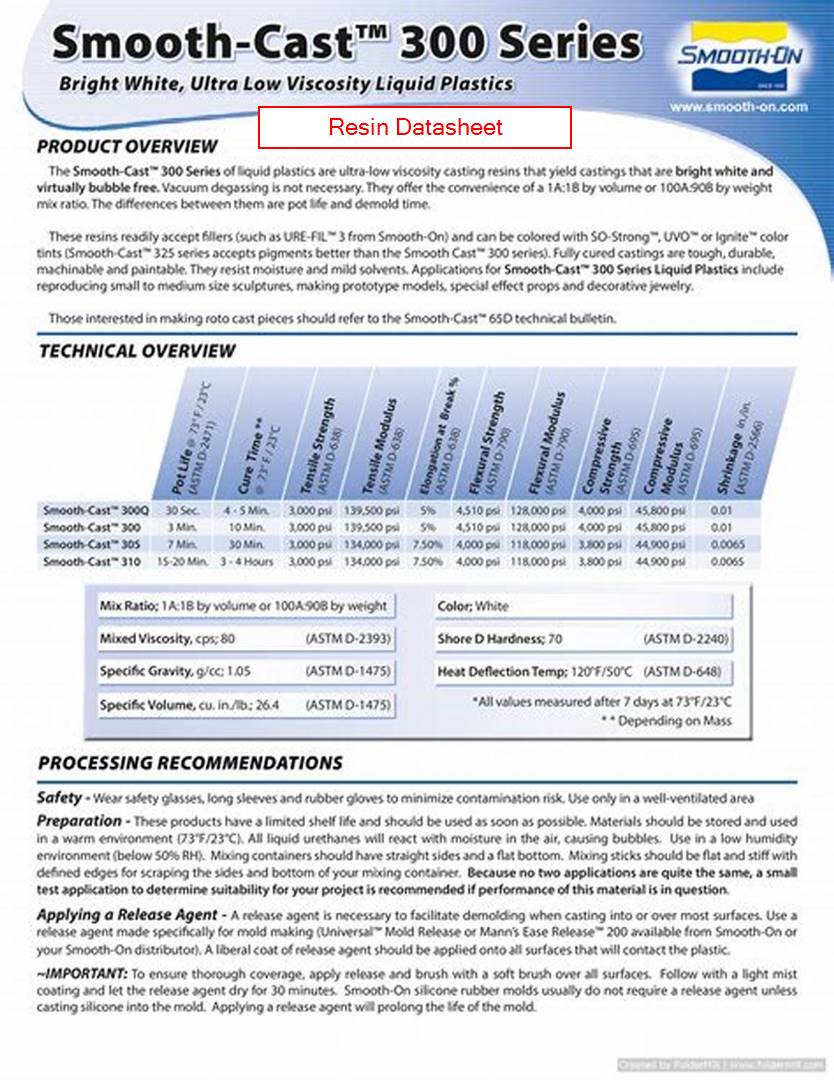
- In this weeks assignment, we were asked to compare test casts with the materials available in our lab. We have two type of casting materials in our lab. Hydrostone and Resin.
- Learnt about the differences which that while casting the resin, we mixed equal parts of both the solution and laid the solution in the mold where as while casting the hydrostone, we took 100:20 ratio where as 100 is the amount of hydrostone and 20 is the amount of water we mixed.
- Both the casting material took almost the same amount of time to set.
Individual Assignment
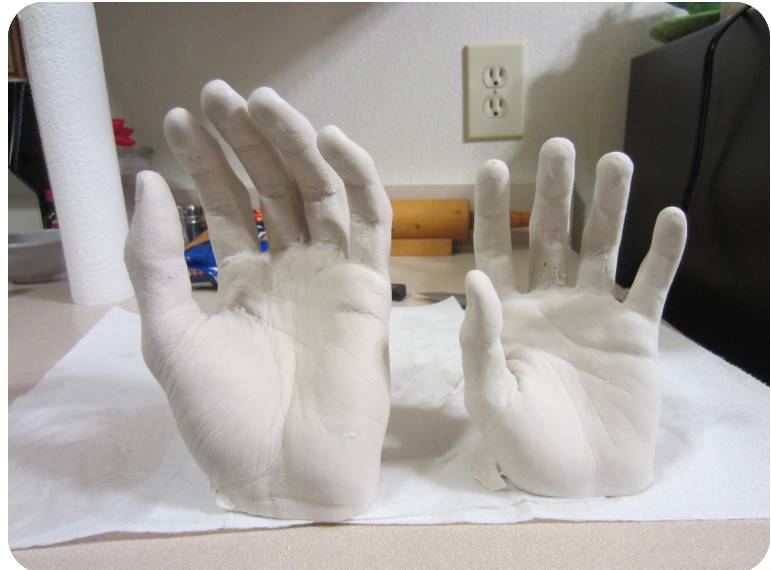
Molding and Casting is a very interesting concept. I've seen several videos on Facebook and Tik tok where they make molds of body parts and all. It looks really fun. So I was kind of looking forward to this week.
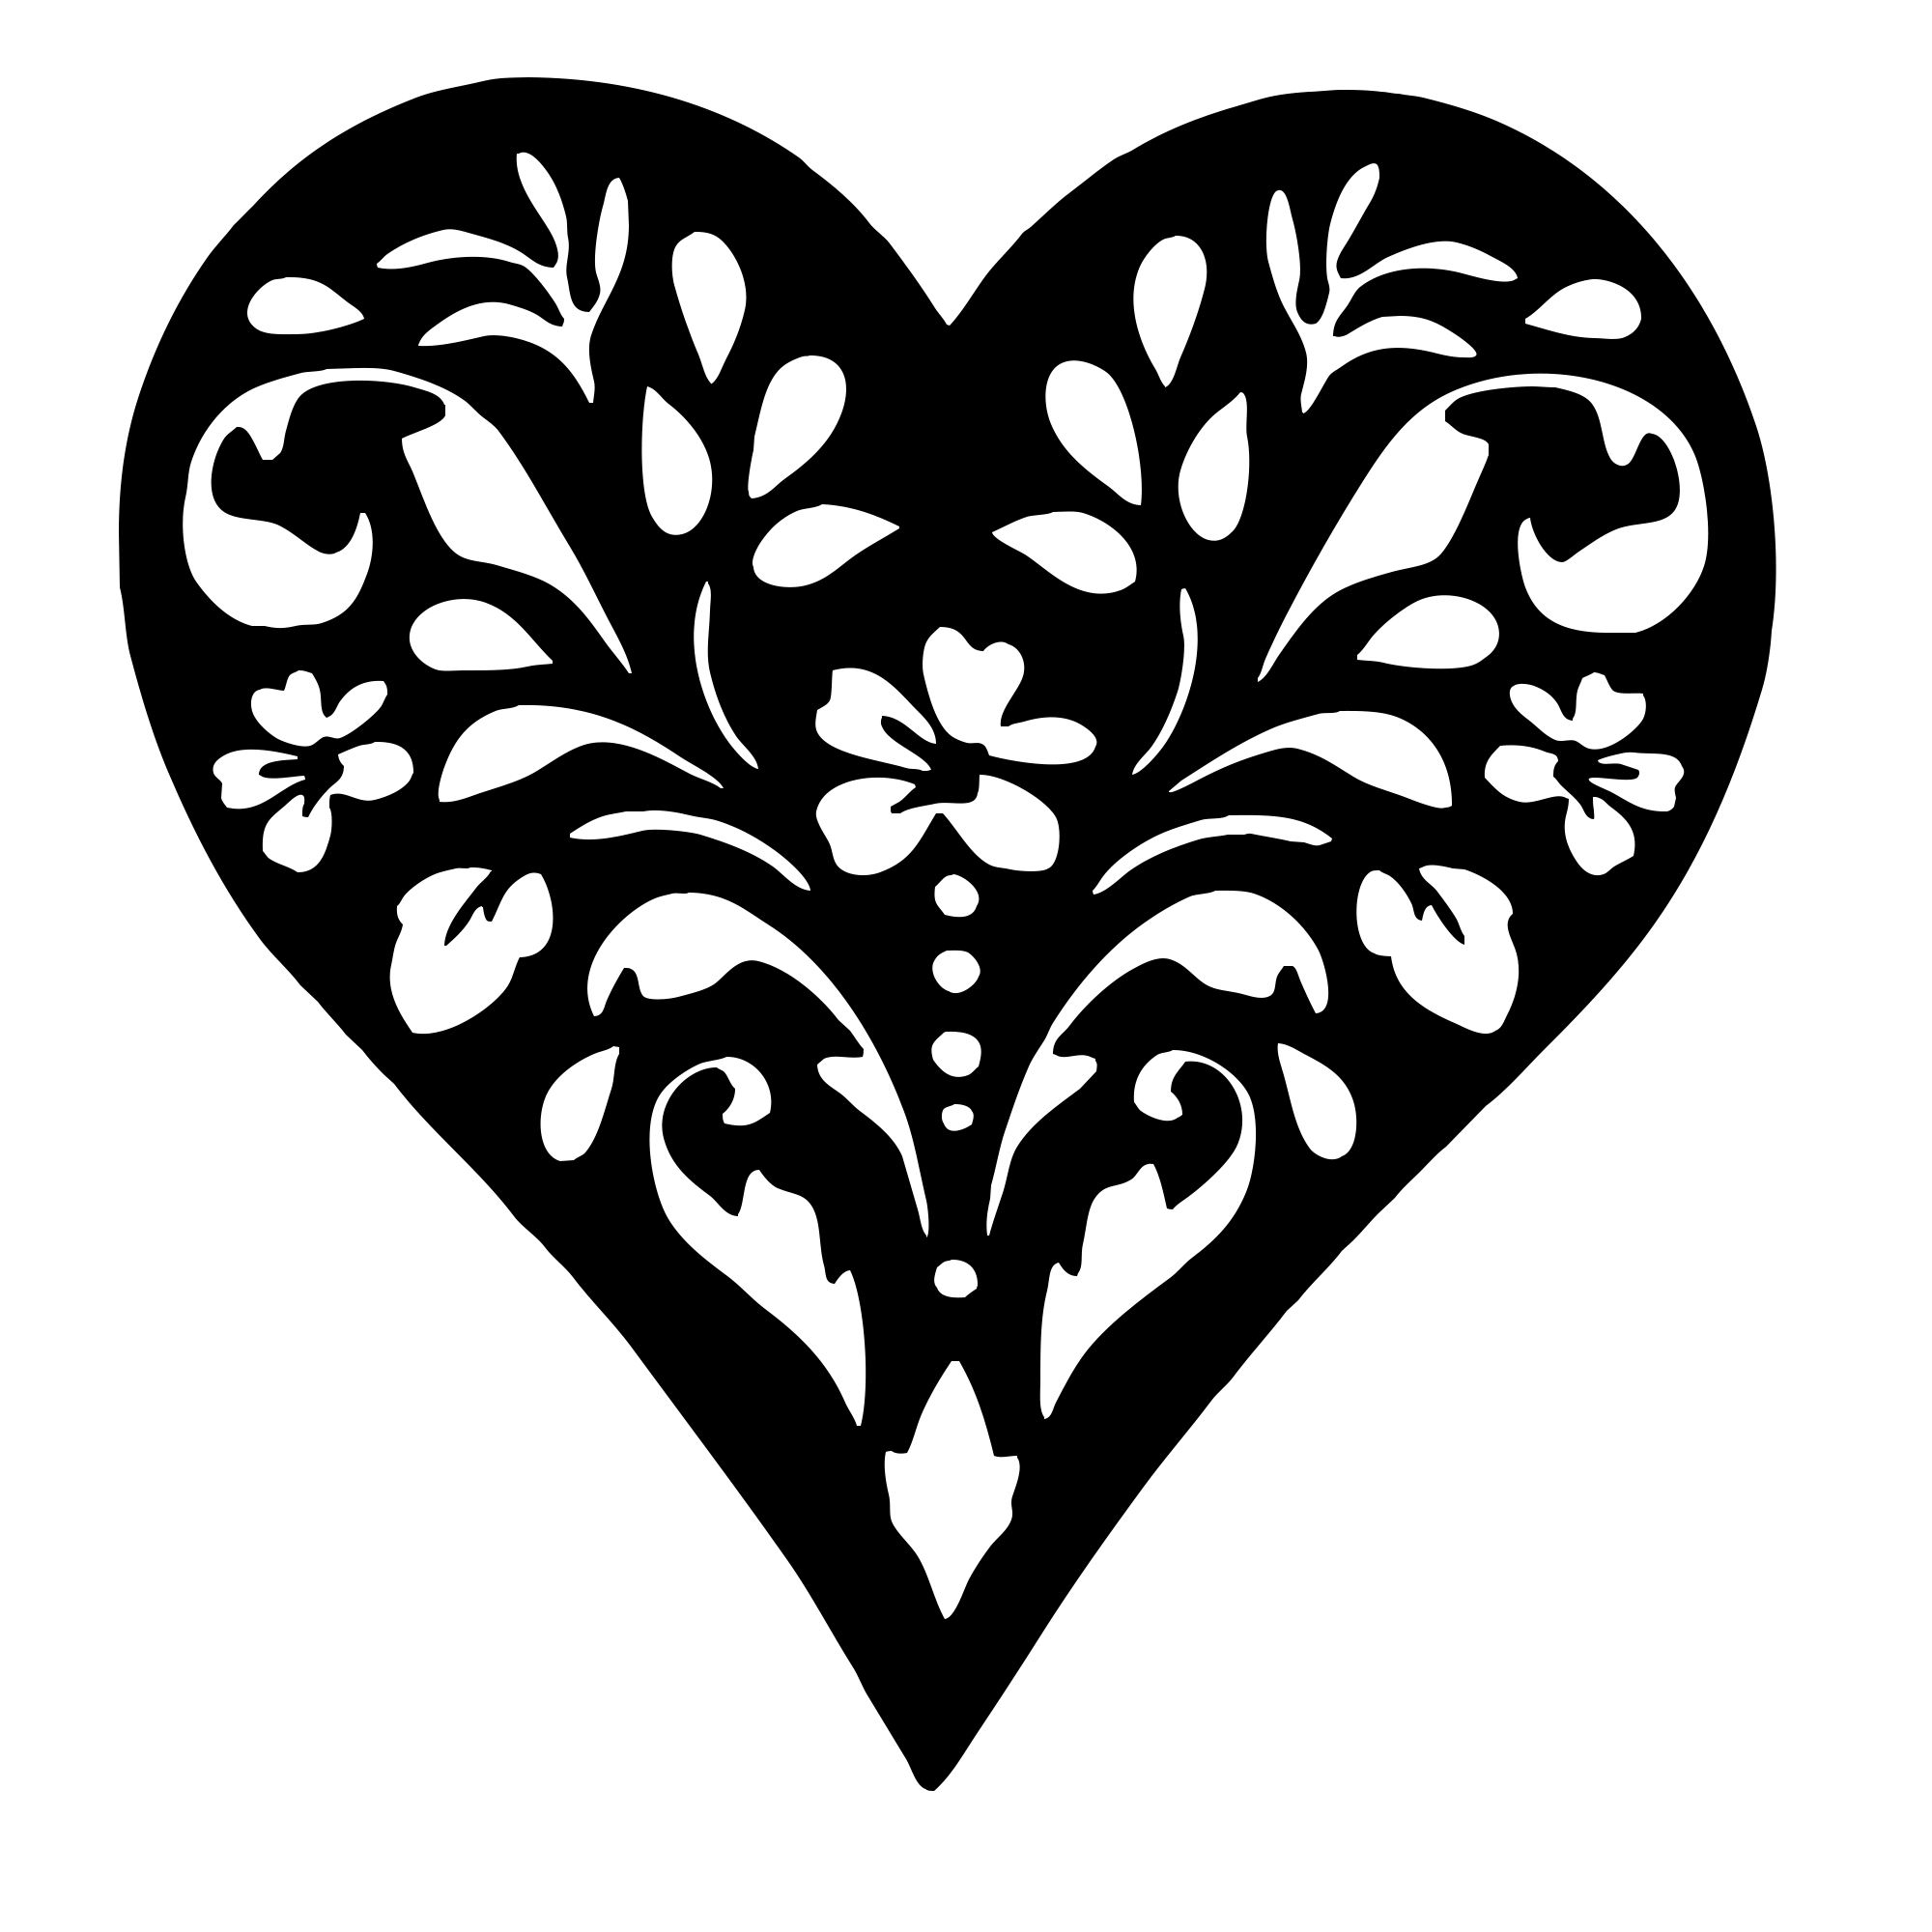
 Link of the image
- This week I decided to design a simple Heart shaped lid which can be used to cover my cups since my room is currently infested with cockroaches.
- for the design first I googled a heart shaped design and got the one i liked.
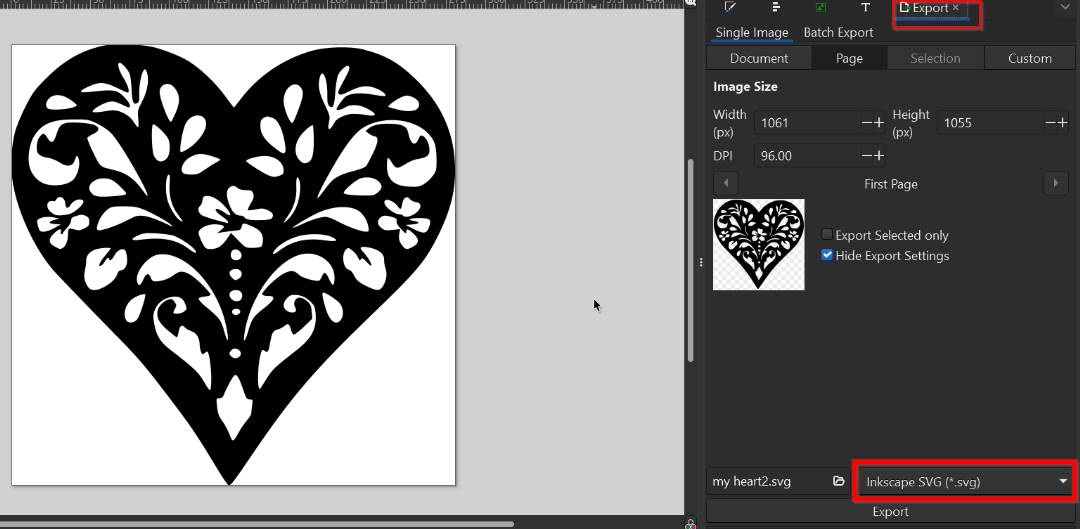
- First I "Dragged and Dropped" the image in Inkscape and did trace bitmap. After that saved the 2D image in svg format.
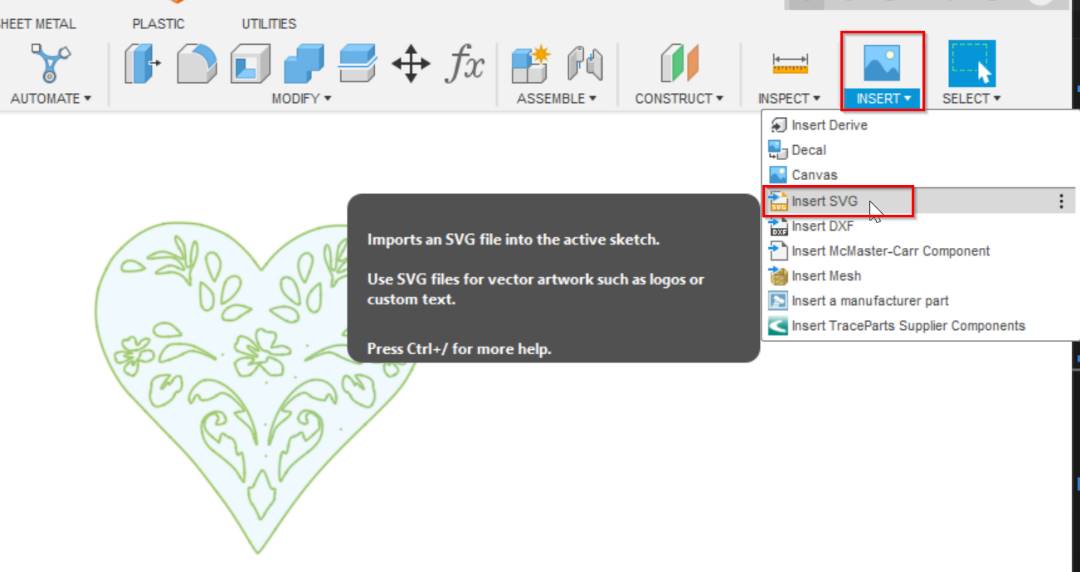
- Then imported the svg format image in Fusion 360.
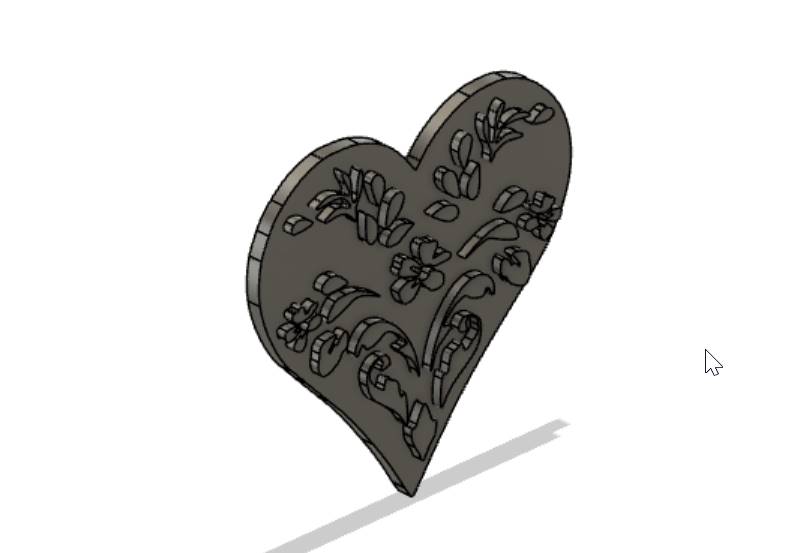
- After that extruded the design and provided different dimensions.
- After my design was completed, I exported it in stl format.
Using Modela Player 4
- Modela Player 4 is a software that helps set up tools, materials and machining strategies that make it simple to make 3D parts from any CAD softwares which produce stl files.
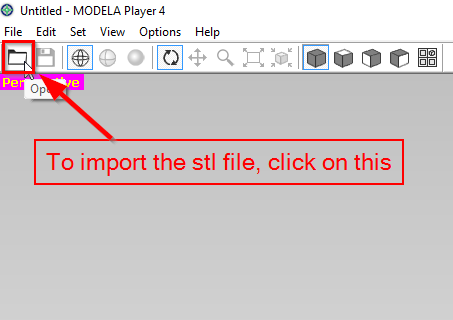
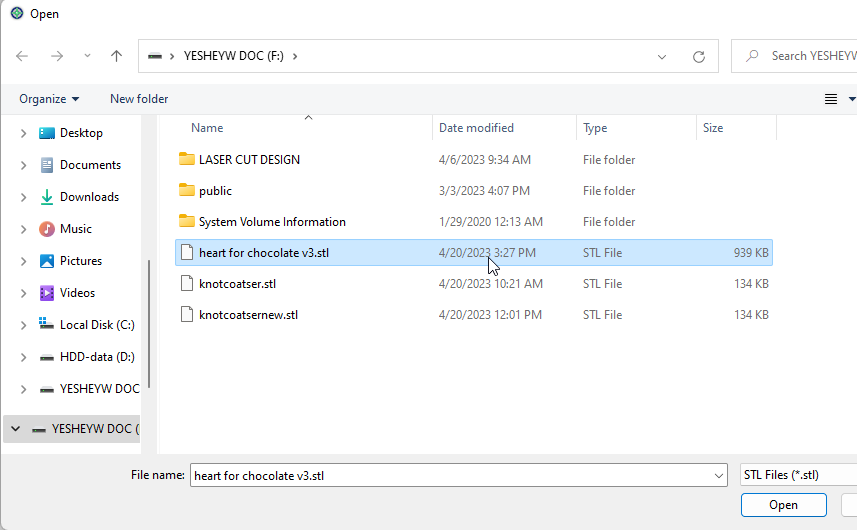
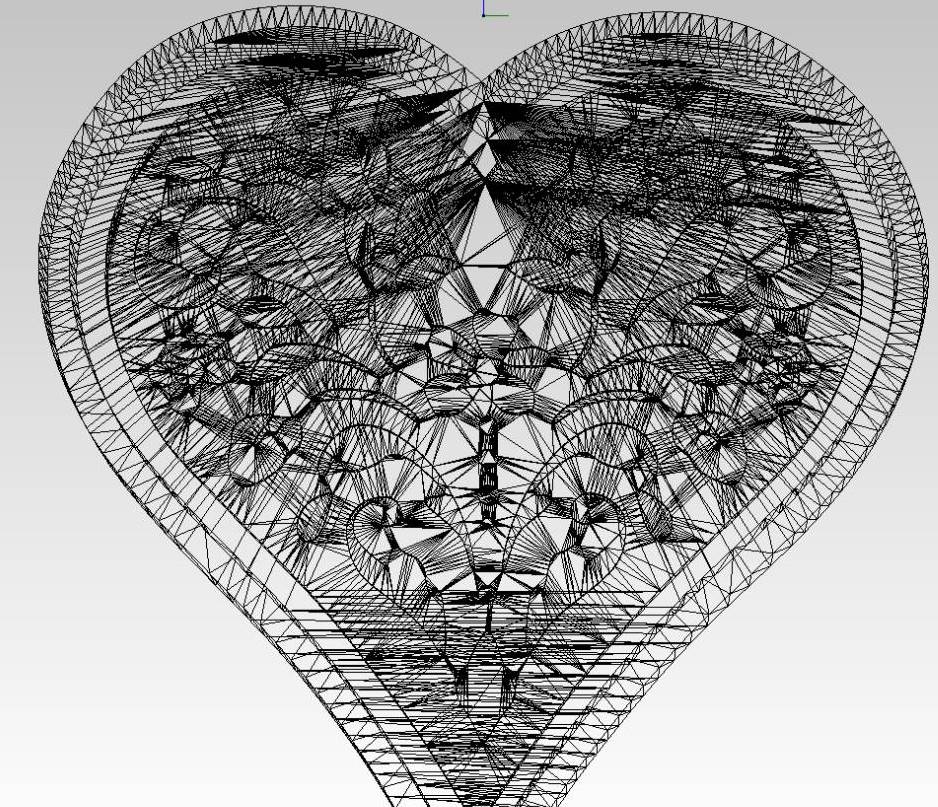
- Imported the stl file in Modela player 4 to create the toolpath for the mold.
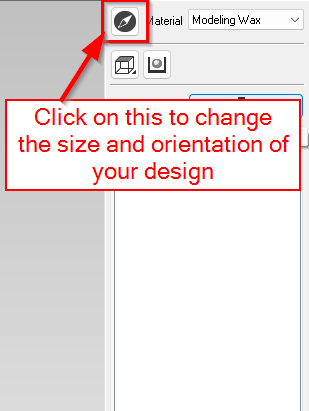
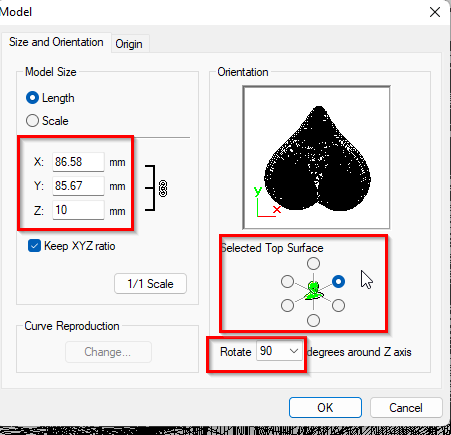
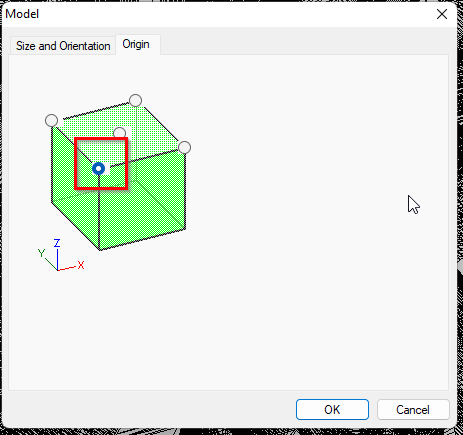
- After that first, I changed the orientation and size of my design.
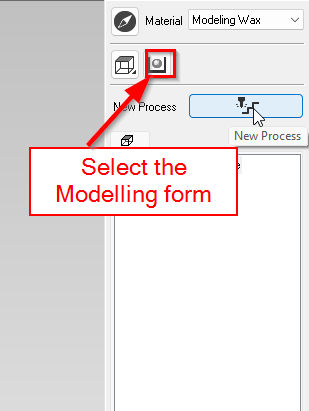
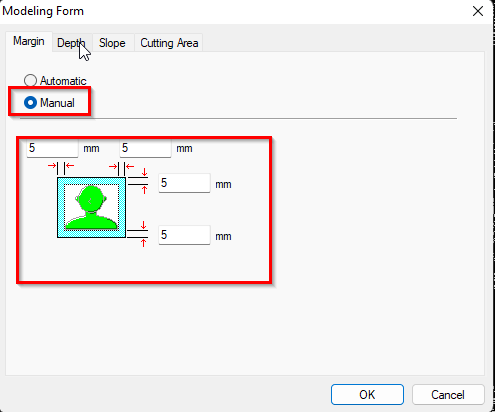
- Then set the margin manually to 5mm to set the border thickness. To do so click on the "Modelling Form" and change the margin.
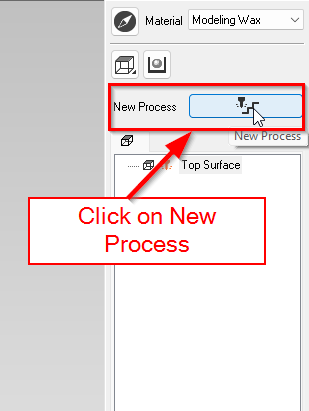
- Then create the New Process and changed the settings which will best fit my requirements.
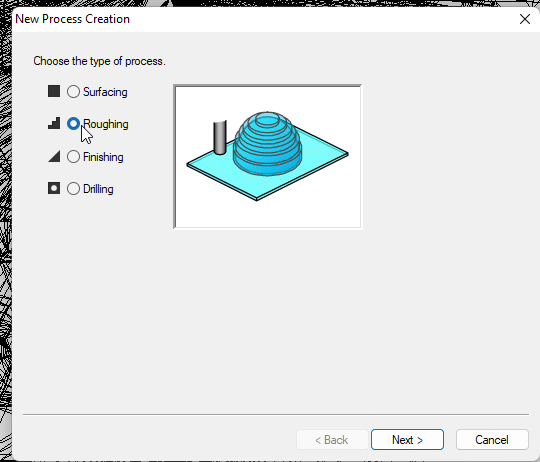
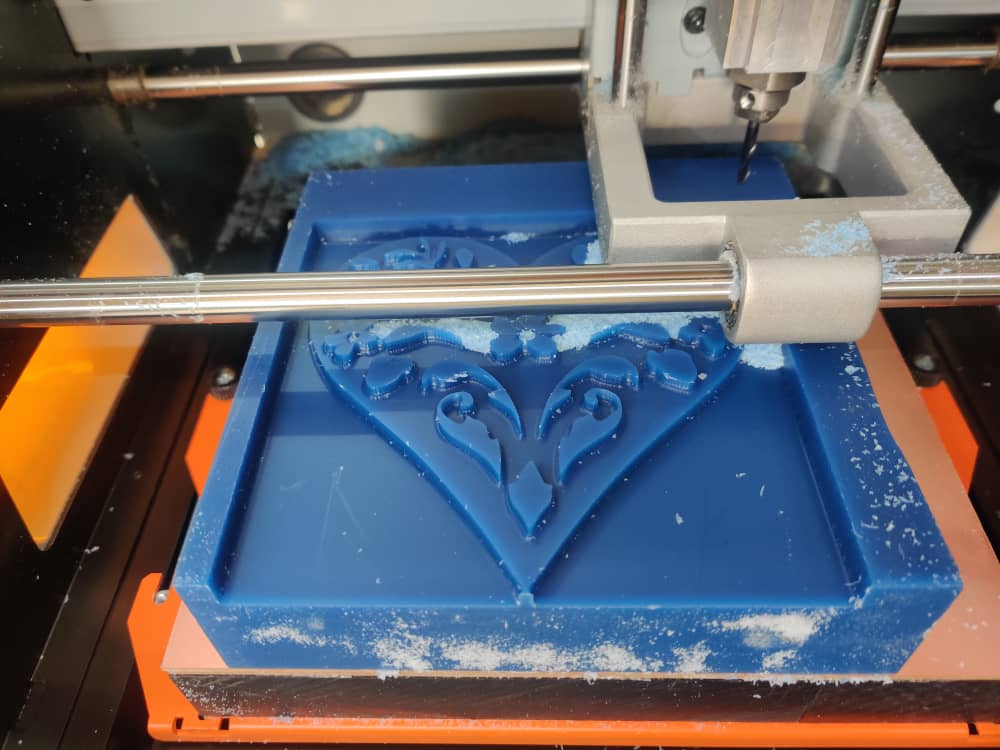
- For the milling process, we will have to mill twice, initially the roughing process and then the finishing process which will make the milling smooth. So first I selected the "roughing"
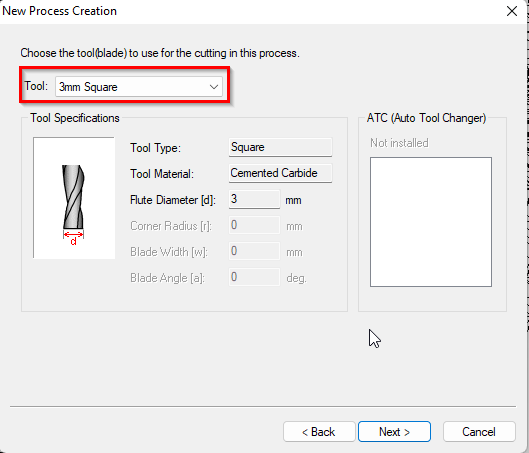
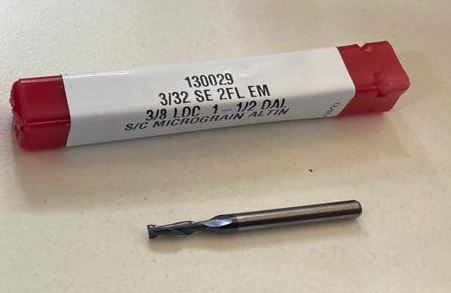
- For roughing select the 3mm square as the tool. I'll be using 3mm(1/8) square endmill(SE).
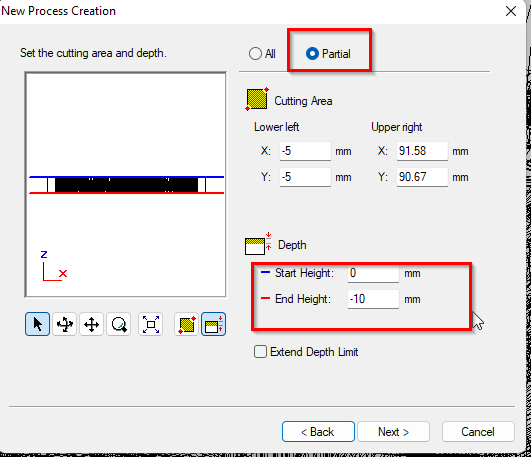
- Then selected "Partial" and set the start height to 0.
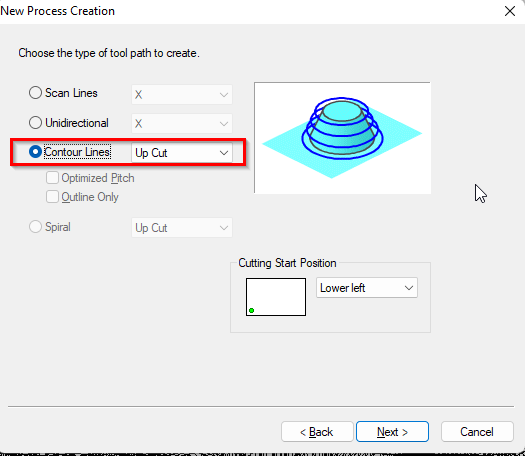
- Next select the "contour lines" for roughing and choose "Upcut"
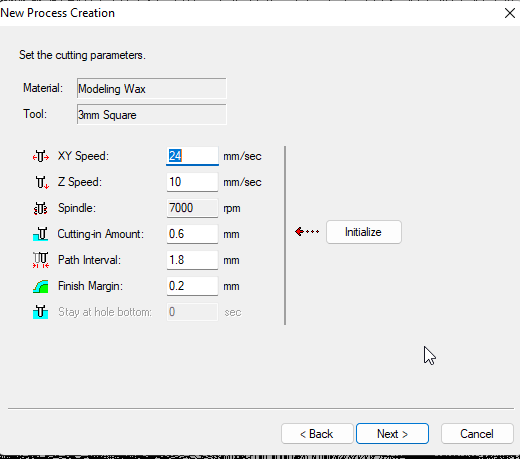
- Now setting the cutting parameters. I didn't change anything here, kept the default settings.
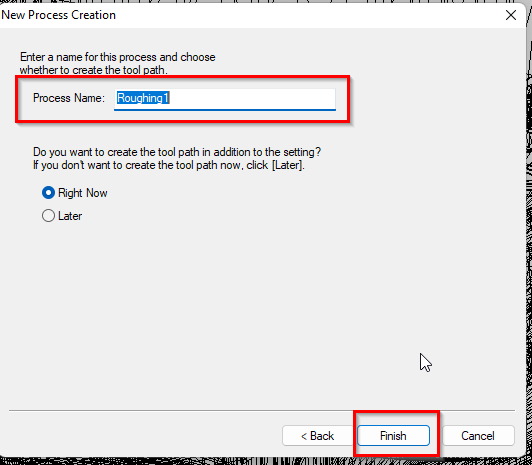
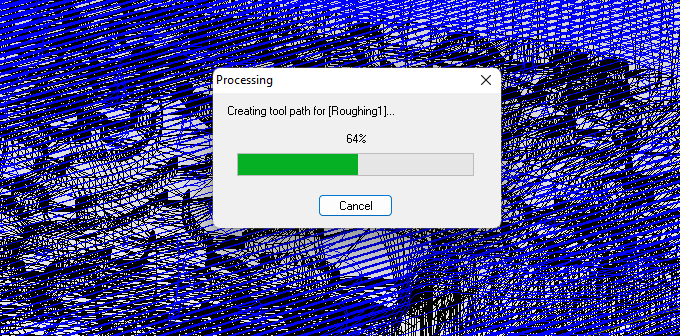
- Next name the process and click on "Finish". It takes few seconds to create the toolpath.
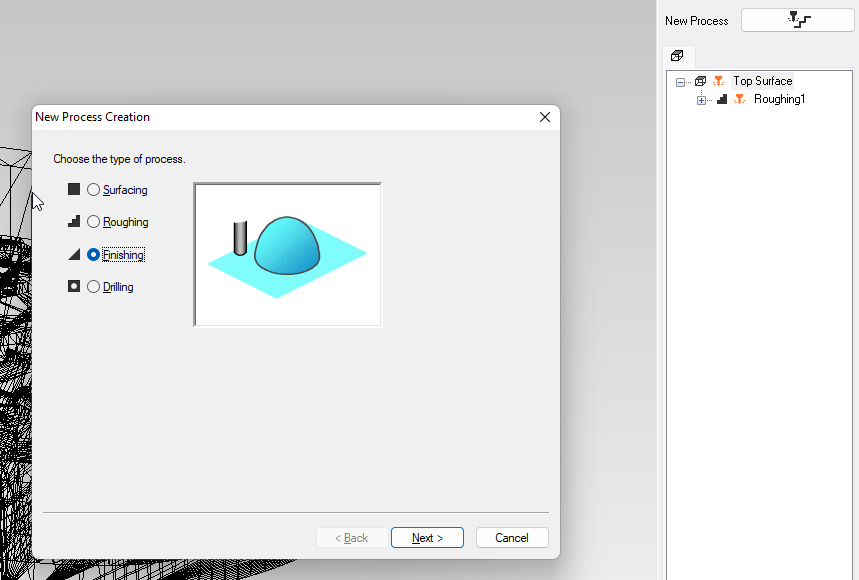
- After the roughing toolpath was created, Now clicked on New process again and selected "Finishing".
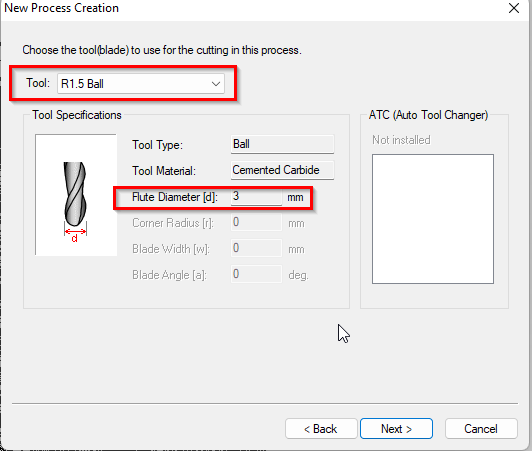
- Selected "R1.5 Ball" tool for finishing which is 1/8 Ball Endmill
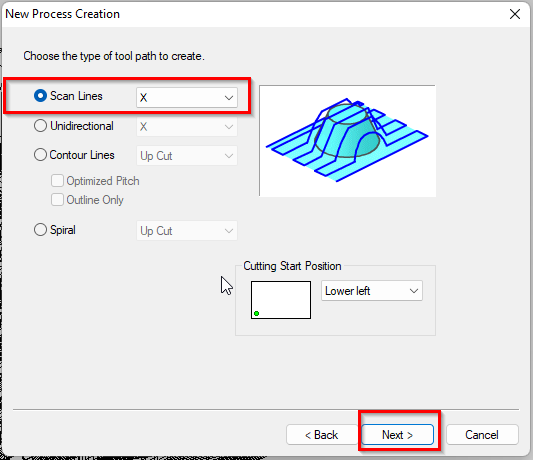
- Next selected "Scan Lines" For finishing.
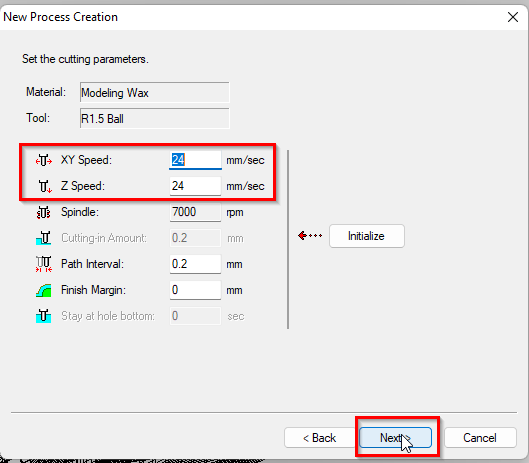
- Now setting the cutting parameters. Again kept the default settings.
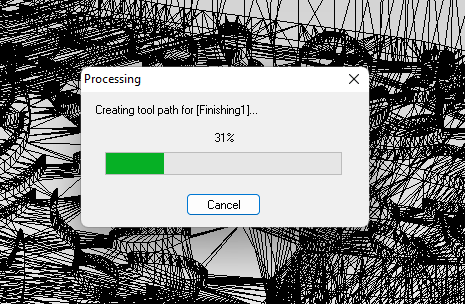
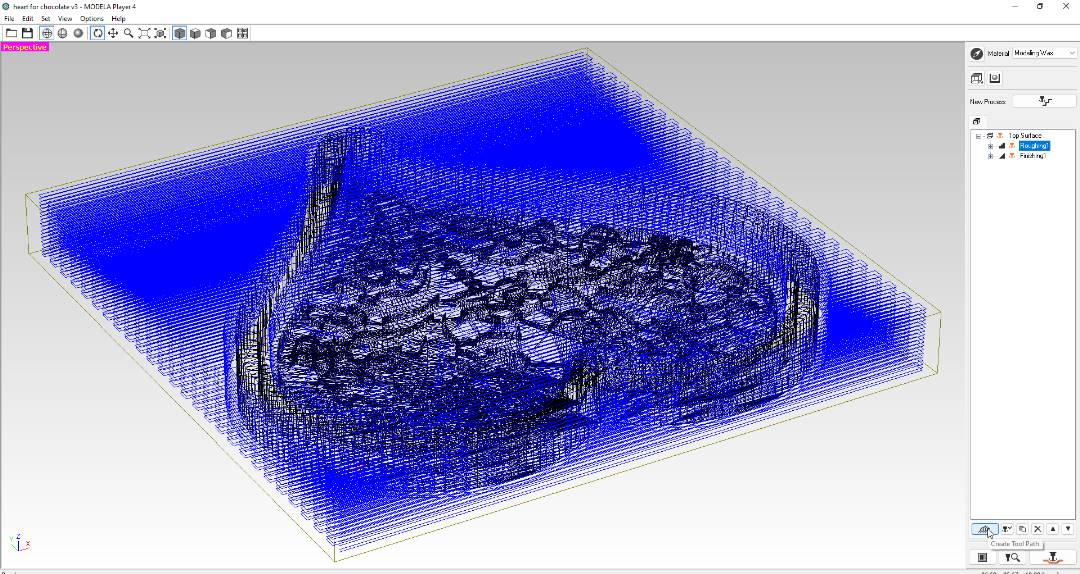
- Then set the name of the process and Clicked on "Finish" to create the toolpath.Finally was done creating both the toolpaths.
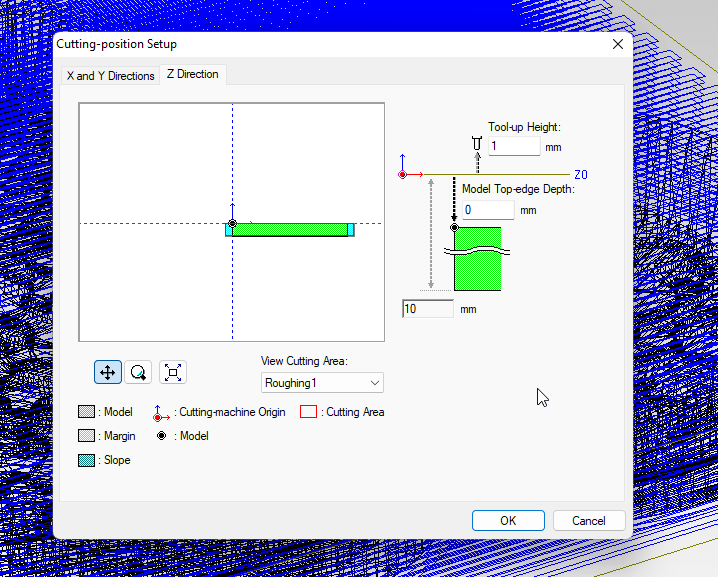
- Now that the toolpath generation process has been successful, have to set up the cutting position as per your requirement. I didn't make any changes though. Went with the default settings.
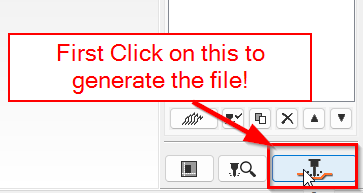
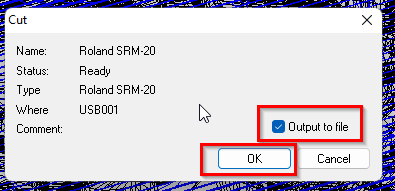
- After the cutting position was set, downloaded both the tool paths.
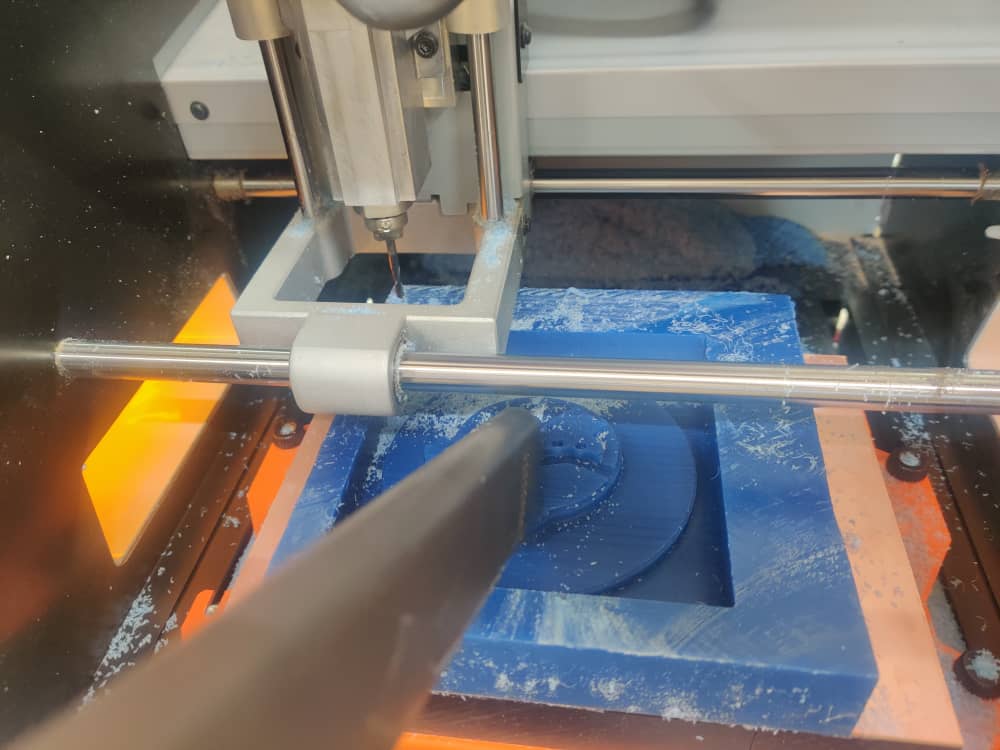
- Then you have to upload the generated toolpath to the Vpanel for milling. First the roughing file and then the finishing file.
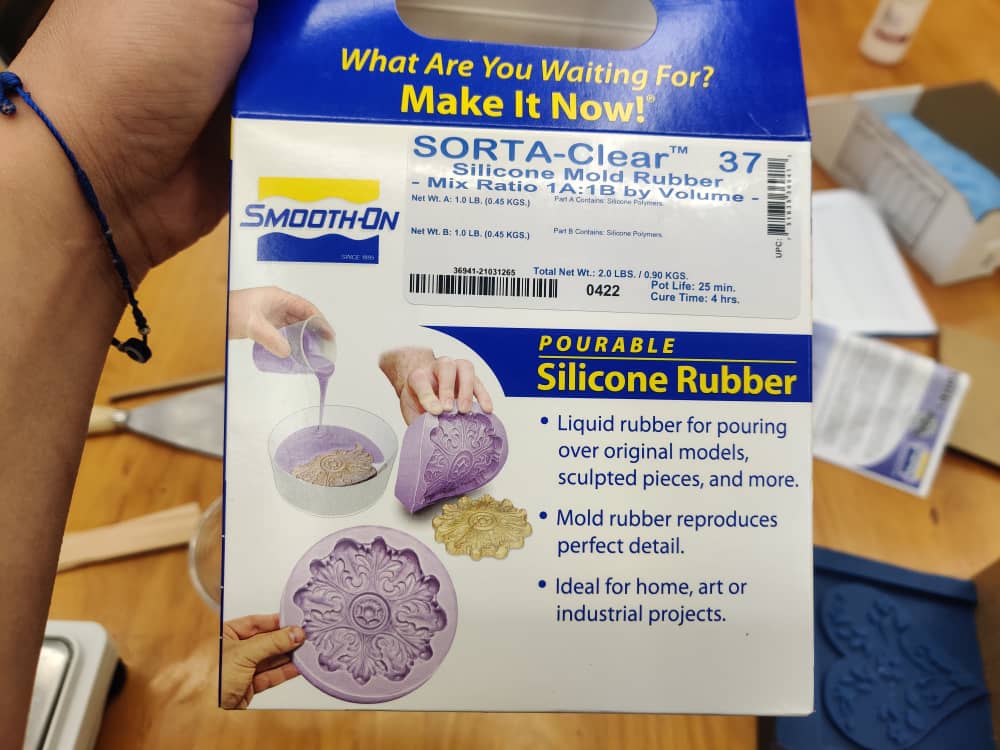
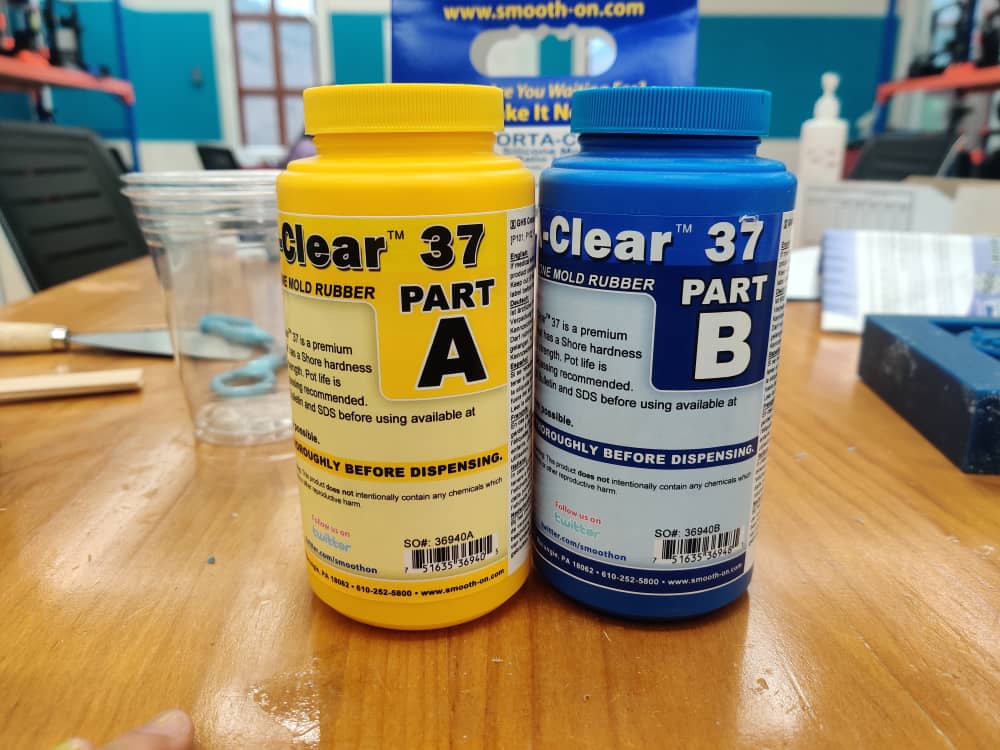
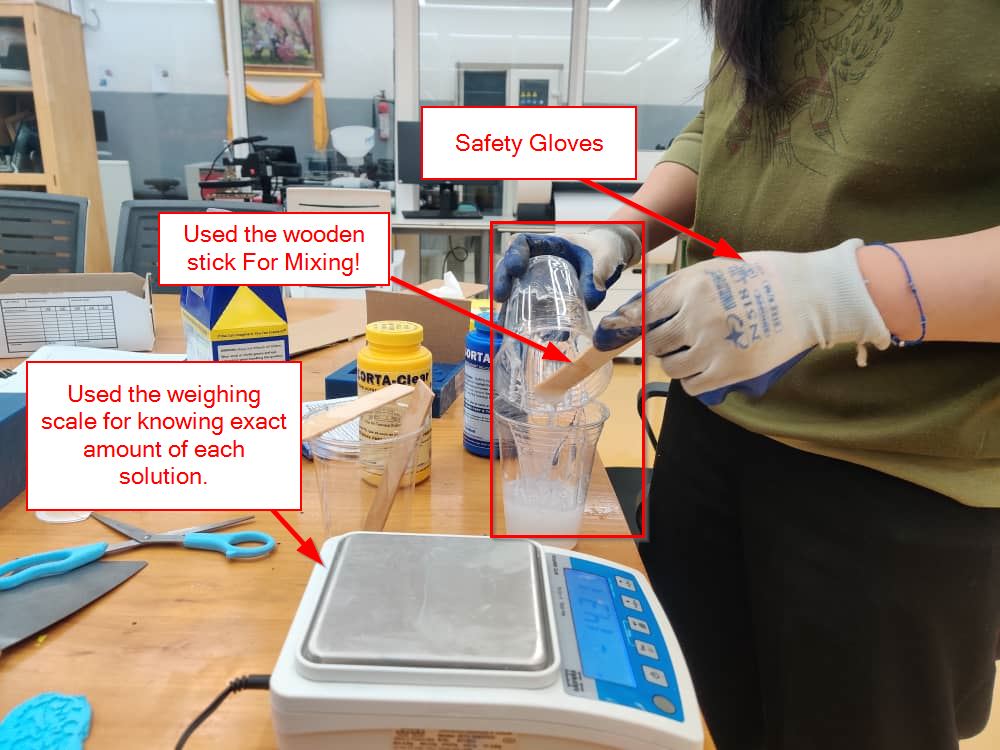
- Now to make the negative mold, I used Sorta-Clear 37(Silicon Mold Rubber) which was available in our lab. It had two parts which had to be mixed in 1:1 ratio.
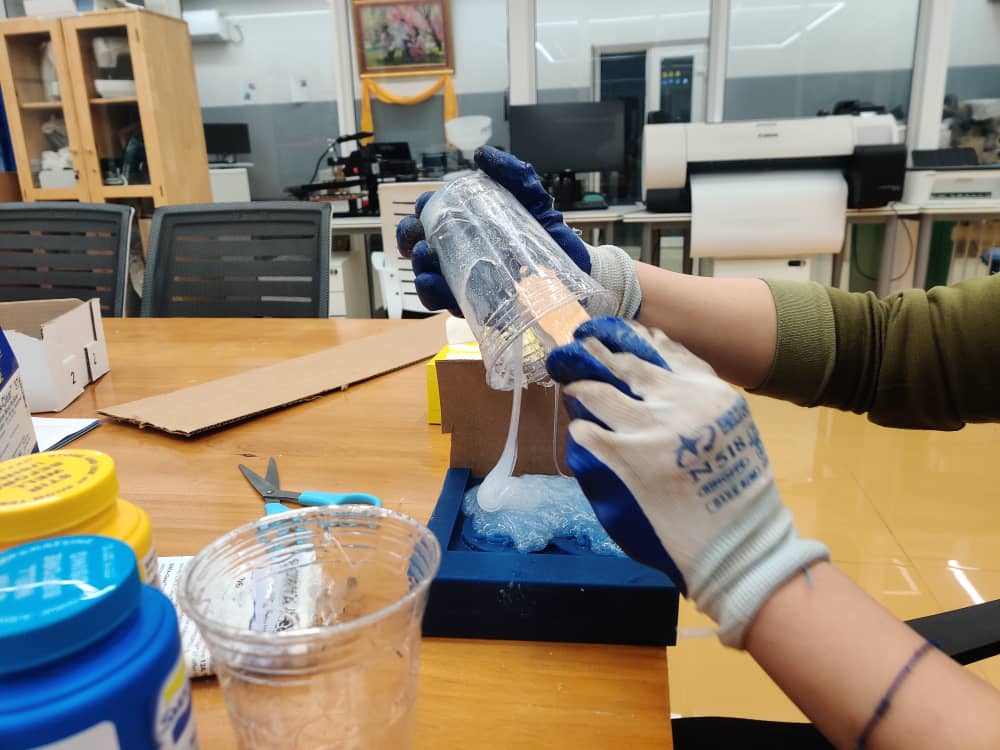
- These are some of the steps I followed to weigh the parts, how I mixed it and pour the mixture into the Positive mold.
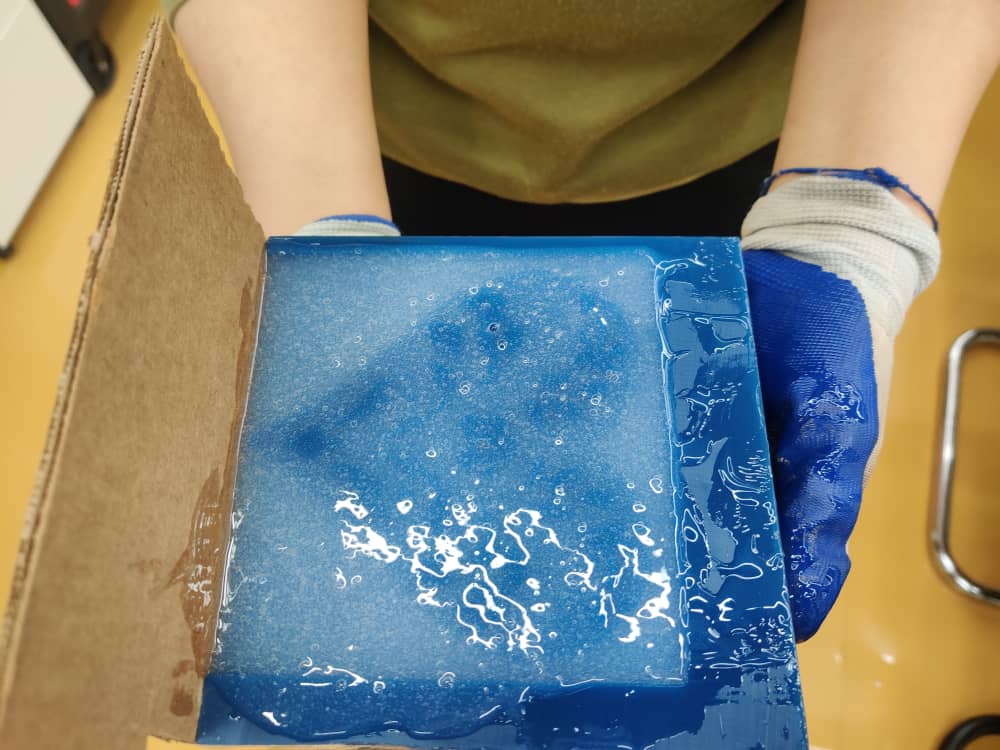
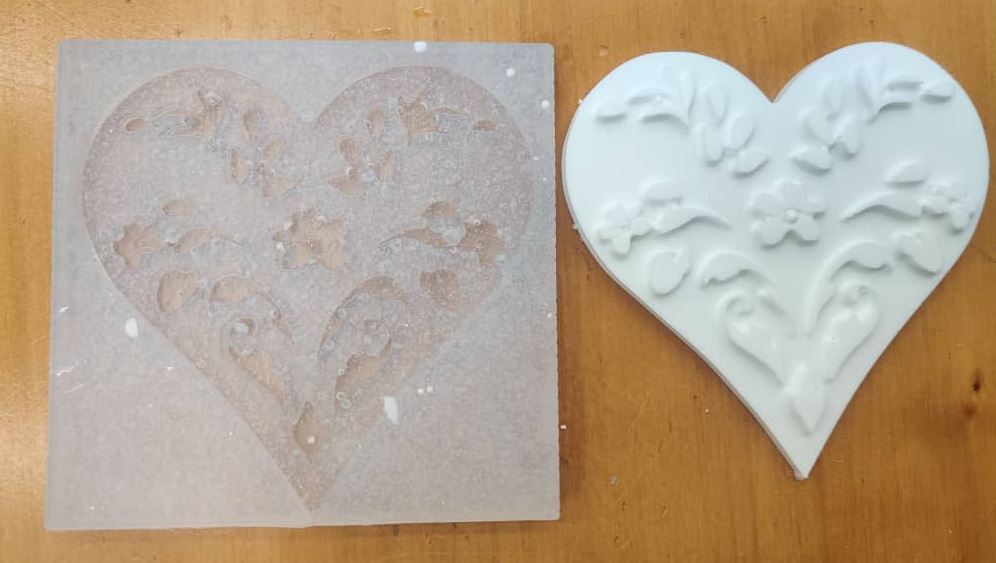
- I let the Mold to set for the whole night. This is how it turned out.
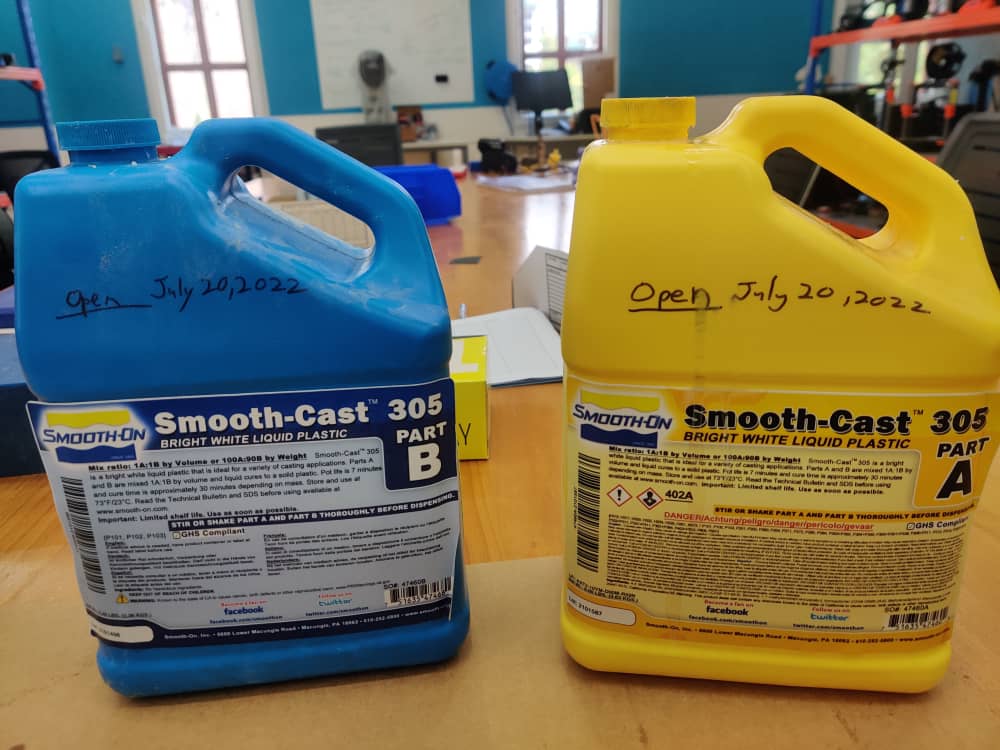
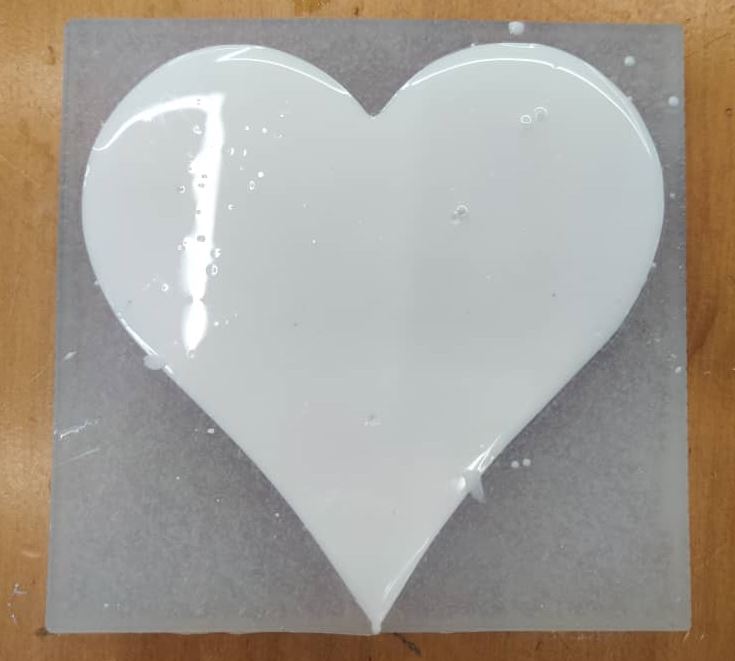
- Now for casting, I used White Liquid Plastic which also had two parts which had to be mixed in 1:1 ratio. After mixing in equal amounts, casted in the negative mold. I let it set for 30 minutes and it was done.
- The product came out nice and clean but Bad News!!!!! I was told by my instructor that my design was 2.5D and not 3D!!!!!
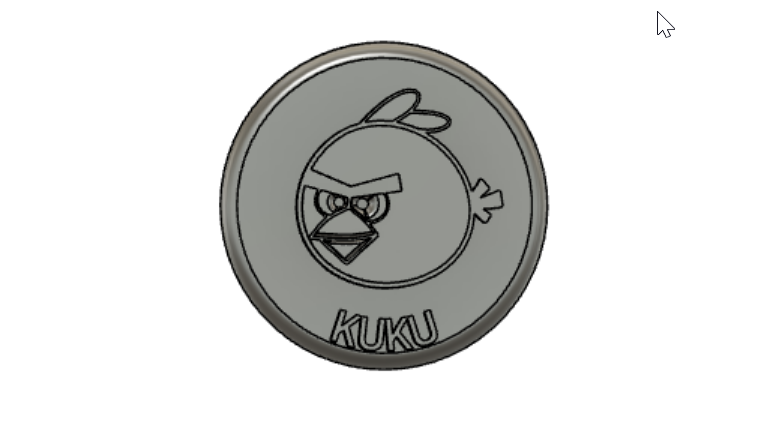
- So had to design again. I designed again using fusion 360. I took reference from the Angry Bird Picture
- You can see my design clearly here. I used some basic features like fillet feature and extrude feature. I also used the Text feature to write my name. Got my design approved from my instructor and started milling following the same procedures mentioned above in the first trial.
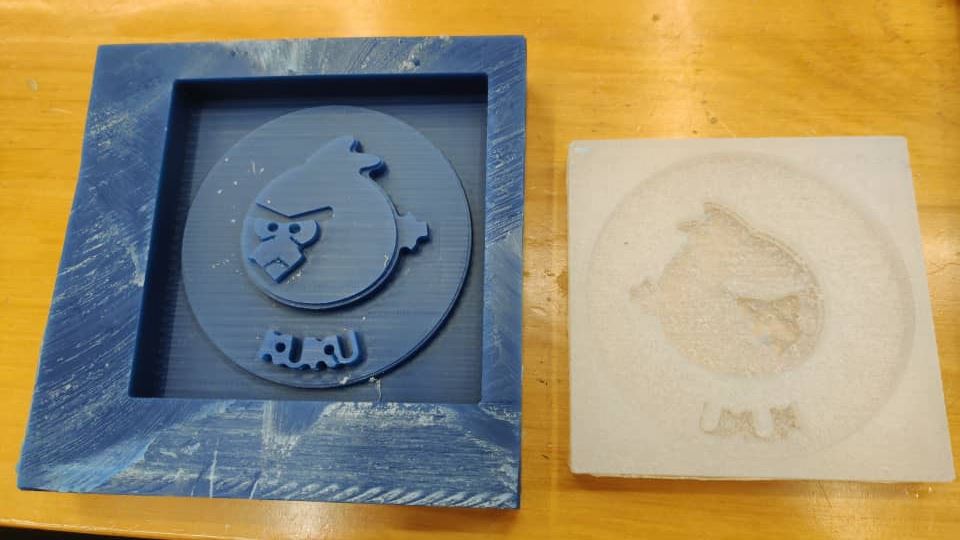
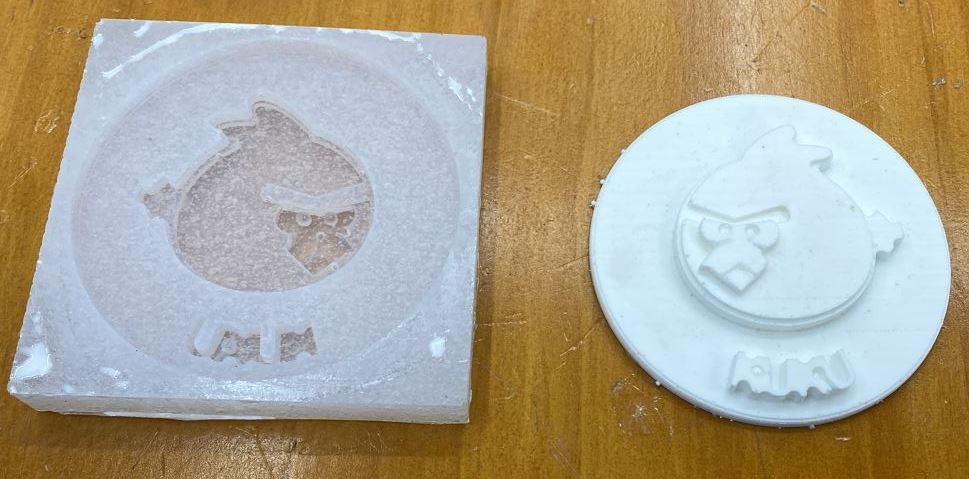
- Here is the Positive mold, Negative mold of my final design. I reused the same Wax that I used in the previous mold as I found out that the wax is expensive.
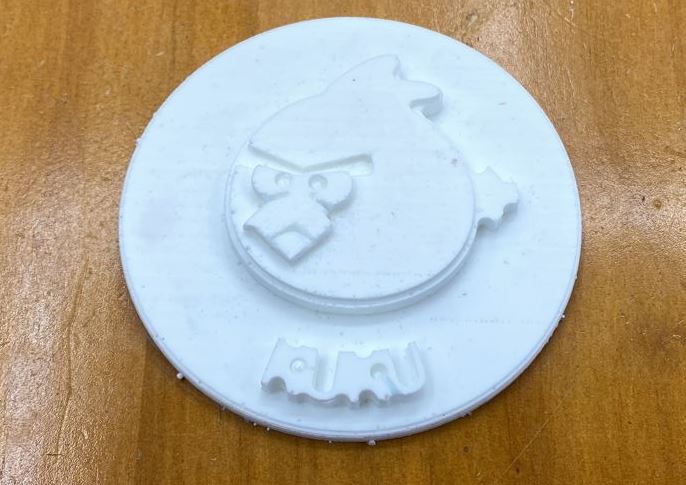
- Here is my Angry bird Coaster and I'm very happy with the experience. It was very time consuming but enjoyed coming to the lab time and again.
