Mechanical Design and Machine Design
Task for Week 10
- - Group Assignment
- - Design a machine that includes mechanism+actuation+automation+application
- - Build the mechanical parts and operate it manually
- - Document the group project and your individual contribution
- - Actuate and automate your machine
- - Document the group project and your individual contribution
Software Used
- Fusion 360 for designing the parts.
- Inkscape for 2D designing the Casing(Vinyl and Laser Cut)
- PrusaSlicer for converting STL files to G-Code for 3D printing.
- Arduino IDE for Programming
- Visual Studio for Documentation
IDEA of Making A Smart Vacuum Cleaner
- We were asked to give ideas collectively for what machine we would like to build. We came with two ideas i.e A smart Dustbin and a Smart Vacuum Cleaner. After discussing with our Local Instructors, we decided to go ahead with Smart Vacuum Cleaner.
- It was challenging and since none of us were familiar with programming and electronics, it was exciting as well.
- We decided to keep the smart vacuum cleaner cheap, user friendly and attractive.
Link to Our Group Assignment
Planning
- As this week required a lot of work, we decided to divide work among the three of us. OH!!! For this week,
we decided to divide ourselves into two groups. Boys VS Girls!!! Our Instructor Rico thought it would be fun
to go against one another making the process of machine making exciting and it worked!!!
- For this week, I was the lead for this group assignment. So we distributed the work as follows.
| Kuku(Lead) |
Ugyen Lhamo(Chunku) |
Yeshey |
| Laser and Vinyl Cut |
Photography and Video Editing |
3D and 2D design |
| Assembling Components |
Documentation |
Programming |
| Programming |
Assembling Components |
Assembling Components |
- Since we were not comfortable working on our own, we did everything together as a group even though we divided our individual works.
Components Used
- Arduino Uno R3
- Wheels with DC Motors
- Breadboard
- Acrylic sheet
- Cardboard
- L298N Driver(Motor Driver)
- Ultrasonic Sensor
- IR Receiver
- Remote
- Relay
- Battery(19V)
- Caster Wheel
- Buck Converter
- 12V Computer Fan
2D and 3D Design
- Designed the base of the casing in Fusion 360 where the components will be placed along with the wheels. Cut the base using Acrylic Sheet using Laser cutter machine.
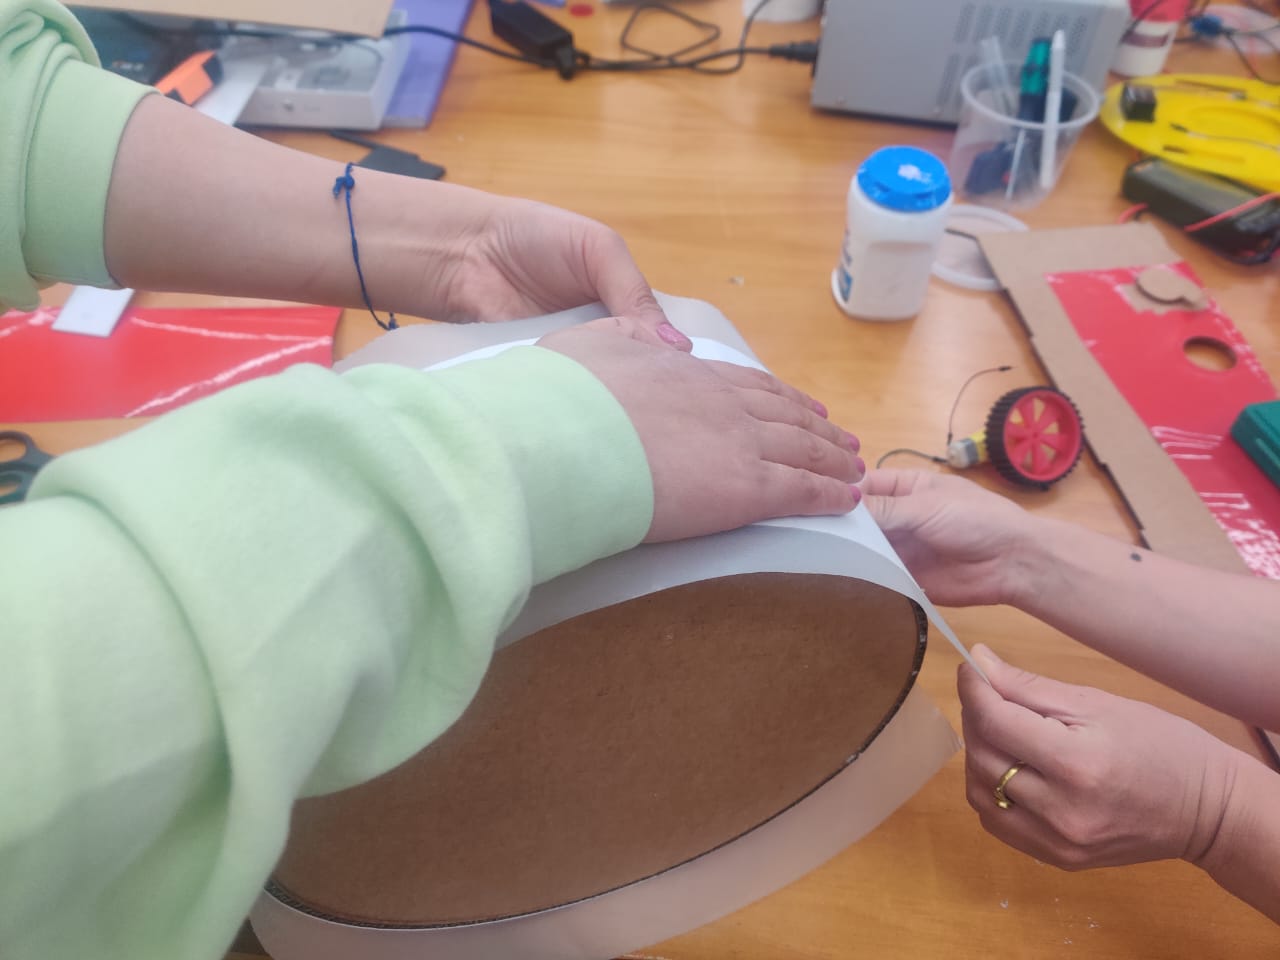
- Designed the body of the casing also in Fusion 360 but we cut it using cardboard in the Laser Cuter Machine and even the cover of the casing.
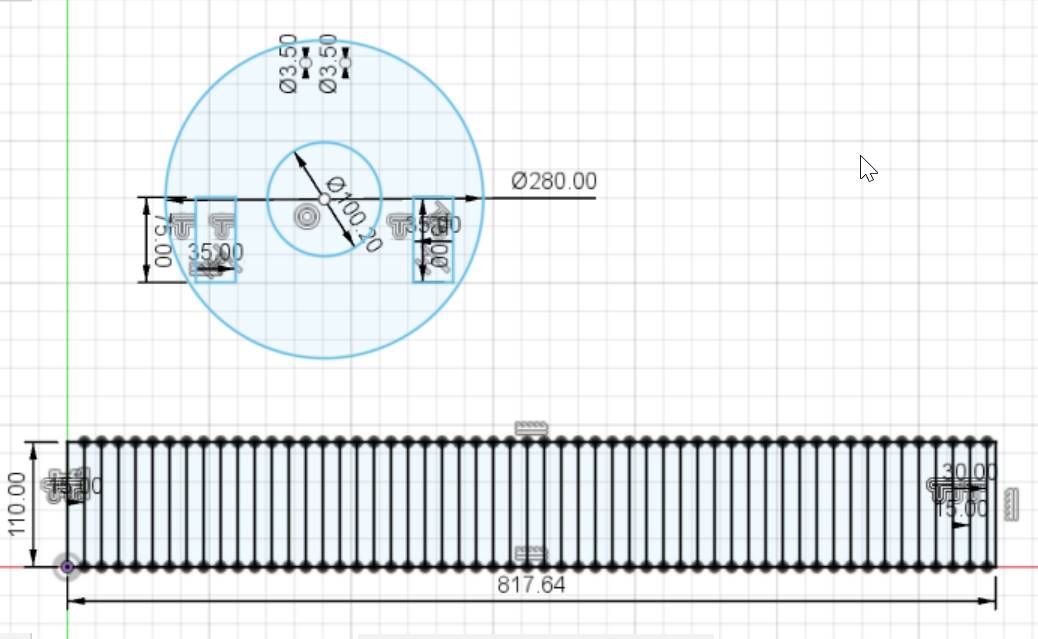
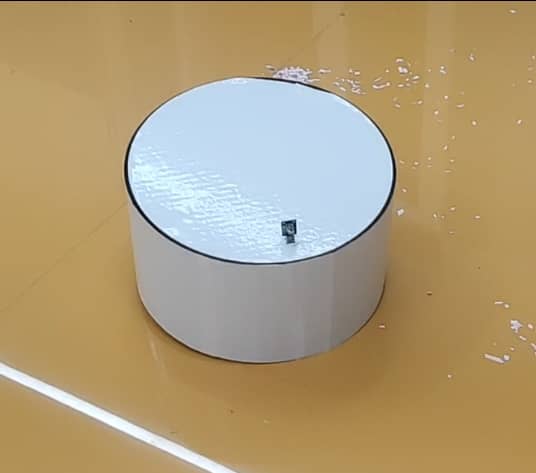
- Also used the vinyl sheet to cover the casing.
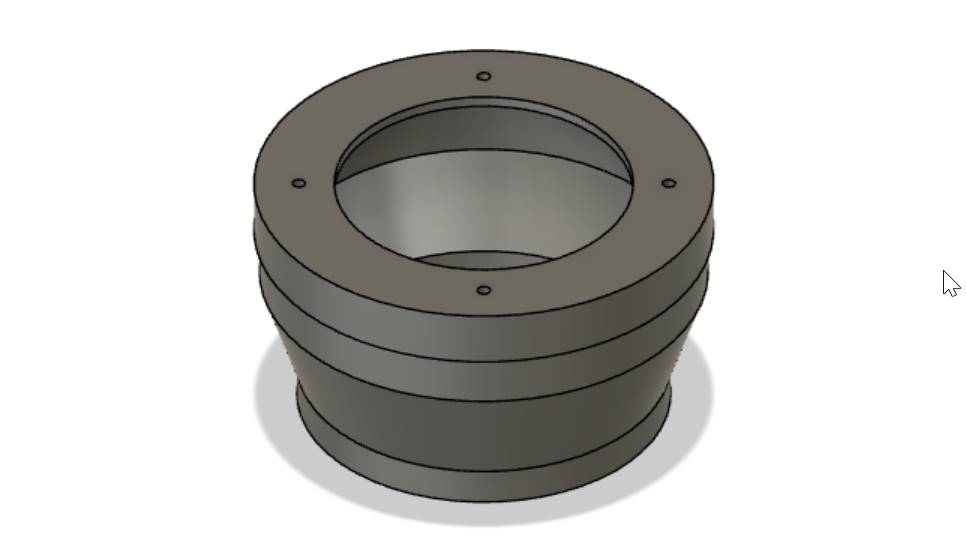
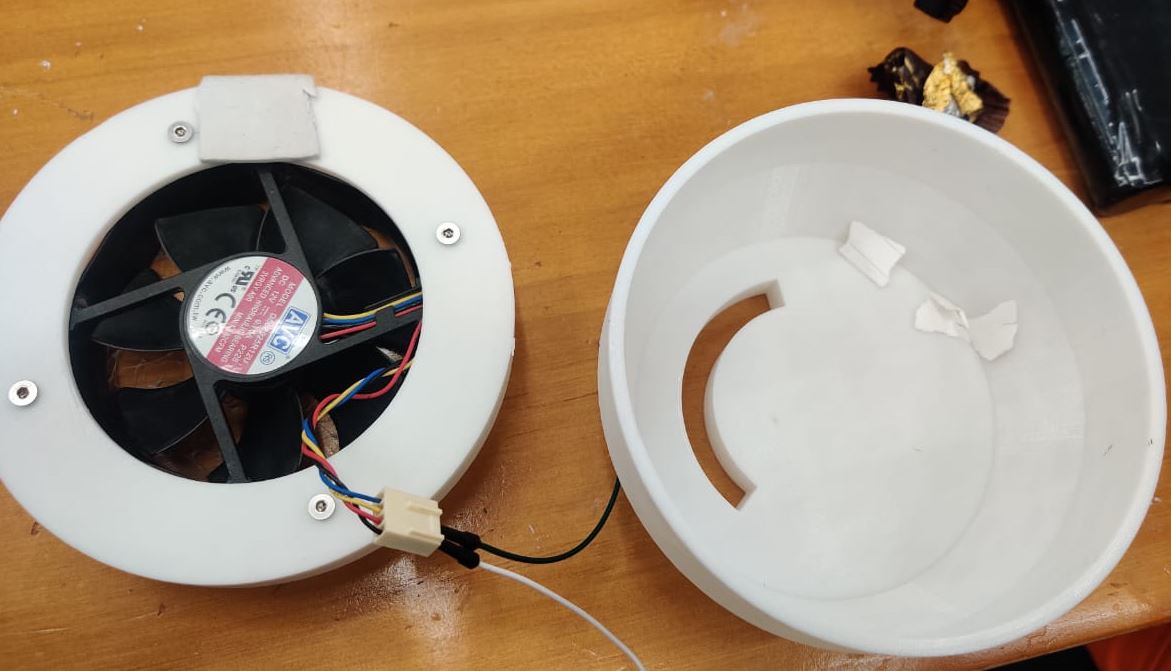
- Designed the Dust collector(by Yeshey) using Fusion360 and 3D printed it.
Electronics
- As the machine controller, we used Arduino Uno R3 as the microcontroller. We used L298N driver(motor driver) to drive the two DC motors connected to the wheels.
- We couldn't search for a battery with 12V so after trying many alternatives, decided to use a 19V rechargeable
hand drilling machine battery and to regulate the voltage and current used the "Buck converter" - a DC
to DC converter which steps down the voltage(while stepping up the current) from its input(19 V supply battery)
to its output( the fan and the Arduino)
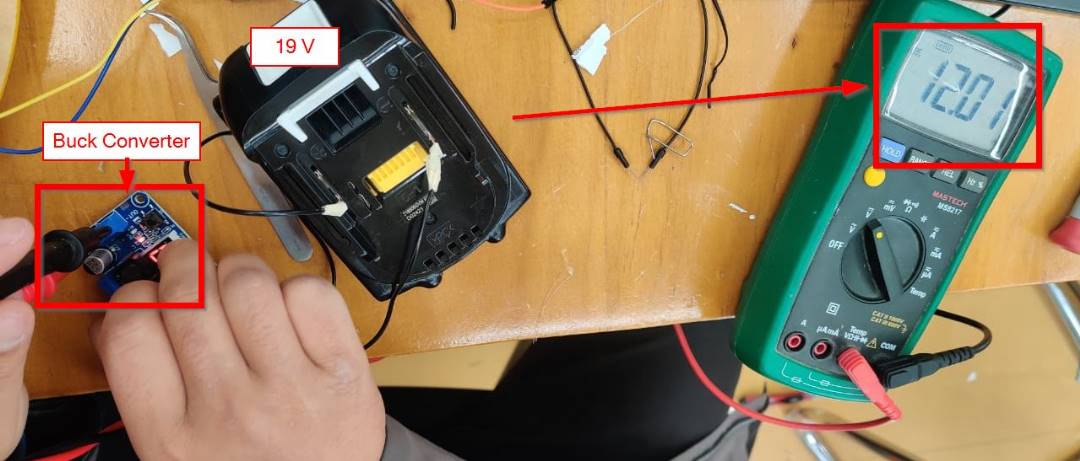
- The above image shows how we stepped down the voltage from 19V to 12V for output supply.
Connections Made
Arduino Uno R3 with Motor Driver
- Arduino Pin 2 to Input 1 of Motor driver
- Pin 3 to Input 2
- Pin 4 to Input 3
- Pin 5 to Input 4
- Pin 9 to Enable A
- Pin 10 to Enable B
- GND to Breadboard
- Vin to Breadboard
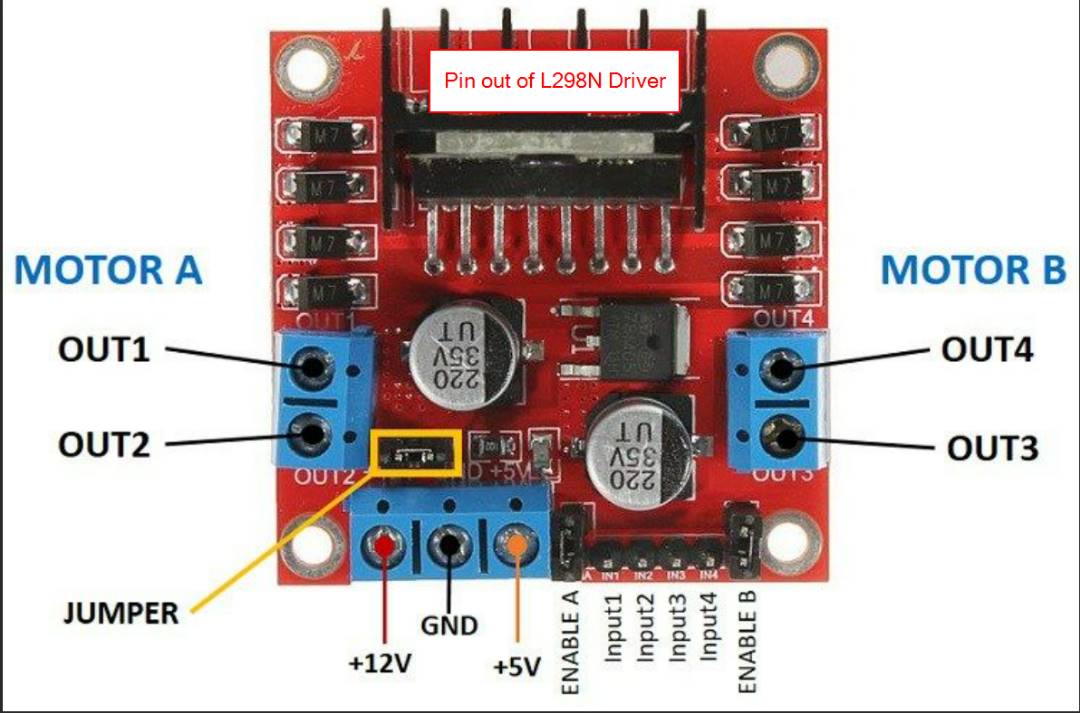
Motor Driver and BreadBoard
- GND(Middle) to Breadboard GND
- 12V(1st one) to Breadboard VCC
Motor Driver(Output) to Motors with Wheel
- OUT 1 and 2 to 1st Motor
- OUT 3 and 4 to 2nd Motor
Remote controlling the fan with IR Receiver
Arduino Uno R3 and IR Receiver
- Breadboard VCC to VCC of IR receiver(red cable)
- Breadboard GND to GND of IR receiver(Black cable)
- Pin 6 to Output of IR receiver(Green Cable)
Relay
- Vcc to Arduino 5V
- GND to Arduino GND
- Signal Pin to Arduino Pin 7
Assembling
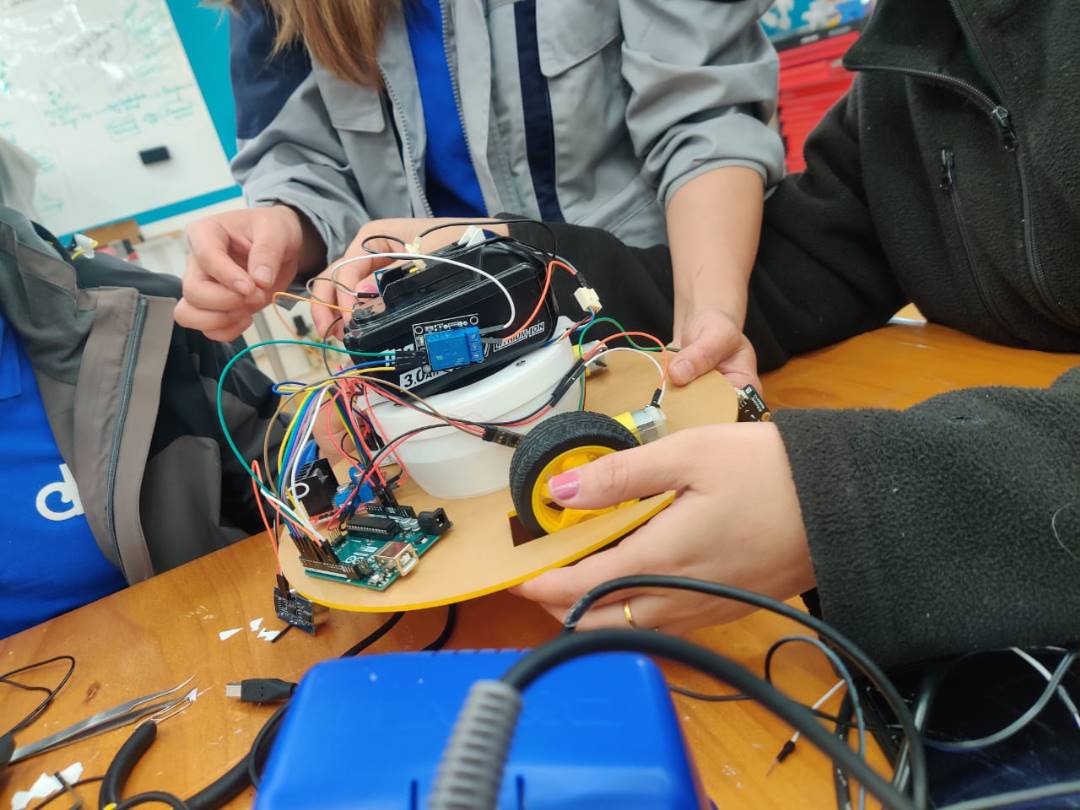
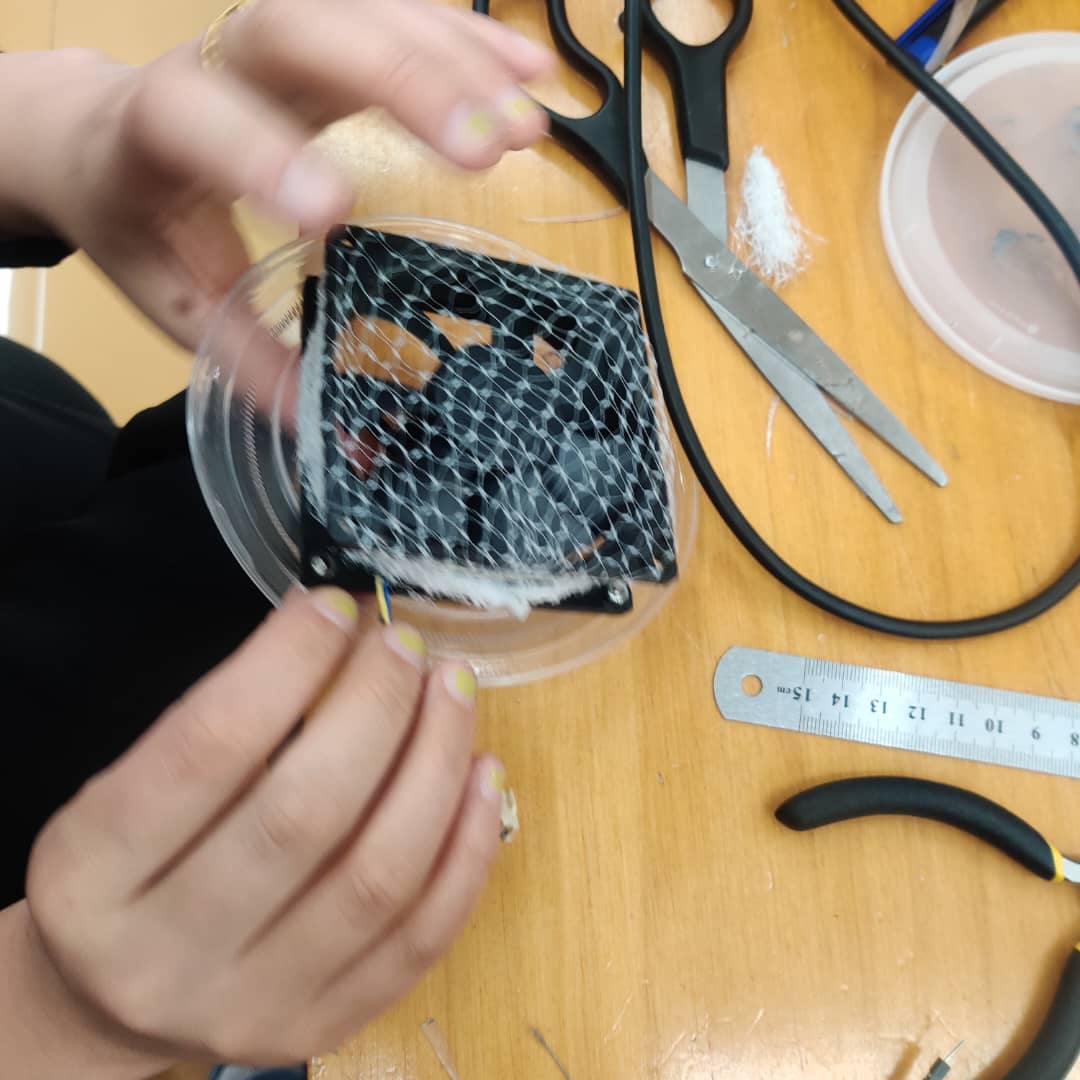
- First glued the body and the cover of the casing. Then assembled the dust collector, on the cap of the collector, fixed the fan. Covered the fan with a net which will stop the dust from getting out of the collector bin.
- Then made the connections and arranged the components to balance the base of the case.
How it works?
- First with the remote we switch on the motor and the fan. Remote "1" is for On and Remote "0" is for OFF.The remote gives signal to the IR receiver.
Then when the machine senses obstacle at 20cm distance, the Ultrasonic sensor senses the obstacle and turns in "right" direction. The fan will be On through out which will collect any dust on the way.
- The power supply is from the 19V battery which steps down the voltage using the buck converter to 12 V which is connected to the Arduino.
Programming
- Got the reference of the codes from here: IR receiverand Ultrasonic Sensor
- Code used
  #include <IRremote.h>
  int RECV_PIN = 6;

  int relay = 7;

  int trigPin = 11;    // Trigger
  int echoPin = 12;    // Echo
  long duration, distance;

  int motor1pin1 = 2;
  int motor1pin2 = 3;

  int motor2pin1 = 4;
  int motor2pin2 = 5;
  int flag = 0;
  void setup()
  {
    Serial.begin(9600);
    pinMode(relay, OUTPUT);
    IrReceiver.begin(RECV_PIN, ENABLE_LED_FEEDBACK);

    pinMode(trigPin, OUTPUT);
    pinMode(echoPin, INPUT);

    pinMode(motor1pin1, OUTPUT);
    pinMode(motor1pin2, OUTPUT);
    pinMode(motor2pin1, OUTPUT);
    pinMode(motor2pin2, OUTPUT);
  }
  void loop()
  {

    irLogic();
    readDistance();

    if(distance > 20 && flag == 1)
    {
      analogWrite(9, 200); //ENA pin  //change the speed
      analogWrite(10, 200); //ENB pin // change the speed  make sure this one is same as above to maintain the same speed

     //Controlling spin direction of motors:
     digitalWrite(motor1pin1, HIGH);
     digitalWrite(motor1pin2, LOW);

     digitalWrite(motor2pin1, HIGH);
     digitalWrite(motor2pin2, LOW);

      }

      if(distance <= 20 && flag == 1)
    {
     analogWrite(9, 50); //ENA pin  //change the speed
     analogWrite(10, 0); //ENB pin

    //Controlling spin direction of motors:
     digitalWrite(motor1pin1, HIGH);
     digitalWrite(motor1pin2, LOW);

     digitalWrite(motor2pin1, LOW);
     digitalWrite(motor2pin2, LOW);

    }


  }

  void irLogic()
  {
    if (IrReceiver.decode())
     {


      if(IrReceiver.decodedIRData.decodedRawData == 0xF30CFF00){
        digitalWrite(relay, HIGH);
        //Serial.println(IrReceiver.decodedIRData.decodedRawData, HEX);
        Serial.println("on");
        flag = 1;


        }


       else if(IrReceiver.decodedIRData.decodedRawData == 0xE916FF00){
        digitalWrite(relay, LOW);
        //Serial.println(IrReceiver.decodedIRData.decodedRawData, HEX);
        Serial.println("OFF");
        analogWrite(9, 0); //ENA pin
     analogWrite(10, 0); //ENB pin

    //Controlling spin direction of motors:
     digitalWrite(motor1pin1, LOW);
     digitalWrite(motor1pin2, LOW);

     digitalWrite(motor2pin1, LOW);
     digitalWrite(motor2pin2, LOW);
        flag = 0;


        }

       IrReceiver.resume(); // Receive the next value
     }
    }

  void readDistance(){
    digitalWrite(trigPin, LOW);
    delayMicroseconds(5);
    digitalWrite(trigPin, HIGH);
    delayMicroseconds(10);
    digitalWrite(trigPin, LOW);

    // Read the signal from the sensor: a HIGH pulse whose
    // duration is the time (in microseconds) from the sending
    // of the ping to the reception of its echo off of an object.
    pinMode(echoPin, INPUT);
    duration = pulseIn(echoPin, HIGH);

    // Convert the time into a distance
    distance = (duration/2) / 29.1;     // Divide by 29.1 or multiply by 0.0343


    Serial.print(distance);
    Serial.println();

    delay(250);
    }
Final Video
The link for the Final video here in our Group link.
My Learning and Mistakes
- It was sure a hectic week for all of us. So many failures faced from not finding the required battery to getting our Arduino Board burnt.
- Due to very less electronic suppliers in Bhutan, we couldn't find a 12V rechargeable battery to run our computer fan. We tried using different methods like attaching two 9V batteries which got drained out very fast.
- Even one 9V battery attached to the motors were getting drained out so finally decided to replace the power supply with 19V hand drill rechargeable battery which lasted us the whole testing period and still going strong.
- While soldering the DC motors we burnt the while driver so had to replace the DC motors.
- It was interesting to work with IR receiver and remote.
- Finally the machine worked. We have still a lot of Improvements to make like controlling the motors. We will try to make improvements and try to improve the working of the machine.
Future Developments and Improvements
- Design a microcontroller board so that we can reduce using the jumper wires and all the messiness on the electronic side.
- Need to replace the power supply with 12V rechargeable battery so that it can be charged and used again.
- Program the pathway of the vacuum to go all around the room without leaving any area untouched.
- Make a better design of the vacuum so that it is small and easily portable
Acknowledgment
- We would like to Thank Sir. Thinley Jamtsho, Associate Analyst for helping us in debugging and also coding.


