Computer-Controlled Machining
Task for Week 7
- Group Assignment
- - Complete your lab's safety training
- - Test runout, alignment, fixturing, speeds, feeds, materials and tool paths for your machine.
- - Document your work to the group work page and reflect on your individual page what you learned
- Individual Assignment
- - Make (design+mill+assemble) something big
- - Extra credit: don't use fasteners or glue and include curved surfaces.
Group Assignment
Link to our group assignment is here
- Learnt about the safety measures while operating CNC machines.
- Some of the Important things to keep in mind:
- 1. Always tie your hair(girls and boys 😜), neat and clean to prevent accidents.
- 2. Wearing safety gears while operating the machine.
- 3. Not to leave the room while the machine is operating and not working alone, always having someone.
- 4. Keeping the Emergency Stop button close in case of any unexpected events.
- Learnt how to properly operate the Shopbot and also learnt how to use Vcarve Pro.
- Now I'm little bit more confident using Fusion 360. I decided to make a very simple shoe rack for this week.
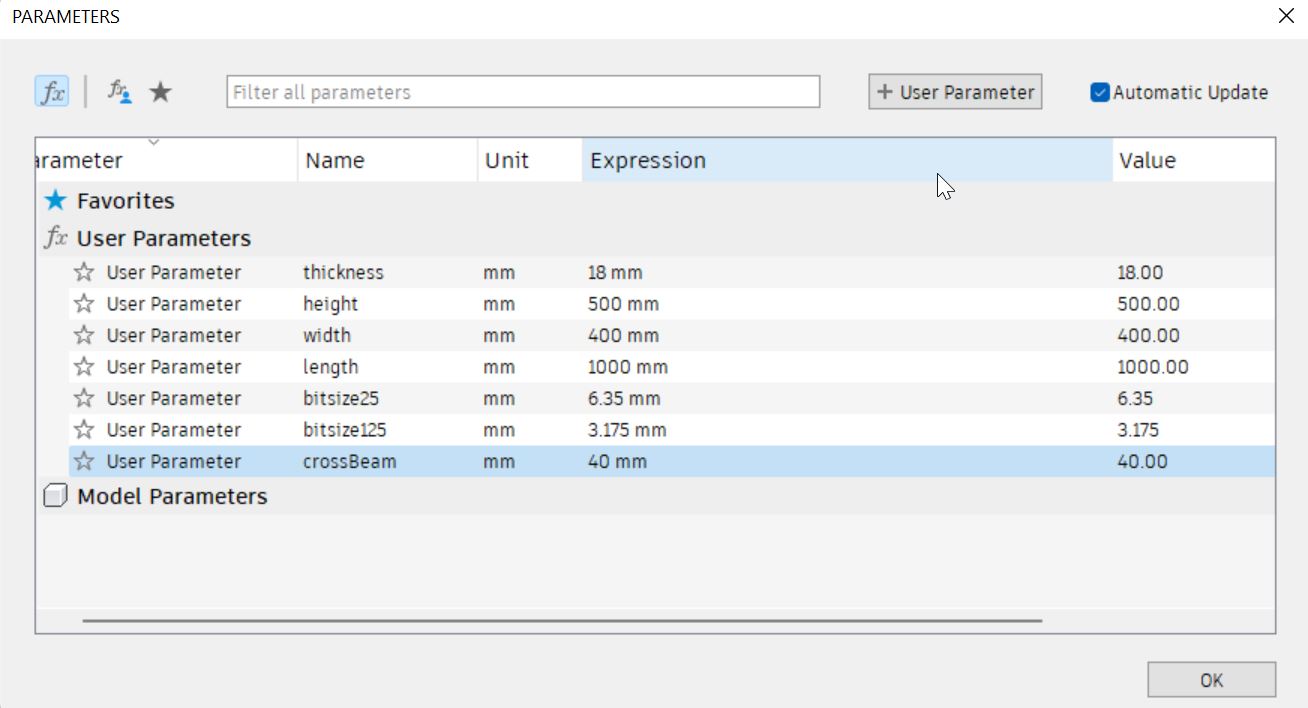
- First I started by assigning Parameters.
- The ply board we were getting for this weeks assignment was 8x4 ft, 18mm thick. So I made my design keeping that in mind.
- I starting by creating a "New Component" and named it.
- Created a new sketch, used the line tool and started sketching along with providing parameters to the sketch.
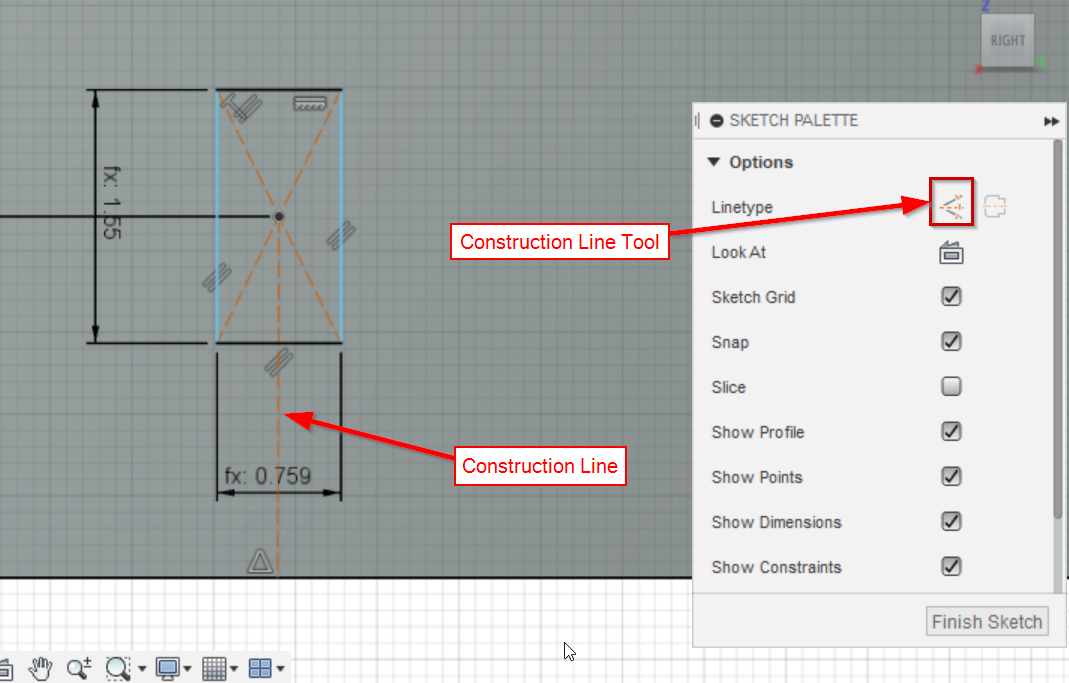
- This was going to be my side panel. Then I extruded the sketch. I was going to provide multiple crossbeam, so for that I created another sketch on the surface of the side panel, also created construction line for reference.
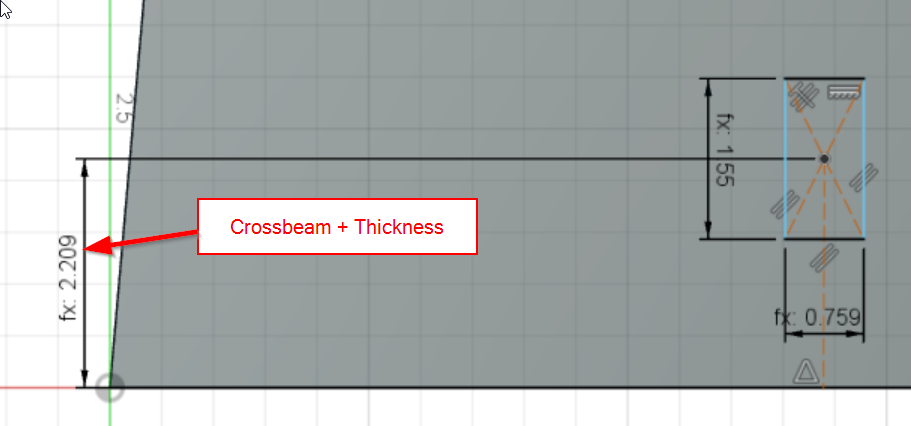
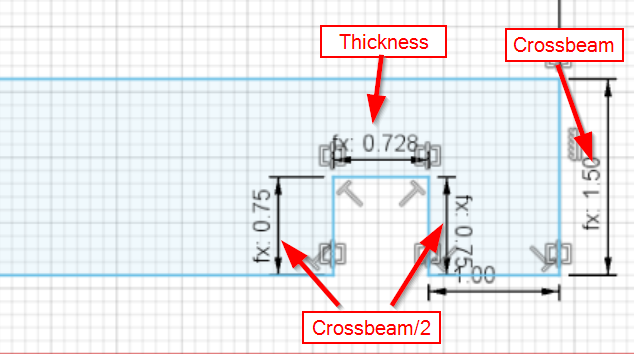
- First I drew a rectangle using 2 Face rectangle tool in the centre and provided the following dimensions. I kept 0.5inch extra in place of later providing dogbone.
- Also provided the distance from the bottom of the plane to the centre of the rectangle.
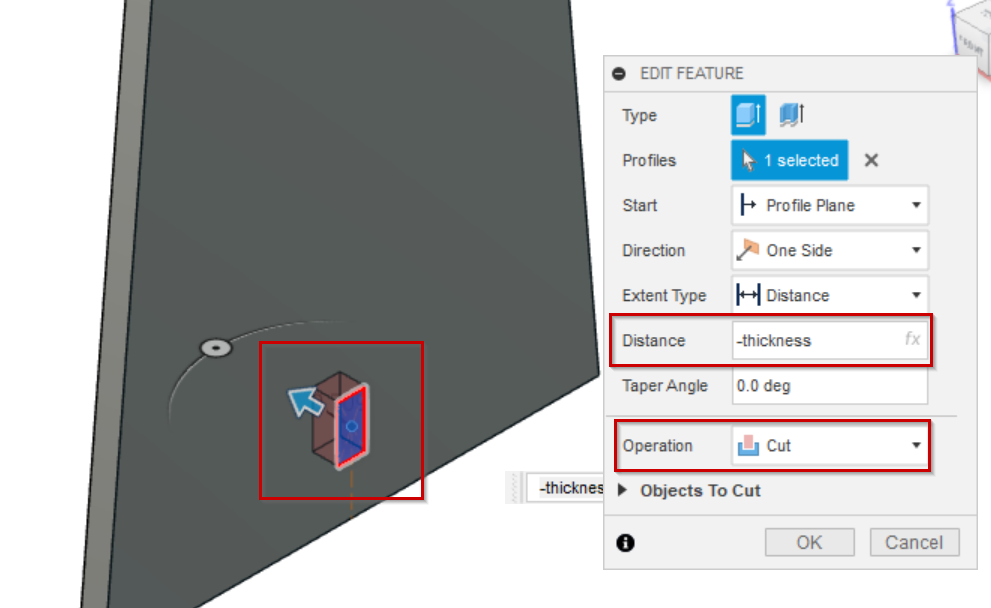
- Then extruded the rectangle. Since I was going to create a hole for the crossbeam, I used -thickness as extrude distance and "Cut" operation.
- Then provided fillets at the 4 corners of ".25 inch" since I'll be using 1/4" bit size.
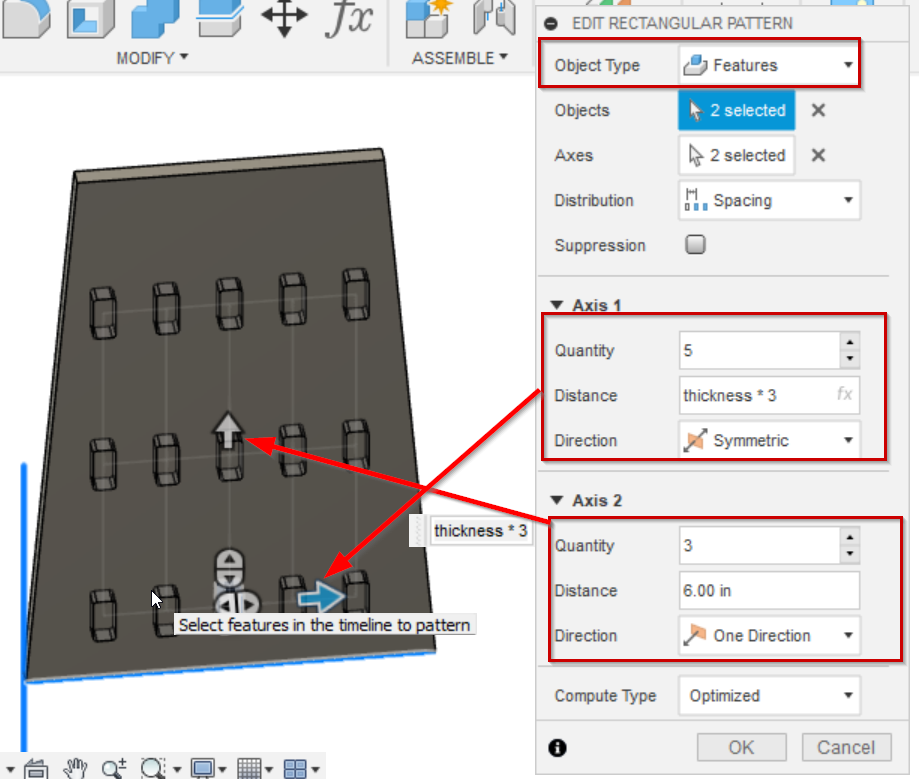
- Then used the Rectangular pattern for rest of the holes.
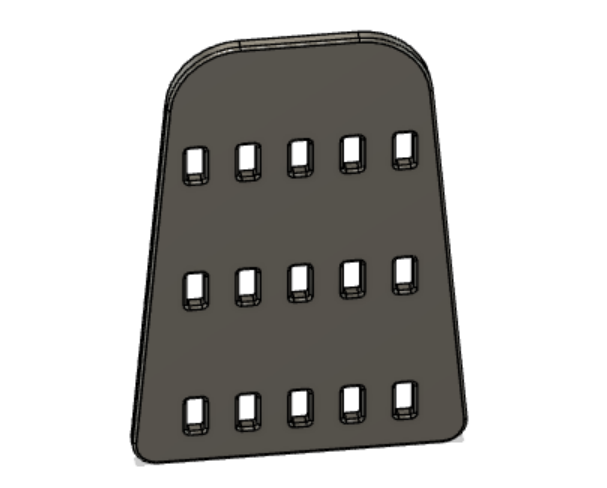
- Then applied fillets to the edges and faces to make the corners smooth.
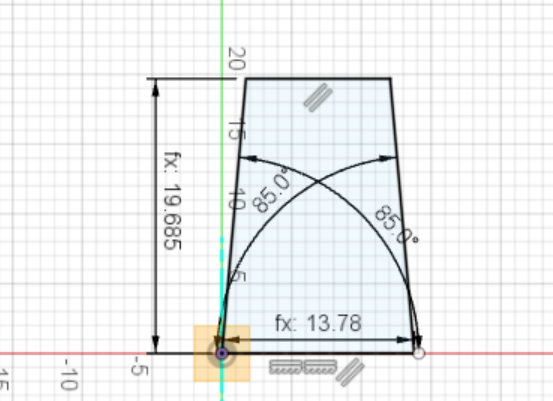
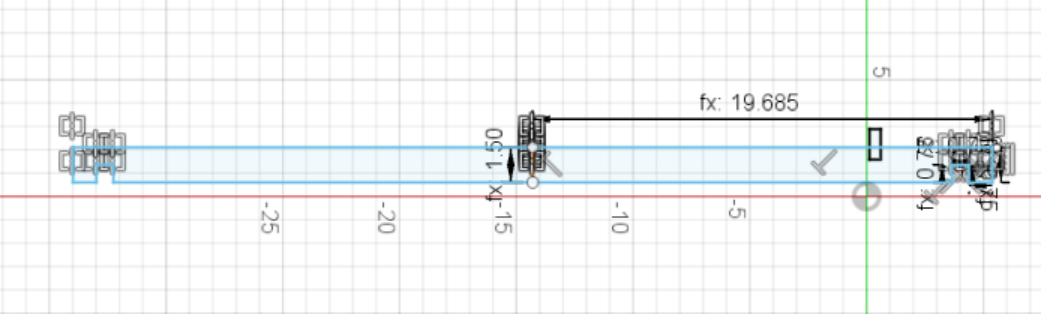
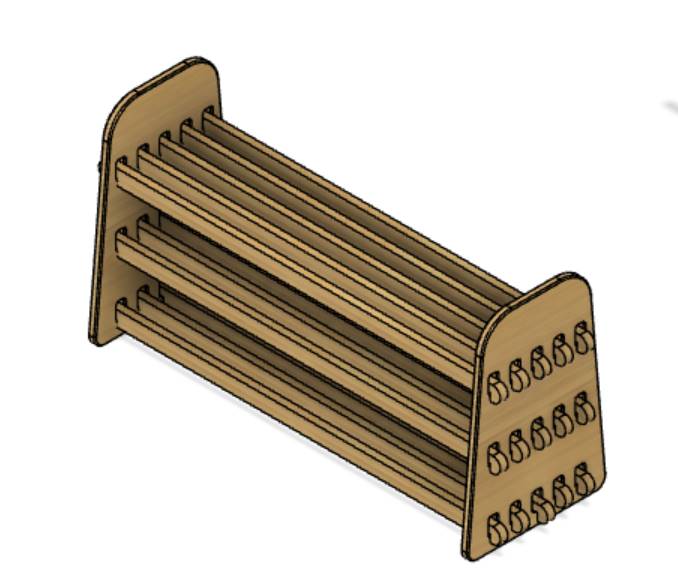
- Finally my side panel was done. Now for designing cross beam, I created a new component and renamed it. Then created a new sketch and used line tool to draw freely and provided the parameters.
- To refrain from using drawing the same thing, first length that I provided "half of length" then drew a construction line. After that selected all the sides and mirrored the other side using the construction line as the mirror line.
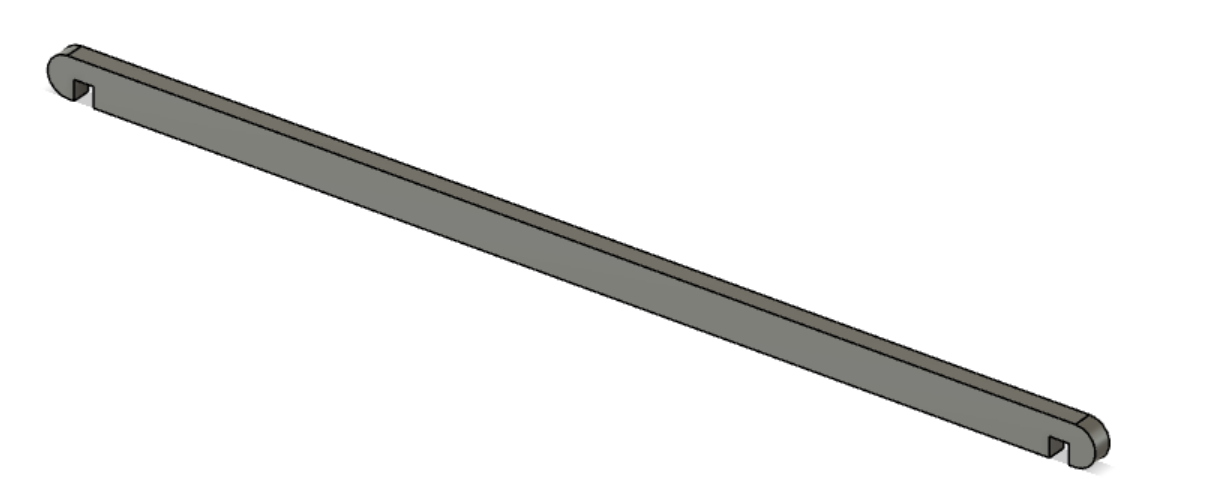
- After my sketch was done, extruded the sketch and provided fillet to the corners, edges and faces.
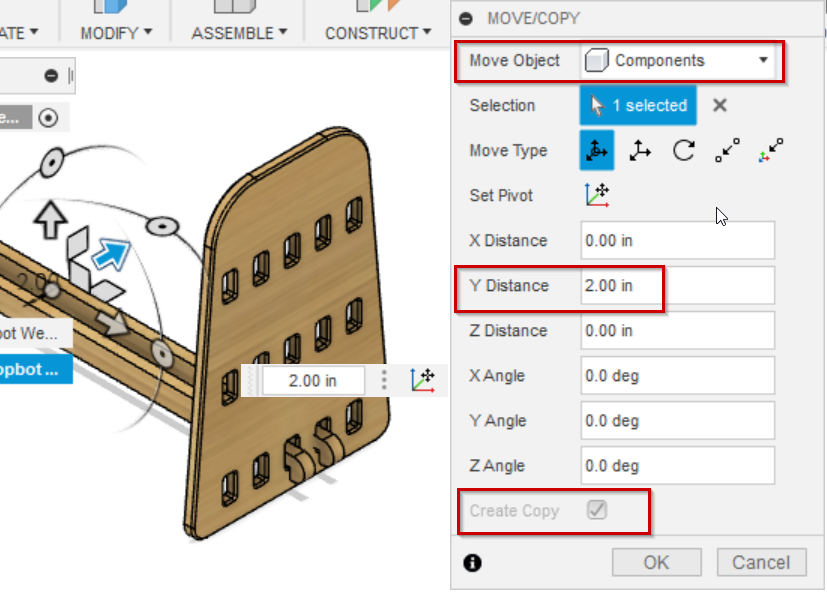
- Then I created copies of the crossbeam by using "Move/Copy"tool.
- Copied the rest of the crossbeam the same way and also copied the side panel
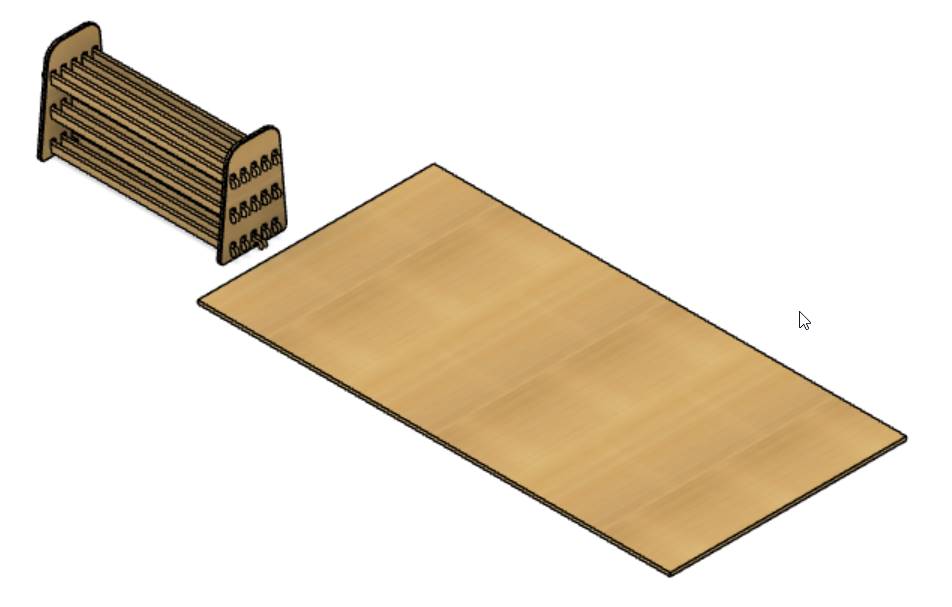
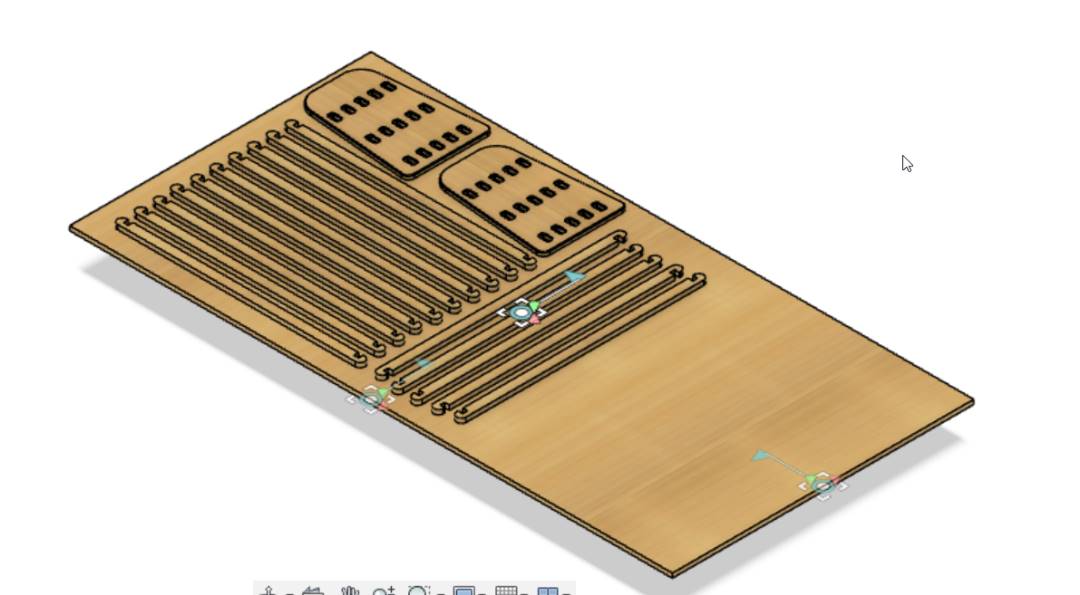
- Now my design was completed. Now had to lay them on the ply. To do so created a new component and named it Ply. Sketched a rectangle and provided the dimensions of the ply and extruded it.
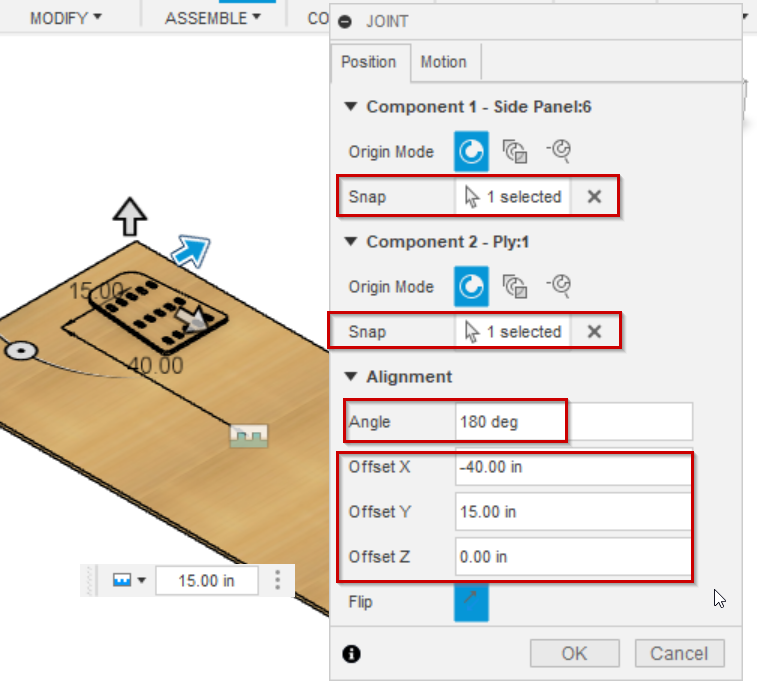
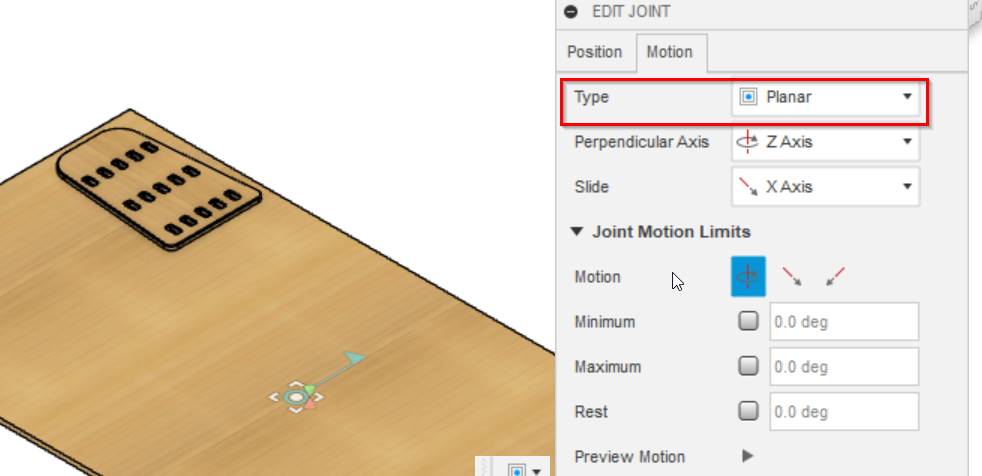
- One by one laid the components on the ply using "joint" tool.
- Finally was done laying all the components.
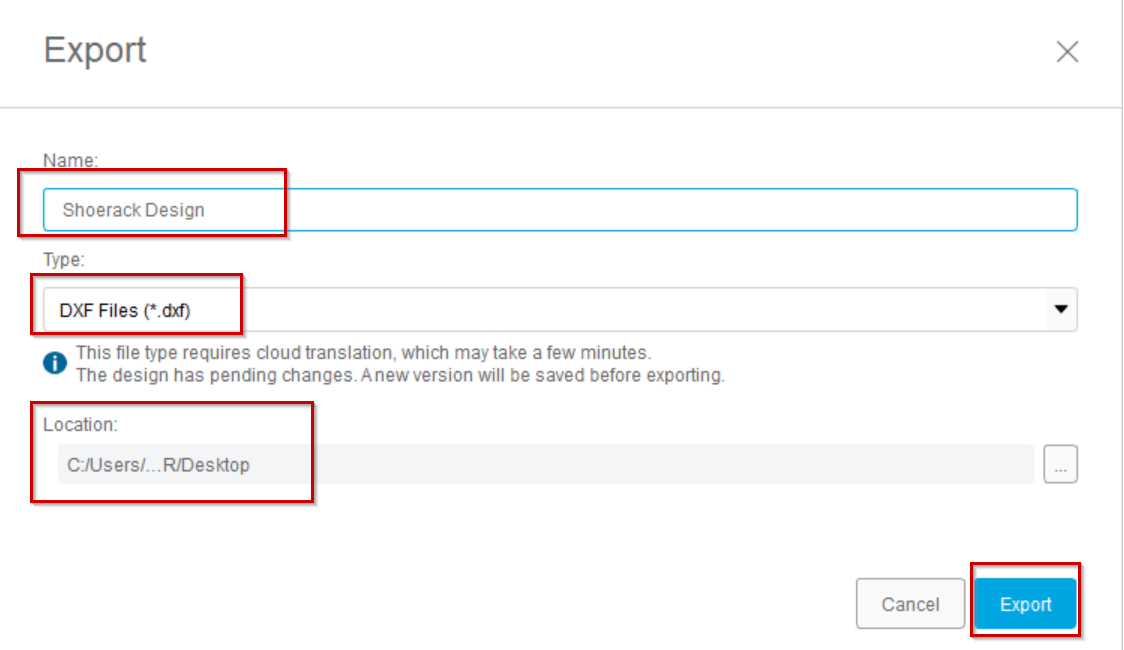
- Then exported the design in dxf file.
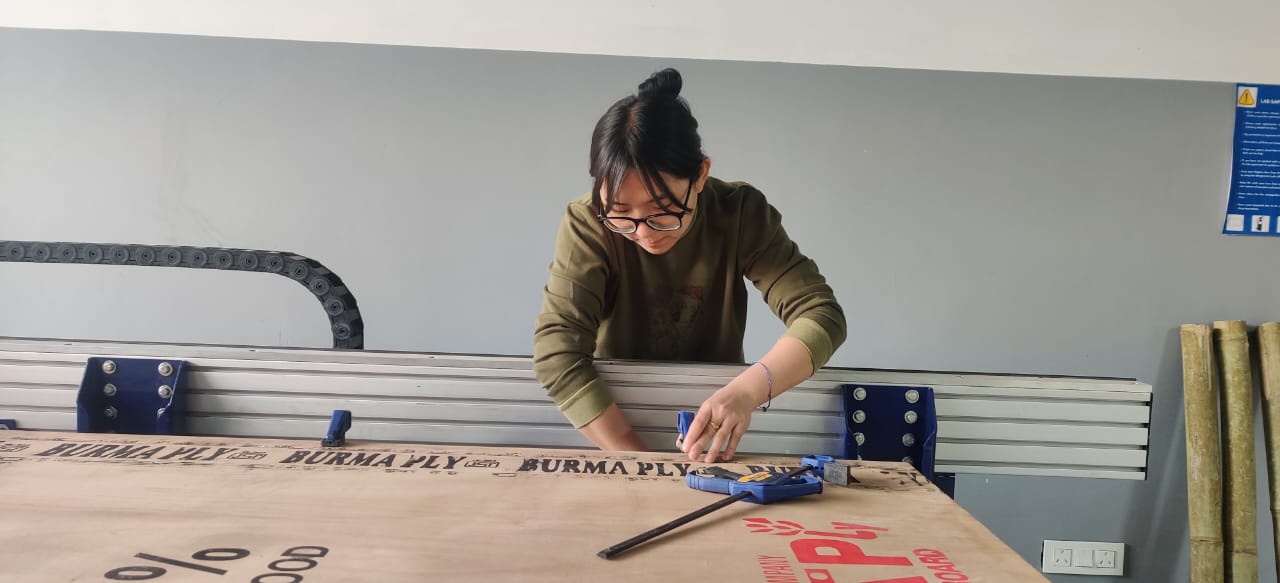
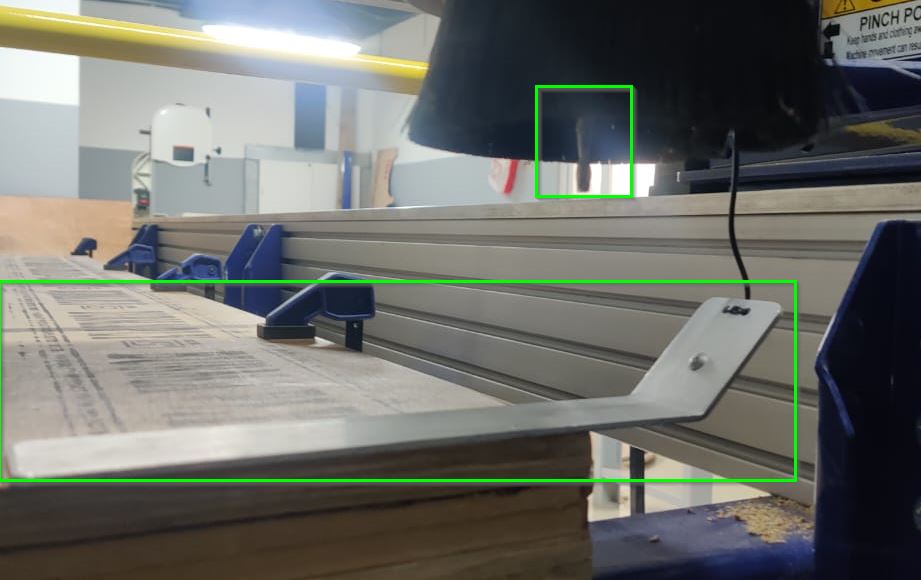
- First I laid the ply on the bed of the shopbot and started clamping the ply on the bed.
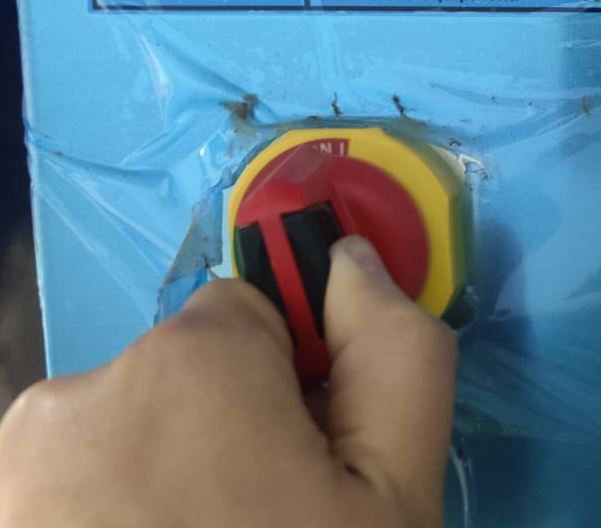
- Turned on the machine.
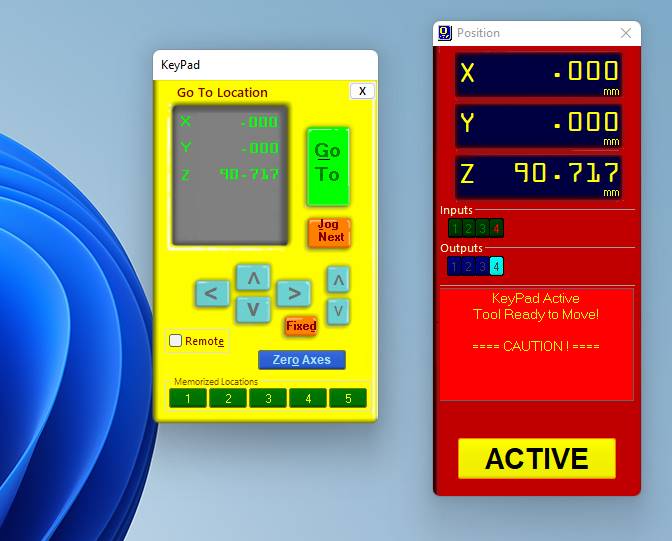
- Then I set the x and y axis manually using the shopbot controller and zeroed it.
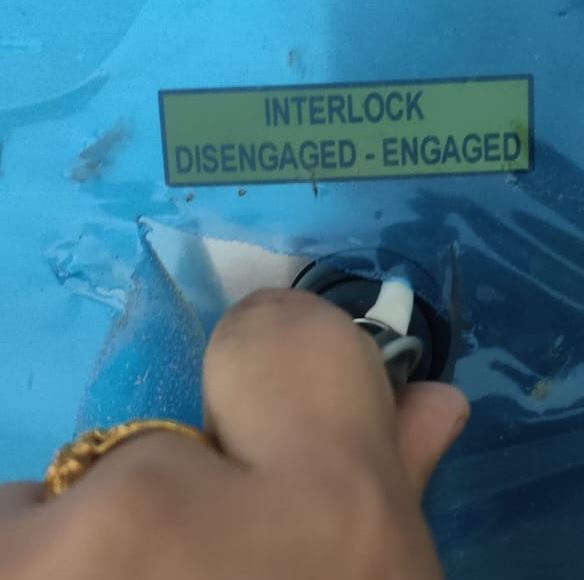
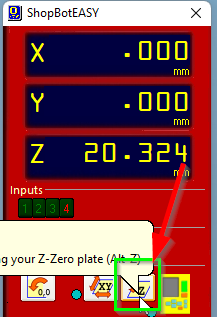
- Then to zero the z axis, used the shopbot controller to manually set the Z axis.
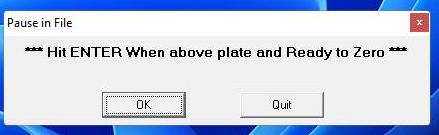
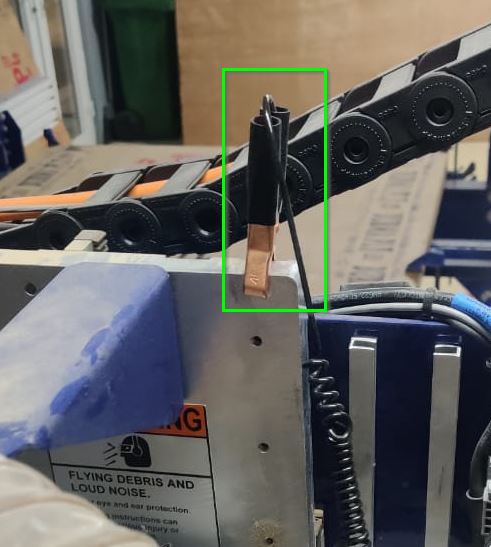
- Before the zeroing of Z, the controller ask for confirmation whether we had place the aluminum plate and Alligator clip in place.
- So before entering "OK", place the Alligator Clip to the machine and the Aluminum plate on the Ply just below the drill bit. Hit Enter after doing that.
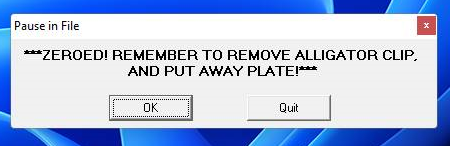
- When the zeroing is done, the controller asks us to remove the plate and clip.
- So now the machine is ready to perform.
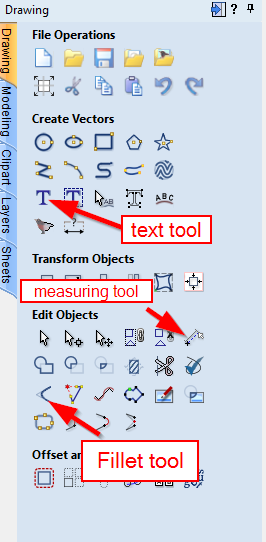
- To work on the shopbot, had to import the design in Vcarve Pro. Vcarve Pro is a software for creating and cutting parts on the CNC router. Mainly to create tool paths for the CNC router.
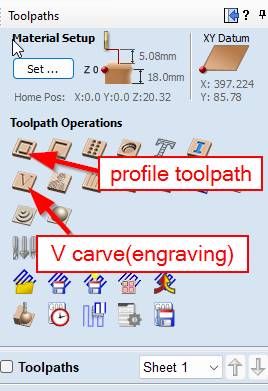
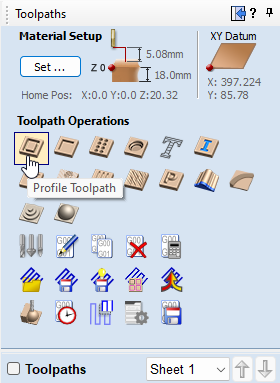
- It has several useful tools. First the drawing tool which has a lot of options from creating vectors to creating offsets, adding fillets, text tool and many more.
- It also has a variety of tool path operations.
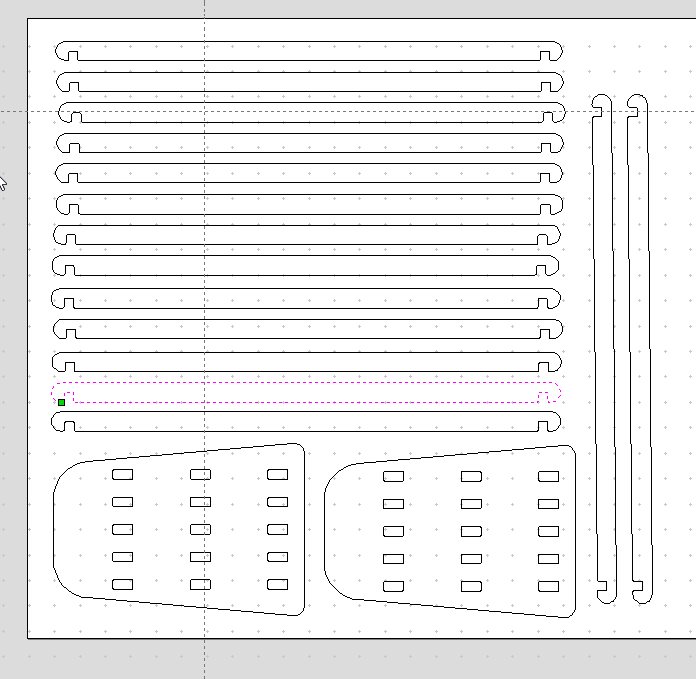
- Imported my design in the Vcarve pro
- Had to set the job size which was the size of the actual ply(8x4) ft and 18 mm thick.
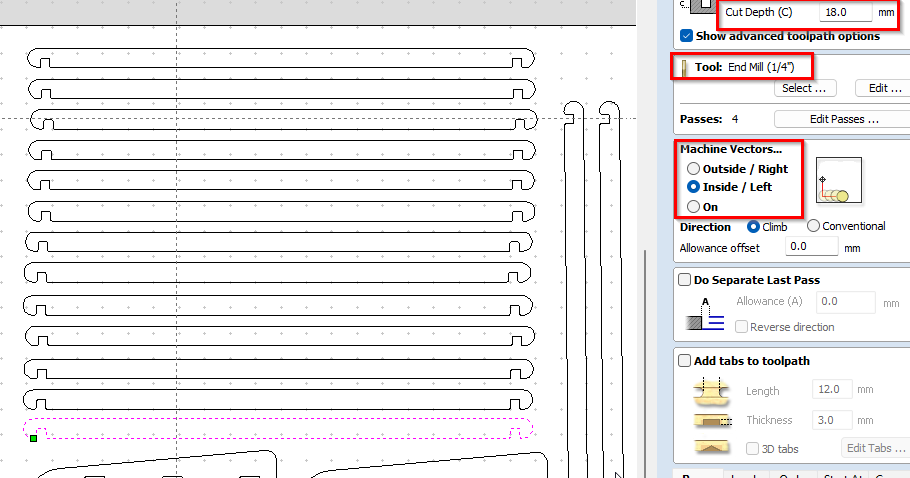
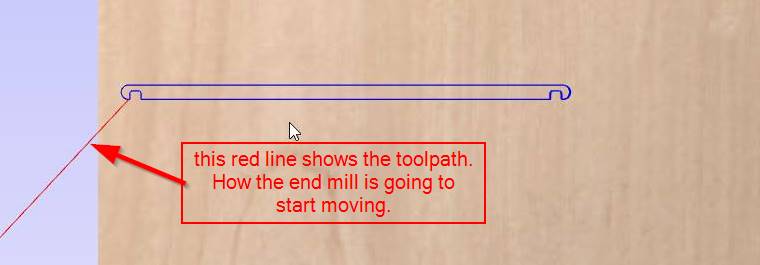
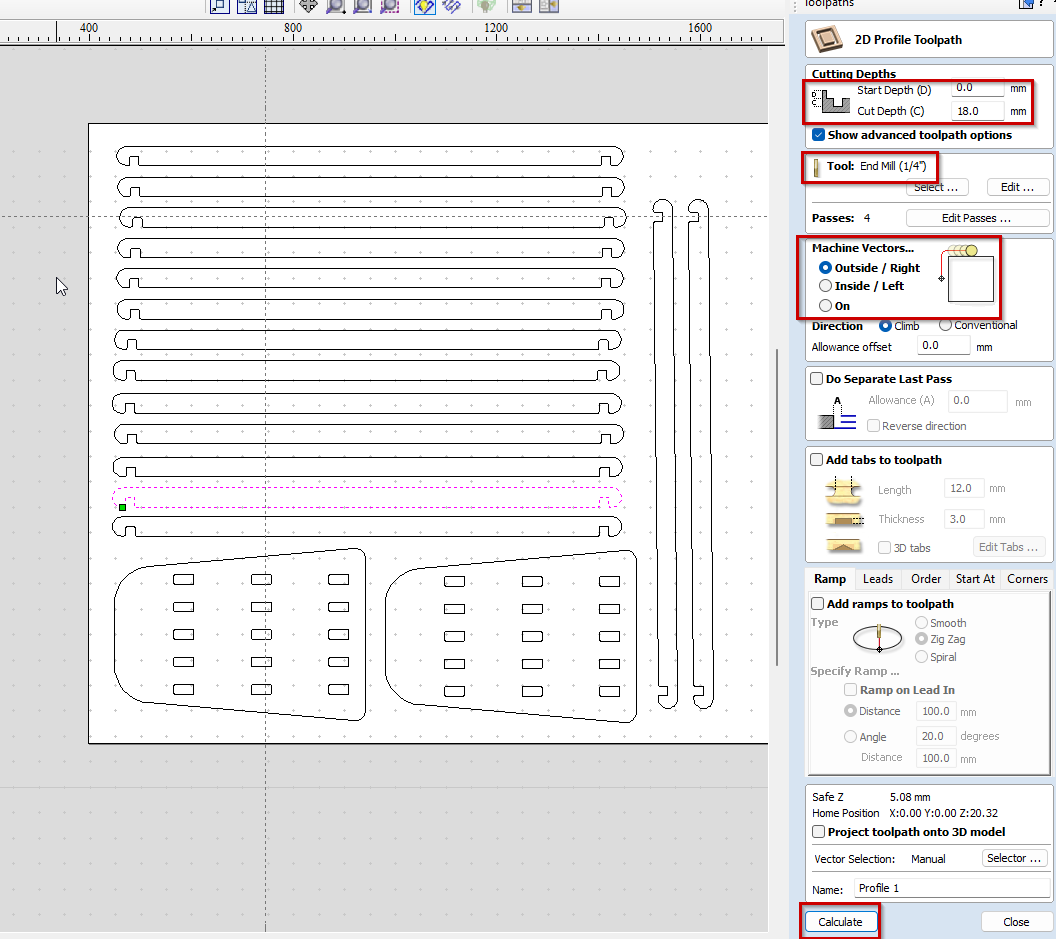
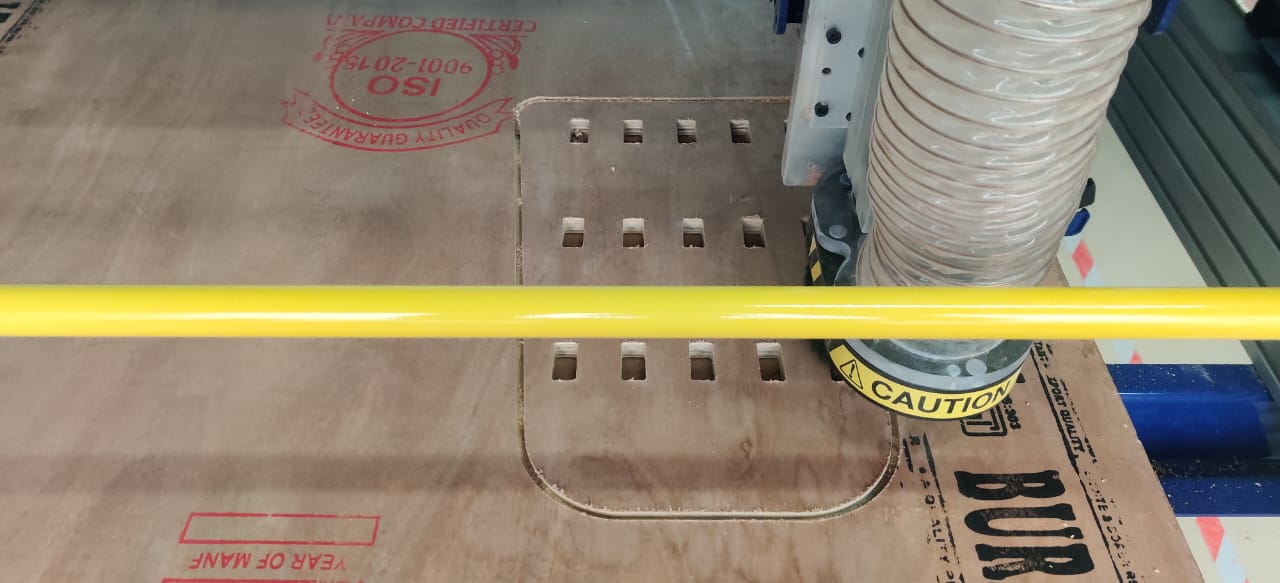
- After that first I wanted to try out the cutting style before actually cutting the whole thing. First I selected one crossbeam and selected Profile tooth path for cutting style. For this decided to cut Inside" in Machine Vector, which will cut inside the provided line.
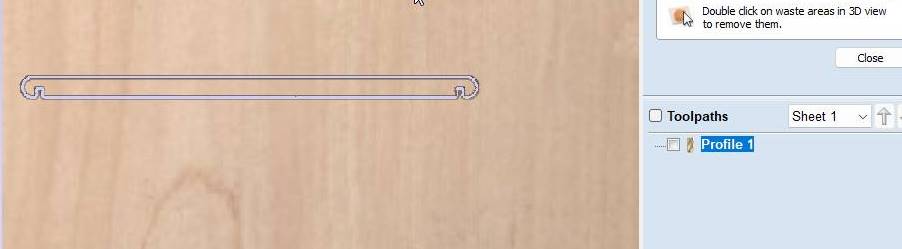
- Then calculate the tool path which takes us to the 3D preview of the toolpath.
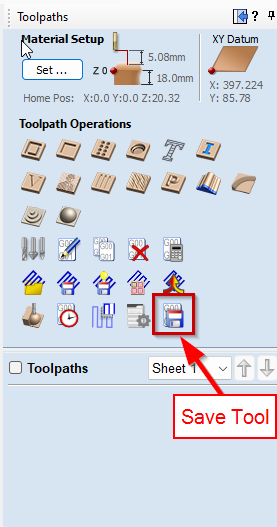
- After creating the toolpath, saved the toolpath.
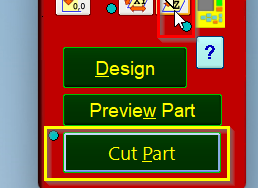
- Then in the Shopbot controller, clicked on the "Cut Part" and select the saved toolpath.
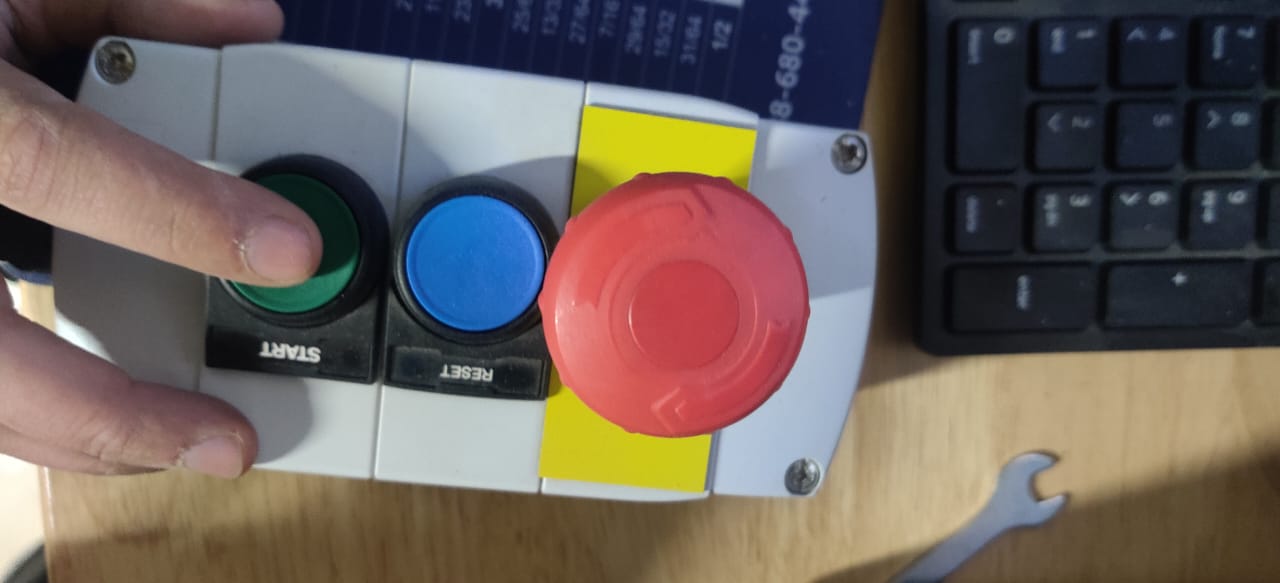
- Click on "Start.
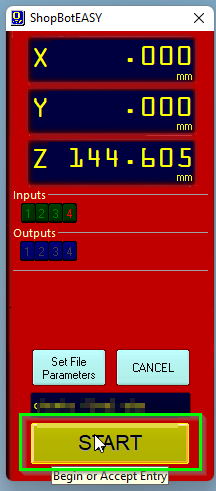
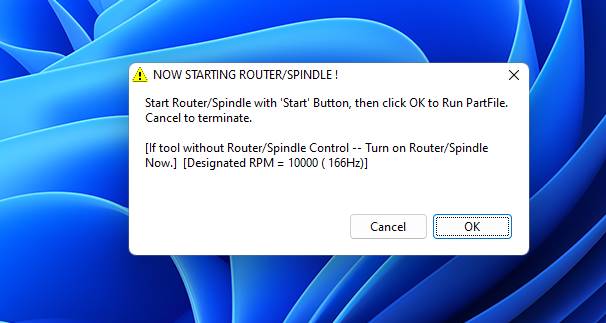
- Then a dialog box appears which tells you to start the spindle of the shopbot.To do so have to click the Start Button.
- The first cut was done.
- Then selected another crossbeam and selected "Outside" in Machine vector, which will cut outside the provided line.
- The 3D preview of the toolpath
- Saved the toolpath and started cutting following the same steps as before.
- Then decided to cut the a side panel. For the crossbeam holes,used "Inside" in Machine vector and For the outline used "Outside" creating 2 toolpaths.
- Saved the toolpaths in one file and started cutting the design.
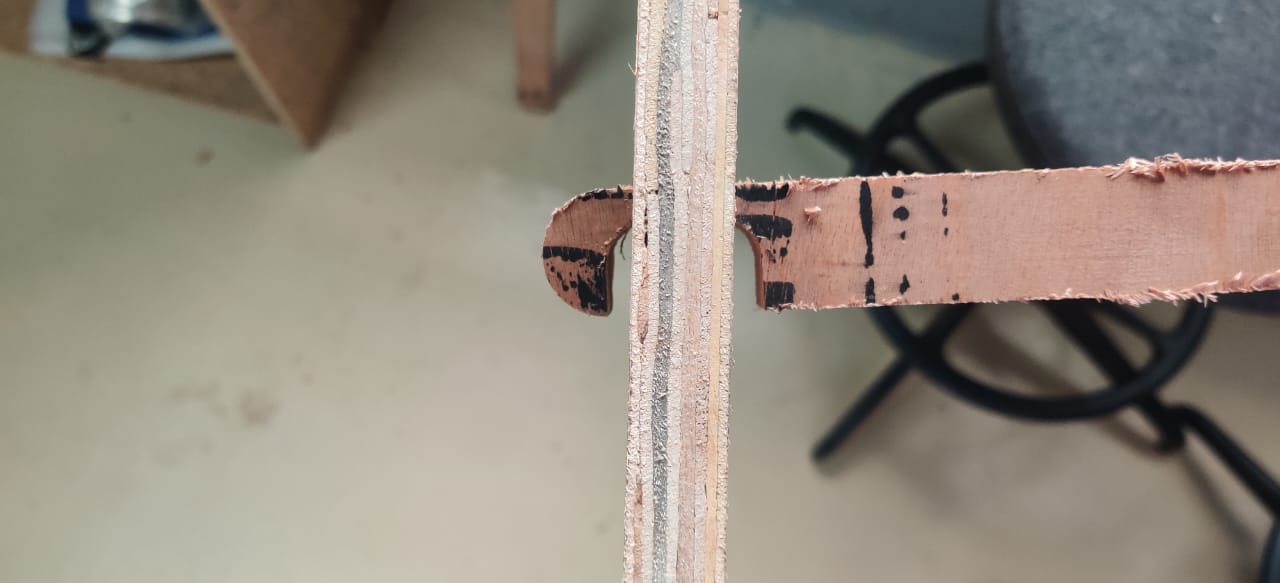
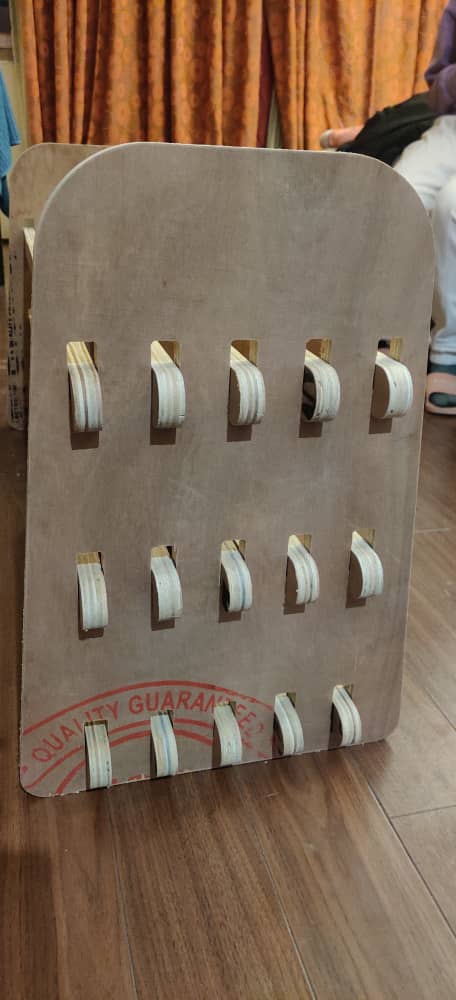
- After cutting the side panel, I tried fitting both the crossbeam that I had cut.
- The crossbeam that I cut using "Inside" vector was not the right fit, it was too loose.
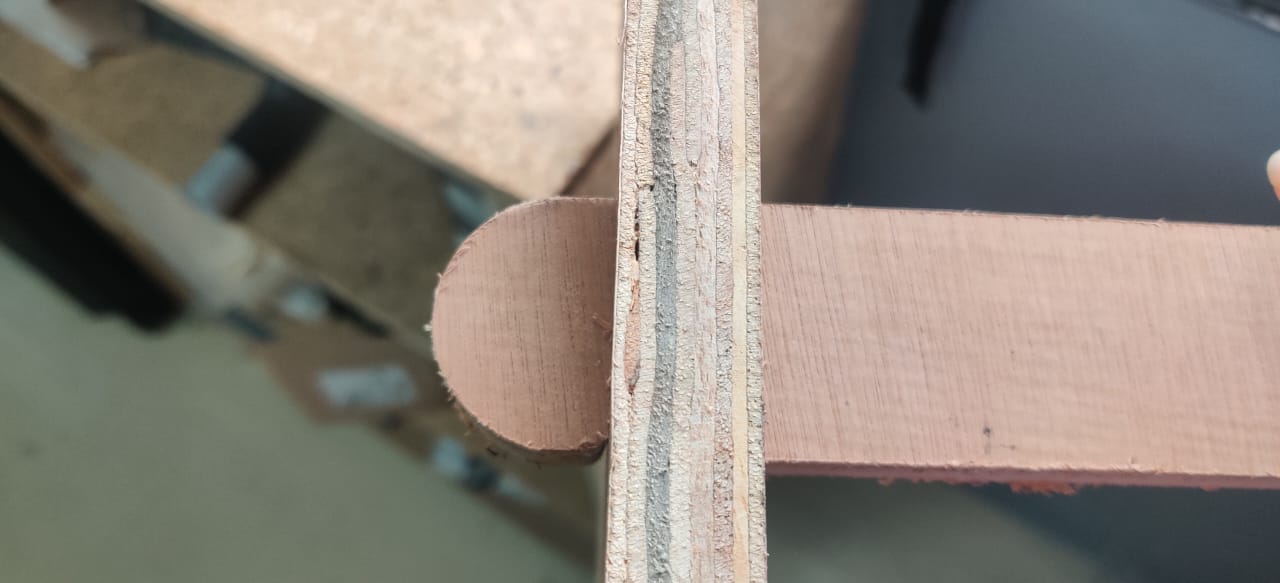
- Then tried the 2nd crossbeam that I cut which was using "Outside" vector and it fit perfectly, without any gaps.
- Now knew exactly what I needed to do while cutting the rest of the crossbeams.
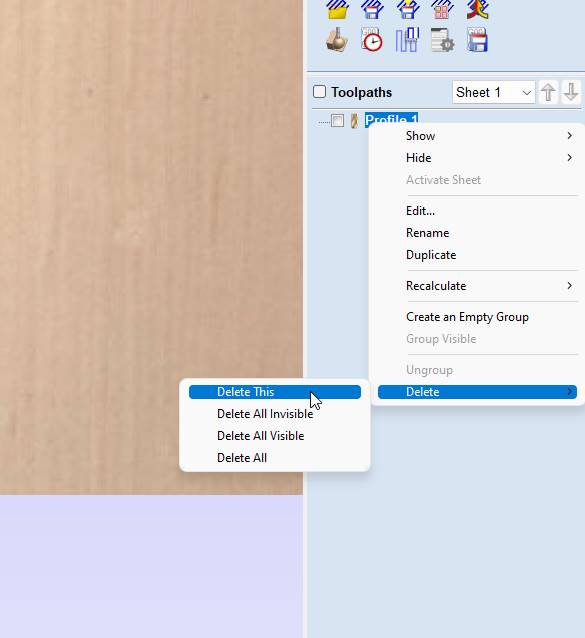
- Went back to VCarve Pro and deleted the existing toolpath.
- Then selected the rest of the components to be cut and generated toolpath. Then saved the toolpaths in a file.
- After that started cutting.
- After the cut, it needed little bit of sanding to do.
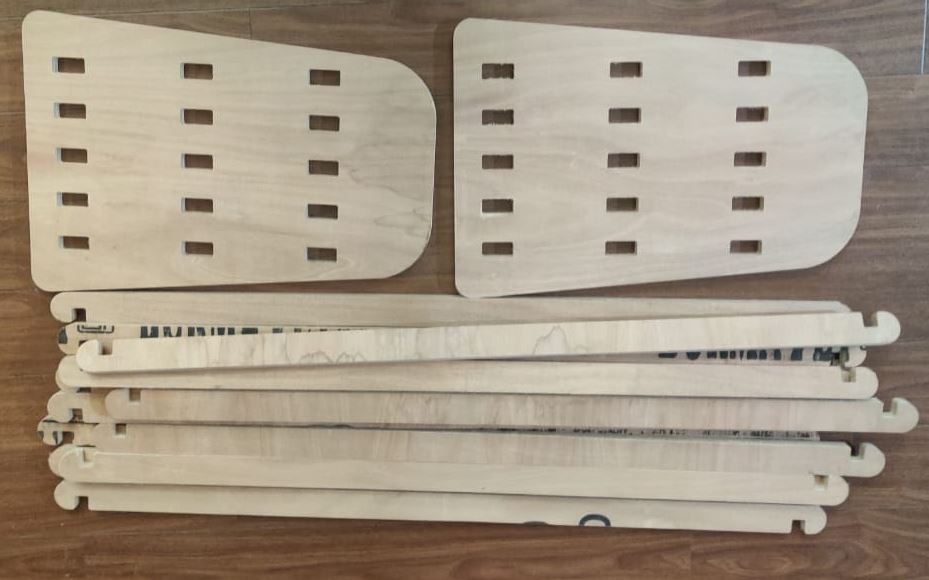
- These are the parts for my shoerack.
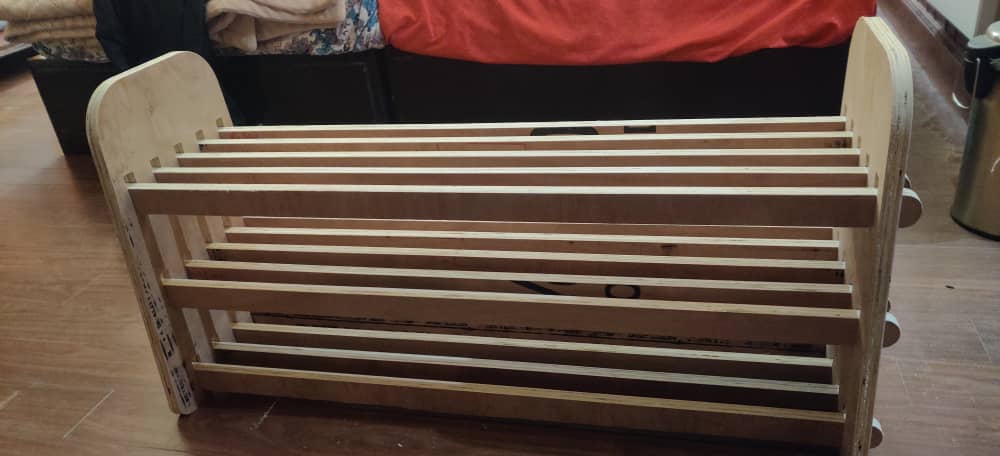
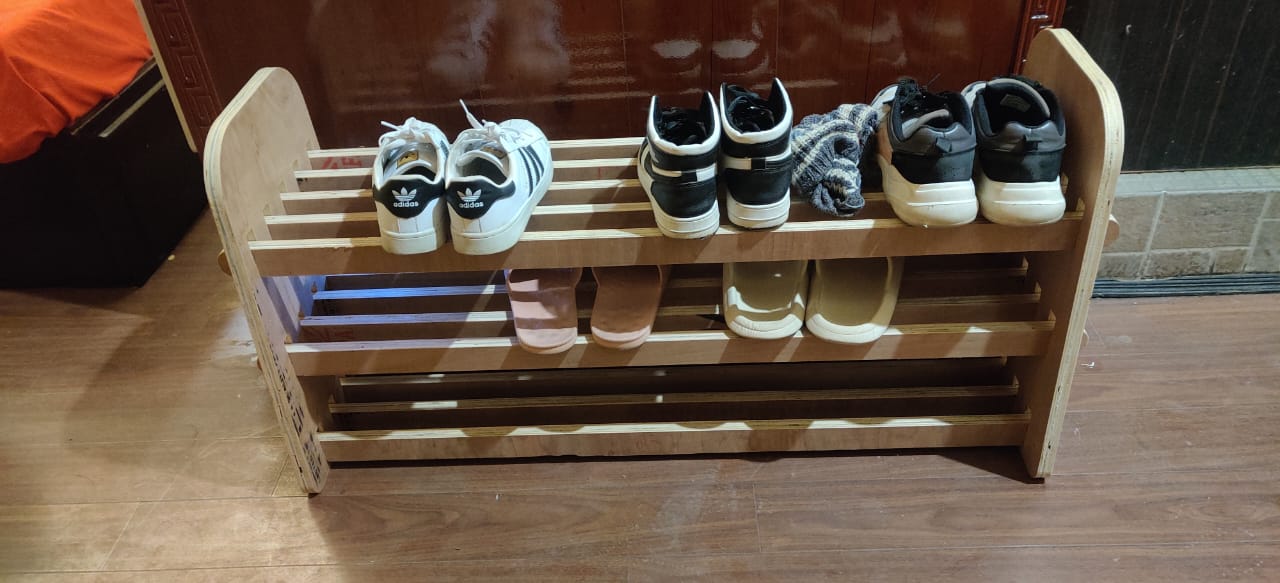
- Started assembling my shoerack. It took me 10 mins to assemble the whole thing. I had my friend to help me.
- Finally was done and this is how it looks. Here are some pictures of my shoerack
Individual Assignment
Designing my Shoerack In Fusion 360


Setting Shopbot
Using VCarve Pro

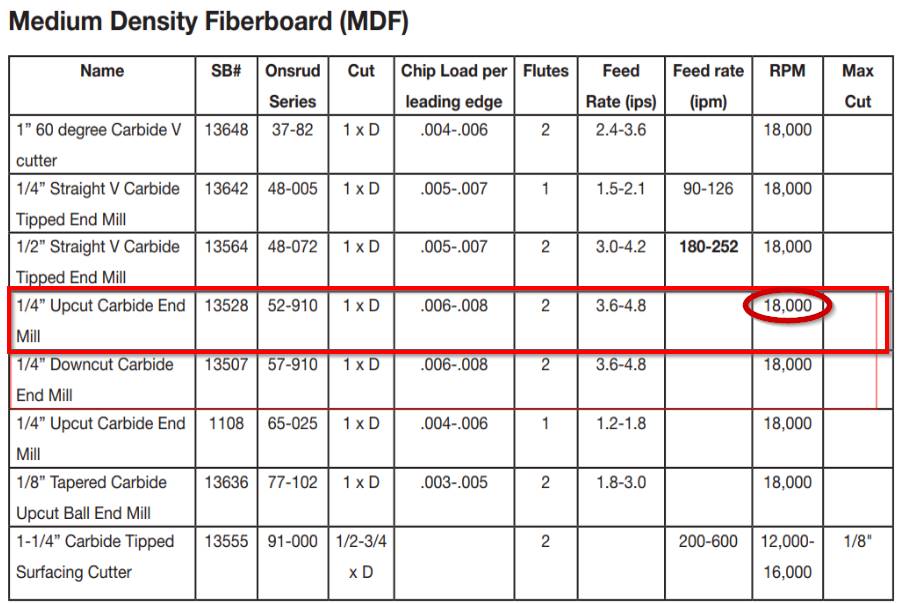
Milling Settings