3D Scanning and Printer
Task for Week 5
- Group Assignment
- - Test the design rules for 3D printers.
- - Documenting the work to the group work page and reflecting on our individual page what we learned about characteristics of our printer.
- Individual Assignment
- - Designing and 3D printing an object (small, few cm3, limited by printer time) that could not be easily made subtractively.
- - 3D scan an object (and optionally print it).
Group Assignment
Link to our group assignment is here
My take away from the Group Assignment
- It was a great experience for me since I got to learn about the workflow of 3D printing which was fasinating.
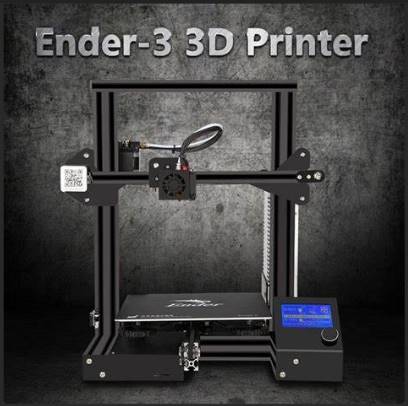
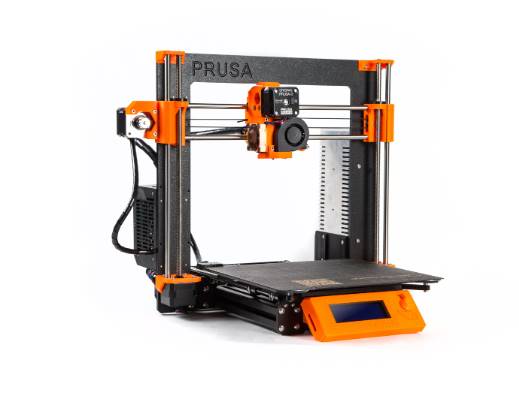
- In our lab, 2 types of printer was working which was the Enders and Prusa.
- I learnt about Filaments which was the material with which the 3D printing was done. There are different kinds of filament like PLA,ABS,PET and so on.
- The file type that the 3D printer uses are STL,OBJ,AMF. So had the idea that we need to convert our design file to stl.
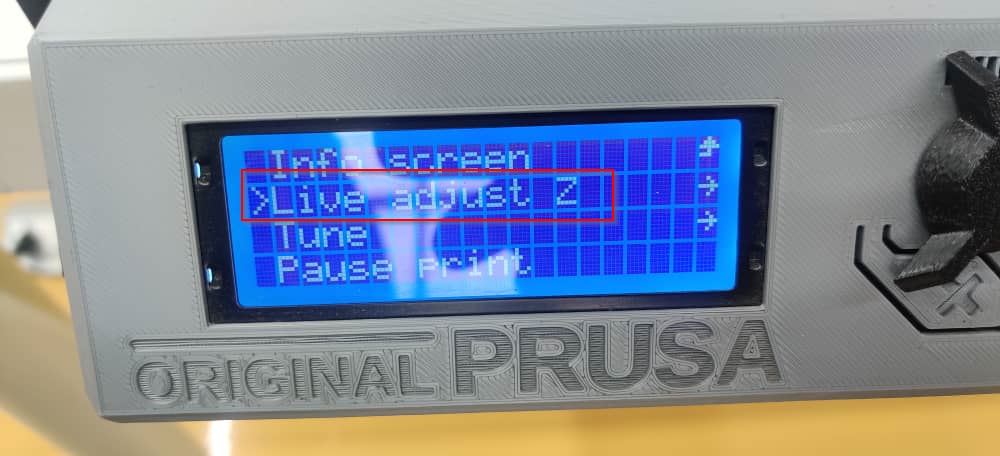
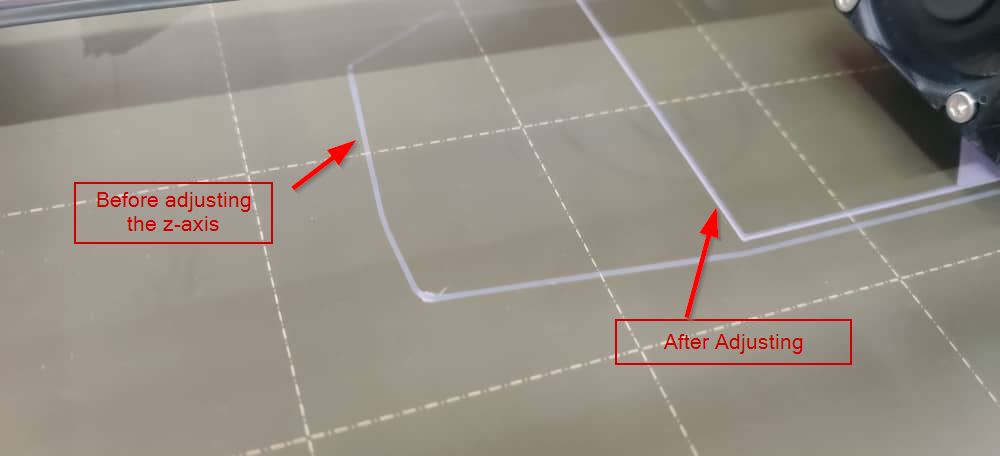
- While extruding the filament during printing, sometimes it so happens that the z-axis is in the right place where the print seems light and not prominent.
- So to solve this problem, we can adjust the z-axis while printing.
- After adjusting the z-axis, we can now see that the print is more prominent.
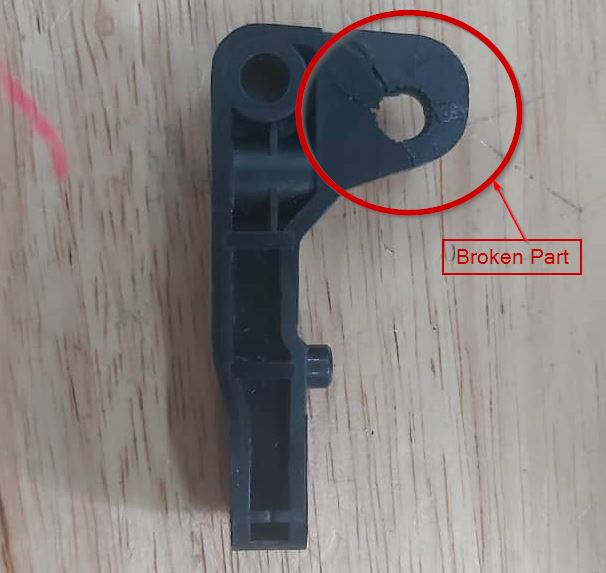
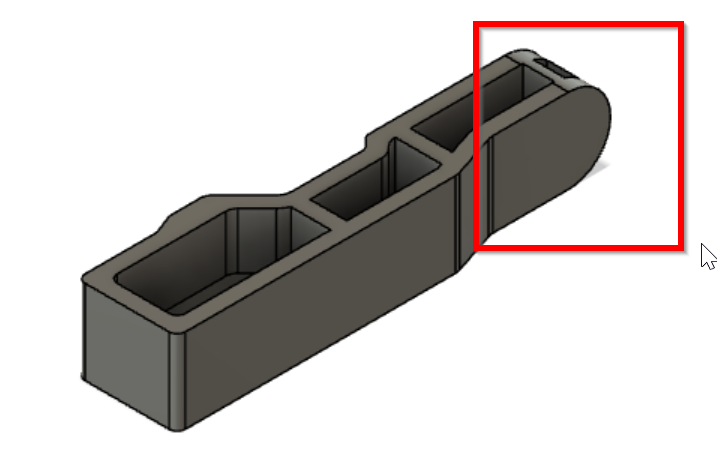
- This is the image of the 3D printer part which was broken
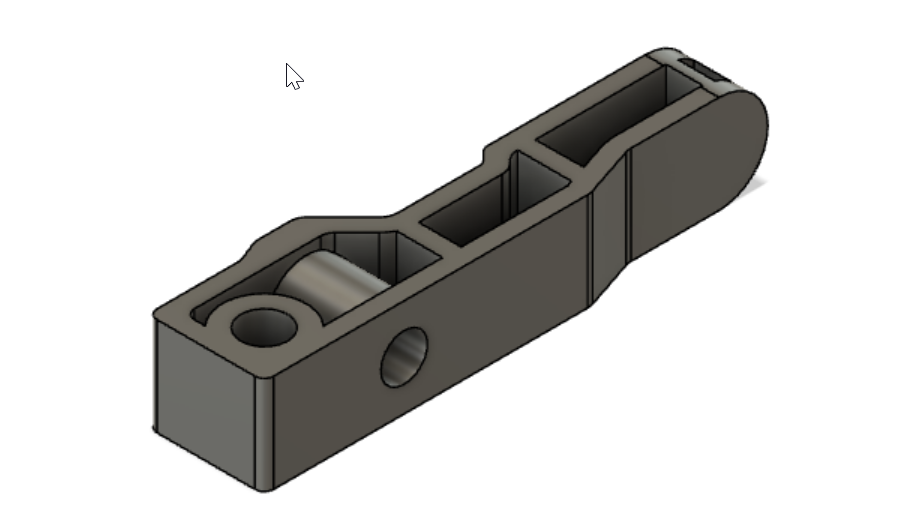
- So to design, first I created a sketch using line command, and drew a shape that was same as the 3D part.
- Then extruded the shape and to create a hollow, again sketched the shape on top of the shape.
- After that used the Shell Function to create the hollow.
- Then used Fillet to create the moon shaped curve at the top.
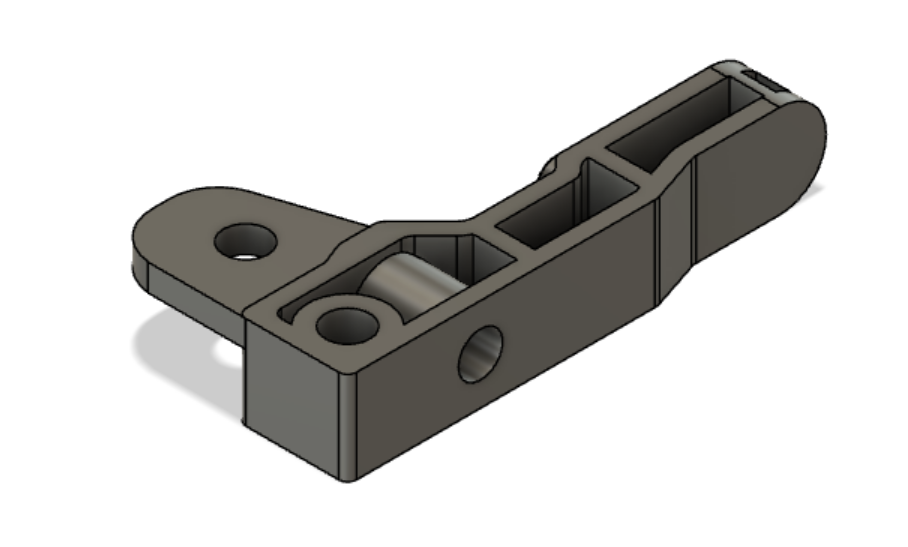
- After that to create rest of the holes, drew sketch on it and used the extrude function then used Hole Function.
- Then did the rest of the design using extrude,fillet,hole and joint. Then my design was completed
- Here is a short video of the design
- PrusaSlicer is a slicer software which has several features, frewuently upadated with tools that is needed to export perfect files for 3D printing.
- After designing, need to use a slicer, slice your design and get g.code files to finally execute with printing.
- PrusaSlicer is an open source software so we can download it online for free and the link for the download is here
- First I downloaded PrusaSlicer for windows.
- Then installed it and went with the default setup.
- This is the how the prusaslicer looks like
- These are some of the default features of the slicer.
- I imported my design in the slicer
- I didnt make any changes to the size of the design since my design size was accurate.
- Then selected the print settings to 0.20mm Quality.
- Selected the filament type and the printer. Gave 60% infill to have a stronger output.
- Then started slicing.
- After the slicing is done, it gives you the slice info. It gives you details about the estimated time taken and the cost too.
- Then if there is no error with the design and everything looks good, we can now export the g.code to the sd card of the 3D printer.
- I used the Prusa printer to print my 3D design.
- First I preheated the bed and the filament.
- Then selected my file to be printed from SD card and started printing.
- I didnt change the filament of the 3D printer since I liked the one already loaded in the 3D printer.
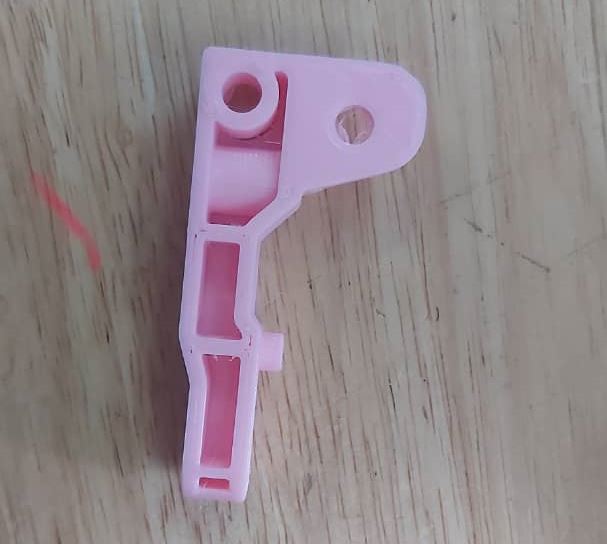
- It took me 1 hour to complete printing the design. Here is the printed design.
- The print was great. I didnt try assembling the part to the 3D printer. When I do so, I'll update here about how it turned out.
- As you can see, to fit it to the 3D printer, the dimension of every corner of the model needs to be precise which can only be obtained by the additive manufacturing.
- Since from the image mentioned above we can see the small holes in the model needed to precise and if done subtractively, I wouldn't be able to achieve the right size due to kerf and so.
- First I installed the app in my phone.
- Opened the app, then clicked on the '+' sign to take pictures
- Two options occur, to upload from already taken pictures is for premium. So I went with Clicking pictures.
- It shows how many images will be acceptable(20images) for 3D scanning and and how many are good(70images). To add more pictures than 70, we have to buy the premium version.
- First I tried scanning a Flower vase. This is the Picture of the Vase that I'm going to scan.
- It didnt turn out well at all.
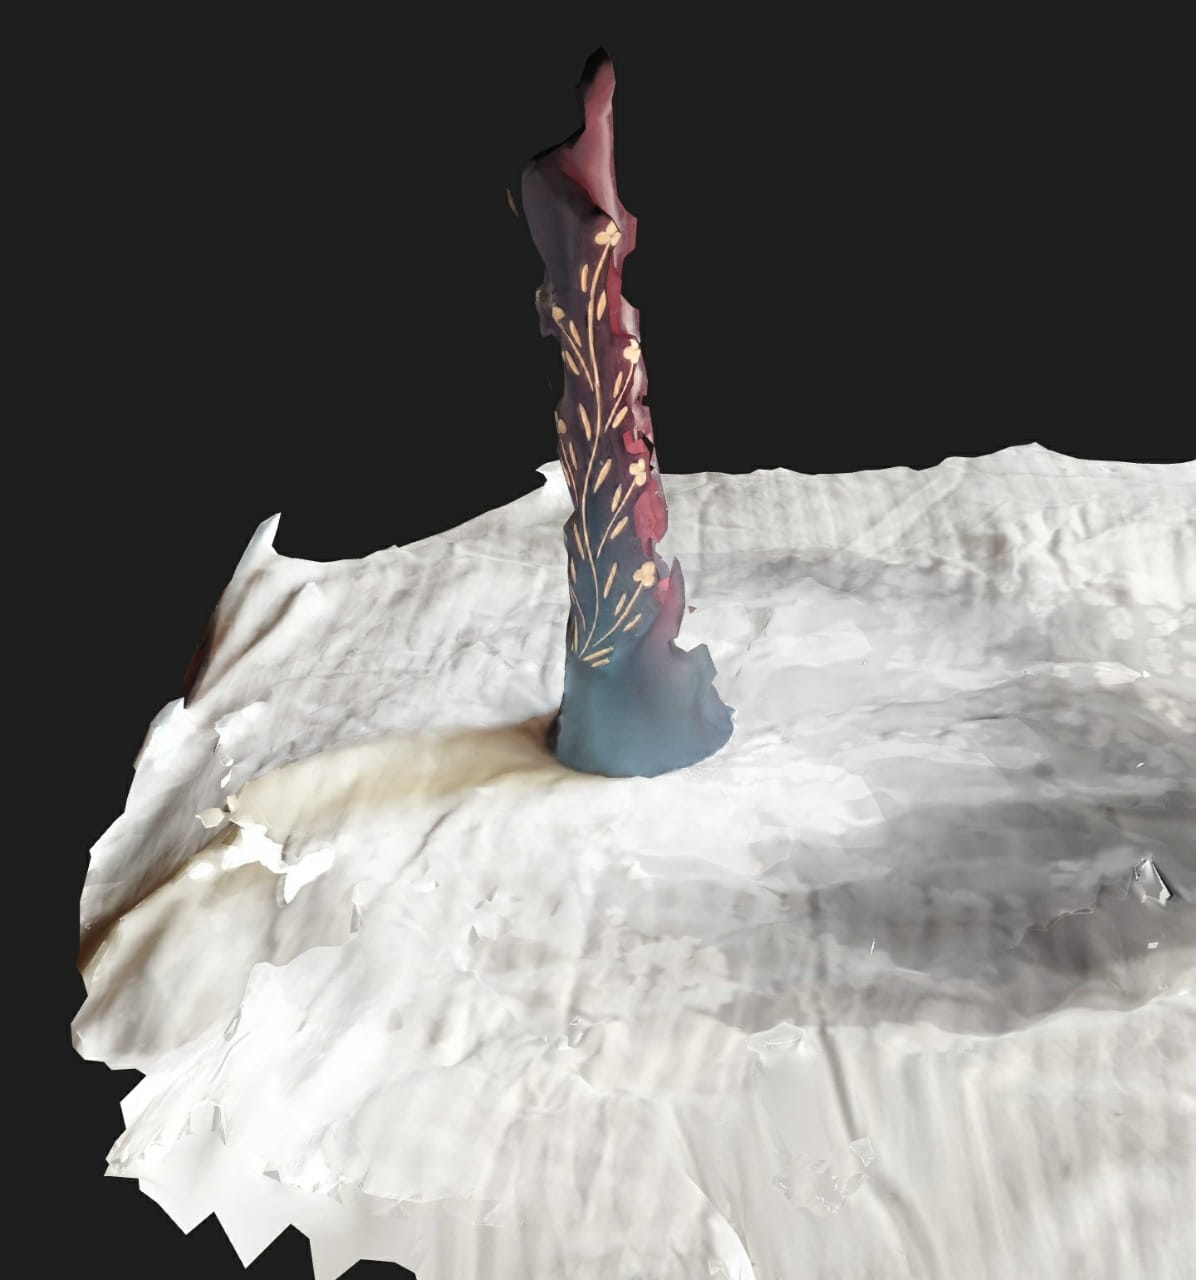
- Then I learnt that we need to have a white surface and background while taking picture of the object.So i again scanned the vase with white background and surface using sheets.This is how my scanned turned out
- This was very near to perfection comparatively but it wasnt the same.
- I'm assuming this happened due to the lighting in my room. All the tubes in my room are some kind of orangy.
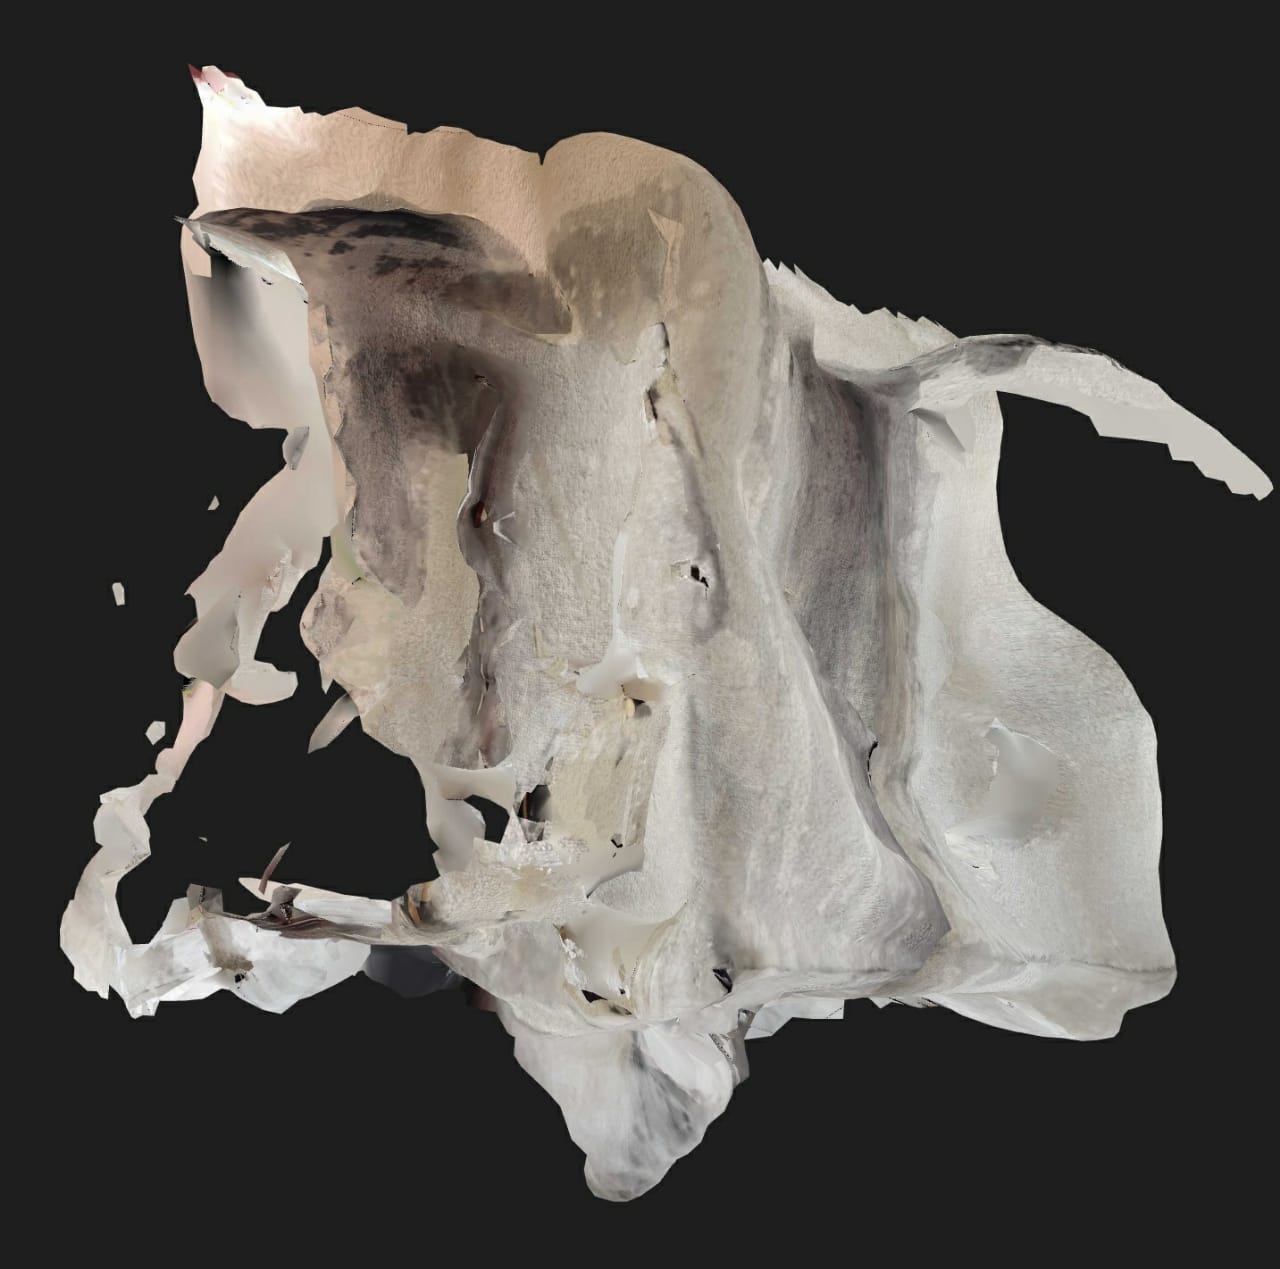
- These are some failed scanning I did.
- Even though my scanning was a failure, I still decided to go ahead and download the stl file for the design.
- To do that, clicked on the "Export"
- Then the app sends the design file in the provided email.
- Then opened my mail and got my design and started downloading.
- the design gets downloaded in a zipped folder.
- I'll try next time in a better environment. This week scanning wasn't a sucess sadly.
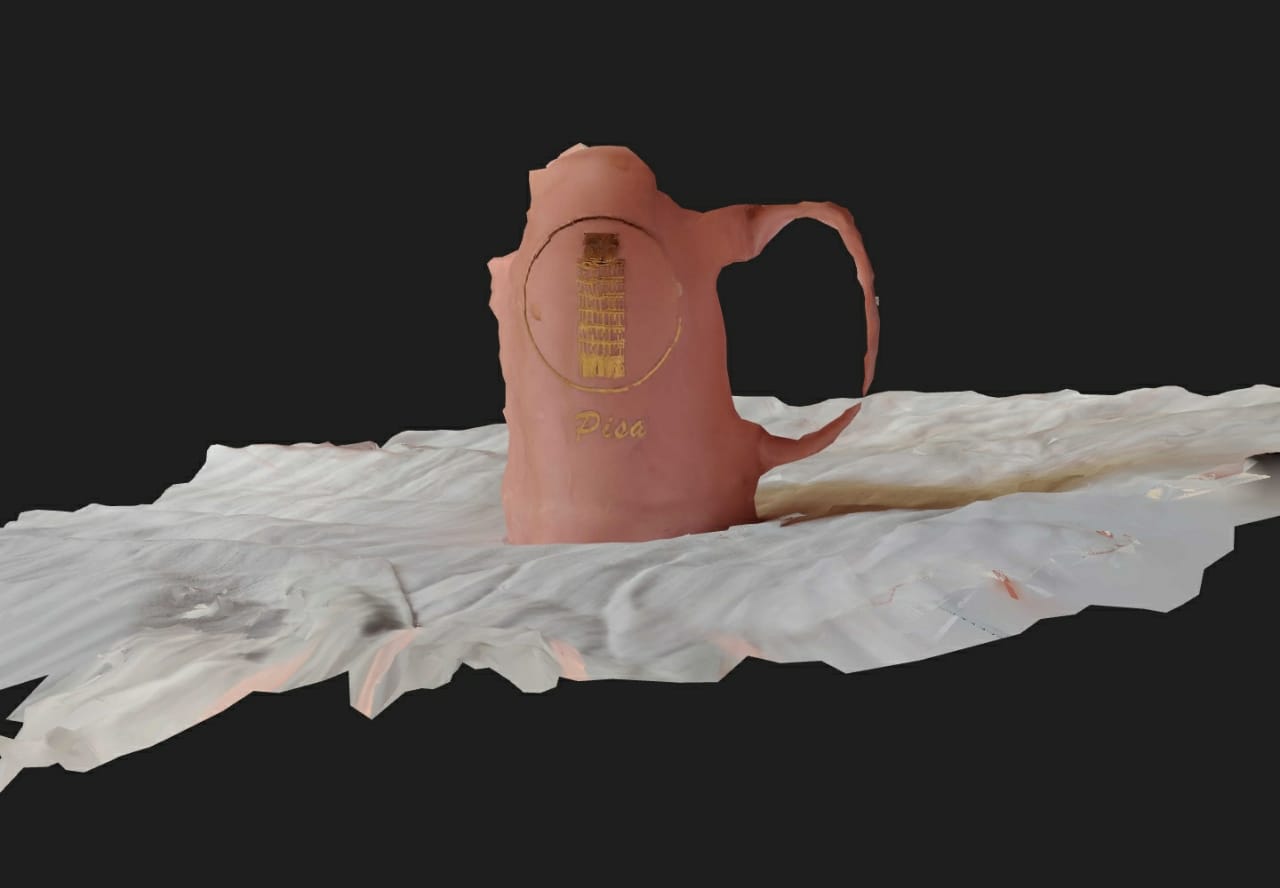
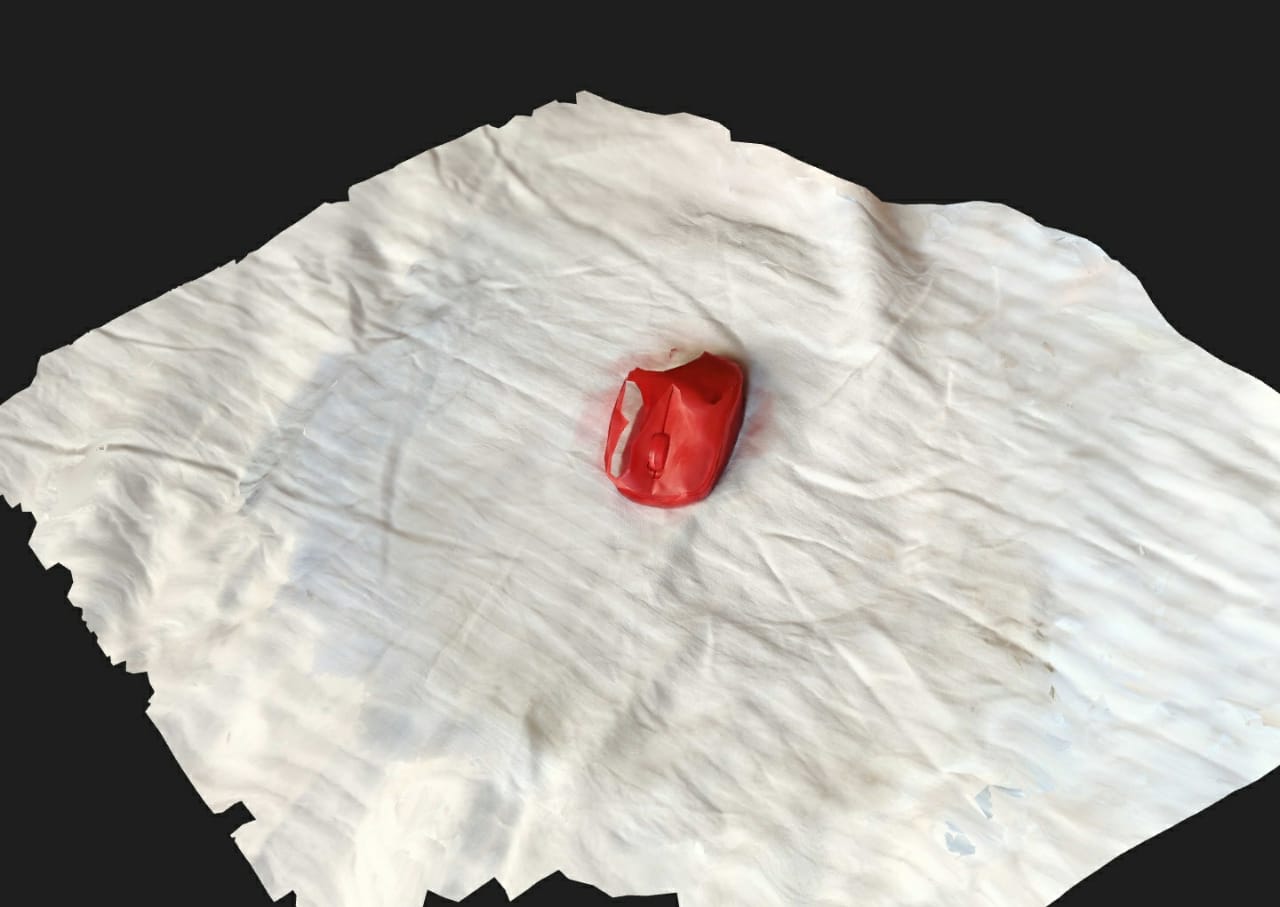
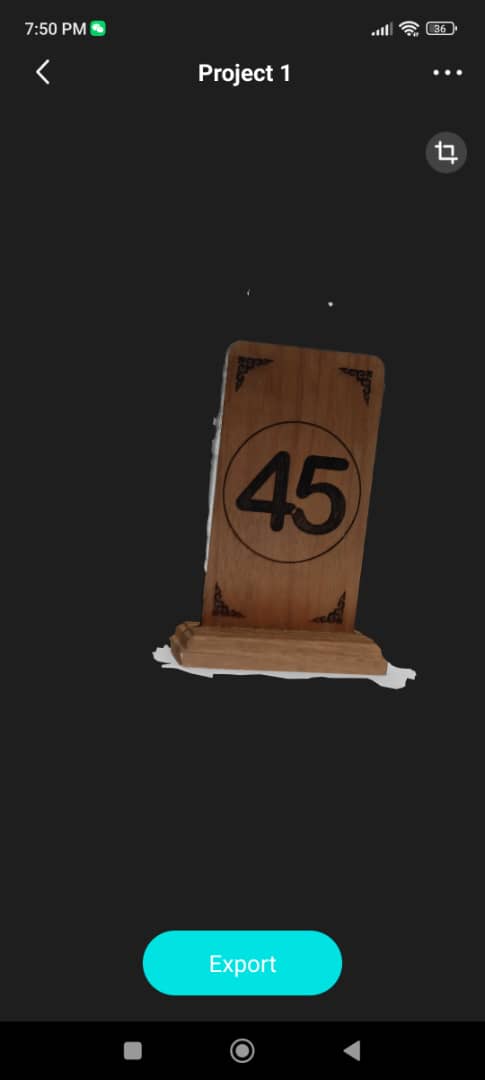
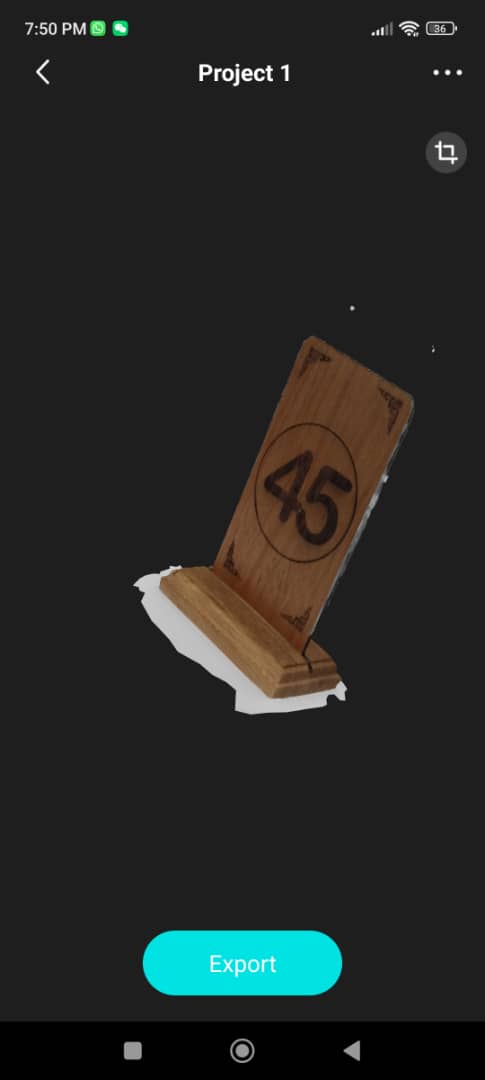
- I tired again with a different object. With a little of patience and correct lighting, it finally worked.
- 3D Part
Individual Assignment
3D Design
I used Fusion360 to design. This week for the assignment I decided to design a 3D printer part which was broken.


Learning about PrusaSlicer


3D Printing


Why My Model couldn't be Made Subtractively??
3D Scanning
The 3D scanning I used it Kiri Engine app from my phone since the 3D scanner in our lab wasn't working.
This Scanner is a open source and free for download. It has a premium version which has to be bought.


