Computer Controlled Cutting
Task for Week 3
- Group Assignment: Characterize your lasercutter's focus,power,speed,rate,kerf,joint clearance and types.
- Individual Assignment: Cutting something using Vinyl Cutter.
- Designing, lasercut and documenting a parametric construction kit,accounting for the lasercutter kerf, which can be assembled in multiple ways.
Group Assignment
Link to our group assignment is here
Power and Speed Test
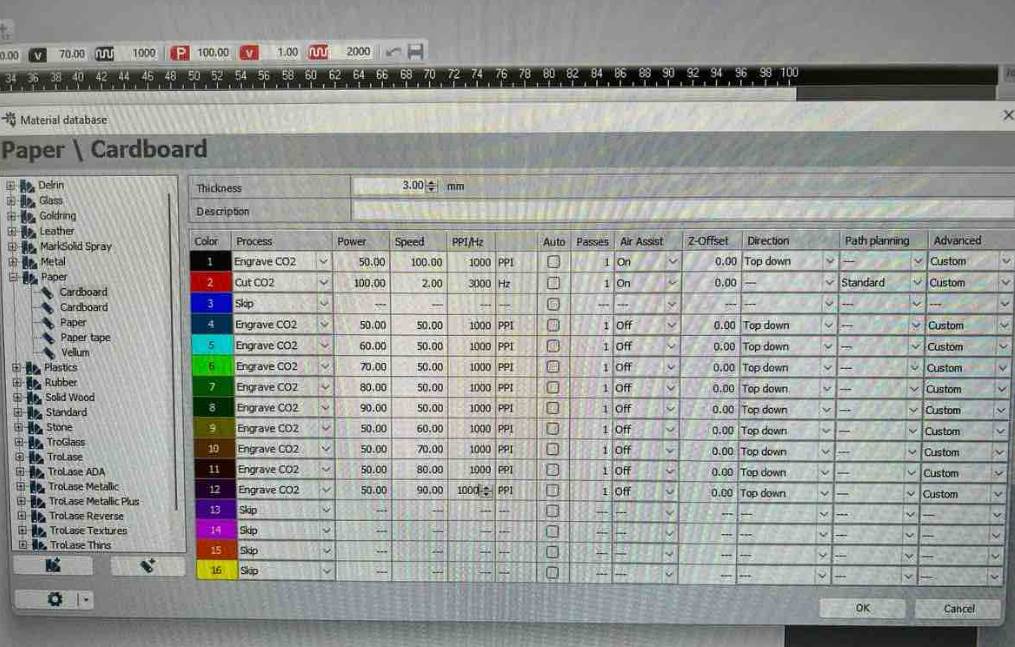
- For testing the Power and Speed of the machine, first we drew multiple circles in Inkscape. In trotec, we can cut using different power and velocity for a set of design by assigning color code for certain colors.
- So assigned different functions and parameters to each of the colors.
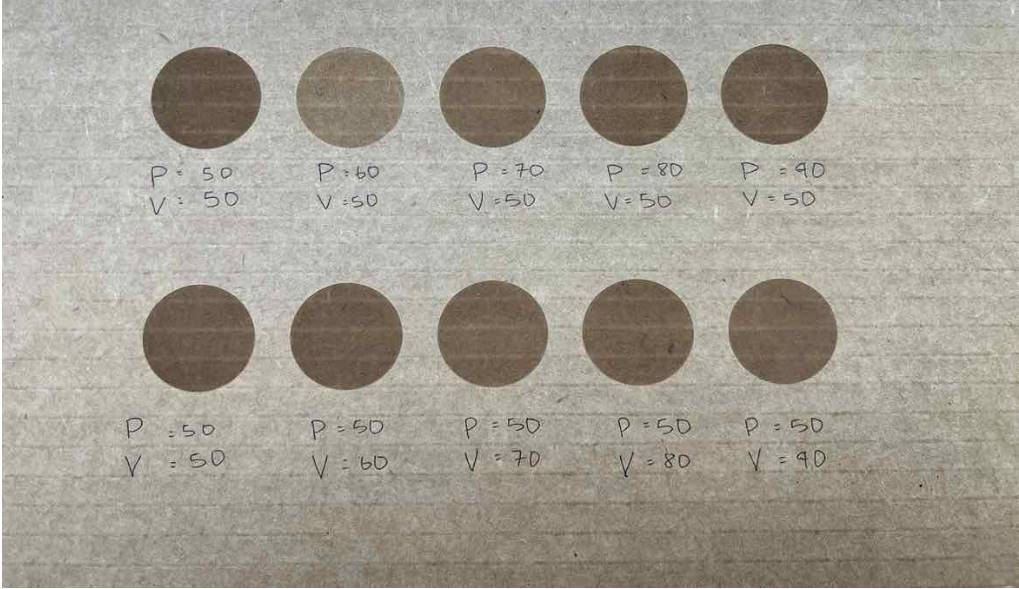
- And here it turned out like this and we label each circle with its designated power and velocity.
- Noticed that lower power and higher speed makes a shallower and thinner cut, while higher power and lower speed makes a deeper and wider cut. For cutting cardboard, it's best to use a lower power and higher speed setting on a laser cutter since it will help prevent the cardboard from burning or catching fire, while still producing a clean and precise cut.
Kerf and Joint Clearance
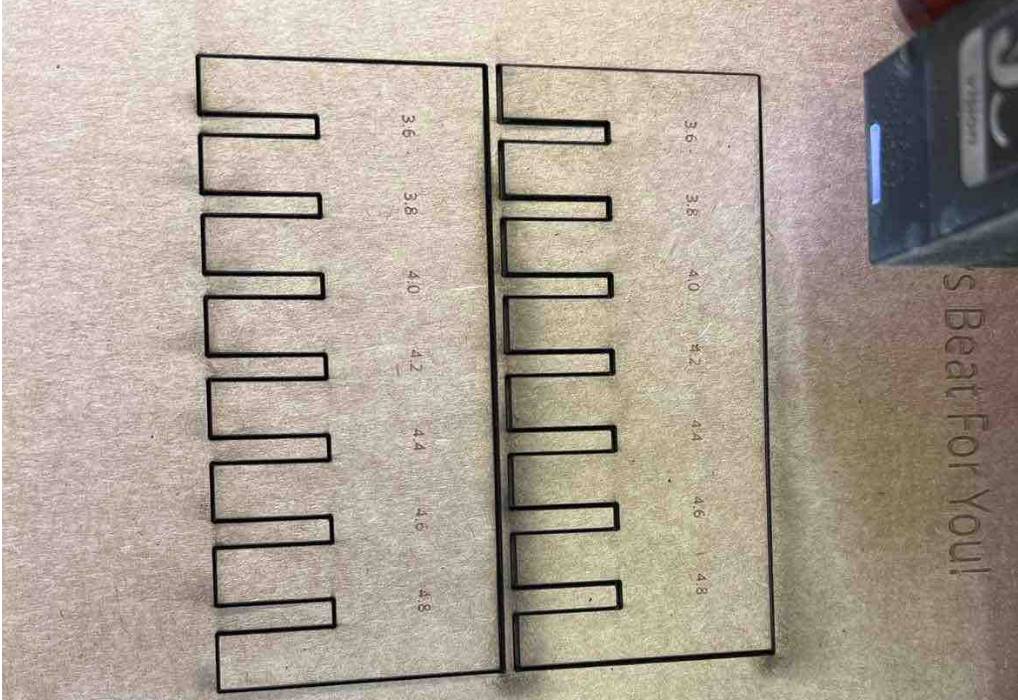
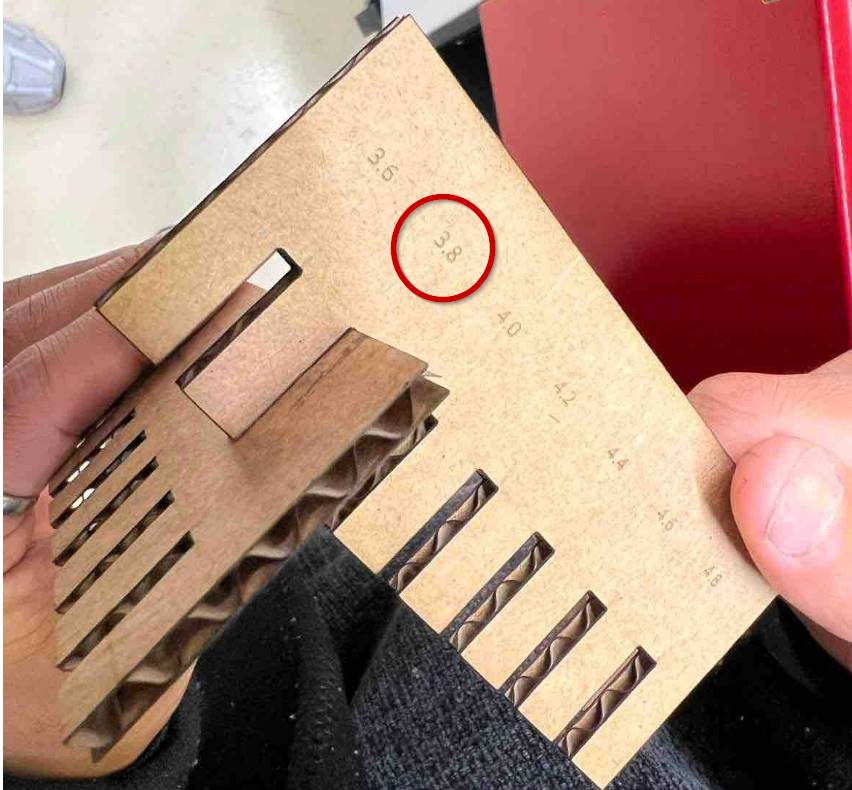
- To check and find out about the kref and joint clearance for the cardboard we had, we made two comb whose gap ranging from 3.6mm to 4.8mm since the thickness of the cardboard was 4.1mm.
- We tried fitting it to see which size fits the best and found out that 3.8mm gap was the best fit for this cardboard.
Individual Assignment
Working with Vinyl Cutter
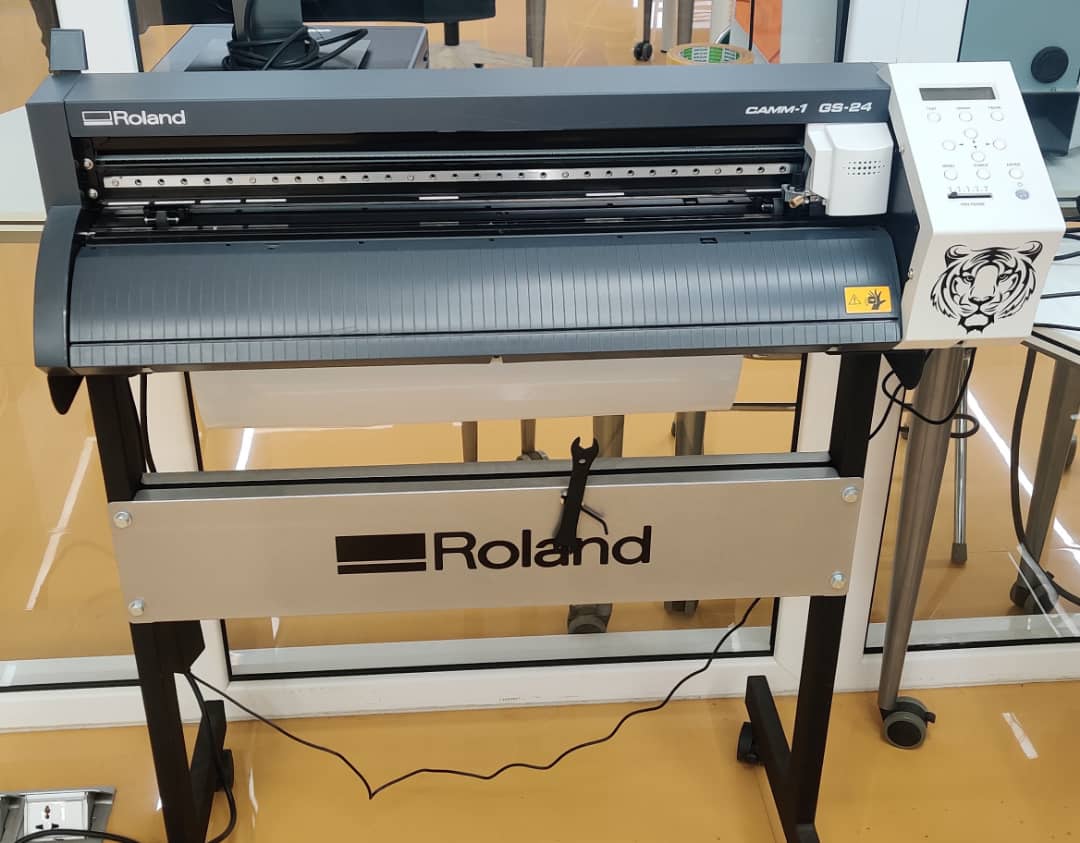
Vinyl Cutter
Vinyl cutter is a machine which is controlled by computer, it cuts different shapes and letters into thin-adhesive plastic sheets(vinyl).Computer designed Vector files are directly cut on the roll of Vinyl which is mounted and fed into the vinyl cutter through USB or Serial cable.
This machine is mainly used to make signs, banners and advertisements. I personally used it to make laptop and phone stickers during my Pre-Fab training.
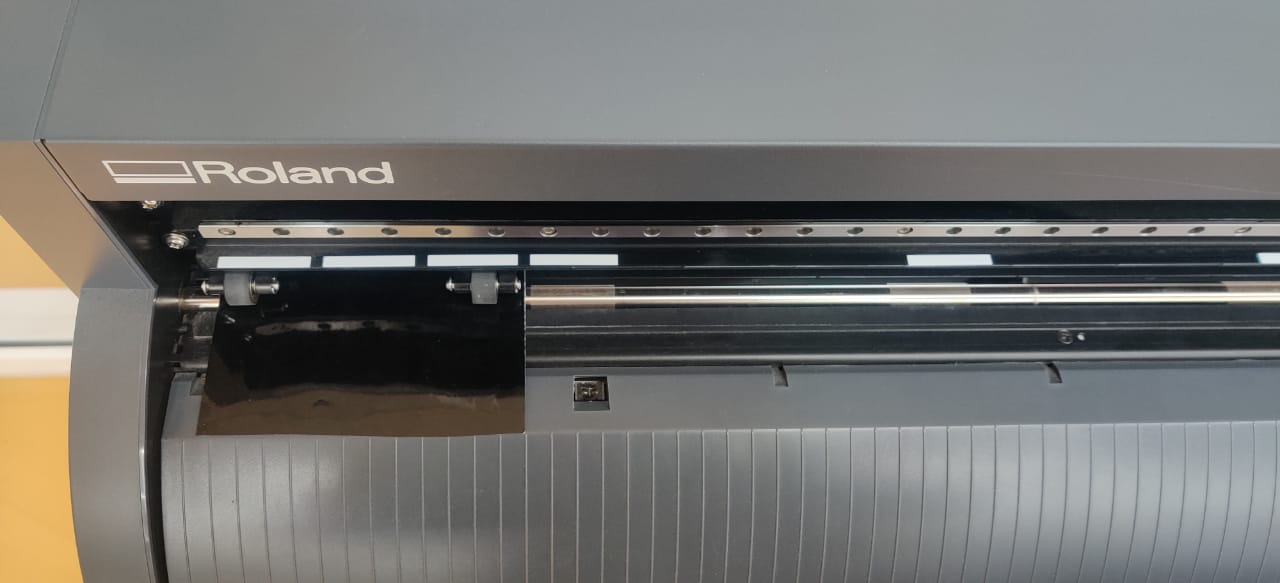
Shown below is the vinyl cutter which we have in our Lab.
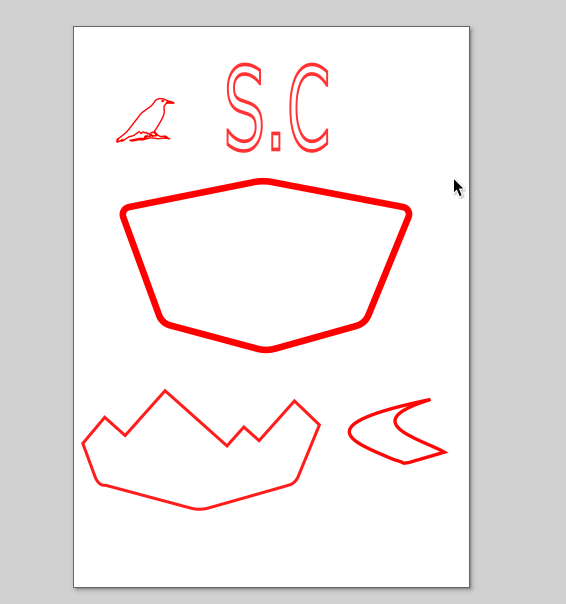
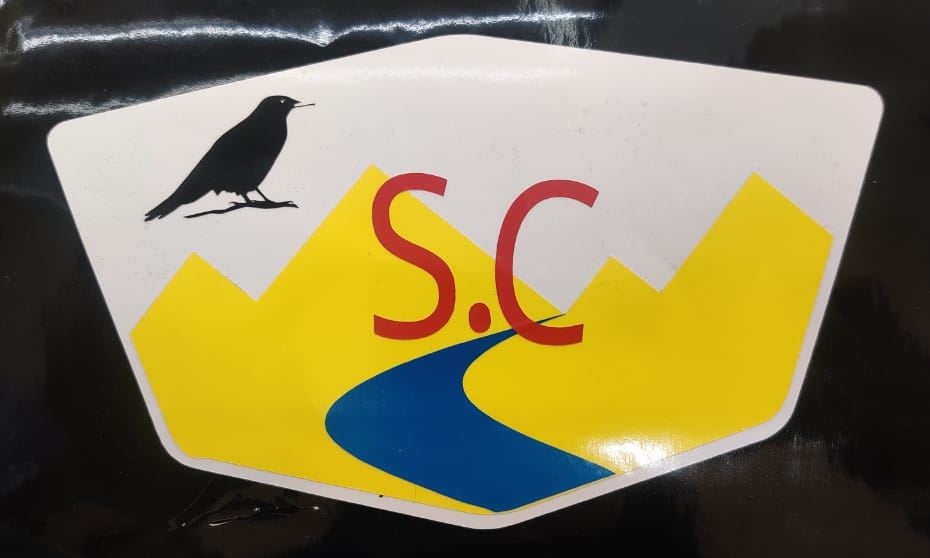
I've decided to cut a logo sticker which I had designed using Inkscape in Week 2, which is actually for my final project.

- - First since I had several layers of designs to be taken care of. I segregated all the layers differently.
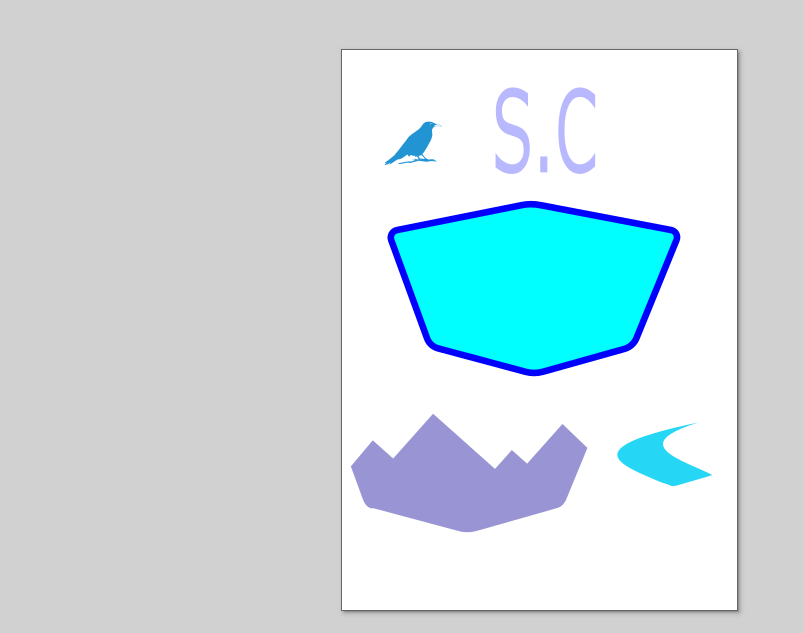
- - Then I changed the color of Fill and Stroke to let the machine understand my design.
- - I was going to use different colors for different layers so that my design will look nice.
- - Then after my design was completed, I started operating the Machine by turning it on.The vinyl cutter is equipped with a thin blade allowing precise cutting.
- - First as instructed by our Instructor, checked the tip of the blade to see whether is was in a good condition and position it right for the cut.
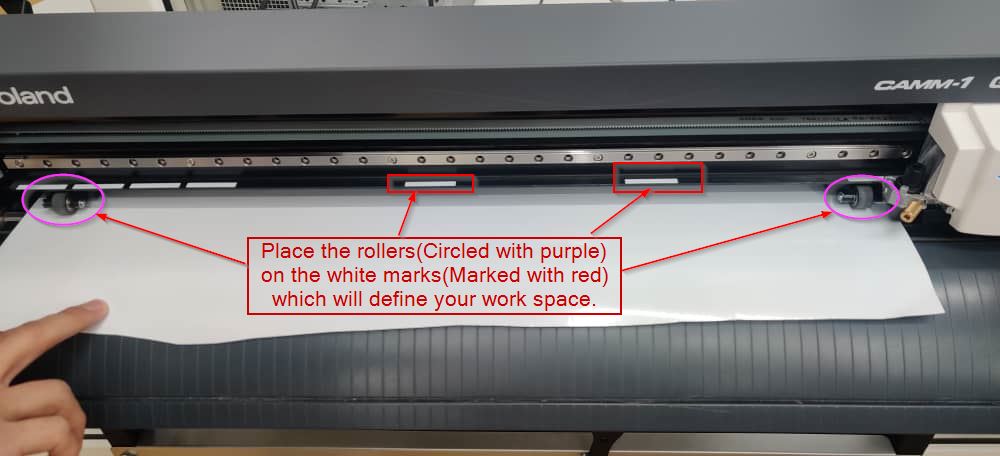
- - Then I placed the Vinyl sheet and placed it on the white mark as shown in the image below.
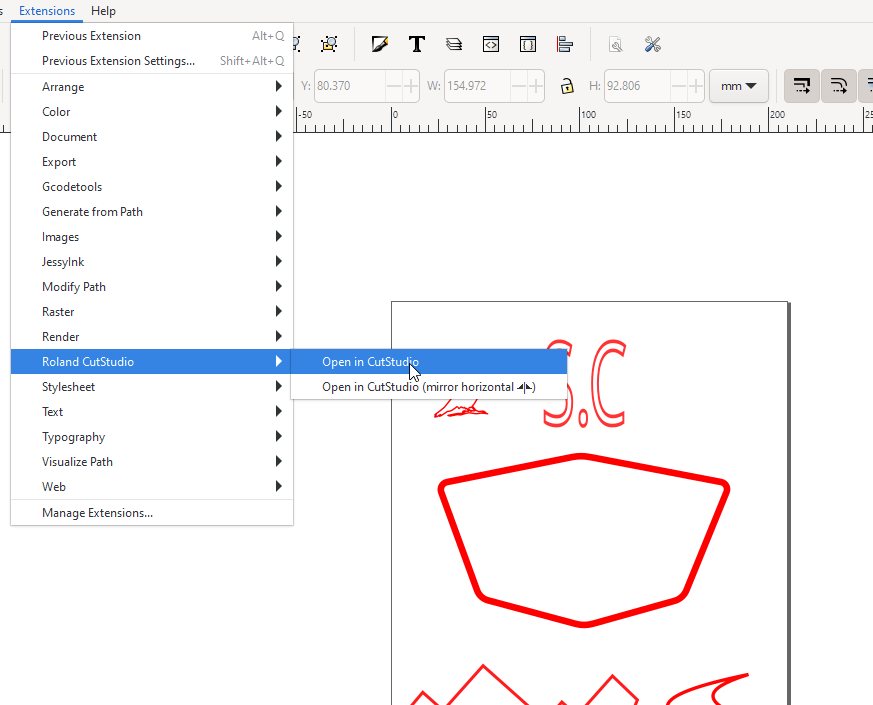
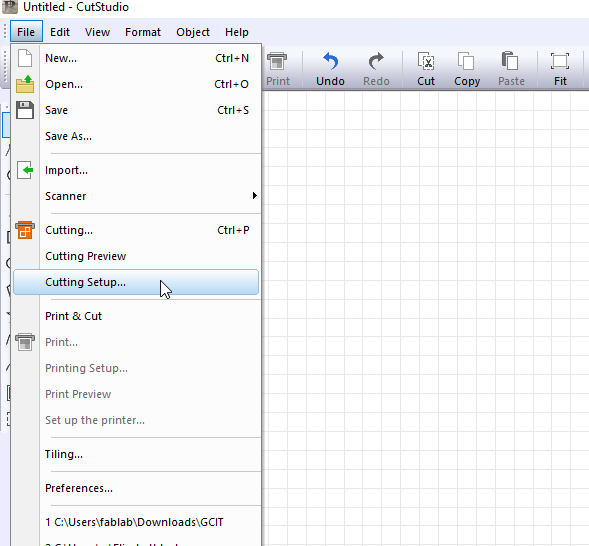
- - Opened my design in Inkscape, from Extensions selected "Roland CutStudio" and opened the design in Cutstudio.
- - Placed my design in the left side corner. Then Clicked on "Cutting setup".
- - Selected the printer. Changed the cutting force to 120gf and rest kept as default. For this printer, cutting force that cut properly was 120gf. When one of my group member used 90gf, he wasn't able to peel the design properly so finally decided to go with 120gf which worked perfectly well. For starters, I would recommend using less cutting force like to start from 90gf then gradually increase and see which cutting force works for your Vinyl cutter.
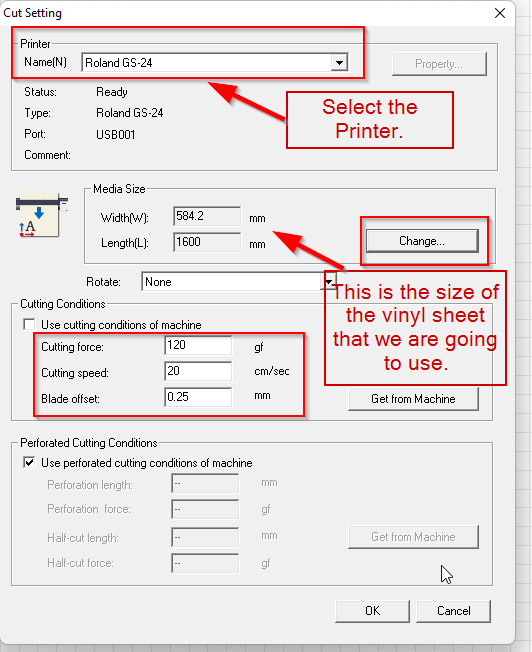
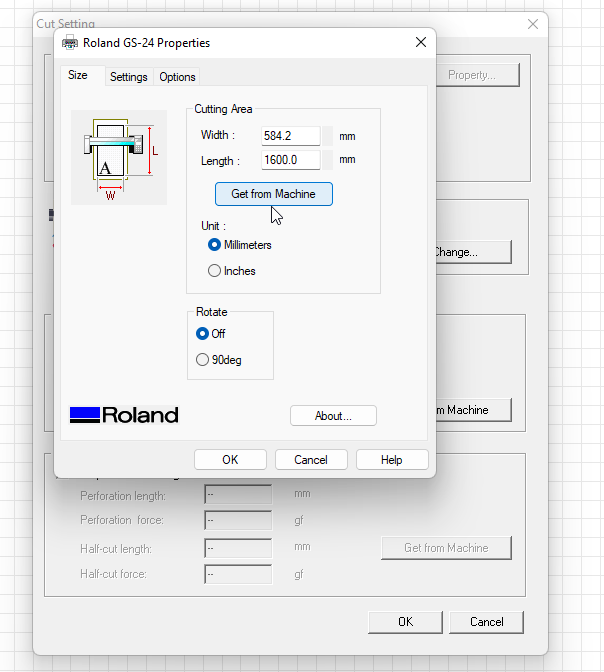
- - Changed the media size and to do so clicked on "Set from Machine".
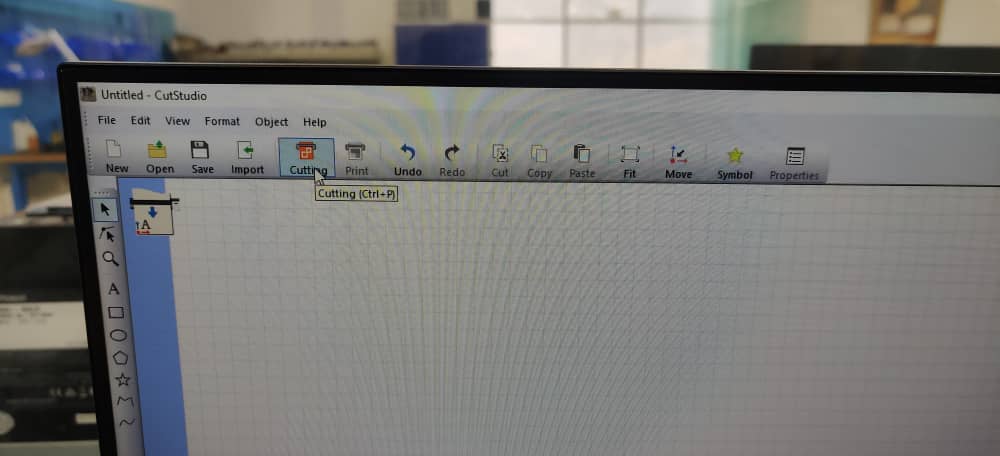
- - After setting up everything, then Clicked on "Cutting" and Clicked "Ok" to proceed with Cutting.
- - I did the same with rest of the layers and changed the Vinyl color according to my requirement. There were about 5 colors of Vinyl sheet in the lab. Made use of them.
- - After getting all the layers cut. Now it was time for weeding. Which means taking out the required parts. I used tweezers to help with the weeding process.
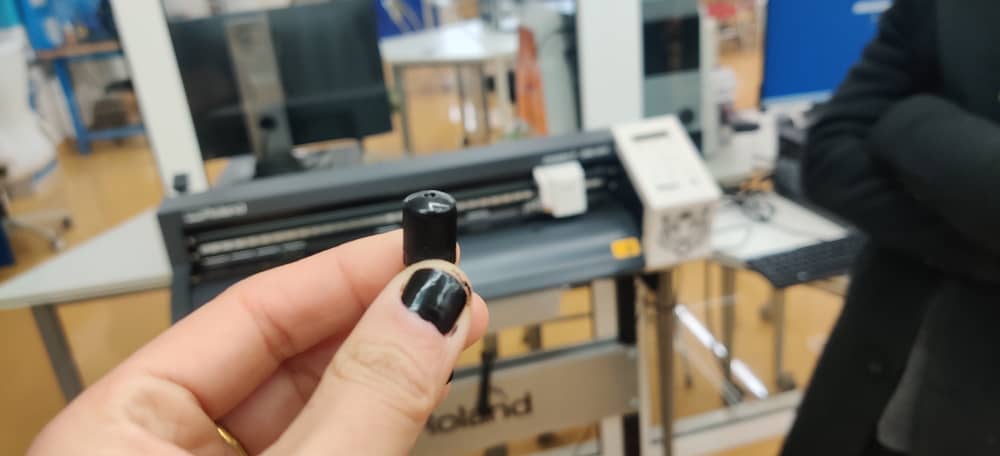
- - This is the Final logo sticker that i cut and layered.
Issues Faced
While cutting different layers for my Logo, since I could find pieces of vinyl sheet in the lab, I tired using one. Since the Piece size was very small, the machine was not able to Load the piece.
This was due to the vinyl sheet not covering the "Camera" of the machine.To solve the issue, I used a bigger sheet and hence the machine was able to load the sheet.
Designing Parametric Press Kit
- For this weeks assignment, I used Fusion 360 for Parametric design. The advantages of Parameters is that if we want to change the dimension of design, we can do that easily by just changing the dimensions in the parameters. We dont have to go one by one over the design to make the changes.
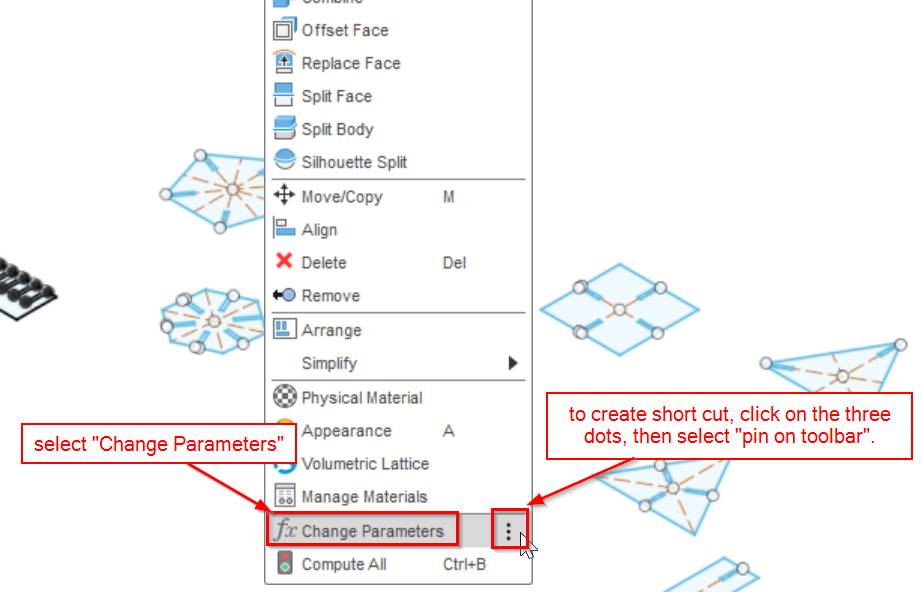
- To add parameters, first you have to go to "Modify" under Solid section.
- Then select "Change Parameters".
- Then click on "User Parameters" to create parameters.
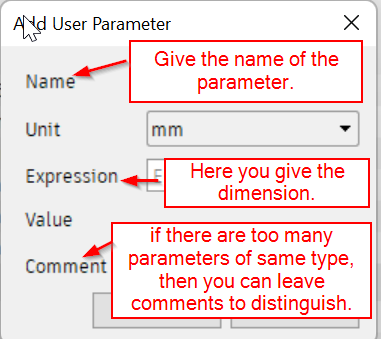
- Then we can give name, dimension and units to the parameter.
- To add parameters, you can again follow the same steps and add on as much parameters as you like.
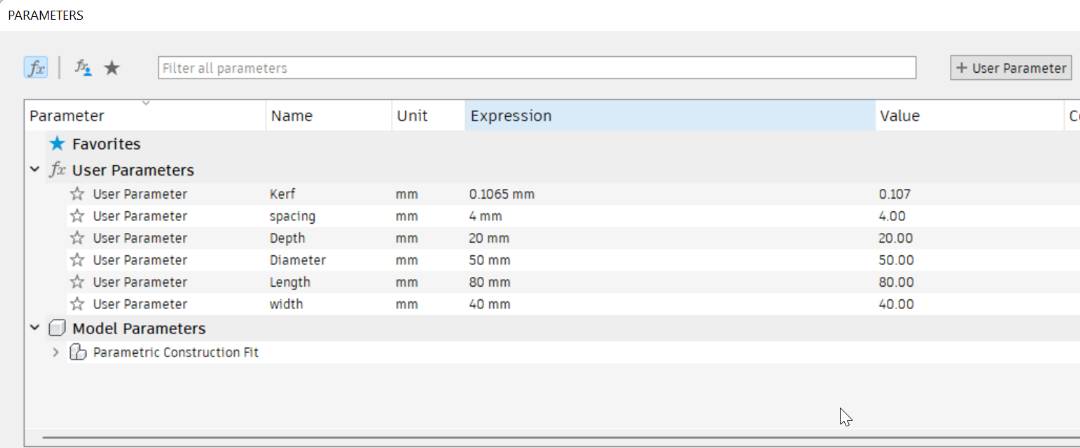
- These are the Parameters I set for my design.
- I selected different shapes and provided them with dimensions using parameters.
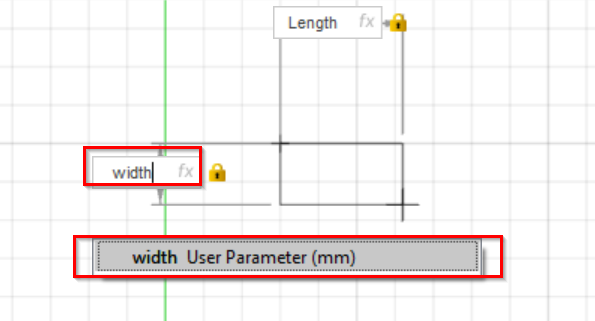
- To give parametric dimensions to shapes or figures, first you select a shape. For example I selected the rectangle from the sketch tool bar and started dragging the rectangle. In the dimension, type the dimension parameter you want to provide, in this case its the "length" and then Press "Tap" to select the other side of the rectangle and give parameters by selecting "Width" in this case.
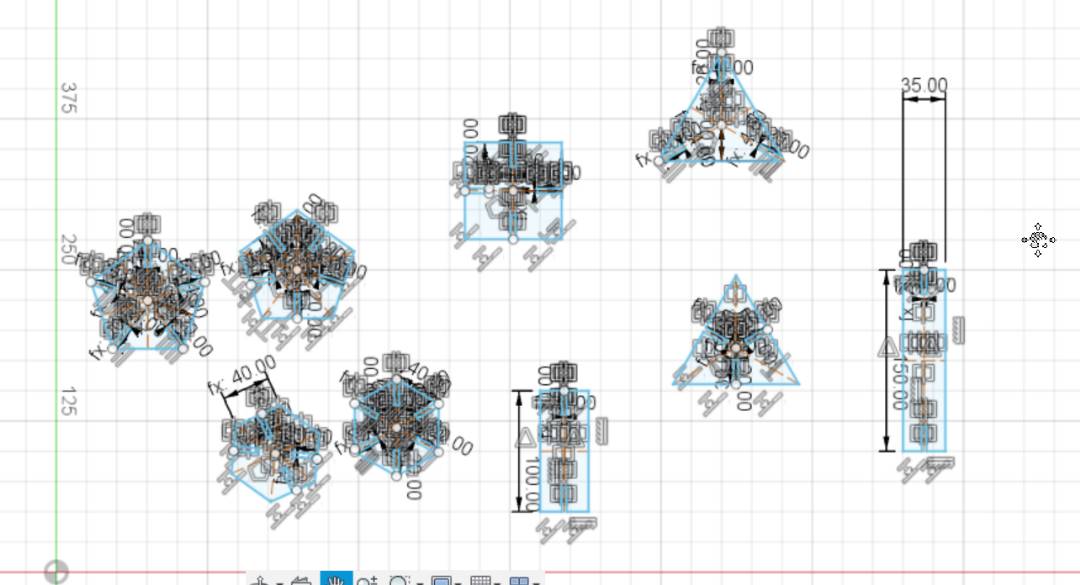
- I didnt have a particular design in mind so I decided to assemble shapes after cutting and giving myself a surprise
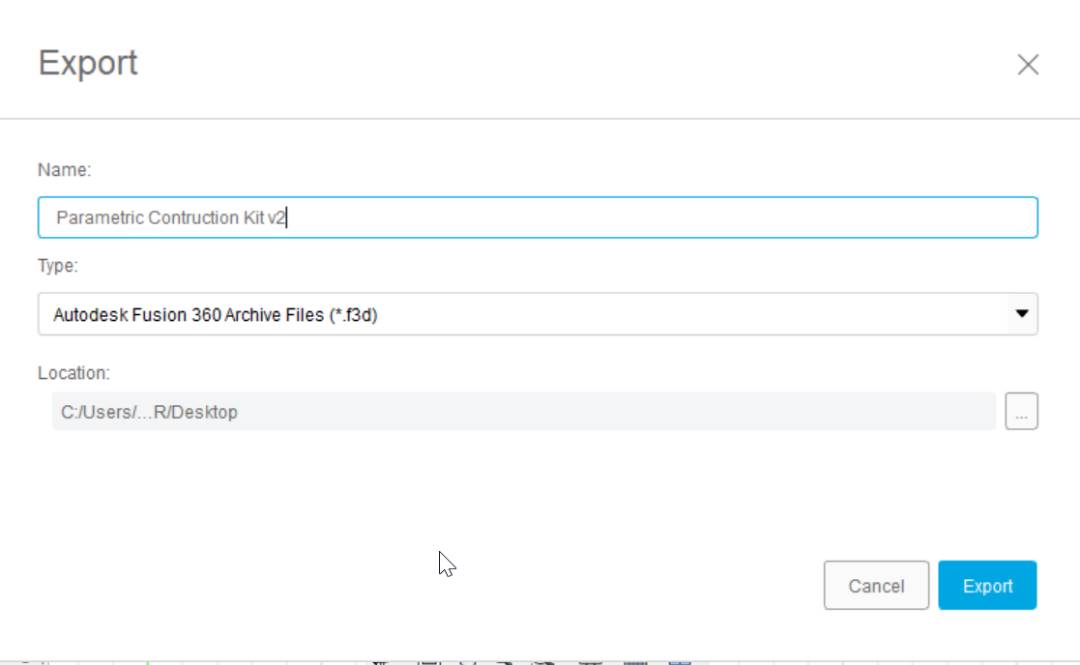
- I exported my design to the desktop of my PC.


Working With Laser Cutter
Laser cutter uses a thin, focused laser beam to pierce and cut through materials to cut out patterns and geometries specified by Designers.
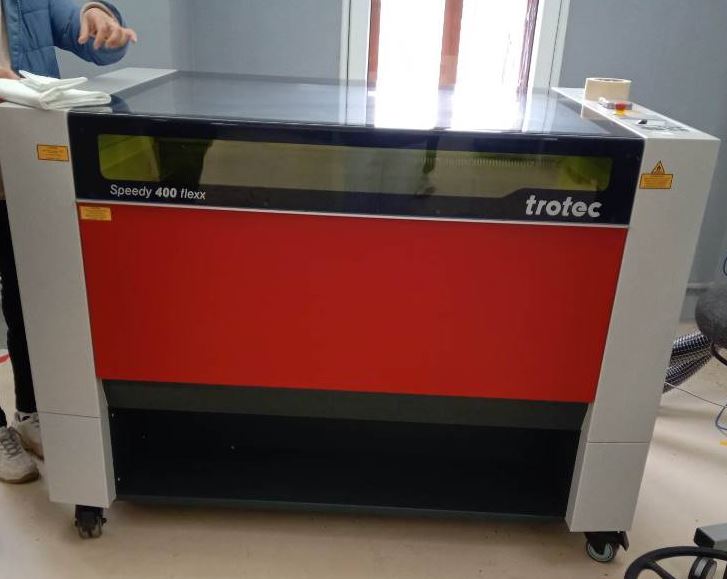
We have two types of laser cutter machine in our lab, Trotec Speedy 400 and Speedy 100. The one I used for my assignment is Trotec Speedy 400.
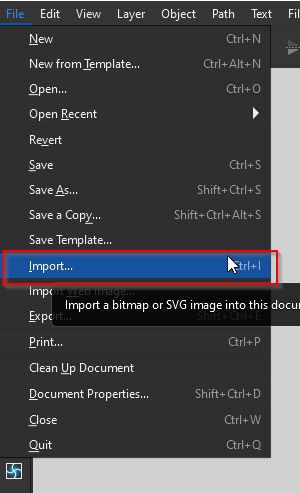
- Then I opened Inkscape and Imported my design.To do that first Clicked on Import.
- Then selected the file to be imported.
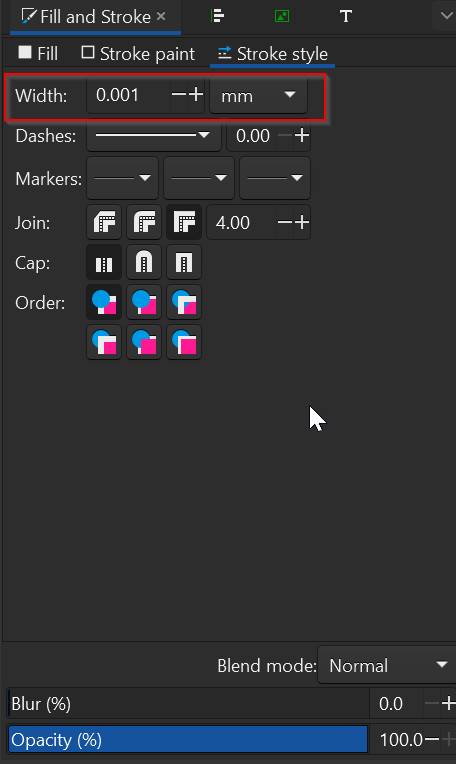
- Changed the Hairline of the strokes to 0.001 mm as instructed by the instuctors to get a precise cut. Change the Color of the strokes from Black to Red for cut.
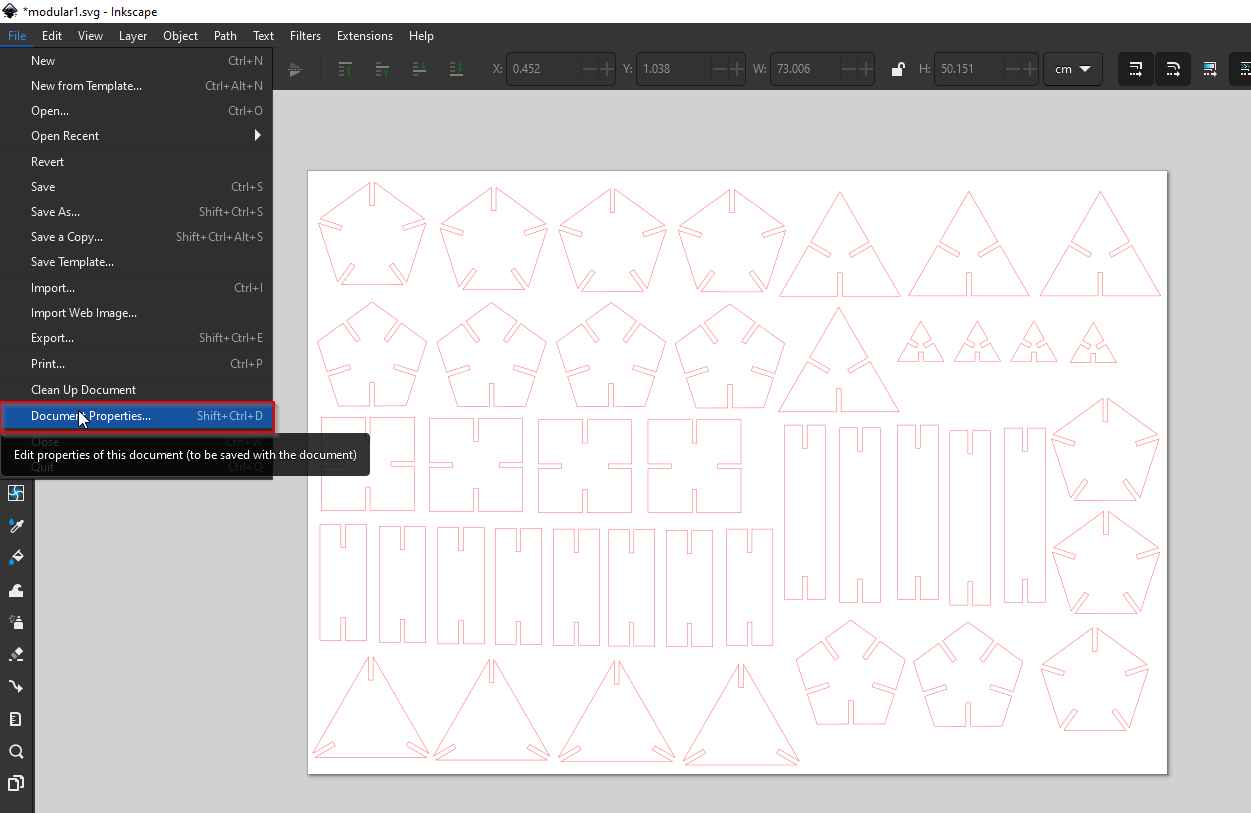
- After that clicked on Document properties.
- Then resized the page according to the design and to do so clicked on "Resize to content
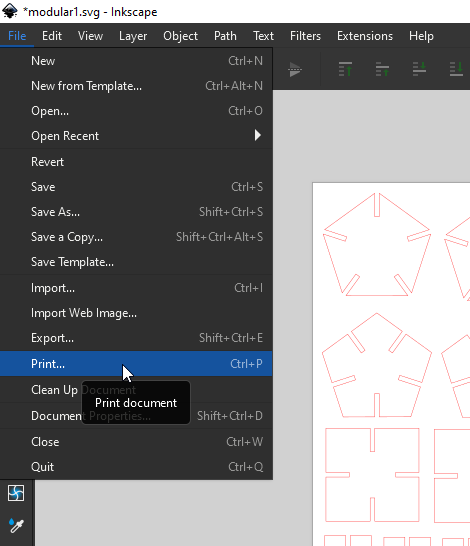
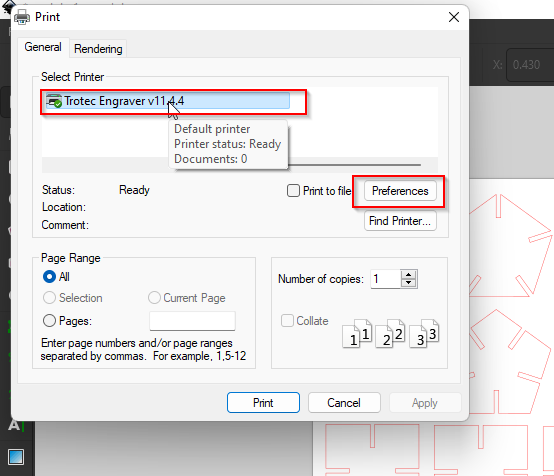
- After that clicked on the Print.
- Selected the printer and Clicked on Preference.
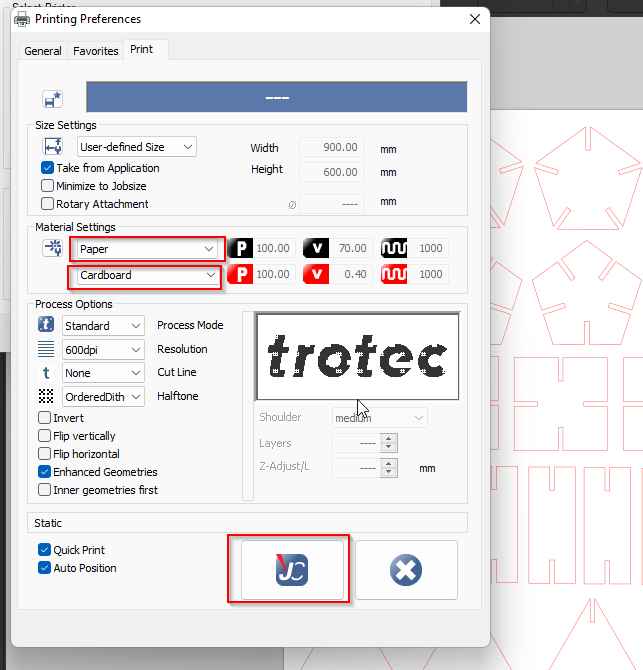
- In the preference, changed the material settings. Since I was working on a Cardboard, selected cardboard and paper.Then Selected "JC" which is for Job control.
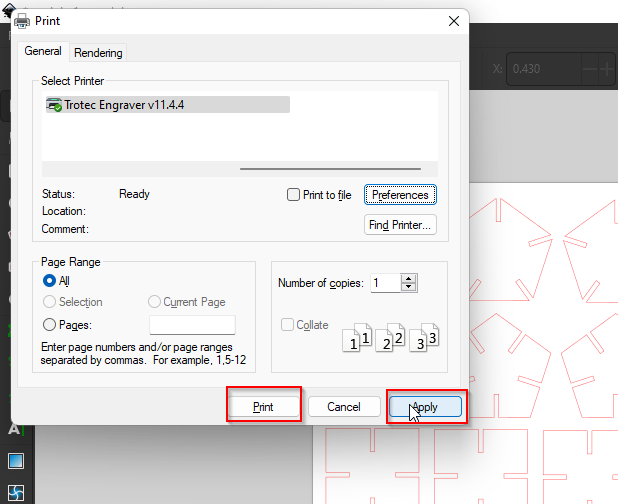
- Then Clicked on "Apply" and then on "Print"
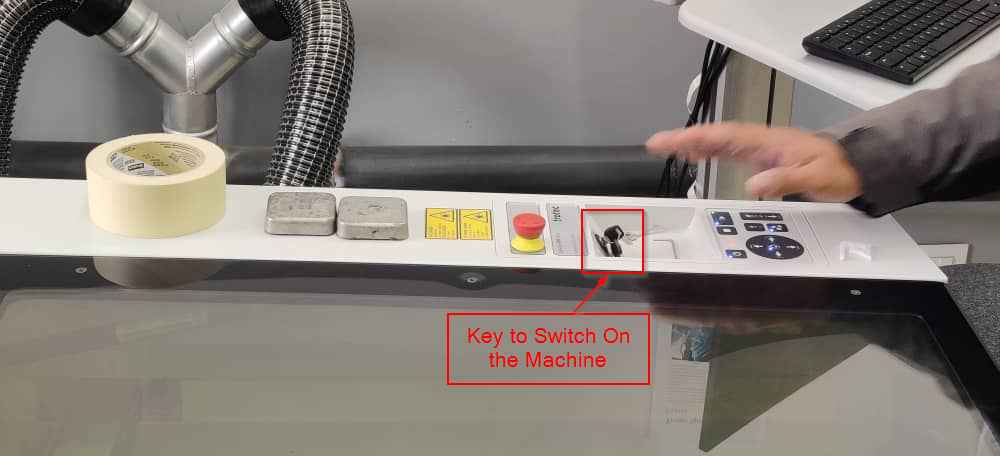
- Before printing, I switched on the machine by using the key. After switching on, wait until there is a beep. Then we can open the lid and place the cardboard in position.
- After that we have to zero the Y-axis. To do so, I placed the x and y axis almost at the centre. Placed the zeroing tool in position and maunally lifted the Z axis until the tool feel to the ground.
- After the zeroing of Z-axis was done. Went back to the Desktop. Opened Trotec Job control and manually set the x and y axis to the corner left side.
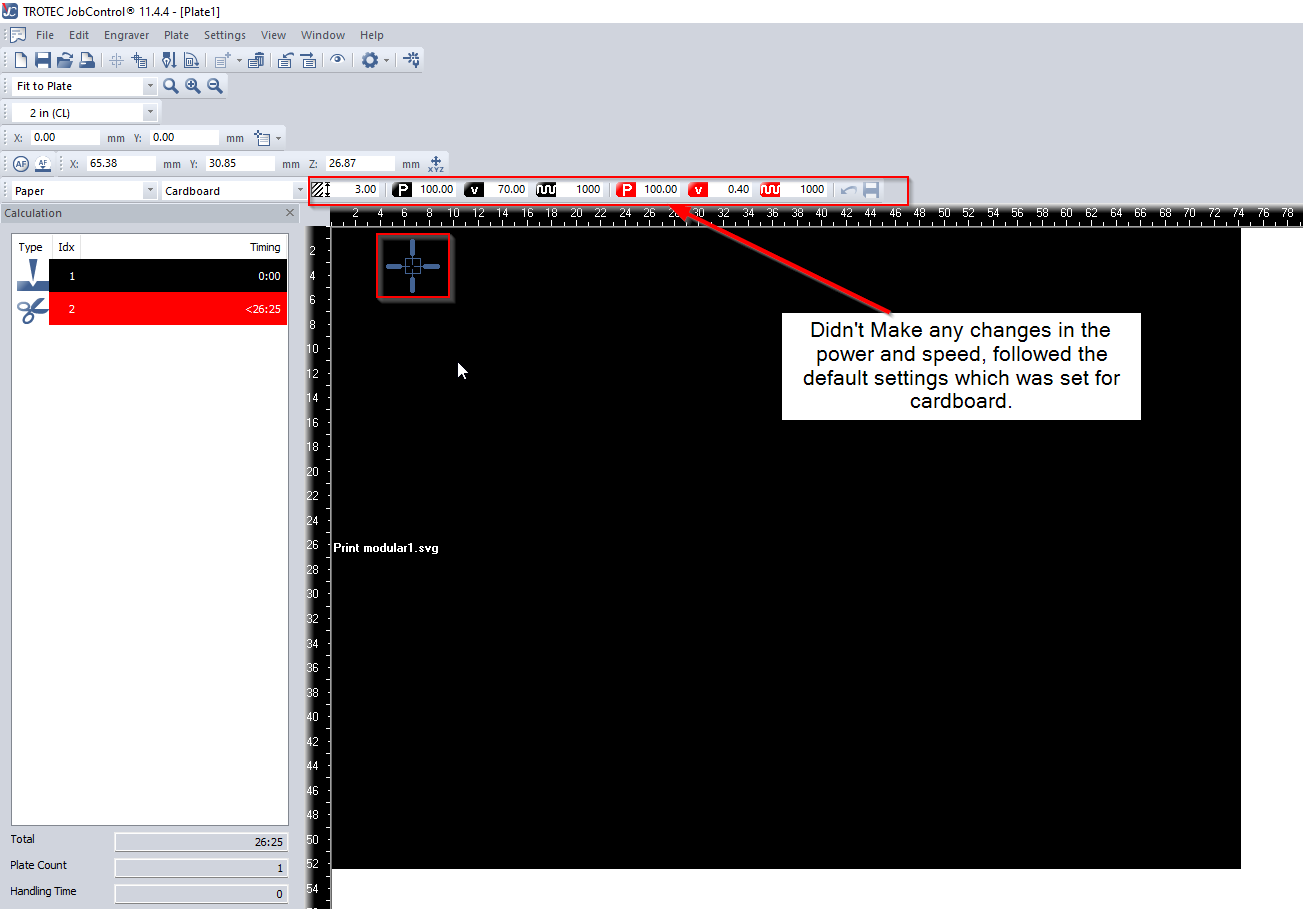
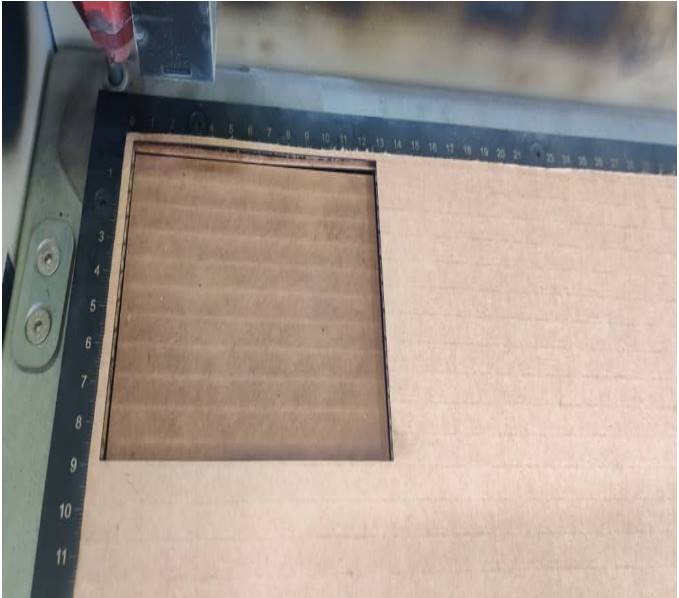
- Placed the document to be cut in the edge of the x and y axis on the Jobcontrol as shown in the image. Didnt make changes to the velocity(V), power(P) and frequency. Thickness of material for cardboard is 3mm.
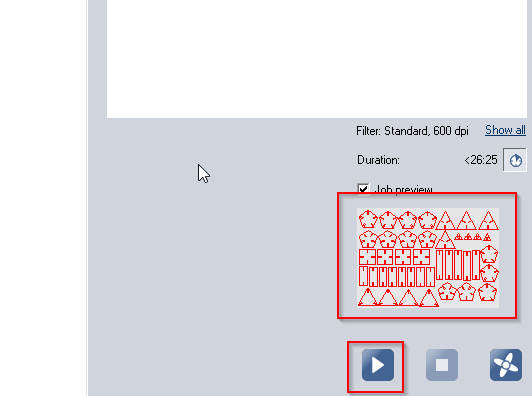
- We can see the Job preview at the bottom, right side of the screen. Since everything was Ok, I clicked on the Play button to start cutting.
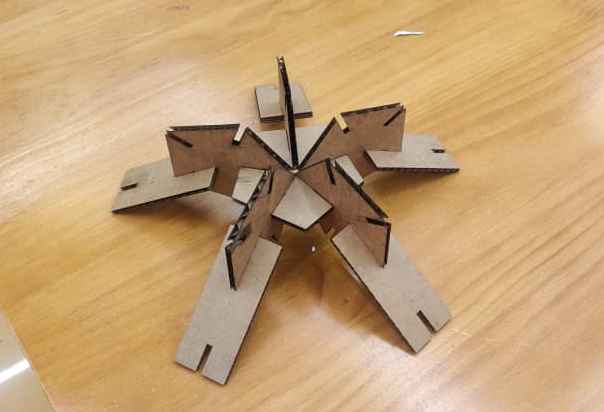
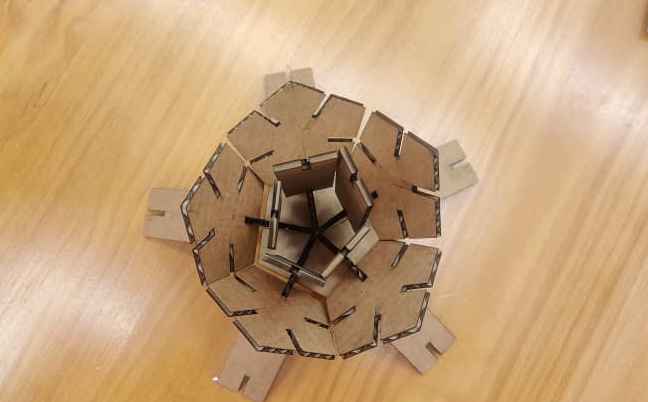
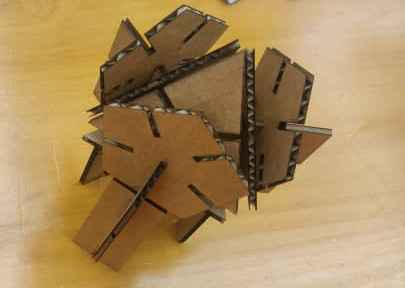
- These are the designs that i could assemble.