15. Wildcard week


This week we learned a lot of new techniques to work with in digital fabrication (not computer-assisted techniques by themselves) such as welding, composites, soft robotics, and precious plastics. We also learned new methods of digital fabrication (incorporating computer-aided design and manufacturing) such as embroidering, robots, and 3d printing with ceramic paste.


Embroidering

For this week I choose to work with embroidering as a new process of digital fabrication. I used the machine at the lab - Janome MB4, to do it so.

This image wanted to break free... This image wanted to break free... This image wanted to break free...

Designing

Inspired by the previous week on interface and application programming I used Processing as a source of creation for my designs. I always really liked errors and glitches so I looked up code examples I could use.

I found a git repository with a lot of glitch examples, so I downloaded them and try them out until I found one that would generate glitches I liked.

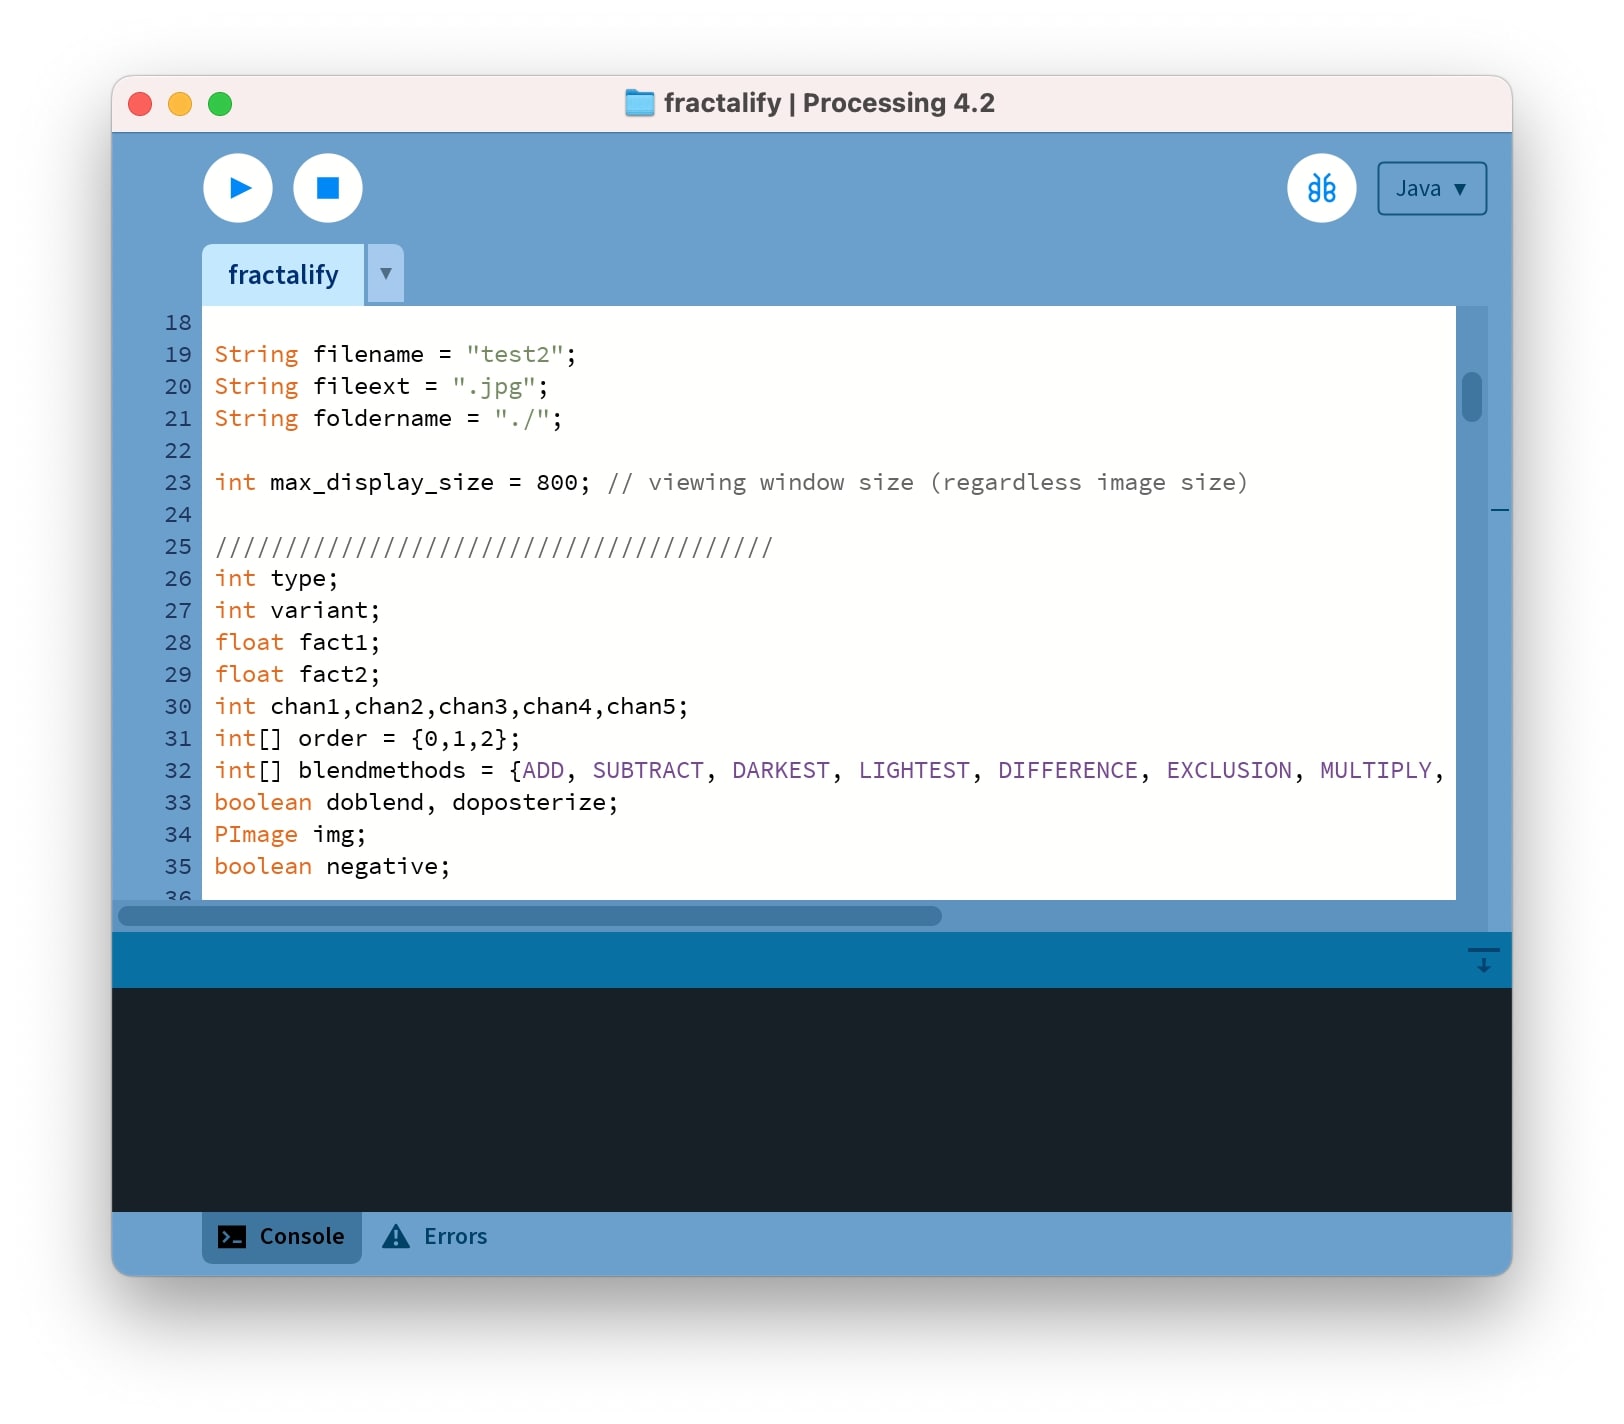
The one I liked the most its called fractalify by Tomasz Sulej. It uses a library called "processing.svg.*" and it loads an image to then apply the glitch effect on it. I used my own brand image which is a gradient I created a few years ago.

The code itself is too hard for me to understand, but the author says that the sketch draws Mandelbrot/Julia fractal using channel data to initialize/modify 'z' and 'c' variables and that there is a lot of randomnesses: channel selection (RGBHSB), coloring, blending, posterizing, fract type (Mandel/Julia), some factors. It is possible to save the drawings by pressing any key and to generate a new drawing we can simply click on the image.

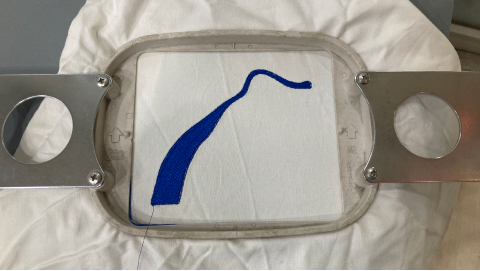
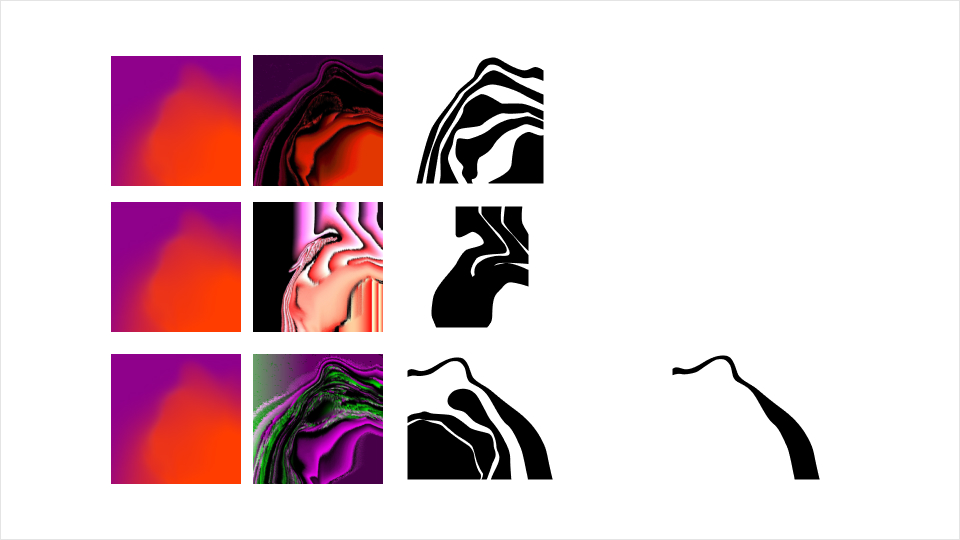
So after playing with it a bit, I generated 3 images that I liked (on the left side), the images were being generated in jpg and I needed to use vectors for the machine so I checked for plugins for tracing images in Figma, but they were all too detailed. So in the end I ended up designing the shapes by hand. From these shapes, I really liked one of them and decided to use that one in my designs.

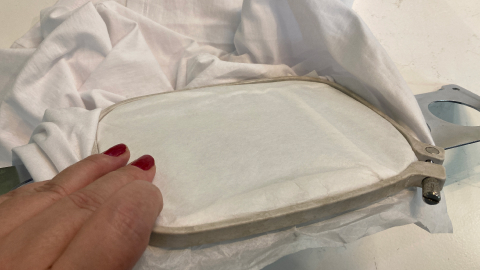
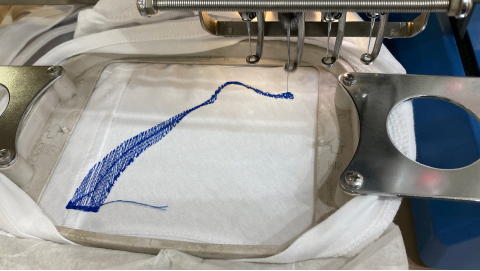
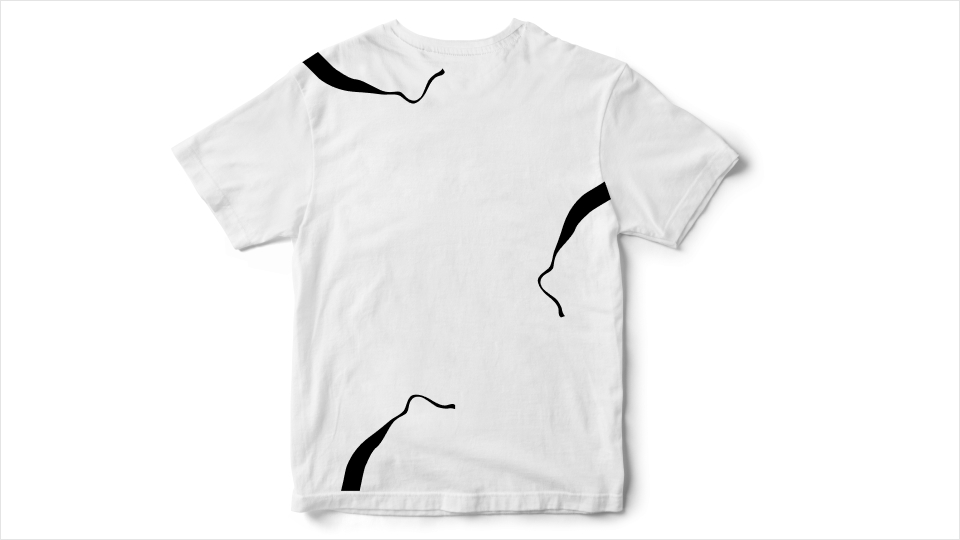
I wanted to use the shape in several points of the t-shirt, I could achieve that by moving the t-shirt around and continuously embroidery the same shape.


This image wanted to break free... This image wanted to break free... This image wanted to break free... This image wanted to break free...

Preparing the file for the machine

To prepare the files for the machine I used Inkstitch, which is a plugin for Inkscape. I opened my designs in Inkscape and accessed Inkstitch by going to menu → extensions → Ink/Stitch → Params, so that we can start defining the parameters for the embroidering machine.

Then we start to define the parameters, we can visualize what the changes are on the window on the right side in real-time. I choose "running stitch" (a simple needlework stitch consisting of a line of small even stitches which run back and forth through the cloth without overlapping) that repeats once and with 1.5mm of length. For the running stitch tolerance, I added 0.2mm (meaning all the stitches are at this distance from a path, the lower it is the closer together the stitches will be), and finally for the zig-zag spacing I choose 0.4mm (distance between zig-zag stitches).

In "FillStitch" I choose "Auto-Fill" and didn't change the default values. On the other menus, I left all the values blank as I didn't need them. Then after visualising, I saved my file in .jef format. Before that, I also pre-visualized the PDF to make sure the file was only using one color.


This image wanted to break free... This image wanted to break free... This image wanted to break free... This image wanted to break free...

Testing

It was then time to go to the embroidery machine. I started by turning the machine on and opening the file from the folder icon on the menu on the left of the machine's interface. I wanted to use the color black so I changed the needle to be on the same number as the black thread. I used first a piece of fabric to test if the embroidery was ok.

After starting the machine (by pressing the start button on the interface) the needle kept on loosing the thread... It was a thread of poor quality so I decided to use the one we had with better quality - the blue thread. After this change, the test went pretty smoothly and the embroidery was looking great!

Adding a thread to the needle is quite easy, it does have a lot of "checkpoints" to go through but the drawing is in the machine and also the machine itself has instructions in the interface.


This image wanted to break free... This image wanted to break free...

Embroidering

So now it was time to use my t-shirt for the embroidery. I placed the embroidery frame in the place I wanted, making sure I would be embroidering on the correct side of the t-shirt. On the other side, I used the embroidery paper - stabilizer.

The embroidery paper is a type of stabilizer that helps keep the fabric straight while embroidering. It's typically made from cotton or rayon and has a smooth surface that makes it easy to work with your sewing machine needles).

The first thing I noticed is that is not so easy to put the t-shirt and the embroidery paper (stabilizer) at the same time considering I wanted to do the embroidery in specific places on the t-shirt that was more tricky... Once the machine started I also realized the fabric of my t-shirt was not as strong as the one from the test, so a lesson to learn is to test on the same fabric! Nevertheless it was pretty ok!

Once I finished I realized I had not put my t-shirt in the direction I wanted the embroidery to be... but then I got the others right, once I understood the logic of the position. It was quite fast and I did 3 times the same embroidery in the same t-shirt, I just kept on moving it in the embroidery frame.


This image wanted to break free...

Changing the thread

At some point, the thread the machine has to support the back of the embroidery (it's on the bottom of the machine, just below where we put the frame) run out so I needed to re-fill it with thread. In the machine on the side, there is a specific place to re-fill this thread. There is also a button on the interface itself to start it. It simply feeds the thread with the bigger thread on top. After it's done we just need to make sure to put the line correctly into the thread holder so that the needle catches it when it stitches.


This image wanted to break free...

The result

The result I was quite happy with the result and even though one of the embroidery was not in the position I wanted it looks pretty cool and modern!


This image wanted to break free...

→ Files here


Reflection

This was a really fun project and even my mom was jealous of the machine! (She really likes this stuff). I think it can be really creative too by using more modern shapes or different applications of embroidery in the clothes. Important lessons learned are to make sure to test in the same fabric, use good quality threads (so it's not breaking all the time), and think twice before committing to the position of the embroidery.


Final project and wildcard week

I might use embroidery with conductive thread, not quite sure yet!