Week 15. Wildcard Week
Before the Start
Introduction 🖊
This week belongs to working with other methods which we did not use during the past weeks.
We were suggested to use epoxy, mixed on fabrics to make them get hard in a specific shape.
Fab Assignments 📚
- Design and produce something with a digital fabrication process (incorporating computer-aided design and manufacturing) not covered in another assignment, documenting the requirements that your assignment meets, and including everything necessary to reproduce it. Possibilities include but are not limited to wildcard week examples.
My Goals 🎯
- What I think I already know:
- I have experience working with biomaterials from the previous weeks - which is what normal people like to try during this week.
- What I want to learn:
- Design flower pots using the laser cutter machine to cut the molds in cardboard. Then use epoxy - or other similar material - to make the fabrics get hard around the mold.
Project Management
How I’m going to organize my work during the week.
| Task | Time | Day |
|---|---|---|
| Research | 3h | 11, May |
| Group Assignment | 6h | 12, May |
| Individual Assignment | 8h | 15, 16 May |
| Documentation | 2h | 16, May |
Research
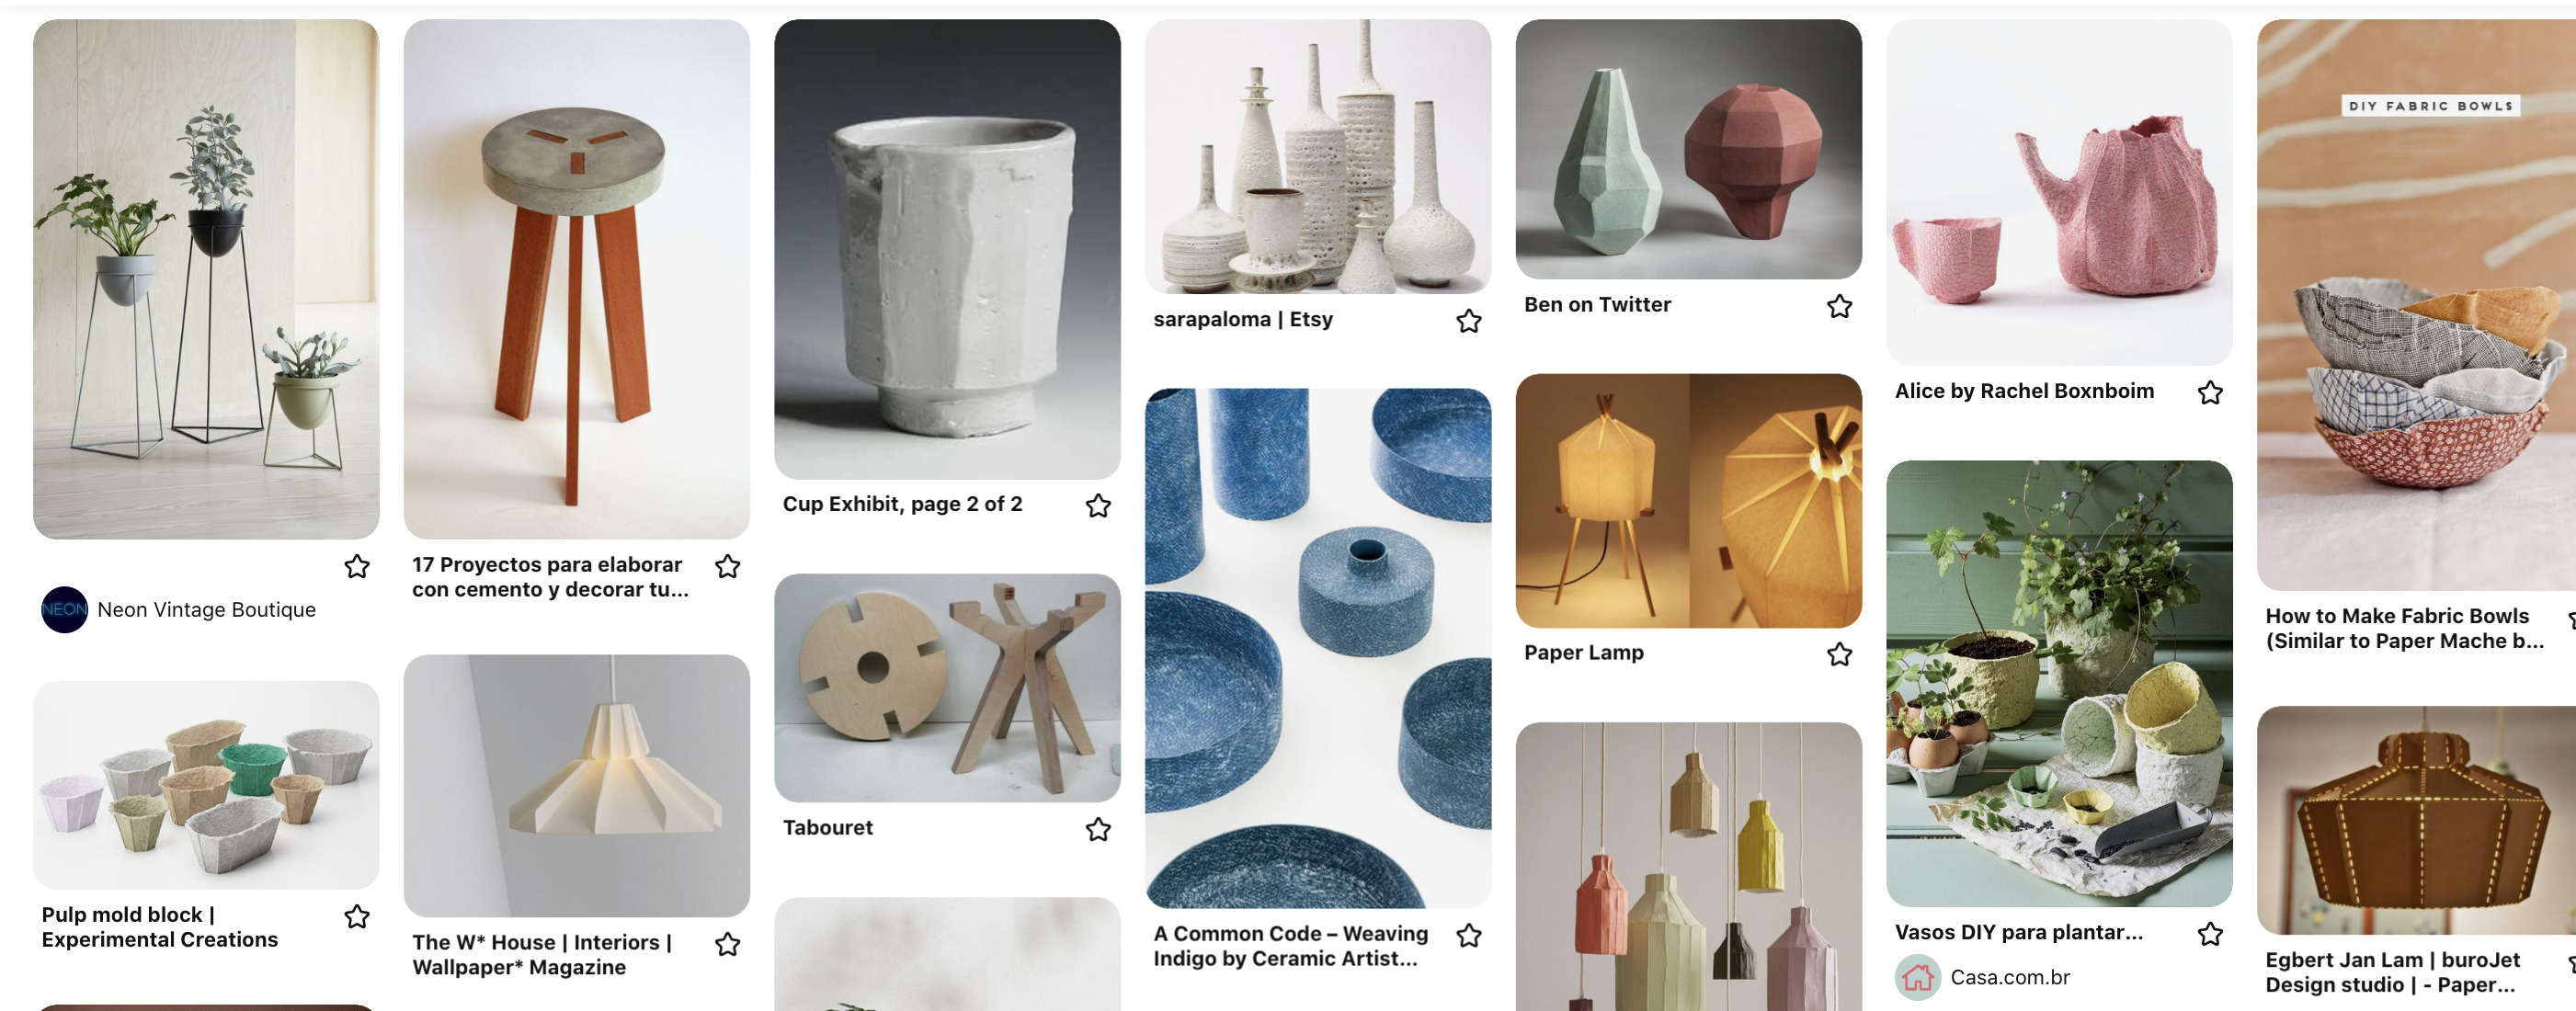
Some websites which I found interesting for the development of my work during the week, or from where I learned new processes.
During the Process
Results 🖖
- Add photos or/and videos of the Week’s assignments.
Group Assignment Process 🏊♀️ 🏊🏾 🏊🏽♀️
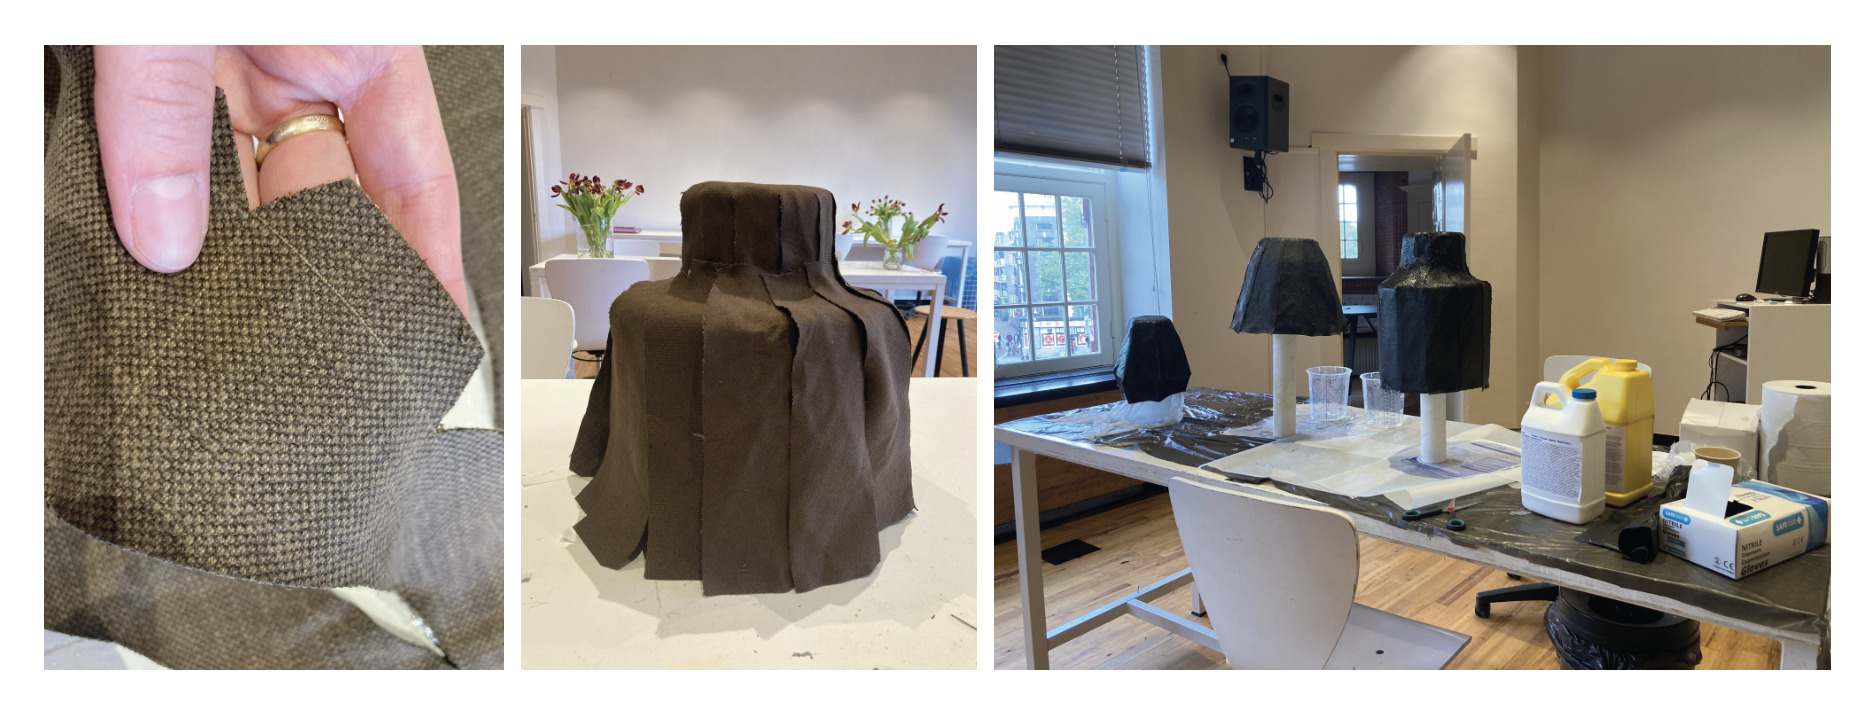
This is the first week of the FabAcademy where doing a group assignment is not any more demand. Even though, our local instructor Henk made us an introductory lesson about How to use Epoxy, in order to make some volunteer tests together in a group.

During this lesson, I decided to make two products using epoxy. A Freesby - using a two parts mold which was already at the Waag -, and a corrugated sheet using a box lid as a mold and vacuuming it out with a vacuum cleaner.
Before the start, we all readed the Data Sheet of the material, in order to make a safe use of it.
Data Sheet
Important Data from the Sheet:
| Name | Time |
|---|---|
| Proportions | 2A:1B |
| Mixing | Mix for 2’ in a vase, then pour the mix into another vase and mix for another 2' |
| Casting Time | 16h |
Safe Instructions:
- Use gloves, glasses, and a carbon mask when working with the material.
- If possible, open the windows to ensure a safe space for the people around you who are not using the protection tools.
Freesby
I followed this steps to make the product:
Add vaseline to each side of the mold
This step is important to ensure an easy uncast after the required casting time.
Add epoxy to the cloth from both sides
When adding the material to the fabric, is recommended to use a brush. We did not have it, so we added the epoxy to both surfaces of the material by hand. Henk recommended massaging the fabric to ensure that the material was correctly located on the cloth.
Add 3 layers of cloth
Following Henk’s documentation, I added three layers to the positive side of the mold. In this way, the result will be hard enough to don’t break, but light enough to be properly used as a Freesby.
Wait to cast time
I wait more than 16h hours before unmolding the Freesby. The result was pretty nice looking.
Cut outlines
I did cut the outlines of the freebie in order to be able to use with.
Corrugated Sheet
I followed this steps to make the corrugated sheet:
Add epoxy to the cloth from both sides
I added material to both sides of the fabric, in order to ensure that the material was completely wet.
Add Fabric to the mold
Place the damp cloth on the lid of a box.
Vacuum in a bag
Vacuum the mold into a bag using a vacuum cleaner.
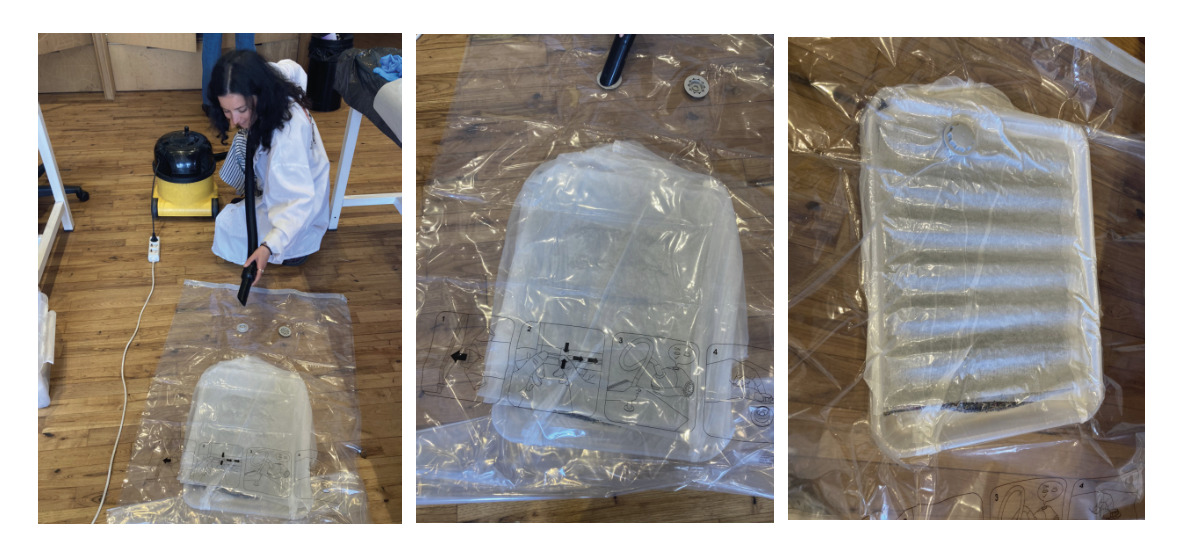
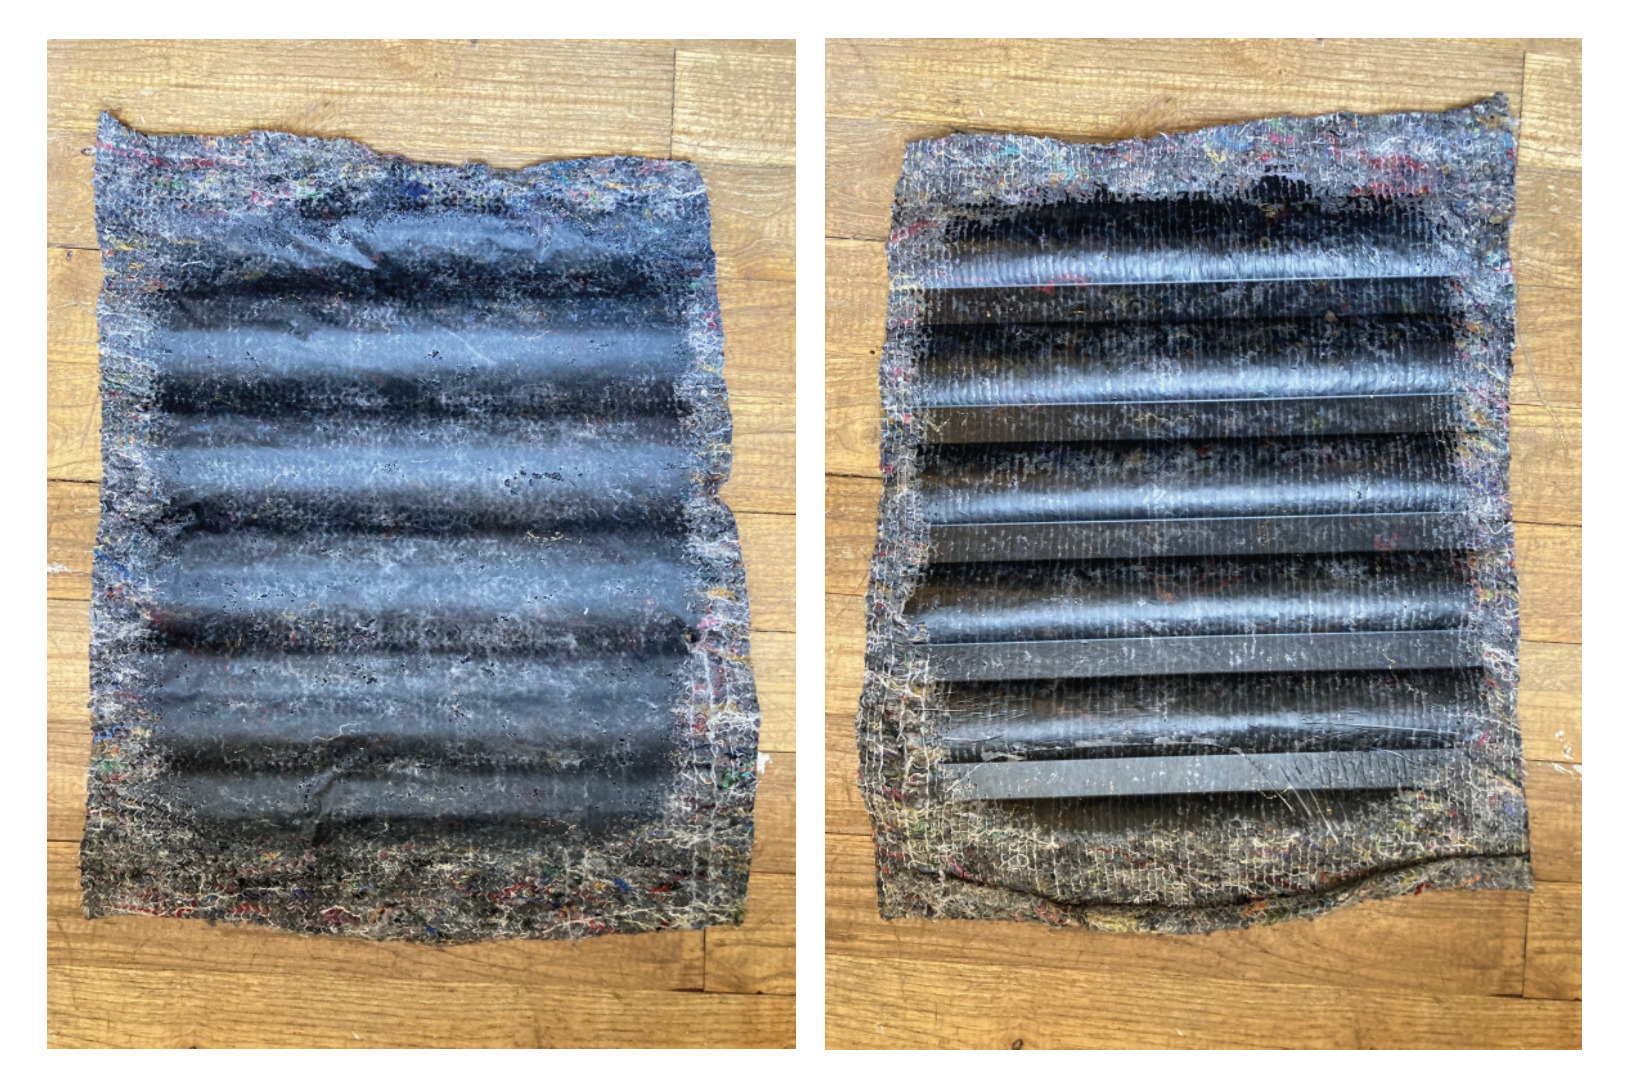
Wait casting time
After the required casting time, I opened the bag and check the result. The product is hard and if adding extra layers, could be use in other products - for example to make the back of a chair.
Individual Assignment Process 🏊♀️ + Final Project 🧘🏼✨🌸
As individual assignment, I decided to make three flower pots for my final project.
In order to make them, I followed this steps:
Moodboard
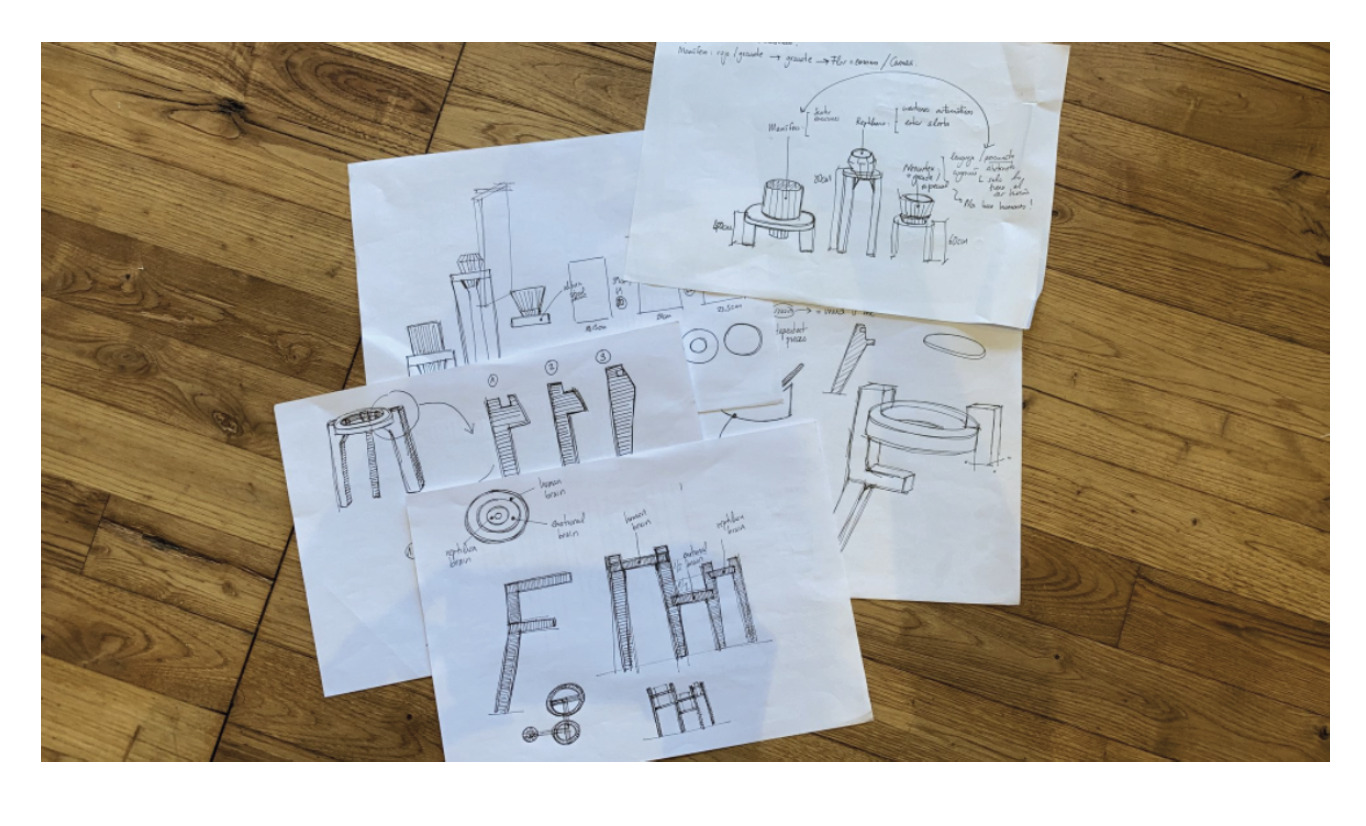
Sketching
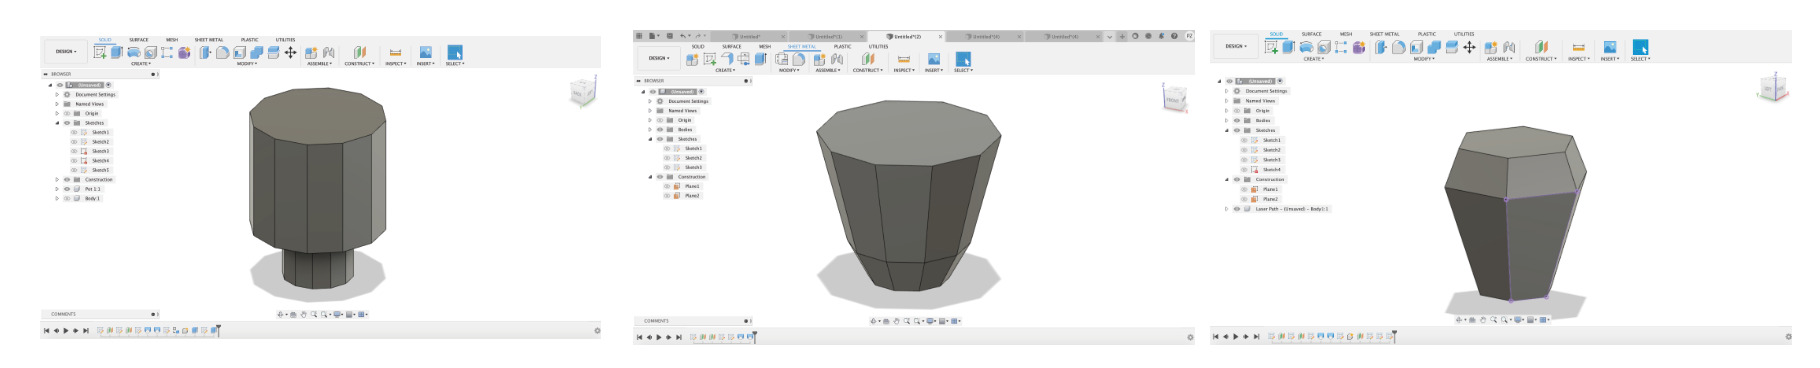
3D design with Fusion 360
Laser Cutting the Mold + Assambling
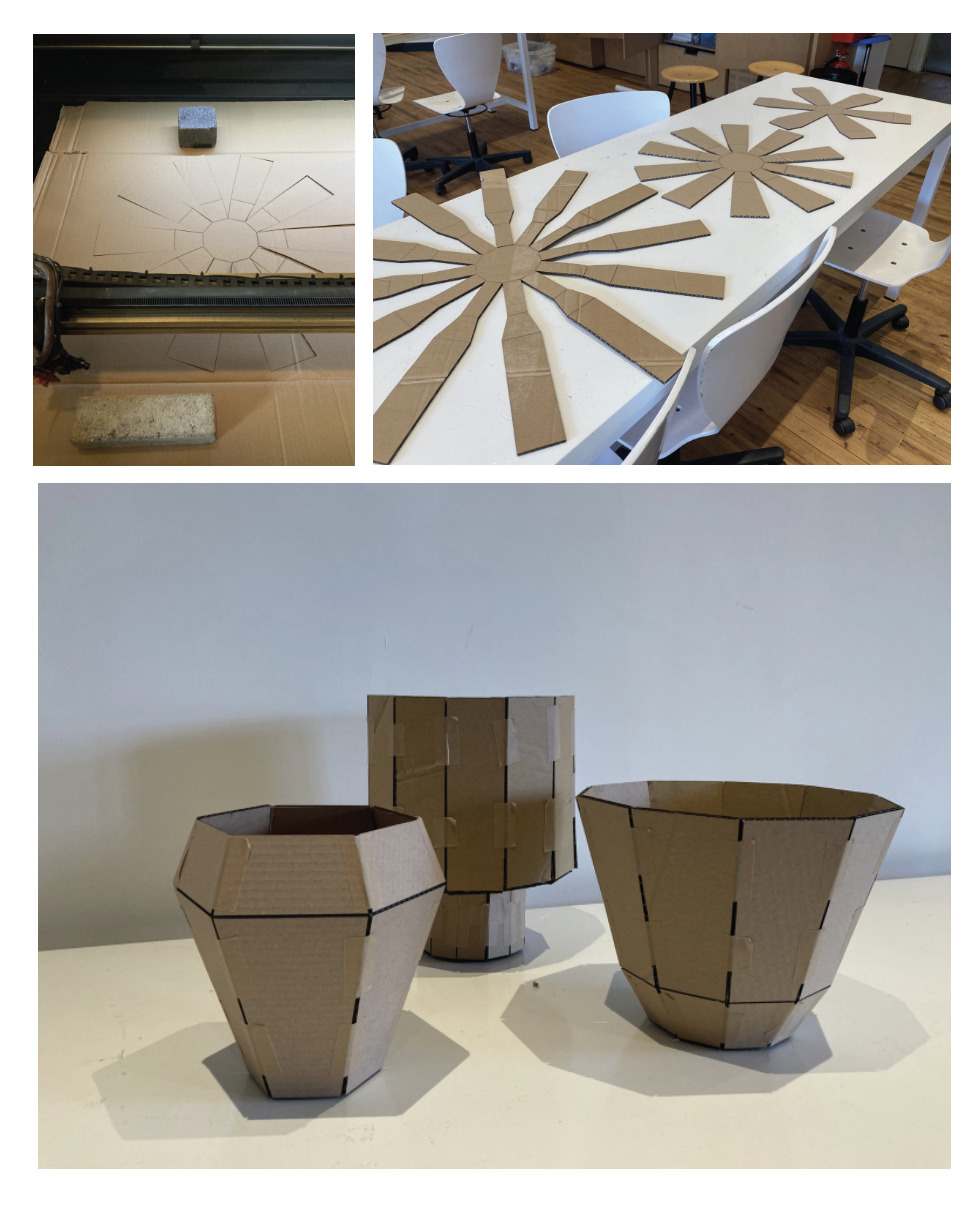
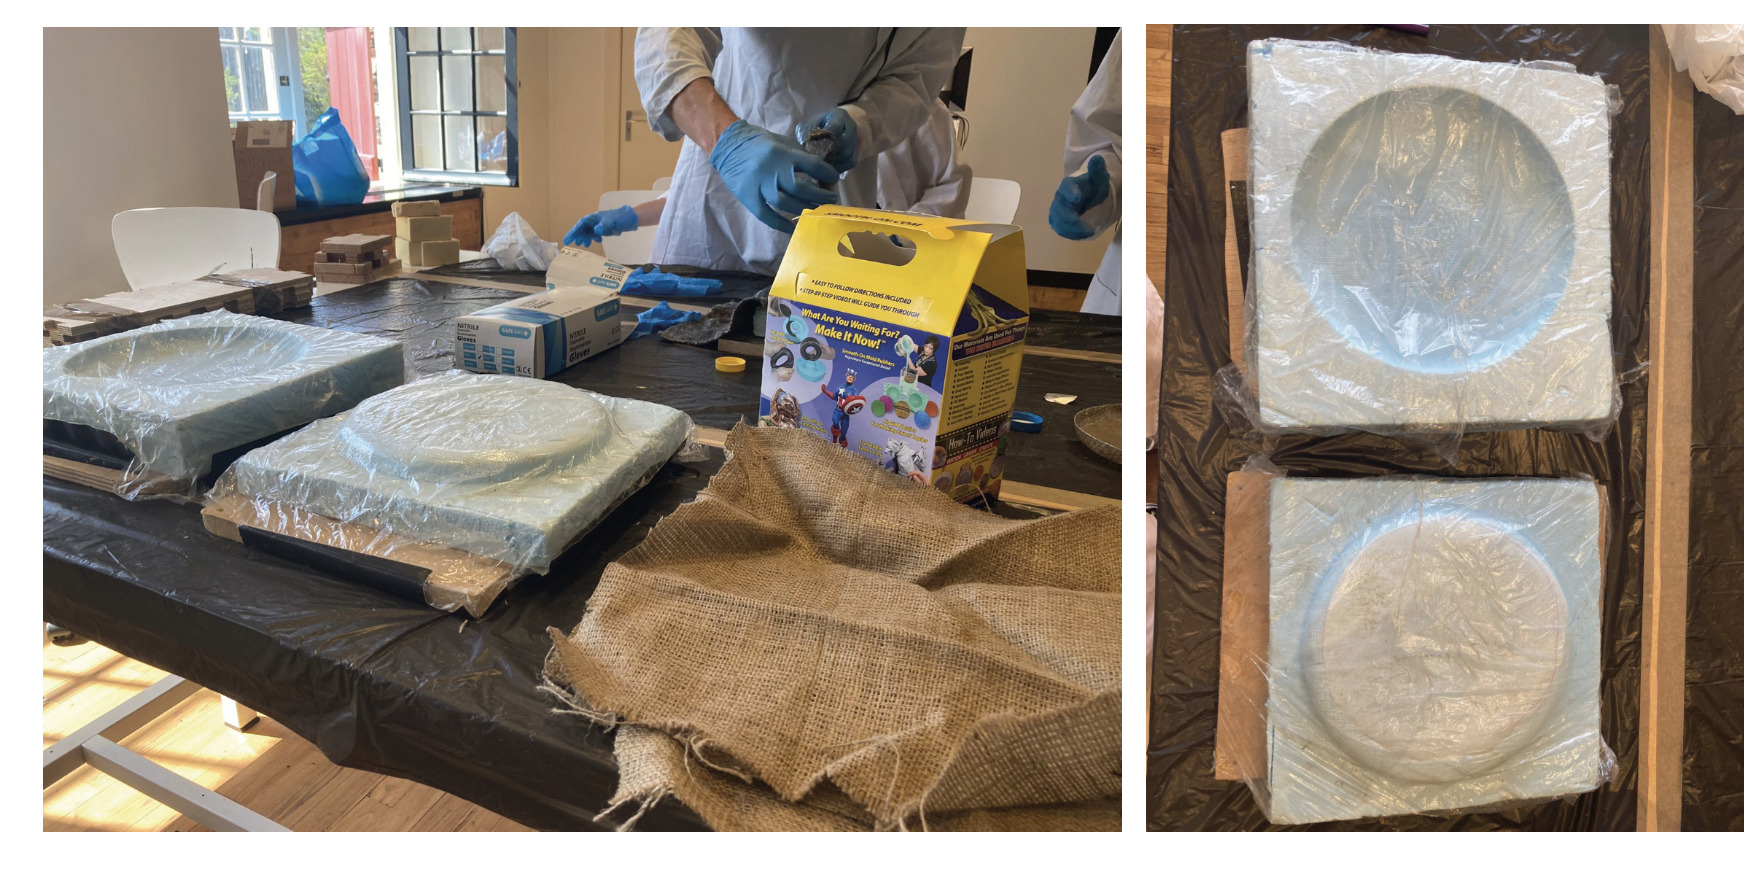
Wrap the molds with film to protect the carboard + Wrap Fabrics
I added the first layer using a ground color, which is going to be the inside of the flower pot:

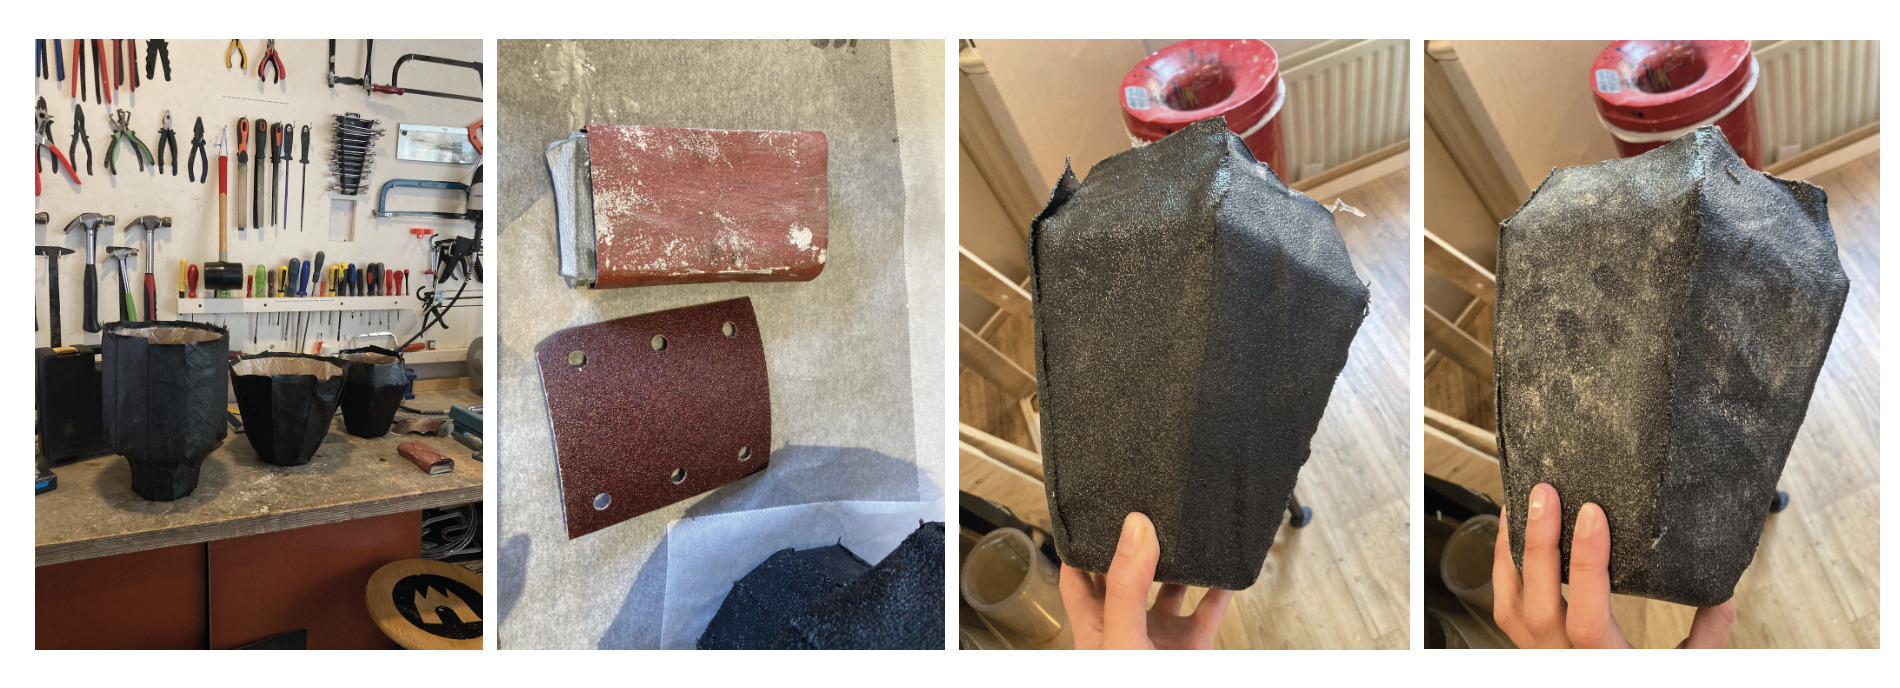
Add Epoxy to Fabrics
I added by hand 1 layer of Epoxy to the Pots. Attached is the result:
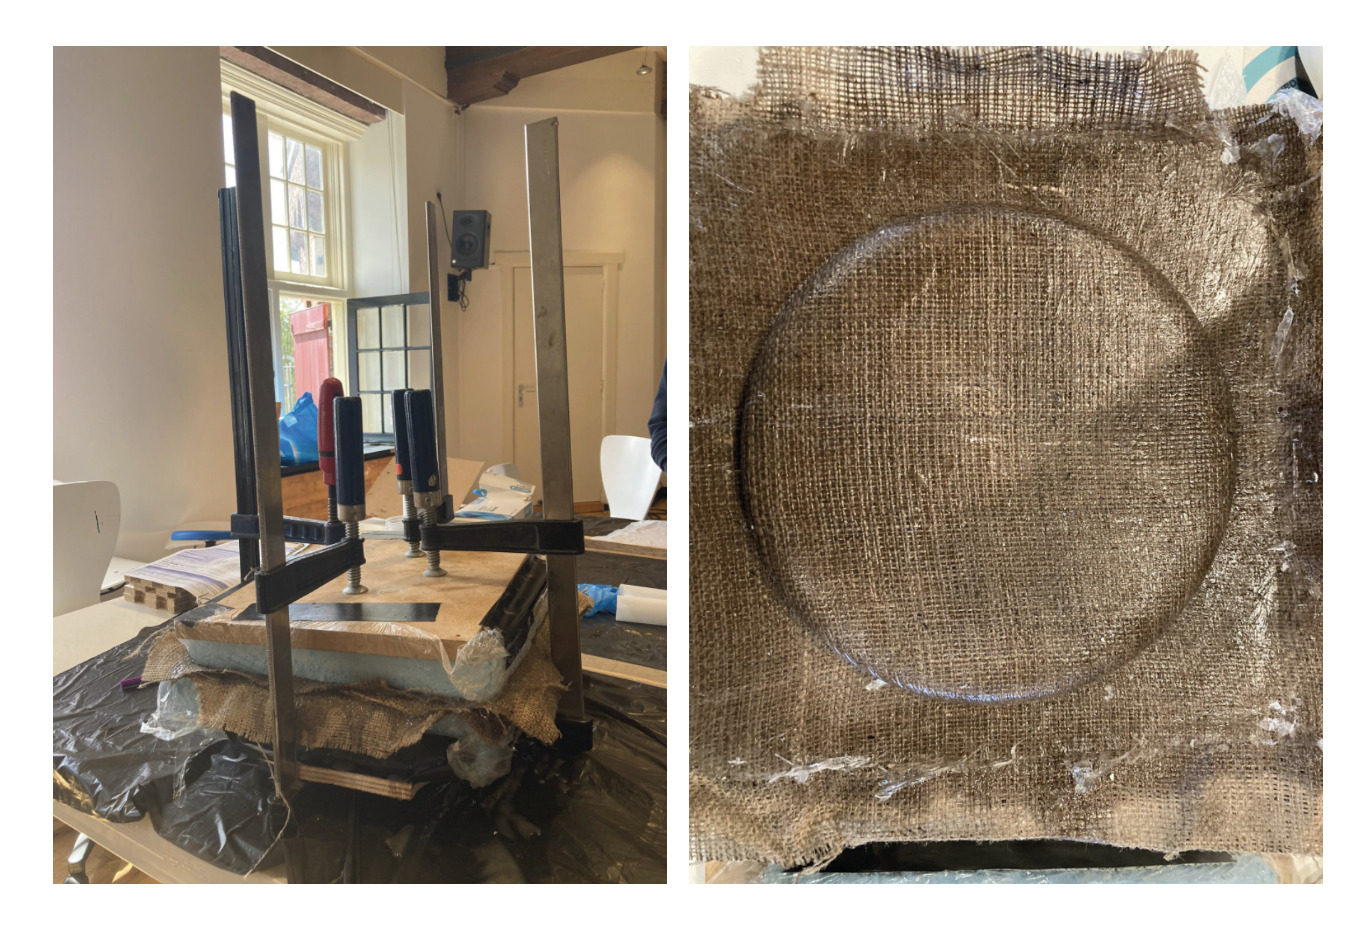
Sanding
Since I wanted to have the pot 2 layers of cloth in different colors (ground inside and light color outside) I researched whether it was possible to add a layer of Epoxy two times. Let the first layer dry, and then add the second one.
I decided to work in this way, to ensure that the fabrics were not moving when attaching them one on top of each other. In fact, when working with Epoxy, the material tends to move easily, and is difficult to add both layers at the same time.
I experimented with this new method. In order to do so, I sanded the first layer, to ensure that the second epoxy layer was correctly attached to the first one.
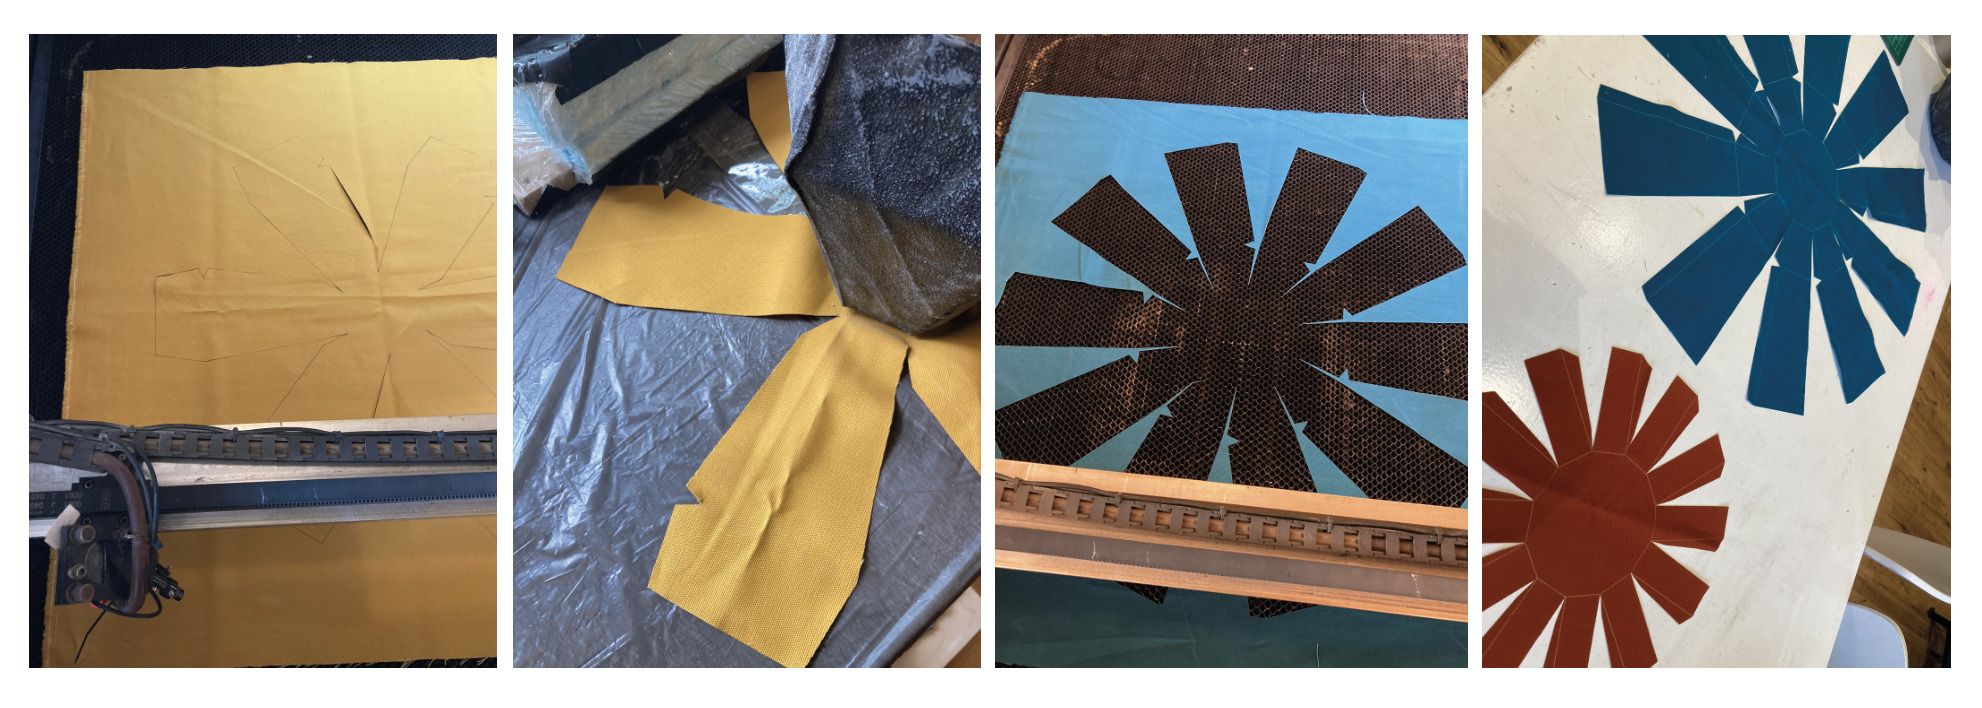
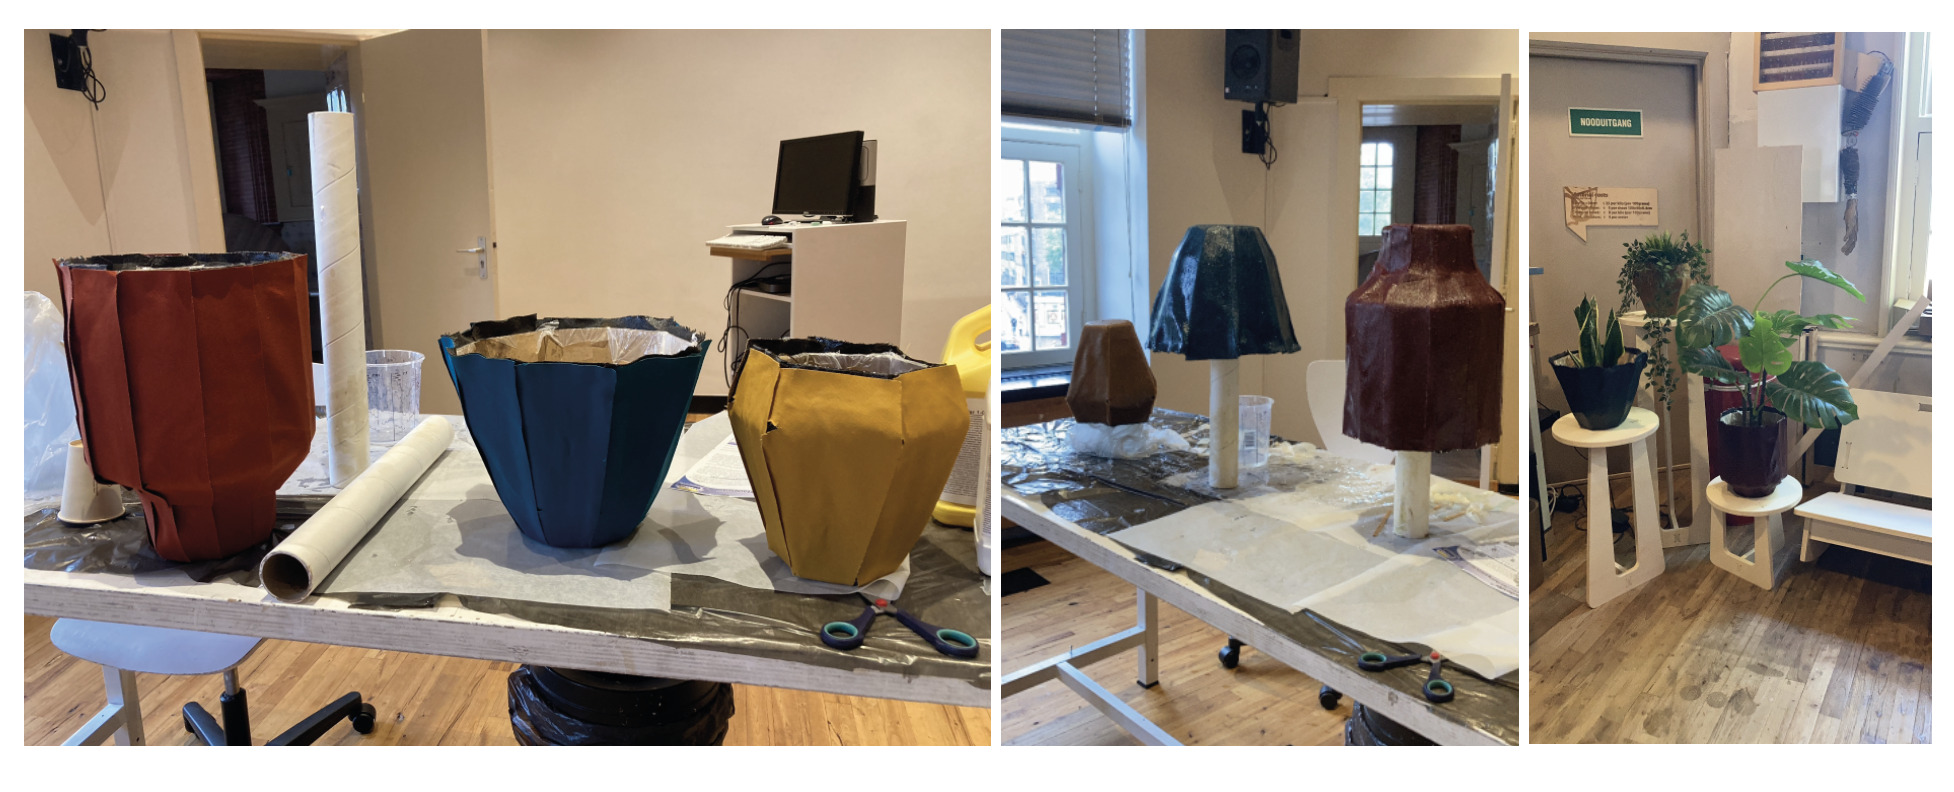
Wrap second fabrics layer + Epoxy
I wrapped a second layer to each pot with 3 different colors = reed, yellow and blue.
Each pot represents a different part of the Human Brain, so it has a shape and color choesen accordingly to its meaning in the psychology of colors:
Results
Retrospective 🤔
This week resulted being very creative. I learned about new materials in the sculpture field, and alternative processes to make molds which I did not knew about before.
I am happy with the result, and especially with the experimentation made to develop the flower pots. I had the opportunity to research the meaning of colors, and to deeply work on the concept around the flower pots of my final project.