Principles and Practices
“If you tell me, I will listen. If you show me, I will see. If you let me experience, I will learn!”
— Lao Tzu (6th Century BC)
Final project plan and sketch
Wearable Wild Animals Distraction device
A wearable wild Animals distraction device has been chosen for final project.
Initial Sketch
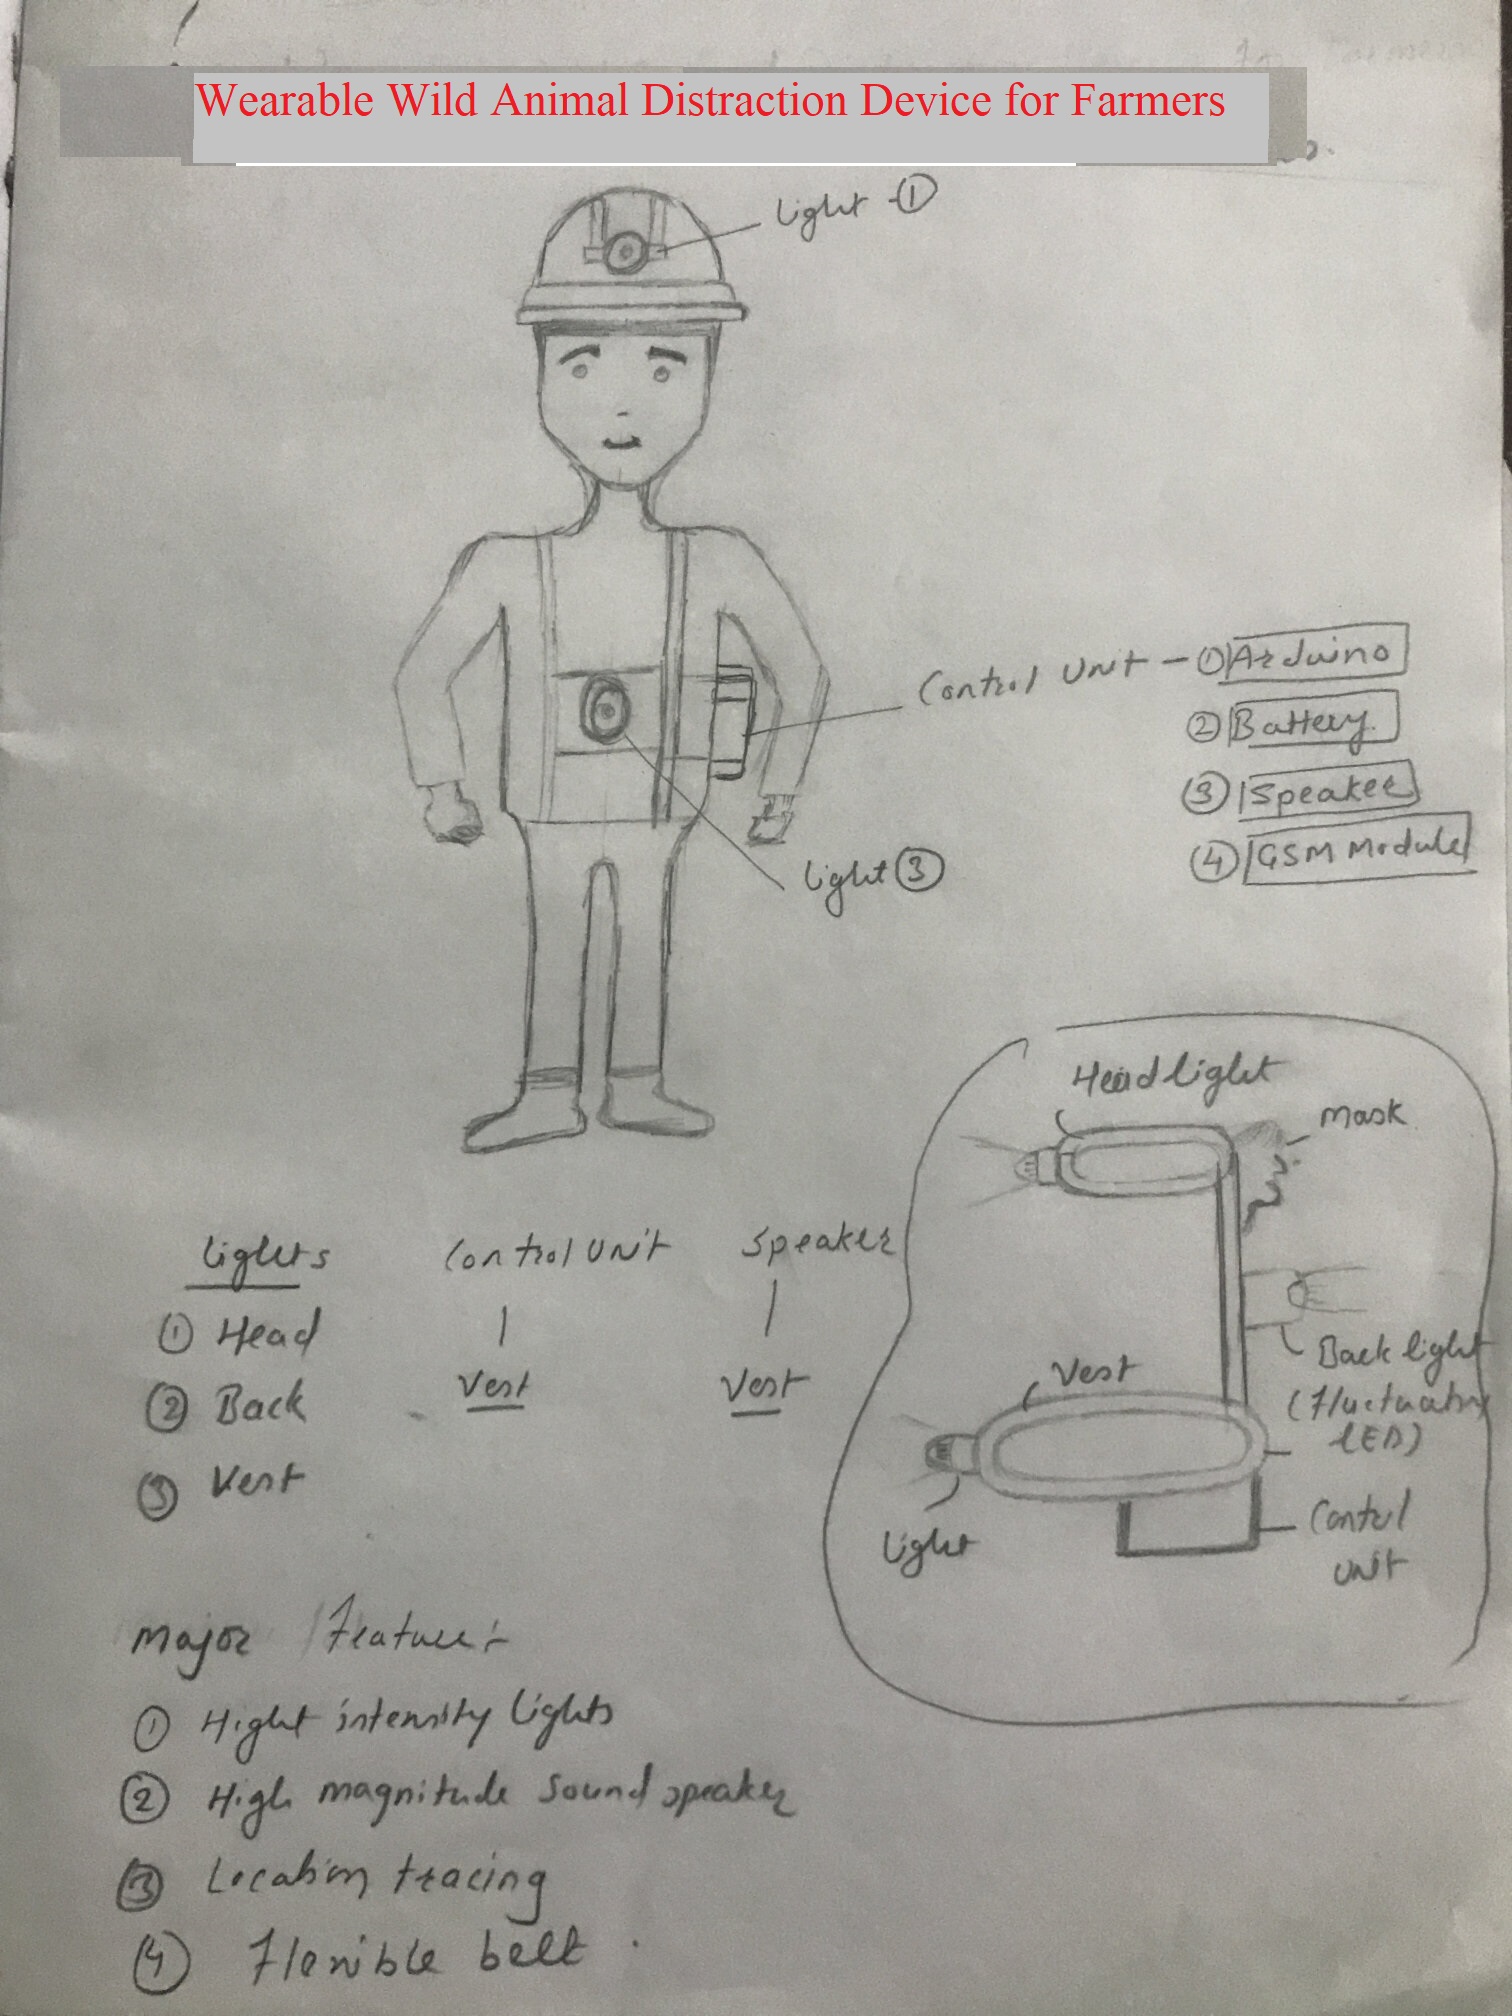
Initial Description
Due to deforestation, urbanization, and lack of resources, wild animals move out of their natural habitats, searching for food and water. Some villages in India near the forest are majorly impacted because of wandering of wild animals searching for food and water. They are attacking Domestic Animals like goats, cows, etc., for food. In some areas, some people are also attacked by wild animals.
In some rural areas, due to irregular timing of electricity, farmers need to move infield to start water pump and irrigation during the night. There are many chances of a faceoff between wild farmer animals in the night, searching for food, or hiding in the fields. To avoid the attack of wild animals like Wild boar, leopard, hyena, etc., I have thought to use wearable light distraction device which consists of
#Fluctuating lights mounded on Head, back and on vest zone.
#Mask at the back of head, to avoid attack from back. Tigers attack by biting back of neck, mask with prominent eyes intended to mislead and prevent tiger from attacking from rear.
#LEDs that flash in a random pattern.
#High magnitude sound speaker to create distraction.
#GPS to get notified to the other peoples in nearby areas.
This device will not harm any wild animal, intention is to distract them and save the farmers/ people in rural area.
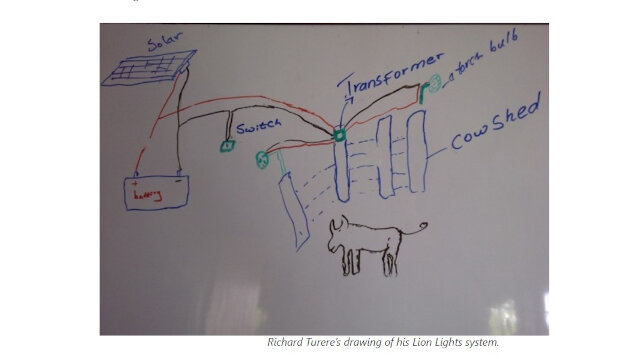
Some Evidences
Some Available Solutions


References
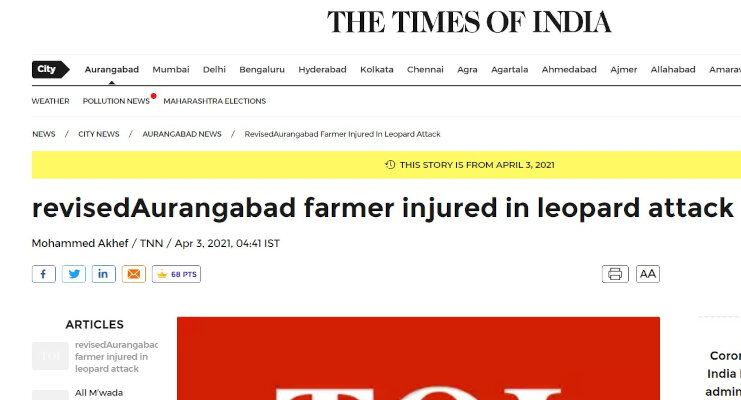
1. Aurangabad-farmer-injured-in-leopard-attack
2. Farmer-injured-in-leopard-attack-near-otur-in-pune-district
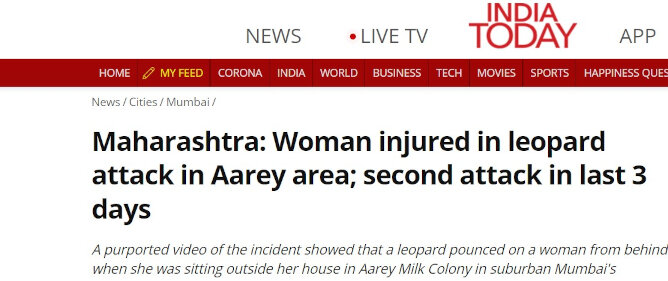
3. maharashtra-woman-injured-in-leopard-attack-in-aarey-area-second-attack-in-last-3-days
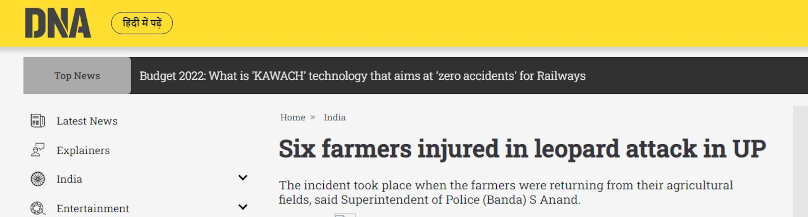
4. Six-farmers-injured-in-leopard-attack-in-up
5. Farmer-injured-in-leopard-attack
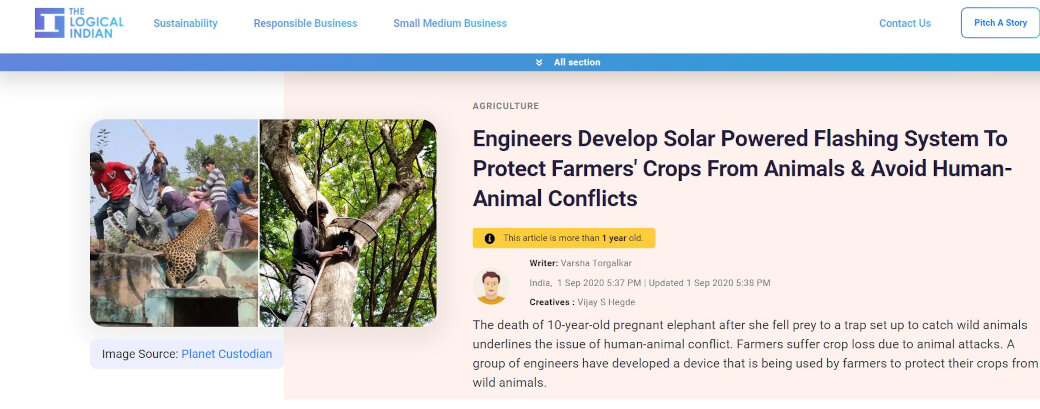
8. Reducing human-wildlife conflict in the blink of a light
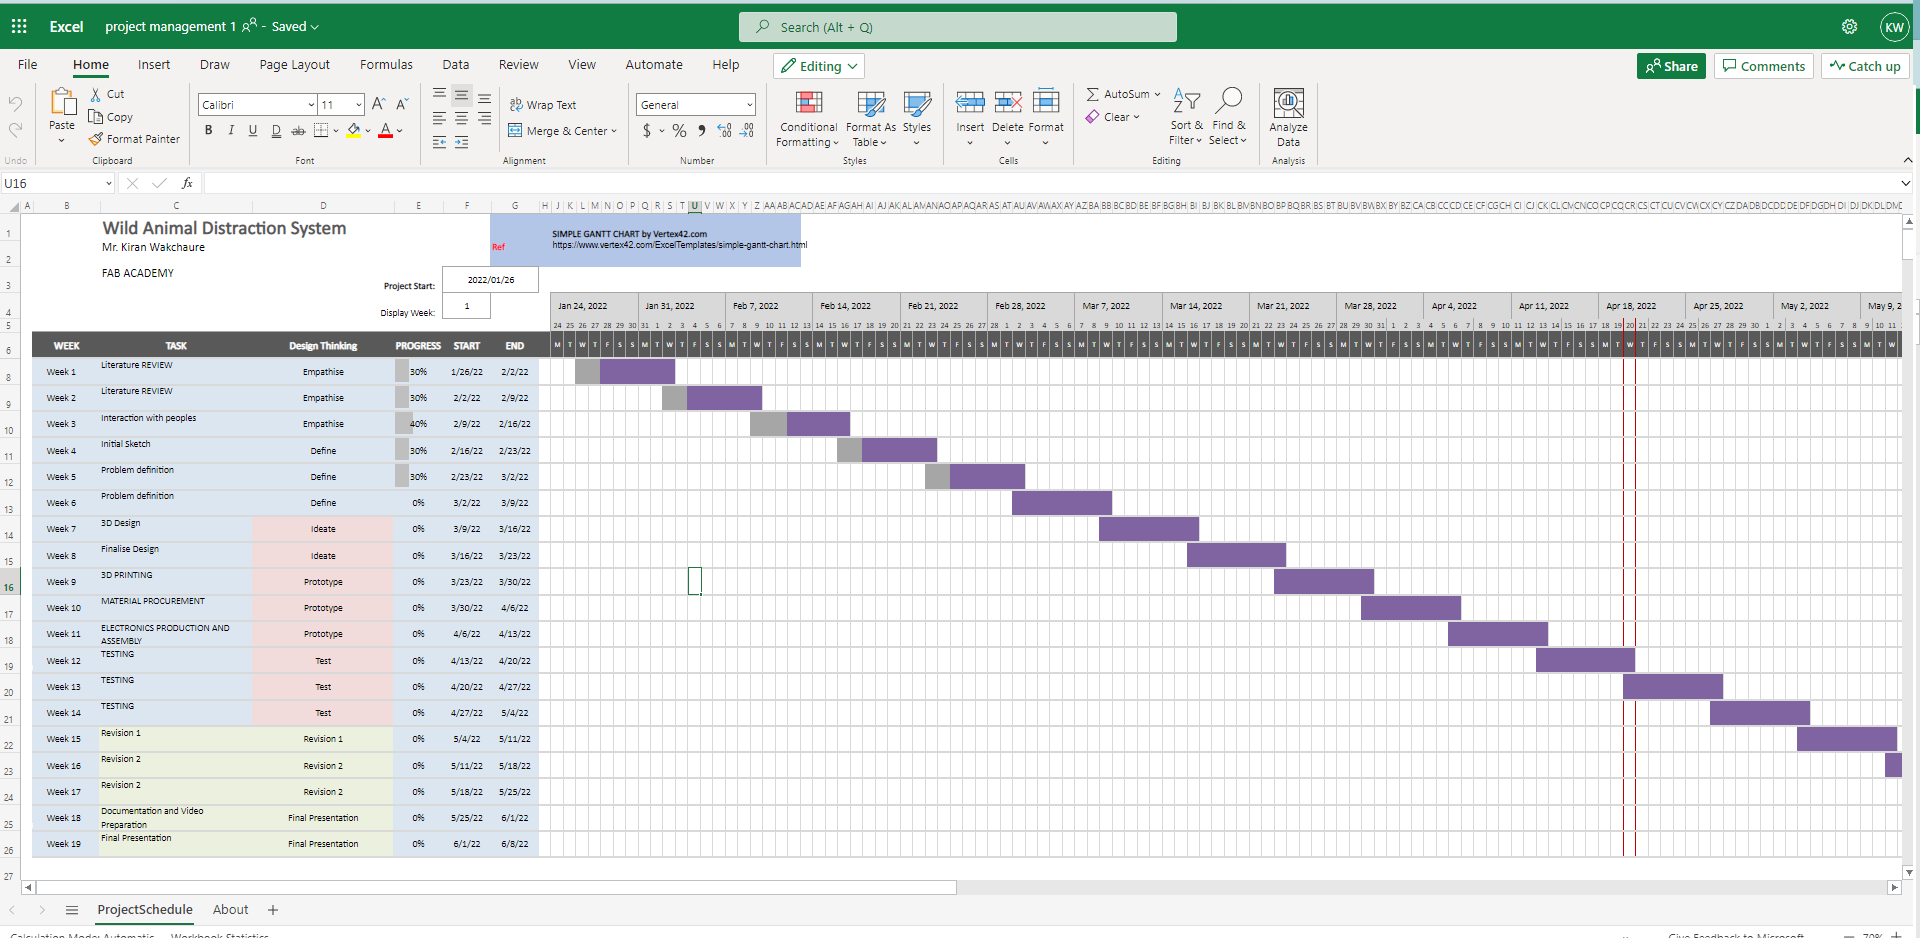
Gantt Chart
I have used the Microsoft Excel tool for Project management. I have downloaded and used GanttProject Vertex42 Template to list and document the major tasks and timelines. I learned how to edit, add a task, and make a sub-task.
Student agreement
The signed Fab Academy student agreement can be found here.
Project Management
Version control
Version control is the Saving a history of modifications to a programme or website, or any product for that matter. This is comparable to a backup, but the difference is that the differences are stored each time, so it's not just a continuous operation, but because it saves a history of changes, the amount of storage required is far less than backing it up every time. It also makes reverting to the original version a lot easier
This is very useful in the software industry for collaborative work among the team. Version controls tracks the changes made by the individual member. Also programmer can use its local system to develop the application and upload on version control based software likeGitLab,Bazaar, RCS.
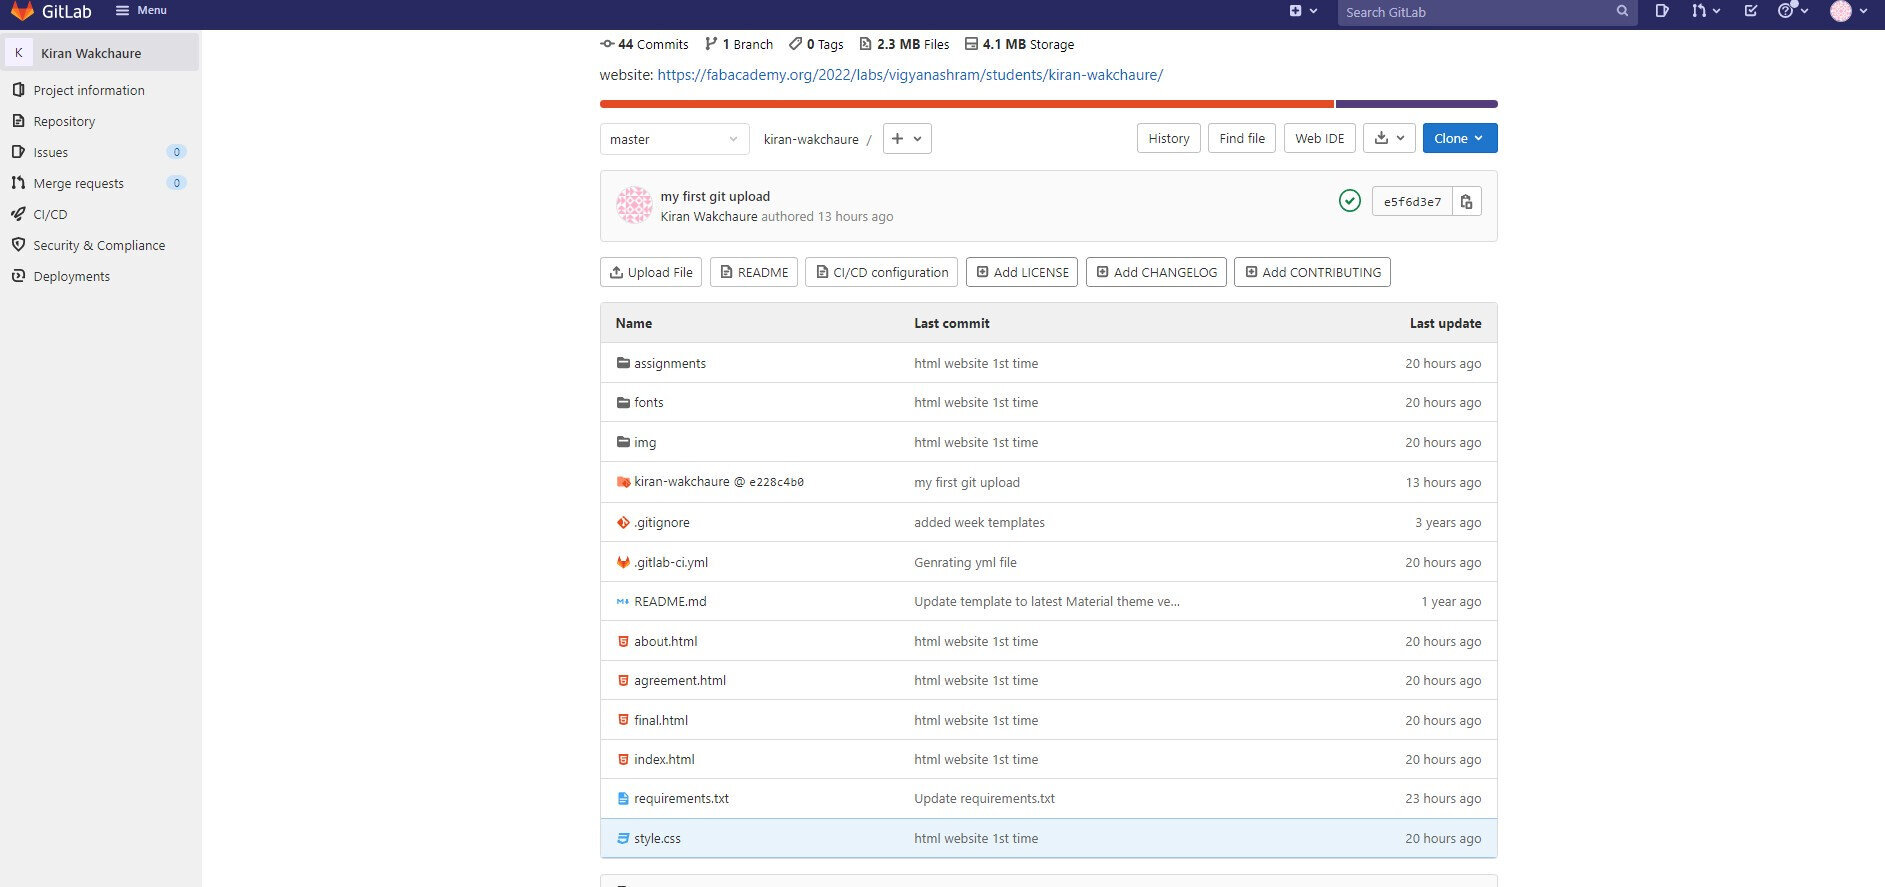
Fab Academy has recommended GitLab , a web based version control system to save website. Source code can obtained here.
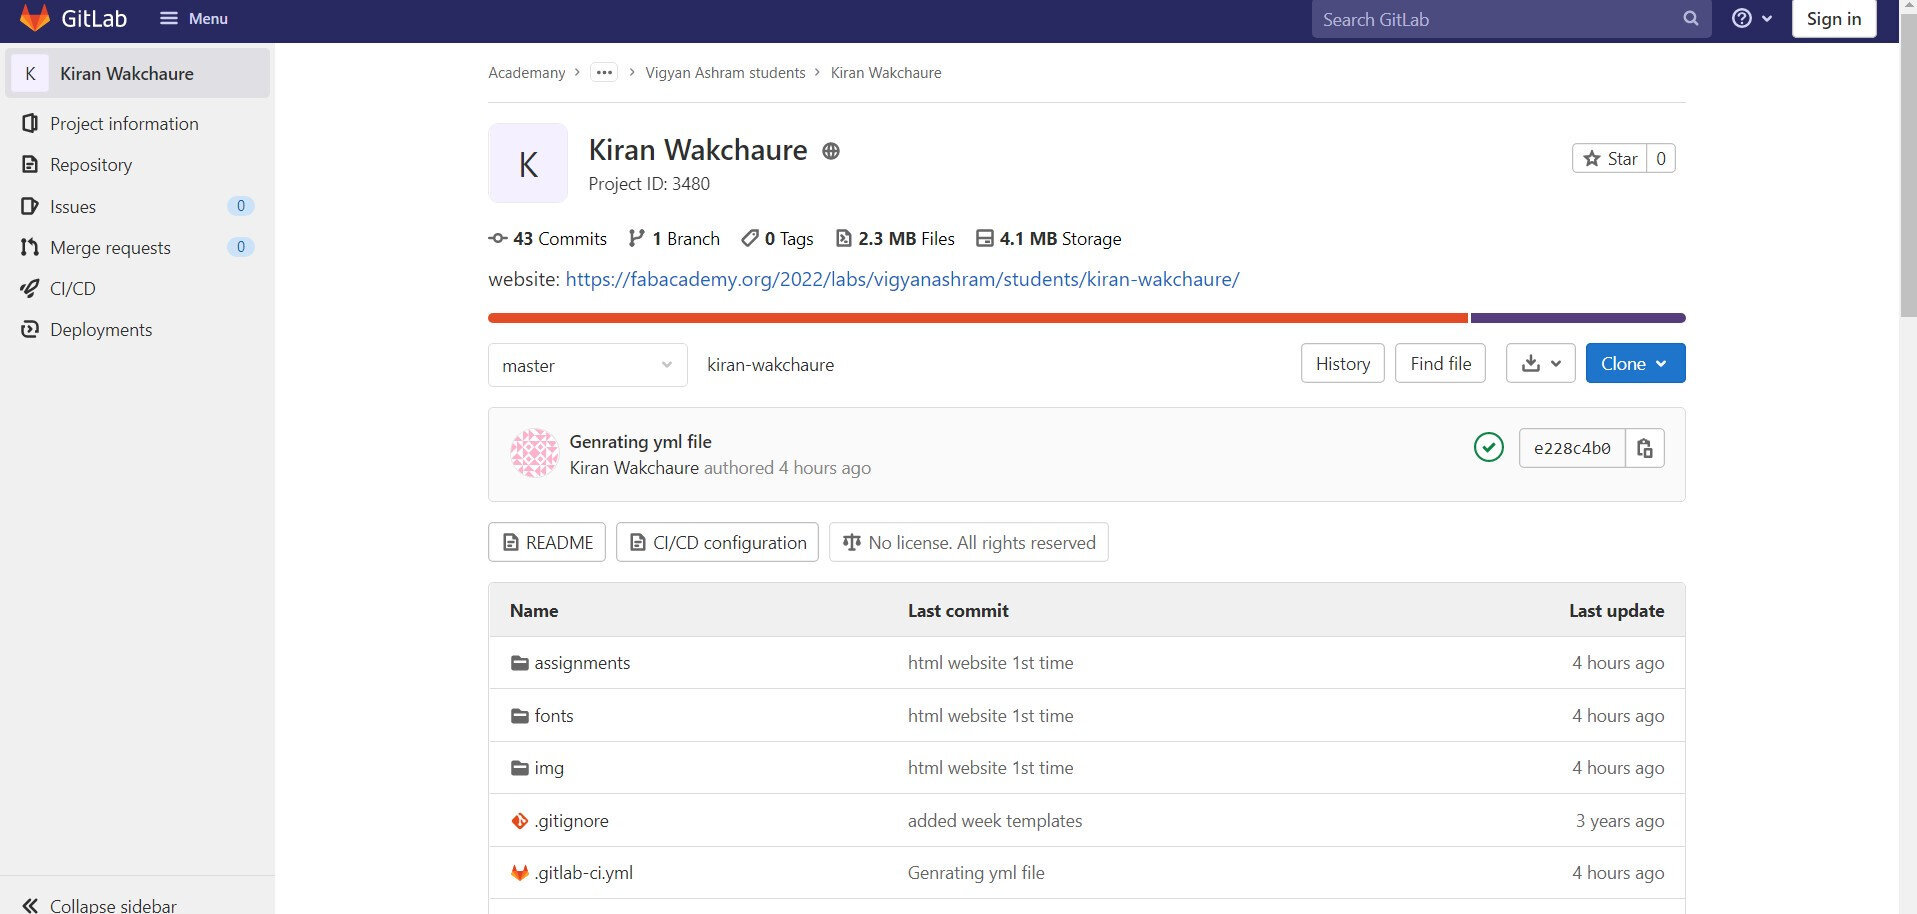
Fab Academy has initially setup website template of MkDocs in our gitlab repo at the corresponding address.
MkDocs is a simple and static site generator that's geared towards building project documentation. Documentation source files are written in Markdown, and configured with a single YAML configuration file.
Gitlab has facility to update template in online repository. Some initial changes are made in mkdocs files.
Git Installation
Git is Version control software for tracking changes in any set of files, usually used for coordinating work among programmers collaboratively developing source code during software development. Its goals include speed, data integrity, and support for distributed, non-linear workflows. Git has been installed through command prompt and Git Bash Terminal installed which provides a BASH emulation used to run Git from the command line on windows platform.
Git simple cheat and Git hub references are used to setup on windows using command prompt. SSH key is generated using Git bash command prompt and copied in Gitlab web version. Username and email id is configured in git terminal and repository is cloned from web server to local server.
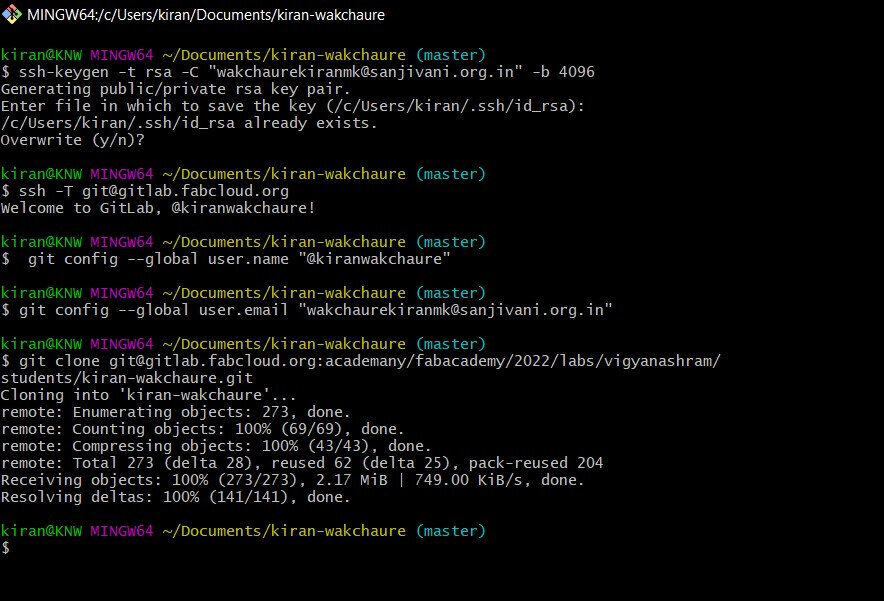
After setting up and configuring the Git repository, following commands are used to upload and download documents and any modification from local server to web repository.
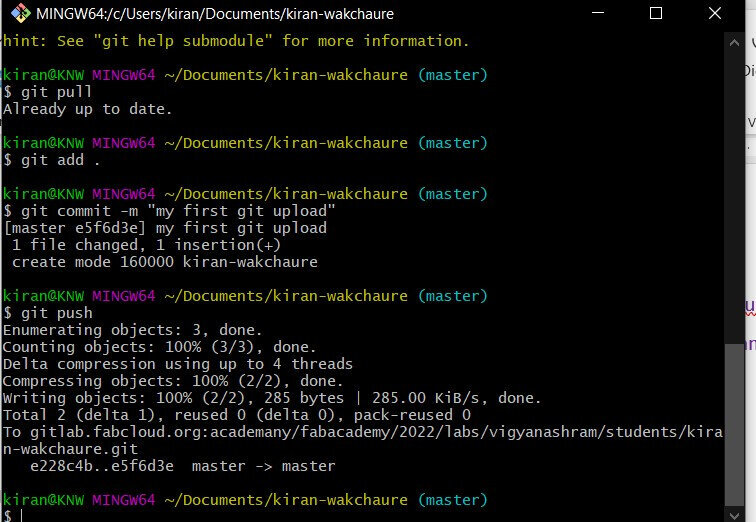
git status # Always a good idea, this command shows you what branch you're on, what files are in the working or staging directory, and any other important information.

                            •	git pull: Updates your current local working branch with all new commits from the corresponding remote branch on GitHub. git pull is a combination of git fetch and git merge..

                            •	git checkout [branch-name]: Switches to the specified branch and updates the working directory..

                            •	git commit -m "descriptive message": Records file snapshots permanently in version history..

                            •	git push: Uploads all local branch commits to the remote.
                            •	git log: Browse and inspect the evolution of project files.
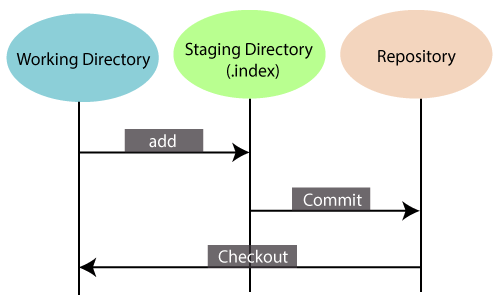
One of the core functions of Git is the concept of the Staging Environment and then Commit.
As you are working, you may add, edit, and remove files. But whenever you hit a milestone or finish a part of the work, you should add the files to a staging environment.
Staged files are ready to be committed to the repository you are working on.
There is a staging area between the working directory and the repository called the Git index. Using this method, we can build a set of changes that are ready for committing together.
The staging area acts as a preview of your next commit. A git commit creates a new commit from changes in the staging area. The staging area allows for additions and removals.
The working directory of a project is where we make changes. Changes made in the working directory will remain there until they are added to the staging area.
Repositories are used by Git to store metadata about files and directories. In addition to the files, it contains a history of the changes made to those files. Git repositories are considered your project folders. Data related to a project is stored in a repository. There are distinct repositories for different projects.
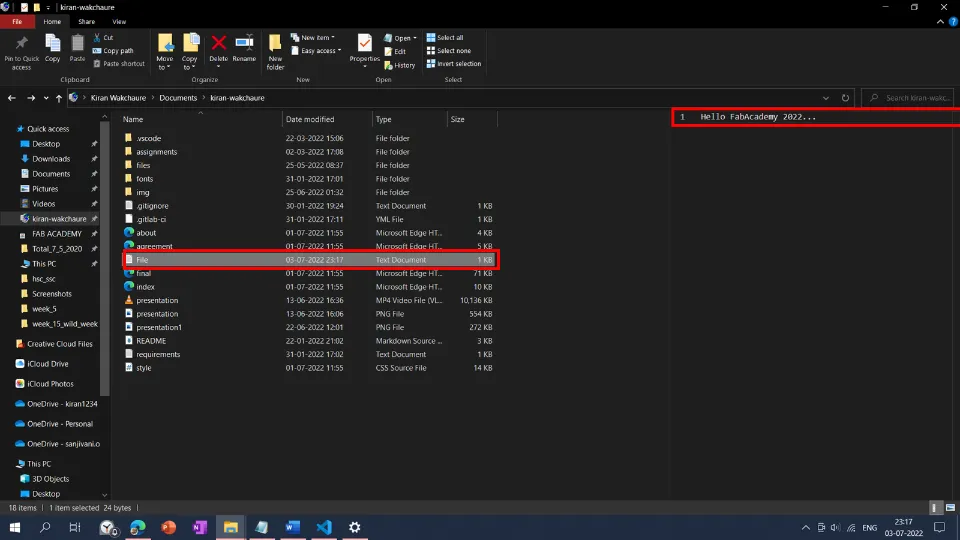
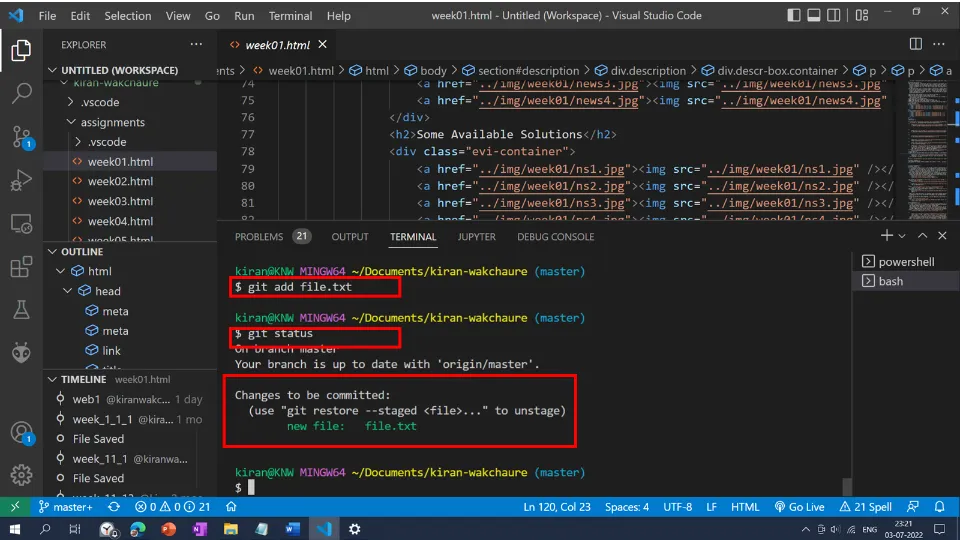
For example, I have created a text file in the working directory. The name of the file is "file.text". Then I used command git add file.text
The Git add command adds a change from the working directory to the staging area. When you commit, you tell Git that you want the new version of a particular file to be included. Git add does not really affect the repository in any significant way -- changes are not actually recorded until you run git commit.
It simply shows you what's been going on with git add and git commit. Status messages also include relevant instructions for staging/unstaging files.
Git Commit
Since we have finished our work, we are ready to move from stage to commit to our repo.
We keep track of our progress by adding commits. Commits are considered "save points" or "change points" by Git. If you find a bug or want to make a change, you can go back to this point in the project.
When we commit, we should always include a message. By adding clear messages to each commit, it is easy for yourself (and others) to see what has changed and when.

The git push command uploads local repository content to a remote repository. Pushing is how you transfer commits from a local repository to a remote repo.
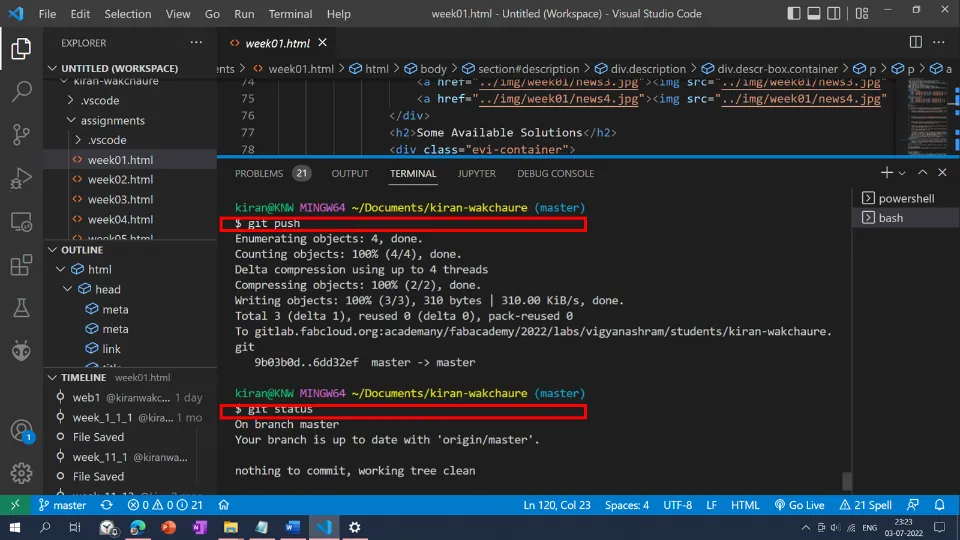
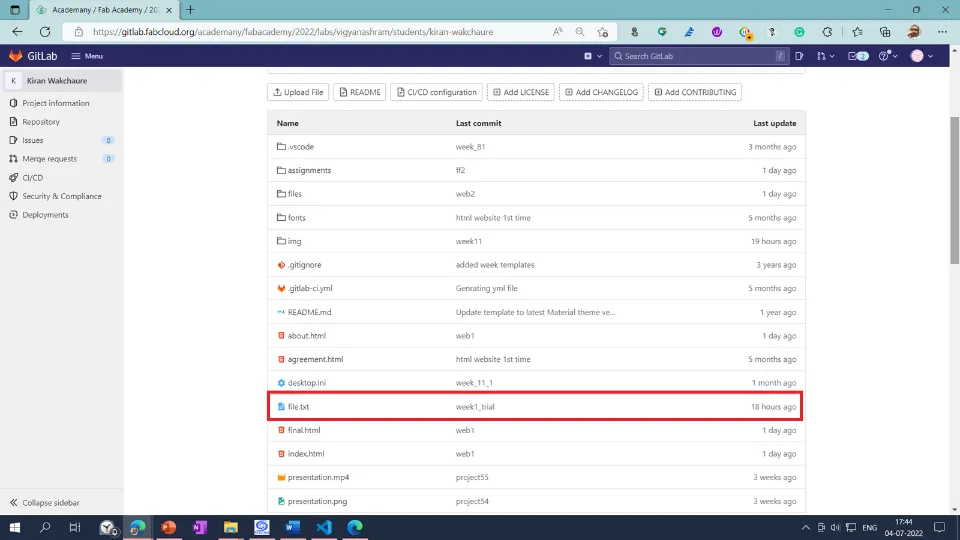
"file.text" created in the working directory is pushed to the remote git repository shown below.
Website development
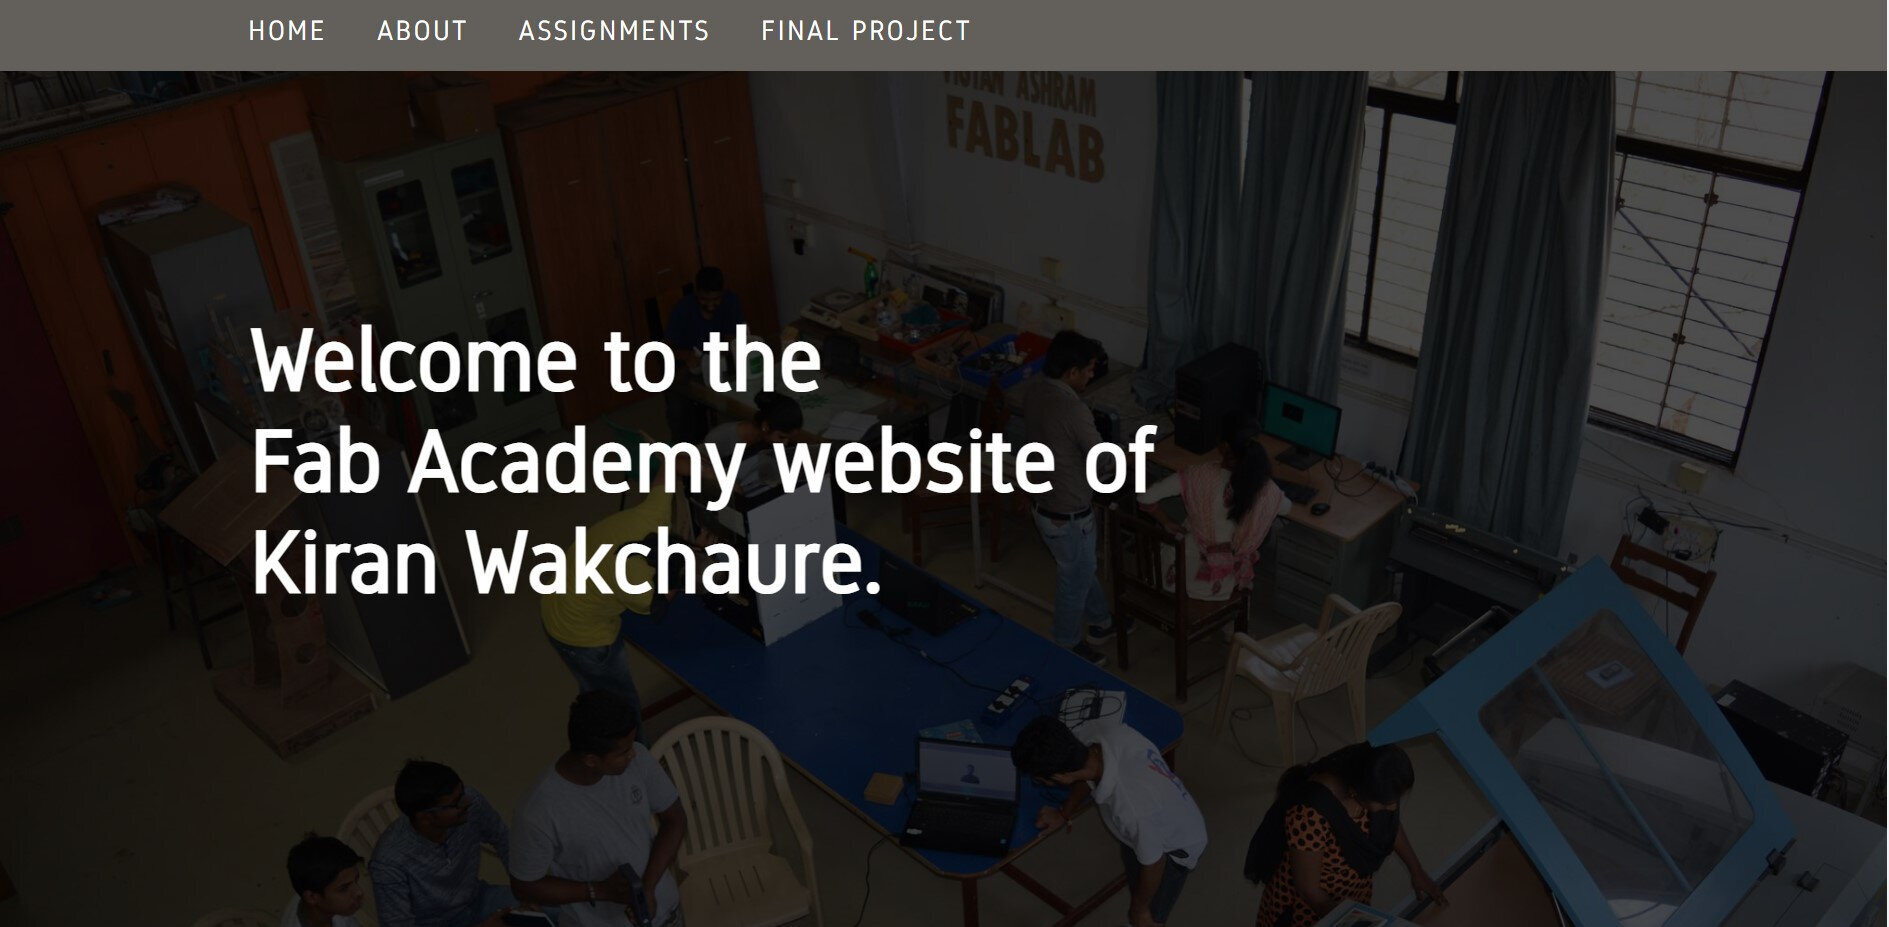
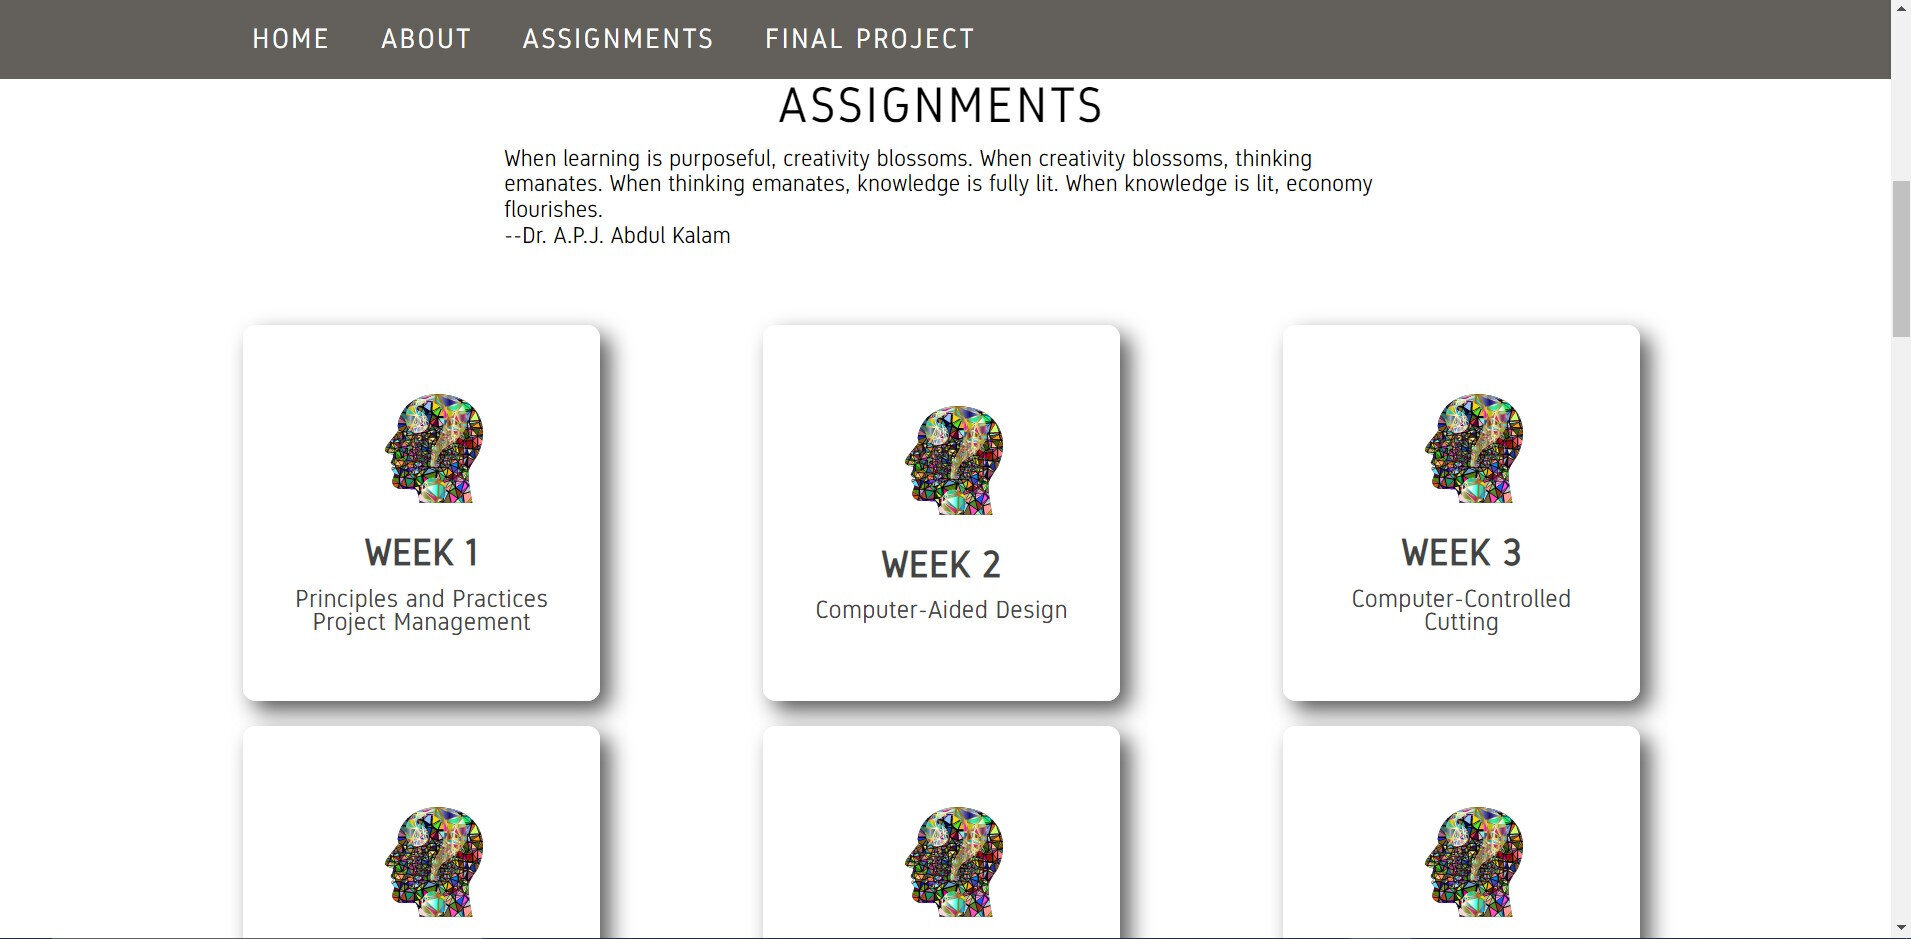
The weekly Fab Academy assignments of each student will be posted online on a personal website hosted by Fab Cloud. As such, each student was assigned to create their own website for the first week, one result of which you see in front of you. The First week assignment is based on website development. All the week assignment need to documented in the single web page.I started exploring about web development.
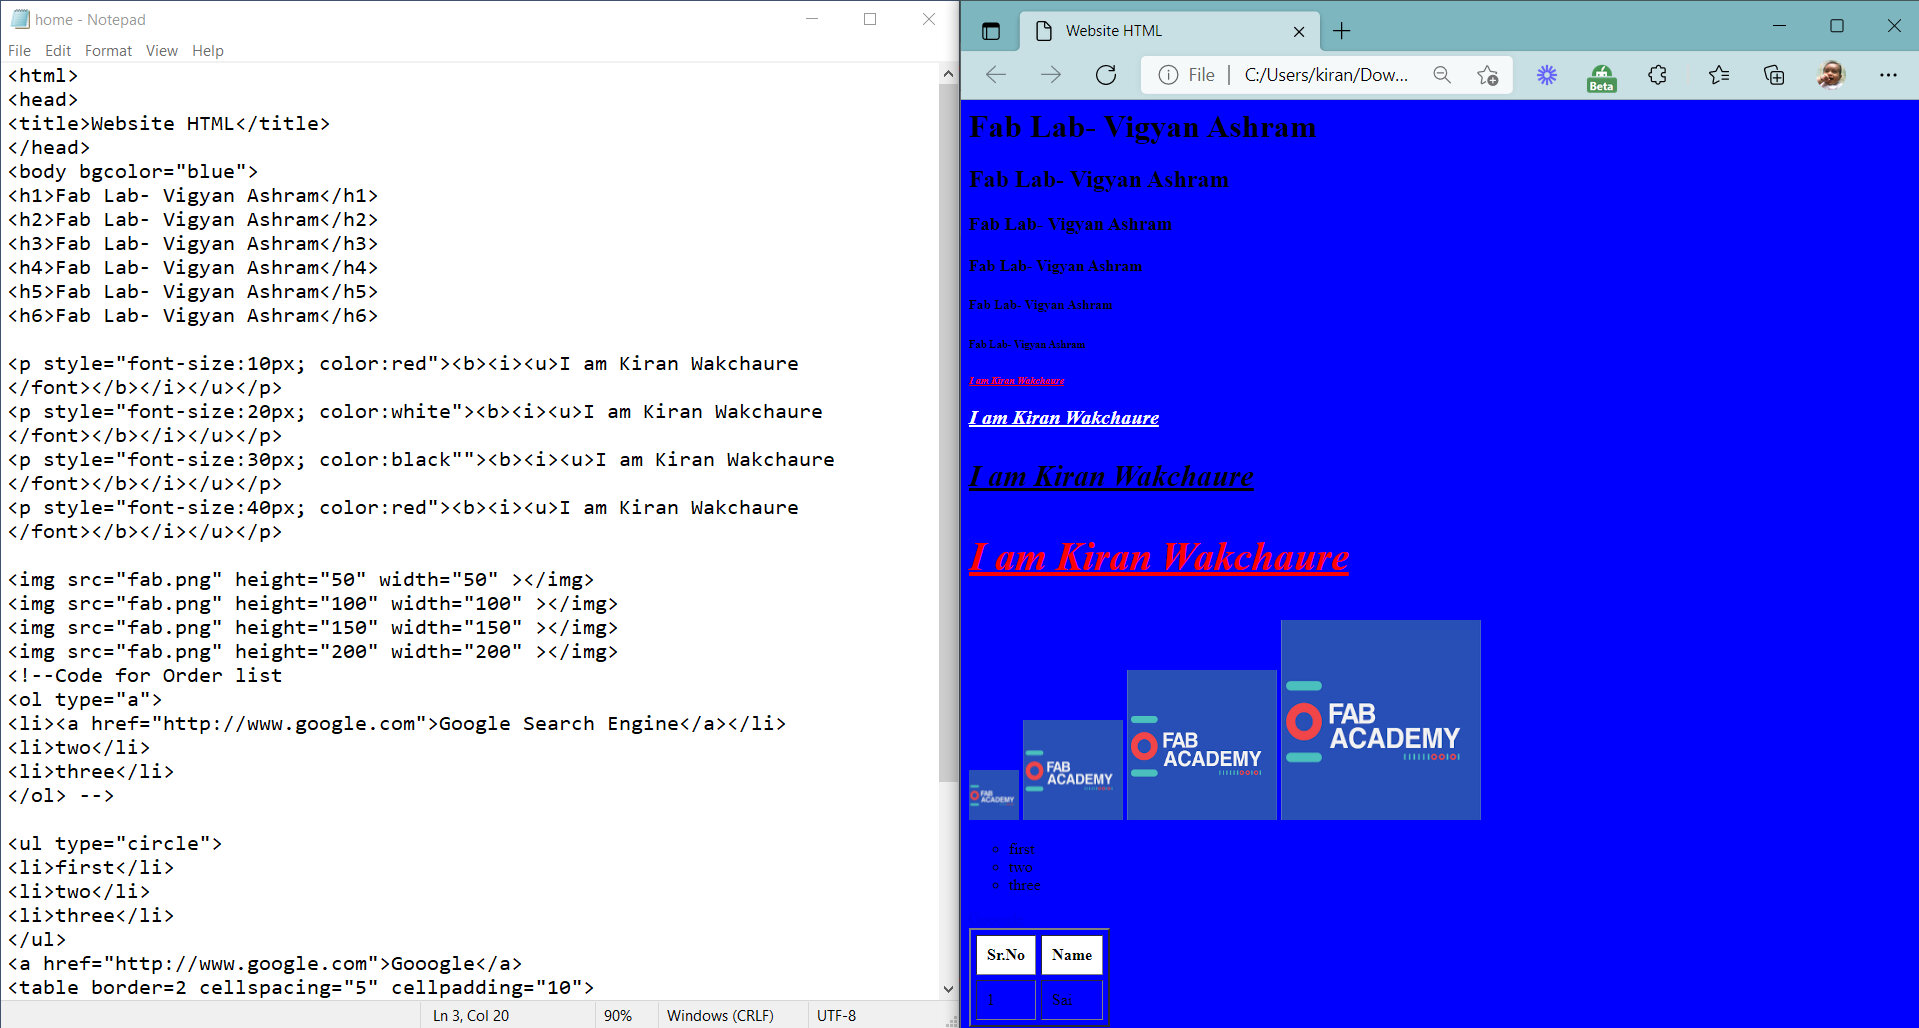
Due to limited experience in web development start learning HTML and CSS from basics with web resources like Learn HTML official website , YouTube tutorials , and very interesting w3schools tutorials are explored. The HyperText Markup Language, or HTML is the standard markup language for documents designed to be displayed in a web browser. Cascading Style Sheets (CSS) is a stylesheet language used to describe the presentation of a document written in HTML Step by step have started exploring HTML with web resources. Initially I started with notepad.
Among the other editors offered for testing were Atom and Visual Studio Code. Visual Studio Code is a source-code editor made by Microsoft for Windows, Linux and macOS. Features include support for debugging, syntax highlighting, intelligent code completion, snippets, code refactoring, and embedded Git. I downloaded and started Visual Studio Code, as the Emmet toolkit built right into it was helpful for me to get started.
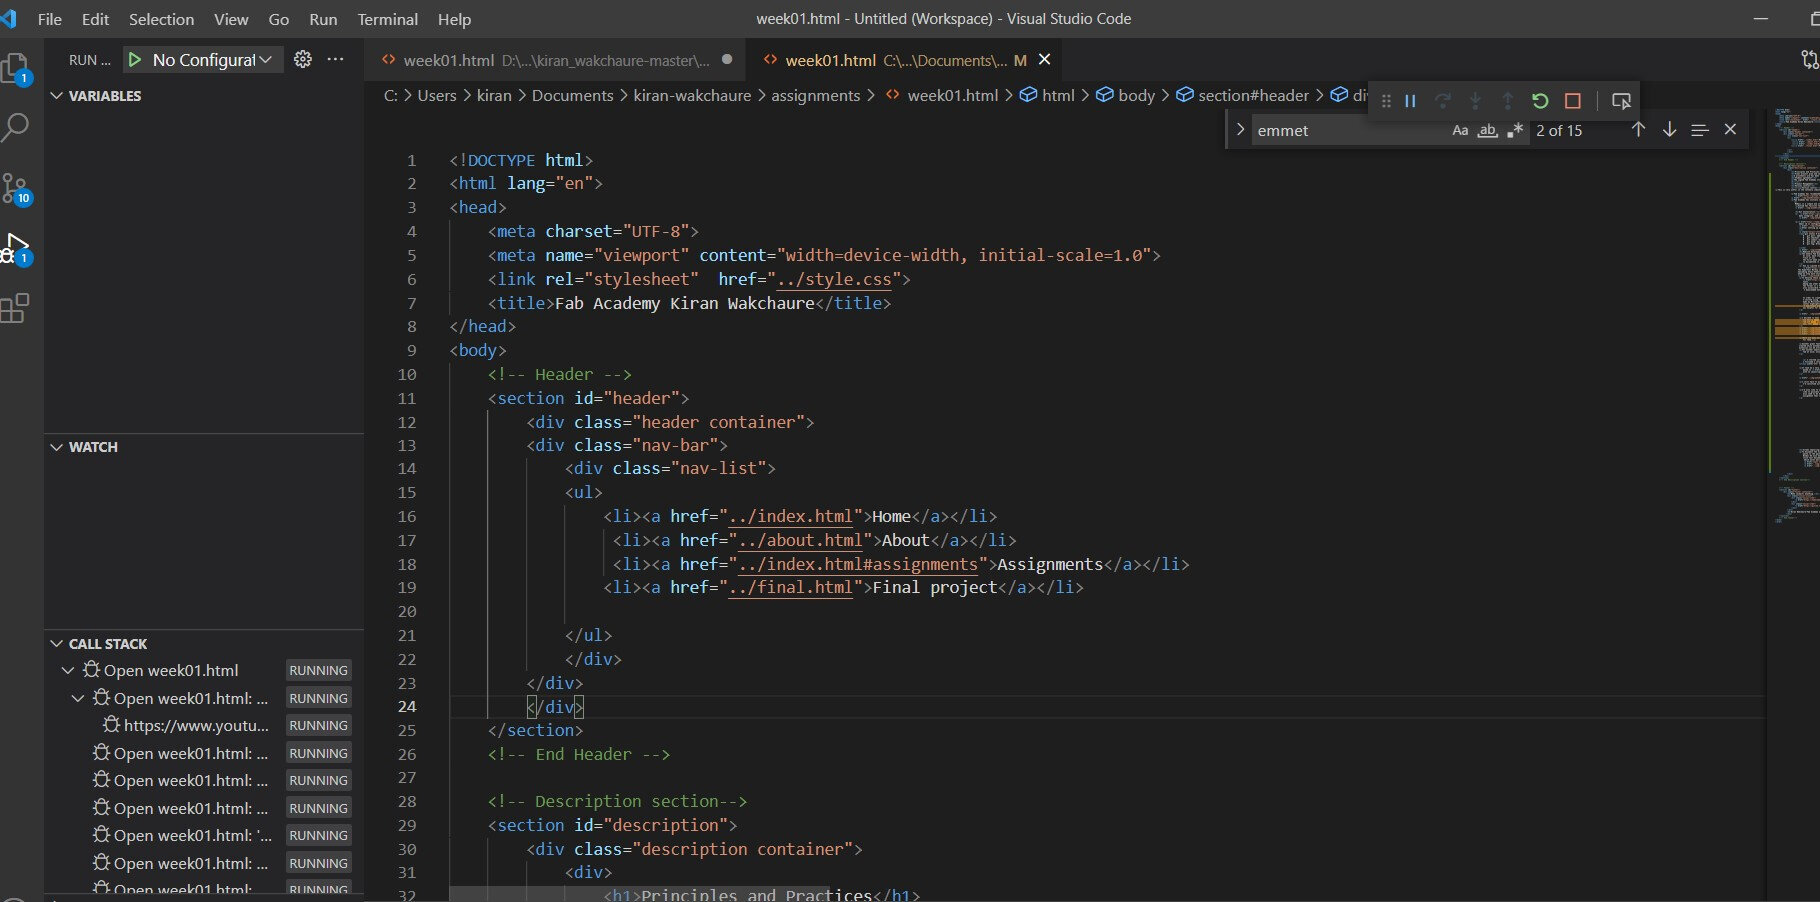
Visual Studio Code is its Live Server extensions was installed on VS code to local host the website in MS Edge browser to see live changes in VScode file. extension, which once activated, allows a localhost to be created which automatically refreshes the website you have opened in your browser to refresh every time you save your code. This amazing extension can be activated by right-clicking you code and choosing 'Open with Live Server'.
Beauty of Visual Studio Code is the ability to indent a whole paragraph of chosen code with Tab simultaneously; you can also unindent a paragraph using Shift+Tab.
I started surfing on google I found video tutorial on and started final website development by following procedure in youtube tutorial.
By referring FabAcademy wold students websites I finalized design template of maro-aghazaria, source code provided by Github source code for one page website HTML CSS
By referring previous years Fab Academy students websites, consultation with mentor and my colleagues, final structure, GUI and color scheme was finalized. Required changes are made in index file, assignment file and CSS file for font size, color, animation and other effects of downloaded template. After lot of trial & error referring online resources final website is finalized to upload.
I will make changes as I learn something new in HTML and will make website more responsive and user friendly.
After completion and modification in website it is uploaded in gitlab server using Git Bash terminal.
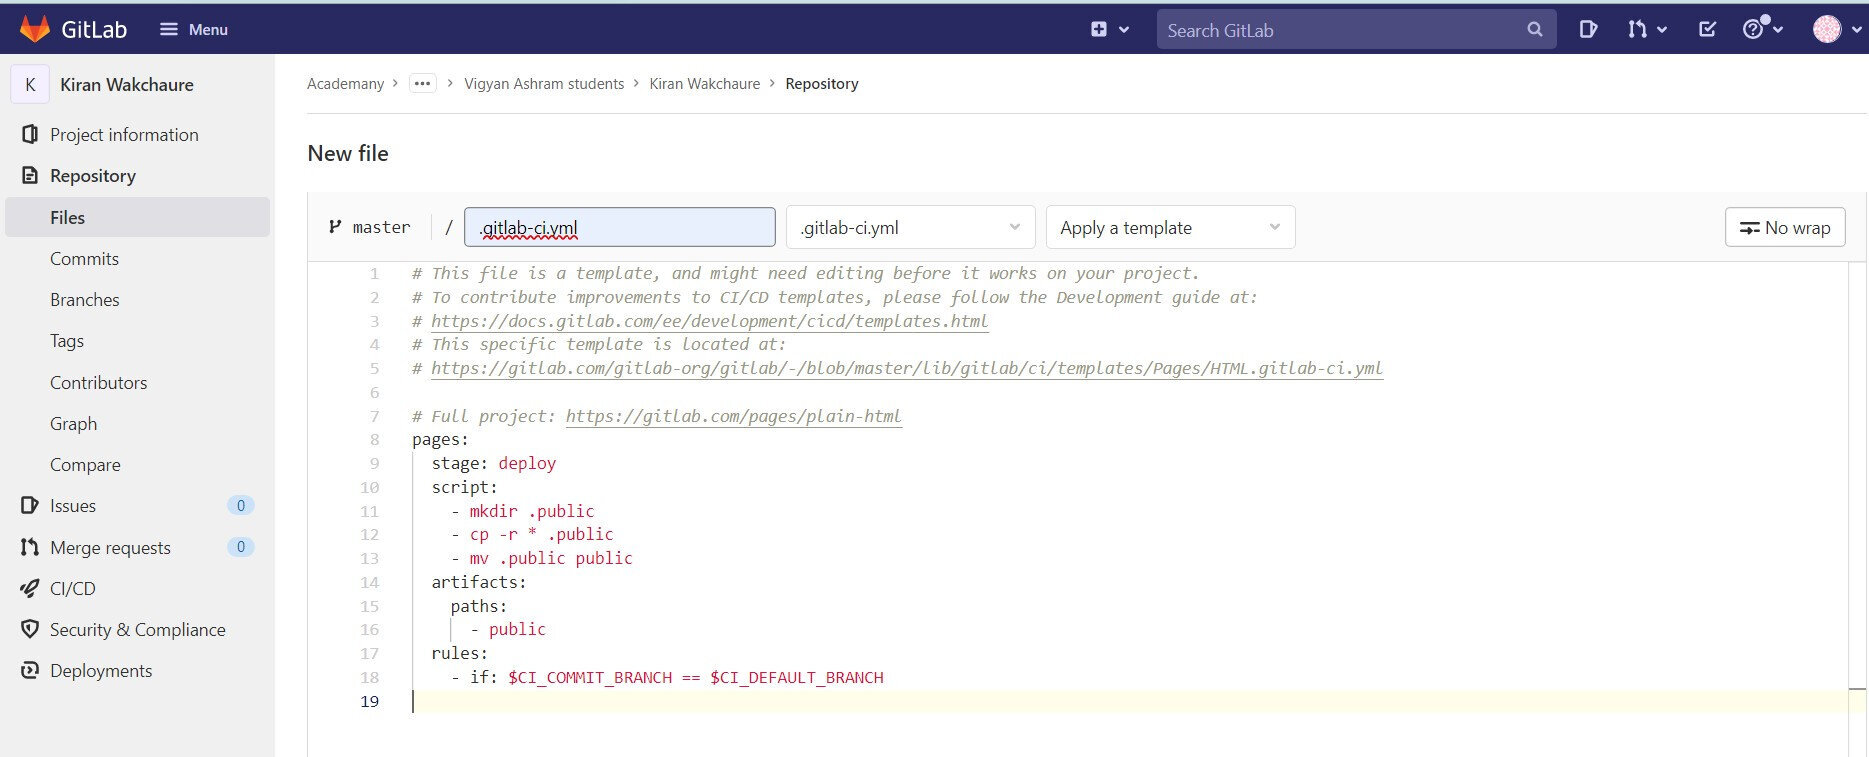
After pushing website on web server, to root documentation website on gitlab for given url, GitLab-ci. yml file (YAML file) is created for HTML. This file automatically runs whenever user push a commit to the server.
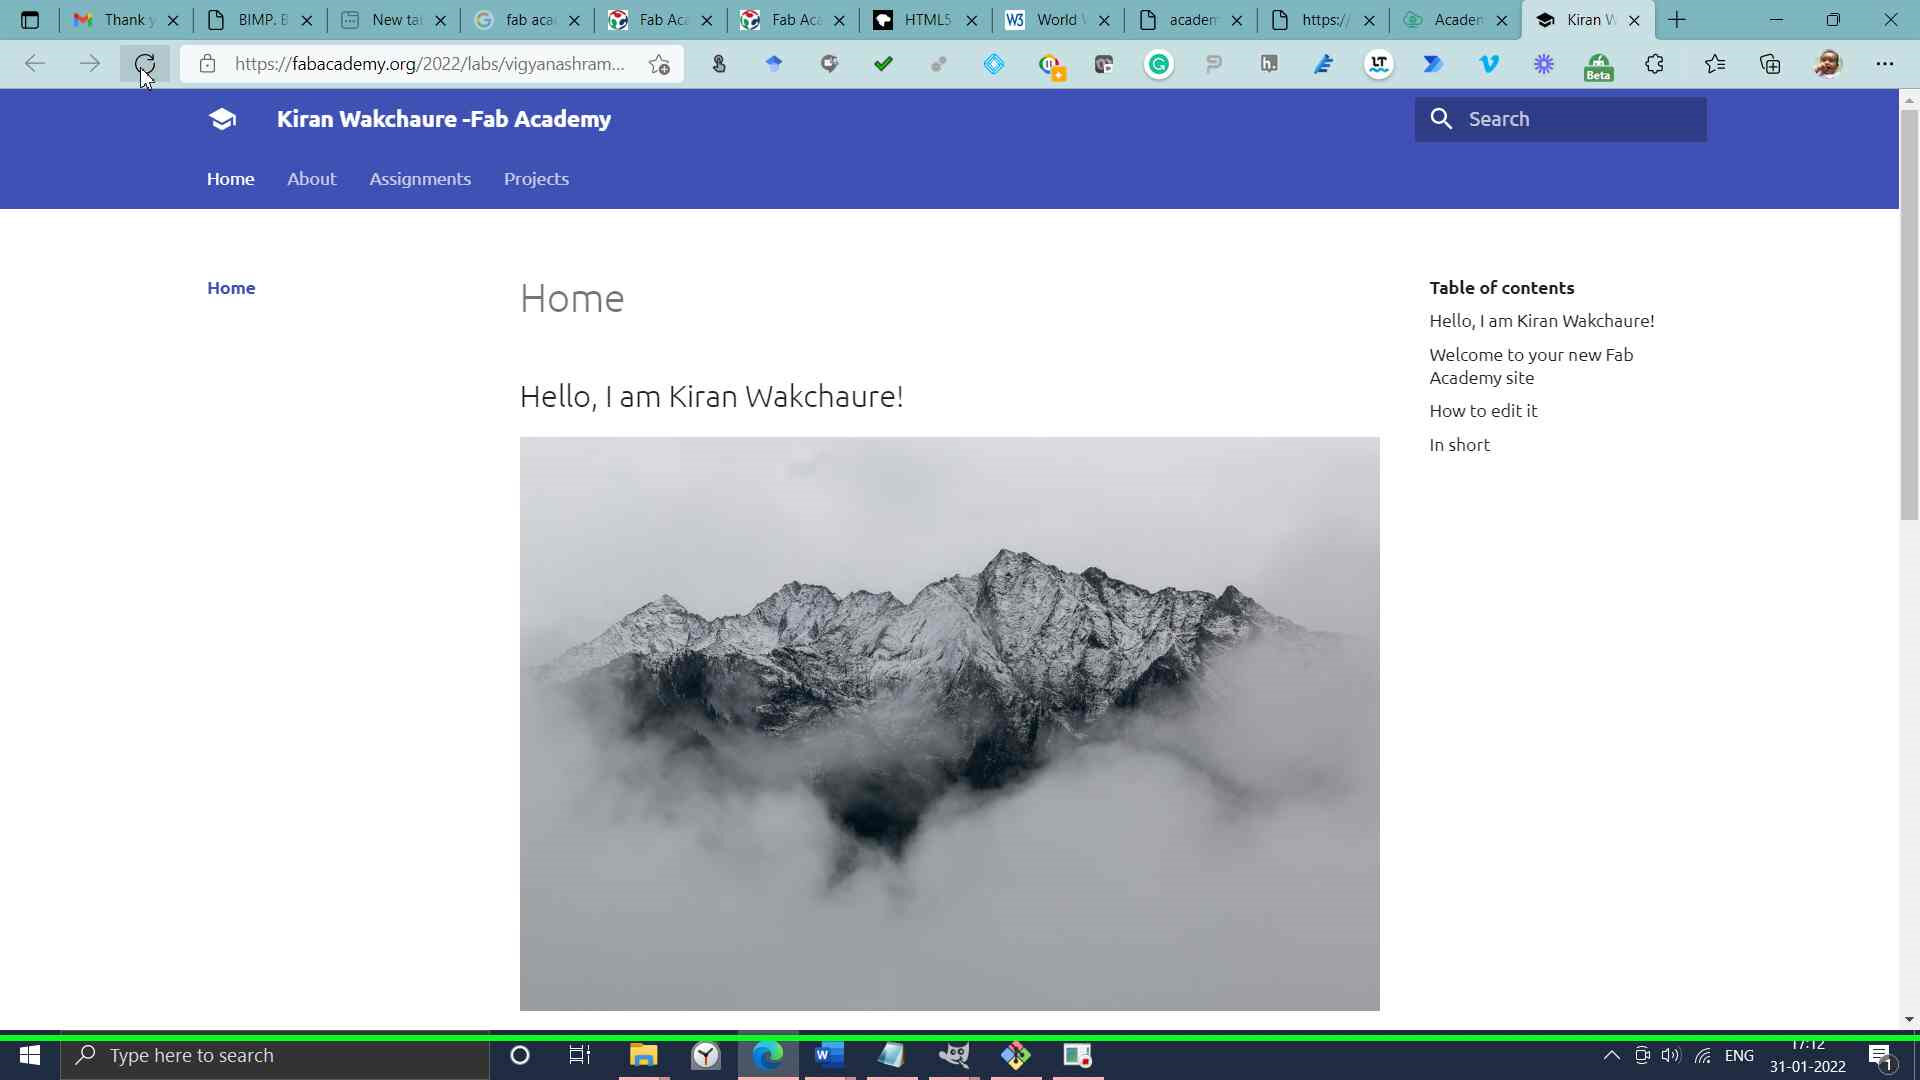
I my final website is ready to host with Fab Academy URL from GIT Lab server.

I will complete Every week assignment and documented it in the form of webpage and will push on gitlab fot live update.
Image Editing
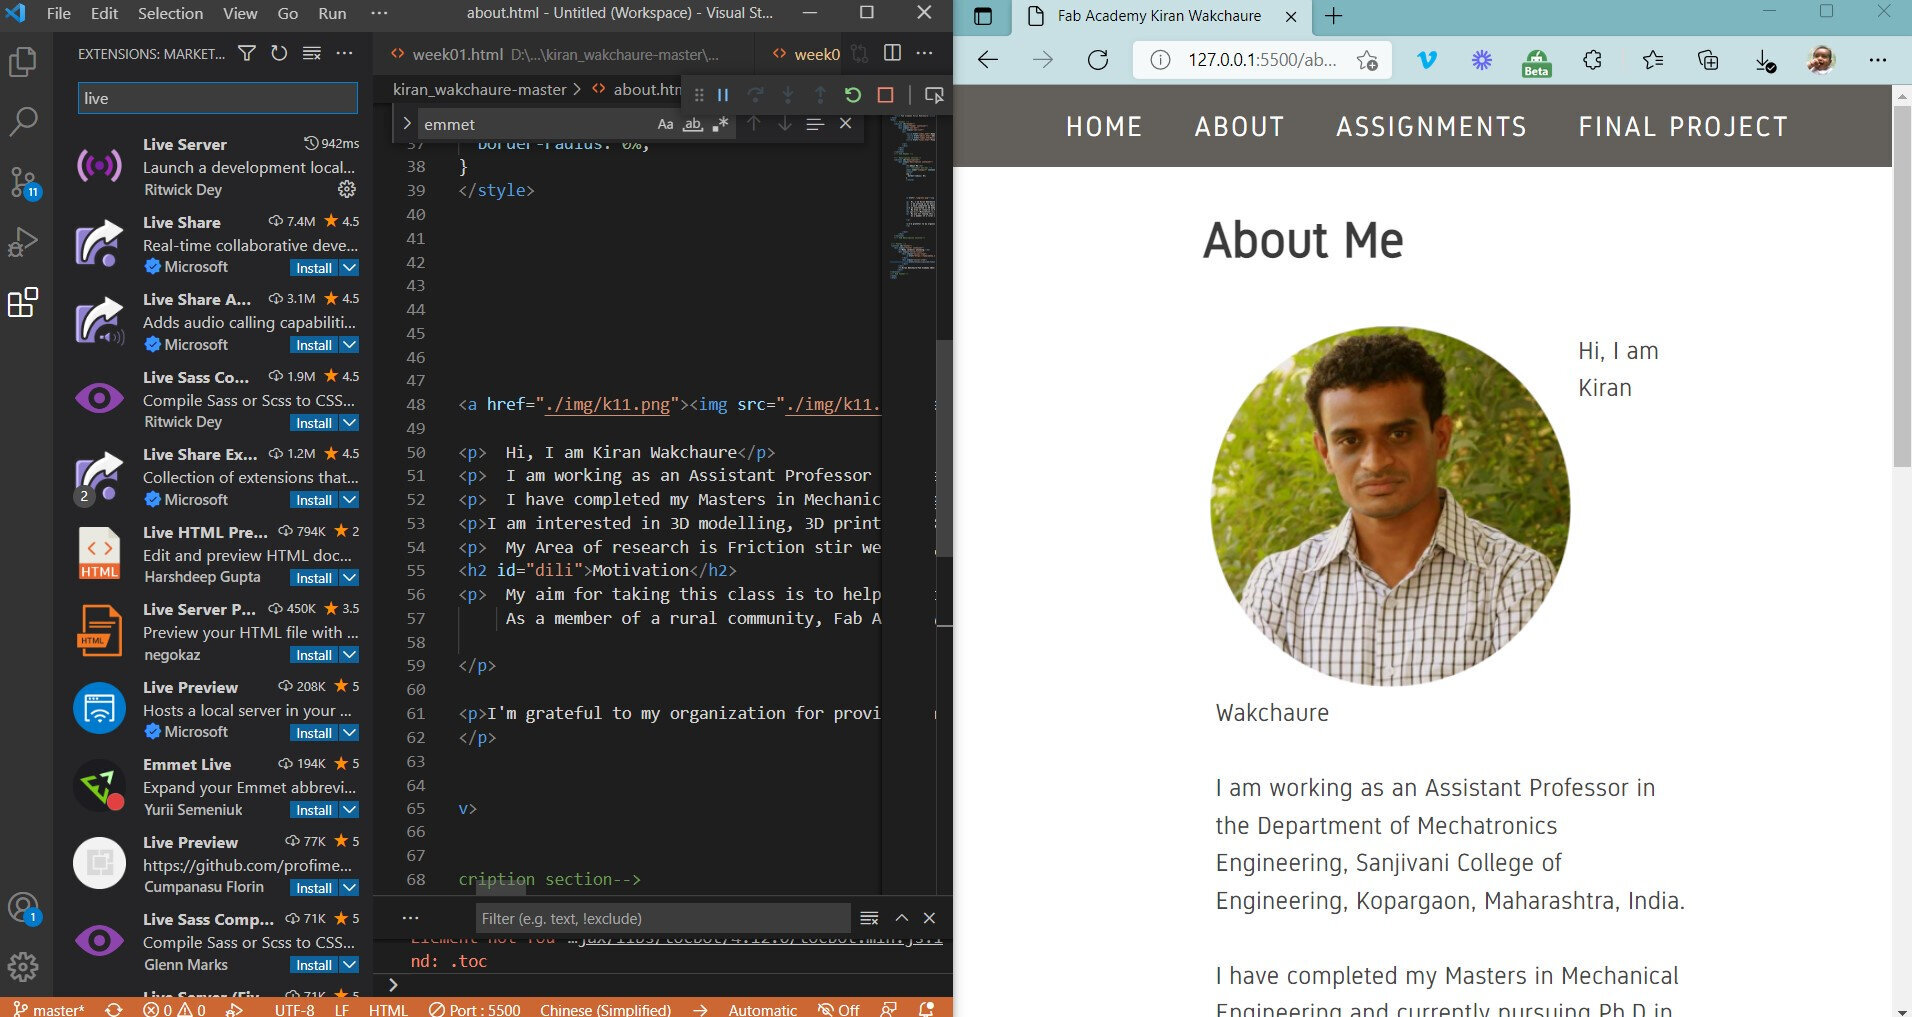
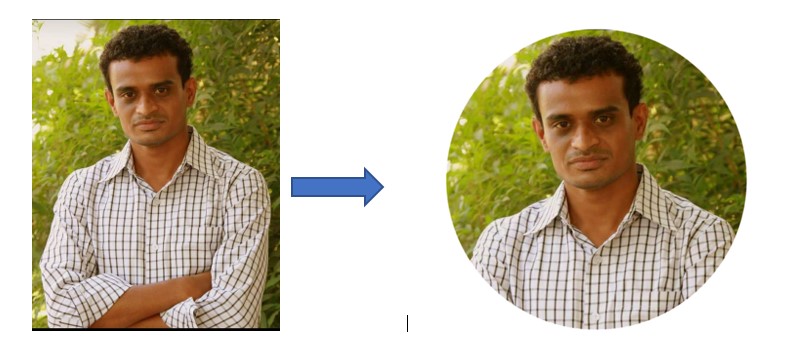
To add the Image evidence in weekly assignment webpage, it is required to do image editing like crop, resize, compression etc. I tried to explore online tools like Pixlr, Fotor and Online image editor Then I downloaded and started to explore power full opensource image editor GIMP. GIMP is a free and open-source image editor. GIMP has strong capability of image processing and editing, as well as free-form sketching and transcoding between different image file formats. I have cropped my image to circle shape using Youtube Tutorial.
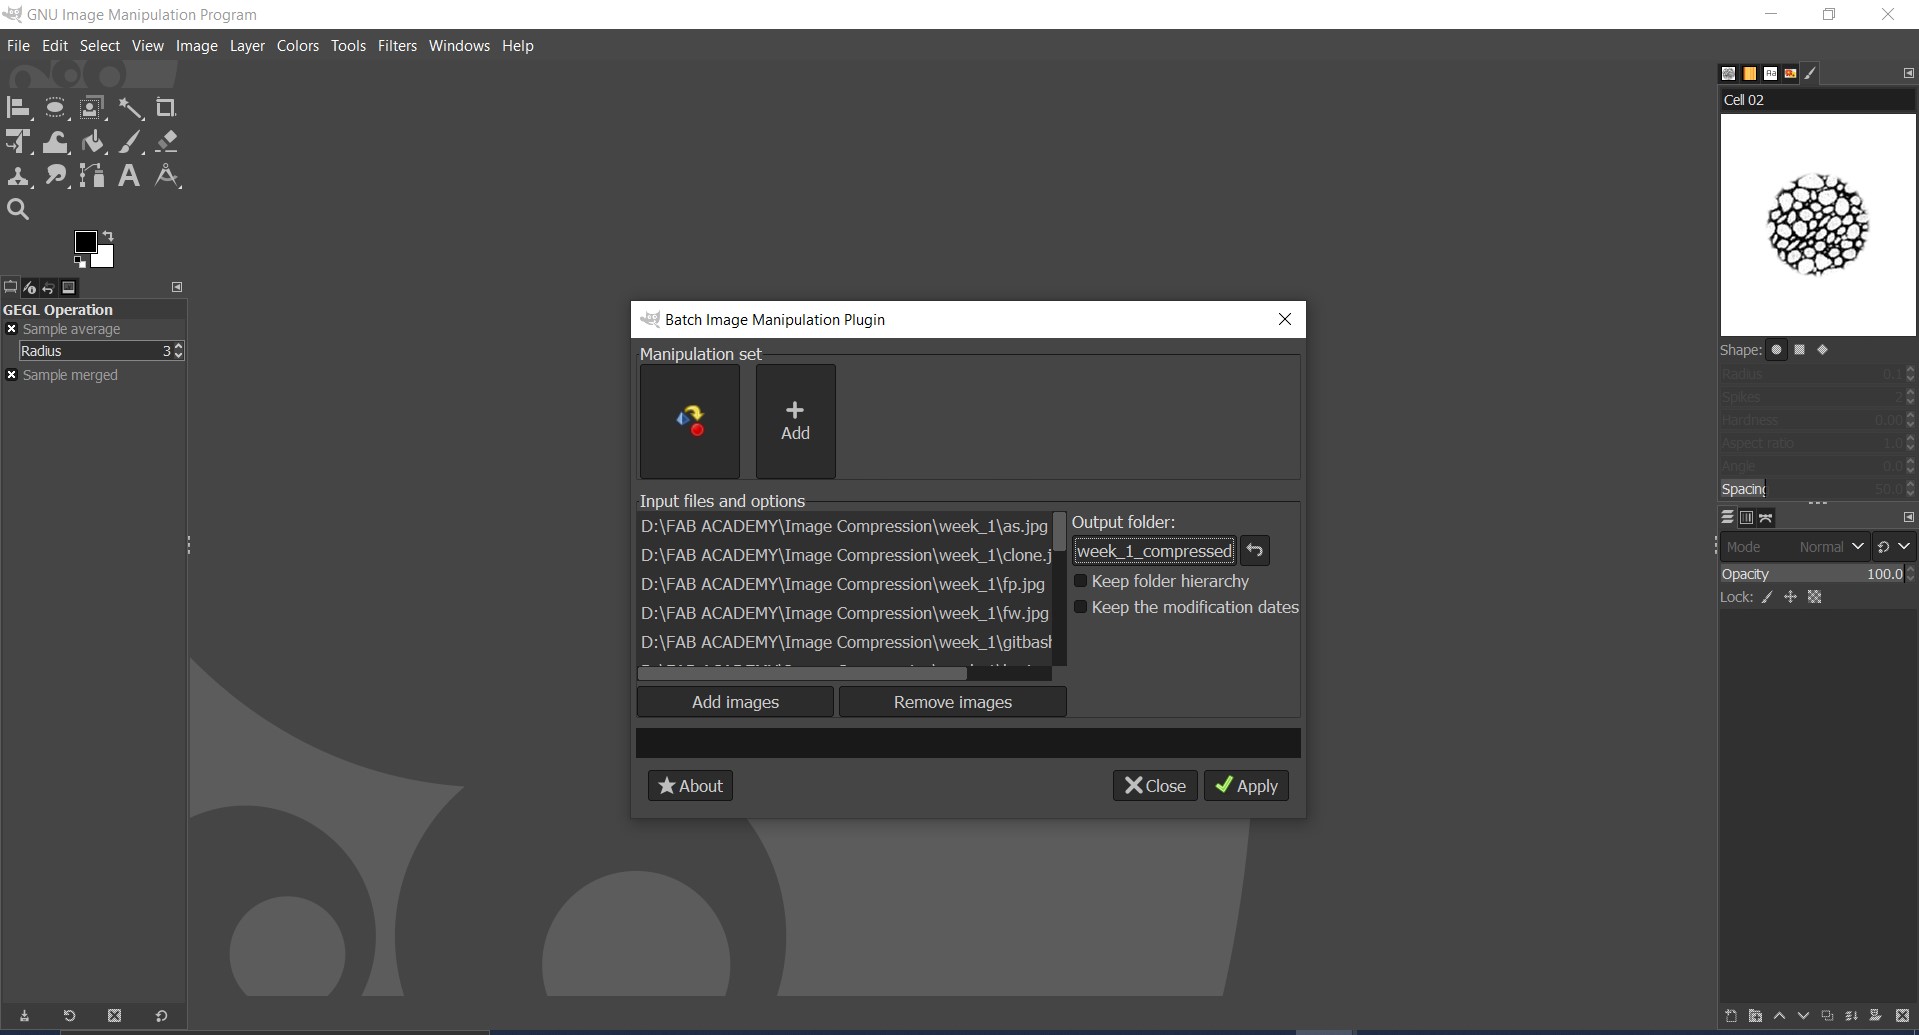
GIMP also support plugin Using the Batch Image Manipulation Plugin (BIMP) , which is used to batch resize images in GIMP. I have explored BIMP with this Tutorial.
Screen Capturing
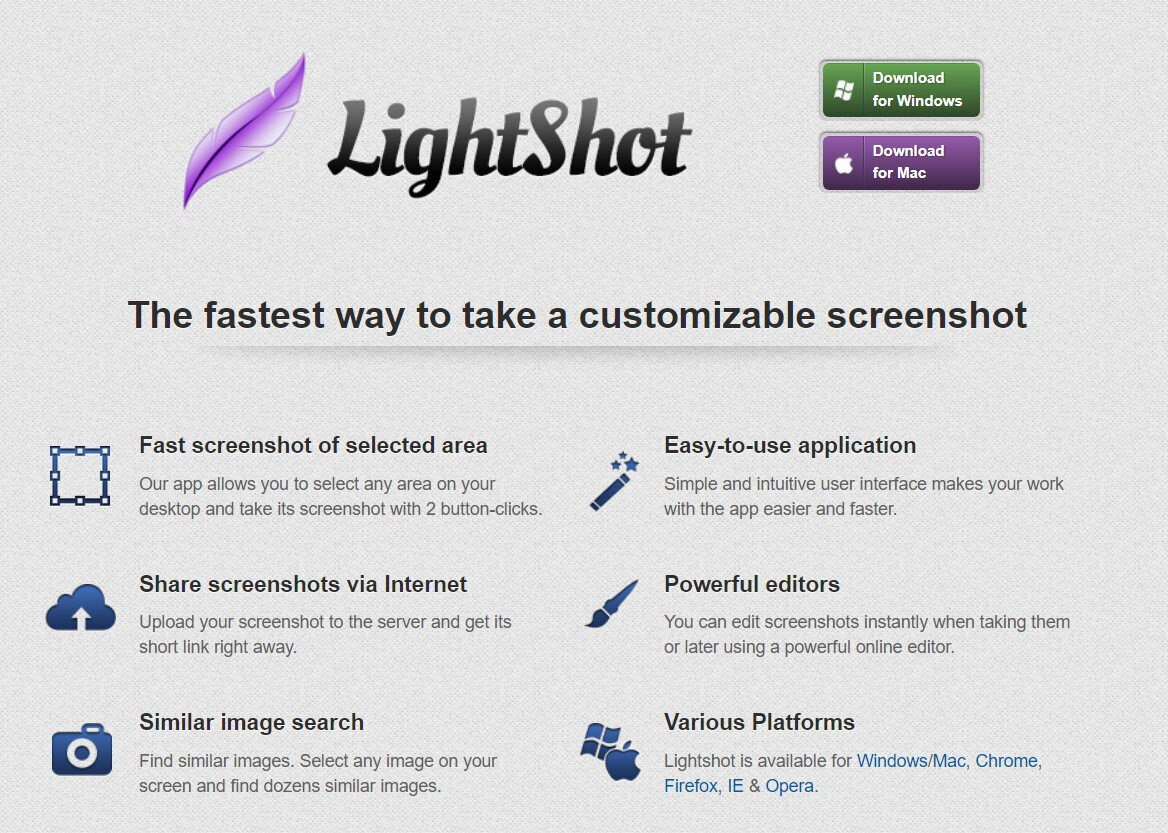
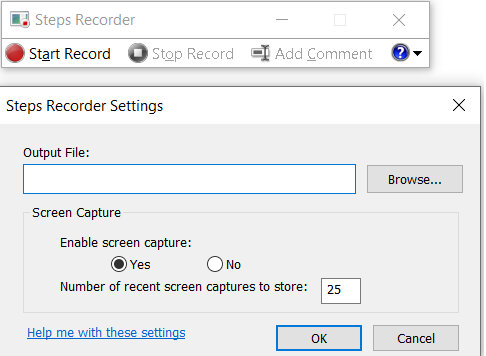
To document the evidences of weekly assignment we need to take some screen shots to upload on the website to support our work. Windows consist of print screen option by pressing Windows key + Prtscr, paste in the paint and the save the file with required file format which is a very time consuming job. Window OS also having one more step recorder tool which captures the step for every mouse click. But for more number of mouse clicks,recorder tool becomes unstable showing "Non responding error". Also tool save file in MHTML Document (.mht) format, which works well in Internet explorer which is out dated. And to save the every screen shot, each file need to save as separately. After this I tried 'Lightshot' screed capture tool. Lightshot for Screen shot is open-source tool and consisting simple operation, I prefers to use this for further documentation.