8. Computer controlled machining
For this assignment, the manufacturer’s manual of the CNC milling machine delivered by the personnel in charge of the manufacturer’s implementation was reviewed; in relation to the drill bits, cutting speed, program in charge of the design, program for sending orders for the milling of the material, which on this occasion was 5 mm compressed sawdust.
Group Activity
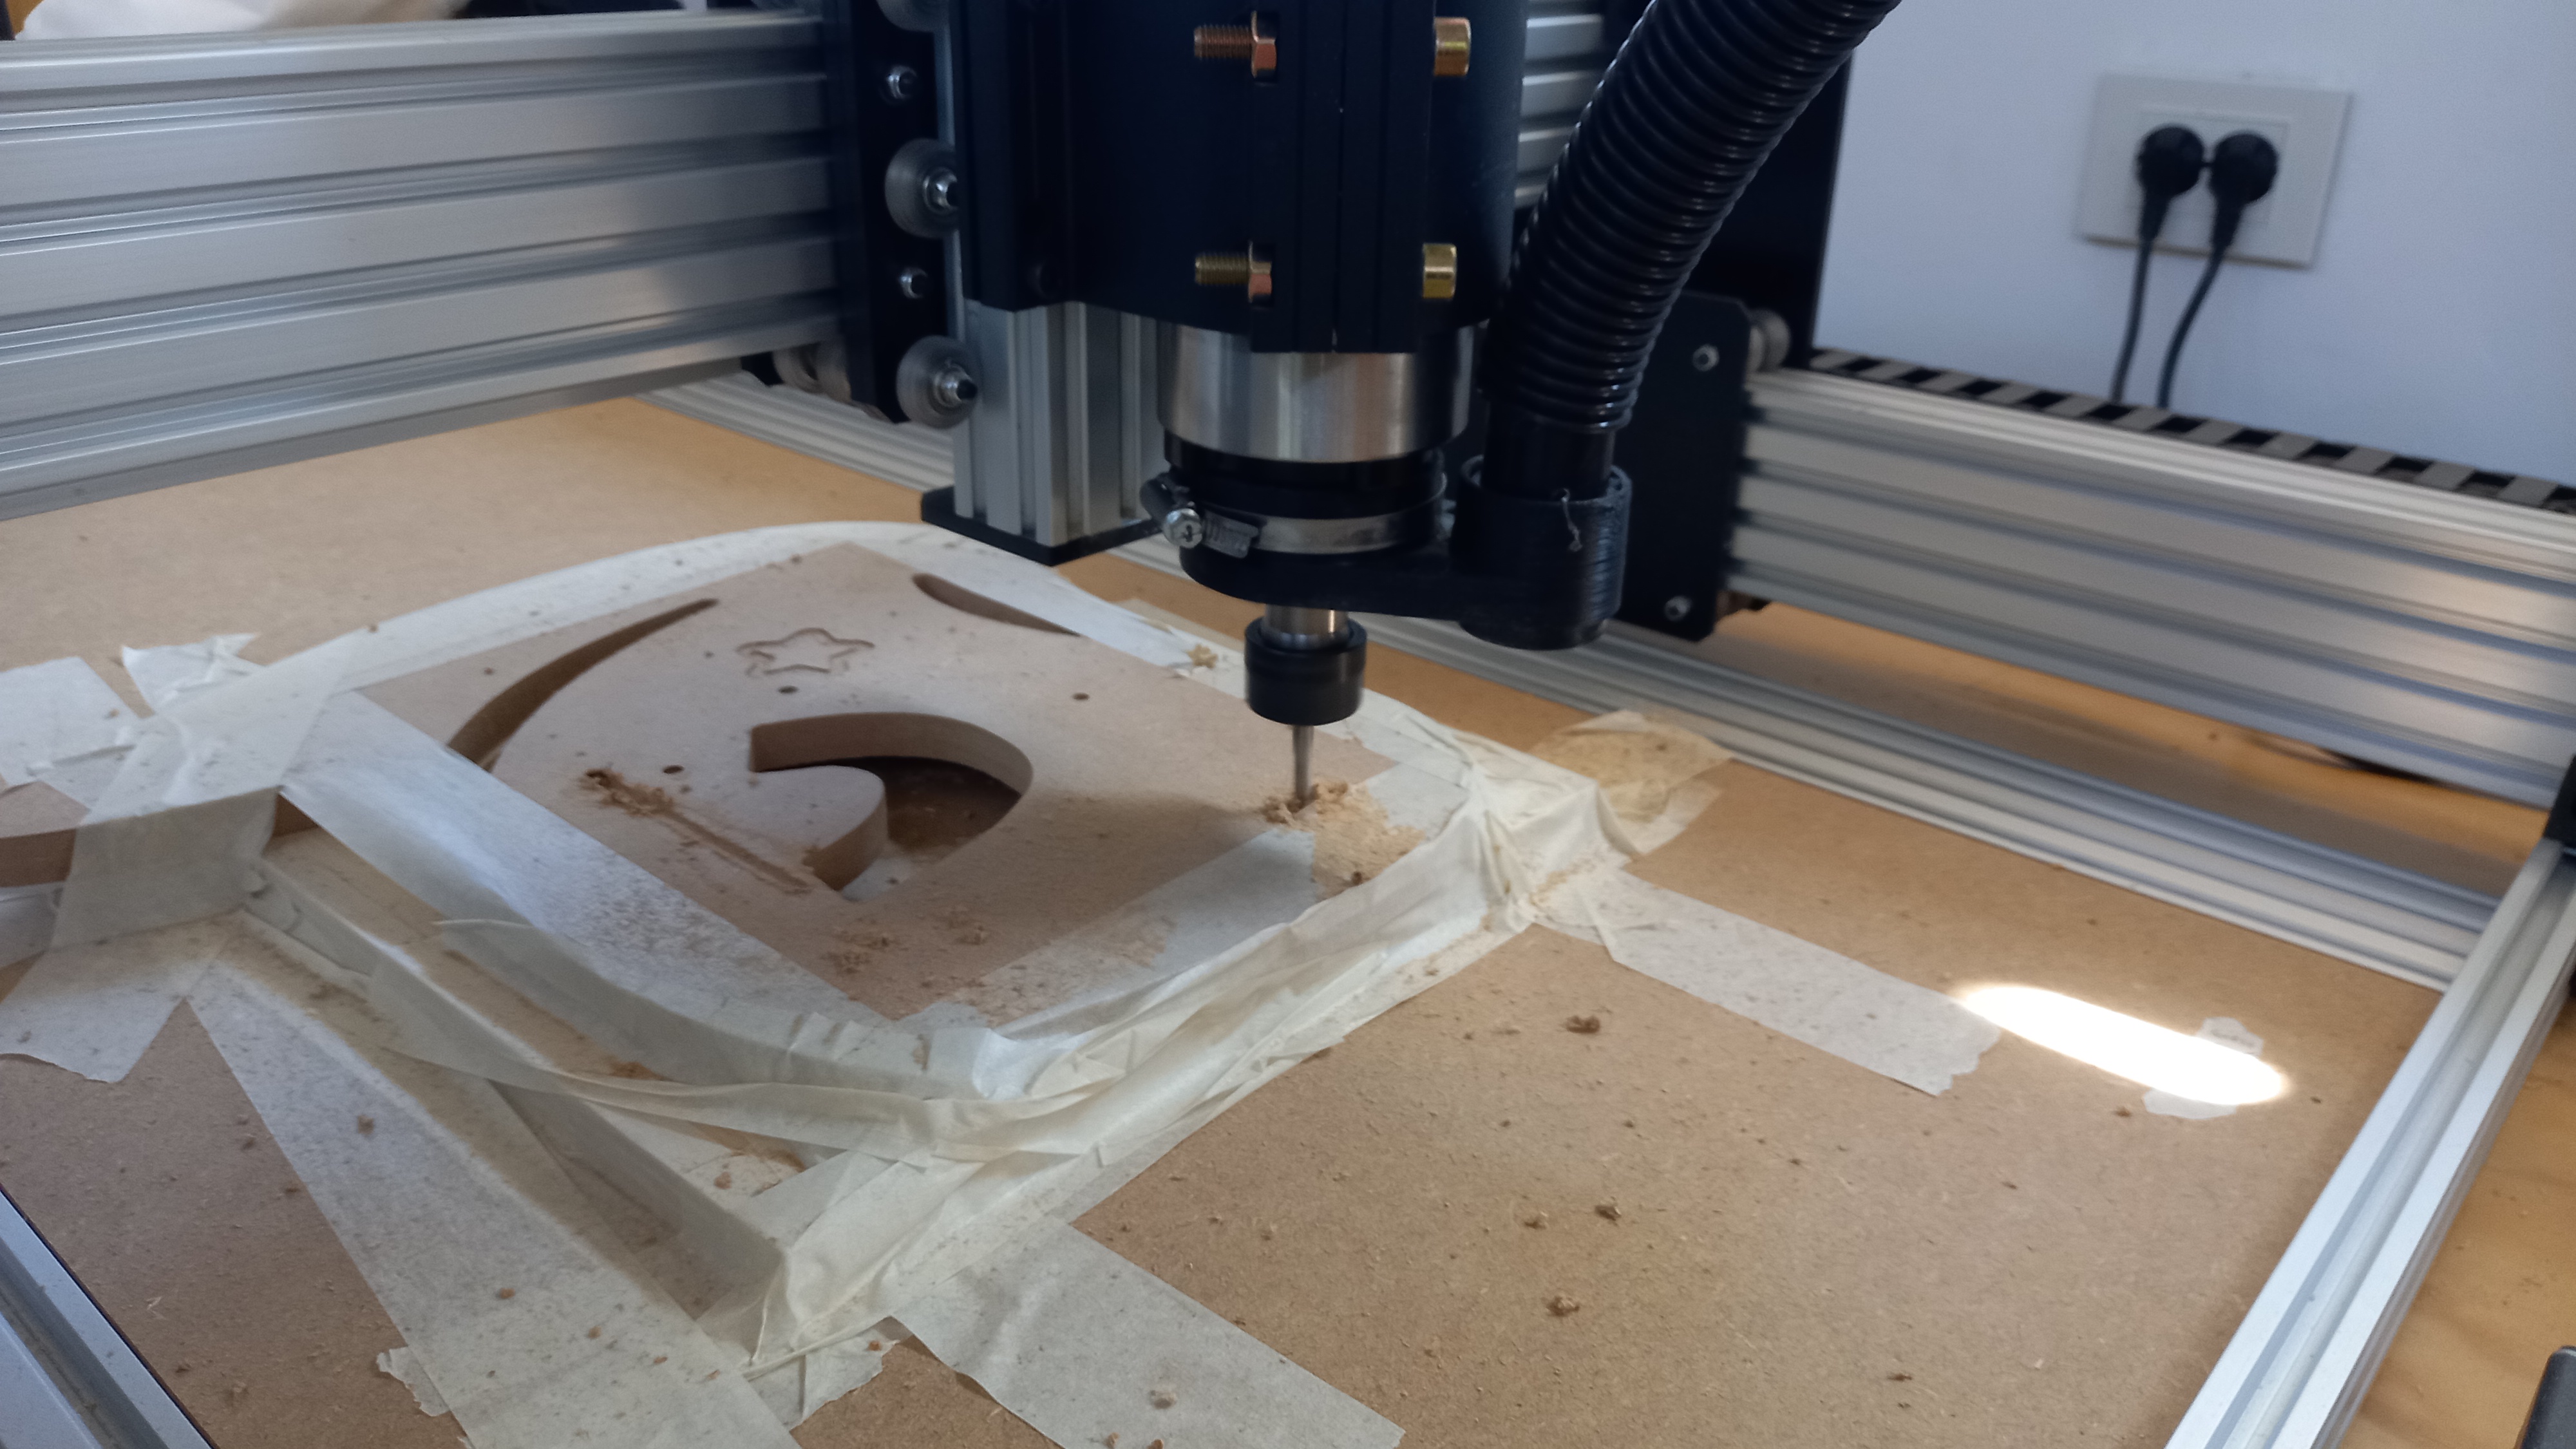
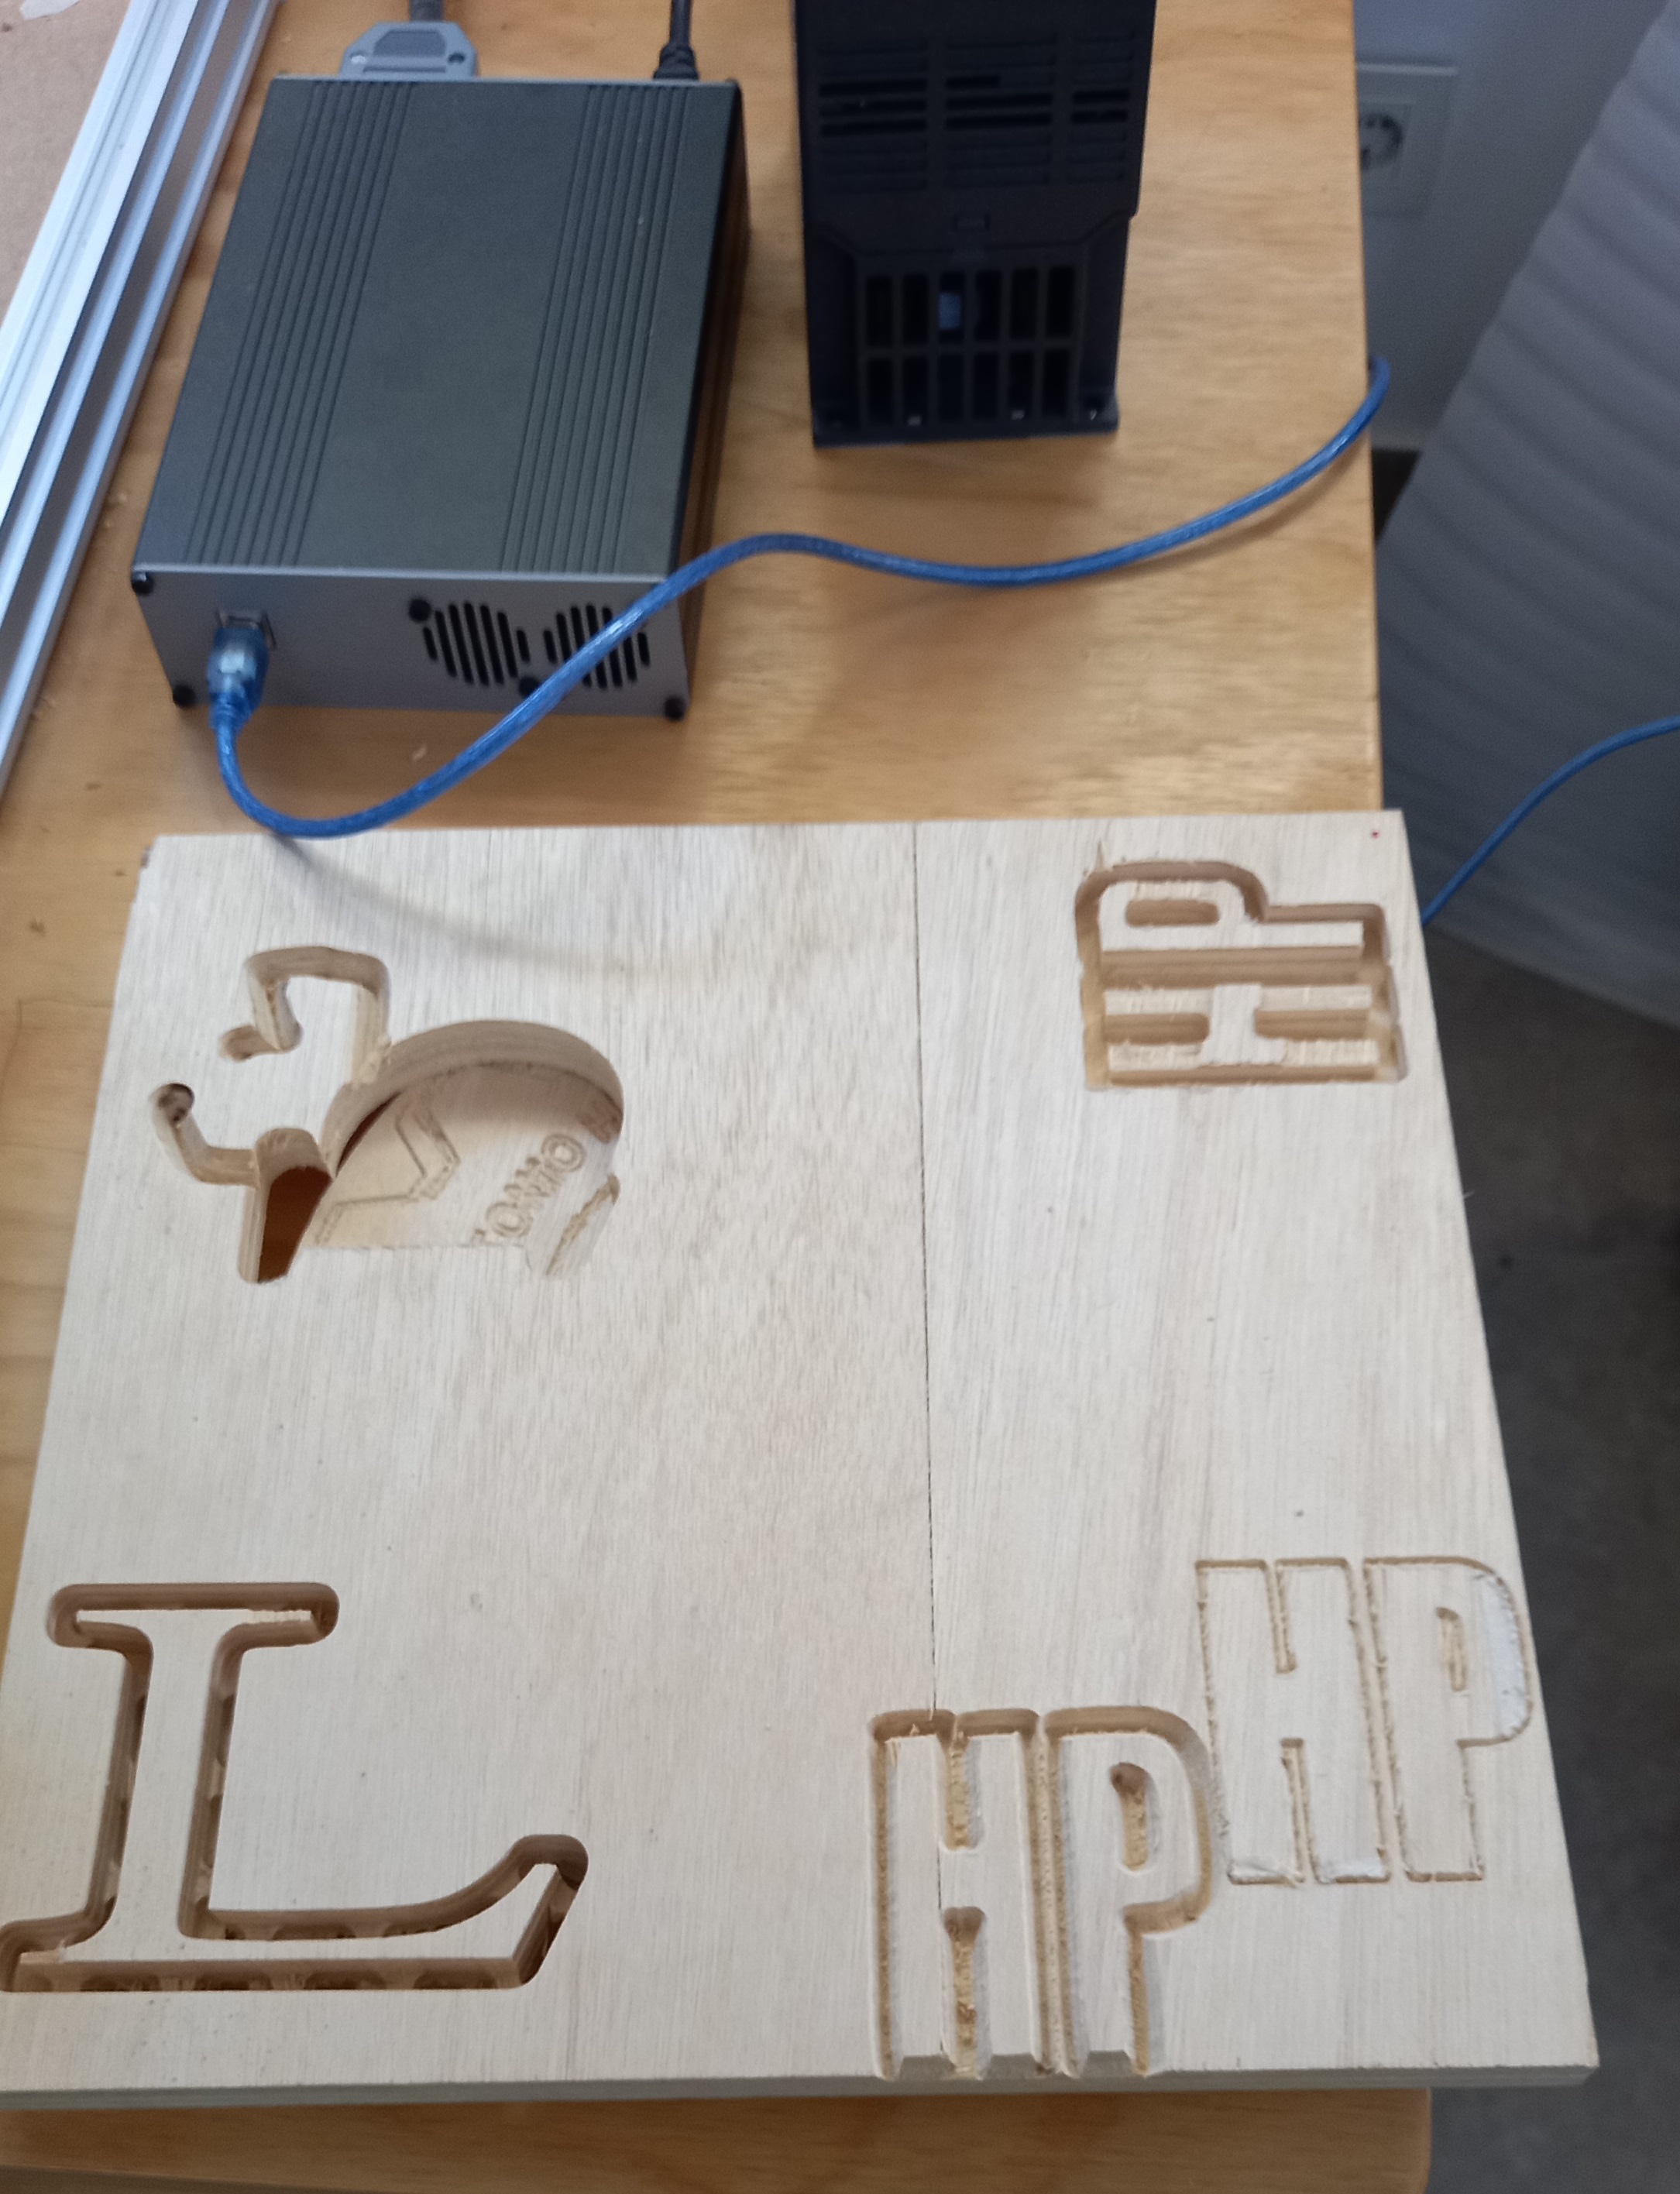
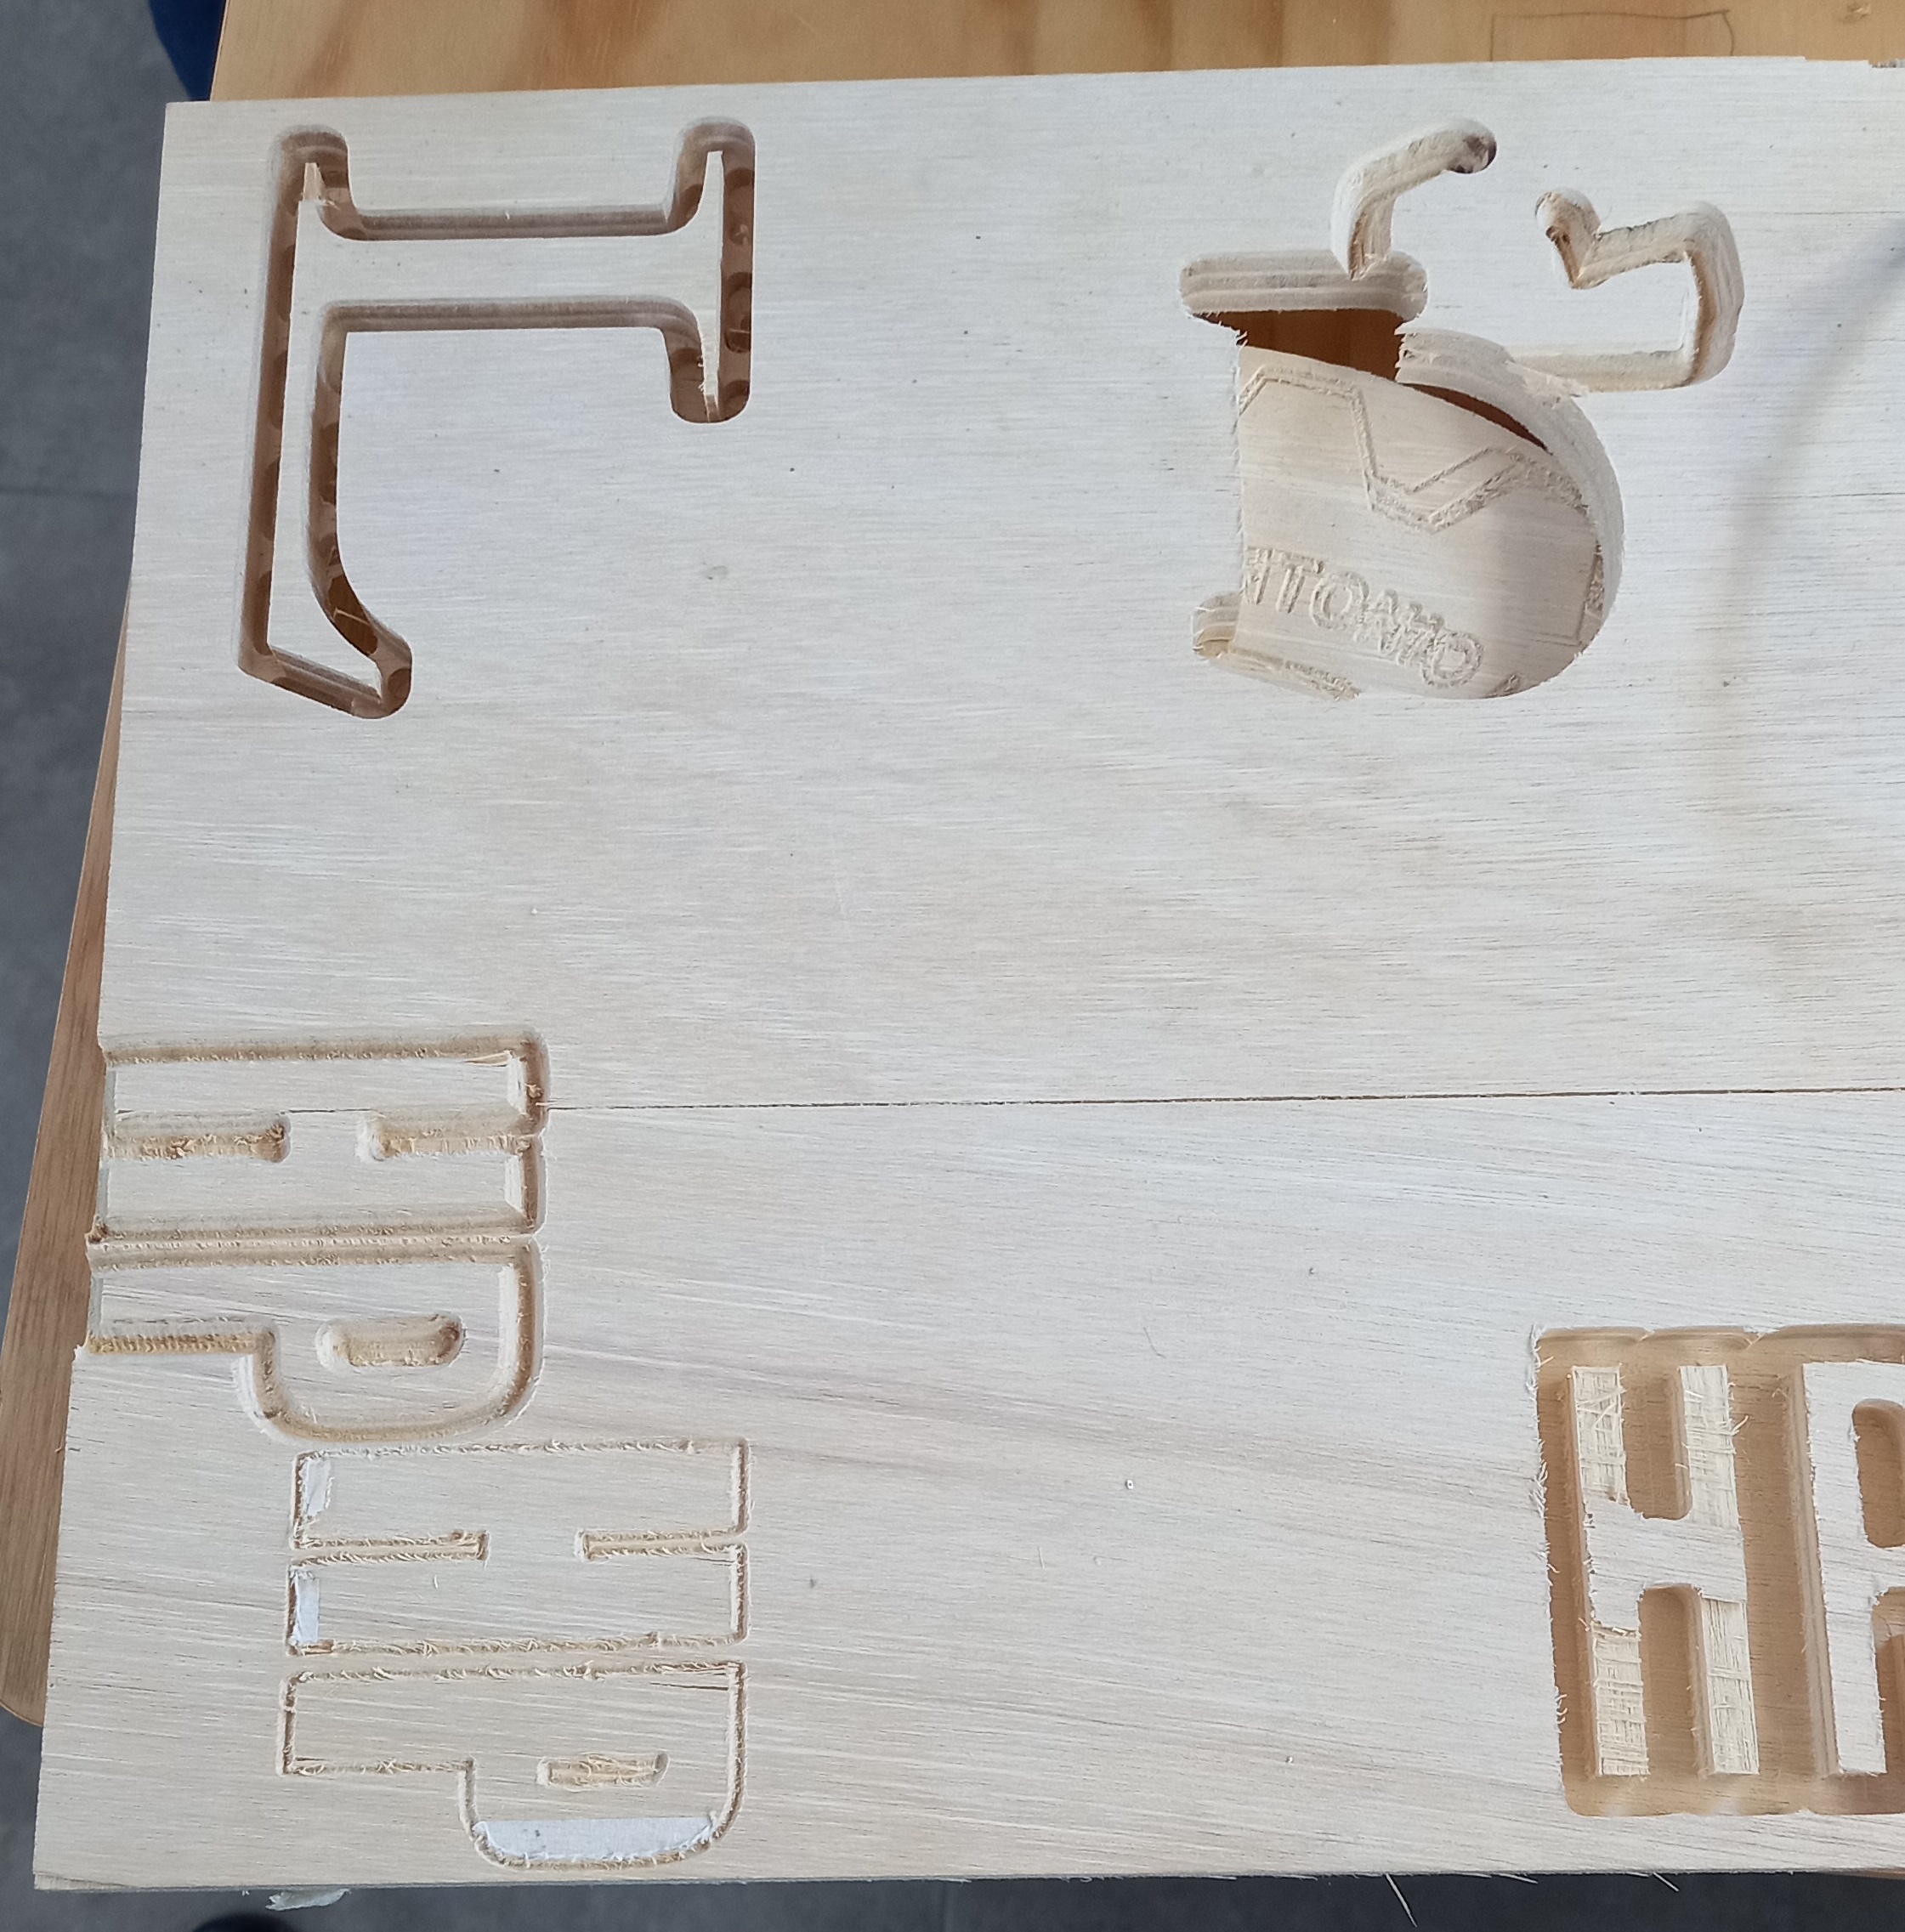
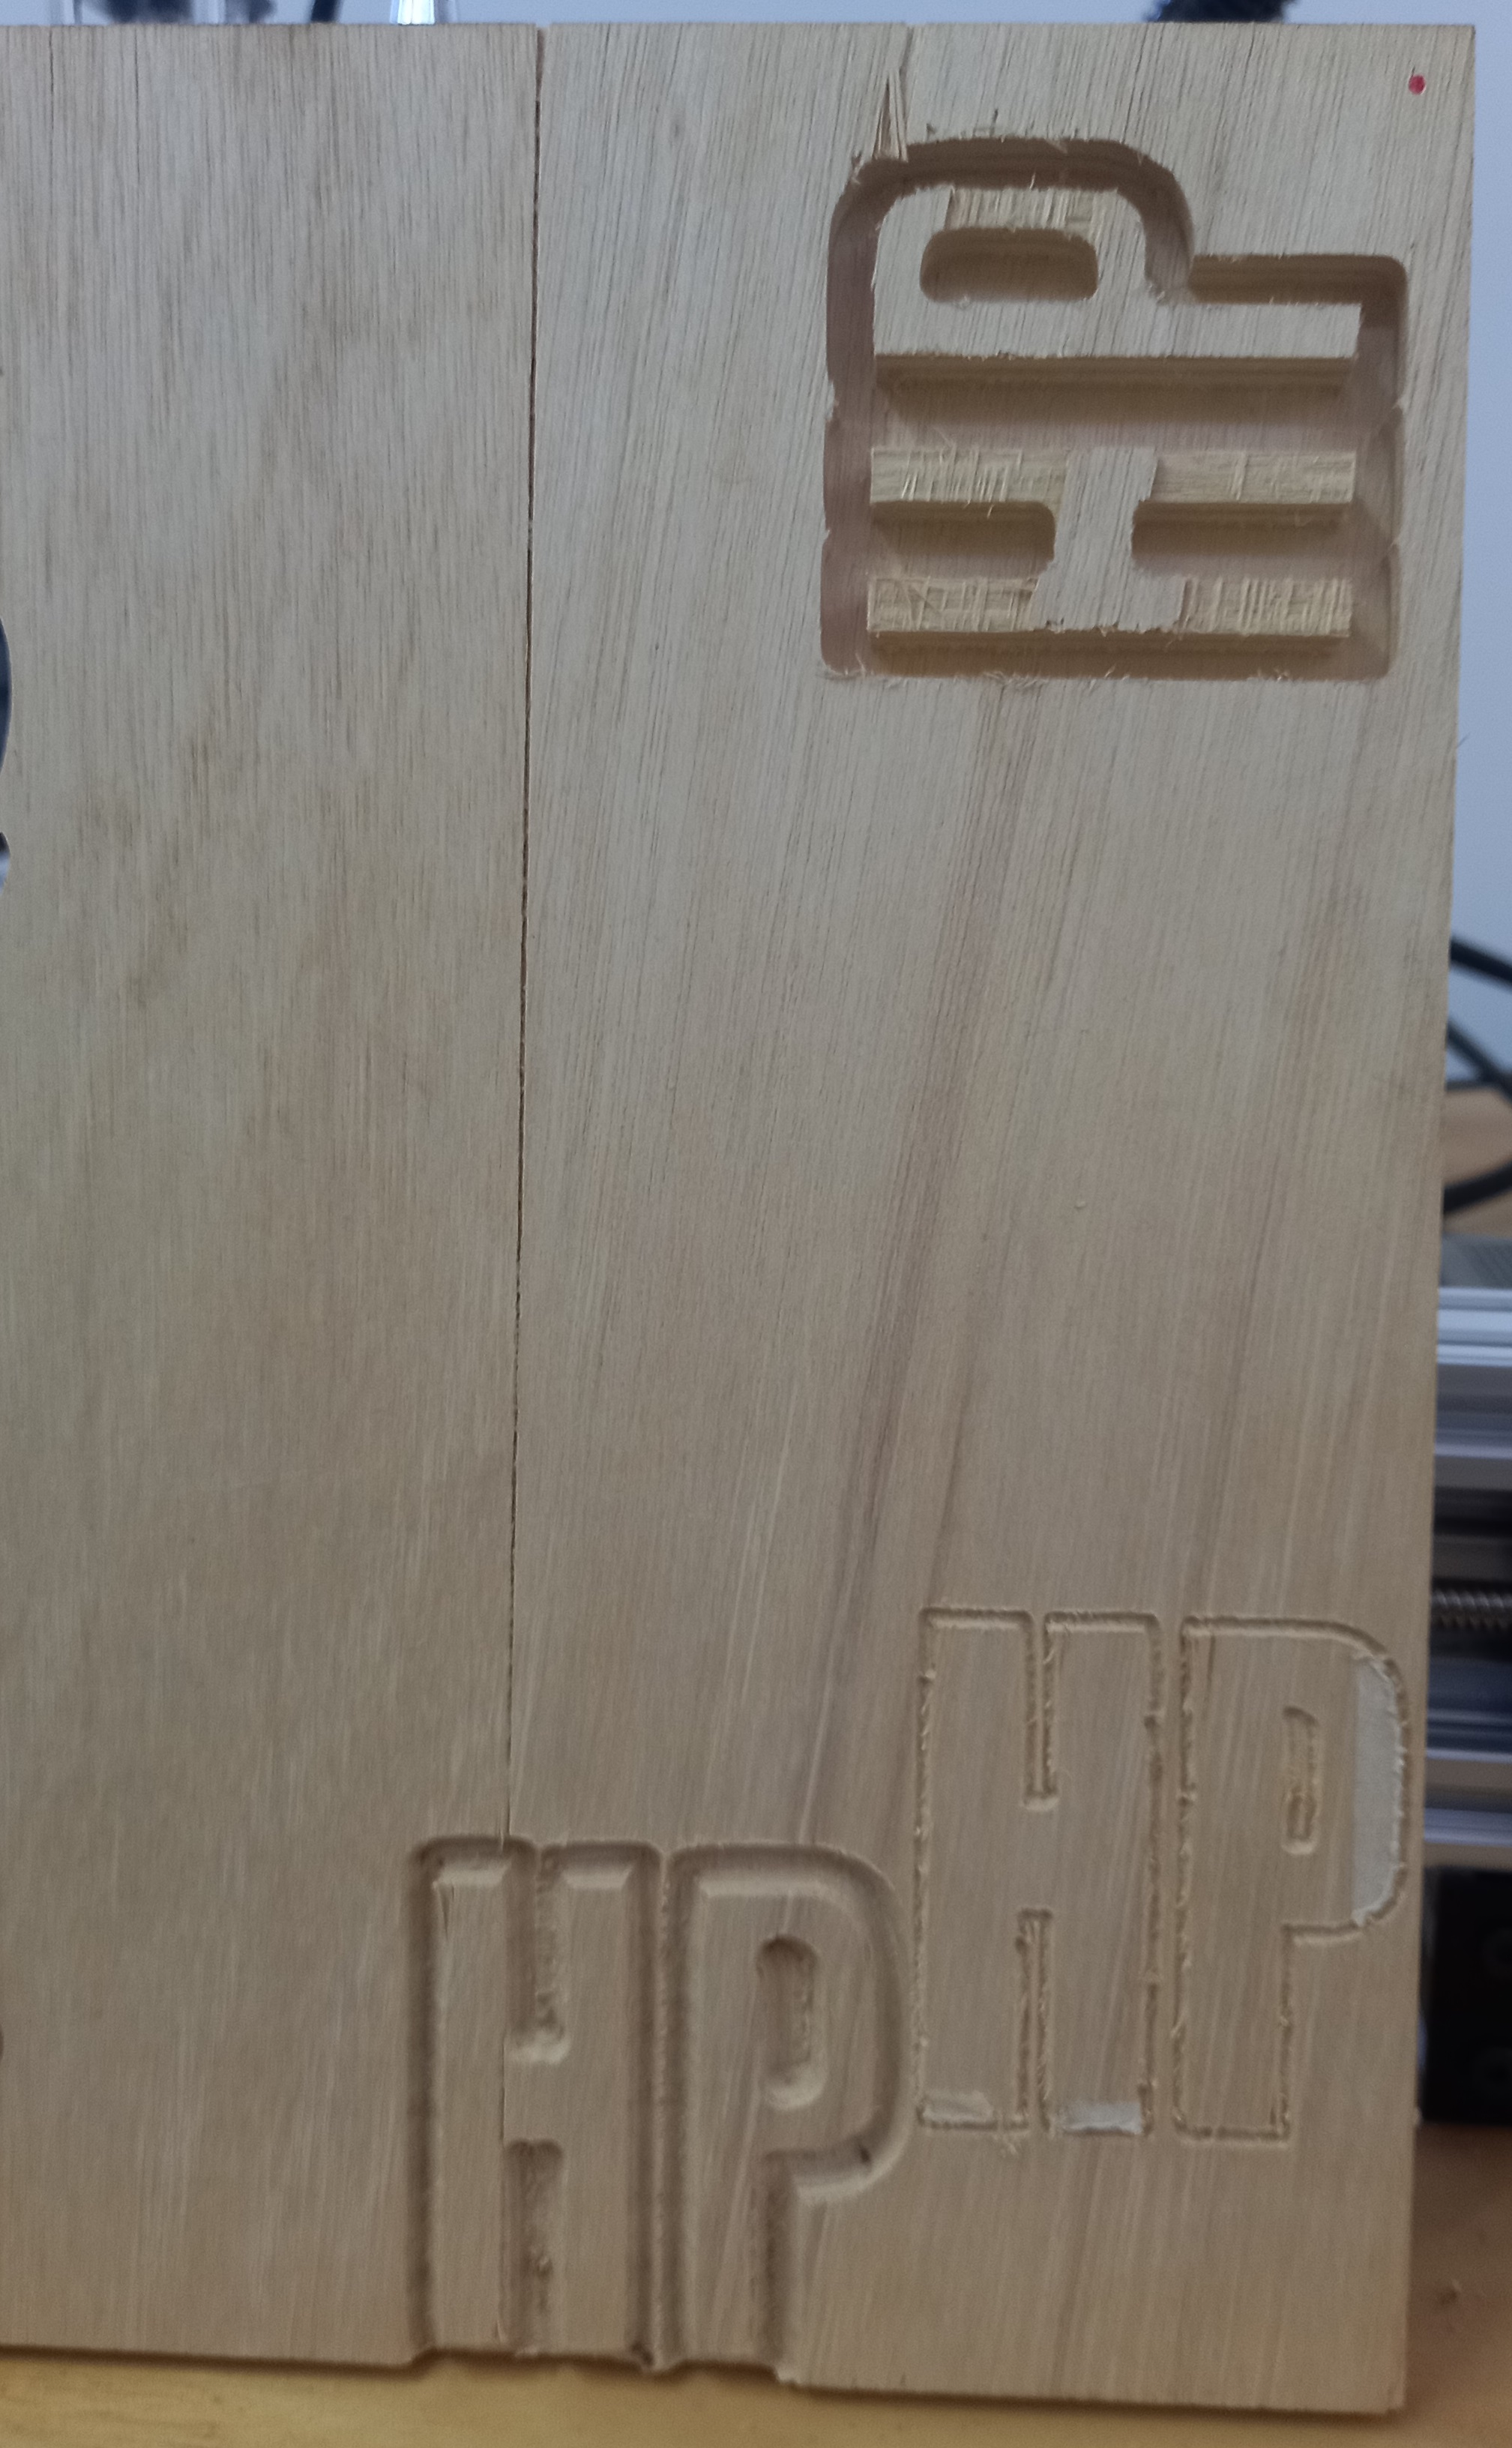
Small text designs were made where we could make tests of milling in the material, in this way we began to know the handling of the tool through the following actions:
Sequence:
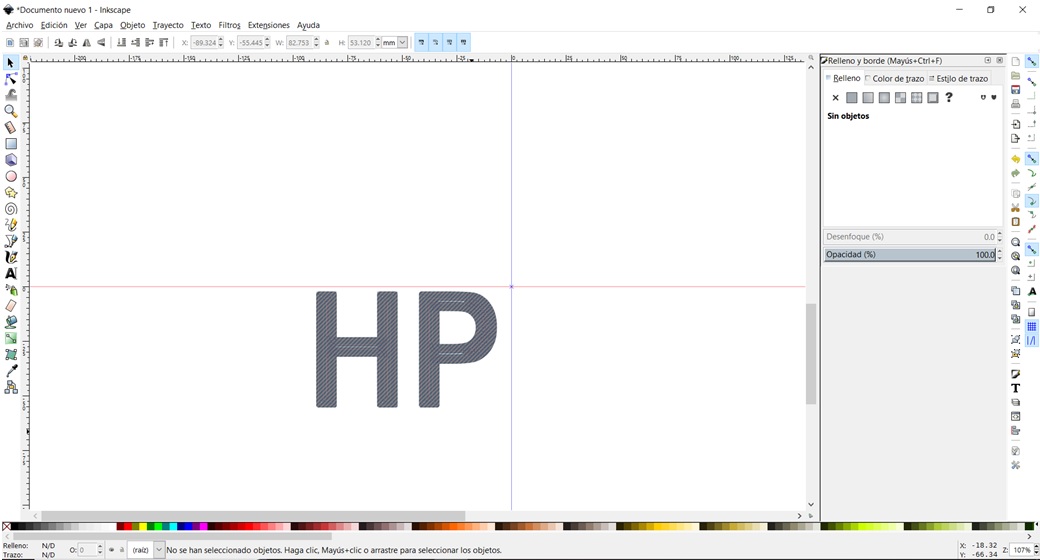
- We enter the Inscape program to make a design of a text that we want to mill in the material.
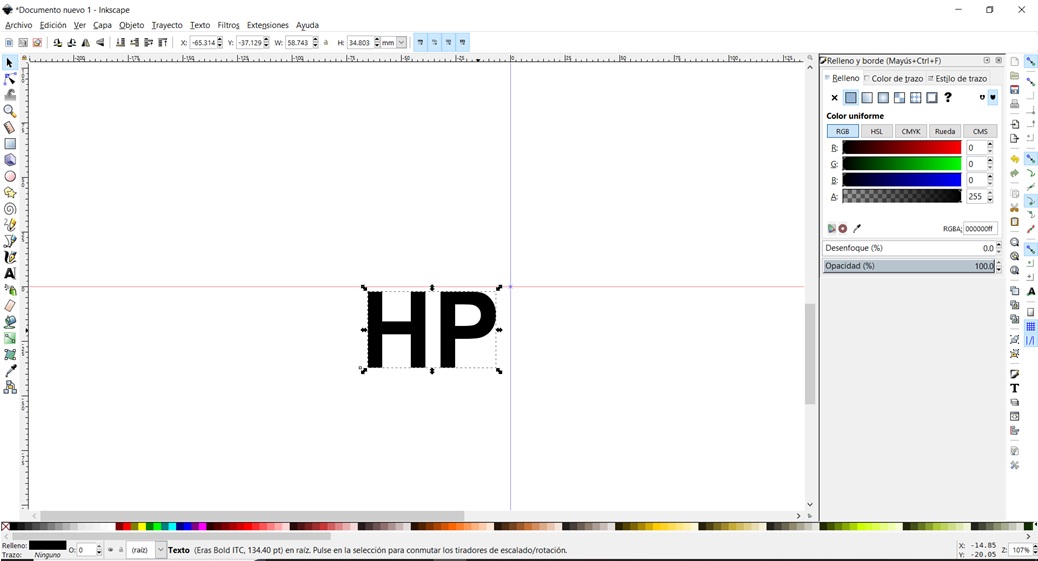
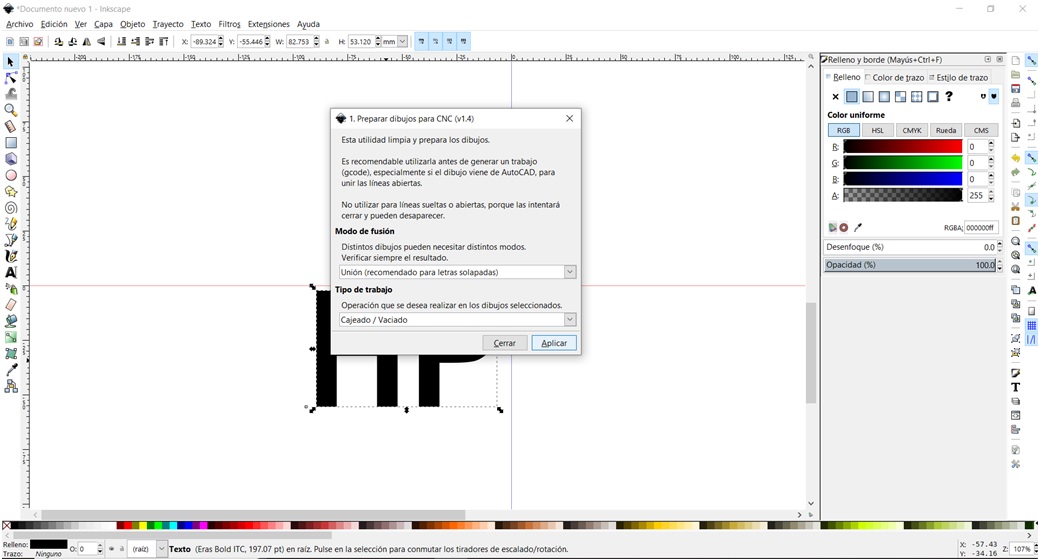
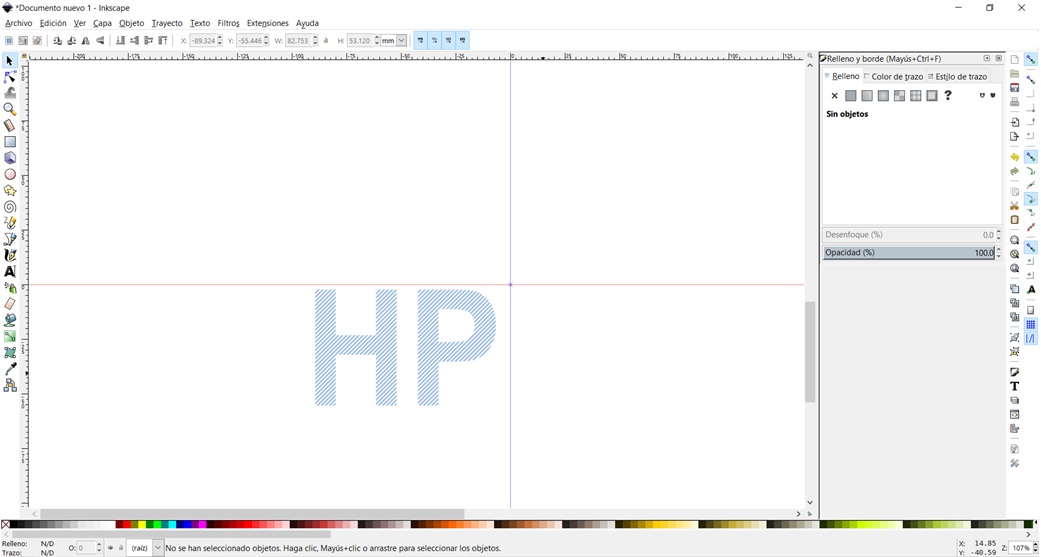
- Through the extensions we select the option of Prepare drawings for CNC, where we configure the profiling, obtaining a view of the text for milling.

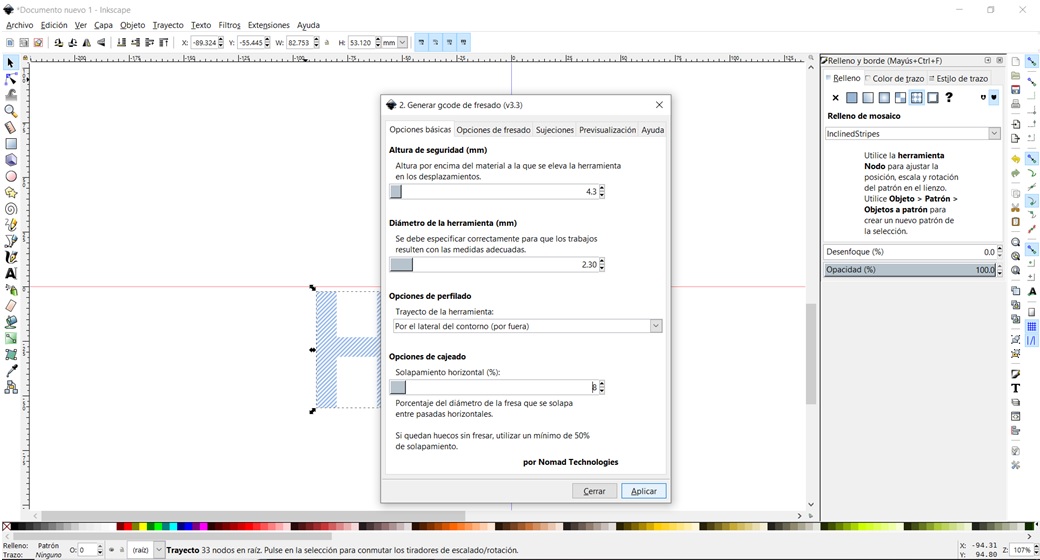
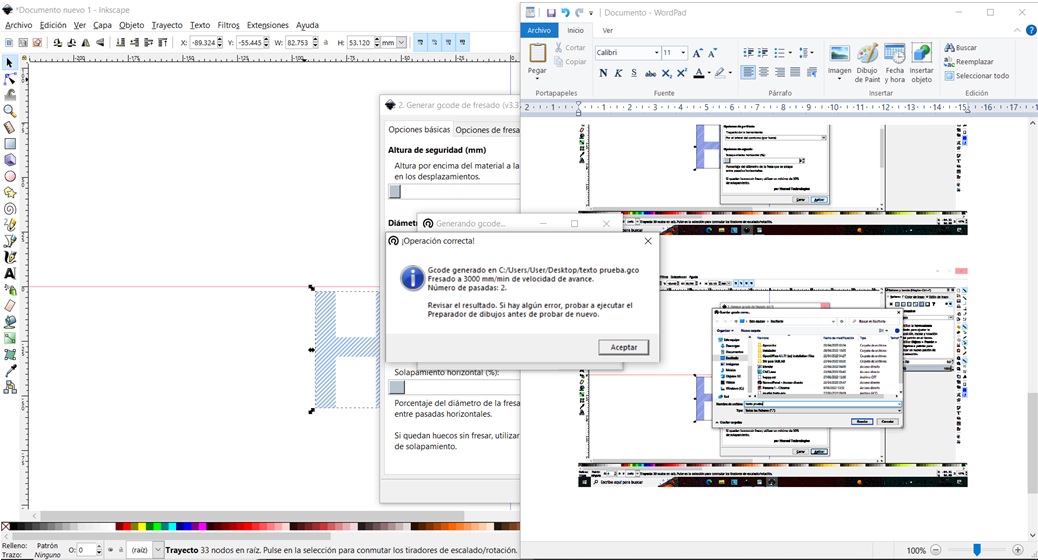
- With the selected object we use the extensions menu to generate the milling gcode, this process was carried out several times, in order to identify the different types of milling in their safety height options, tool diameter, profiling options and pocket options.
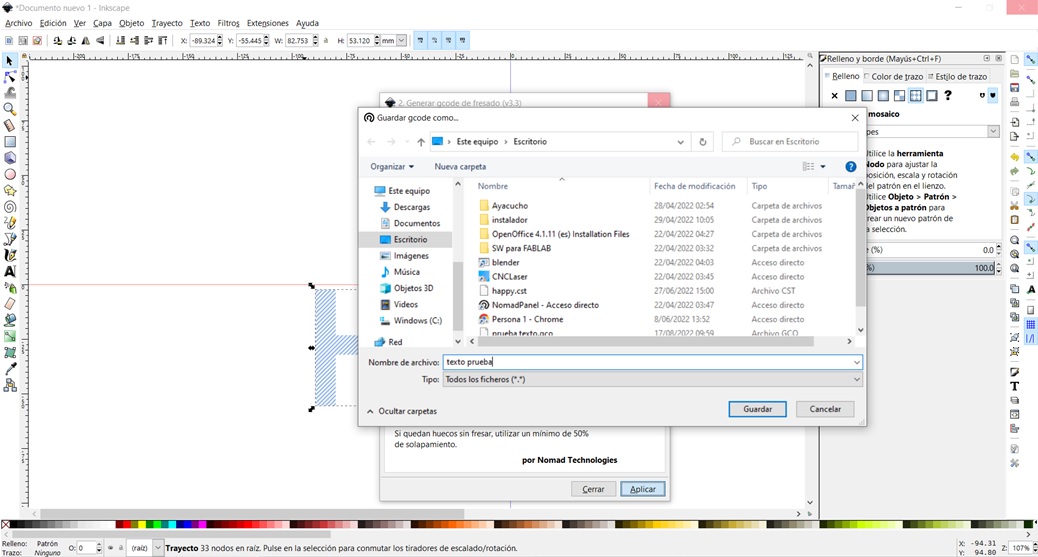
- We proceed to save the gcode file, which we will send to the milling execution program.
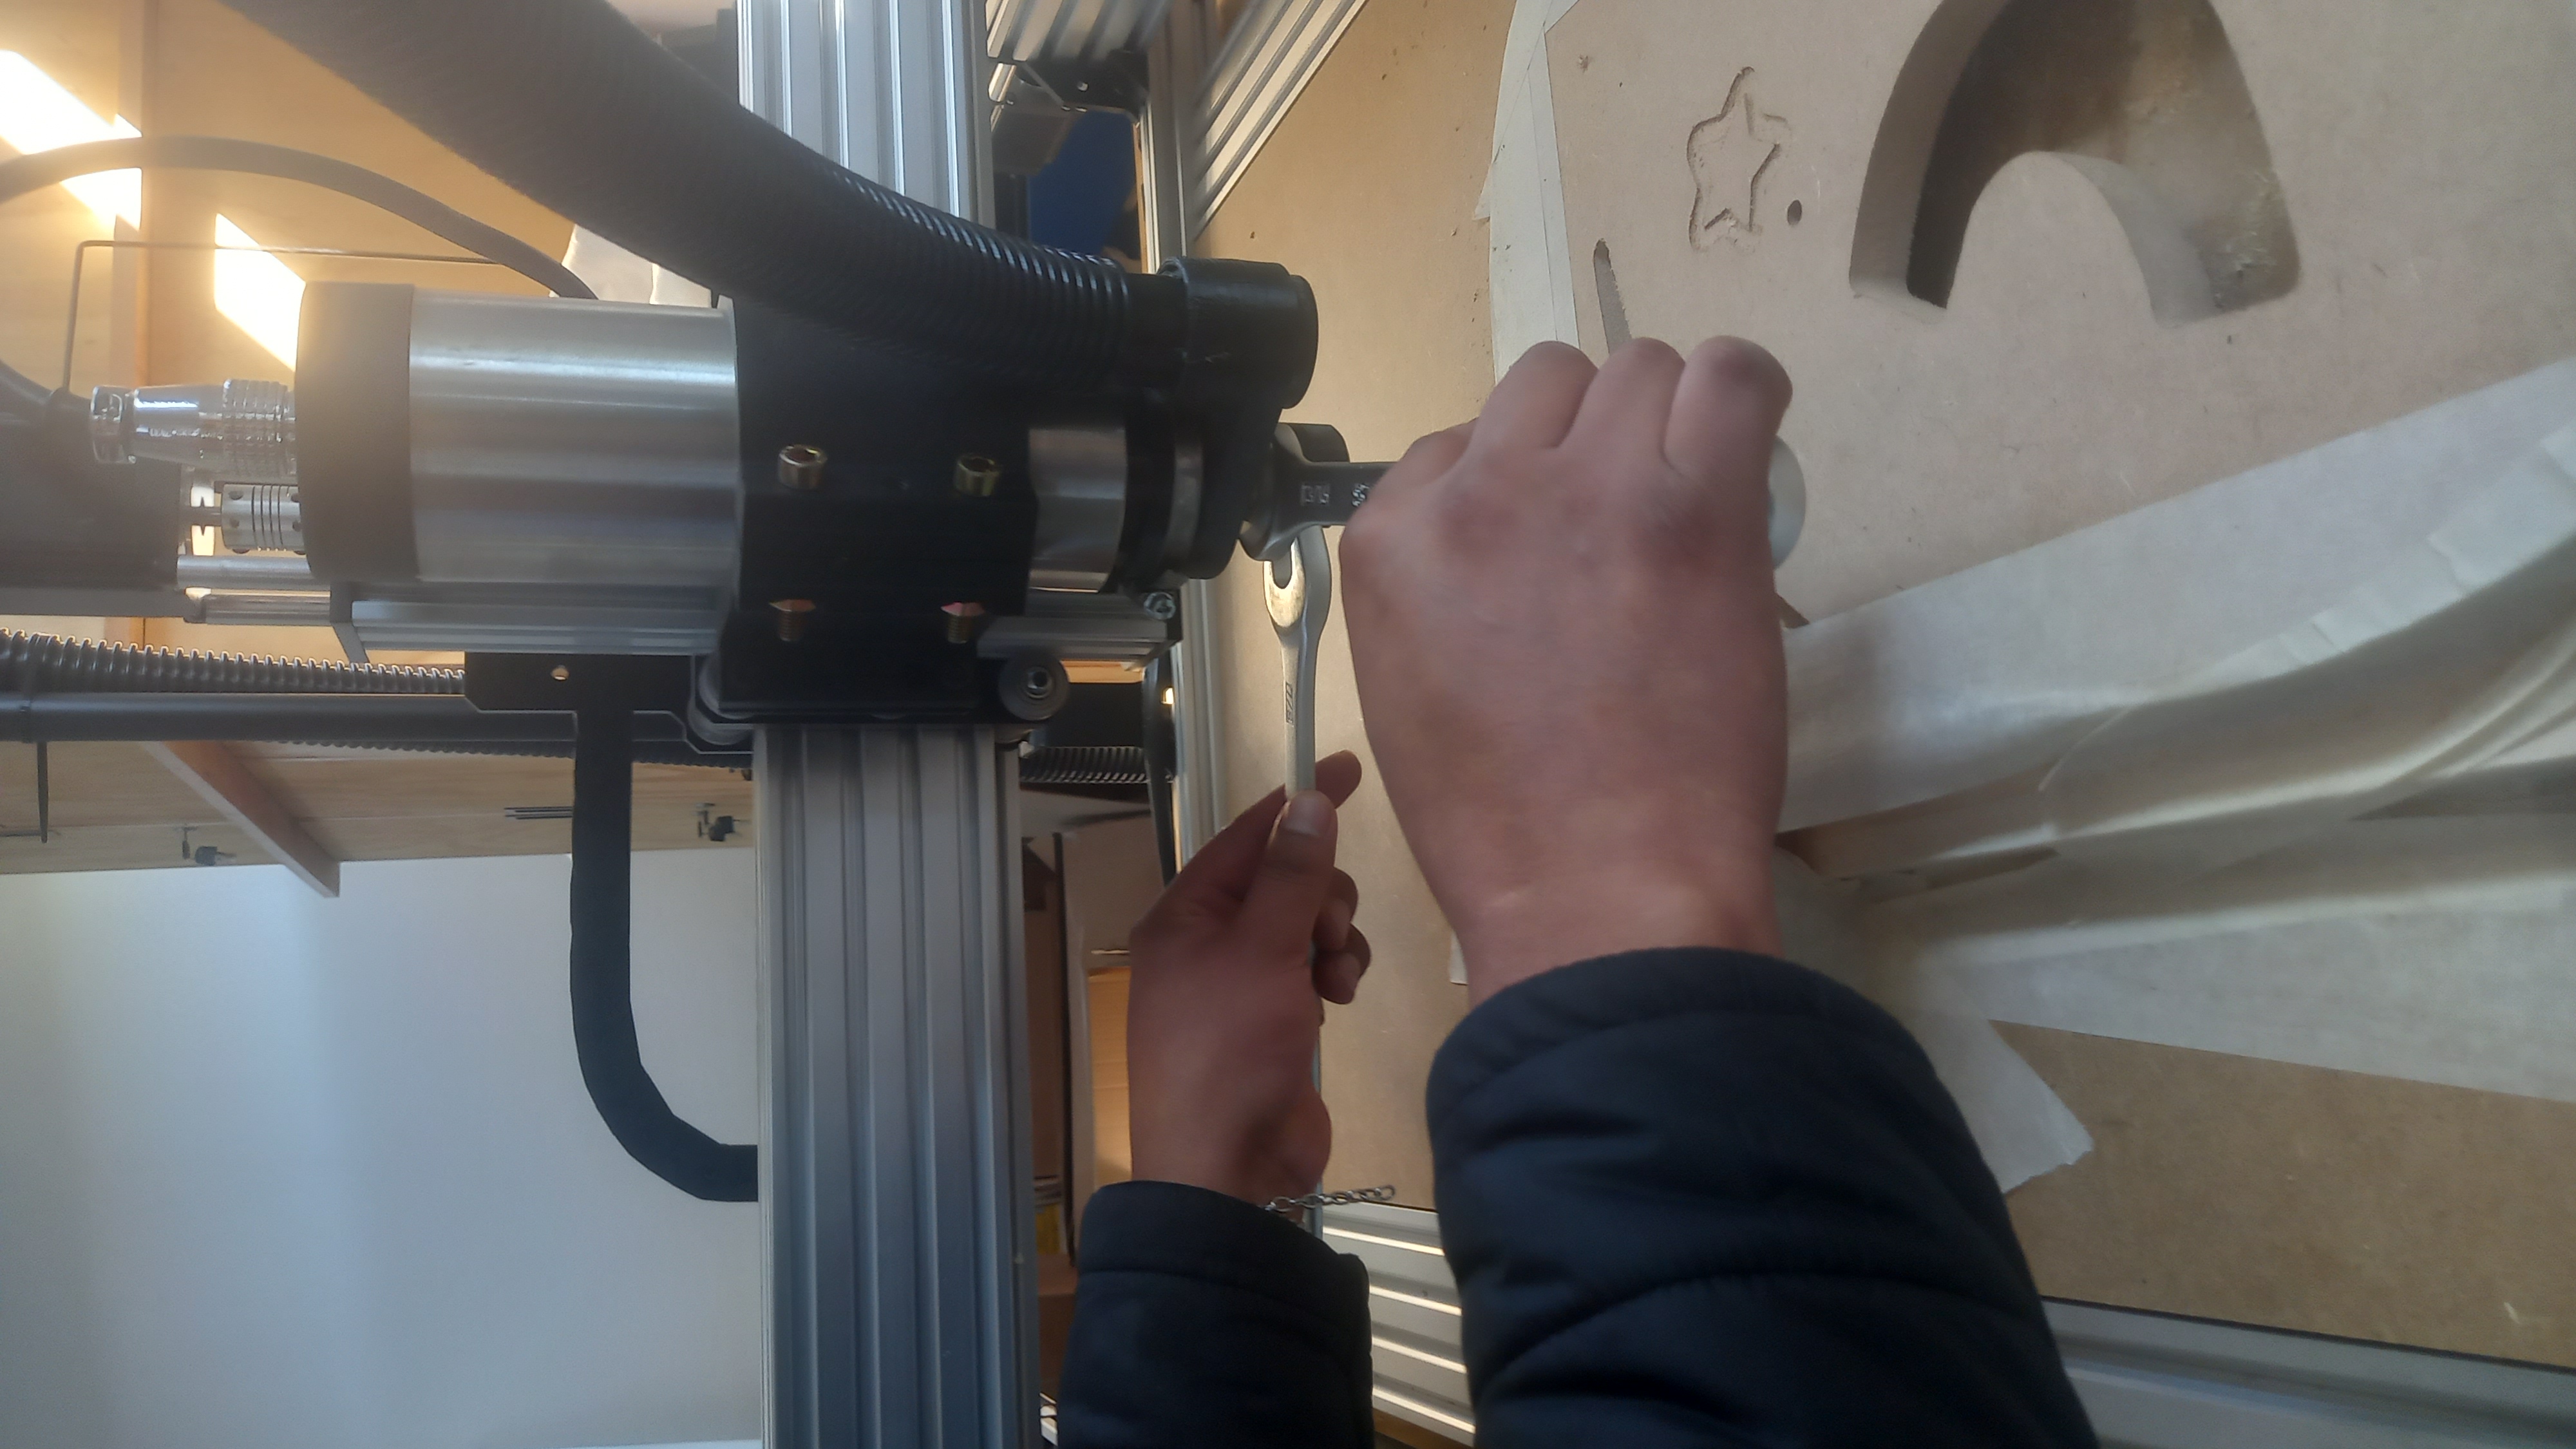
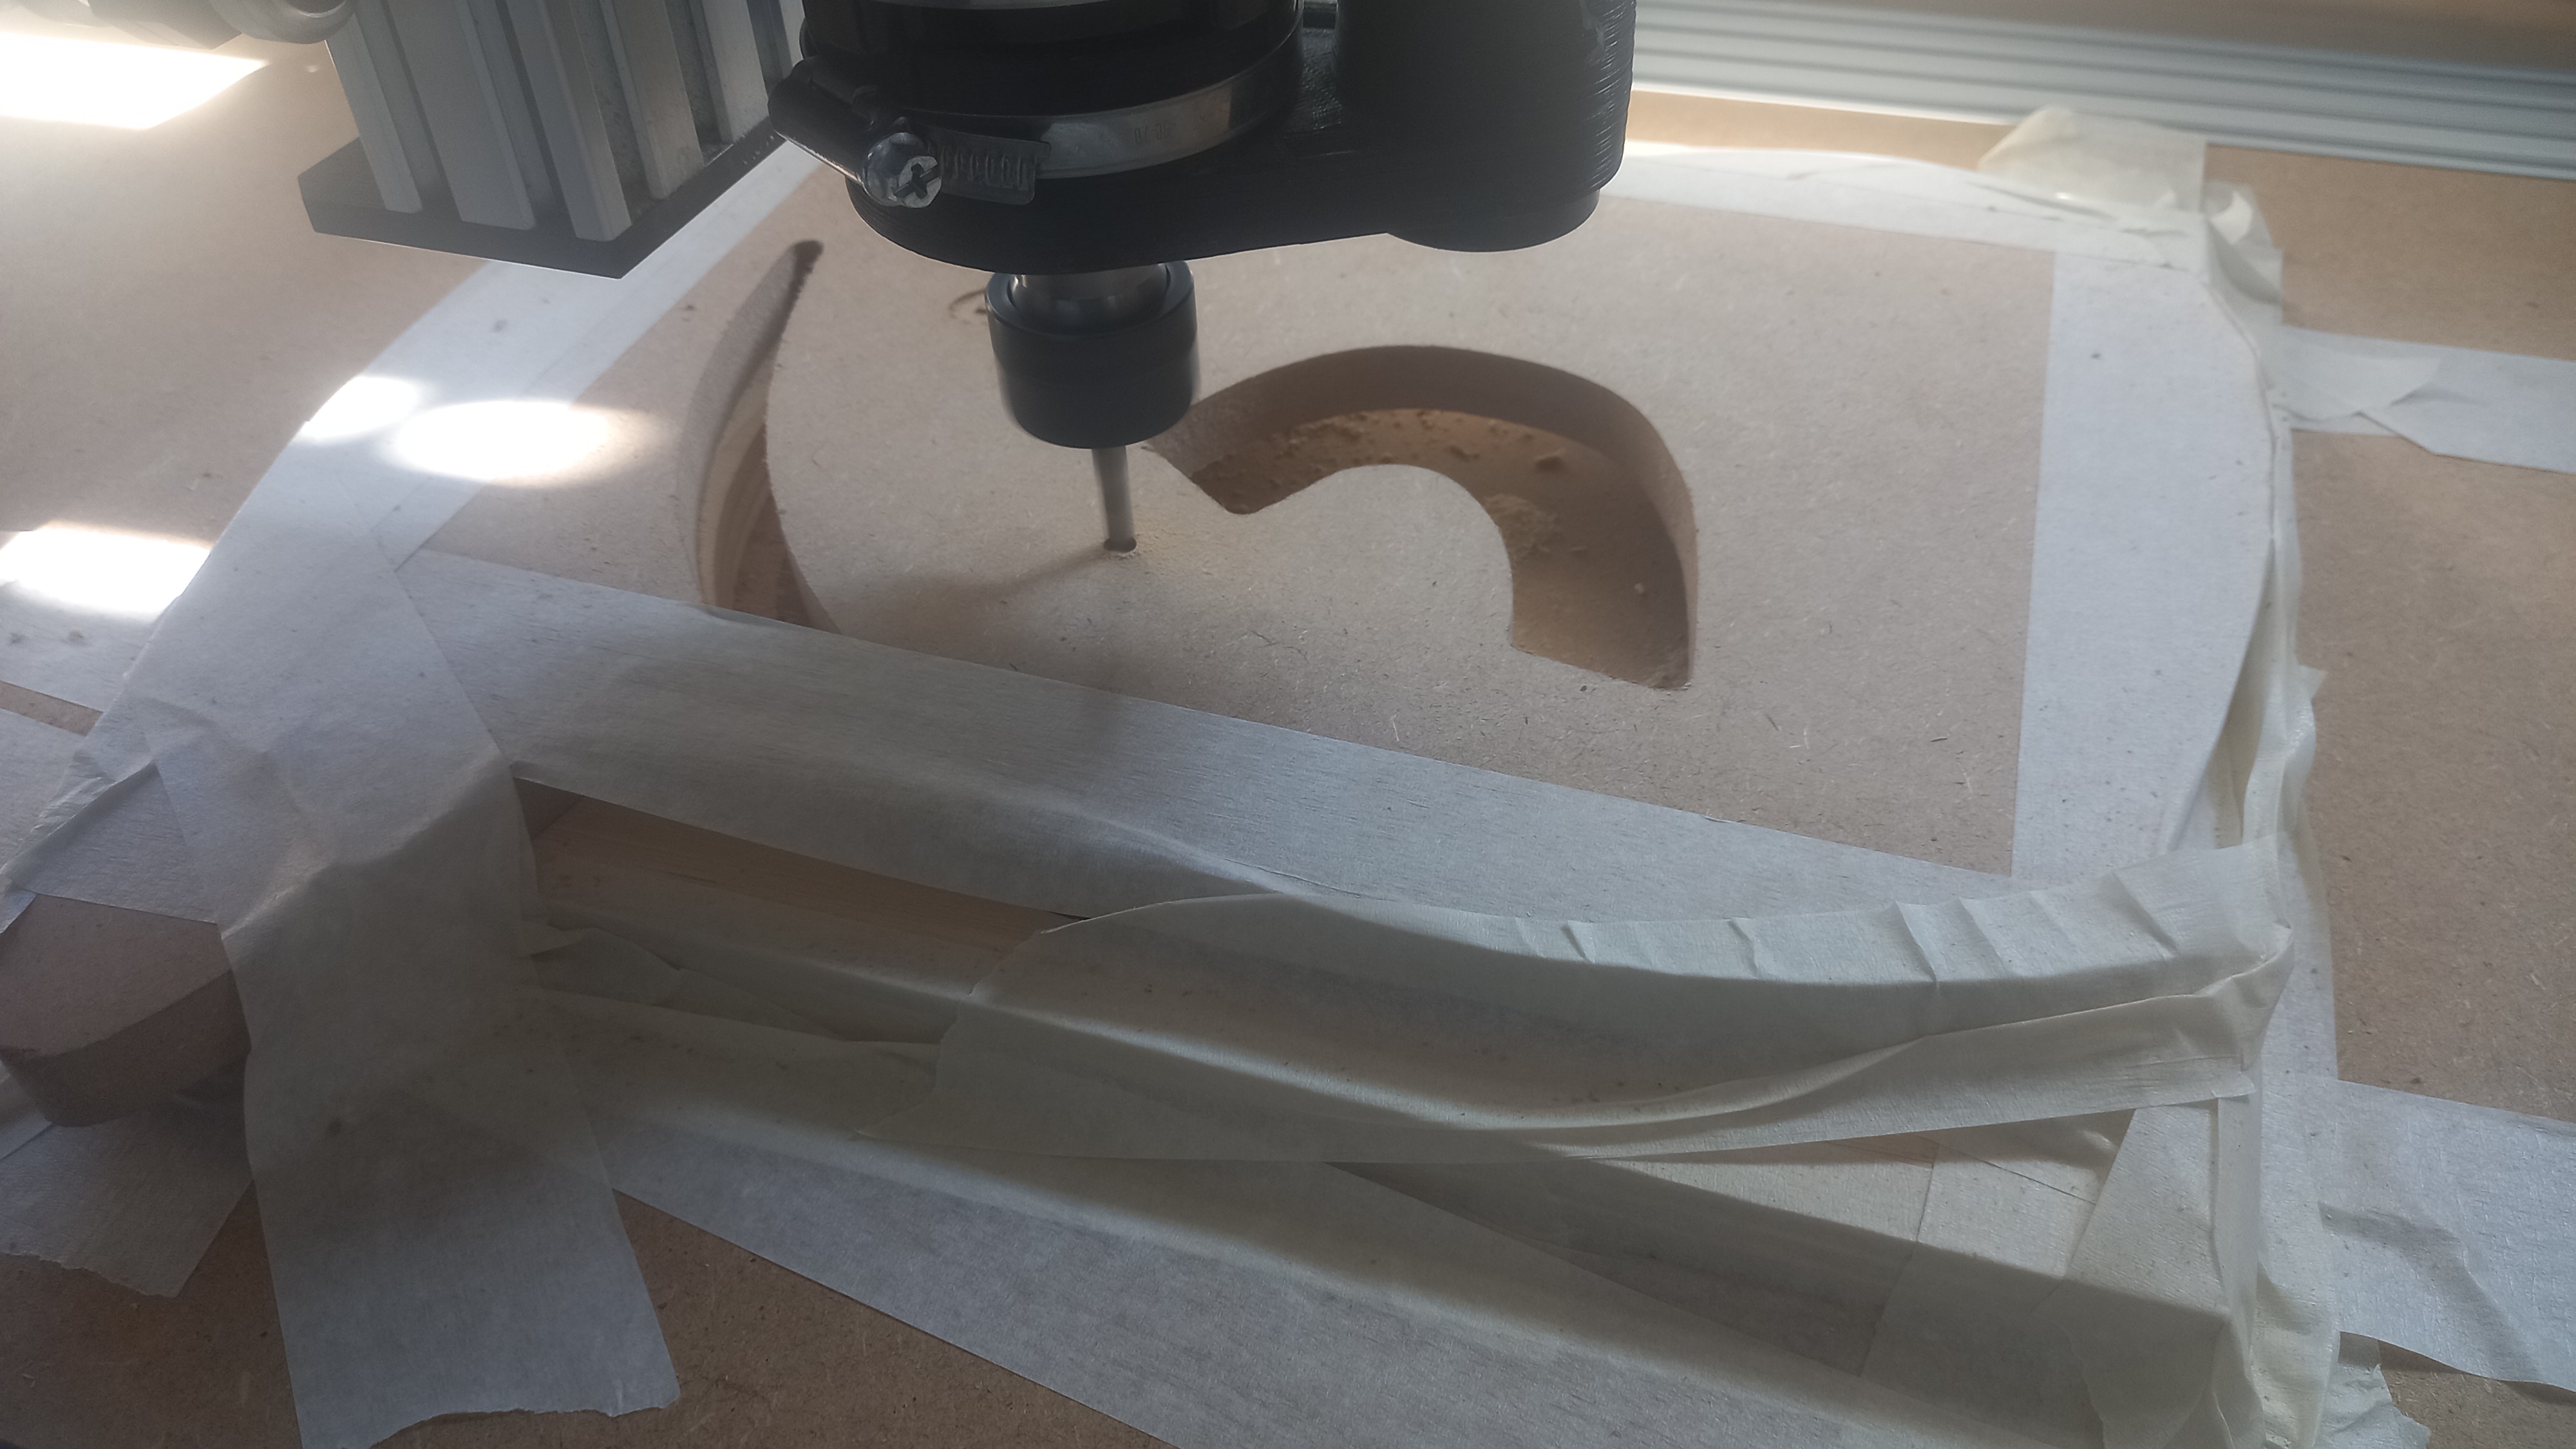
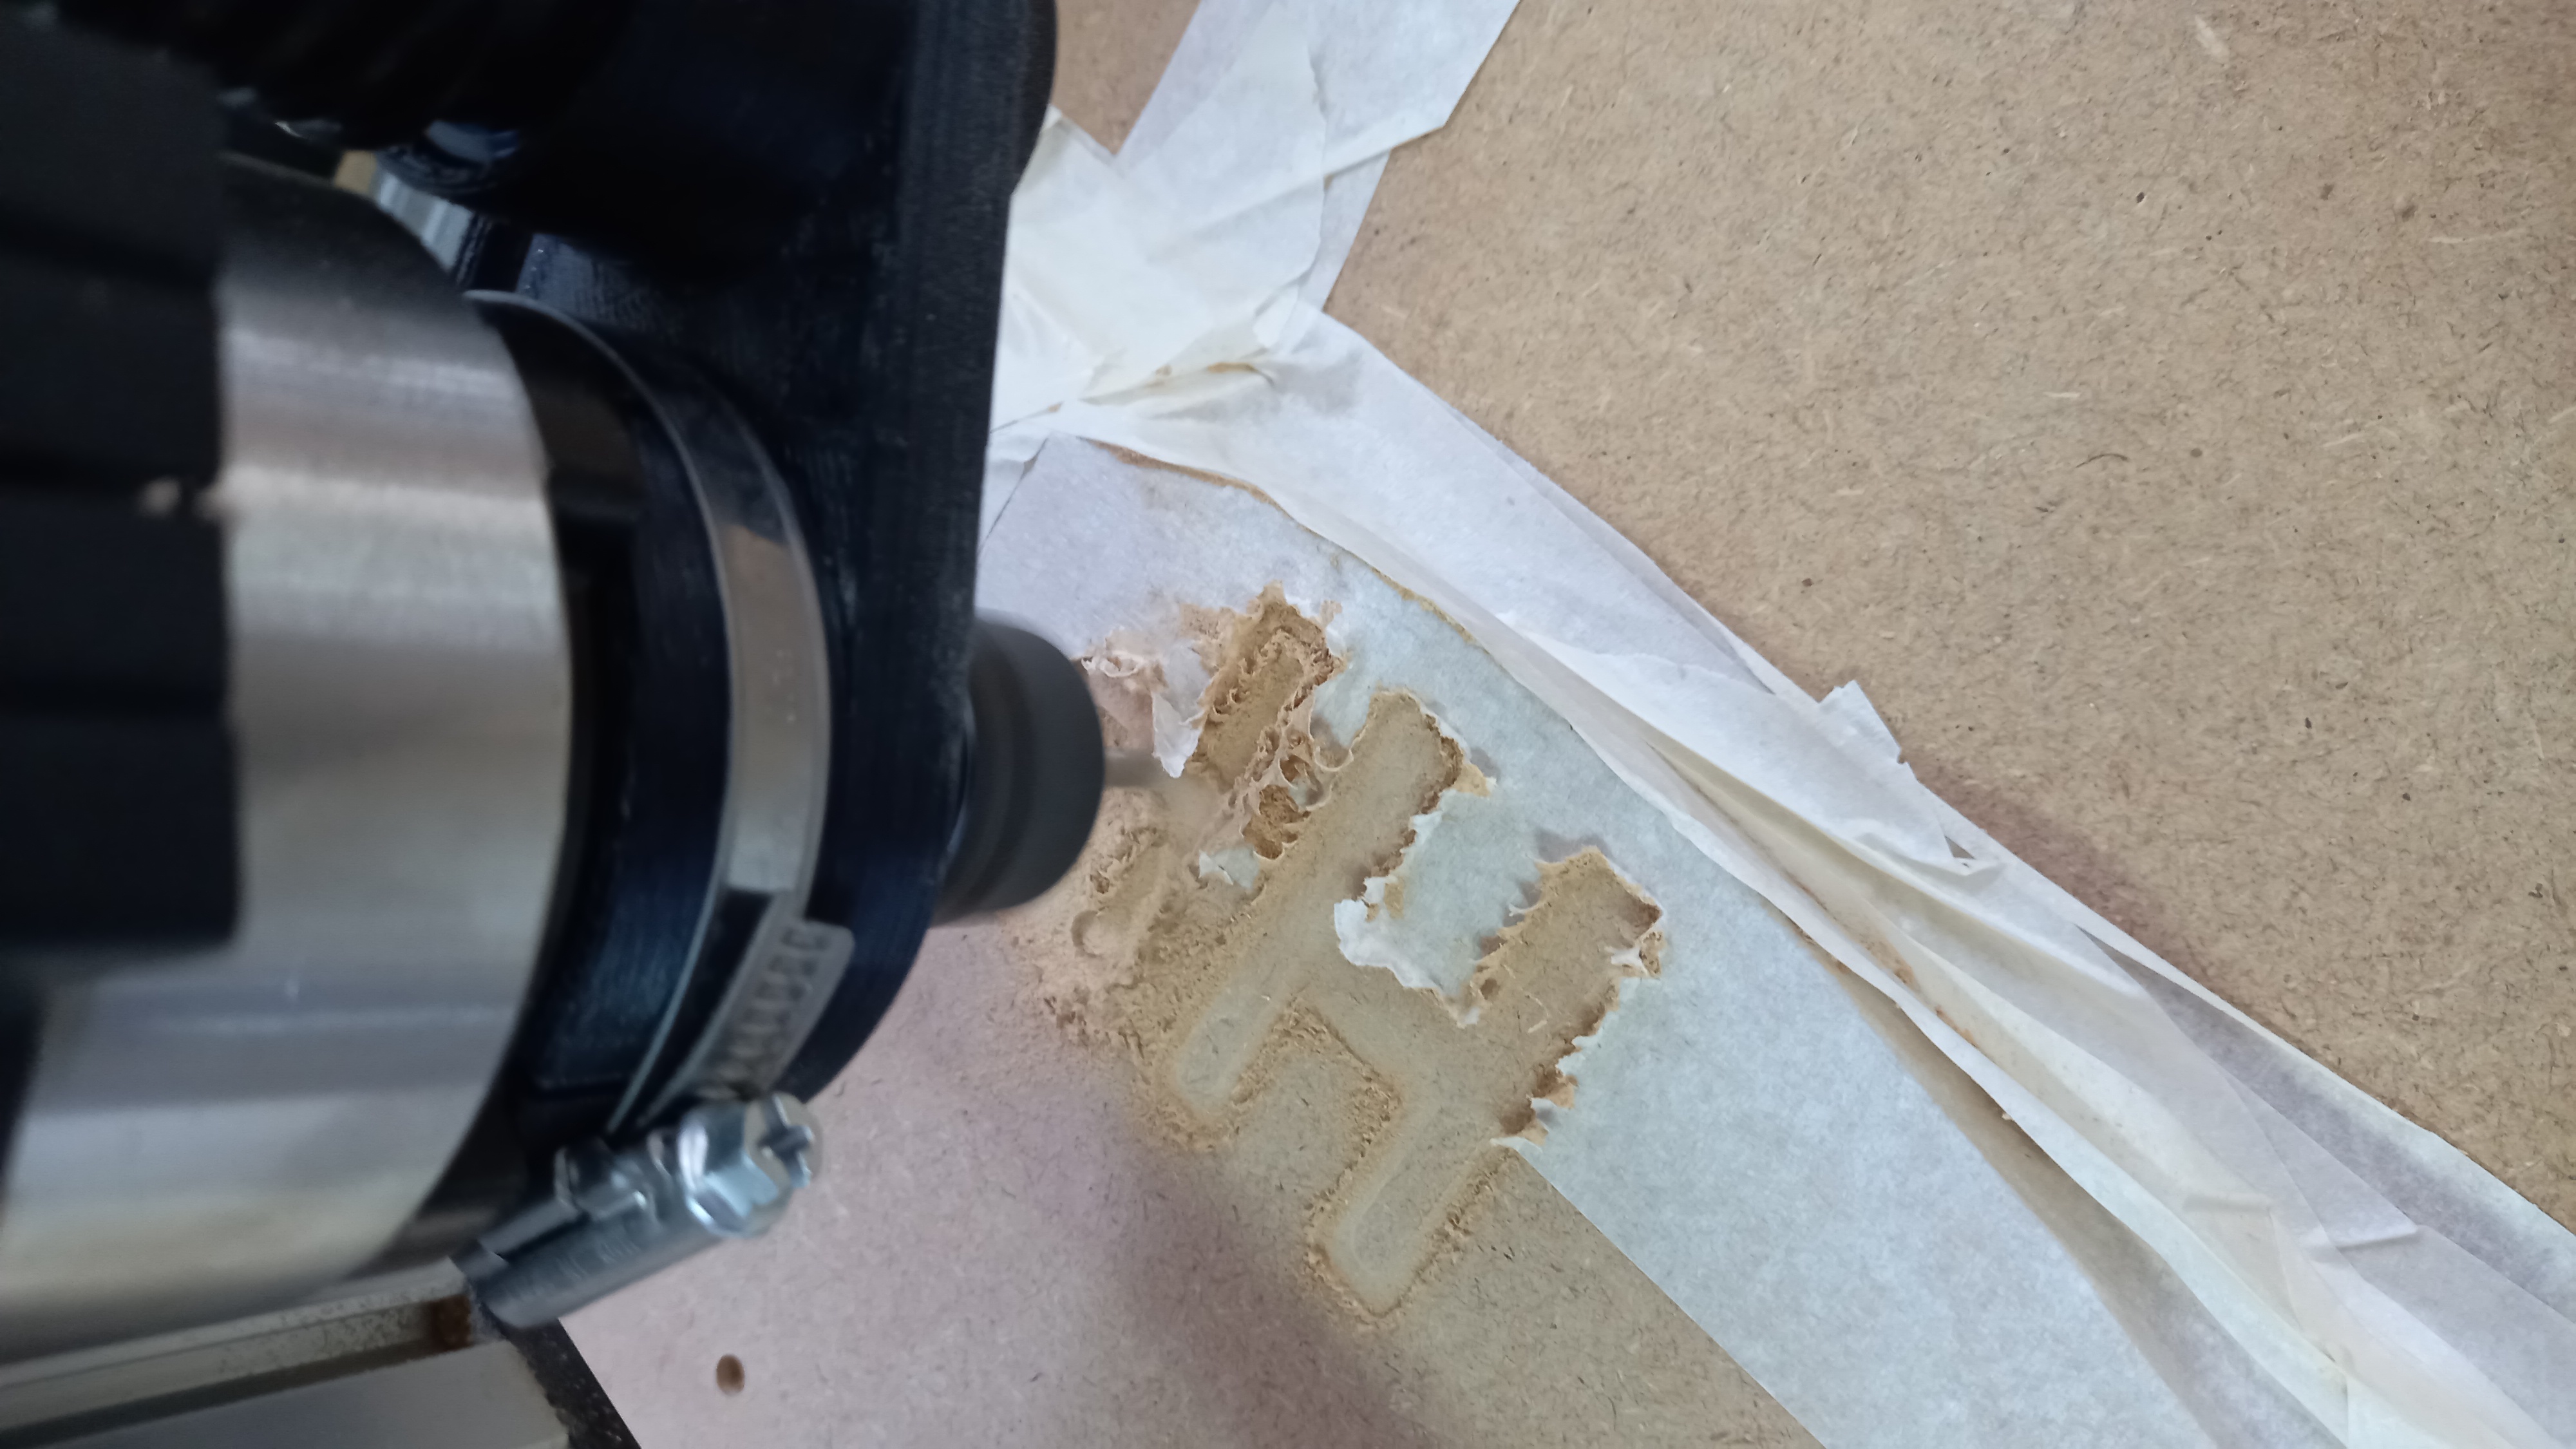
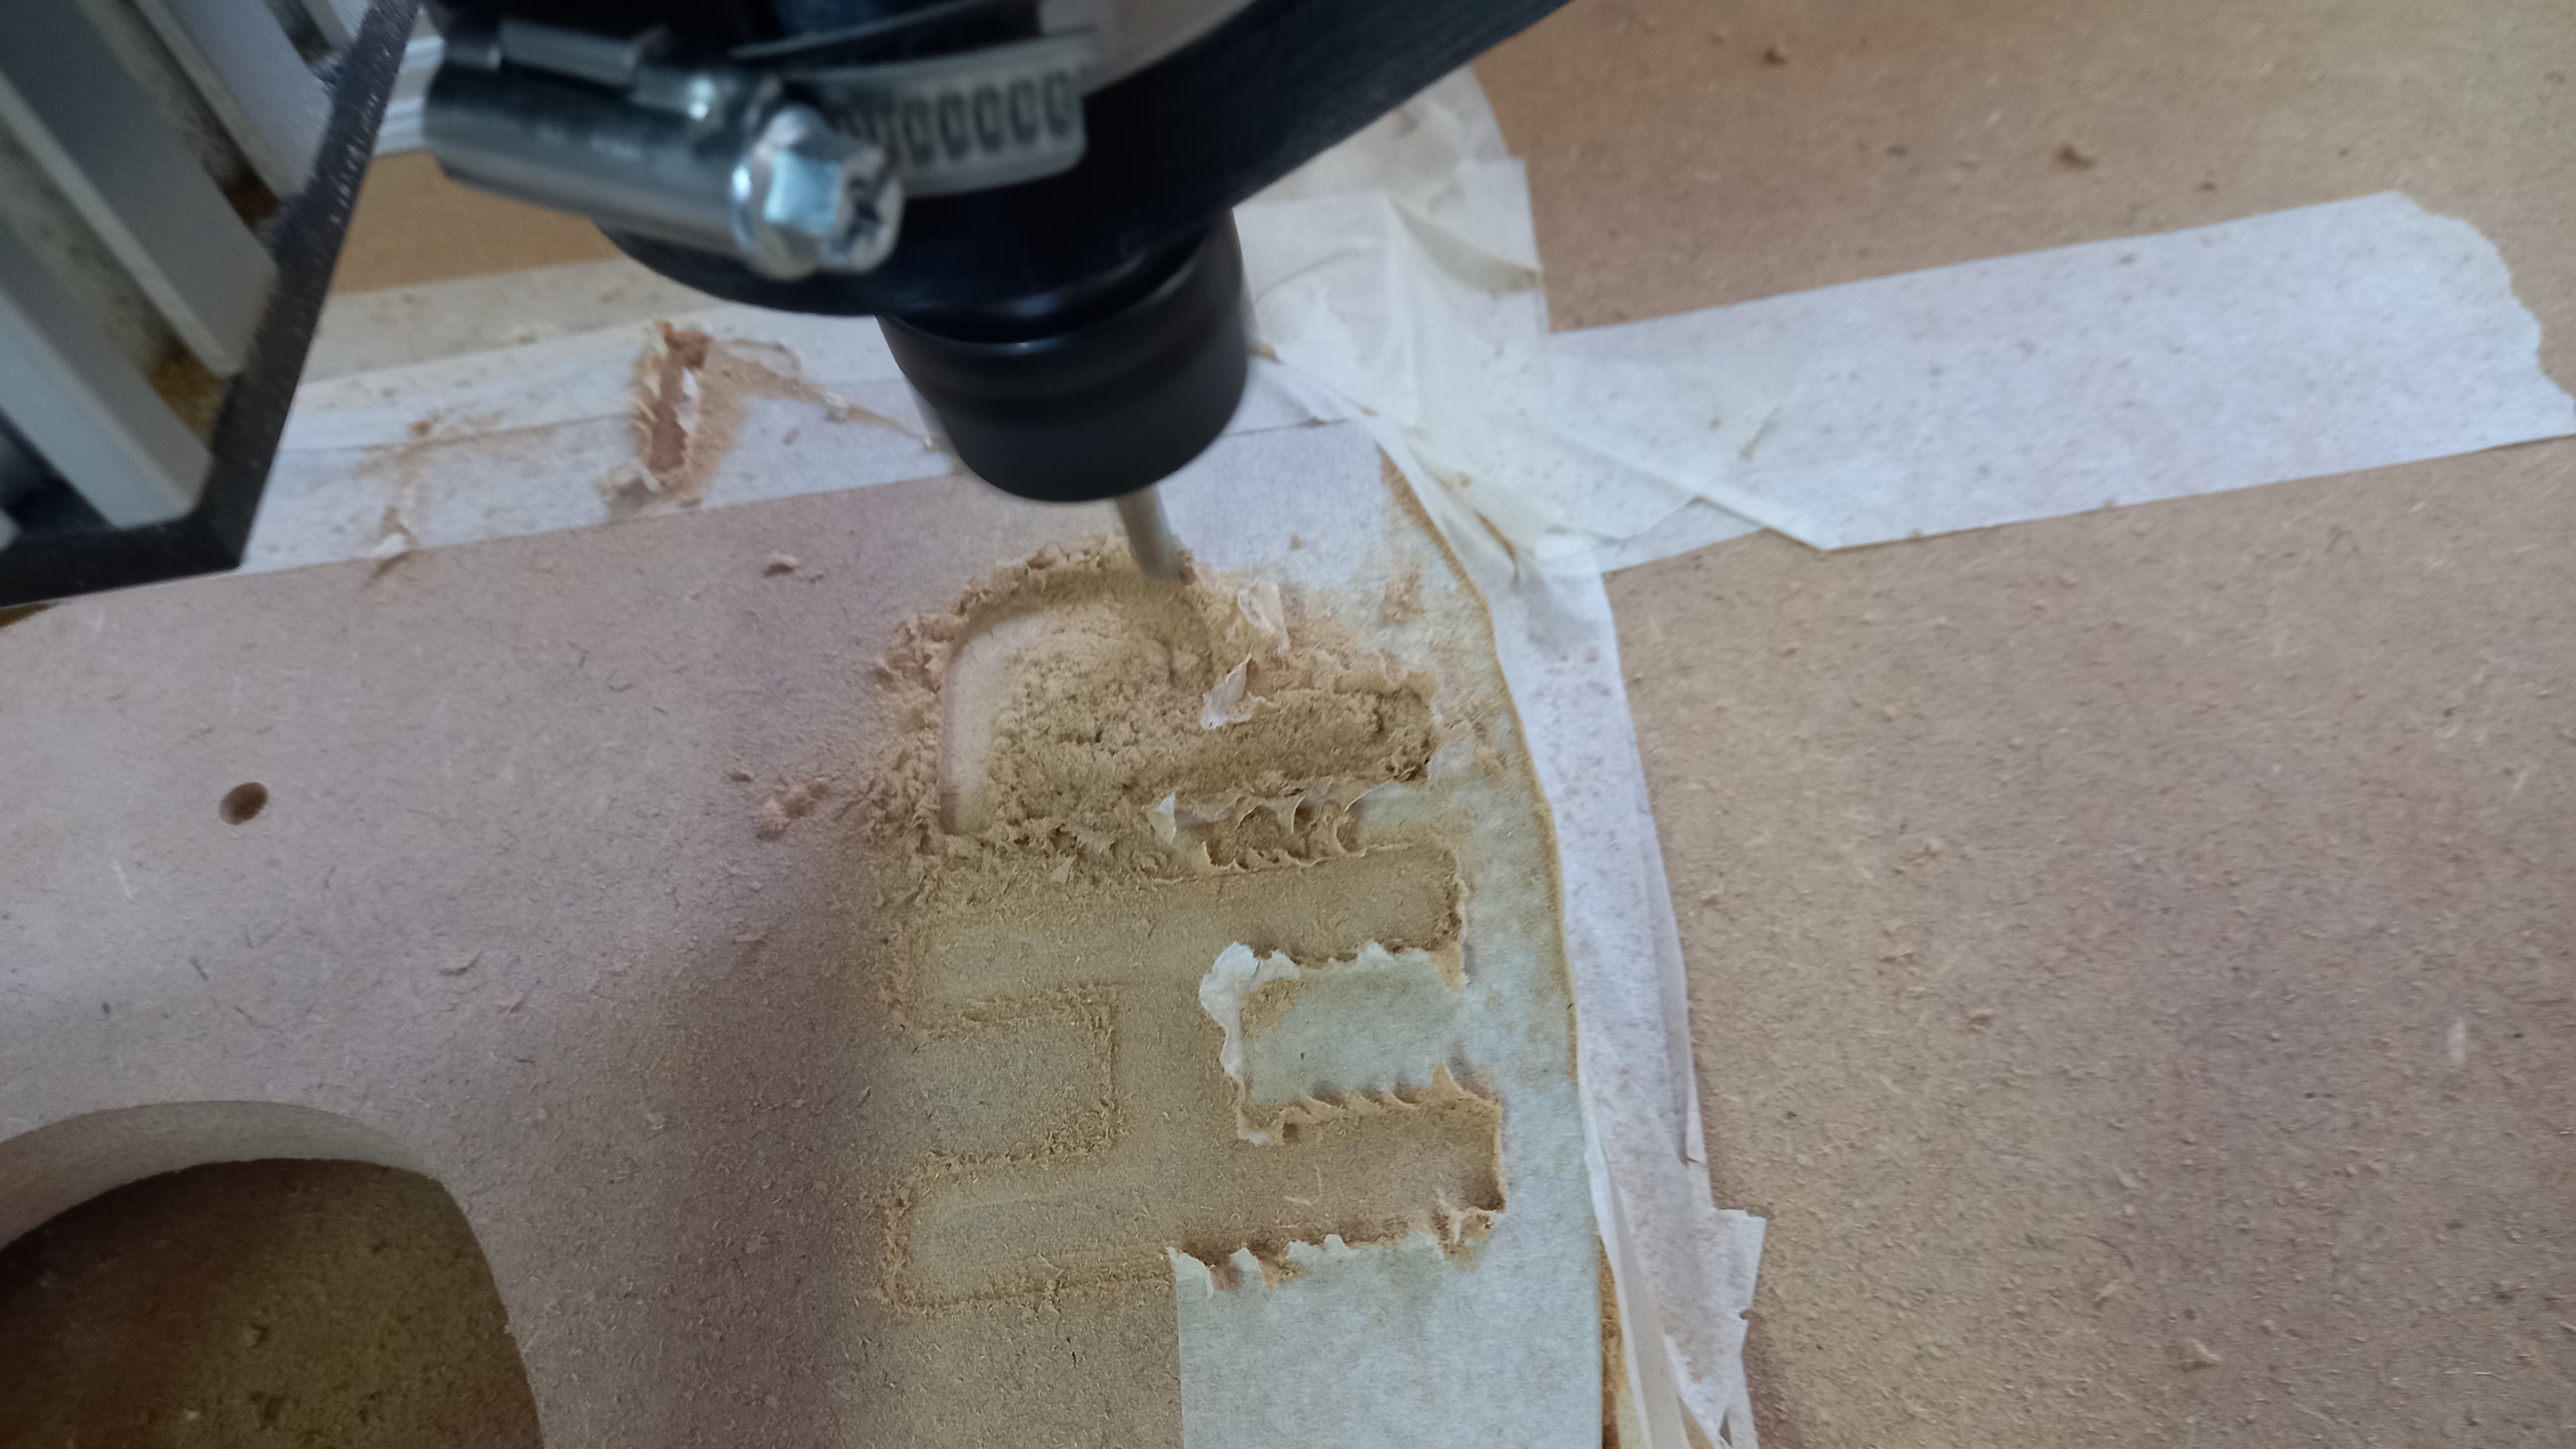
- We change and adjust the test drill with which the milling will be carried out.
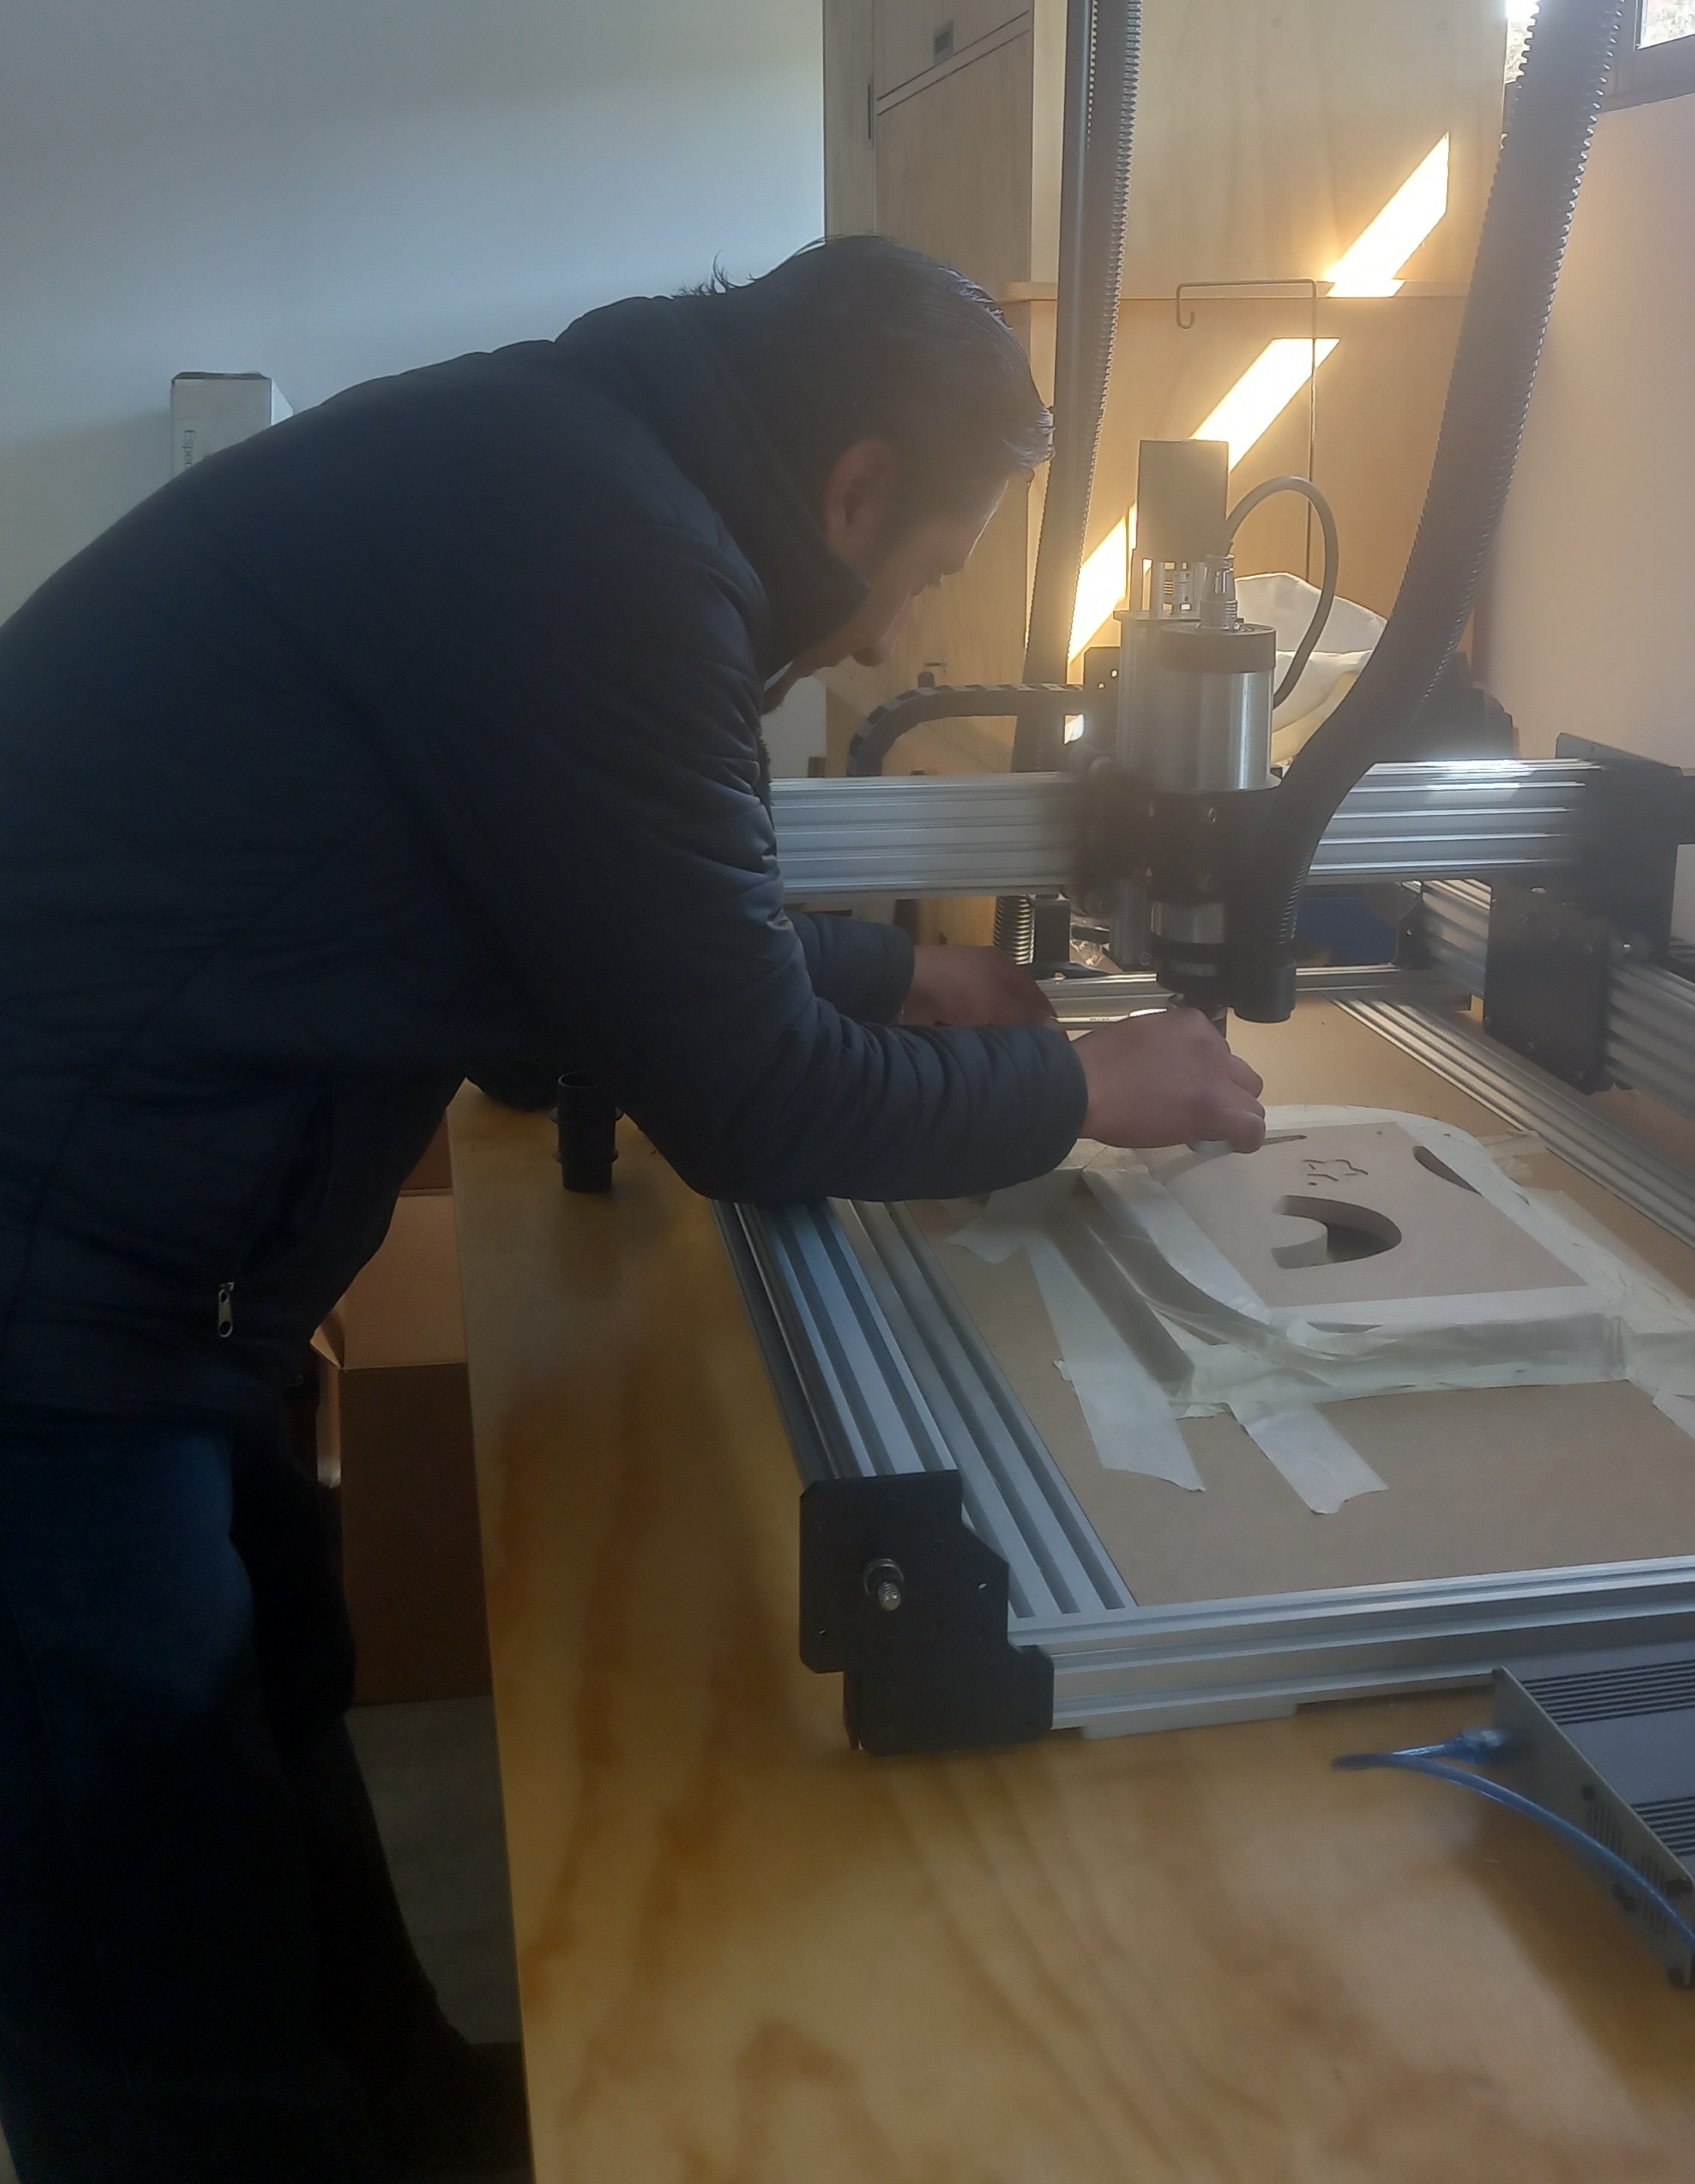
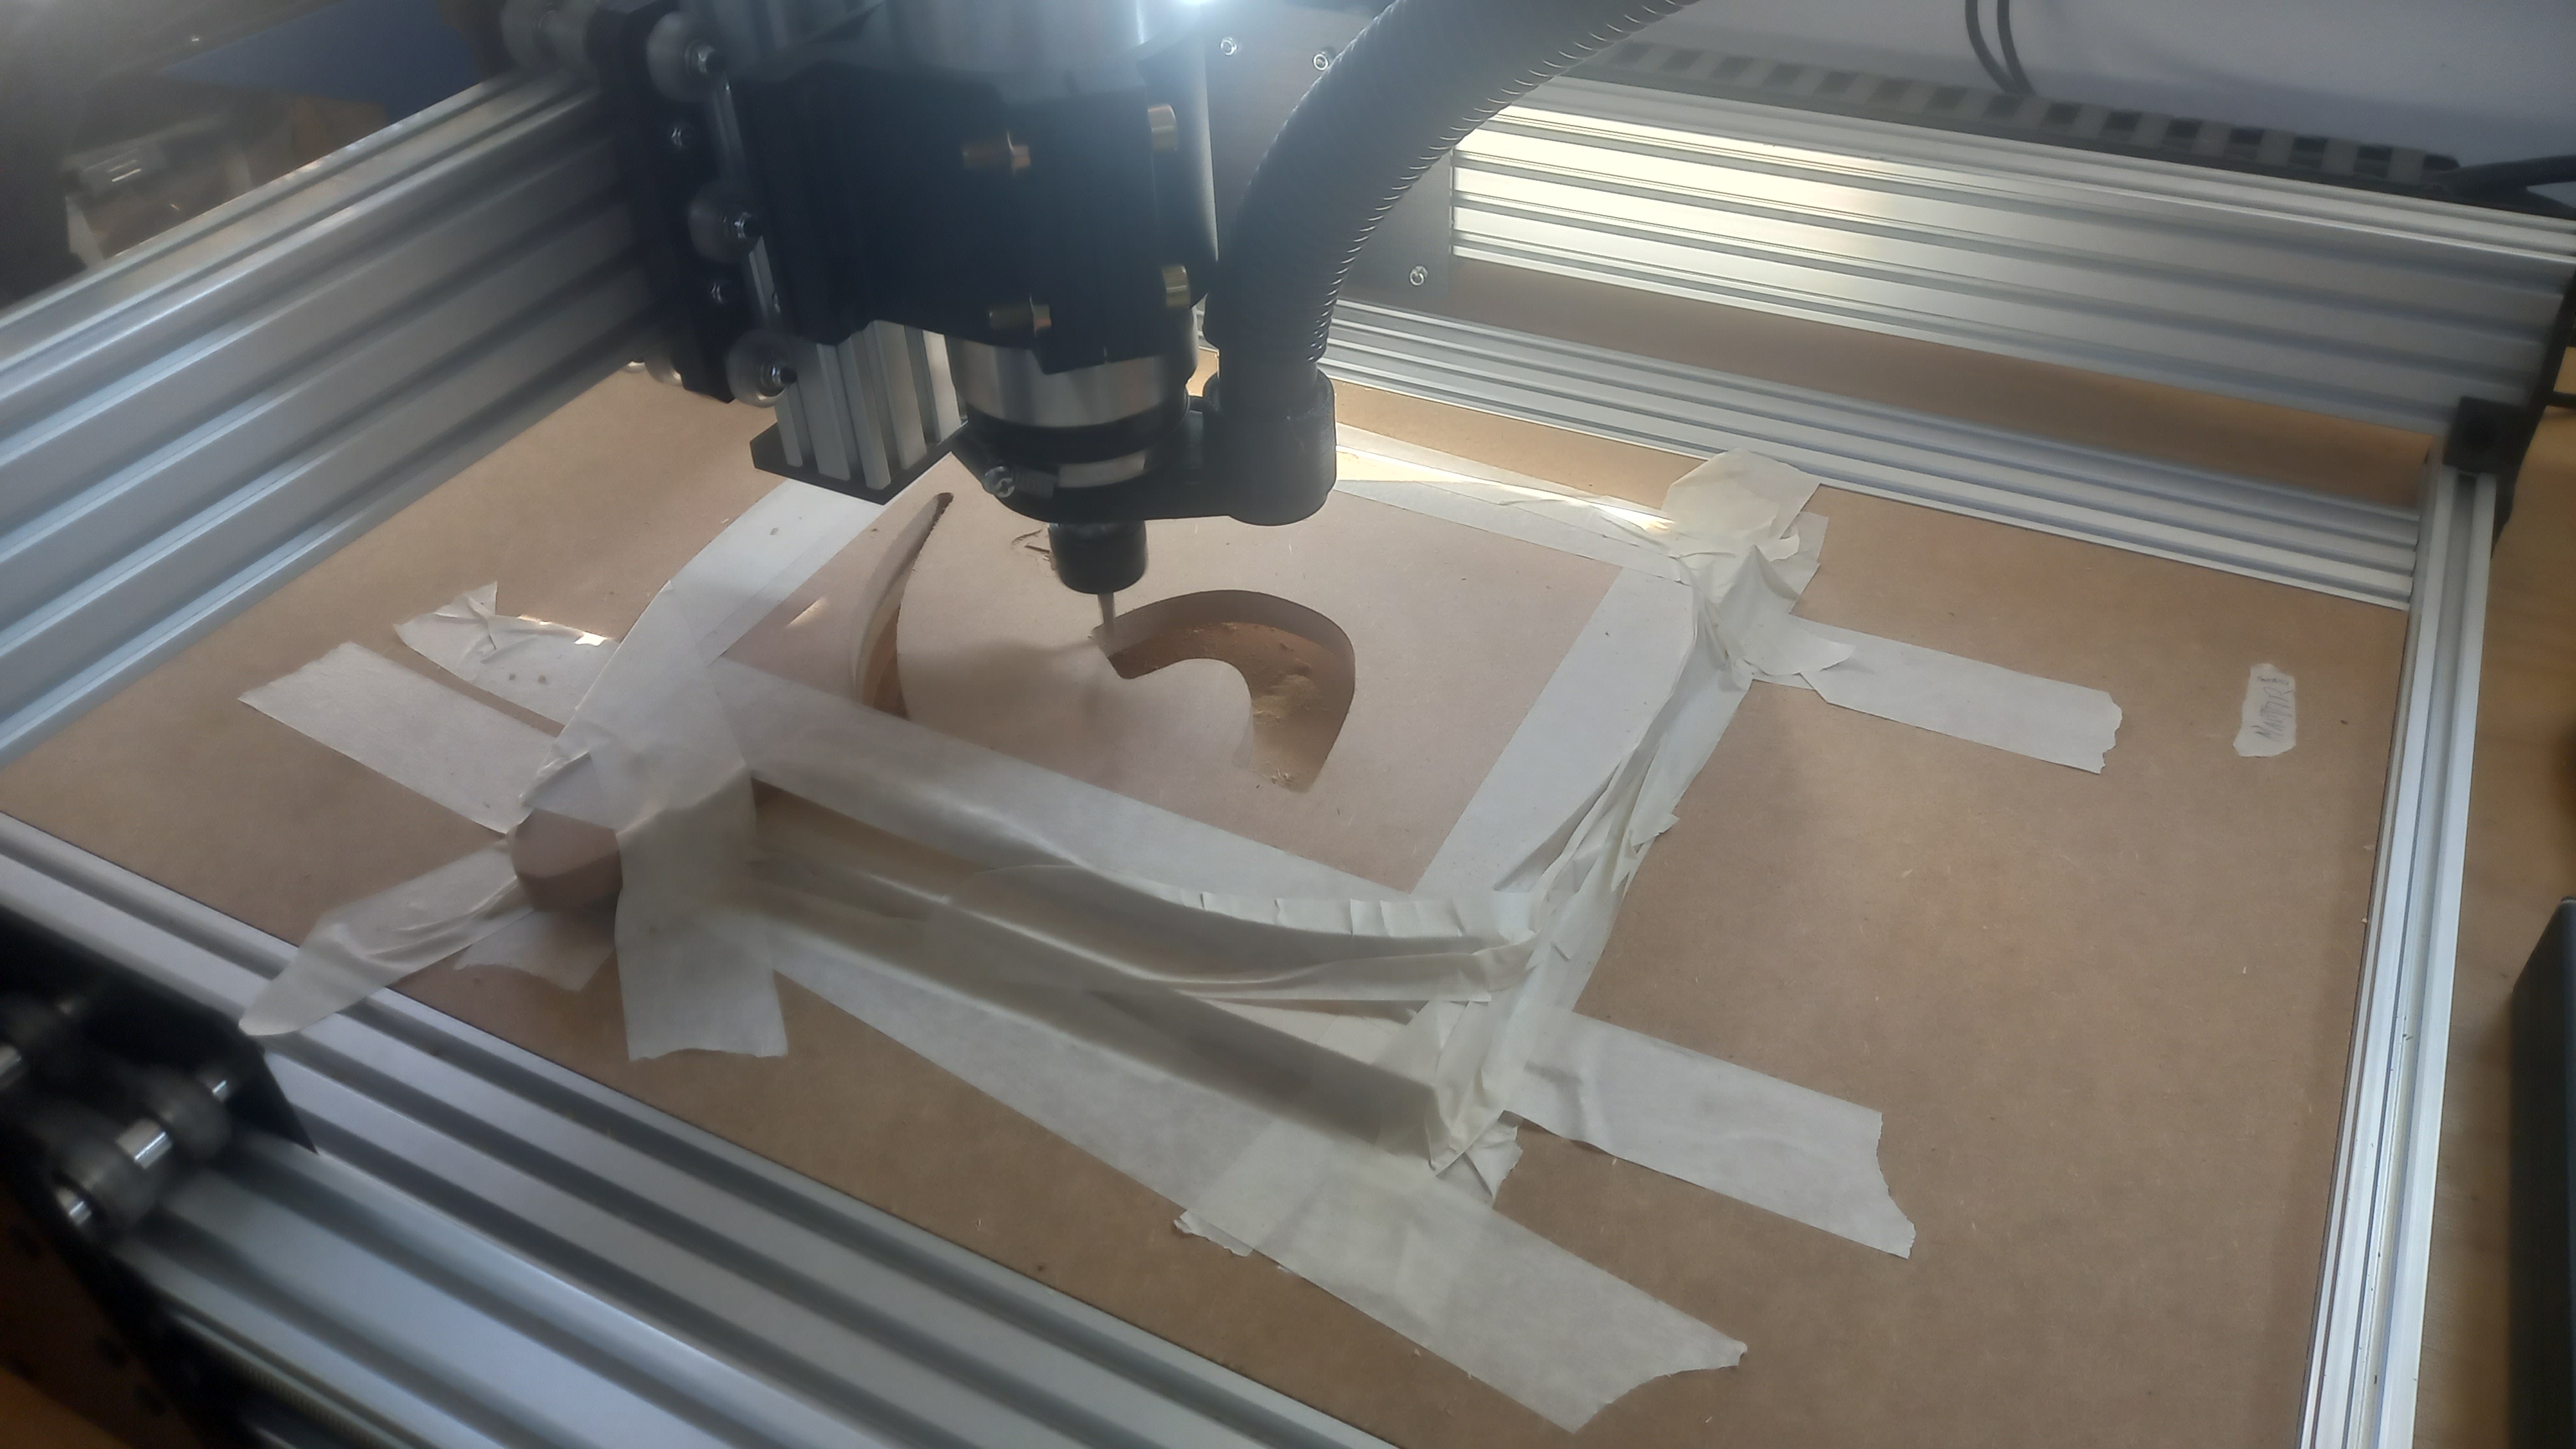
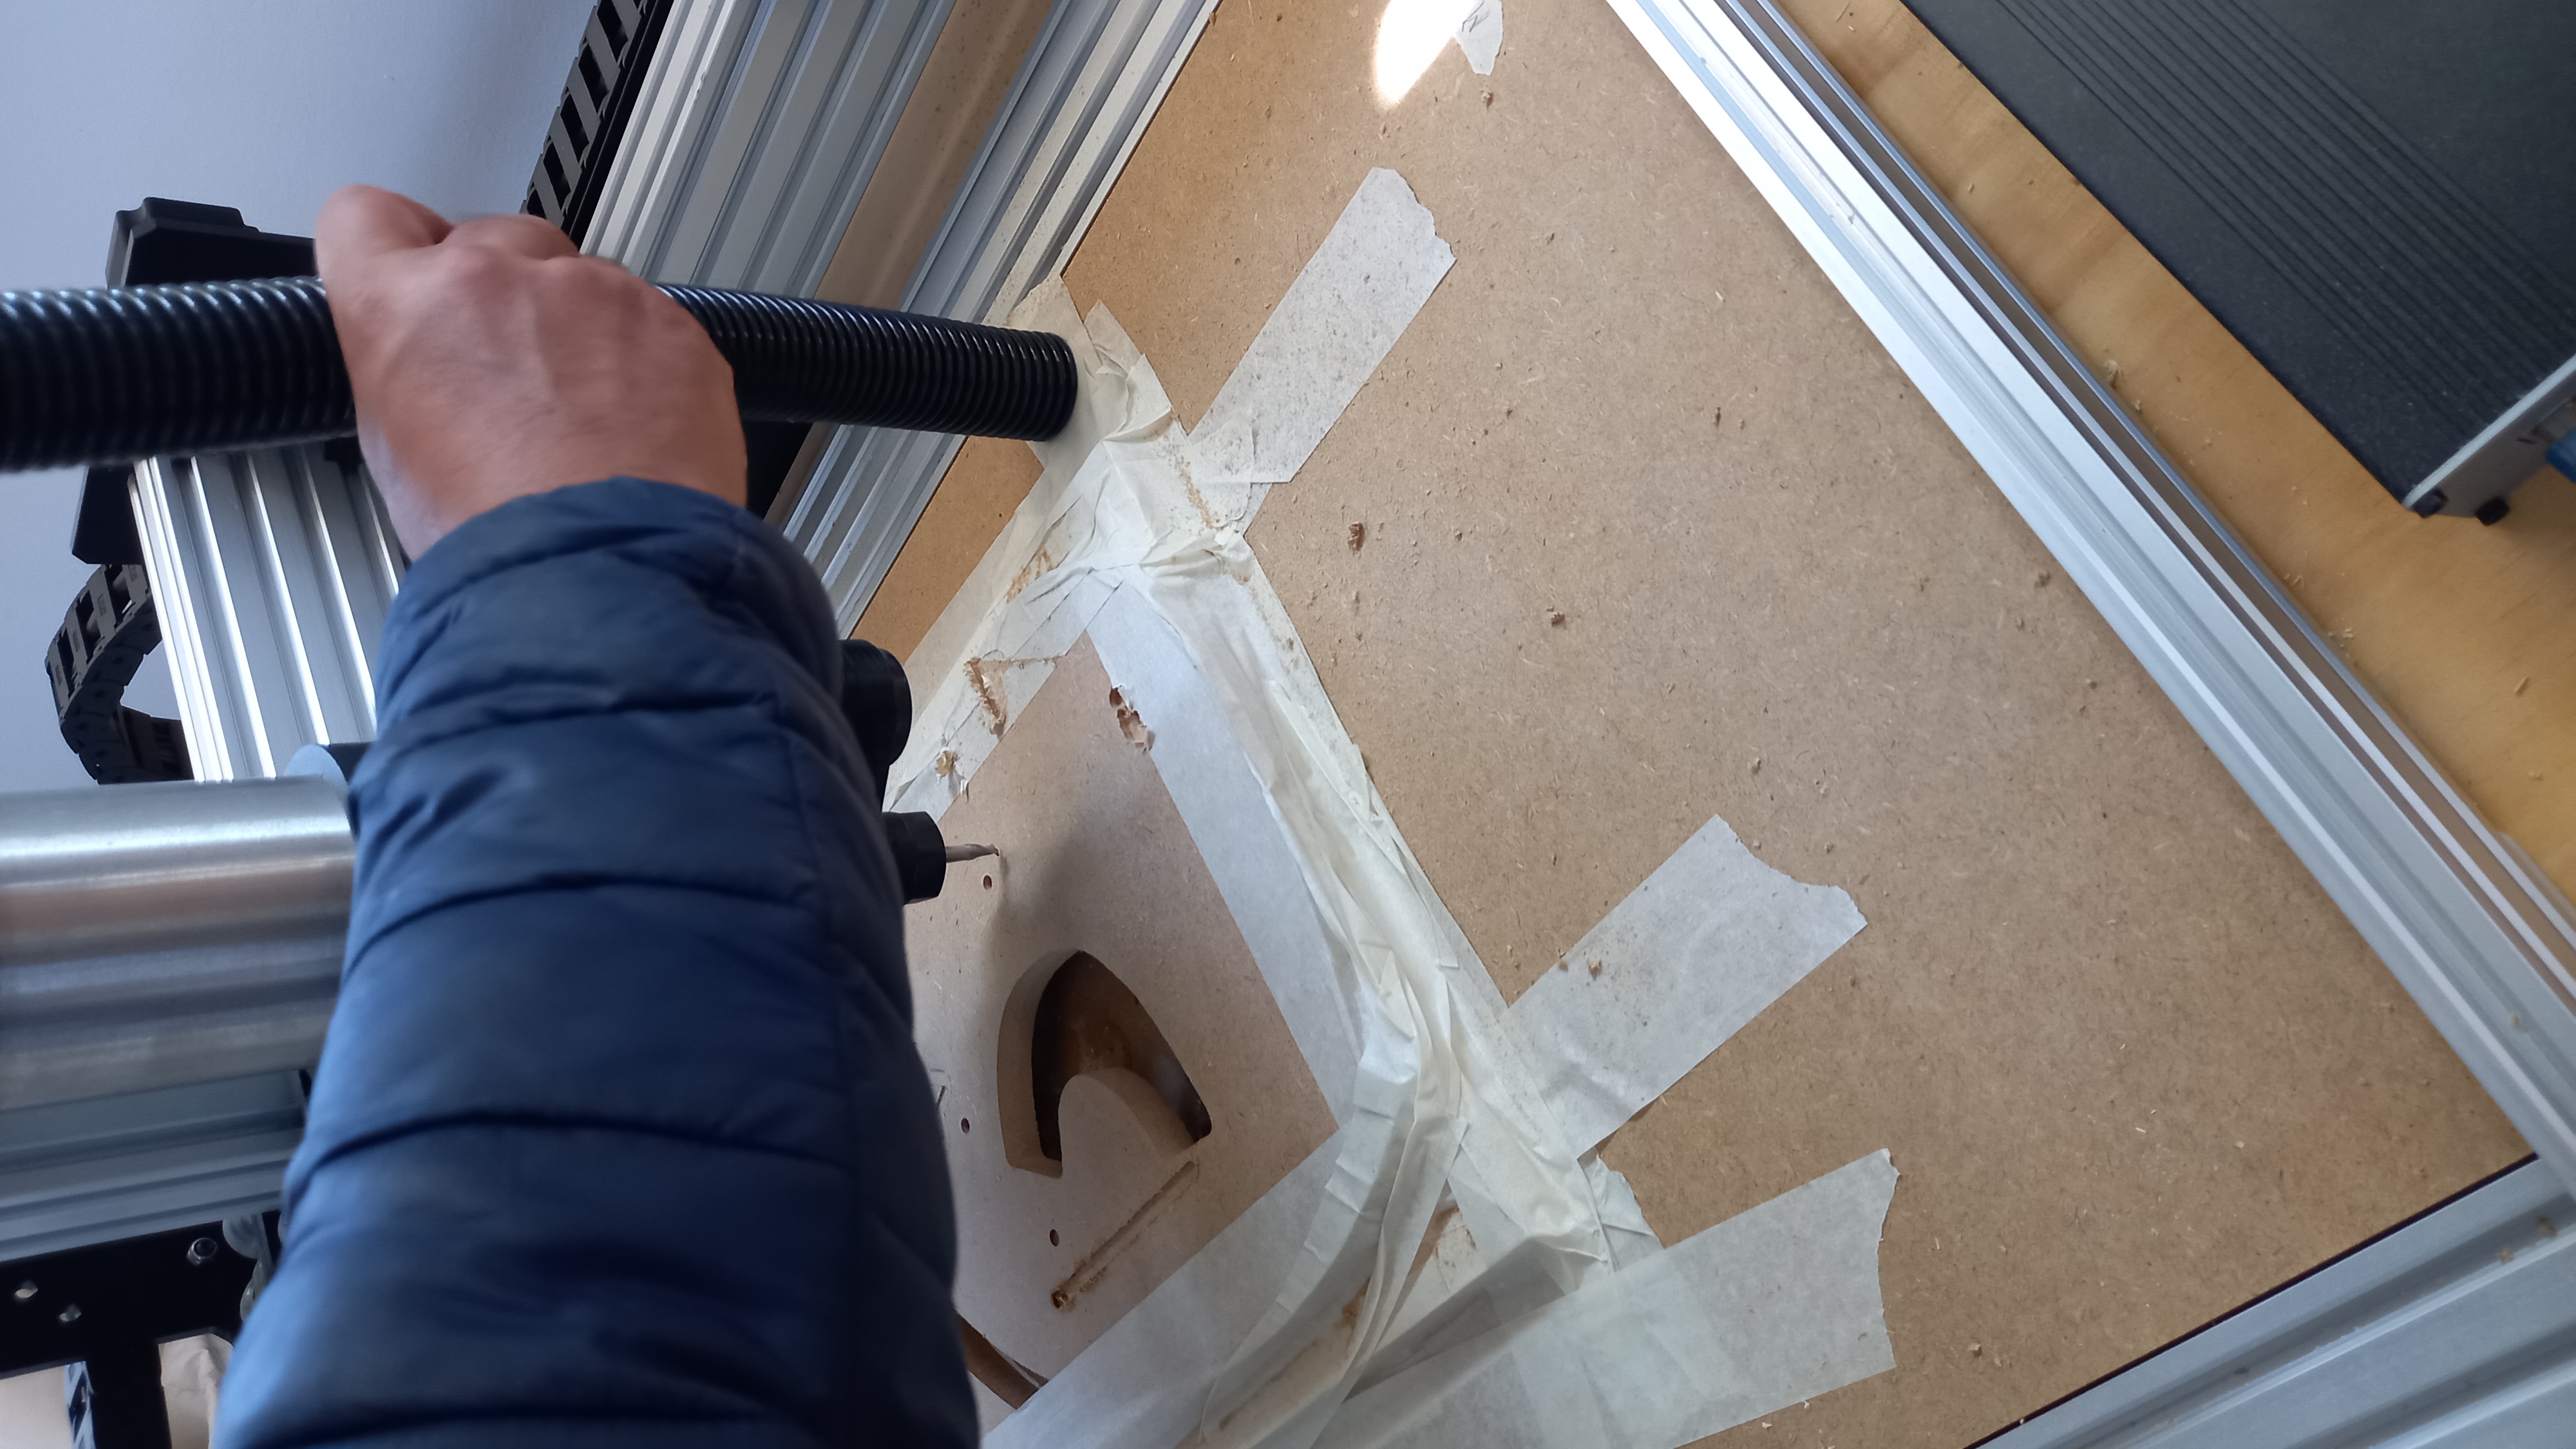
- The material is conditioned in the punishment bed for milling.
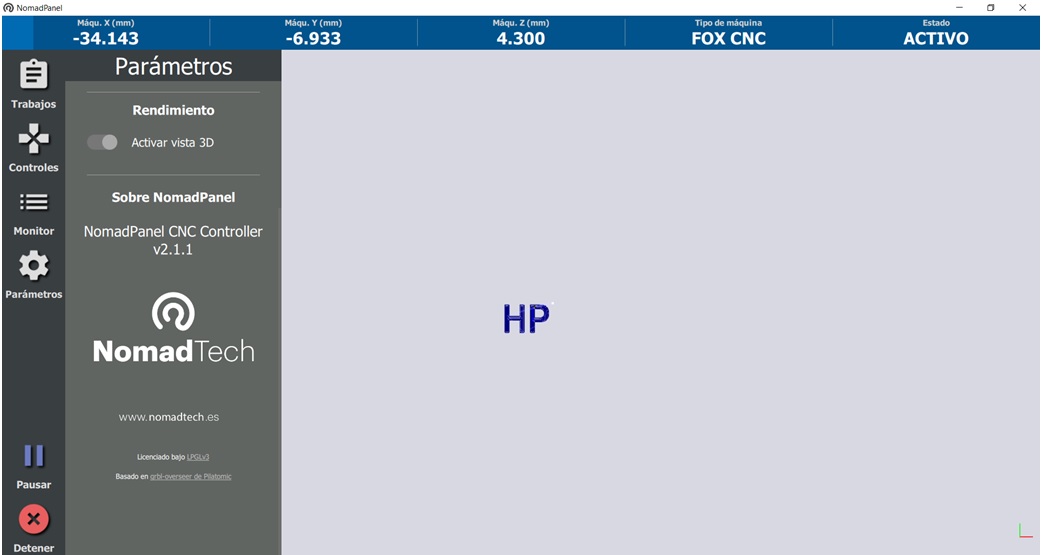
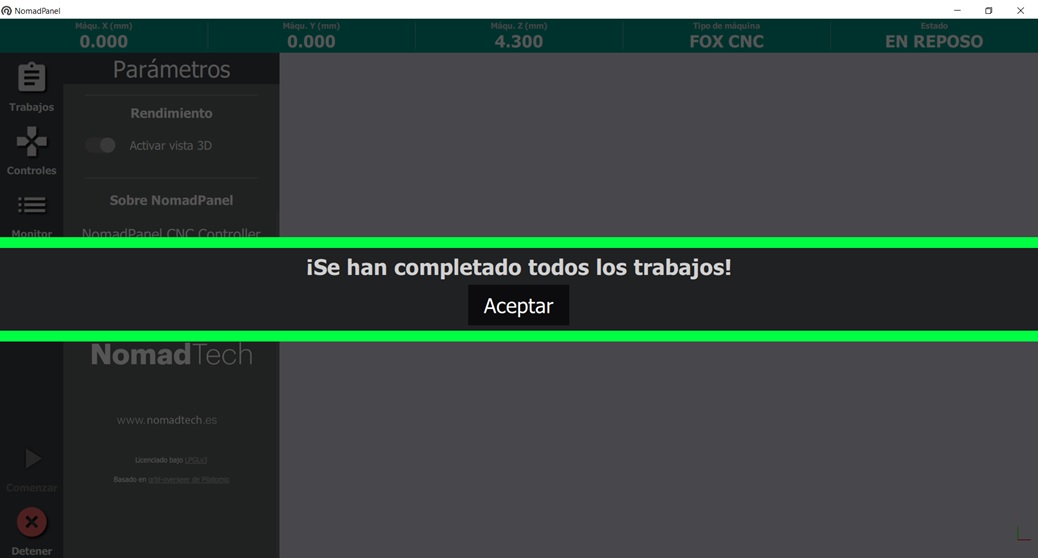
- We open the NomadPanel program to import the generated file for milling.
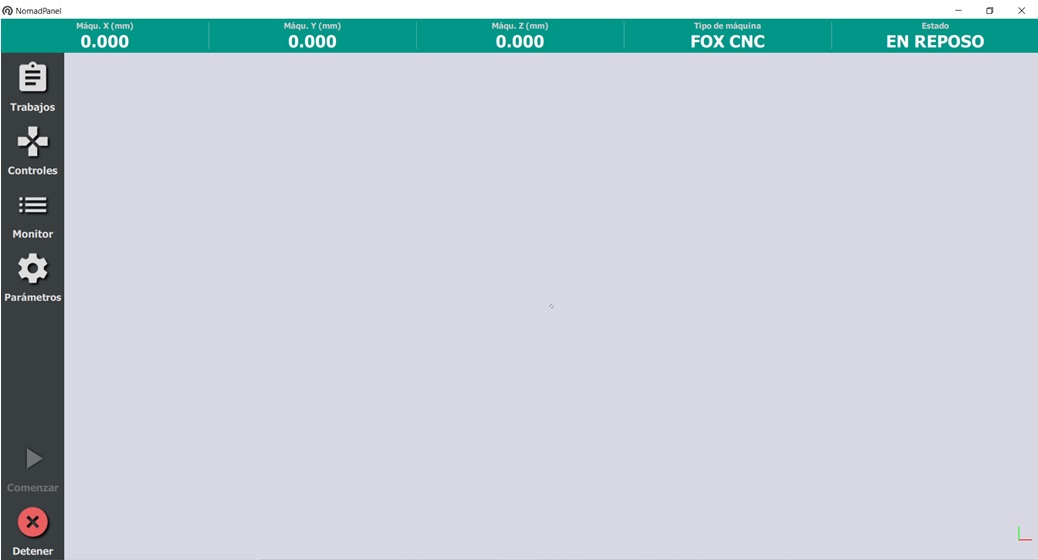

- Setup is started to define the zero point to start milling.
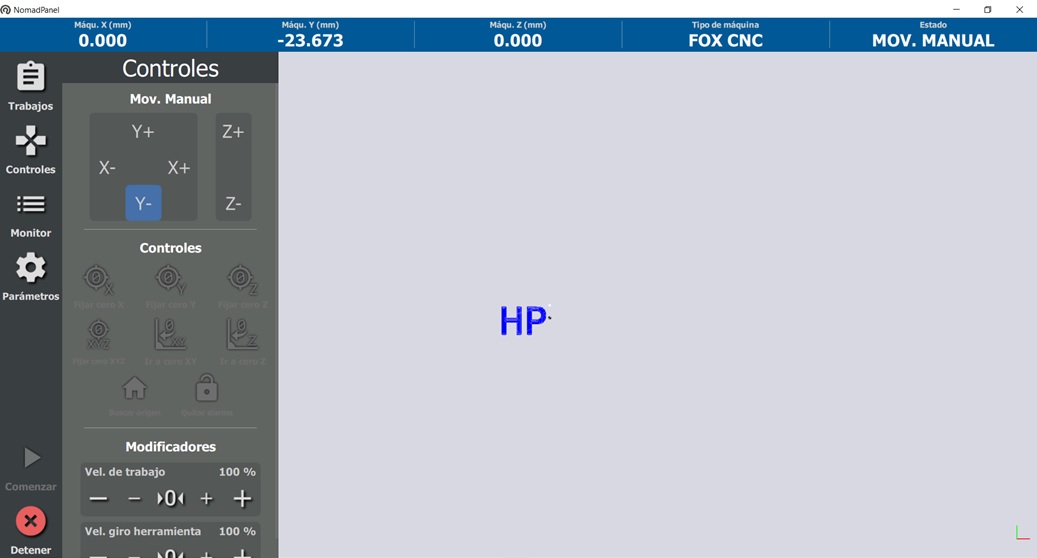
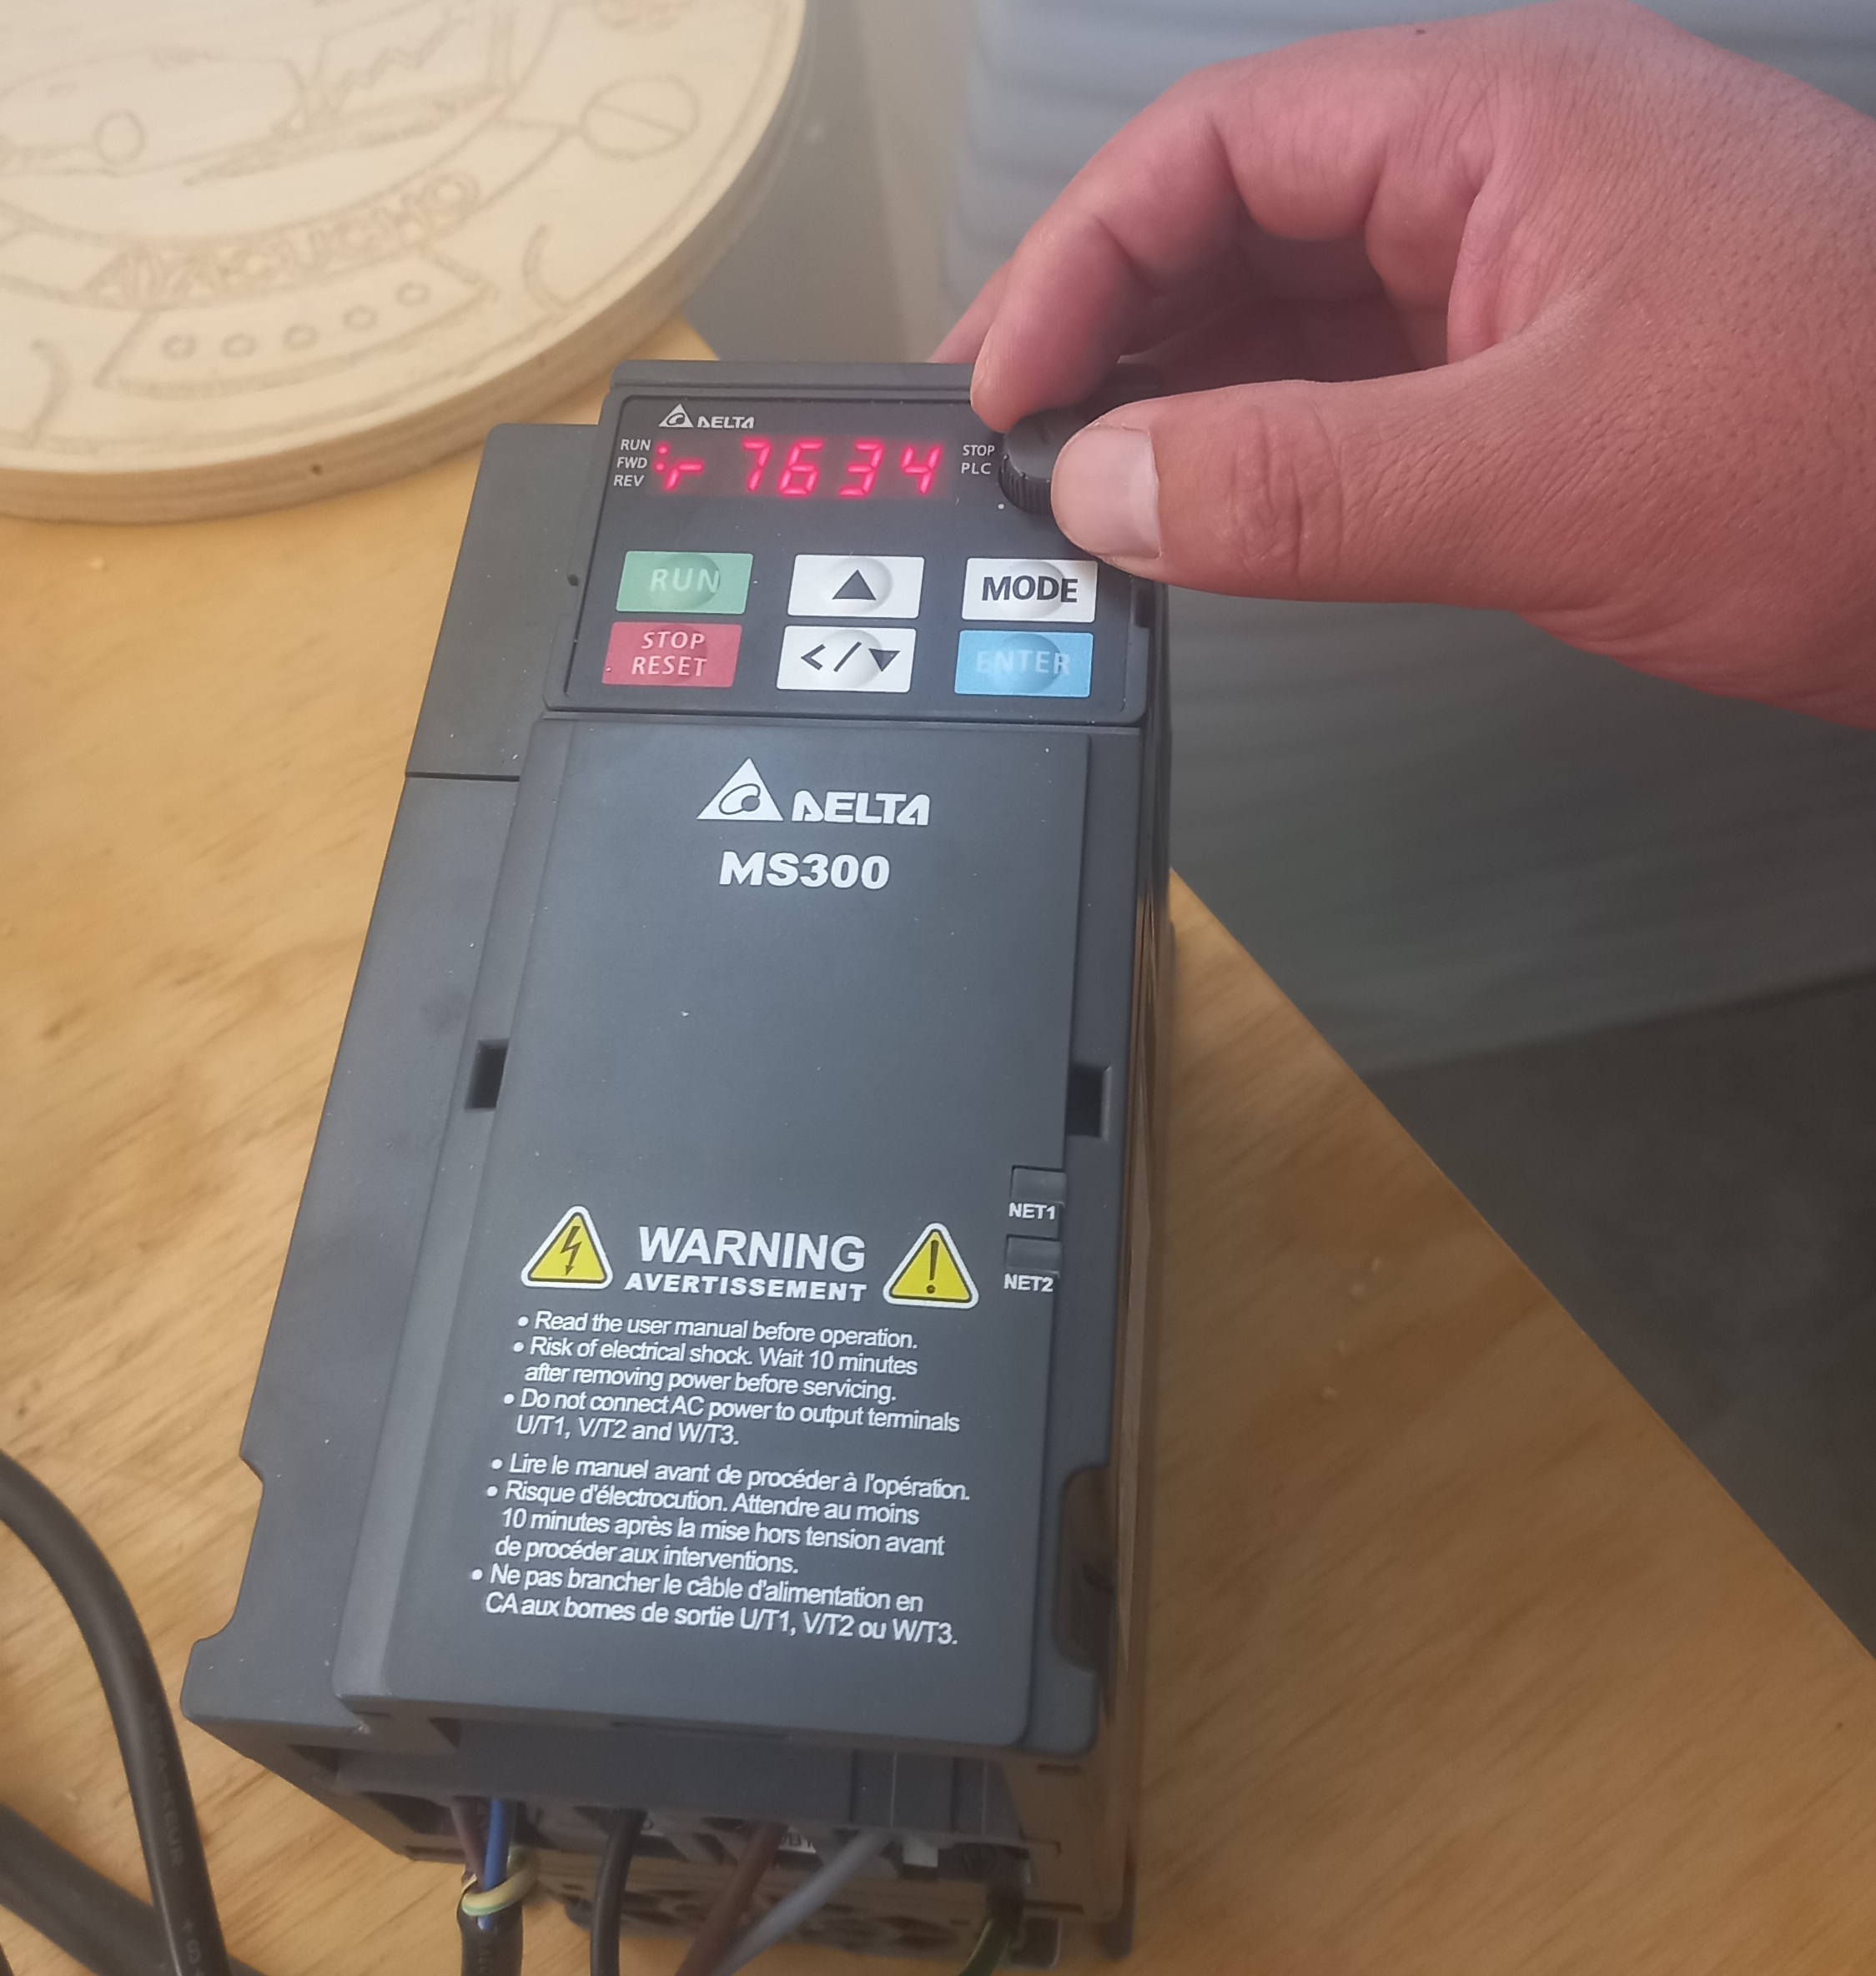
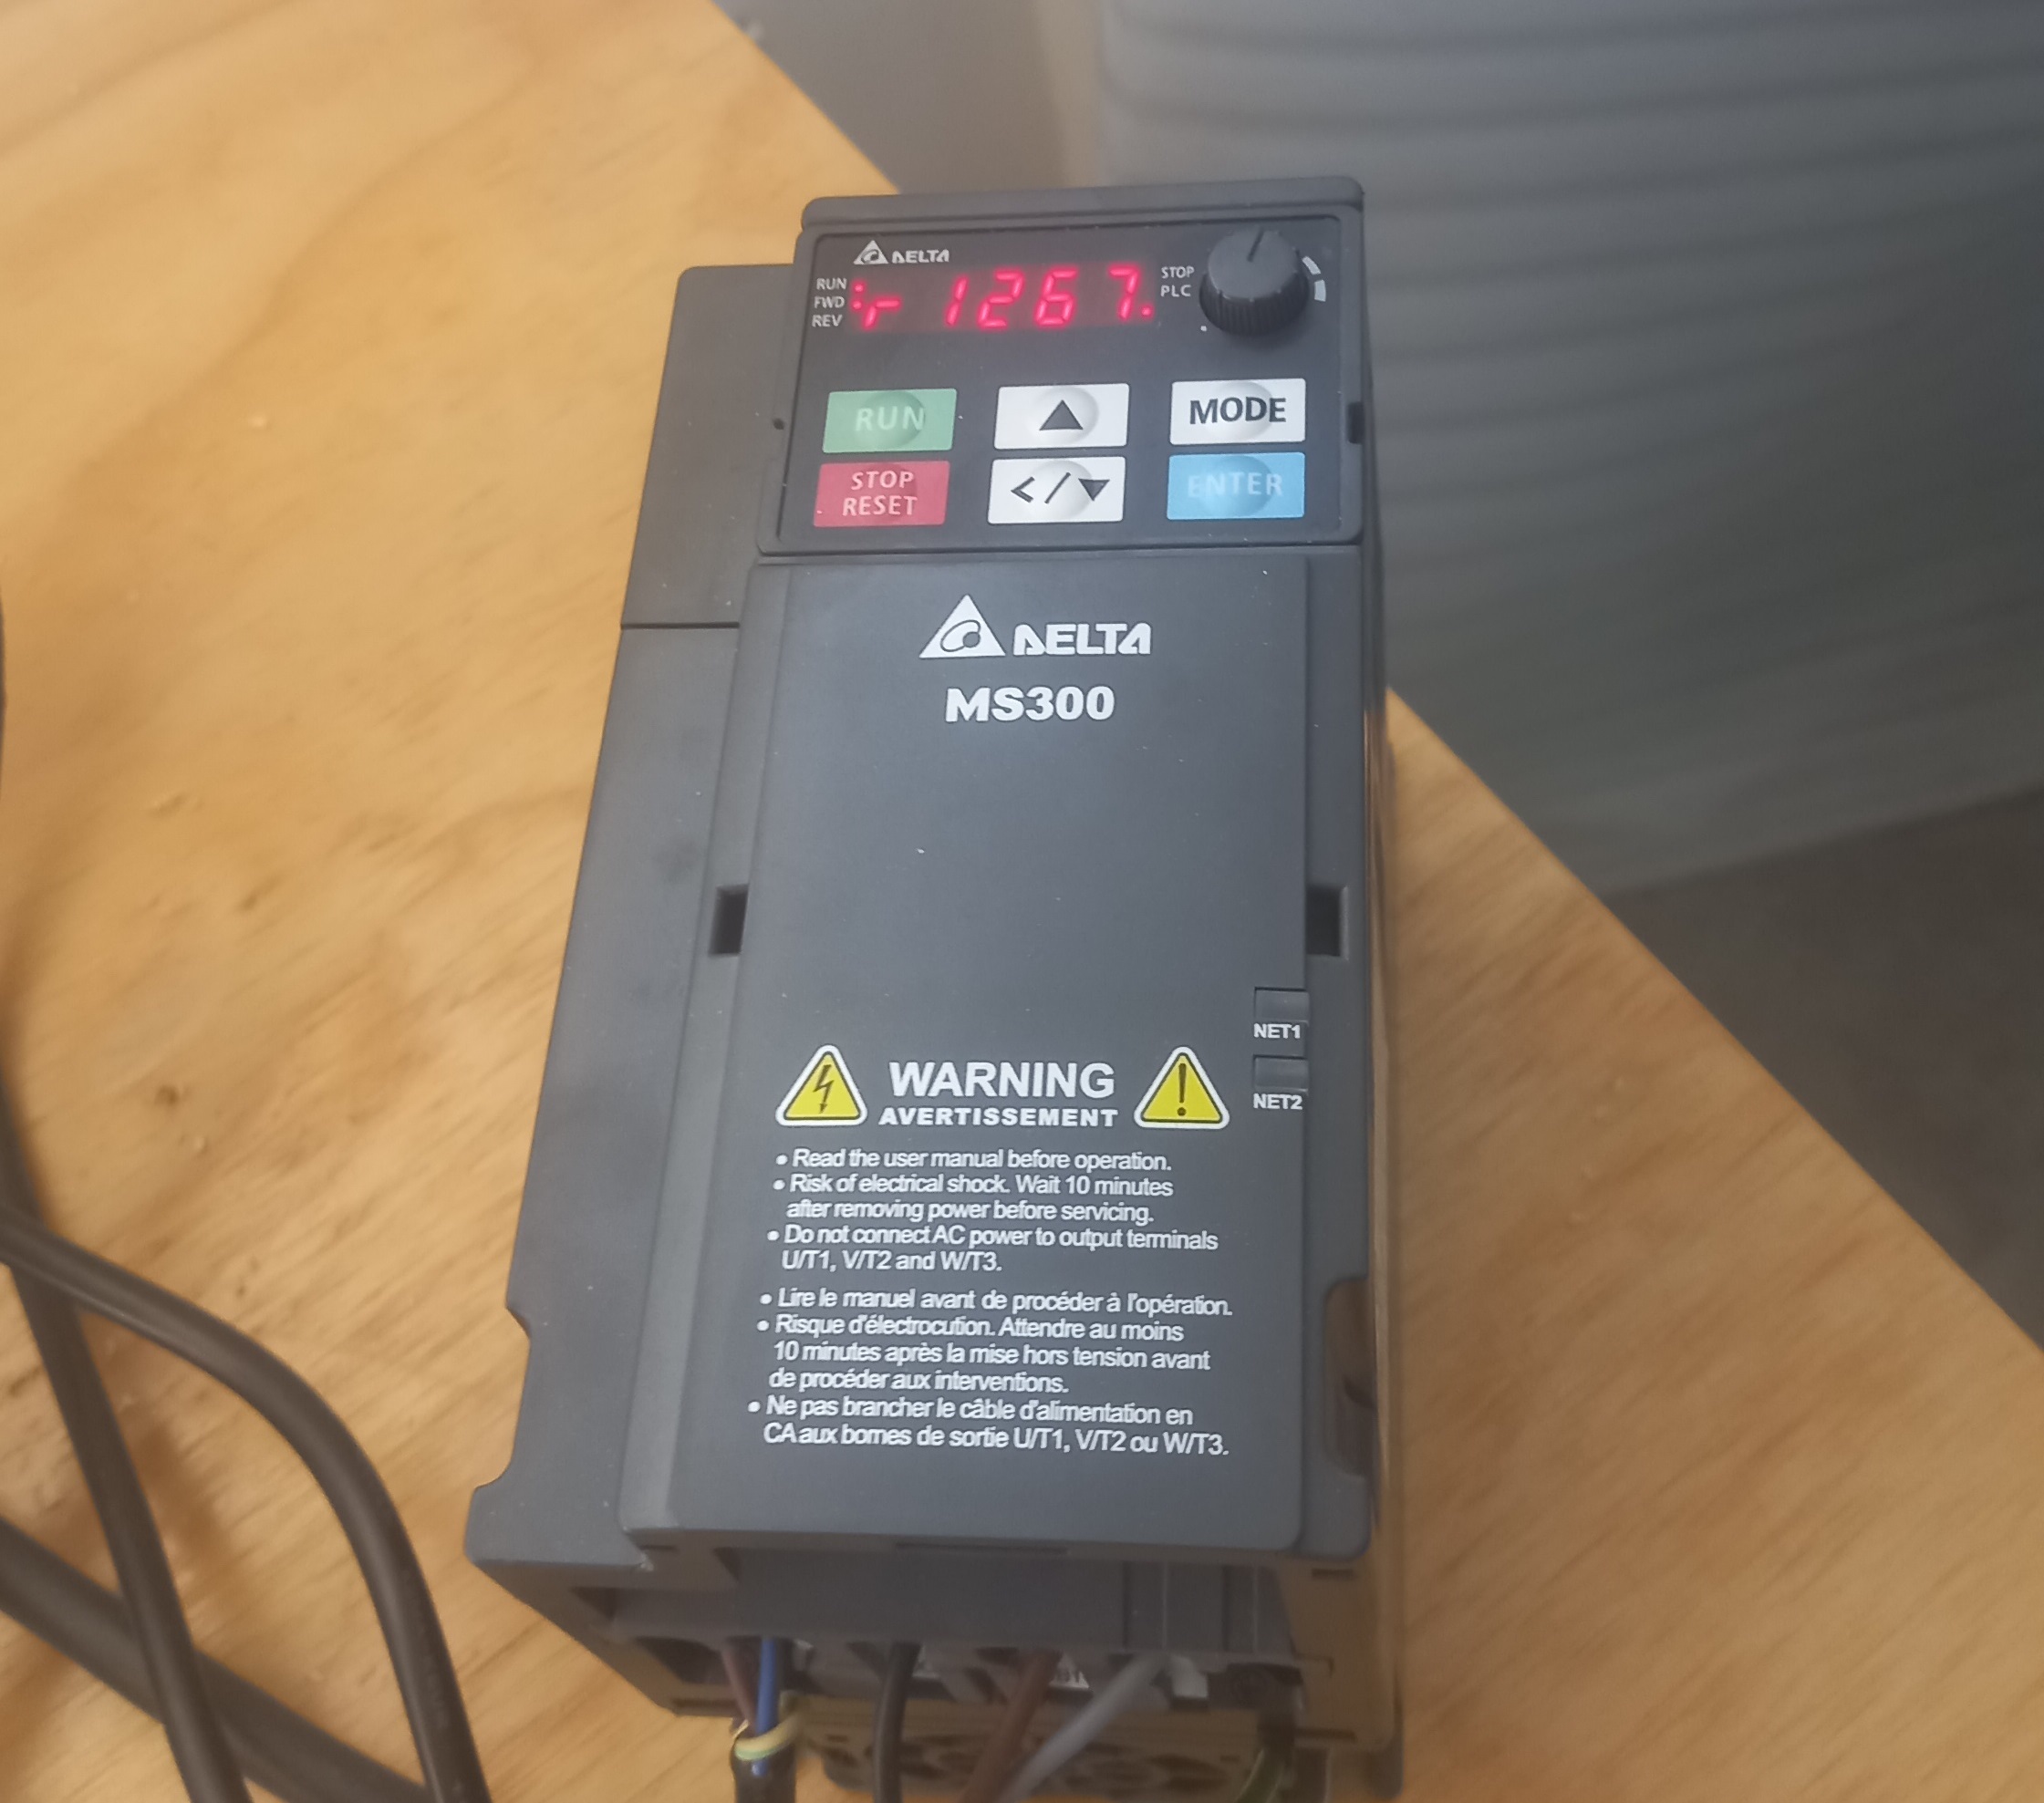
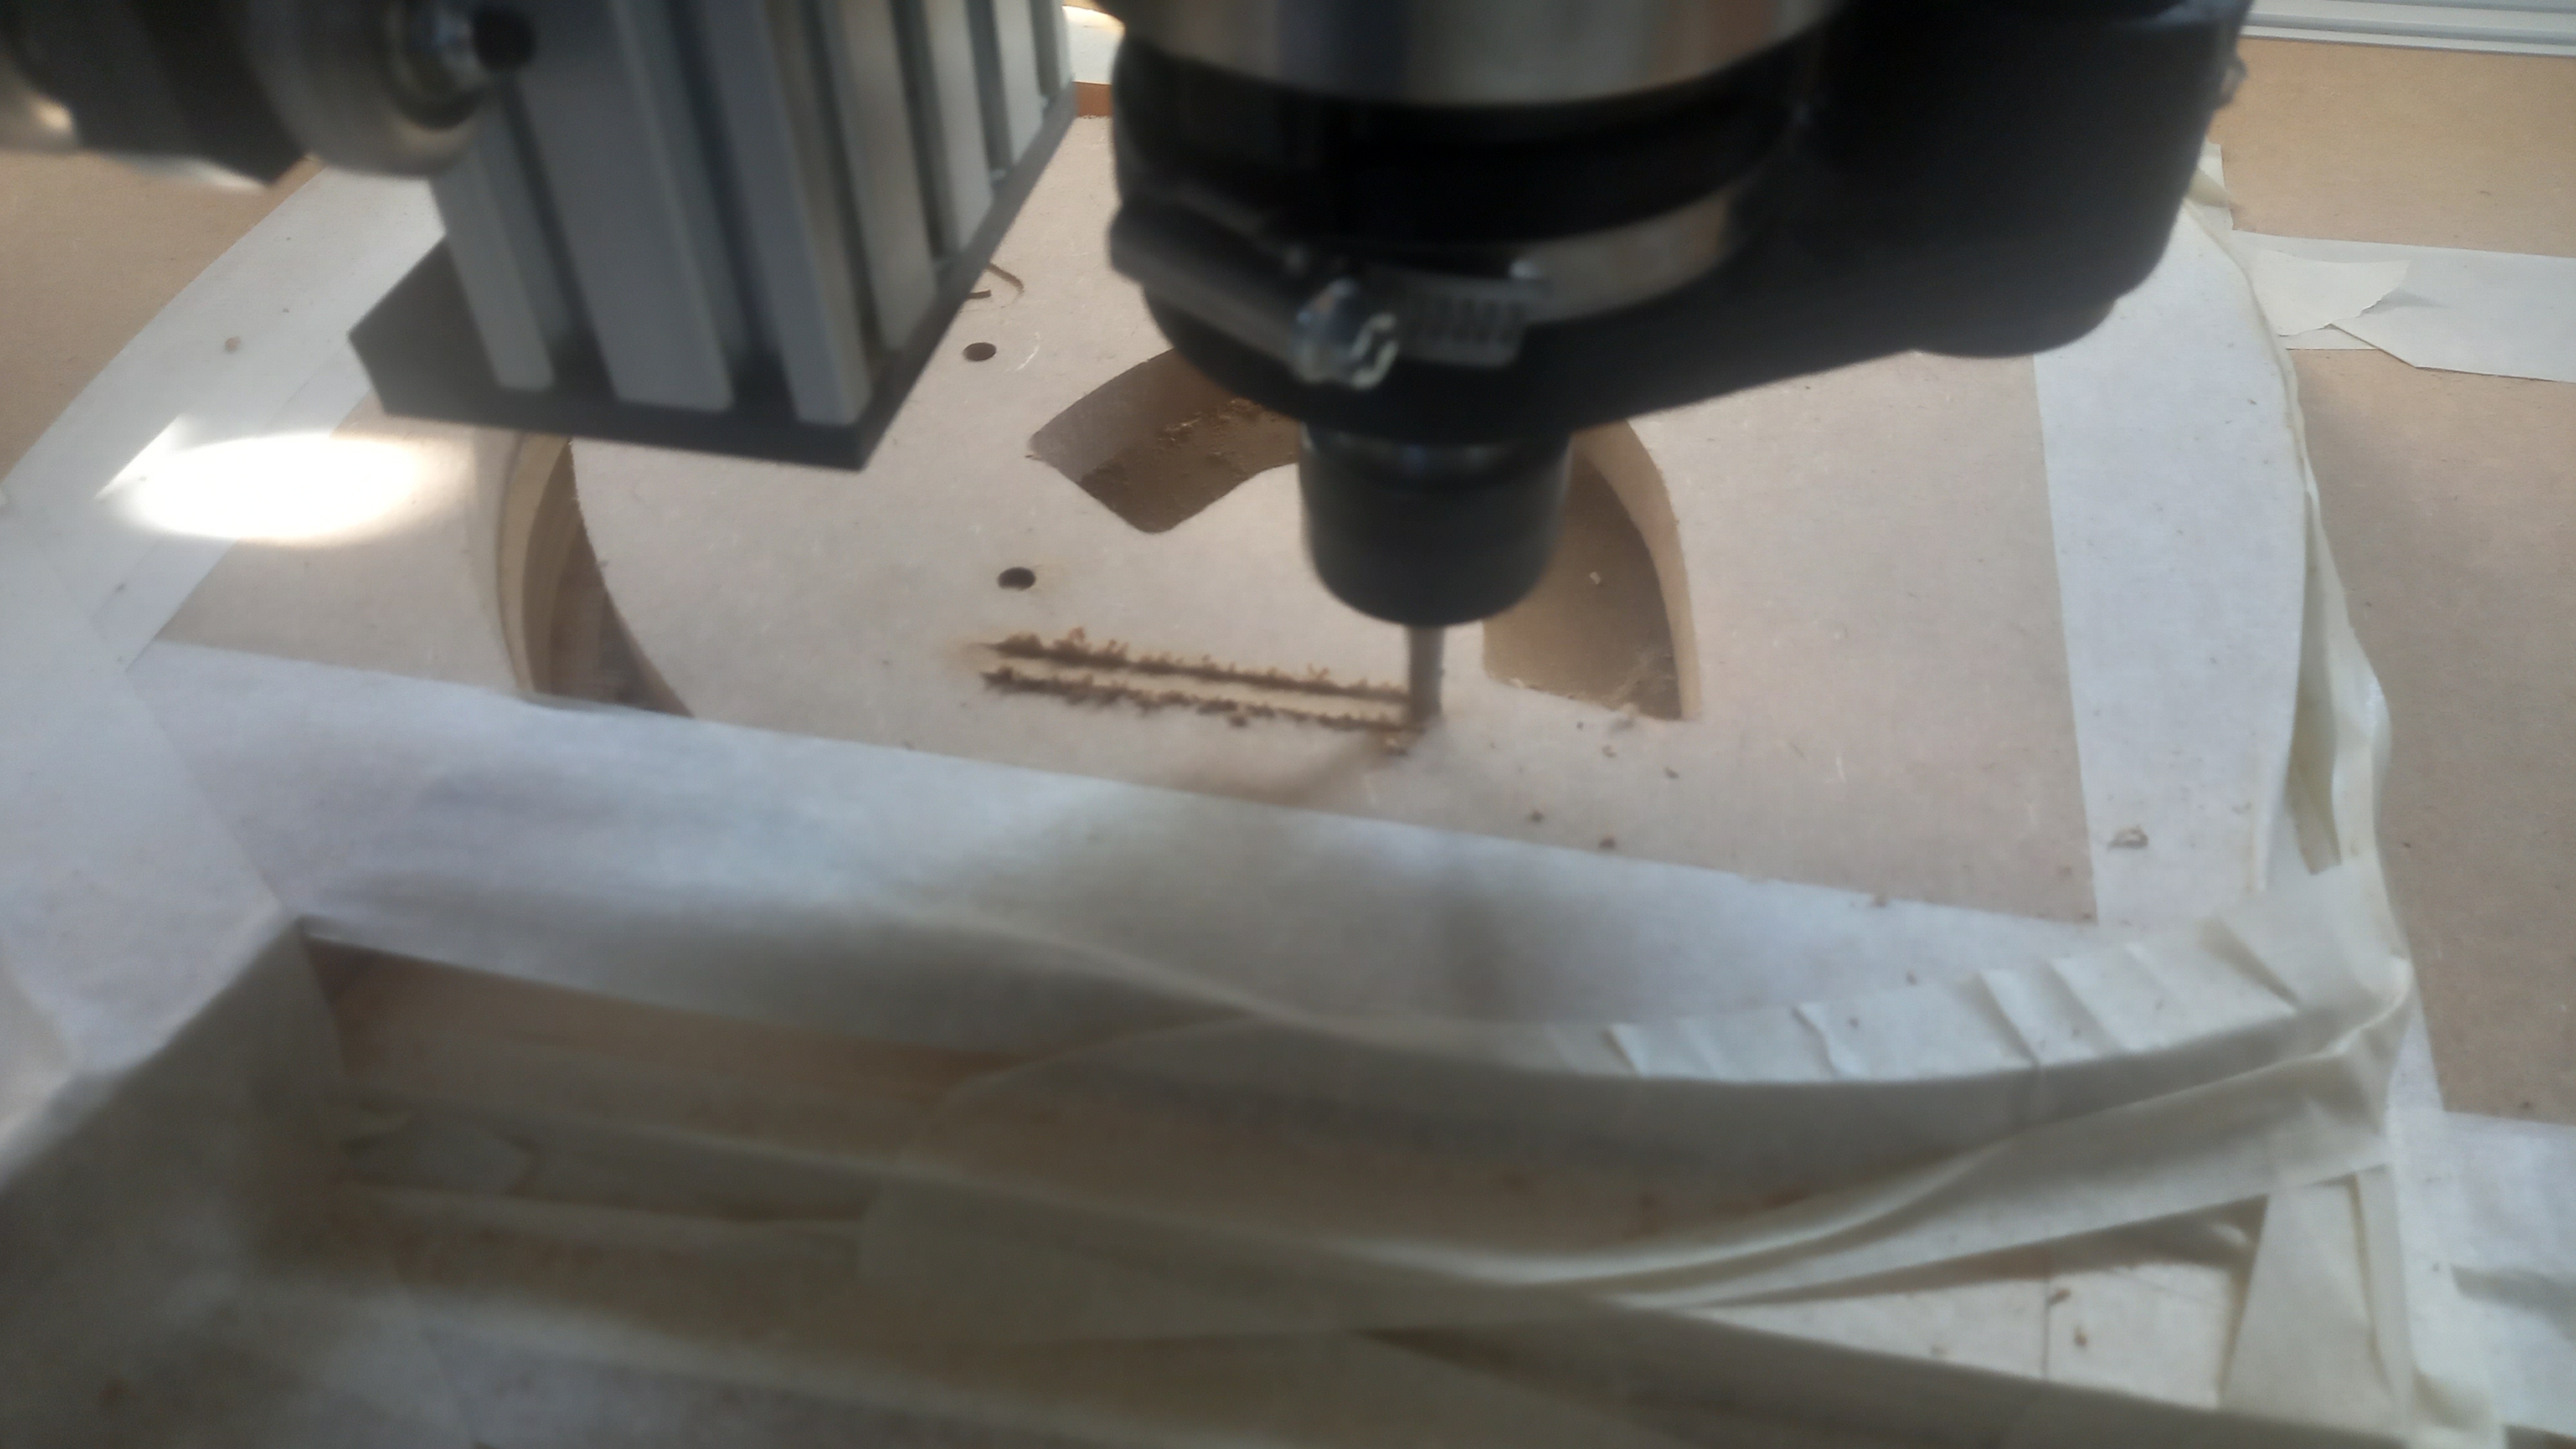
- We proceed to configure the rotation speed of the cutter, in this case we worked at a speed between 11000 and 12000.
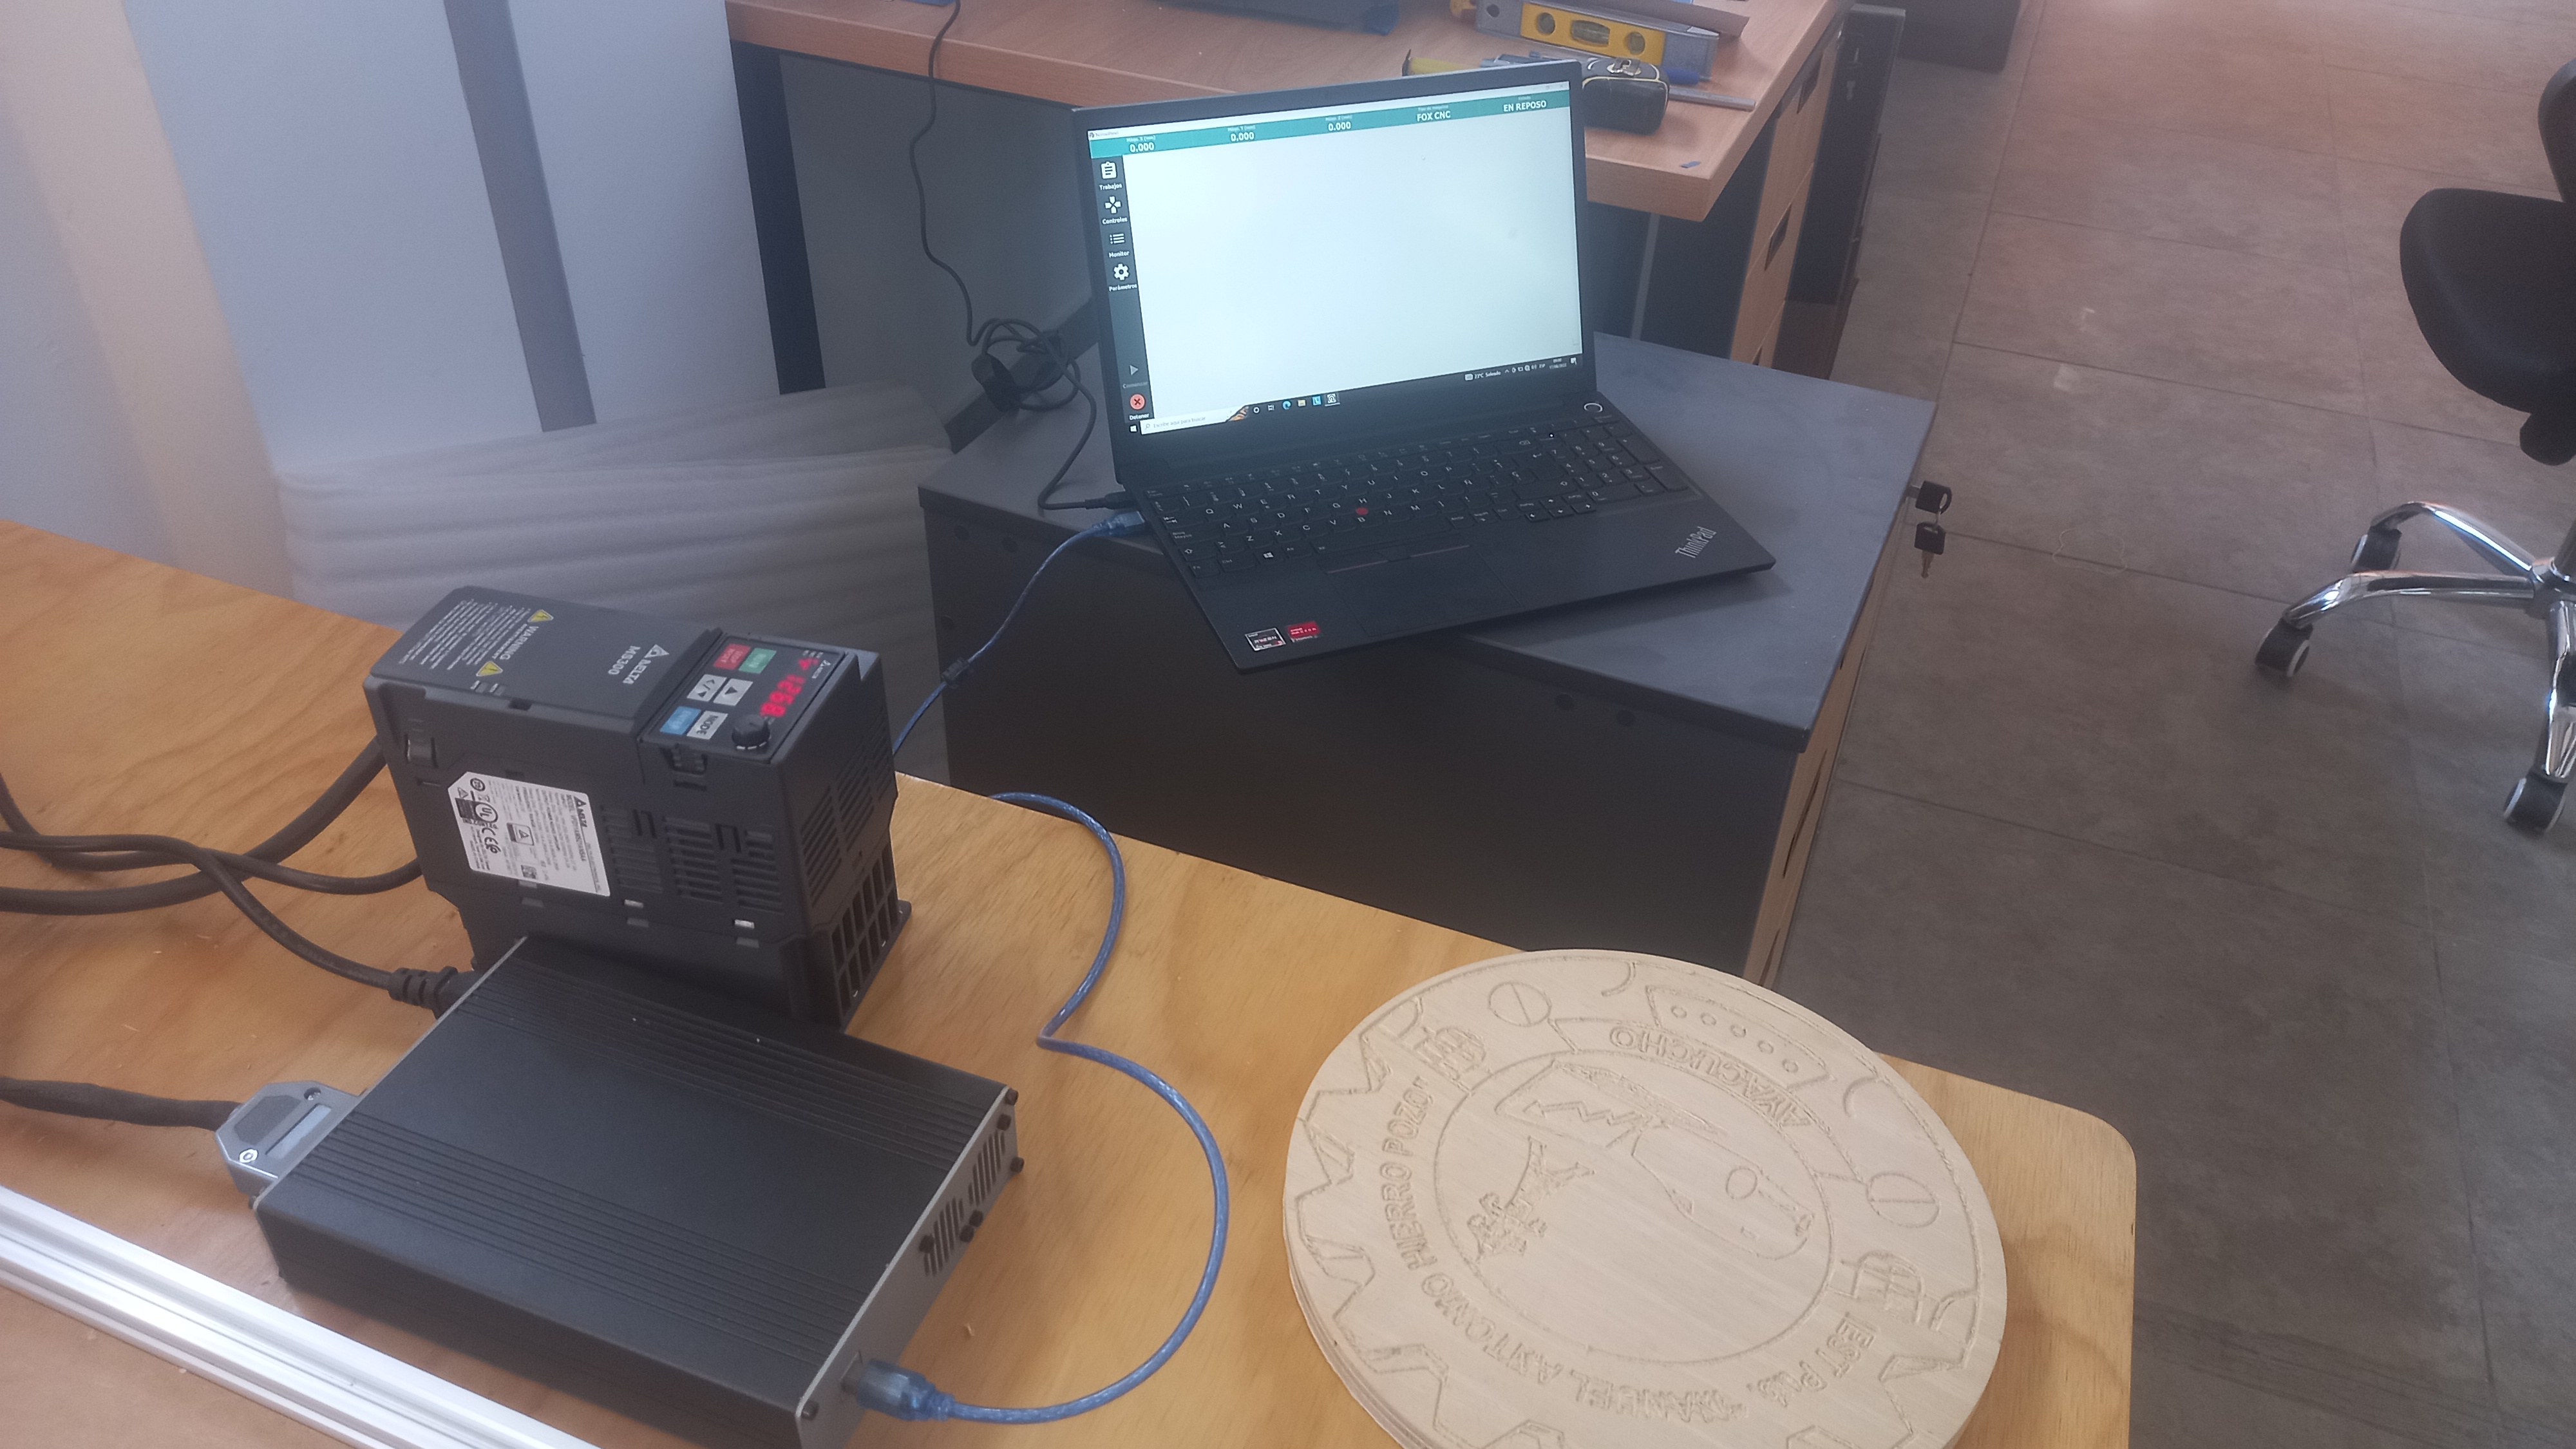
- Milling is started, executed from the NomadPanel program.
- At the end of the program, it shows us the message that the job has been completed.

Last update:
September 5, 2022