6. 3D Scanning and printing
For the present assignment that consists of 3D scanning and printing, tests of these activities have been carried out, identifying the necessary technical requirements for their development, as well as the considerations in the management of the necessary equipment.
Group Activity
The verification and calibration actions of the 3D equipment were carried out, as well as the security and use considerations necessary for the development of the assignment, in this sense the user manuals were reviewed, as well as the review of video materials in aspects such as proper handling of equipment. It was important for this group activity to strengthen the capacities provided by our instructor, such as the training of the personnel who implemented the digital manufacturing laboratory.
Single Activity
3D Scanning
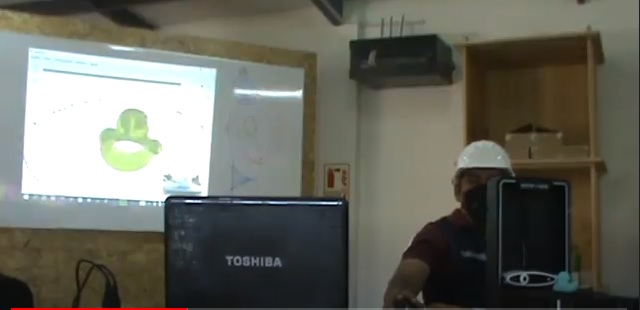
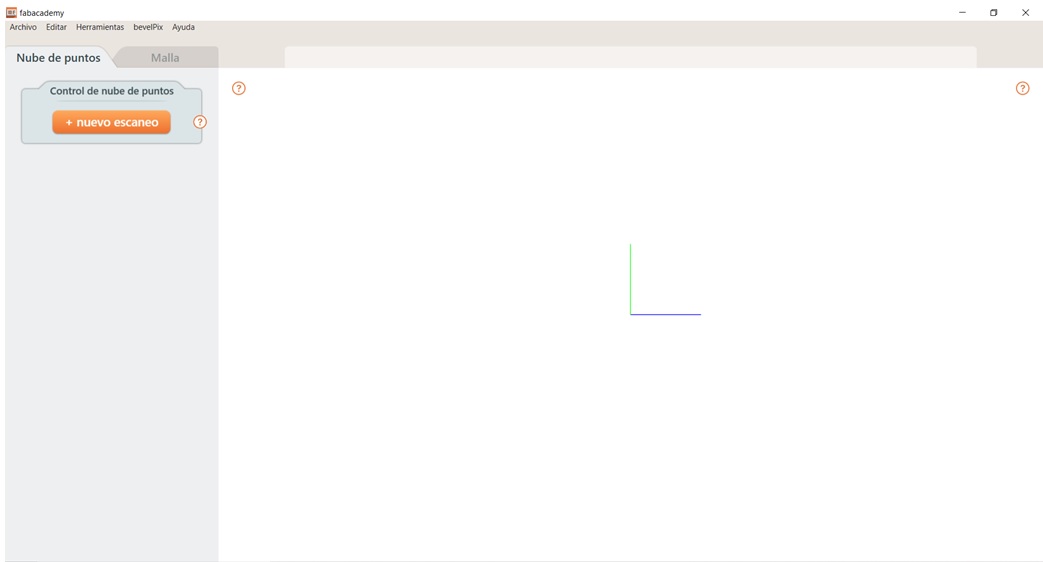
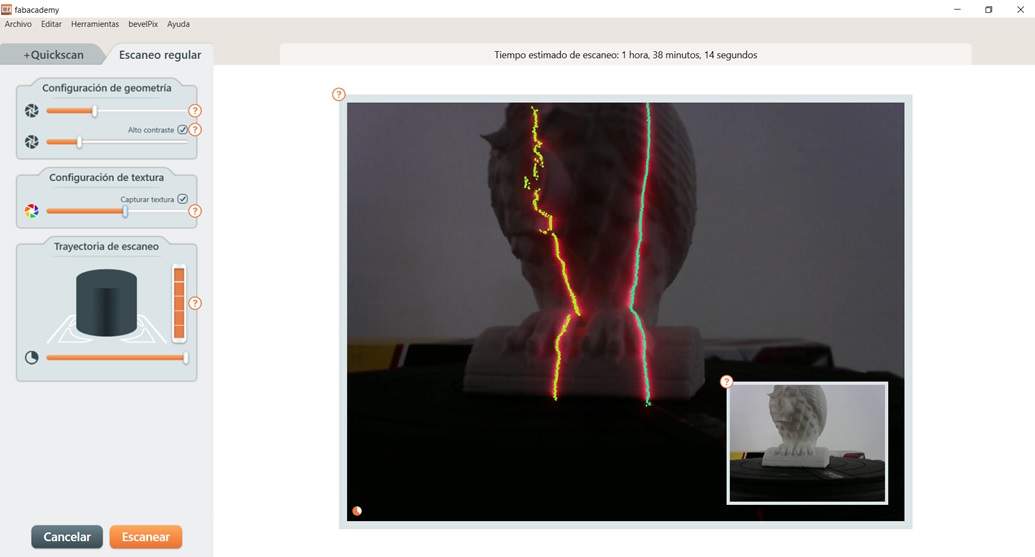
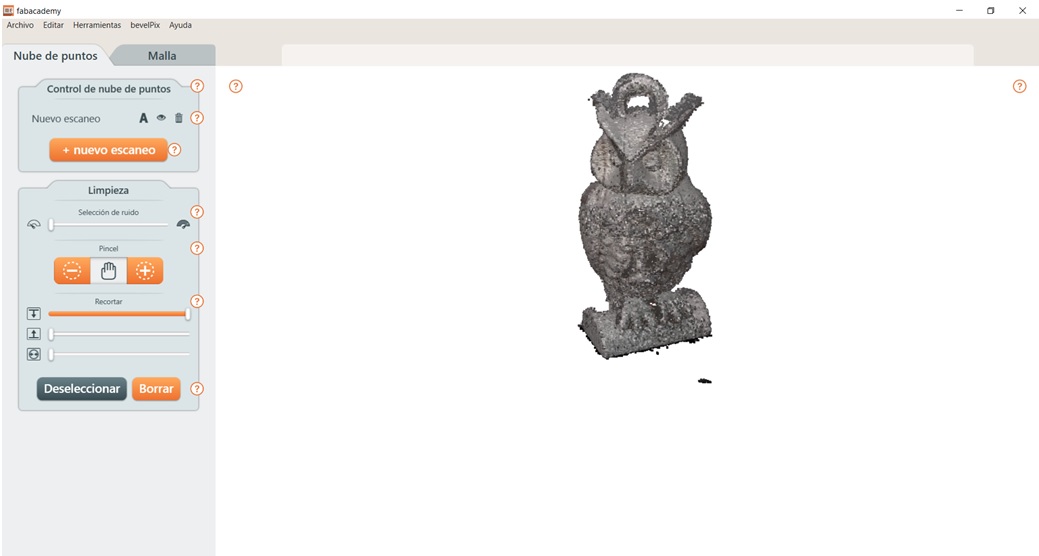
For the development of this activity, the 3D scanner was used to digitize a 3D printed owl, as well as the MF studio program; where the necessary configurations in its use were made, which are framed in the following actions:
Sequence
- Connect and turn on the 3D scanner to the computer.
- Place on the platform, the object to be scanned for this exercise was placed a 3D printed owl.
- Start the program and create a new project.
- Set up regular scan where all scan cameras on the team are used; where we configure the geometry, texture and trajectory of the scan.
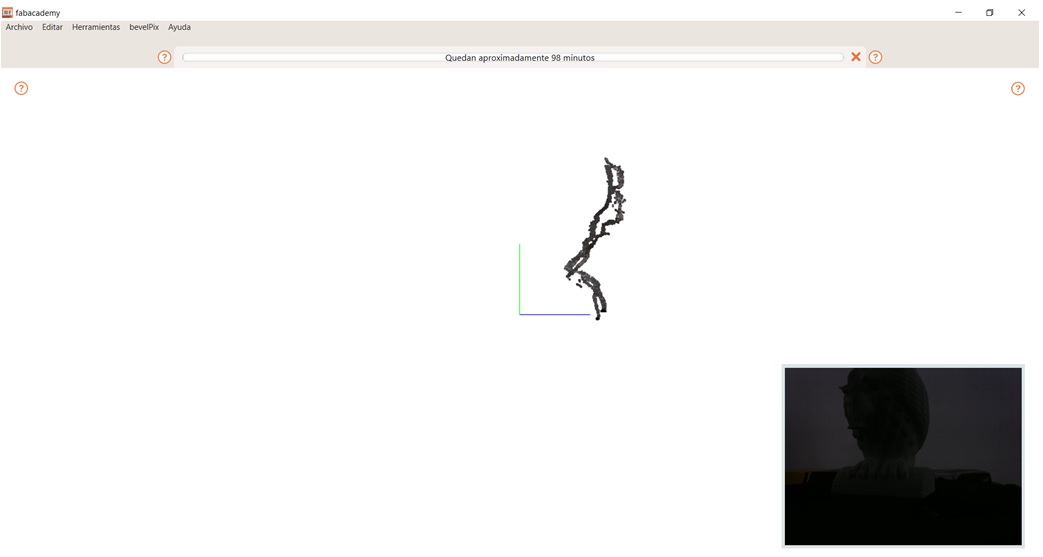
- The program and the equipment start the scanning process, where it shows us an approximate duration of the scan, until it is finished.
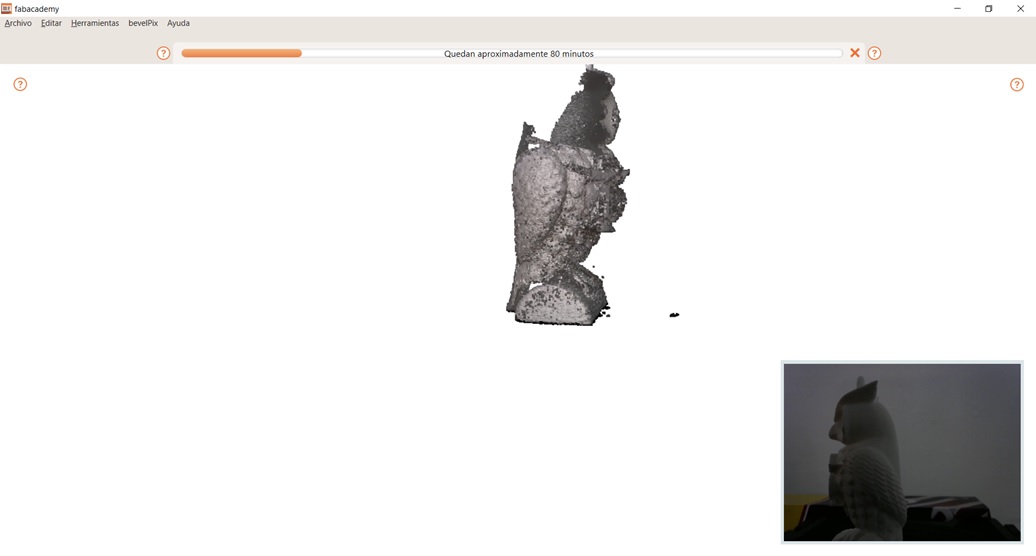
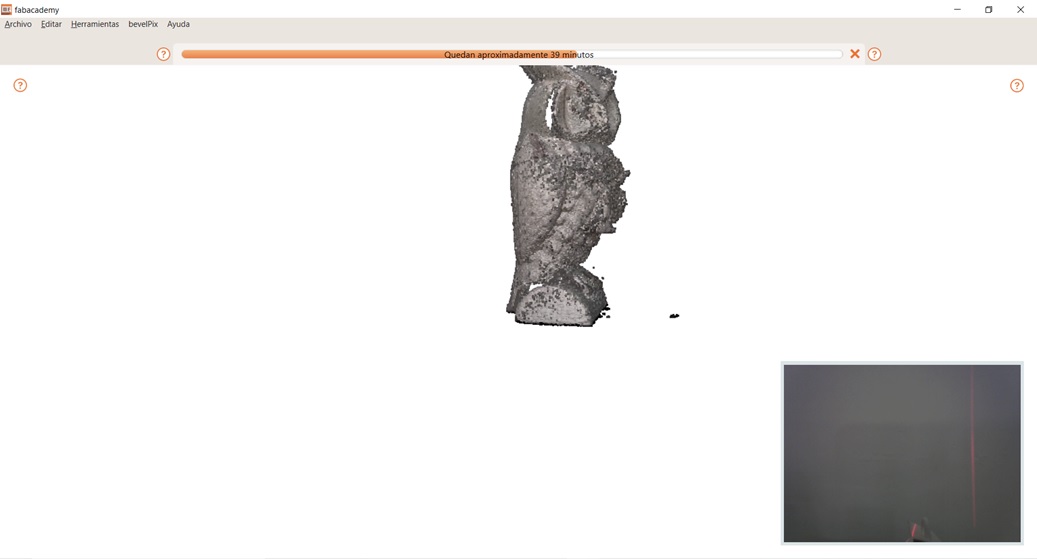
- At the end of the process, the program shows us the options to control points and clean them, to create the 3D object as a result.
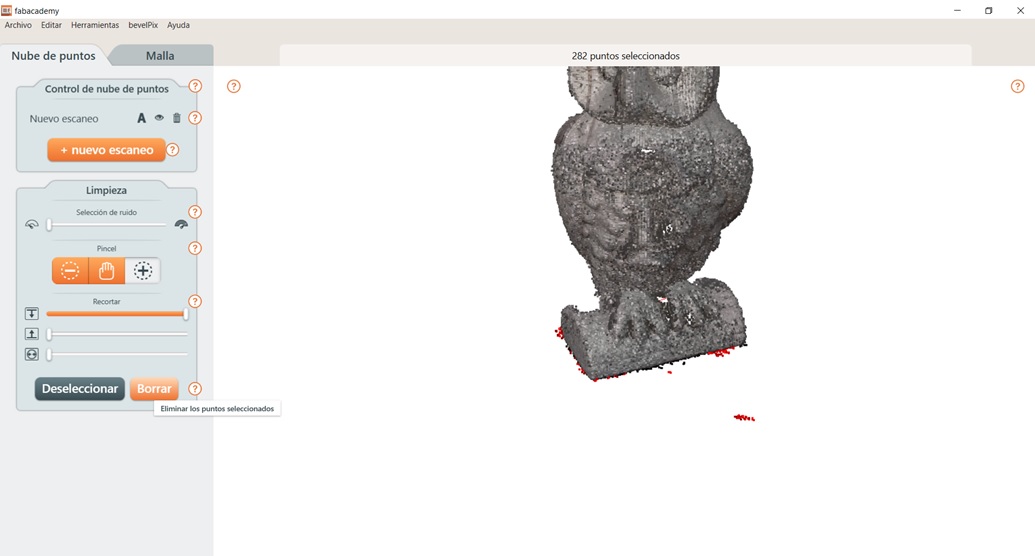
- After removing unnecessary points from the final product, we proceed to create the mesh of the 3D object.
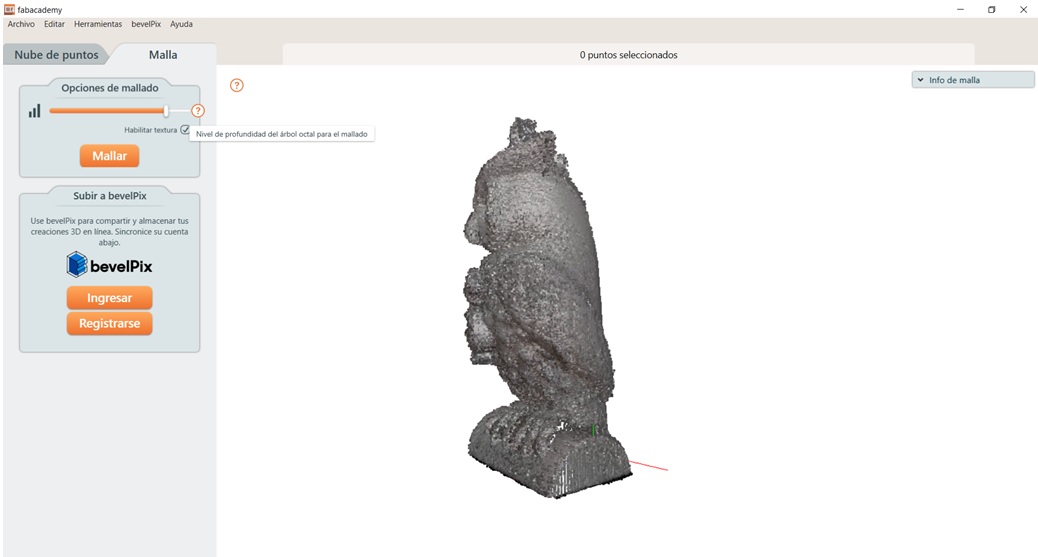
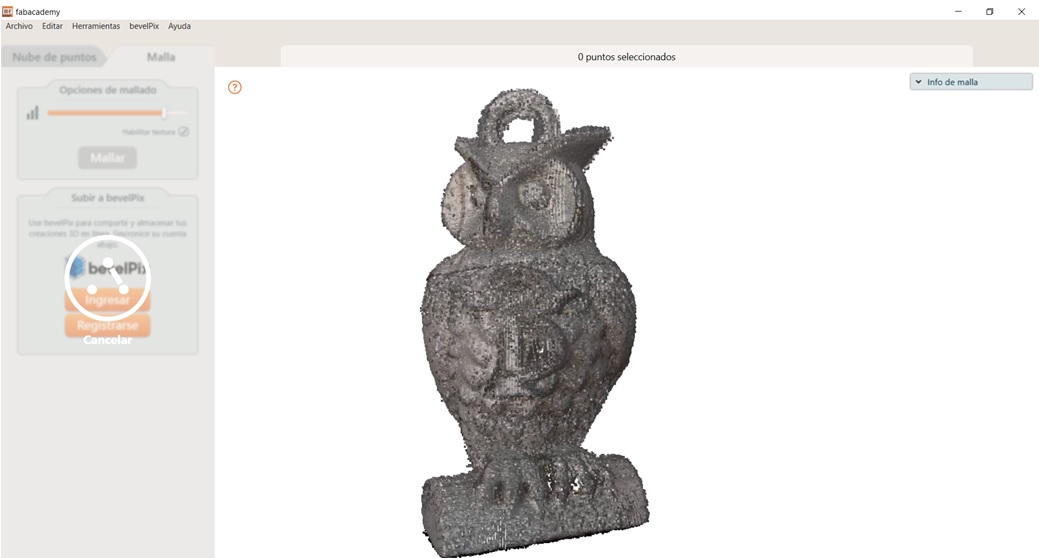
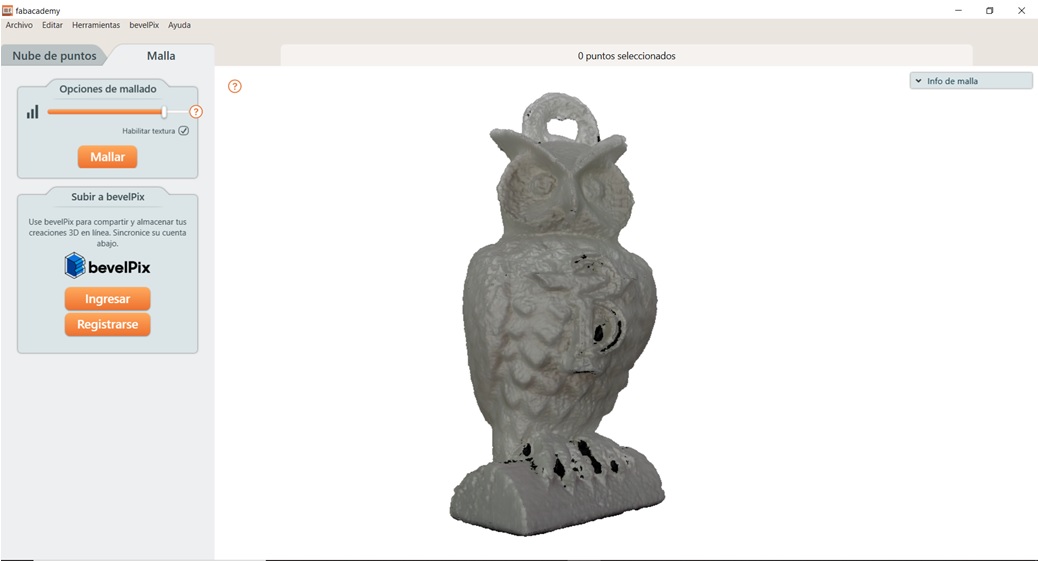
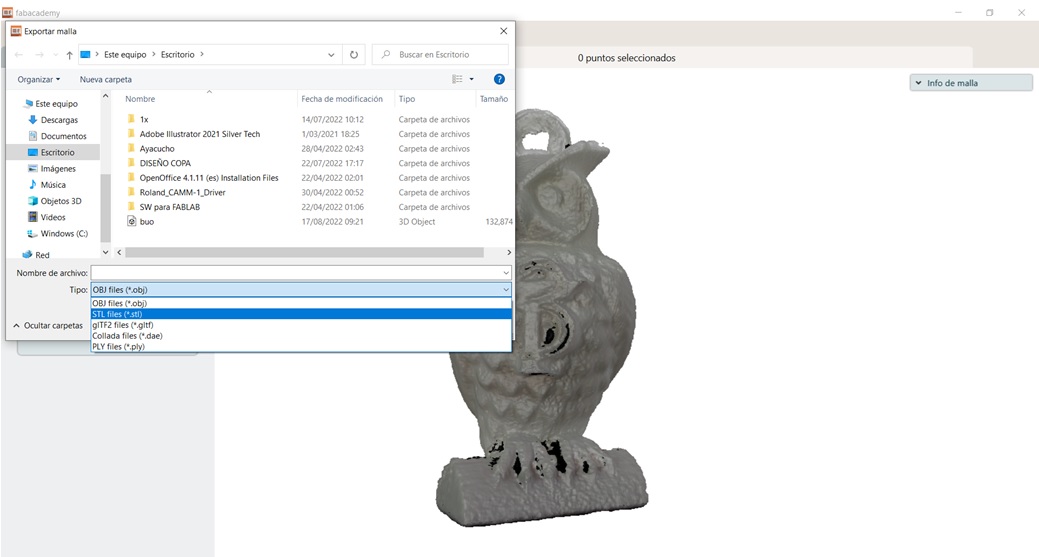
- After mesh processing, we proceed to save the file in an STL extension, to edit it if necessary with a 3D design program of our choice.
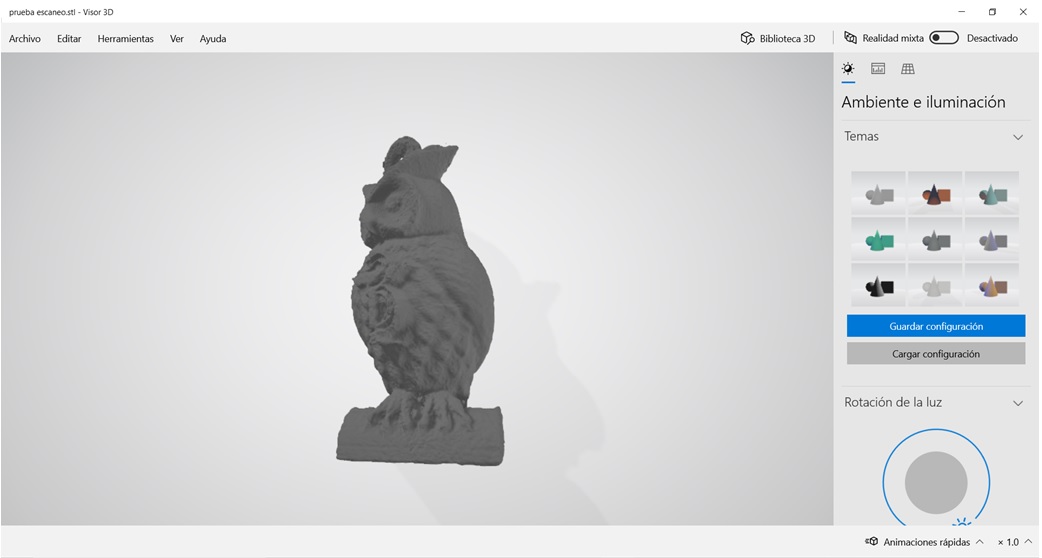
- Finally a view of the finished product in 3D is shown.
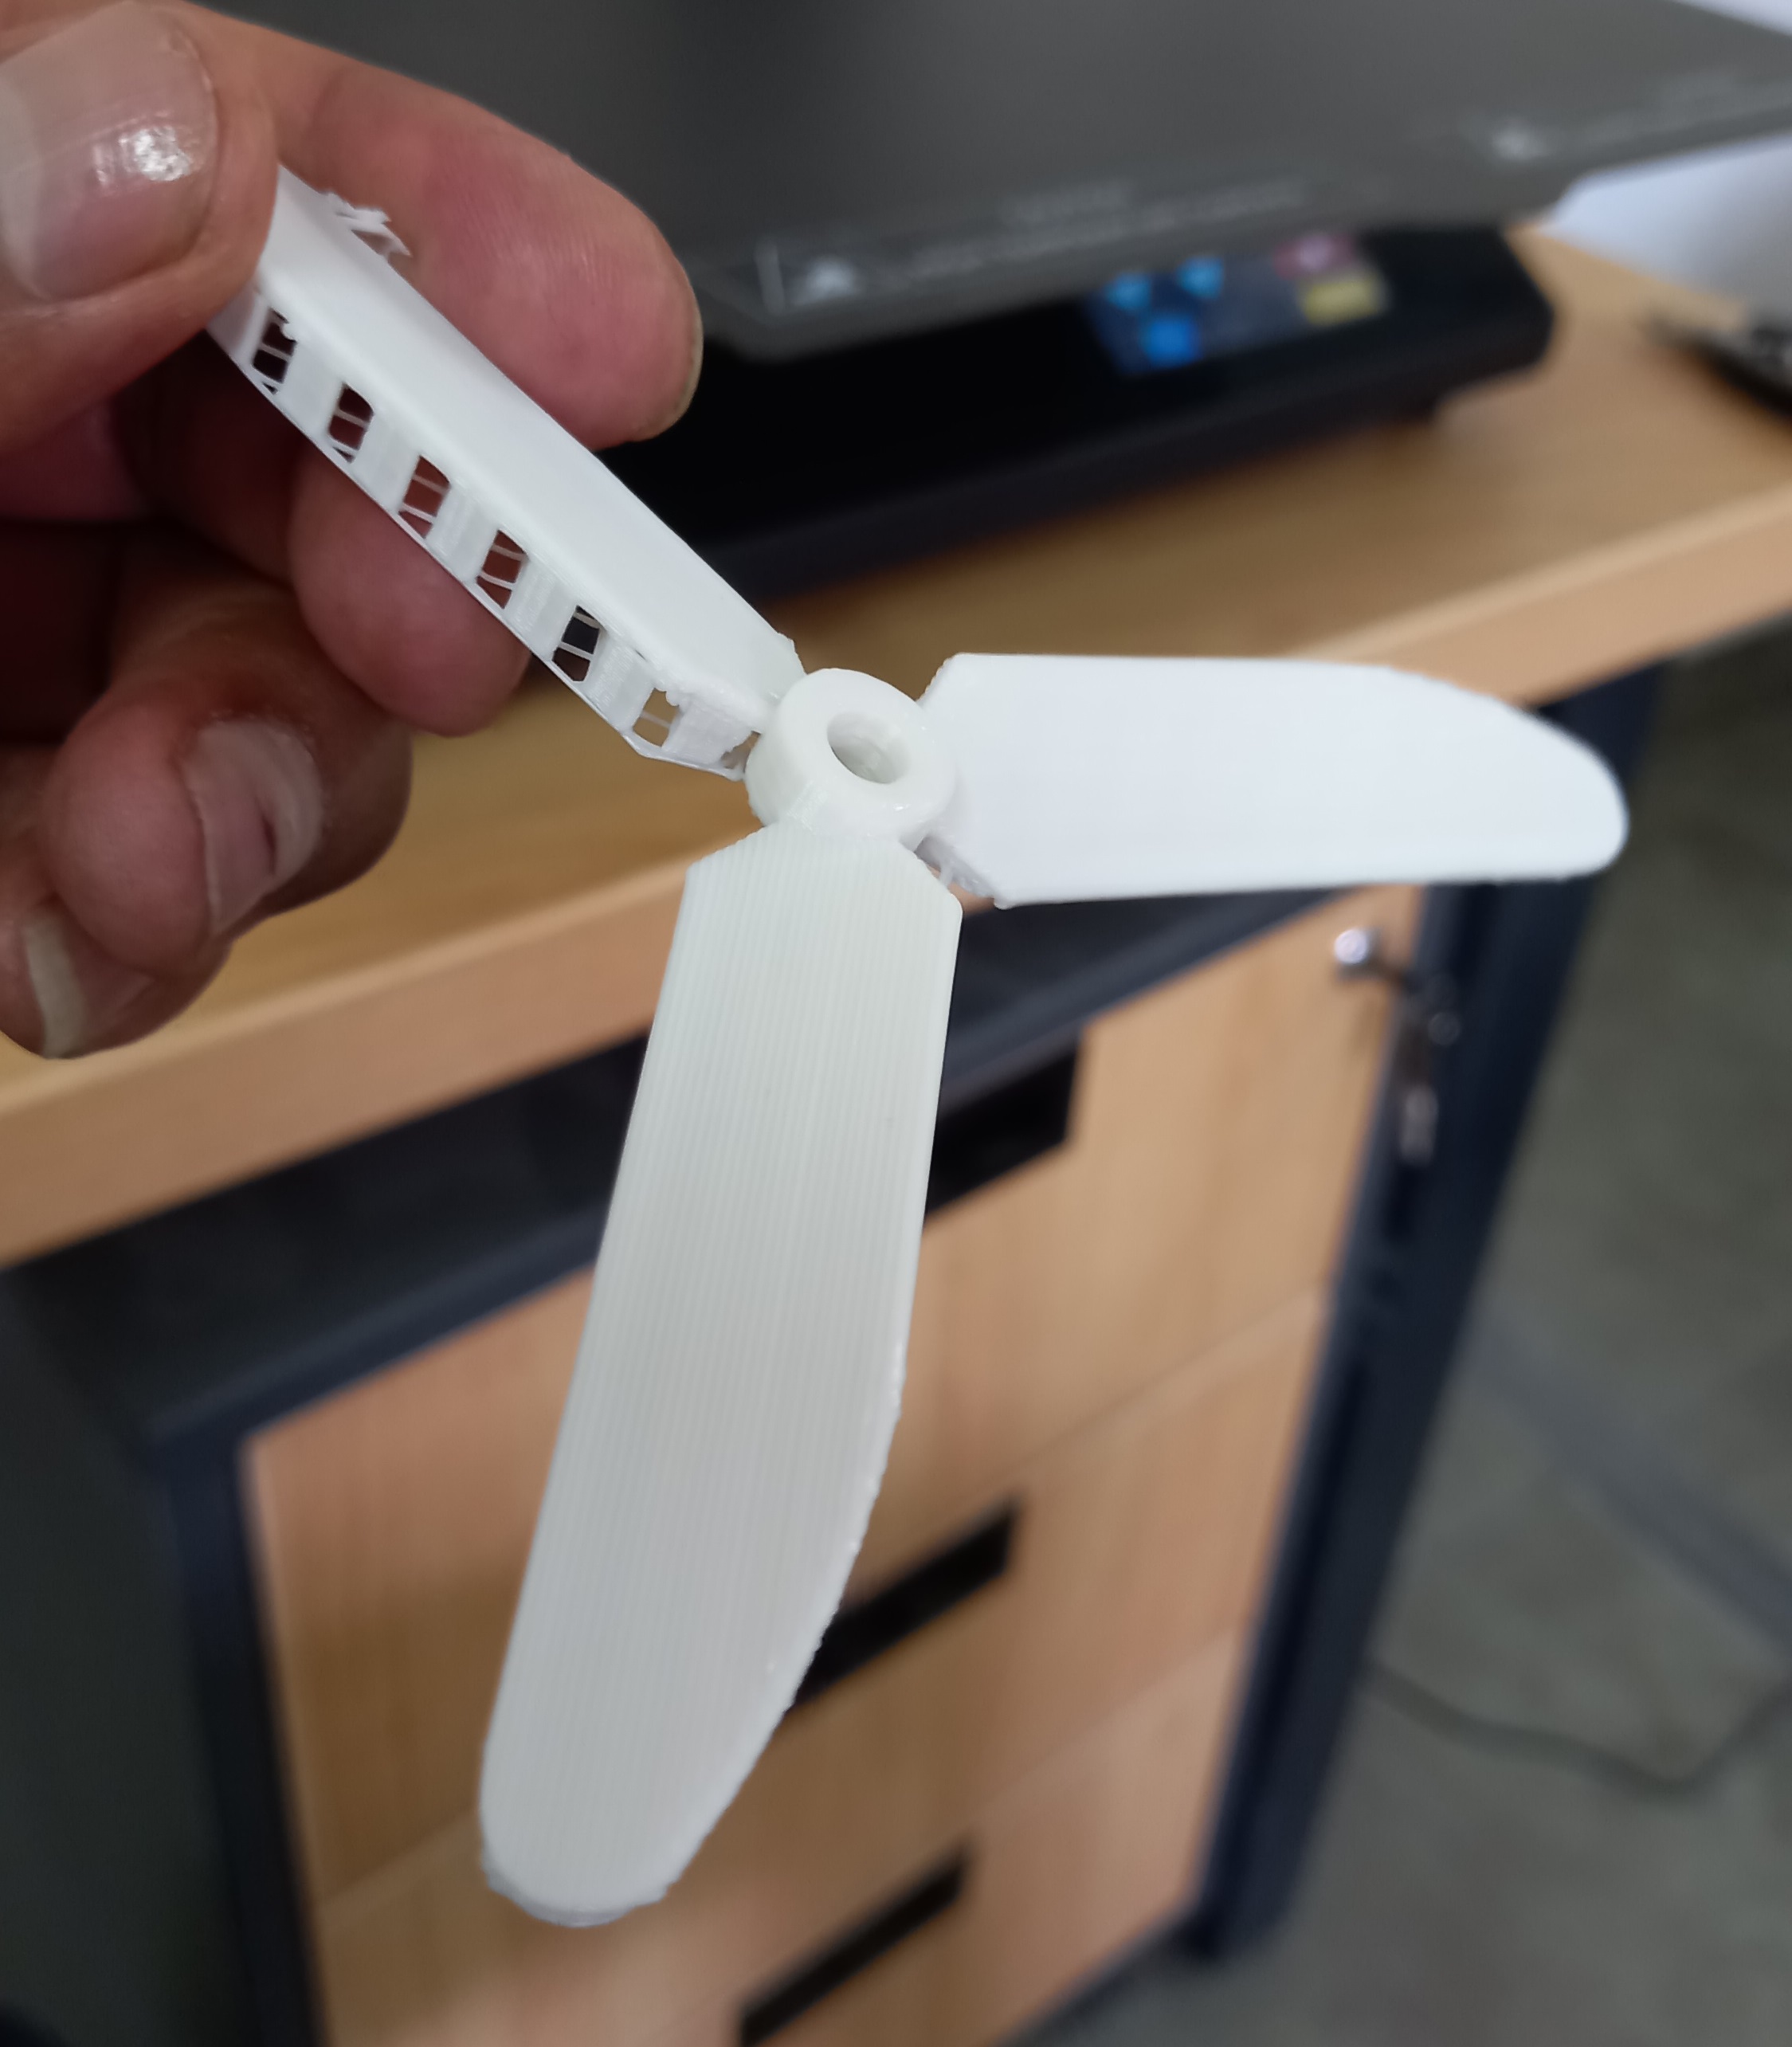
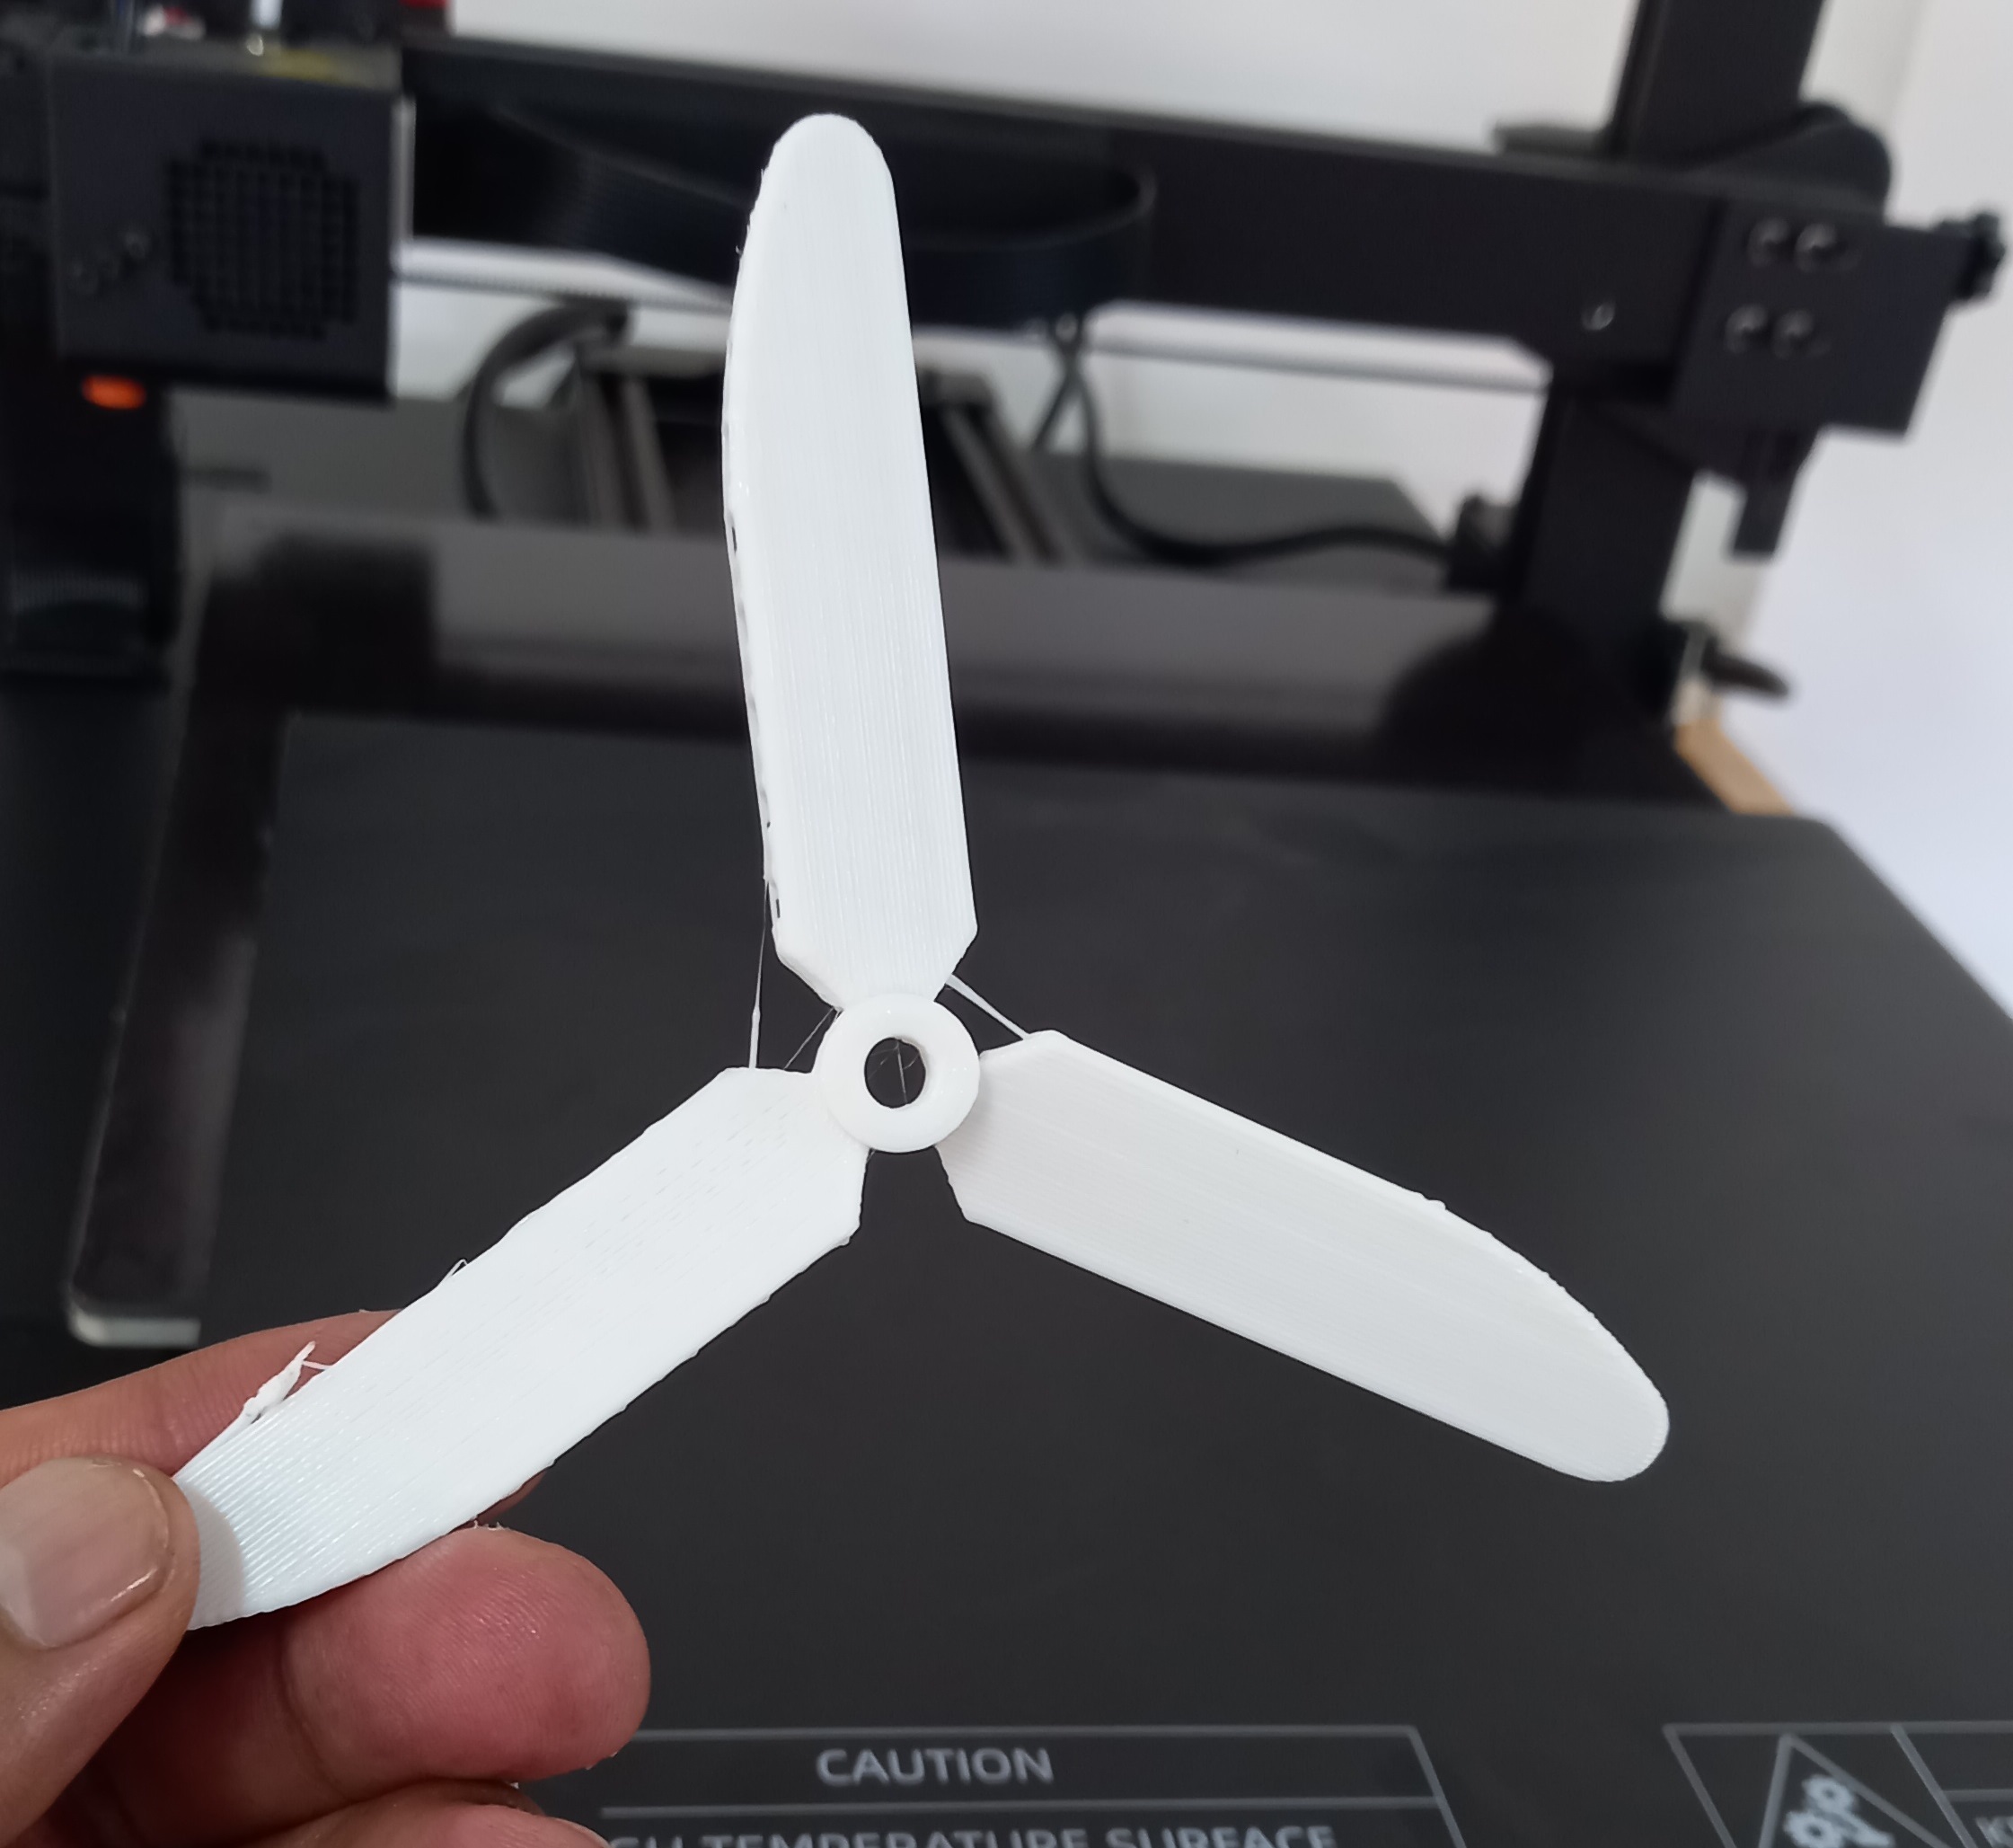
3d Print
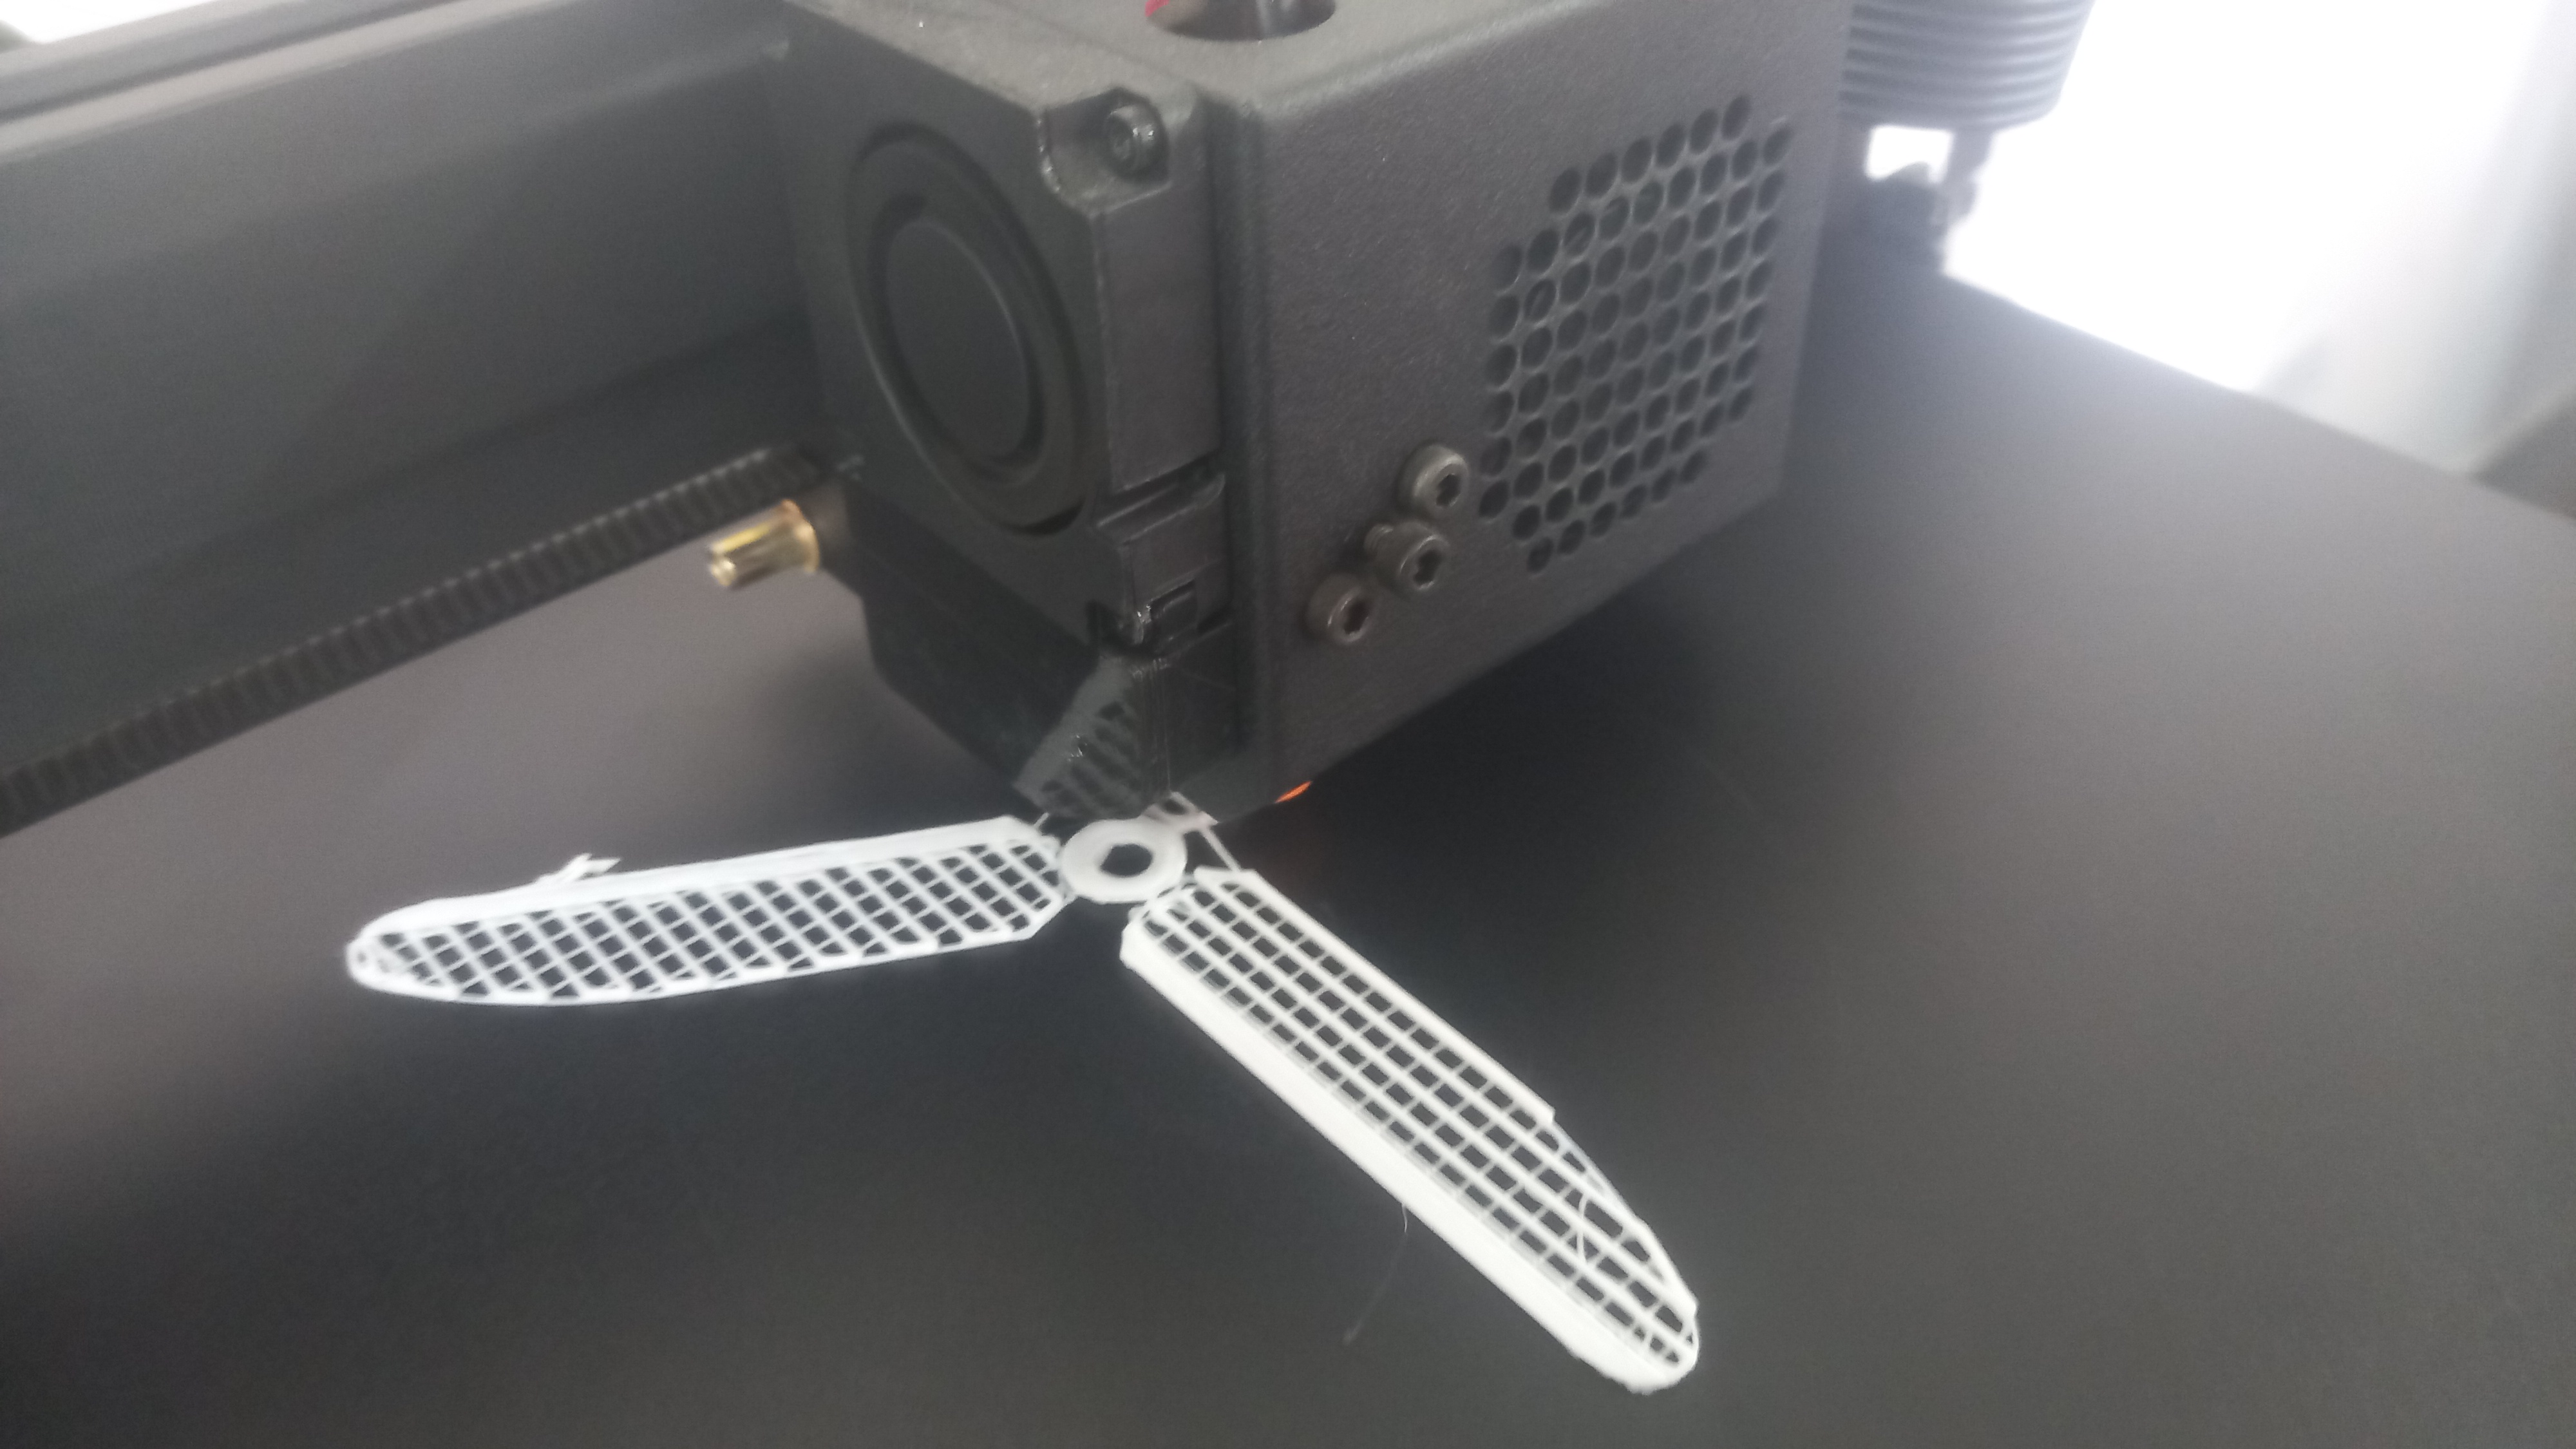
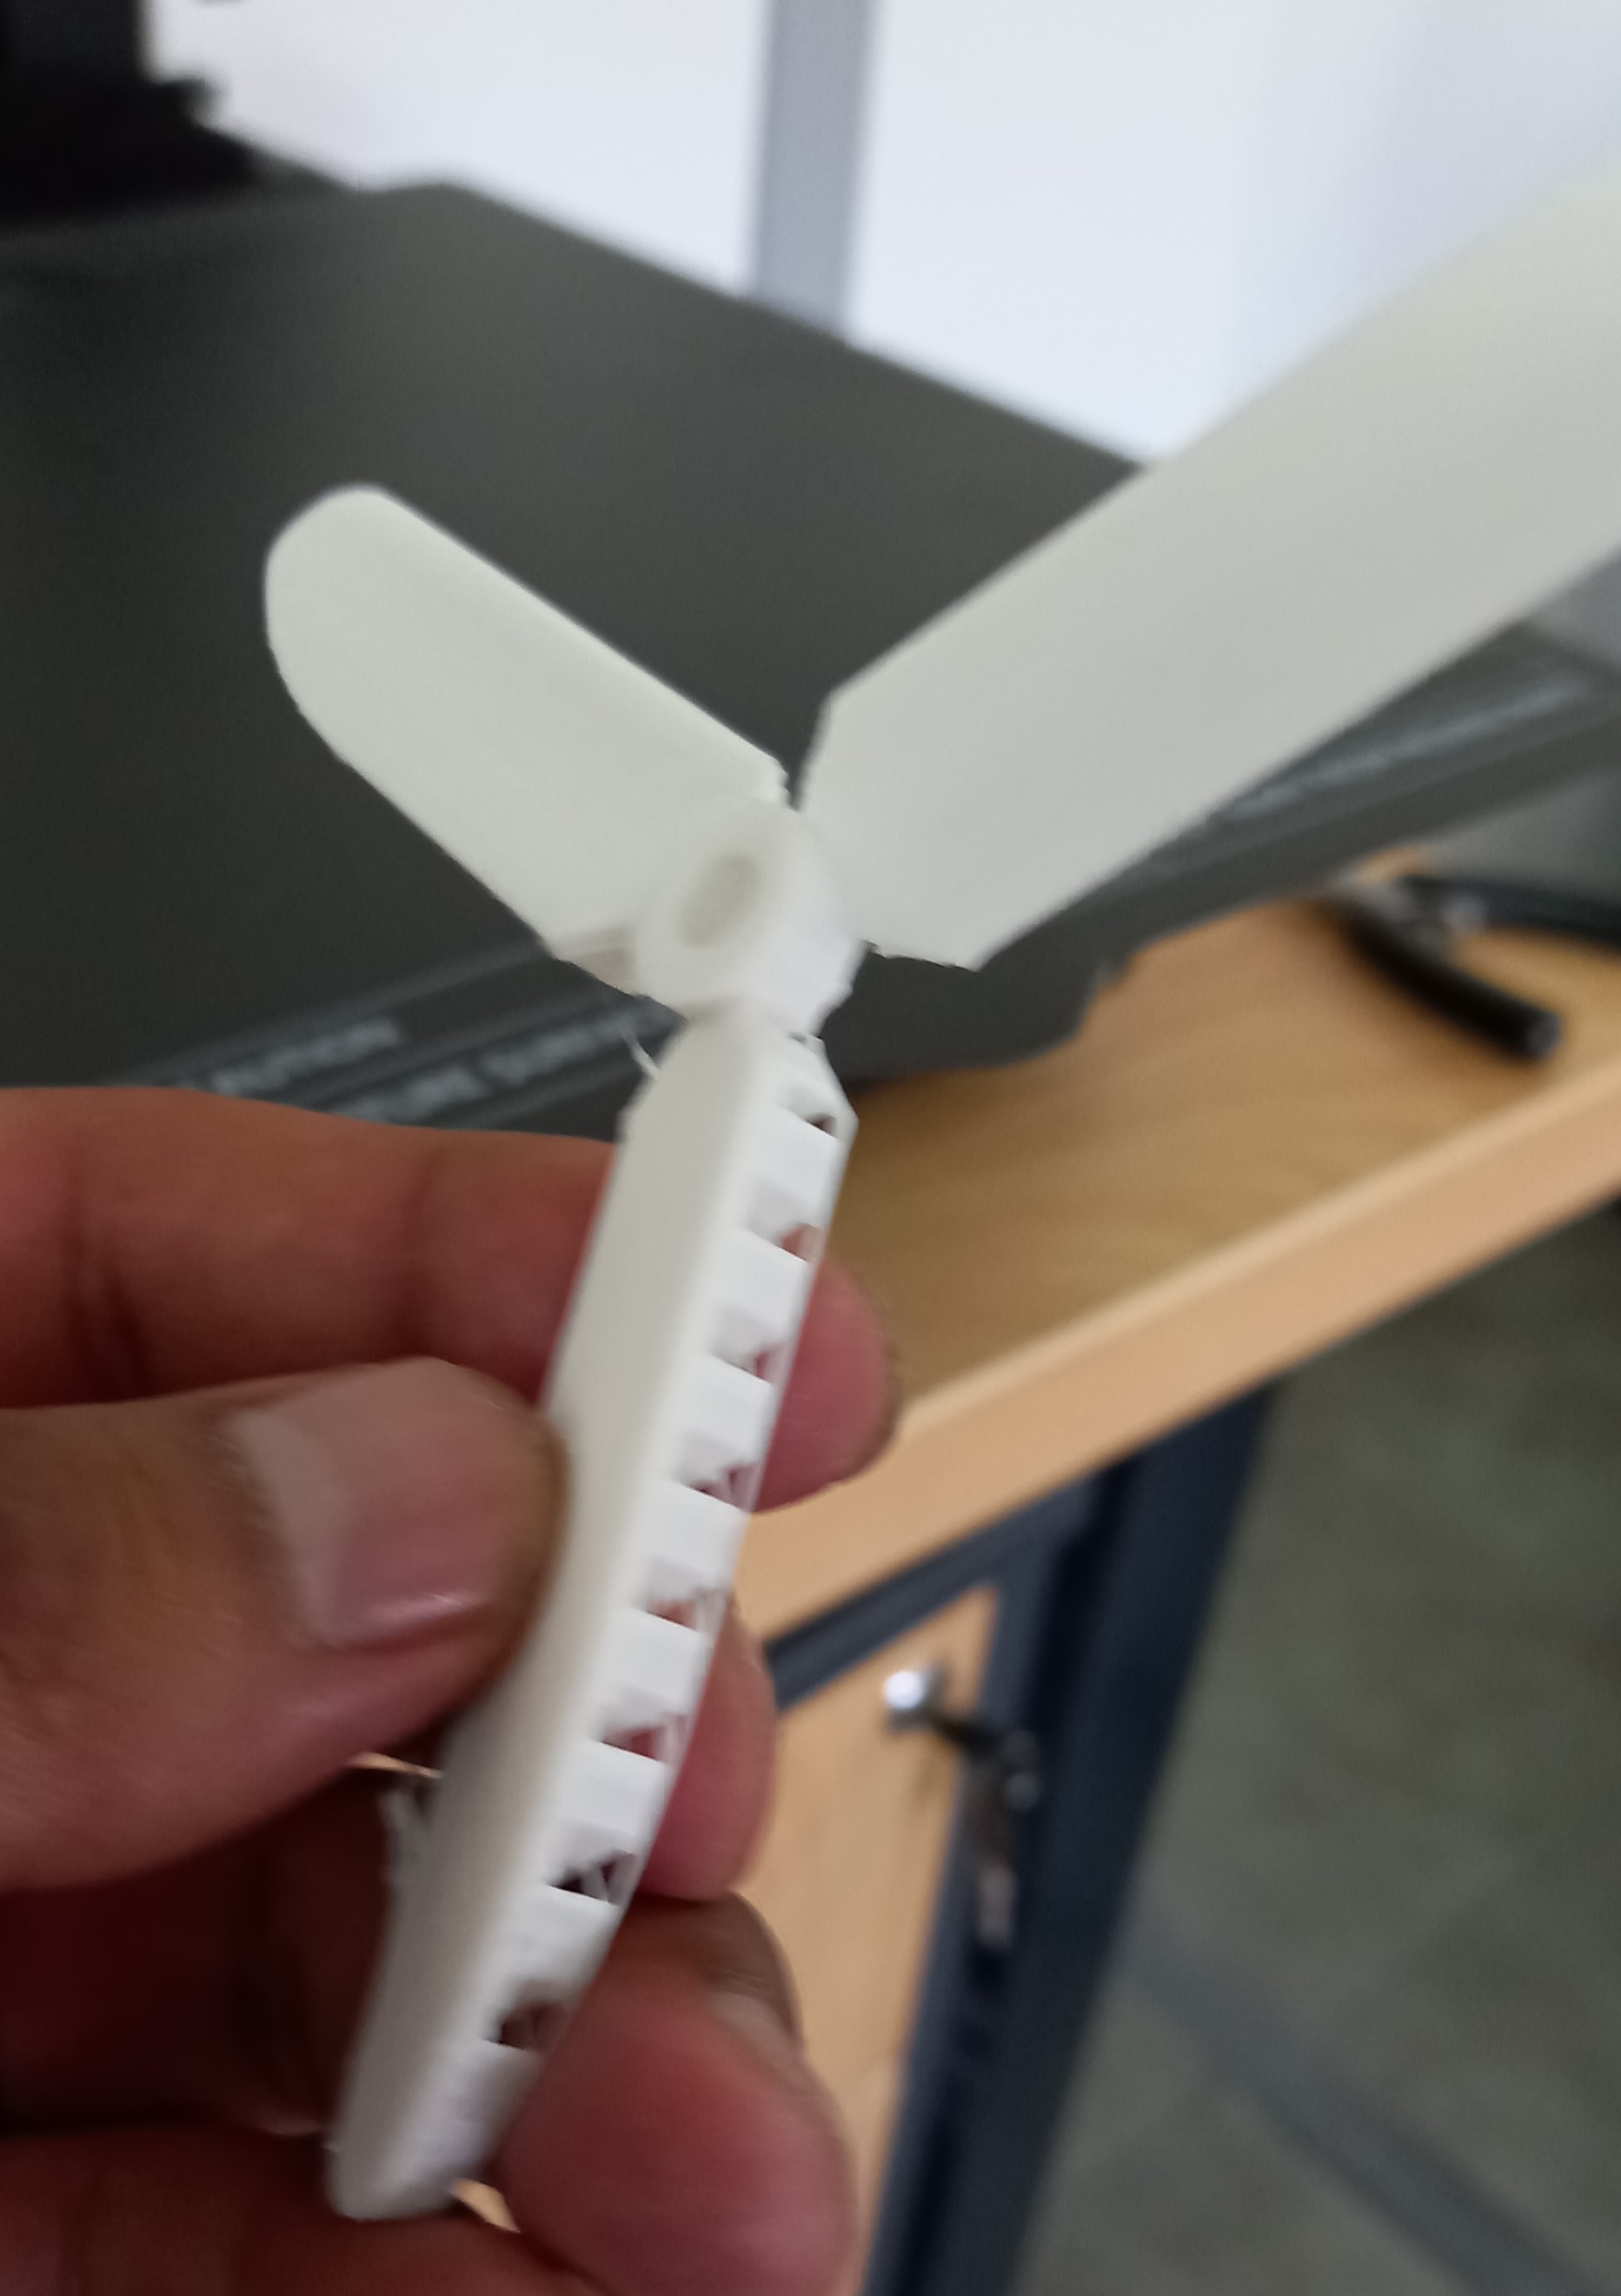
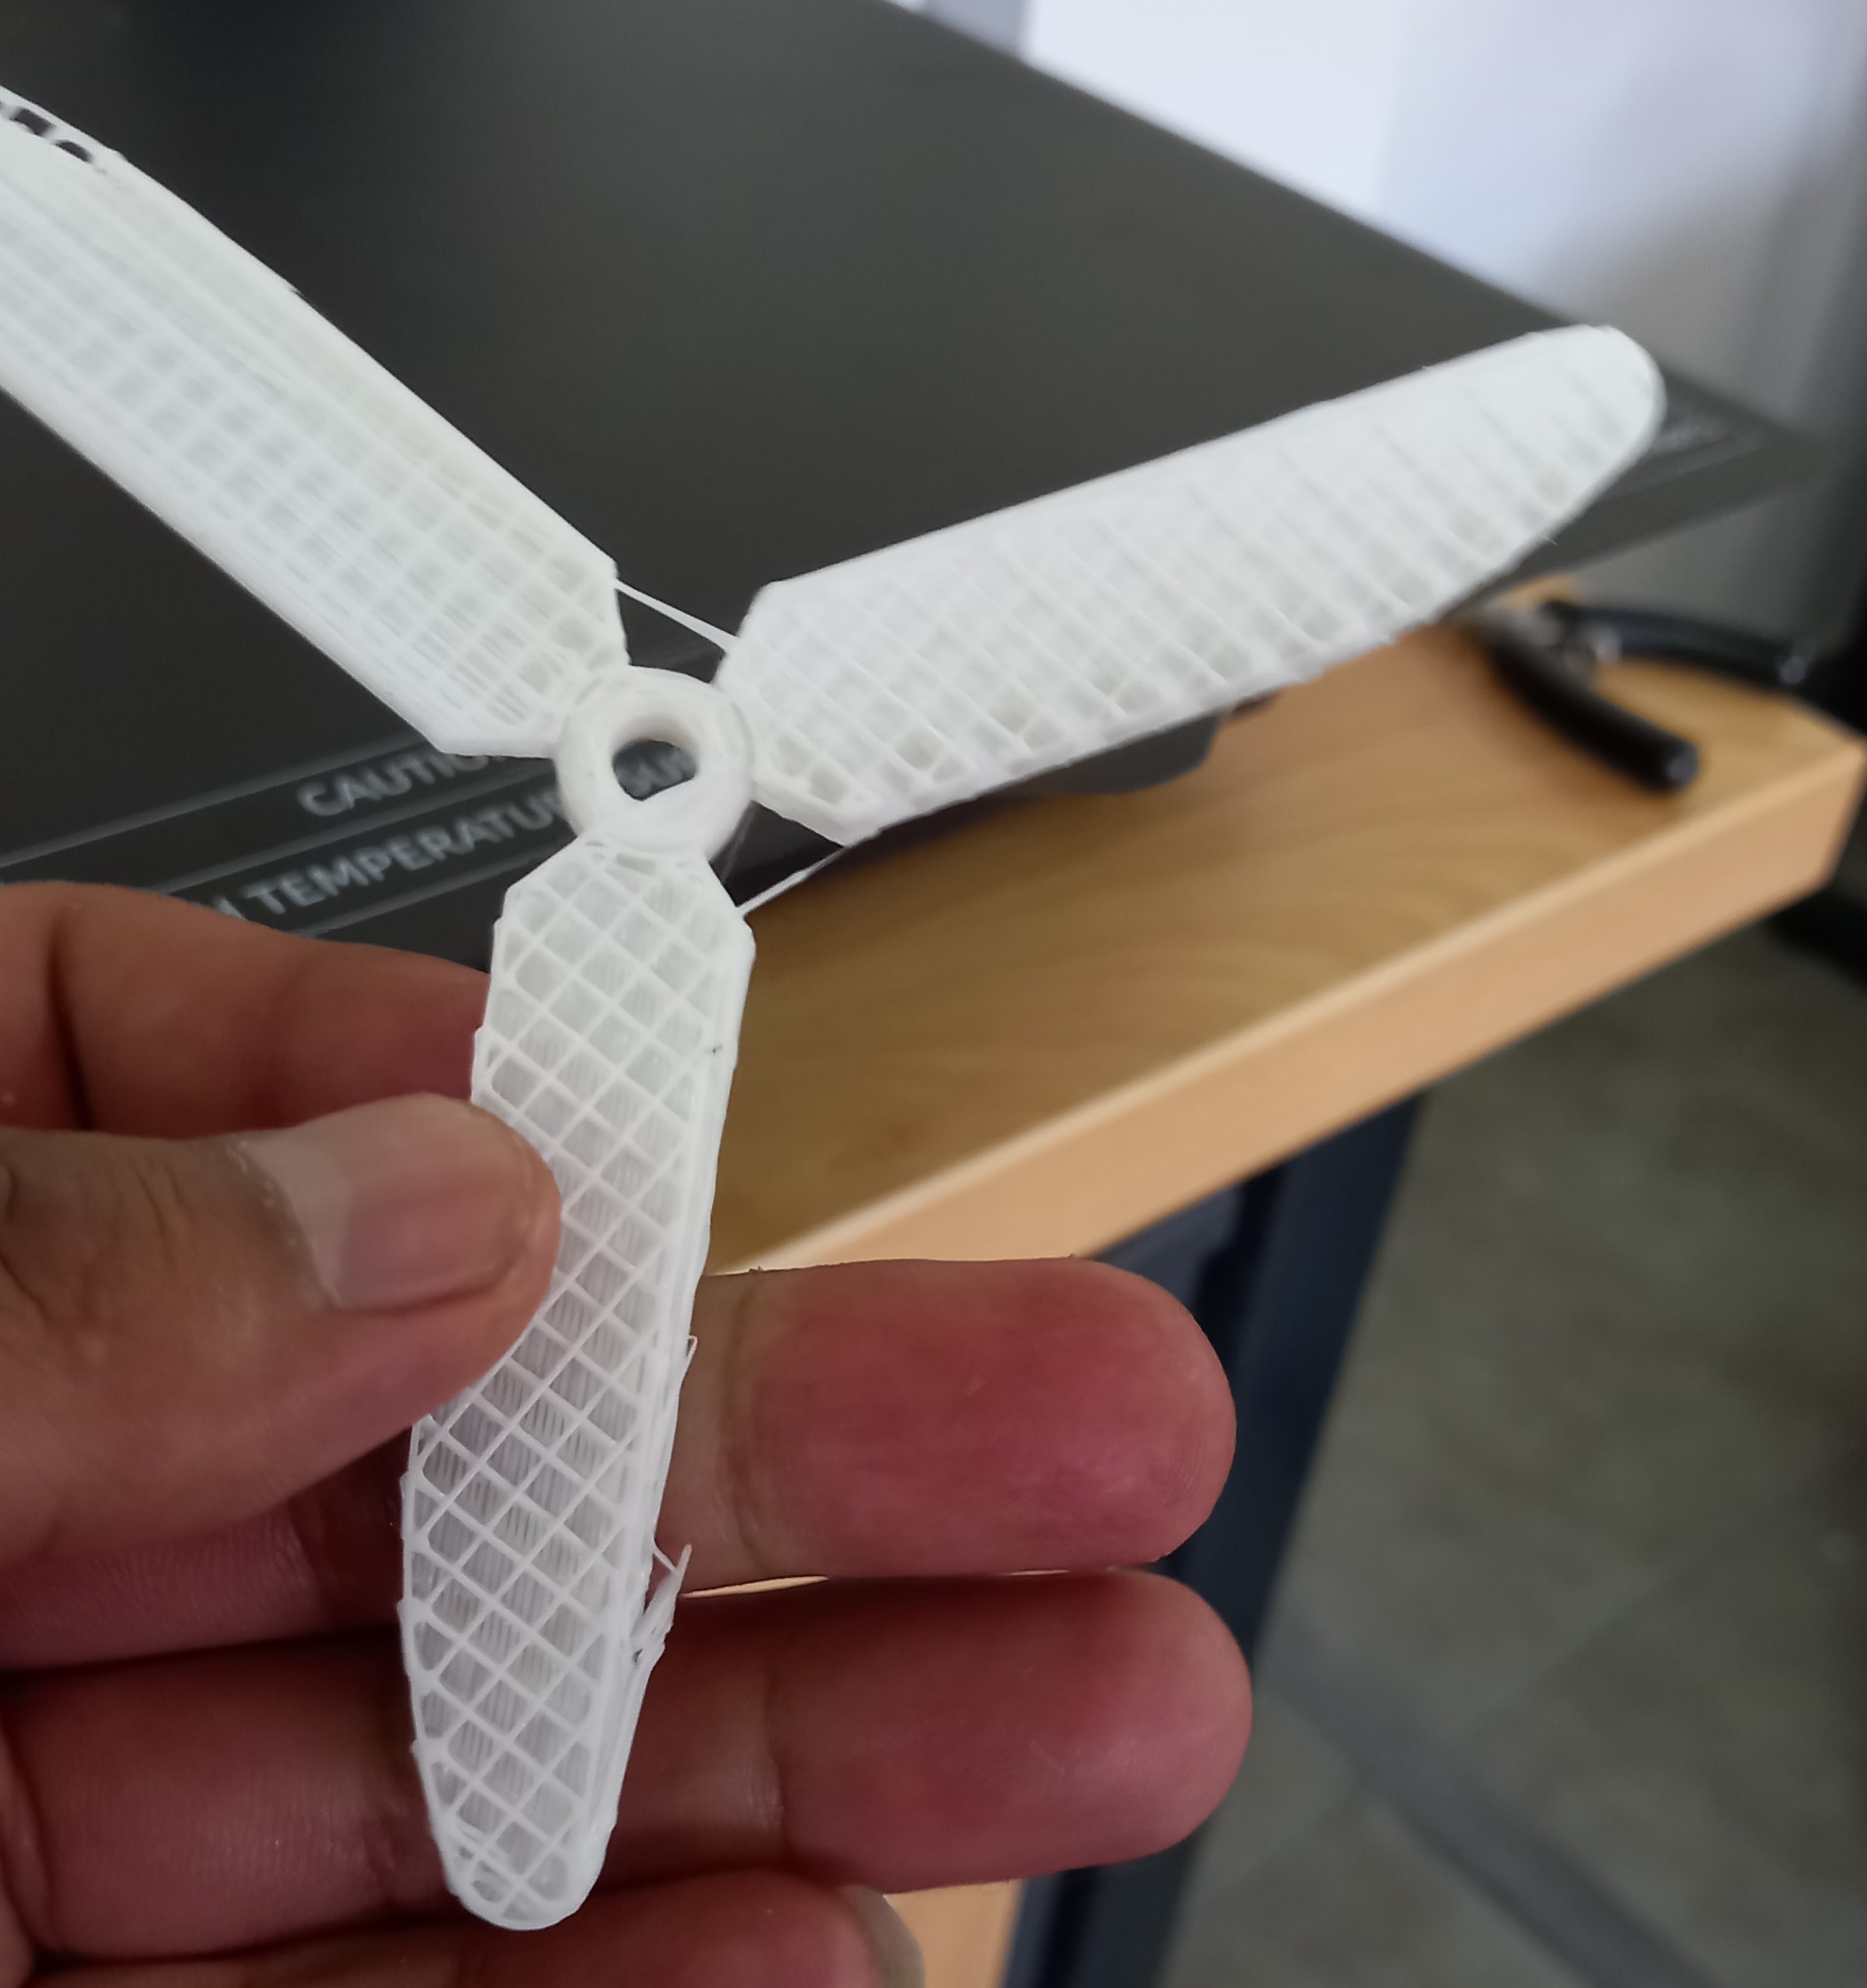
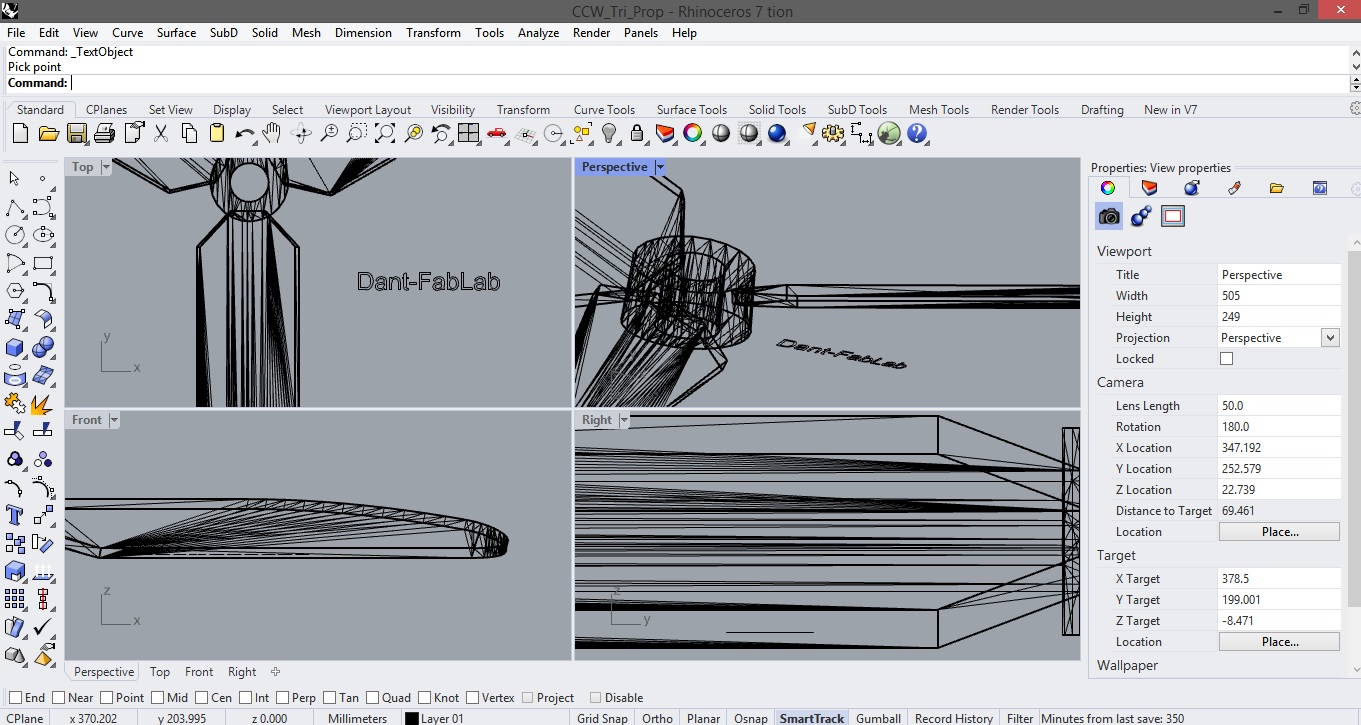
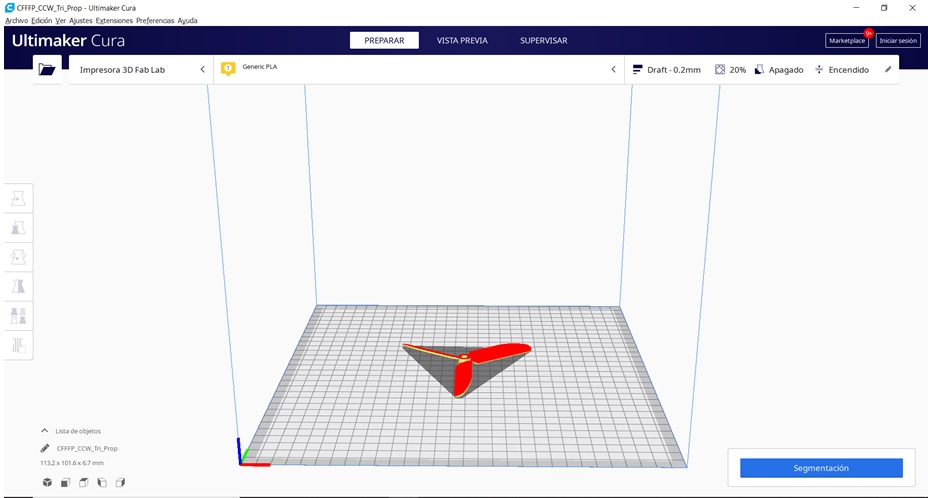
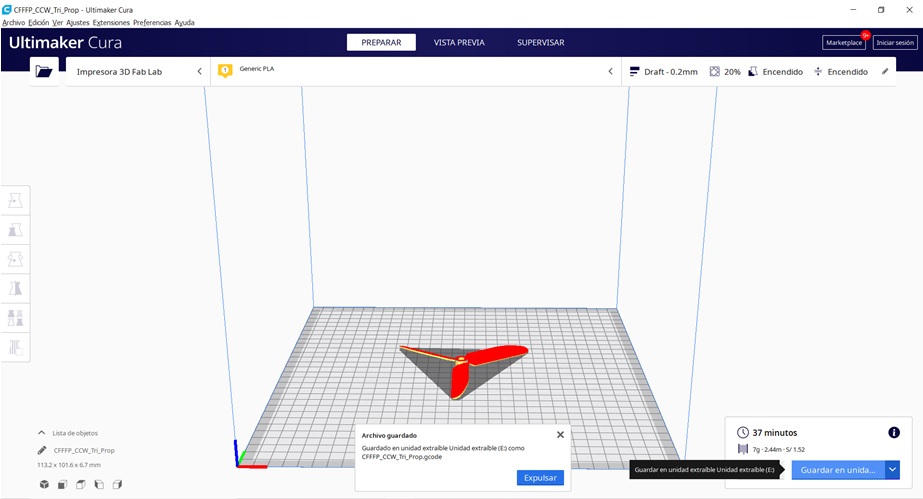
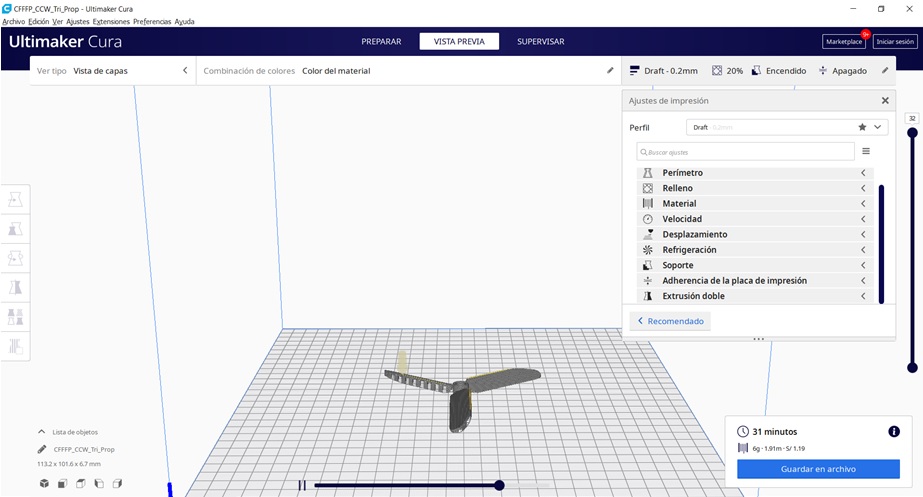
For the printing of our 3D object, a propeller shape was designed taking into account the final project of the present assignments, the Rhino program was used for the design and the Cura Ultimaker program for the printing of our test object, where the following actions.
Sequence:
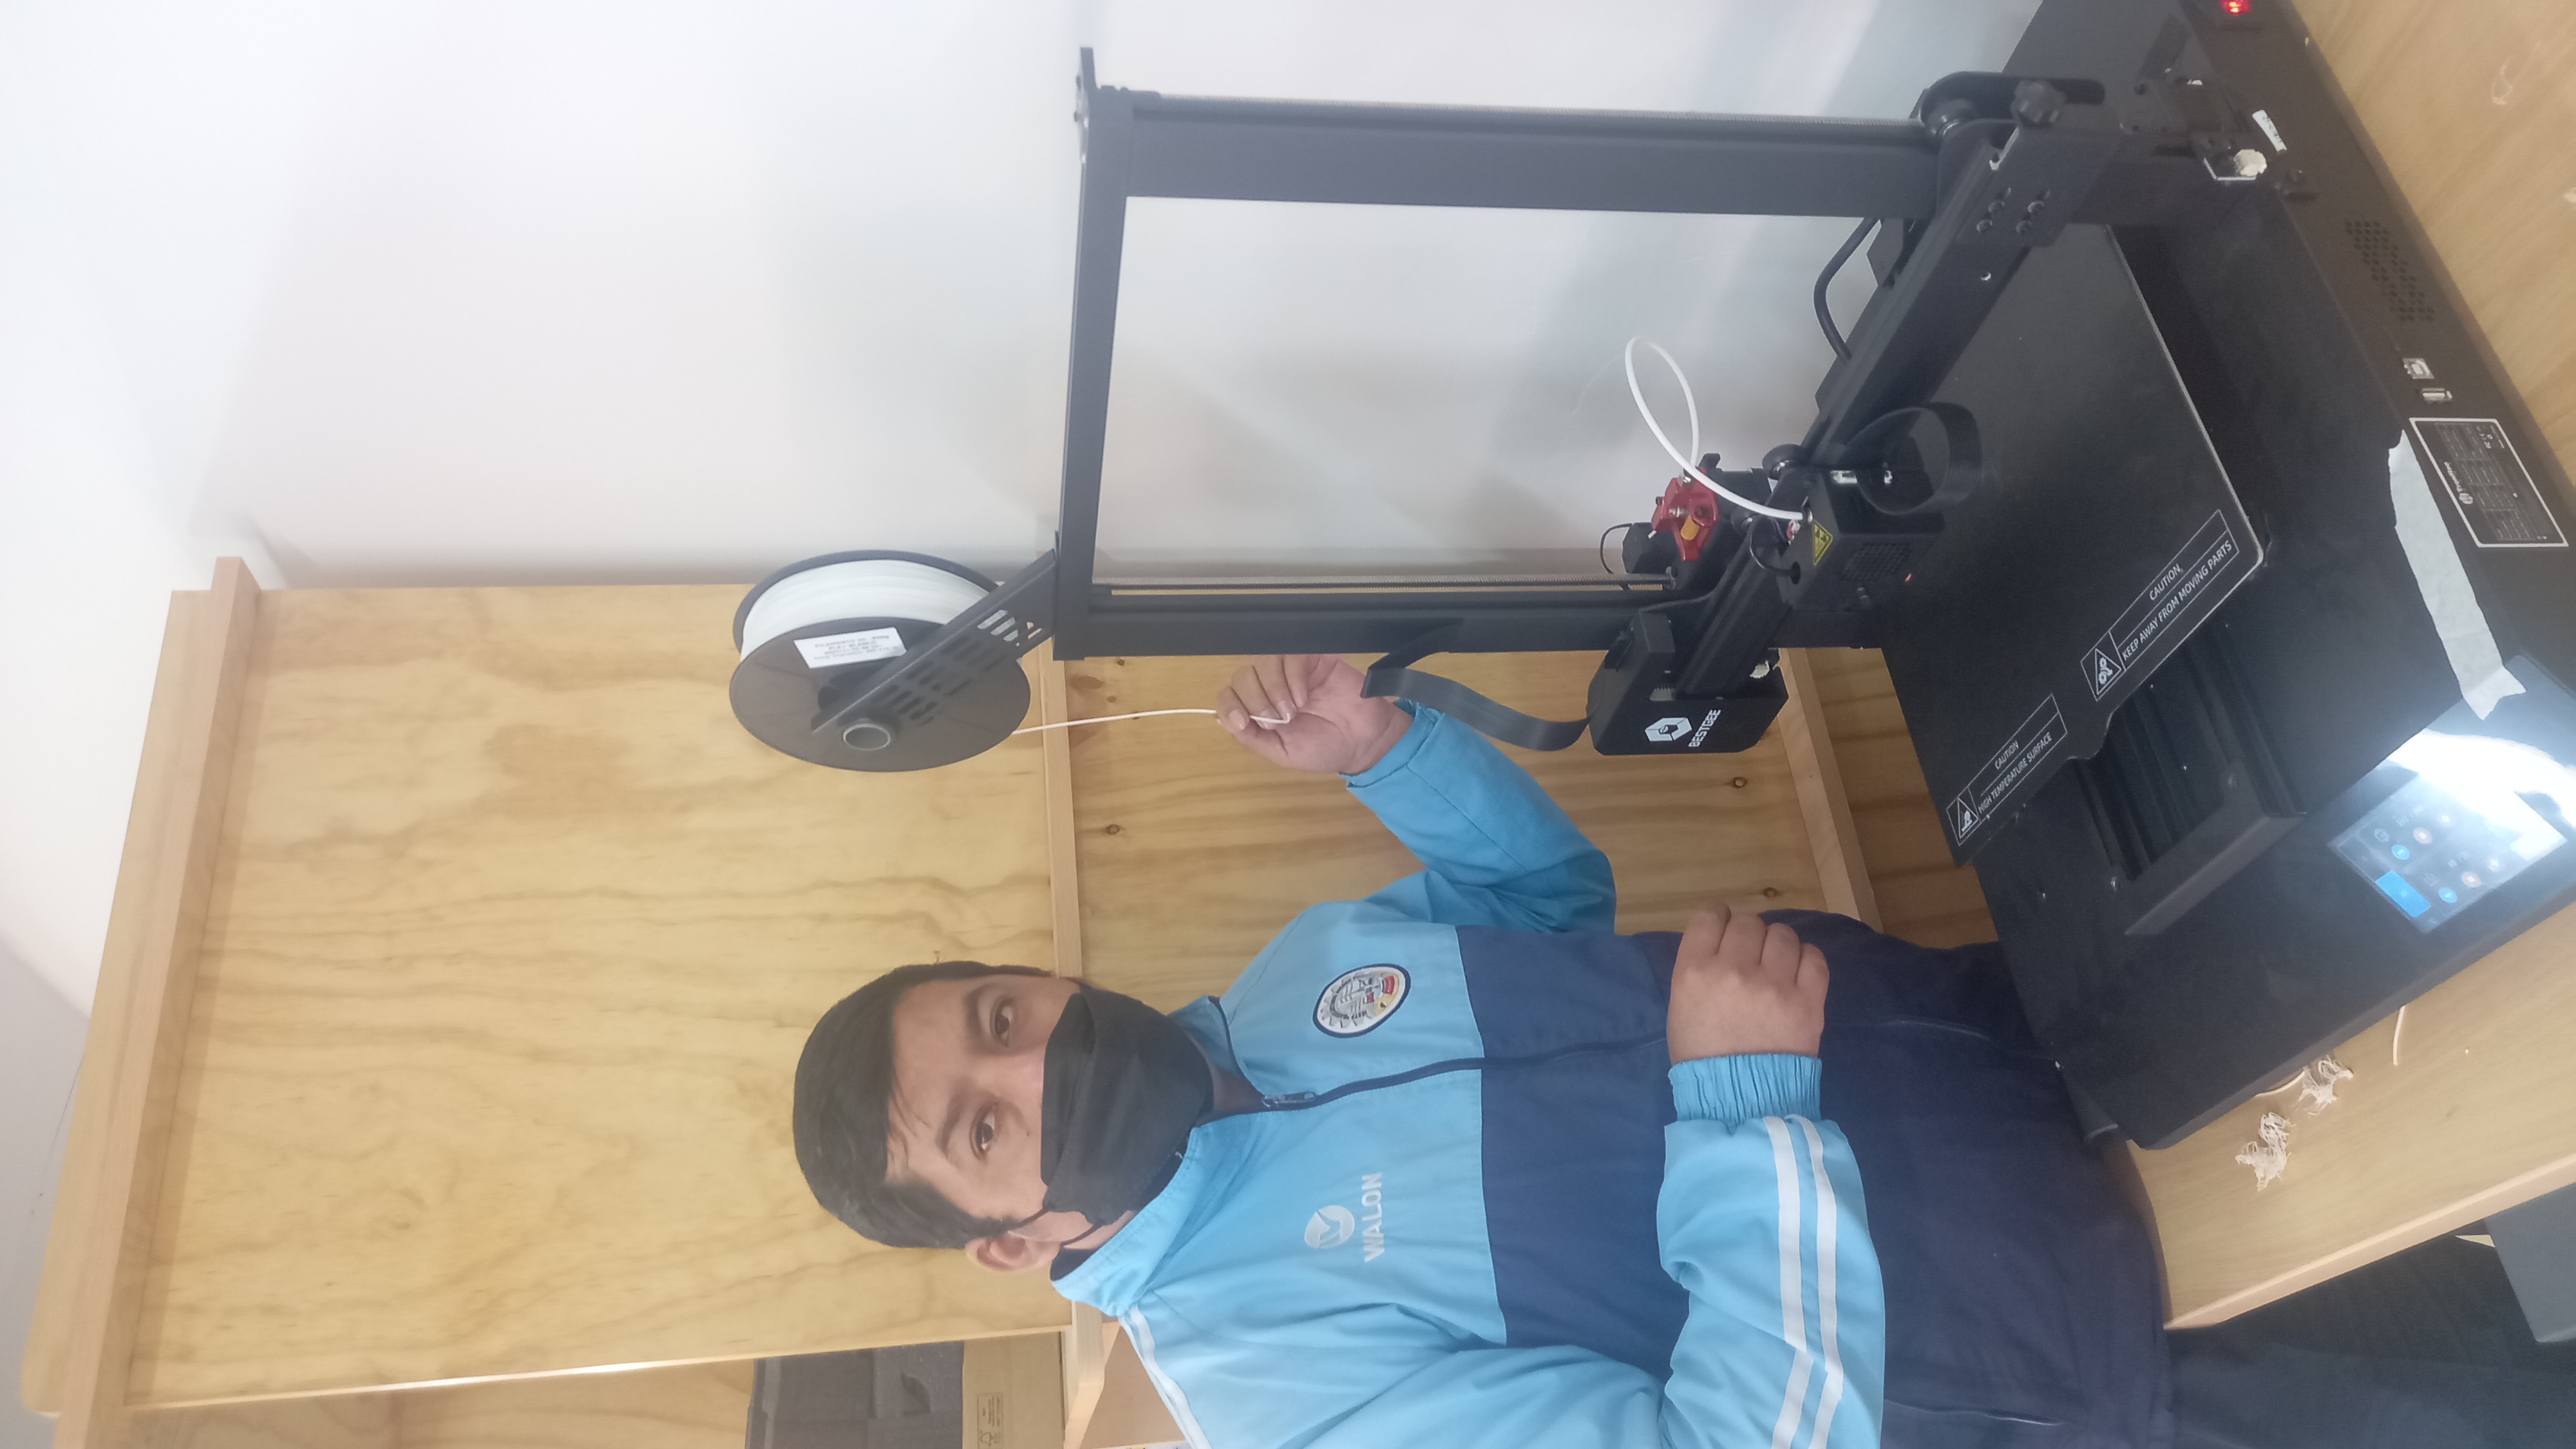
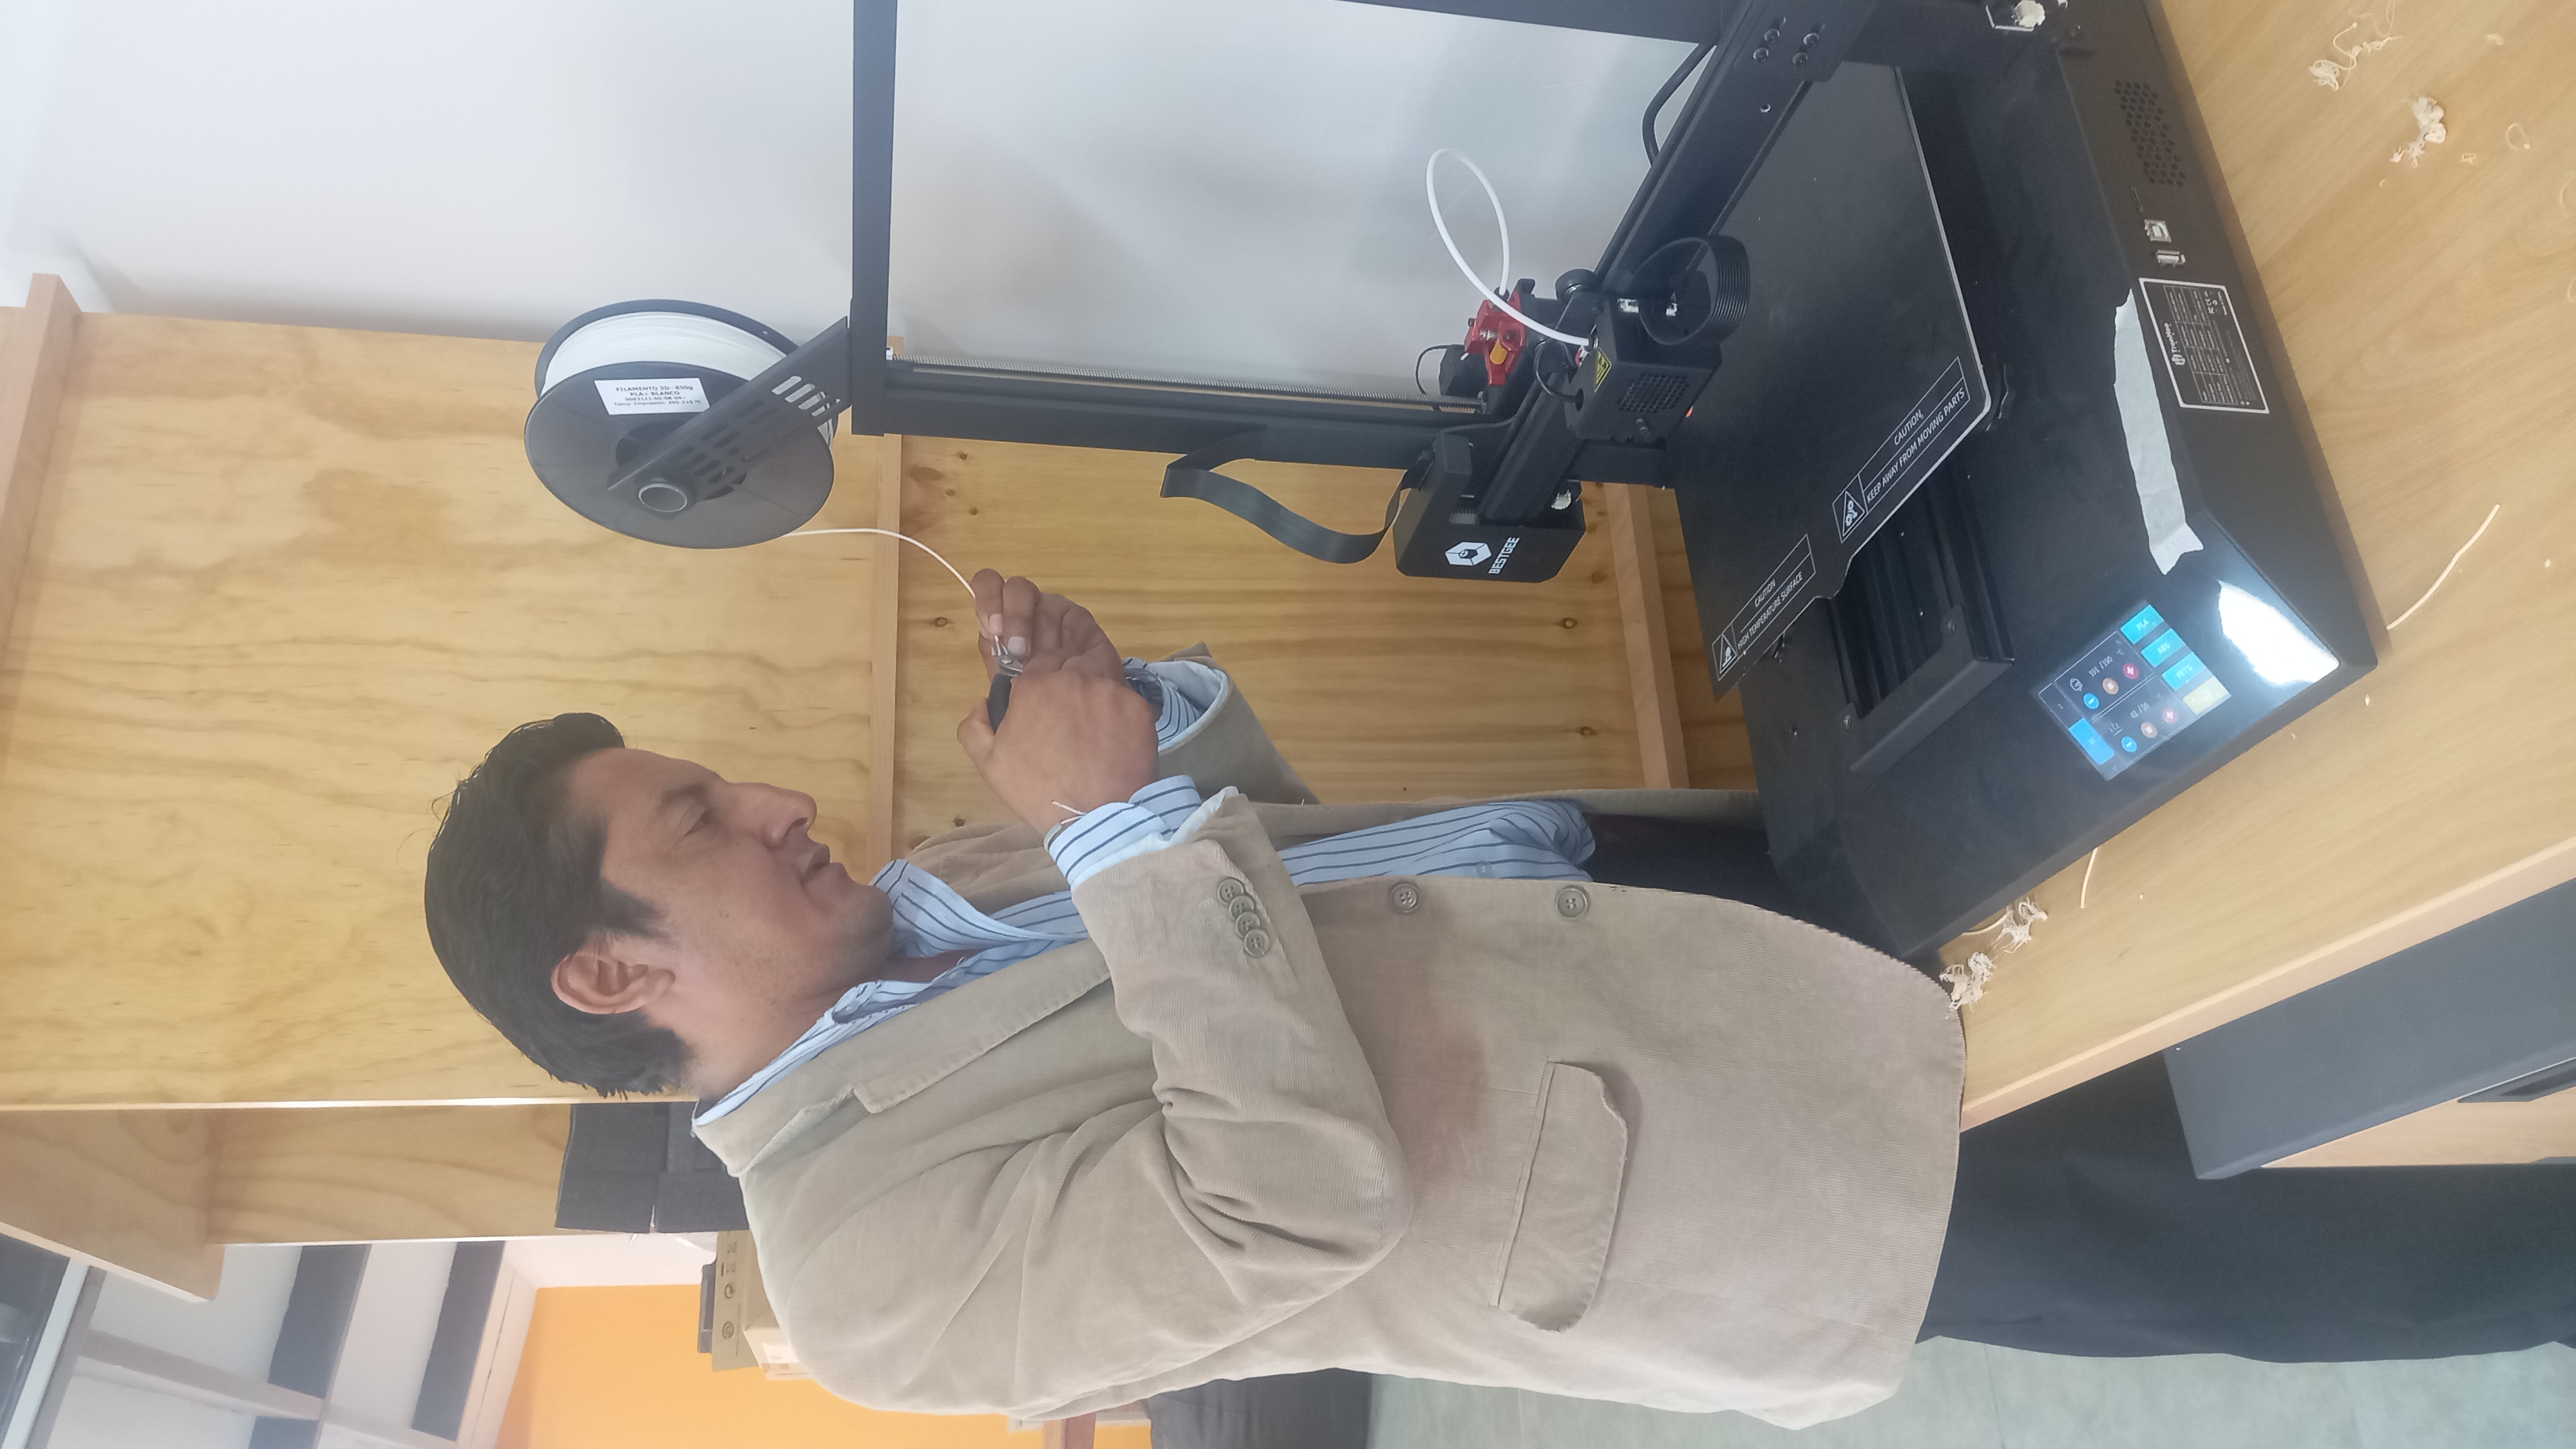
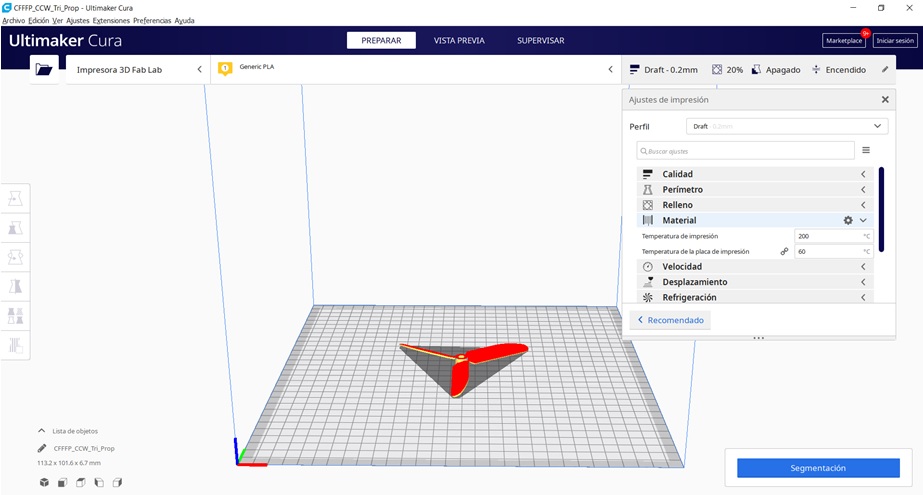
- Prepare the 3D printer by placing the PLA material (polylactic acid), likewise the equipment is configured so that the print head and the heated bed have the temperature suggested in its user manual.
- Design in the Rhino program the measurements and specifications of a propeller for printing.
- Once the design is finished, we save the file with the STL extension, and then open it in the Cura Ultimaker program.
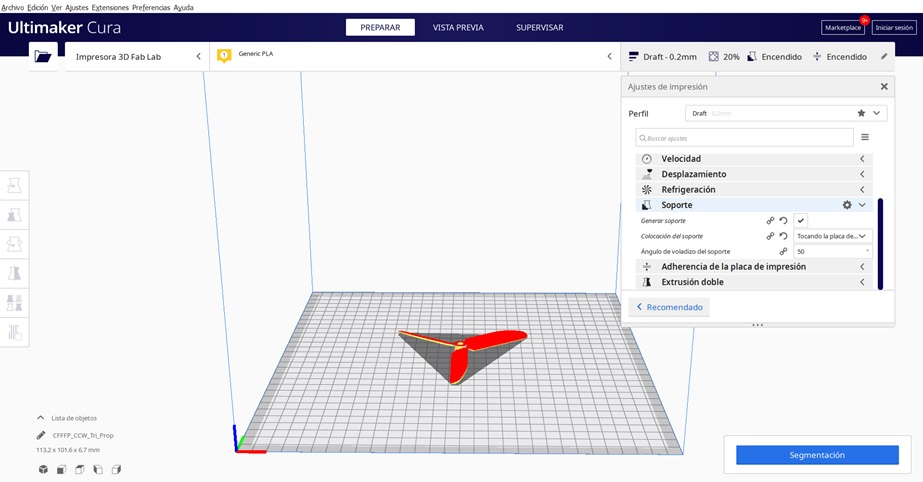
- The necessary padding options for printing are configured.

- The material options to be used in printing are configured.
- By having the shape of a propeller, a support was configured that allows the printing to have no stability problems.
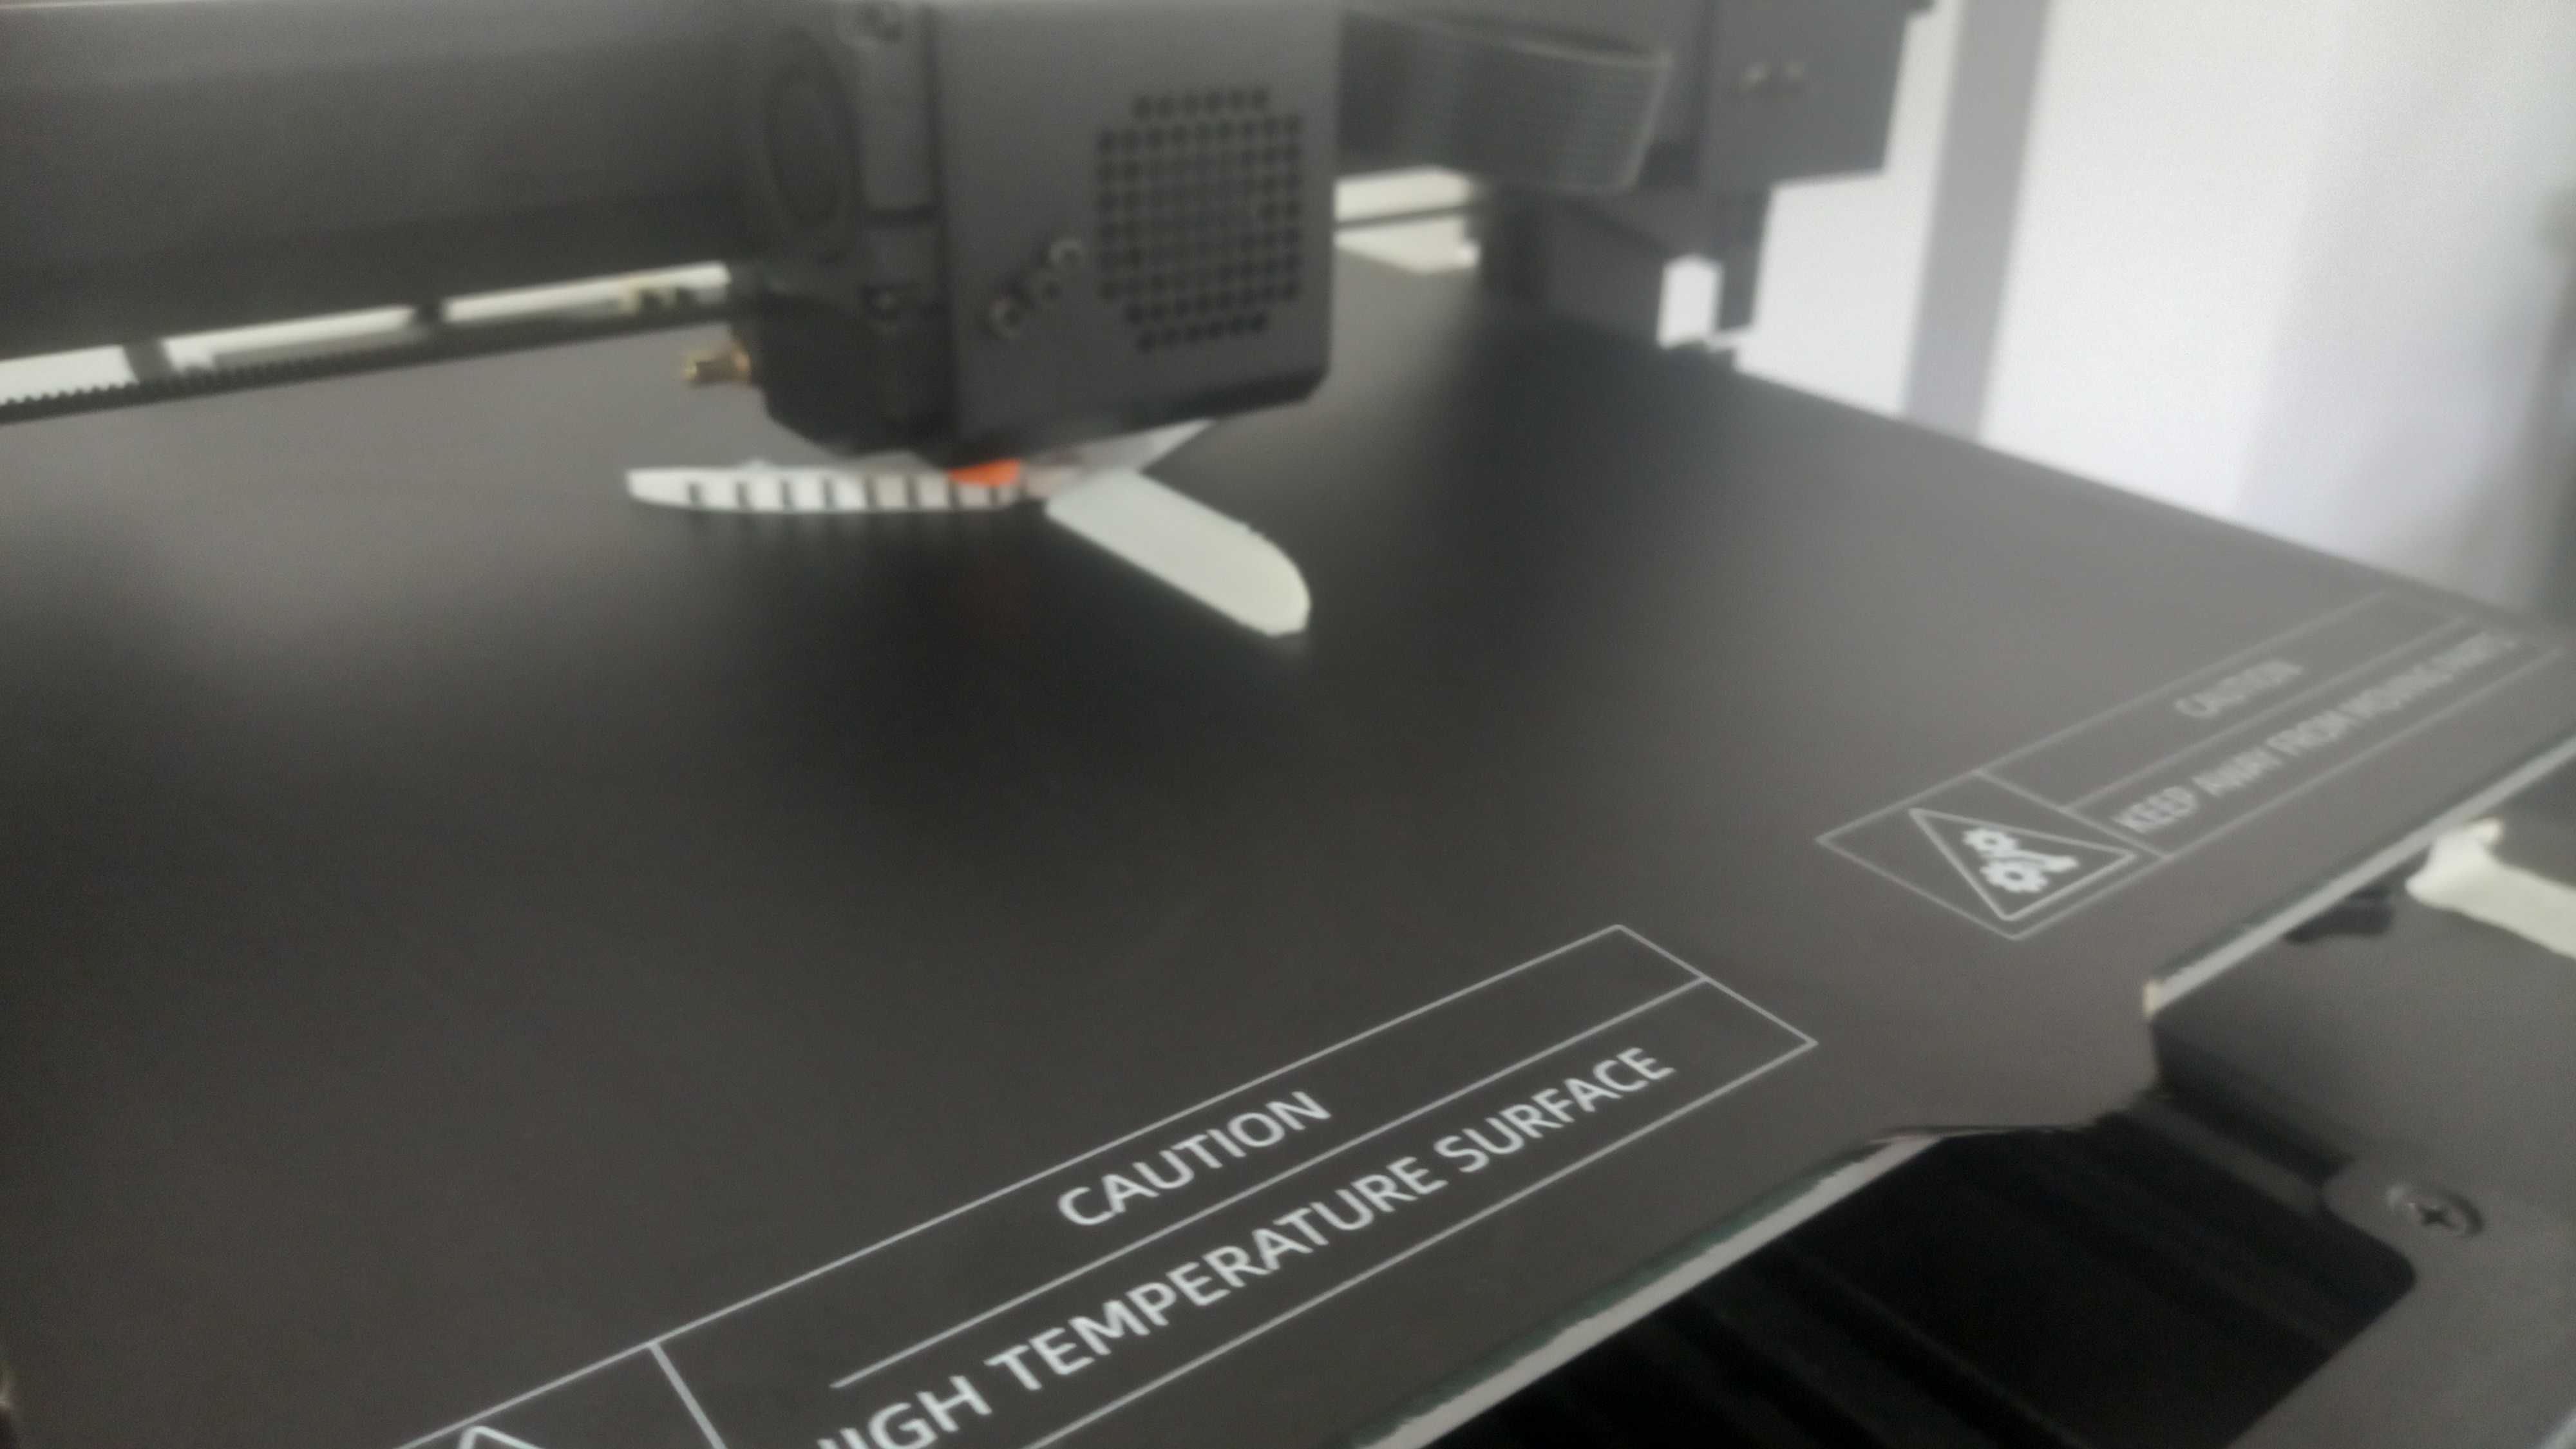
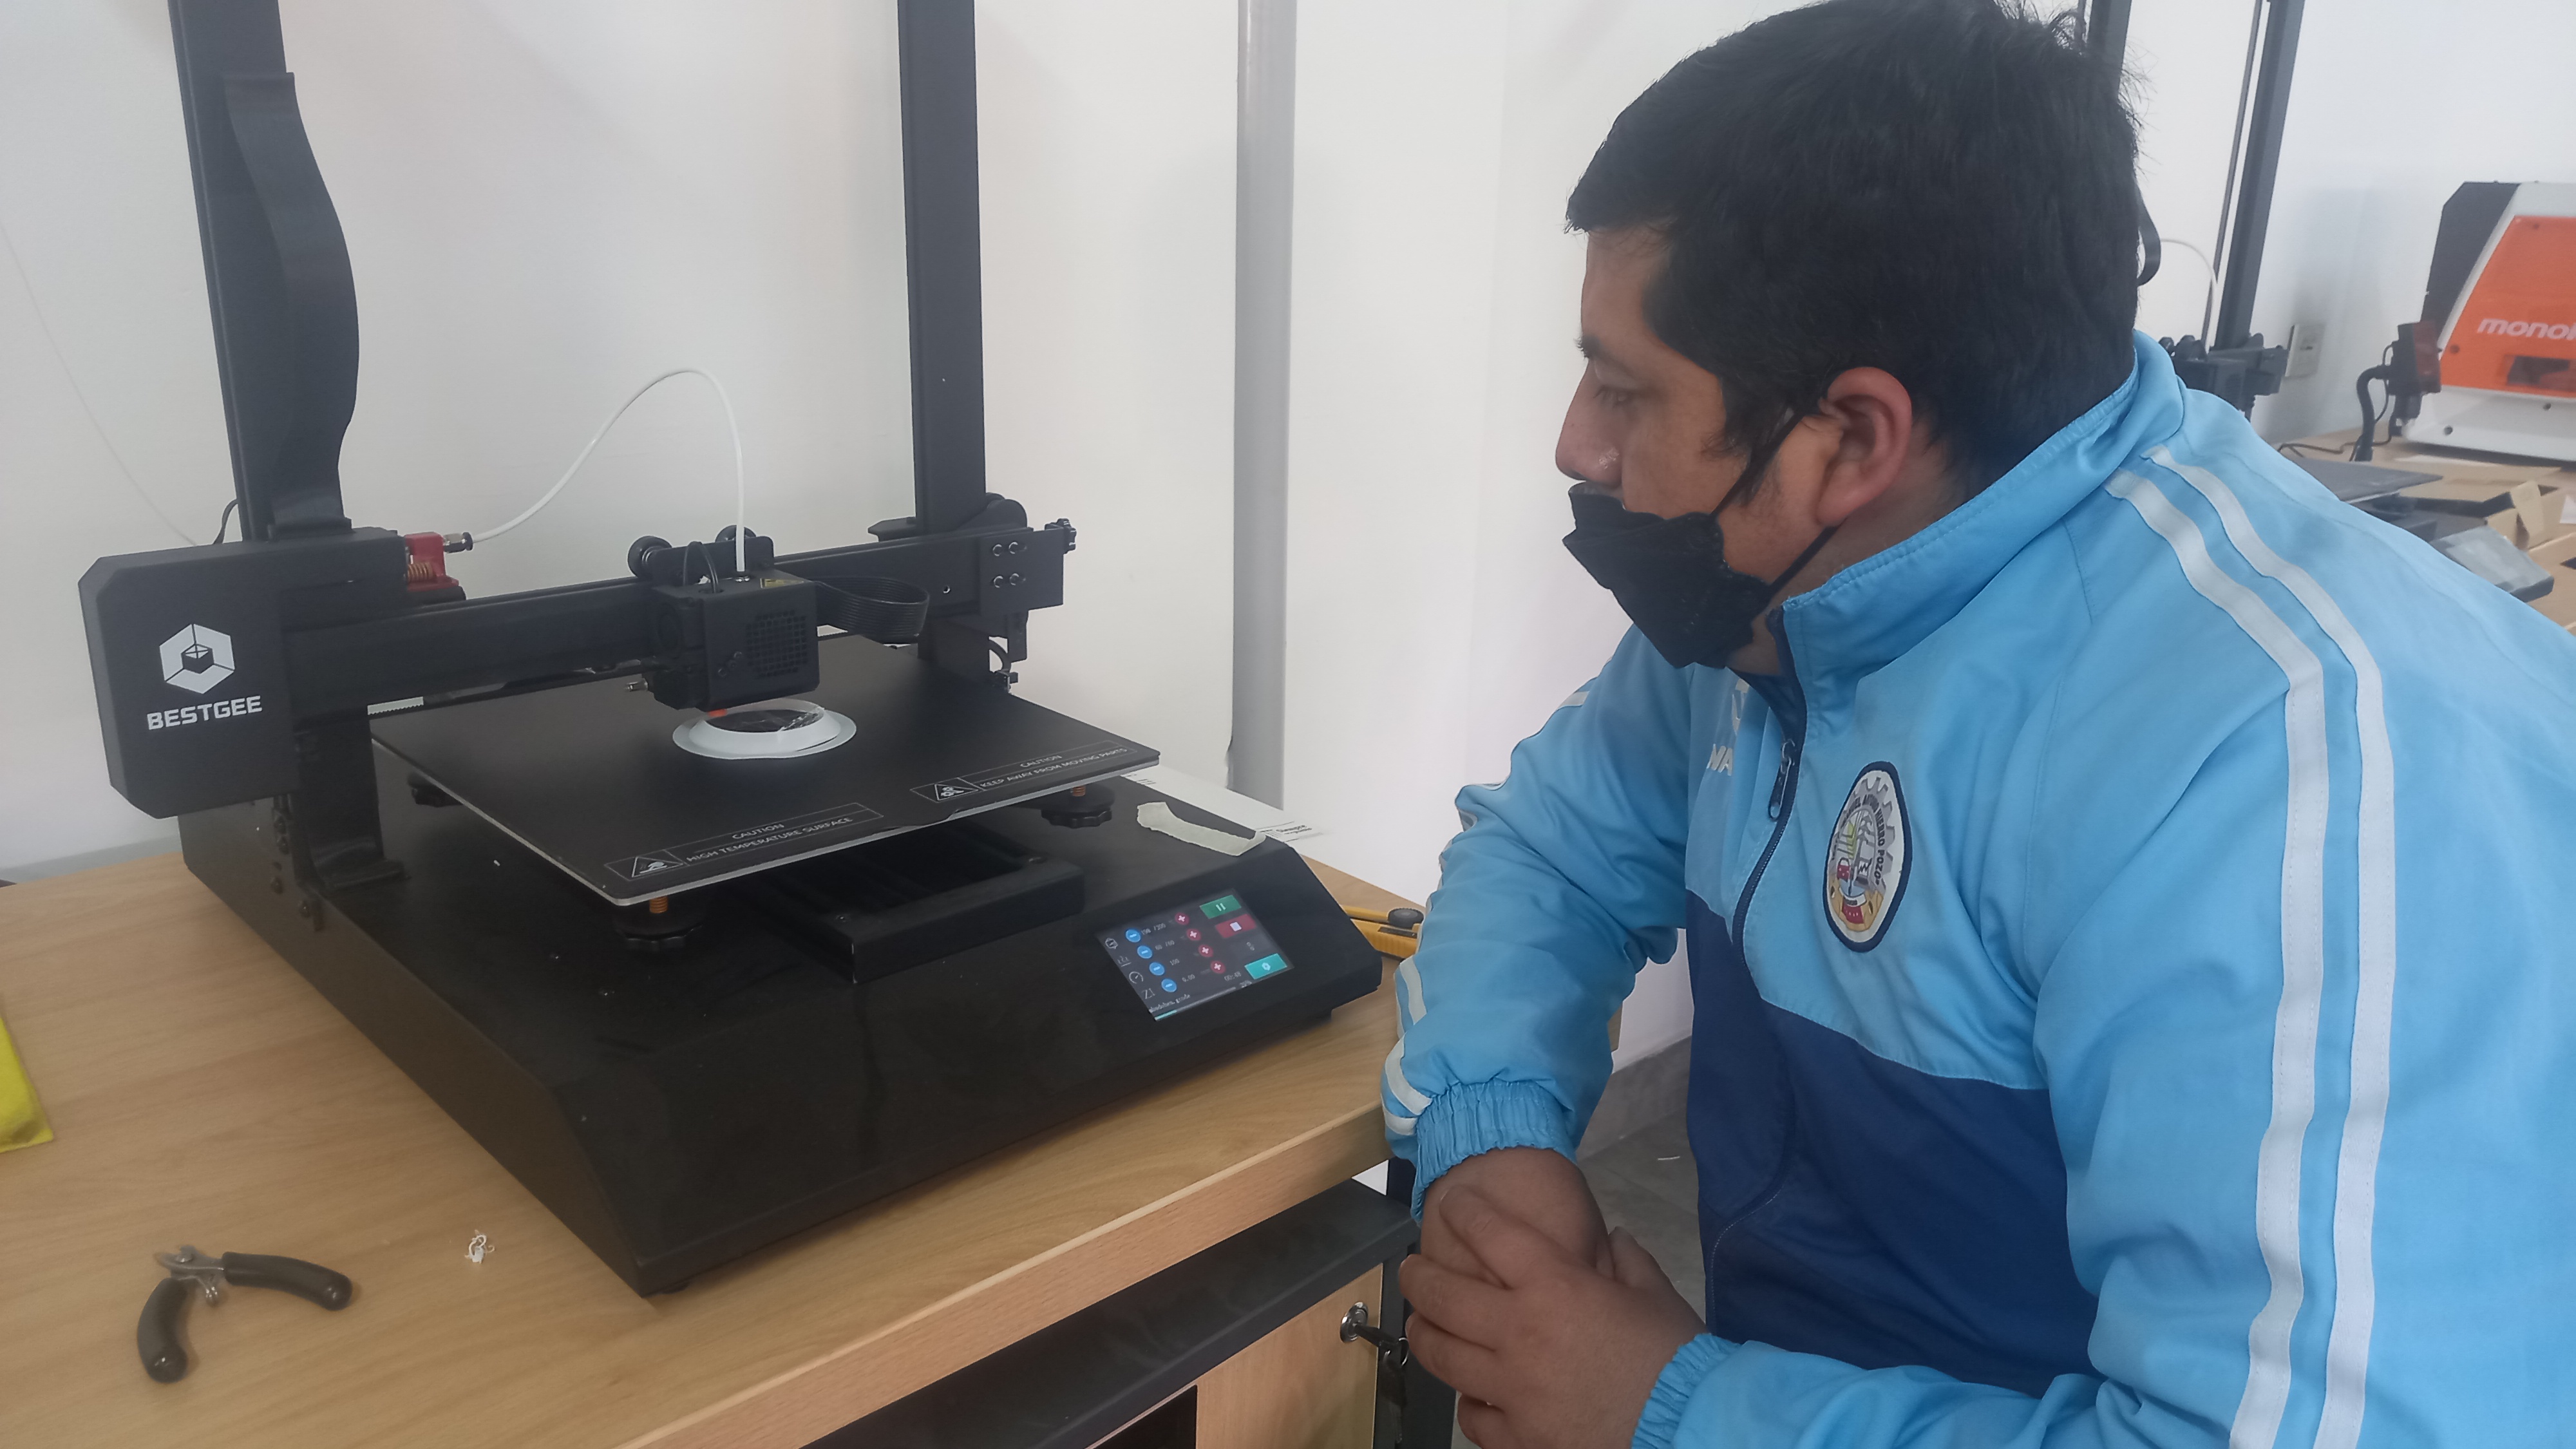
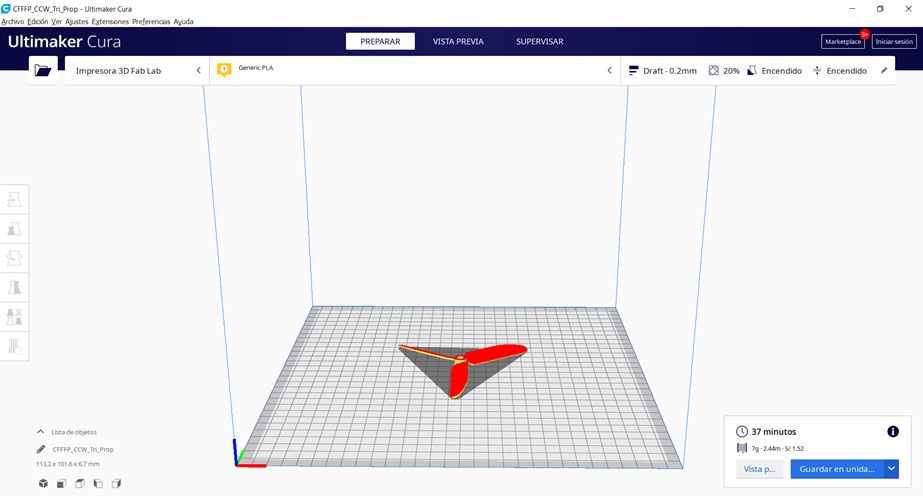
- After the parameters configured, the segmentation of the project is carried out, where the program shows us the approximation of the printing time, as well as the amount of material needed, you can use the print preview.
- The memory is connected to the printer where the gcode file was saved, then with the options on the touch screen of the 3D printer, the file is sent to be printed.
- After the 3D object (propeller) is printed, the product is extracted from the hot bed, checking that the final product has been printed properly.