7. Computer Controlled Machining
Reflection
Group Assignment
Group Assignments
- Complete your lab's safety training
- Test runout, alignment, fixtures, speeds, feeds, materials, and toolpaths for your machine
Attached is the link to group assignment
Individual Assignment
Checklist for this week:
- ☑ Linked to the group assignment page
- ☑ Documented how you designed your object (something big)
- ☑ Documented how you made your CAM-toolpath
- ☑ Documented how you mae something BIG (setting up the machine, using fixings, testing joints, adjusting feeds and speeds, depth of cut etc)
- ☑ Included your design files and 'hero shot' of your final product :
Heres all the design files: Fusion File, updated 21st Jun 2024 DXF Consolidated Zip Toolpath
I1. Detailed Steps and Parameters for CNC with Versatil 2500 Using VCarve Pro and NC Easy
| Step | Parameters and Ranges | Consequences of Deviation |
|---|---|---|
1. Designing BIG in F360.
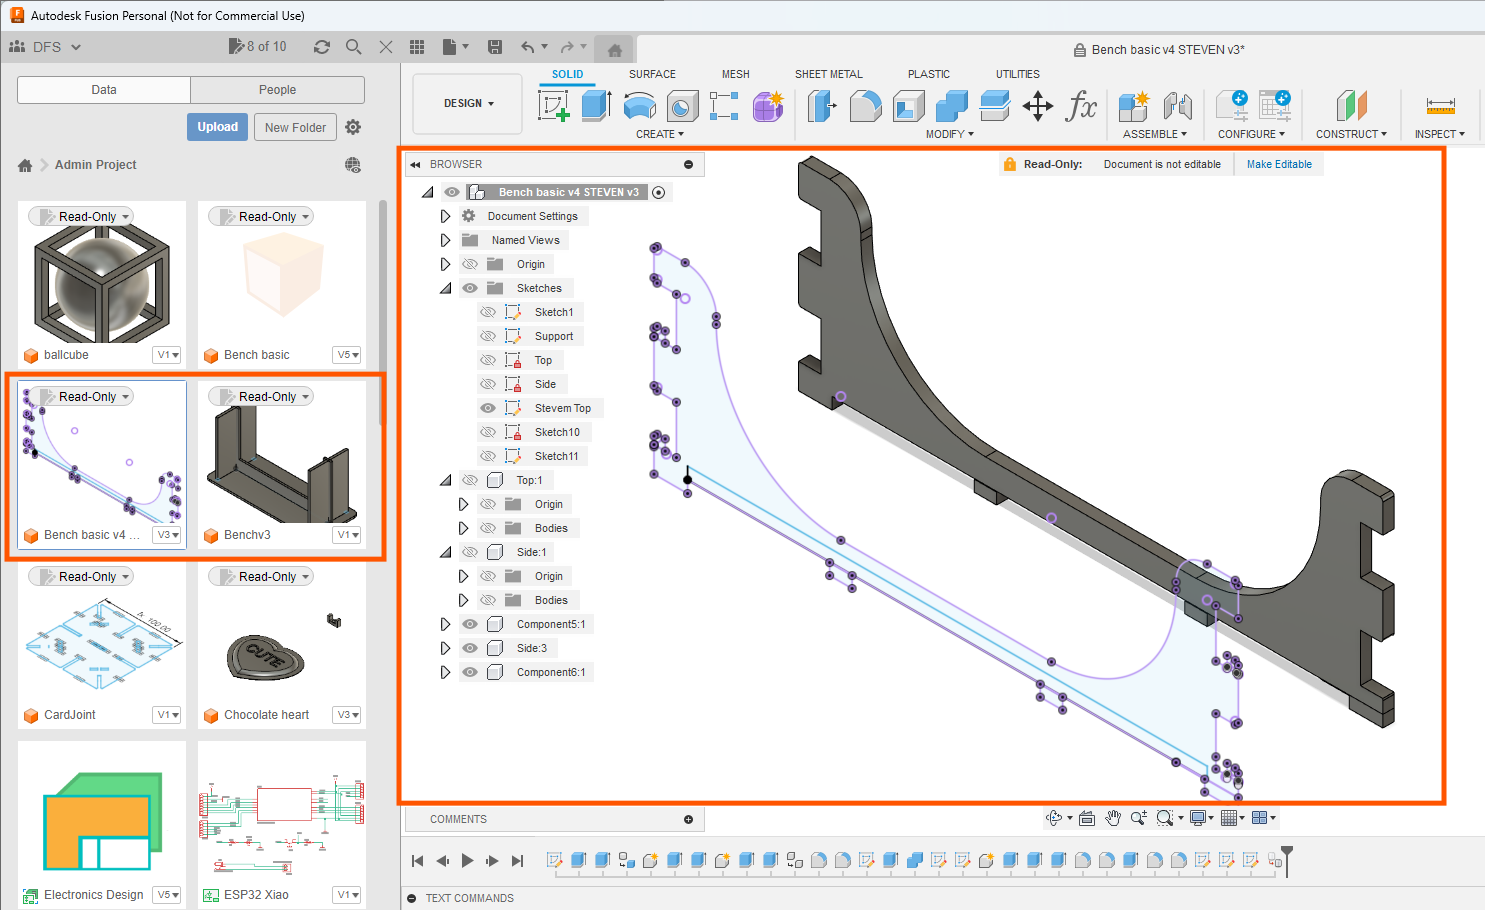 |
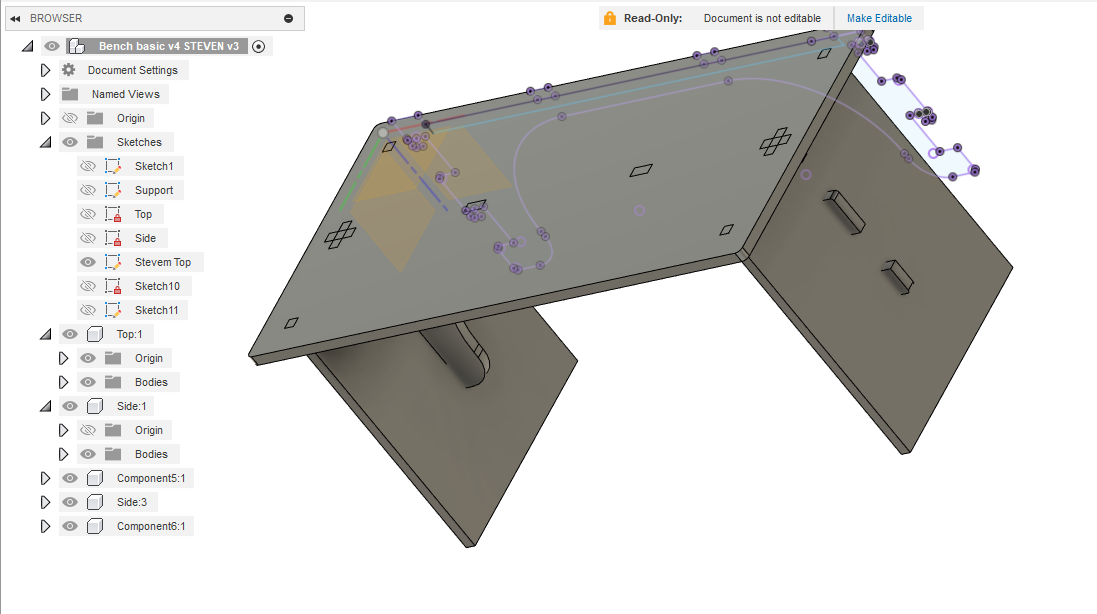
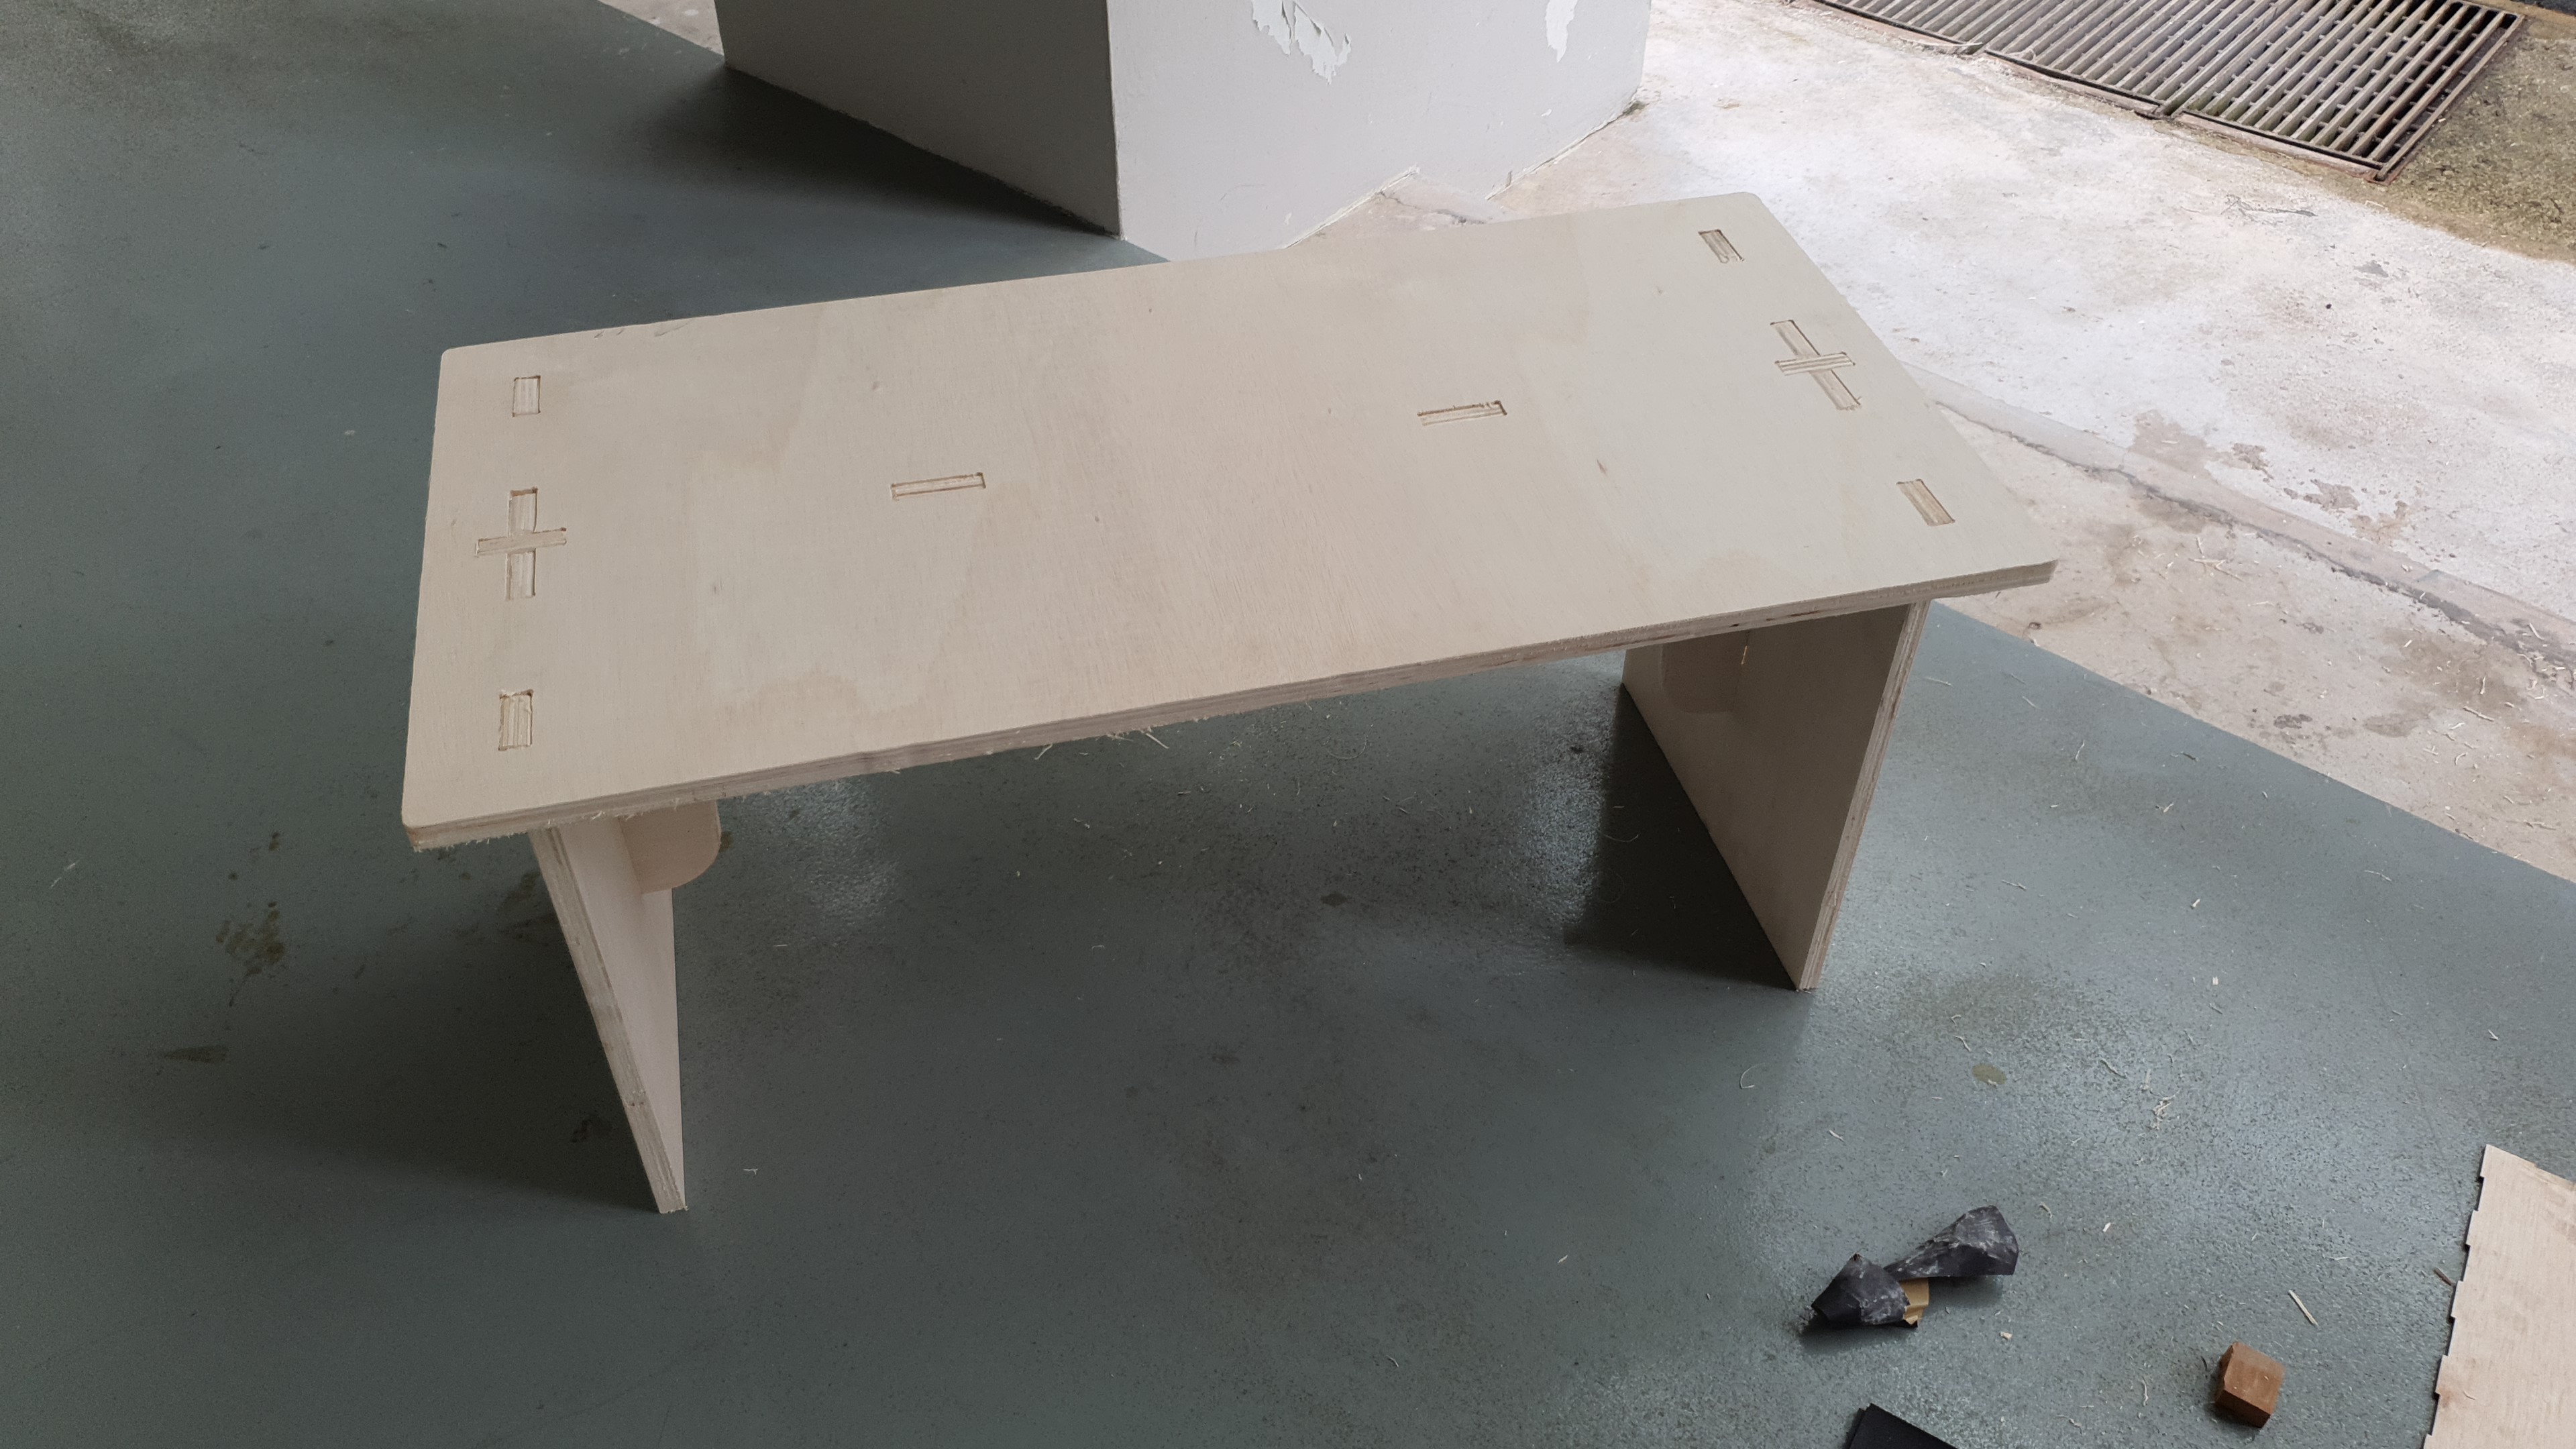
I used F360 to design a bench for my children to sit on | Using parametric design and paying attention to stability is vital for it to be revised fast and work correctly. I redo several times because it wasn't stable. |
2. DogBone addin
|
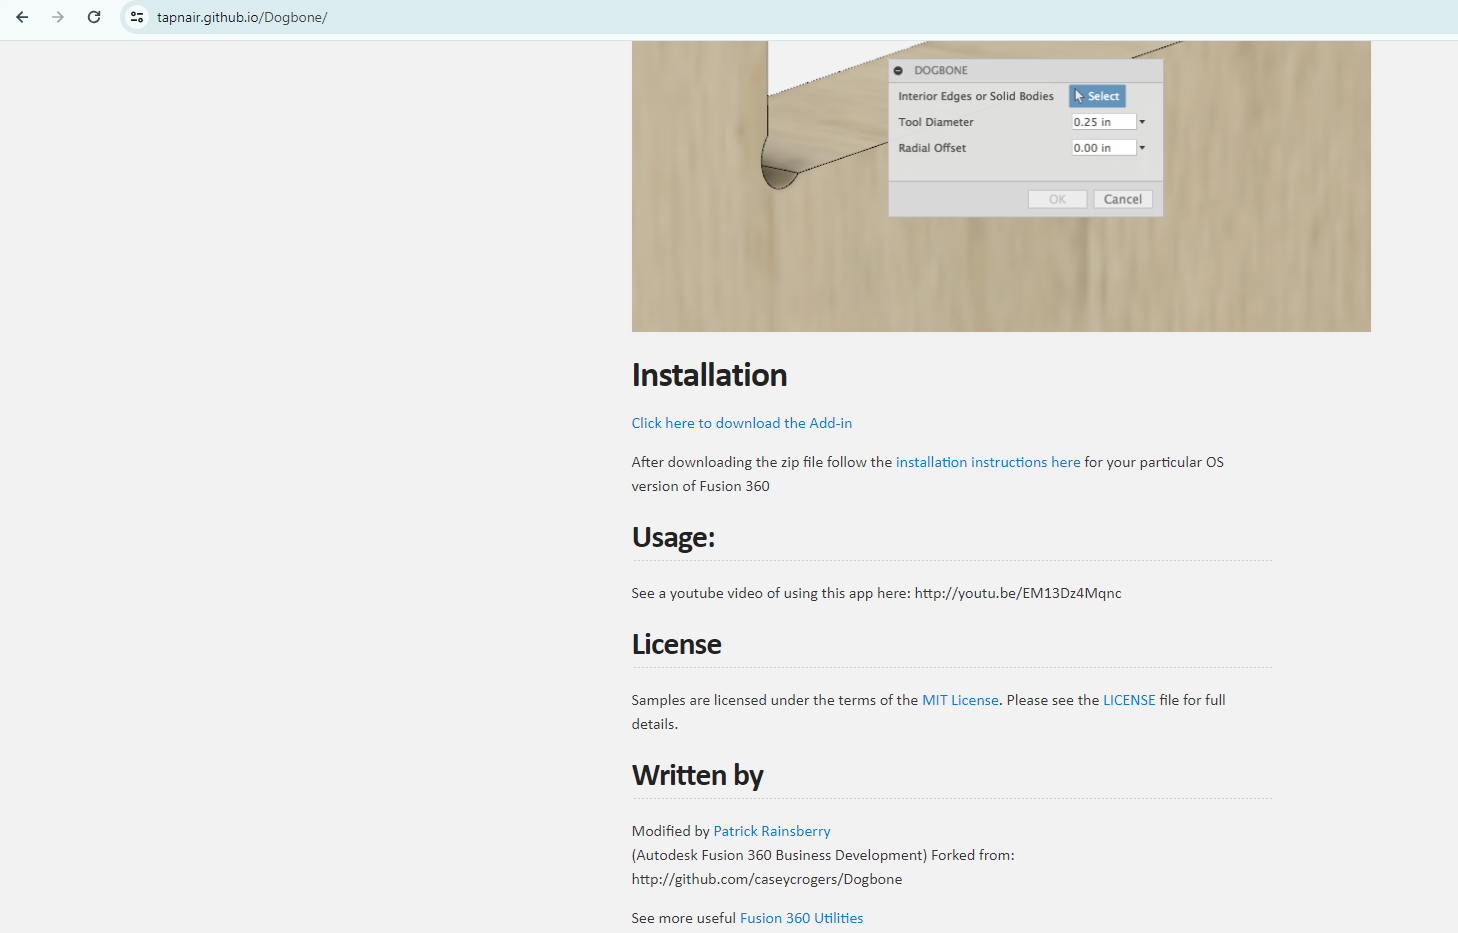
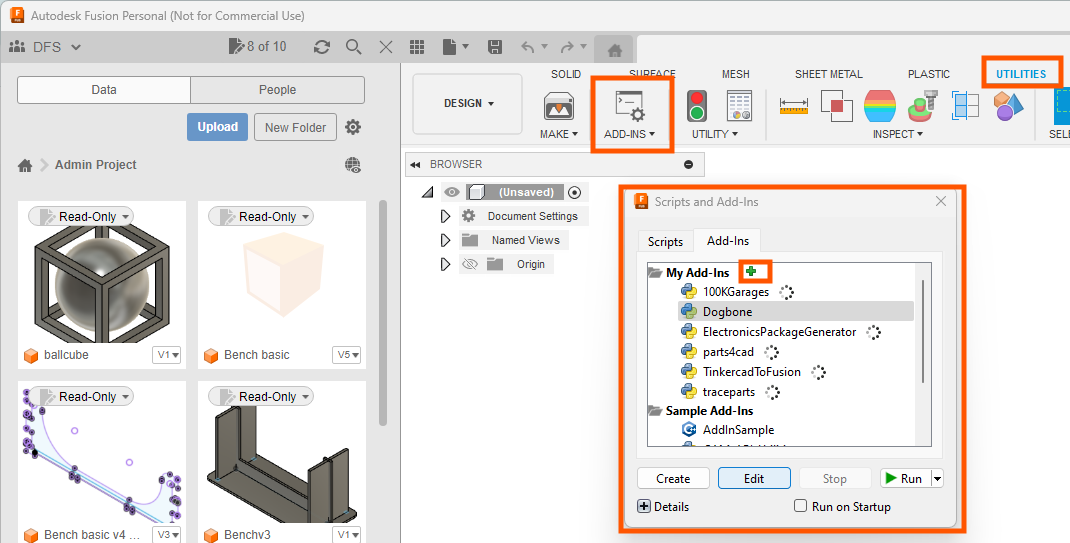
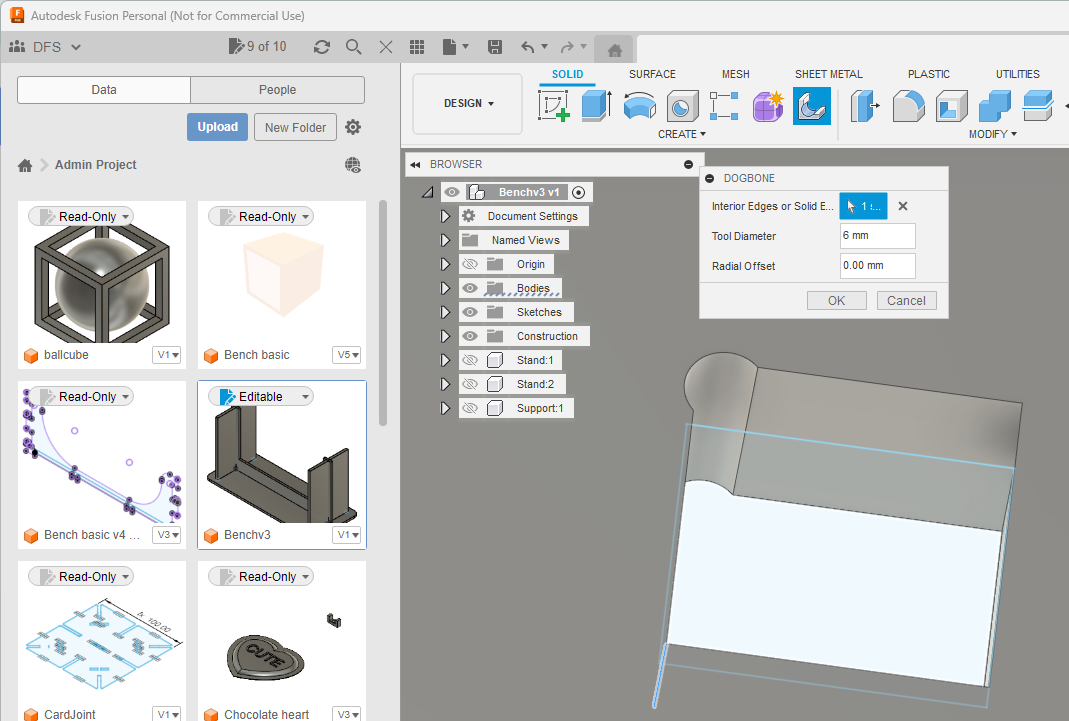
I went to github to download dogbone addin for F360. Thank you @tapnair for the awesome code! I used the code to make dog bones at respective locations with step shown in picture. | Did it without dog bone and it couldn't fit. When parts need to fit together tightly, the dog bones help by making the corners a little bigger so everything slots together smoothly. In 2022, I did the dog bones using Vcarve Pro. |
| 2. Import into VCarvePro
|
I imported the dxf files into VCarvePro and arrange them neatly for cutting using the transform tool. One have to input the Job Size, I measured the thickness is less than 19mm. | The transformation tool must be clicked else, selecting and dragging using mouse will not work. I also selected the use offset (0,0) |
| 2. Putting DogBones
|
VCarvePro can also add dogbones under fillet, but for it to work properly, will be good practise to ensure cnc is closed. | I can choose to add dog bone in f360 or vcarvepro. |
| 3. Settings in VCarvePro
|
Under Toolpath commands, click on Profile Toolpath and then alter the settings shown in the picture. As my design have inner and outer mill. I adjusted them as shown in picture. I ensured that I added 5mm to cutting depth for allowance of bending. and also added tabs. Using the Add Tab command, I added 4 Tabs on each object so that It could be milled out safely. I entered the Tool End settings as shown in the picture. When Done, I pressed the calcualte command. A warning screen pops up to warn that If I do not have sacrifical plate, the bed will be protected. I clicked ok. I watched the simulation and save the toolpath. | Not adding Tabs may results in pieces getting loose and flying off when machined. The program itself will locate 4 tabs by default but one can remove and add in for ease of project. |
4. NC-Easy Pro & Machining
|
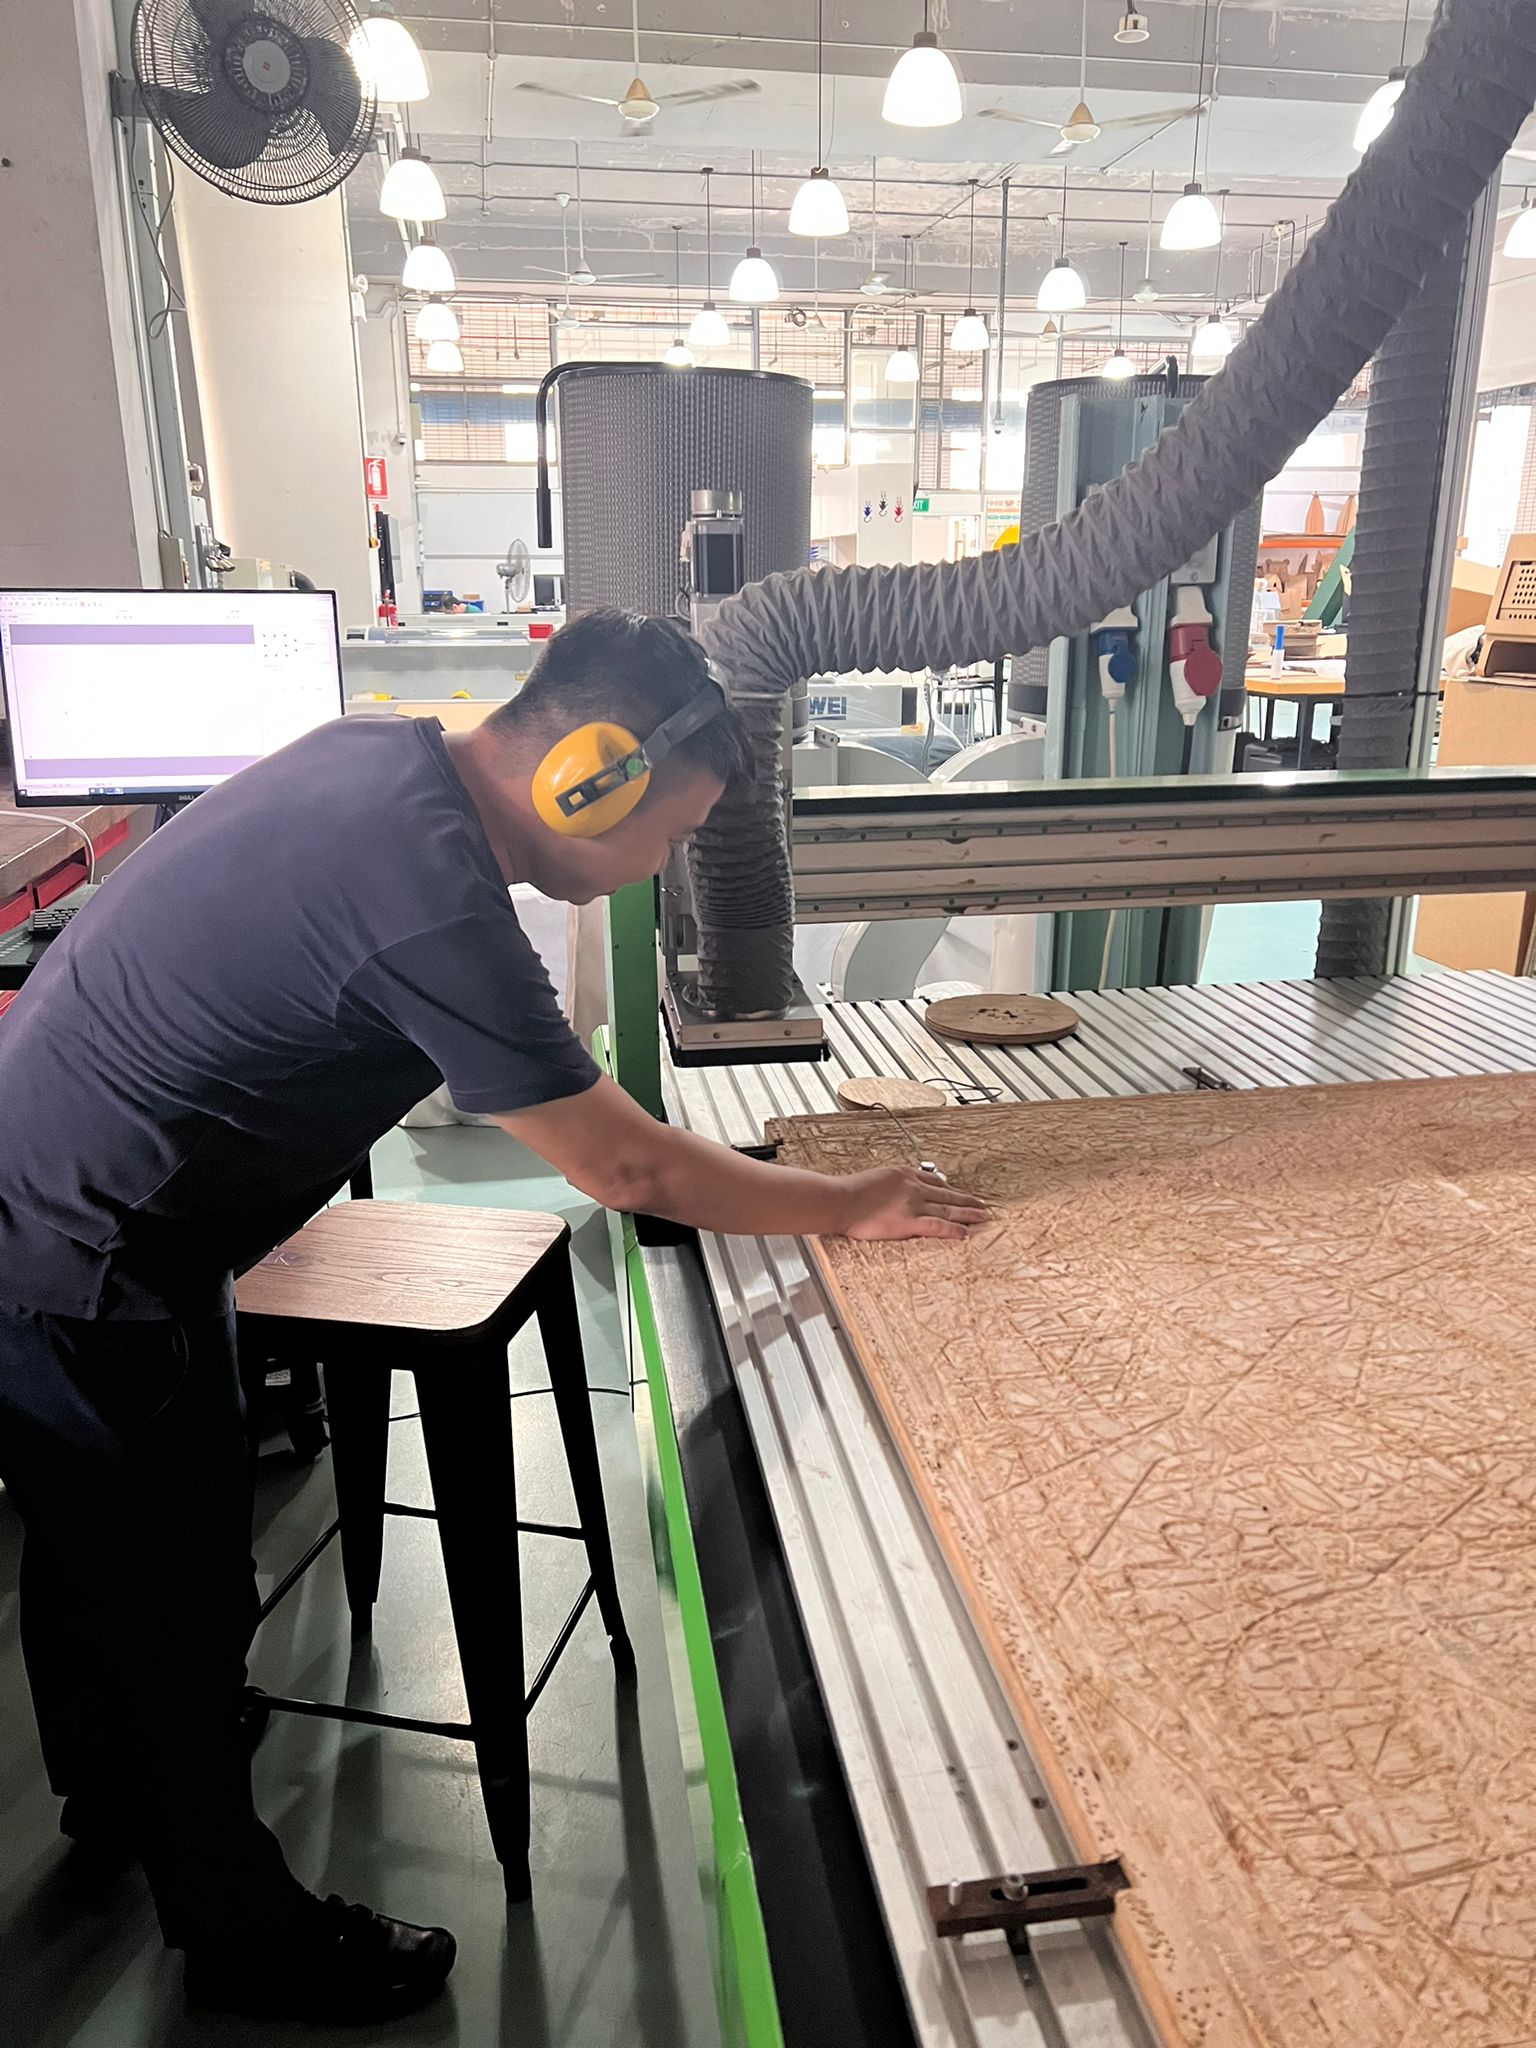
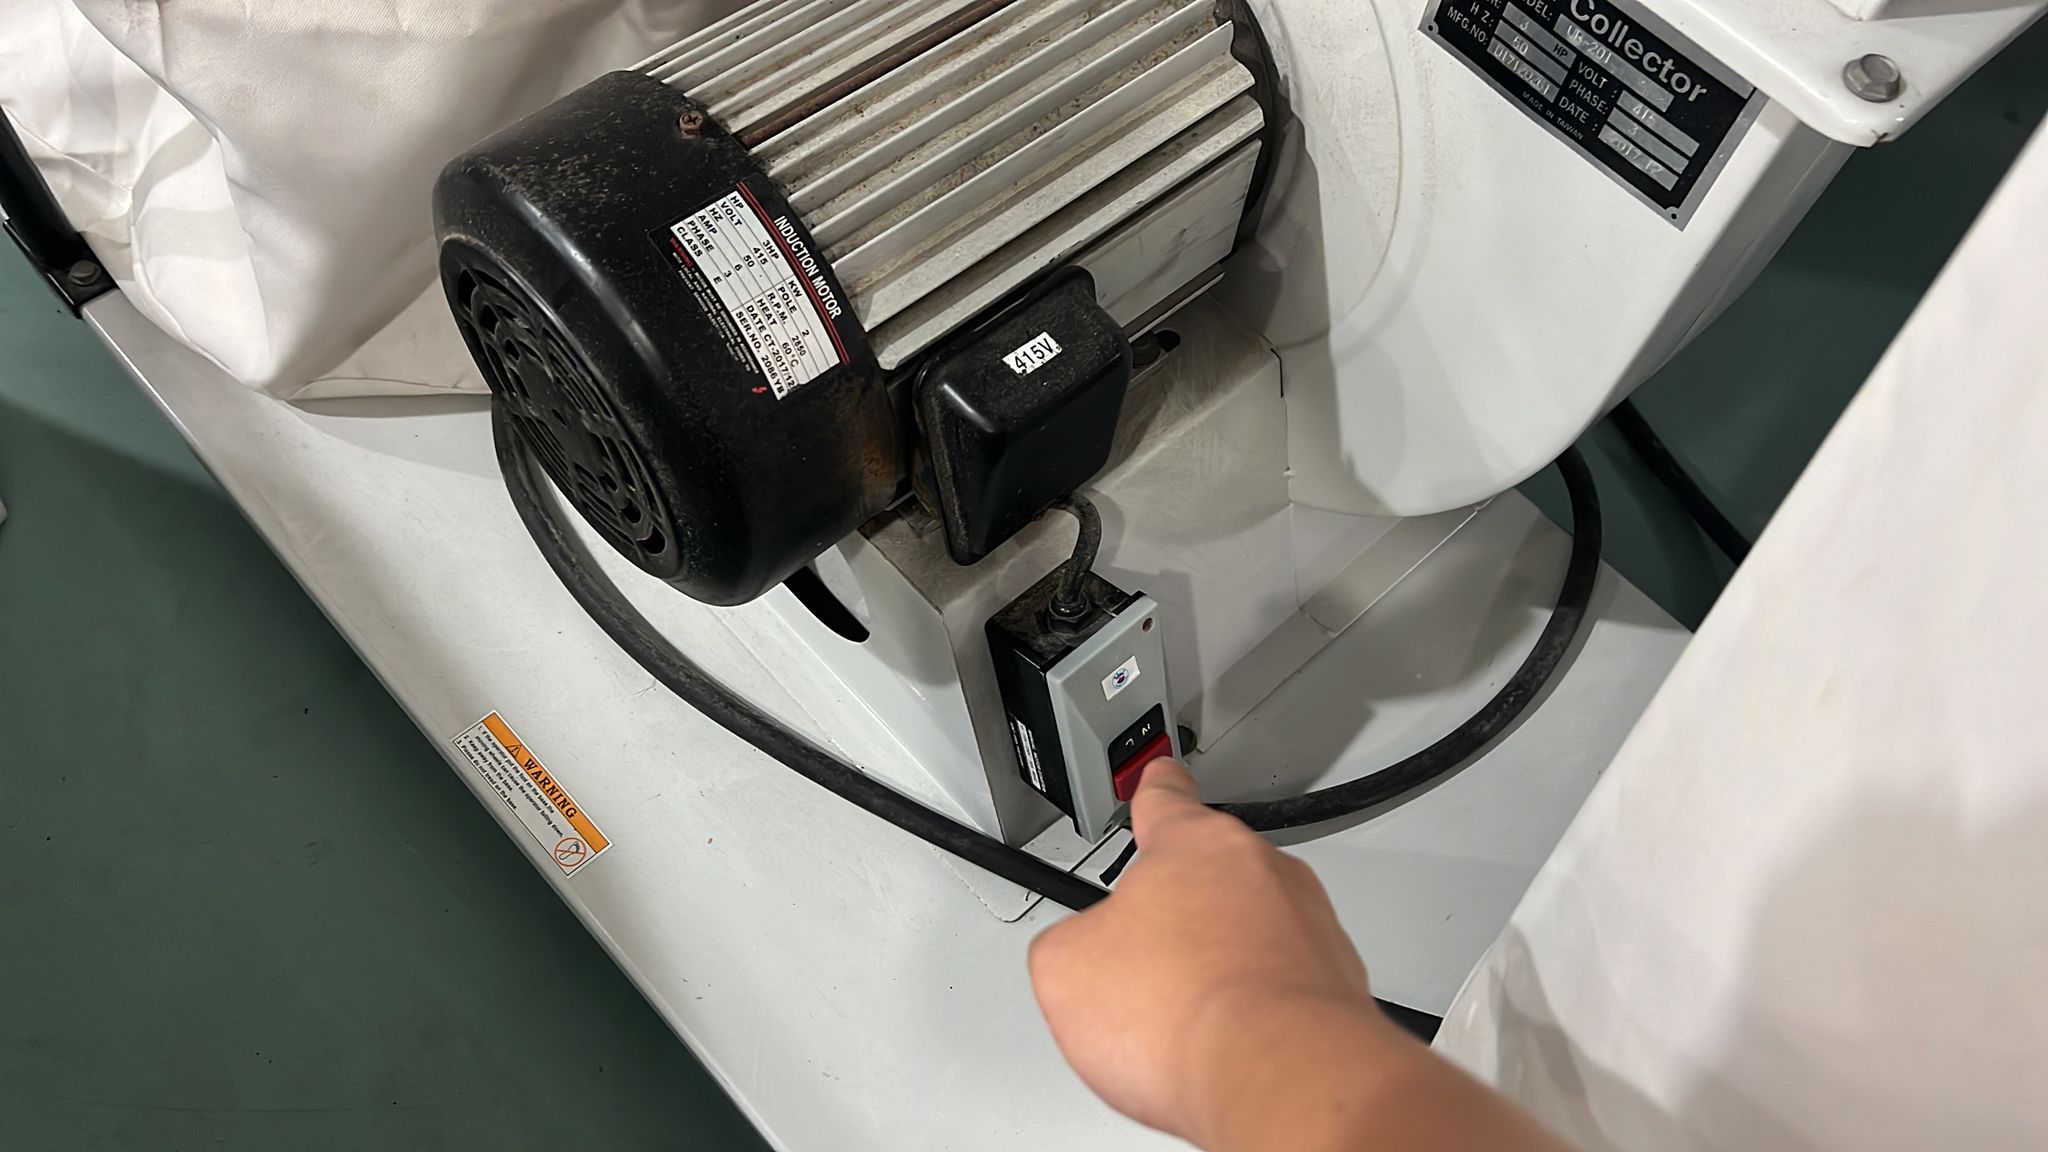
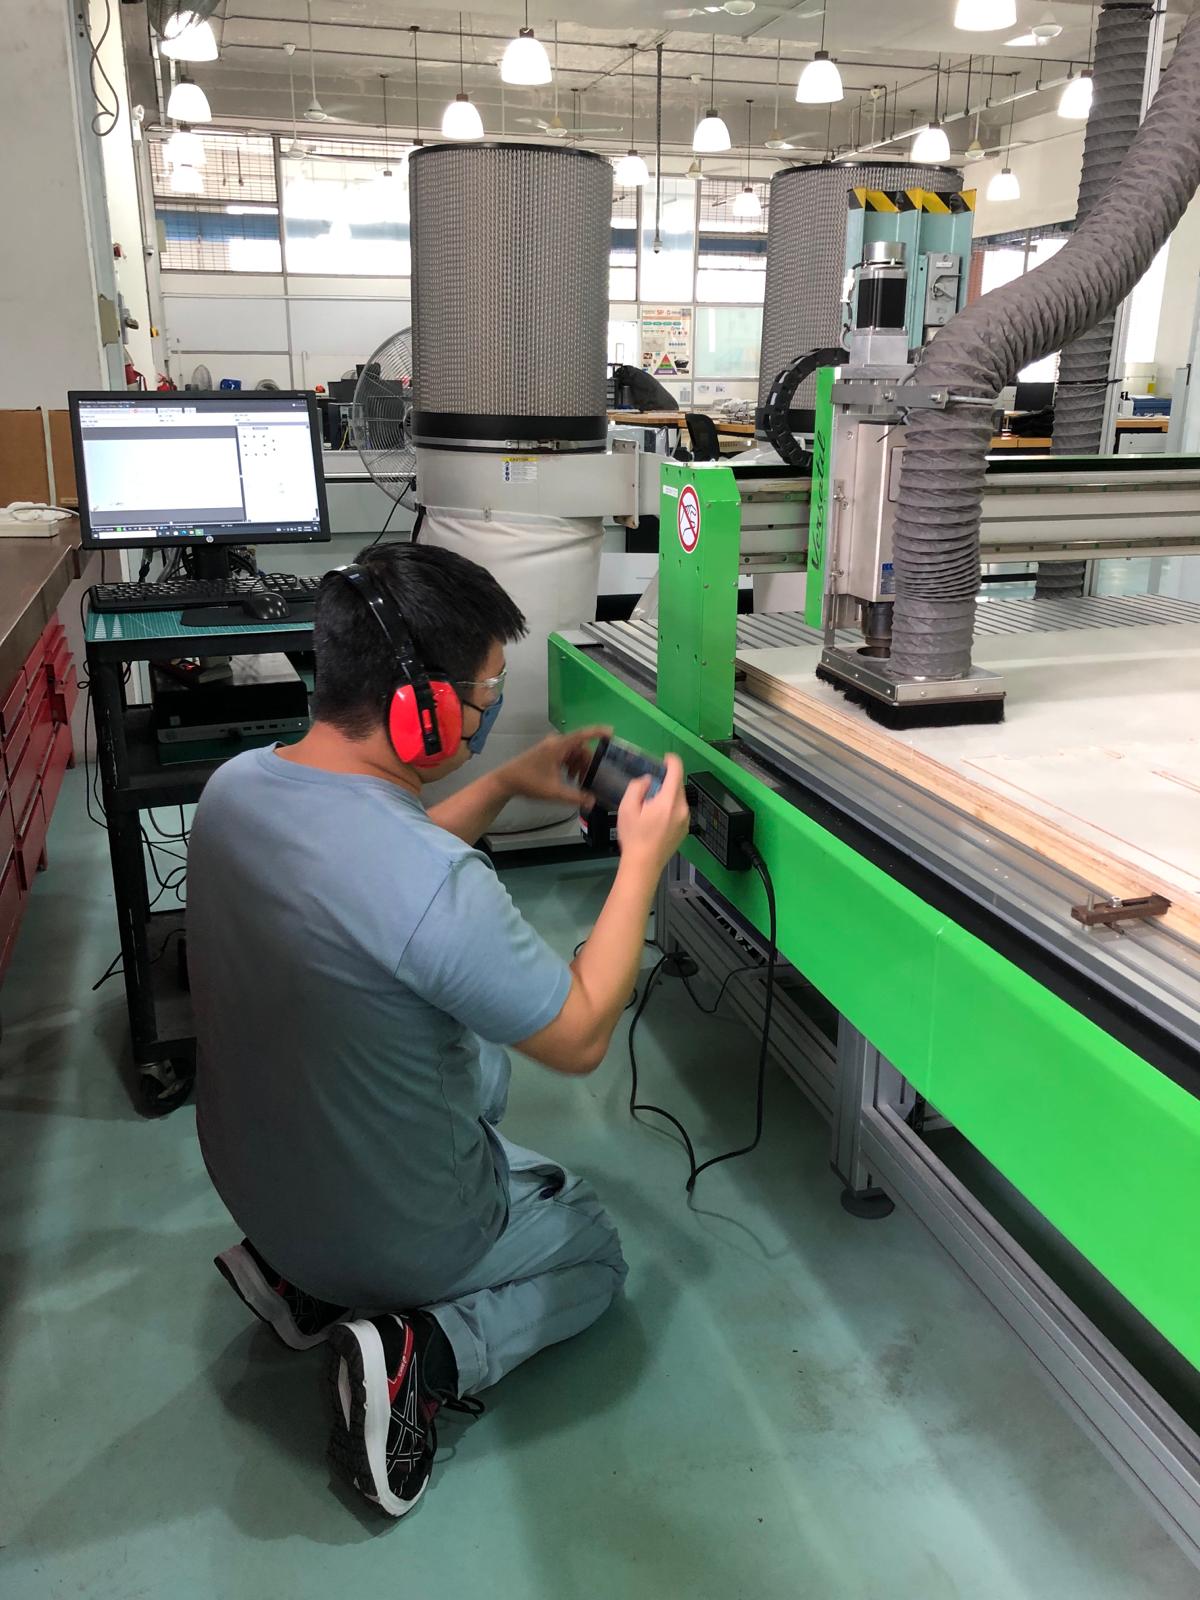
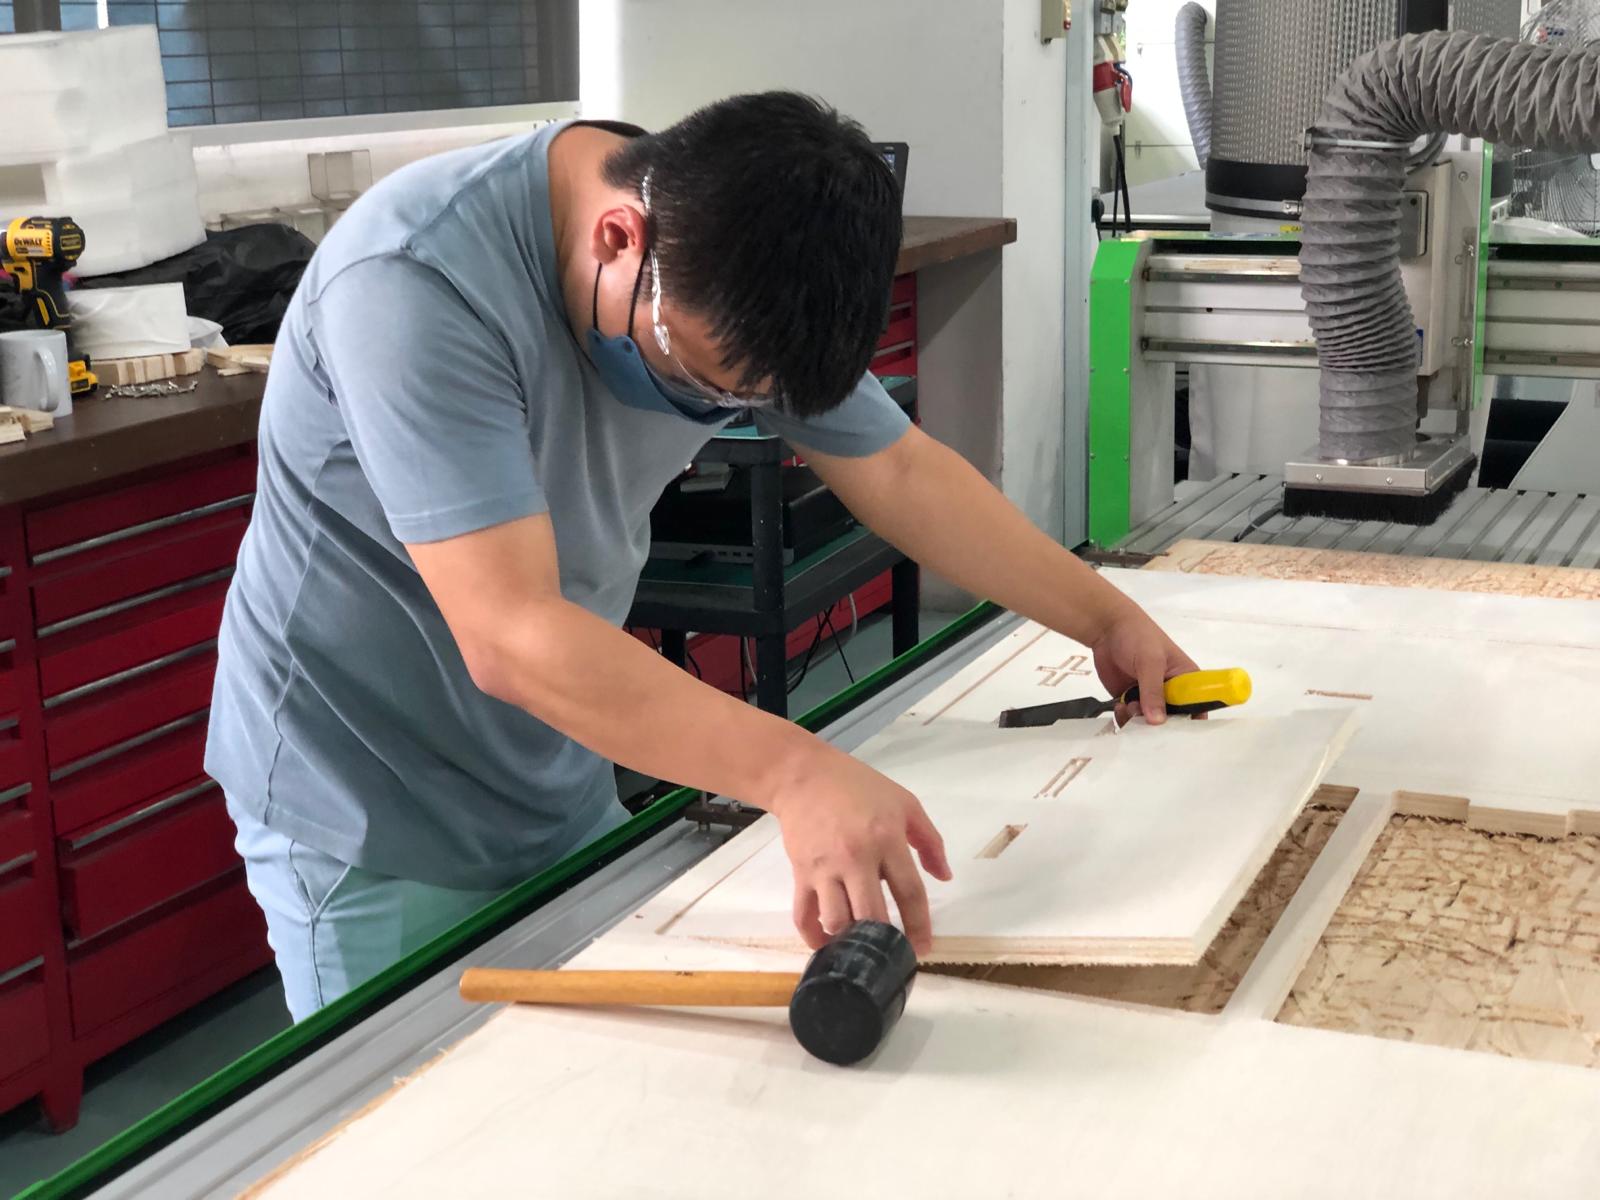
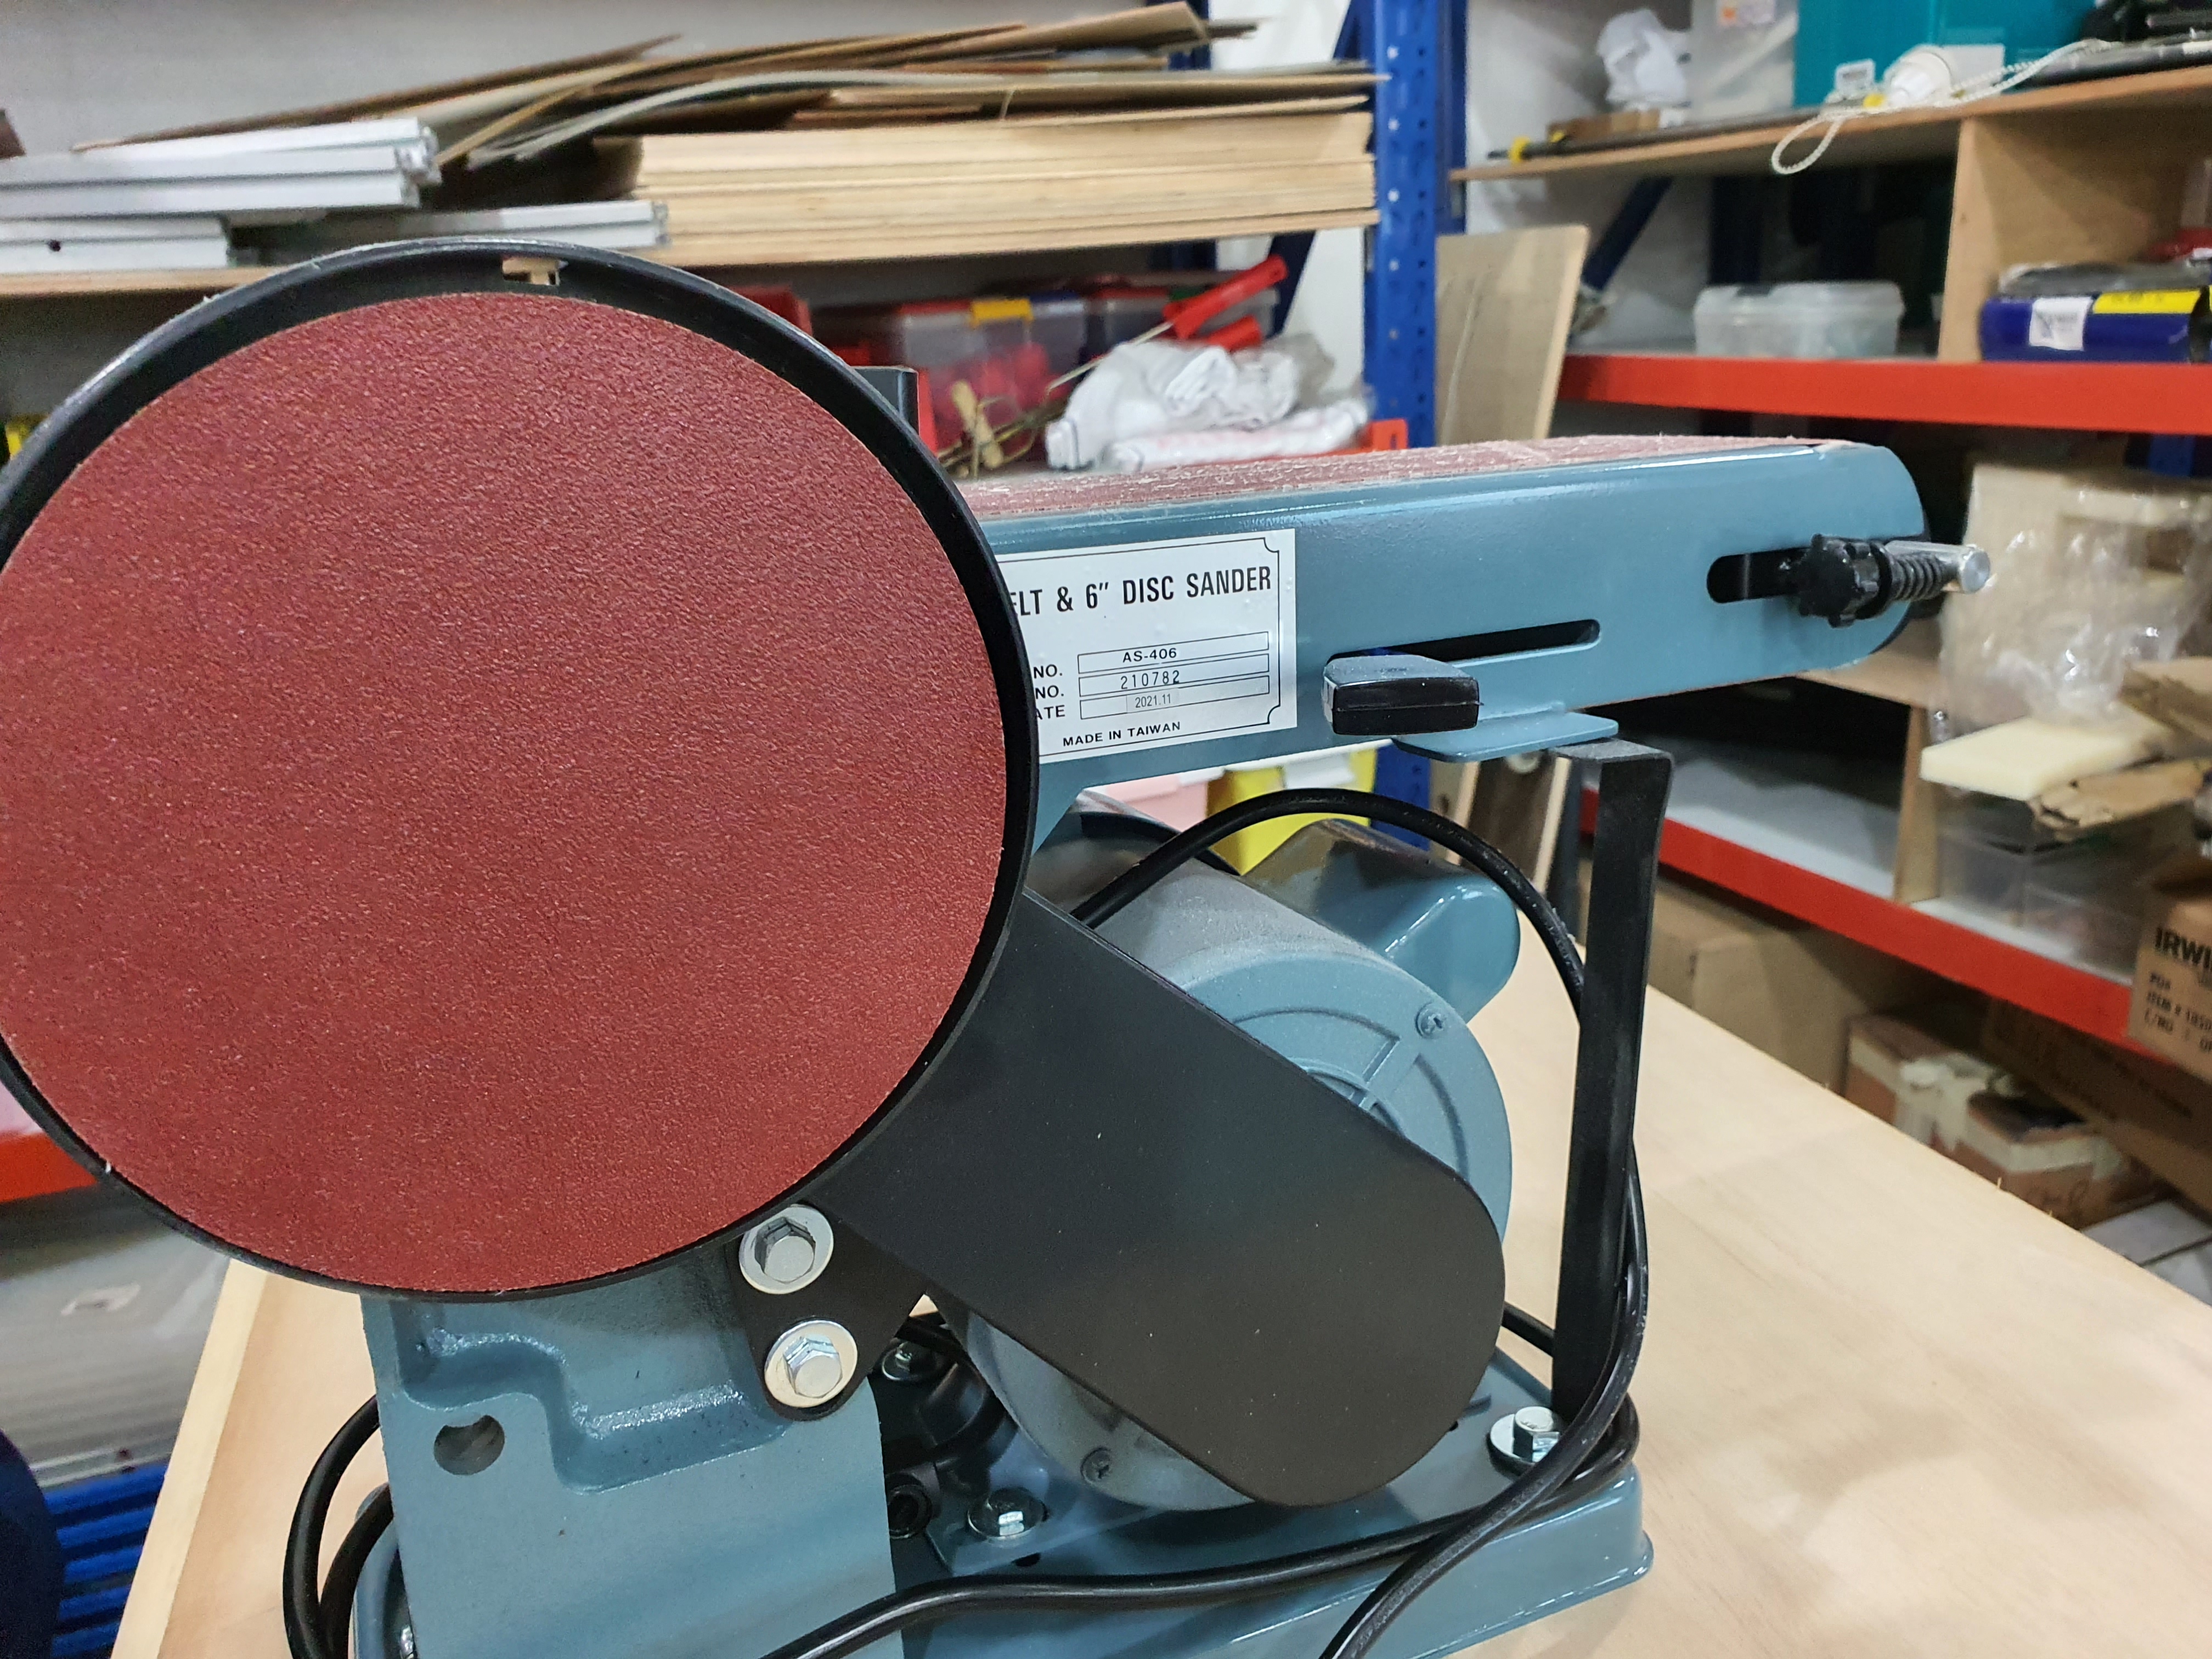
First, I set the spindle position origin for x and y (I checked for parrralex error by checking x and y plane) and the material thickness via probe calibration. When using the Machine, I ensured to wear PPE to protect ears, turn on chip wood vacuum before and during milling, and I always have the controller in hand in case of emergency. I used the sanding tool to smoothen my sides and then I assemble the bench as shown in picture. | Heres all the design files: DXF Consolidated Zip Toolpath Fusion File, updated 21st Jun 2024 |
