3. Computer Controlled Cutting
G. Group Assignment
A. Group Assignment 1 Characterise Laser Cutter
Characterize your lasercutter's focus, power, speed, rate, kerf, joint clearance and types. I had done this with my team mate in 2022 at Singapore Polytechnic. Here is the link to the site.
| Characteristic | Description |
|---|---|
| Focus | The focal point of the laser beam determines the precise area where the laser's energy is concentrated for cutting or engraving. Focus is adjusted using the laser cutter's focus control mechanism. For Epiloog Mini 24, I will be using its Autofocus function. |
| Power | The strength of the laser beam, measured in watts (W), determines the cutting and engraving capabilities of the laser cutter. Higher powered lasers can cut through thicker materials and engrave with greater depth. |
| Speed | The rate at which the laser cutter moves along the cutting path, measured in millimeters per second (mm/s) or inches per minute (IPM). Speed affects the cutting time and quality of the cut edges. |
| Rate | The frequency at which the laser cutter pulses on and off during cutting or engraving, measured in hertz (Hz). The pulse rate affects the thermal characteristics of the cut and engraved surfaces. |
| Kerf | The width of the cut produced by the laser beam, which varies depending on the material and settings used. Kerf width is typically small but can impact the fit of interlocking parts. |
| Joint Clearance | The space required between mating parts to ensure a proper fit when assembled, taking into account the width of the laser cut. Joint clearance is critical for achieving precise assembly without interference. |
| Types | The different types of joints or connections that can be created using the laser cutter, such as butt joints, finger joints, or dovetail joints. Joint type selection depends on the design requirements and material properties. |
o. Evaluation suggestions
2 May 2024 Local
Message:To fix:
- In Onshape, you generated STL instead of DXF file; in CorelDraw, the DXF file "magically" appeared? --- 6 May Both STL and DXF was generated, bold and green text so that it is clearer.
- You only lasercut those few pieces? Are you able to assemble & post pictures of larger assemblies? --- 4 May Brought 3 A2 Cardboard for laser cutting and updated on 6 May.
- include settings for vinyl cutter that you used --- 2 May Explained that I used Cricut Maker 3 Smart Vinyl which settings are already default, Instructor advised to put in default settings but I honestly couldnt find.
- upload & link to graphics used for vinyl cutting --- 6 May Private Link to Cricut
I. Individual Assignment
Checklist for this week:
- ☑ Linked to the group assignment page -- Done
- ☑ Explained how you created your parametric design --Done
- ☑ Documented how you made your press-fit kit --Done
- ☑ Documented how you made something with the vinyl cutter --Done
- ☑ Included your original design files --Done
- ☑ Included hero shots of your results --Shown shots of this assignment
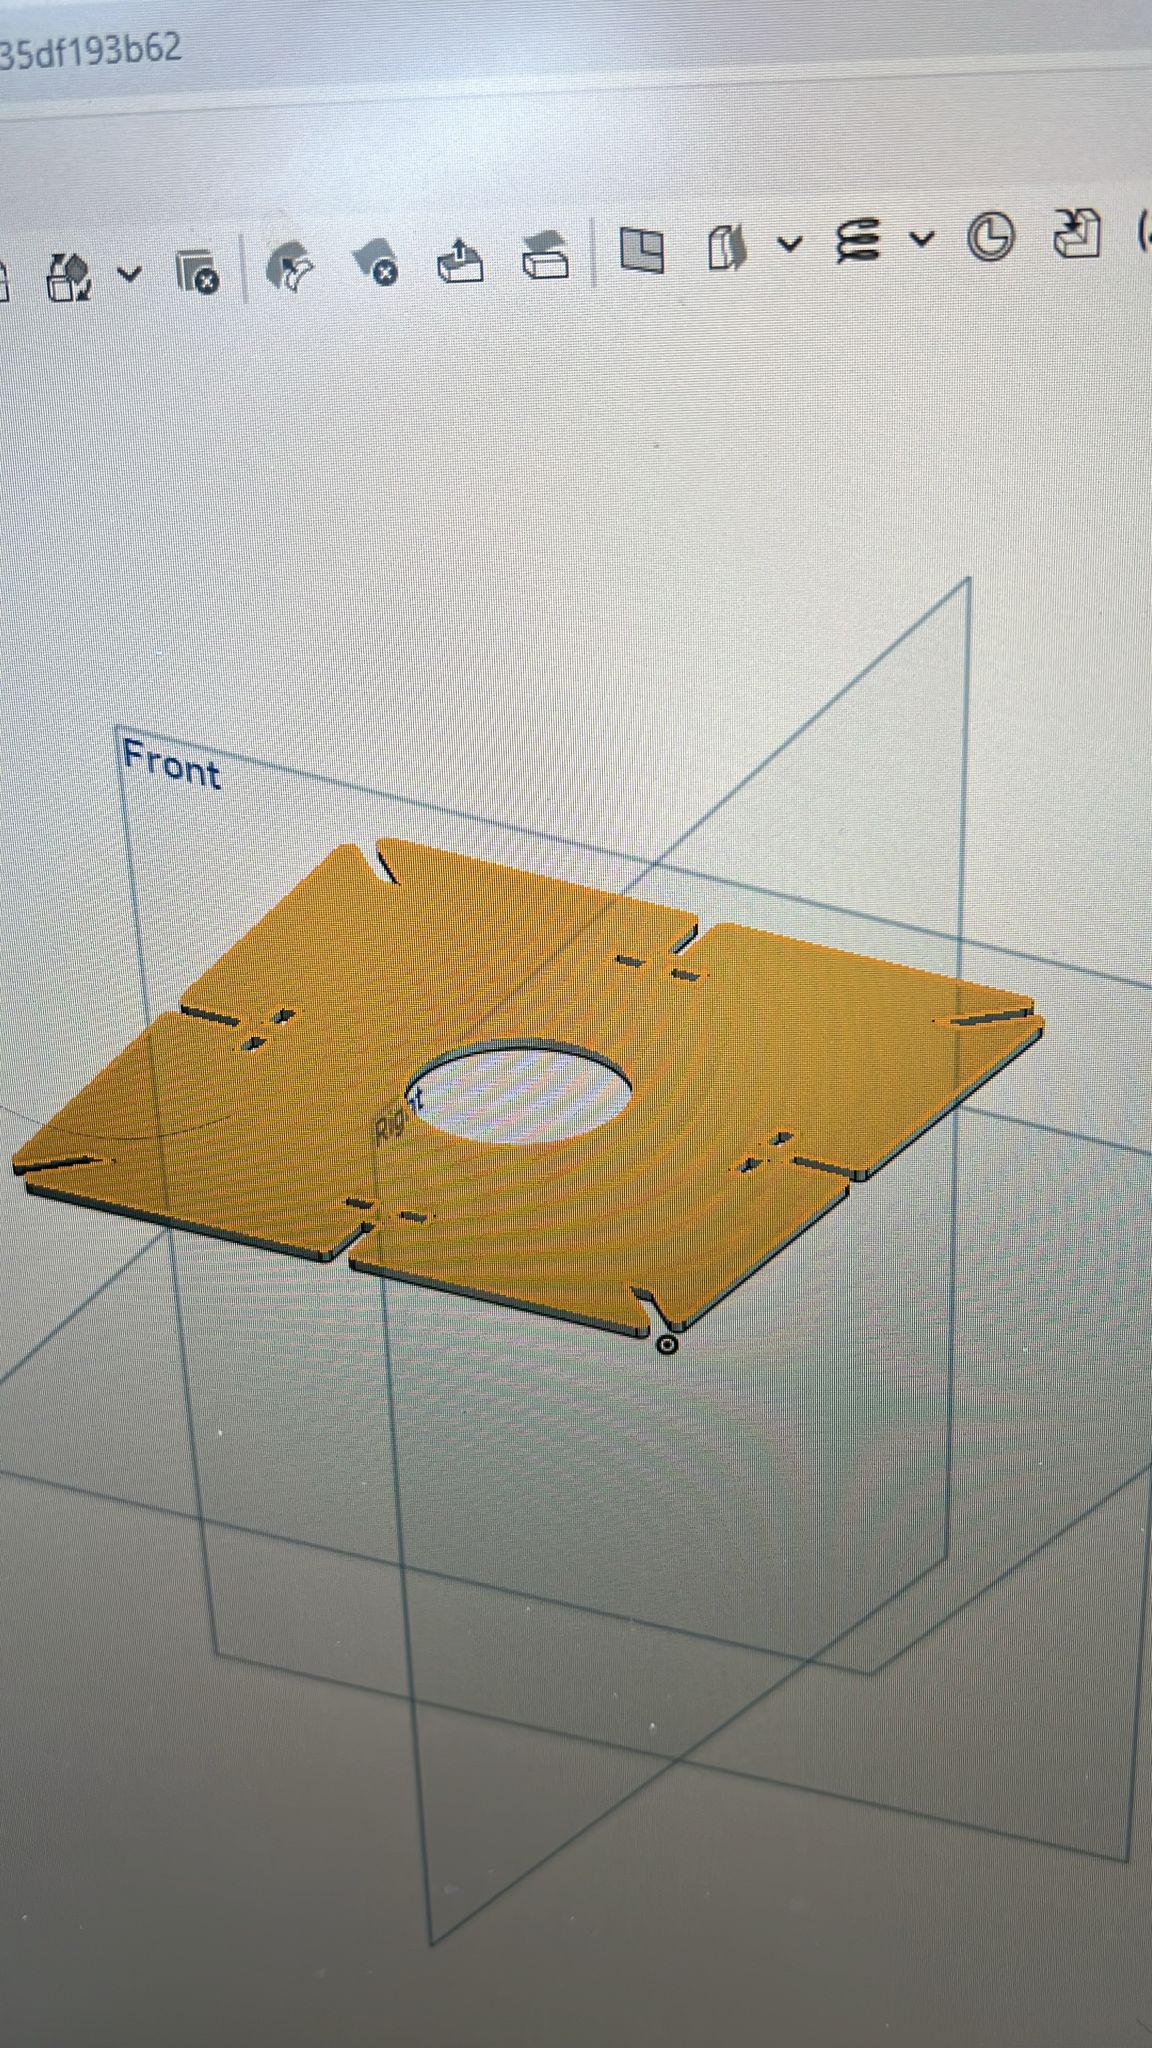
I1. Individual Assignment- Parametric Design Kit Design on Onshape
| Steps | Description |
|---|---|
0. Measure Thickness of Material to Cut and Laser Kerf 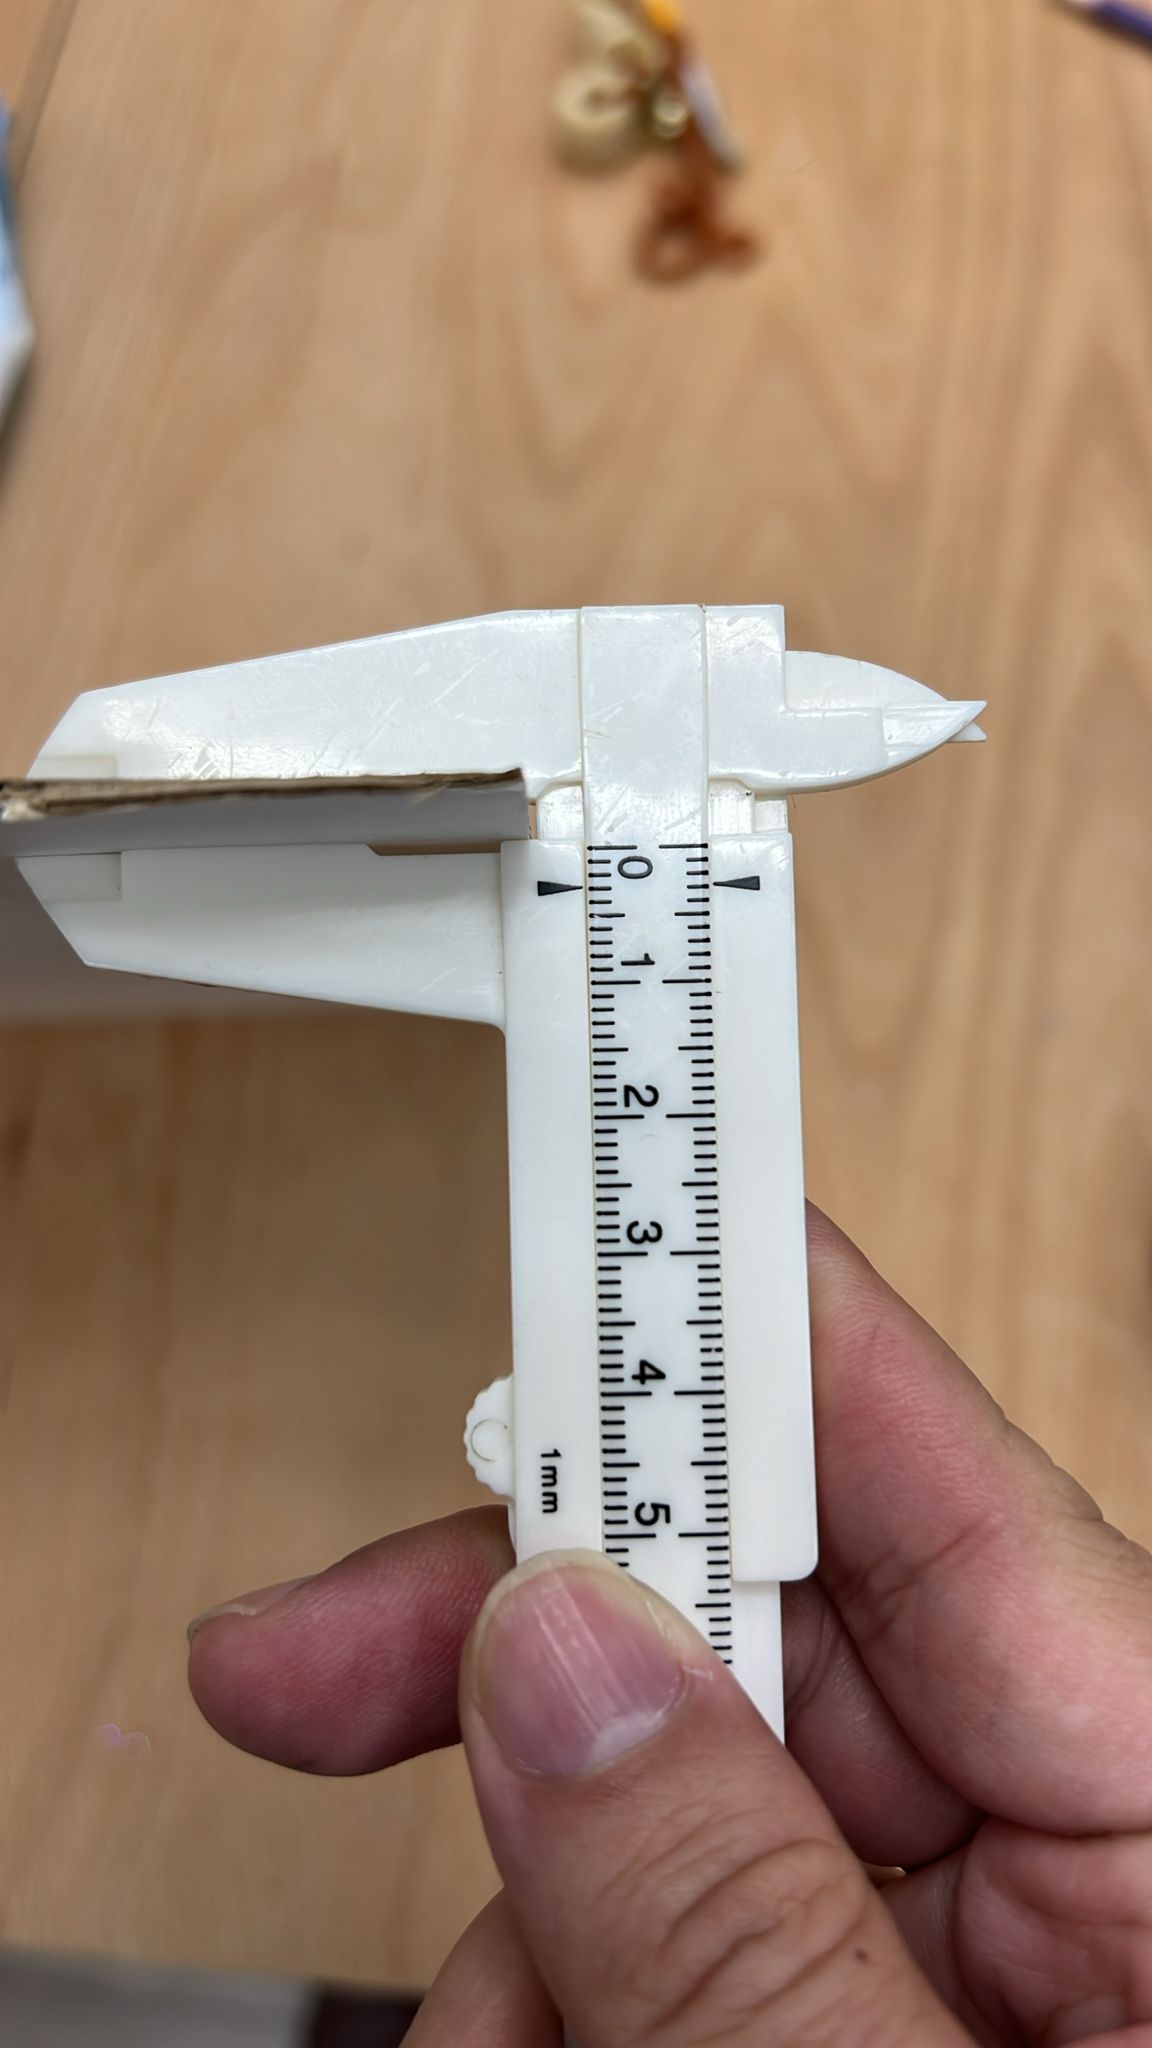 |
I Use Vernier Calipliers or Digital Calipers to measure the thickness of the material required for press fit |
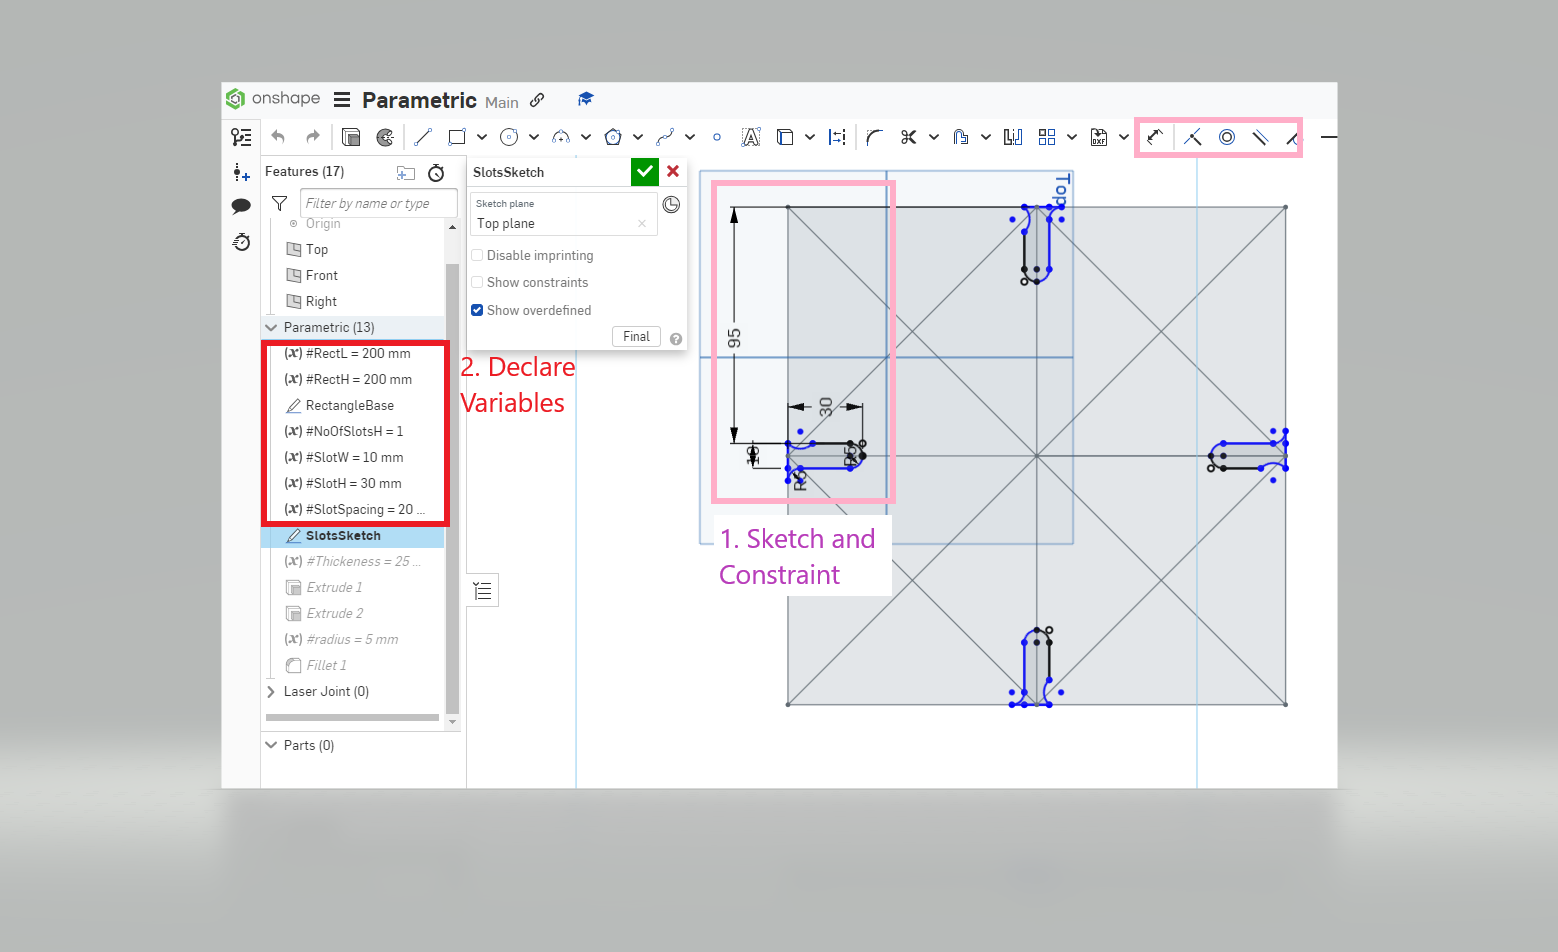
1. Creating Sketch of Rectangle, Slots, Construction lines and Constraints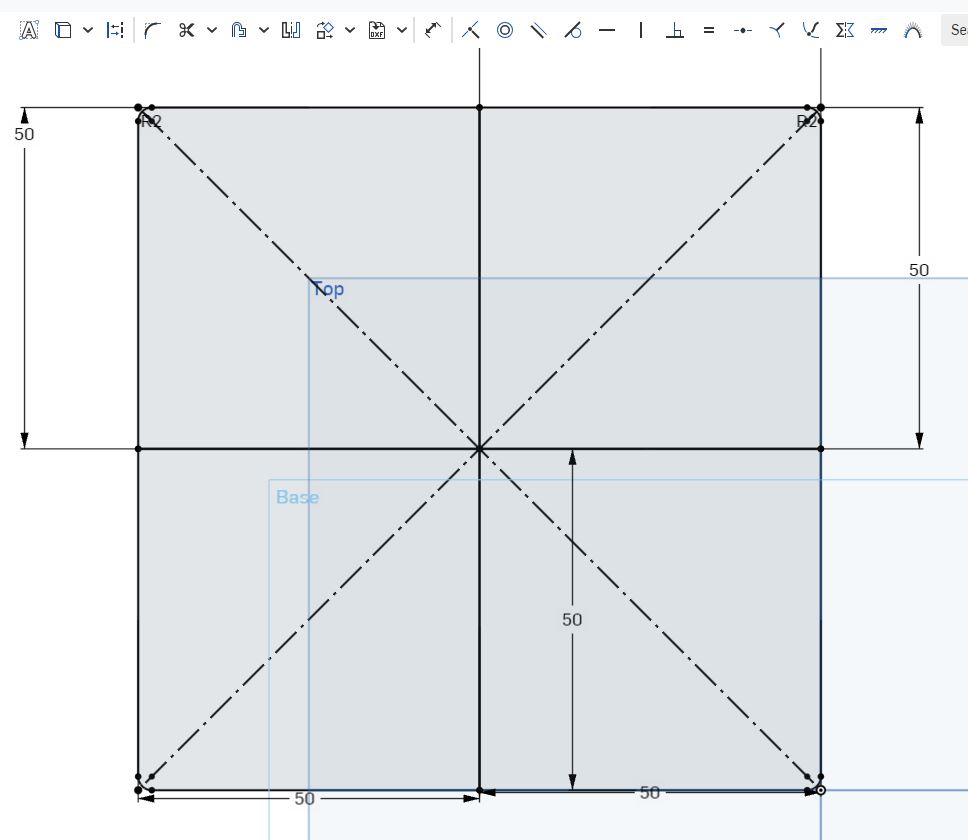 |
I Begin by launching Onshape and creating a new document. Use the sketch tools to outline the shape of the parametric design kit. Incorporate rectangles for the main components, slots for interlocking connections, and construction lines for alignment. Apply geometric constraints to ensure that the sketch remains fully defined and adjustable as you refine the design. |
2. Using Dimension Tool And Variables to Constraint 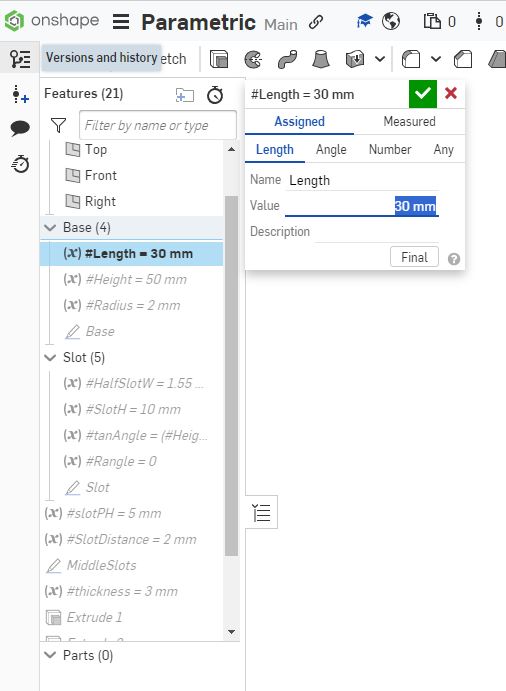 |
Next, I utilize the dimension tool to add precise measurements to your sketch. Assign variables to parameterize key dimensions, such as the length, width, and thickness of components. This allows for easy adjustments later on by simply modifying the variable values. Apply geometric constraints to link dimensions and maintain the desired proportions of the parametric design kit. Ensure that the design remains adaptable to accommodate variations in material thickness or specific project requirements. |
3. Export Face to DXF 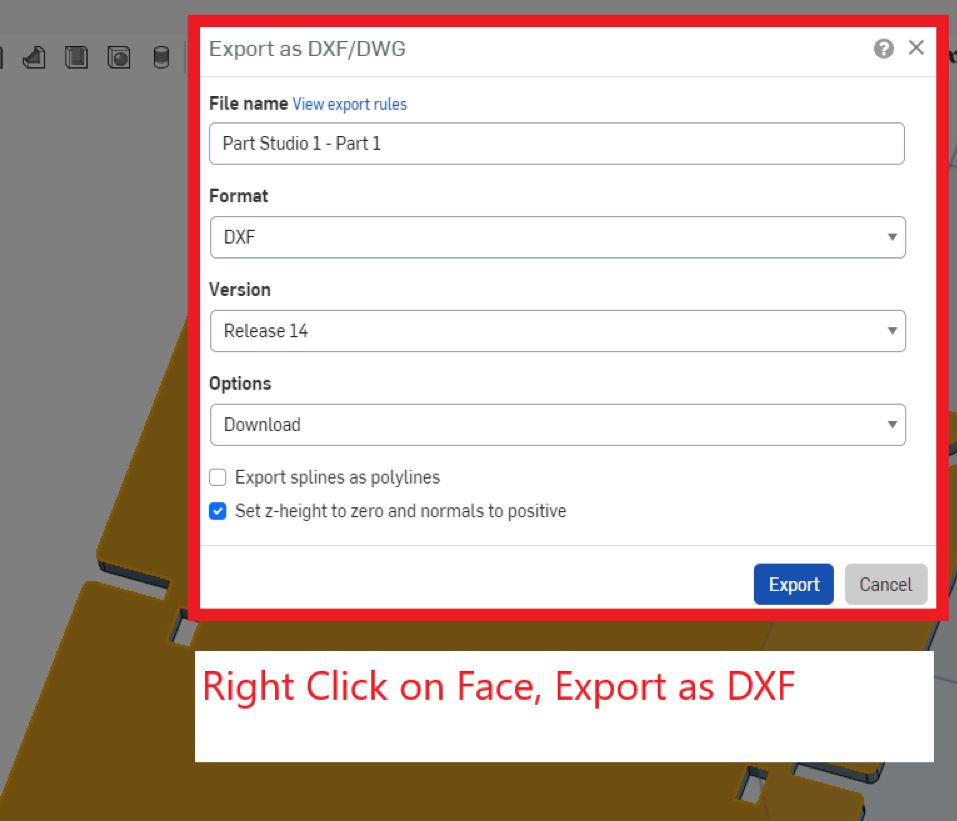 |
I Export the finalized sketch face to a DXF file format. |
| Digital Files Created | Onshape File Stl File DXF file |
I2. Parametric Design Kit Design on CorelDRAW
| Steps | Description |
|---|---|
| 1. Import DXF | I Launch CorelDRAW and import the DXF file containing the finalized sketch of the parametric design kit. Use the import options to adjust settings such as units, scale, and layers as needed. Ensure that the imported sketch appears accurately in CorelDRAW's workspace. |
| 2. Select Engraving and Laser Cutting | I identify the parts of the design that require engraving and laser cutting. Use CorelDRAW's drawing and editing tools to separate the design elements into distinct layers or groups based on their intended treatment. Assign appropriate colors or line styles to indicate engraving areas versus cutting paths. |
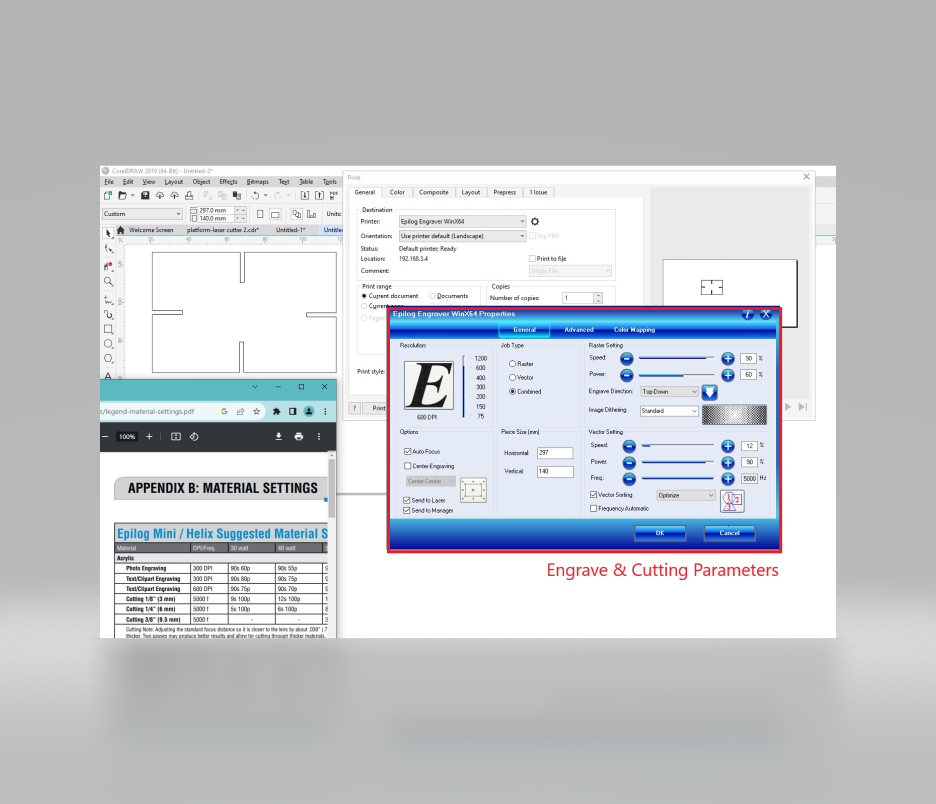
| 3. Set Engraving Parameters | I Define the engraving parameters for the identified areasAs shown in picture above. |
| 4. Set Cutting Parameters | I Specify the cutting parameters for the laser cutter, including power, speed, and frequency. Take into account the material thickness and properties to determine the optimal cutting settings. Use CorelDRAW's tools to generate cutting paths or adjust existing paths as needed for accurate and efficient cutting. |
| 5. Arrange for Efficiency | I Organize the design elements on the CorelDRAW workspace to minimize material waste and optimize cutting efficiency. Arrange components closely together while maintaining sufficient spacing to prevent interference during cutting. Consider the order of operations and nesting techniques to maximize the utilization of the material. |
| 6. Print at Laser Cutter | I Verify that all engraving and cutting settings are correctly configured as shown in picture and that the design is correctly positioned within the cutting area. |
| Digital Files Created | DXF File |
I3. Parametric Design Kit Design on Laser Cutting
| Steps | Description |
|---|---|
1. Safety Checks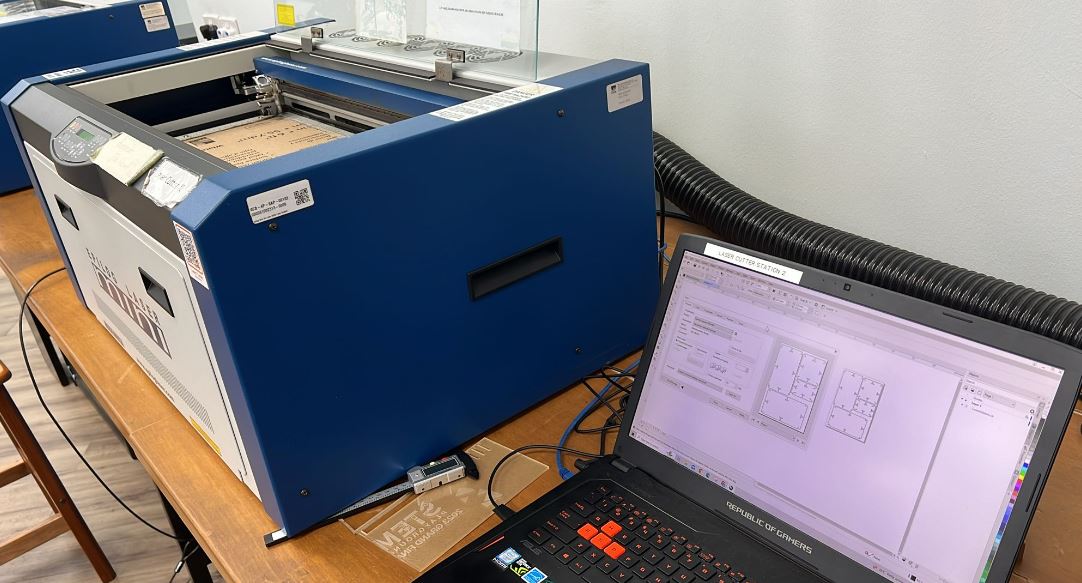 |
Prior to operating the laser cutter, I conduct thorough safety checks to ensure the machine and work environment are safe. I Verify that all safety features are functioning correctly, such as emergency stop buttons, interlocks, and exhaust systems. |
2. Using Epilog Mini 24 Steps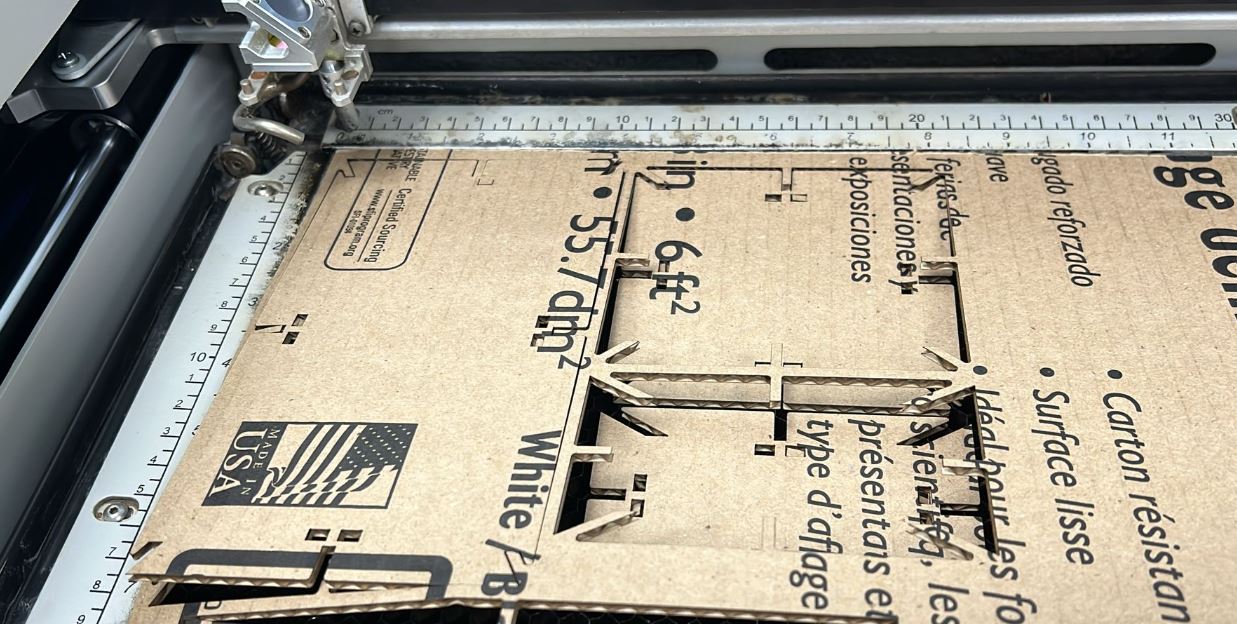 |
using the Epilog Mini 24 laser cutter, I followed these steps:
|
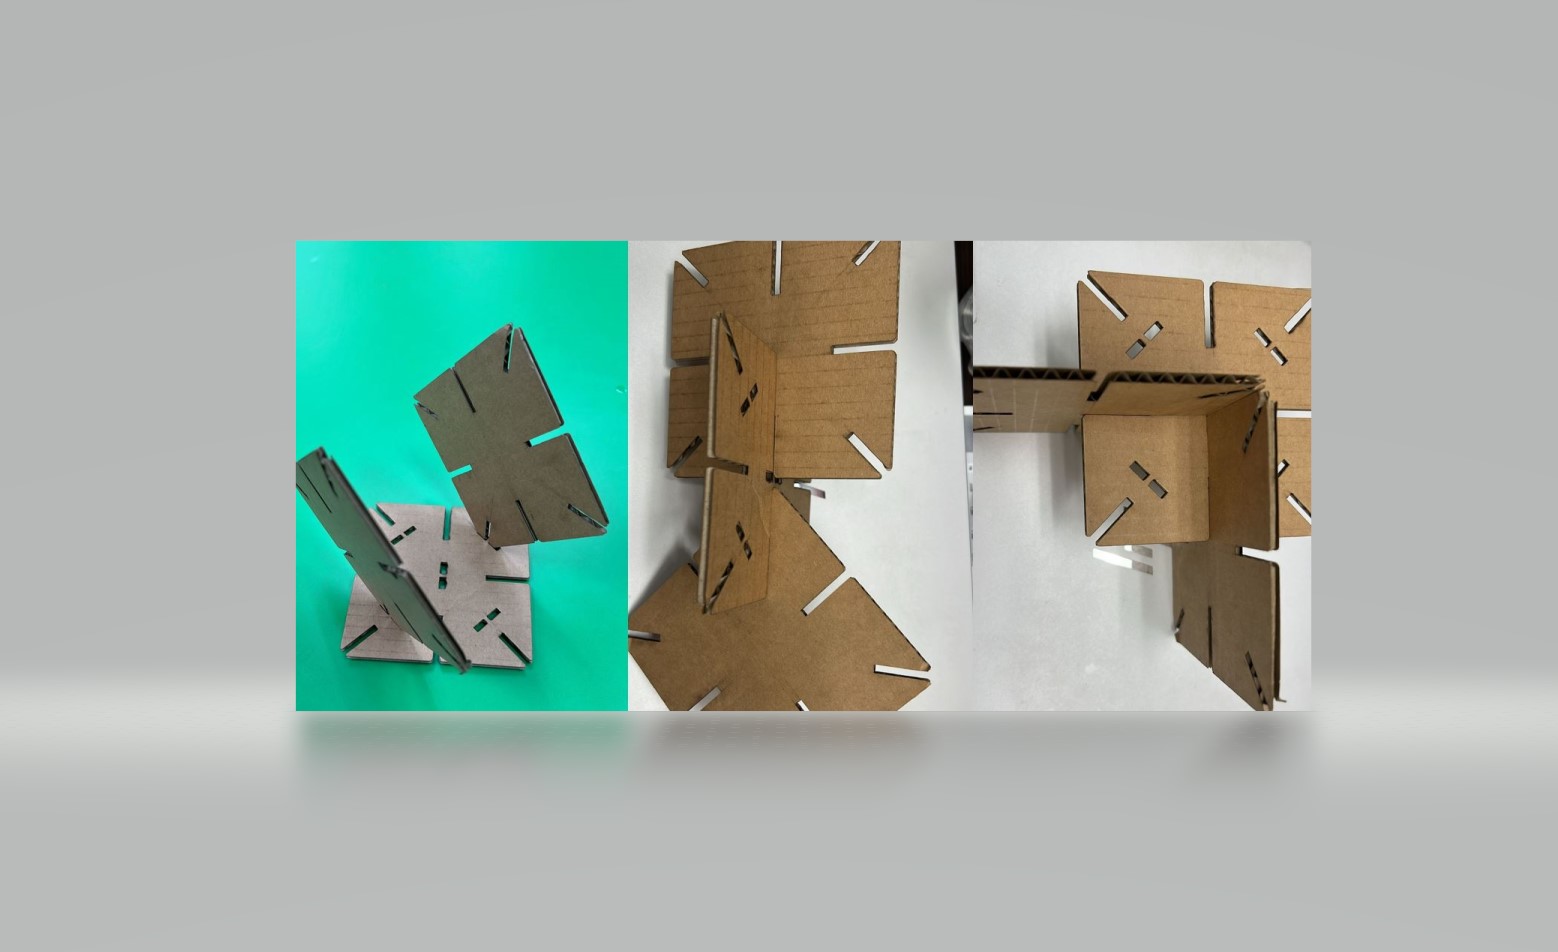
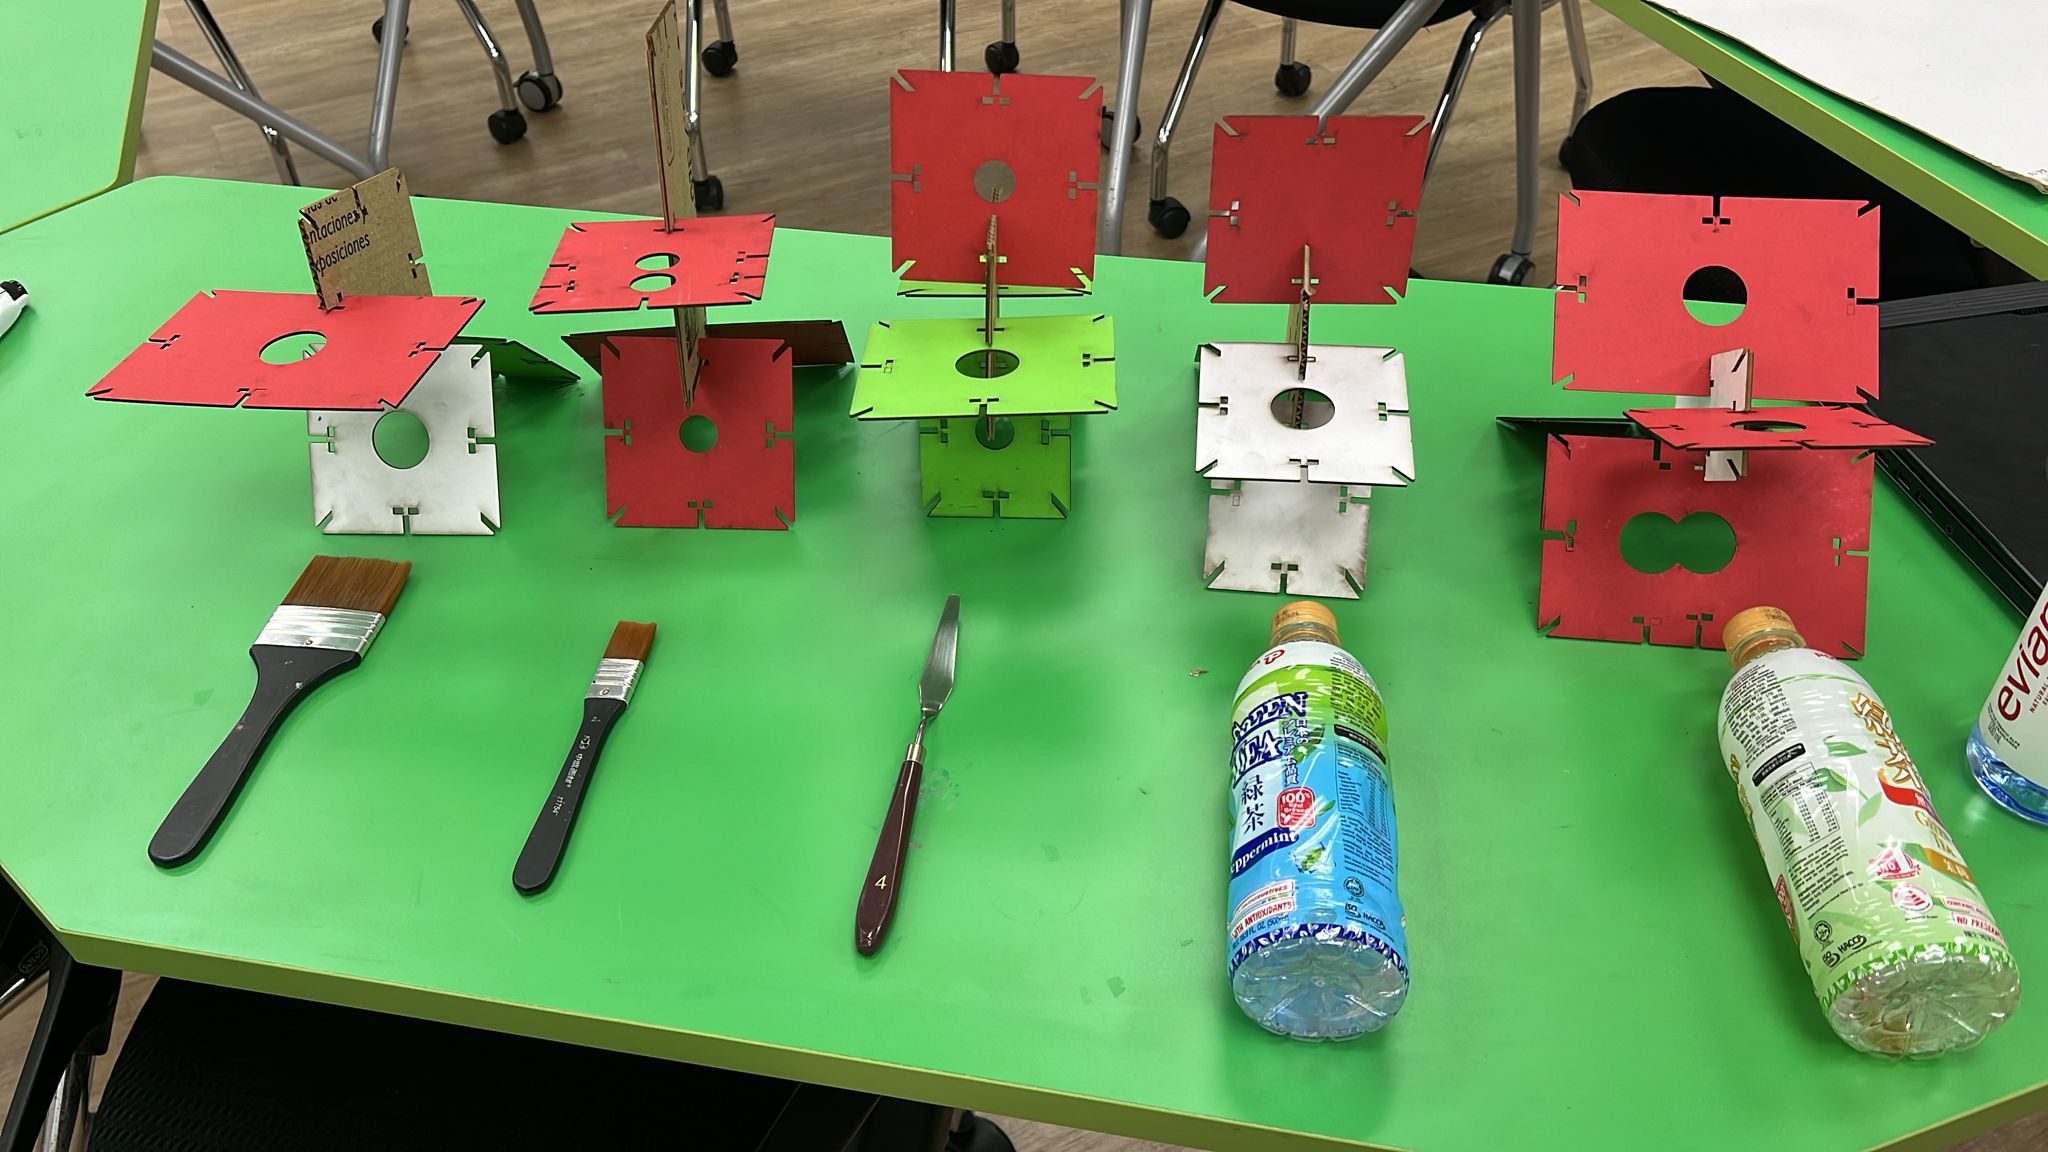
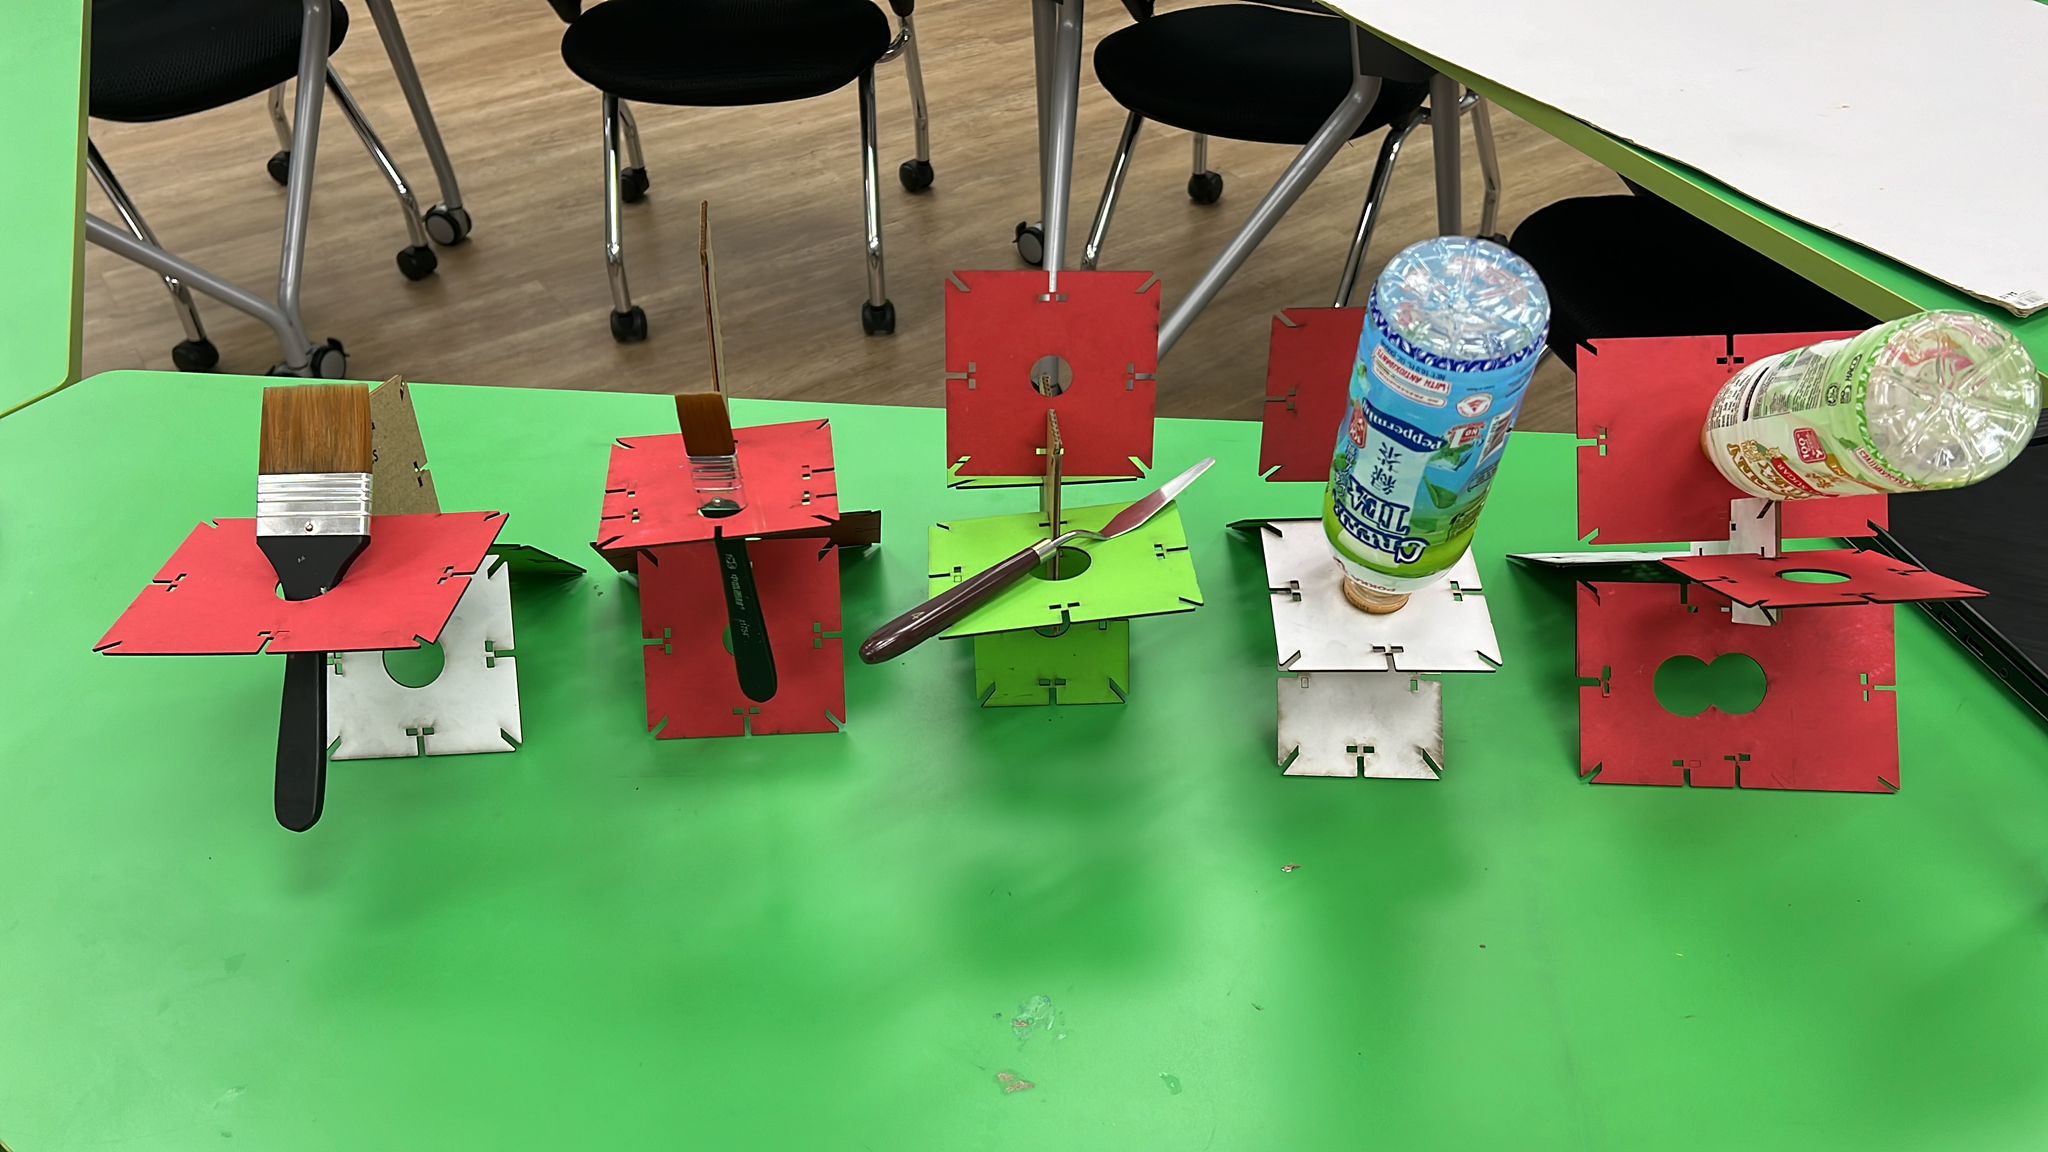
3. Post-Processing 
|
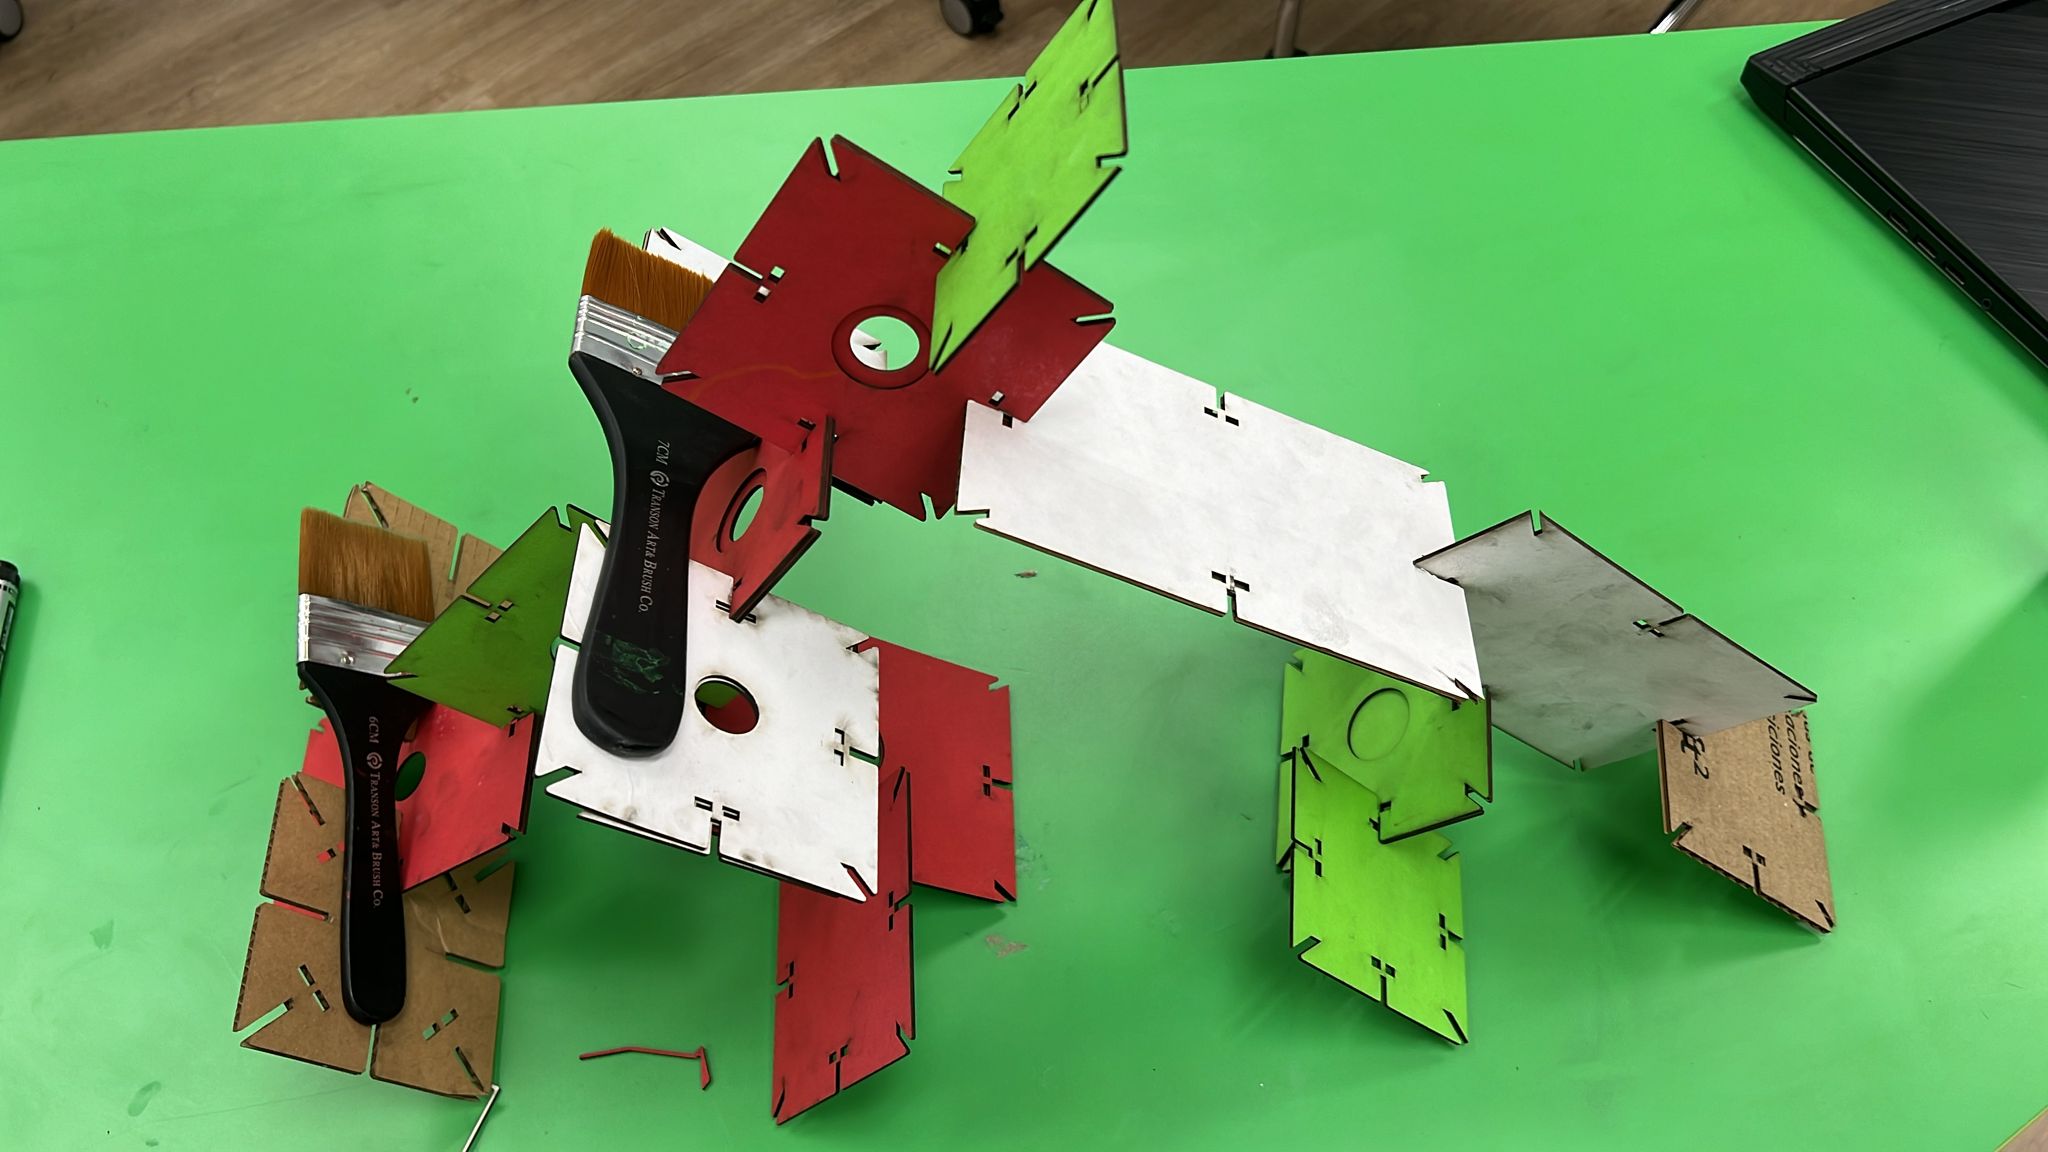
I assembled the kit, local evaluation advise and printed more and some functionality hence i made a hole to put items for it. |
I4. Vinyl Cutting on Cricut Maker 3
| Step | Description |
|---|---|
| 1. Safety Checks |
|
2. Designing At Software 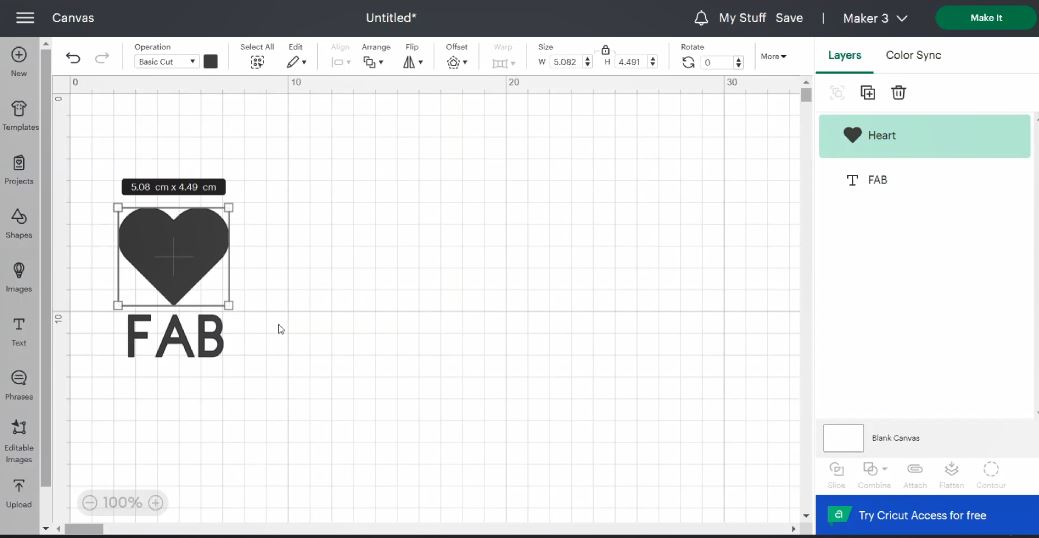
|
|
2. Material Setup 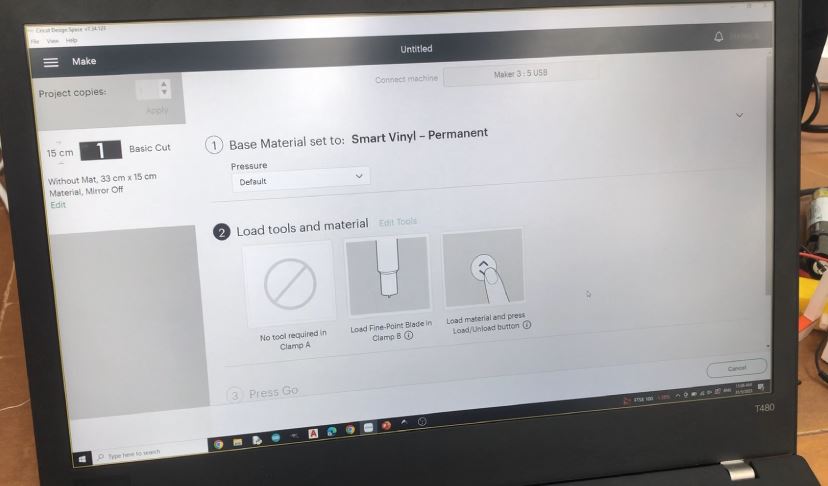 |
|
3. Setting Adjustments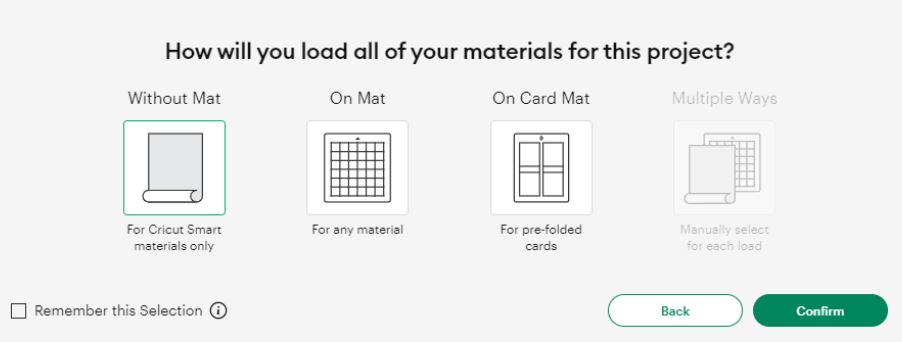 |
|
4. Cutting Process 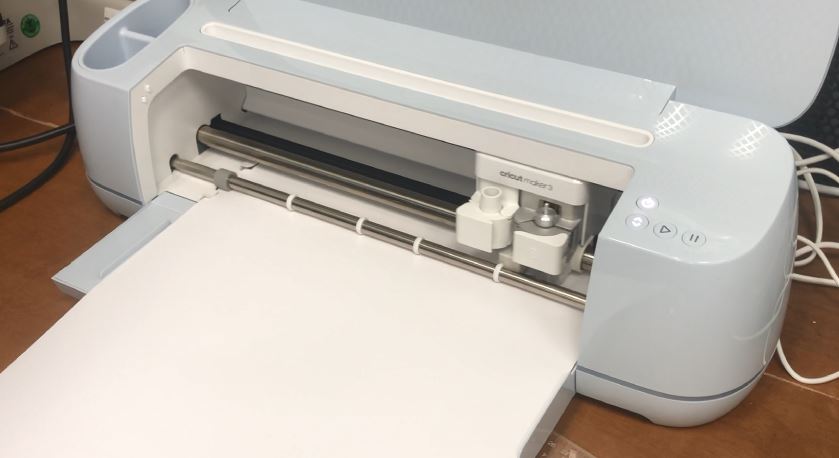 |
|
5. Post-Cutting Process 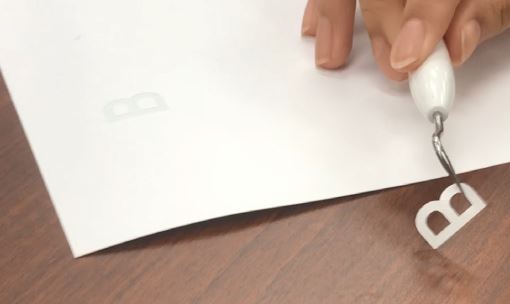 |
|