Principles, practices & project management
Principles and practices
Plan and sketch a potential final project
- Sketched your final project idea/s.
- Described briefly what it will do and who will use it.
- At least one sketch (something visual) and one paragraph (a few senteces) of text.
Project management
Build a personal site describing you and your final project. Upload it to the class archive. Work through a git tutorial.
- Made a website and described how you did it.
- Created a section about yourself on that website.
- Added a page with a sketch and description of your final project idea(s).
- Documented steps for creating your Git repository and adding files to it.
- Pushed to the class GitLab.
- Signed and uploaded Student Agreement.
Final project ideas
 Idea 1: BB8 During the course called "Fundamentals of digital fabrication" I
took in my fifth semester at university, I tried building the BB-8 droid from the Star Wars
franchise.
I did not completely finish it at my first attempt, so the first idea that came to my mind for
the final project of Fab Academy was to finish the droid.
Idea 1: BB8 During the course called "Fundamentals of digital fabrication" I
took in my fifth semester at university, I tried building the BB-8 droid from the Star Wars
franchise.
I did not completely finish it at my first attempt, so the first idea that came to my mind for
the final project of Fab Academy was to finish the droid.
 Idea 2: Selfwatering Flowerpot I regularly order cooking boxes from Hello
Fresh. To keep the food cold and fresh, they send you ice packs with the food.
After you put the food in your fridge, you can wait for the ice packs to melt and then water
your plants with them. Since I don't want to have them lying around in my kitchen,
I want to build a flower pot, that has an integrated space for those ice packs and automatically waters my plants.
Idea 2: Selfwatering Flowerpot I regularly order cooking boxes from Hello
Fresh. To keep the food cold and fresh, they send you ice packs with the food.
After you put the food in your fridge, you can wait for the ice packs to melt and then water
your plants with them. Since I don't want to have them lying around in my kitchen,
I want to build a flower pot, that has an integrated space for those ice packs and automatically waters my plants.
Git, GitLab & GitHub
Git was originally developed in 2005 by Linus Torvalds (creator of the Linux kernel) and is an
open source distributed version control system designed to handle all kinds of projects quickly
and efficiently. It can be used to organize ones own versions of code, changes to documents and
other information or to manage software development etc. within a team of developers.
GitLab and GitHub are both platforms for source code management based on Git. Both platforms can
be used directly from the browser, the terminal within Git itself or a lot of other IDEs and
code editors. Both versions enable free private and public repositories. Both also offer tools
for working in a team and the integration of third-party software. While GitHub is owned by
Microsoft, GitLab is run by the GitLab Inc..
The difference between the two also lies in the fact that with GitLab it is possible to
self-host for ones own usage and have private access to ones code.
During this course GitLab will be used to store and deploy the HTML pages which document our
progress and assignments.
Setting up Git & GitLab
Download & Setup of Git
Dowloading Git is the first step when setting up the version control system. During the installation there are a lot of different options to set up Git according to your preferences. "git --version" can be run in the GitBash to check if the installation was successful. After the installation is complete the main user informations need to be set up. To do so, the following commands need to be run in the GitBash with adjusted personal informations:
	git config --global user.name "[name]"
	git config --global user.email "[email address]"
SSH Key
When using GitLab you share or “push” your changes to a server. In our case, the server is
GitLab.
GitLab uses the SSH protocol to securely communicate with Git. This way, the SSH keys are used
for the authentication to the GitLab remote server and supplying your username and password each
time becomes futile.
The SSH key can be generated by running the following command in the GitBash (do not enter a
passphrase when asked, to avoid having to enter a passphrase every time):
ssh-keygen -t rsa -C "your_email
Copy the SSH key shown by the following command (if the public key was placed at the default location):
cat ~/.ssh/id_rsa.pubThis public part of the SSH key needs to be pasted to GitLab. The corresponding page to paste the key can be found under "Settings" > "SSH Keys".
Cloning a repository
After creating a repository in GitLab you need to create a local copy (clone) of the repository on your local machine. One way to do so is to go to the main page of your repository, click on "Clone" > "Clone with SSH" and to copy the provided text. Now clone the repository using the following command in the GitBash:
git clone "username@host:/path/to/repository"
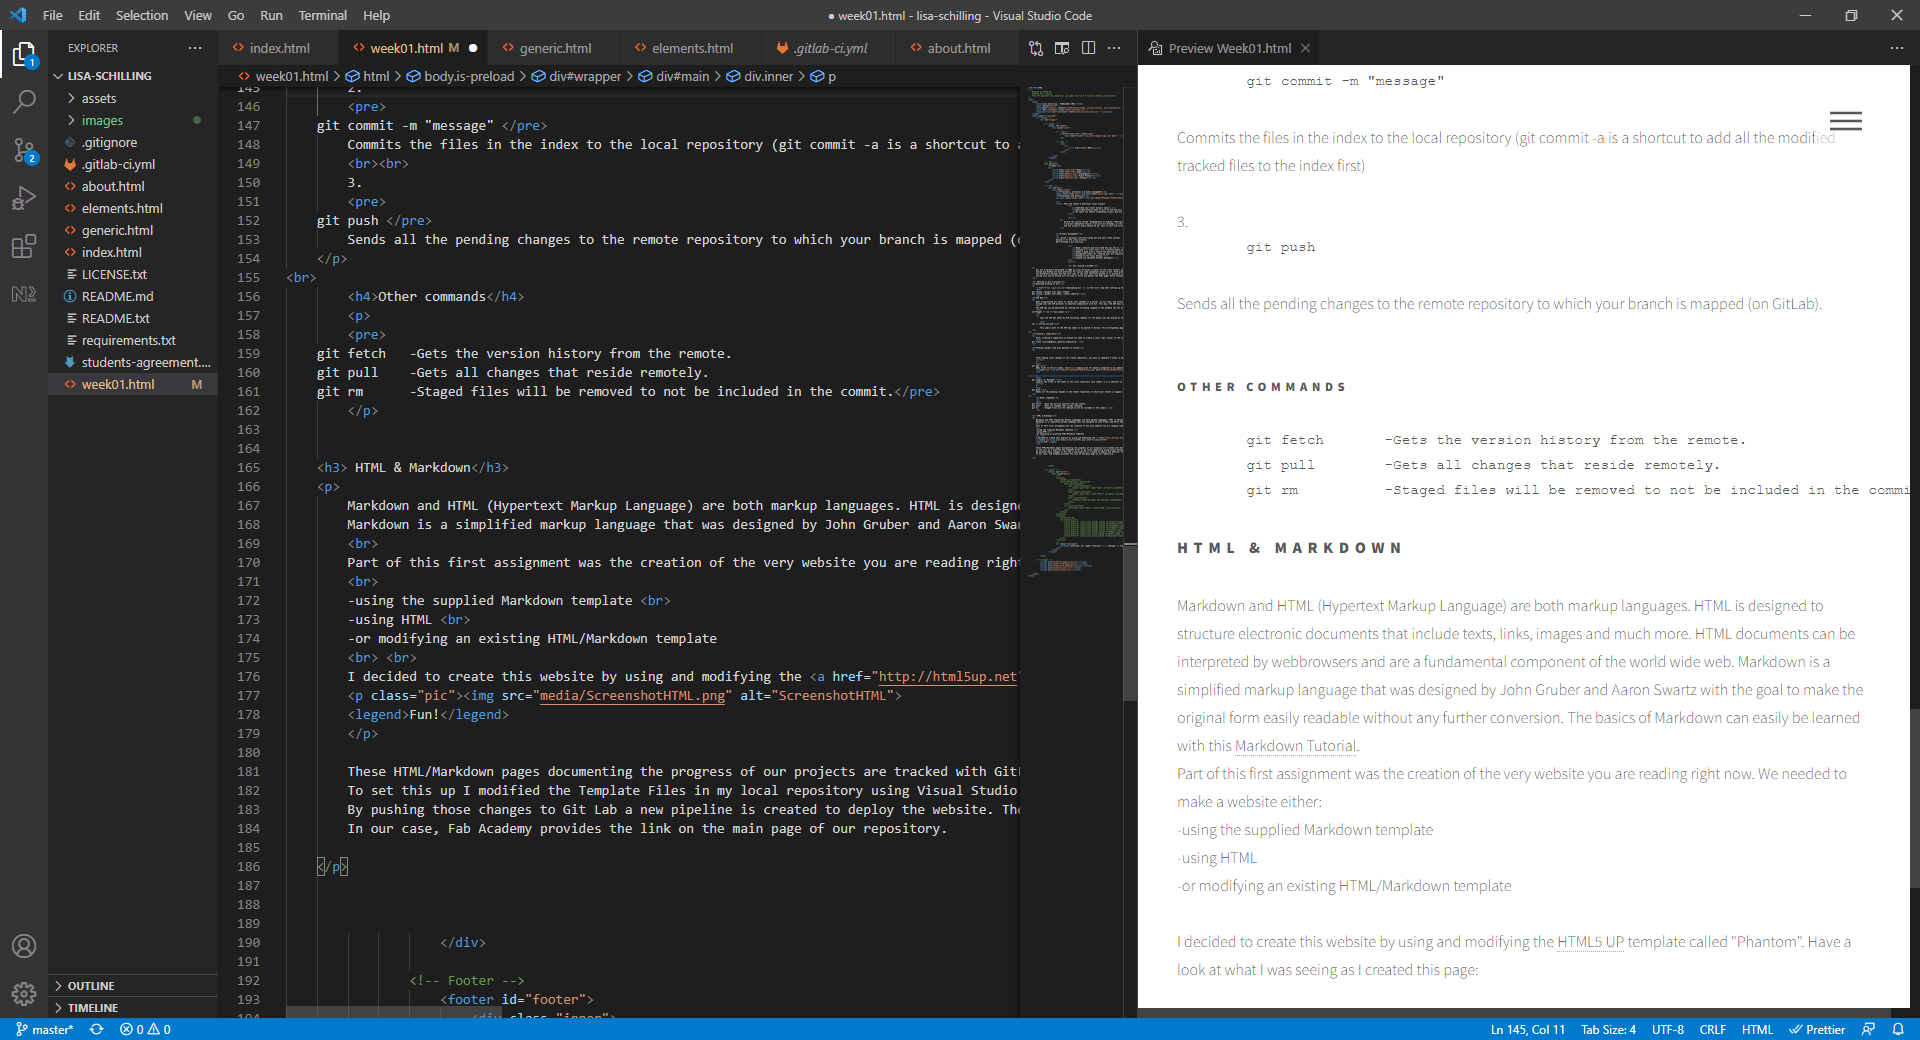
Pushing changes from your machine to GitLab
After making local changes to the cloned repository, you have to complete 3 steps to add the
changes to your remote repository:
1.
git addAdds files to the Git index, which is a staging area for objects prepared to be commited (use "git add --all" to stage all modified objects). "git status" can be used to check the current status of the index:
2.
git commit -m "message"Commits the files in the index to the local repository (git commit -a is a shortcut to add all the modified tracked files to the index first)
3.
git pushSends all the pending changes to the remote repository to which your branch is mapped (on GitLab).
Other commands
	git fetch	-Gets the version history from the remote.
	git pull	-Gets all changes that reside remotely.
	git rm		-Staged files will be removed to not be included in the commit.
HTML & Markdown
Markdown and HTML (Hypertext Markup Language) are both markup languages. HTML is designed to
structure electronic documents that include texts, links, images and much more. HTML documents
can be interpreted by webbrowsers and are a fundamental component of the world wide web.
Markdown is a simplified markup language that was designed by John Gruber and Aaron Swartz with
the goal to make the original form easily readable without any further conversion. The basics of
Markdown can easily be learned with this Markdown
Tutorial.
Part of this first assignment was the creation of the very website you are reading right now. We
needed to make a website either:
-using the supplied Markdown template
-using HTML
-or modifying an existing HTML/Markdown template
I decided to create this website by using and modifying the HTML5
UP template called "Phantom". Have a look at what I was seeing as I created this page:
For the pipeline to pass, you also need to create a gitlab-ci.yml file. This can easly done from within GitLab with a template. For HTML it looks like this:
# This file is a template, and might need editing before it works on your project.
# To contribute improvements to CI/CD templates, please follow the Development guide at:
# https://docs.gitlab.com/ee/development/cicd/templates.html
# This specific template is located at:
# https://gitlab.com/gitlab-org/gitlab/-/blob/master/lib/gitlab/ci/templates/Pages/HTML.gitlab-ci.yml
# Full project: https://gitlab.com/pages/plain-html
pages:
stage: deploy
script:
- mkdir .public
- cp -r * .public
- mv .public public
artifacts:
paths:
- public
rules:
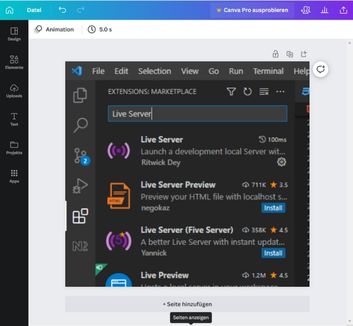
- if: $CI_COMMIT_BRANCH == $CI_DEFAULT_BRANCHLive Server
.jpg) "Live Server" is a Visual Studio Code extension which allows you to start a local
development server deploying your website in the browser. This is very handy
for trial-and-error processes and for simply viewing your website before you push the
changes to your repository. You can start the live server via "Go Live" in the lower right corner of VS Code.
"Live Server" is a Visual Studio Code extension which allows you to start a local
development server deploying your website in the browser. This is very handy
for trial-and-error processes and for simply viewing your website before you push the
changes to your repository. You can start the live server via "Go Live" in the lower right corner of VS Code.
Images
 It is important to compress images before inculding them in your website to save space.
In addition I also often have to resize images so they fit certain sections on the website.
I use the following websites for that:
It is important to compress images before inculding them in your website to save space.
In addition I also often have to resize images so they fit certain sections on the website.
I use the following websites for that:
- Compressing: Image Compressor
- Resizing & editing: Canva