Leen Nijim
Assignment 16
Wildcard Week - Embroidery Machine
Task
Our assignment this week was to create our own assignment. We need to design and produce something with a digital manufacturing process, incorporating computer-aided design and manufacturing. I decided to explore our lab's embroidery machine and try to stitch some decoration designs onto fabric.
What You Need
- W6 sewing and embroidering machine N 5000 + EU7e.
- Pieces of fabric, sewing thread, and embroidery stabilizer.
Files to Download
Hero Shots
Learning Curve
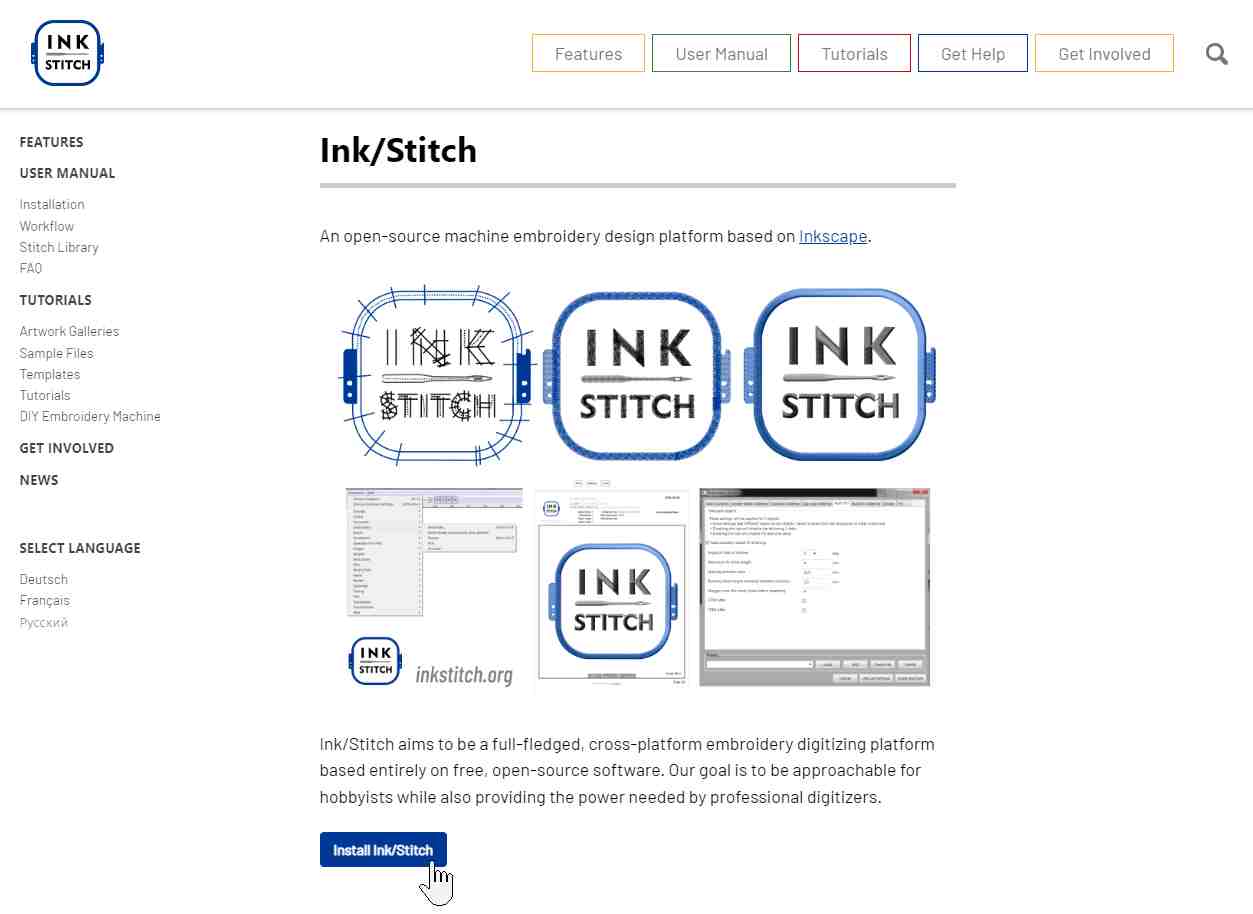
The first thing I did before trying to design anything was to install an Inkscape extension called Ink/Stitch from their fabulously documented website.
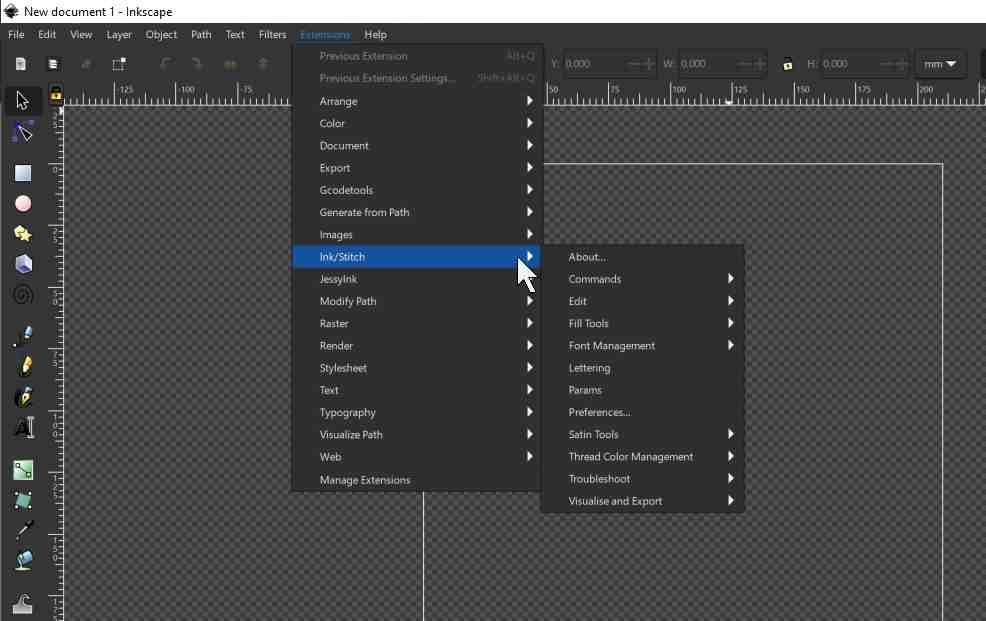
And then I made sure that it installed correctly by double-checking in the Extensions menu in Inkscape.
Then I went to their tutorials page and watched their Ink/Stitch Beginner Tutorial Series, which I would really recommend.

And I also did a test filled shape embroidery while working.
This is a nicely summarized workflow slide from the tutorial.

Preparing the Machine
Useful Links
- W6 sewing and embroidering machine N 5000 + EU7 introductory videos.
- Help for the W6 N 5000.
- Help for the W6 EU7 embroidery unit.
- W6 N5000 instruction manual.
- W6 EU-7 embroidery unit instruction manual.
Setting Up
After I finished watching the tutorials linked in the above section, I went to buy a spray glue can from a nearby store to fasten the embroidery stabilizer onto the back of the fabric I plan to use.

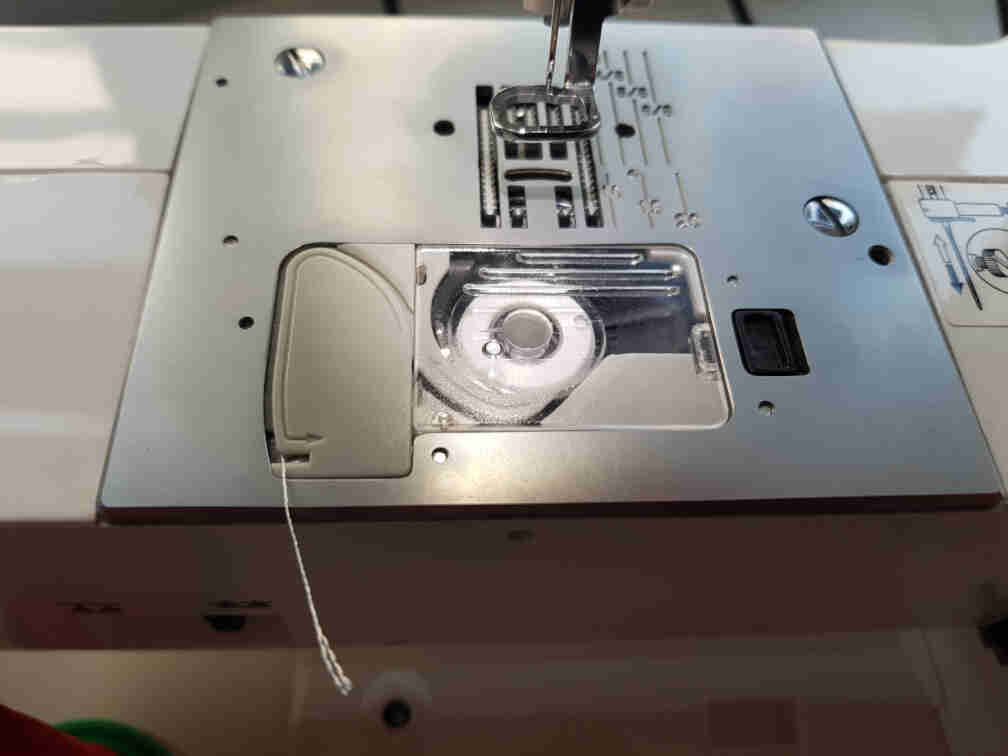
I then prepared for threading the bobbin with white thread.
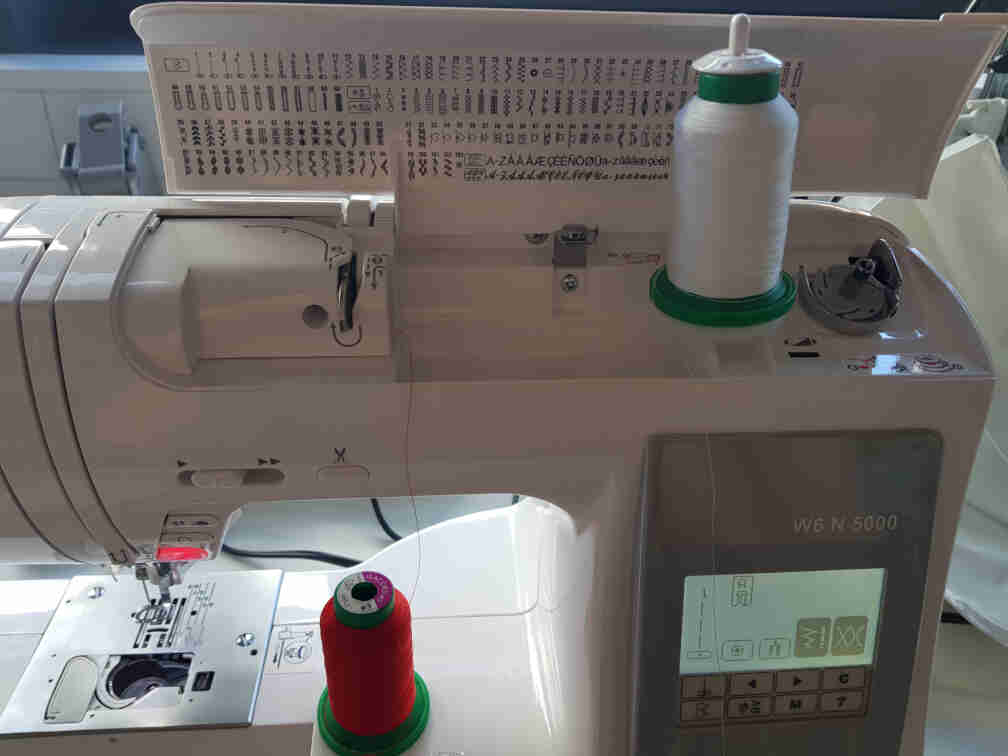
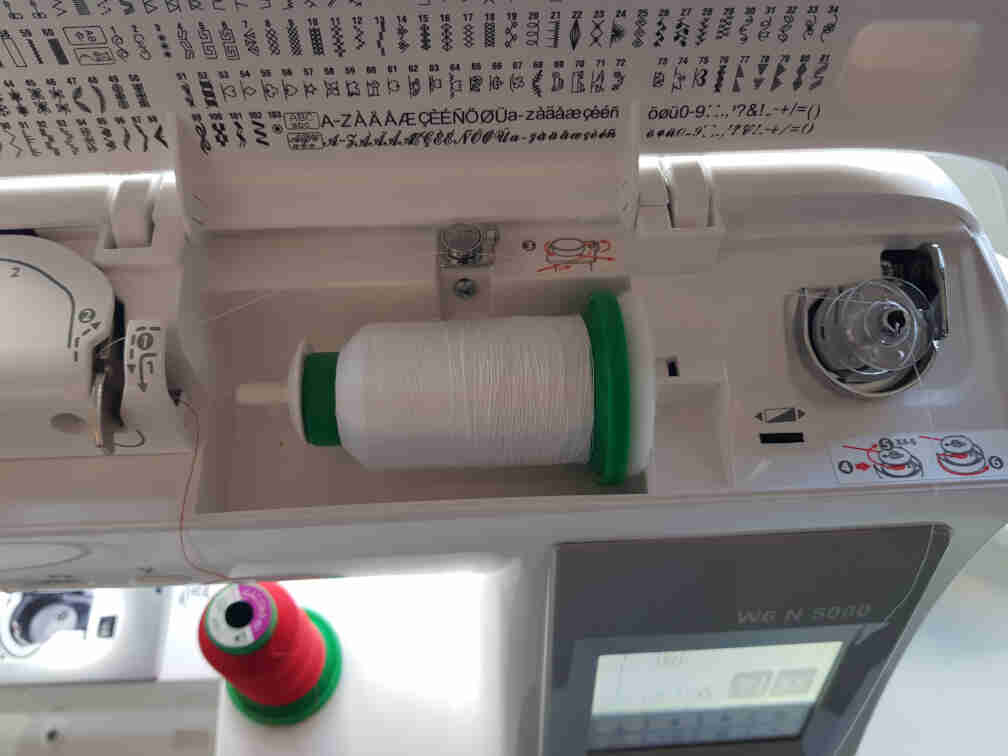
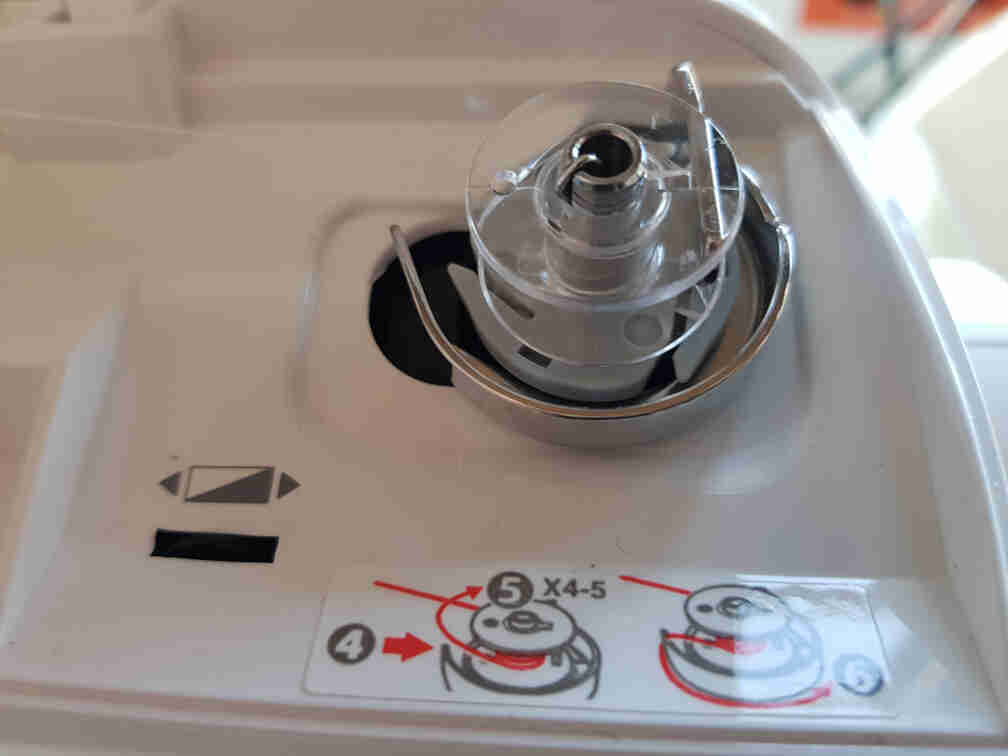
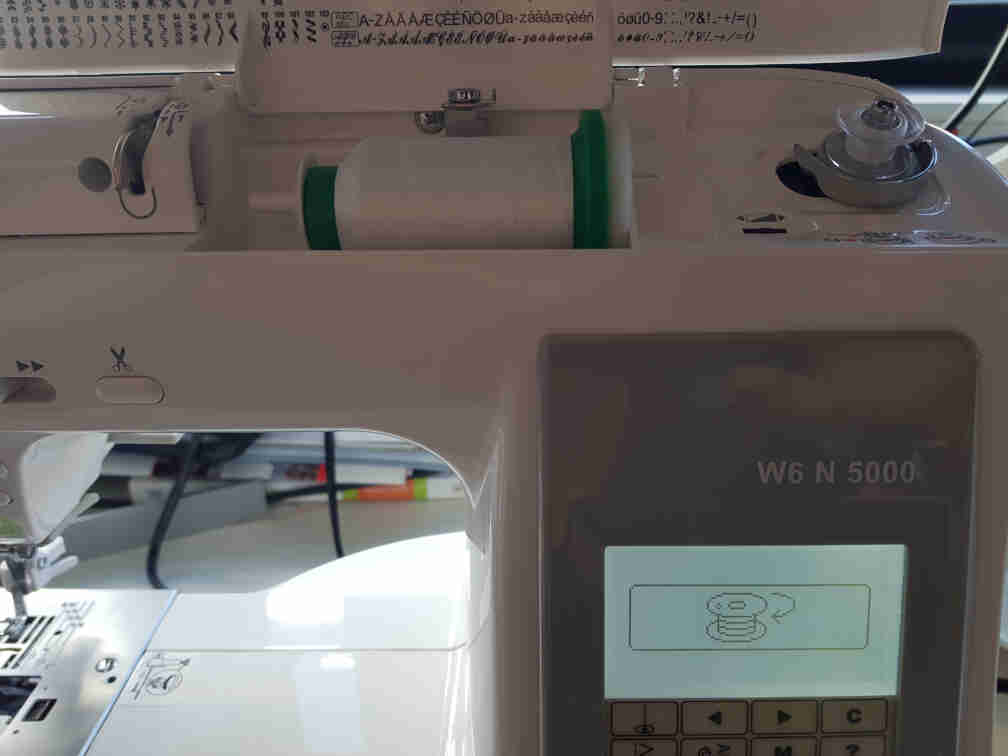
And then placed it carefully according to the instructions manual.
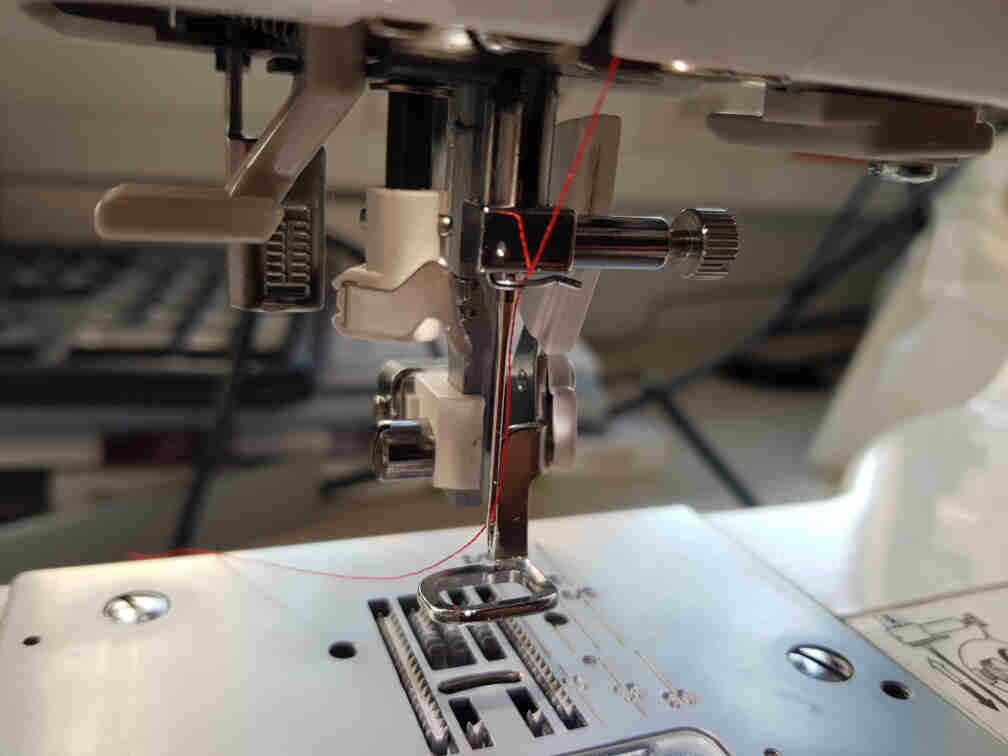
And threaded the needle with red thread.
Test Run
To get familiar with the machine, I decided to stitch one of the preset shapes. I picked the star since it seemed simple enough.
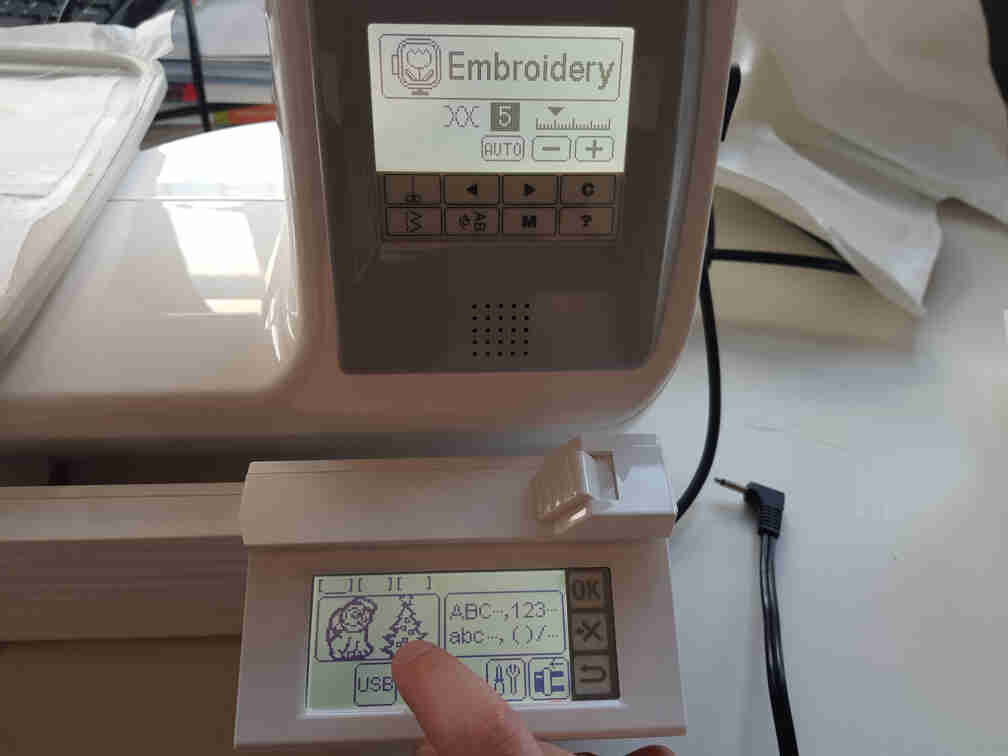
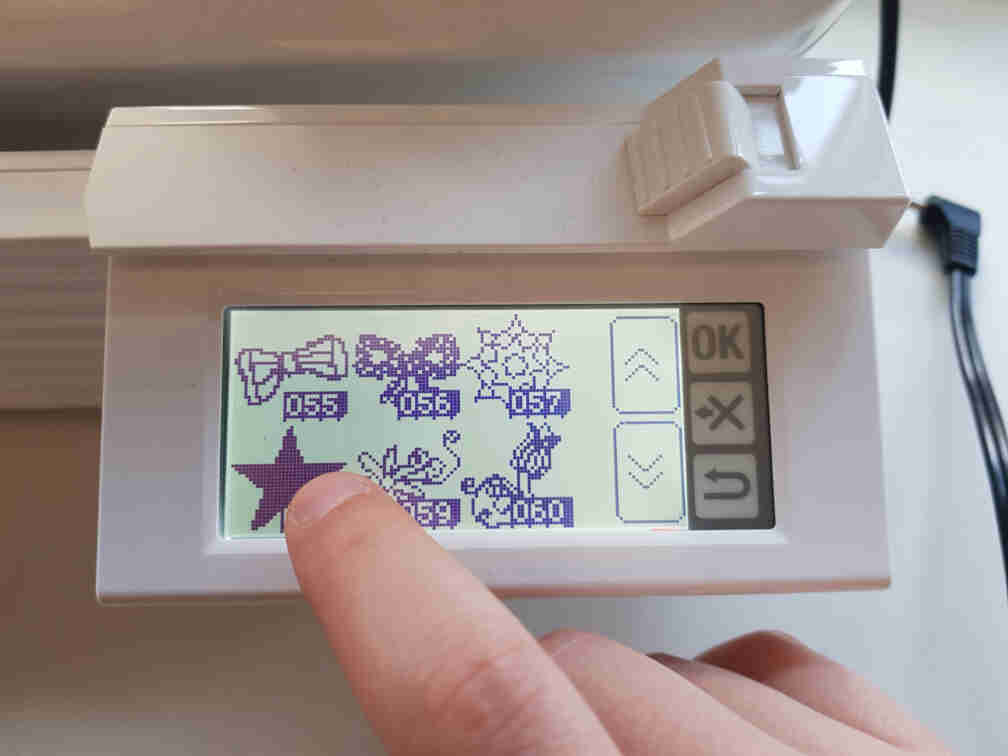
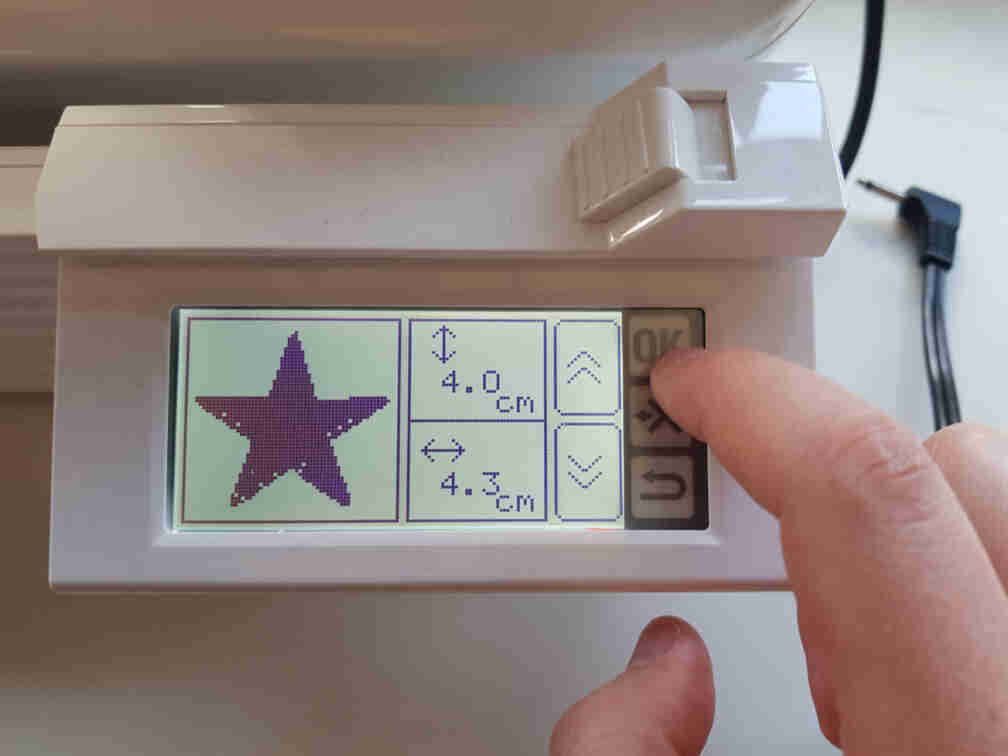
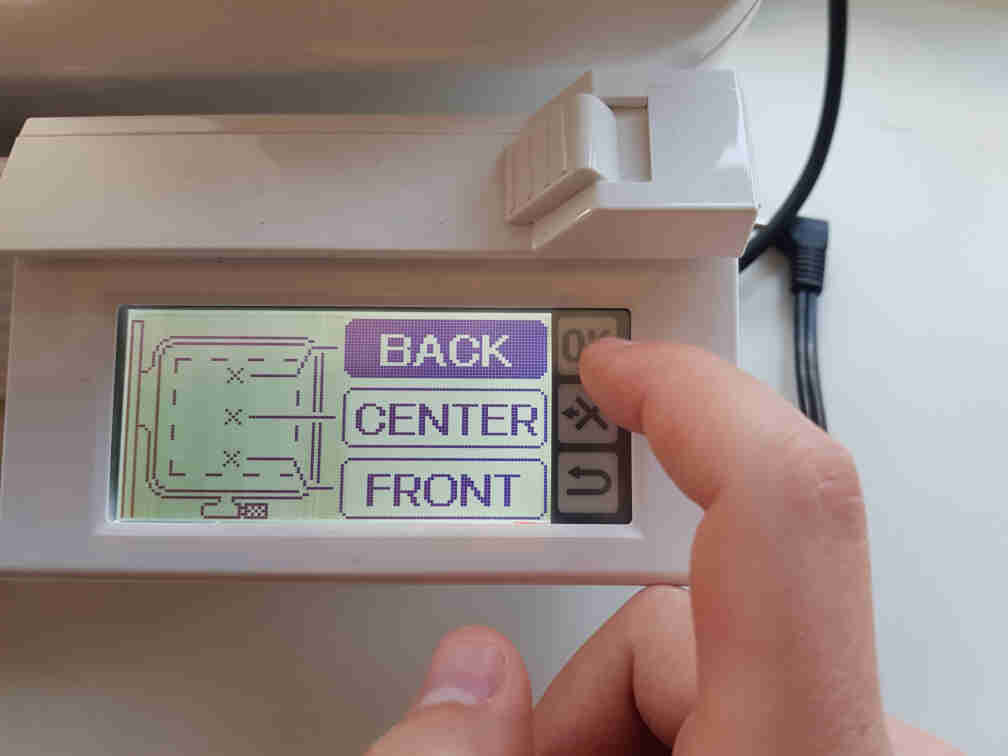
I then set up the size I wanted, selected the correct hoop size, and decided to place the end stitch to the back of the star pattern.

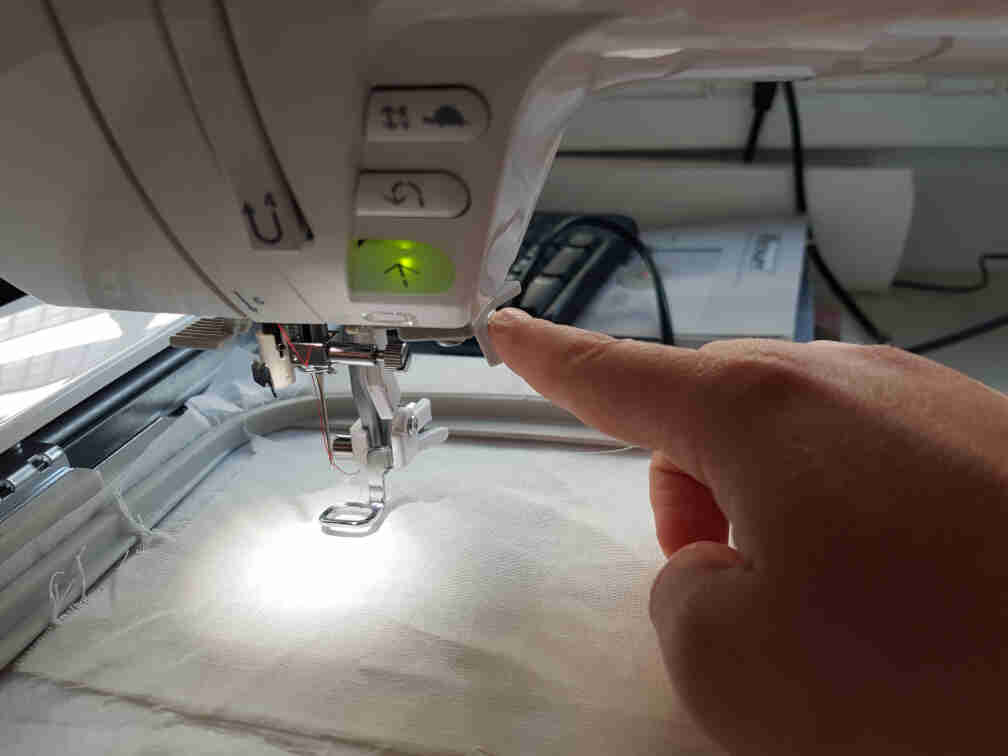
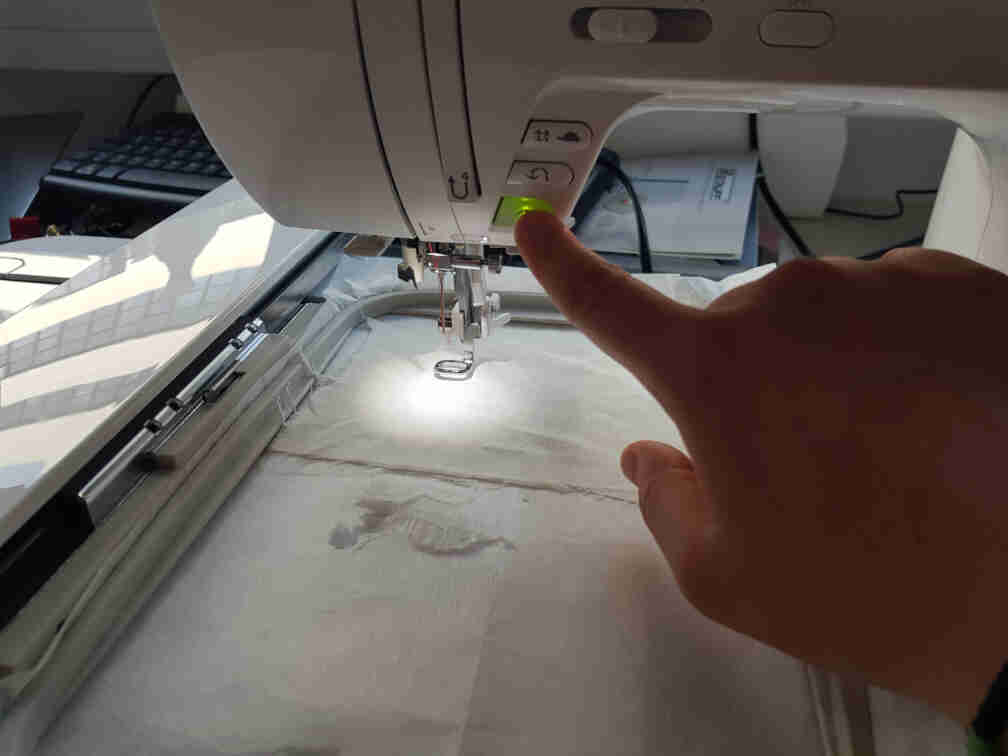
After that I positioned the needle where I wanted it on the fabric, and double-checked that by pressing the P on the touch screen for a preview of the shape boundaries. Then made sure to lower the presser foot lever (red light --> green light).
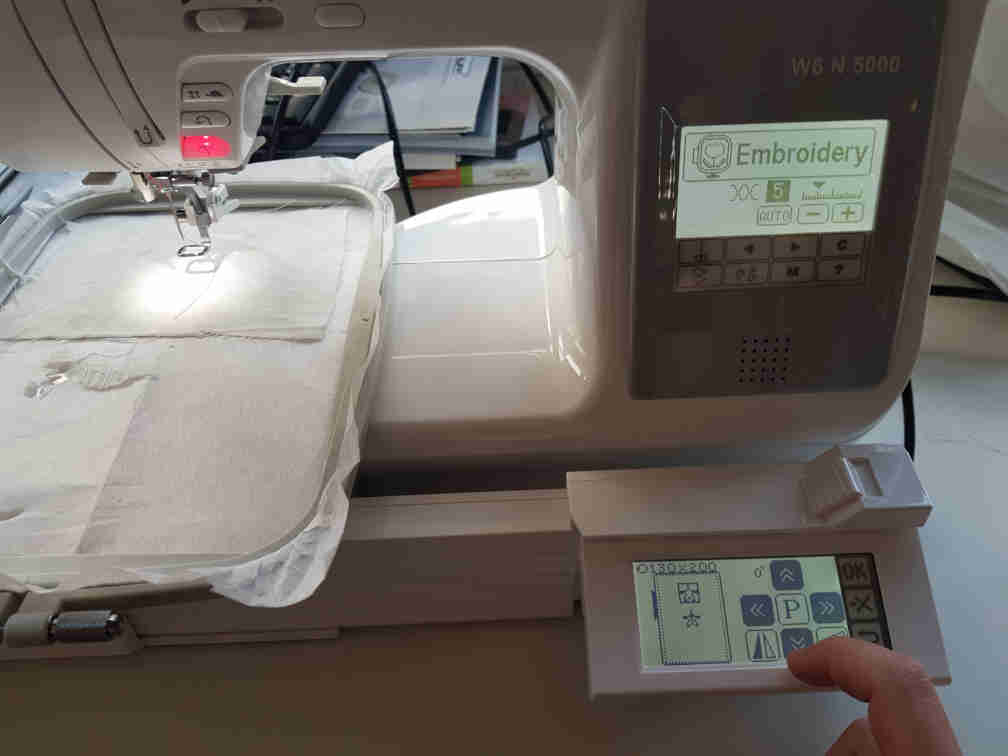

Double-checked my setup one last time, and hit start.

First stitches look okay.
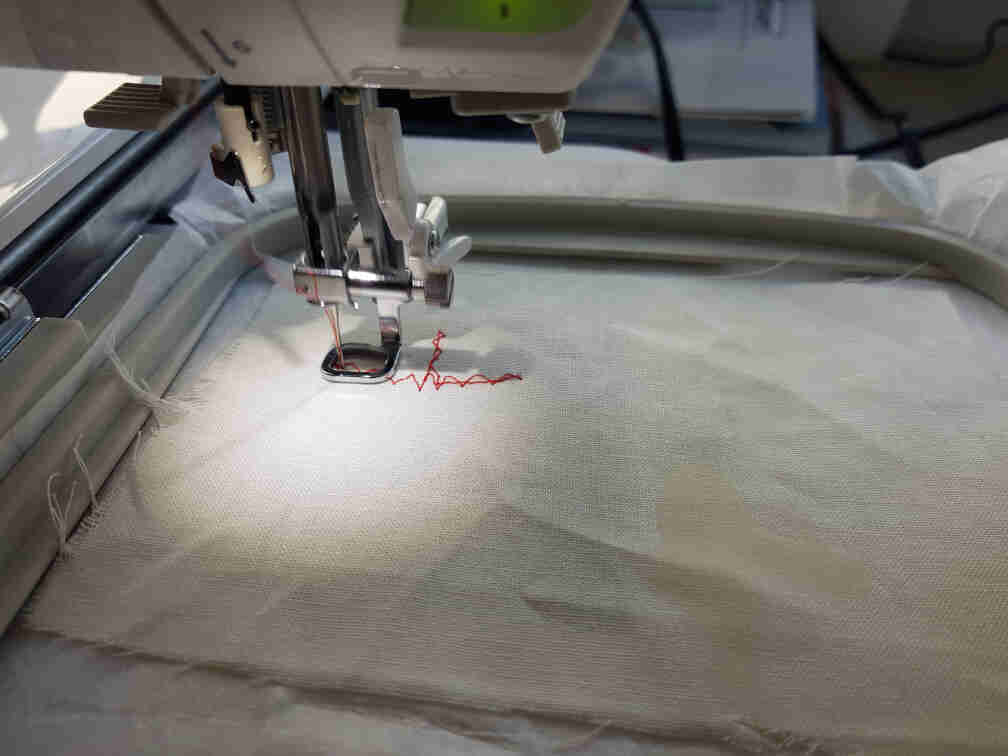
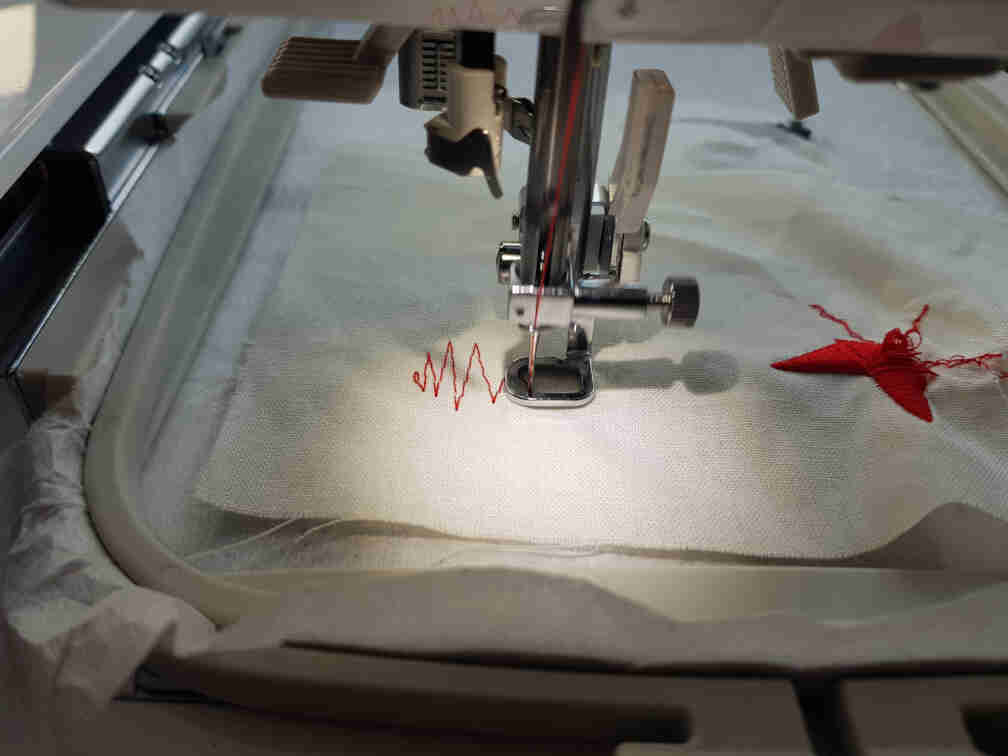
A star is born.
Accidents happen :/. Apparently the stitches were too dense that they got tangled from underneath with the machine bed, so that I had to abort the job and cut the tangled piece of fabric out to free it from the machine.

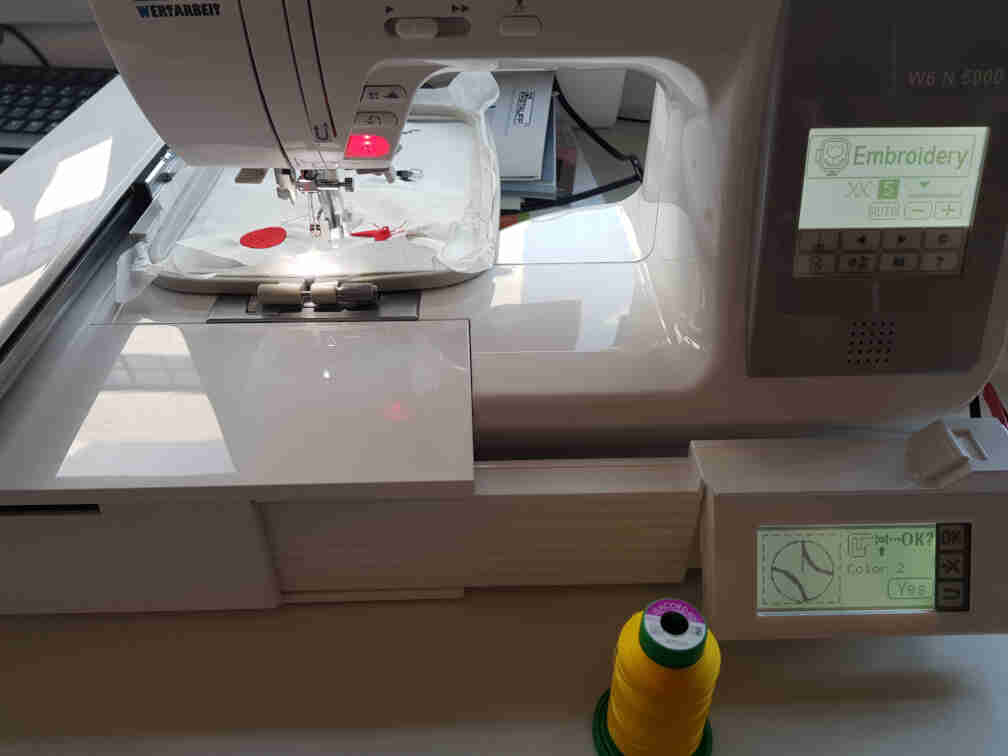
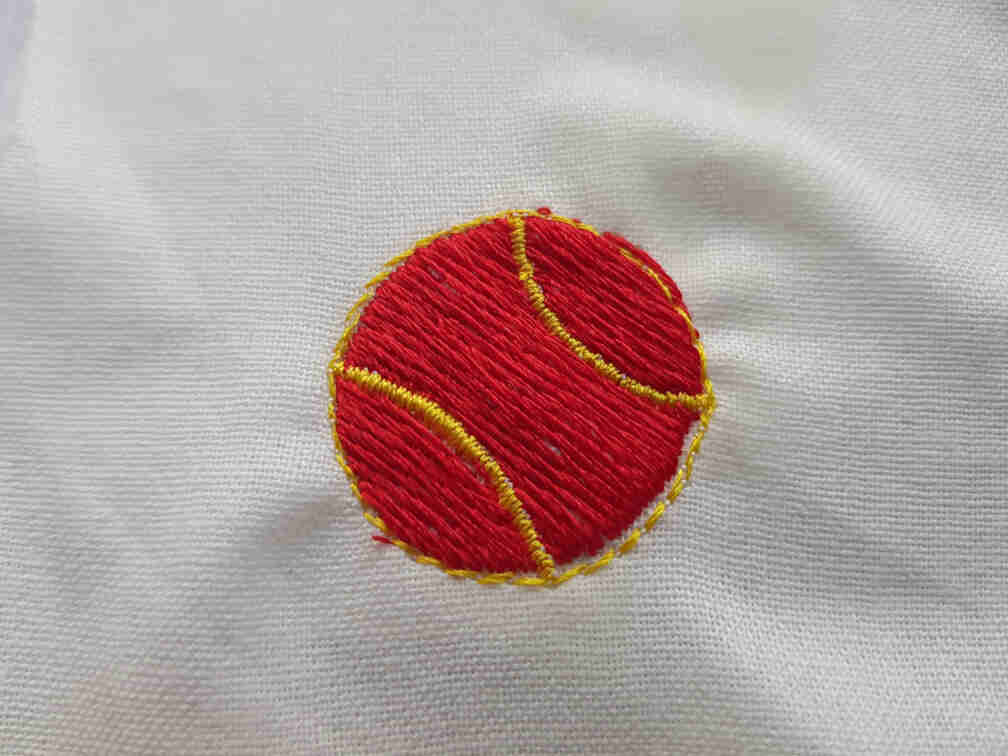
Another Test Run
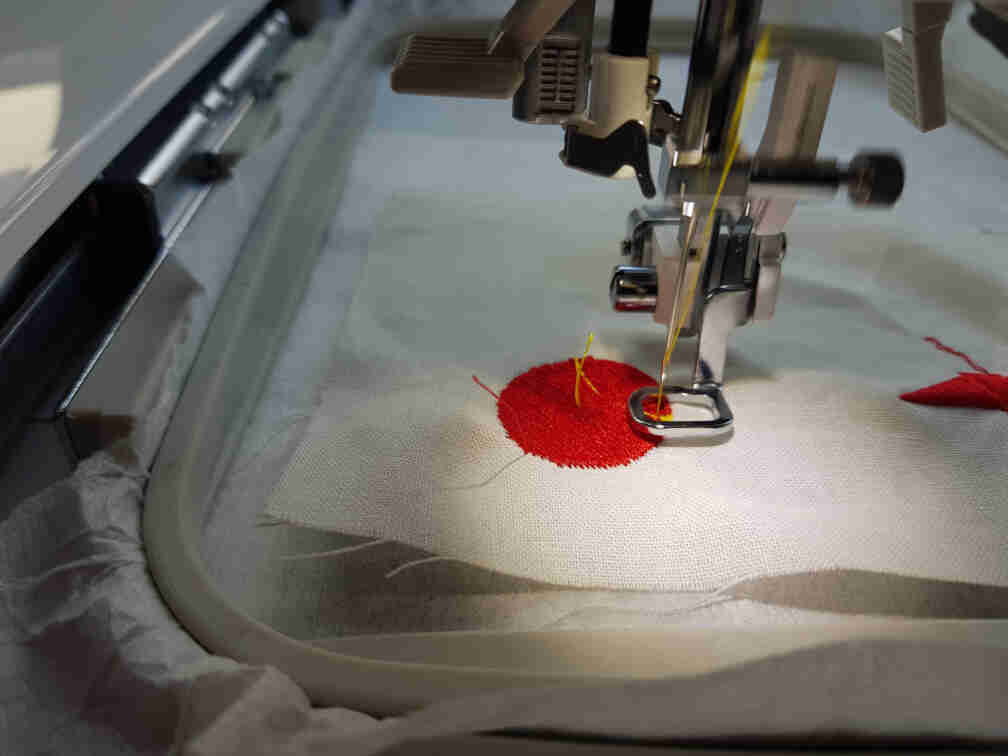
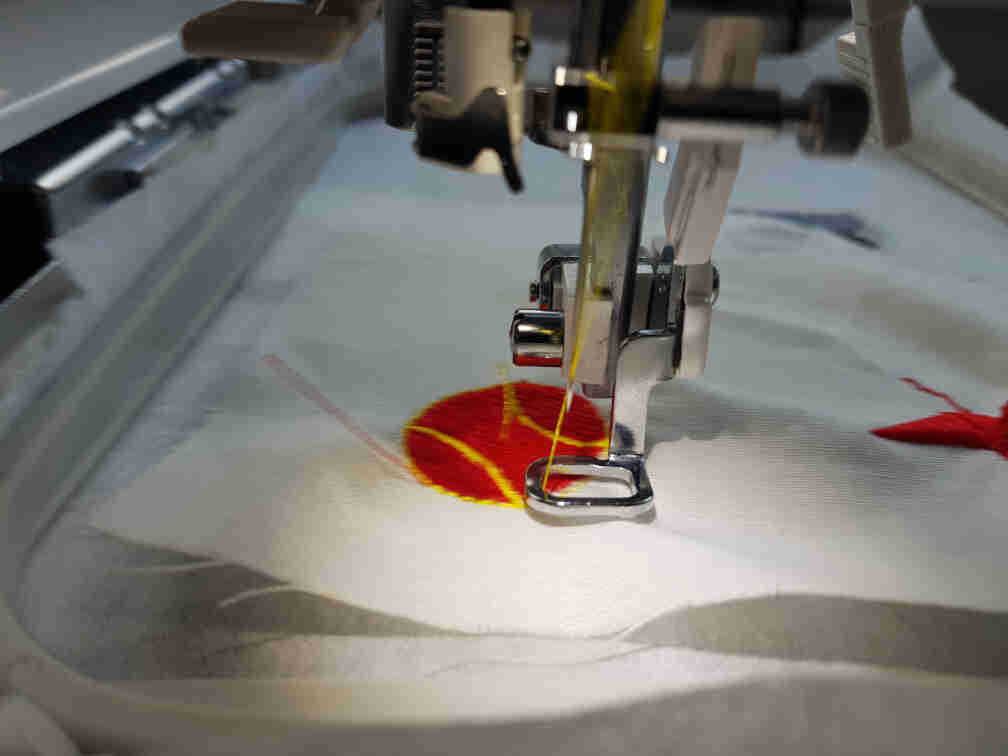
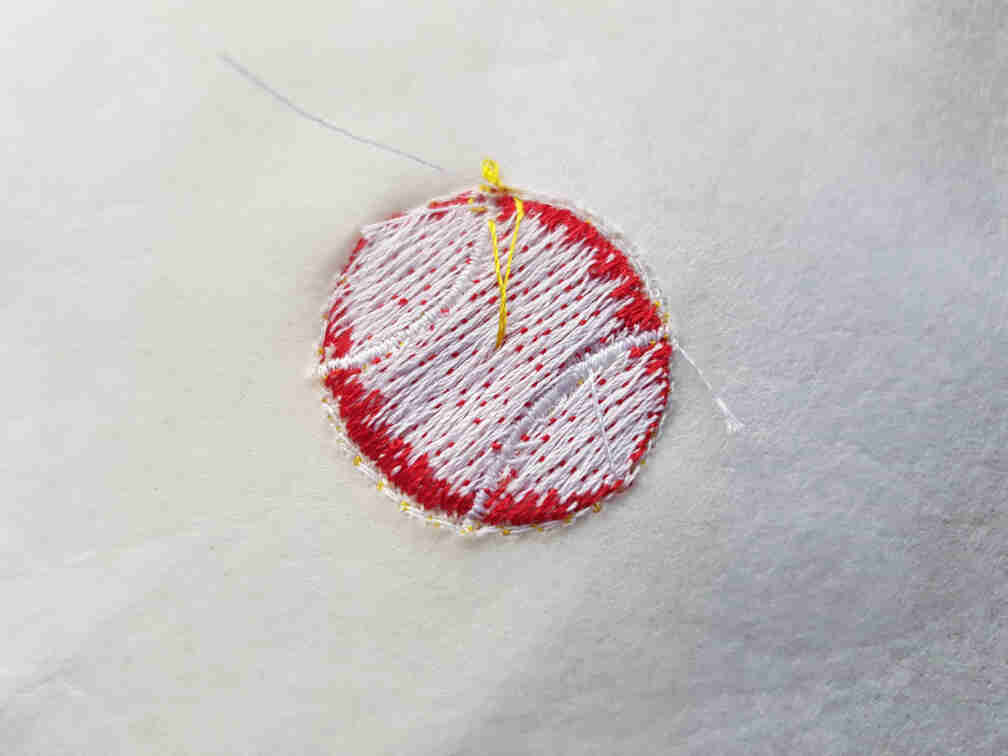
Determined to make my test run a success, I switched to a baseball design with two colors.
Red done, yellow to go.
Success!! :D
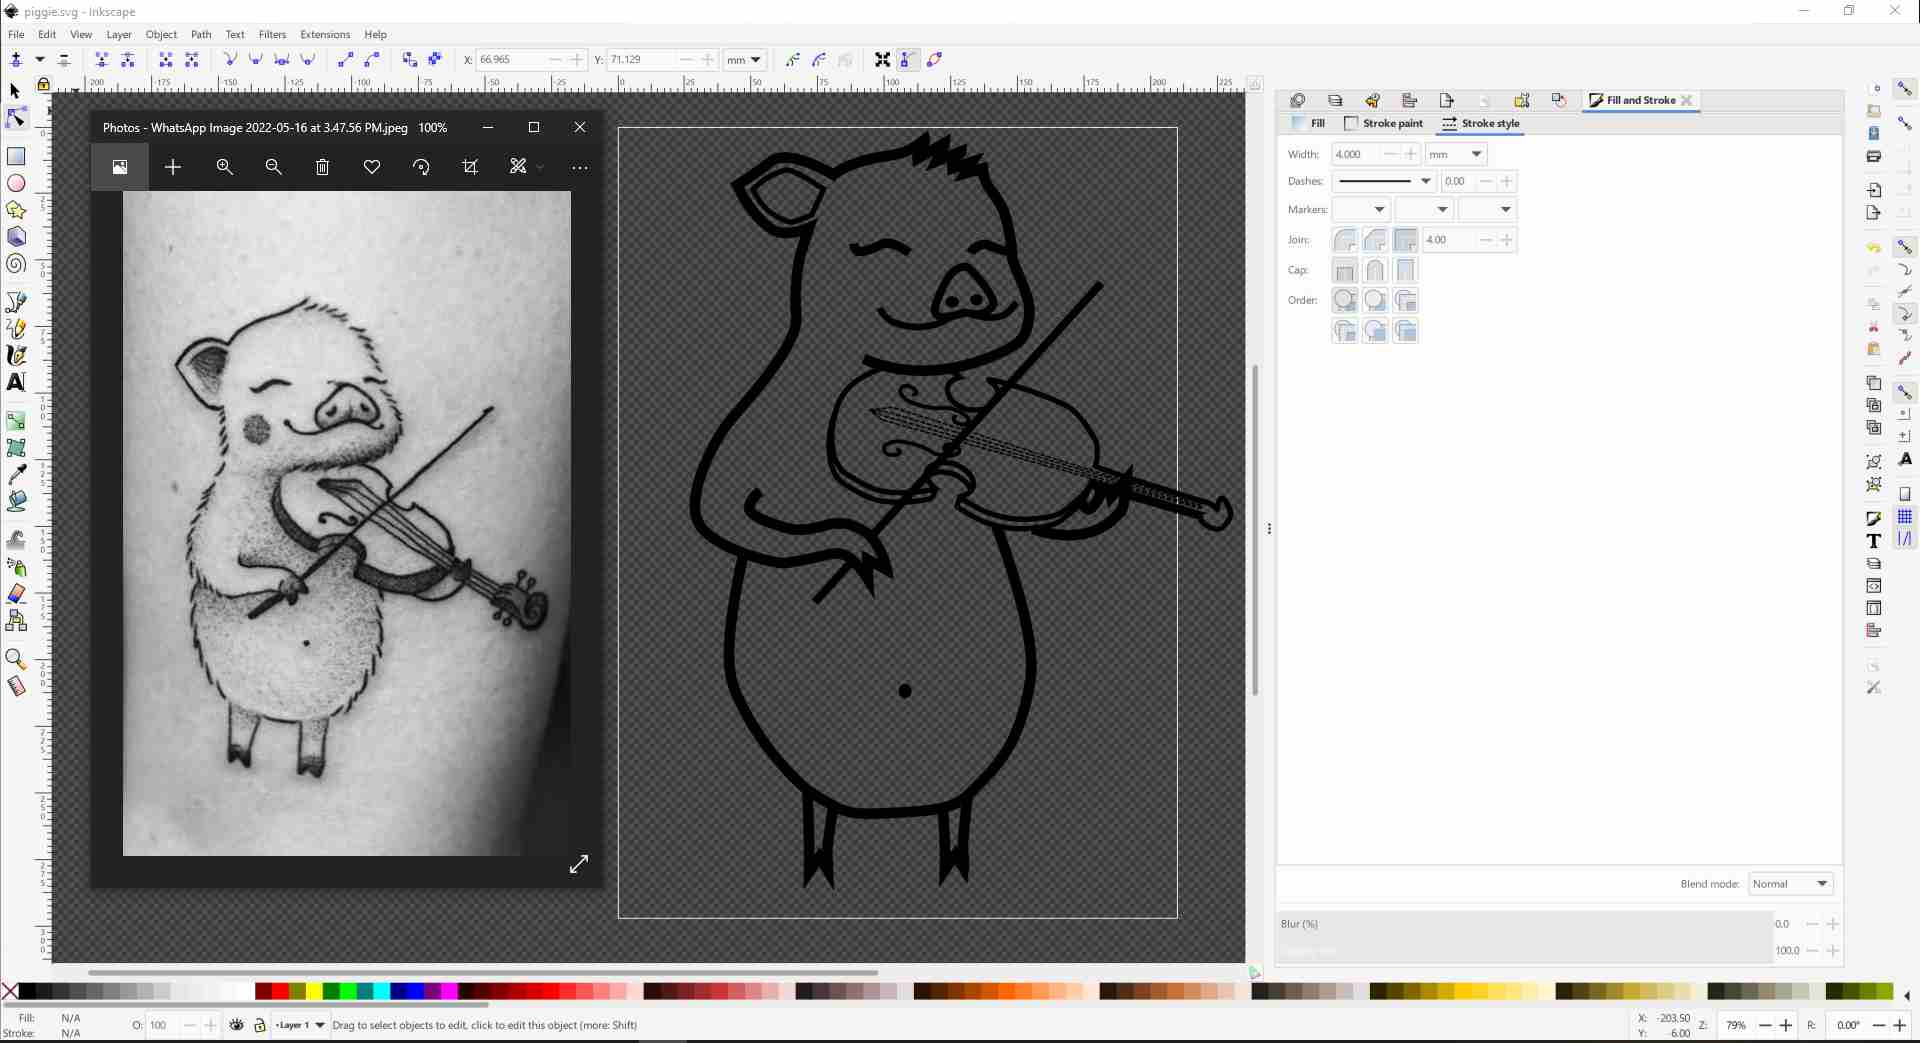
Piggie :')
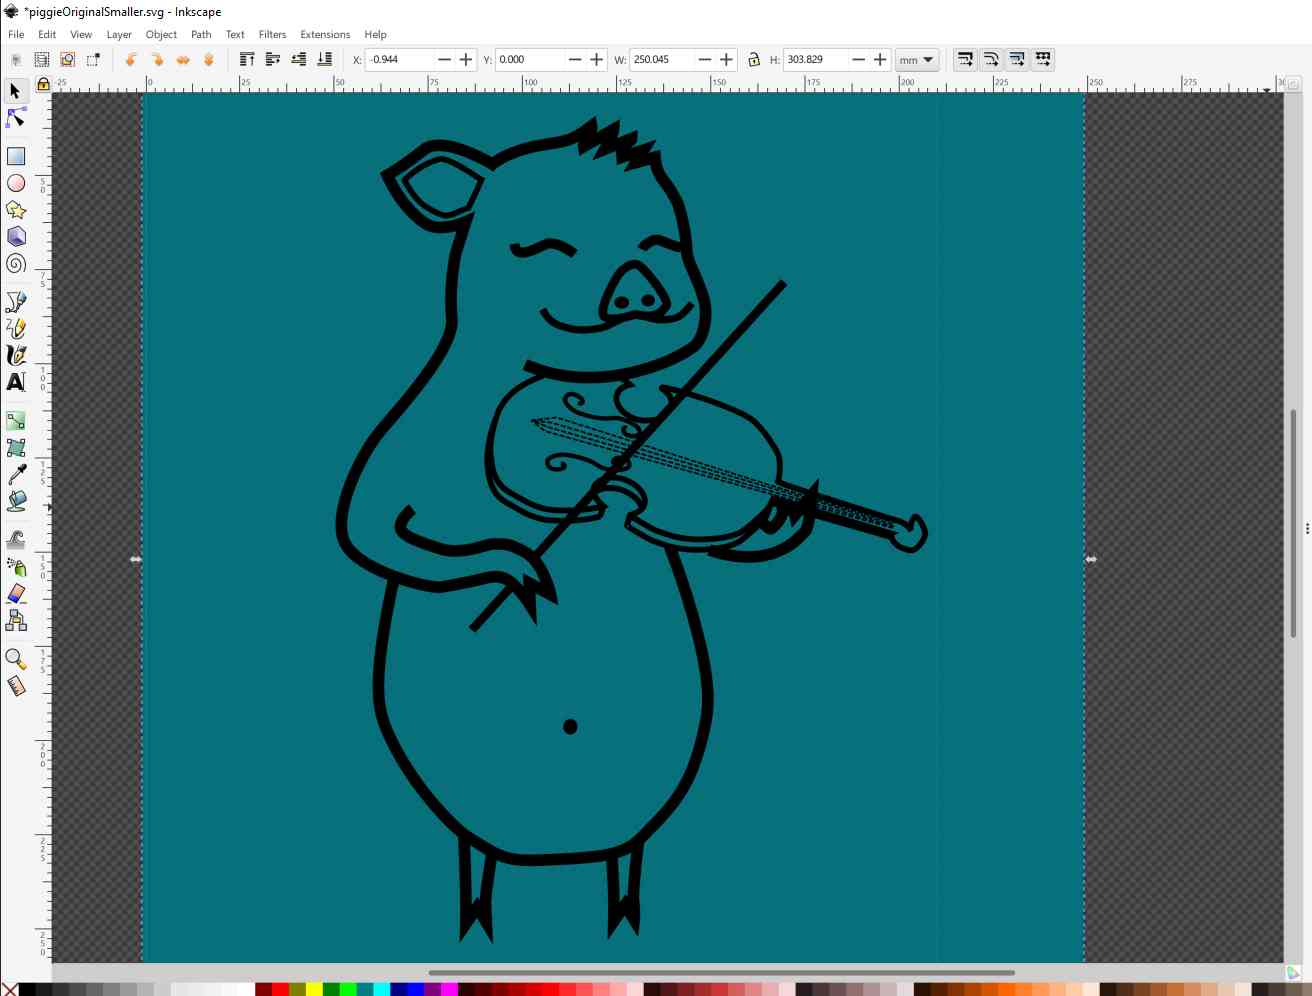
Now for the real deal, I decided to redraw a piglet playing the violin and stitch it over the whole embroidery hoop we have available. The design is inspired by a tattoo I once found online a long time ago (if you are the owner and would like it removed from here, please contact me).
Outline Design
I began by drawing the main body features.
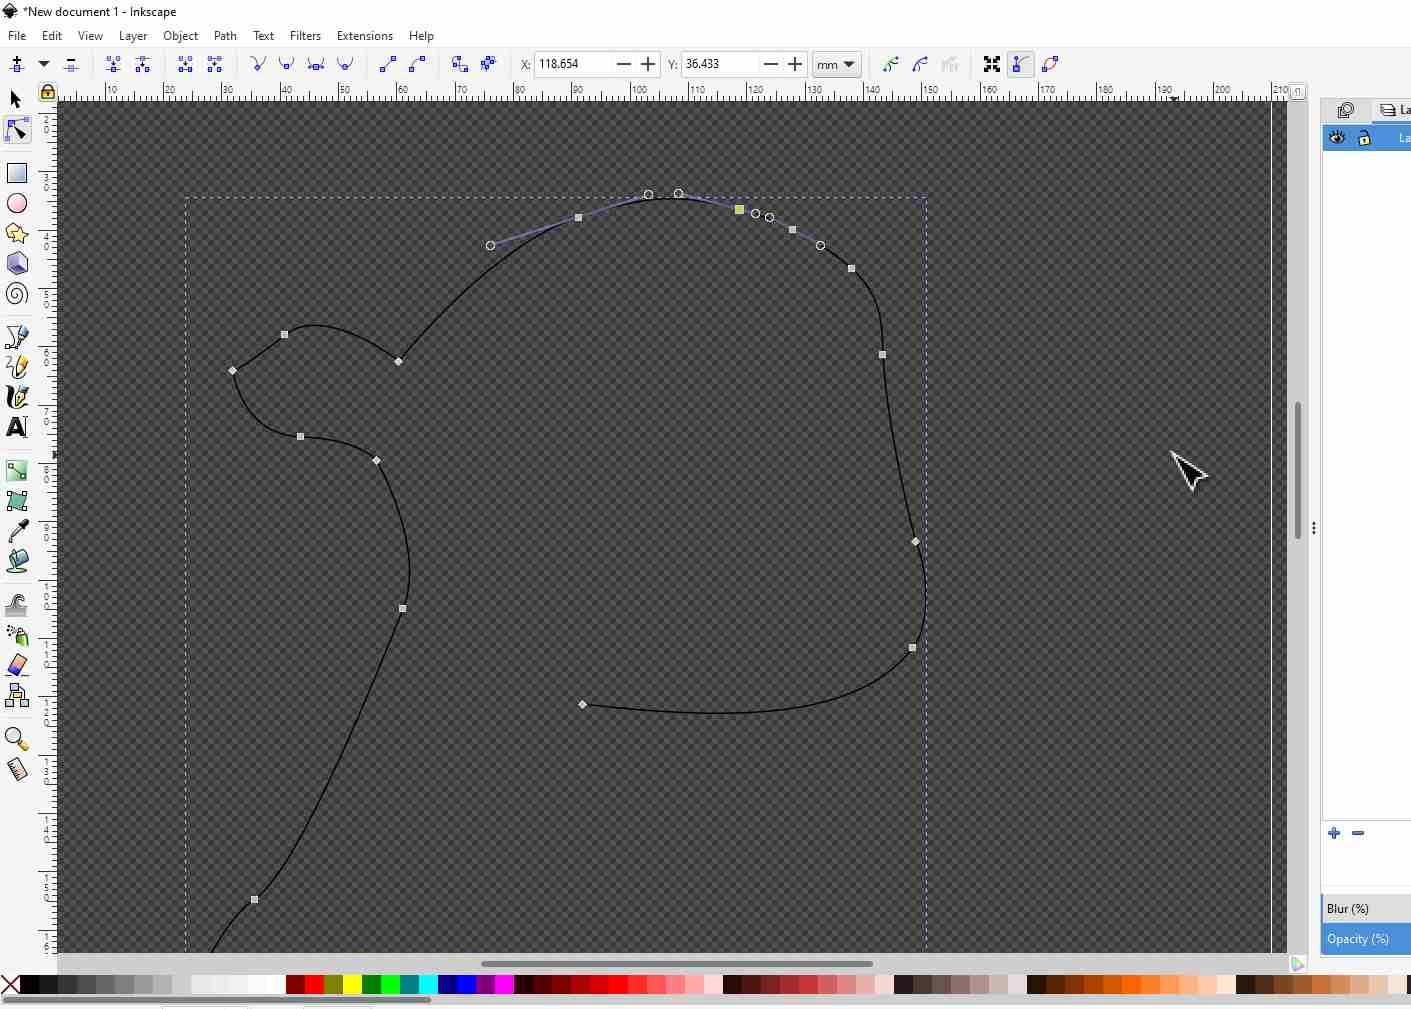
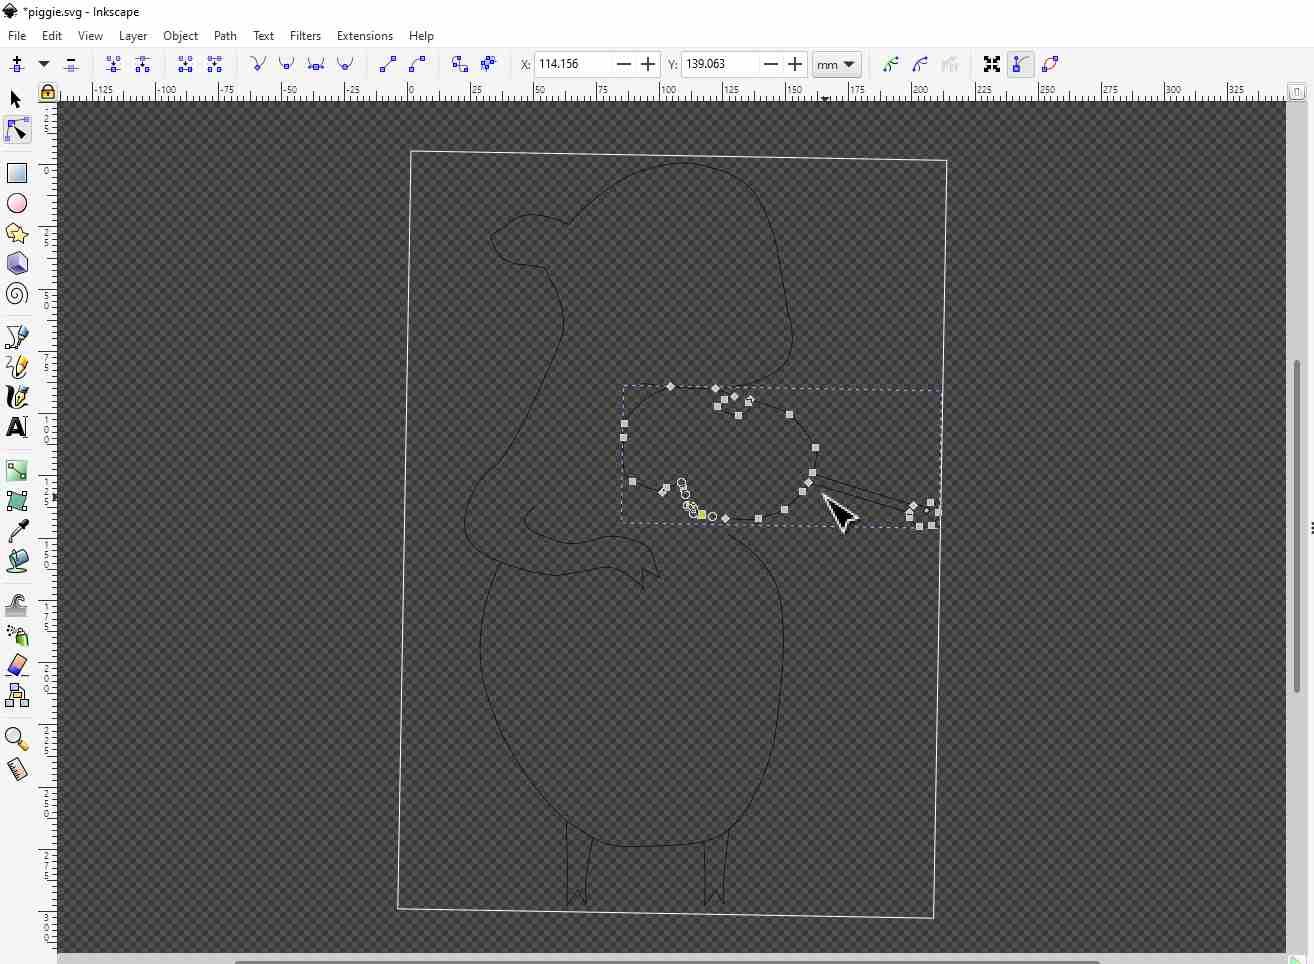
When I was done with the outline, I gave the lines some thickness that would eventually correspond to the stitch width.
And lastly I decided to give piggie five hairs, because why not.
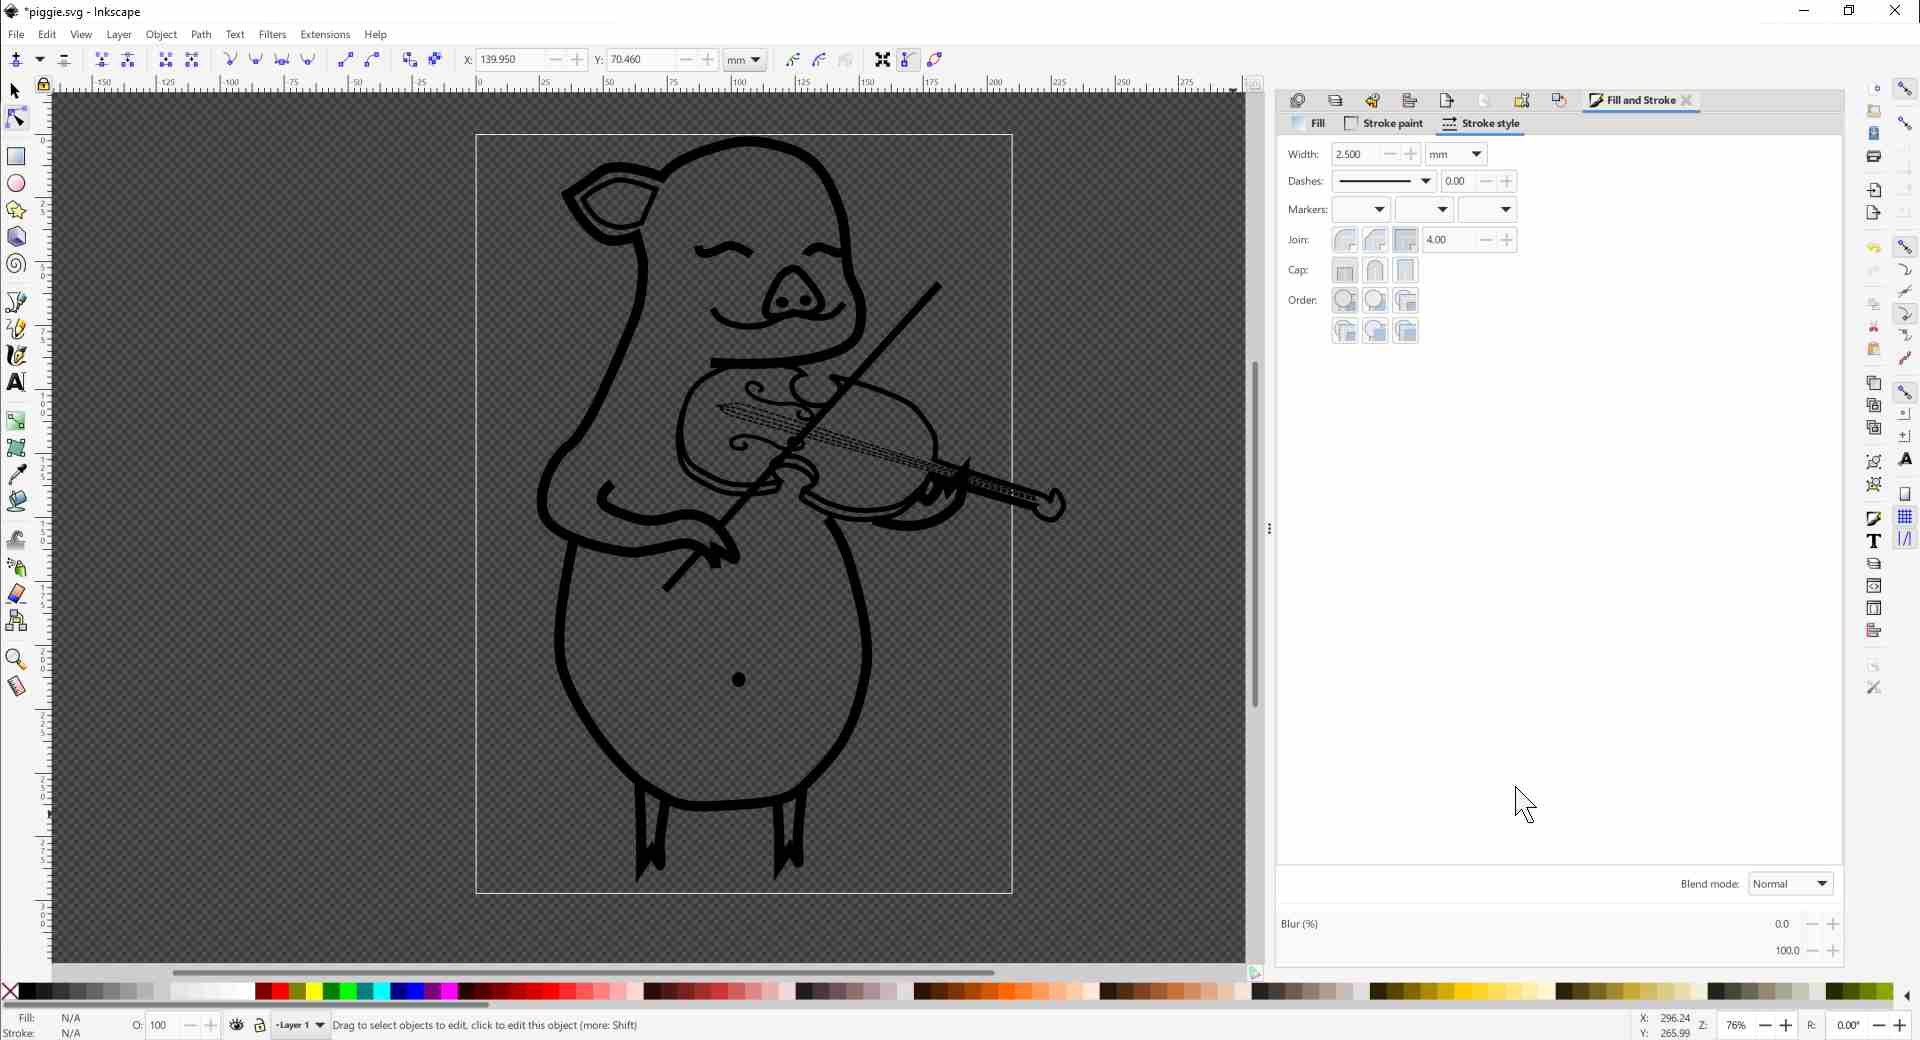
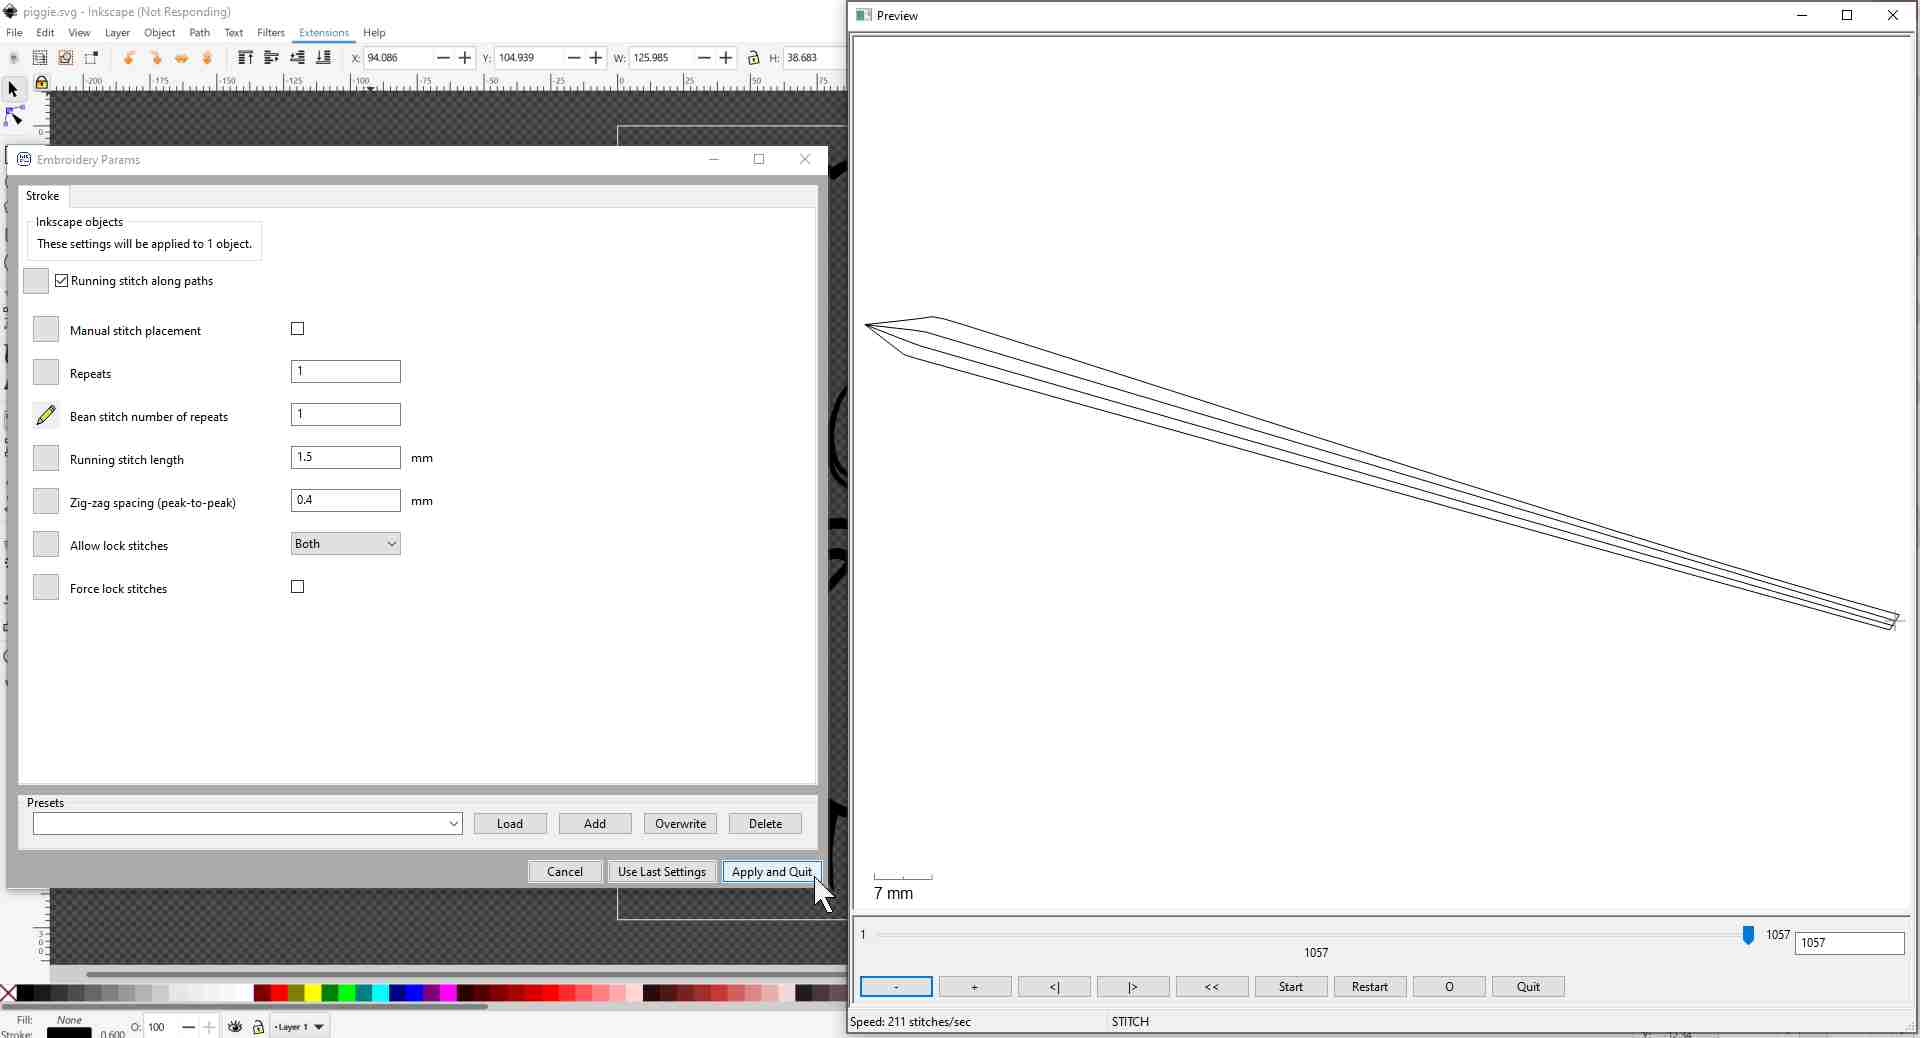
Playing with Ink/Stitch
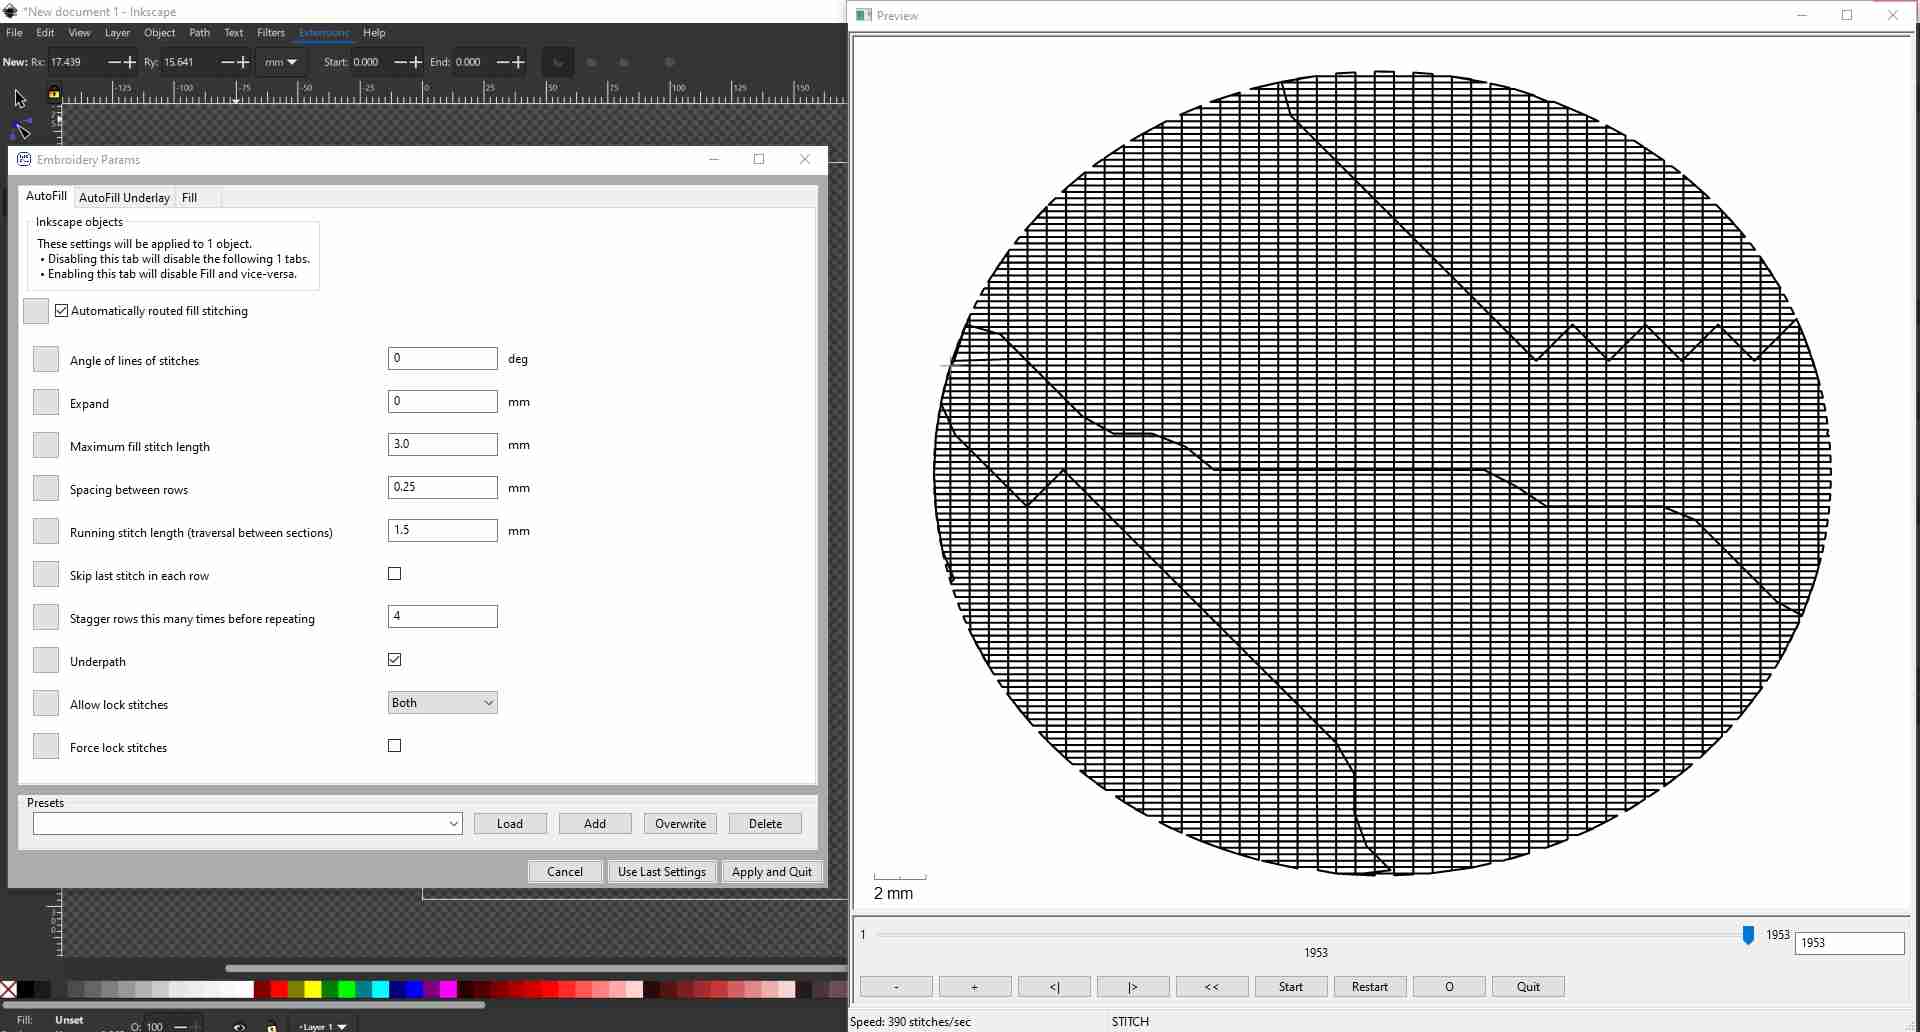
I first began with the easiest stitches; the bean stitches of the violin strings. For that I selected the lines I want, and went to Extensions > Ink/Stitch > Params.

In there, I chose the bean stitch setting I wanted and hit Apply and Quit.
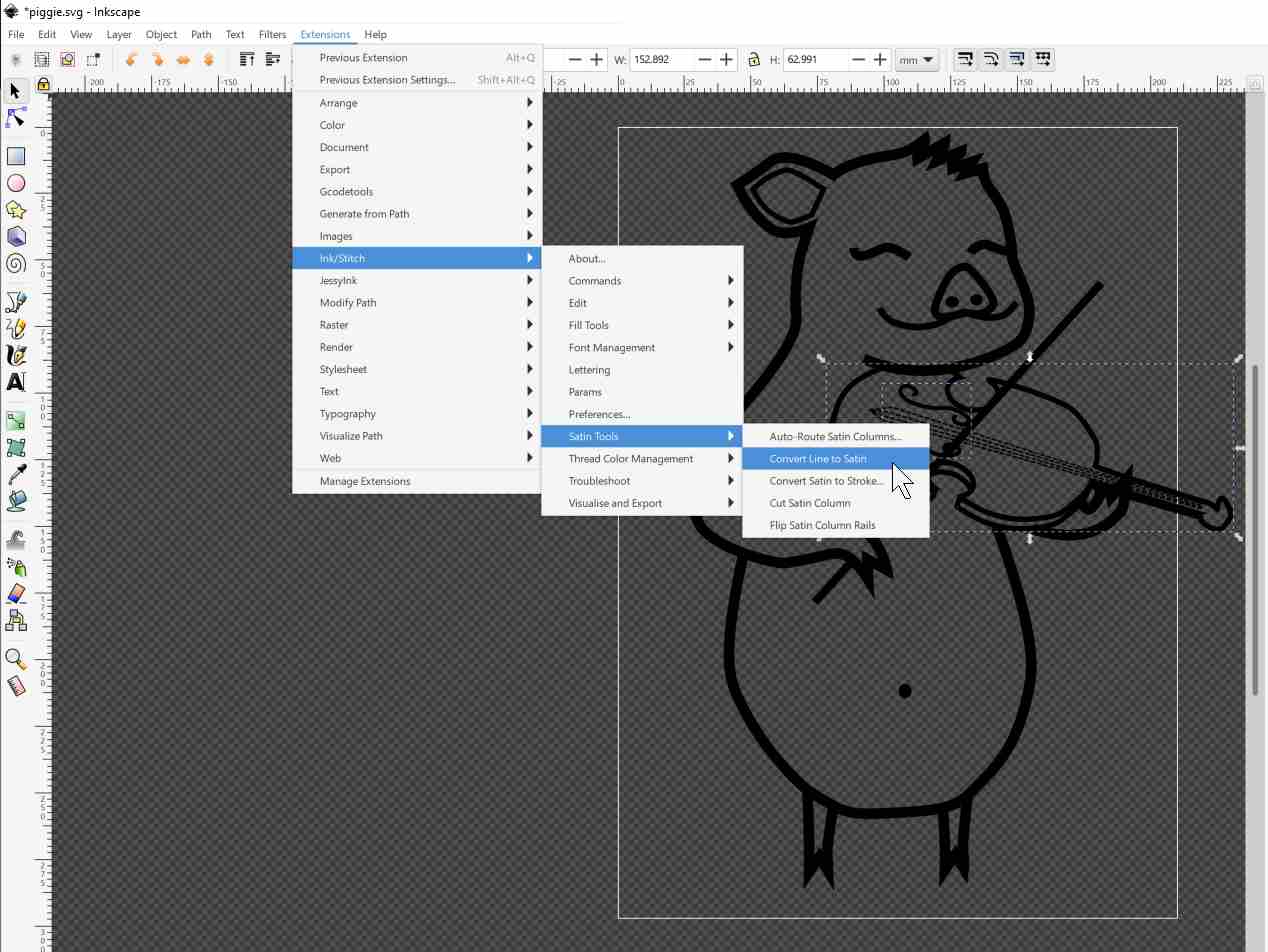
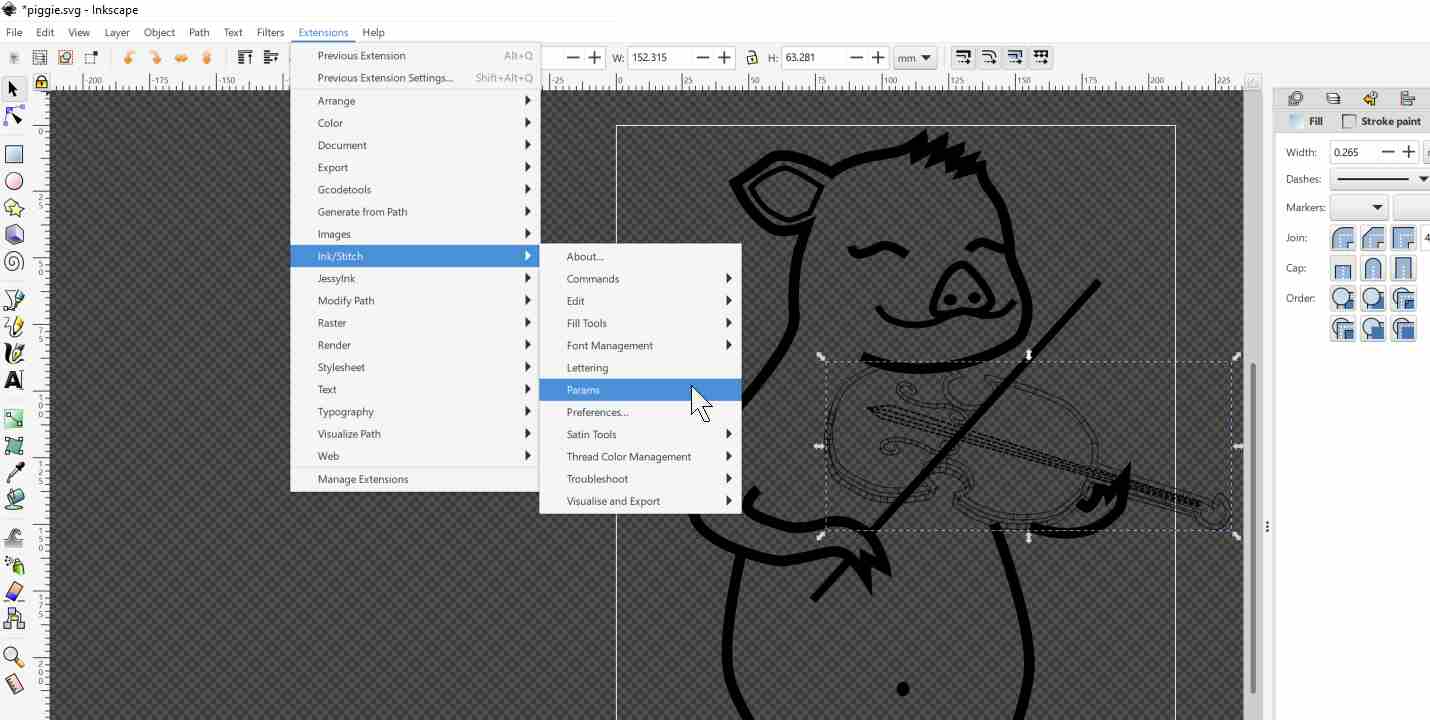
Next, I selected the body of the violin and went to Extensions > Ink/Stitch > Satin Tools > Convert Line to Satin in preparation for the satin line stitch, after which I went to Params and set up the stitch normally.
For the belly button, I went for a fill stitch.

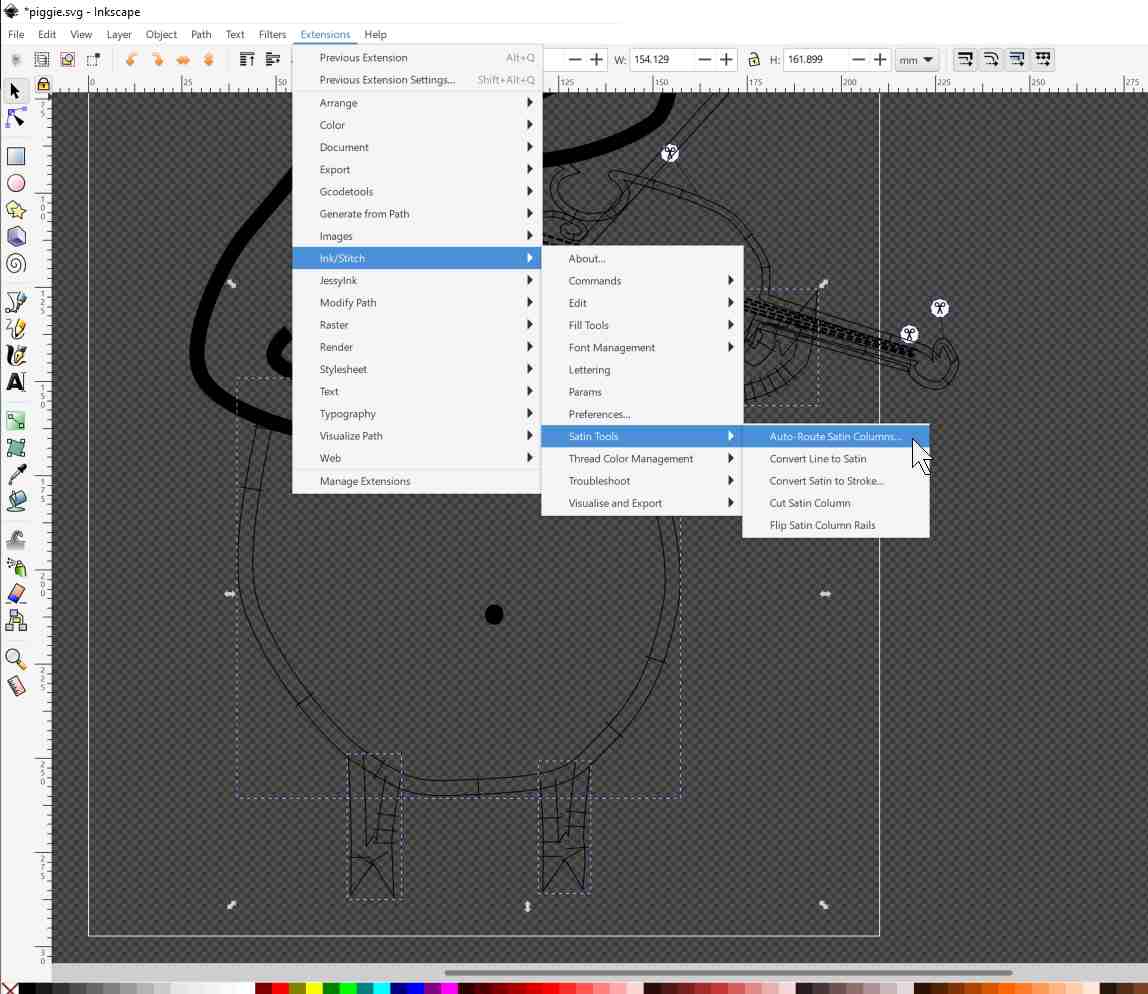
After repeating those steps for the rest of the outline, I used the Auto-Route Satin Columns... function to automatically plan the stitching order in terms of starting positions, ending positions, jumps, etc.
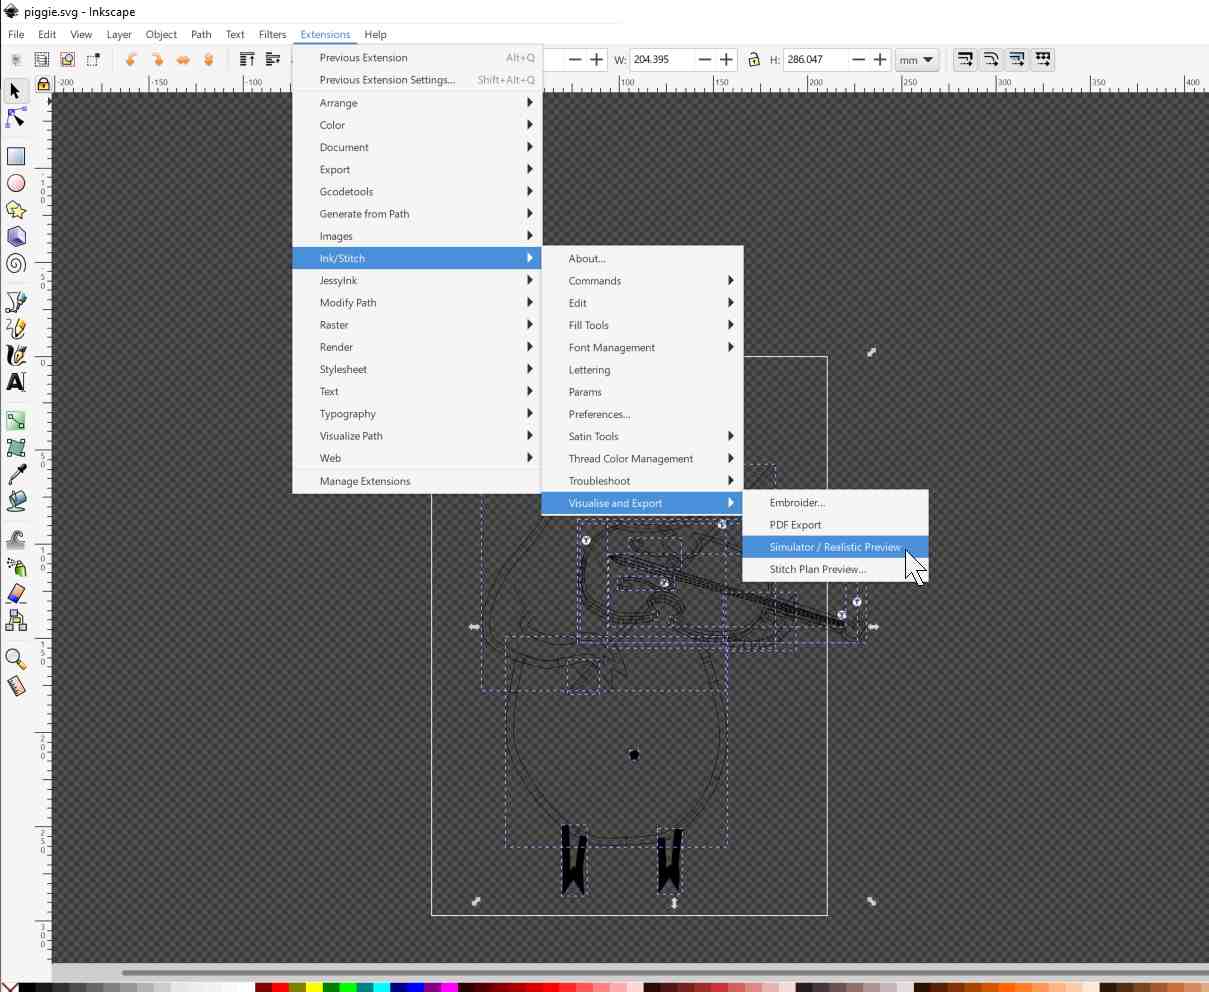
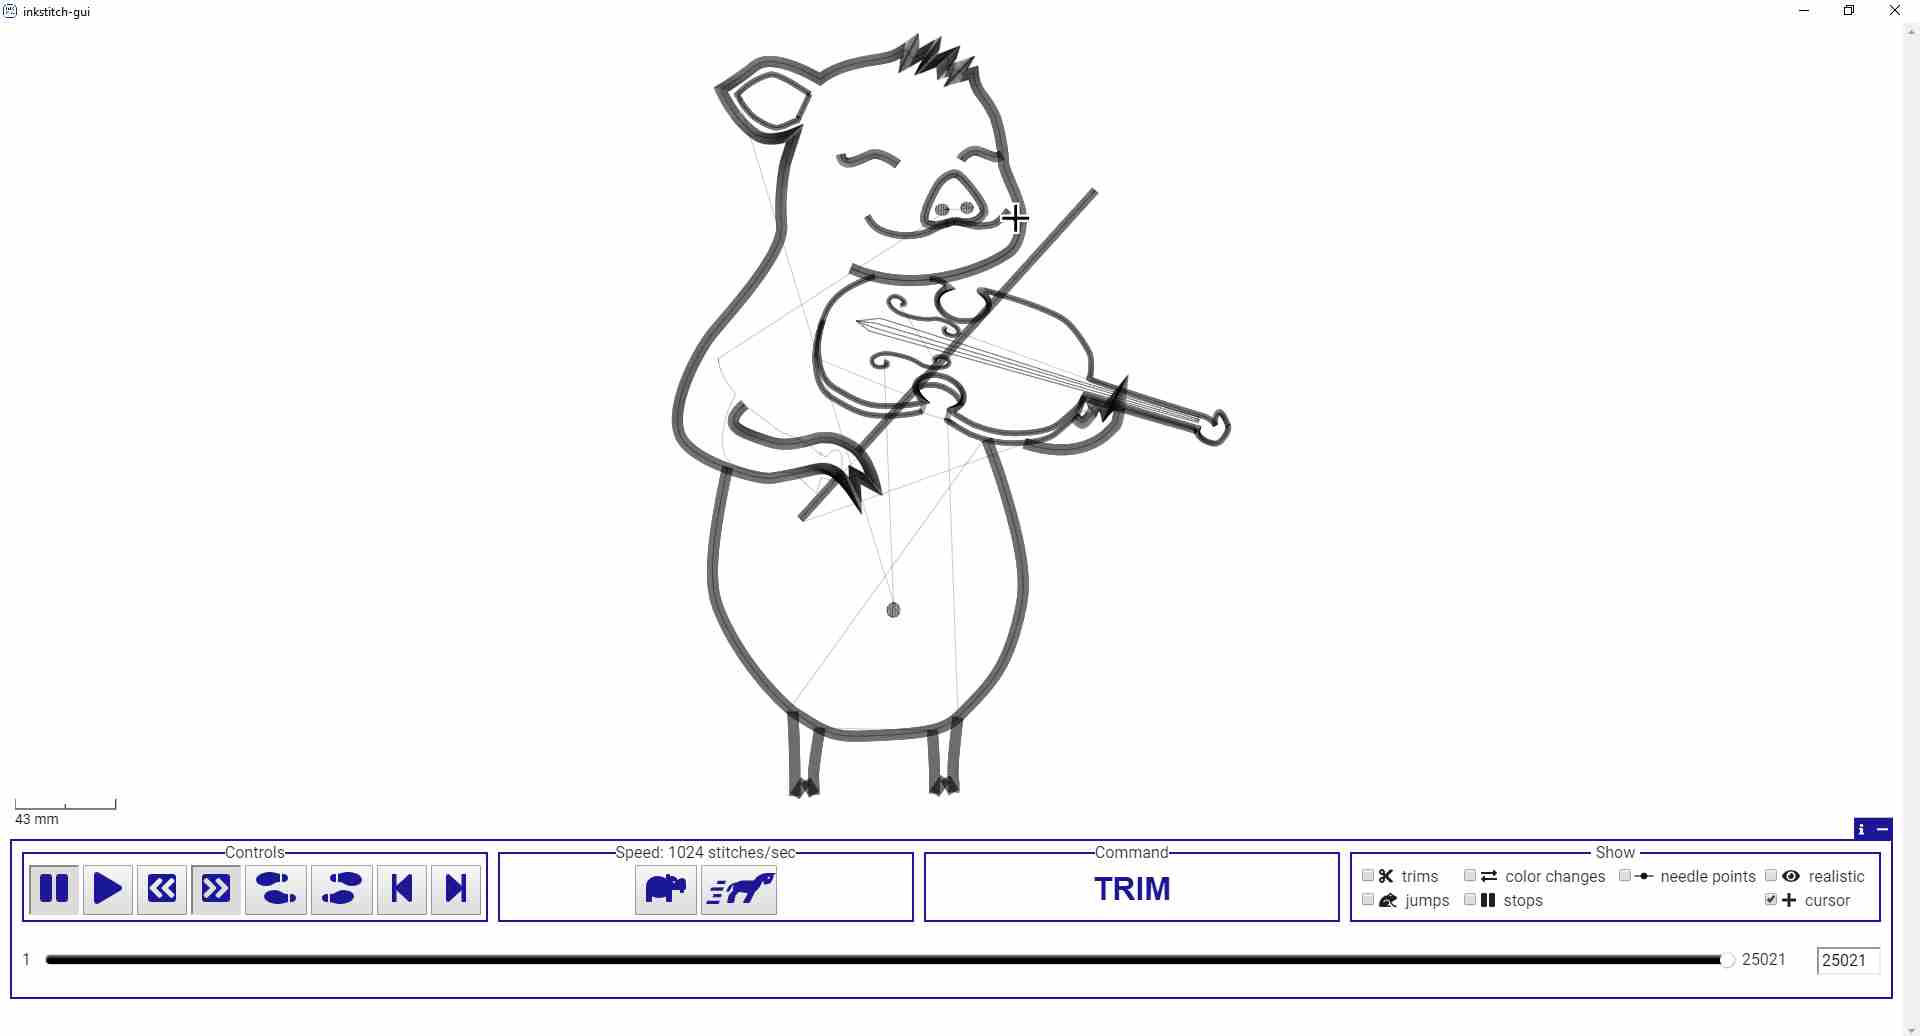
Satisfied with the results, I finally went to Visualize and Eport > Simulator / Realistic Preview and watched the full 25021 stitches being simulated (very satisfying :D).
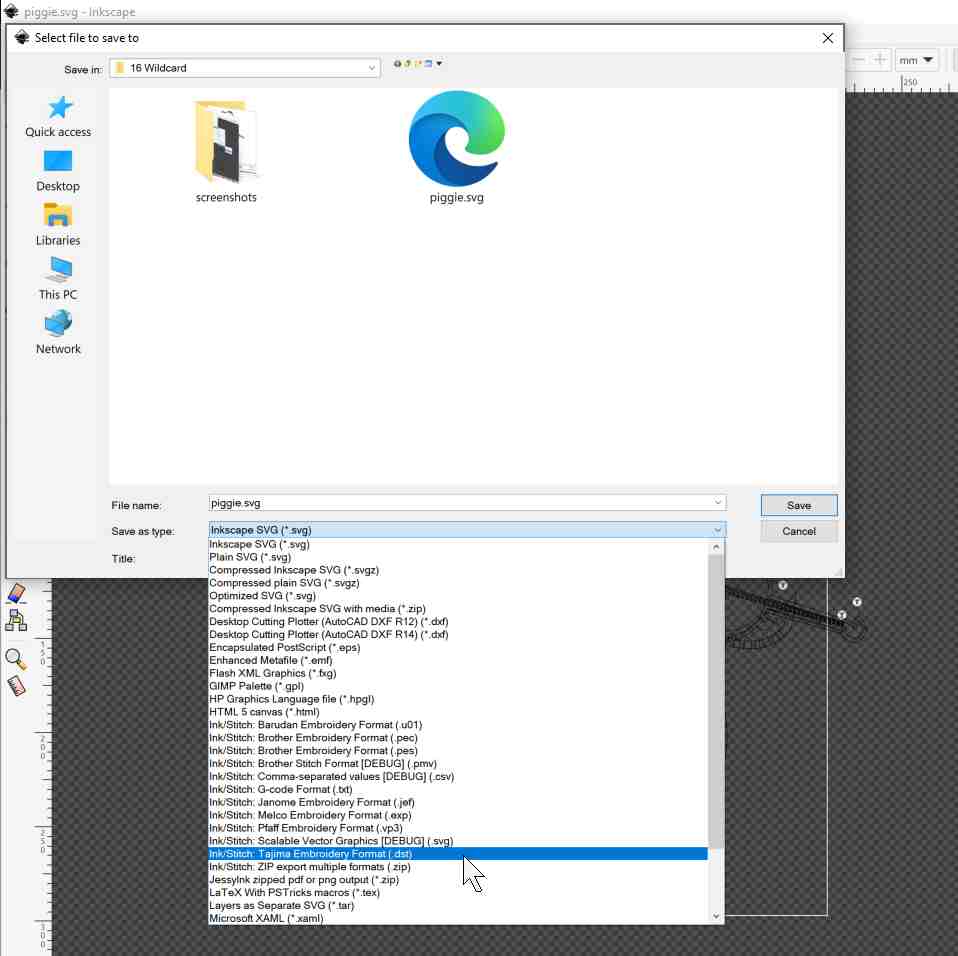
Hoping that my first embroidery design would work, I exported the stitching file with the compatible dst extension for our machine and saved it on a USB stick.
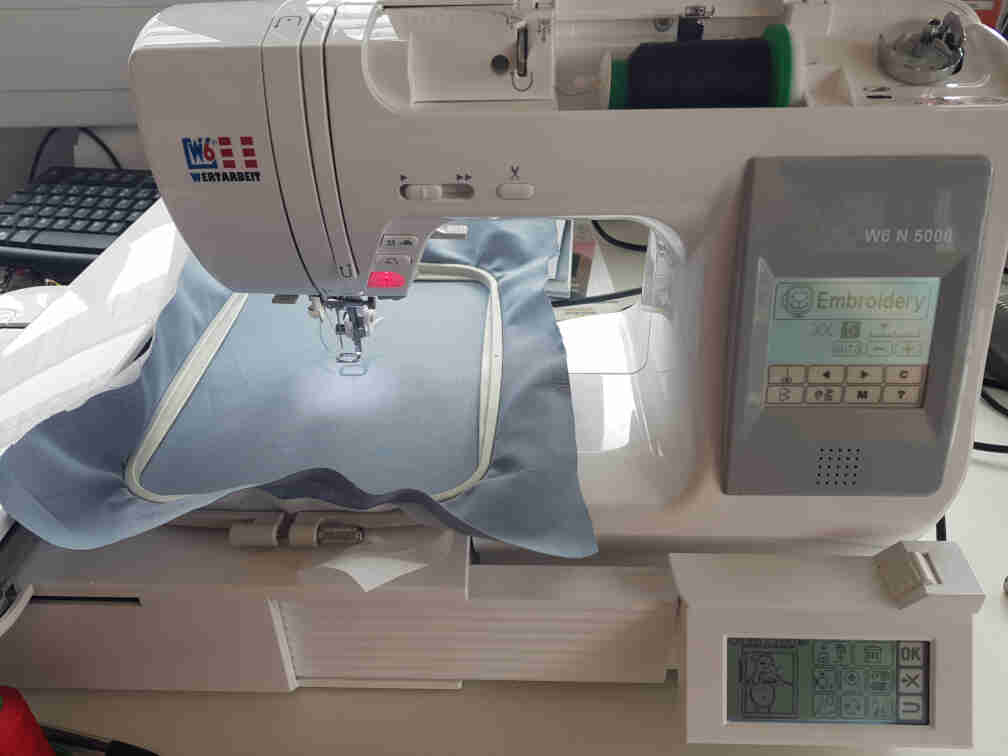
Running the Embroidery Machine
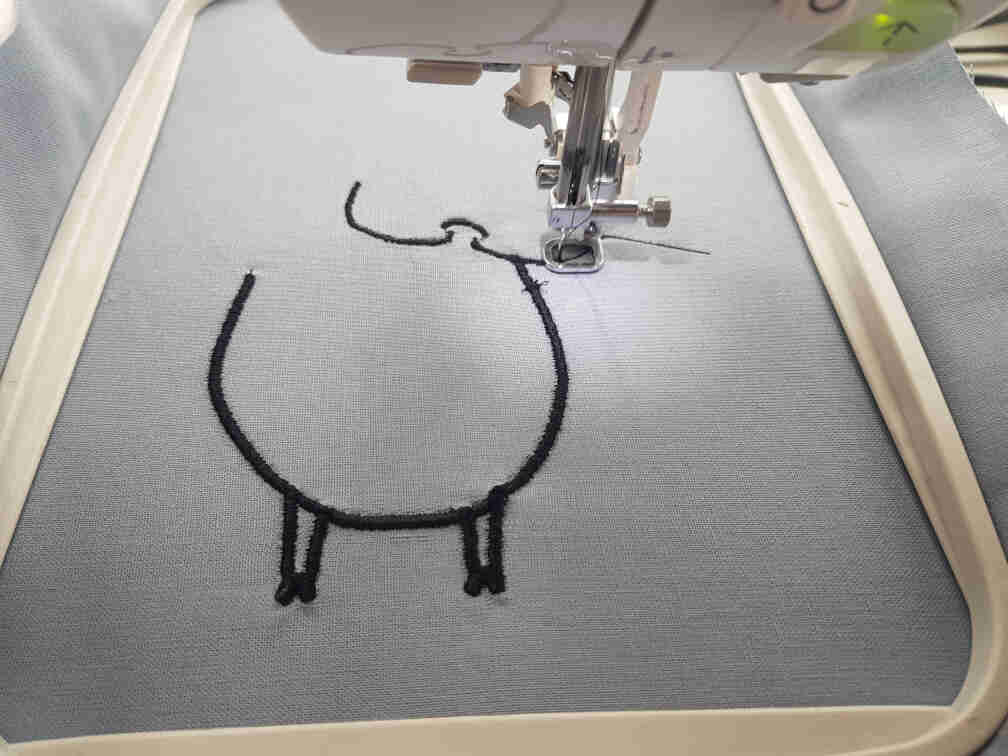
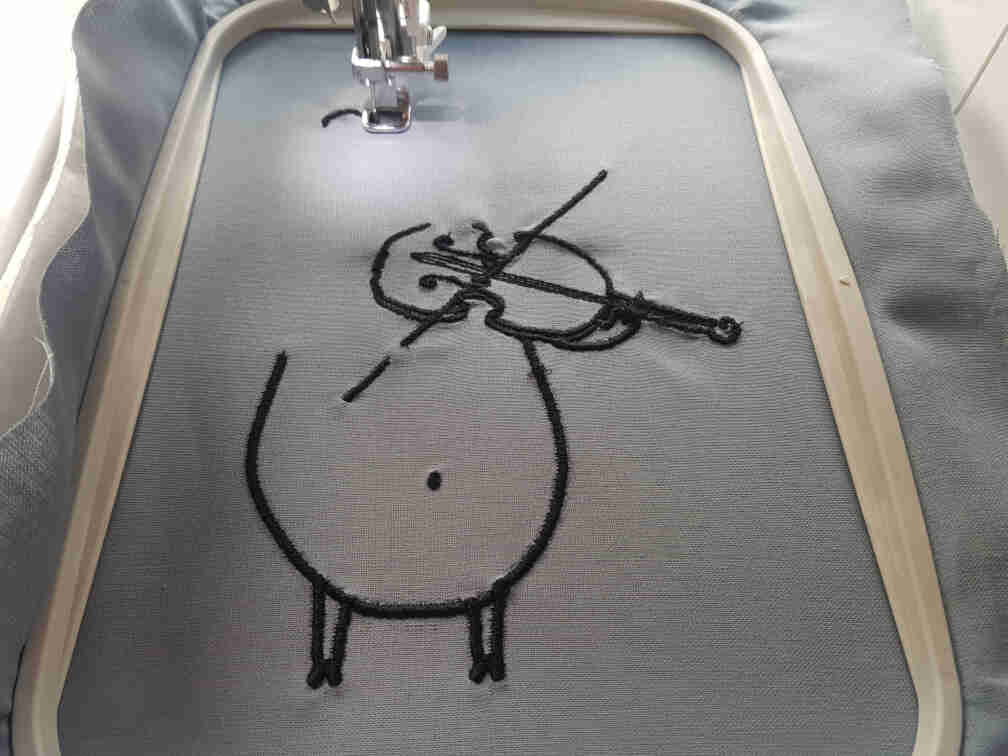
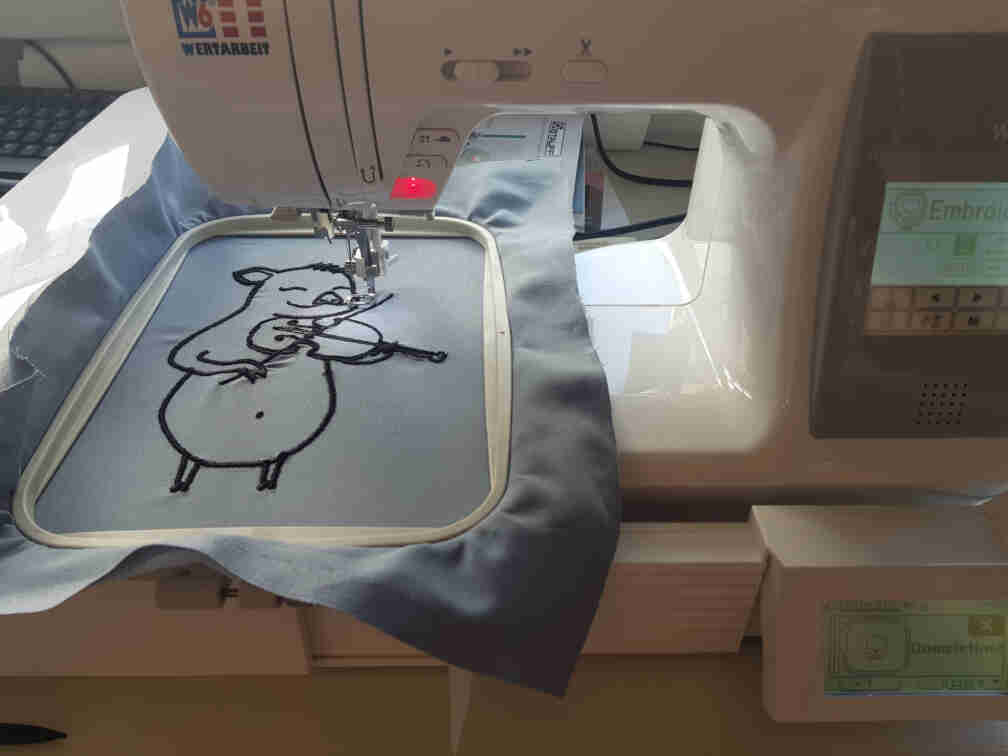
Running the file on the embroidery machine told me that Piggie might be too fat, so I went back and resized my design to fit the hoop better.
Ready to go!
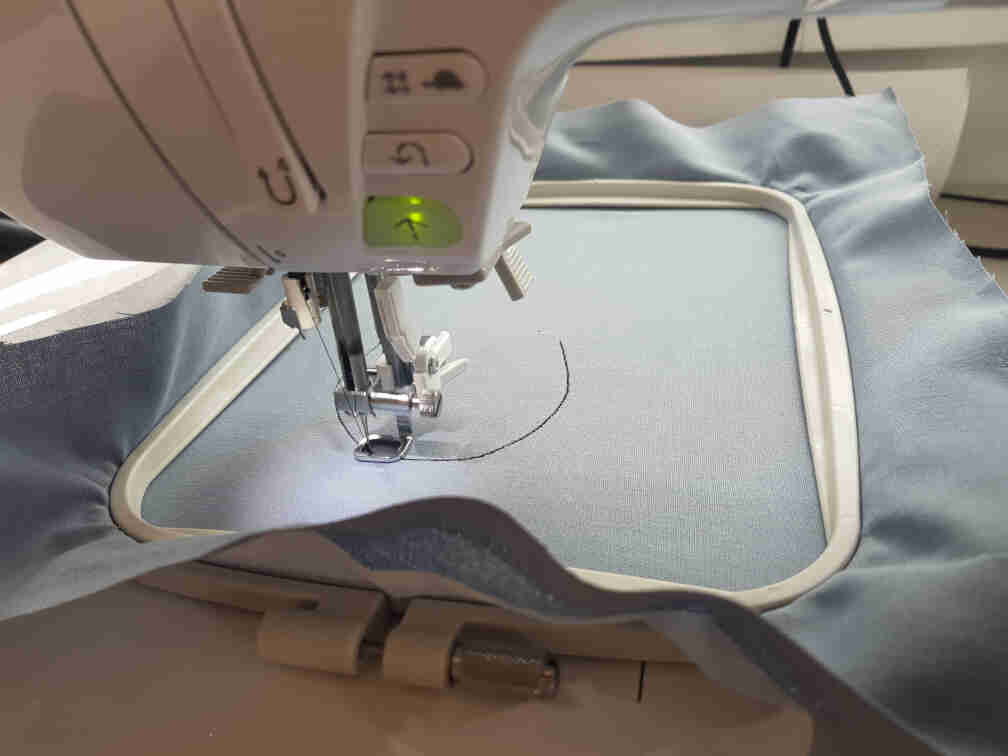
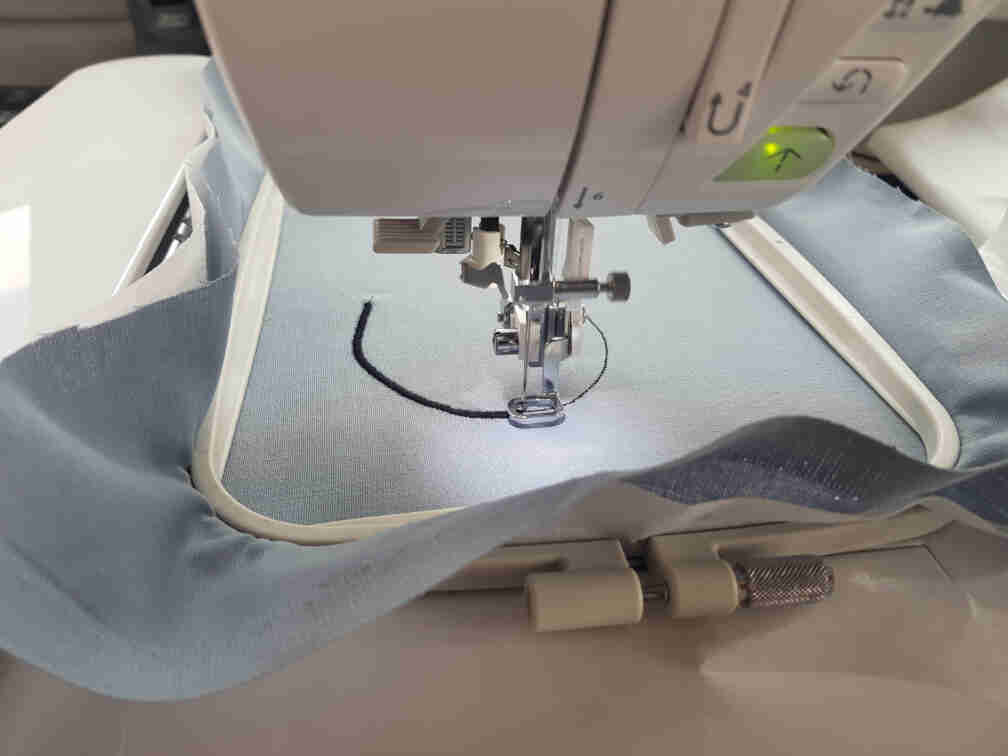
First couple of minutes looking fine.
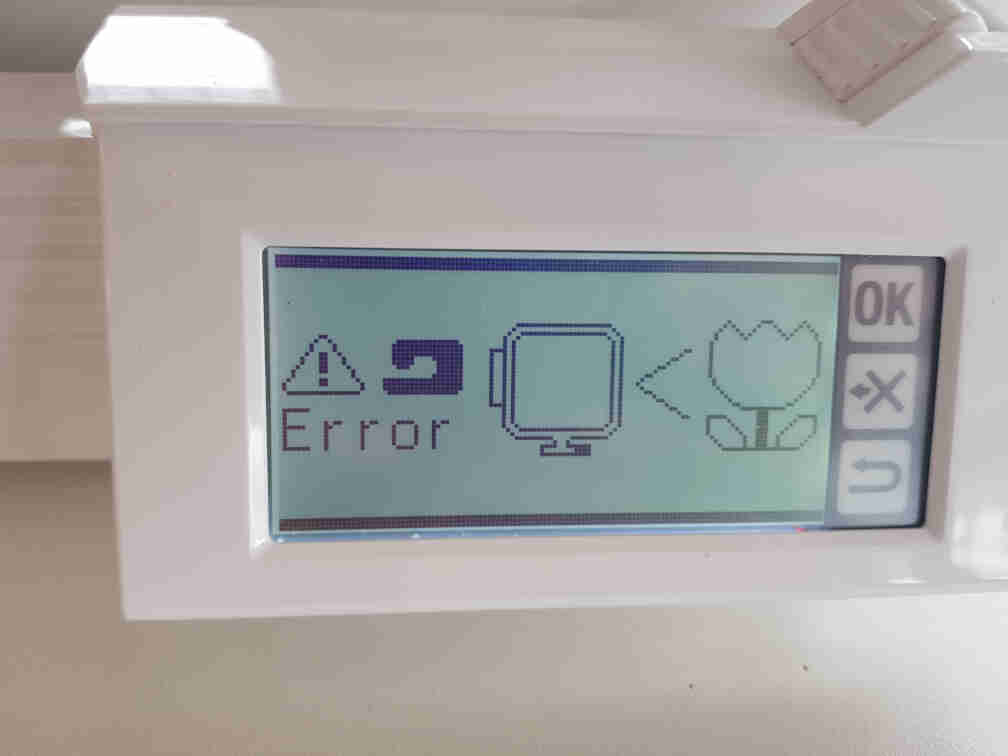
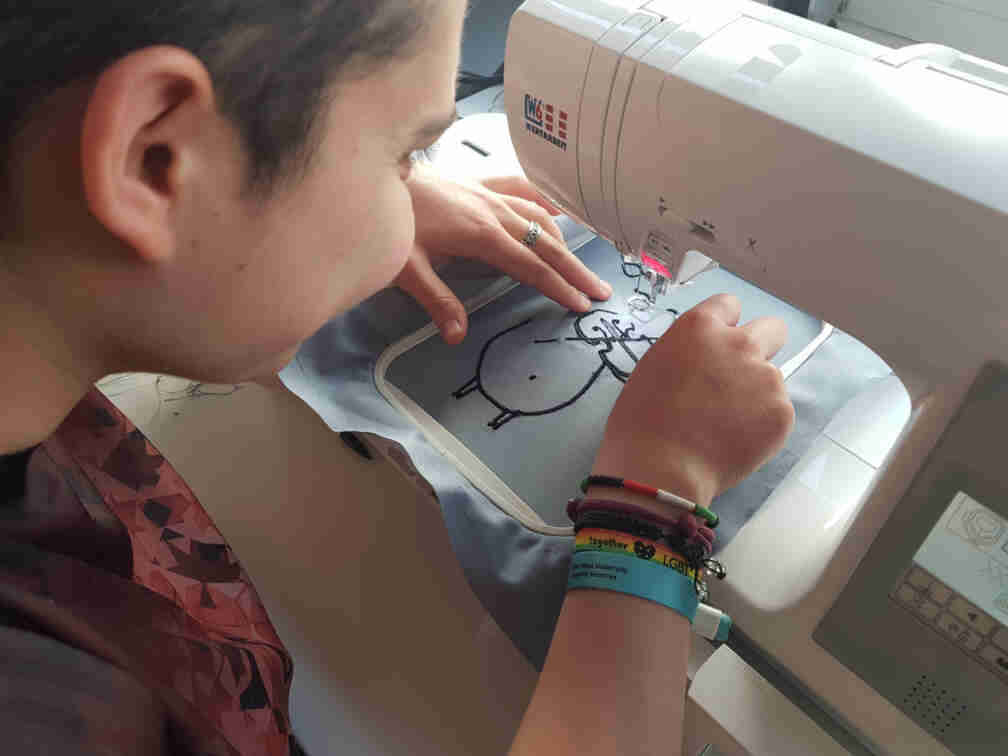
Needle got stuck like it did with the star earlier and gave me a big scare! I caught it in time and managed to avoid total damage though :).
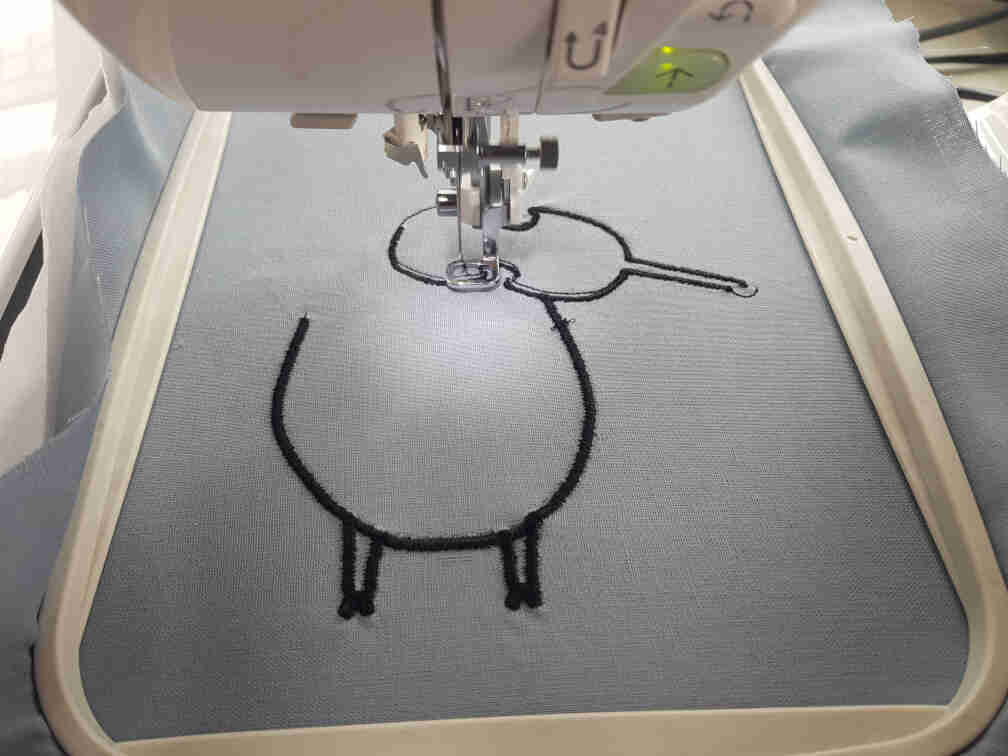
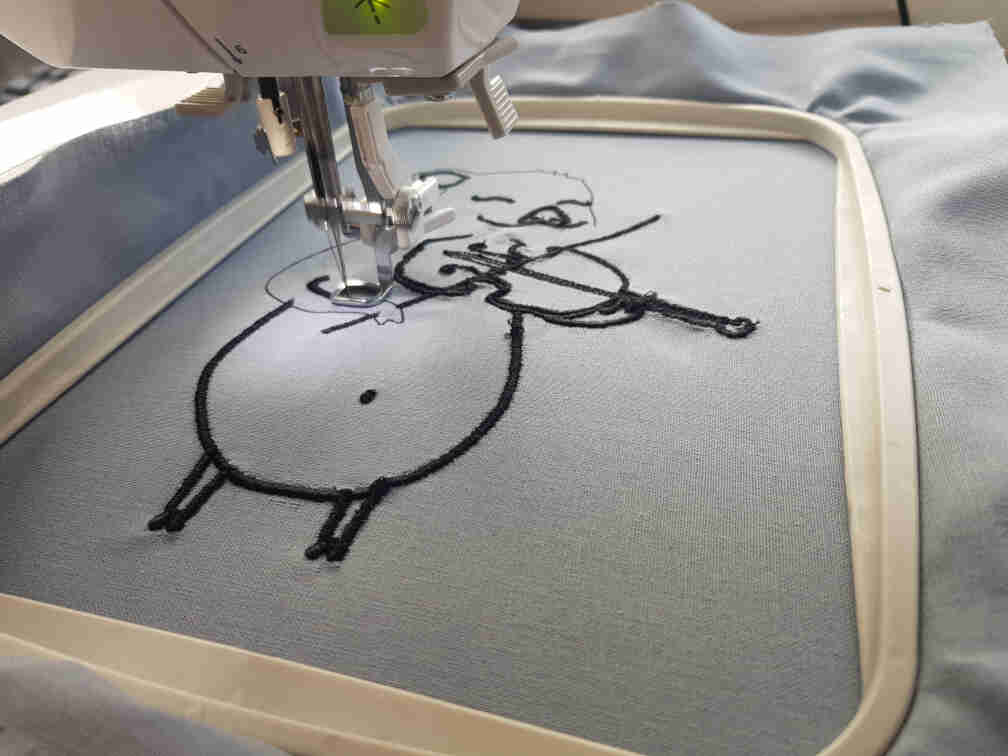
Getting there...
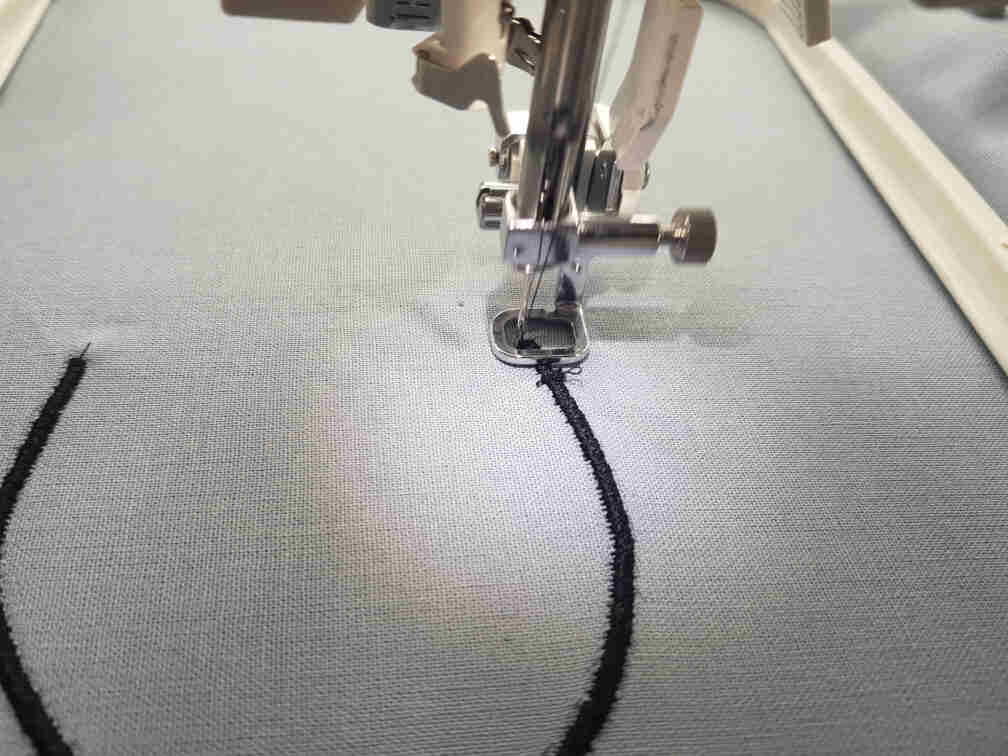
I had to cut the threads between jumps so that they don't get stitched over. I recommend using sharp scissors for this.
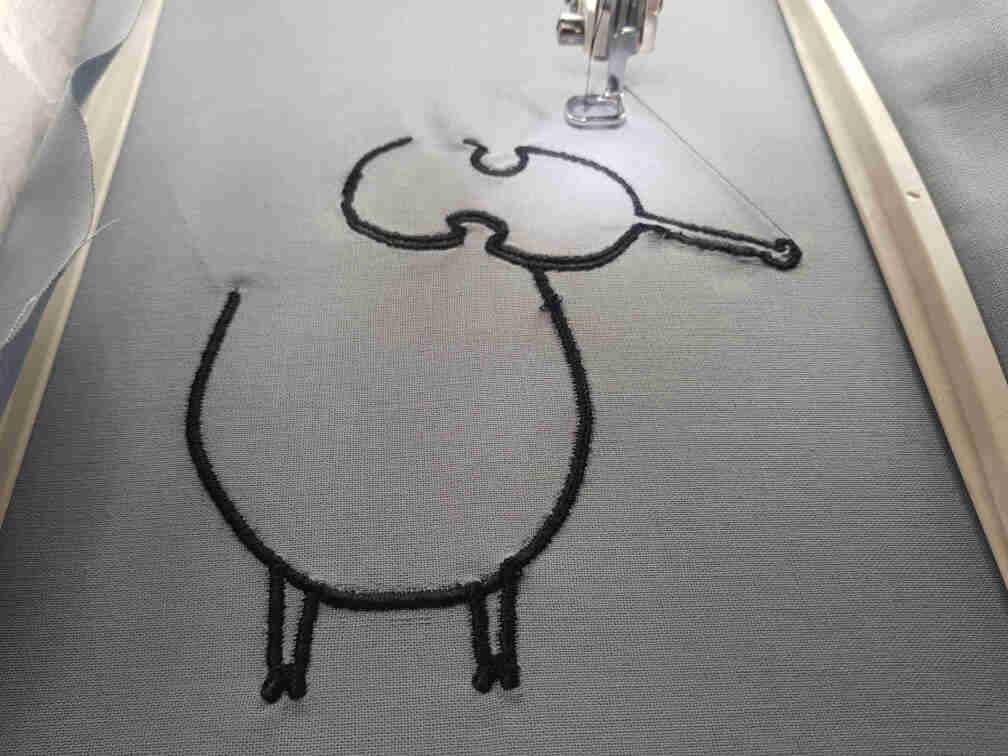
Almost there...
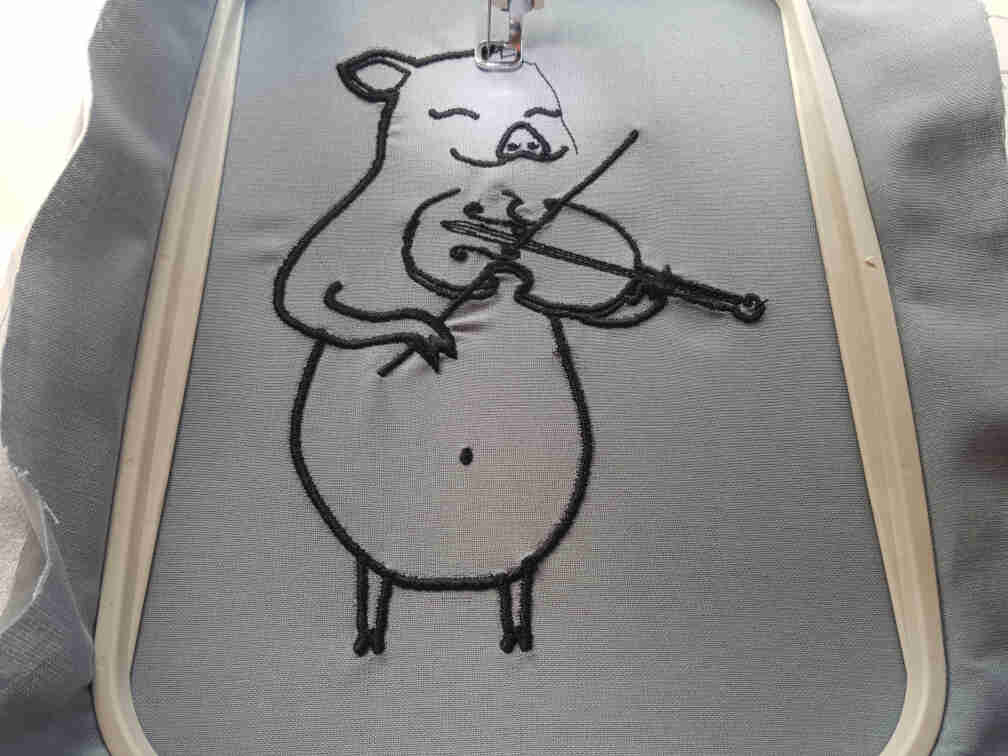
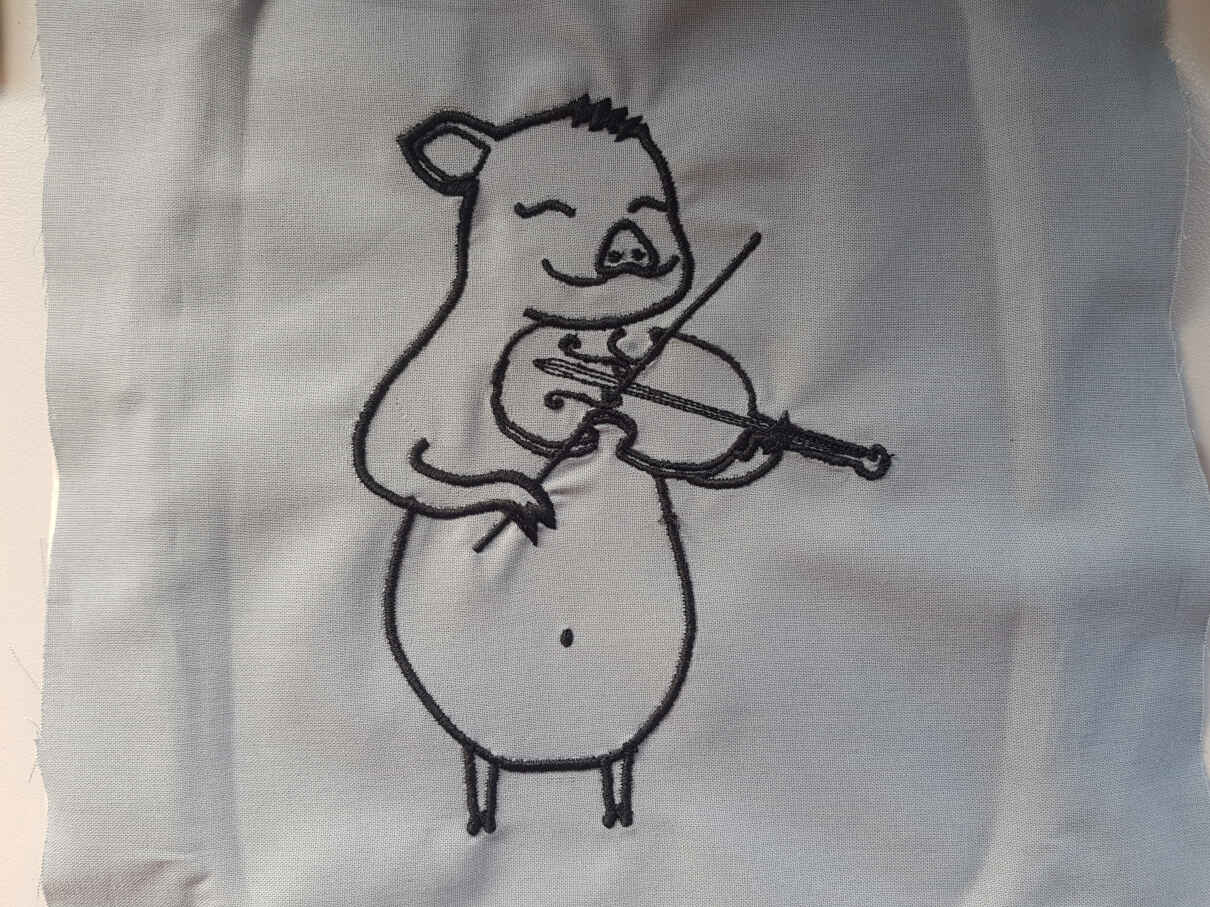
Machine says: Completion!
Here is how it looks from the back after I removed it from the hoop. Glad that I replaced the white bobbin thread with a black one.
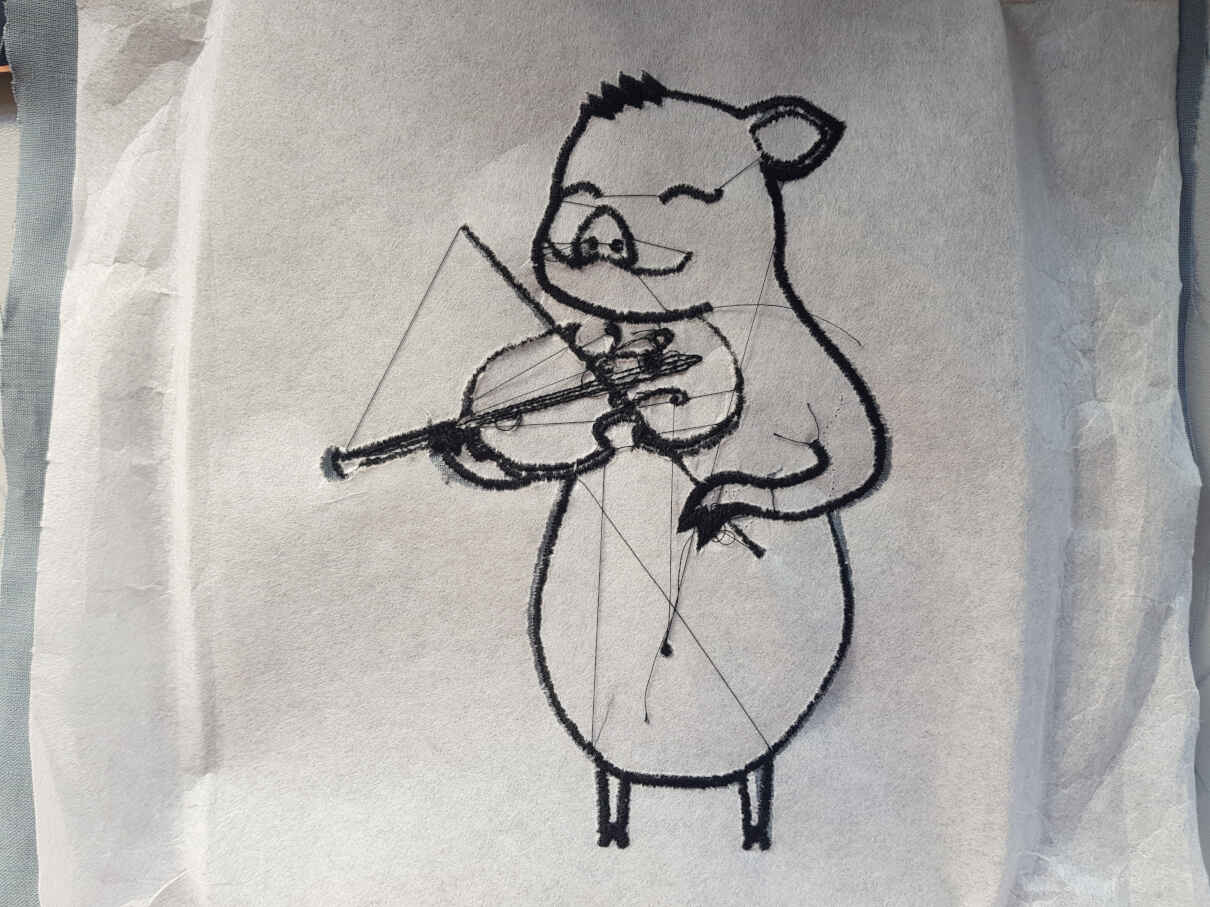
And here, ladies and gentlemen, is a very happy Piggie!!