


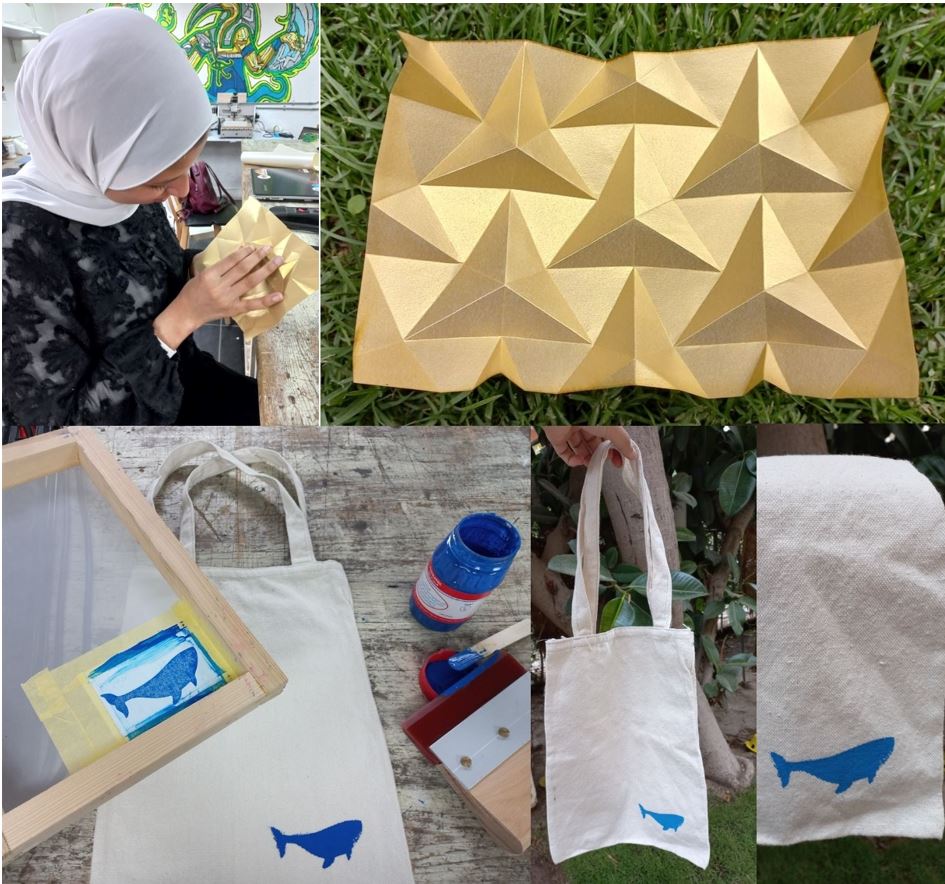
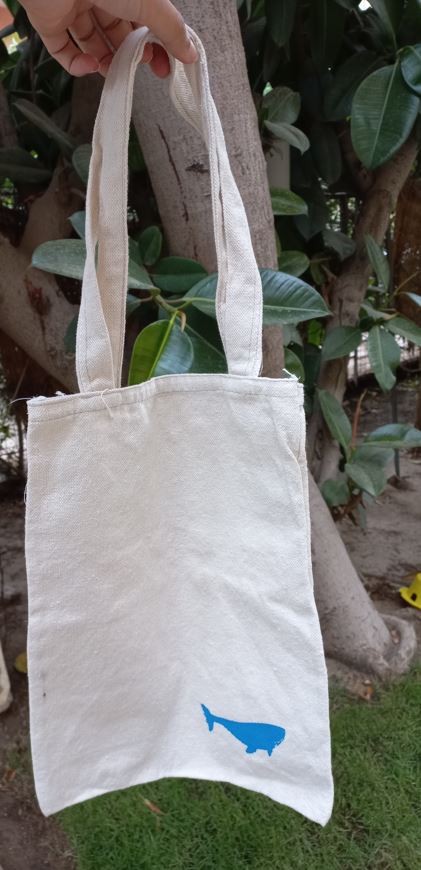
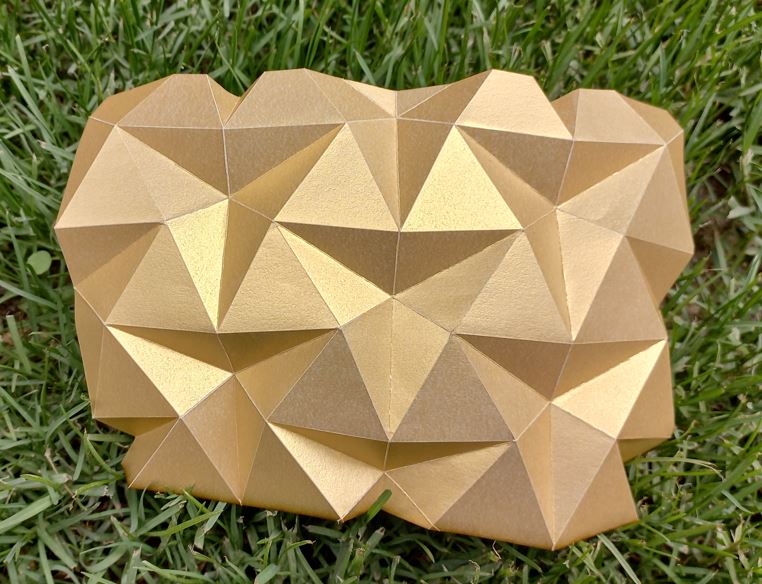
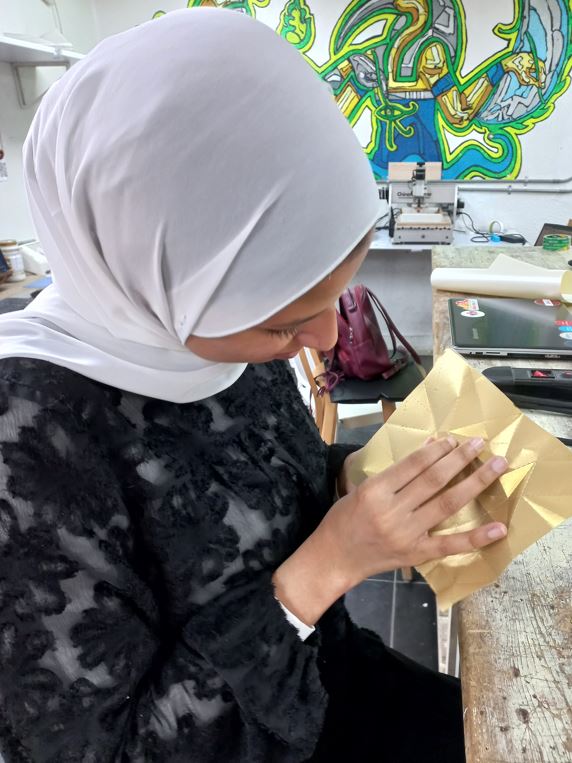
I am very happy with what I made this week. I think the origami is a little artistic as the paper shines differently with each angle. And Also It is super exsiting what we can print on fabrics, I have always wanted to start including more fabrics in the projects I work on so it is a start for now :D Here is my Hero shot of the week!
I tried Paper folding through Vinyl and laser cutting. Also, tried screen printing using vinyl cutting as well.
Screen PrintingI first knew about the technique from Lamiaa who was a student in Fab Lab Egypt node couple of years ago, Since I saw it I was dying to try it. Once I had options in wild card week I thought I must do it. I already saw its tools before but had no idea how to use them till I saw Lamiaa's documentation of course :D
Overview of the process: I first bought a blue color to try it, then searched for designs that will look good in blue color :D , after that I prepared the design so it could be cut on the vinyl cutter, After the cut I prepared the screen printing setup, left it for 12 hours to dry completely and Taa Daa it was done. Next I will talk in more details about the whole process and will give you a small guide about using the vinyl cutter.
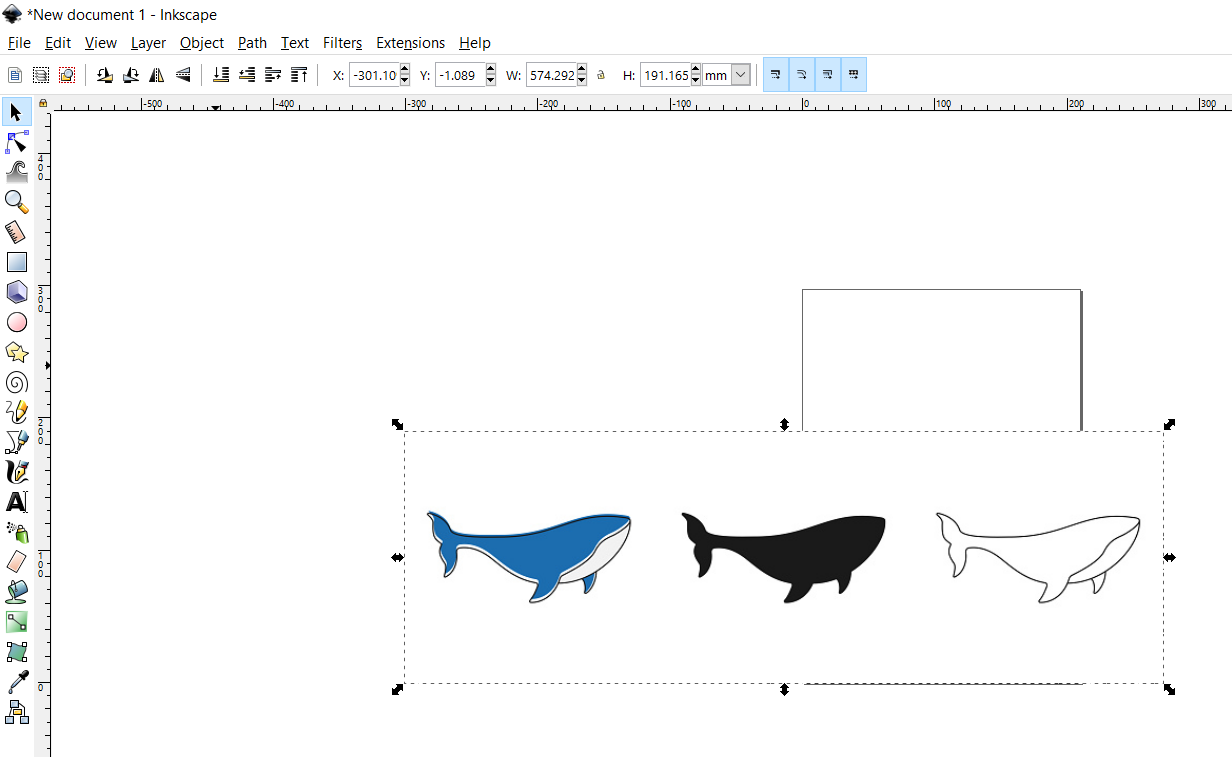
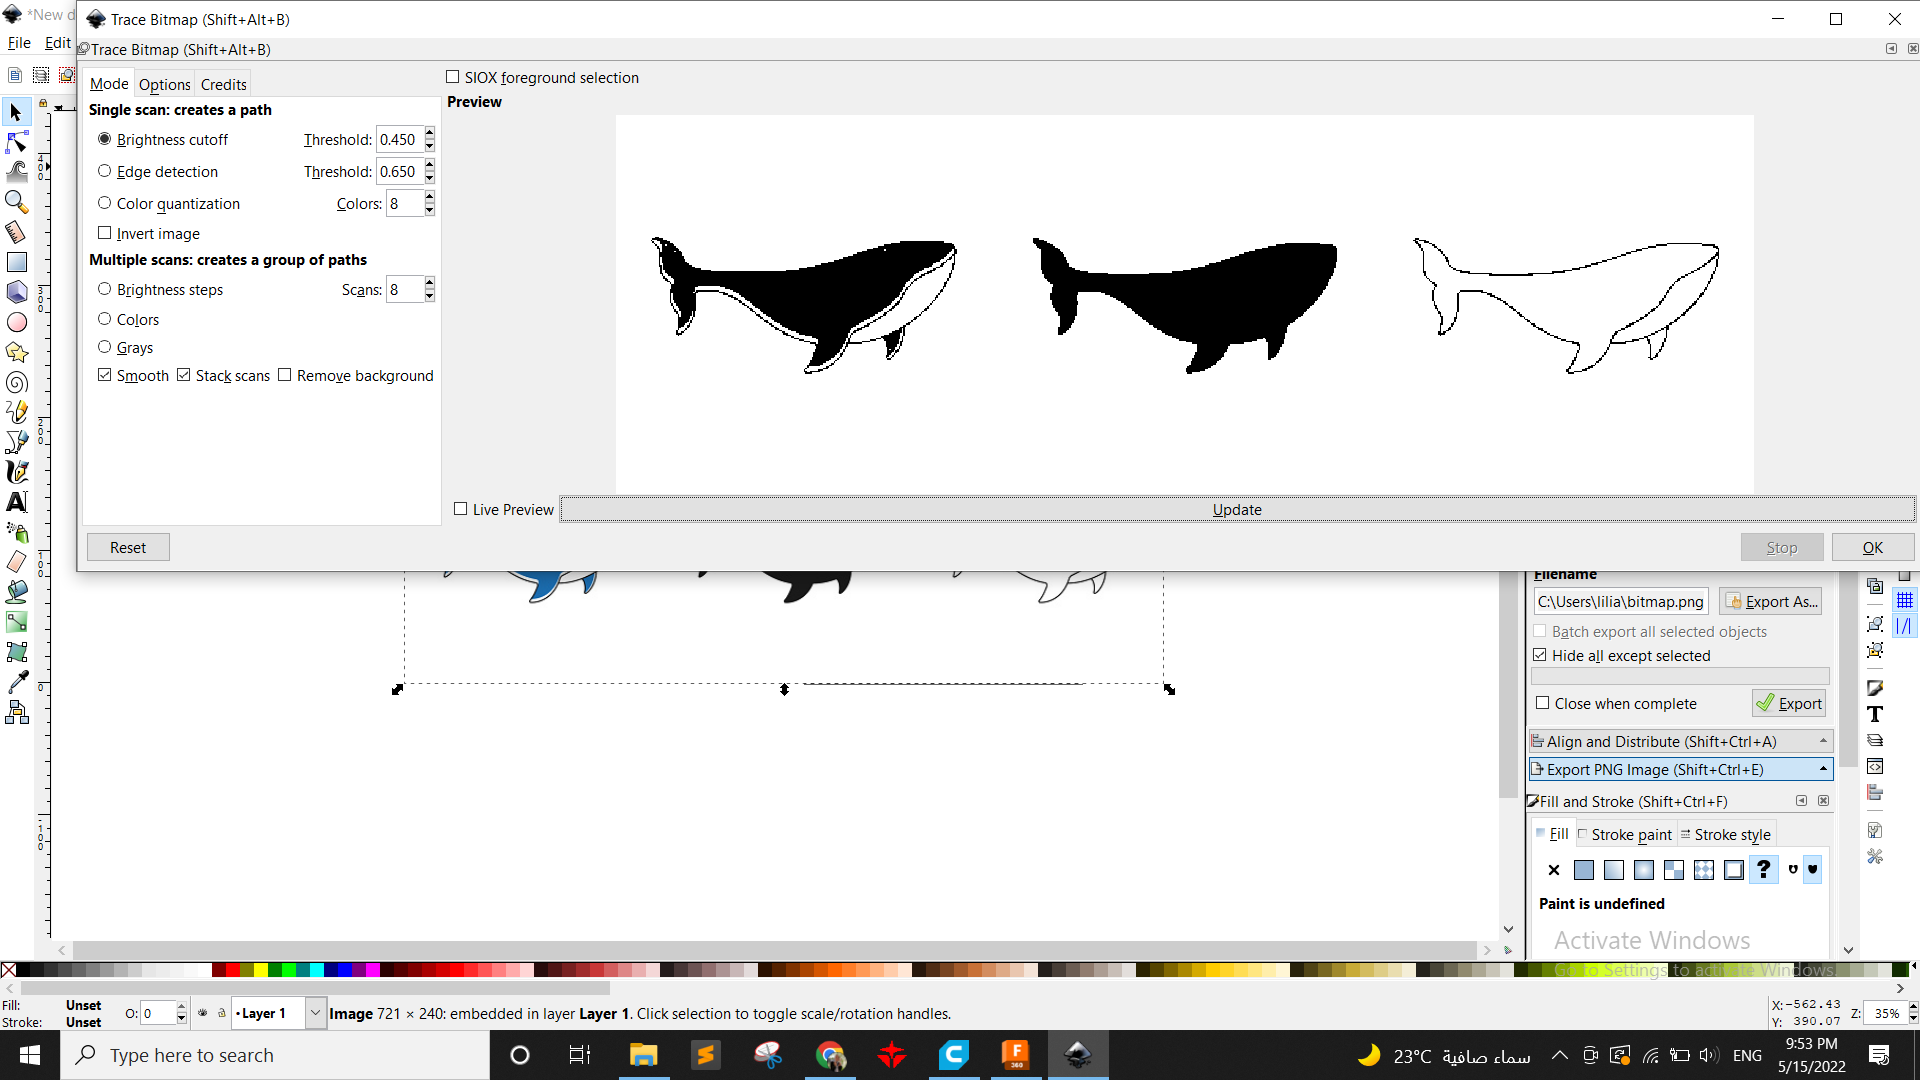
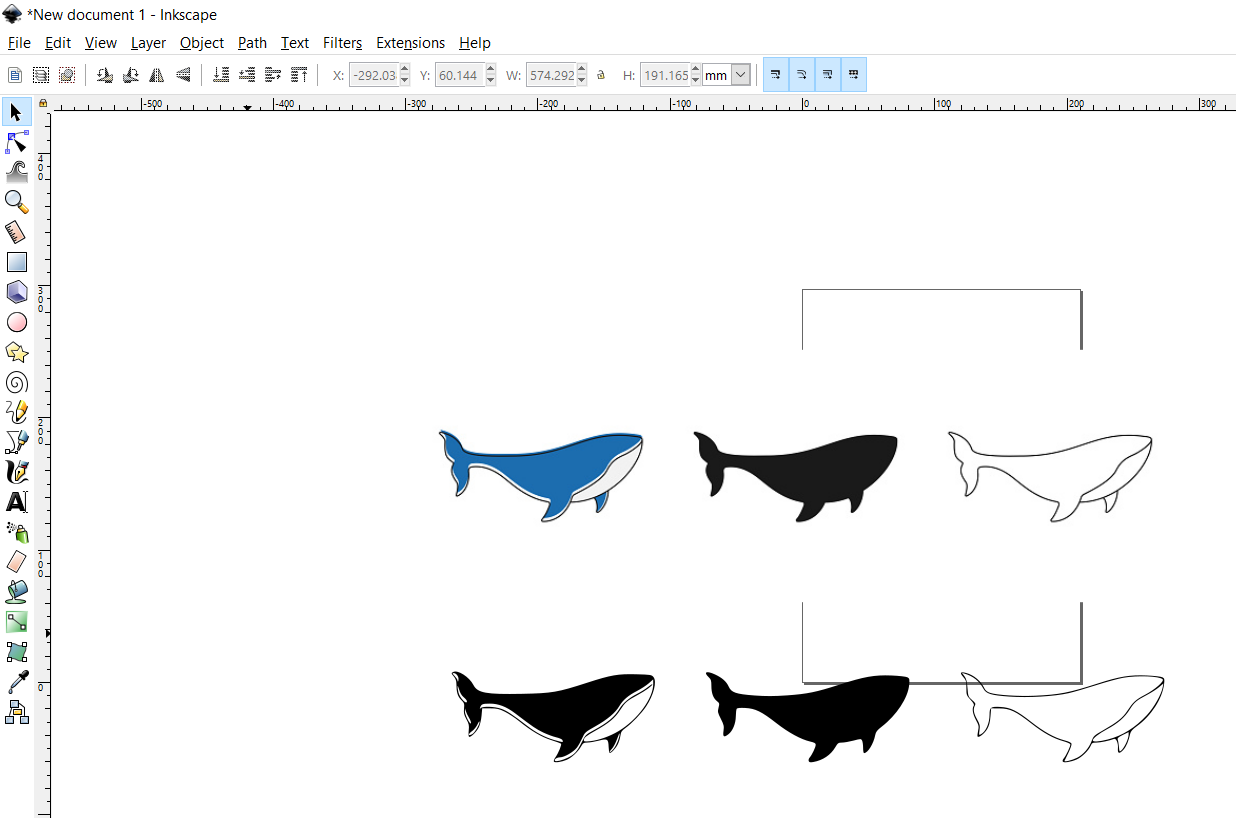
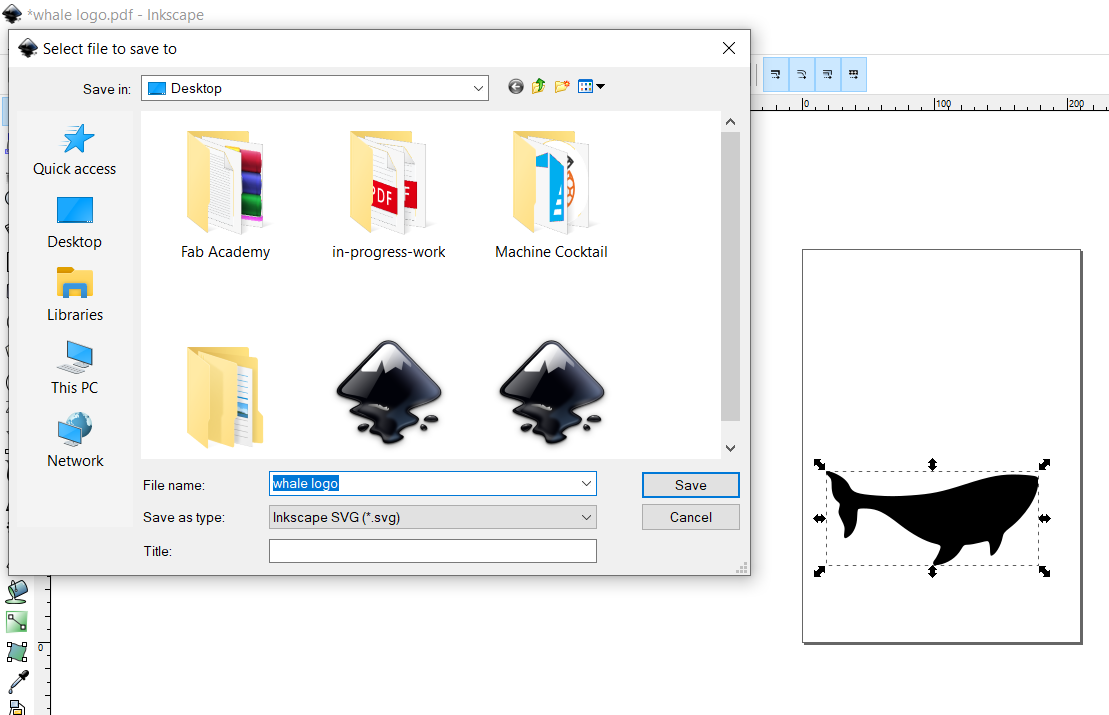
Since It will be a 2D design I thought I will get a vector design online of something artistic, after 30 mins or so I finally found a whale design but It was a photo so I used Inkscape to trace it and generate a vector design. so I imported the image>trace bitmap> after tracing was done, it had all the 3 designs but I need the one in the middle> So I used erase tool and that was it in Inkscape, After that I exported the design in both SVG and PDF extensions to open them in illustrator.
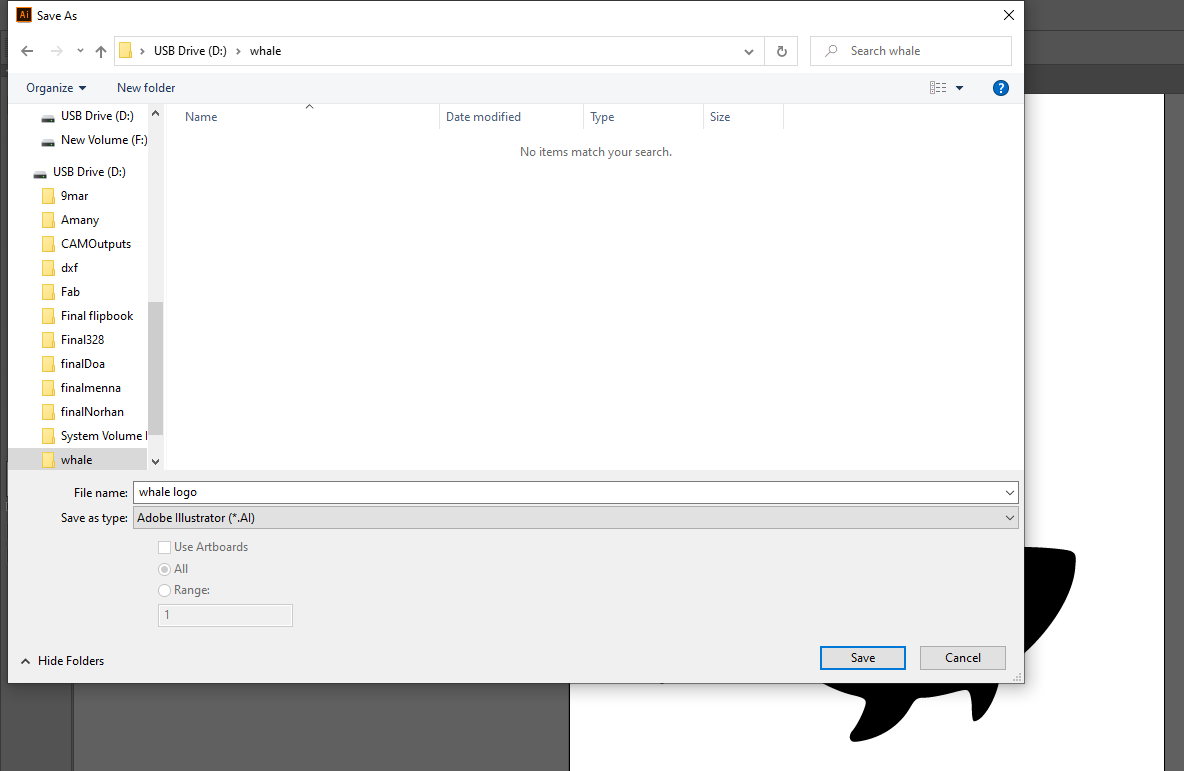
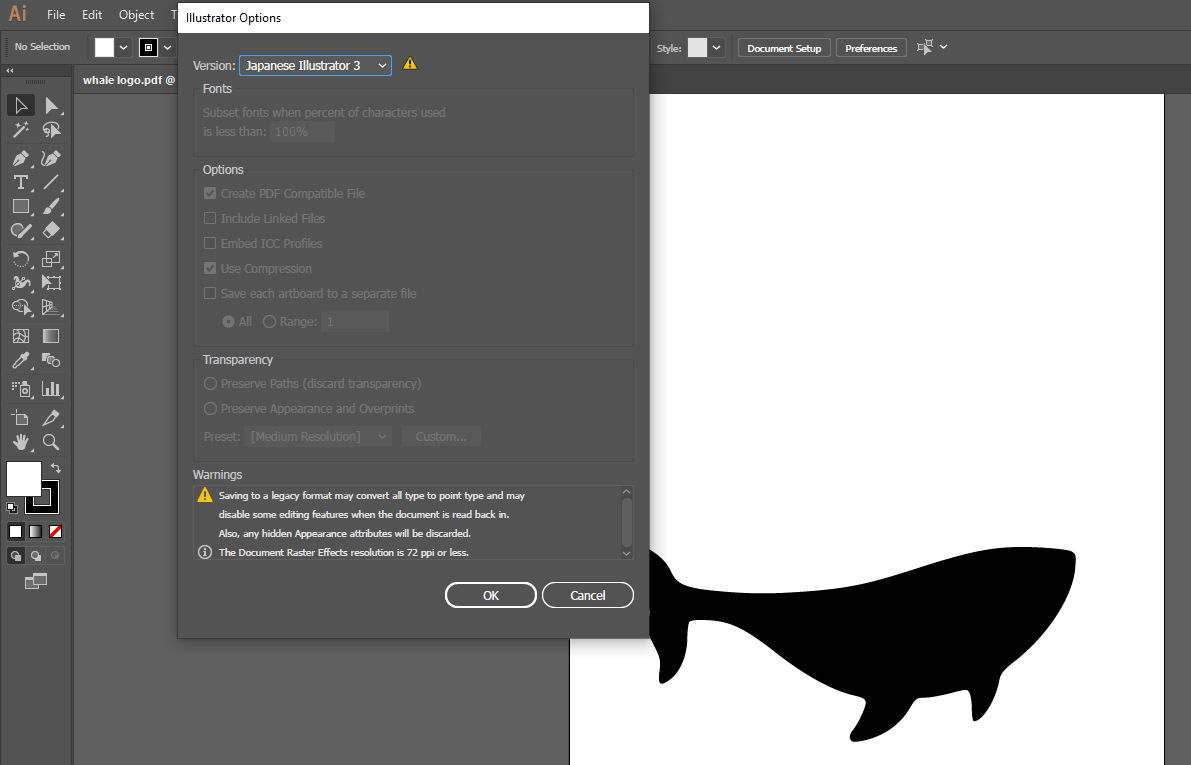
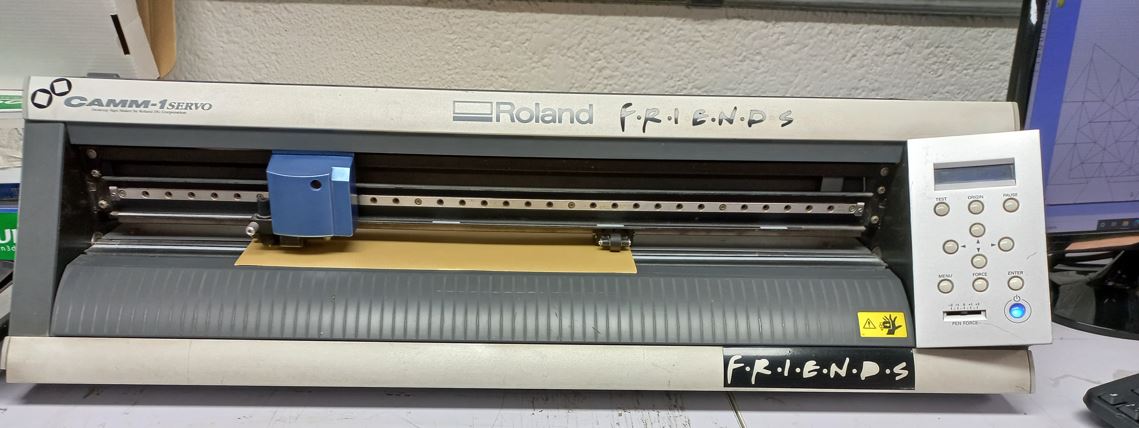
The program that communicates with our Roland vinyl cutter is Cutstudio and it accepts a few extensions and SVG isn't one of them that's why I needed to convert my file into AI extension. and not just that it needs to be in "Japanese version" and so I did.

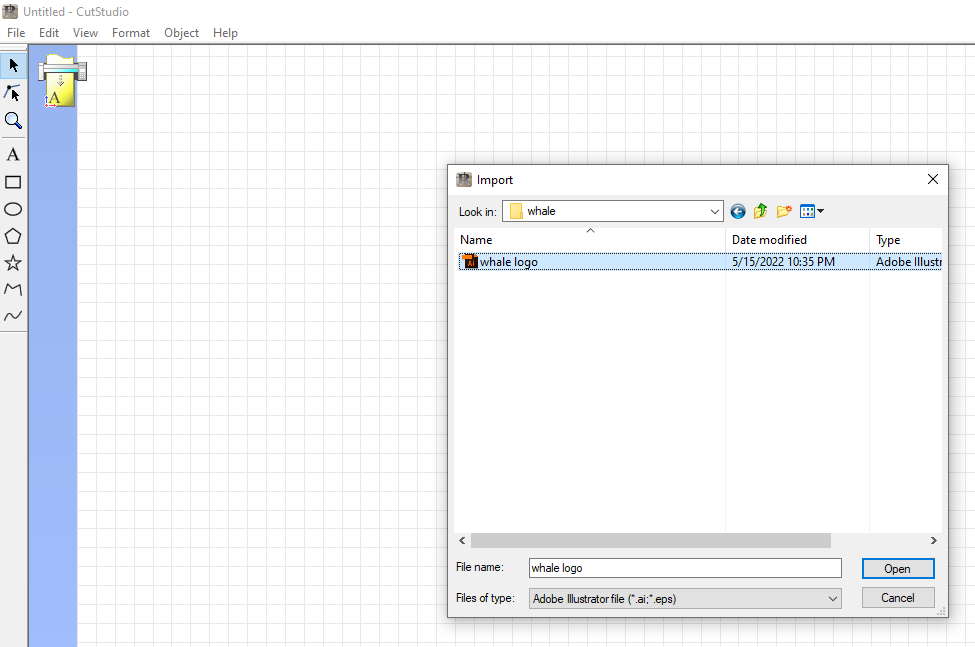
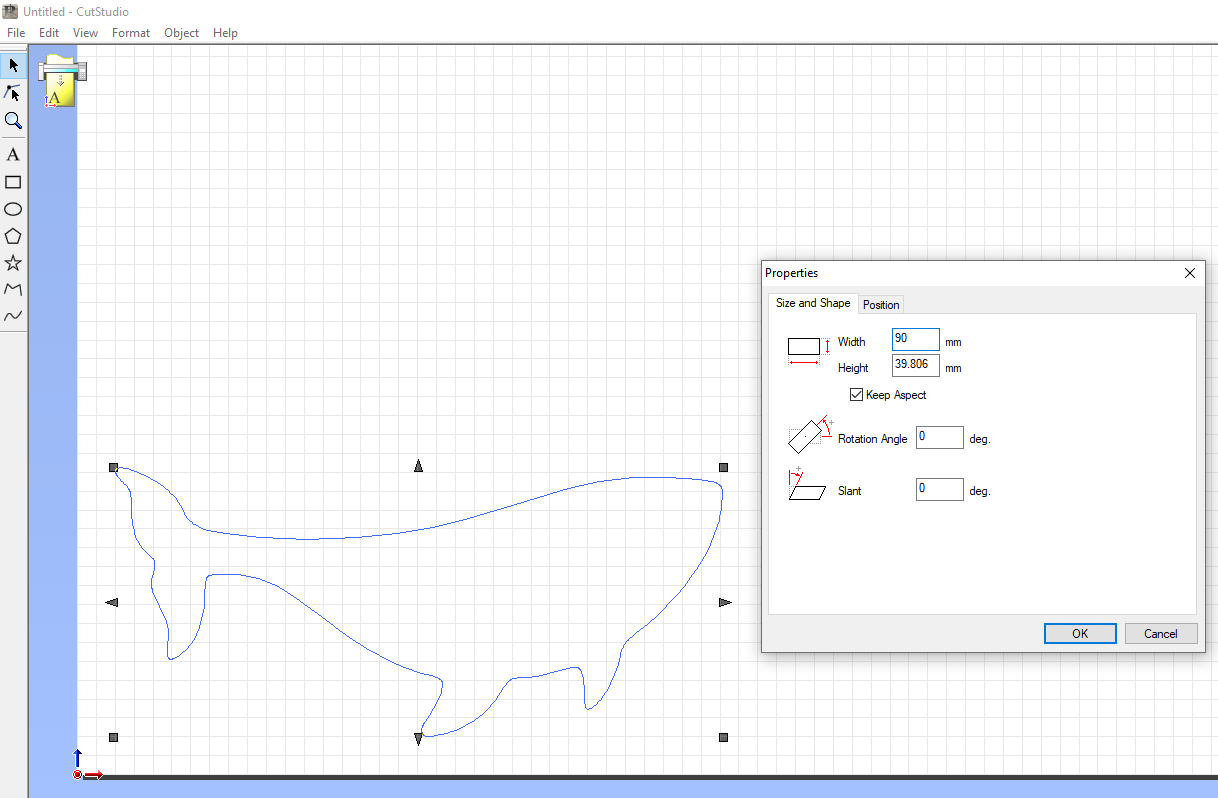
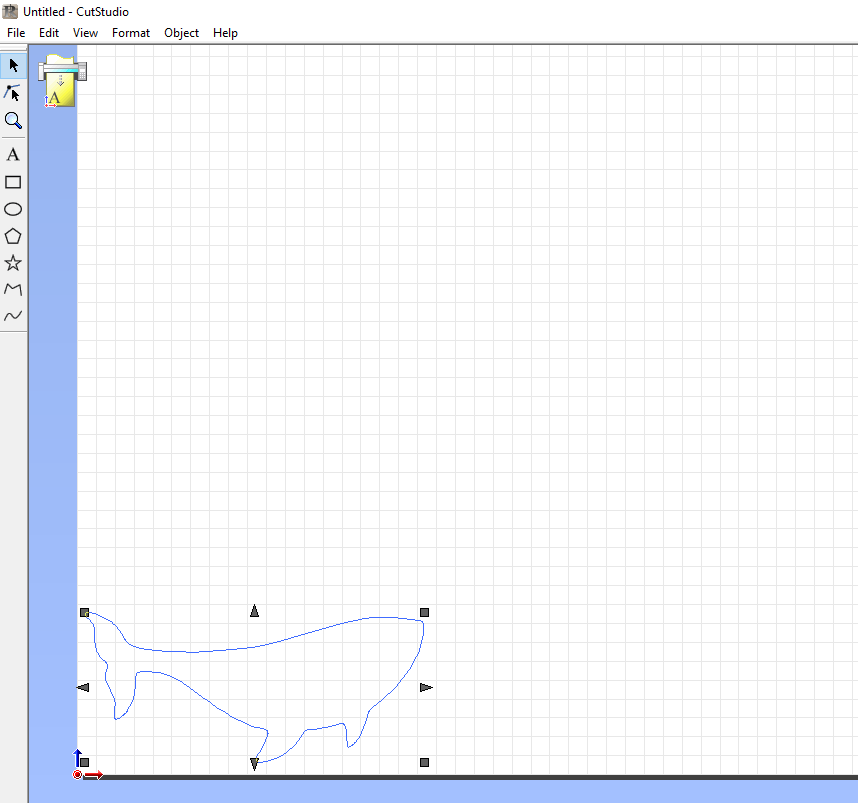
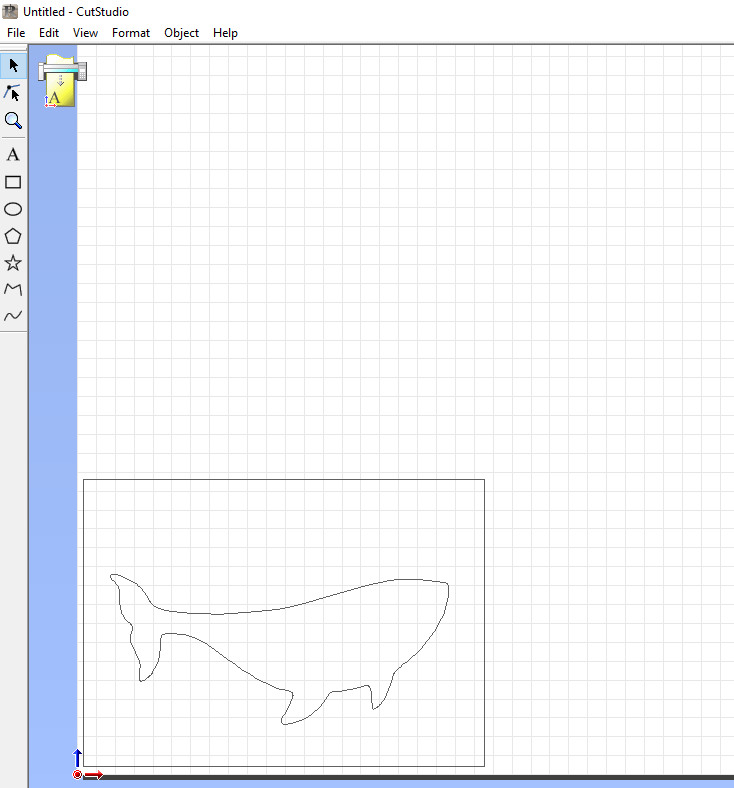
Then opened Cut studio and imported the .ai file. Using right click a list will appear which has the design properties so I made the design width 9 cms and made it near the origin point of the sheet which is at bottom left. In normal cases that would have been it but I needed to add a rectangle around the whale so using the menu at the left of the program GUI there was basic shapes that we can add so I added one around the whale. Next we will prepare the machine then get back to the program to send the file.
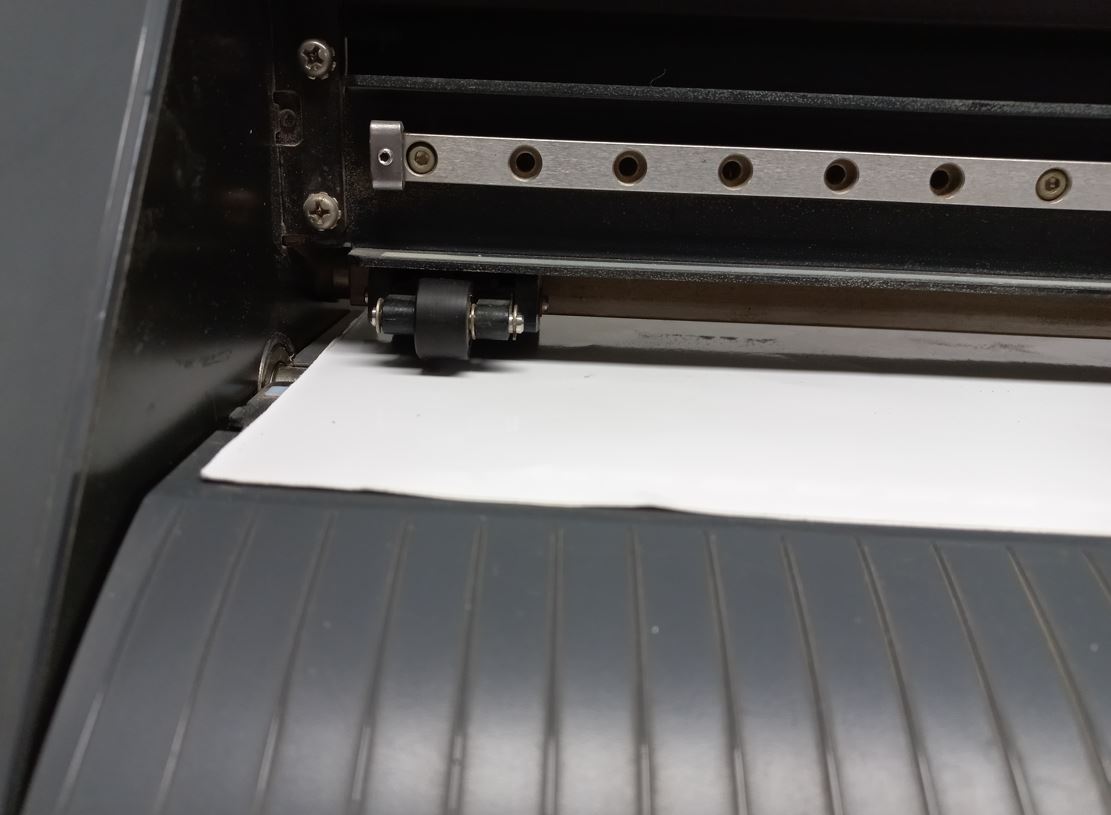
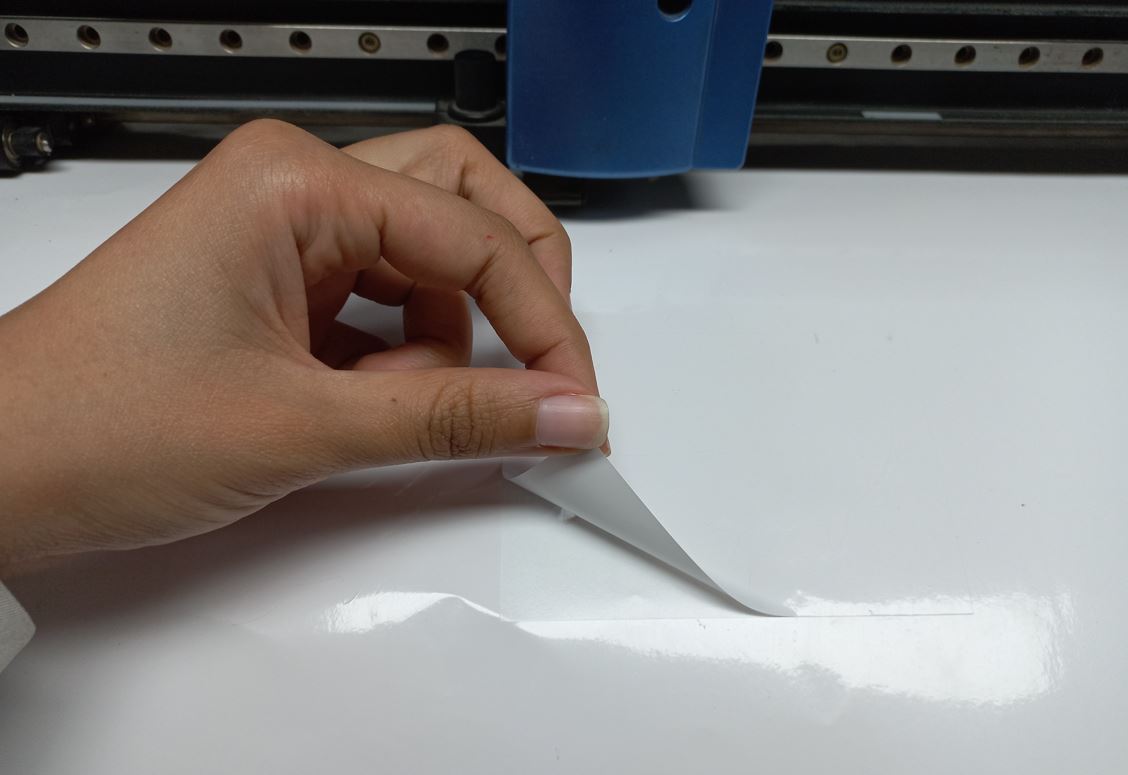
The Machine itself has an easy interface so I got the vinyl sheet and put it between the rollers of the machine which is normally open and after we setup up the sheet we manually close the rollers handle from the back left on the machine where the rollers lock the sheet up after.
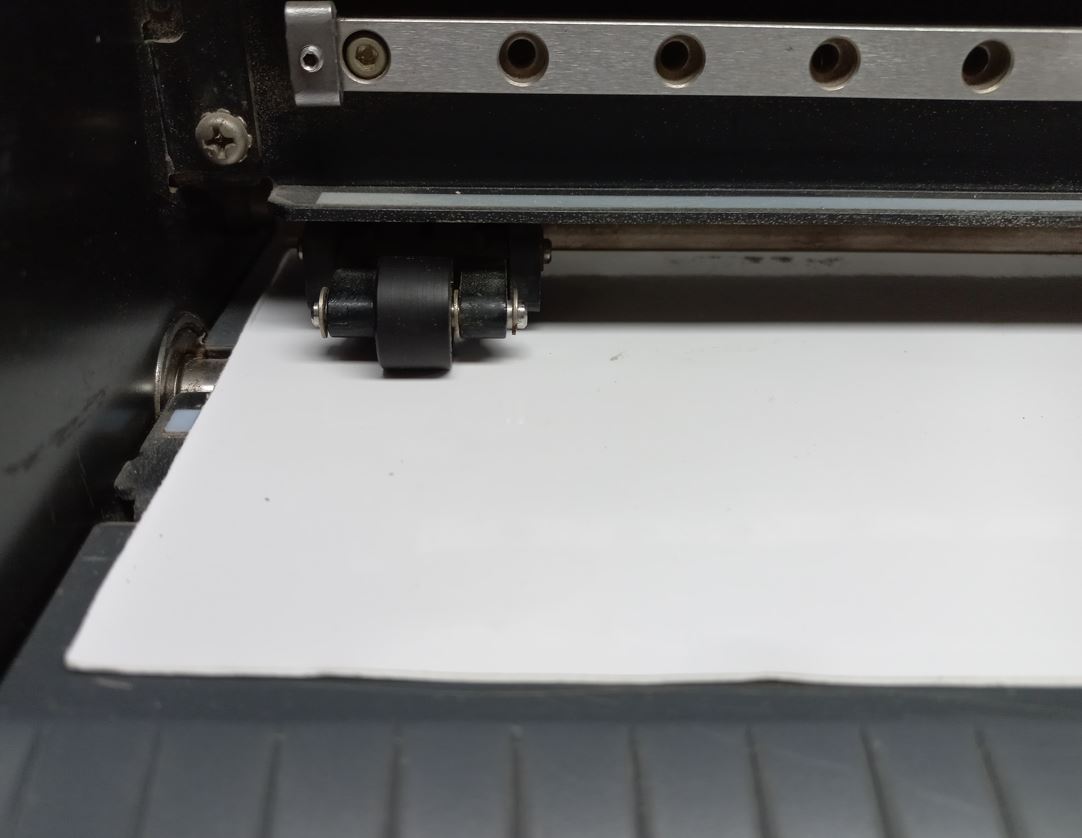
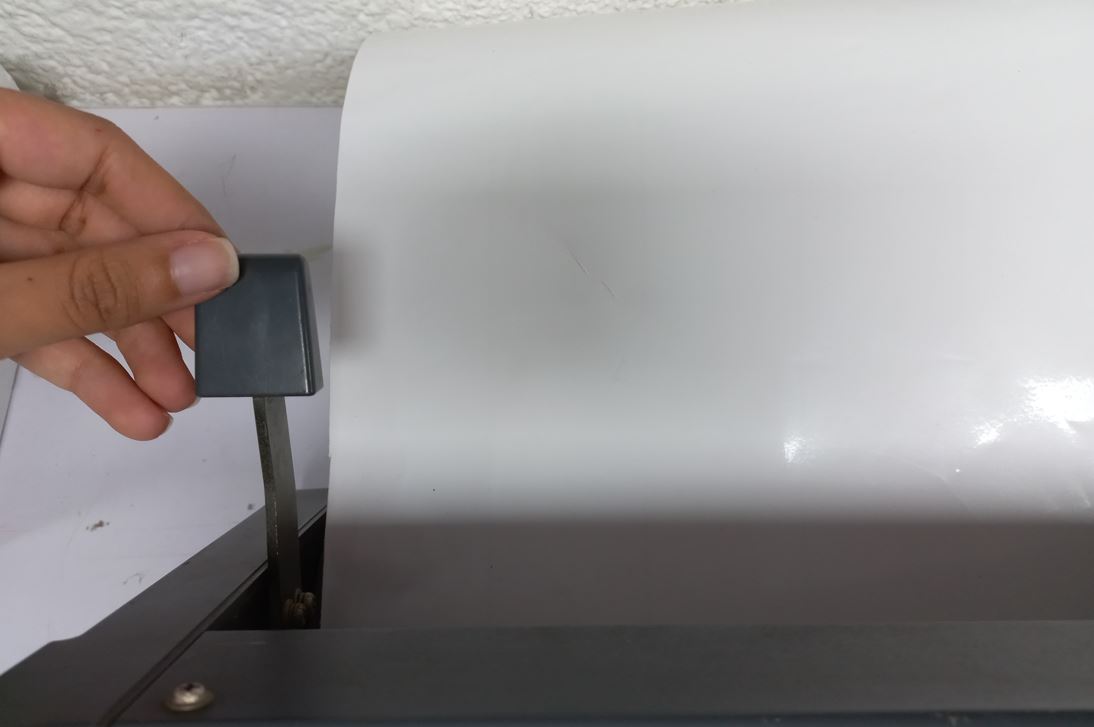
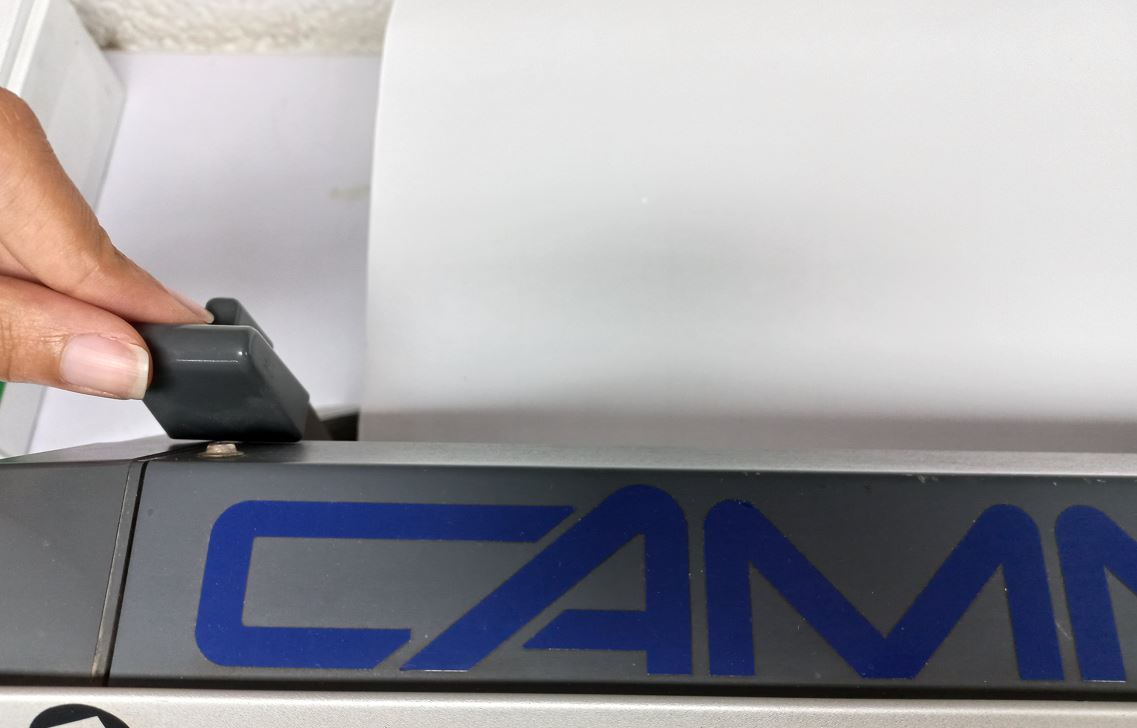
Now that the vinyl sheet is ready we are ready to turn on the machine. after we turn it on It asks if the material is a roll or a piece. Roll means it's a few meters long and piece means it has a small area in length and width. But I already knew that the sheet I used is more than enough for a 9 cm design so I choose a Roll - first option in the machine so it's easier to choose :D - In the roll it only measures width if we choose a piece it measures both width and length. Then the value appears in its screen.
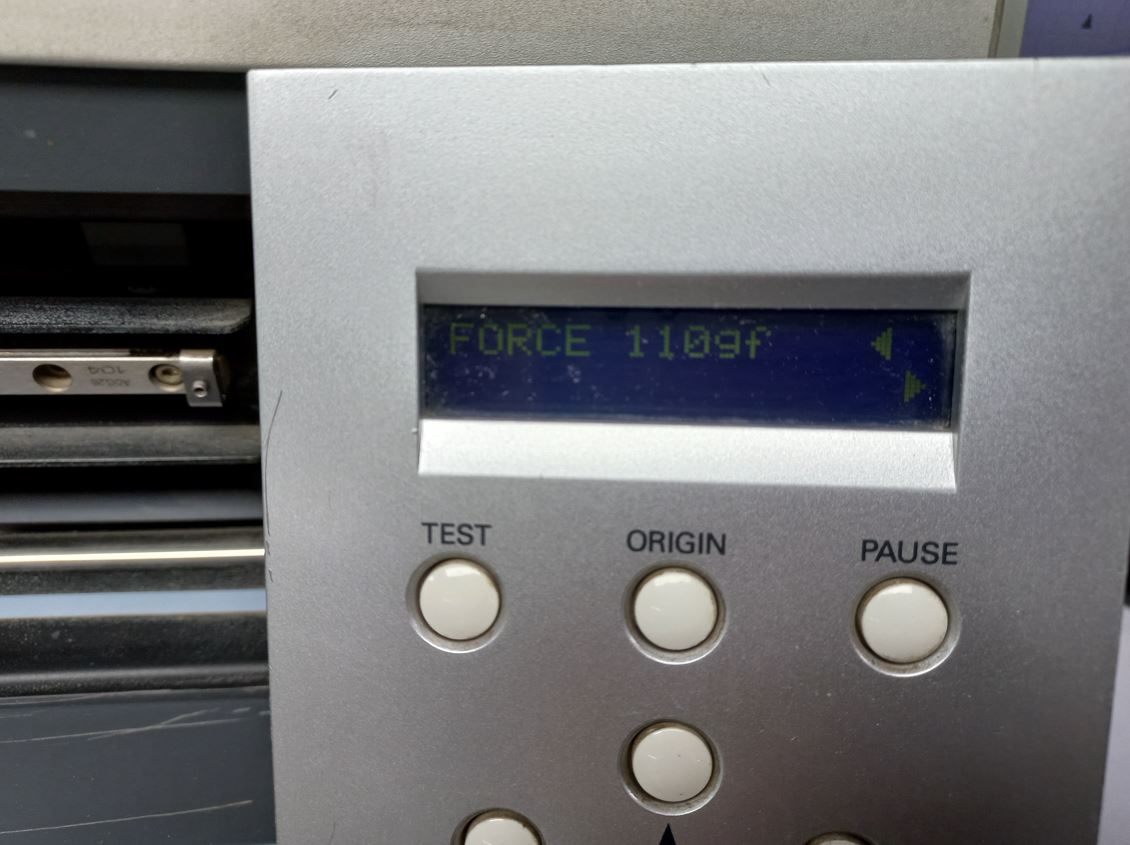
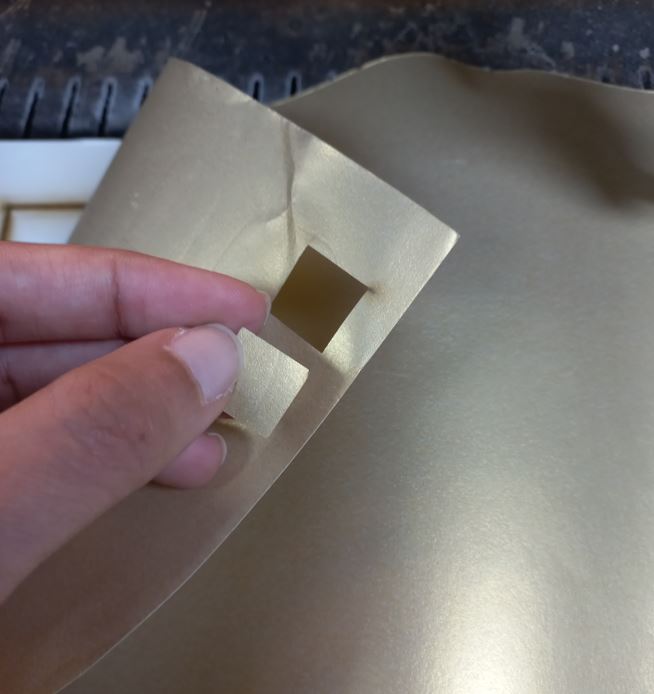
You may think we can sen dour design now! Nope, not yet. We first need to make sure the current force is enough force to cut through our material so from button force we choose a force we think it will be a proper one then make a test from the test button, which cuts a square inside a circle. If the force is good enough it will only cut the vinyl layer and don't cut the back layer. In my lucky case it was a proper force from the first time which was "110fg"

After the cut test is done we are now ready to send our design. so I went back to Cutstudio and from file>cutting> appears a window of the machine itself so so in the size tab we find width and length so we click on "get from the machine" which the machine measured itself in previous step.
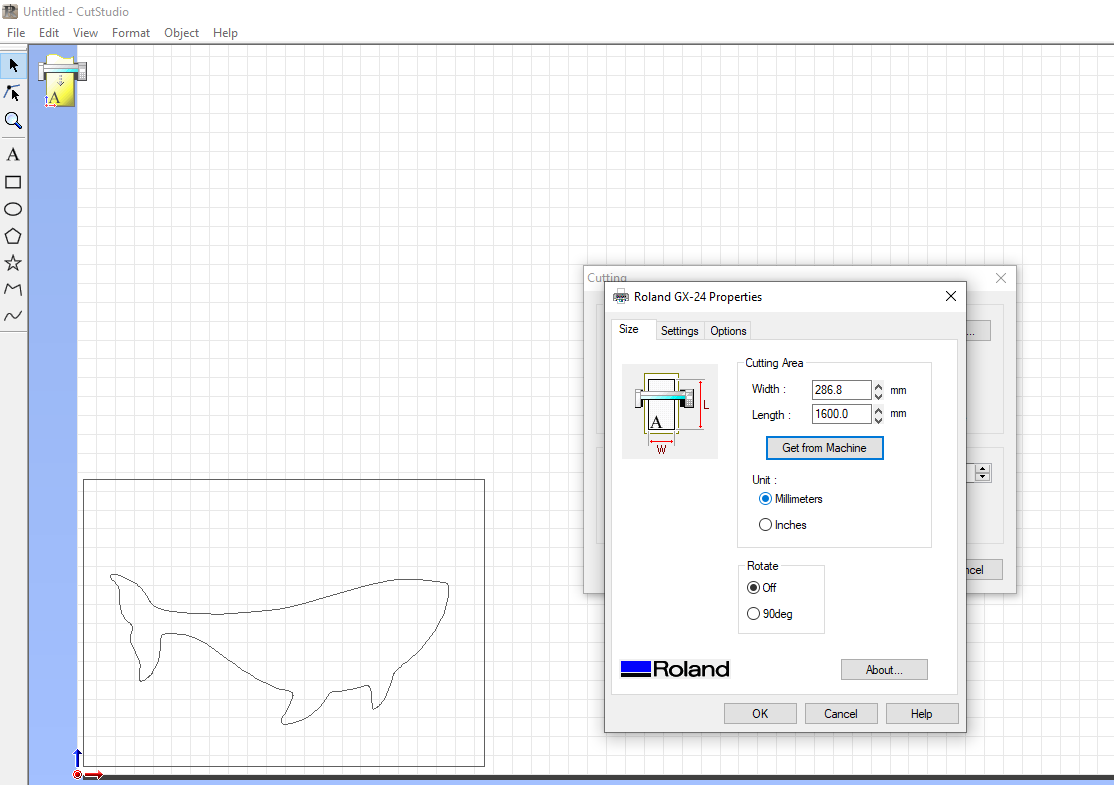
Then we click on cut and press OK and the machine will start cutting right away so you better set an new origin point after you make the test so it doesn't get in the way of your design.
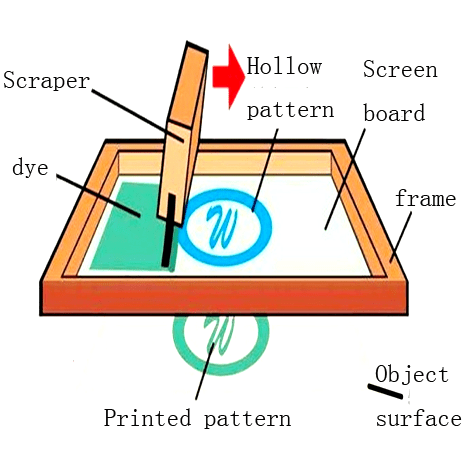
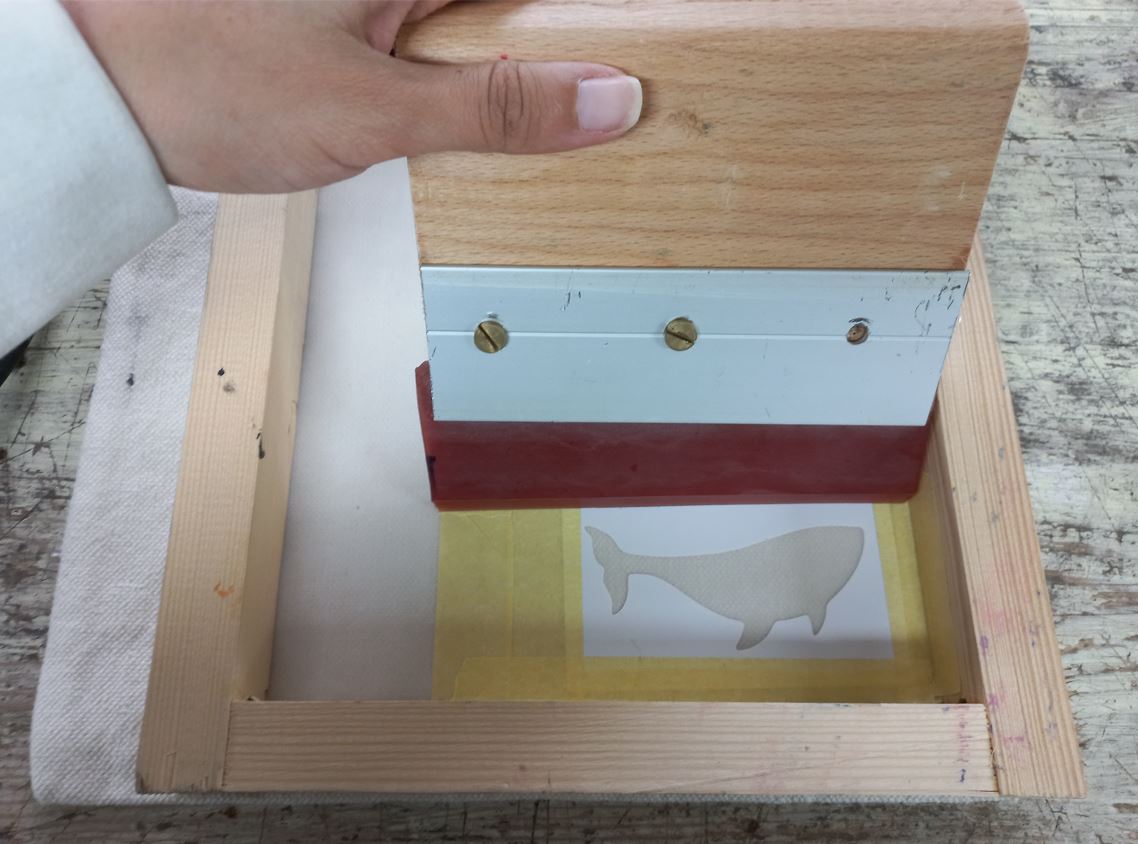
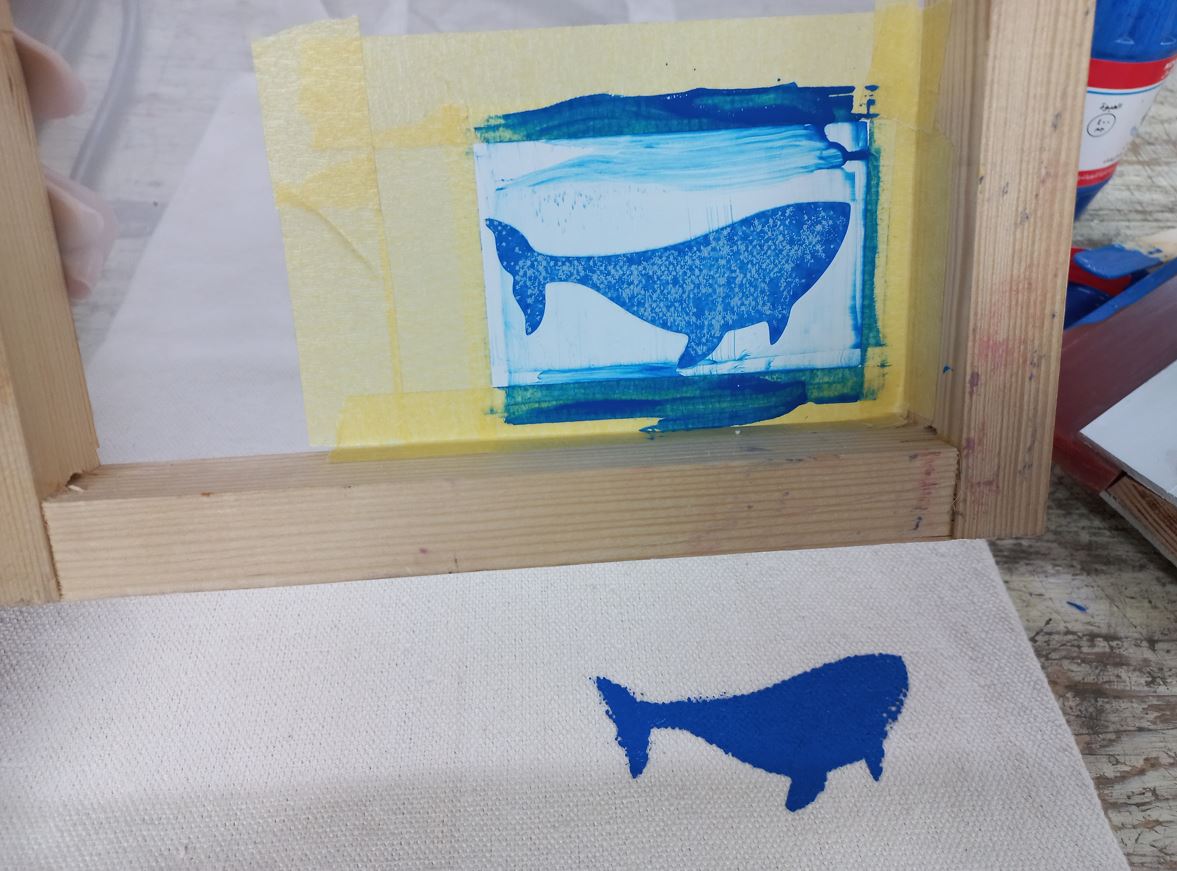
So, Now that the vinyl is ready we finally will start screen printing! For this to work we need a frame, but on it a very streched fabric which makes our screen board, a scraper to scrap the dye, obviously a dye :D, a pattern, and the fabric we want to print on. the next image illustrates all the elements needed.
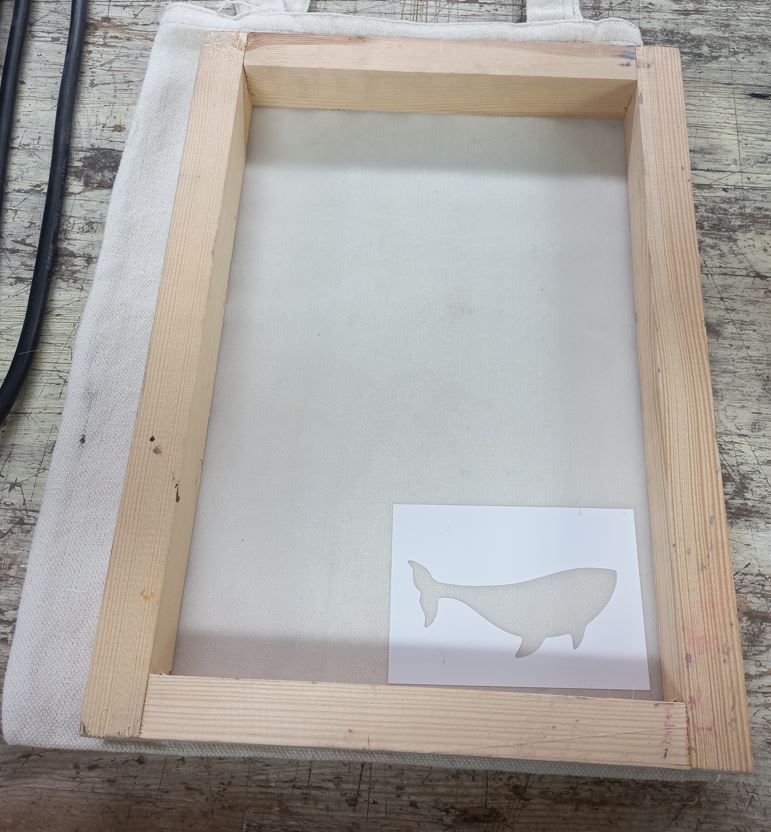
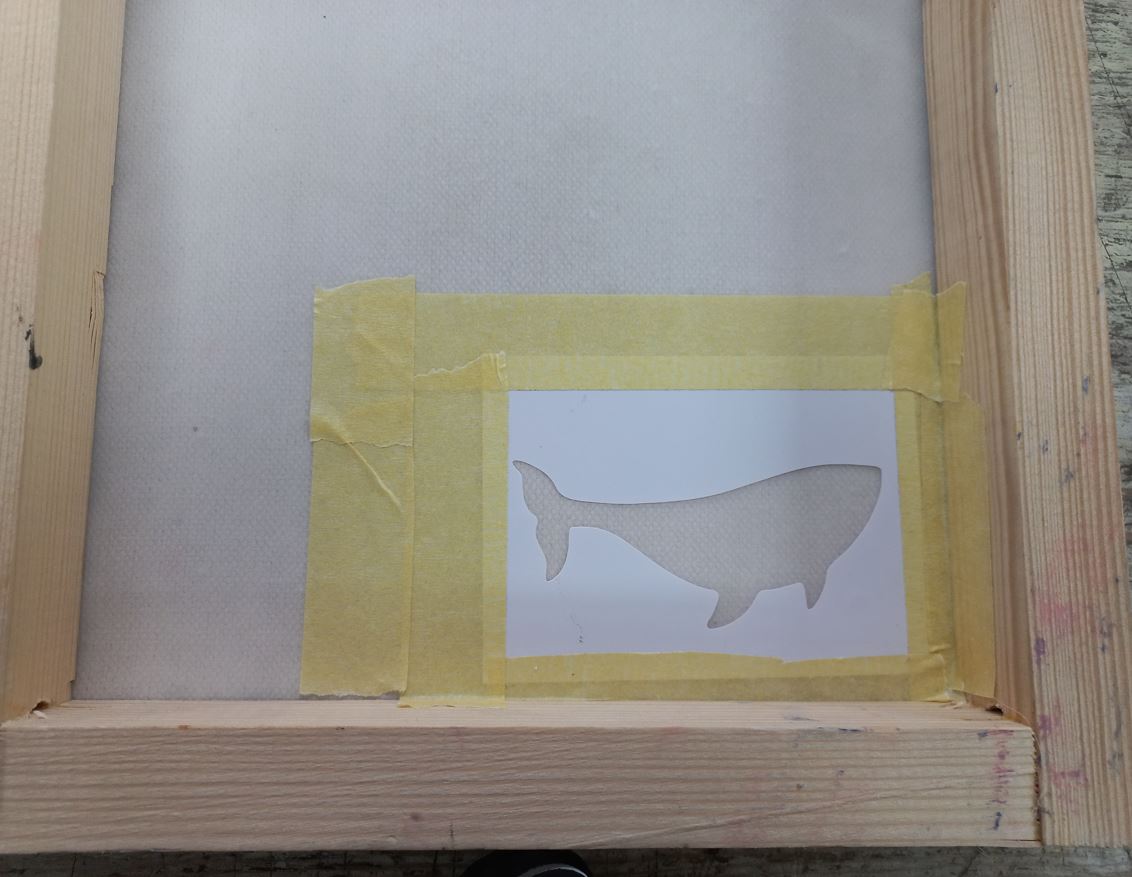
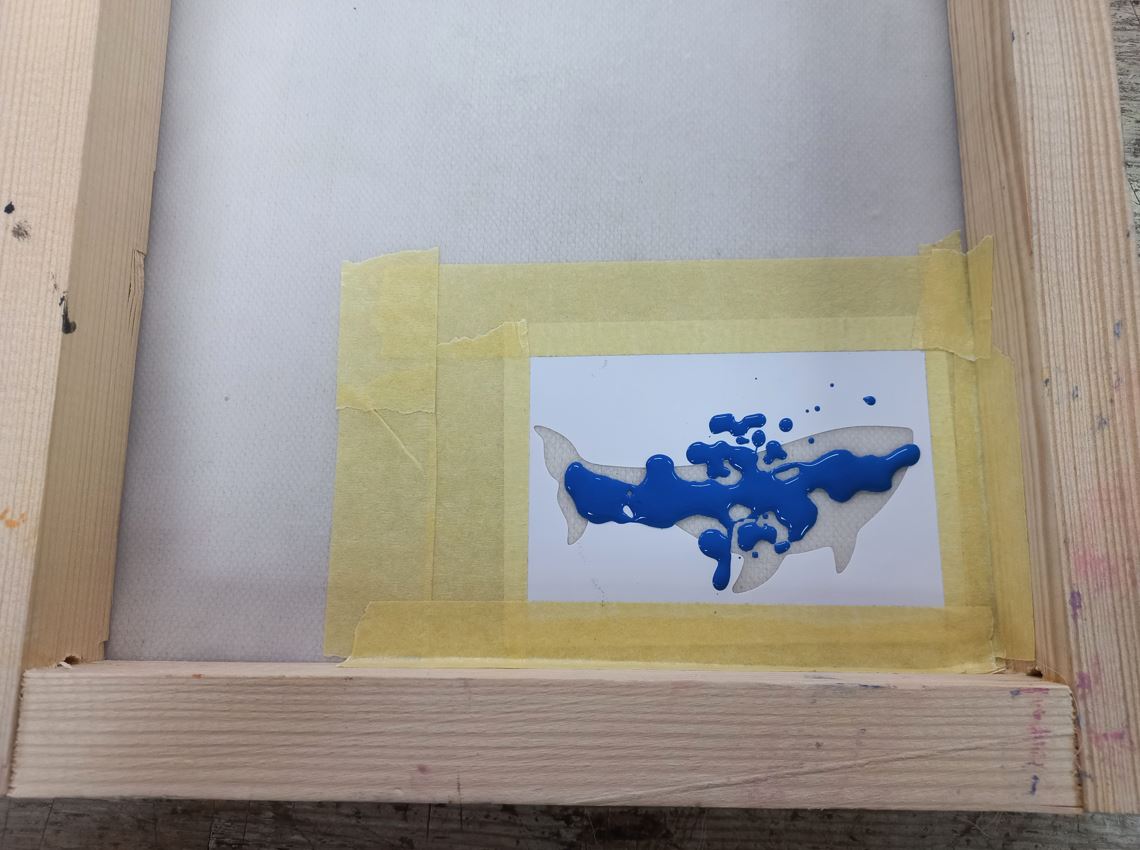
So I took off the vinyl "sticker" from its sheet and put it on the screen board, and for it not to leak any extra dye I put on tape everywhere around it just to be extra cautious :D, Then put the bag I want to print on underneath the frame and put inside of it a cardboard sheet so the dye doesn't leak to the other side of the bag :D, put a few drops from the blue dye and started scraping back and forth and in a minute it looked ready so I moved the frame from the bag and that was it :D here are many pictures of the whole process I just described.
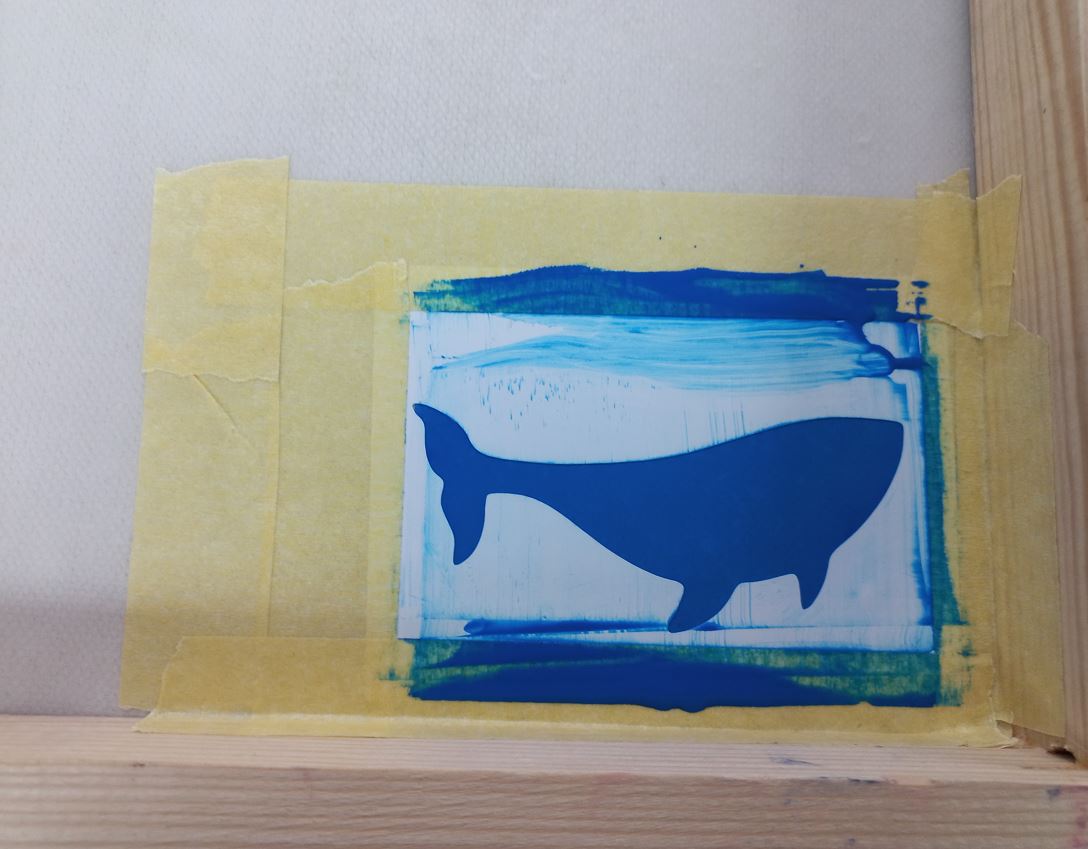

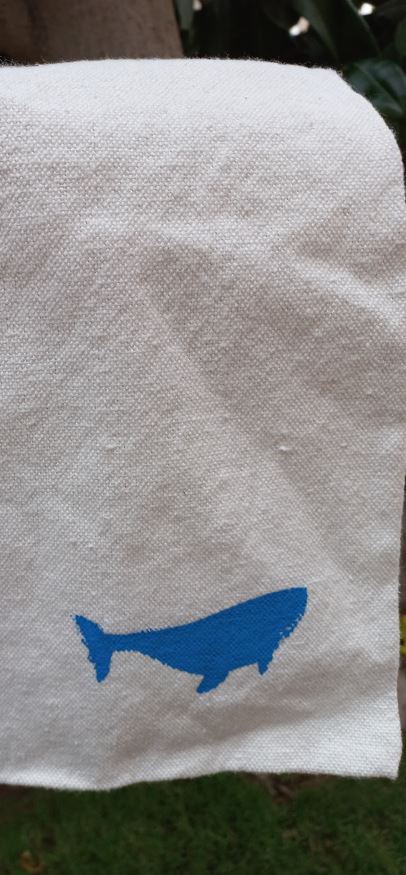
I left it around 11PM and the next day around 12PM at noon it was dry and ready! I was so happy seeing it worked :D
 Paper Folding
Origami has always seemed interesting to me, a couple of years ago I attended an event were I made heart shaped giveaways by Origami and enjoyed my time making thme but ever since I didn't have the time to learn it but it was on my list of To-Dos. So, this week I wanted to try paper folding using Origami design that I found from a Fab Academy student from last year "2021" called Nadieh you can see her work on this week through here. So I worked with the same design she shared but I only edited it to make it smaller, final dimensions were 25*10cm. So I wanted to test both laser cutting and Vinyl cutting and whether one would be better or easier than the other.
let's start with Vinyl cutting.
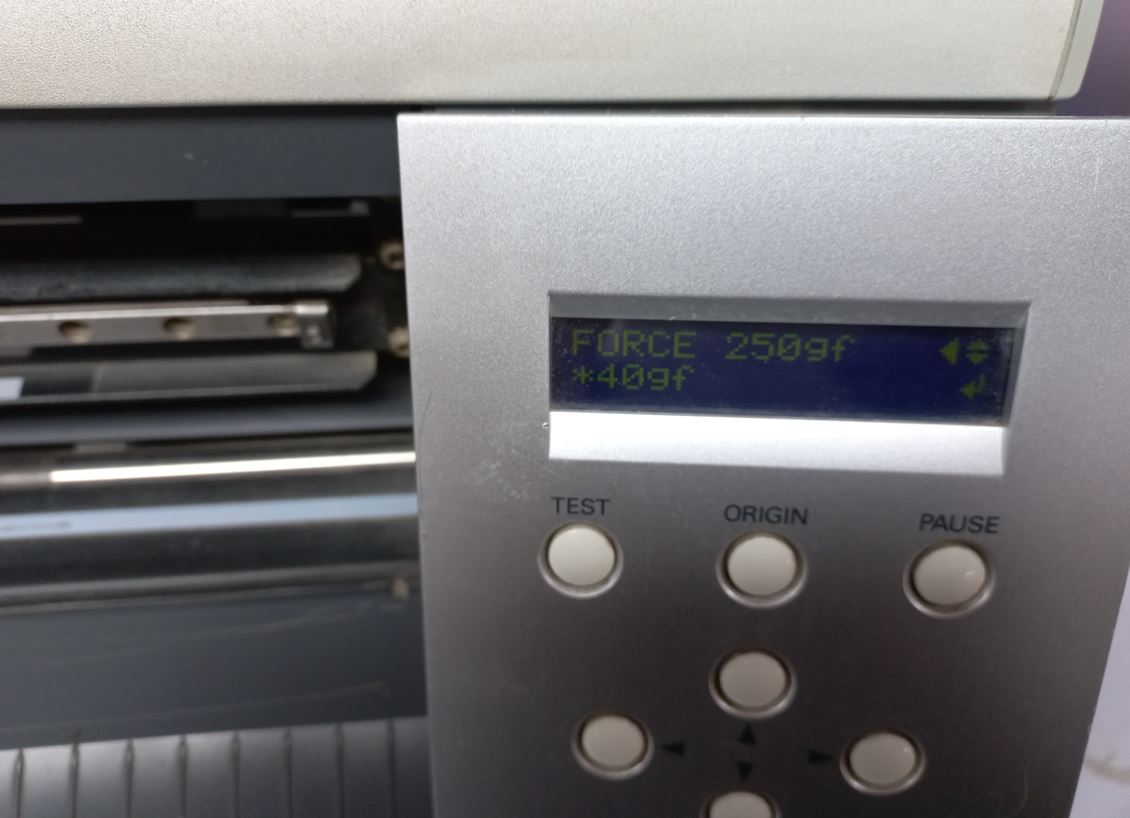
I had the design ready in SVG extension. So I prepared it the same way I described above in screen printing. Then opened it in Cut studio and made the same setup like above also :D but the major difference this time that I didn't want the cutter to cut all through the material, In paper folding we just need it to make marks that we can fold later and if it was cut while folding it fails :D so I made the force "40fg" which is very low force as my first try and then sent the file to the machine
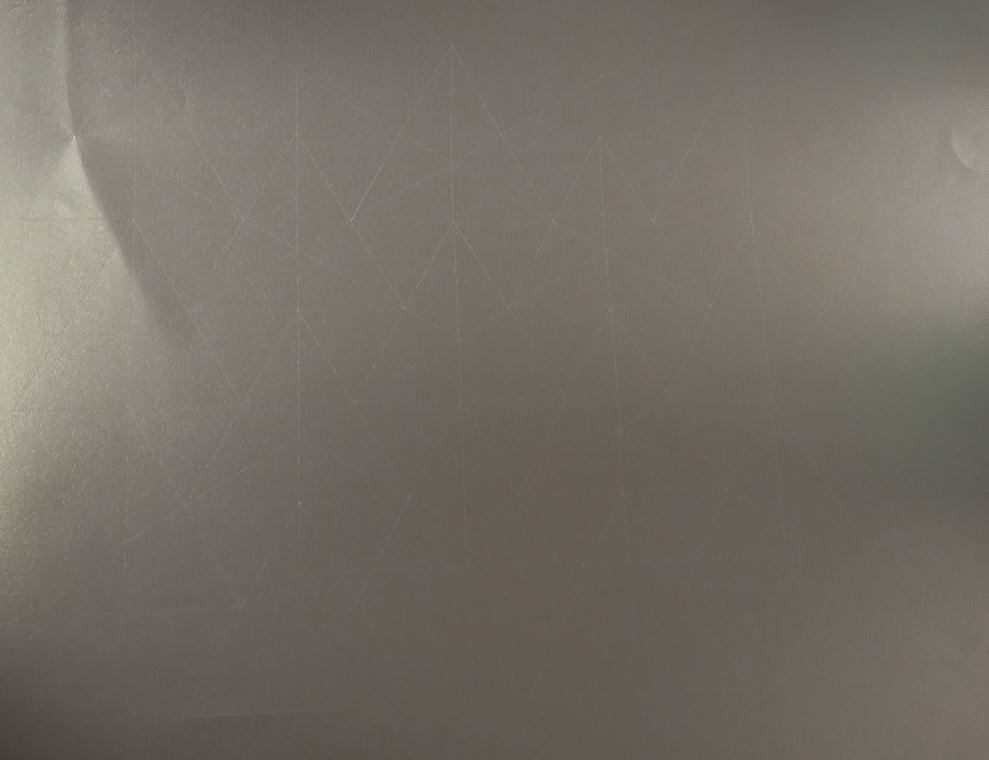
The output of it was a success but first I needed to cut the pattern from the rest of the sheet so I cut it using the laser cutter, just a rectangle around it. Then it was ready for foldeing but it was only lines all over the place so I asked my instructor Noha for help as she is a guru in Origami and she told me to focus on which line is going up or down as I made all lines face down :D so I edited it and finally it showed some results ^^ It looked sooo good.
Secondly, Laser cutting.
I got even more excited after I saw the result of vinyl so I also wanted to try laser cutting and see if it will make a close result. so I first tried the speeds and powers that will suit the material. Also tried both speed cut mode where the basic mode is cut but in a very high speed such as 300mm/s or the second mode which is dot where it makes a line but leave spaces in between
The 1st try I didn't change much in the dot mode so I wanted the line to be larger and so the distance between each line so I made both to be 2mm. and then made a second try and it was much better. so here is all my trials.
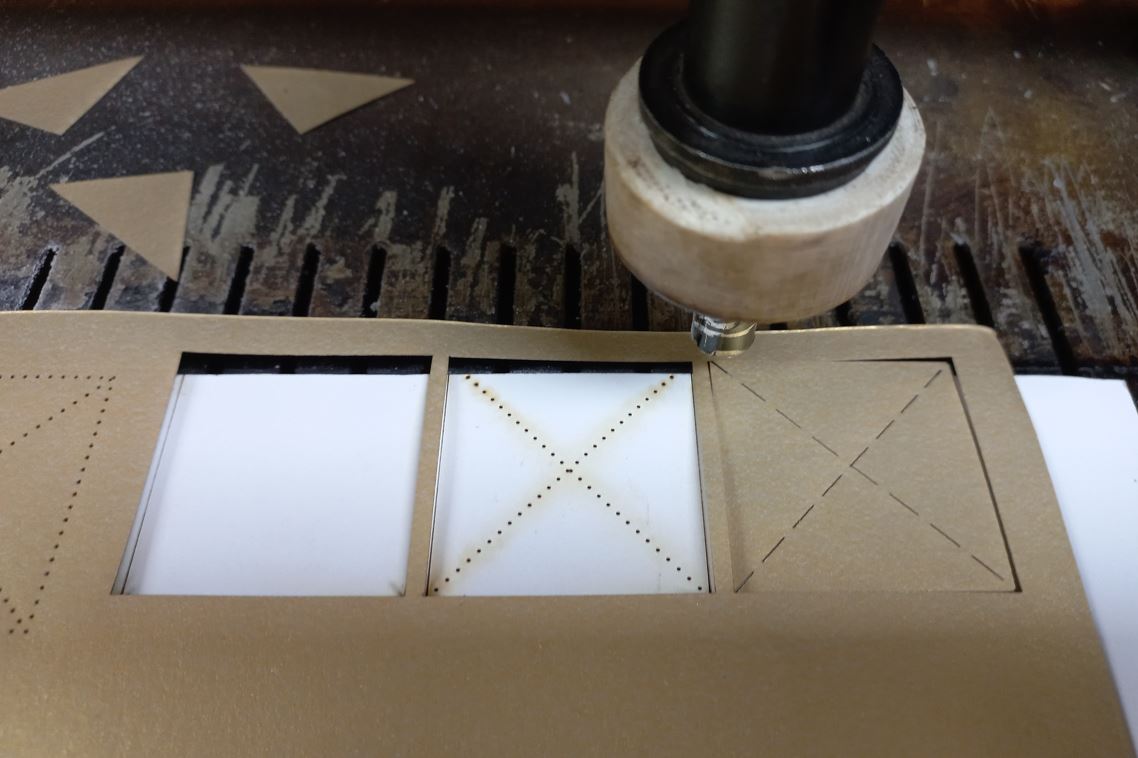
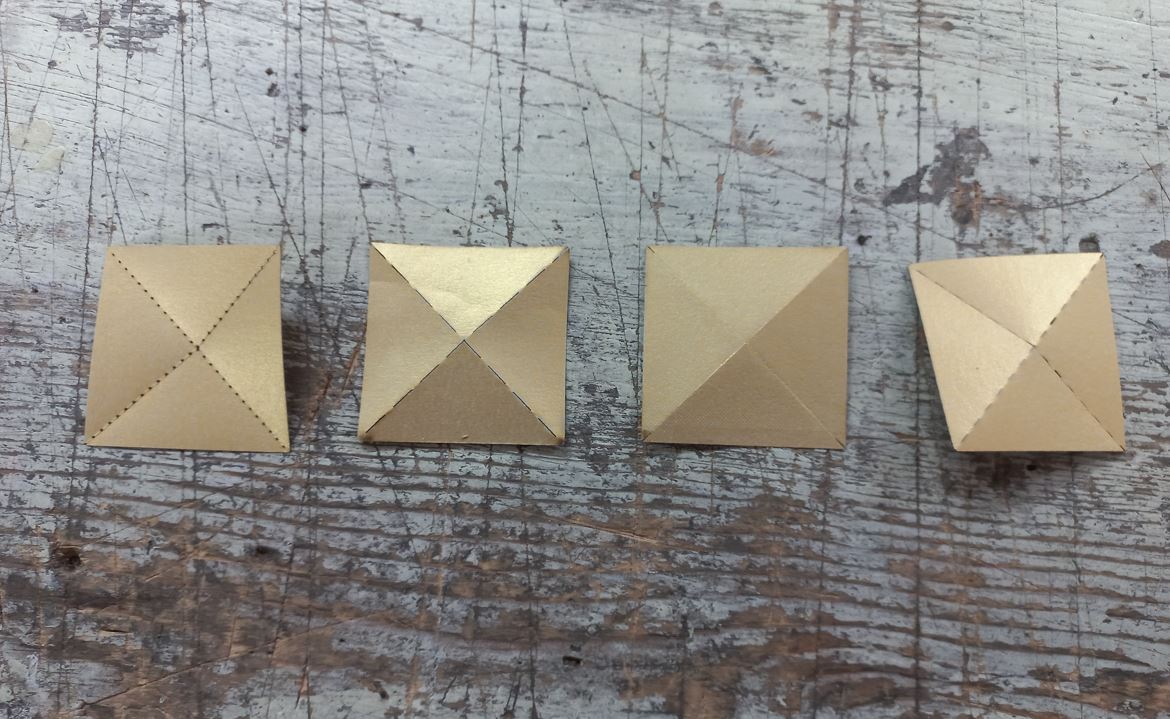
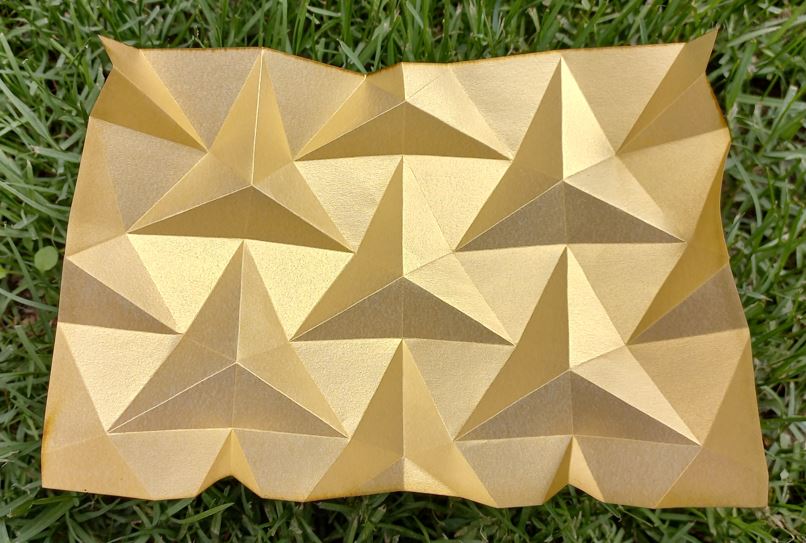
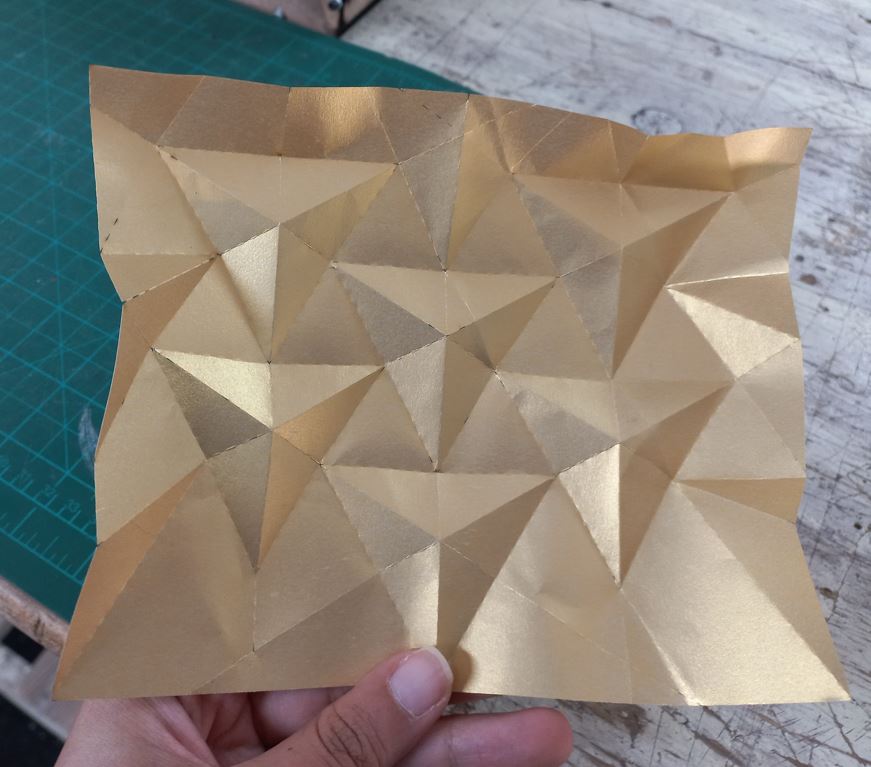
both speed cut mode and the final dot settings were great. I think speed cut would make the same result as the vinyl cutter as it was so easy to fold the sample, but Noha said that it may be cut from one or two more times in folding so I tried the dot mode as it has only 2 mm cut and 2mm the paper so it is twice as hard as the all line cut. it was harder to fold as it is stronger, and took more time to fold too. Also I think I added more force to it than the vinyl cut sample and finally when I was done folding it, it still didn't reach the same folding I made with vinyl cut sample. But they were all interesting trials that I enjoyed making!
Source files:
Origami design
Whale logo design