


 When I was thinking about buillding a website there was a lot of options to choose from. Will I use MKDocs template, or build it from scratch using HTML and CSS, or using Bootstrap template, or by other website generators like Hugo.. etc. It's really great that all of them were available, so grateful for the opensource community. Finally, To be able to make a choice I tried some ways to see the best fit for me, let me share with you how it went.
Option1: starting from scratch typing HTML and CSS, that looked like fun but I needed much time. I knew a bit about them as I once built a poor website back in college, But I wanted my website to look appealing to my eyes, I knew that to be able to do so I needed to use Bootstrap and Javascript. will come to them later, but that was my reason to sy No to pure HTML and CSS.
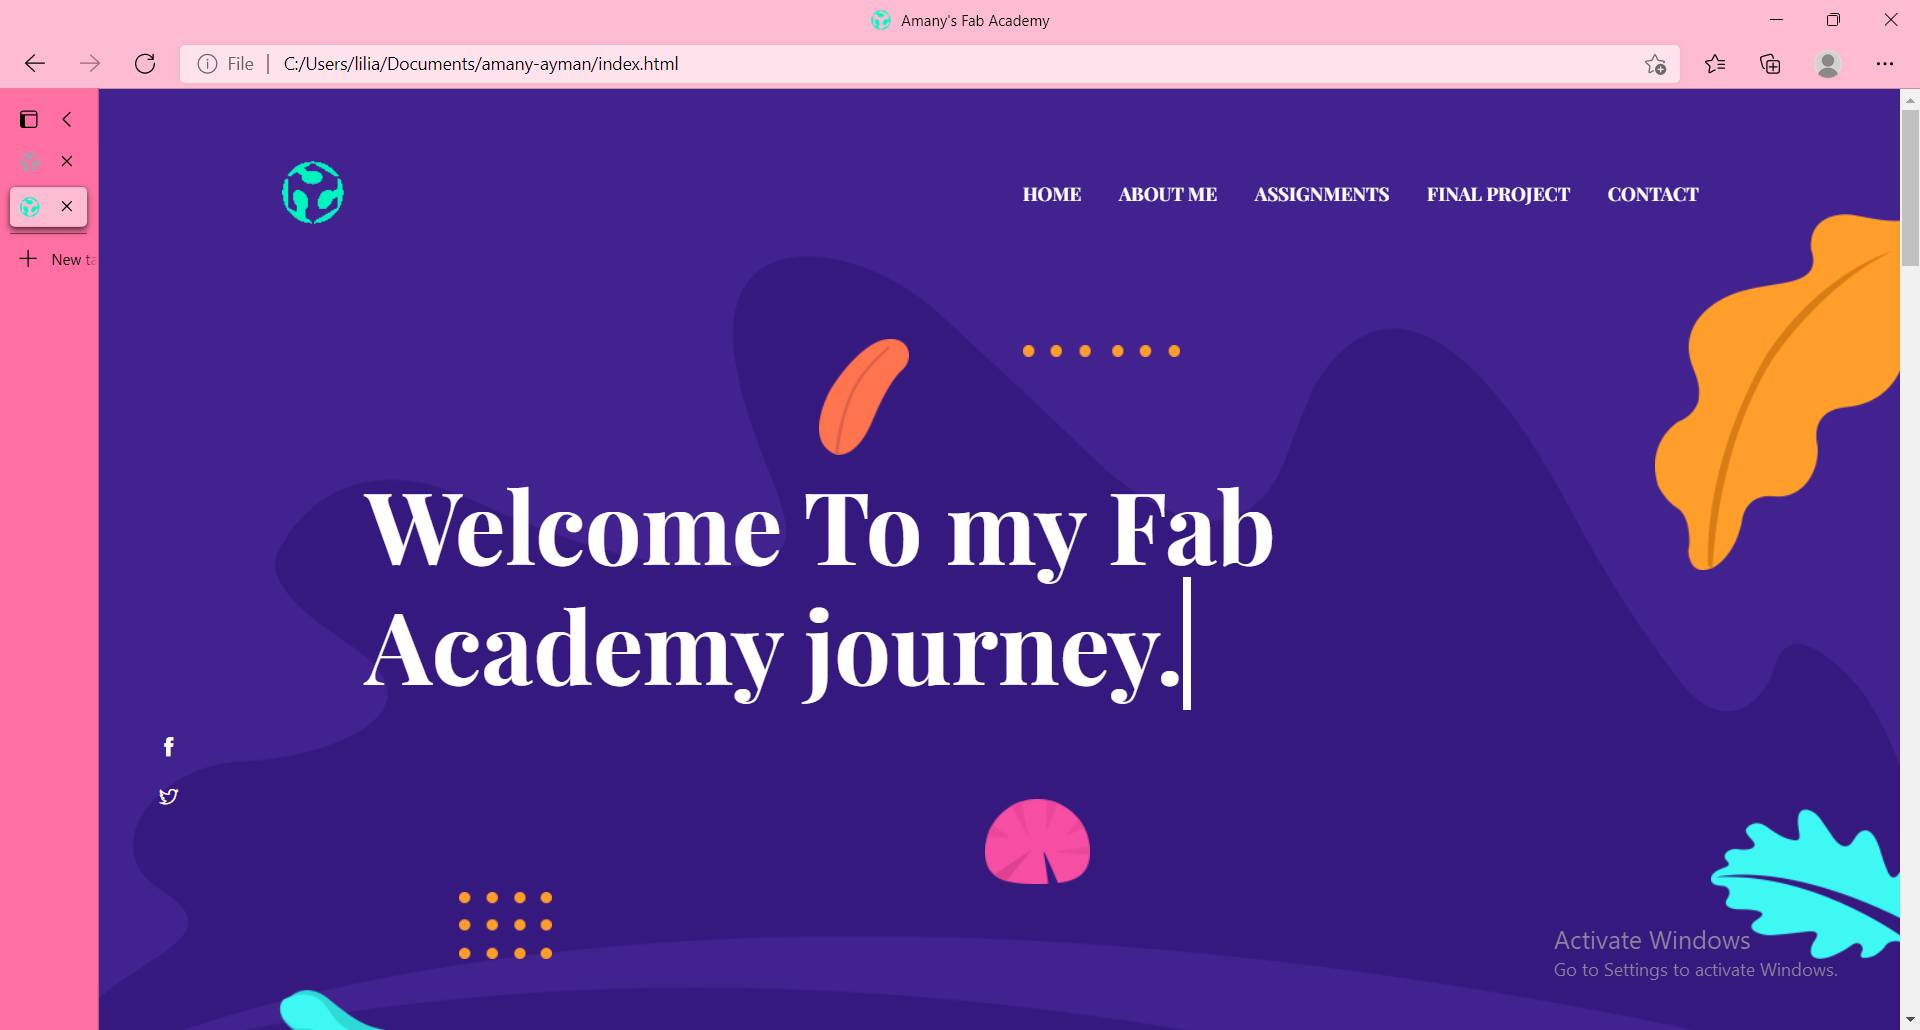
Option2: using website generator like Hugo or Strapdown, which seemed great as I will do all my documentation in markdown which is the easiest choice. But here is what happened when I tried them. I searcched about templates I liked and I found one which looked nice to me. Click here to view the one that I liked most.
Then followed Hugo's installation tutorial and after 1 night of trying I reached a window telling me that I installed sucessfully and need to do only 3 more steps, but I couldn't understand so stoped at that point.
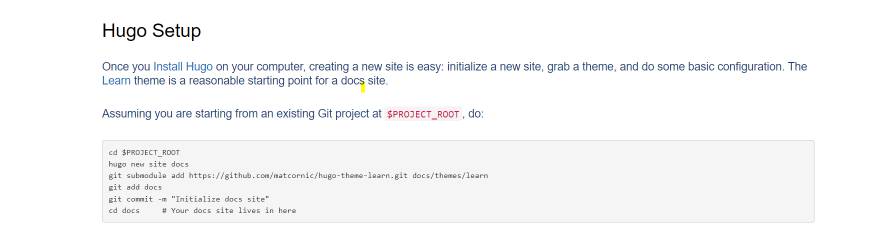
Steps from a tutorial.
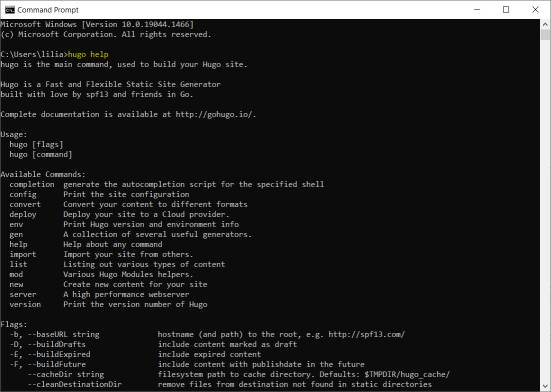
Running hugo to test its installation.
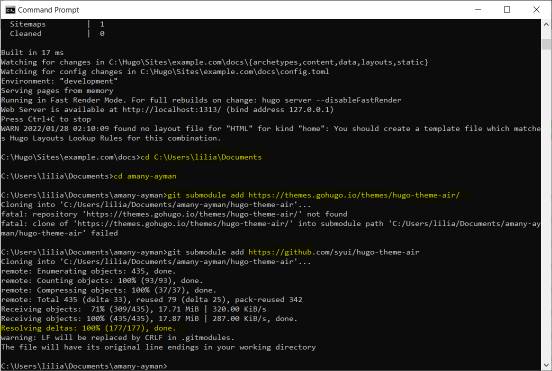
Adding hugo to my main website.
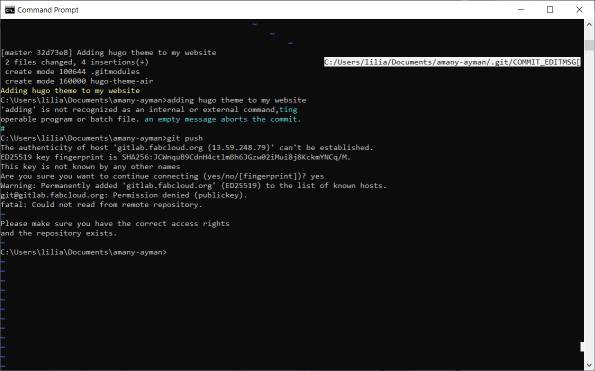
Couldn't push so didn't see it's output then bailed on it.
Option3: Bootstrap template.I already knew HTML and CSS but fifn't use Bootstrap before so i studied tutorials of Bottstrap through their own website or W3schools to be able to understand it so i could edit it later on. So, The next day I decided that i need to start building a website right away, to have a good time editing it and developing its content, so as I was a bit familiar with HTML and CSS and Bootstrap I decided to use a Bootstrap template. Personal Blog that fitted my needs
After I finally settled on something I started editing right away. first it was baby steps heading to fit the Fab Academy documentation style then started to add features and transform the template to make it my own, It was really fun process to go through and wish I had more time to develop it even more, but I am happy with what came out till now.first of all to be able to use bootstrap I had to download nodejs, it was easily found on their page. then tested it in command line to see its version, and while Installing it i checked "download and setup all depencacncies" to save time and human error. Then automatically powershell was opened for around 2hrs making progress then unfortunately it faced an error leaving some to be installed manually but it was okay as they all exist in here

Checking installation of npm and nodejs
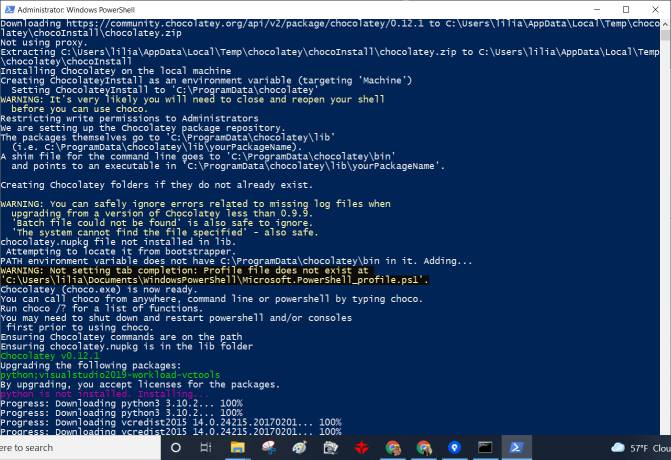
Powershell installing python, nodejs, npm..etc
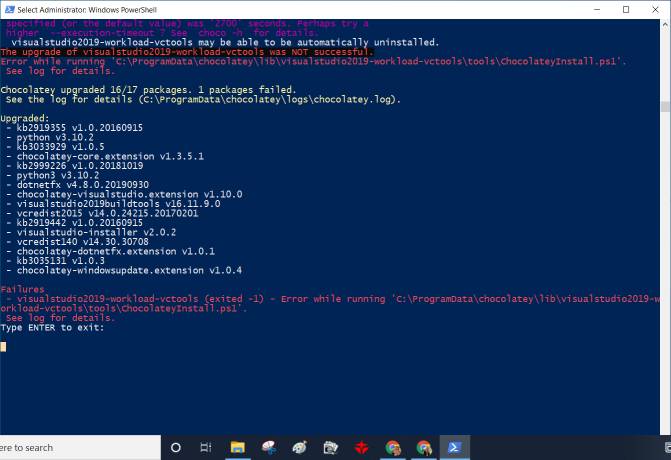
Final message after 1hr of waiting
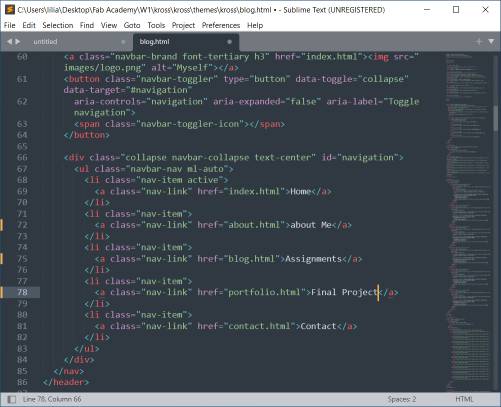
Now, comes the interesting part which was opening html, css, js files and editing them just a little bit. first thing i did i edited the navbar names
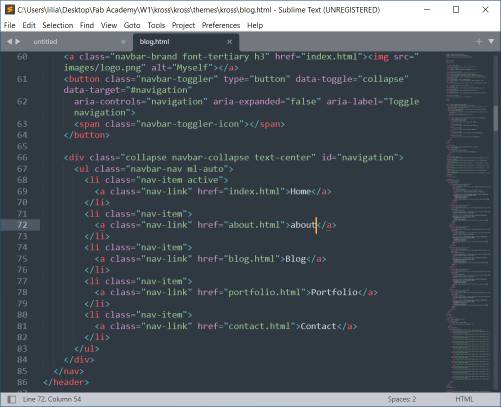
what appeared when opening index.html file
changing in between html elements

what it looked originally
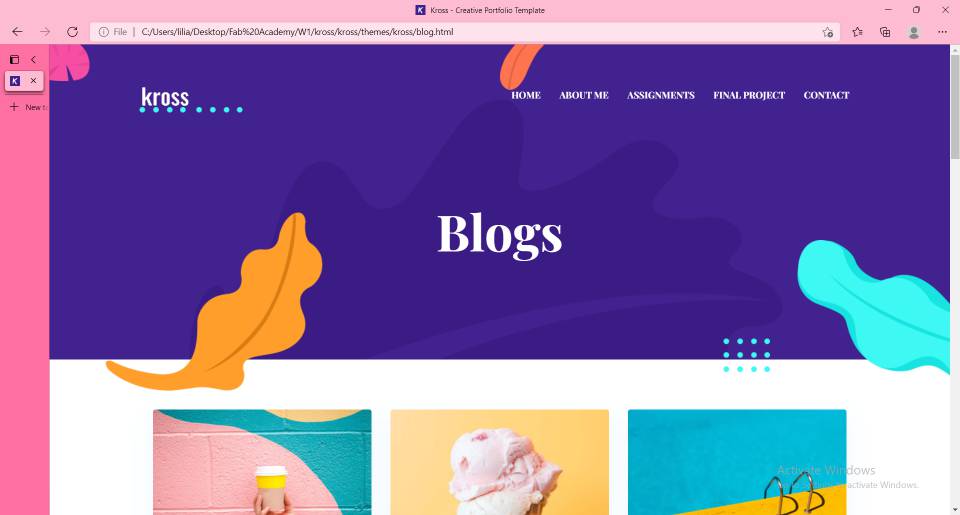
After my edit
All the next editing was the same just seeing which is which in which page and editing it. What minimized time of editing was that the template had already so much i liked so i just repeated parts or put them in another order. But Also i added new features that made it cooler, let's start with what's called "typewrite" in my home page. I've always liked it when seeing it on other blogs so i searched how to add it and found its source code here. It didn't work from the first trial but i always try them in a new html file then bit by bit add its neighbouring elements. and also link its css and js files into my html file, it's very important to do so or it won't work.


After it worked I was really excited about adding more and more features that aren't already in the template, So, the next thing I had my eyes on was on the assignment page. Table of Contents that previews the headlines of the page's content. It was hard to find as i searched by "Table of Contents in html" keywords. It got me nowhere as all that came was about tables, then after some time I found the correct keyword which was "sticky sidebar". When searching using this new one it showed me the shape i had in mind. so i found a good one here. When i applied it, it worked but not exactly like i had in mind as most of them are on the side of the page not on navbar, it appeared the heading of the footer which were h5 and h6 and ignored h1 and h2 tags in the content itself, also there where 3 of them for some reason. I really spent alot of hours trying to make it work but with no luck, so sadly after doing a lot of effort sometimes the results aren't satisfying.
The last thing I wanna talk about and I came a cross it by chance was sliding pictures. I wanted to save space and also type under each picture so when i searched by "sliding pictures left and right Bootstrap" - I know it sounds a bit dummy but i learned to describe what i need thoroughly to get good searching results - anyways the first thing I found was Bootstrap Carousel. It offered more than 1 shape so I shoose the one with comments on it and tried it alone first then added it in my assignment page, I think i don't need an illustrative picture of it as i used enough above.
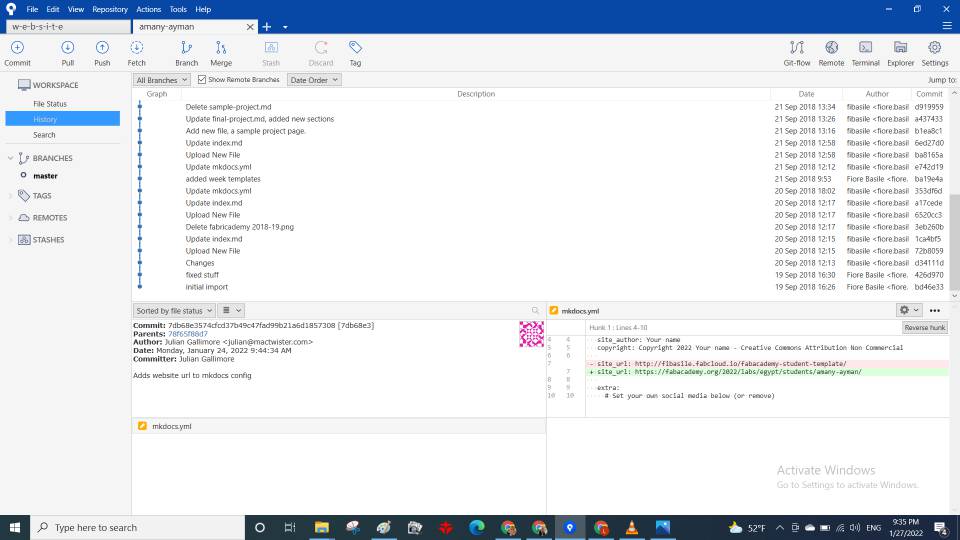
In the end, I sure enjoyed this more than expected, Web development is so fun and somehow tells you more about yourself and how you like things best. Now is when we talk about cloning the website into Fab Academy URL and Git tutorial!Git is a free and open-source distributed version control system designed to handle everything from small to very large projects with speed and efficiency. I have founf their own documentation is the most helpful to me. It comes first thing in search results Git tutorial. There was manily 2 ways to deal with Git, either using command line or any other non-GUI software like powershell...etc or a GUI software, I said to myself to go with it safely at first so tried GUI through Sourcetree but there are many others too mentioned in Git documentation in the previous link. So In the next paragraphs I will share how i dealt with Git through Sourcetree.
First downloaded sourcetree as it's free and surely open-source from SourceTree website. then went through the following steps in that exact order.
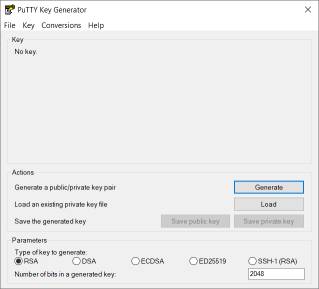
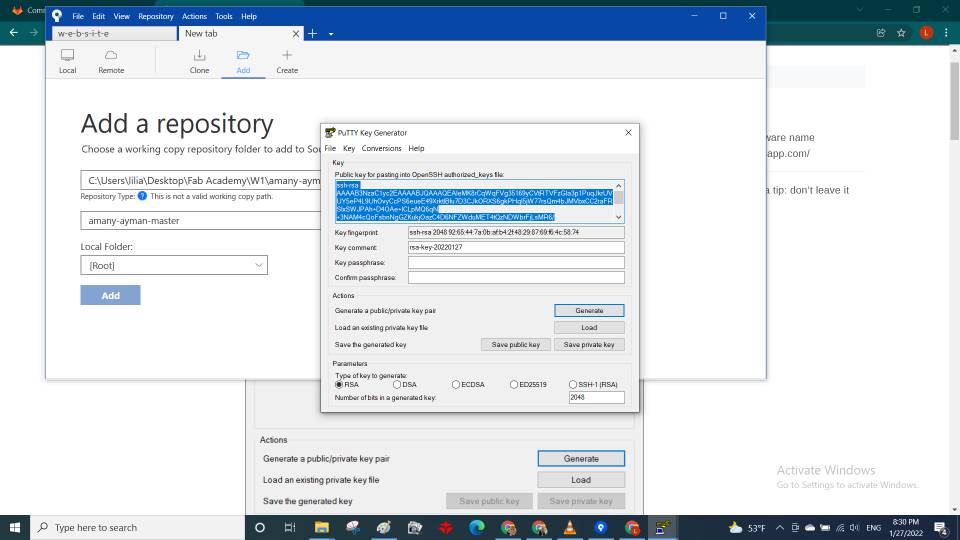
- Open SourceTree, from tools choose "generate or import SSH keys" option. Click on generate.
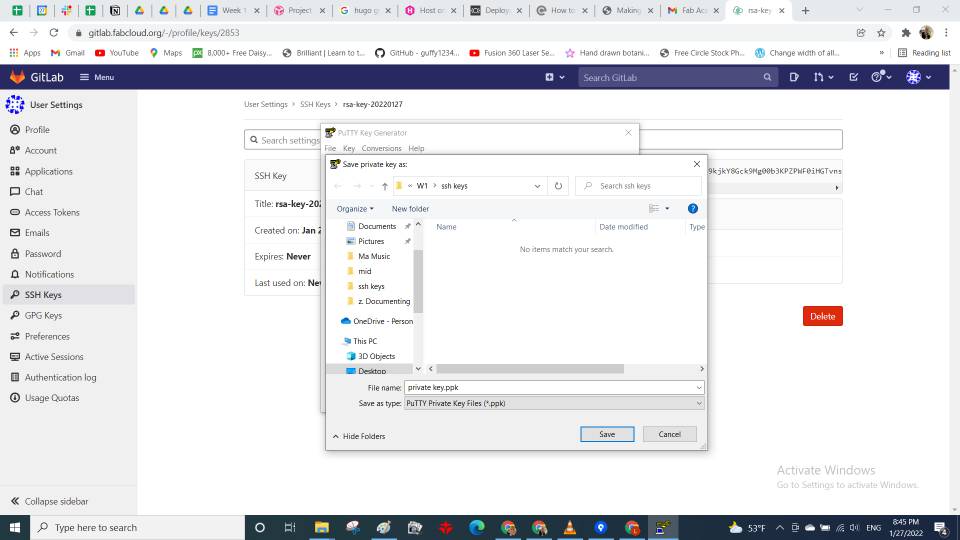
- Save the public and private keys somewhere save, will use them shortly.
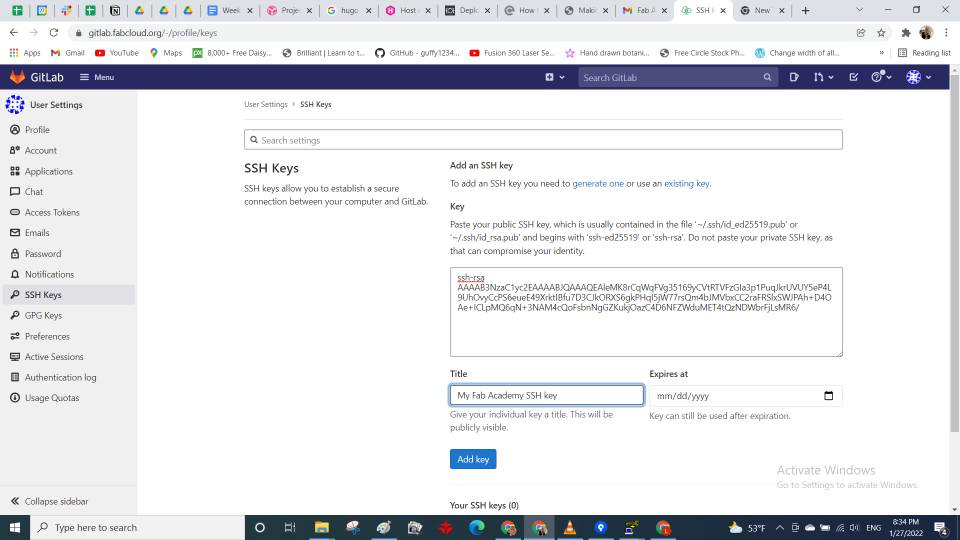
- Copy the “public key” and paste it in your Gitlab account.
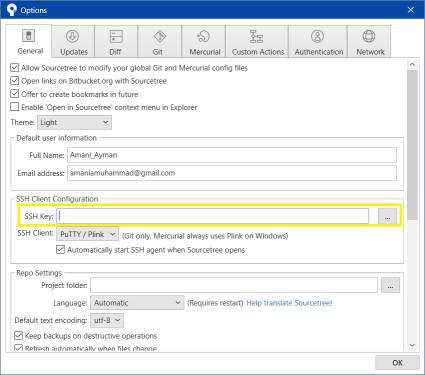
- Back to sourcetree and from tools > options > adding my private key
- Clone with ssh from gitlab and paste it into sourcetree
- Cloning.. and Done! final picture is how sourcetree GUI will look like.

After that we only have to copy our edited website and paste it in the folder we cloned using Git, But we only remove MKDocs folder that has all the content and we absolutely keep the other files which are ".gitlab-ci.yml, .gitignore, README.md and requirements.txt " and finally copy this text and put it inside ".gitlab-ci.yml" file.
pages:

                stage: deploy

                script:

                  - mkdir .public

                  - cp -r * .public

                  - mv .public public

                artifacts:

                  paths:

                    - public

                only:

                  - master