


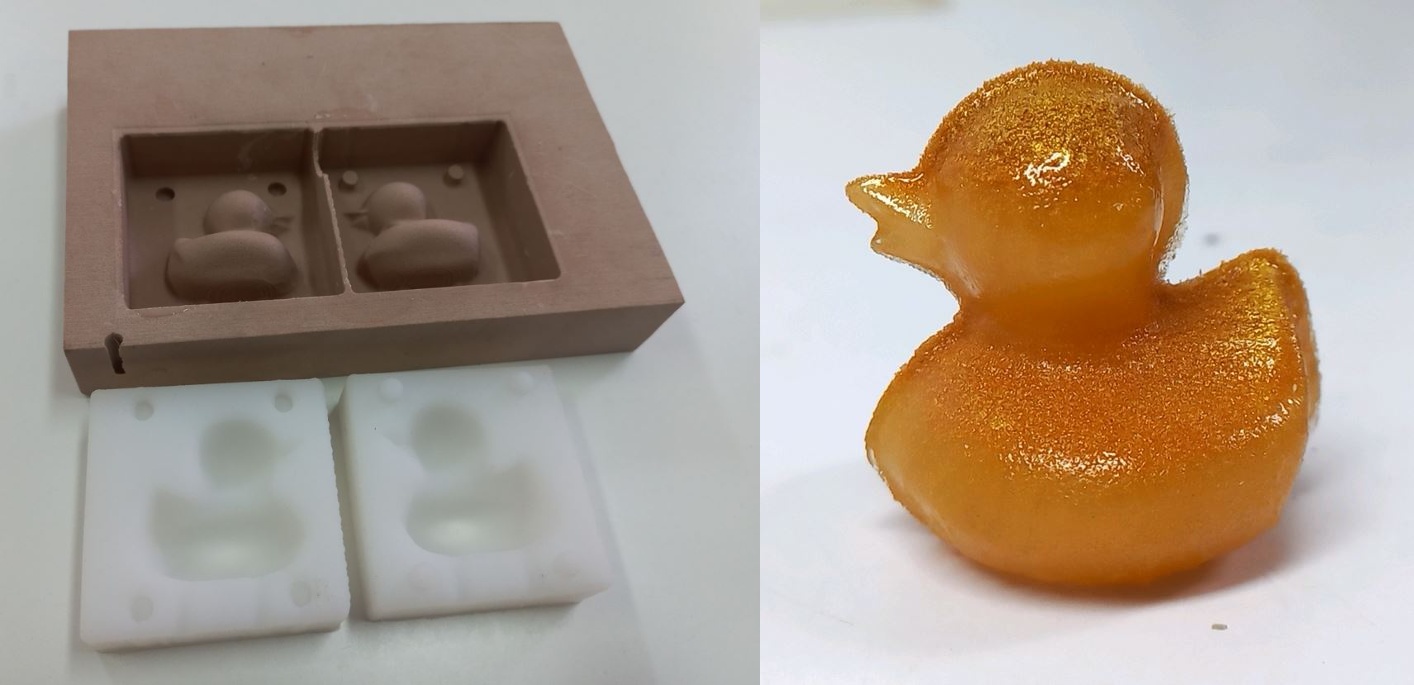
In this week we are learning how to design molds, machining all 3 axis at once using subtractive technique, cast a mold using Silicon rubber, then finally cast an object up to hundred times!Here is my Hero-shot of the week! I love the duck! still thinking what should i name it but it's definitely a she!
 Let's start first with the group assignment
We went through the whole process of creating g-code, machining a mold, then casting and pouring Polyester into a ready silicon rubber mold.
First, we used half a sphere as it is the simplest 3D shape you could think of, then used Modela Player to generate the G-code and estimate the time needed for surfacing, roughing and finishing the part. And used our beloved Roland MDX-20 which will work very hard this week to make all our molds :D We also used 1/8 inch end mill for surfacing and roughing. the process of making the G-code I will describe shortly in my individual assignment.

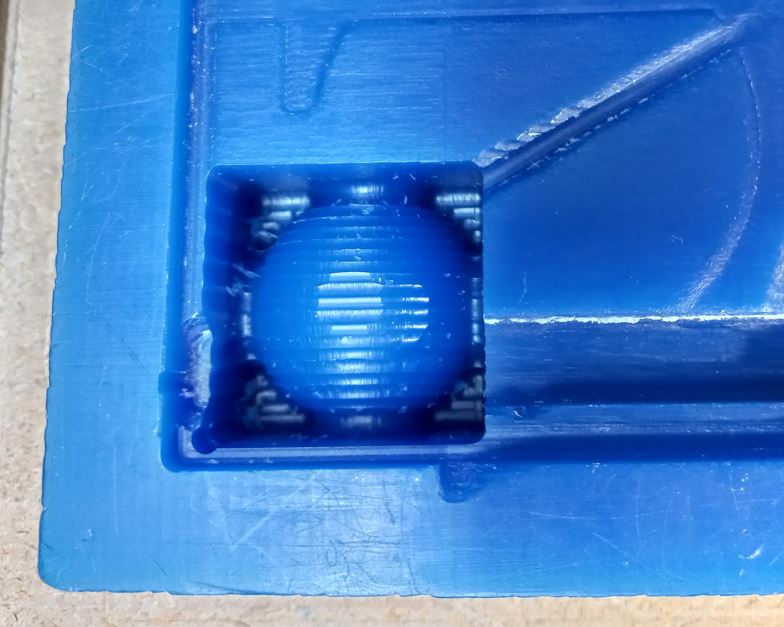
We started with surfacing process then Roughing, we didn't complete the finishing as an error happened we couldn't fix but mainly the process was now clear to us. here is how it looked after each process.
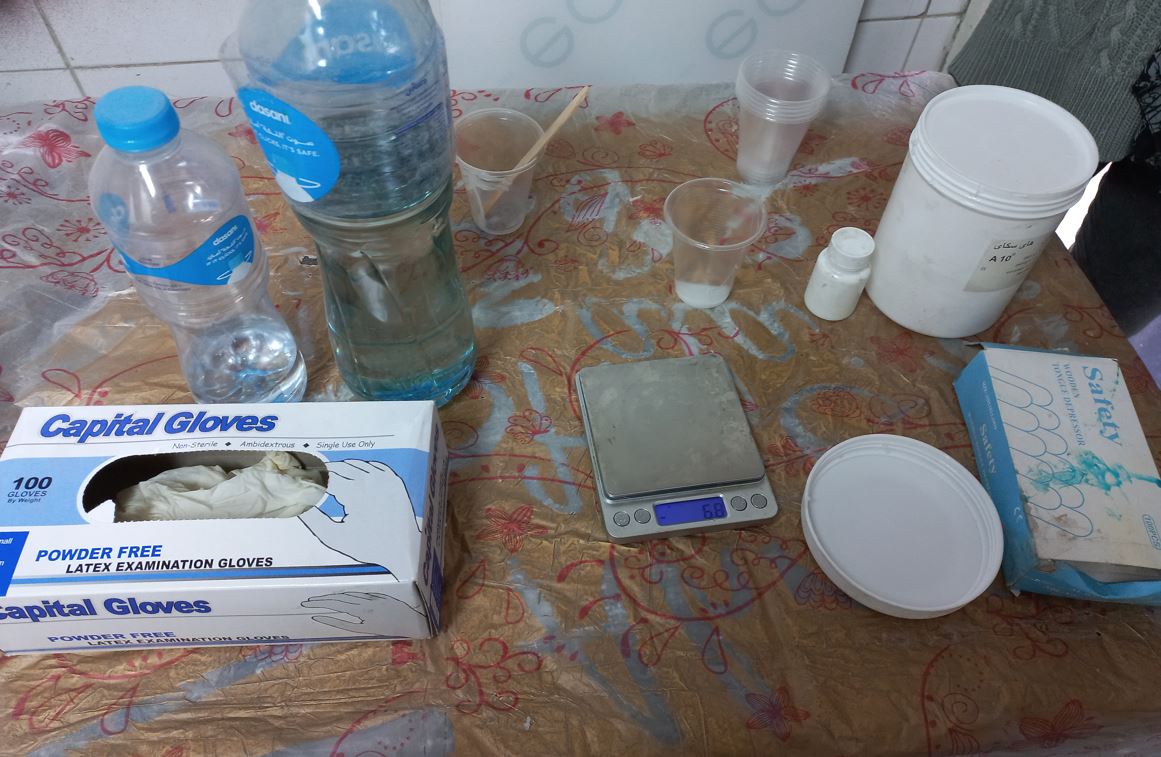
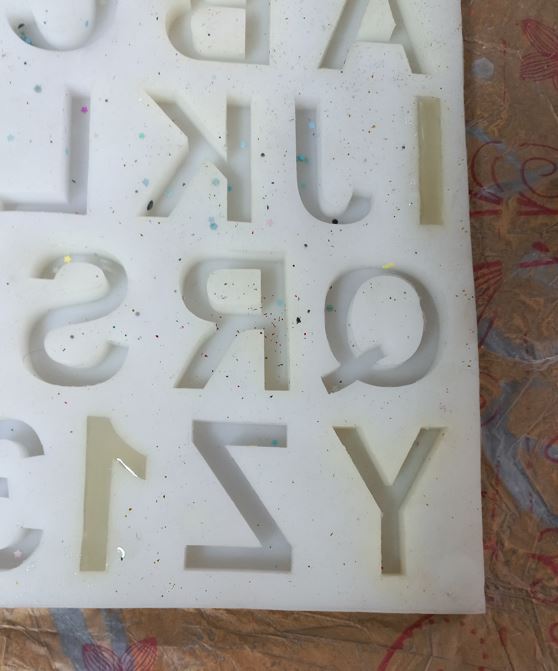
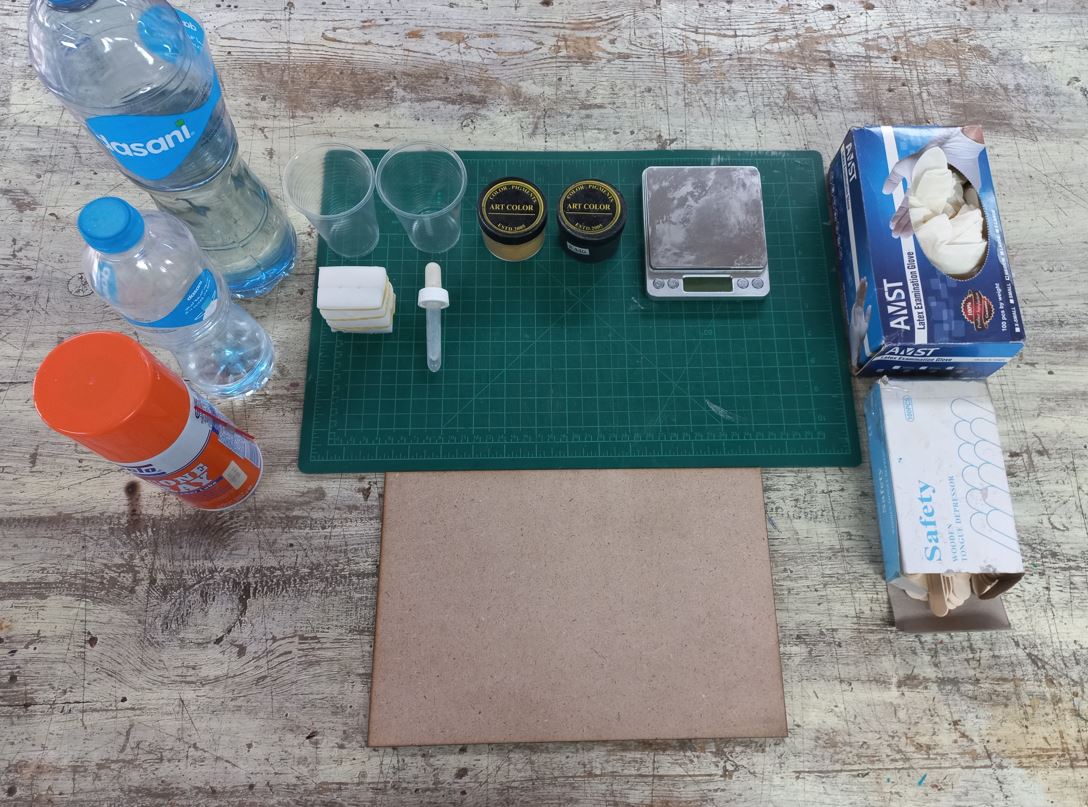
We already had a ready silicon rubber mold that has numbers and alphabet on it :D so we used it for casting. Here is the setup of casting. we had silicon rubber and its hardener, polyester and its hardener, gloves, digital weighing scale, cups and crafting rods.
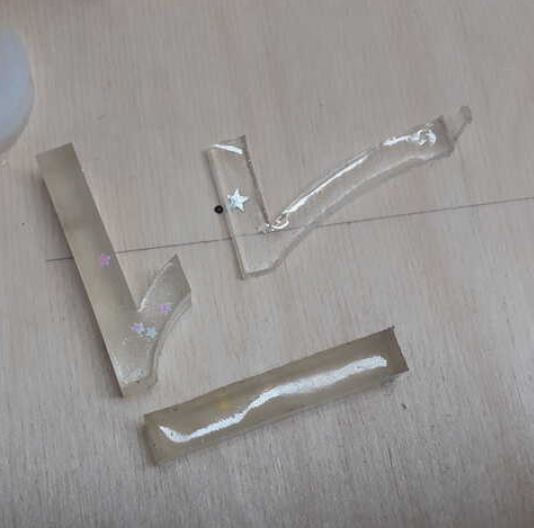
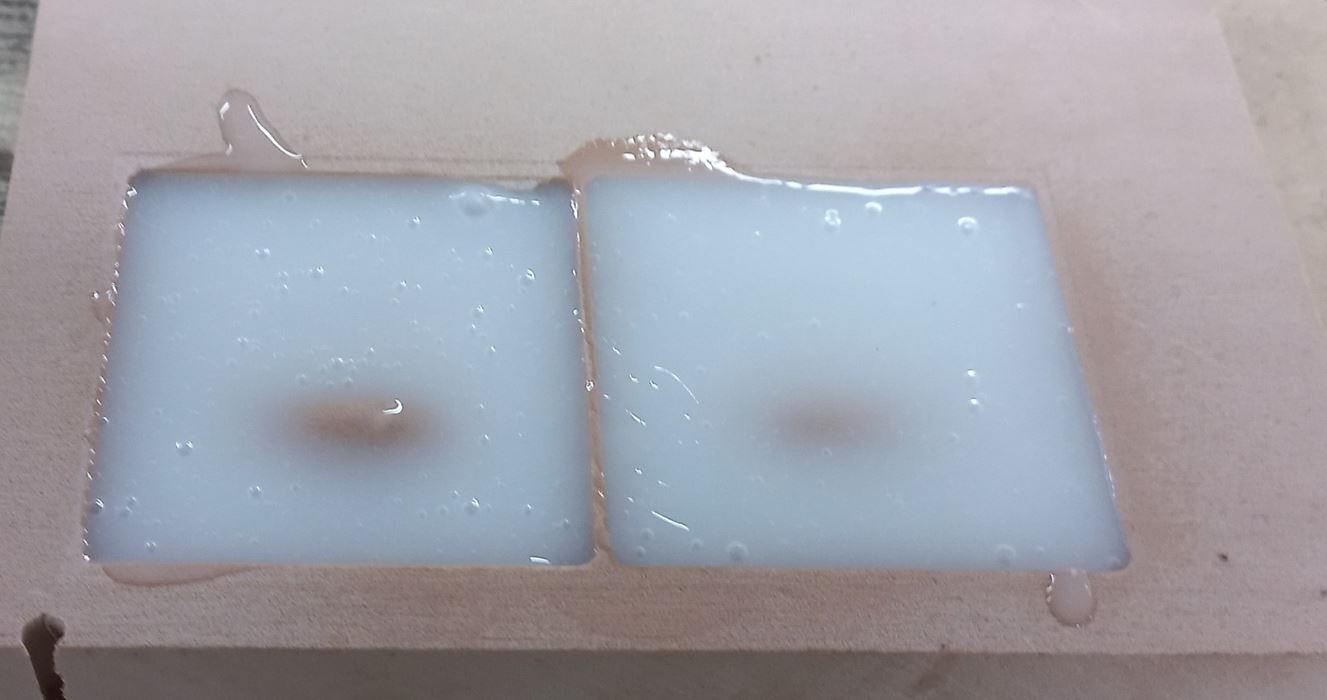
We mixed polyester with its hardener to the recommended portions which was 1:10 then started pouring them into the mold and after 24 hours here how they came out ^^

 Now, The assignment!
The first thing that came to my mind in this assignment was making a duck! so I didn't think too long and started right away. I found a useful tutorial also making one using Fusion 360 in its Sculpting environment.Here is the tutorial's link
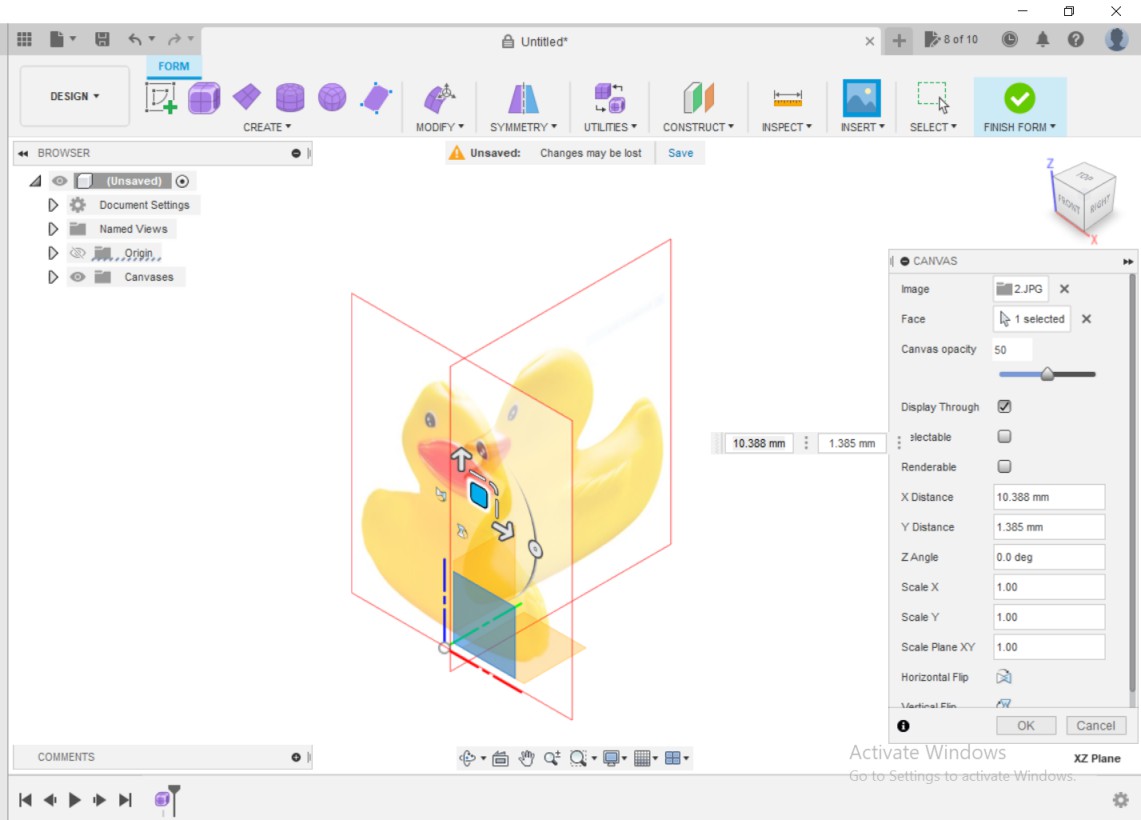
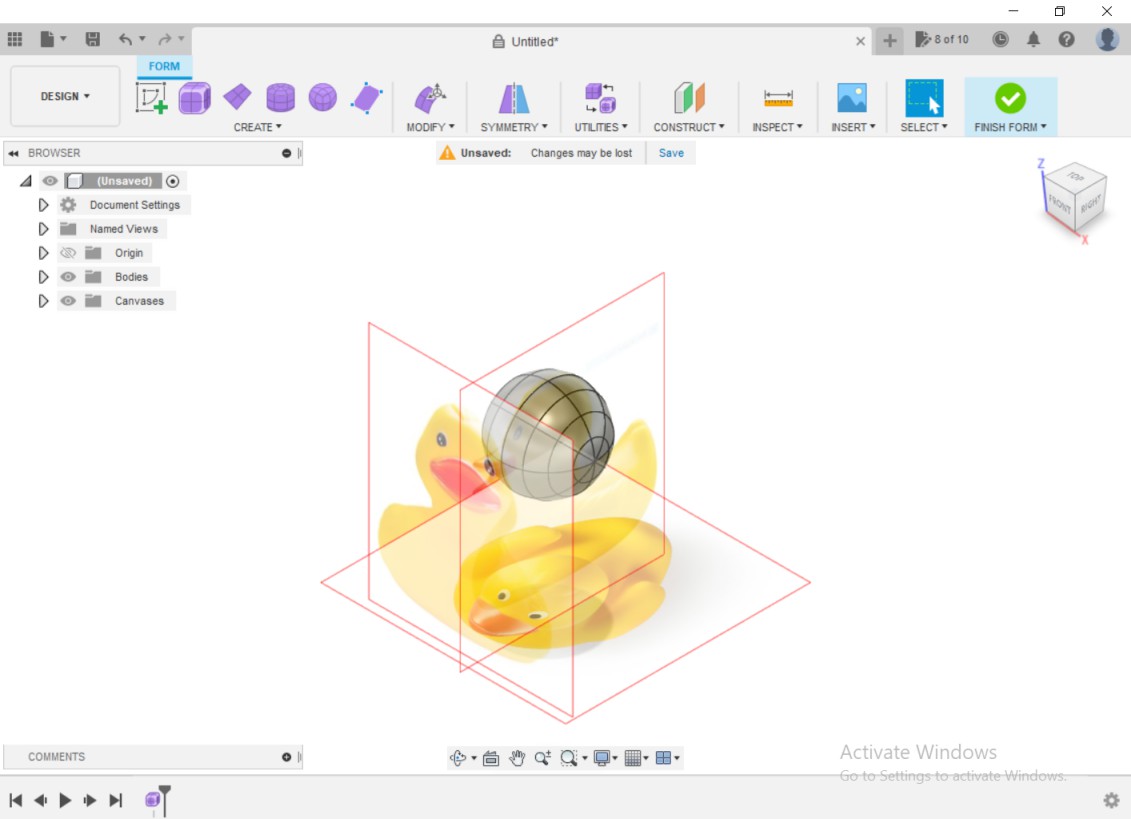
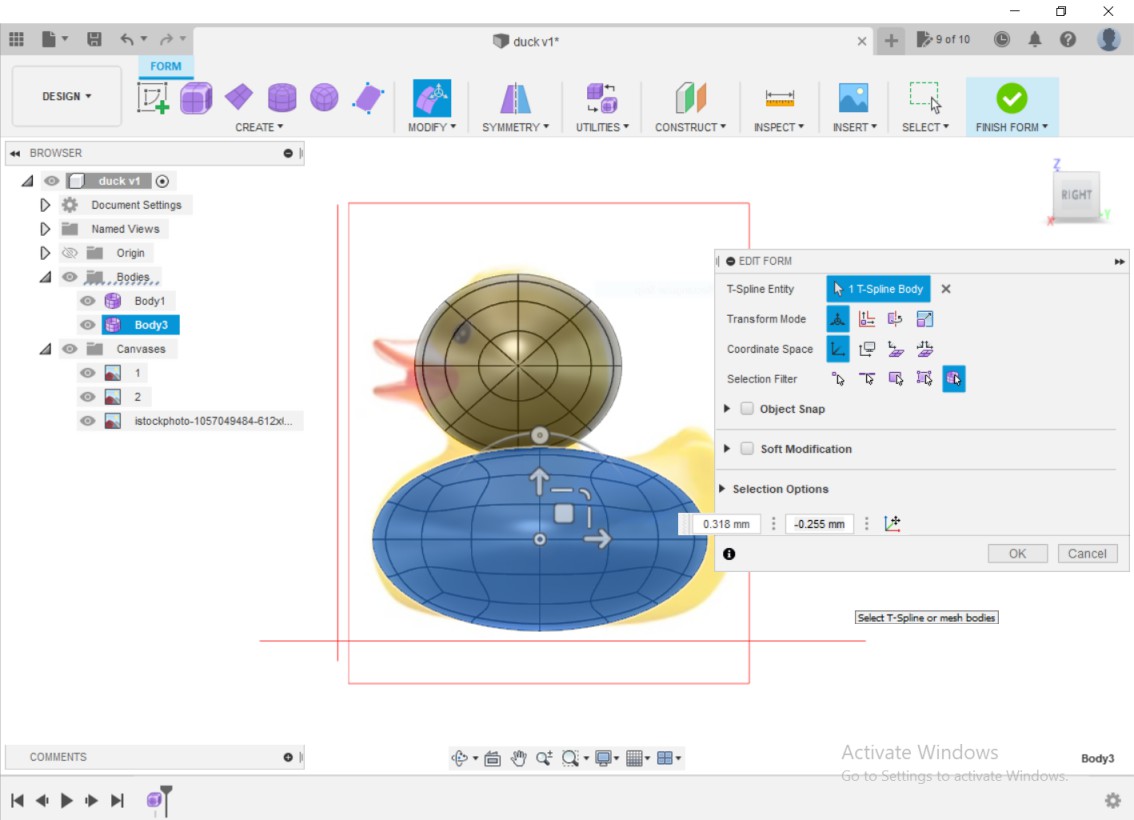
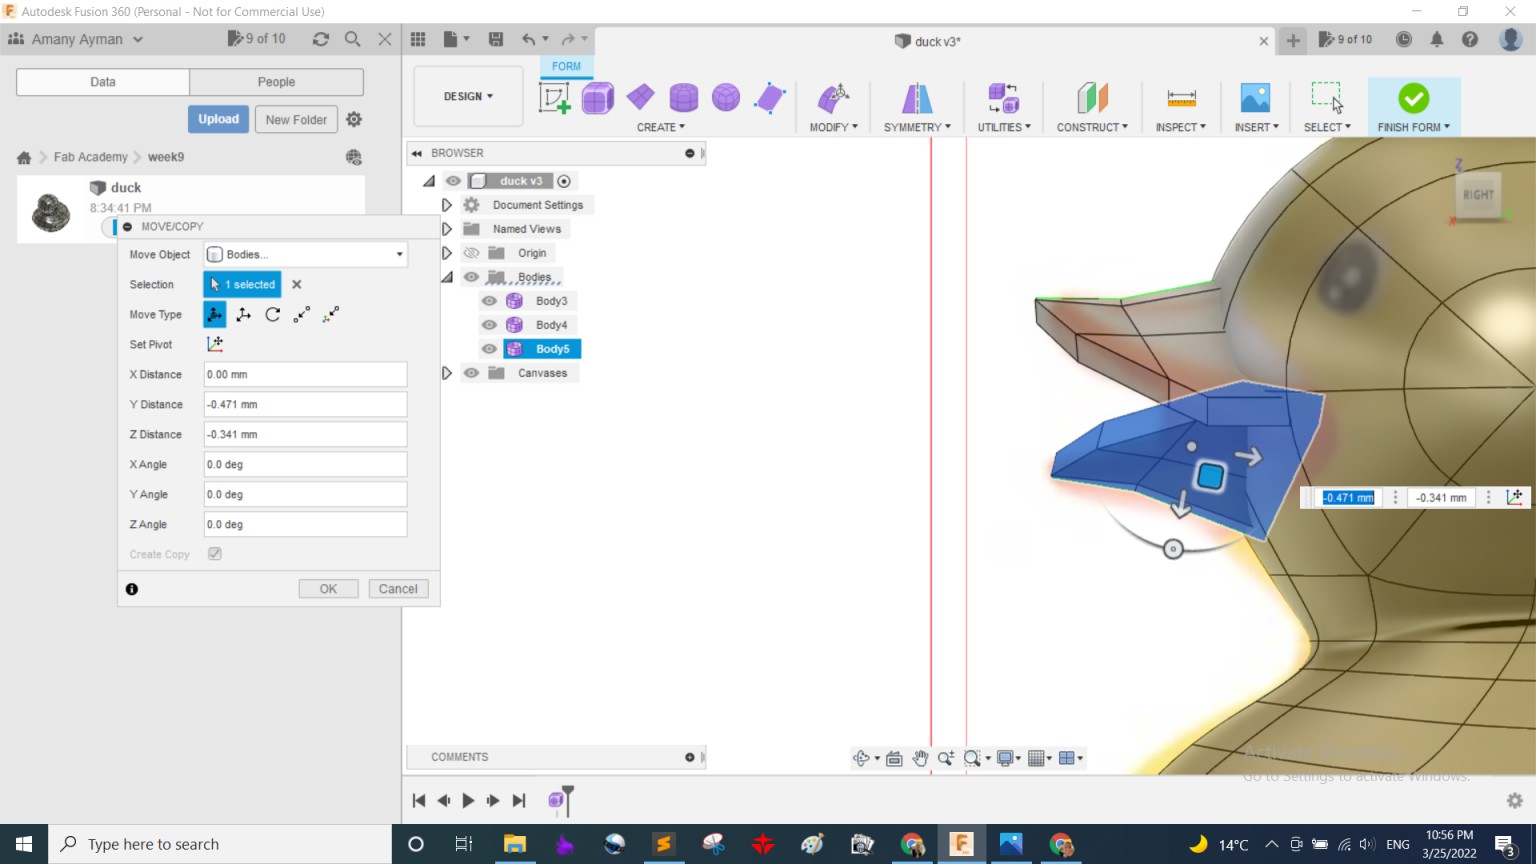
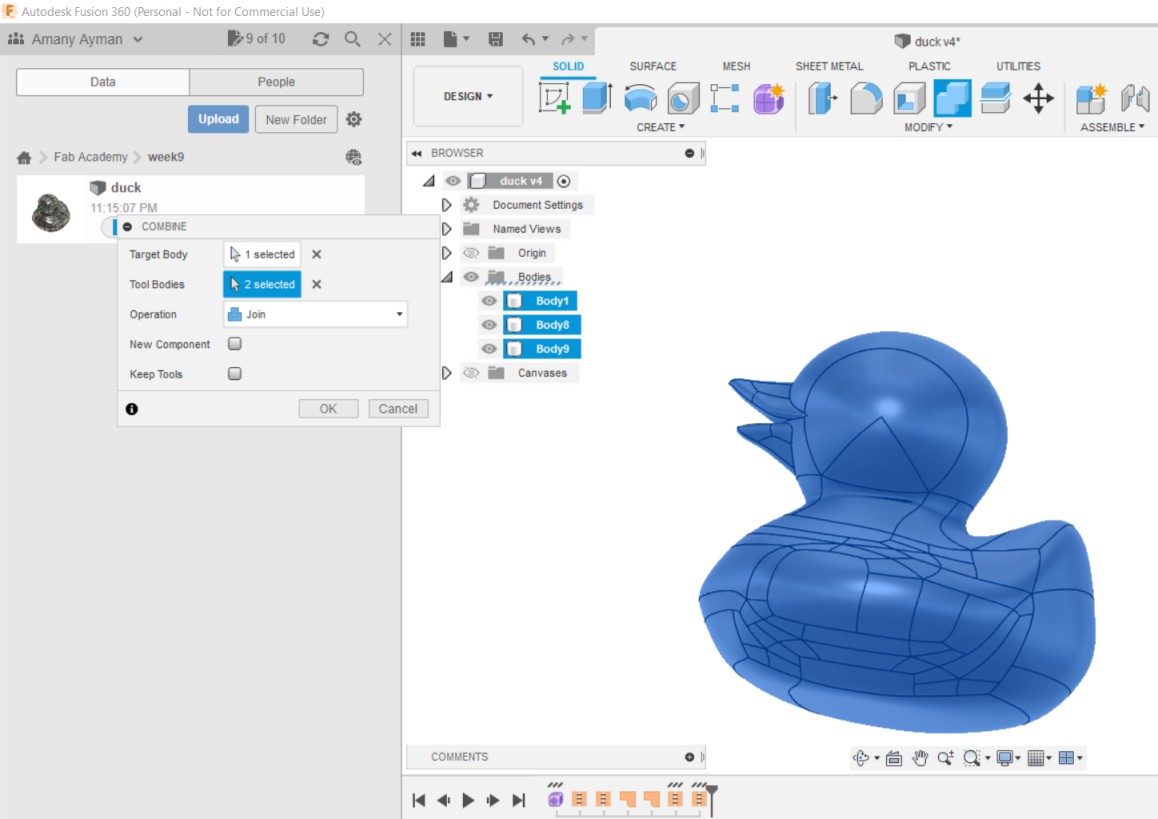
First I inserted 3 photos of a duck as refrence then formed the shapes and cut them then combine them moving forward and backward between 'Box mode' and 'T-spline forming'. which I didn't even know how to switch over until I found this great tutorial
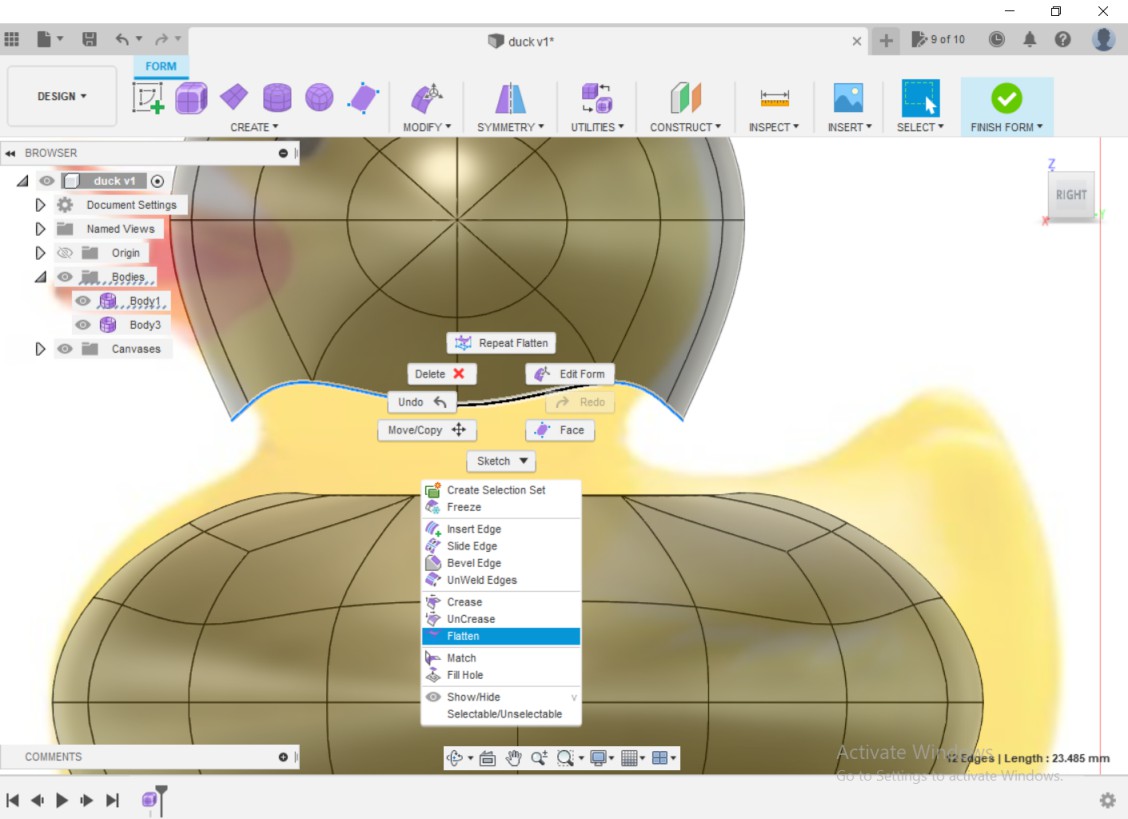

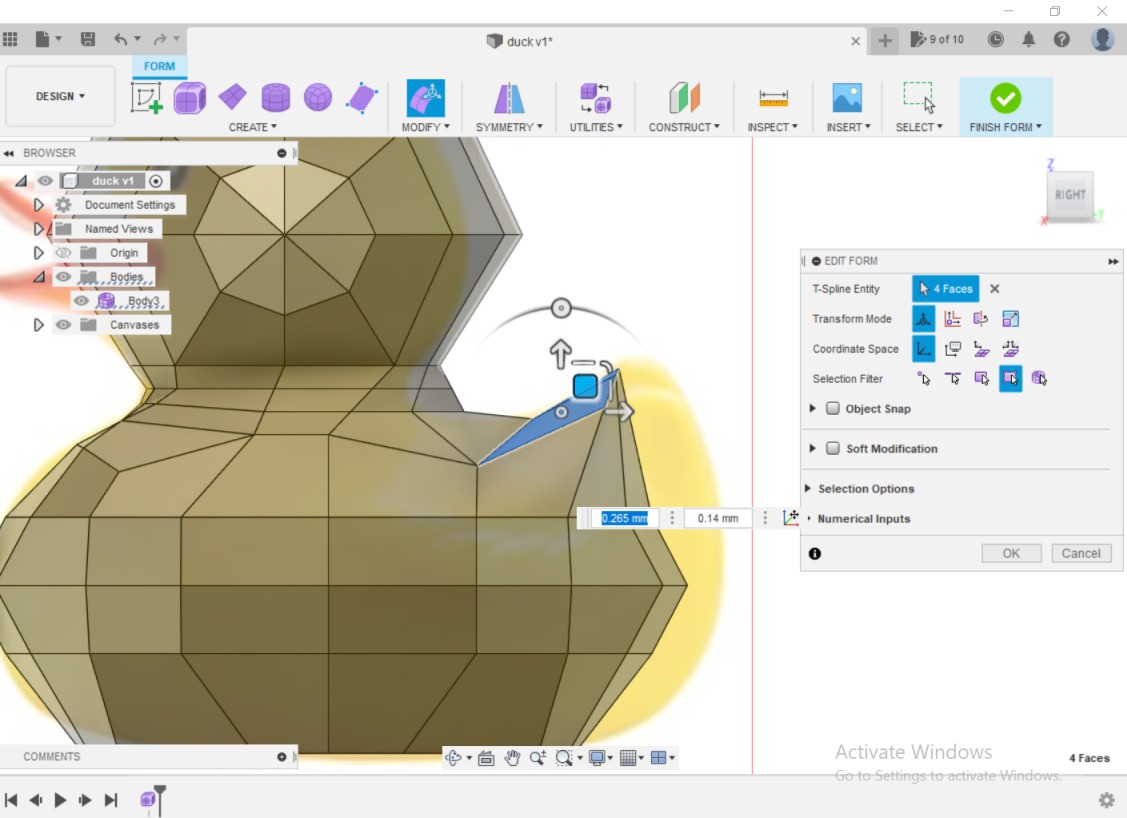
The second big step was to draw its mouth! I usually speed up tutorial videos up to x2 speed but in this part I made it only 0.5 normal speed xD It was tricky but I like the final output
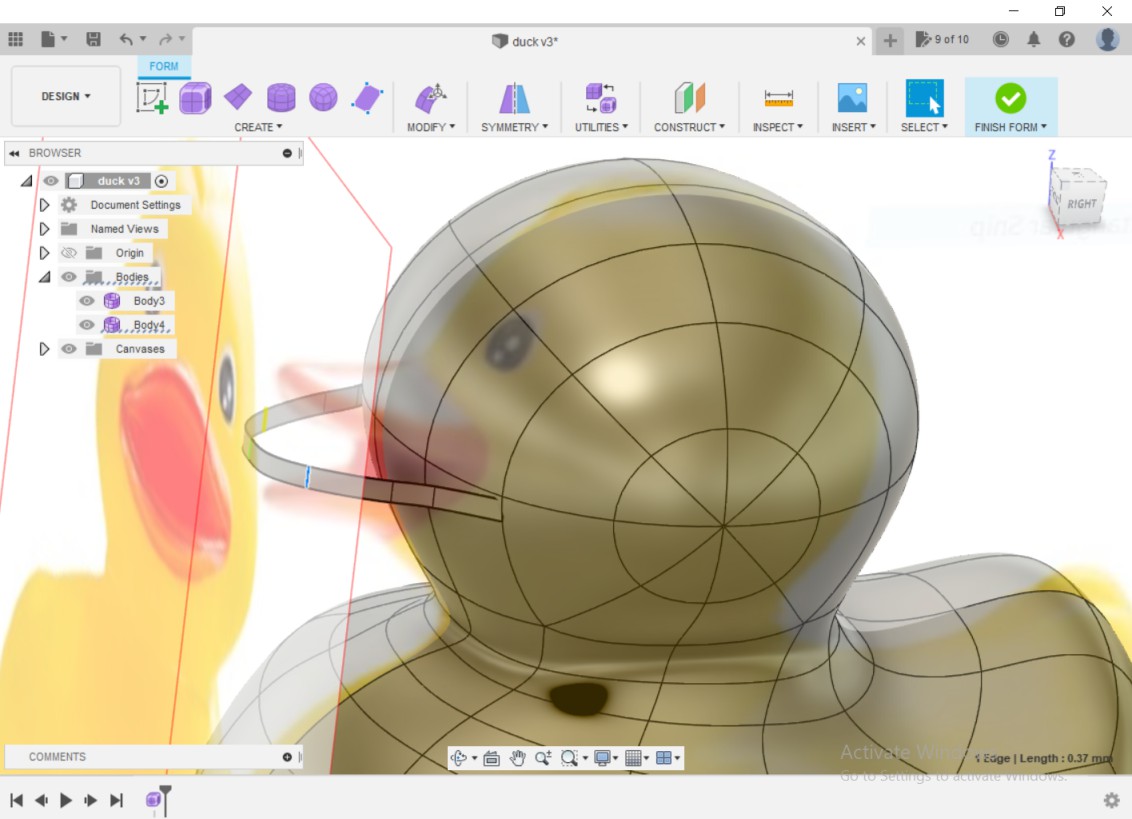

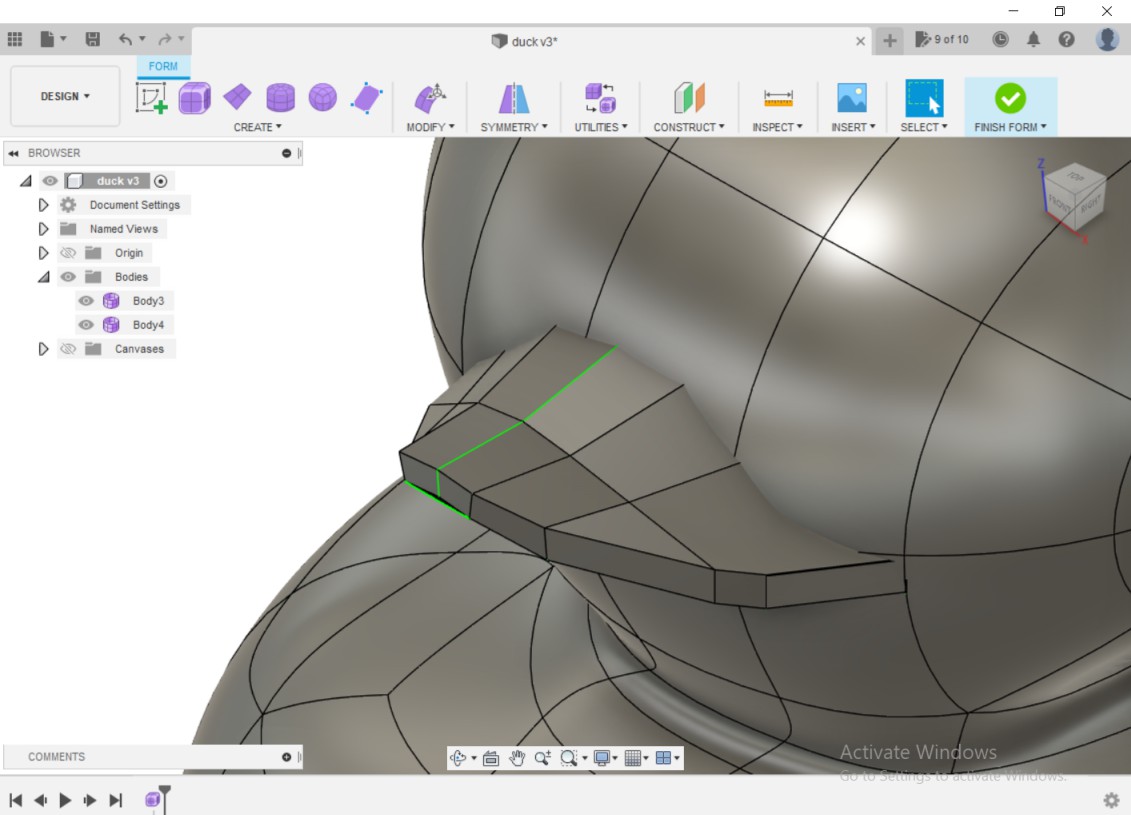
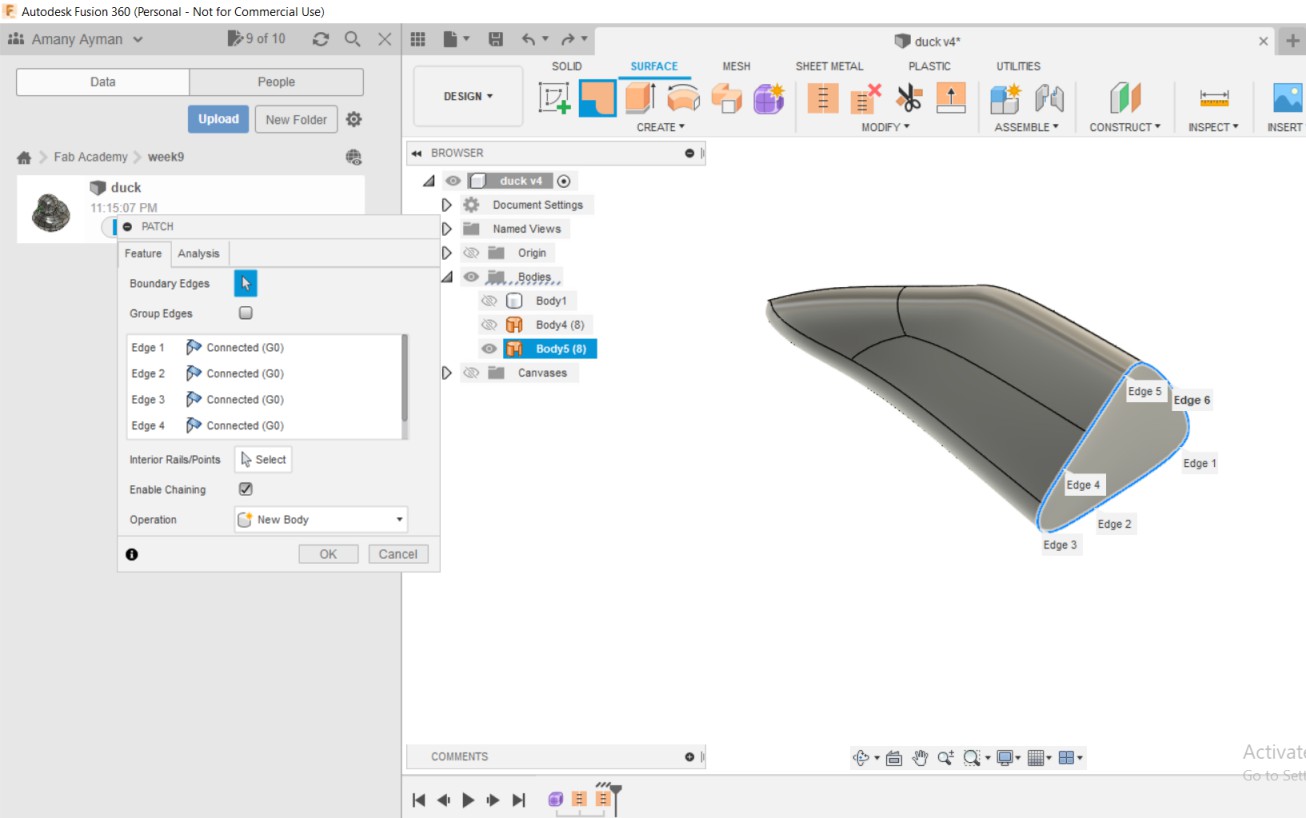
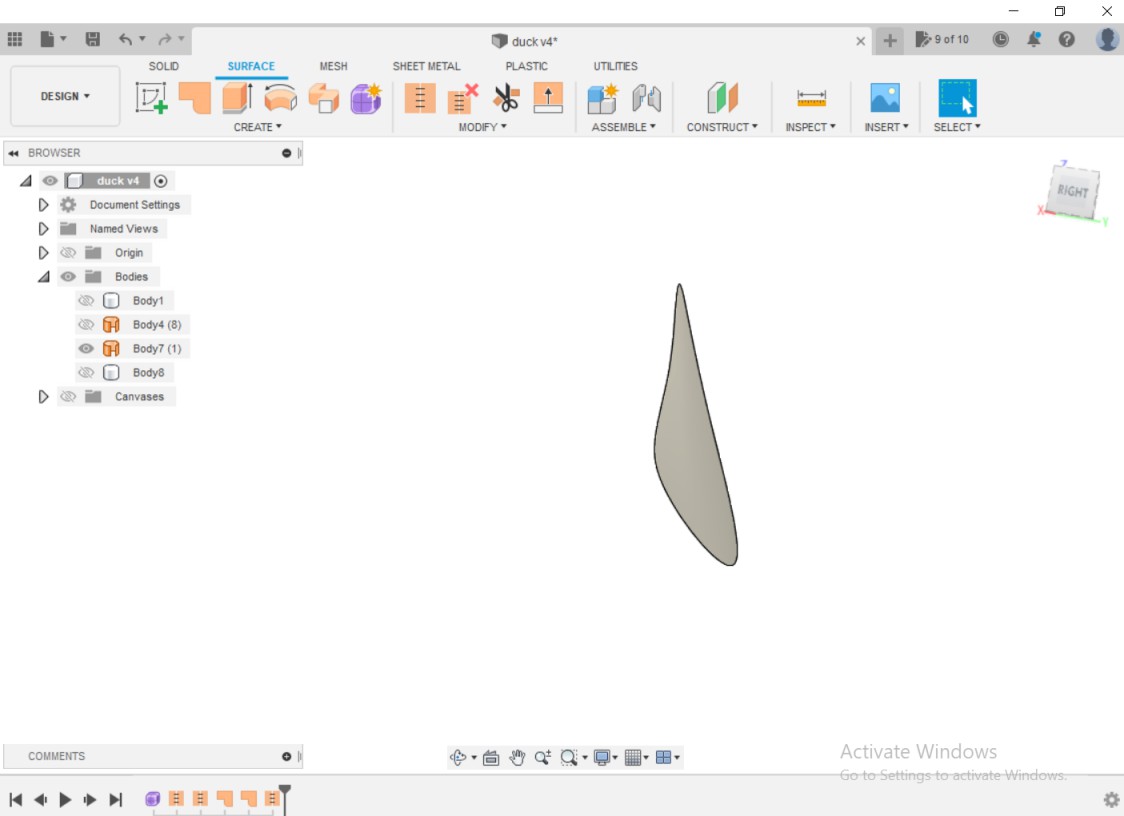
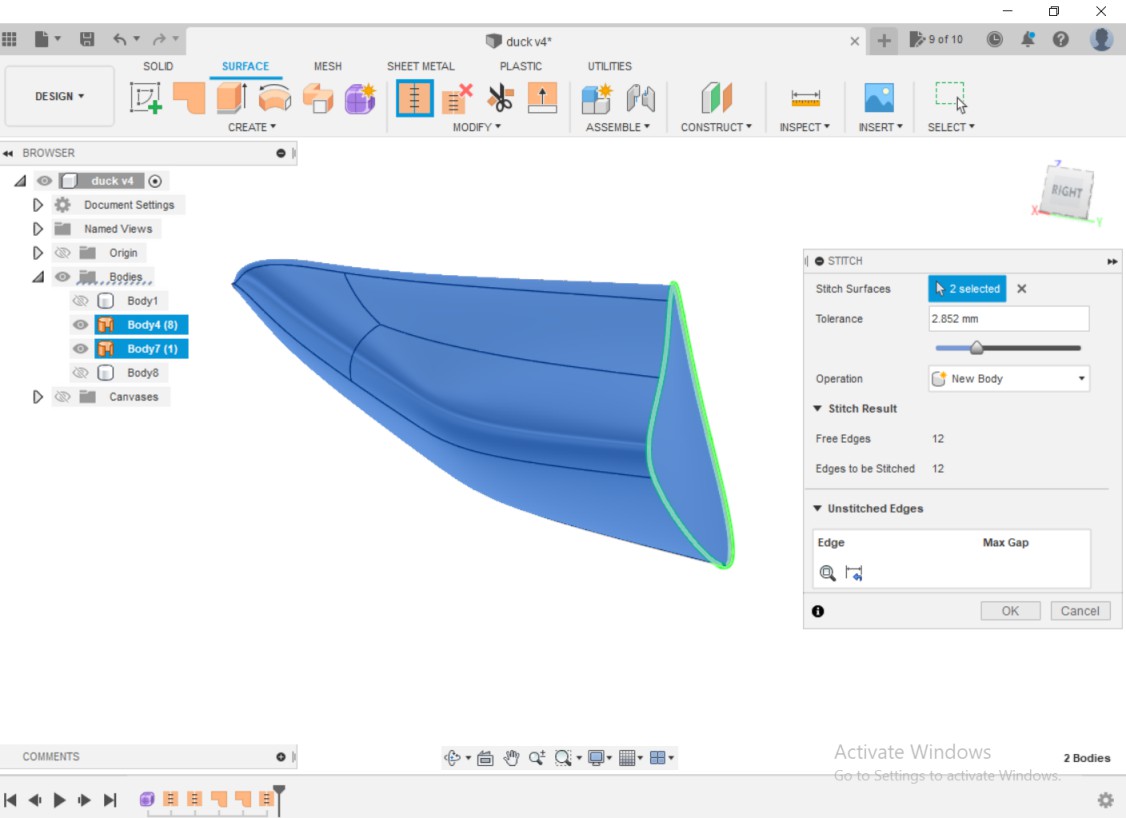
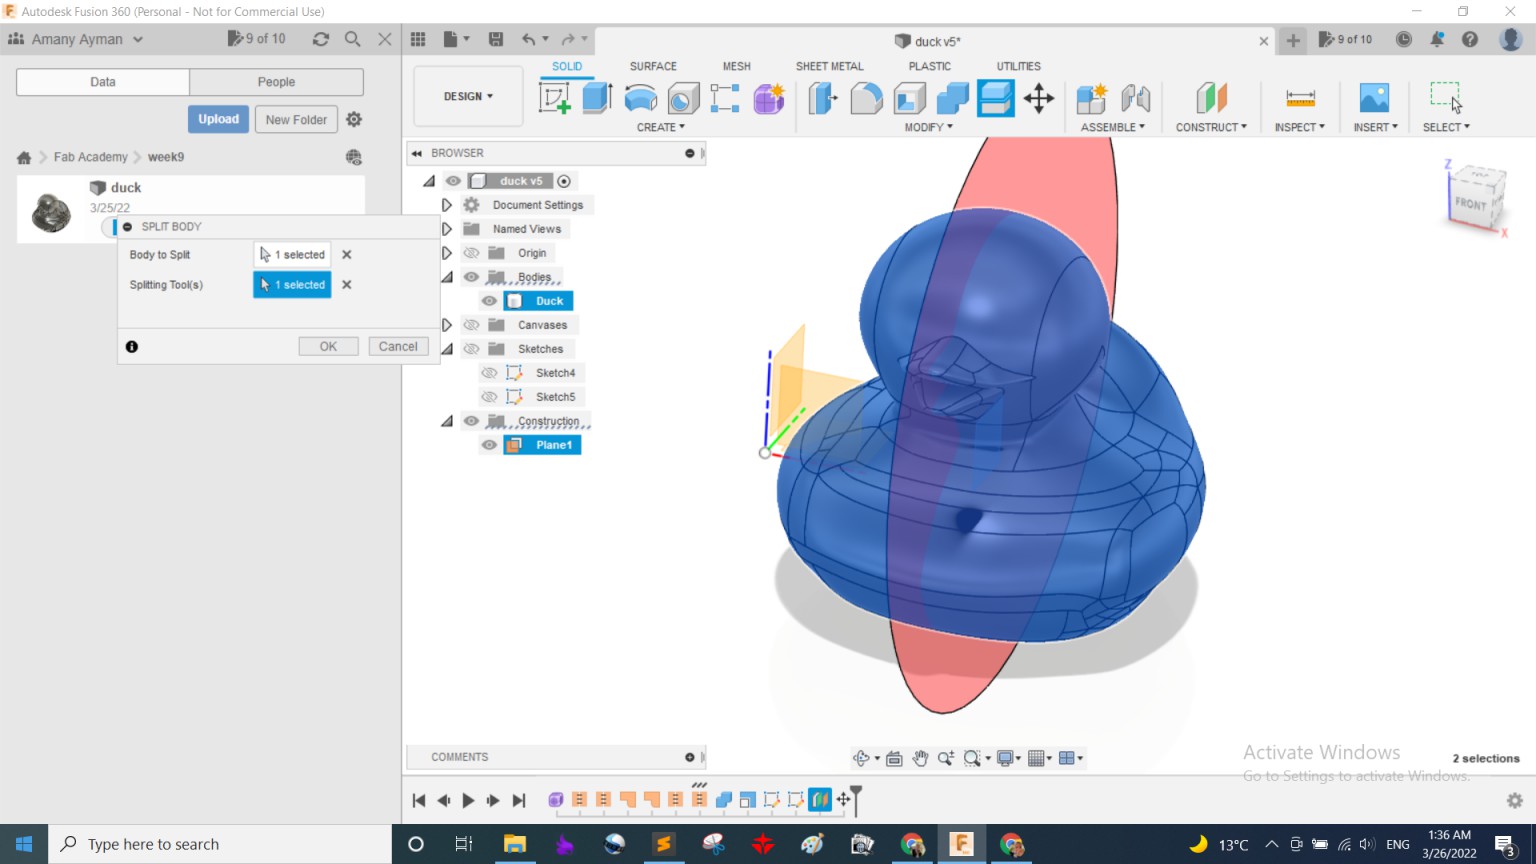
After I finished the mouth was only a surface not a body to combine and make the duck's body only 1 body till I found this great tutorial I used Patch which created a cealing surface then used stitch to make a closed body out of those surfaces
 Designing the mold
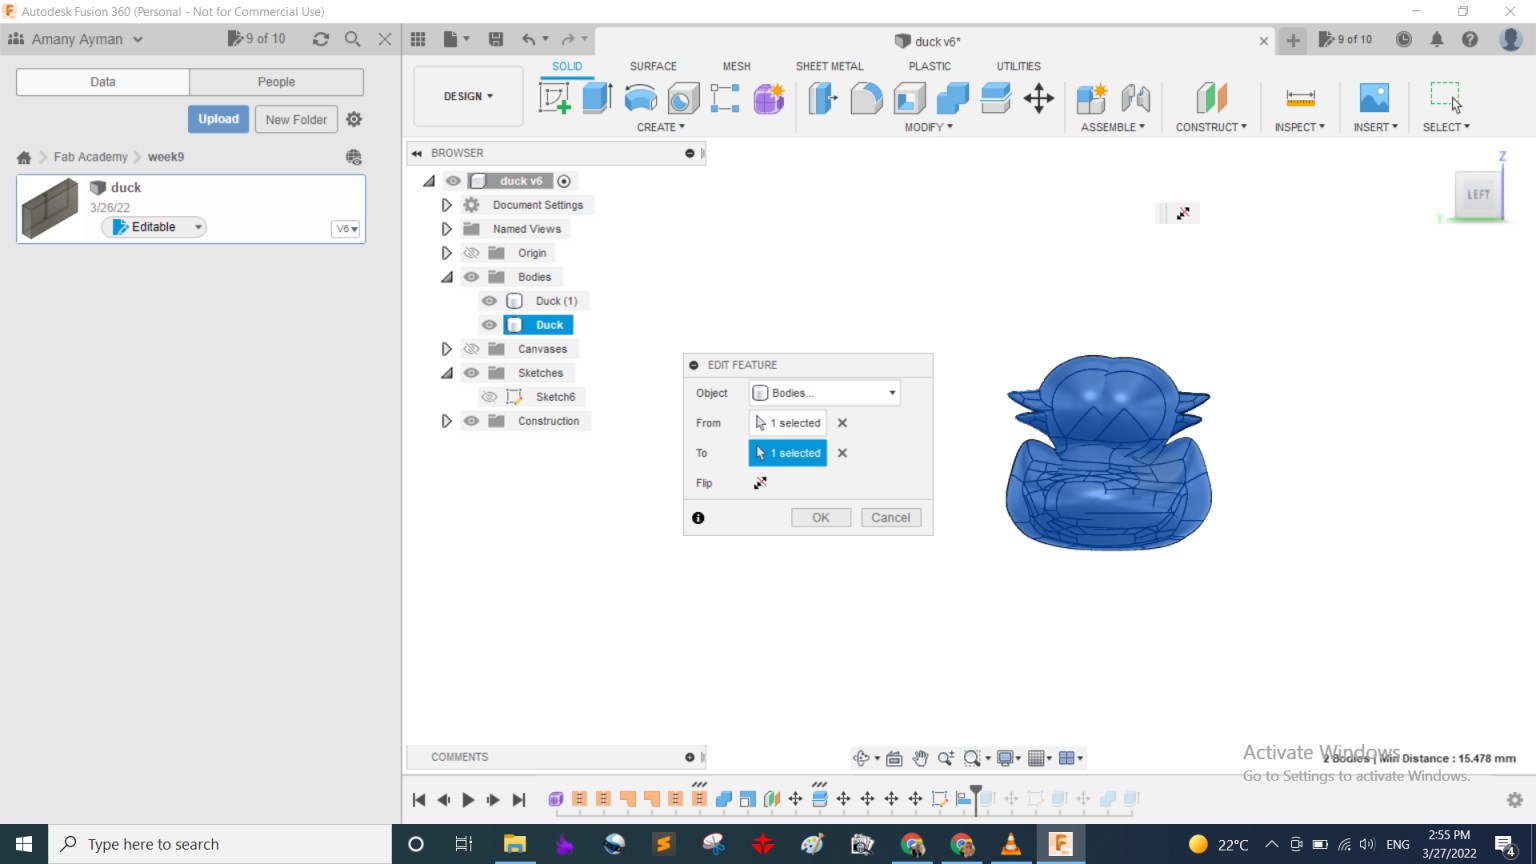
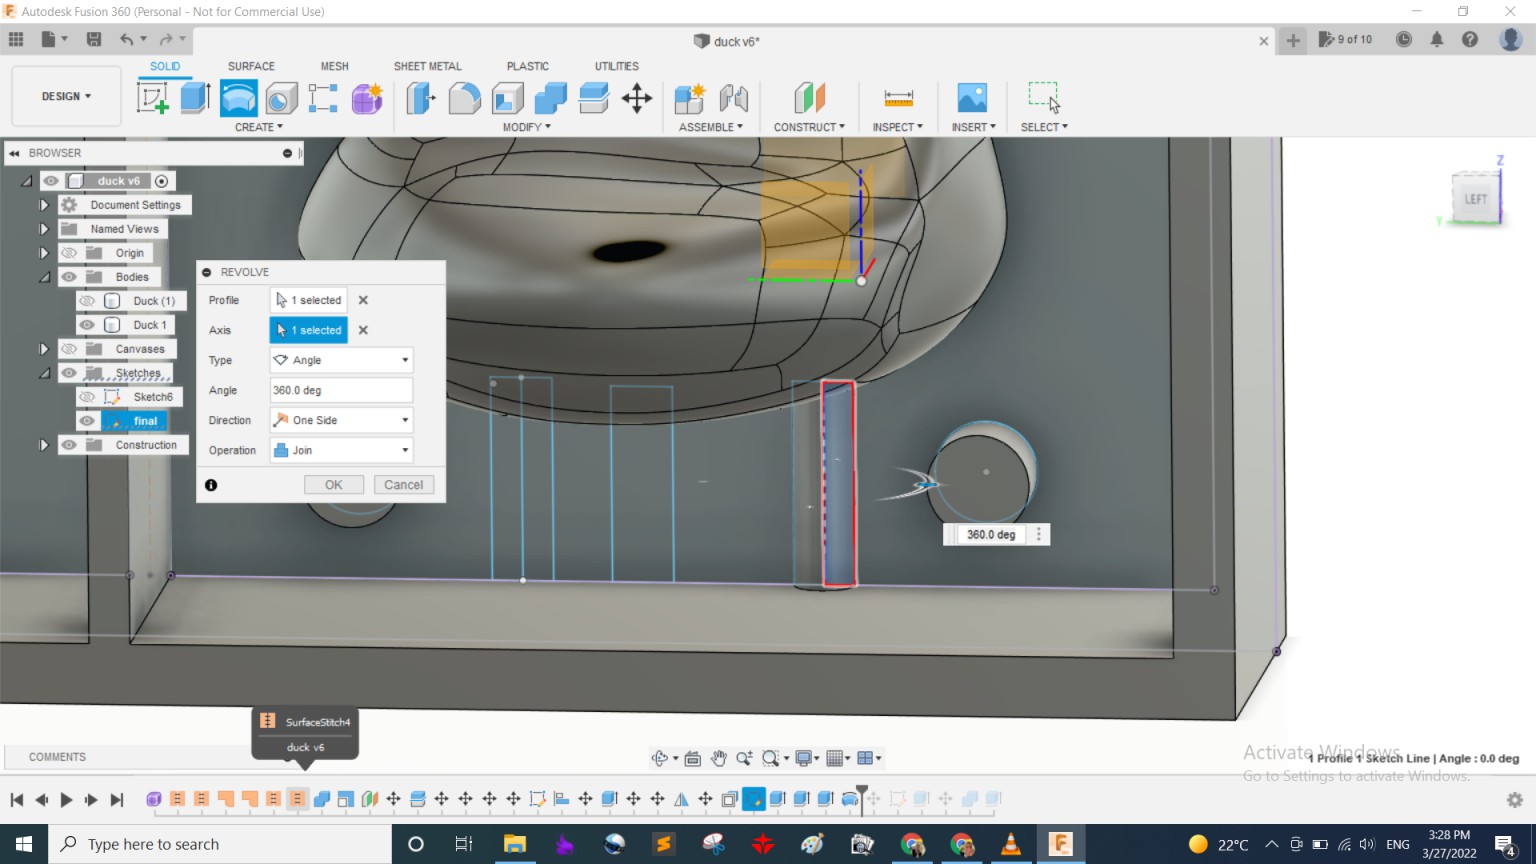
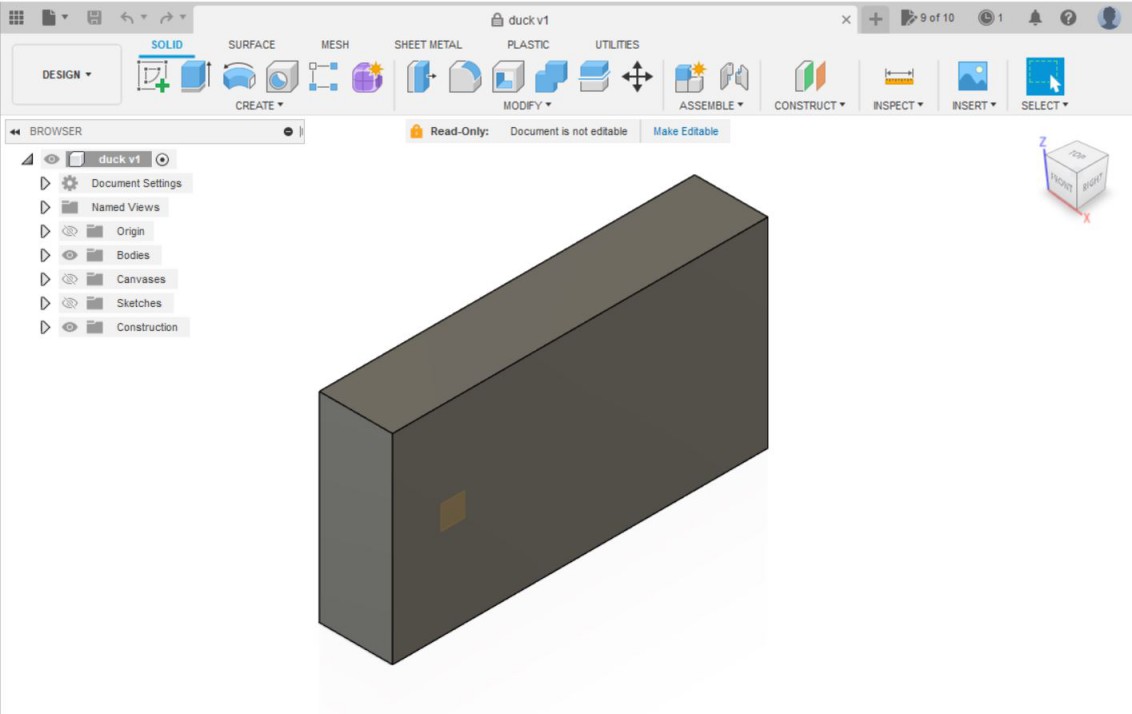
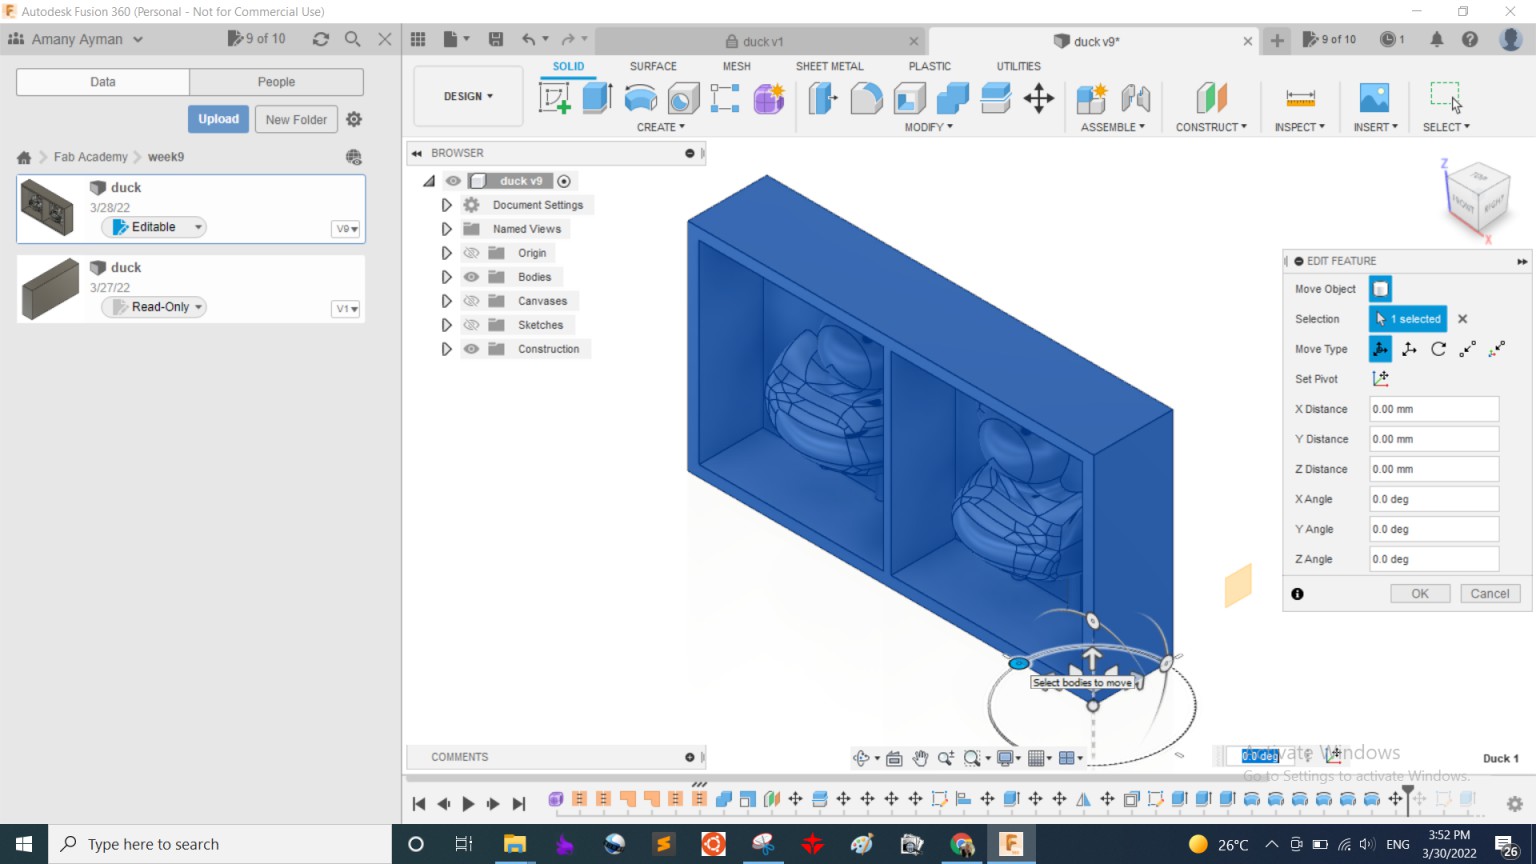
Now that the duck is all ready time to get back to my beloved solid environment which is filled with constraints and dimensions which I appreciate a lot more right now :D. Anyways, After I thought about it a bit I had a doubt that the 2 halfs are aligned perfectly infront of each other so that the mold won't be shifted or anything, so for more safety I copied one half then pasted it and aligned its copy to be at the same y-axis coordinates then made a known space between them
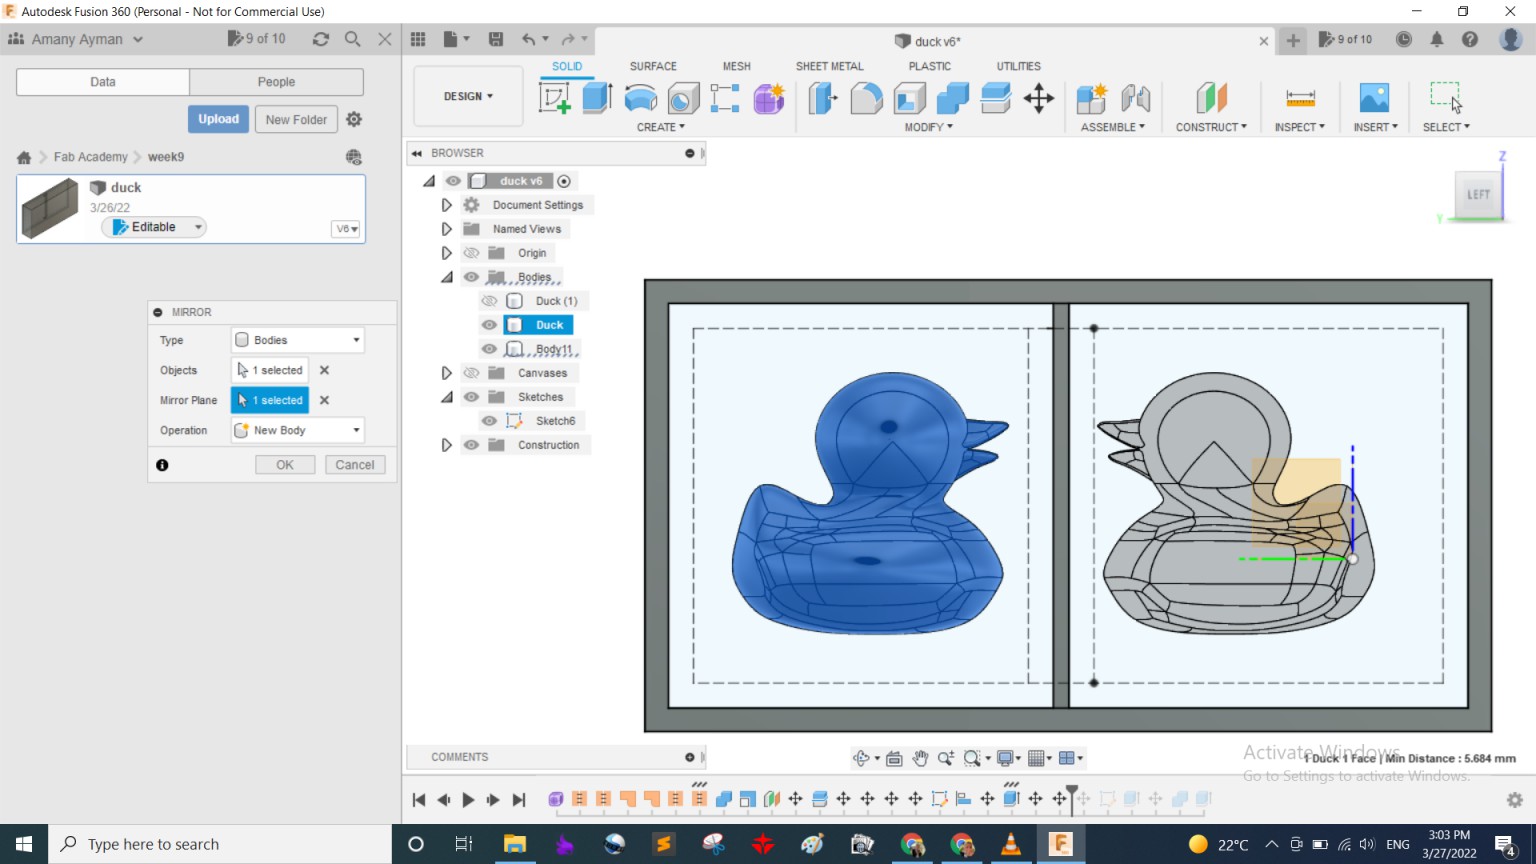
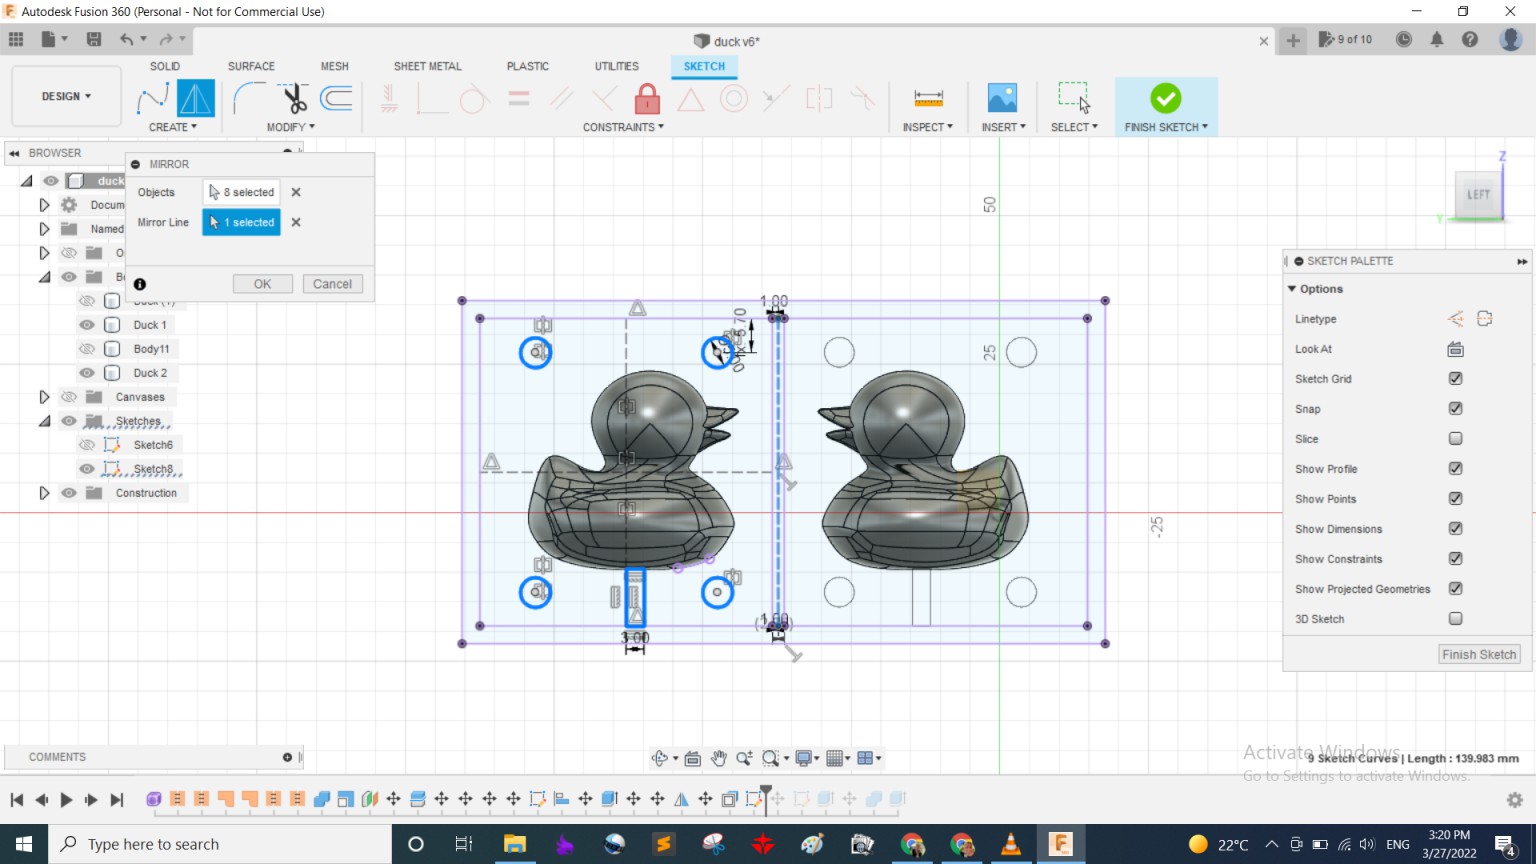
And built walls for the mold then added registration pins and holes and finally a pour and vent openings as follows:

 Generating tool path on Modela Player
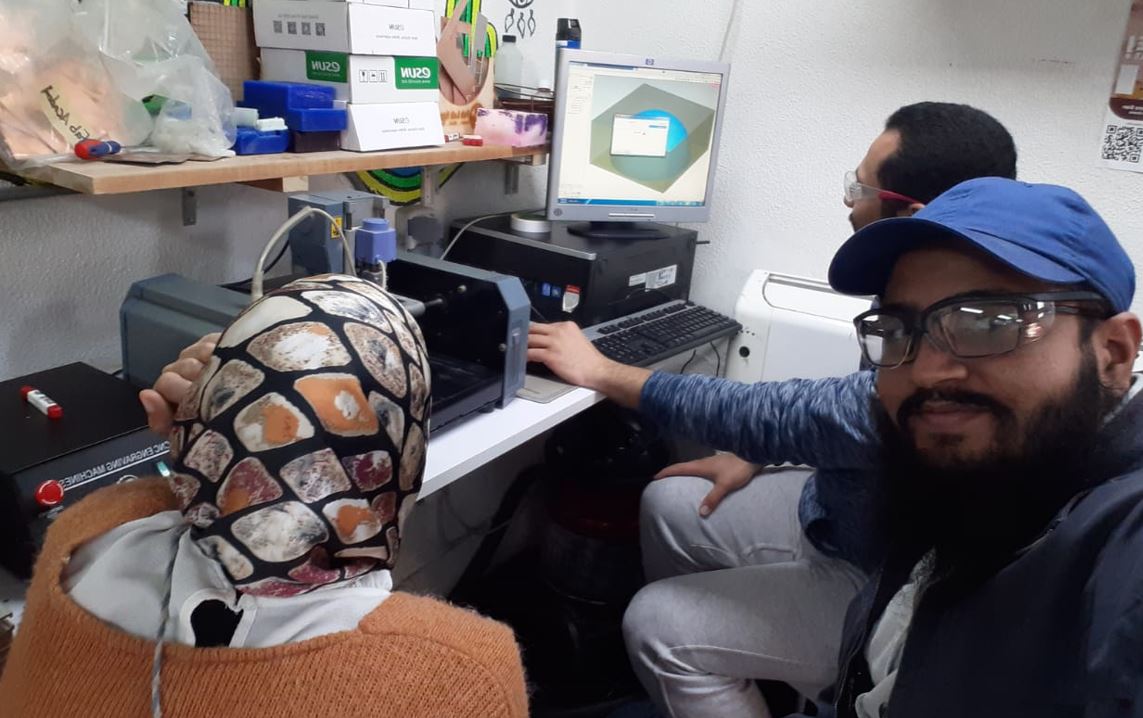
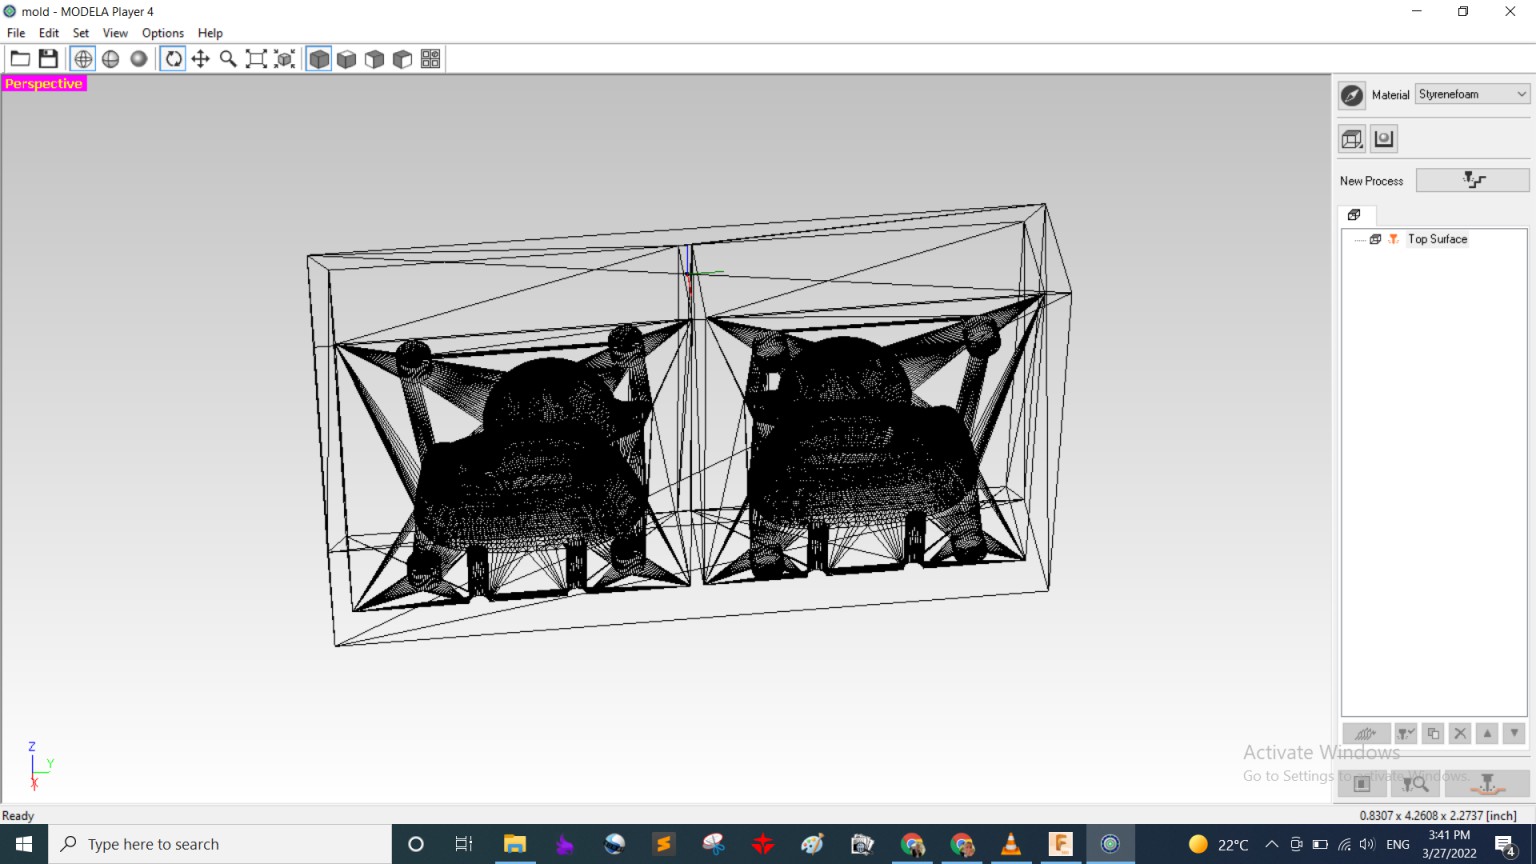
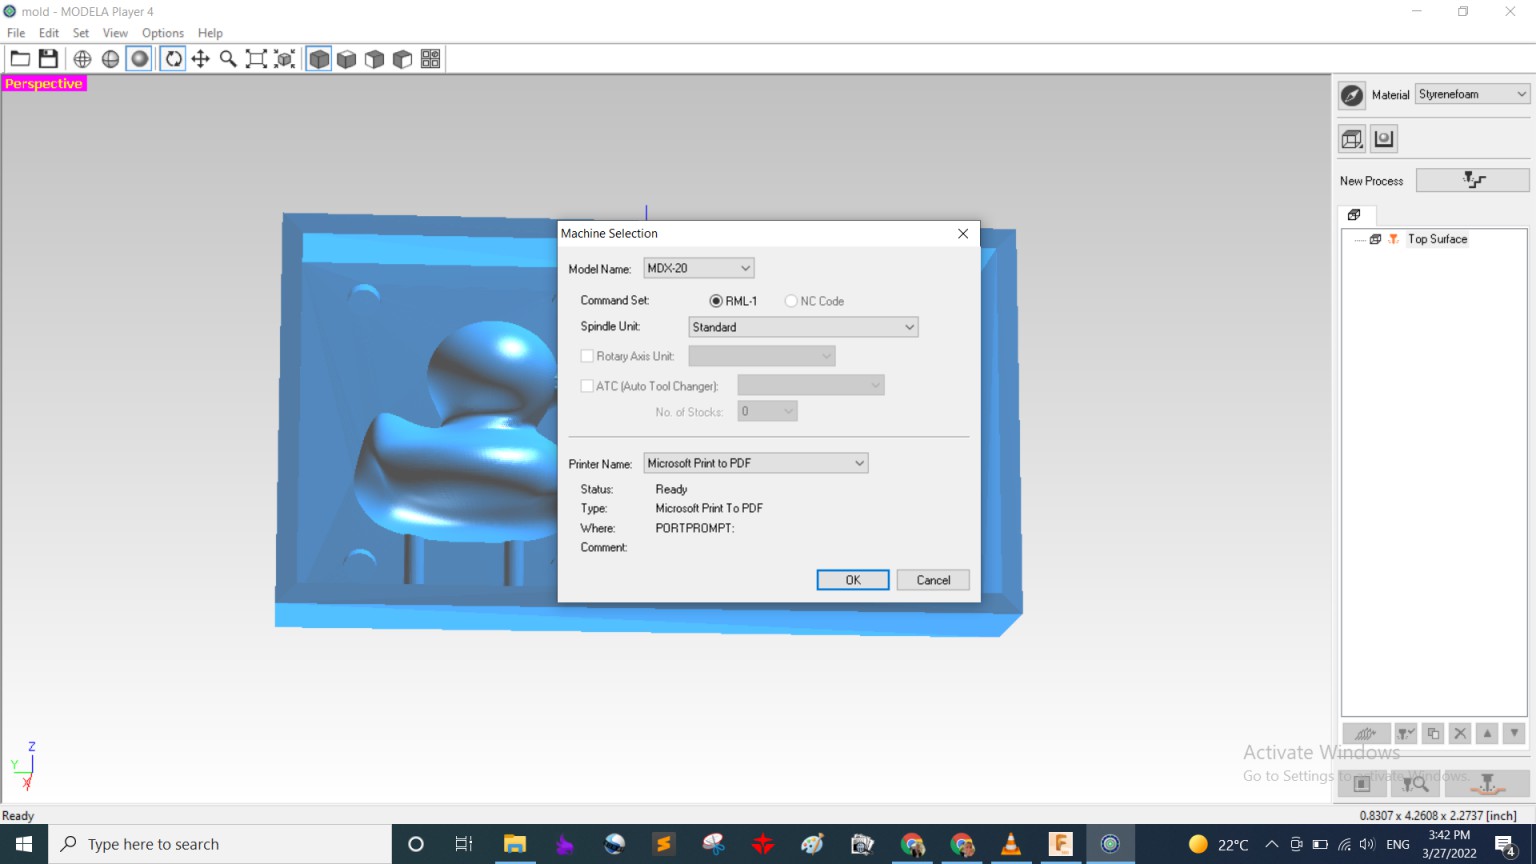
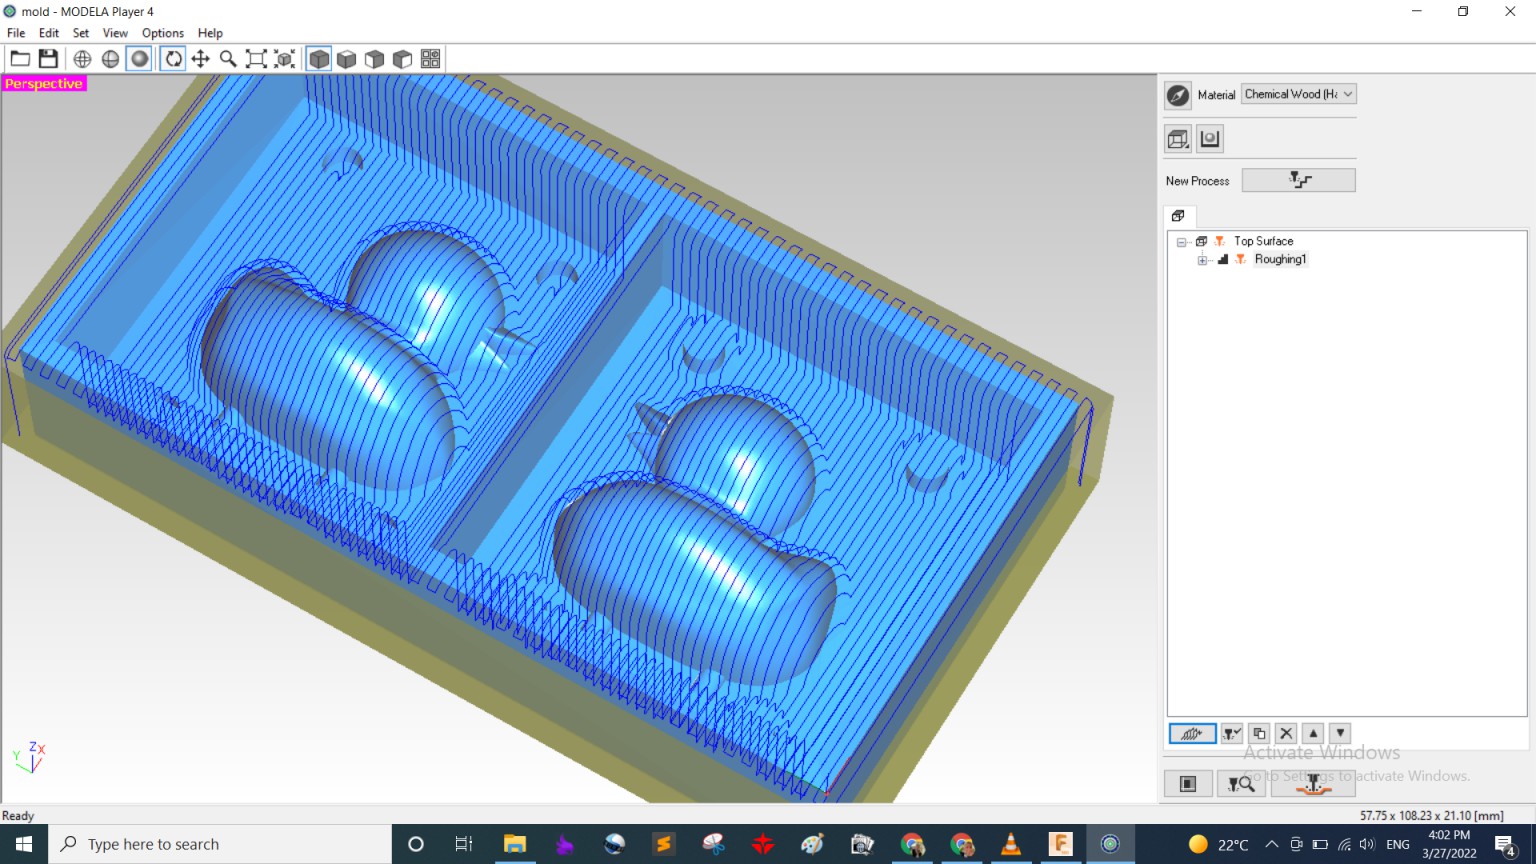
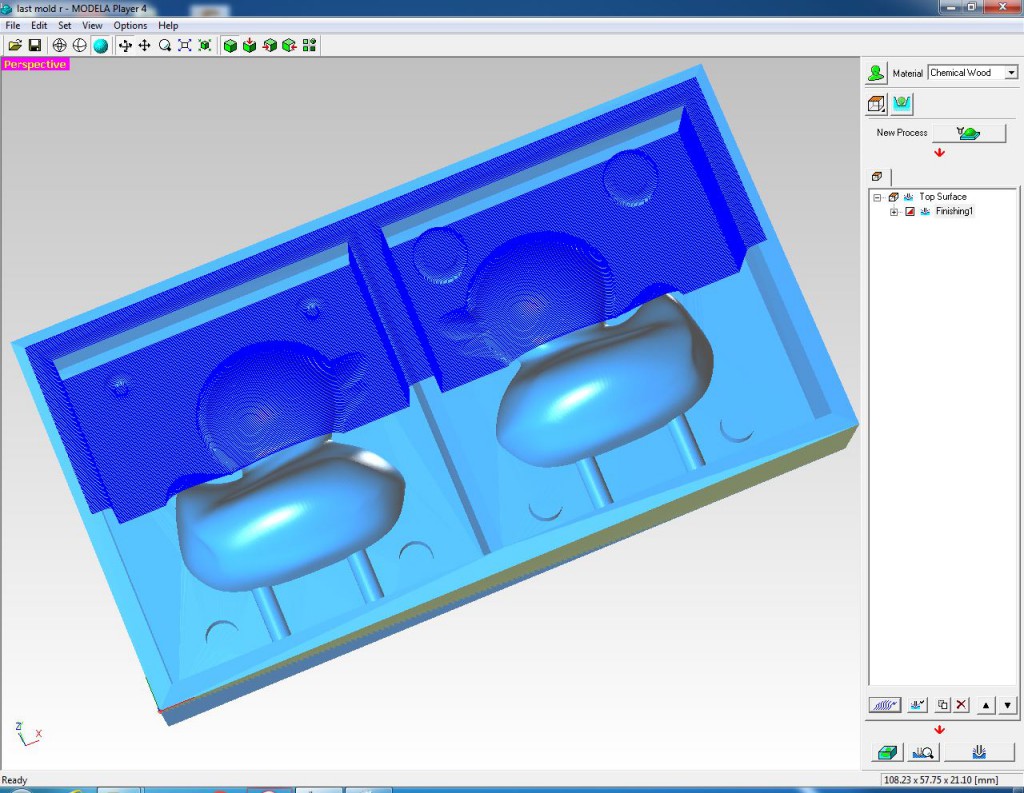
I exported the body as STL and finally was done with fusion. It's time to generate the G-Code. We used Modela Player 4 to generate it and send the file to Roland MDX-20 and Virtual Modela to simulate and render the G-code. Here are the steps I took.
- Choose the machine
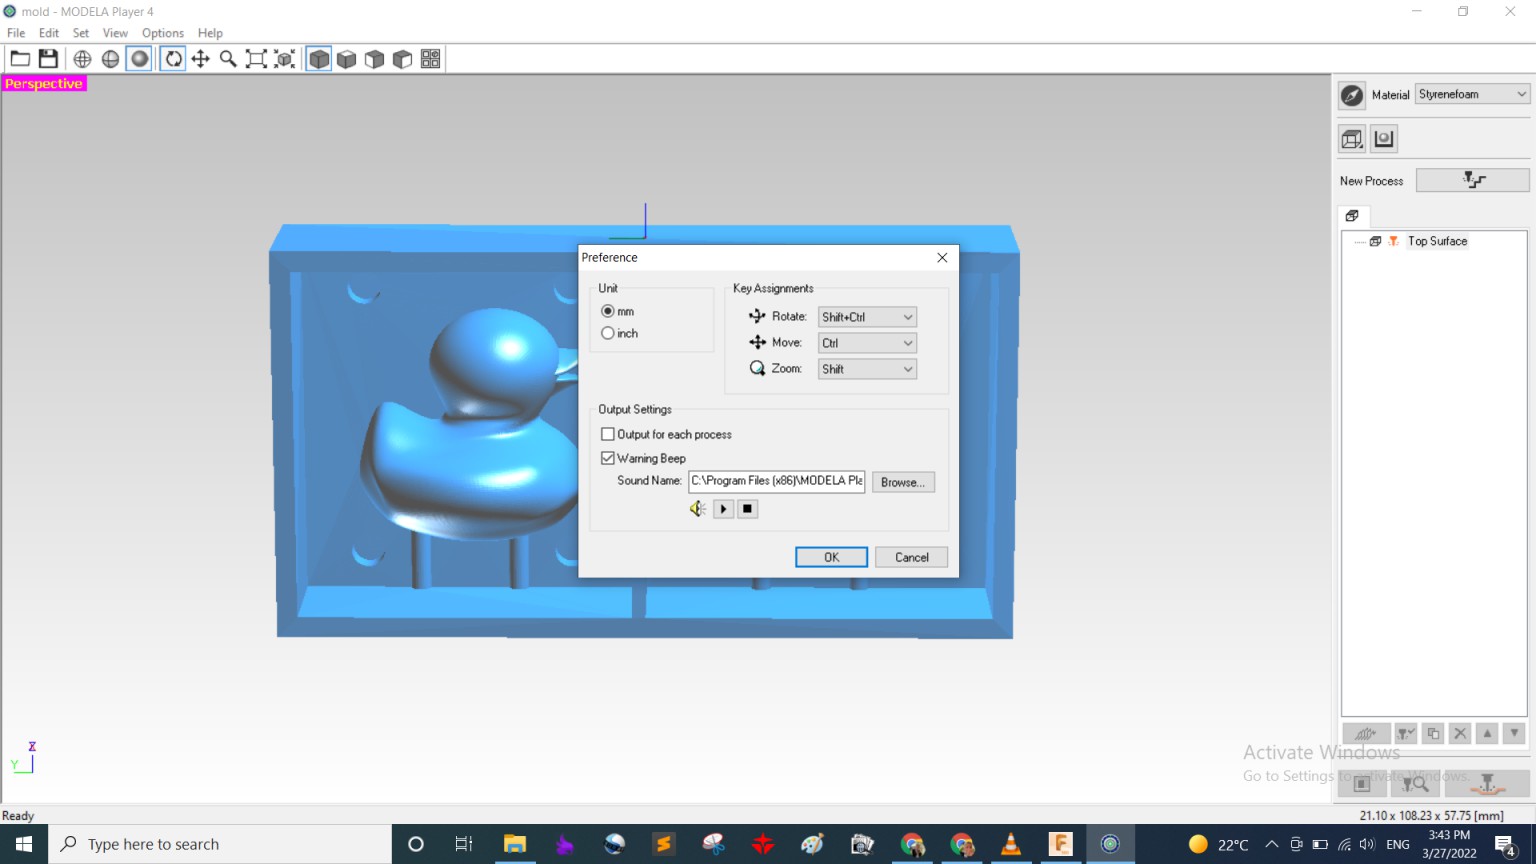
- Set the unit to be in mm
- Add tool > which are the end mill we will be using
- Set the material of the work-piece we will be working with
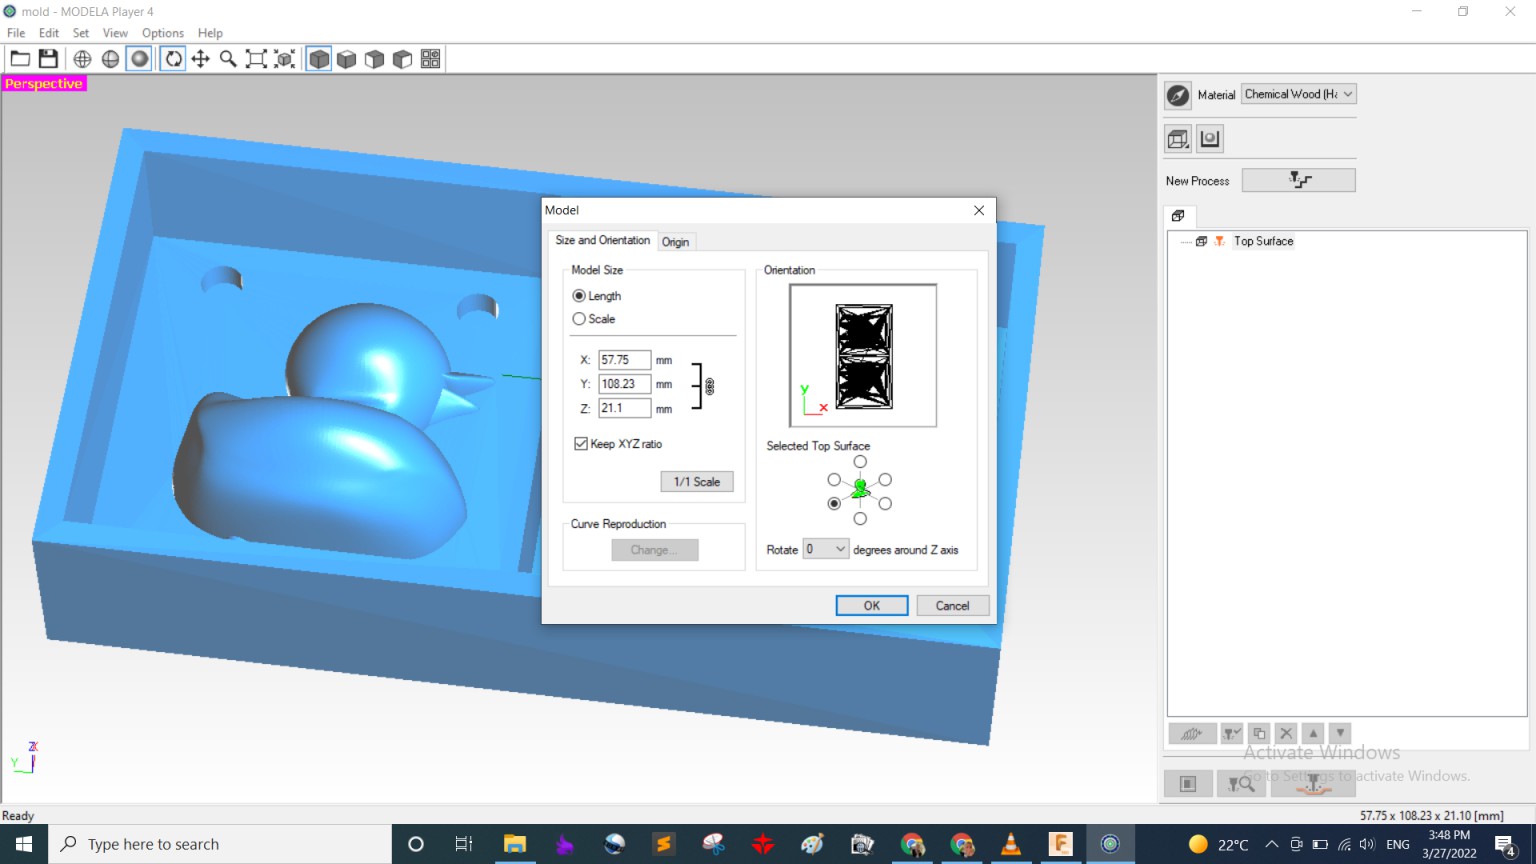
- Set the orientation and the origin of the body
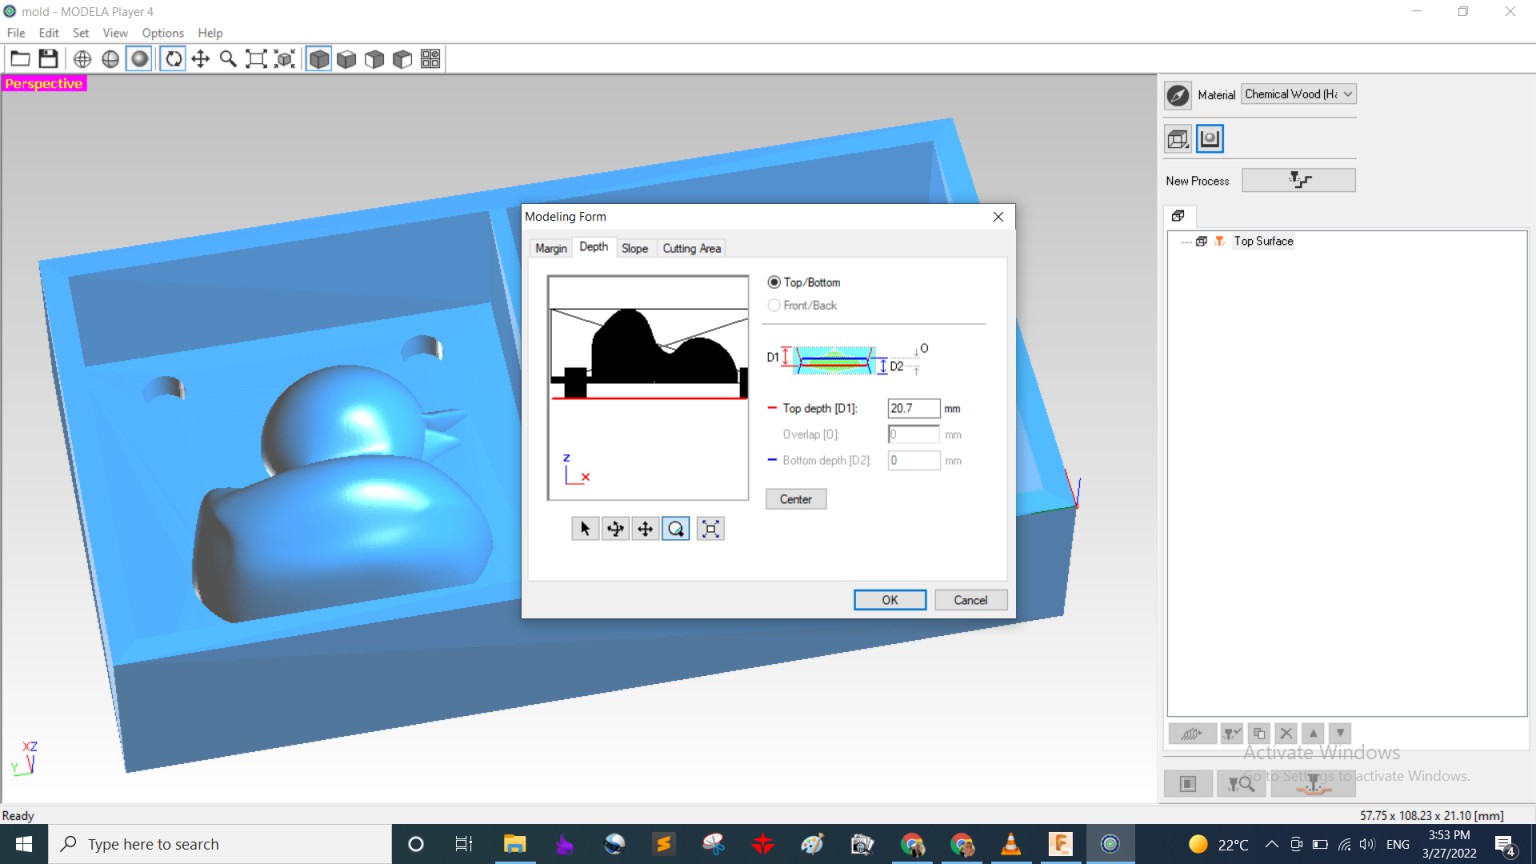
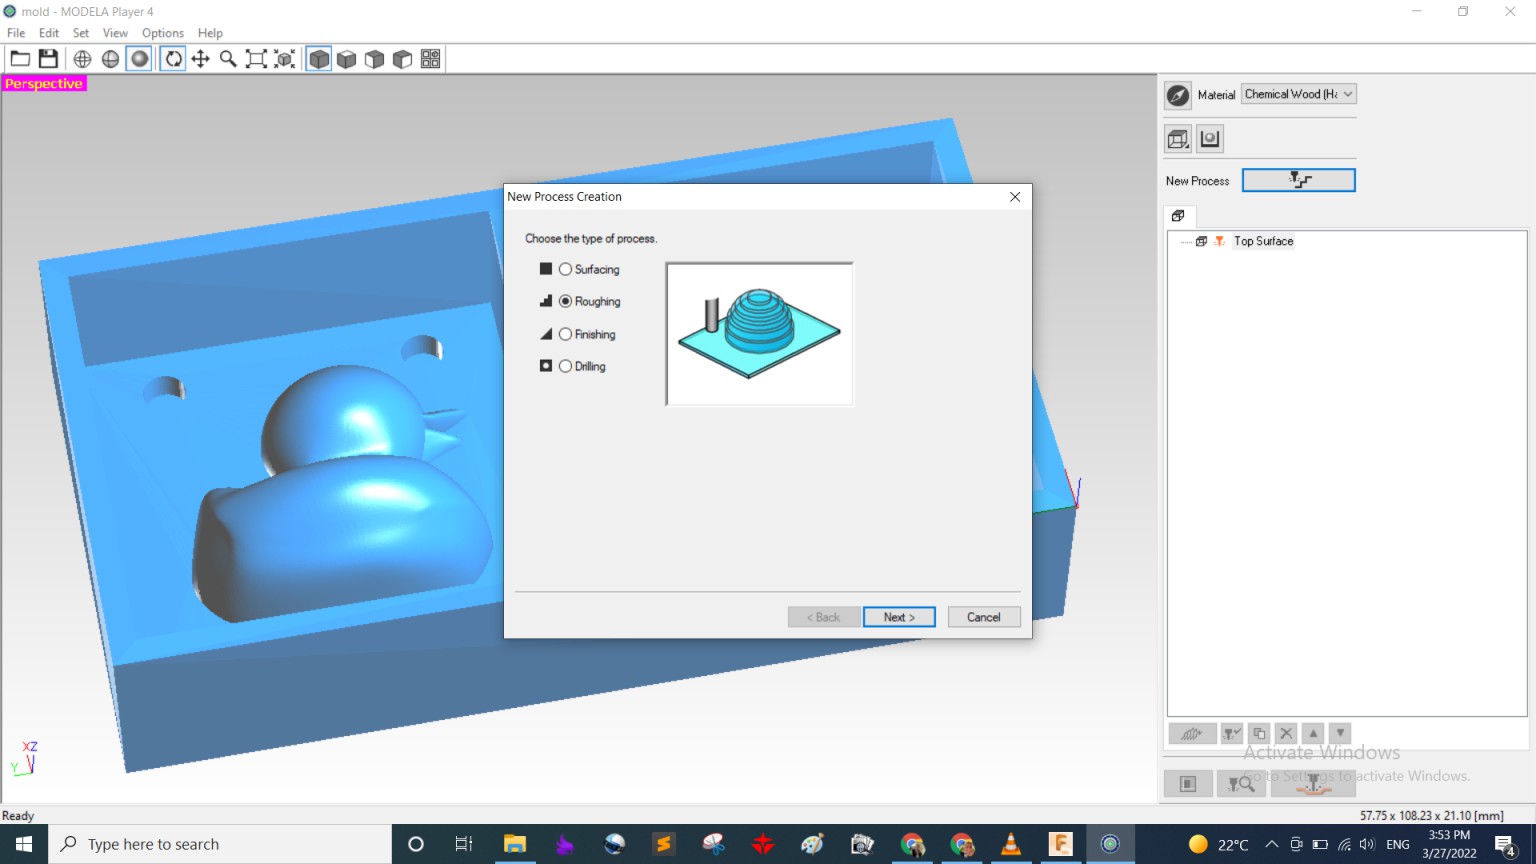
- Start a process so I started with Roughing then Finishing
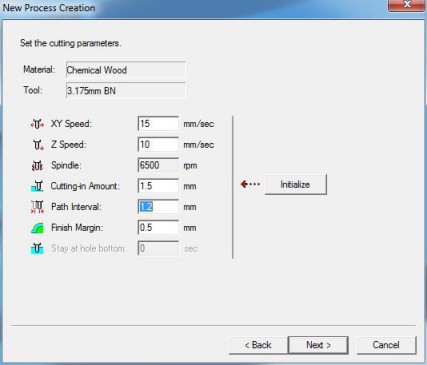
- Edit the cut settings according to the material and end mill so I used feed rate: 15mm/s, Z-speed: 10mm/s, cut-in amount: half of the end-mill diameter which was 1.5mm but while machining I will advice others to make it the full diameter of the end-mill which is 3mm as we used Chemical wood and I think it's the soft type as the machine made light sounds so I think it can take more depth in 1 path which will highly affect the roughing machining time.
- click start later and click on preview to generate a tool path and see the simulation.
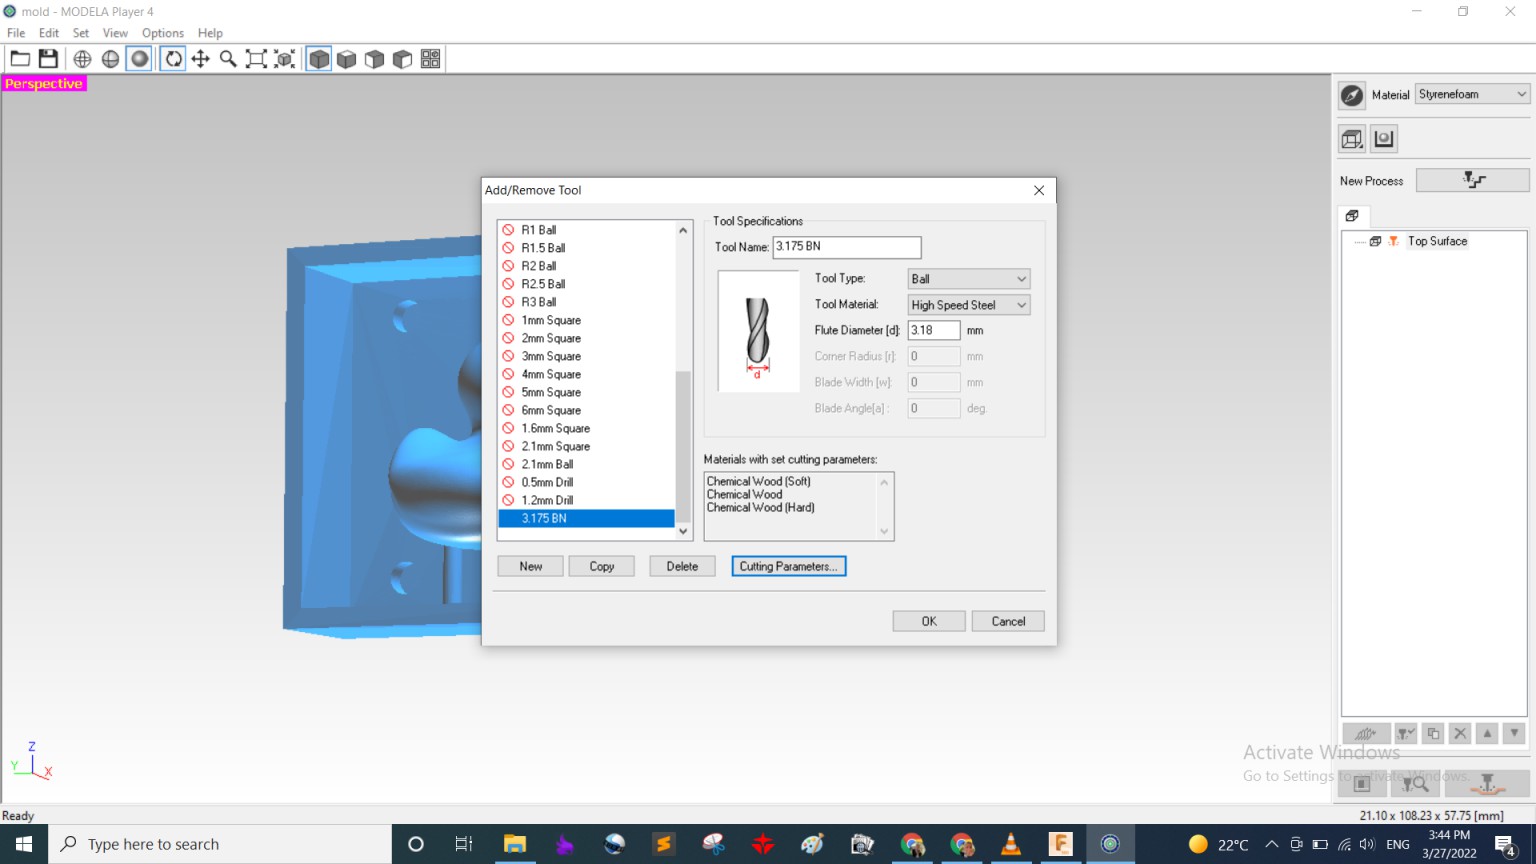
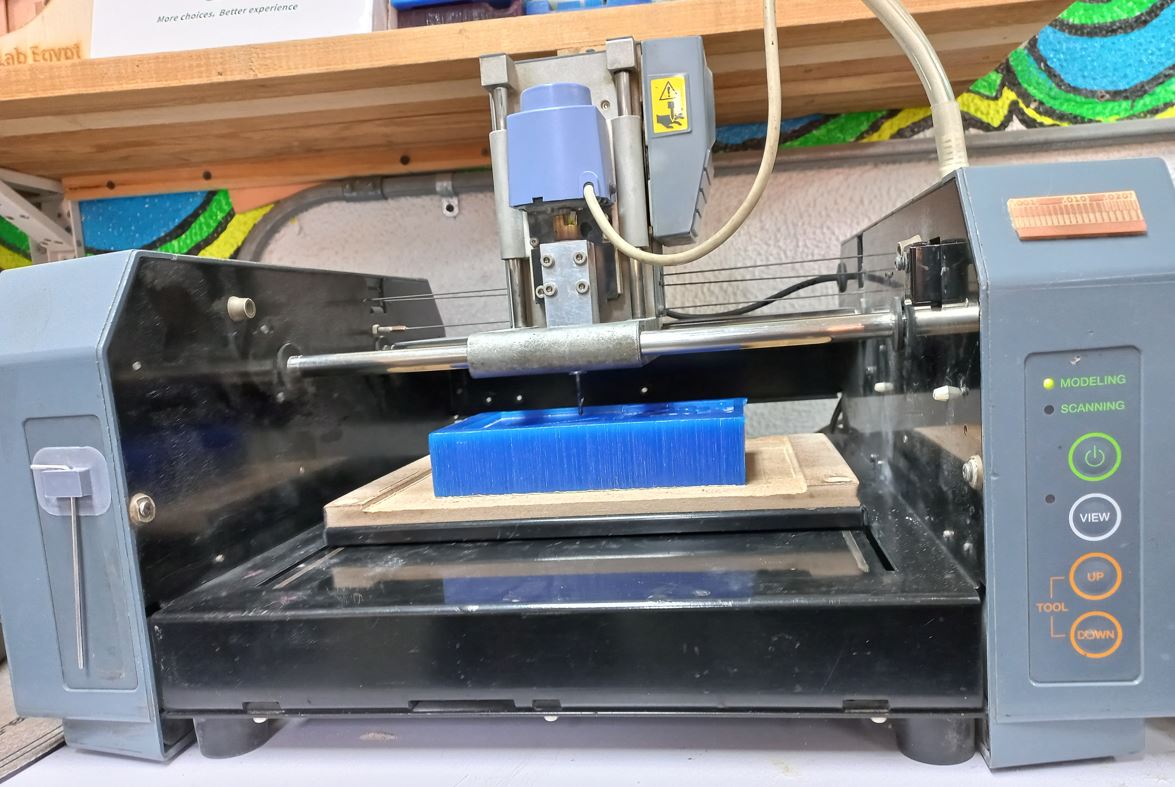
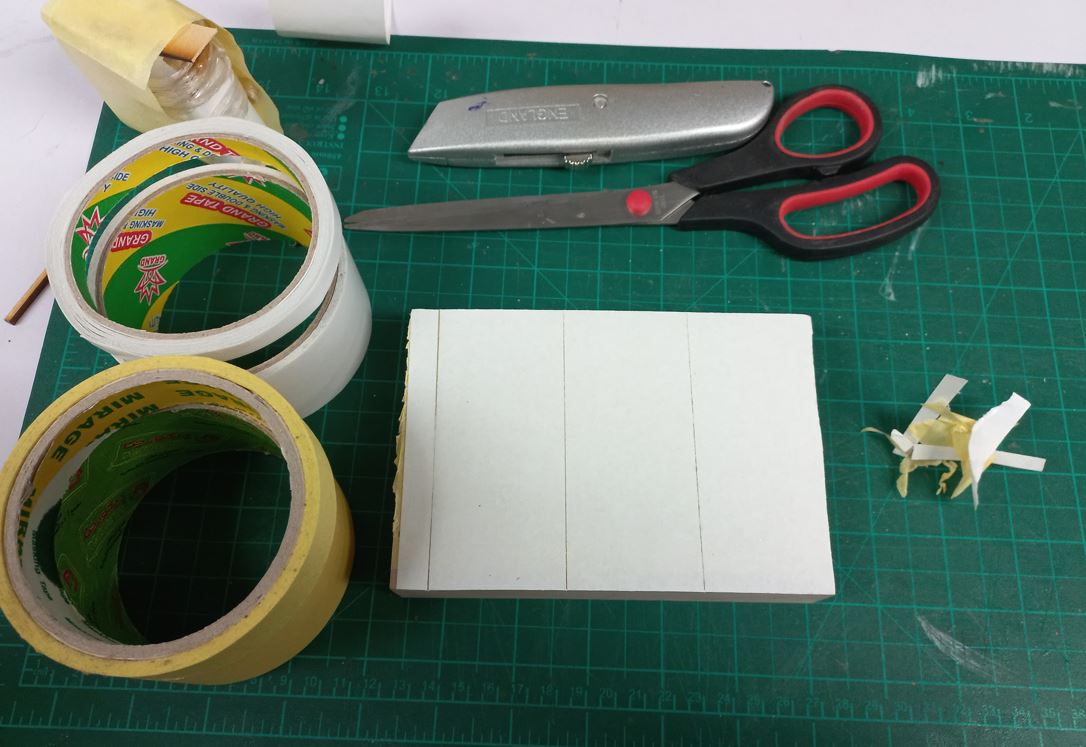
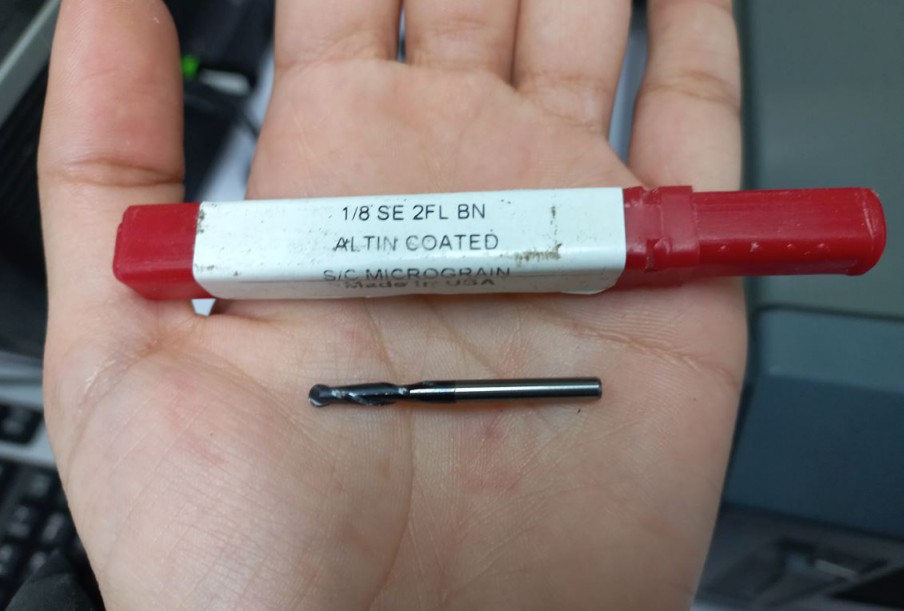
first I prepared the setup, so fixed tape and double face on the back of the chemical wood then put it on the machine and fixed the en mill I will use which was 1/8 inch BallNose end mill =3.175mm diameter.
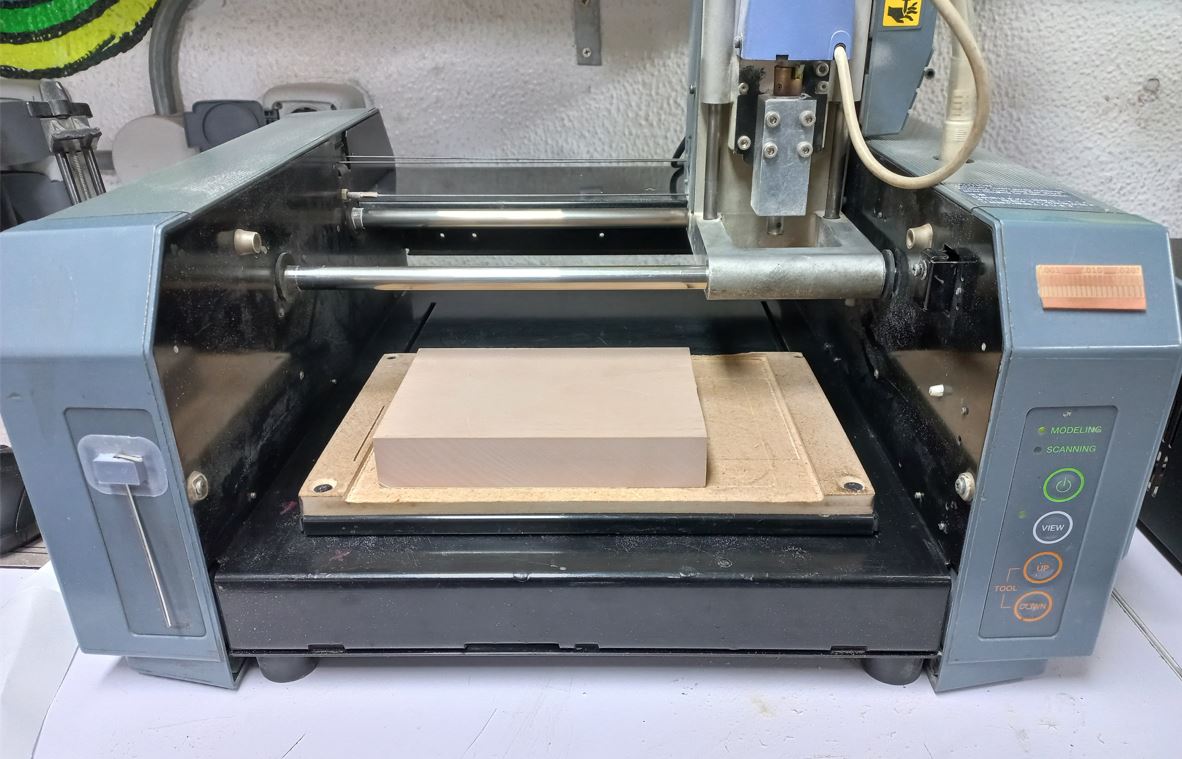
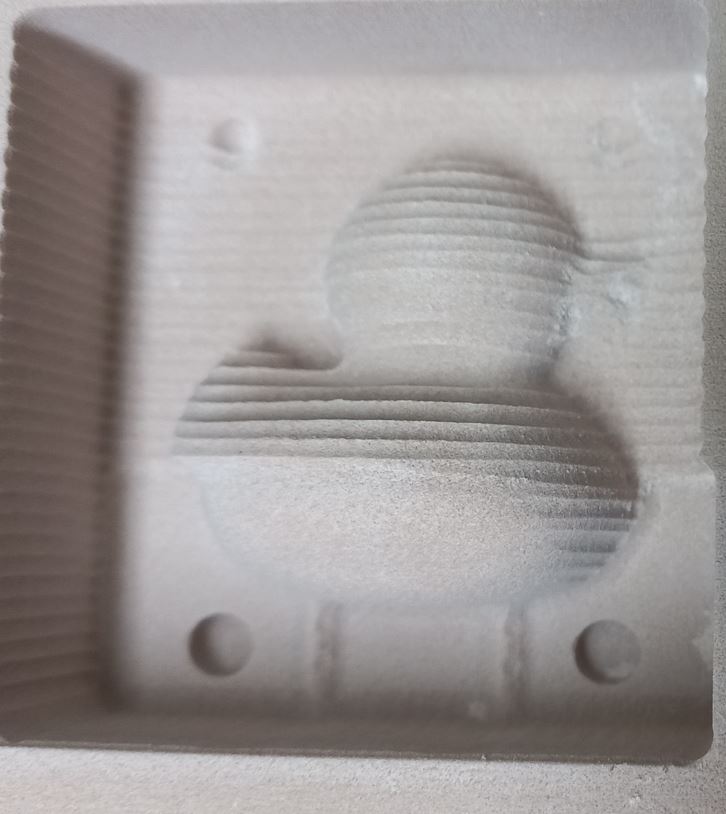
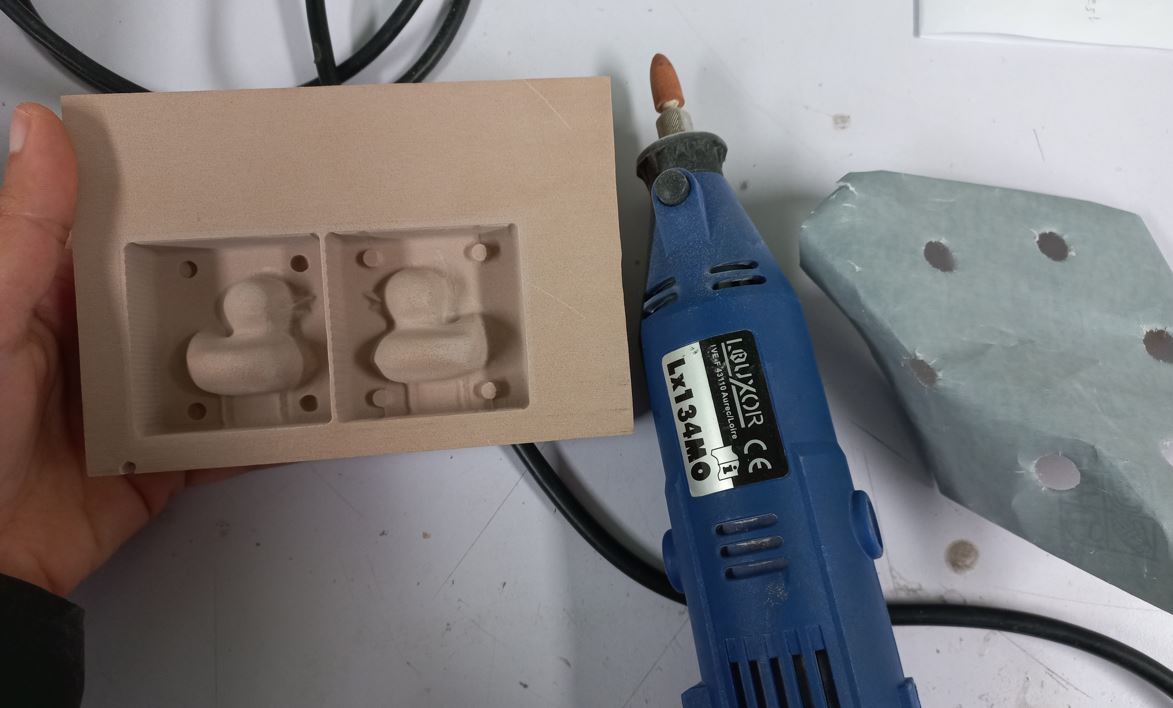
Started the rougghing file which took around 1 hr and a half and that's the output after
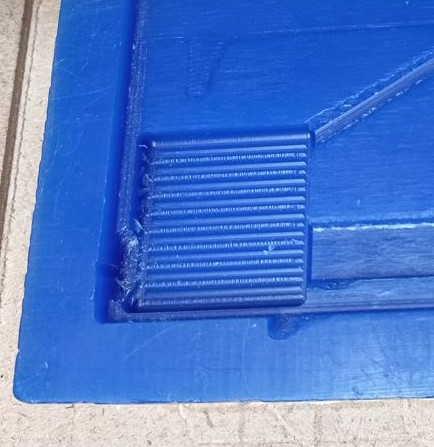
Then started the finishing process with the same end mill and the the difference in finish between roughing and finishing!
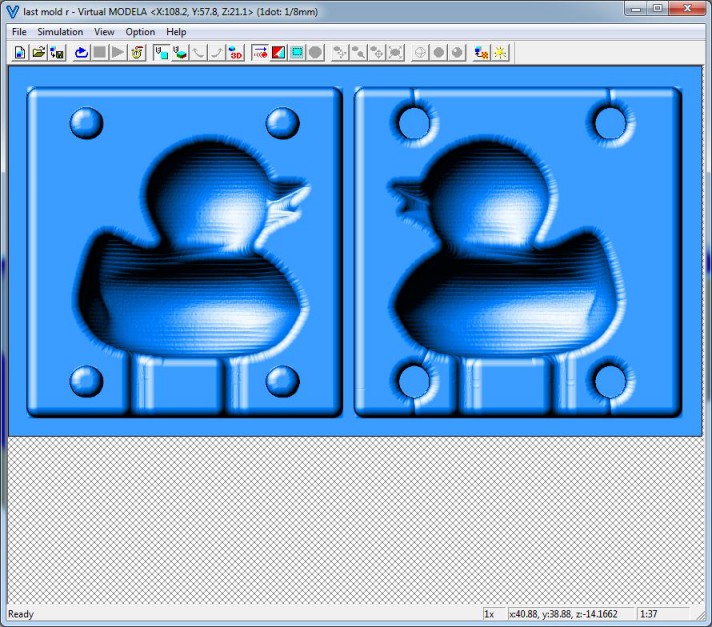
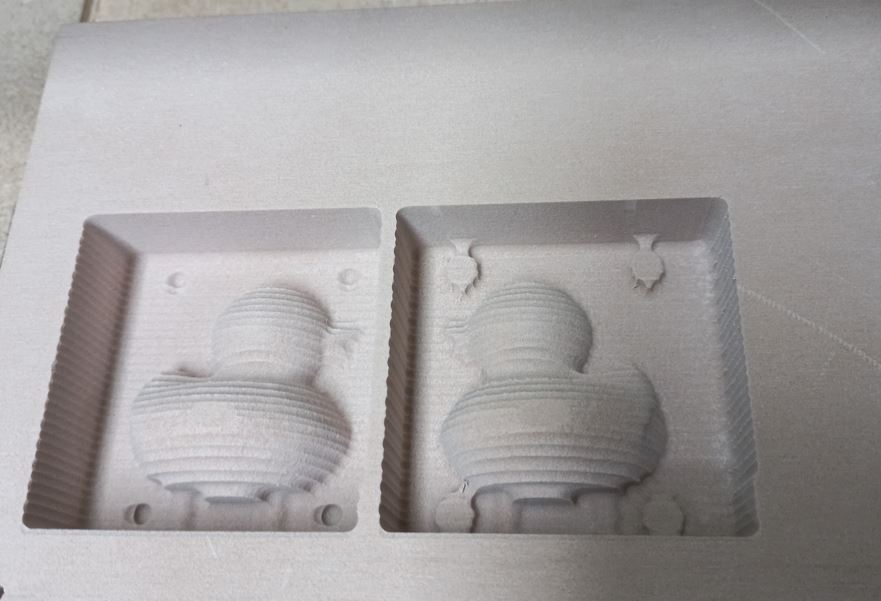
after finishing file was done, 4 complete hours have passed. it looked very smooth as the following picture shows.
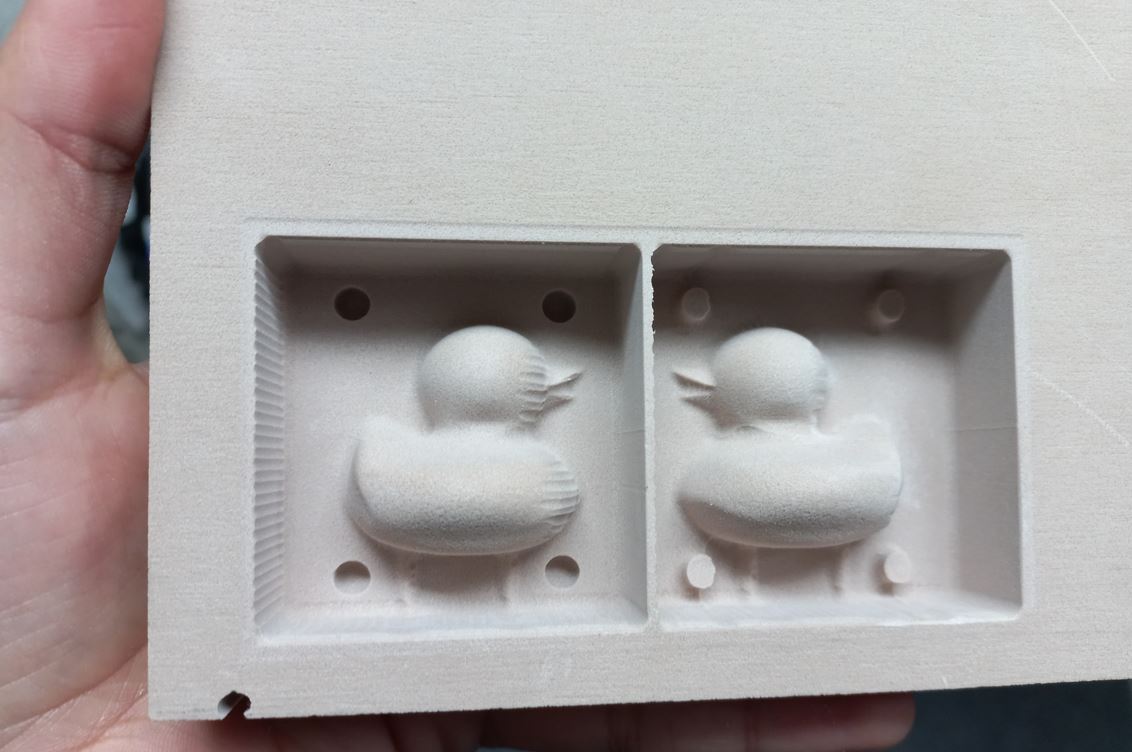
There was only 1 issue which was a dumb human error actually, while I was cleaning the mold with vacuum cleaner I hit the head of the machine which made it shift a bit in X-axis so it left the right side without touching it so it came out with the same finish of the roughing process so to fix that I used sanding and it worked!
 Reaching the end of this long road! Finally casting
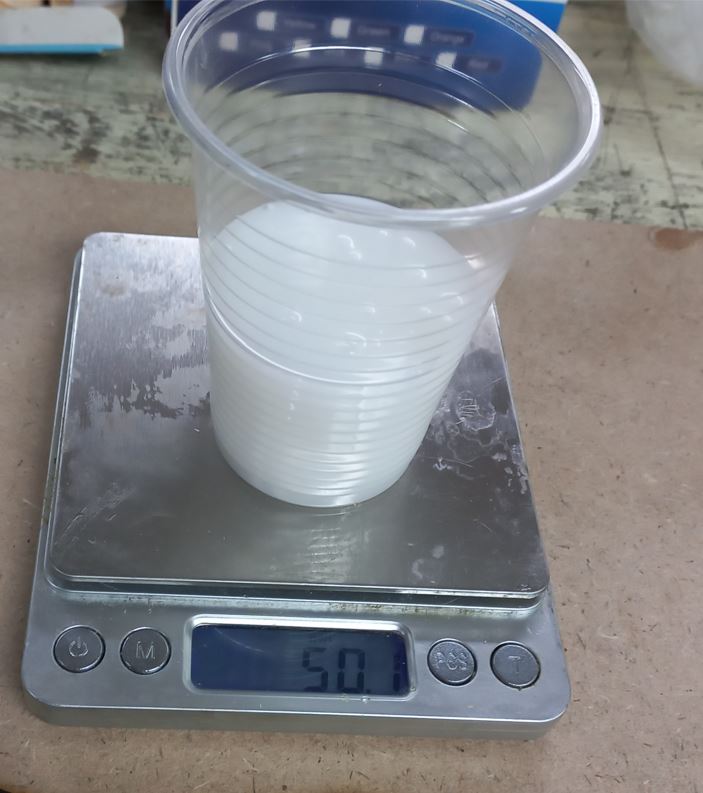
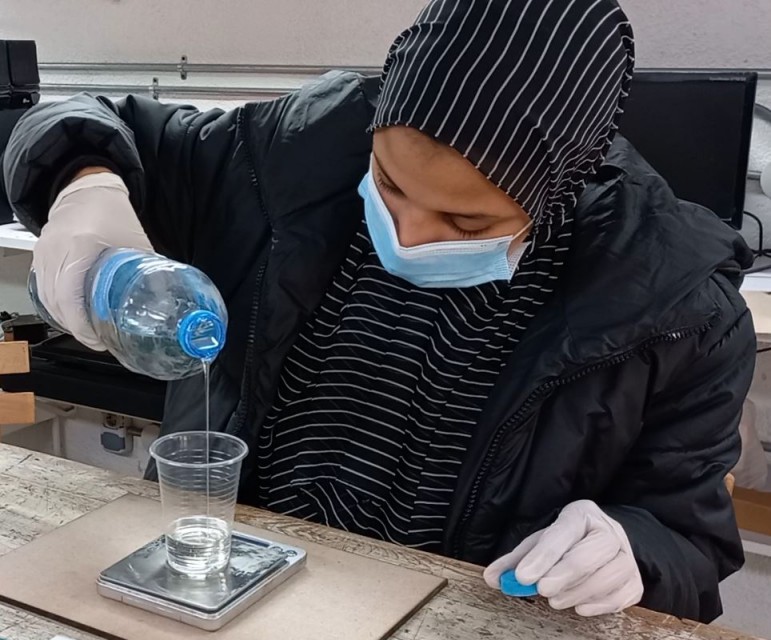
I used silicon rubber to make the mold, so first I poured it in a cup and kept checking its weight until it turned 50 grams then I added its hardener, I added it to scale 1:20 so added only 2.5 grams
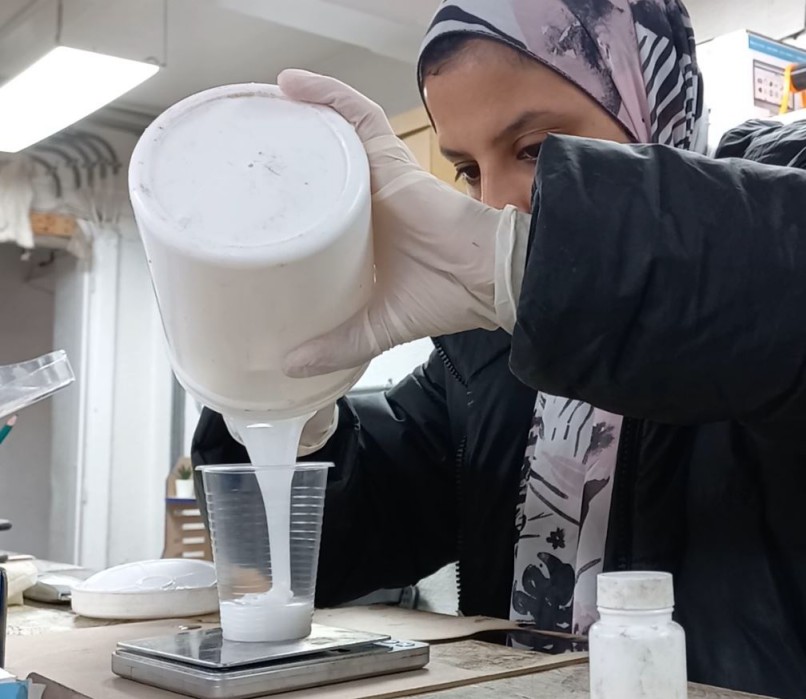
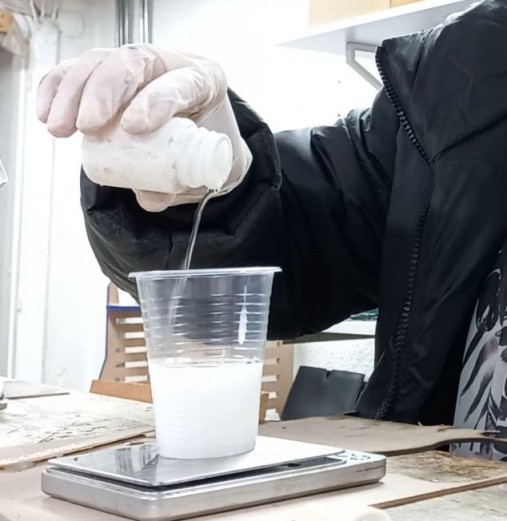
Then time to blend them together but don't mix for too much as it hardens more and more during mixing so in less than a minute I started pouring the silicon rubber upon the chemical wood, but first sprayed the silicon spray to made a first layer touching the wood so I could lower the chances of exciting bubbles touching the main body of the mold.


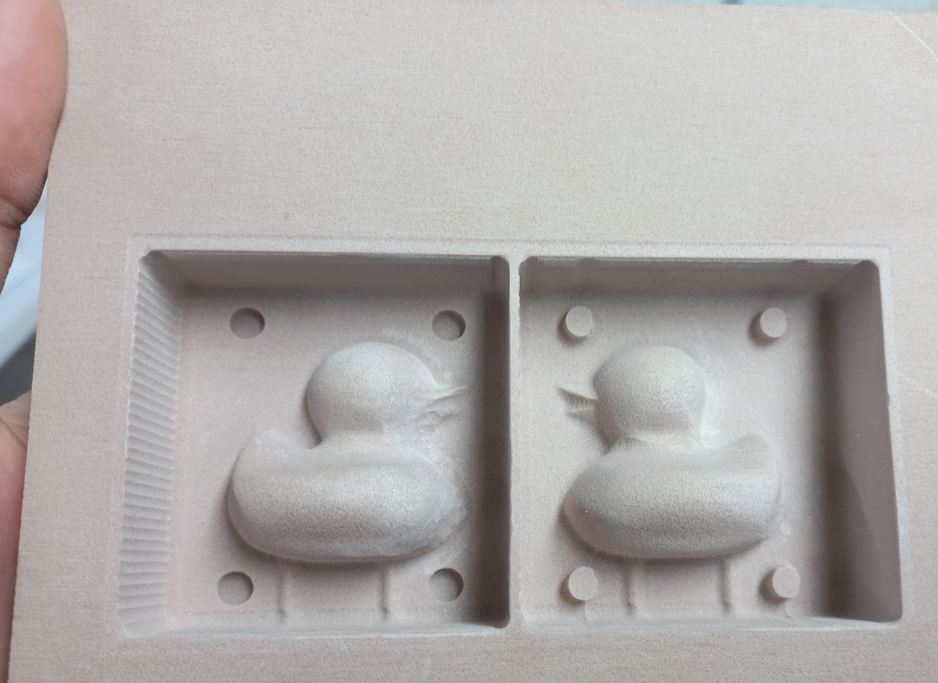
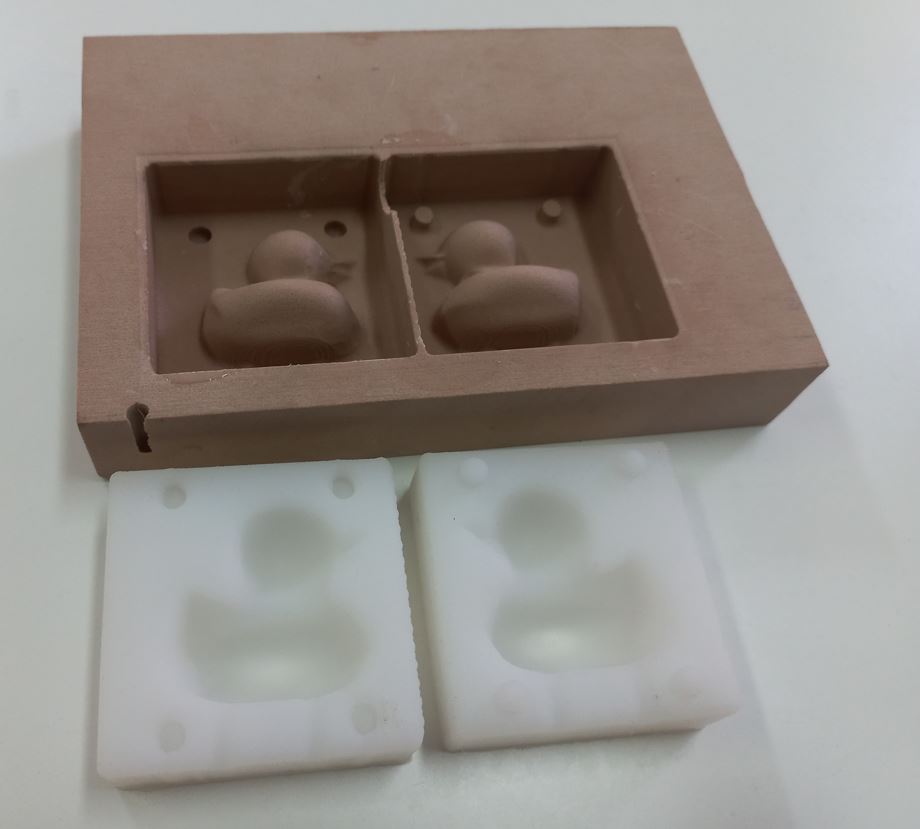
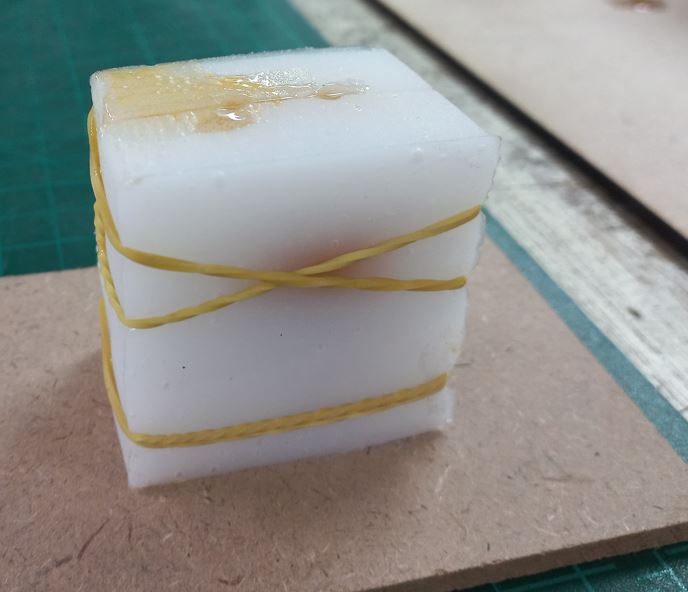
Then left it around 12 hours and Taa-Daa it looked so great and smooth also zero bubbles!
 Casting polyester into silicon rubber mold
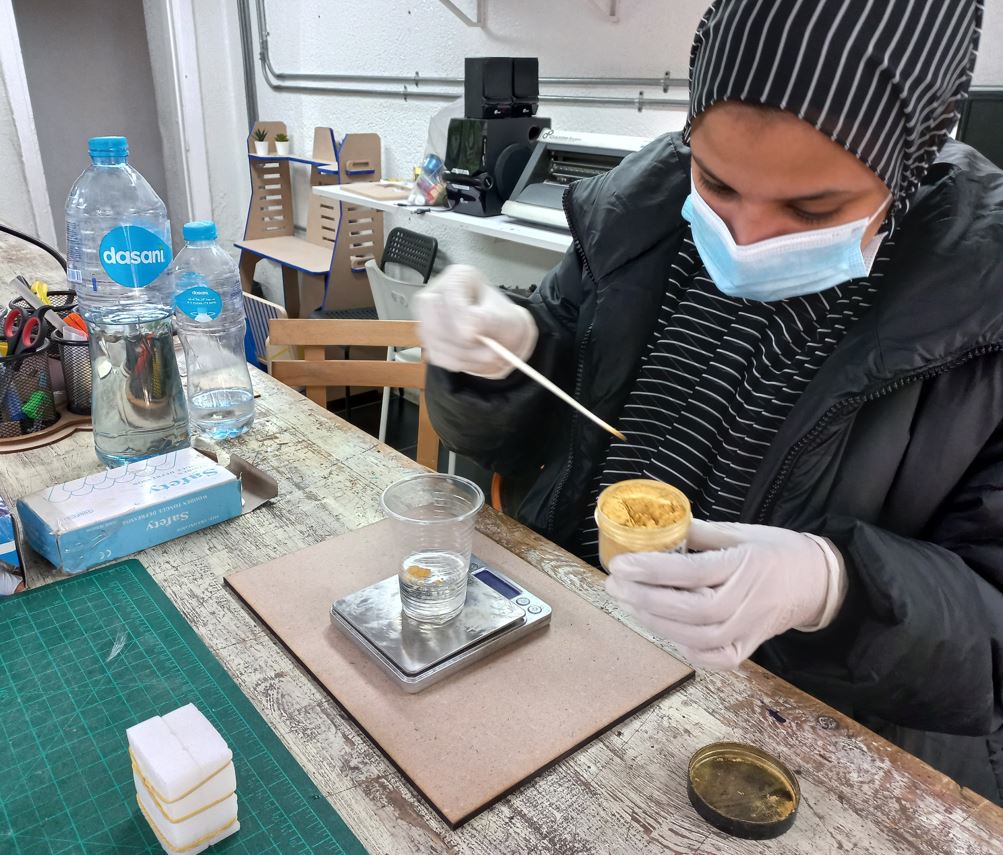
Casting polyester was much alike casting silicon rubber, As I added the polyester then it hardener to a scale 1:10 so it was total around 33 grams then added color into it then mixed all of them together.
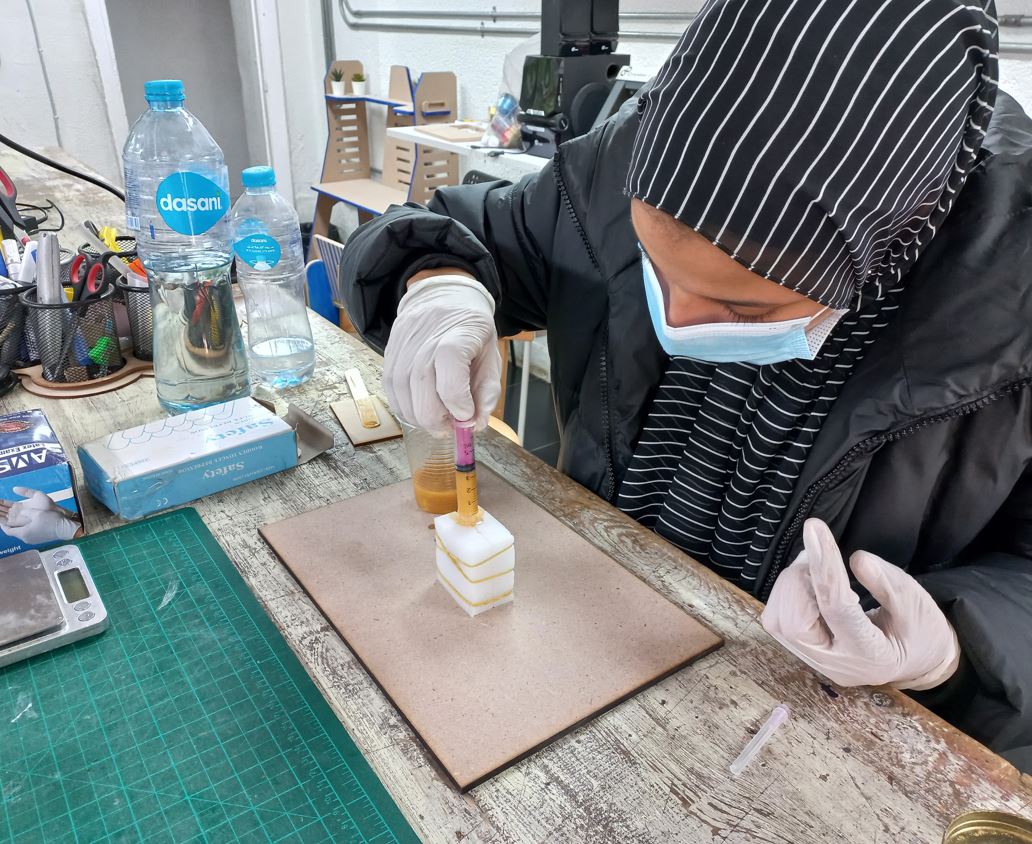
Started closing its two halfs together - they fitted very nicely BTW and it wasn't weak at all or falling off each other so making the mold bigger and leaving more space for registration pins helped me a lot in this stage. - Then started pouring them into the silicon rubber mold. Also, made sure I filled it all till the vent opening with also filled with polyester mix.
 And, Now we wait.
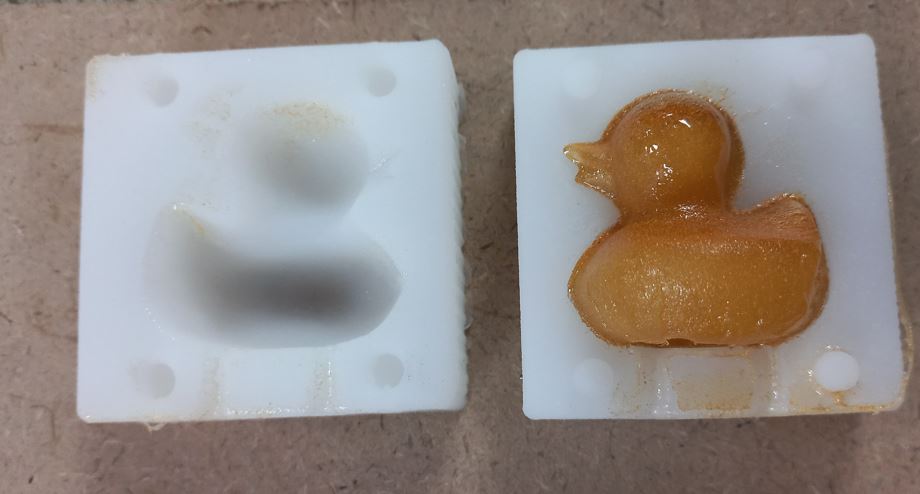
I waited around 6 hours to let it harden then opened the two halfs and there it is finally the duck! It looked great and with very smooth surface finish we don't see everyday in 3D printing!
 Challenges!
first issue I faced was that when I opened the mold STL file into modela player it always had a bad orientation and having the X-axis in place of the Z-axis, I couldn't rotate it in modela player and I had no idea what made it open like this. But when I opened Fusion 360 again I saw that the body wasn't in the proper orientation in the first place! But I had no idea that the orientation in design will affect the orientation of the STL file later. So simply to solve this I just moved the body in Fusion and rotate it making the X,Y axes in their right positions and it opened just fine later on Modela Player.

Secondly, which was a common problem over the years, was that the Modela itself stops out of no where in the middle of the roughing or finishing process! It takes really hours to make 1 file done so it was no way that I repeat the same file from the start! I though about editing the design itself and combining a block cube into the space it finished so it will just surface it from above then go deep in the remaining part. But Omar Seif was next to me at that time and he had a better idea! which is simple acutally, just edit the size of the working area of the file itself on Modela player! and we did, we made the X-axis start from 0 to its end but the Y-axis we made it start from 30mm till 52mm and leave behind the 30mm that it had already finished roughing! Much thanks to Omar really.
 Source files:
Individual Assignment files
Fusion fileDuck STL file
Mold STL file