


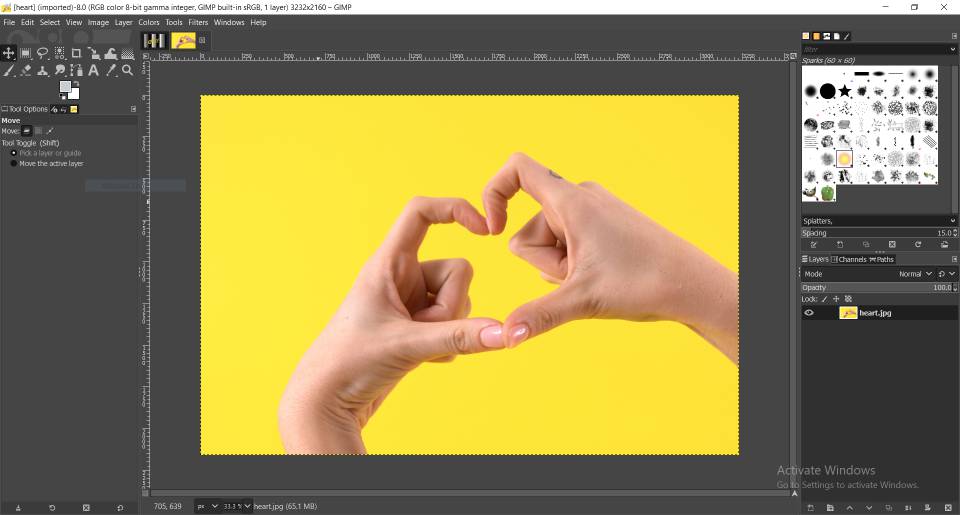
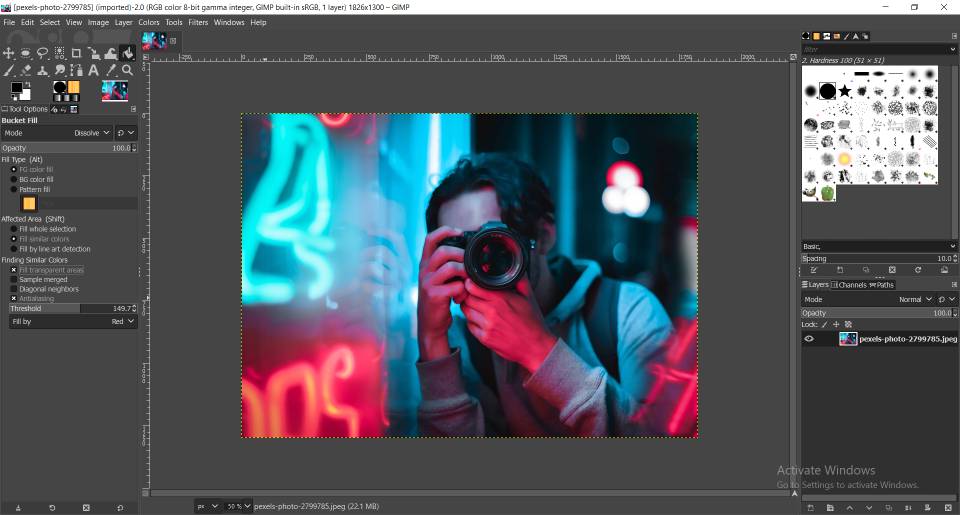
At first i wanted to try different softwares for raster, vector in 2D design and different softwares for 3D design. So in Raster based softwares i started with Gimp. it's a free open-source software you can download it from here. I didn't know much so i followed a tutorial changing a photo into making a logo. here are the steps i followed:
opened Gimp then opened the source photo, then from image> mode> greyscale made it grey and then from image > flip horizontally.
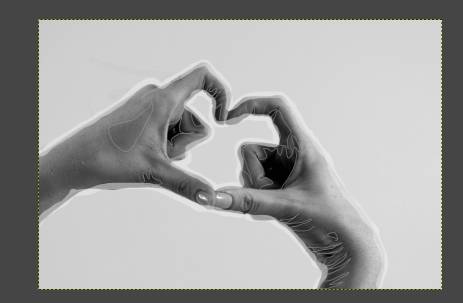
Then from colors>curves played around making the brightest areas more dark and vice versa

After, Choose a brush and picked a FG color white with opacity 20 and draw around the pictures in a new layer with also opacity 20
Then created a new layer to fill within lines.
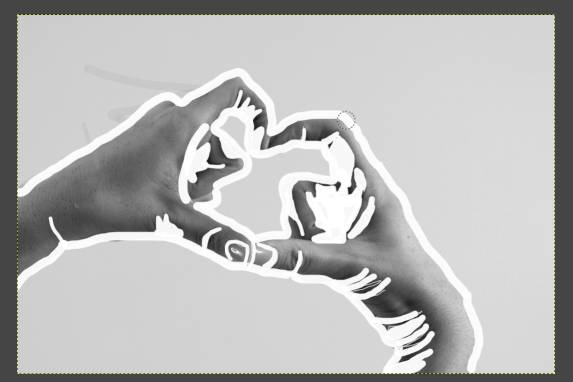
Then with select by color changed all the white into black and created a circle then copy and paste my design after scaling it down then deleted the extras
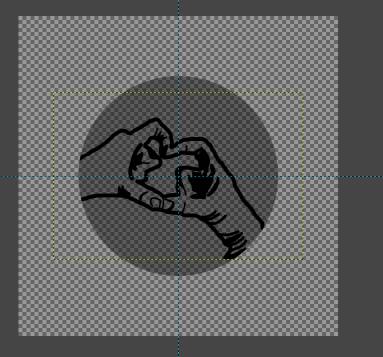
Finally erased the color within the hands and the picture leaving only the black colour, then making the backrung layer opacity back to 100 here is the logo

After that. I wanted to try a vector based software so choose Inkscape to start with. you can download it from here. So, i added what i made into Inkscape and here is what it looks like in this new environment
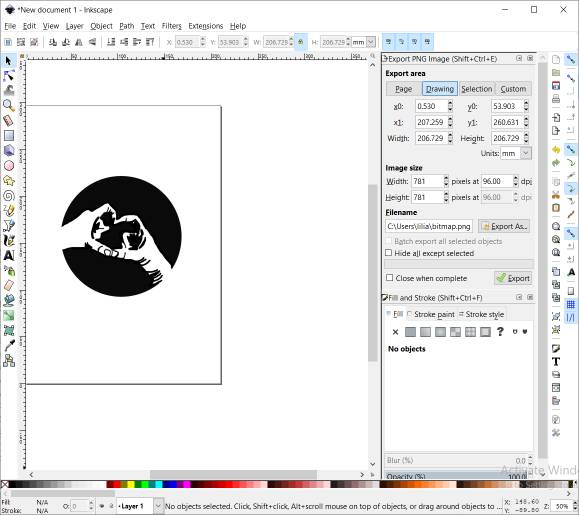
To be able to edit it we must first convert it into lines instead of pixels. we do that using tracing
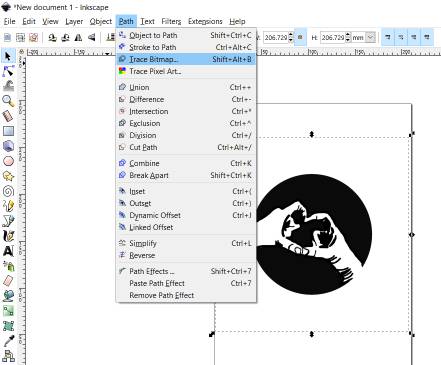
After tracing a new shape was genertaed the 2 looked the same put after zooming in there was a huge difference

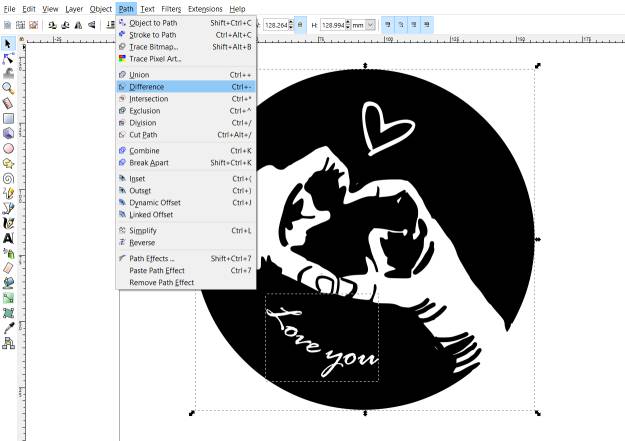
got a heart image and traced it too, then, changed the color and moved then selected all and from path > difference it made them 1 shape not 2 objects in different layers. now trying to right a text and fit to curve
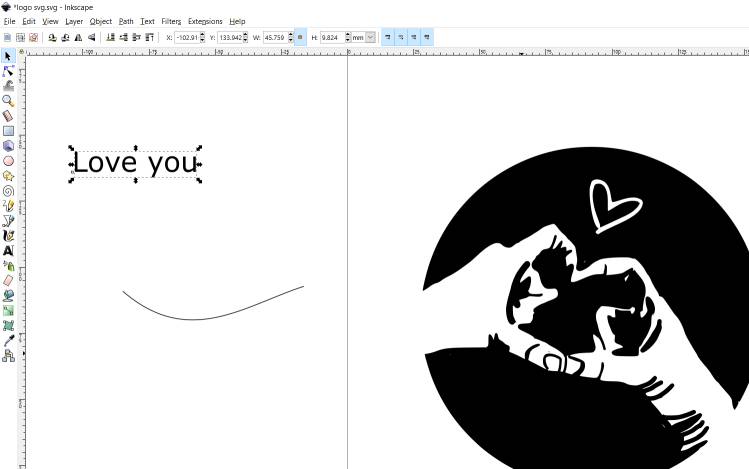
From text > put on path it worked! finally differnce again and it all set now. maybe on cutting week I will try it on the laser cutter.
From text > put on path it worked! finally differnce again and it all set now. maybe on cutting week I will try it on the laser cutter.
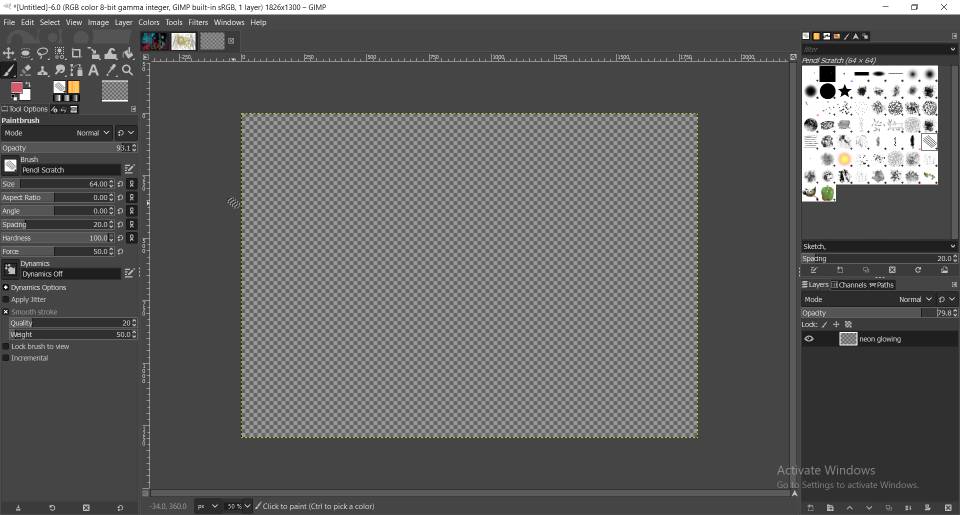
I liked how Gimp could play with photos like photoshop, before i started trying it i had no idea it could do all those things, so tried one more thing that looked cool to me which is the glowing effect. I used almost the same tools as above, surely it was easier this time.

here is the source picture
 Inkscape
I wanted to get to know Inkscape even more so tried another tutorial making a dount!It was all simple steps making a lot of circles :D but the interesting part was making a bite on the side.
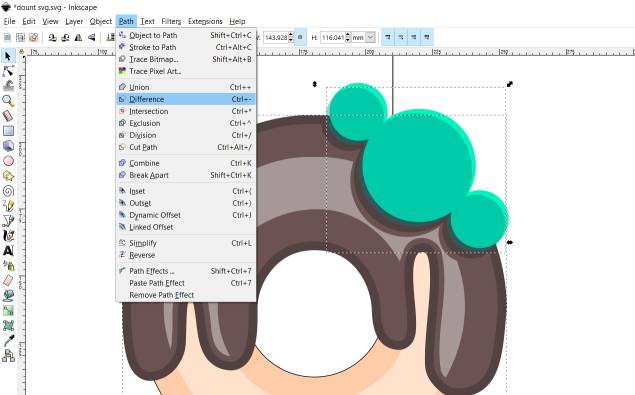
we made 3 circles in different sizes then mulitpled them 3 or 4 times and made a distance between them then moved them to intersect the layers of the dount then from path > difference it was done.
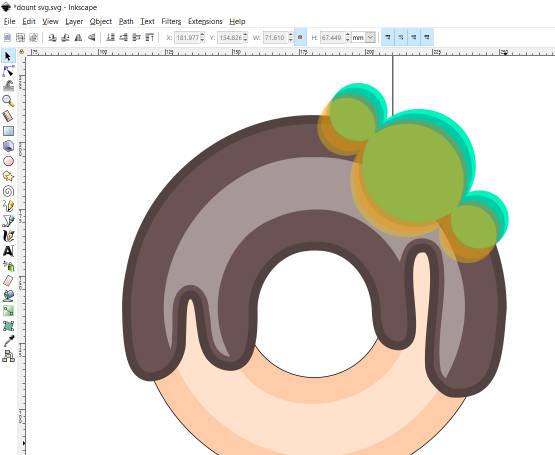
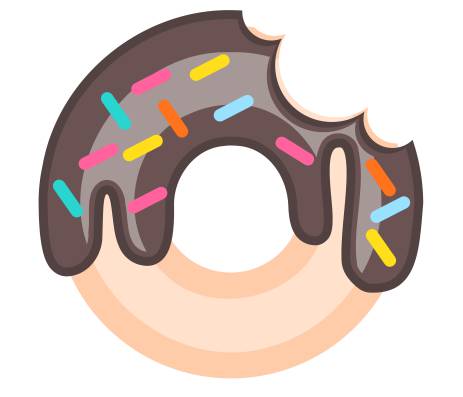
Finally adding many colored rectangles and making curves on their edges and our dount is now completed.
 And now comes the 3D modeling softwares!
Fusion 360
And now comes the 3D modeling softwares!
Fusion 360
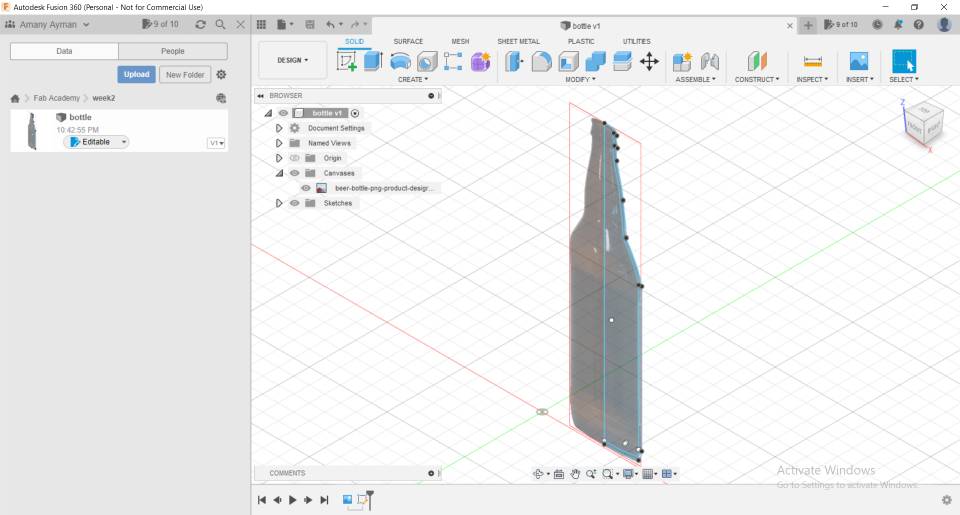
I am already familiar with fusion a bit but also followed a tutorial to refresh my memory. It was about making a bottle
we had a refrence photo so added it as canas then trace it by spline and then will now revolve
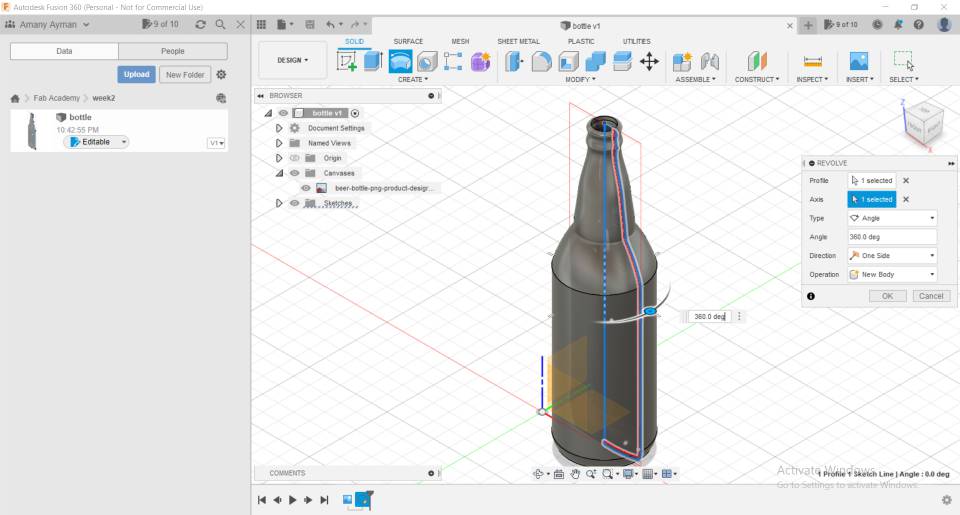
revolve feature works by selecting a closed area and then revolve it around an axis
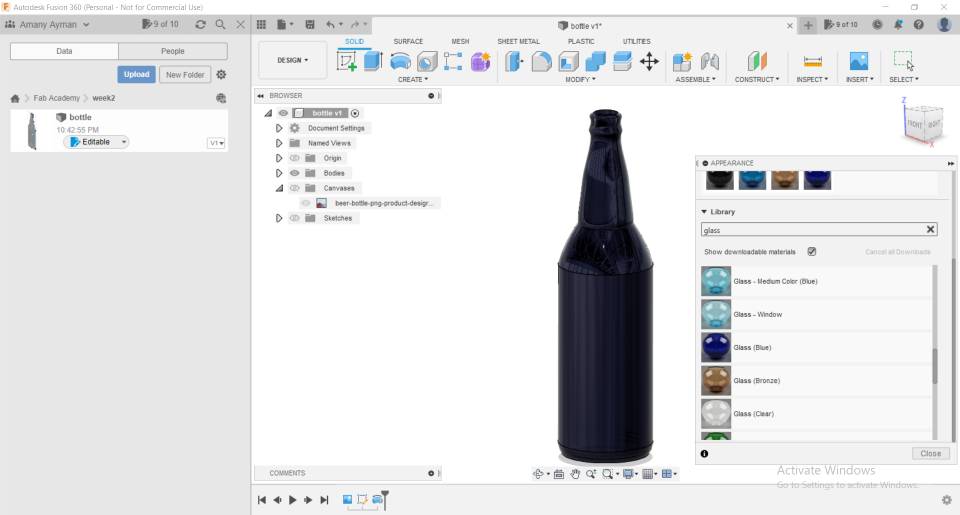
Now we are almst done, time to change its appearance
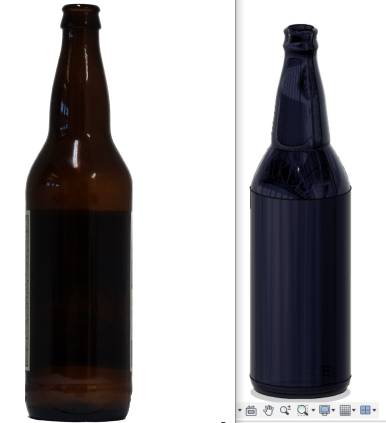
here is the 3d drawn bottle on the right and the source image on the left.
 FreeCAD
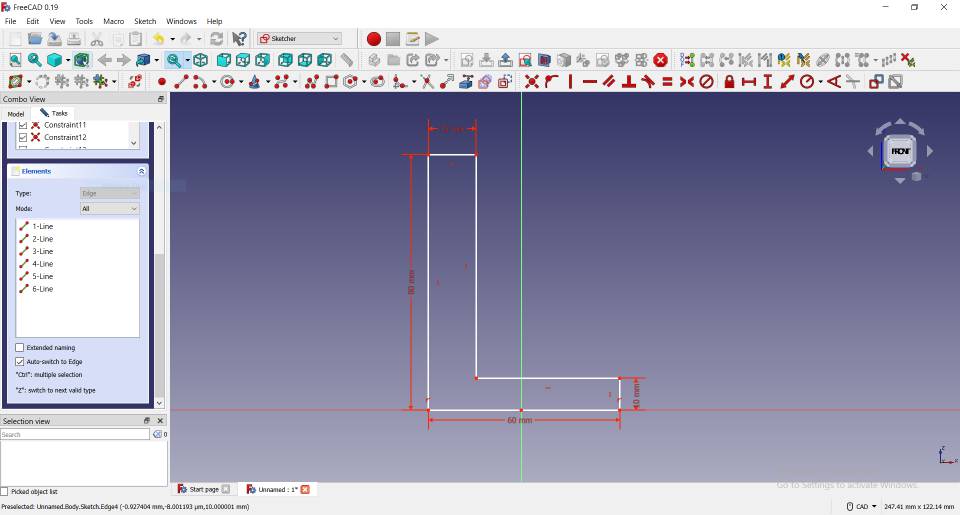
I wanted to try another software so downloaded freeCAD and tried a quick simple shape but took me an hour or two :D as I struggled at the beginning knowing where the tools are and how to make tool bar come back after i accidentally delete it xD It was a whole new environment for me but i am looking forward to using it more in the upcoming weeks. so started with an L shape sketch
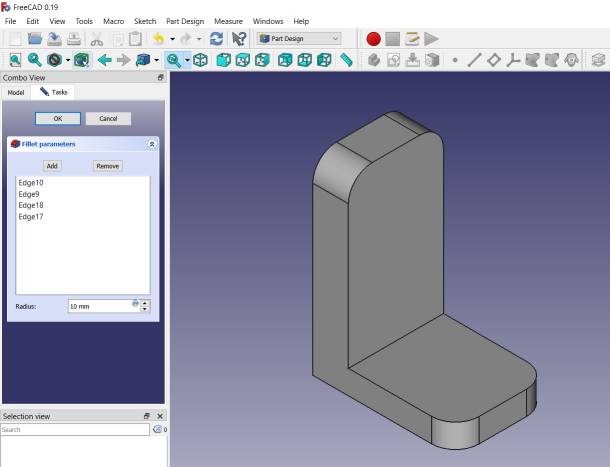
then was back to the 3d and then extruded the sketch and made a fillet on all the edges.
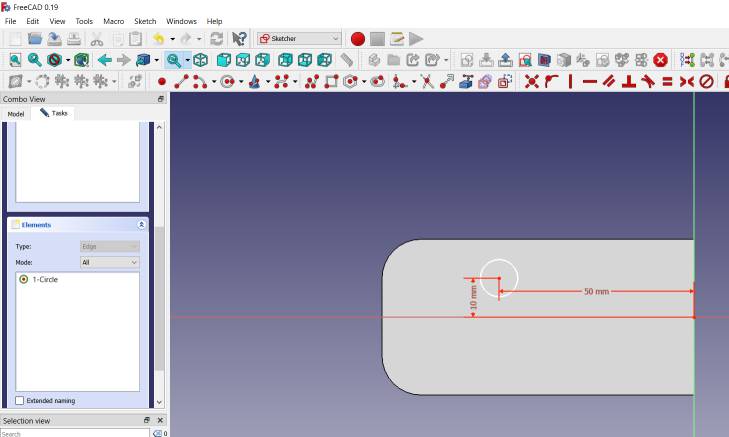
tried to sketch a circle on the back of the 3d model.
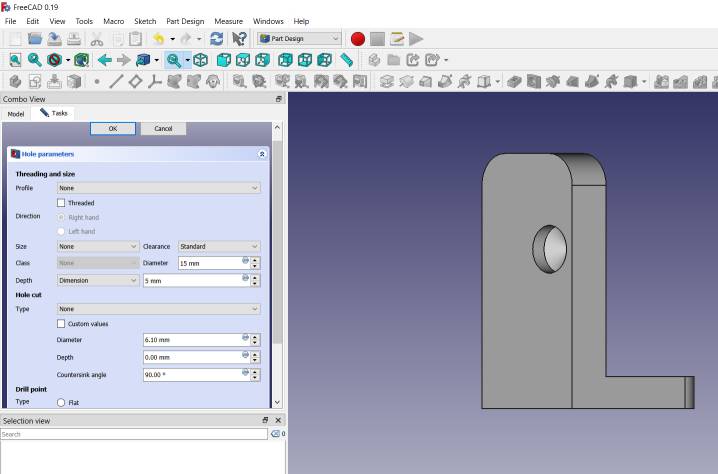
then tried controlling hole parameters
 And now comes the assignment!
I wanted to be inspired by ideas so kept searching on Pinterest then found a fun automata!
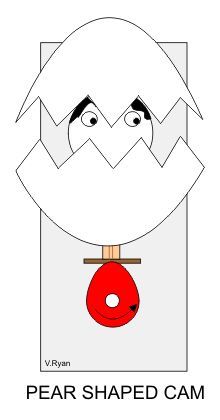
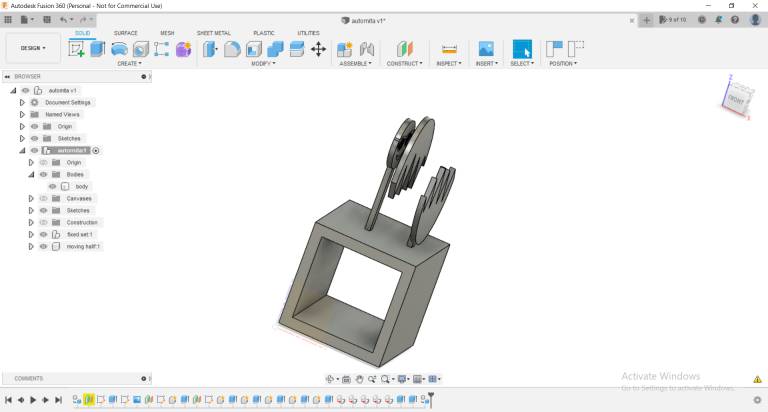
and here is what i made! ^_^
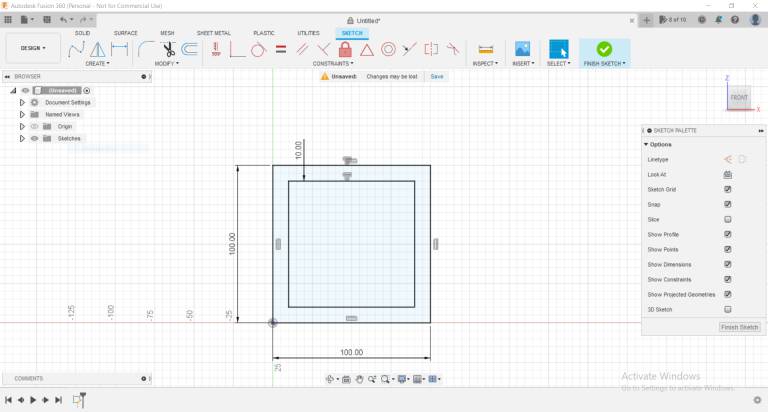
here is how I designed it. first i made a rectangle in a sketch and extruded it to make the base.
then started sketching an egg on an offest plane i made.
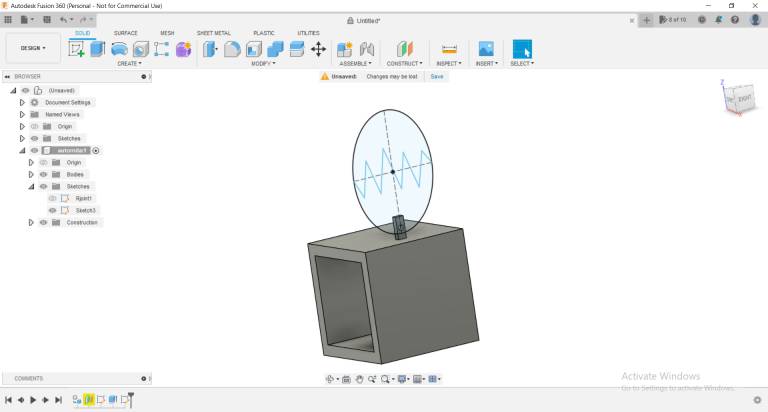
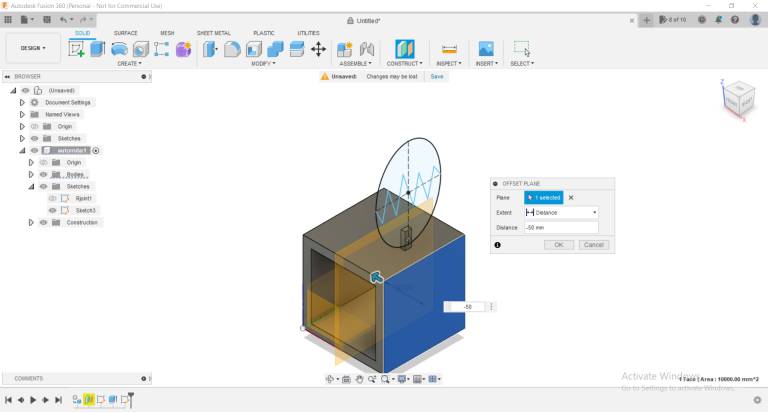
creating offest plane to draw the main moving shape as the whole egg was on the same sketch on a single plane.
after, copied and pasted the egg shape by copy from point to point - center point
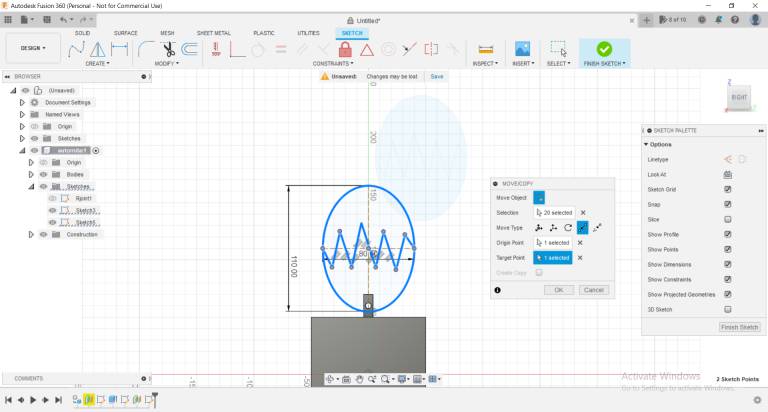
projected the egg from 1 plane to another, and now they are ready.
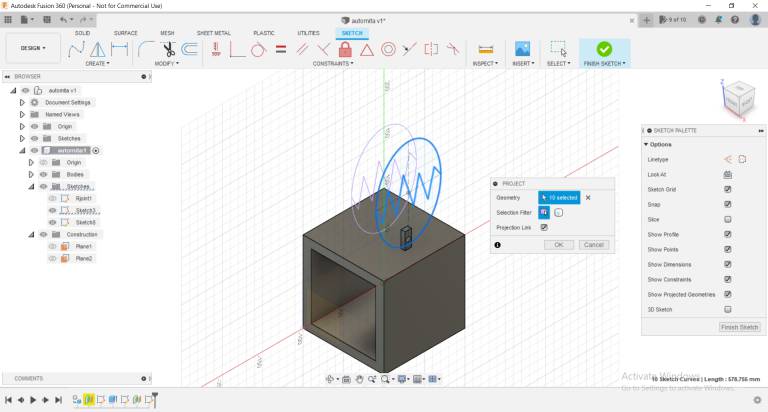
next thing was the face, I wanted to make an emoji. so i added canvas to sketch from insert> canvas
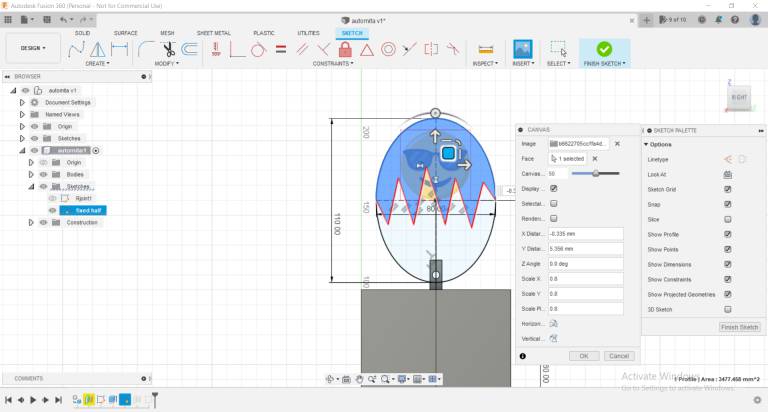
after sketching the face it looked like this, if you payed real attention and zoomed in, you will see the light blue drawn lines.
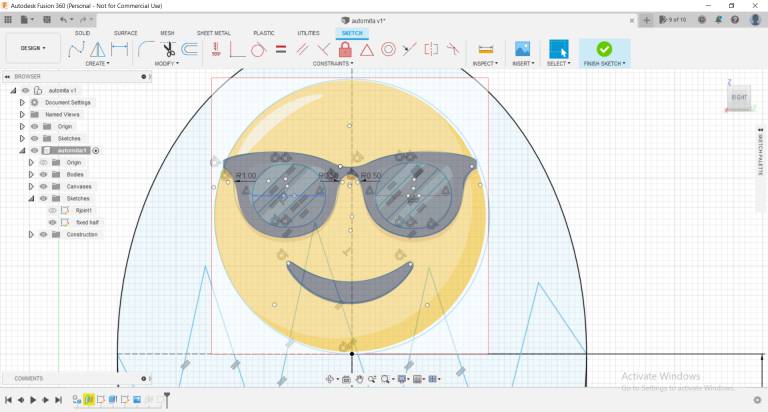
Then, extruded all parts
Then, drawing the mechnical parts like rods and cams, next is assembly
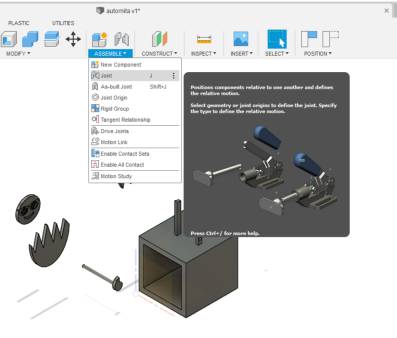
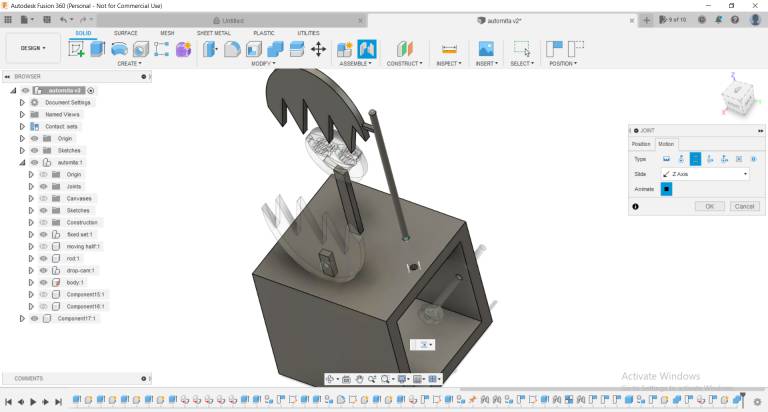
to be able to make the mechanism move I had to use assembly feature, used rigid, revolut and sliding joints.
Then changing their appearance

After that, from assembly > motion study I created that video animating the whole automata mechanism.
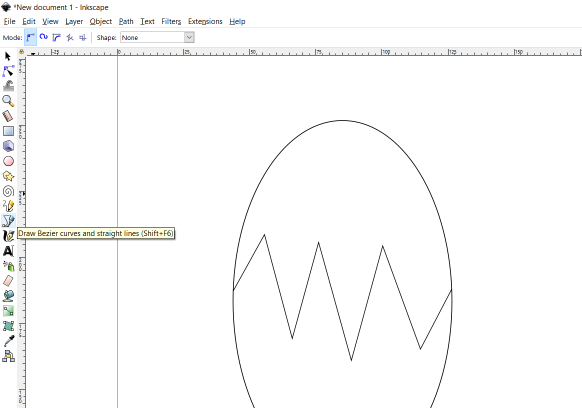
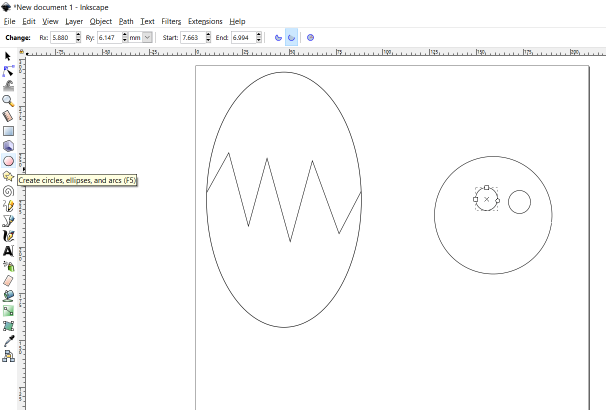
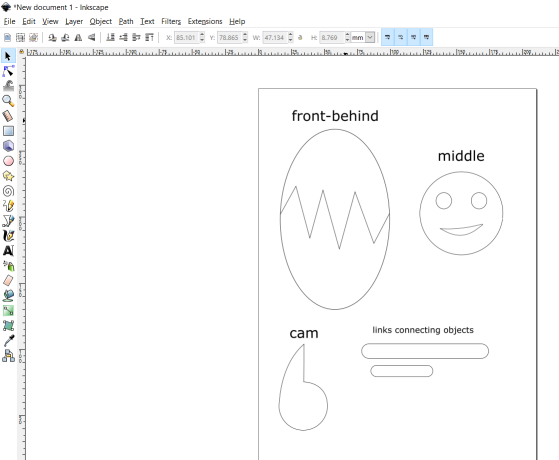
That was for the 3D modeling, I drafted and designed its 2D objects on Inkscape too, Let me show you how. started with sketching the egg

Then, with draw tool made the cracks using a series of simple straight lines
with circle drawing tool started making the face
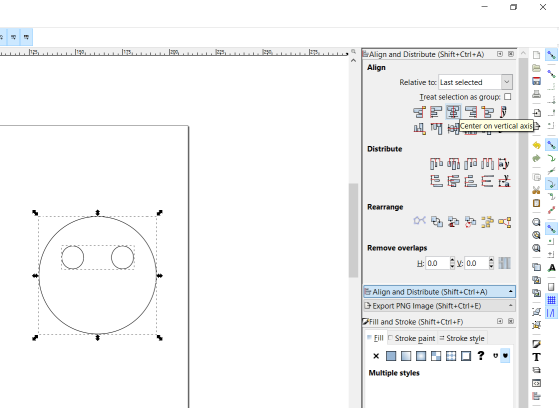
with the alignment tool started aligning the eyes
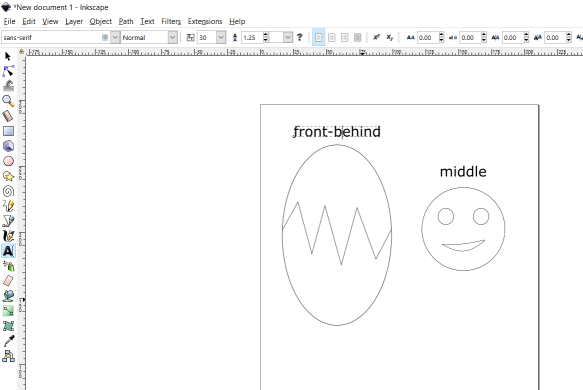
with text tool started adding typing places where i will put the objects
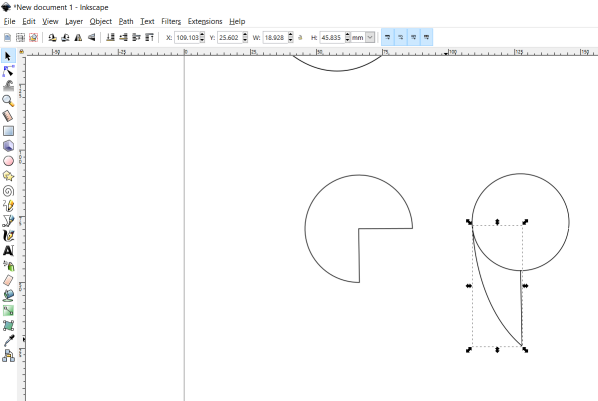
then starated to draw the moving parts from the mechanism - i liked the feature where i controled whether it will be a whole circle or not just from moving the end point
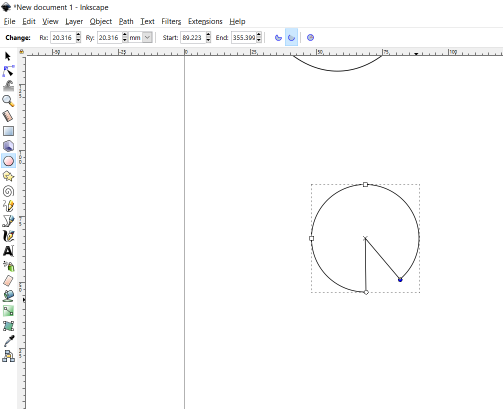
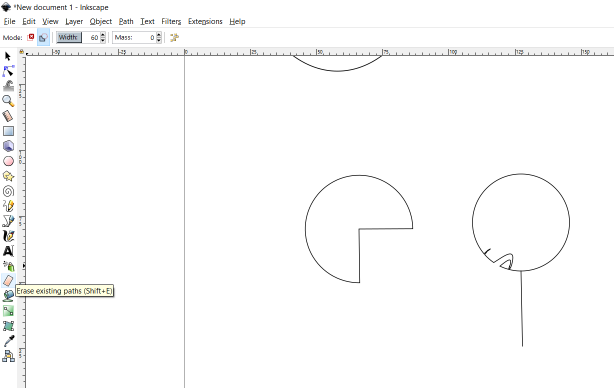
after re-think the design i though of making a hole circle and adding an arc
couldn't use erase to trim the line in between as it missed it up
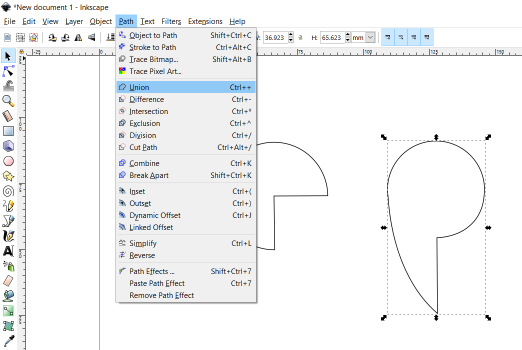
from path > union was the correct tool
then, from rectangle tool made the links
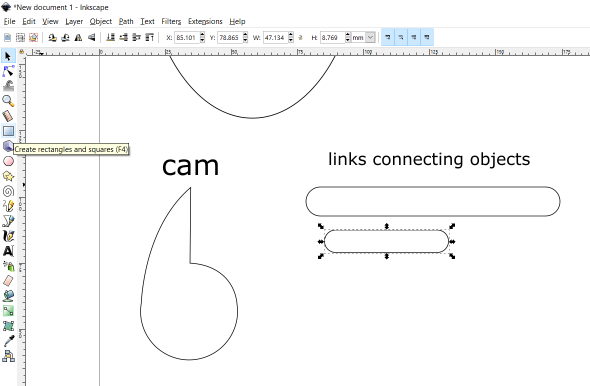
AAnndd, those were all the parts needed for my automata design!
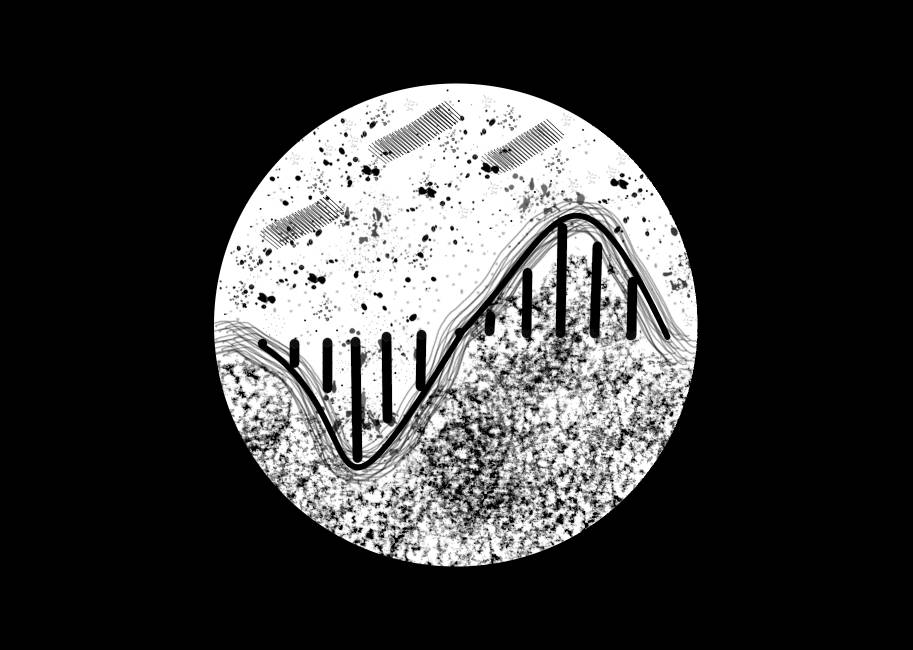
As for the Raster designing, it was tricky for me as I am a bit of a perfectionist and a big fan of Art so I couldn't make a logo from scratch easily. I can't call it a logo either but I like what it came to be.
1. To be able to draw something from scratch i needed to try all the brushes available first :D and so i did.
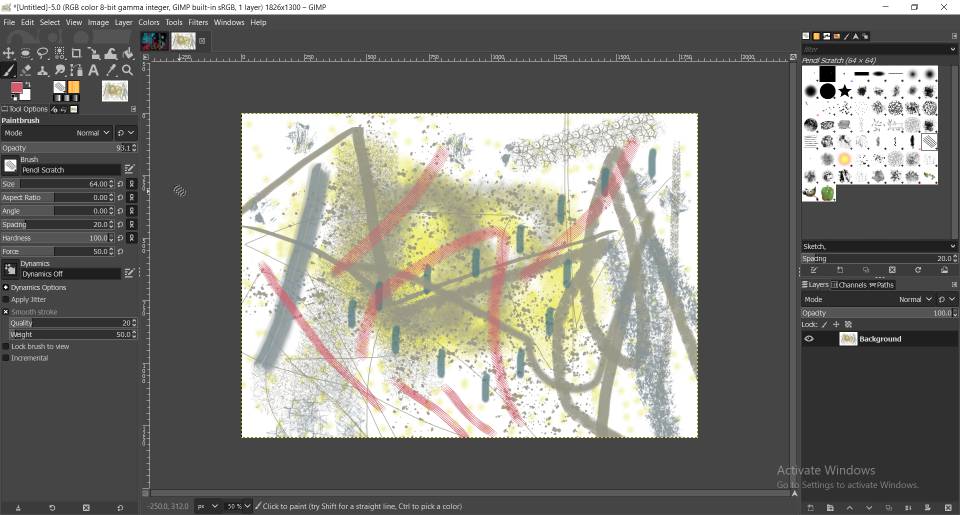
2. started a new design and added a transparent layer
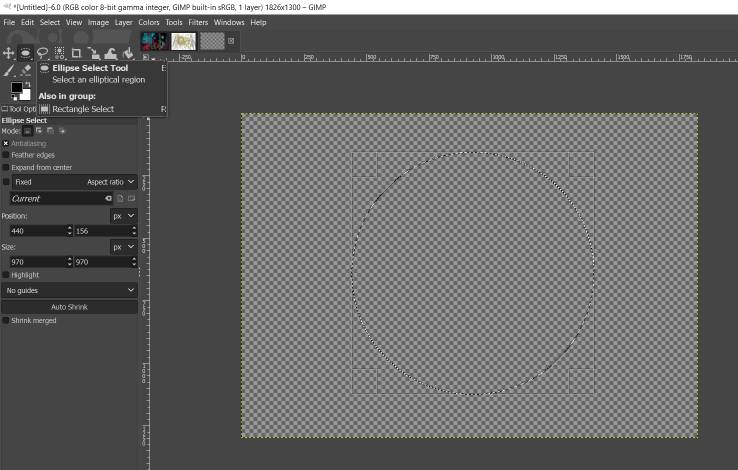
3. i wanted the logo to be circular so with elipse select i made a circle clicking shift with the mouse to make a circle
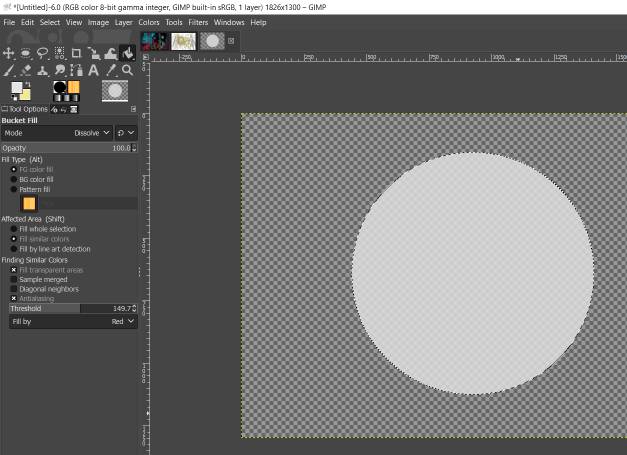
4. with fill made it white
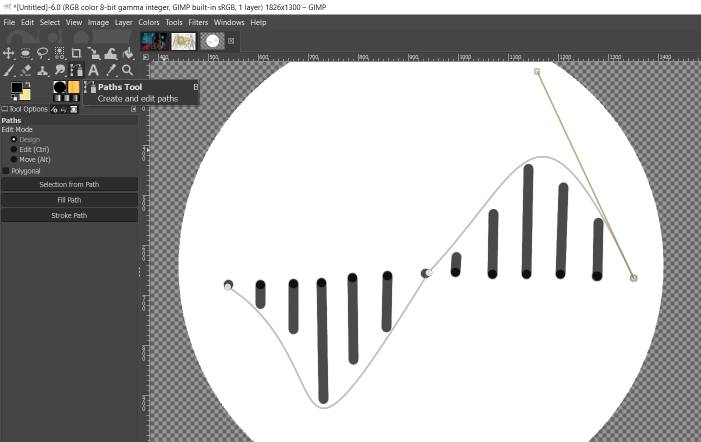
5. started making straight line with a brush clicking shift with the mouse

6. with the path tool made 3 points then controled splines to make curves
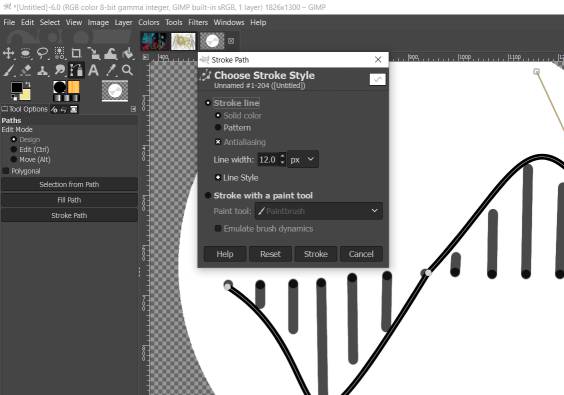
7. then with stroke path made a thickness
8. with select by color tool made all the straight lines black
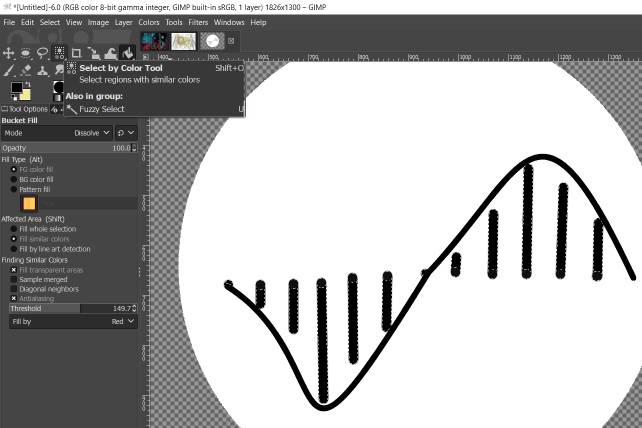
9. after i tried many types of brushes i selected the circle to export it alone
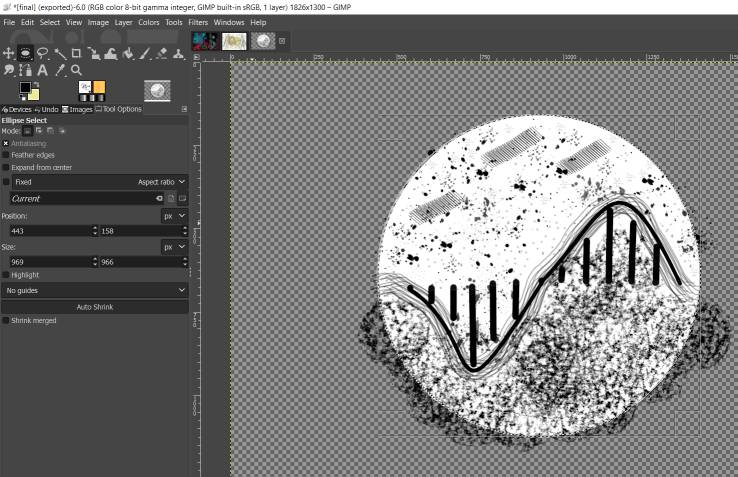
10. saved as jpeg and forgot about the backgroung color, so once i changed it into PNG the logo was ready with a transparent backgroung.
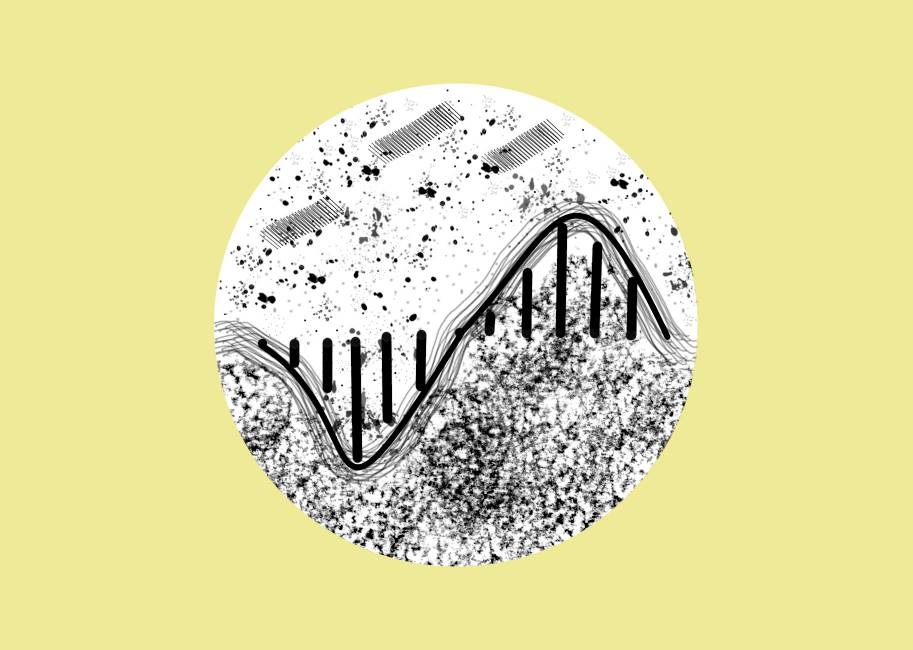
looking at it now, I think it's a mix of different designs i wanted to make, a roller-coaster, a sound wave and of course adding brushes that i liked most. I like it.
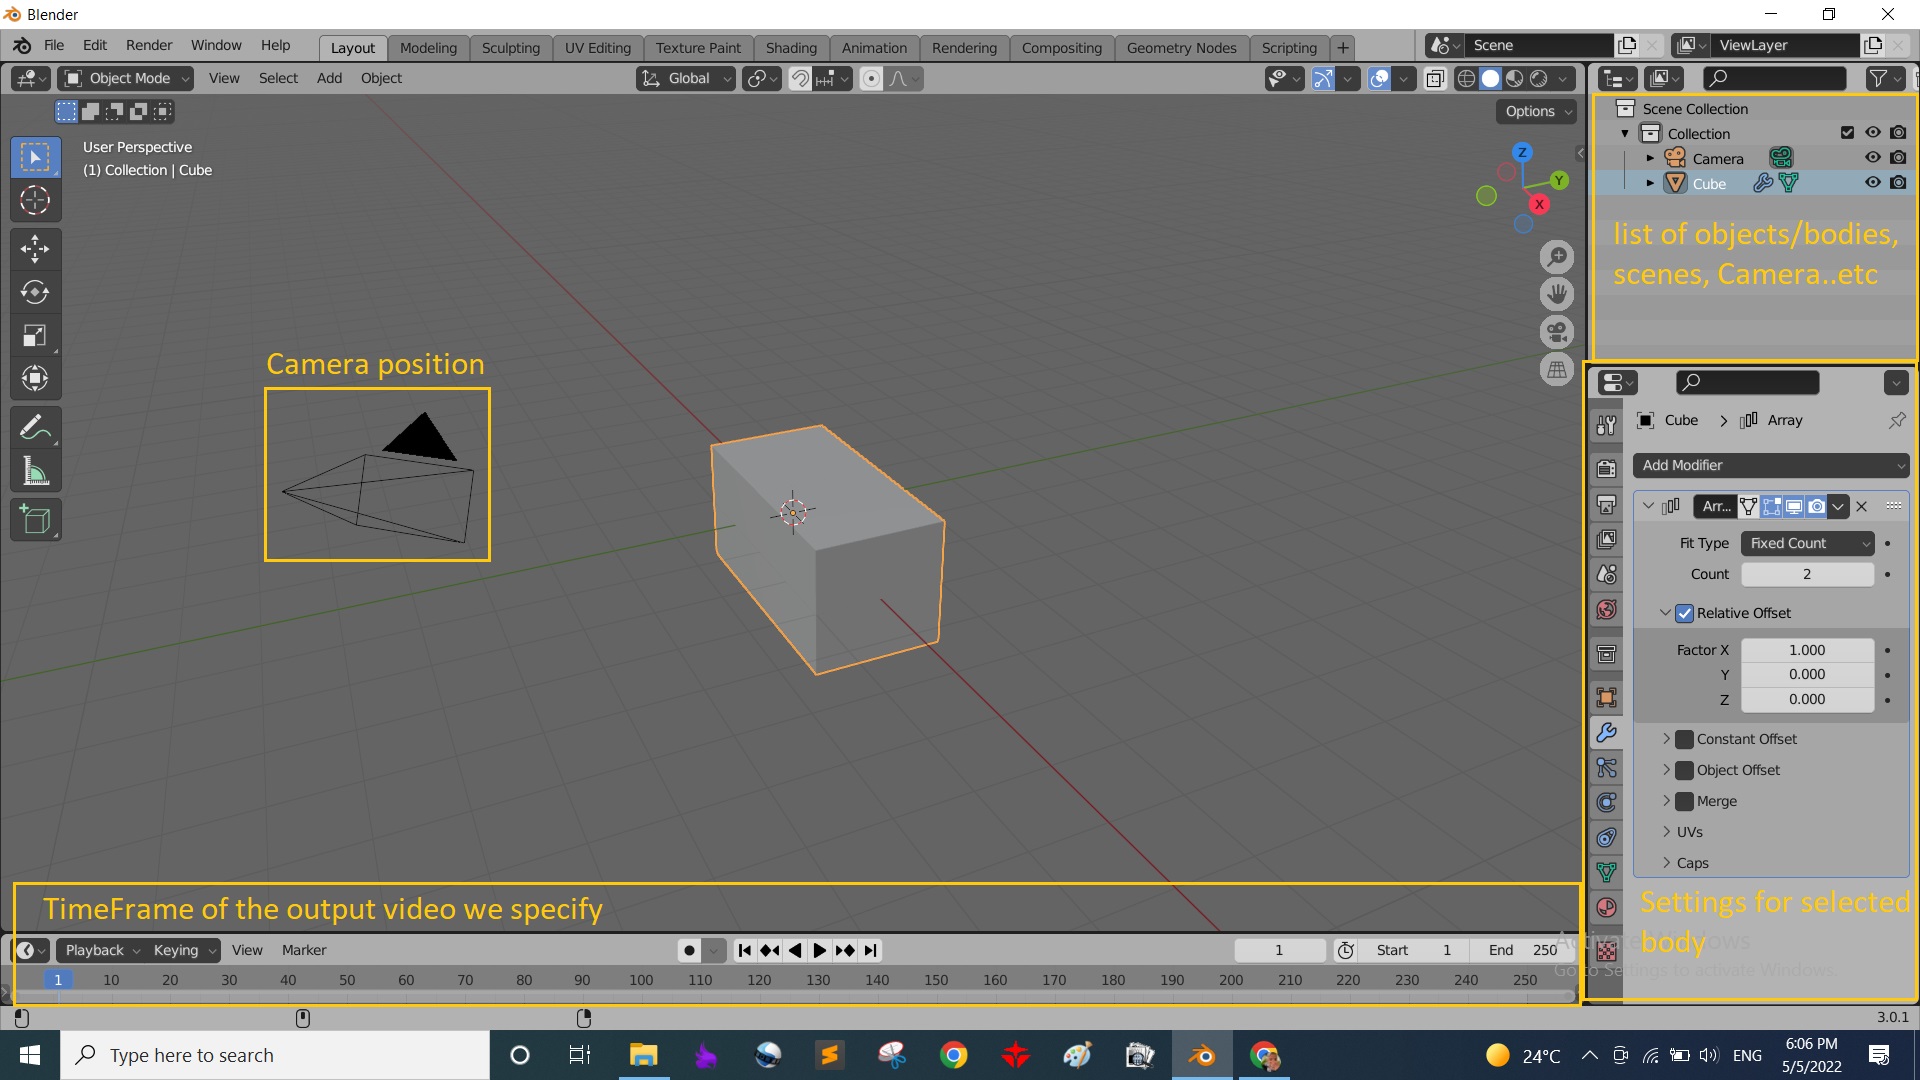
Simulation adn Rendering using BlenderThe assignment was to design models using (raster, vector, 2D, 3D, render, animate, simulate..) In all above I did raster,vector, 3D, 2D and animated my 3D model on Fusion. What's left was to simulate and render a model. So I used blender for that task. I followed a tutorial for beginners that helped me walking through blender and its physics environment. after all it was simply a model for a ball hitting a tower filled with cubes. Let's see how I made it.
first of all the GUI of the program was a bit different and full of details so the video broke it down a bit. A side from the program tools there were also a place of the bodies and camera and scene, also another place with the settings for each body 'physical settings too', and a time frame bar down to control time of an action happening.
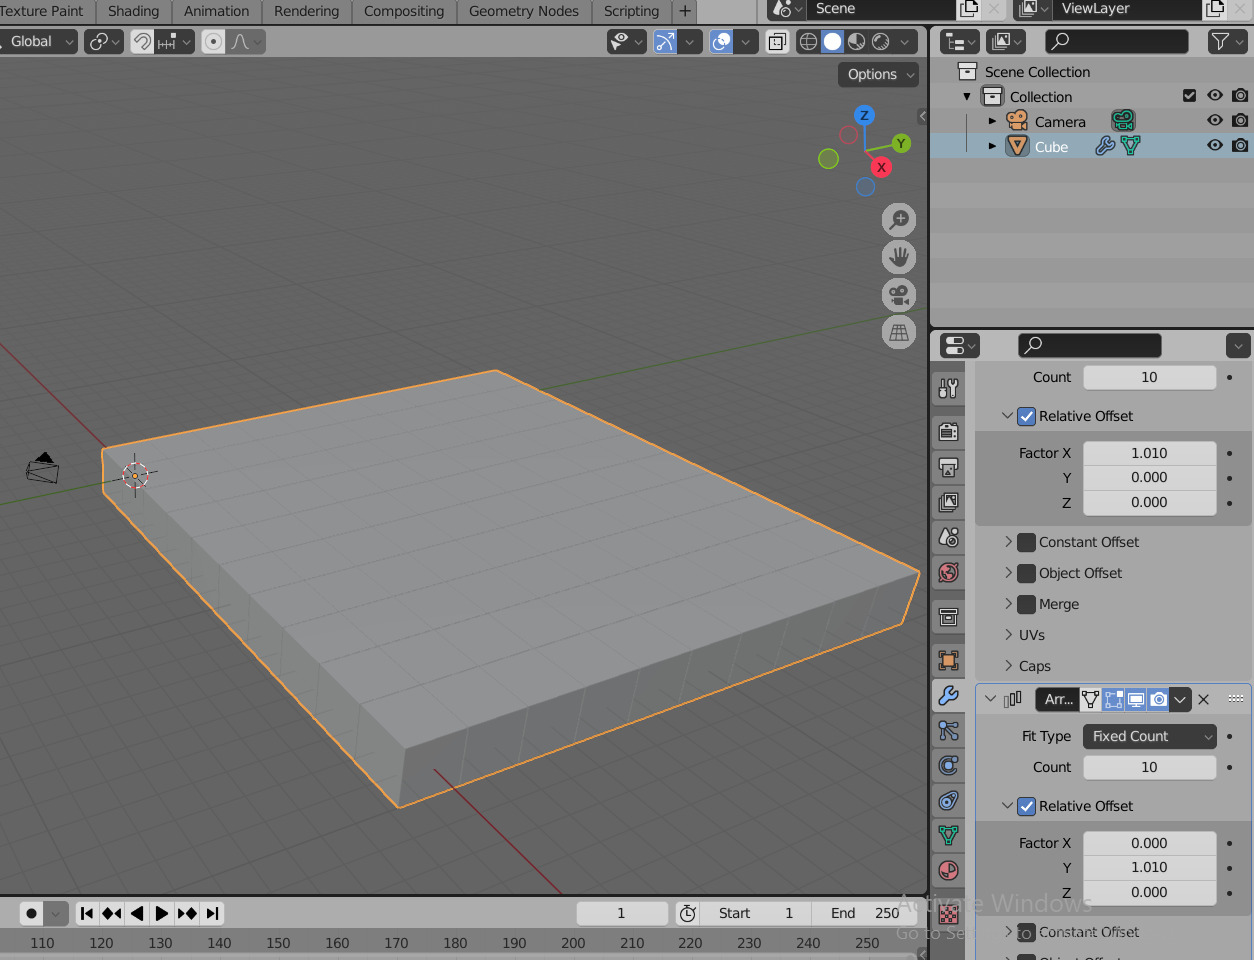
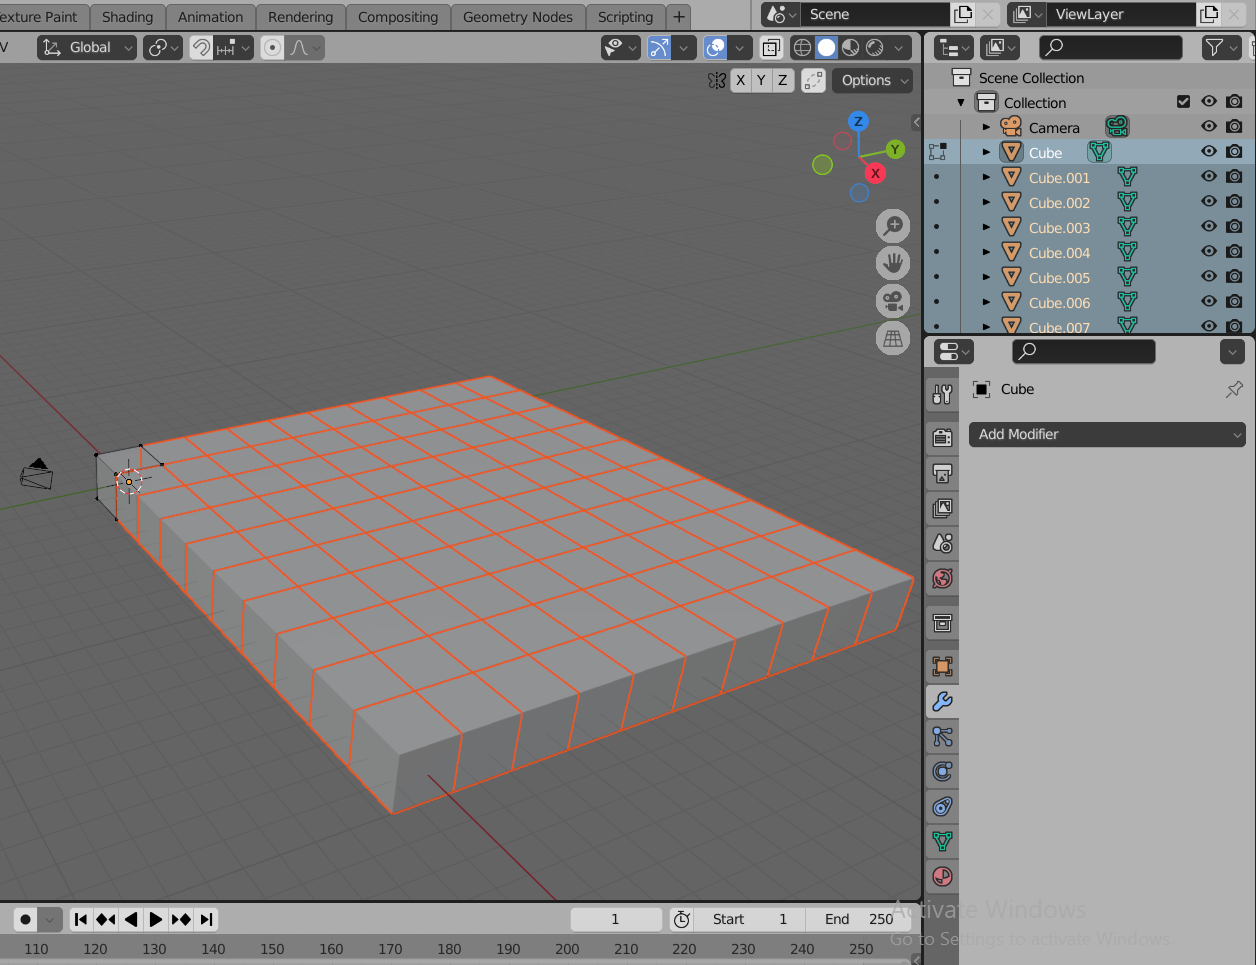
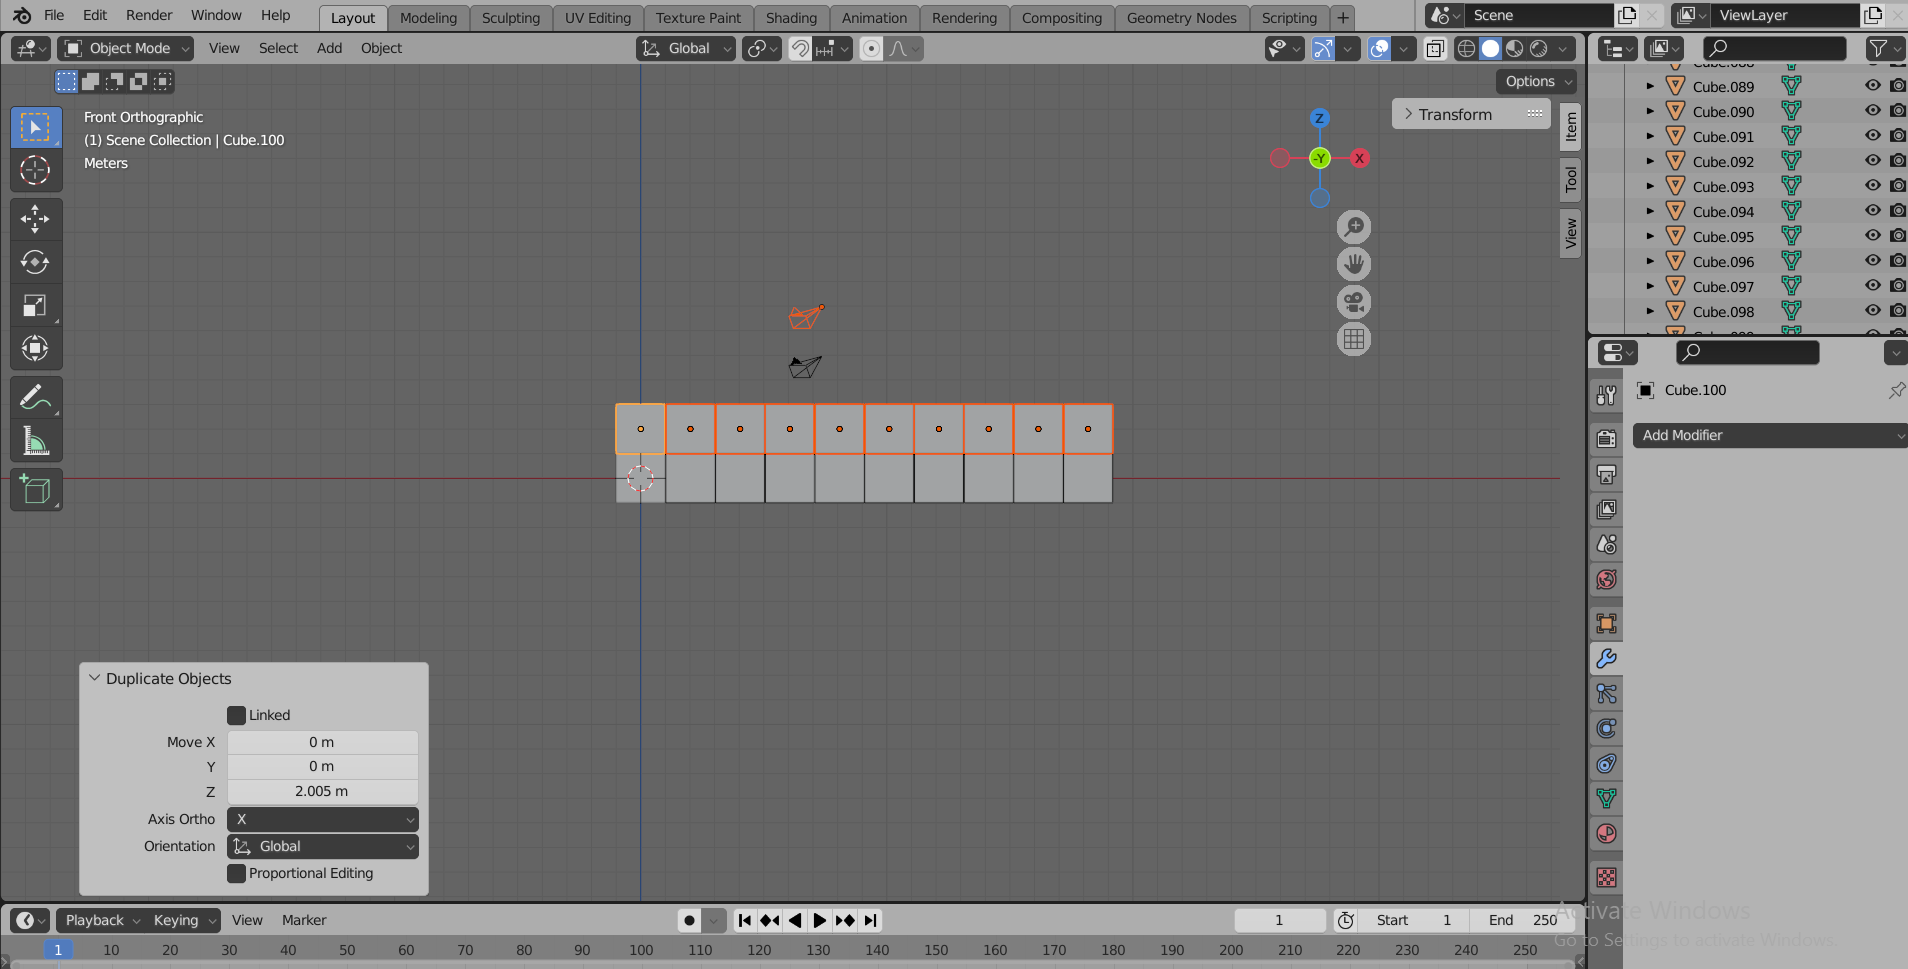
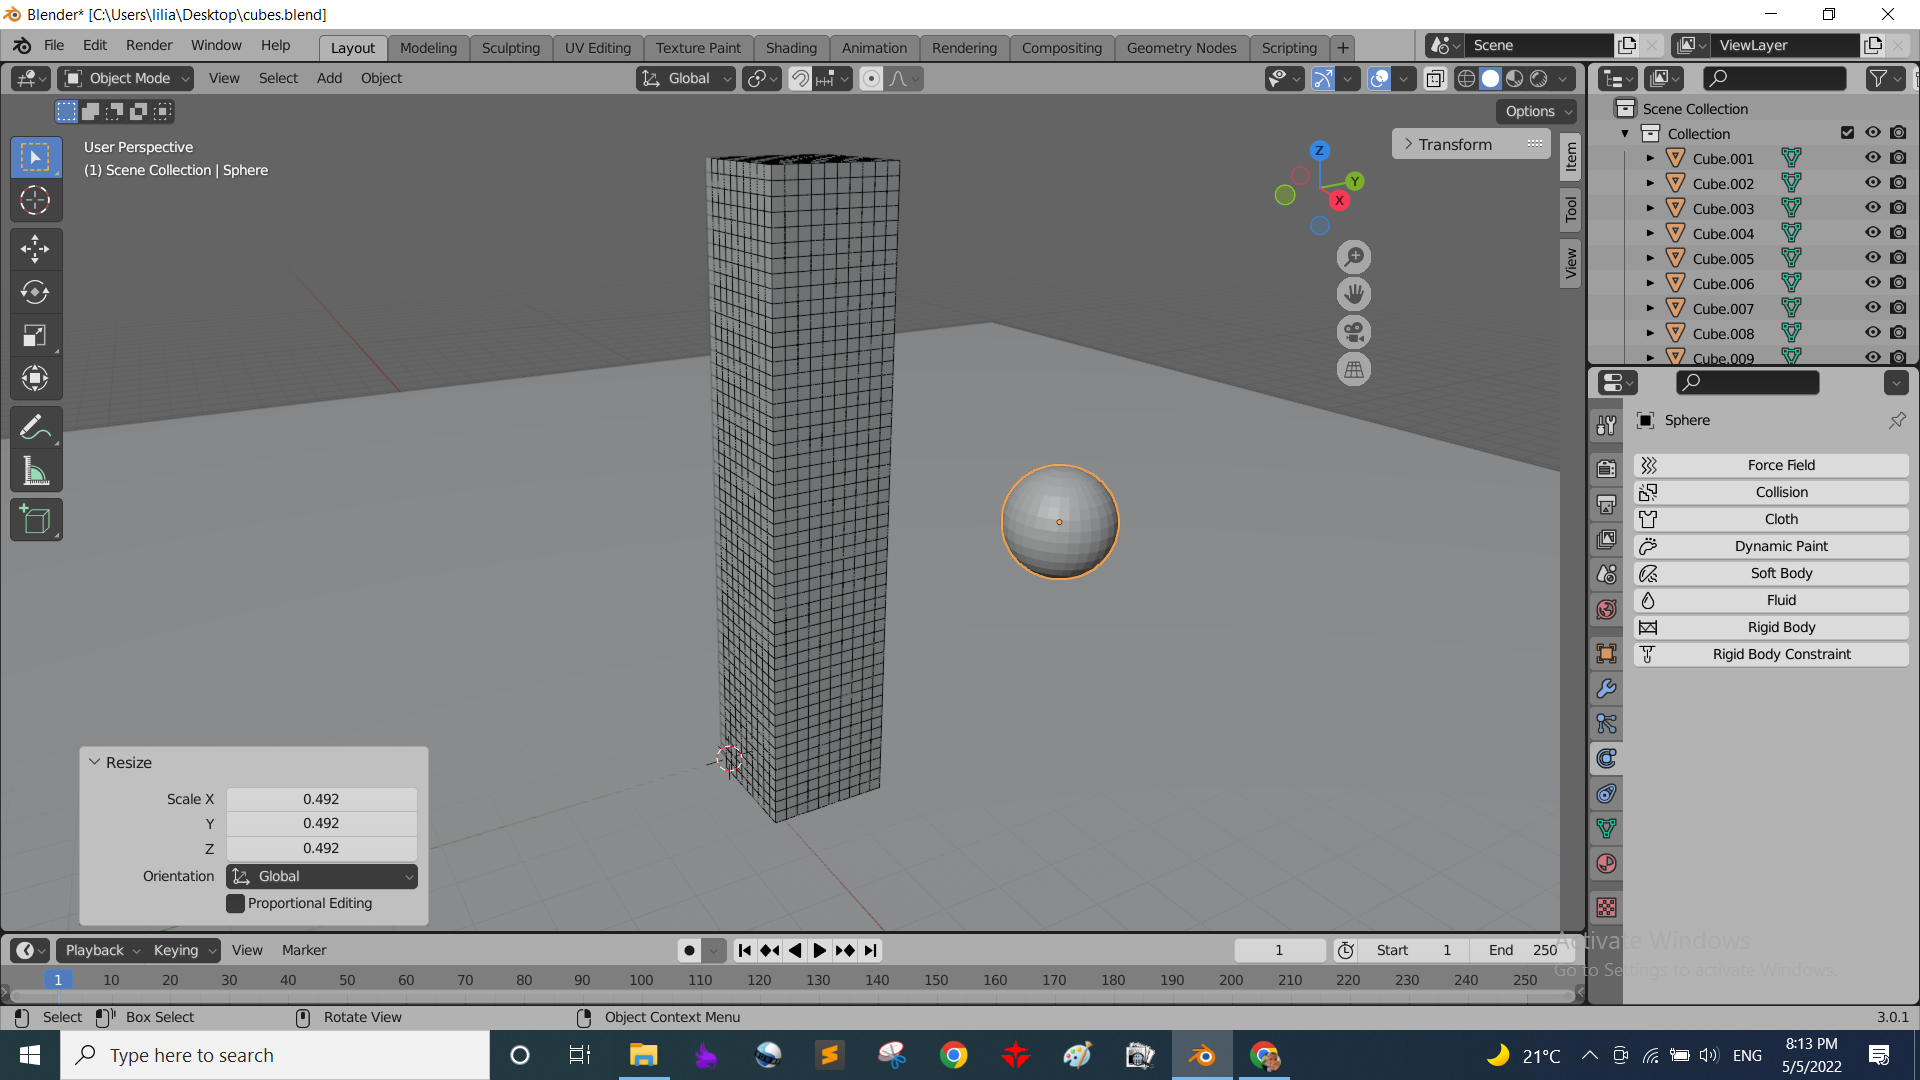
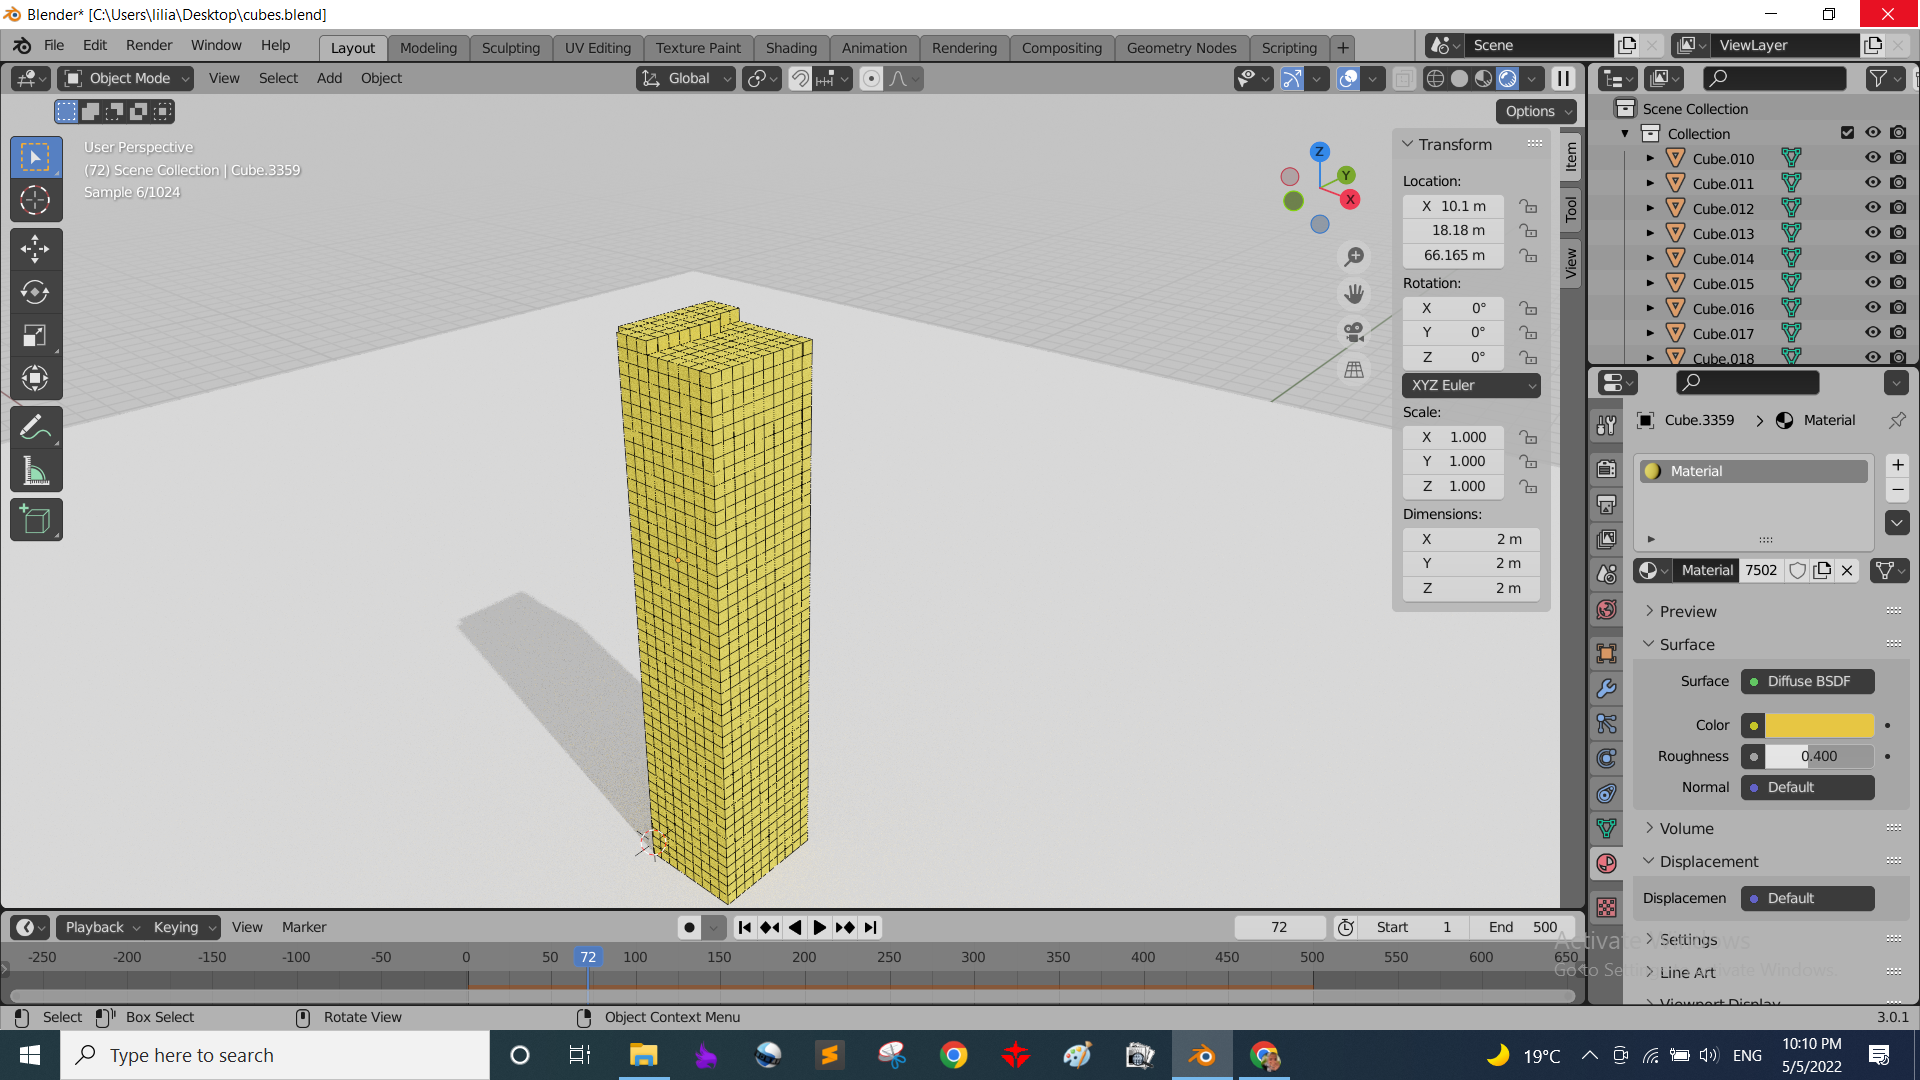
First thing was starting to build the cubes tower, built the base then divided it into many cubes, then duplicated those cubes and elivated them in Z-axis to make new row after another and the tower was made!
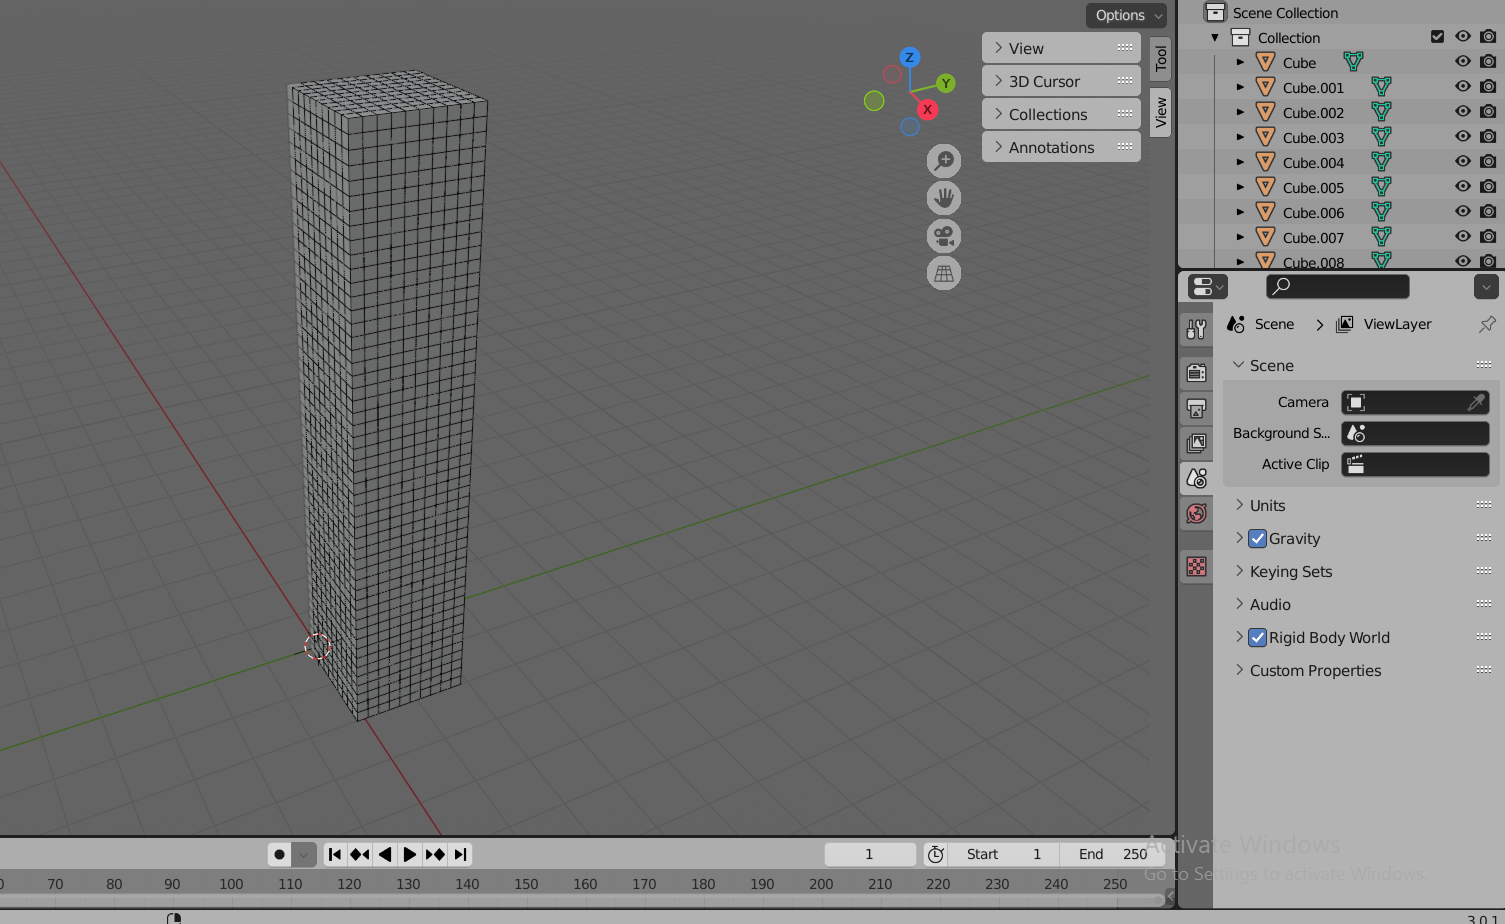
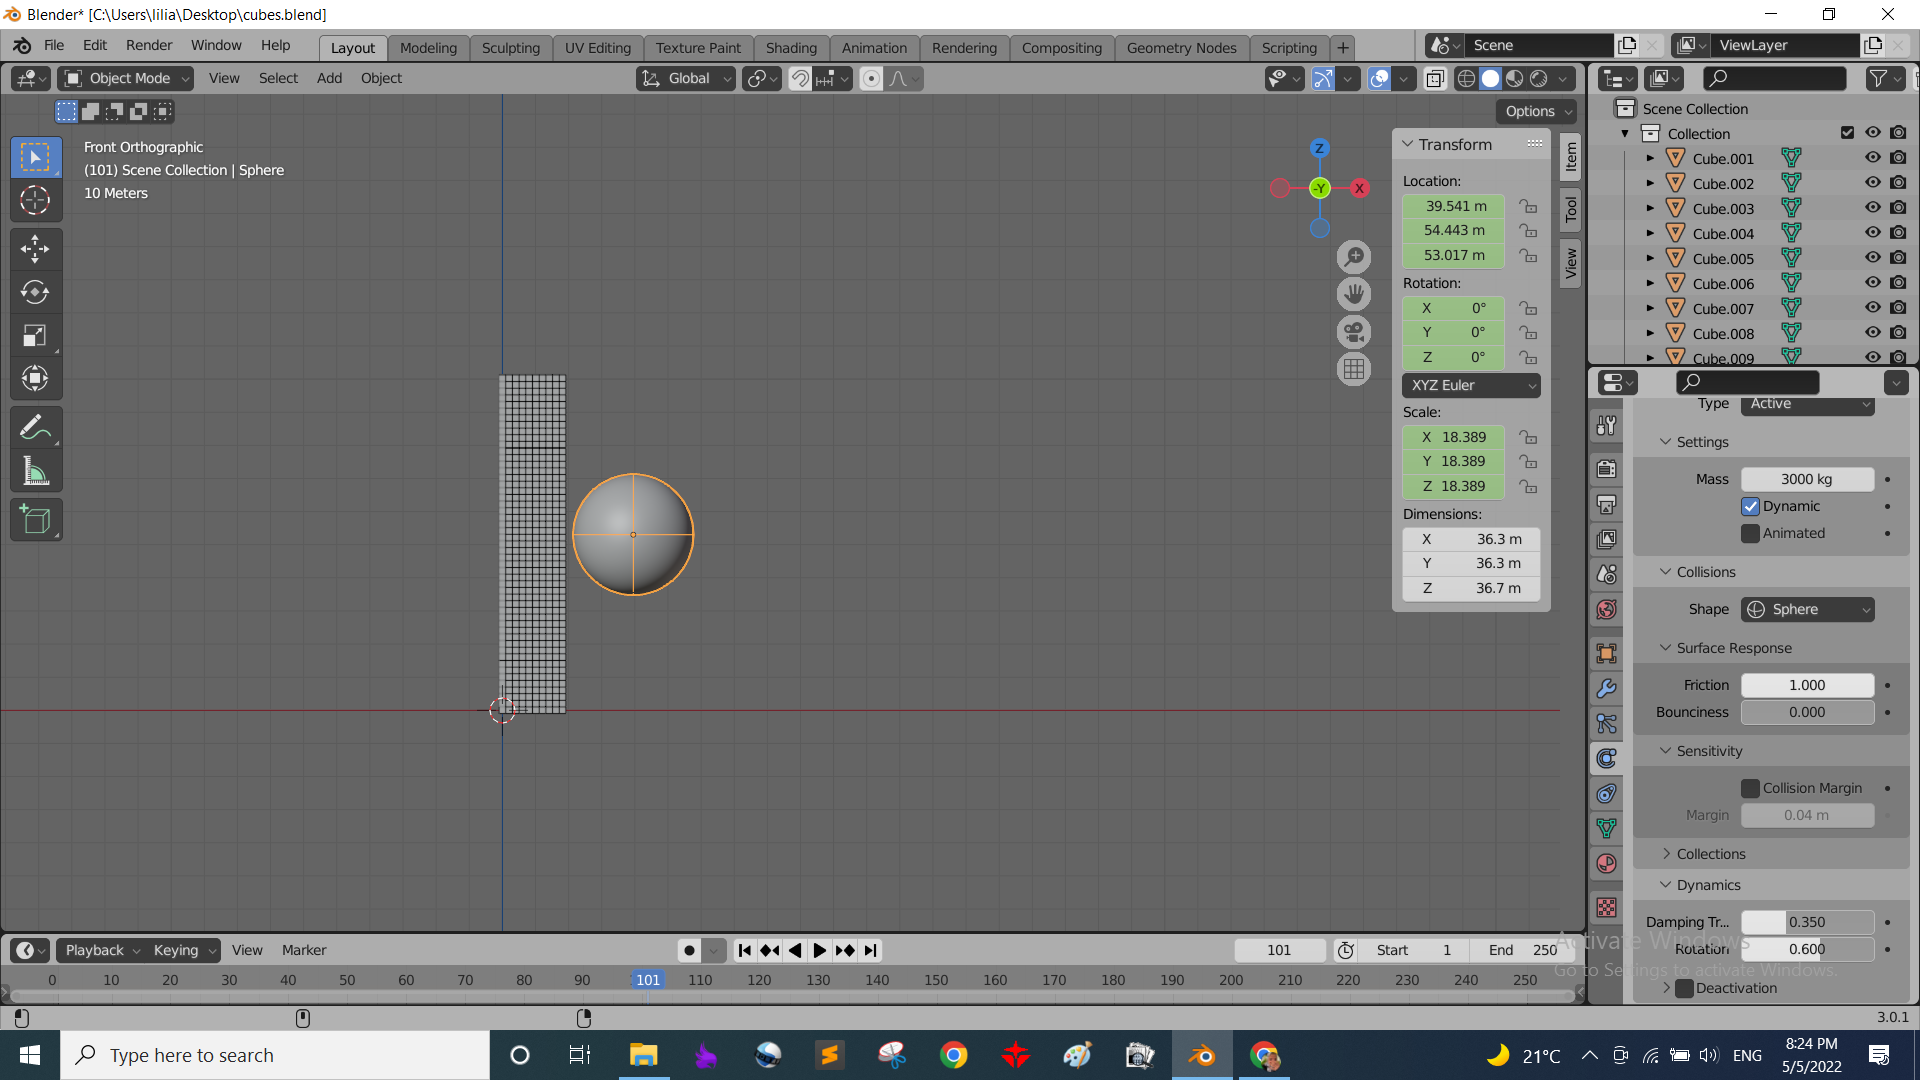
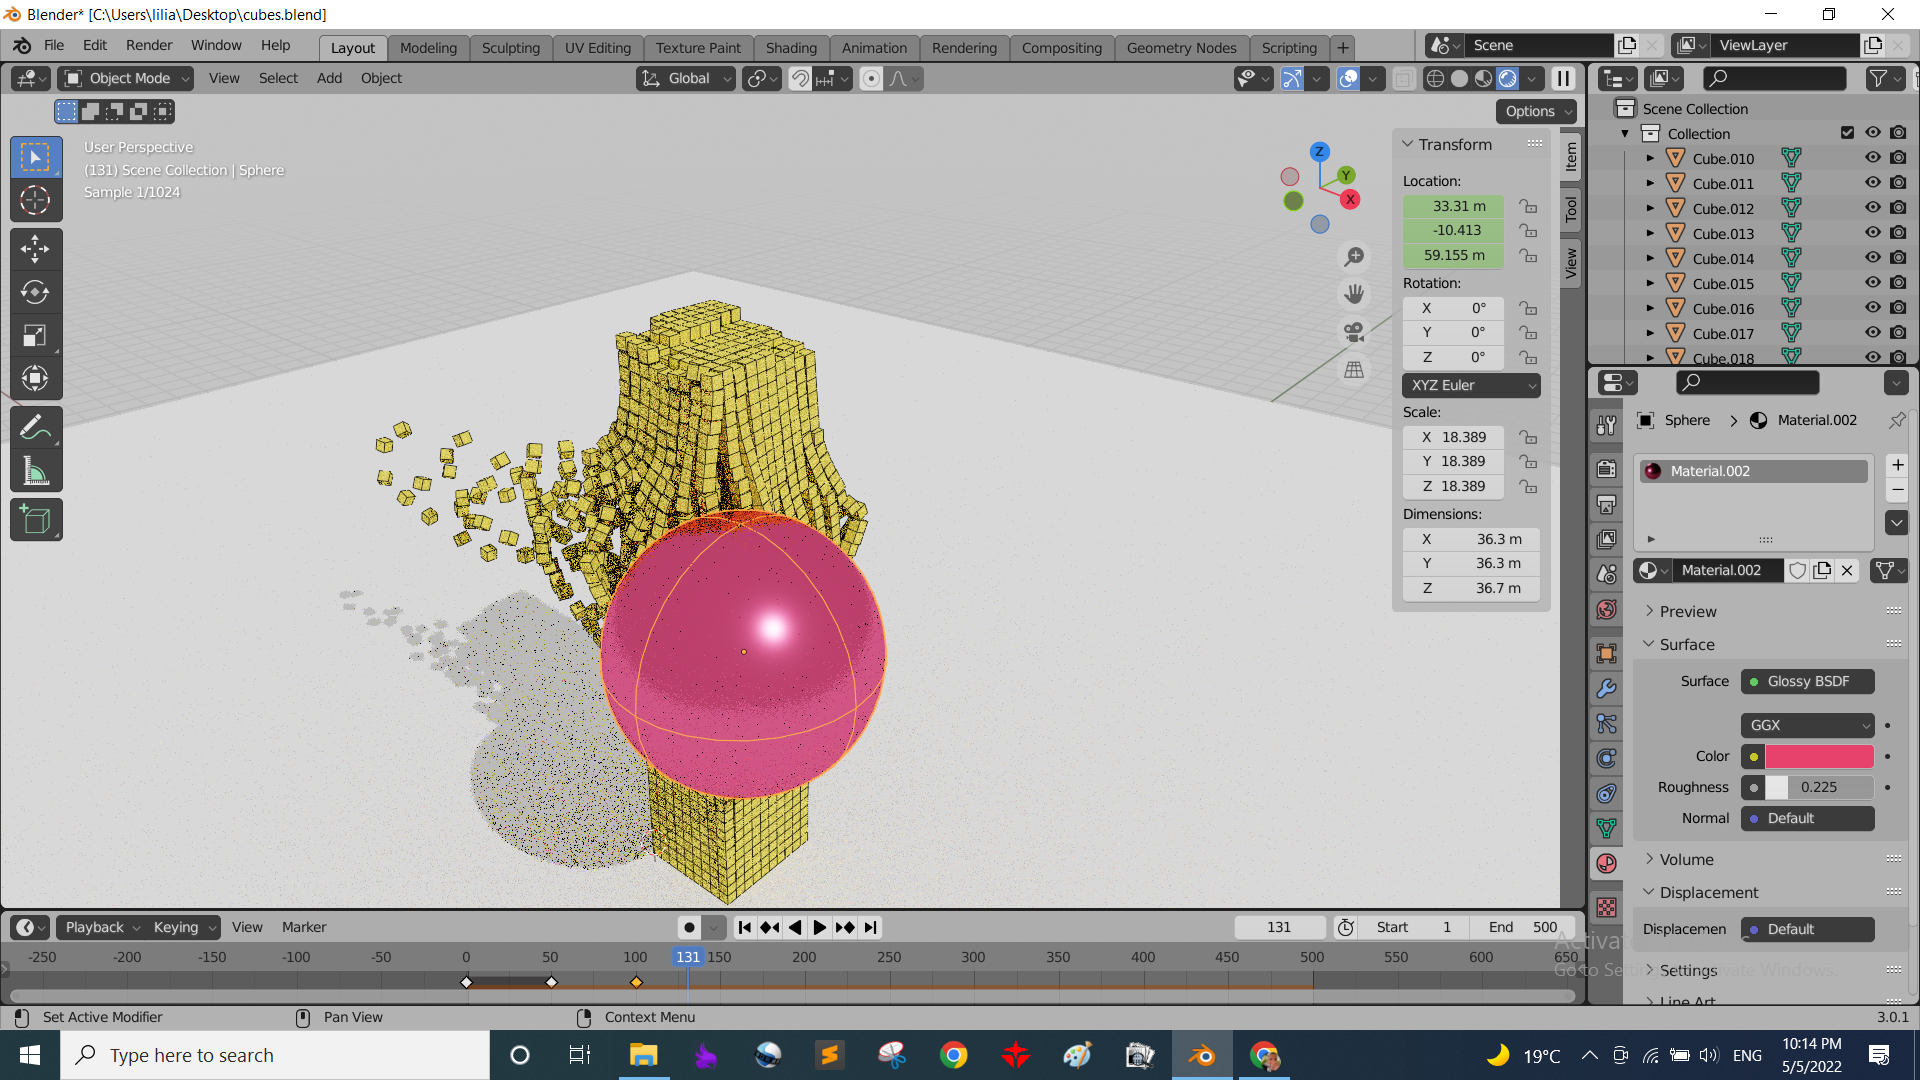
Then added a sphere. then scaled it a bit.after that I started placing the ball in different places at different time frames, so in the earliest time frames the ball is far from the tower and in the frame 101 I placed it near the tower, after that the physics of the program will simulate the movements of the cubes after being hit by the ball. Of course I needed to edit the weight of the cubes and the ball to be 3000Kg as the tower was huge :D maybe 500 cubes and each was around 1Kg. Then just by sliding through the timeline I could see the simulation, yaaay.
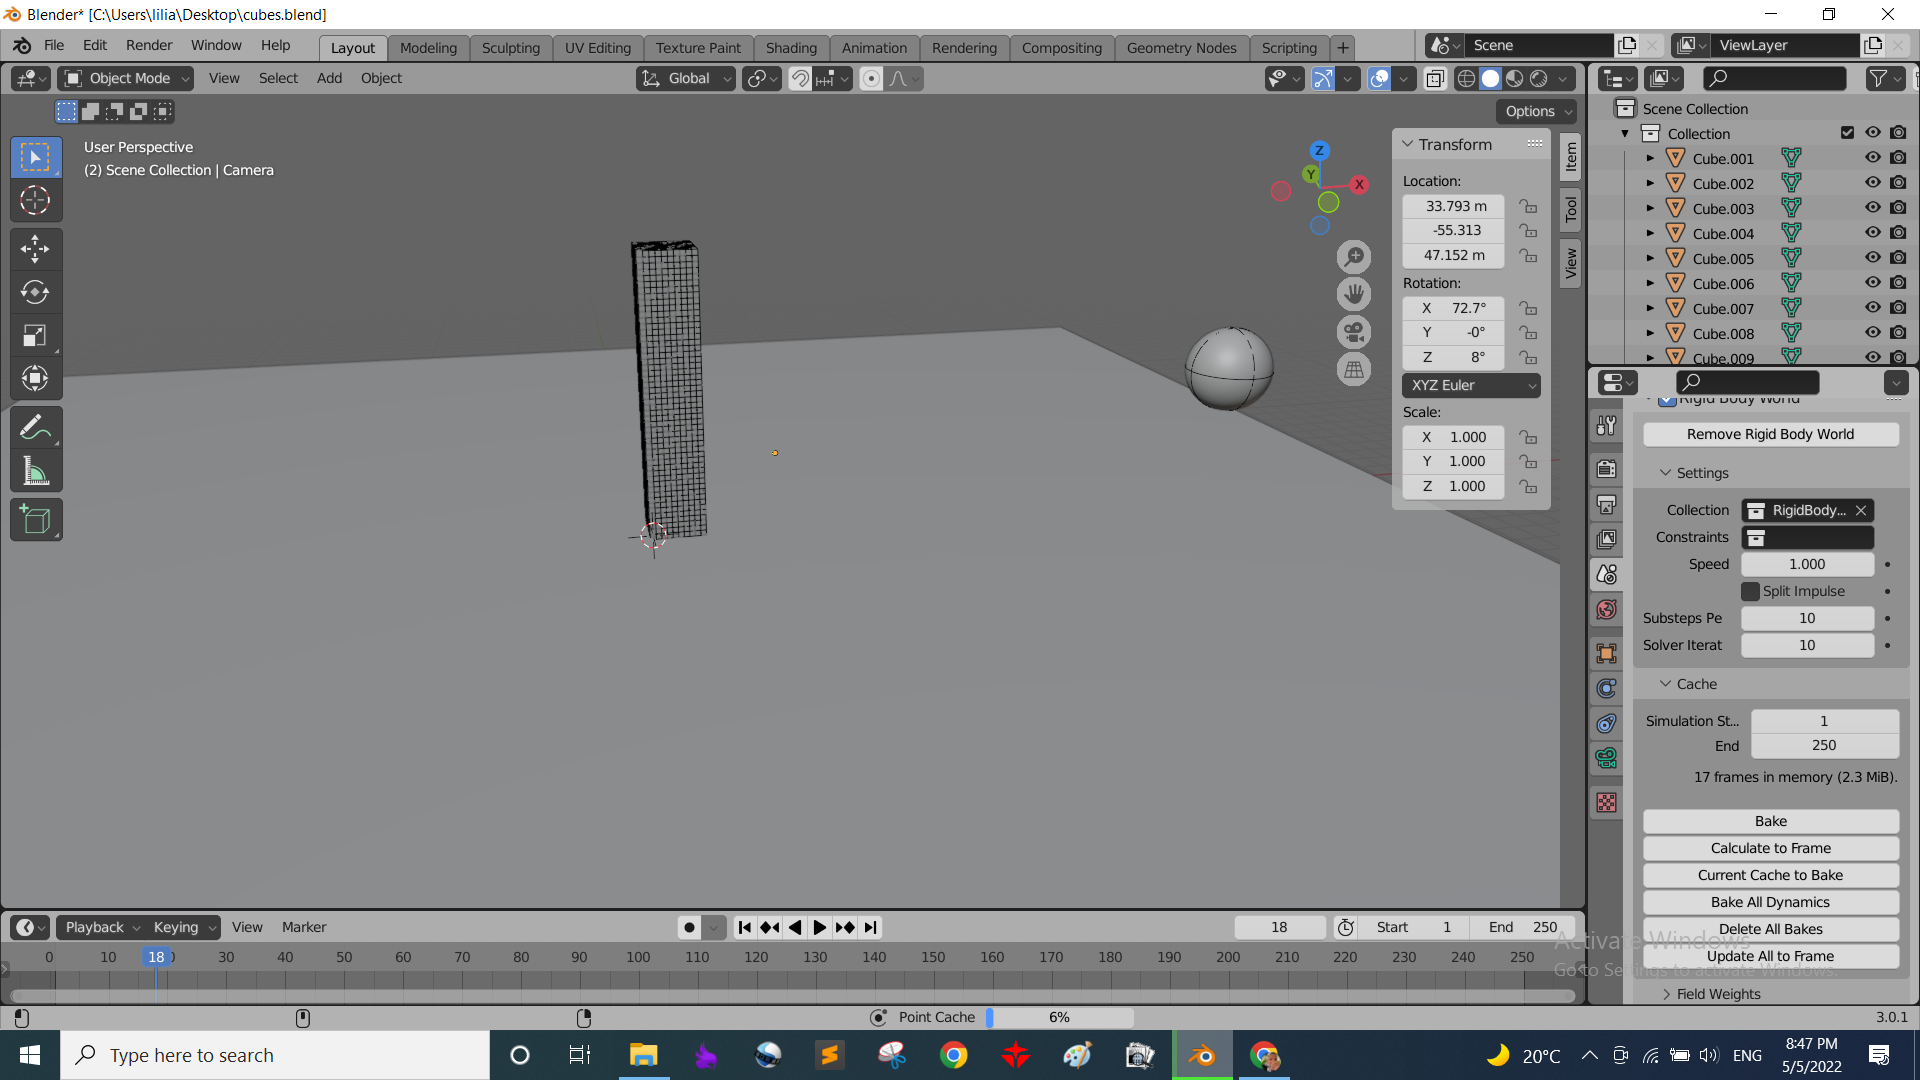
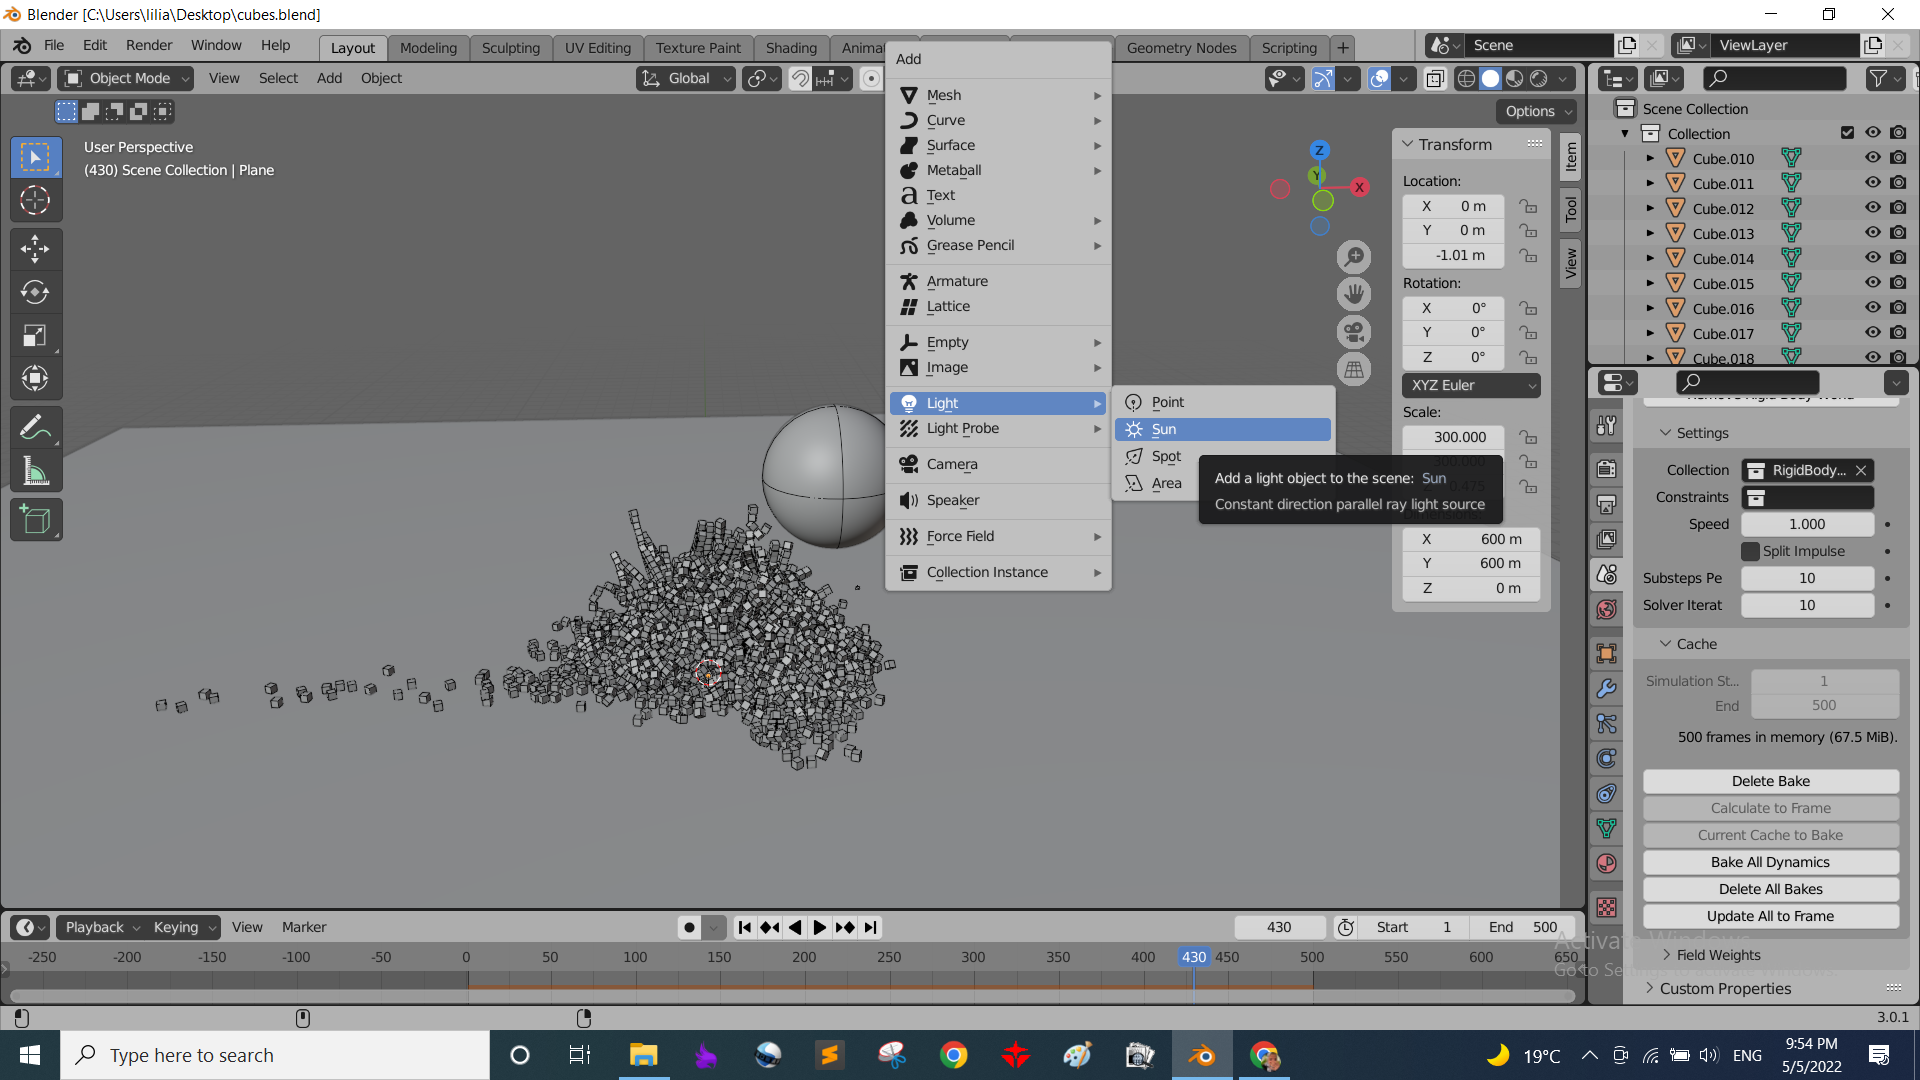
the preparations and simulation are done, now the rendering. First I needed to add a light source so I added a sun and placed it somewhere in the scene. and also changed the colors of the ball and tower.
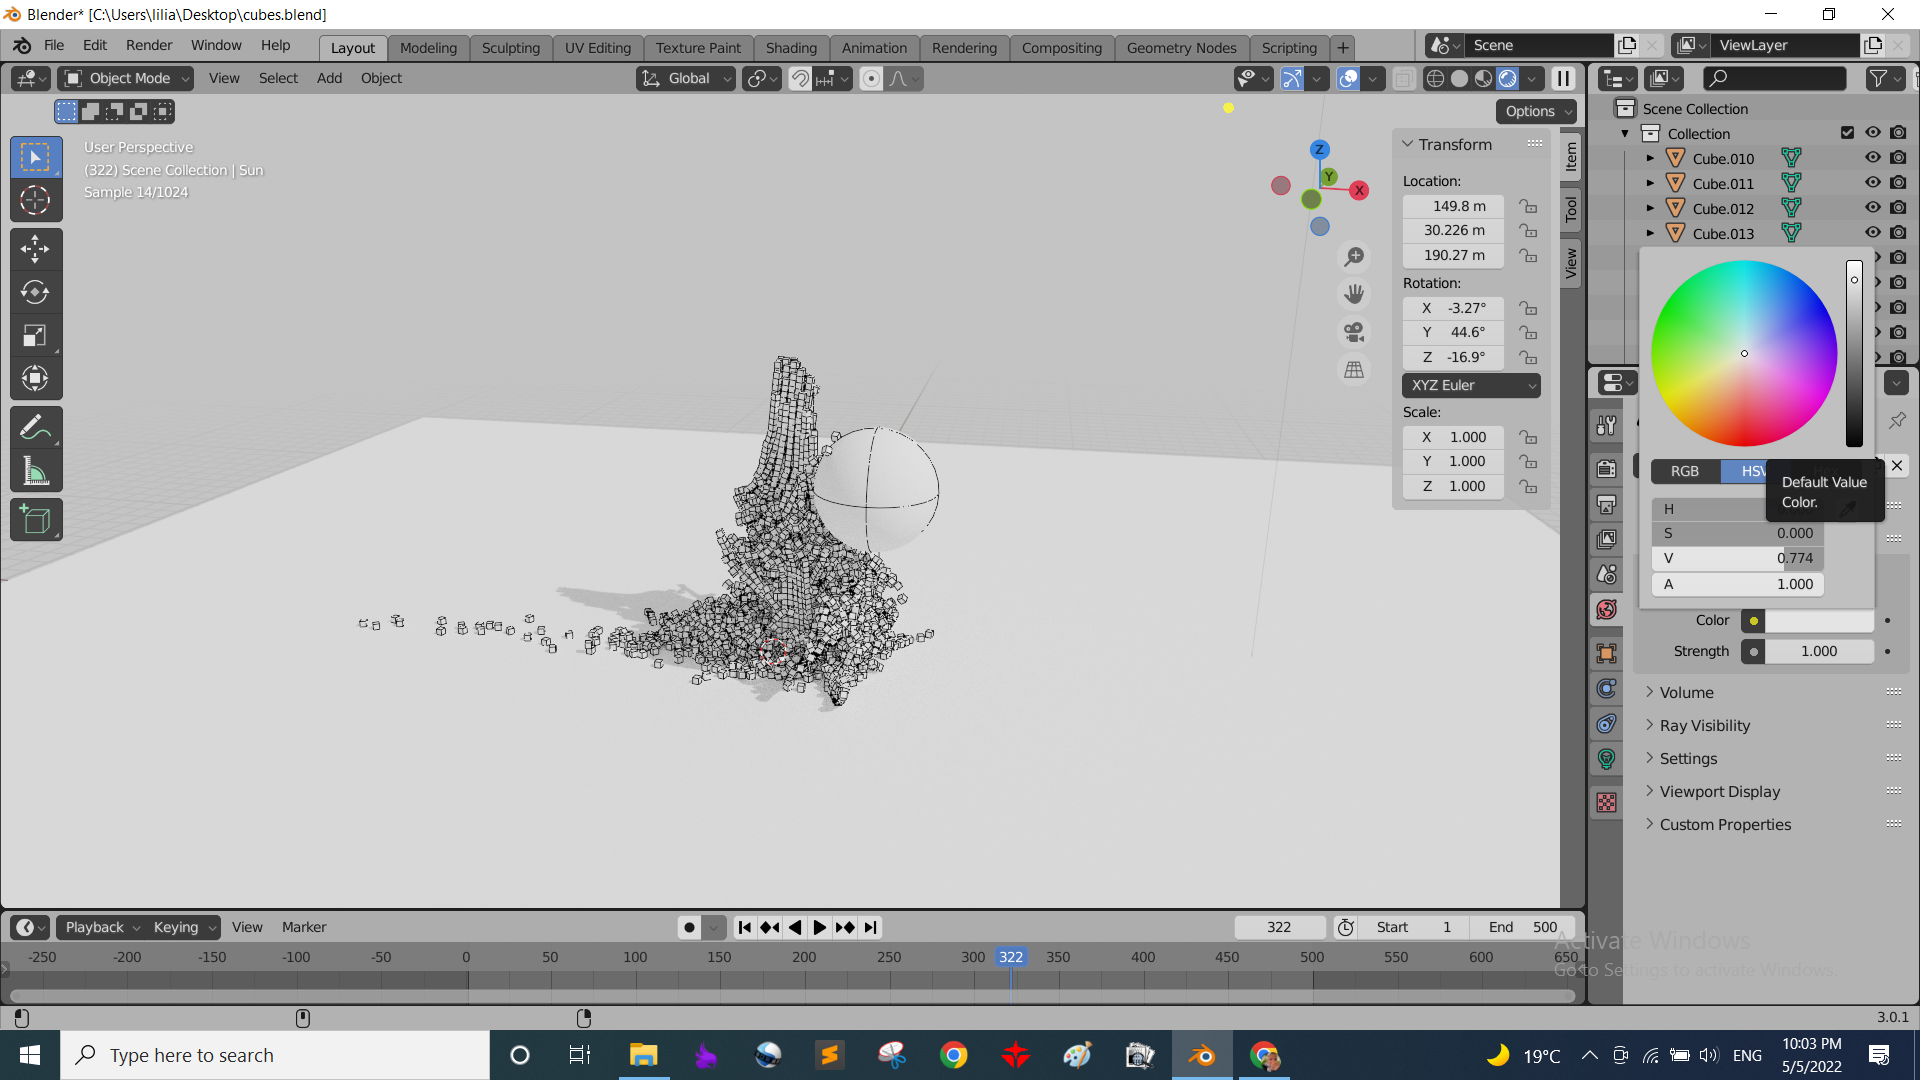
Finally, it was time for results, I tried to make a rendered image to see how much time will it take my laptop to make it. It was a 4K image it took 20 mins and it was 8MB! The video was intended to be 500 frames and as follows: the ball is far away then comming closer, and touches the tower in the frame 101 and till the frame 500 the tower falls apart touching the floor. I started it that way till I checked after 1 hour passed an it was still in frame 5 far away from the tower. So the final video started from frame 95 when the ball was about to touch the tower and ends in frame 330 when almost all the cubes were fallen down but not yet all touched the floor yet :D and that video took all night and some of the next day's morning to be made :D around 10 hrs ovverall. I gladly it only was 1MB as I made the quality to be only 480p I couldn't dream of making it 720p or 1080p or it would have lasted for days and my poor laptop wouldn't have handled that :D
It's funny looking at 13 second video that took atleast 15 hours to be made! :D
Source files:I would have attached blender project as well but it's 100MB :"D
Automata Fusion 360 fileAutomata 2D vector file
Cool logo Gimp file