Week
Five
3D Scanning and Printing
Group Project
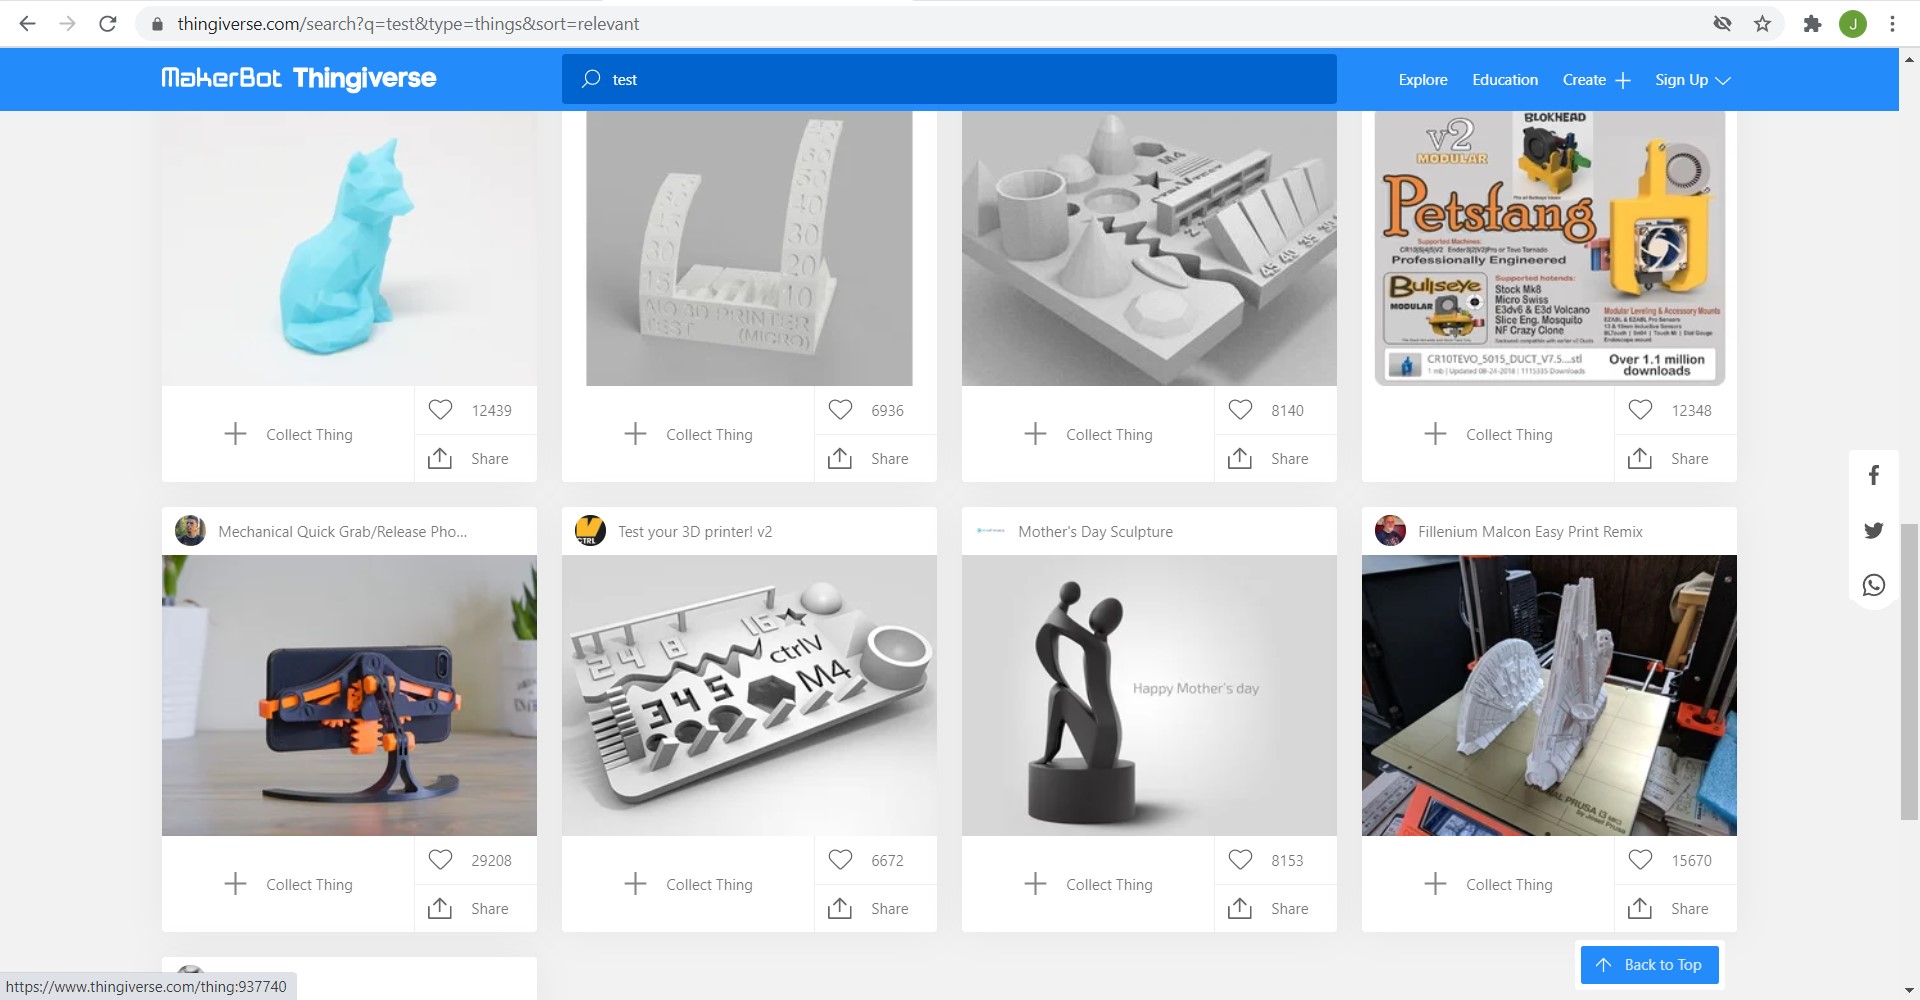
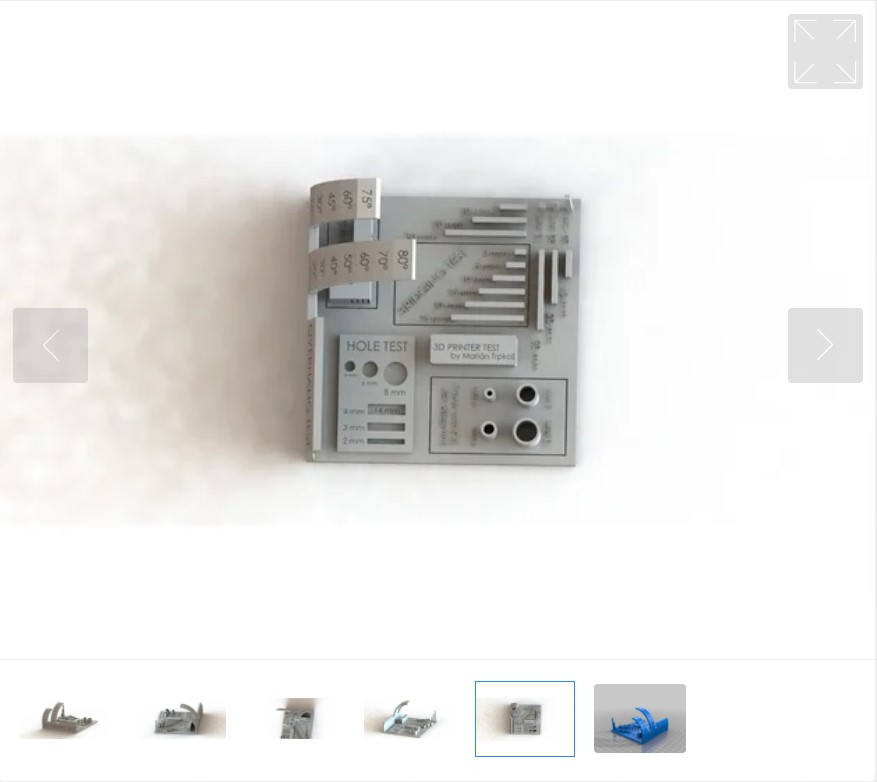
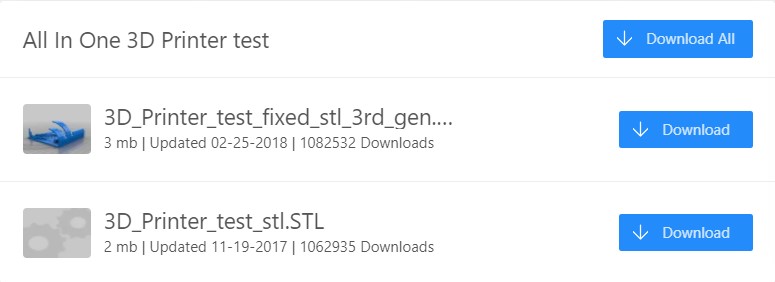
The group project this week was to run a test to see the capabilities of our 3D printers. Luckily we were in good company and many folks before us have wanted to do the same thing. So we went on Thingiverse.com and found a test print that looked like it covered enough stuff, but was also not so huge as to take forever to print. In the end, we decided on a mini all-in-one 3D printer test.
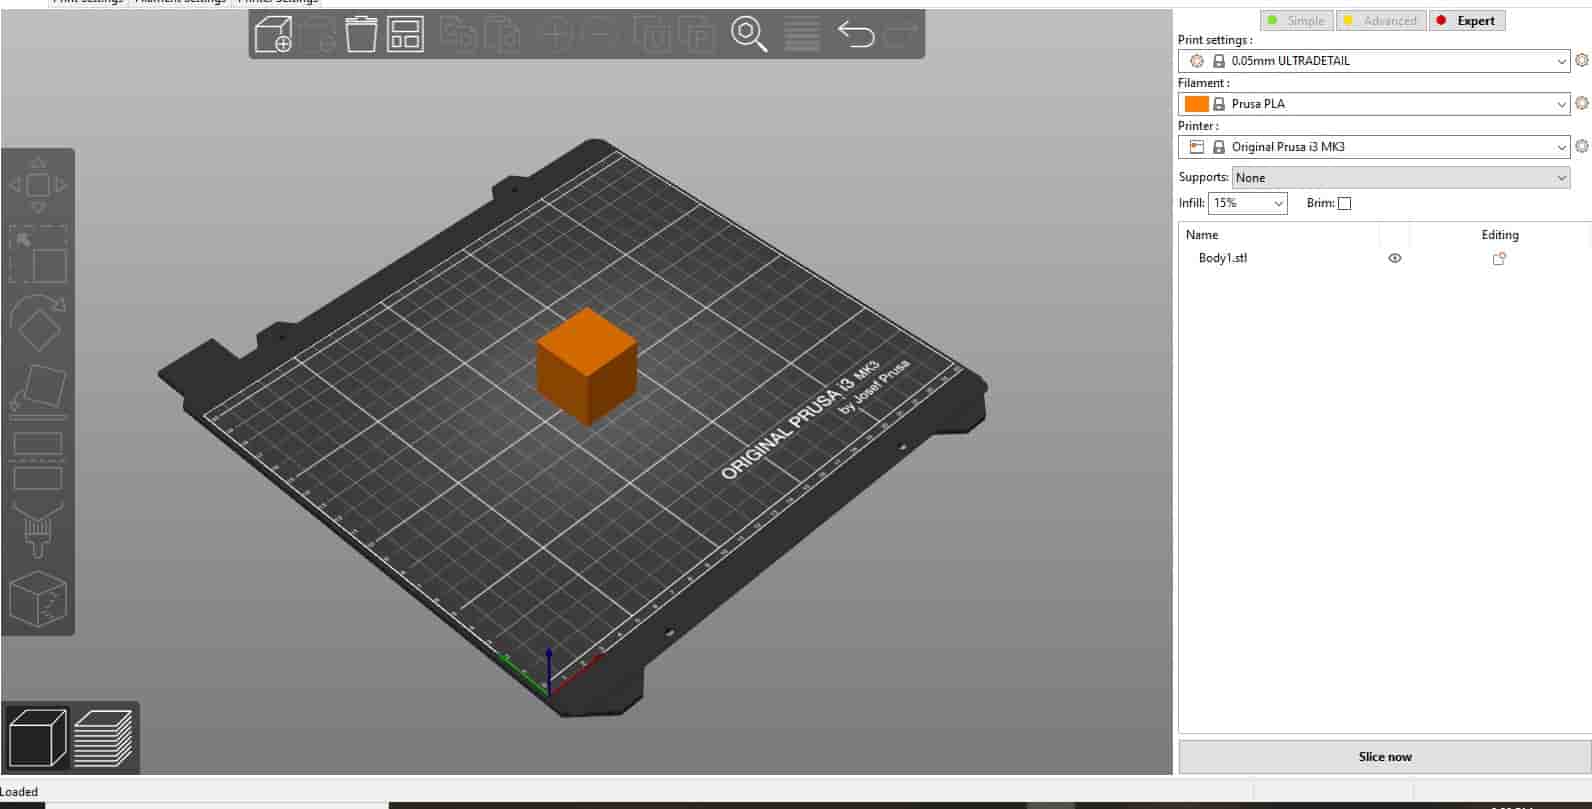
The next step now that we had an STL was that we needed to toss it into Prusa slicer. So that our printer could actually do anything with the file.

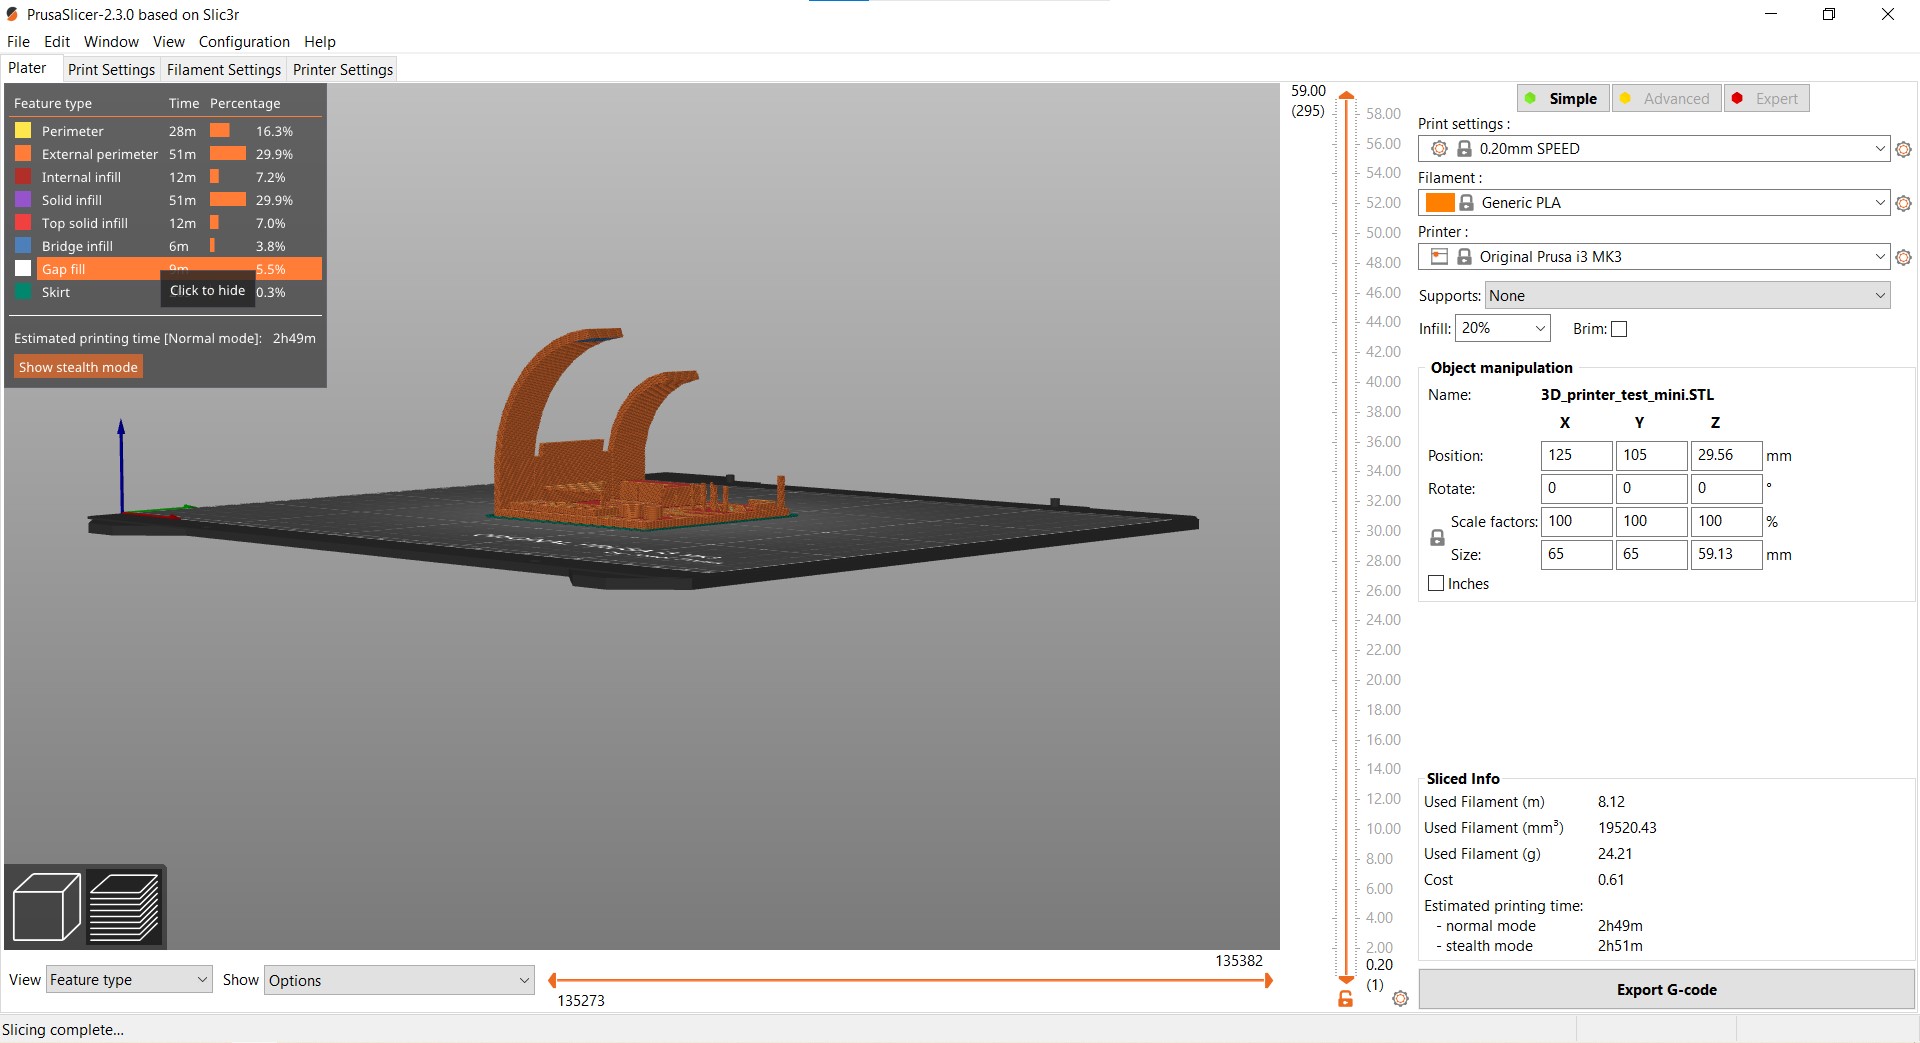
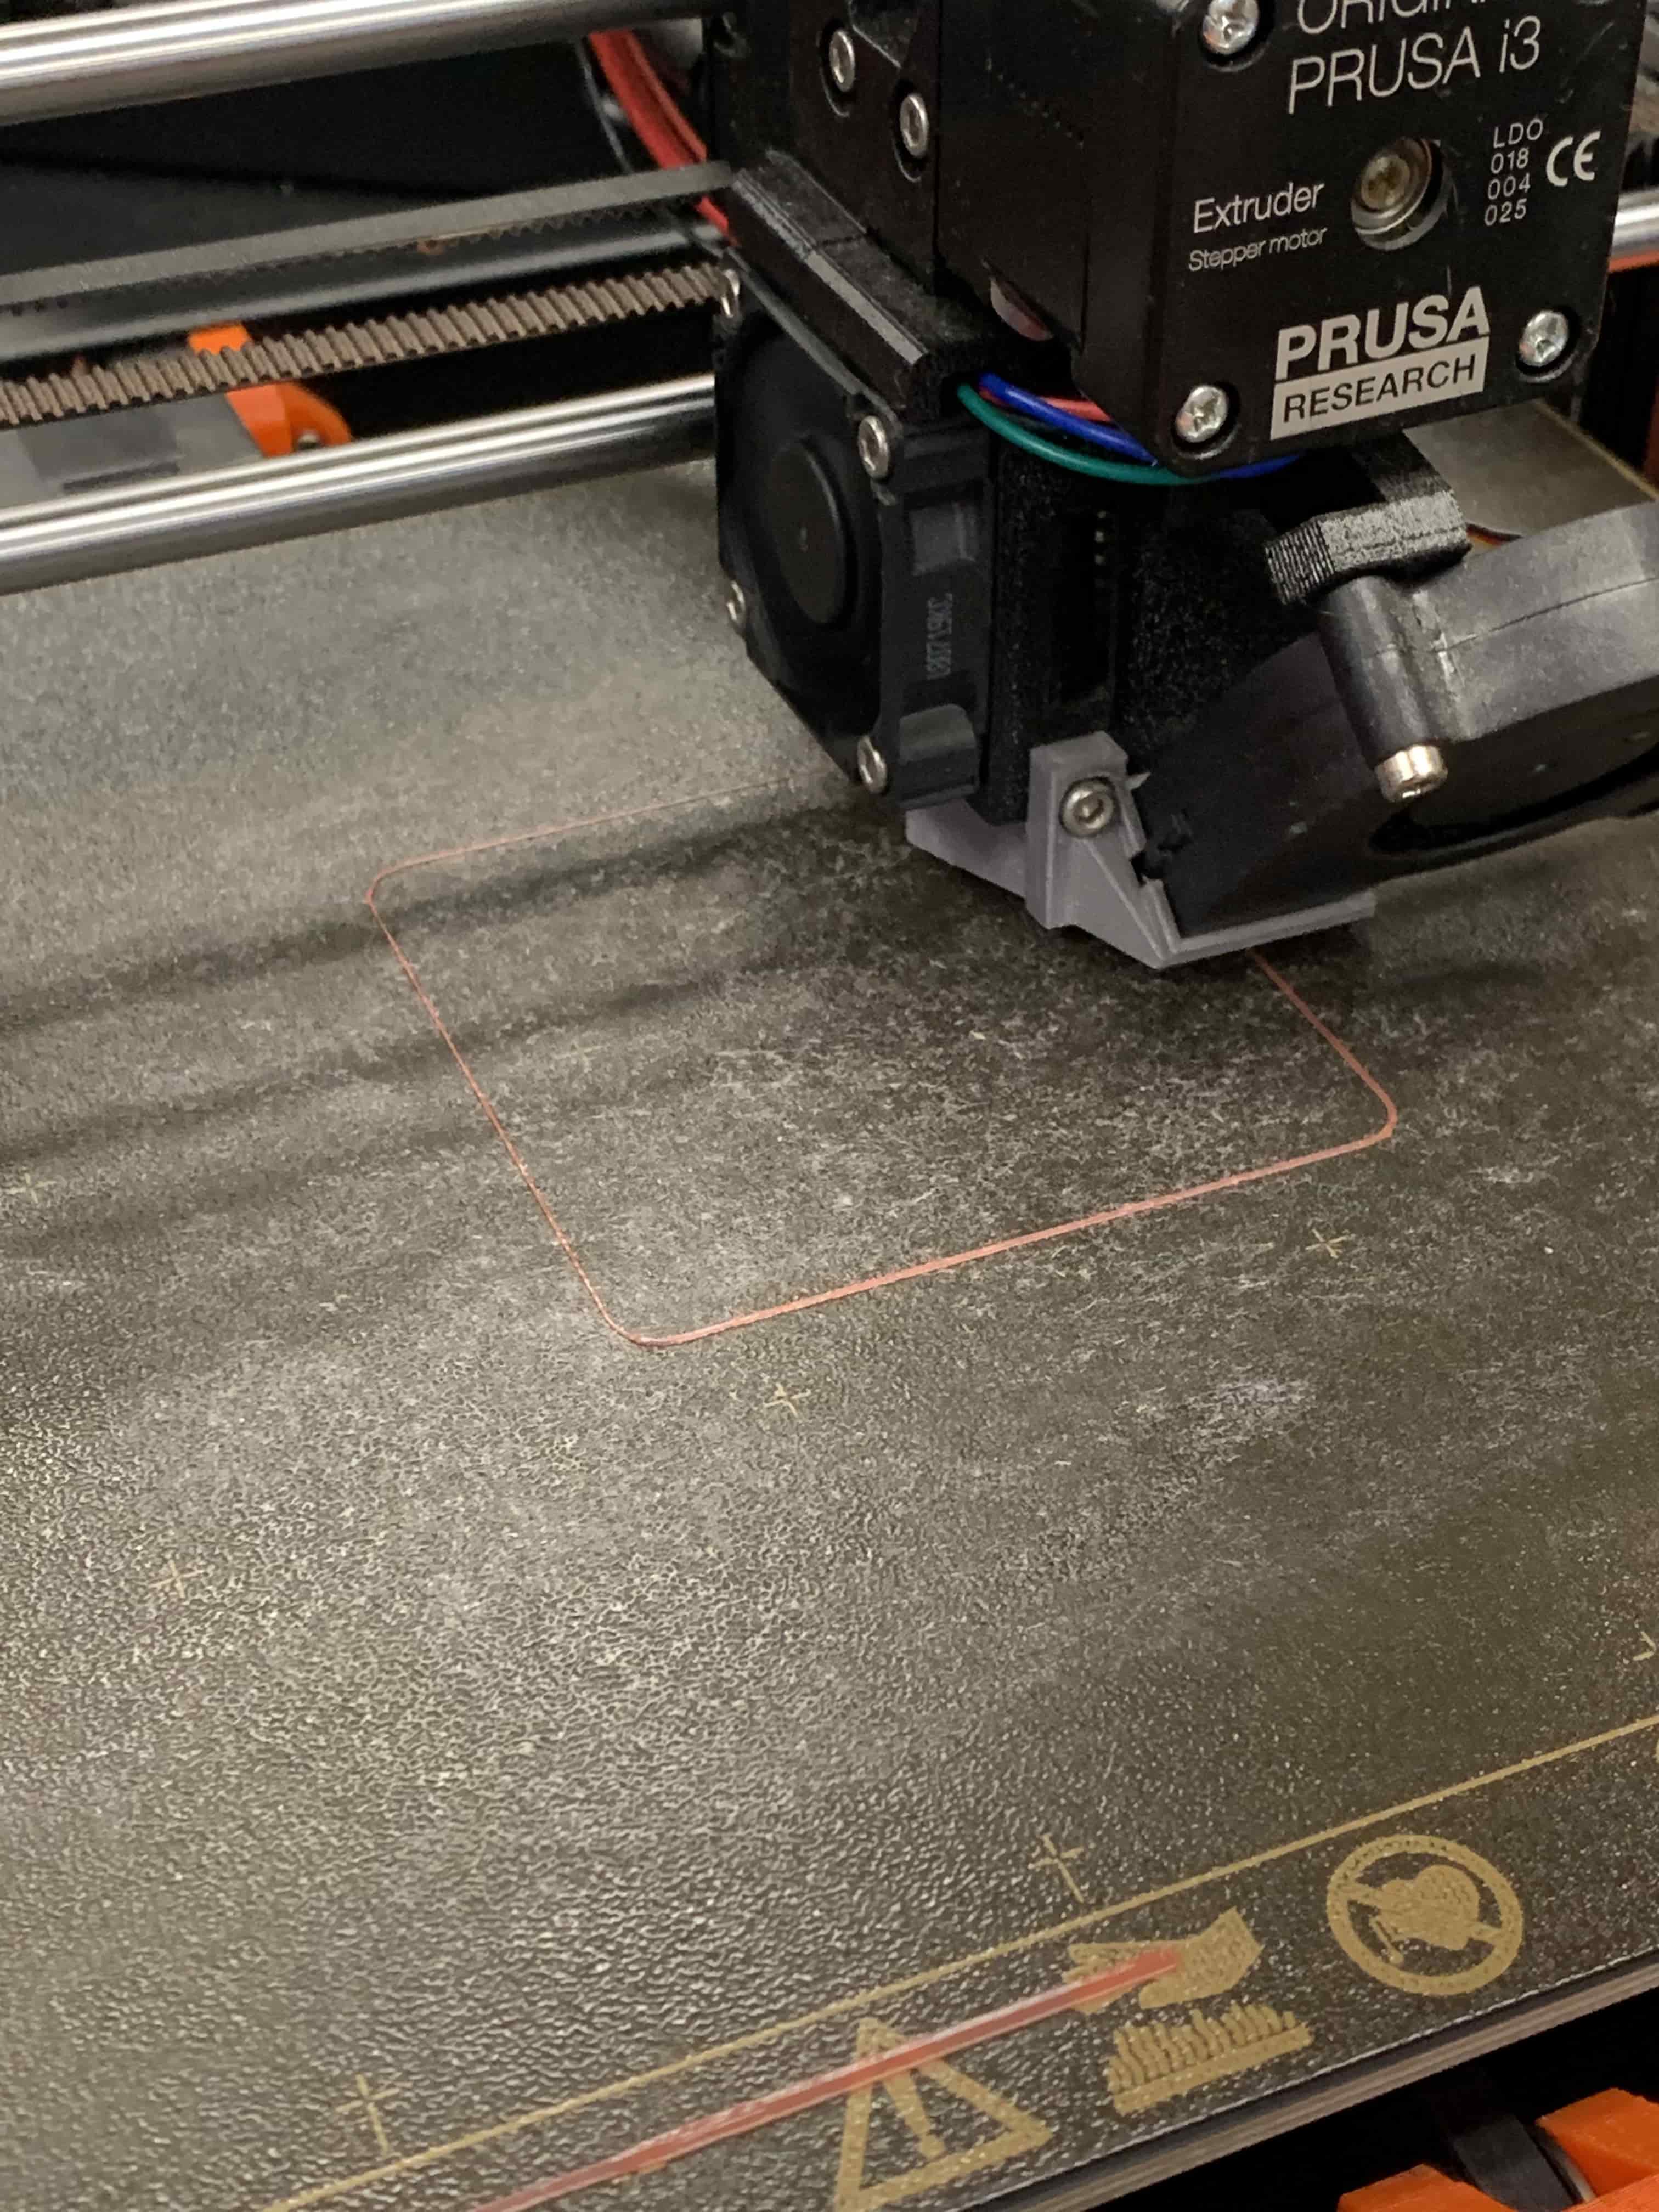
With those steps done we could finally print.
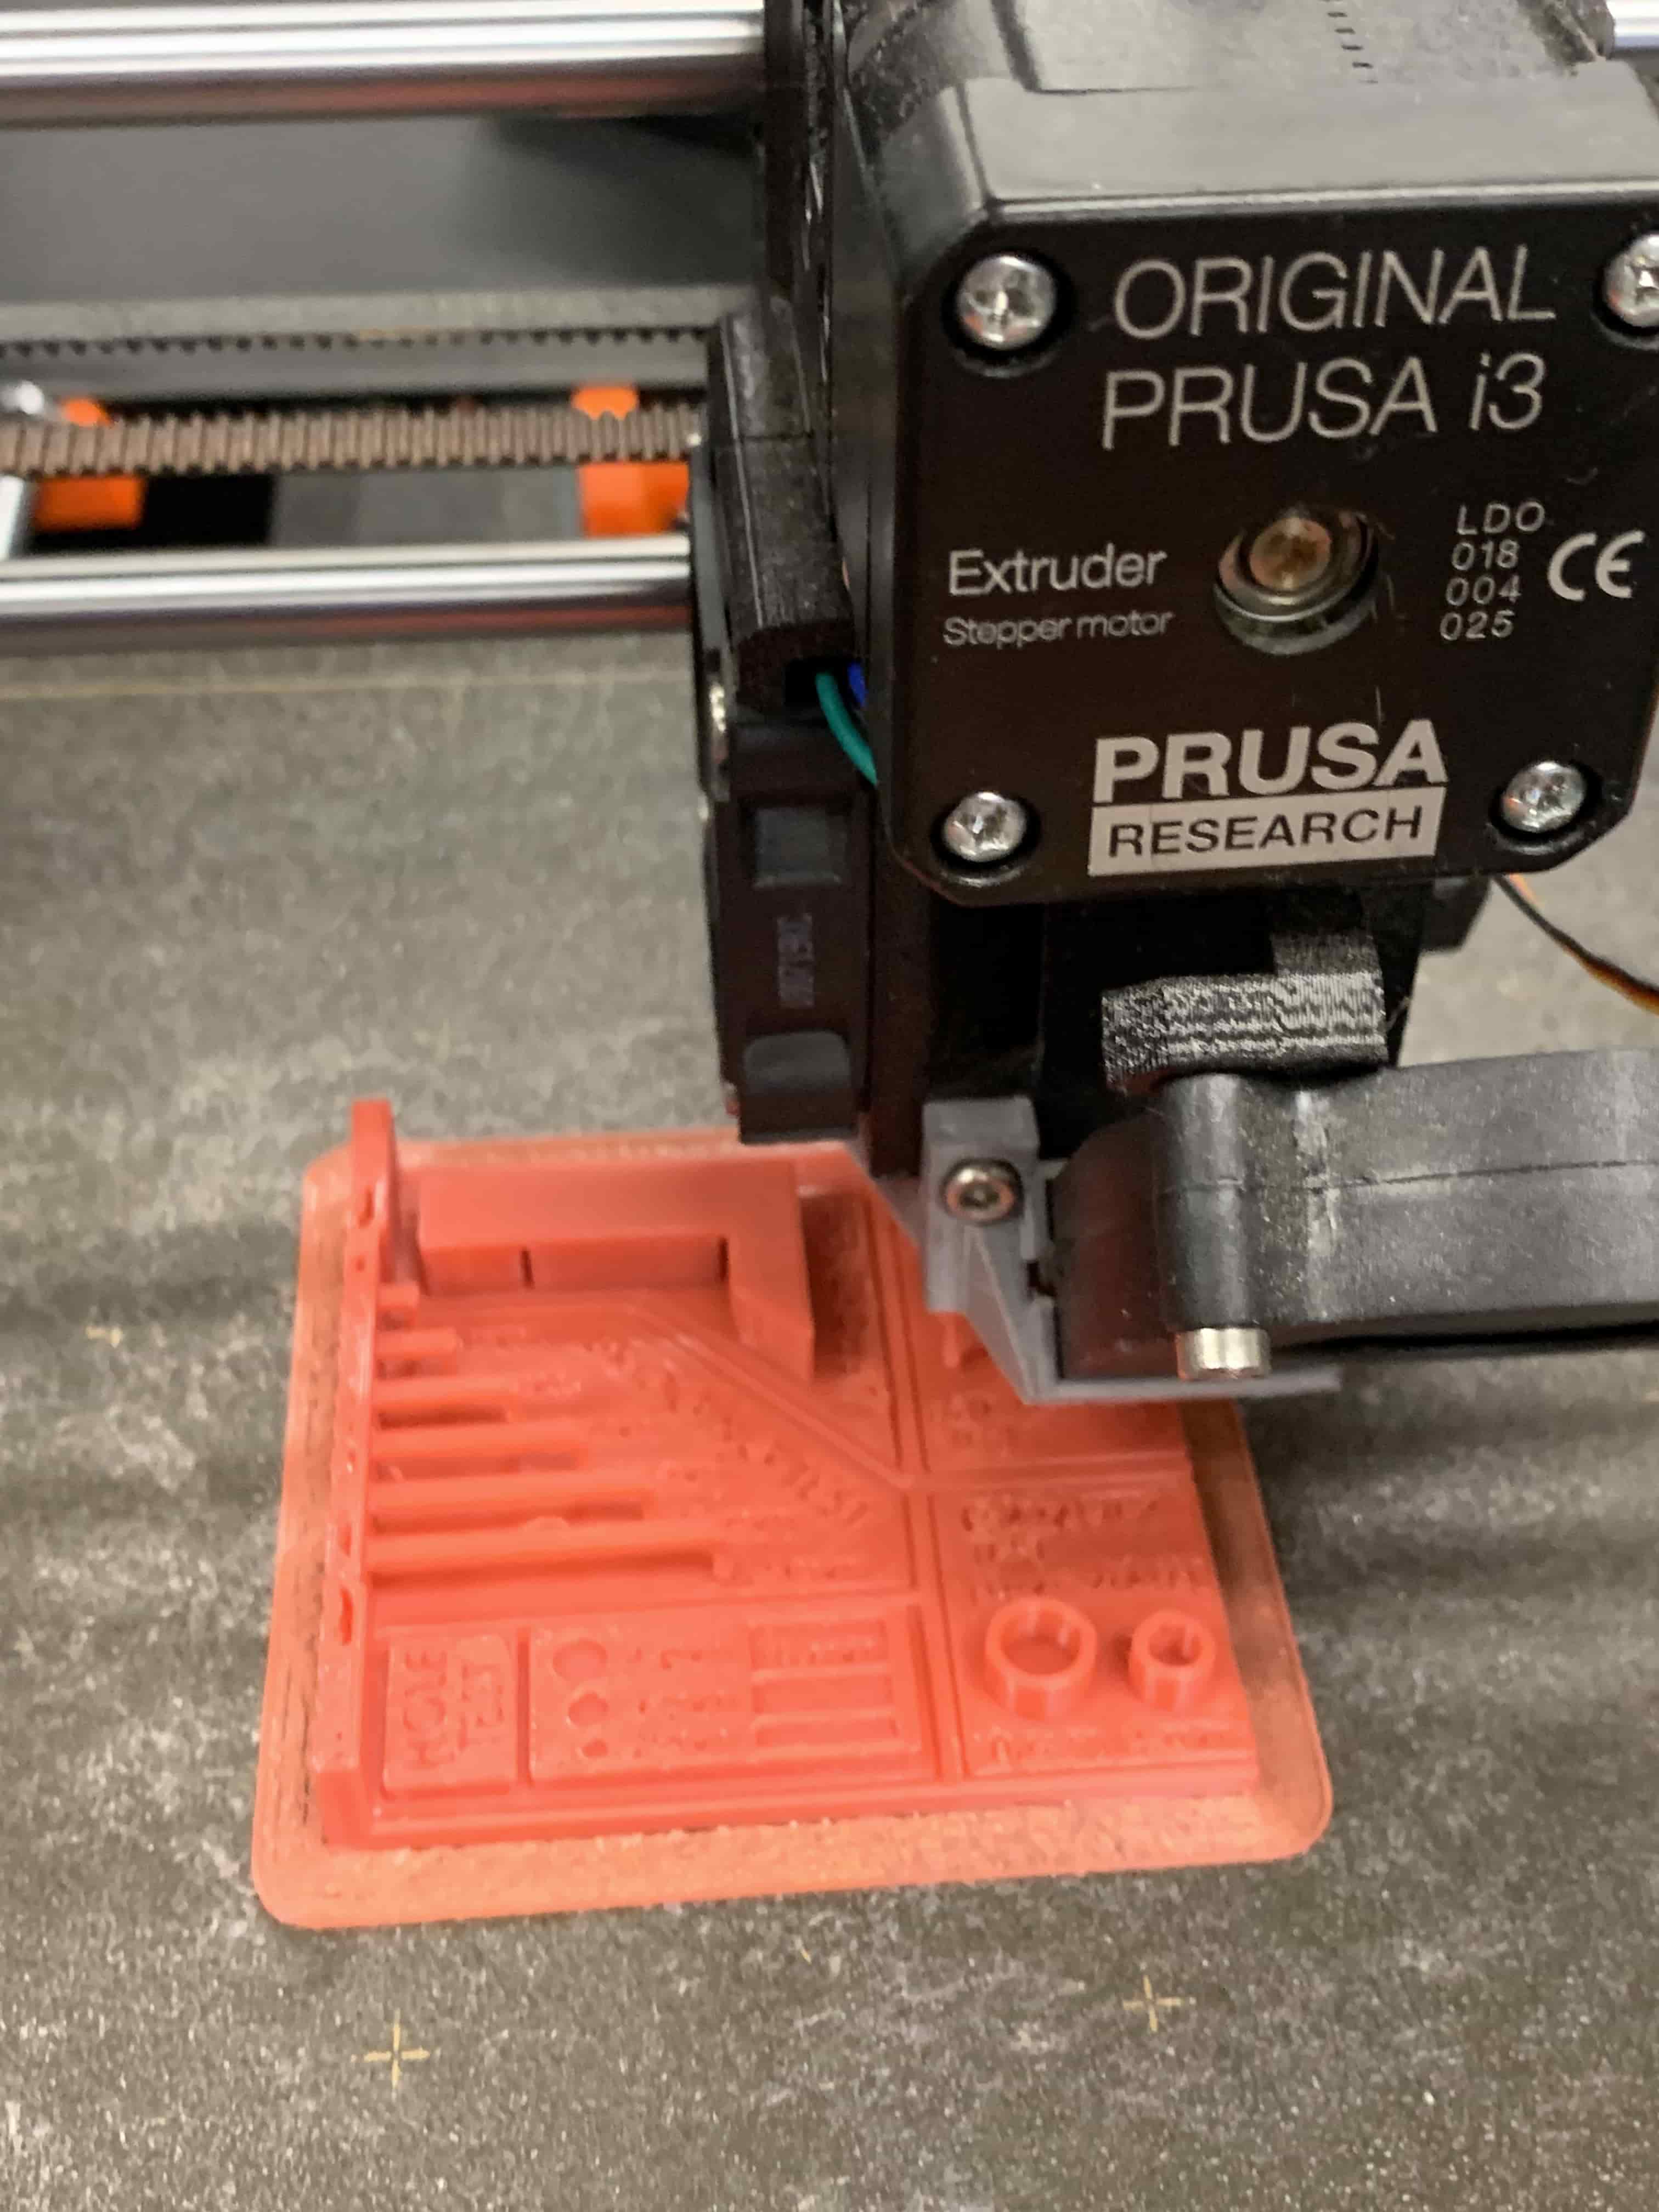
When looking at this piece many of the circles and walls are serving to be used to test how accurately the printer will follow the STL inputed. On it is the distance that is supposed to be, and then you can check to see how close the thing actually is. The part of the piece that is going up and bending is testing how well the machine can do an overhang before it becomes structally unsound. The last part that I feel is worth mentioning are the parts on the piece that look like little bridges, where there are two supports on either side, and then it is free hanging. These are meant to test your printers ability to bridge a gap
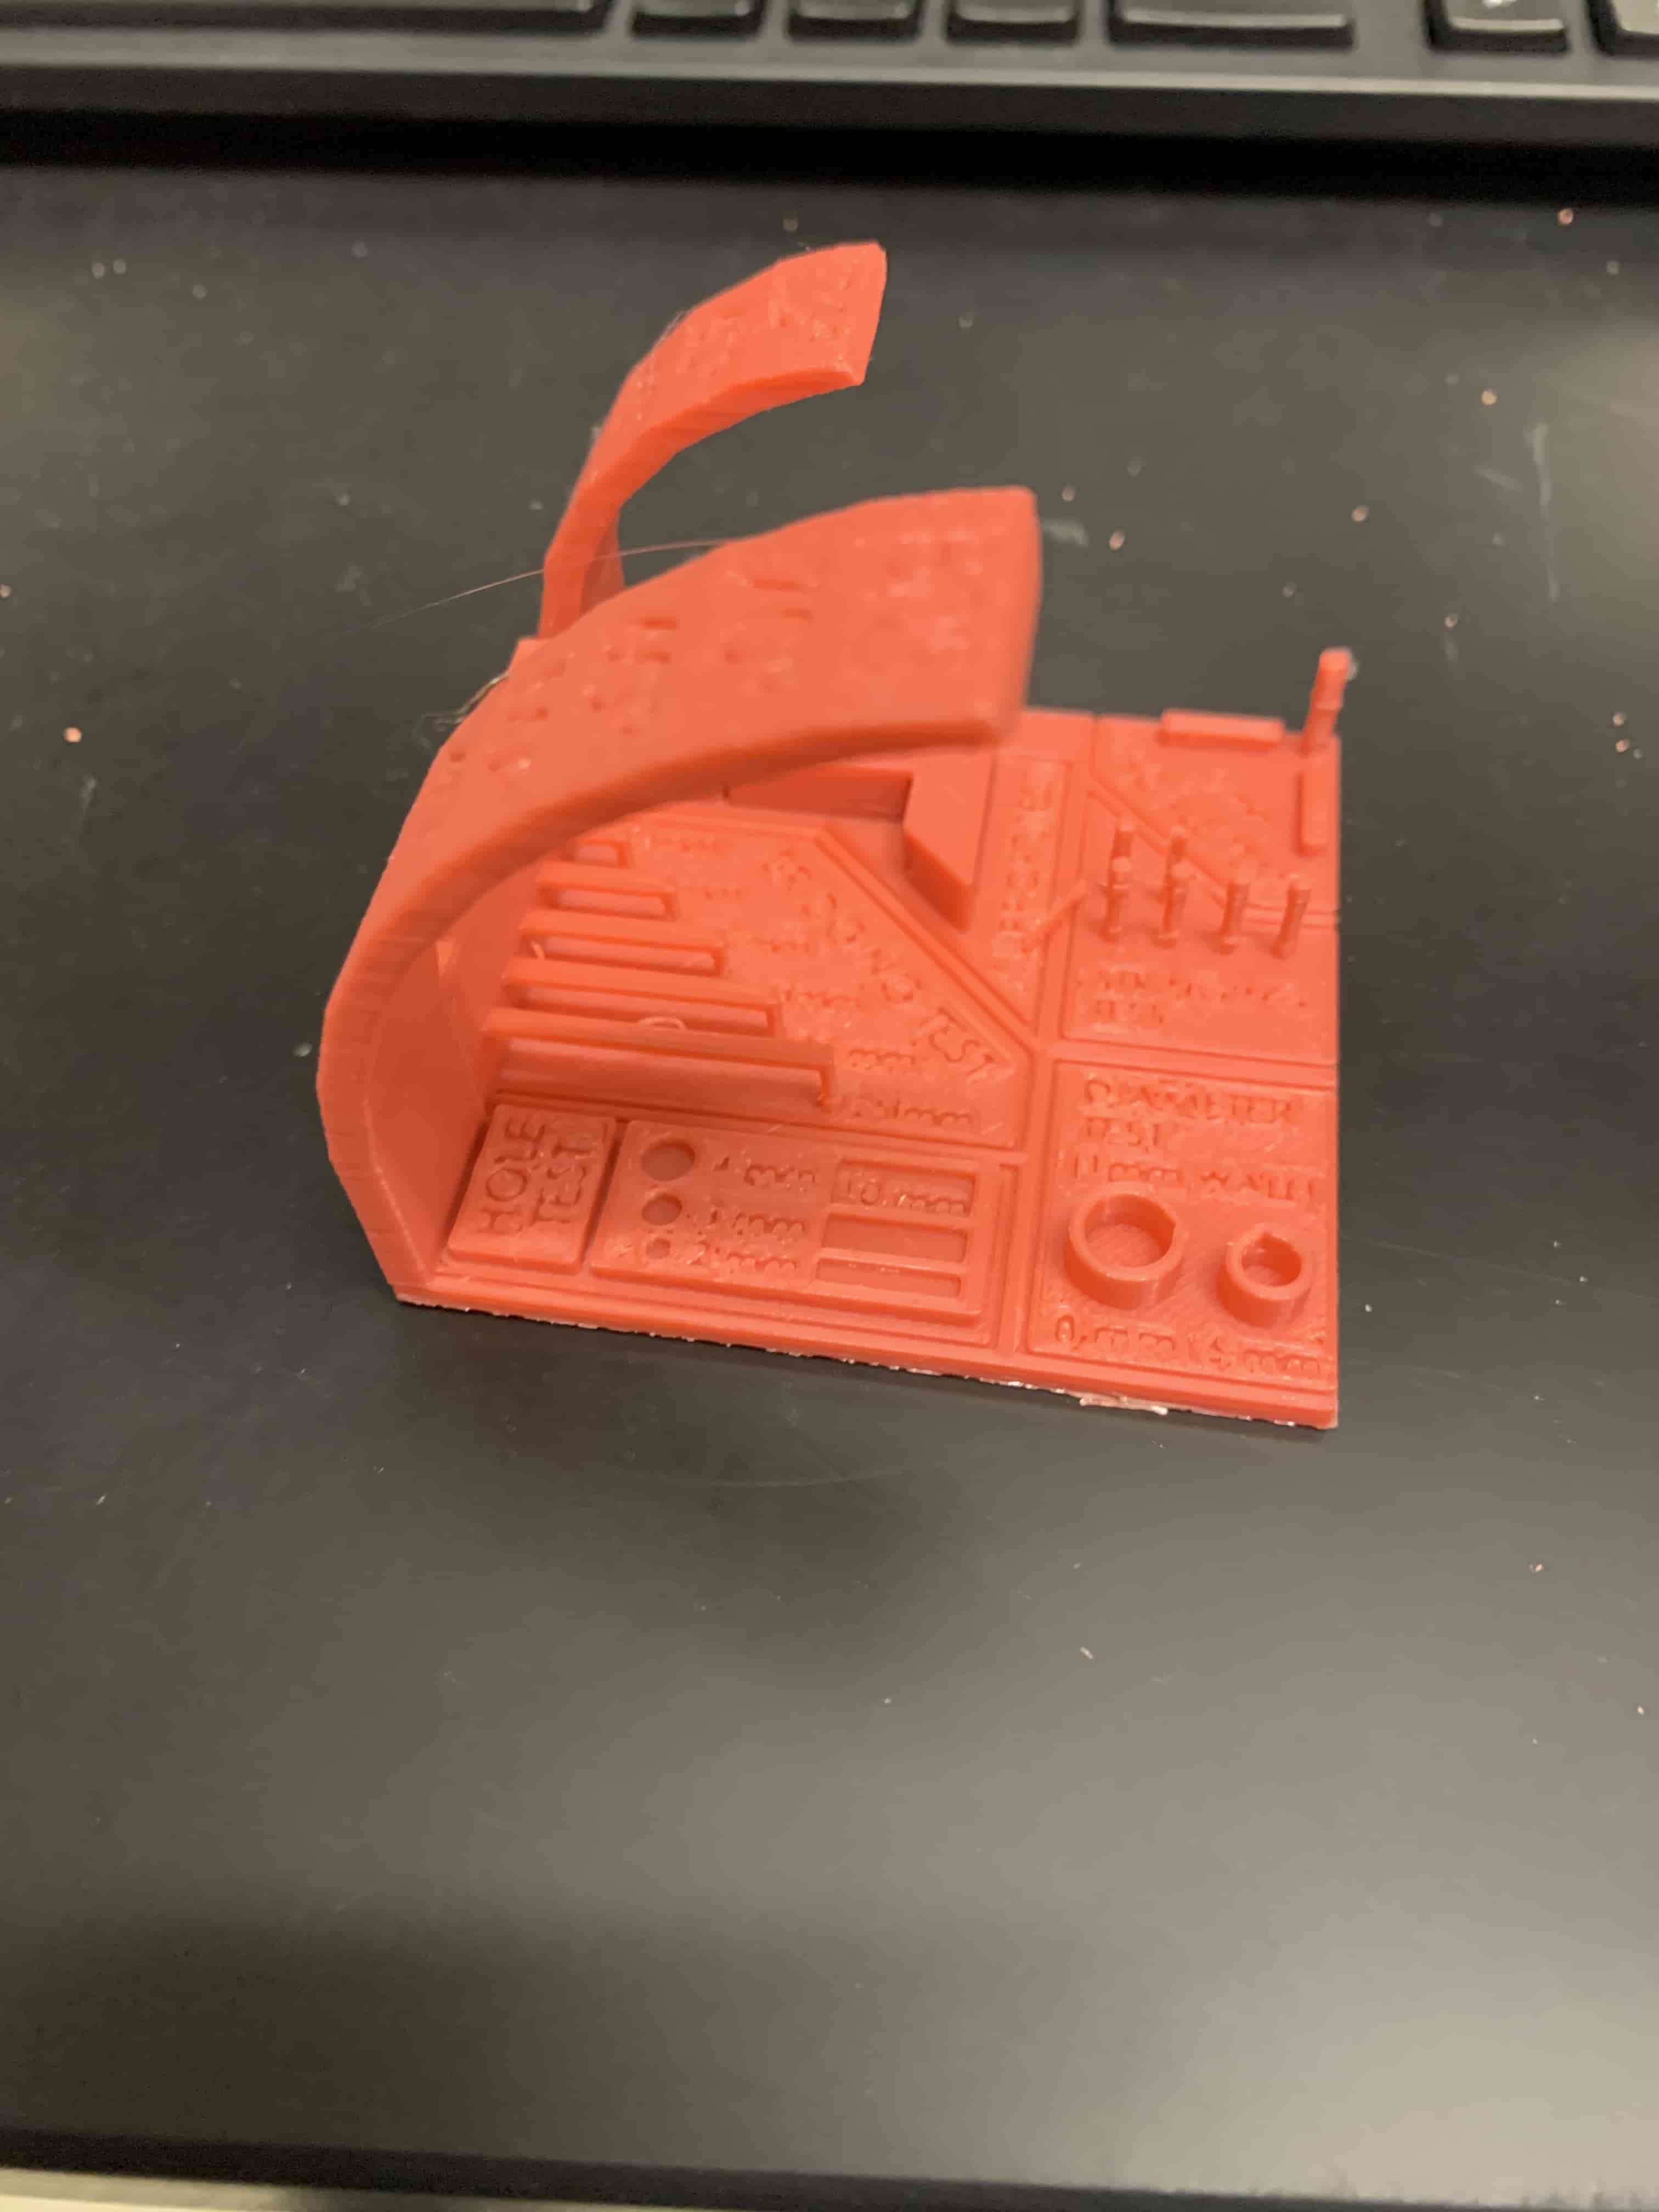
With the object fully printed we did some measurements with some calipers to check how our printer did. We found that for the most part regarding precision the printer did a good job. At most, it was a fraction of an mm off of where it was supposed to be, and we had pretty low settings to try to have it printed as quickly as possible. I was actually surprised how well it did the bridging test, although I don't think it would've bridged much further. The only other thing that was interesting to us was to see how the print was beginning to fail when it turned past being 70 degrees on the turning horizontal test.
Individual Assignment
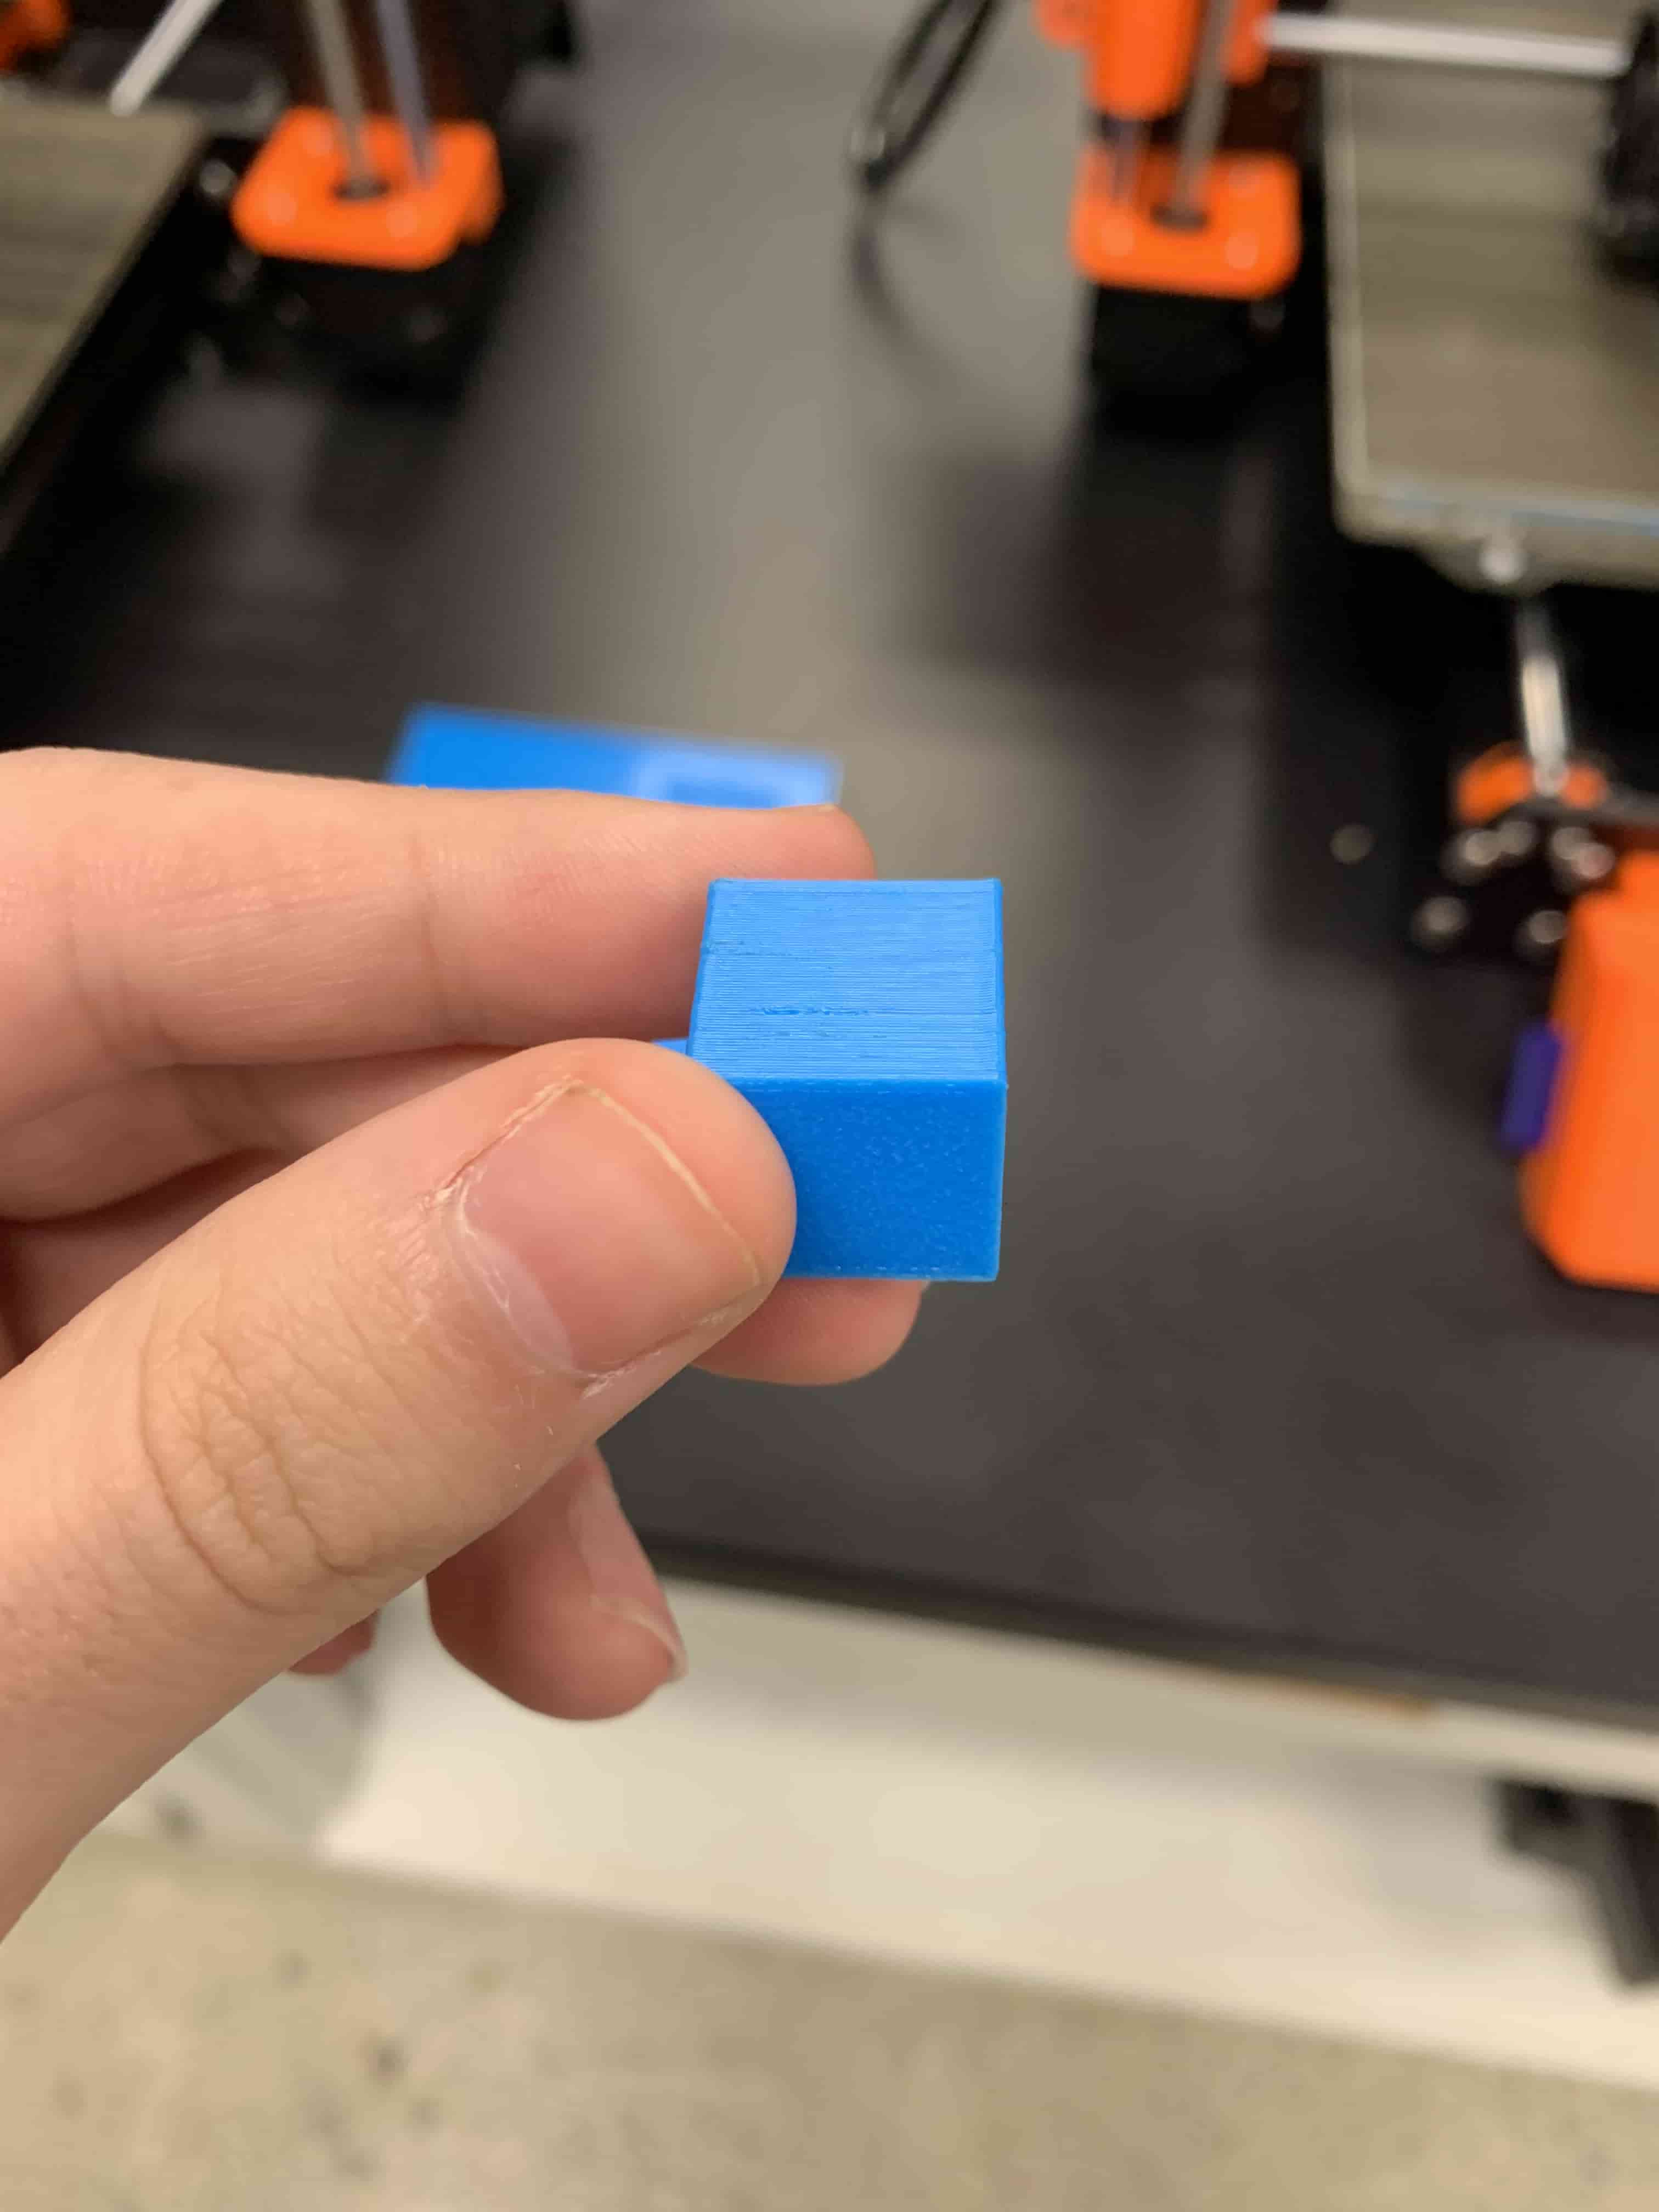
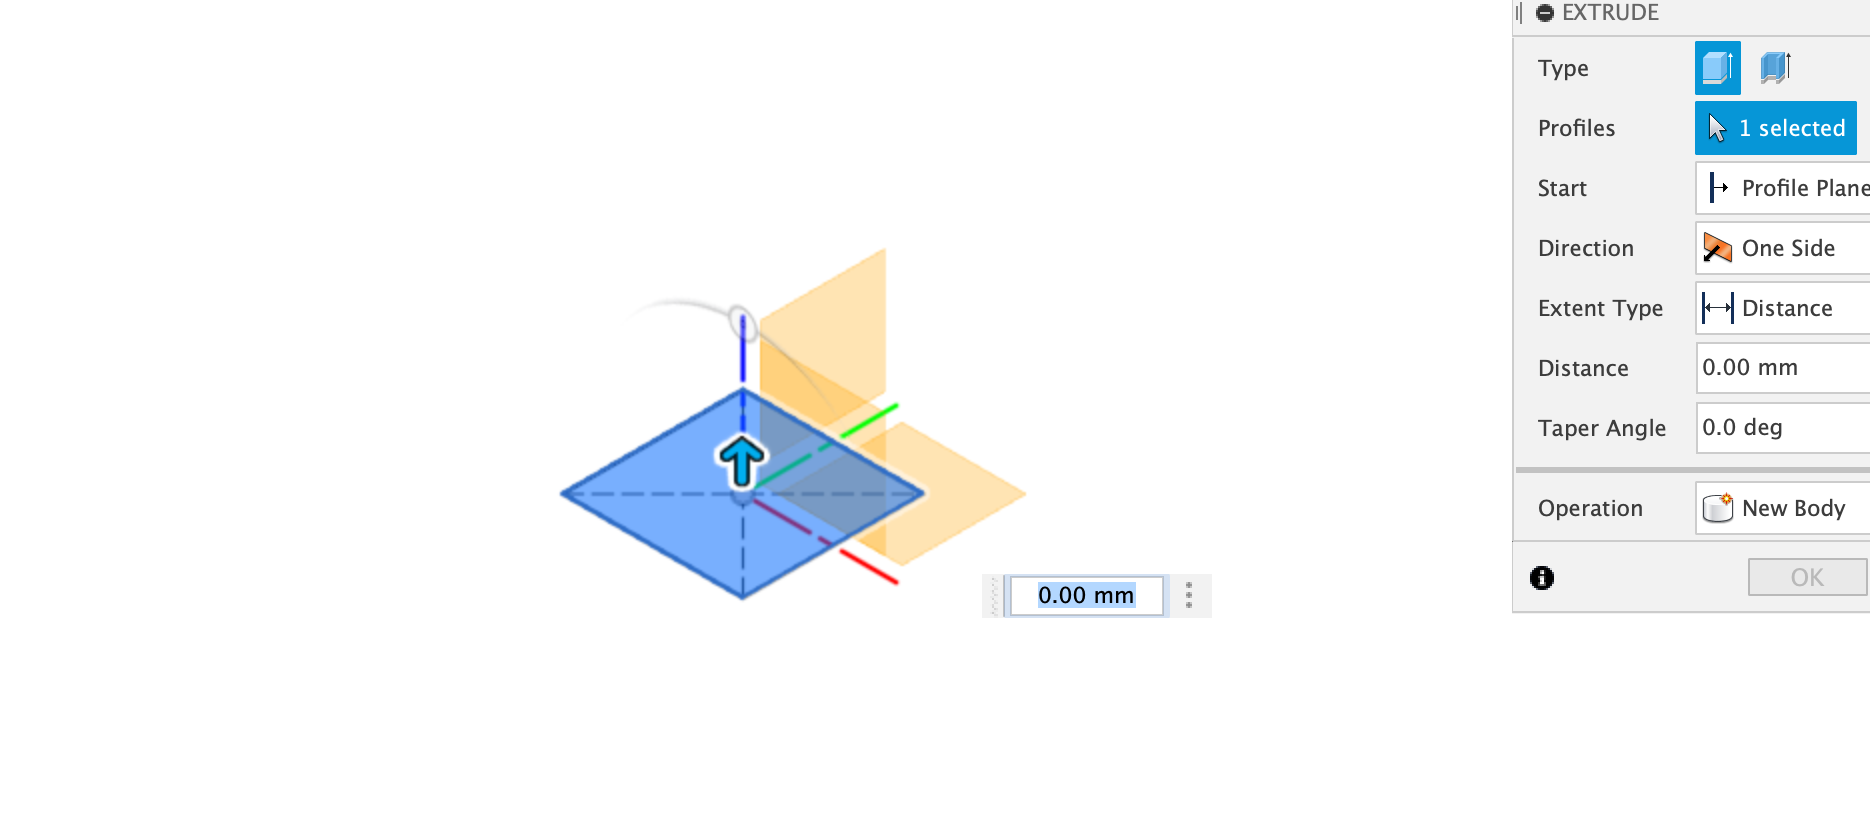
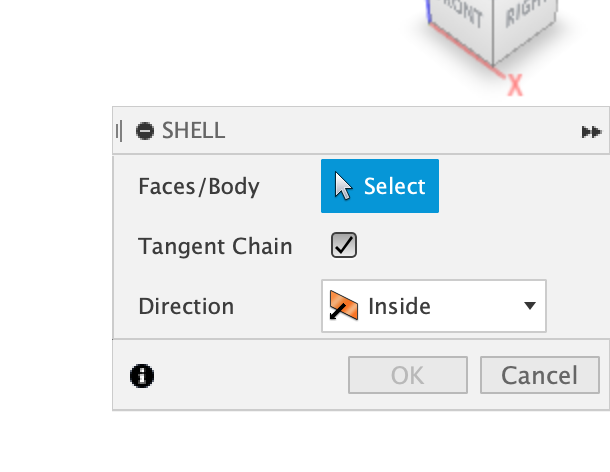
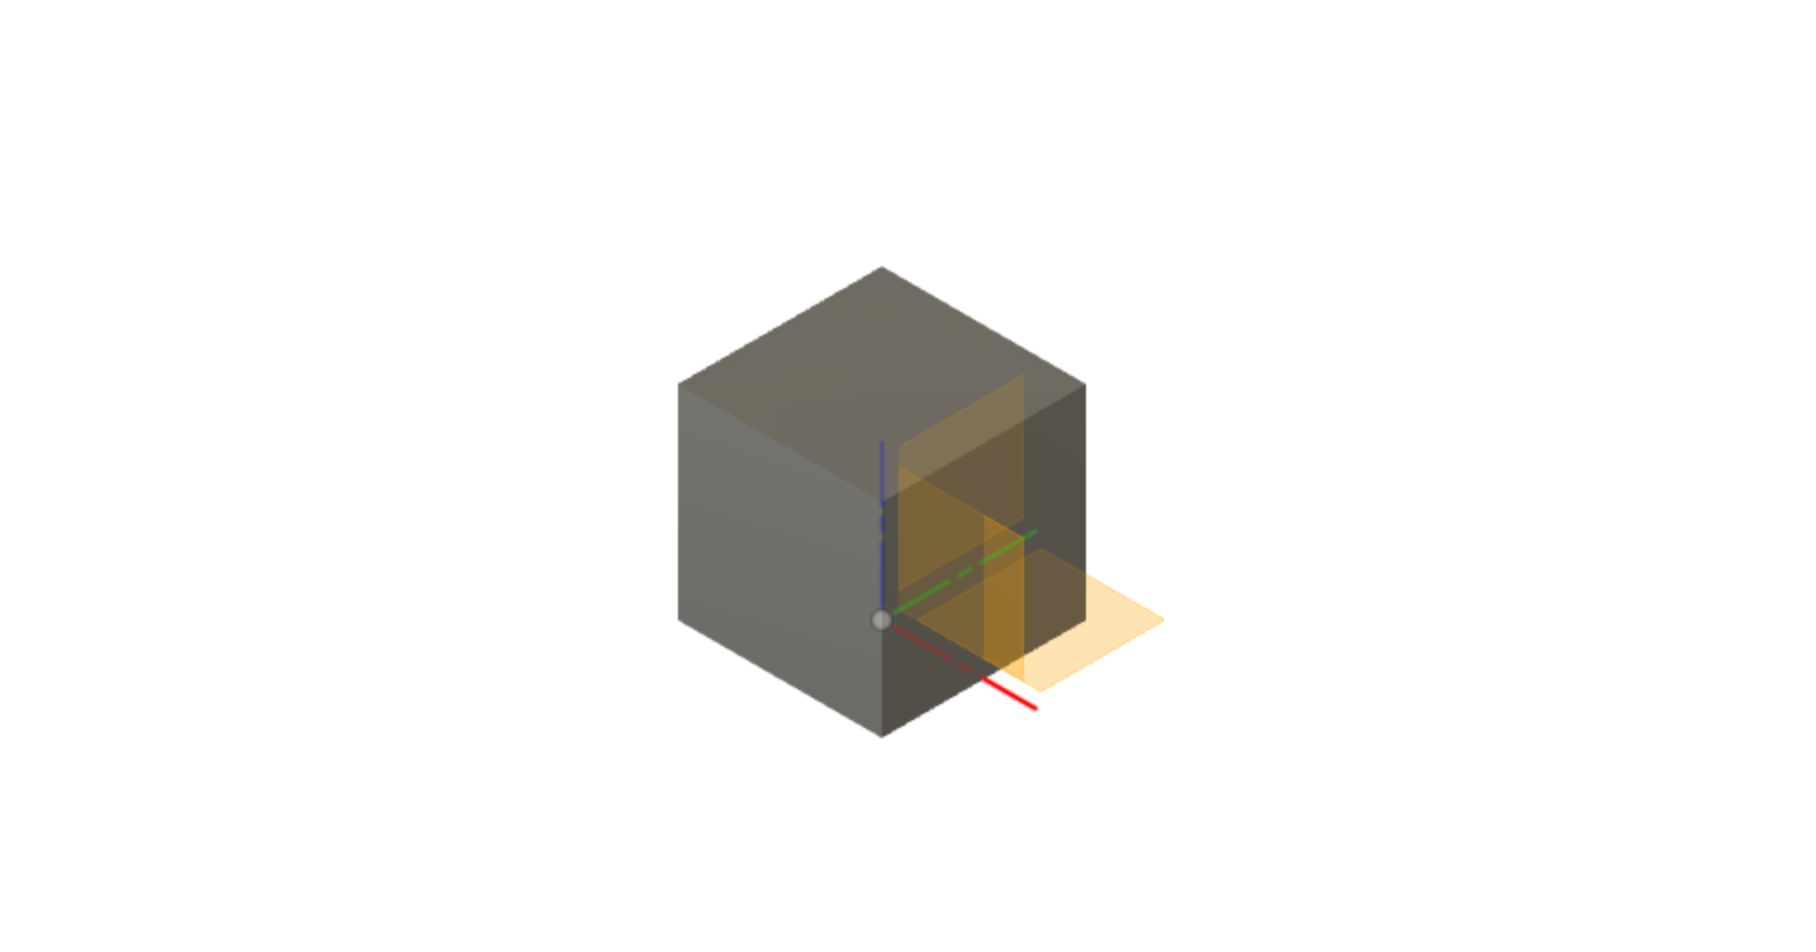
The individual assignment was to make something that couldn't be made subtractively. For me, this meant one thing that is stuff being enclosed by the material. As there is no way to subtractively get something inside something else without putting a hole in it. So what I chose to do is to make a little fidget noisemaker for my friend. I did this by going into Fusion 360 and designing a 5mm by 5mm square. With the square made I used the offset tool to make another smaller square inside of it. I then extruded the space between these two squares up 5mm to act as walls. The last thing I did was to an elevated extrude so that I could put the 'lid' on this little box that I was making.
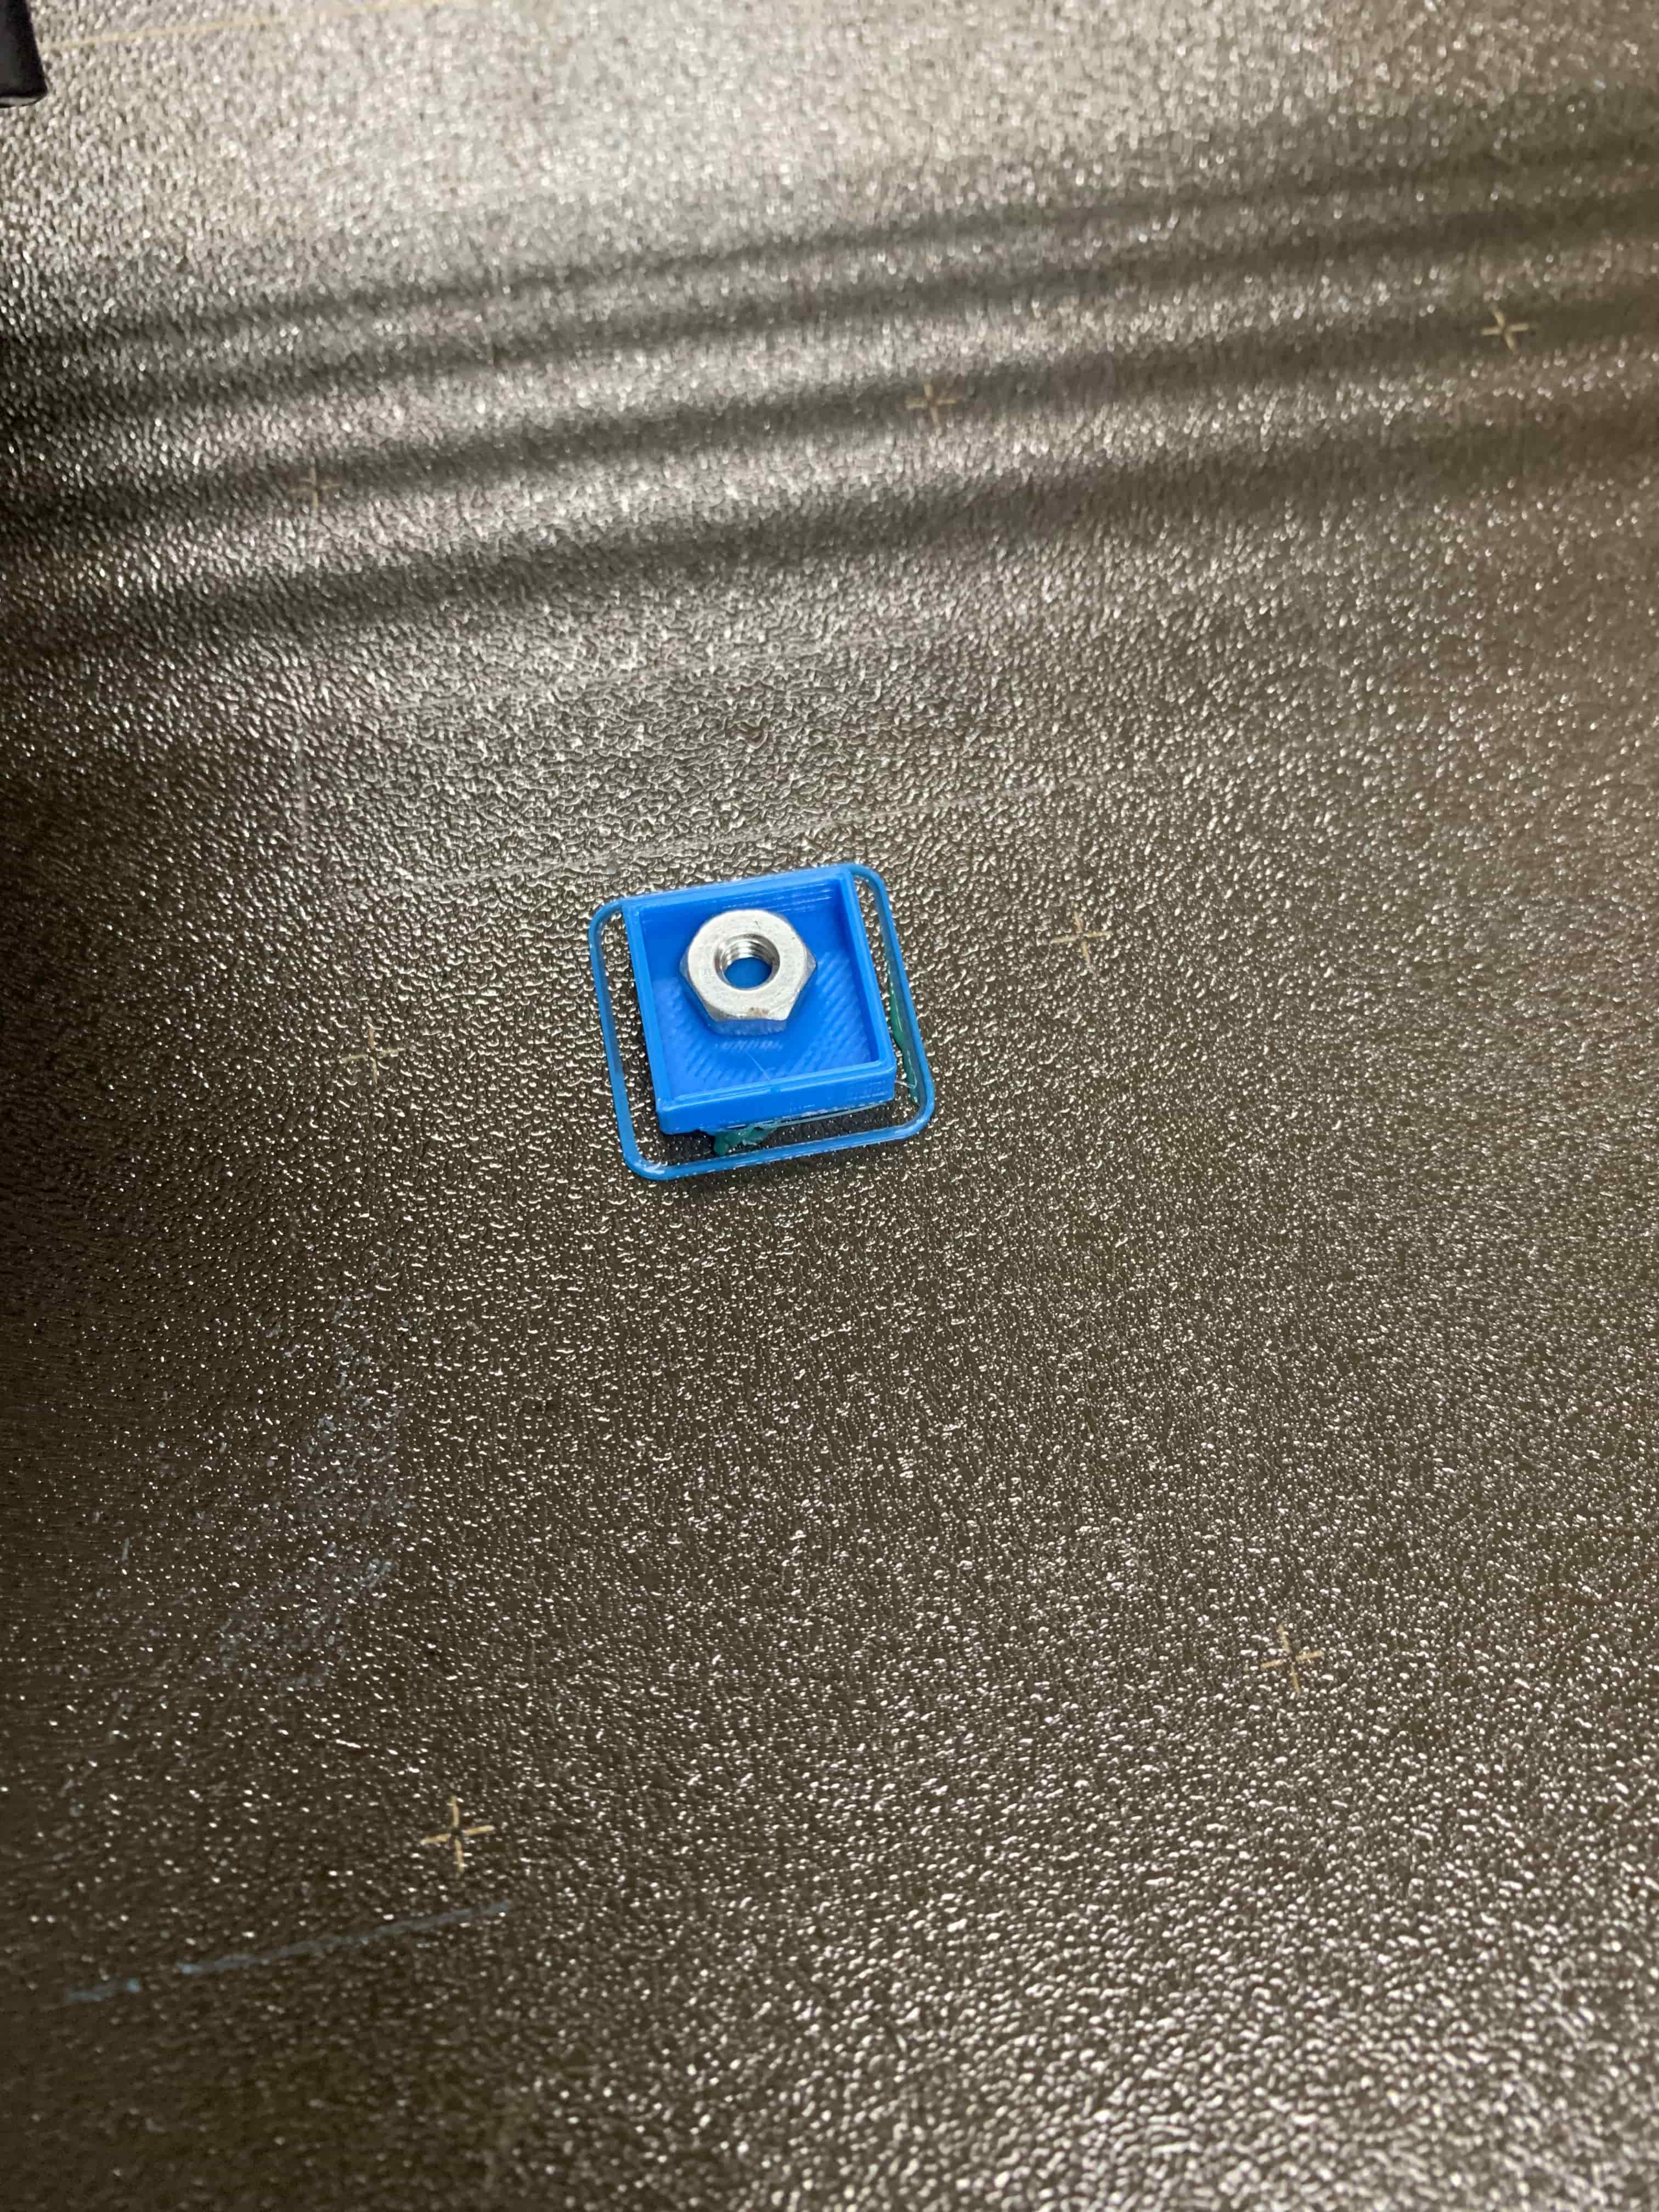
The next step like the print before this was just a matter of tossing the .STL into Prusa slicer, and then onto the printer. After I had already made my object I was told that in Prusa slicer I could've designated it to stop at a certain height so that I could place something in it. Instead, I just paused the print when it got high enough, and placed it in a nut from our shop's junk drawer. Then I let the print continue, and I ended up with a fully enclosed you could shake and it would make noise.
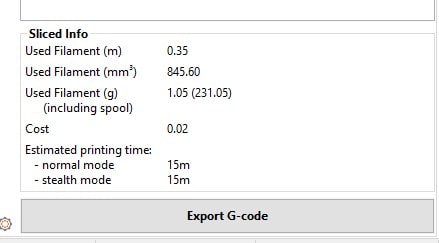
In Prusa Slicer I really didn't do anything to change the default options on the machine except to set the infill at 15%, since I really didn't need the piece to be very sturdy, and I wanted to be able to print it as quickly as possible.
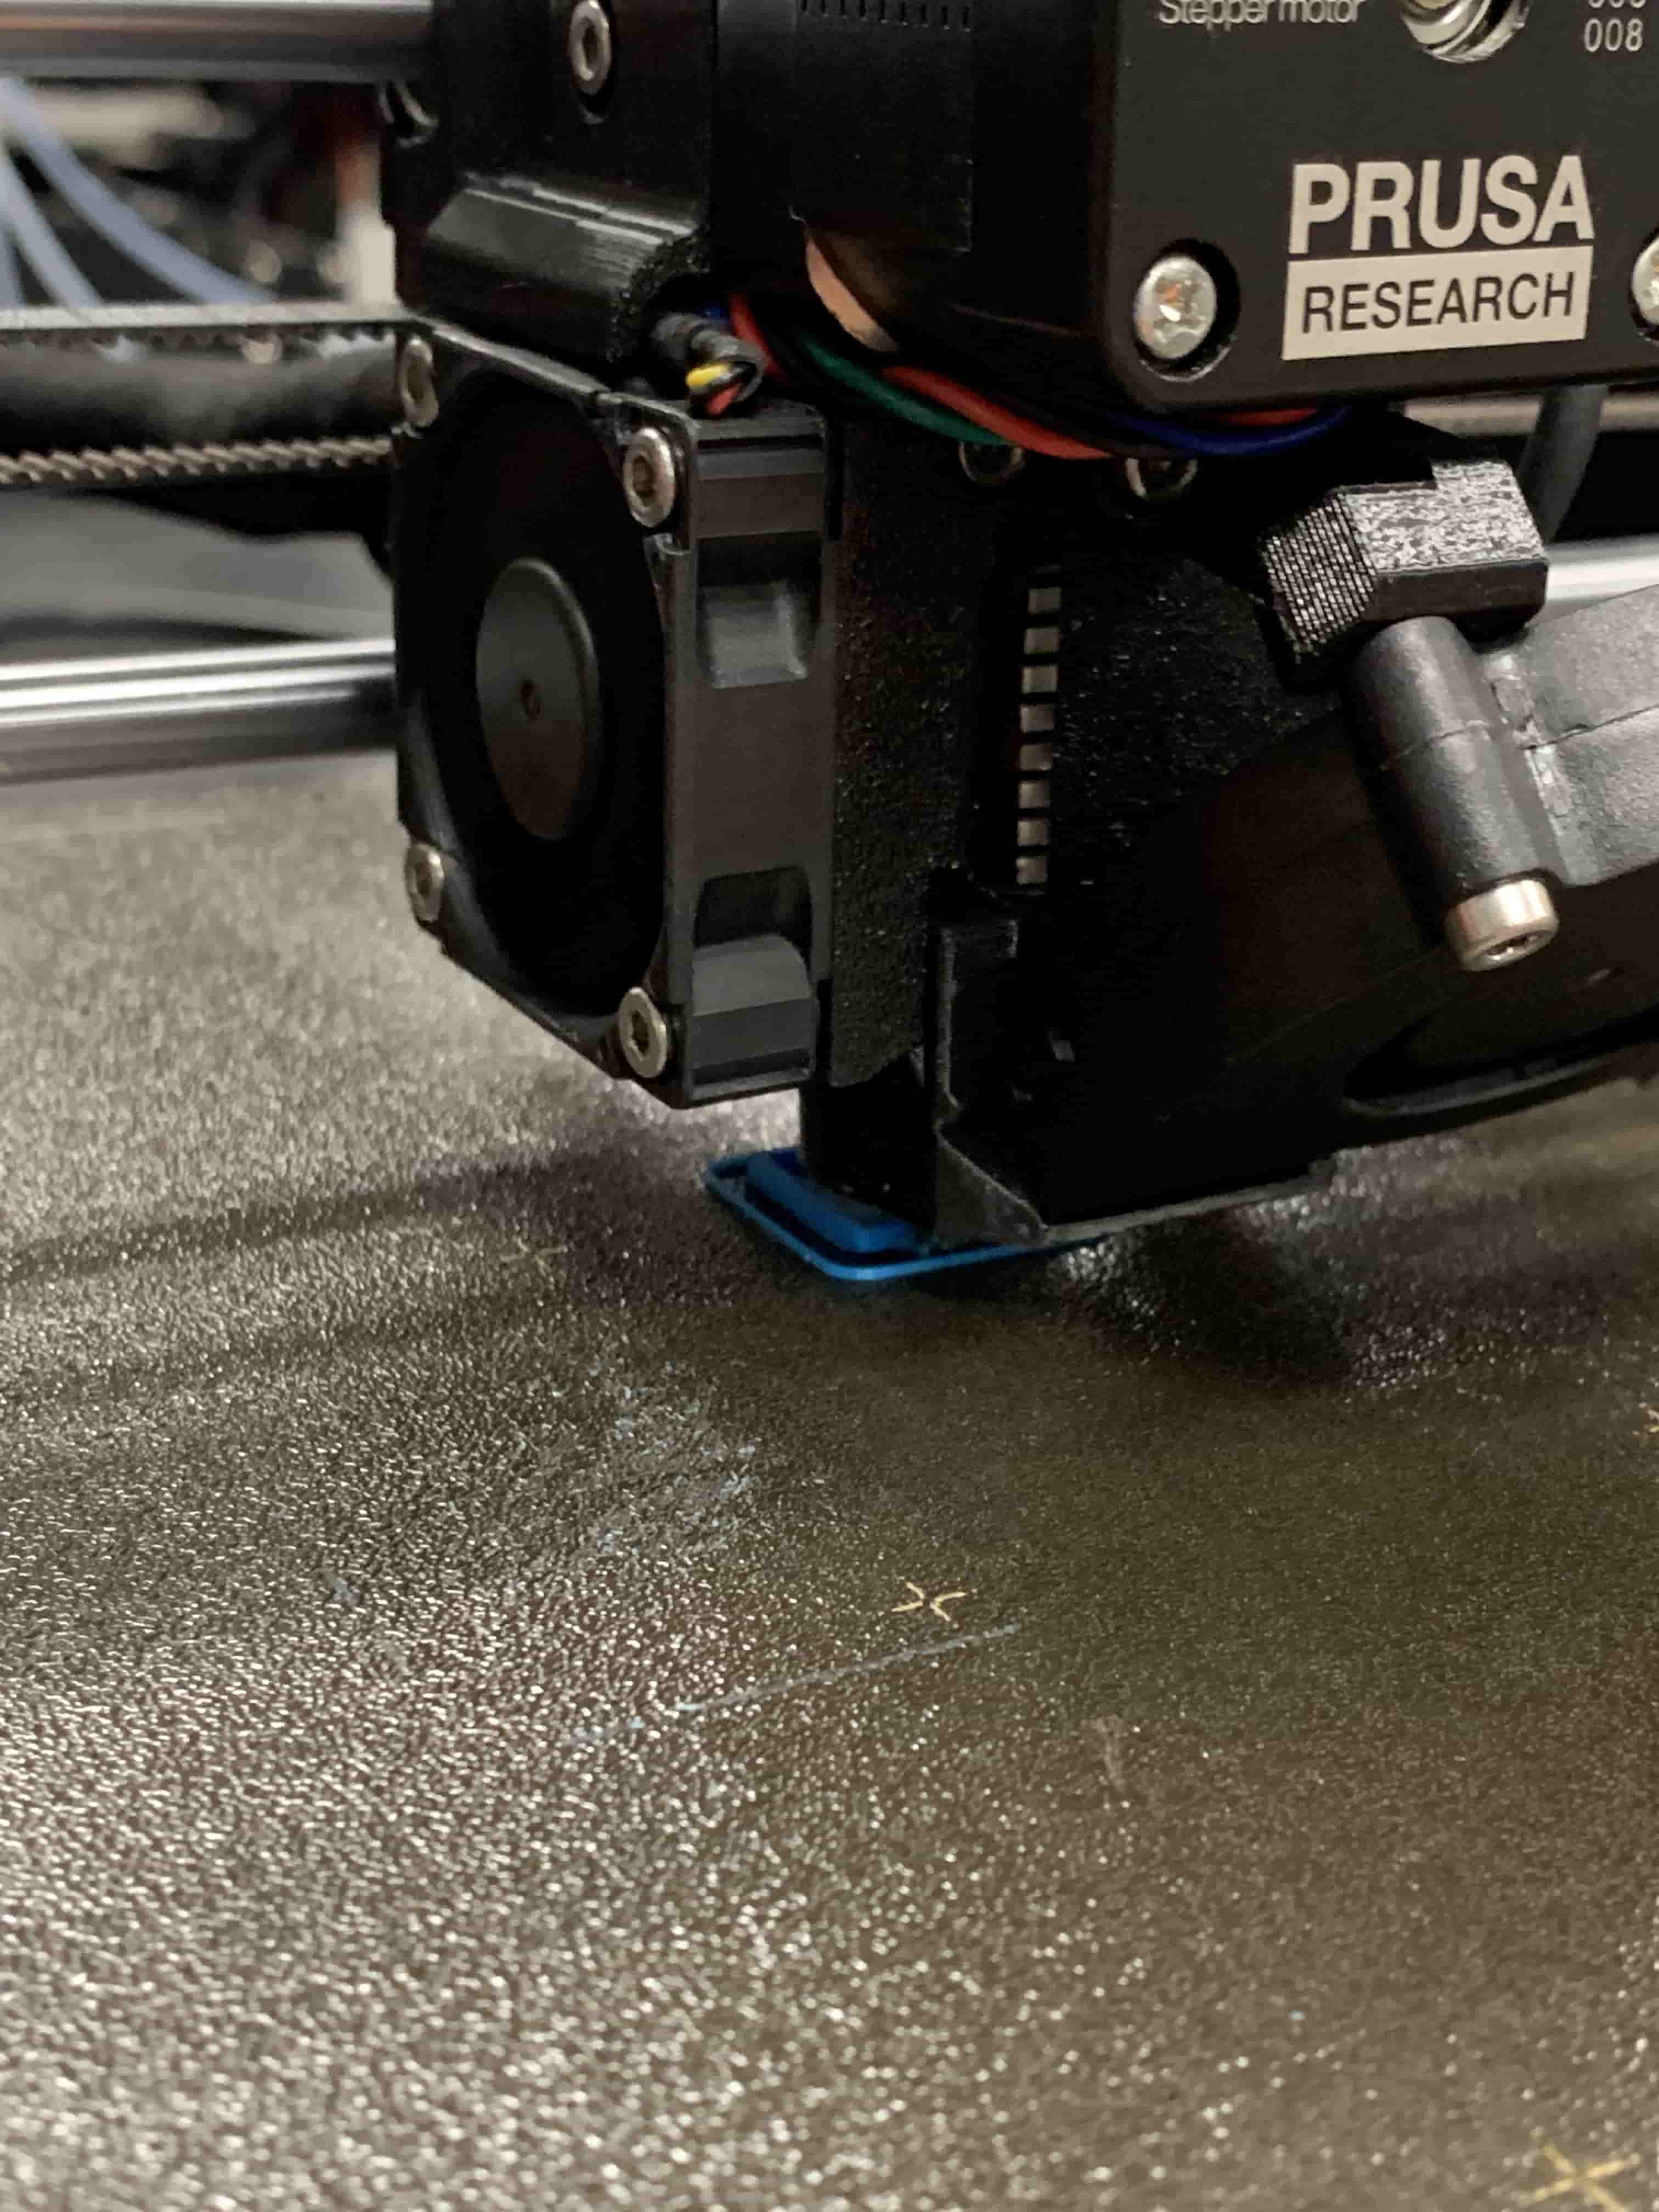
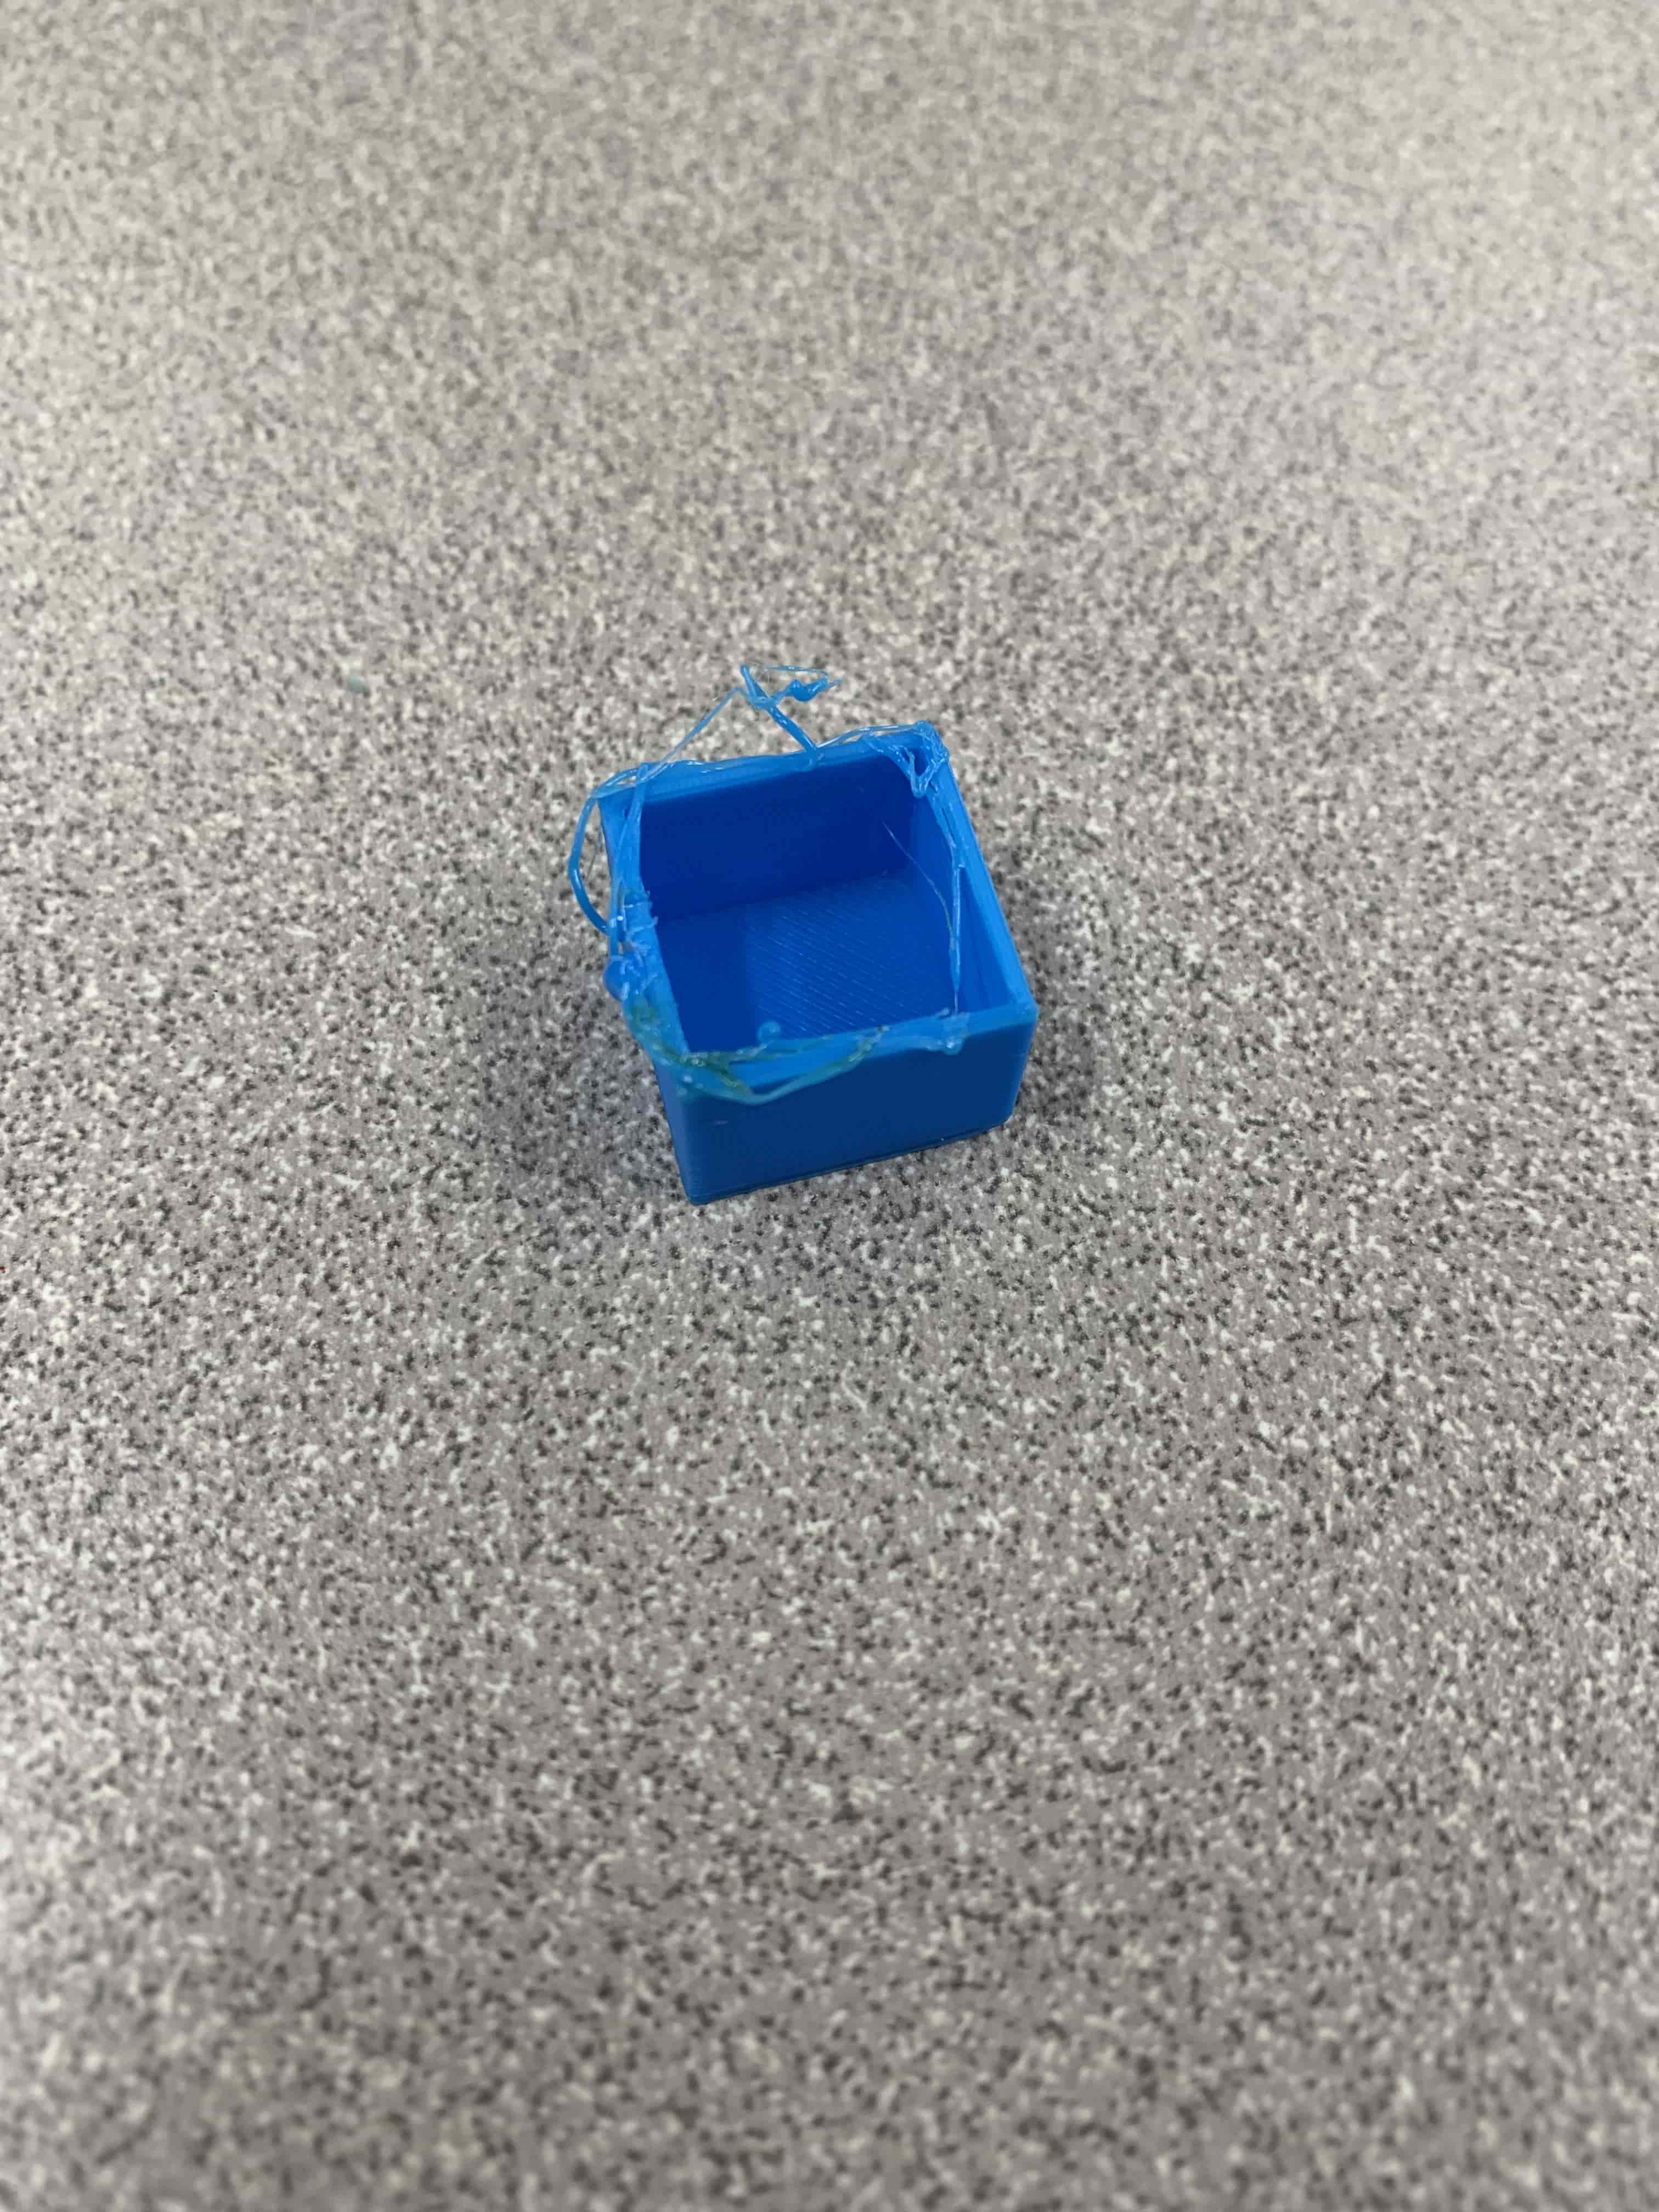
The error that I show in the photos below happened because of a bed temperature problem. I think what cause this issue was a nearby open window that we used for ventillation. However the window let in a really brisk wind that chilled this area of the lab a noticible amount.
Also I should explain why the block you can see in the fusion file is smaller then the final box. That happened becuase I could see from the failed print that the nut that I had wouldn't actually fit inside. So in PrusaSlicer I increased the scale of the object up to being the size that it ended up being. I can't tell you what I raised it to because that information has been lost to the sands of time but I can tell you that when I raised it the nut fit inside.
Scanning
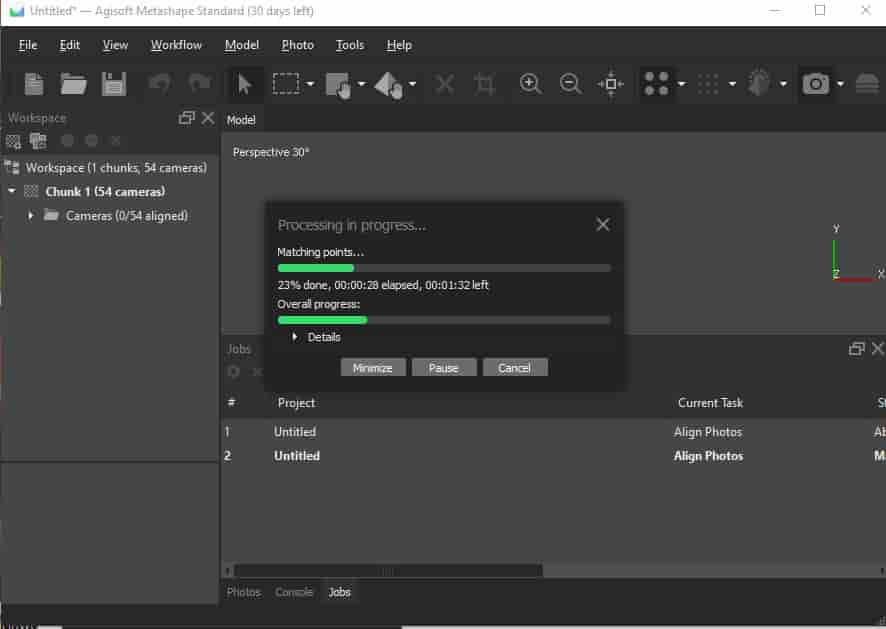
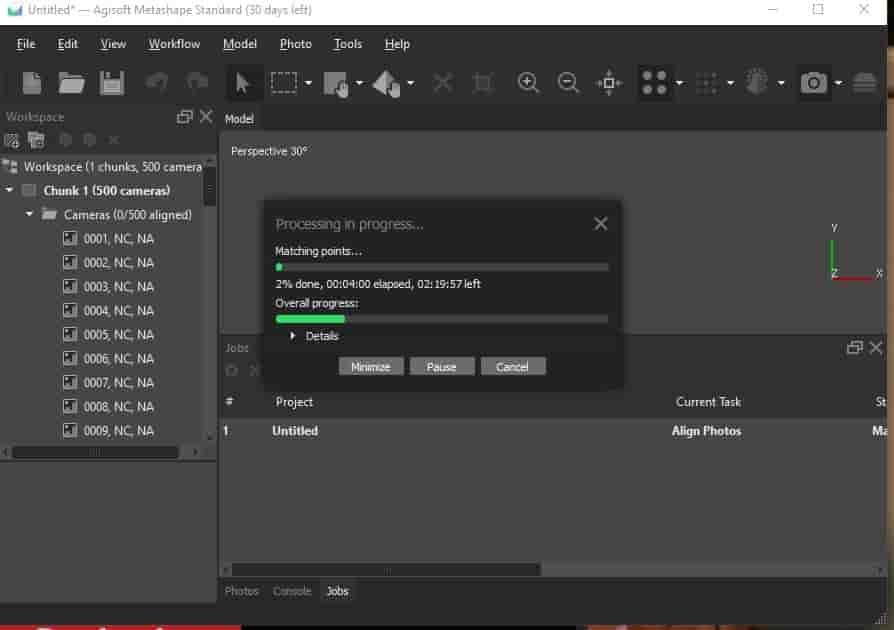
This whole process went really poorly for me I used Agisoft's metashape software as well as my phones camera. My initial plan was to take a video upload it and hopefully let the software do it's thing. However that was going to take two hours to process, so instead I thought I could do it by taking a bunch of photos from around it, and uploading them to hopefully make a decent image. Now when you look at the photo I have and if you want you can examine the .STL's that I got at the end then you can see that it looks like I just didn't take photos from one side, when I can tell you that I certainly did. I did this process with upwards of 50 photos each for six items two were even decent, and that is monsterous stretch of that word. I am also frustraded because I don't even know for sure what the issue was. My guess is that I didn't have a plain enough background sometimes, and othertimes it was too plain. Nonetheless I did learn that this scanning software is out there, it is mostly accessible, and from what I've heard from my fellow classmates works well enough.